Skill level: Advanced
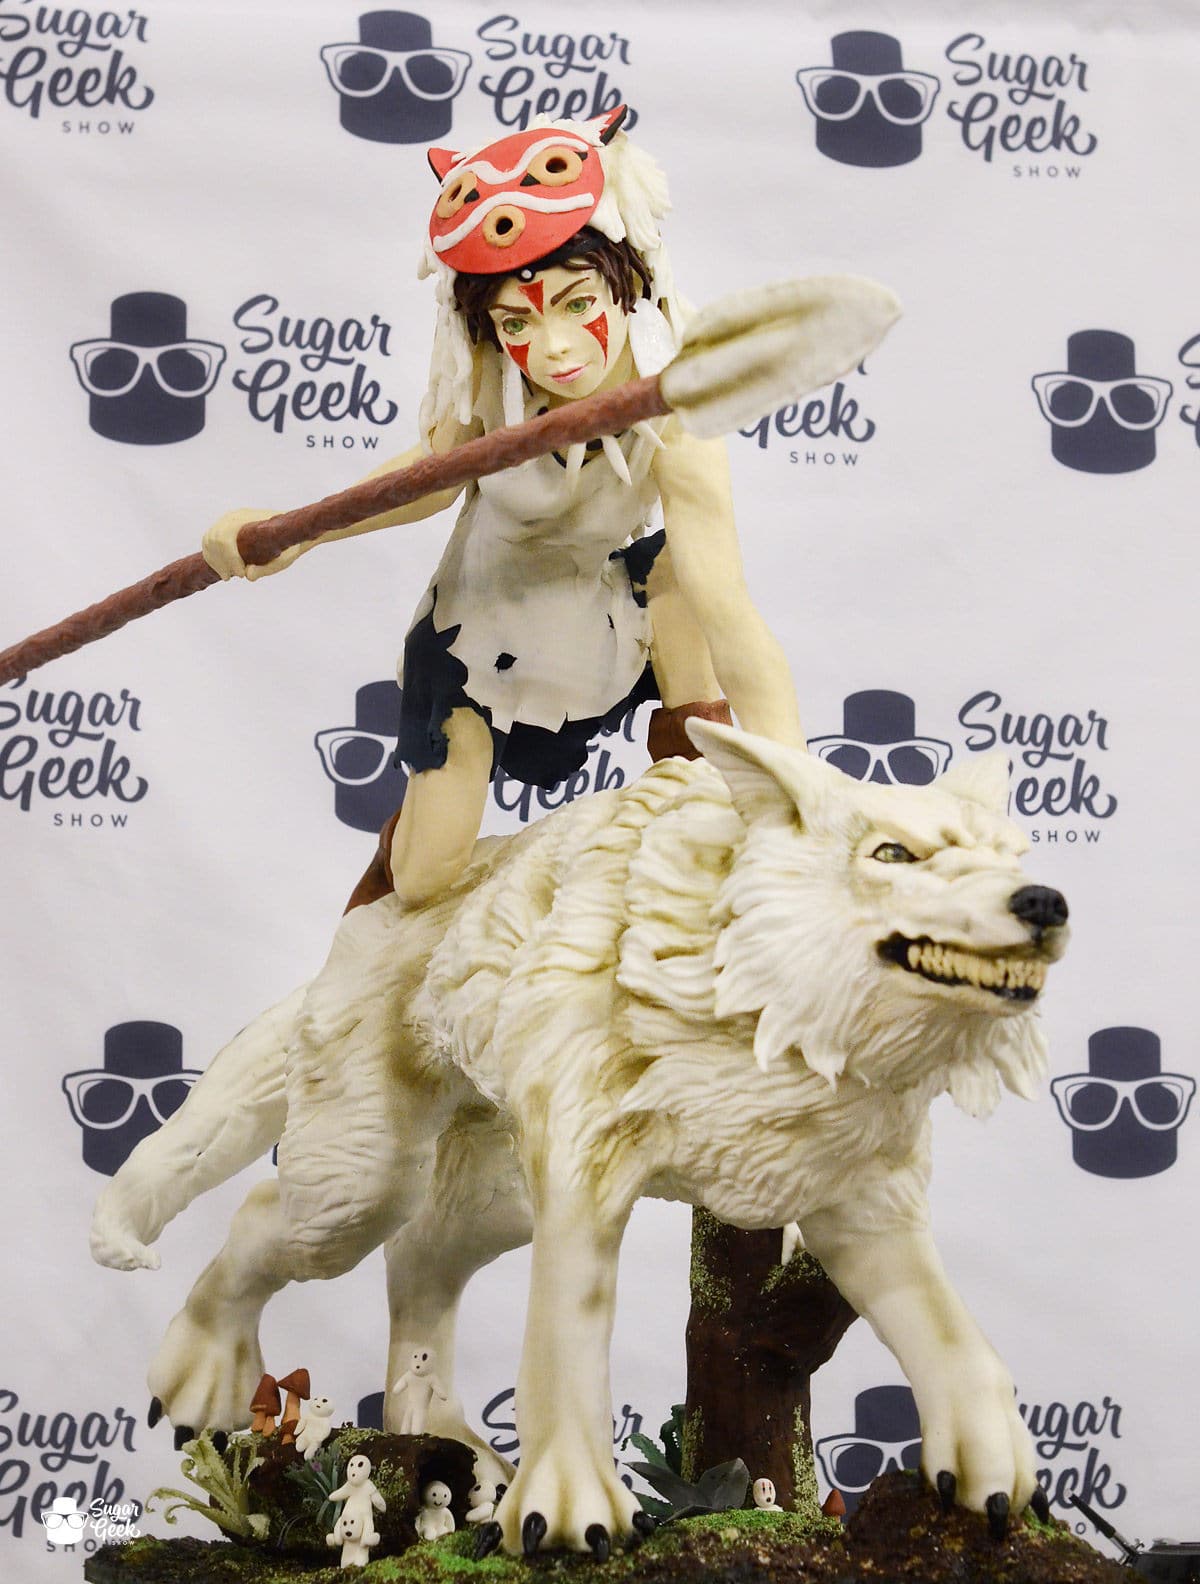
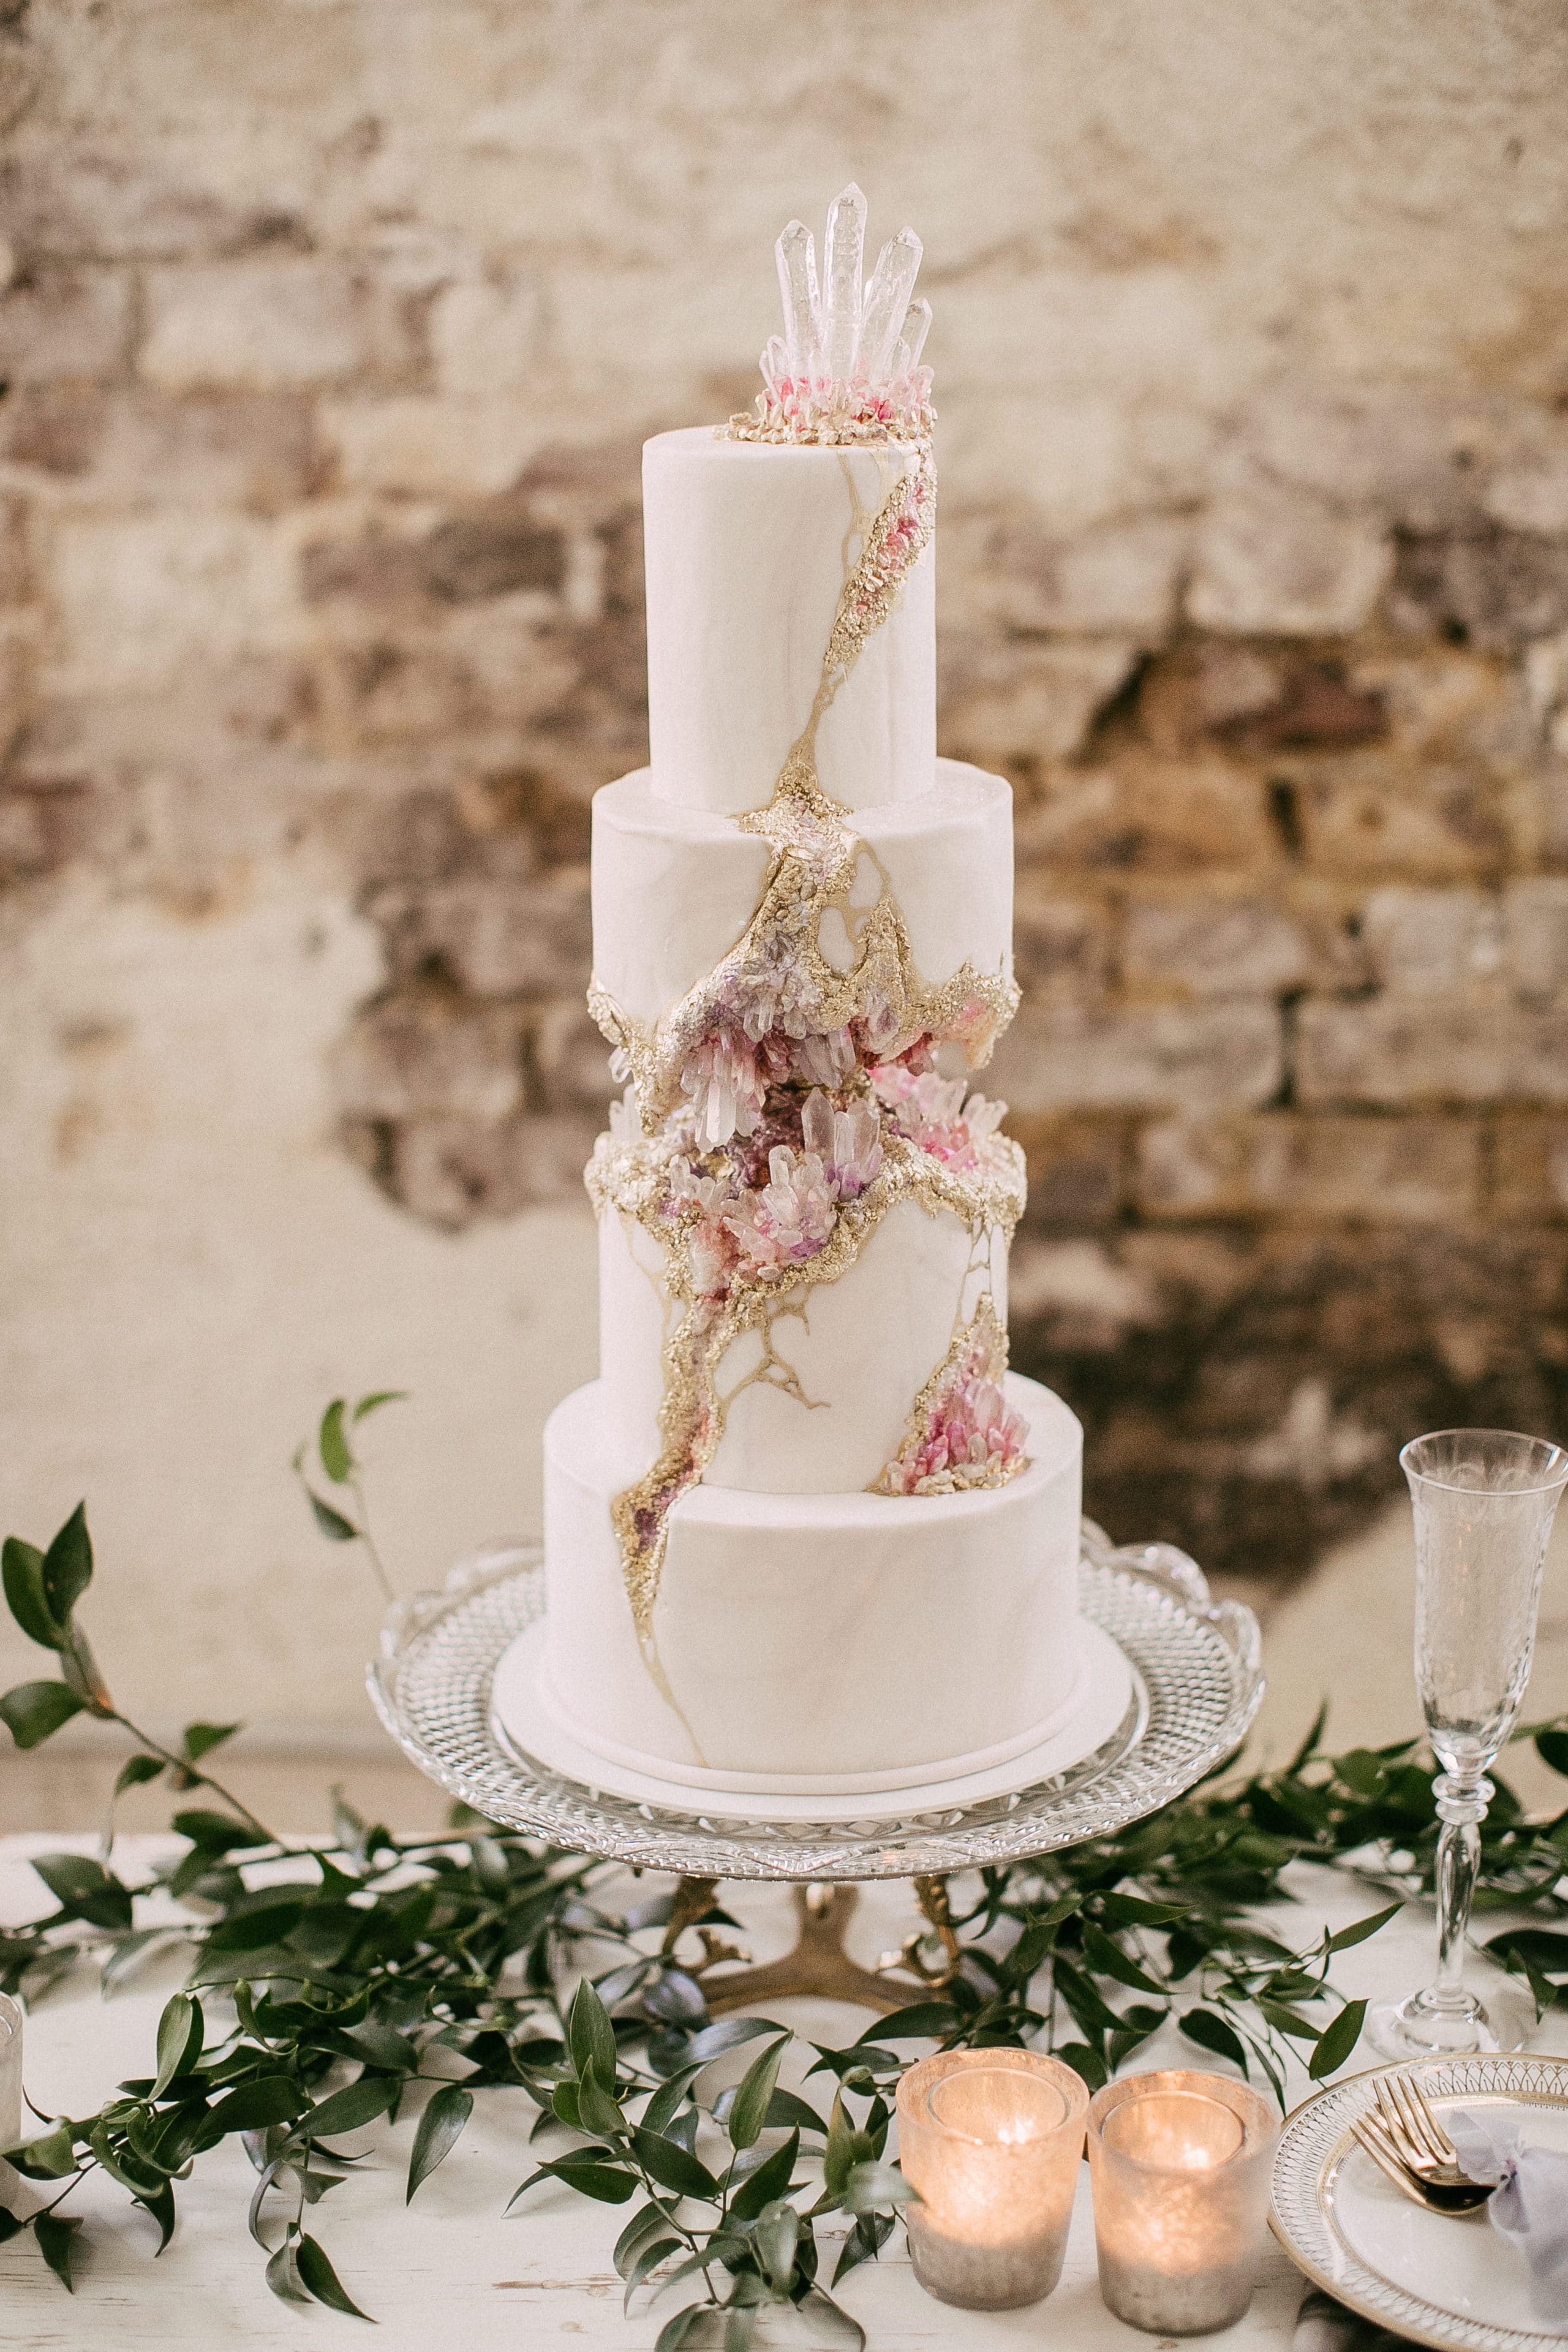
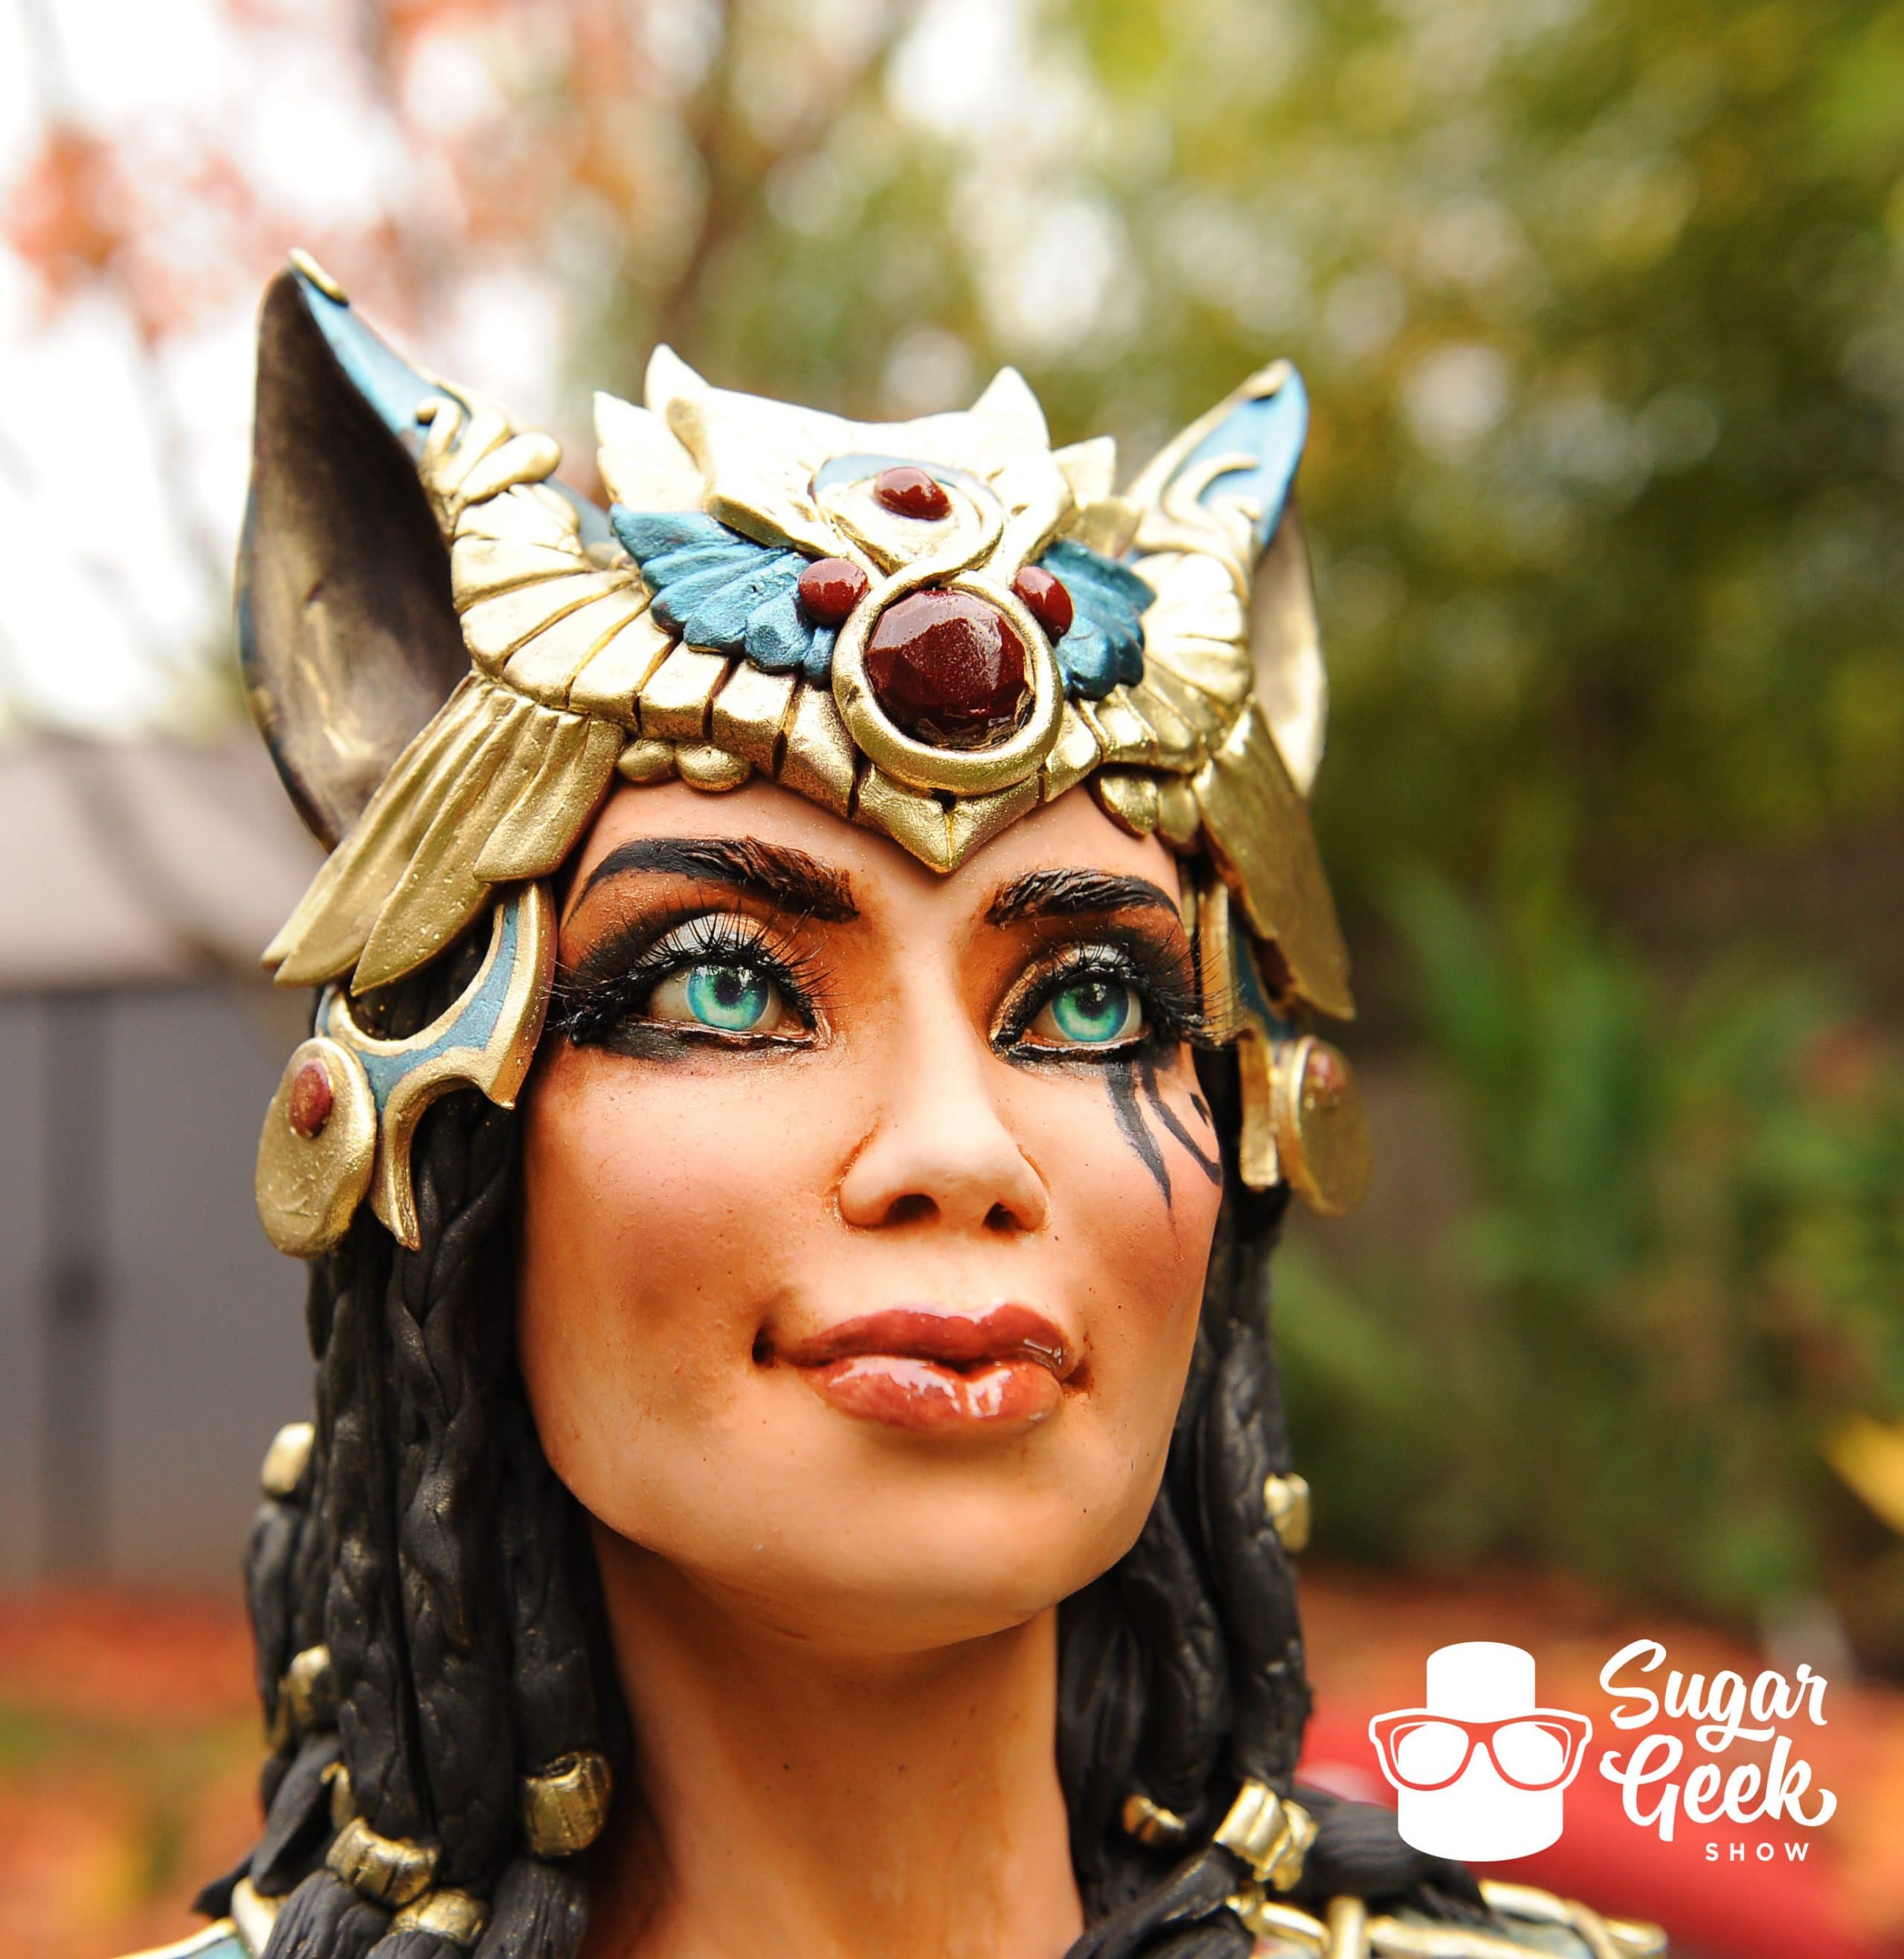
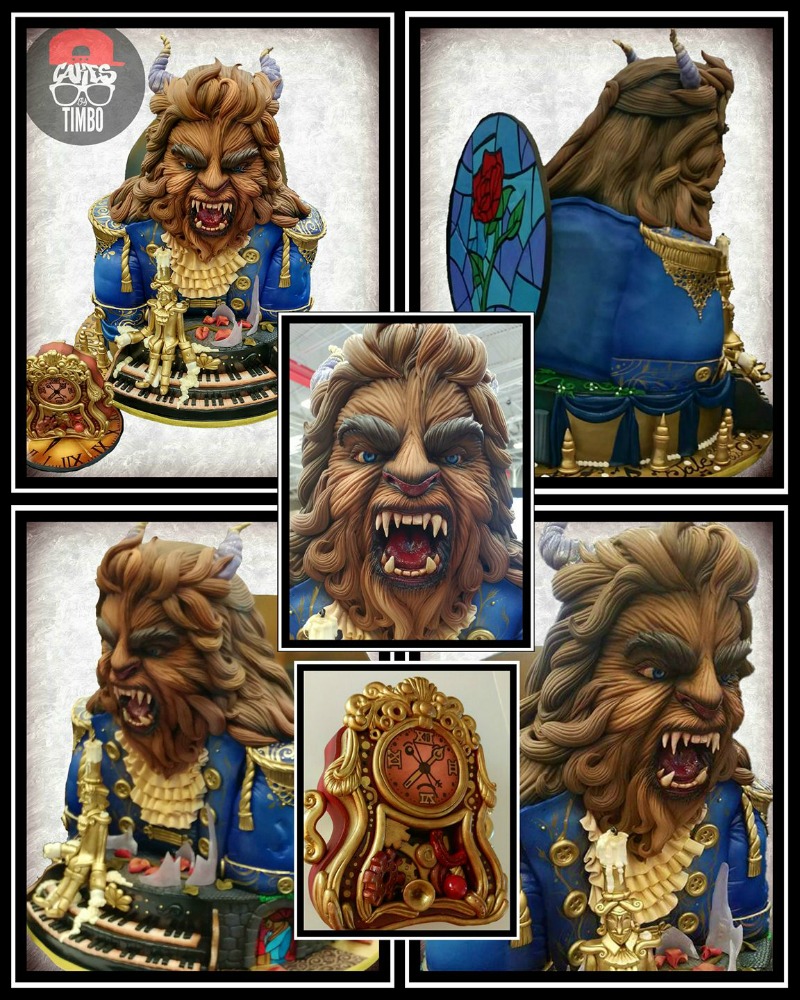
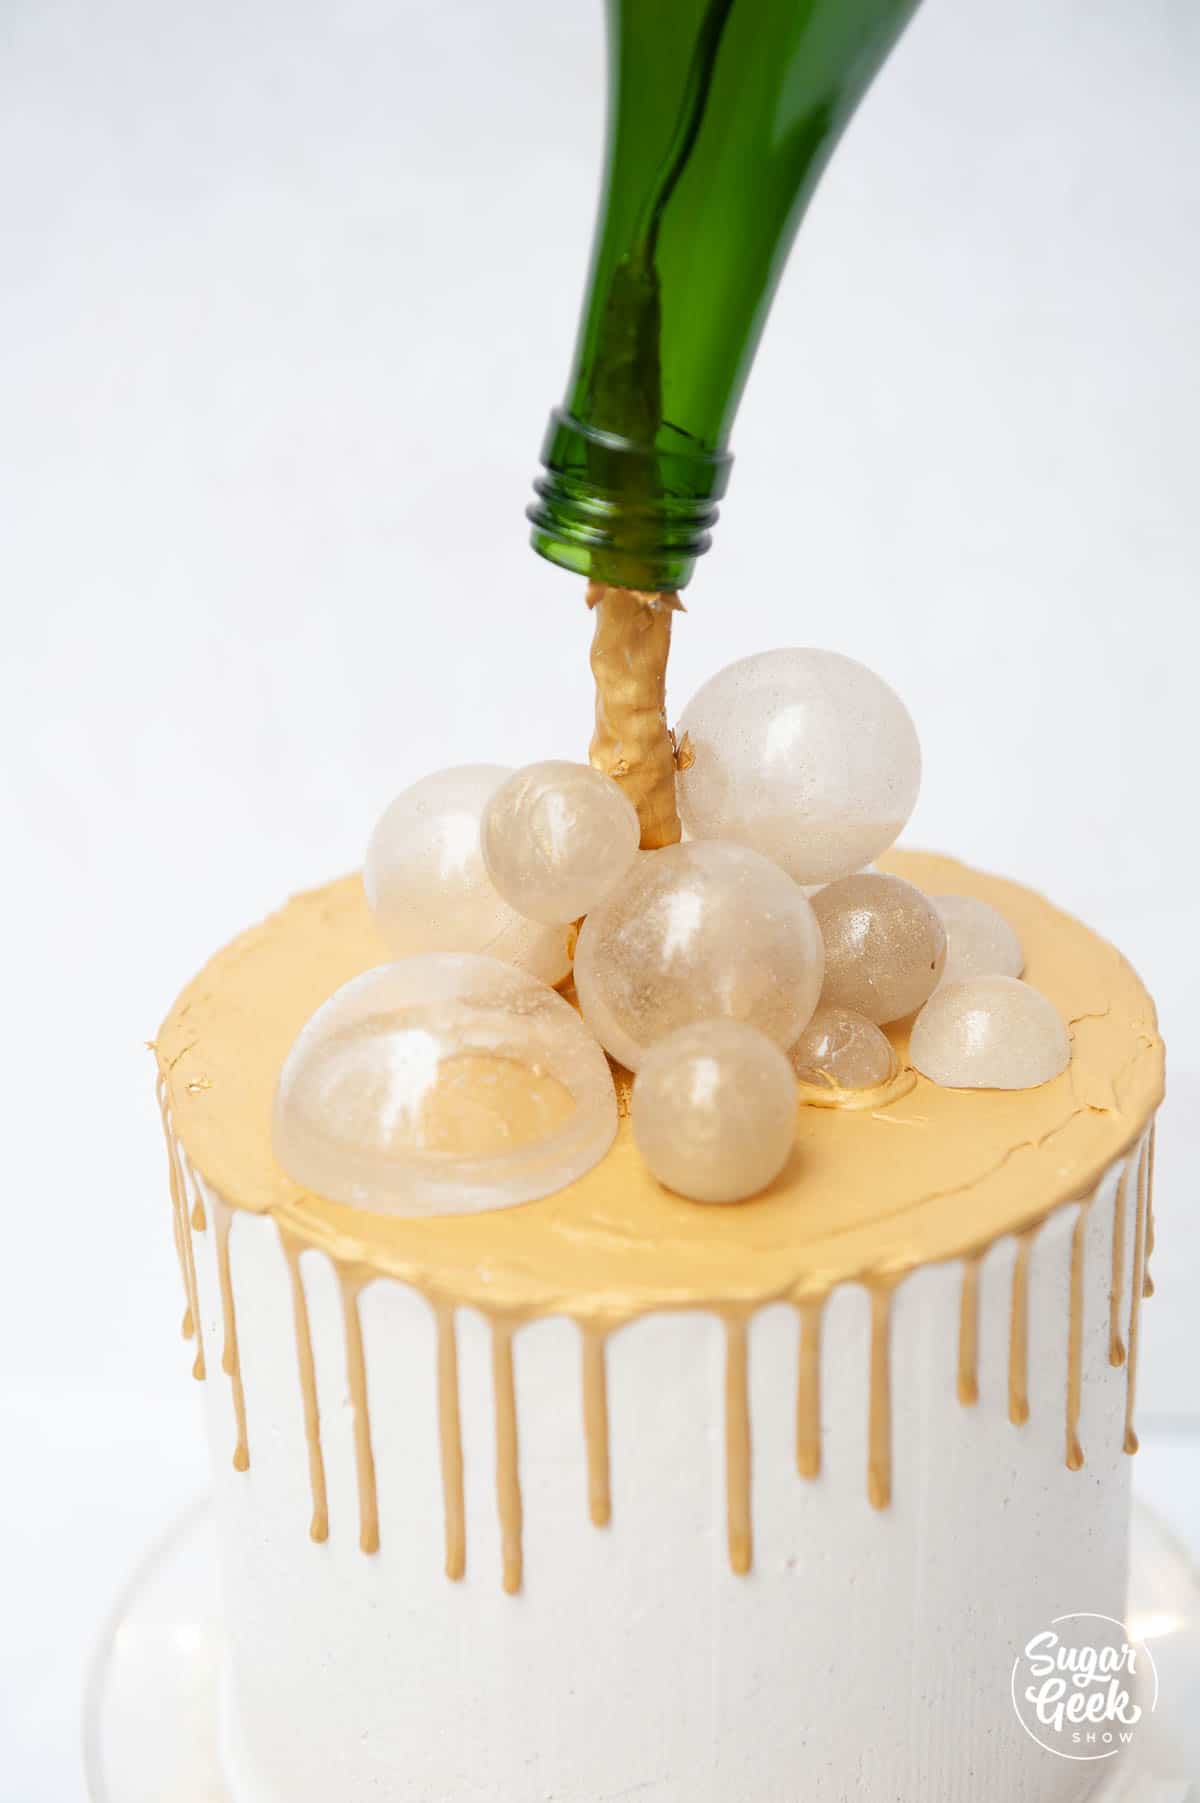
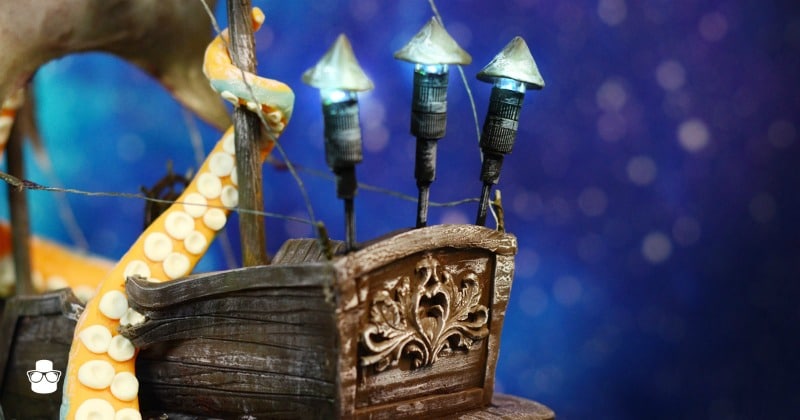
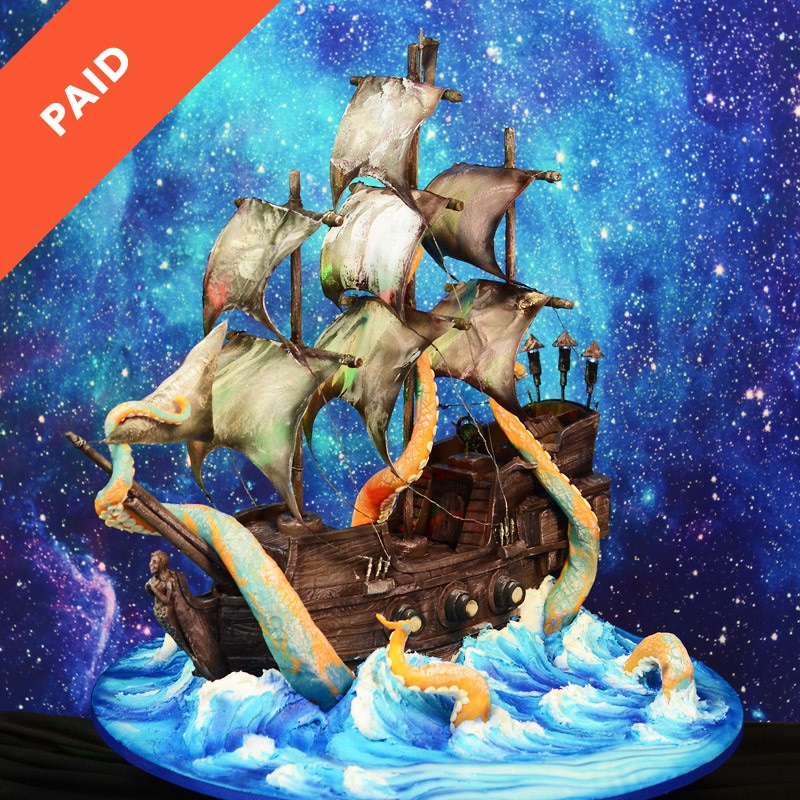
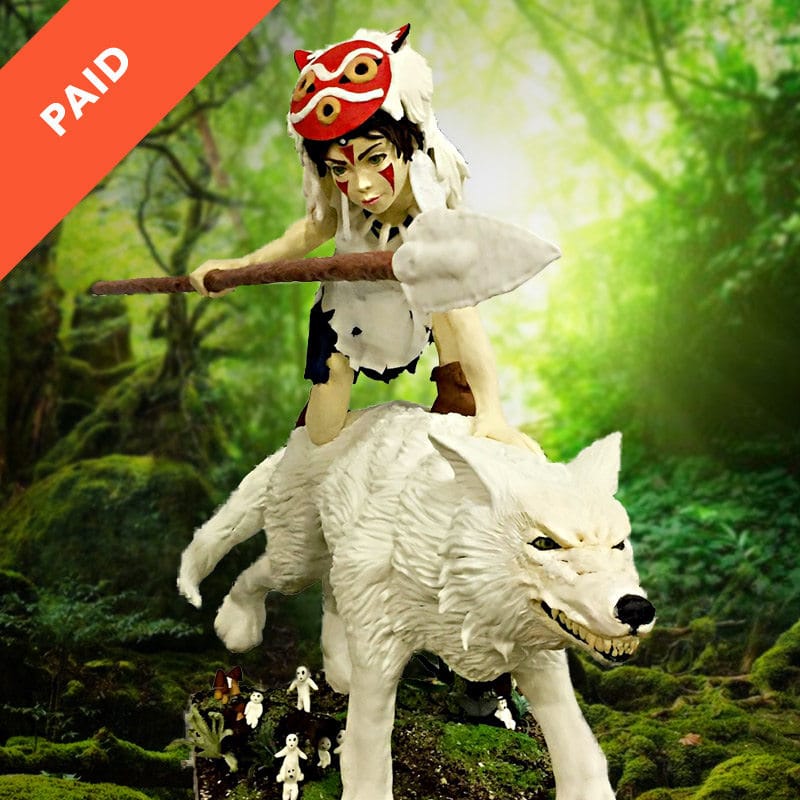
The most epic showpiece cake tutorial ever! A showpiece is a sculpture that is made for big events, usually a centerpiece that catches the attention and is an object of discussion and entertainment. A showpiece is generally not made of cake for many reasons. First, it has to be made many days, sometimes weeks in advance to the event. Second, it has to be on display for multiple days. Third, it needs to be portable and therefore, as light as possible.
A showpiece cake is typically covered in edible materials to show the skill of the cake artist and can be displayed along side other edible desserts and cakes. In this tutorial, I will show you how I make my showpiece cakes using many techniques like structure building, bulking, shipping and more. This is an advanced tutorial and should only be taken on by cake artists who already have sculpting and structure building under their belt.
2:18:34 Minutes of Instruction
What You Will Learn
- How to plan out a large cake structure
- Several tips and tricks on how to construct the wolf legs
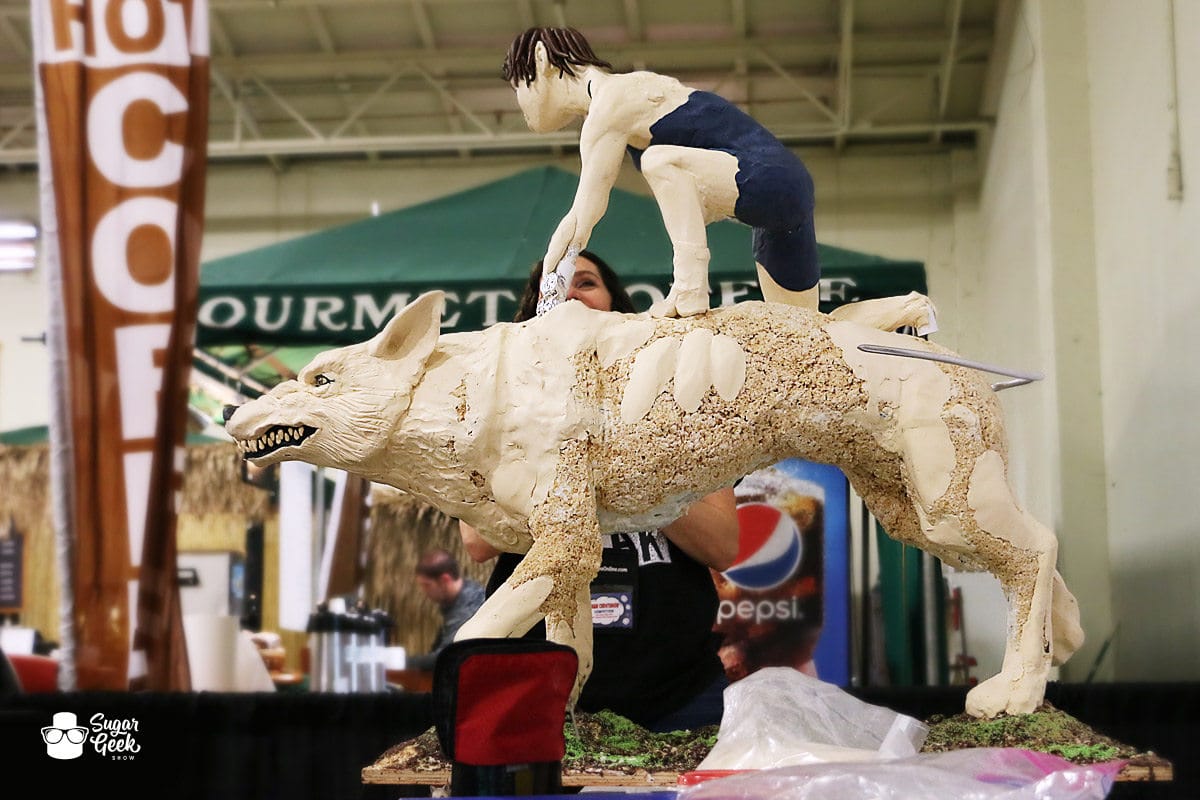
- How to keep rice cereal from falling off your structure
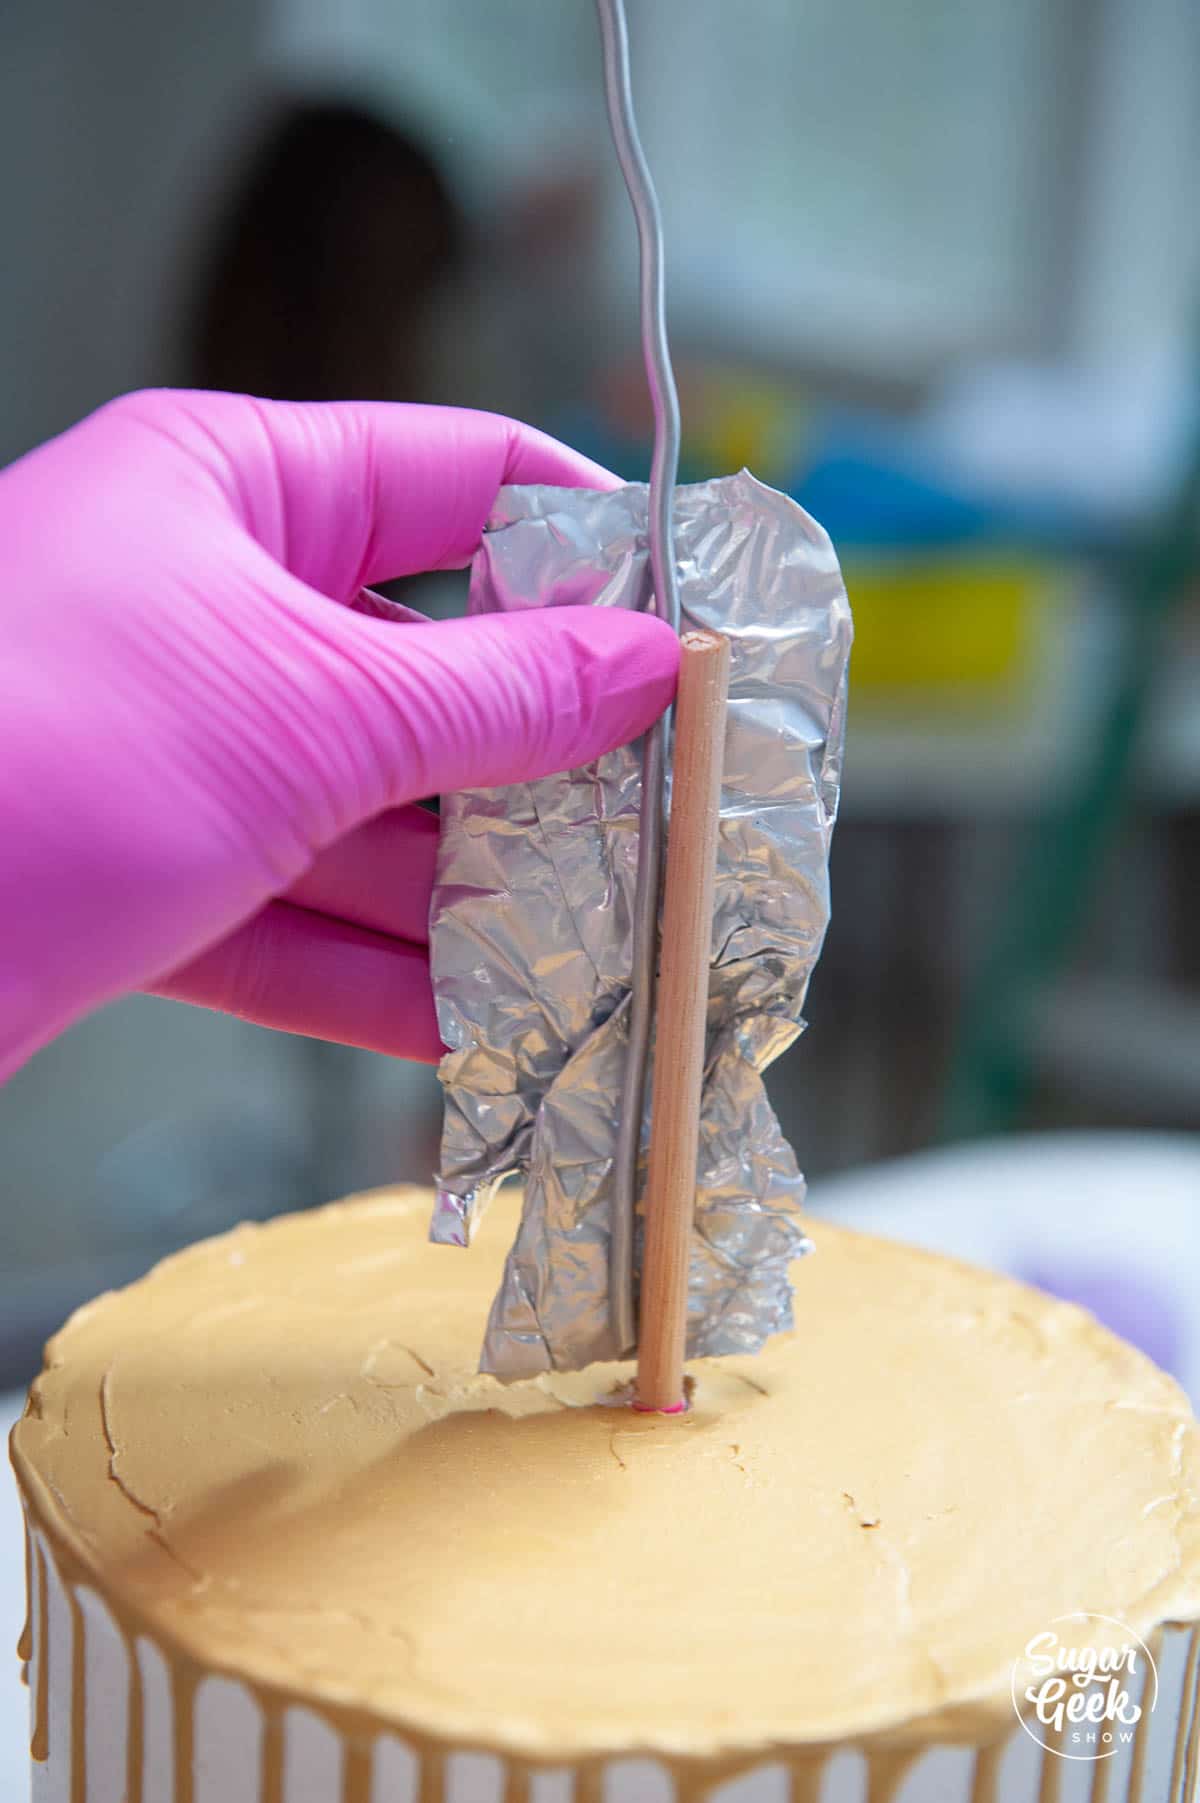
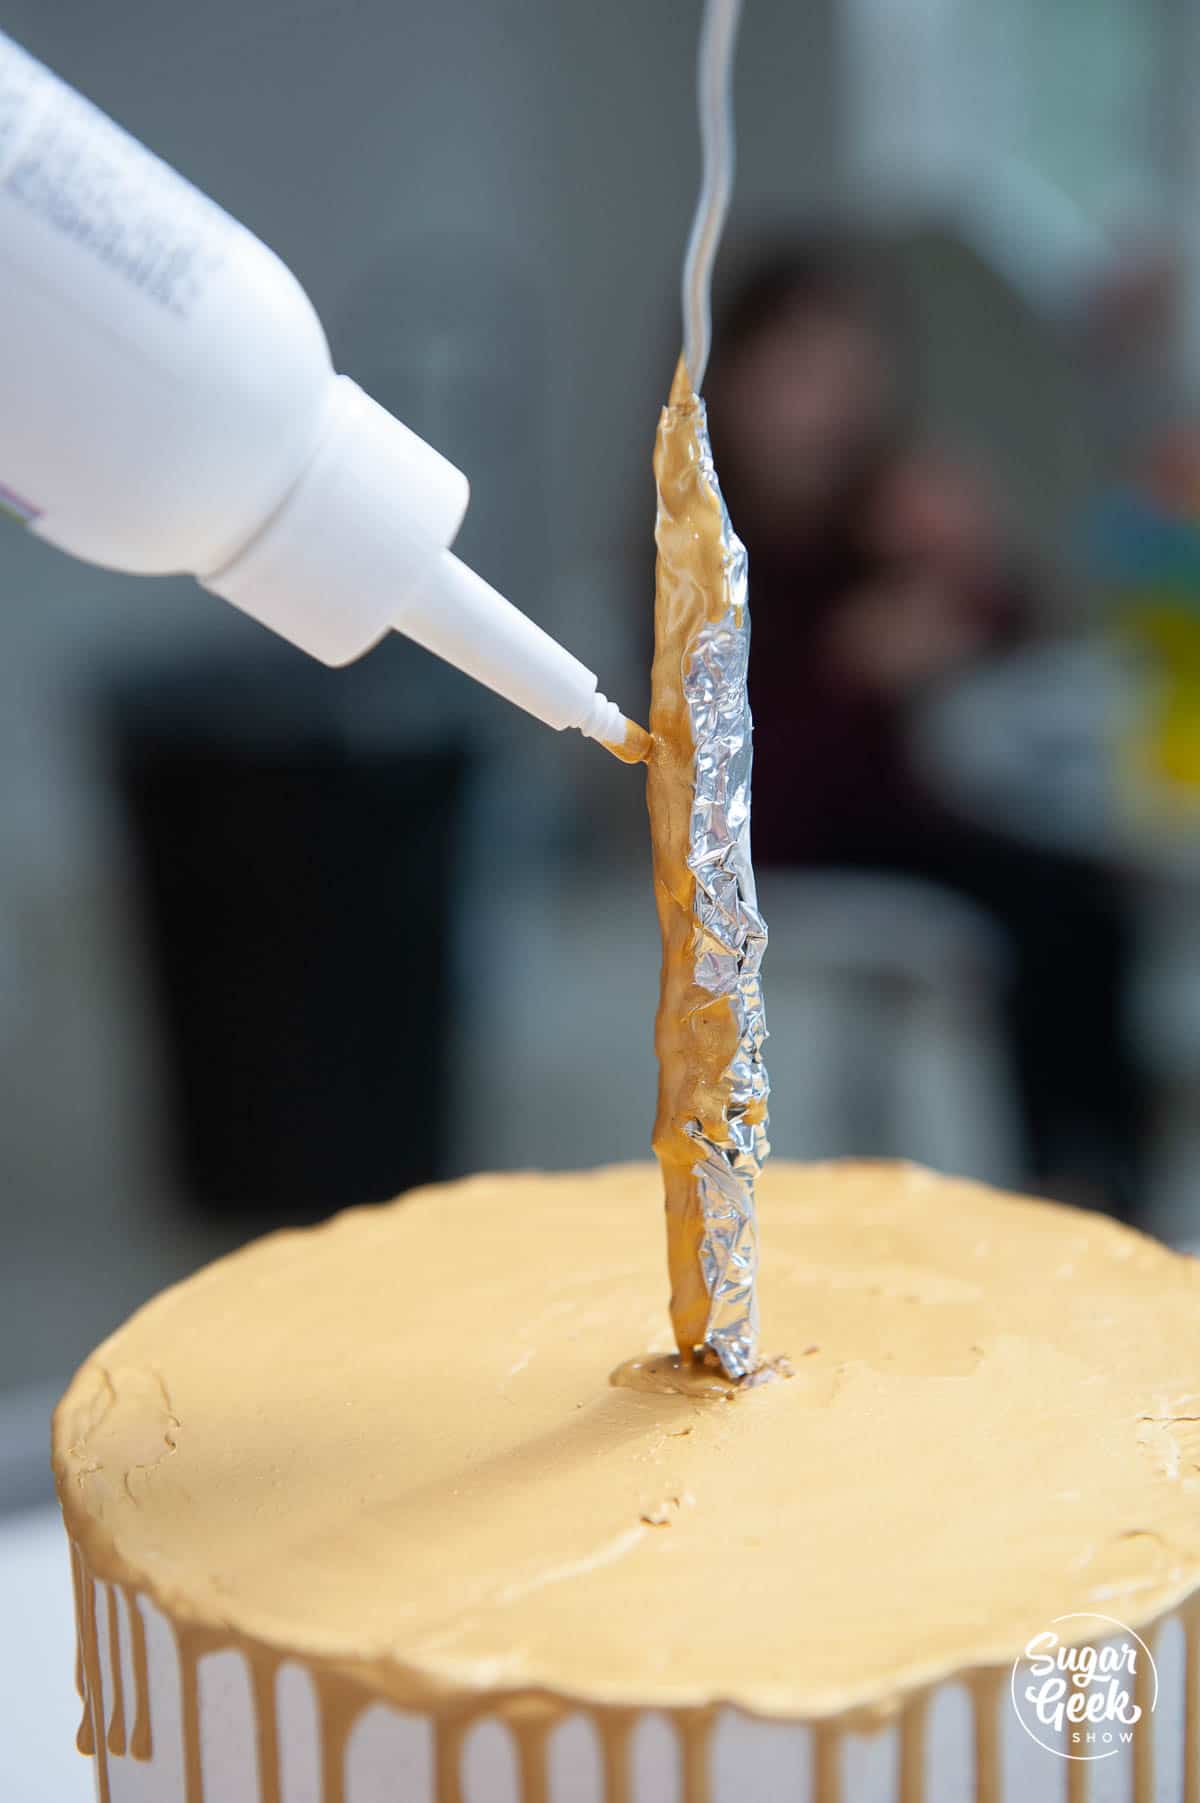
- A simple way to build up the bulk of mega cake structures using foil
- How to measure from reference photos and check your work
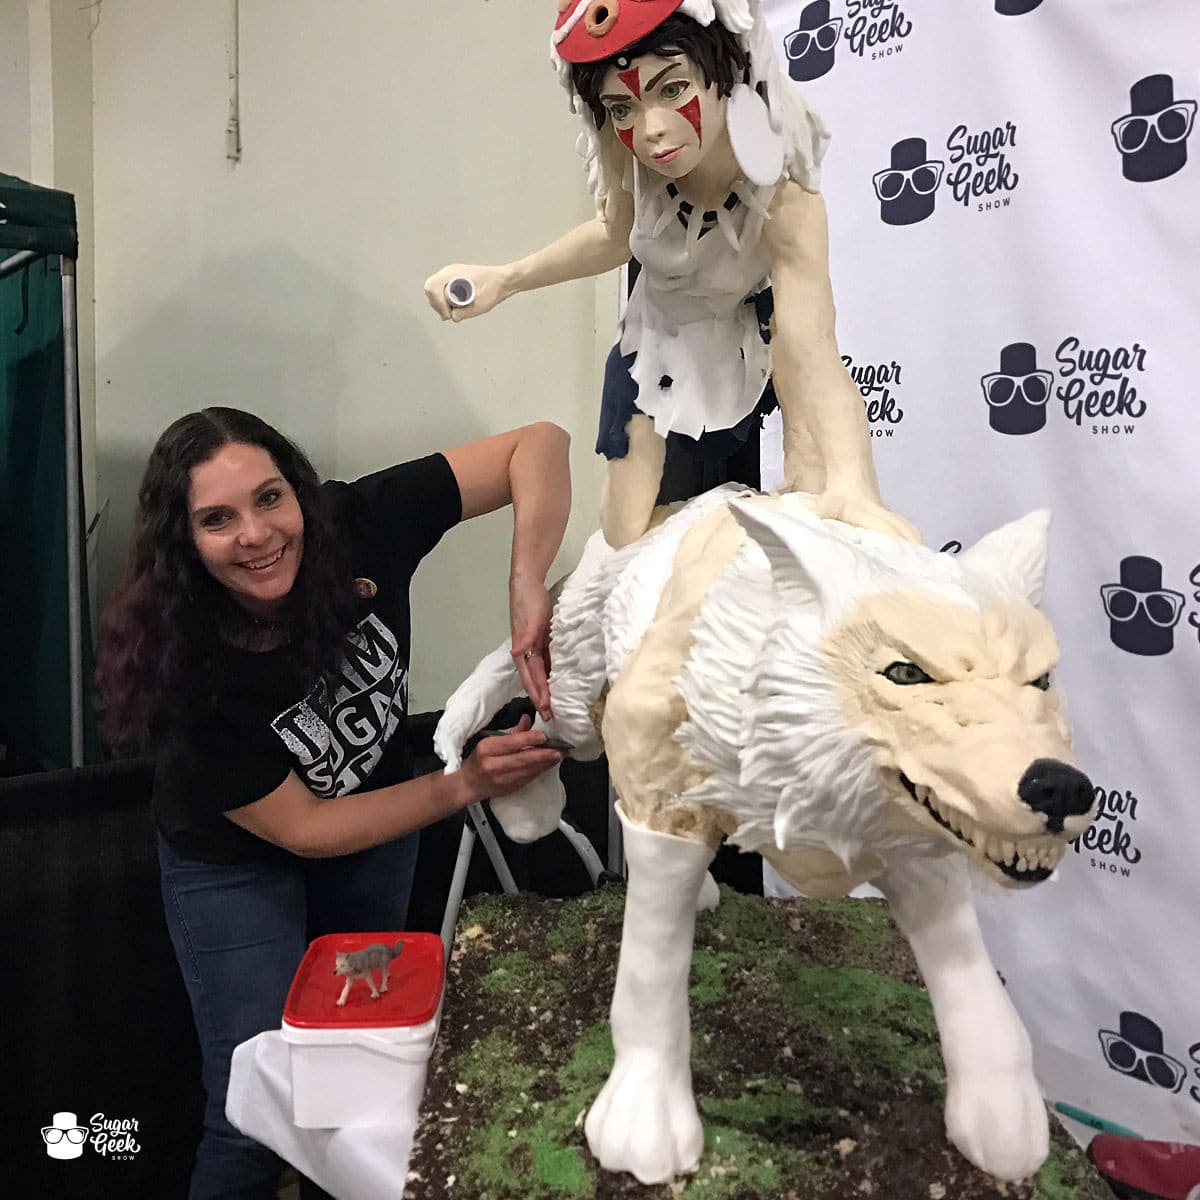
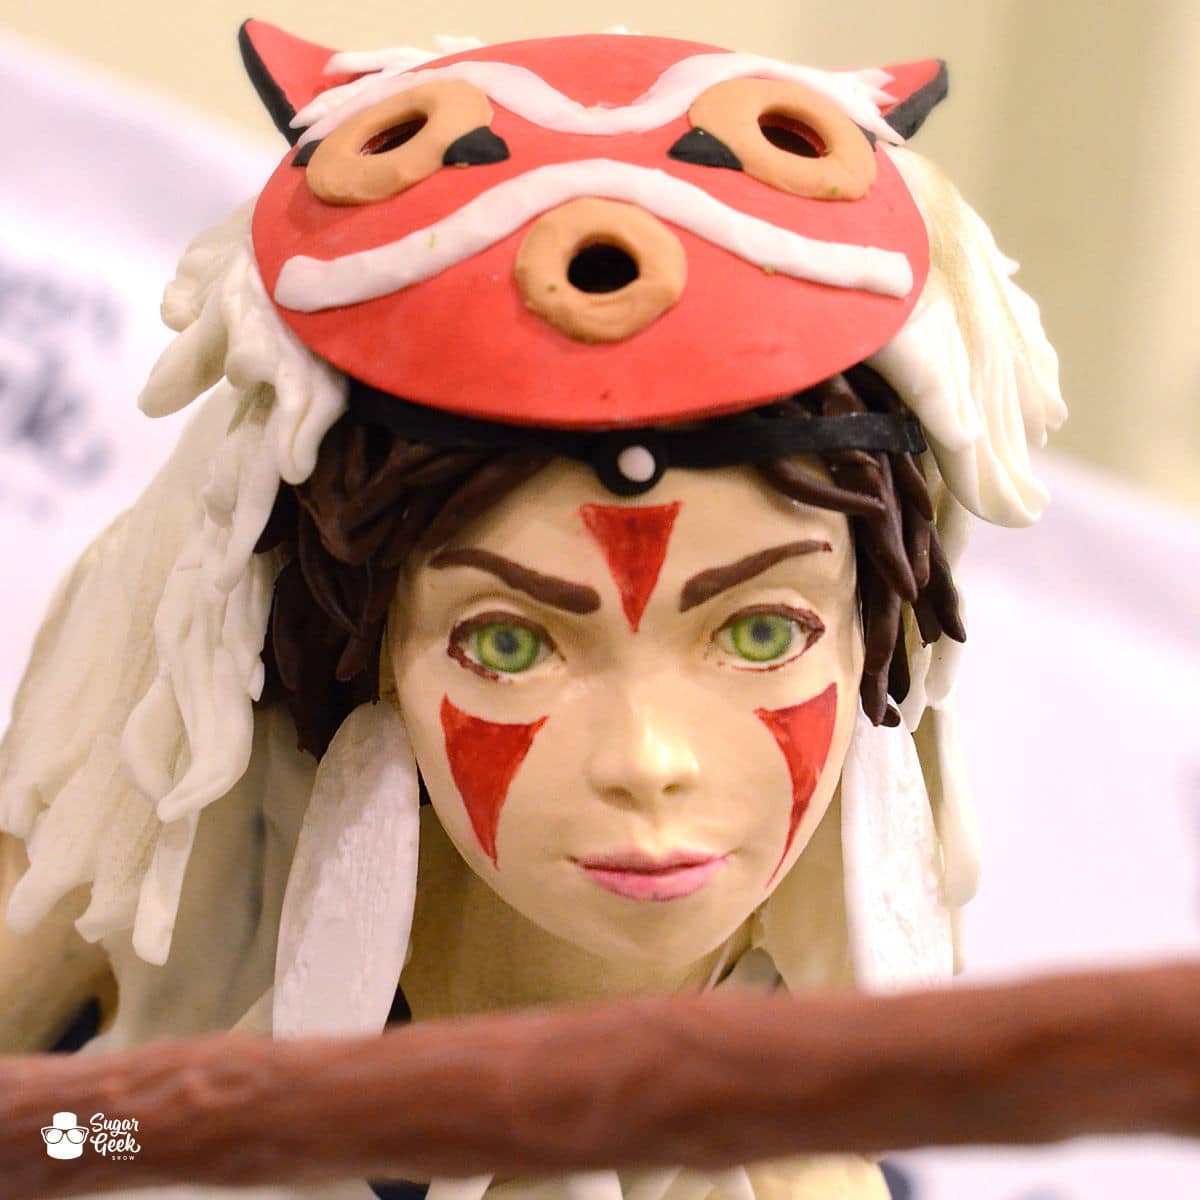
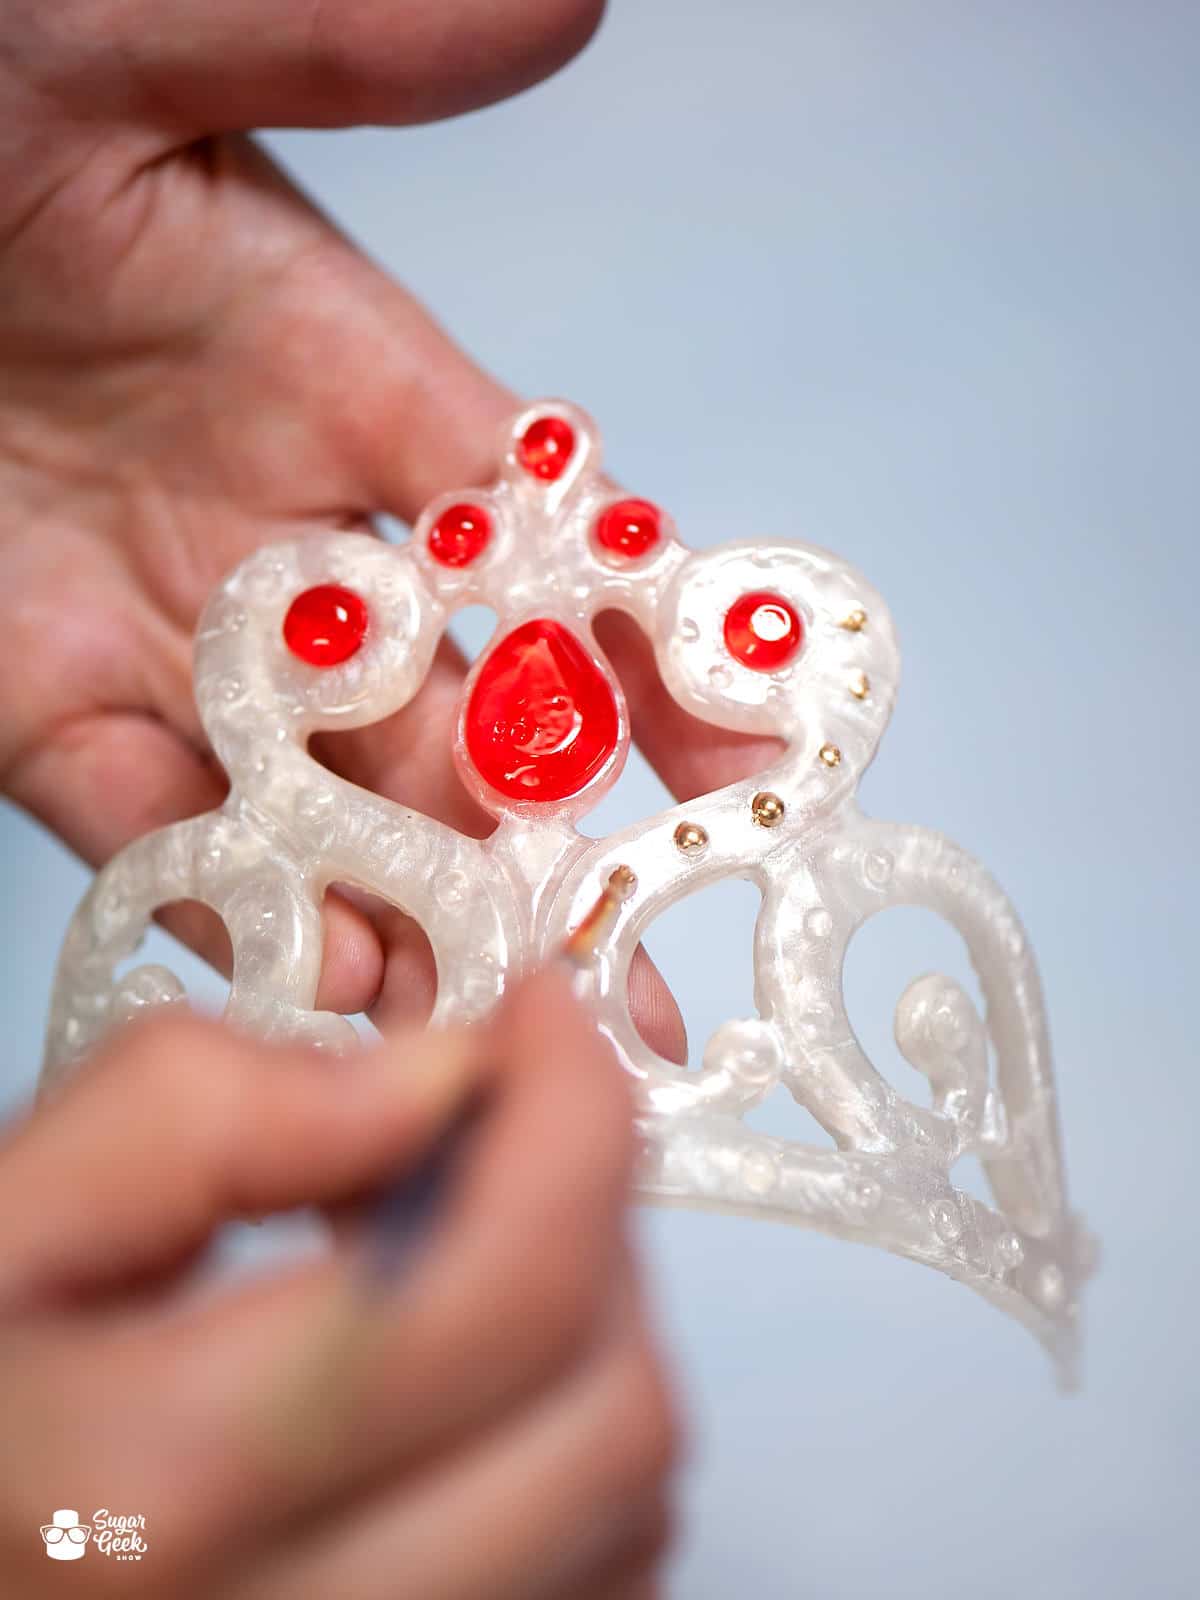
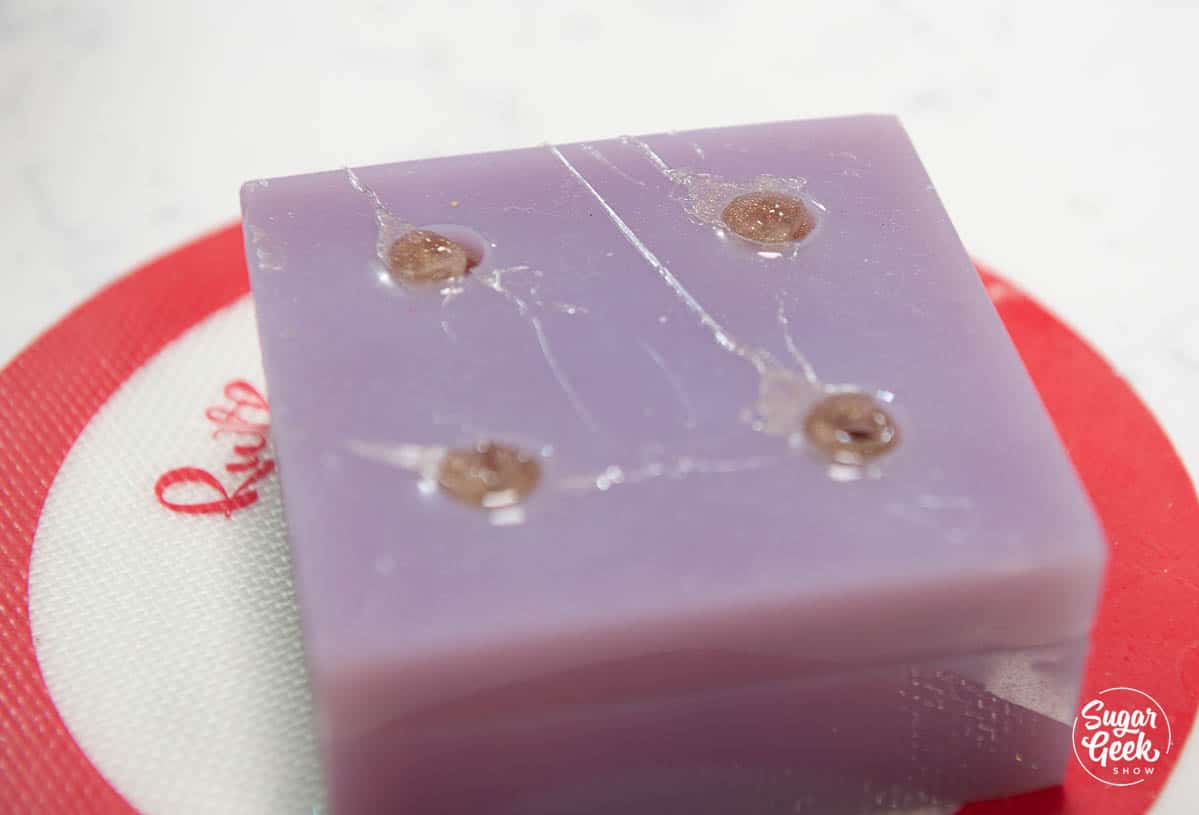
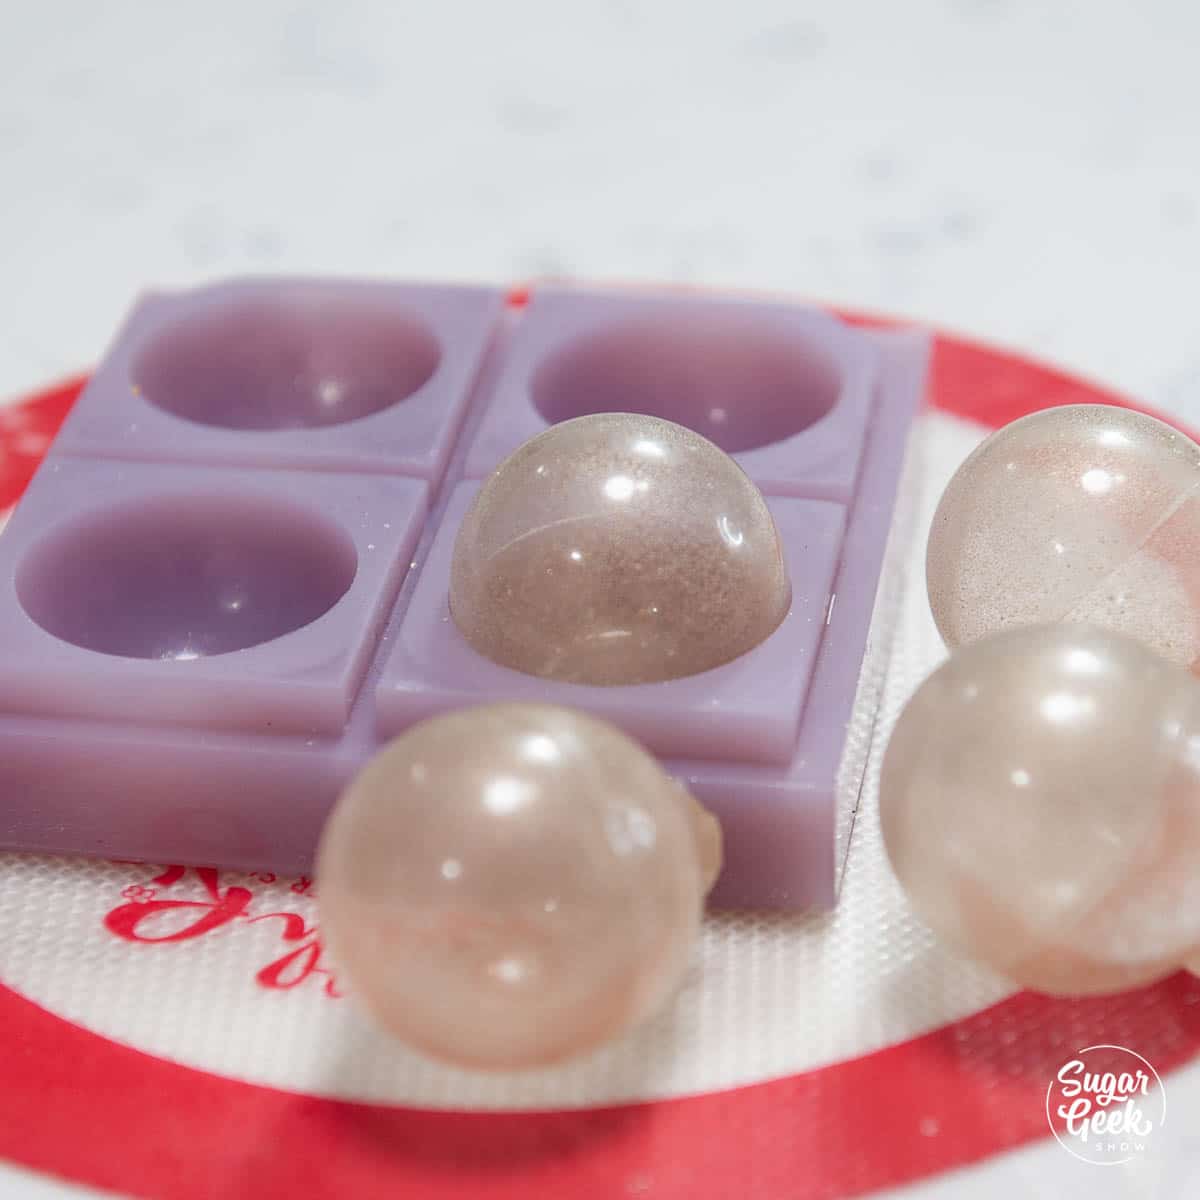
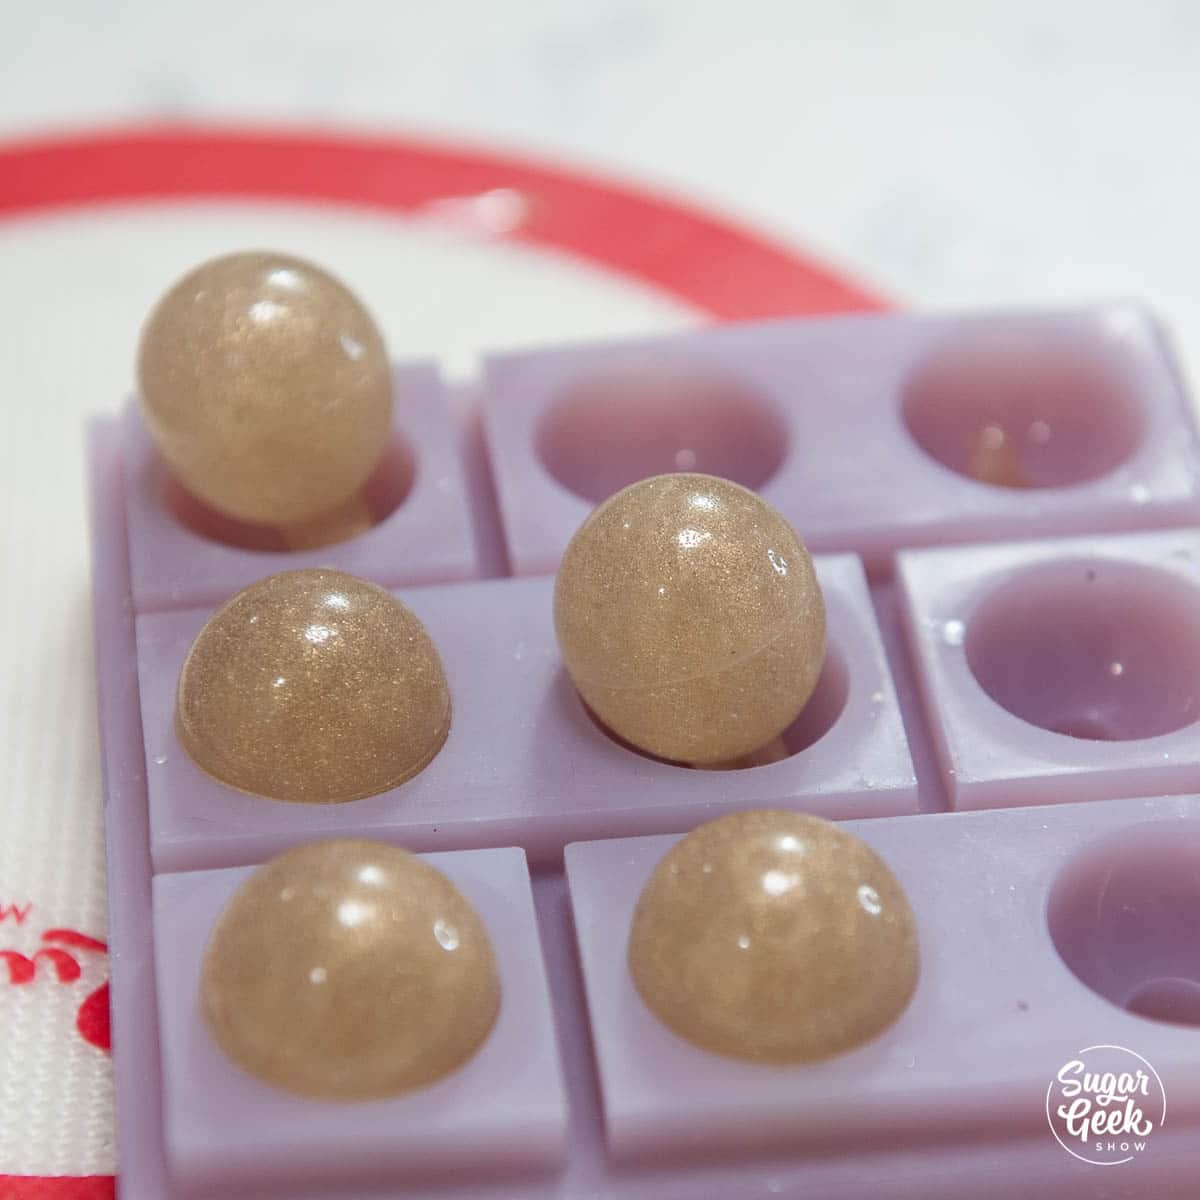
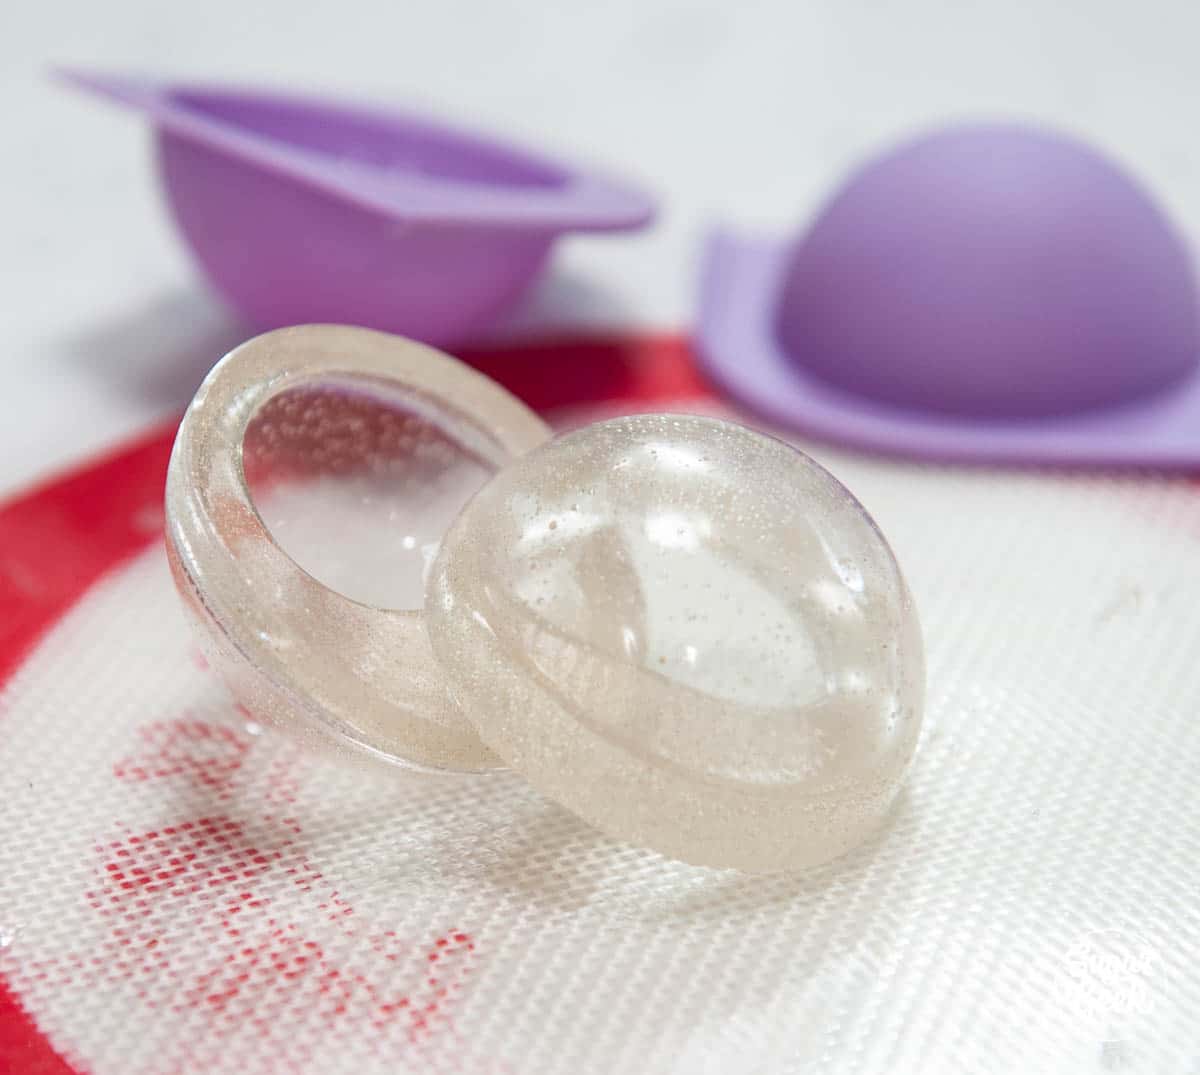
- The most realistic way I've found to make eyes yet
- Several other tips and tricks to keep your sanity while working on large-scale pieces


Tutorial Chapters
- Calculating structure
- Figuring out scale and structure planning
- Building structure
- Cutting wolf body template
- Building the base
- Wolf structure assembly
- Non-edible bulking
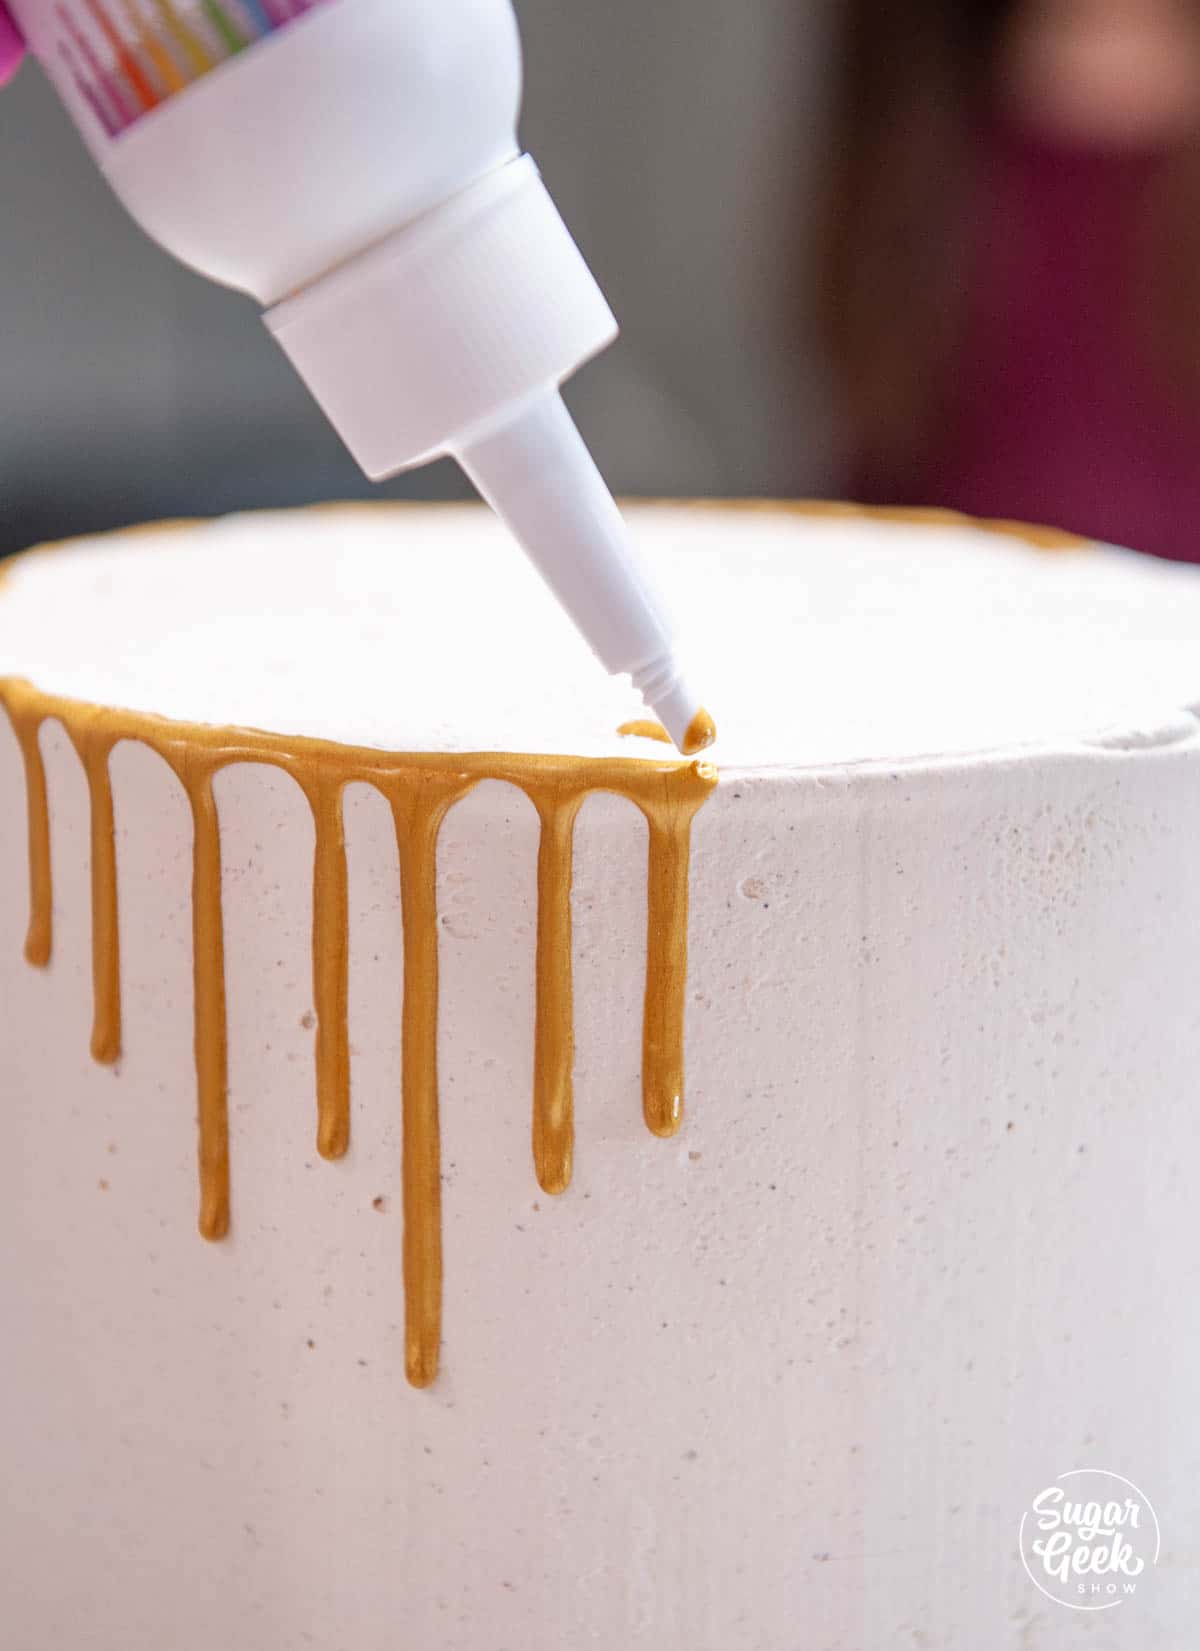
- Gluing the structure
- Tinfoil bulking
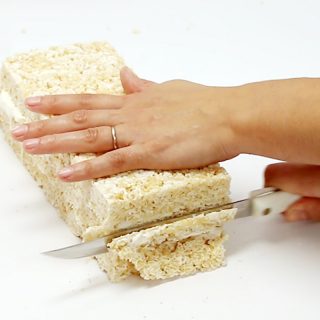
- Making rice cereal
- Attaching rice cereal
- Wrapping rice cereal
- Chocolate ground cover
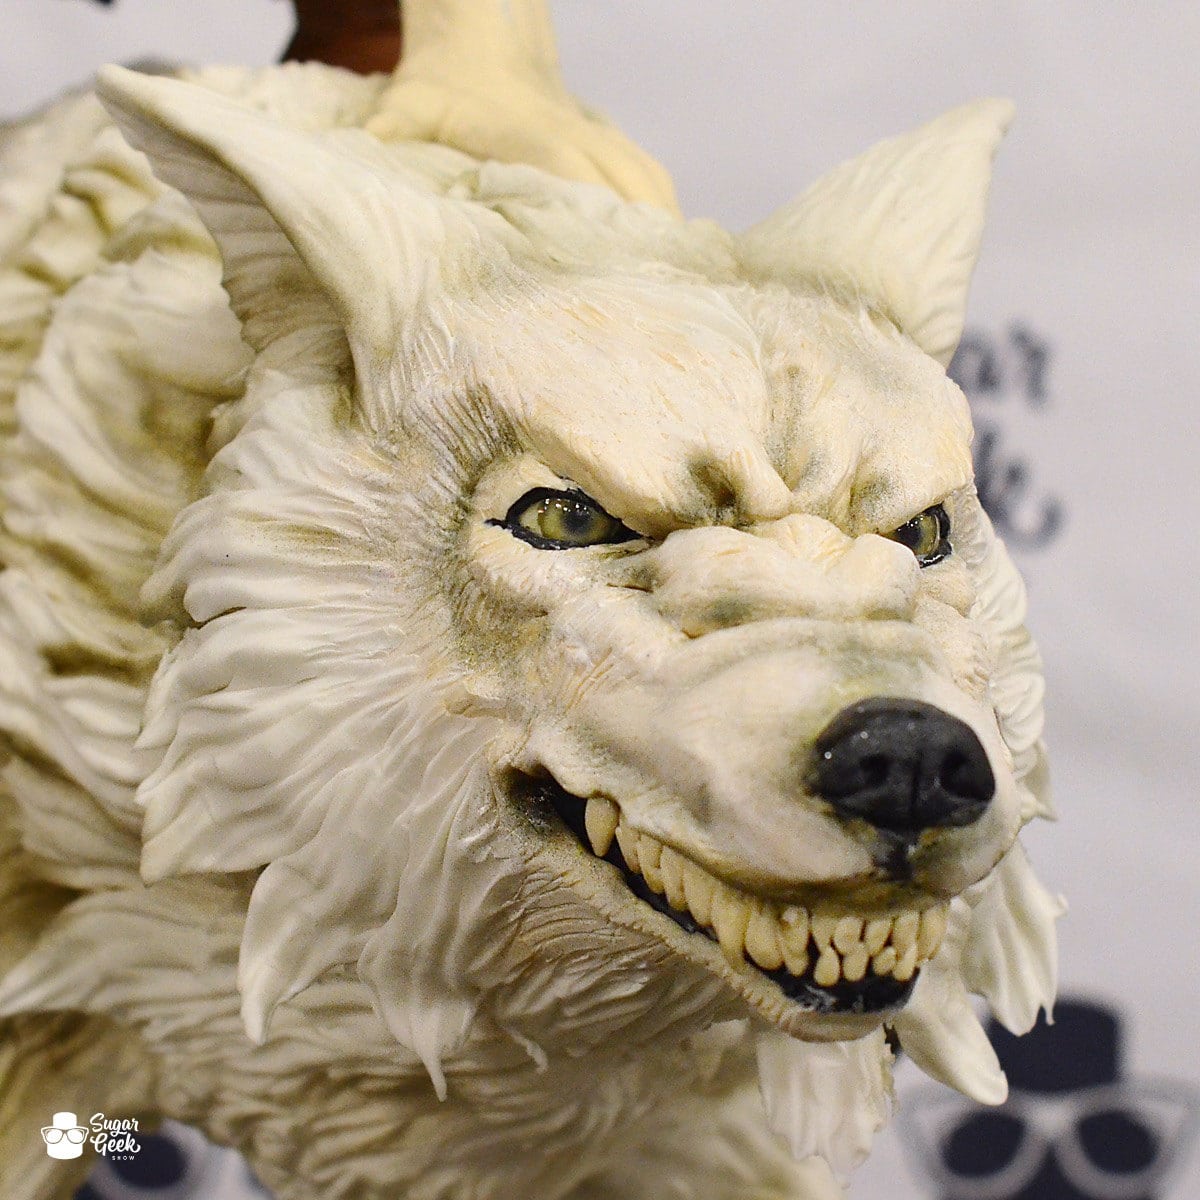
- Sculpting the wolf teeth
- Muscle detailing
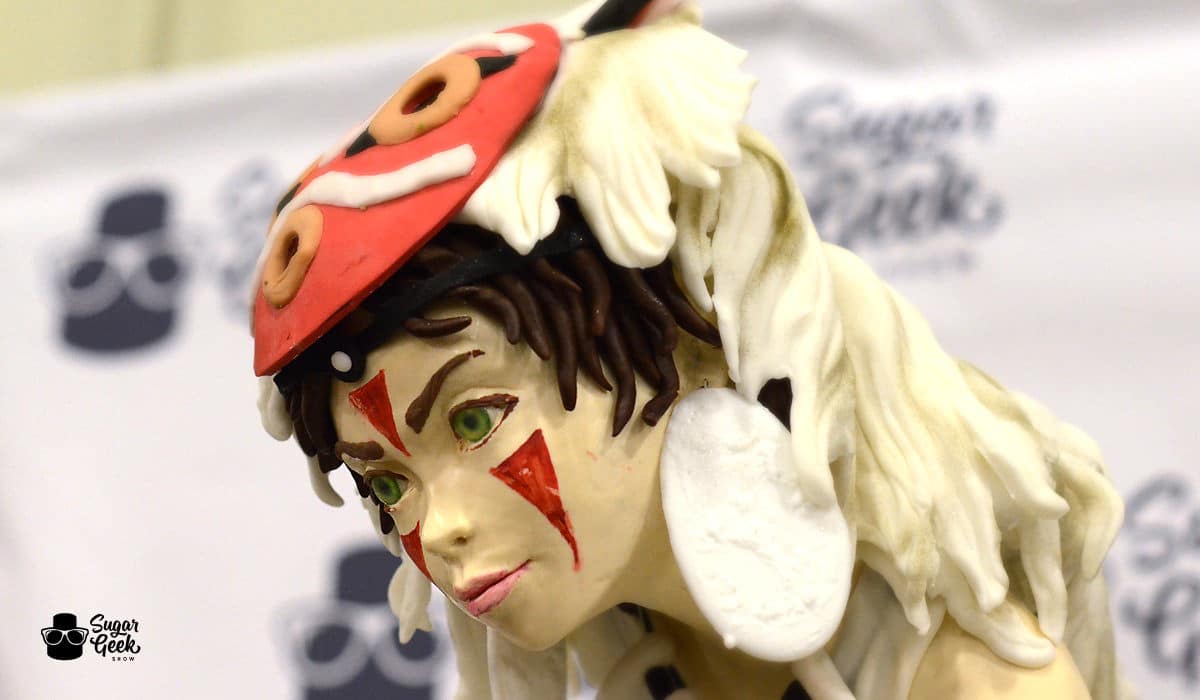
- Making eyes
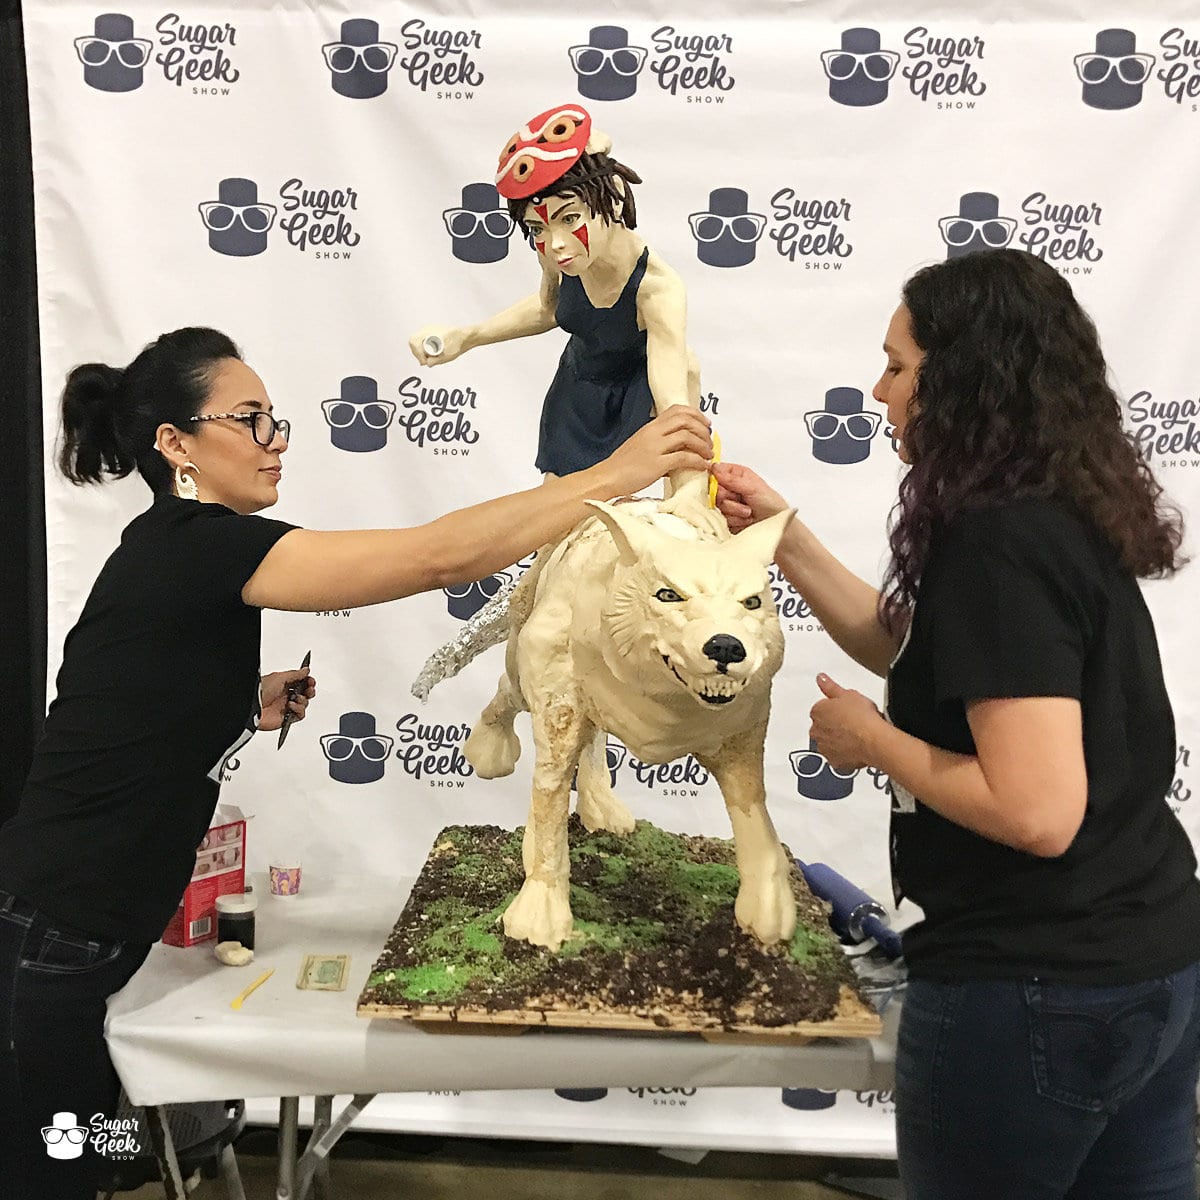
- Sculpting the wolf face
- Female rider structure
- Aluminum foil bulking
- Modeling chocolate anatomy
- First Layer Clothing
- Attaching eyes
- Preparing to ship
- Adding details at the show