


Pâte sucrée is a sweet shortcrust pastry dough that is buttery, flaky, and only takes 15 minutes to make. It's even easier to make than pie dough and is basically a giant shortbread cookie.
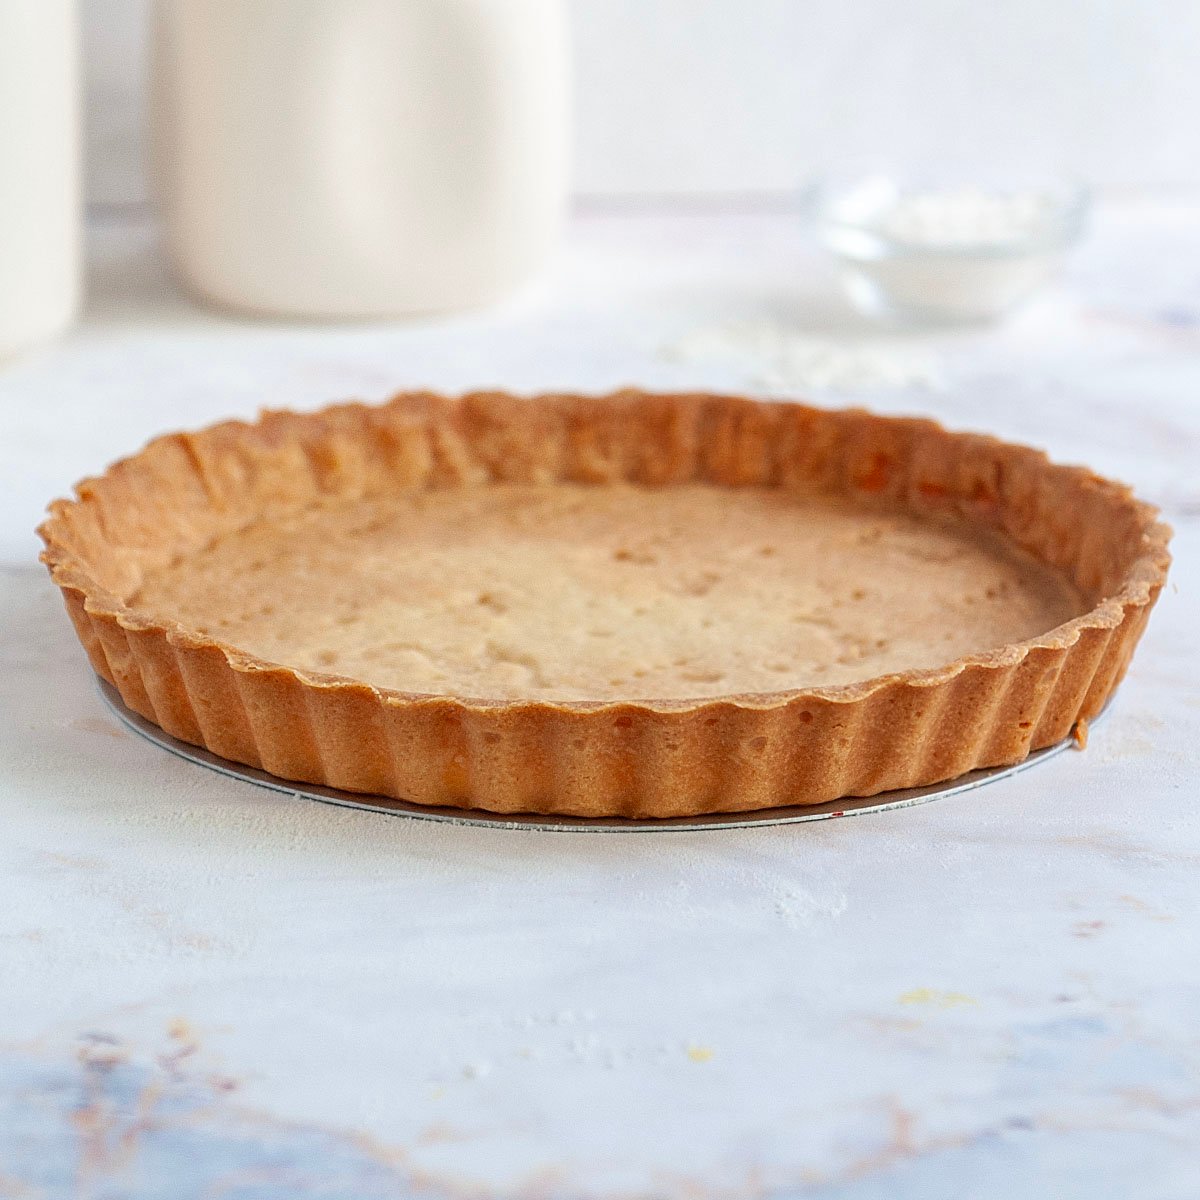
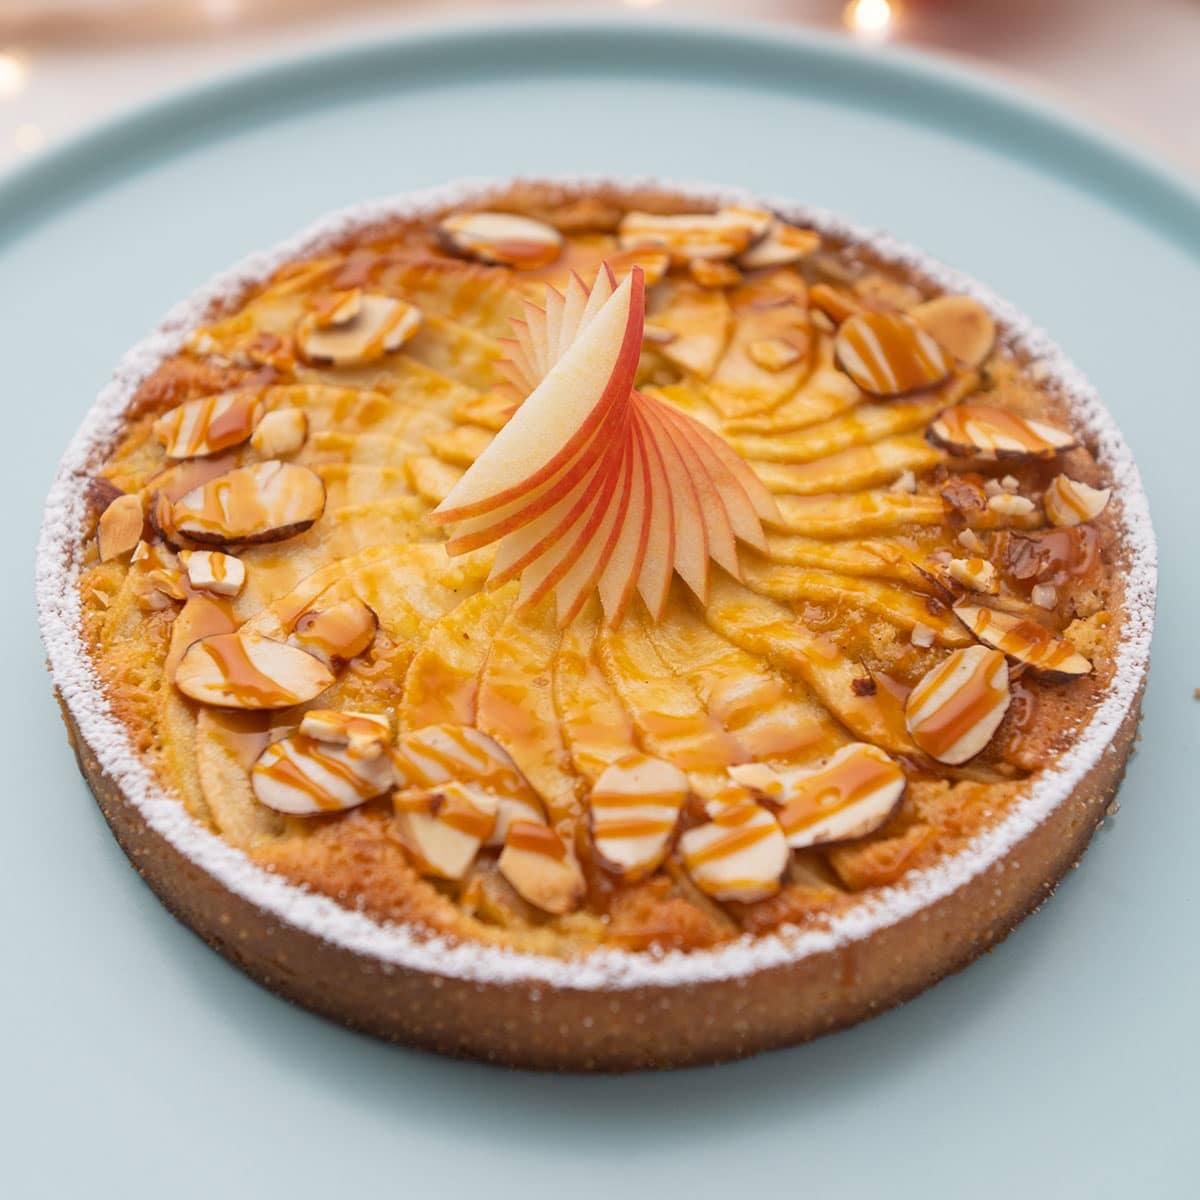
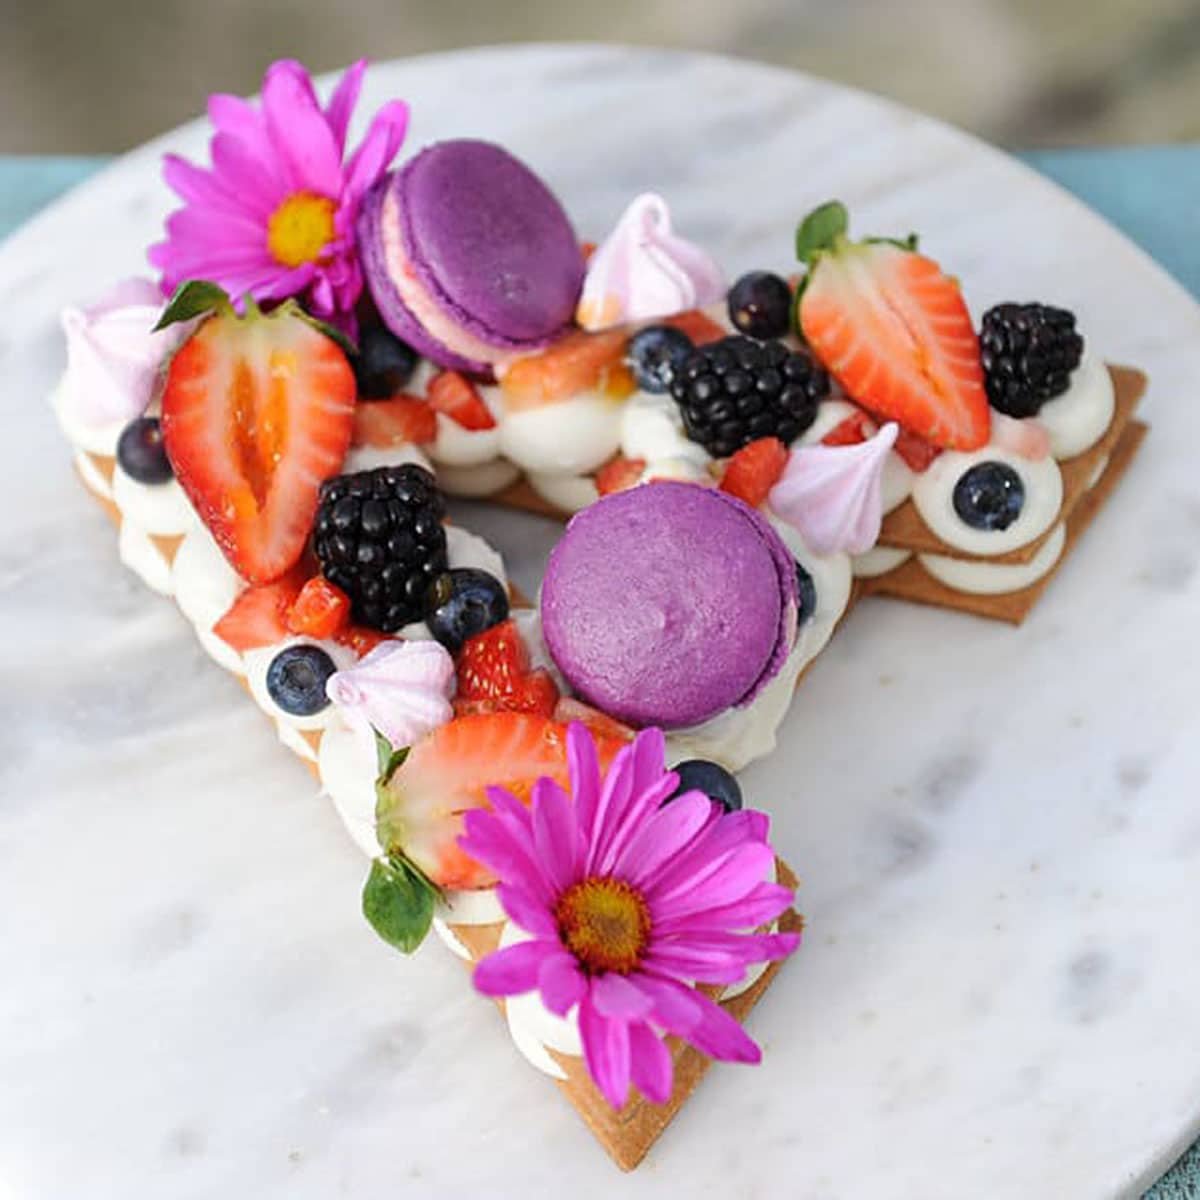
Fill it with silky pastry cream to make a fresh fruit tart or with frangipane to make a red wine poached pear tart. This recipe is incredibly tender and makes a delicious crunch when you cut it with a fork.
What's In This Blog Post
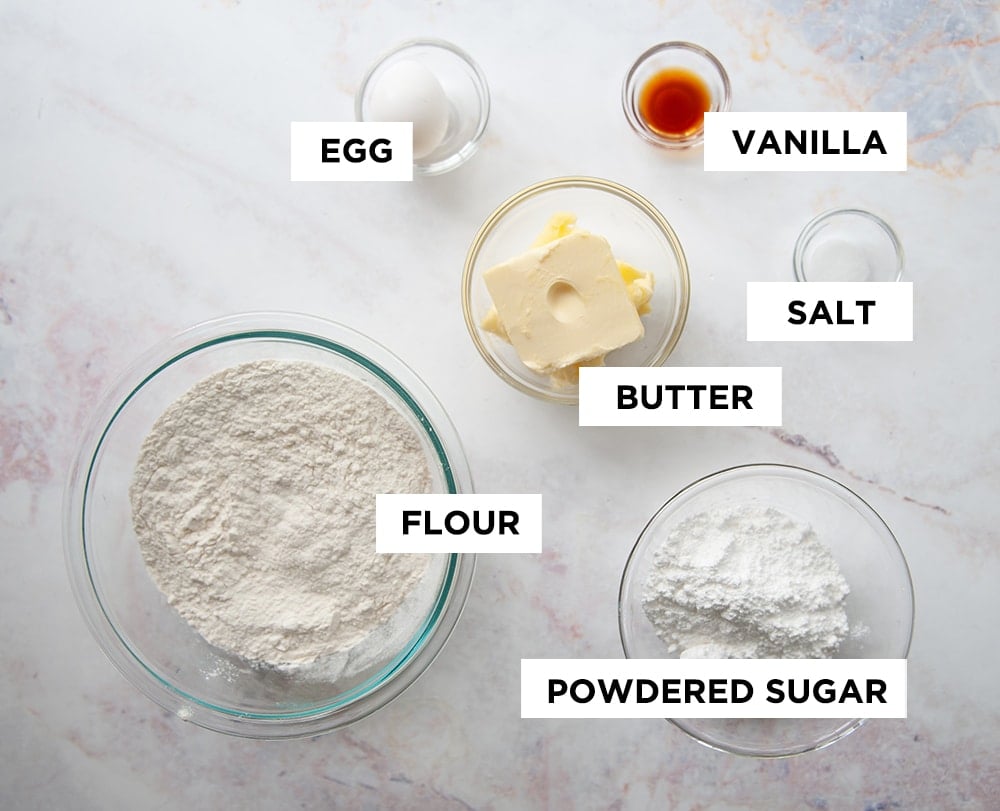
Ingredients Needed
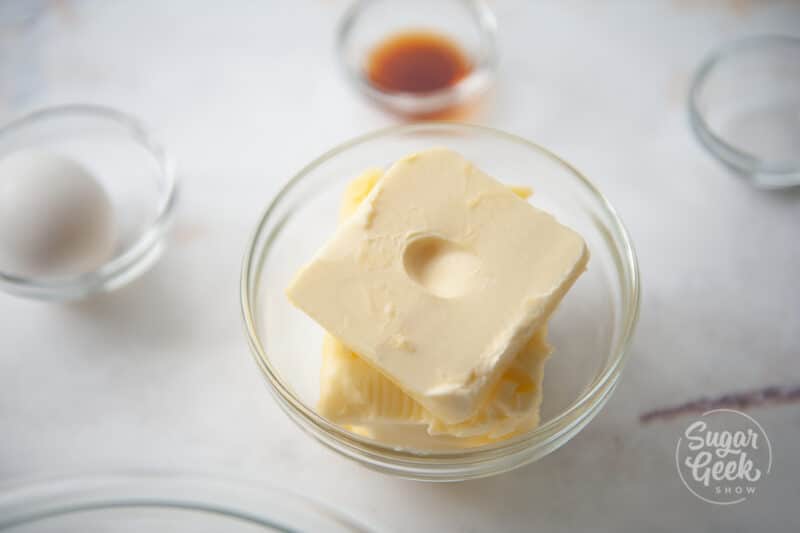
Pro Tip - Make sure your butter is room temperature. Room temperature butter is when it's soft enough to leave an indent with your finger, but it still holds its shape and is not melted all over the plate. I make my butter room temperature by microwaving it for 10-second increments until it's the right consistency.
PÂTE SUCRÉE STEP-BY-STEP

- Add the room temperature butter into the bowl of your stand mixer with the paddle attachment. Mix on medium speed for about 30 seconds until its smooth.
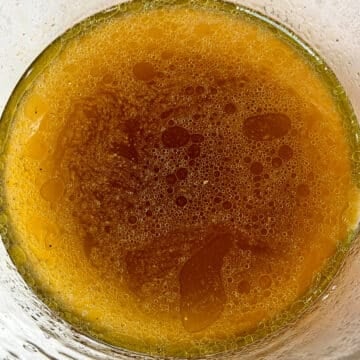
- Add in the vanilla and the egg to the butter and mix until combined.
- Add your sifted powdered sugar and salt to the butter mixture.
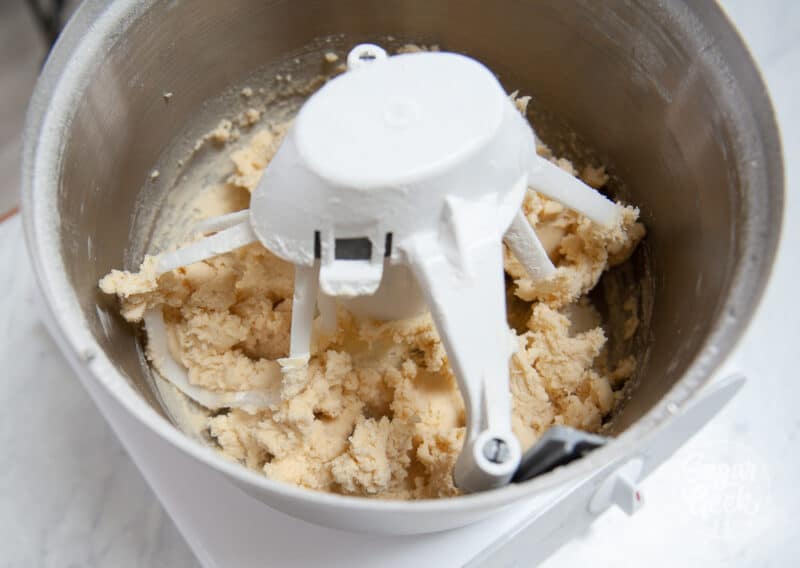
- While mixing on low, gradually add your flour and mix until everything starts to come together and a dough forms.
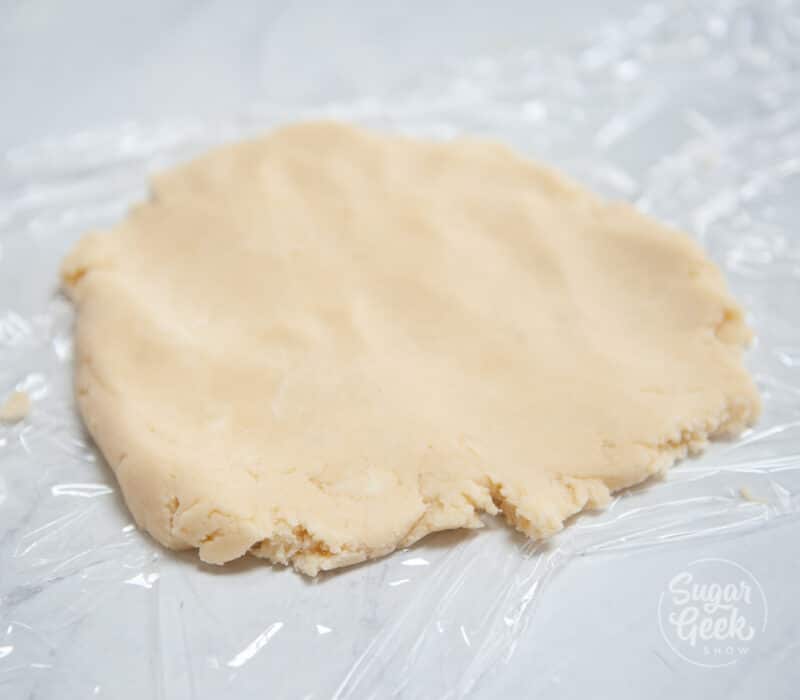
- Divide the dough into 2 pieces, wrap in plastic wrap, and flatten into disks. Refrigerate for a minimum of 1 hour before using your dough. If you skip this step, your crust will melt in the oven.
MAKING A TART SHELL
- Preheat your oven to 375ºF. Take your tart dough out of the refrigerator about 30 minutes before rolling it out. It should be slightly flexible but still firm.
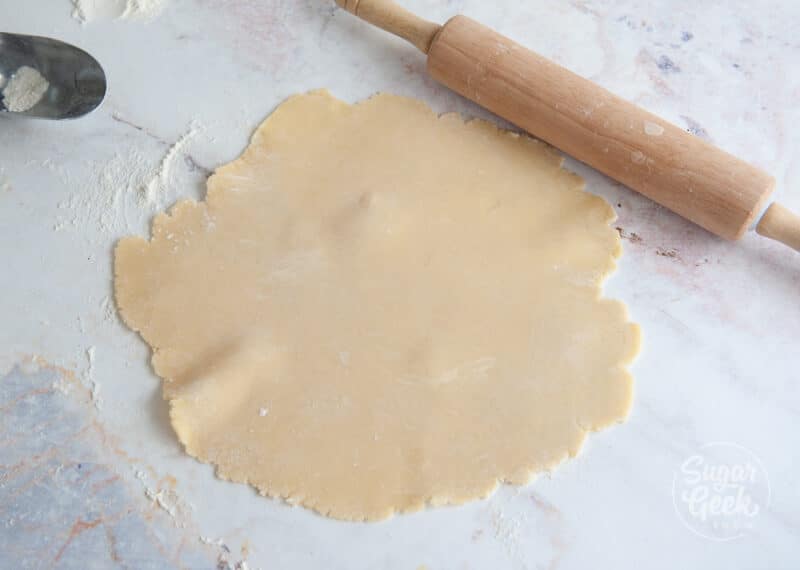
- Lightly flour your surface and rolling pin and roll the dough out to ⅛ inch thick. The type of rolling pin you use does not matter as long as it's flat. Begin by evenly rolling out your dough and moving it on the floured surface frequently to prevent sticking. Rotate frequently, add flour to keep from sticking, and press any cracks together. Don't worry about too many cracks!
Pro-Tip: If your dough keeps cracking, it could be too cold. Let it rest for 10 minutes and try rolling again. - Roll the dough up onto your rolling pin and lay it into the pan. I prefer a 91/2" tart pan with a removable bottom. That way, you can see the beautiful edges of the tart after baking. The removable bottom also makes it easy to take the crust out of the tin.
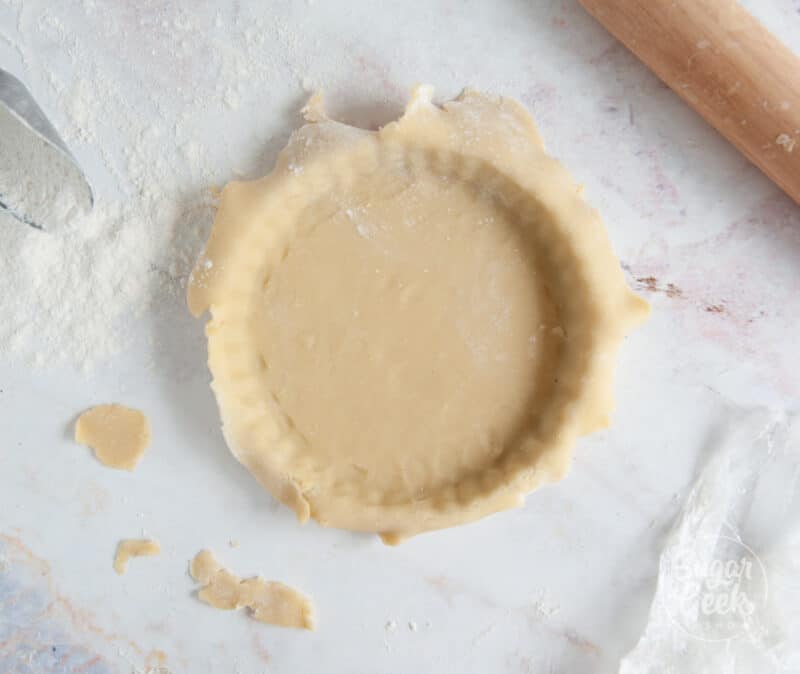
- Carefully lift the dough up on the sides and press it into the pan. Use your fingers to press the dough into the ridges on the side. Don't press too hard so that you press through the dough. Make sure you get into the bottom corners!
- Roll your rolling pin flush across the top of the tart shell to remove the excess dough. Or you can use a paring knife to cut off the excess evenly. Squish together the leftovers and save them to make another tart.
- Freeze the tart shell for 20 minutes. Do NOT skip this step!
- Press a layer of tin foil into the tart shell, all the way into the corners, and fill (to the top) with pie weights. These are the pie weights I use, but you can use dry beans or rice instead. These weights will stop the dough from puffing up while baking.
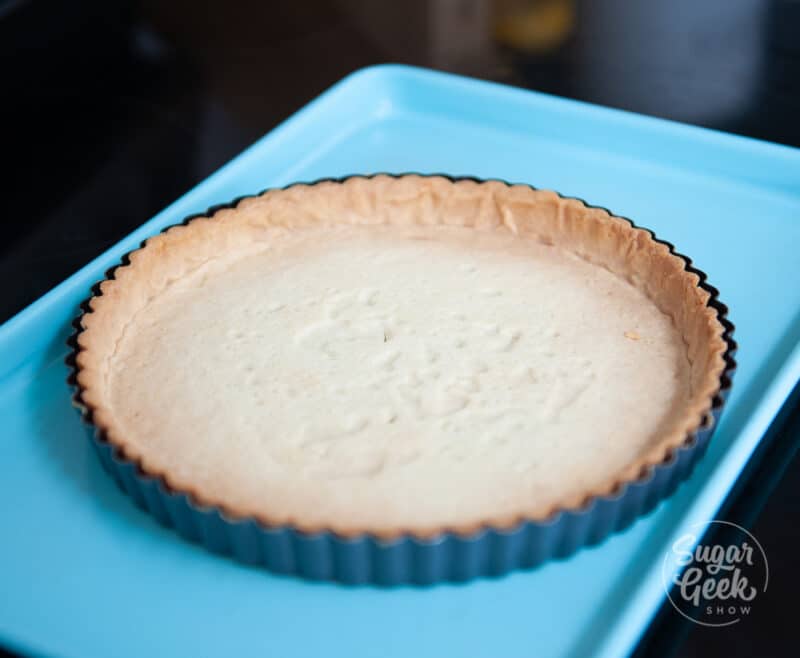
- Place on top of a baking sheet and bake in the oven for 15 minutes. Rotate to promote even browning and bake another 15 minutes.
ProTip: When you make a fresh fruit tart that is not baked, you have to bake your tart shell on its own first and let it cool before filling it. This is called blind baking or pre-baking. - After 30 minutes of baking, check to see if the foil is releasing from the dough by pulling back gently. If it's sticking, then the tart needs to be baked for longer. Check every 2 minutes until the foil is able to release from the side of the tart without sticking. Take the tart out of the oven and let it cool for 5 minutes.
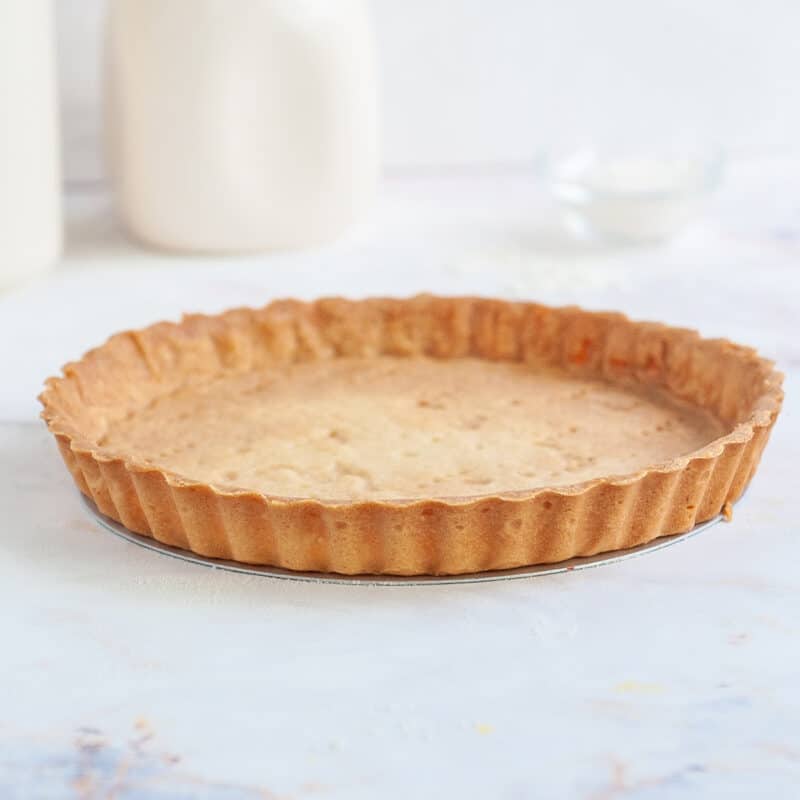
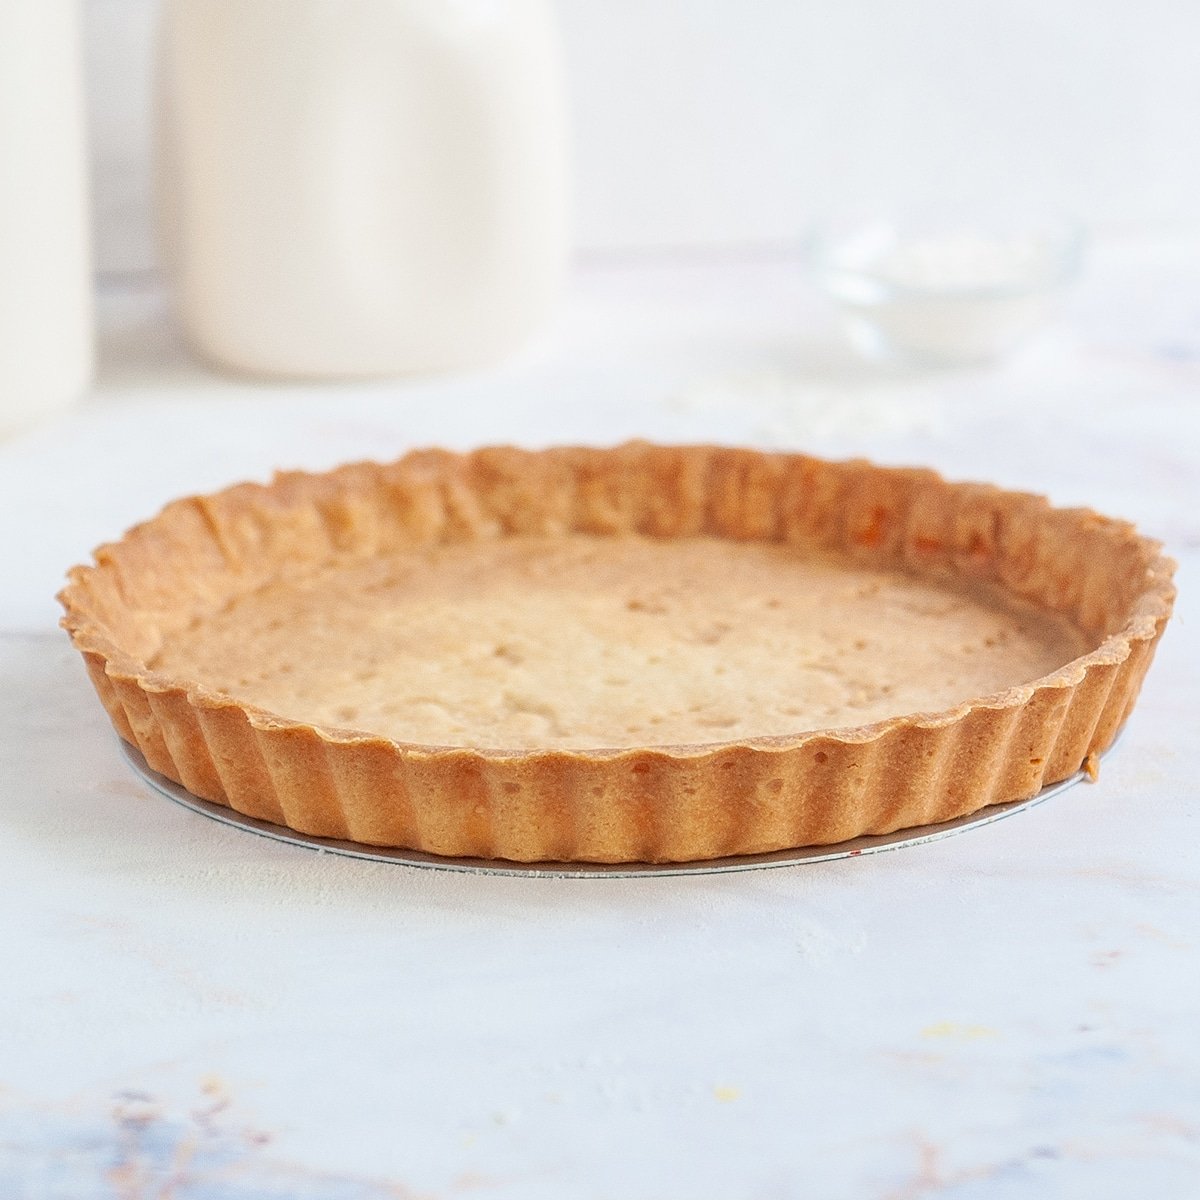
- Gently lift the foil to remove the pie weights. Then return the tart shell back to the oven and bake for another 10 minutes or until the edges begin to turn golden brown and the sides of the shell start to pull away from the edges of the pan.
- Place the whole tart and pan into the fridge to cool down until its totally cool.
- Once the tart is cool, you can remove the outer ring by gently lifting up from the bottom of the tin. You can serve your tart on the base or you can gently remove it from the base by separating it with a paring knife. There is a risk of breakage when you do this though, so I tend not to risk it and just serve it on the base.
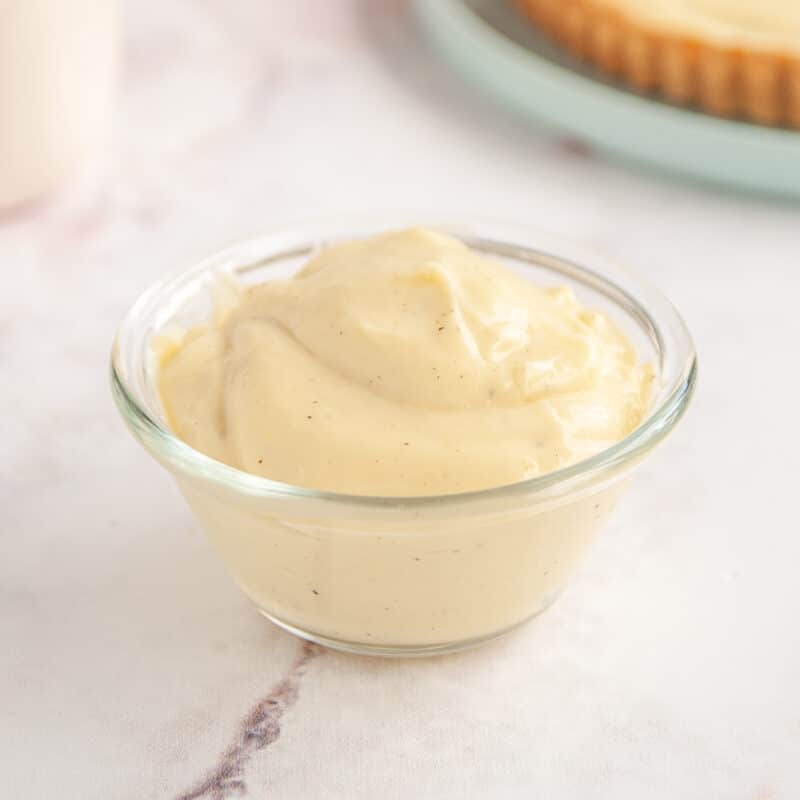
Pro Tip - Brush the surface of the tart shell with some melted chocolate (optional) to keep the fillings from making the crust soggy (you can skip this step if you don't like chocolate but then you should fill your tart no more than 4 hours before serving). - Add in your favorite fillings like pastry cream, lemon curd or frangipane and decorate with fruit like strawberries, kiwi fruit, or get fancy with some red wine poached pears.

FAQ
Granulated sugar tends to aerate the butter and make the dough fluffy which is not what we want. The air pockets expand and cause the dough to shrivel and shrink during baking.
You can definitely make tart dough without a stand mixer. You can use a hand-held mixer or you can even just mix with a fork by hand.
Leftover dough can be kept in the fridge for a week or frozen for up to 6 months. If you have the freezer space, it's actually really great to make your tart shell ahead of time (inside the pan), wrap it in plastic wrap, and put it in the freezer until you need to bake it. A great time-saving tip for those last-minute desserts.
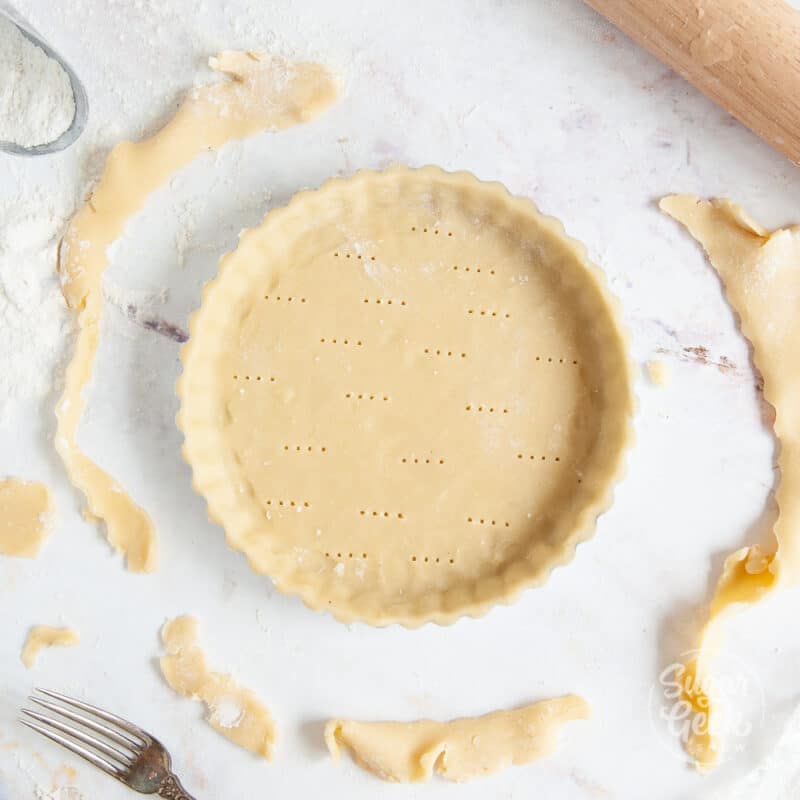
Yes definitely! To blind bake mini tarts using mini tart pans, poke a few holes in the bottom of the tart dough with a fork and then freeze the dough for 20 minutes. Bake the mini tarts for 10-15 minutes until the edges begin to turn golden, then let them cool fully before filling. No need to use foil or pie weights.
More Recipes You'll Love


Recipe
Equipment
- Stand mixer with paddle attachment
- Tart pan with removable bottom (or a regular pie pan)
- Tin foil
- Pie weights (or dry beans/rice)
- Rolling Pin
Ingredients
Pâte sucrée ingredients
- 8 oz room temperature butter
- 4 oz powdered sugar
- ½ teaspoon salt
- 1 teaspoon vanilla extract
- 1 large egg
- 12 oz all purpose flour
Instructions
How to make Pâte sucrée
- Add the butter into the bowl of your stand mixer with the paddle attachment. Mix on medium speed for about 30 seconds until smooth and creamy.
- Add in your sifted powdered sugar and salt and mix until combined and smooth.
- Add in the vanilla and the egg and mix until combined.
- Gradually add your flour while mixing on low until everything starts to come together and a dough forms.
- Divide the dough into 2 pieces, wrap in plastic wrap and flatten into disks. Refrigerate for minimum of 1 hour before using your dough. If you skip this step, your crust will melt in the oven.
- Leftover tart dough can be refrigerated for up to a week or frozen for 6 months.
- To bake your tart, bring the dough out of the fridge or freezer for 30-60 minutes or until it's flexible enough to bend without cracking
- Preheat your oven to 350ºF
- Roll your tart dough out to ⅛" thick using a rolling pin and a flour dusted surface
- Roll the dough up onto your rolling pin and unroll it into your tart pan
- Carefully push the dough against the sides and corners of the tart pan
- Then use your rolling pin to roll across the top of the dough to trim off the excess
- Freeze your tart for 30 minutes
- Place some tinfoil into the tart pan and fill it with some pie weights (or you can use dried beans or rice instead). Place the tart pan on a larger cookie sheet to easily lift and move it in the oven.
- Bake your tart for 30 minutes, rotate the pan halfway through baking to promote even browning
- Remove the foil and pie weights and bake for another 10 minutes to evenly brown the tart
- Let the tart cool completely before filling it with things like pastry cream, lemon curd or ganache!
Video
Notes
- Make sure your butter is room temperature. Room temperature butter is when it's soft enough to leave an indent with your finger but it still holds its shape and is not melted all over the plate. I make my butter room temperature by microwaving it for 10-second increments until its the right consistency.
- Cold eggs must be room temperature to combine with the butter properly. Place cold eggs (while still in the shell) into warm water for 5 minutes to bring them to room temperature.
- If your dough keeps cracking, it could be too cold. Let it rest for 10 minutes and try rolling again.
- When you make a fresh fruit tart that is not baked, you have to bake your tart shell on its own first and let it cool before filling it. This is called blind baking or pre-baking.
- Brush the surface of the tart shell with some melted chocolate (optional) to keep the fillings from making the crust soggy (you can skip this step if you don't like chocolate but then you should fill your tart no more than 4 hours before serving).
Nutrition


Simone says
Can I use this for mini tarts? Also, how do you blind bake mini tarts? I watch bakers on Youtube using heat proof cling wrap but I can't find it at the store. Please advise. The ready made mini tarts are expensive. Looking forward to making this recipe 🙂
The Sugar Geek Show says
Yes this is tart dough so you can definitely use it to make mini tarts 😀 Poke a few holes in the bottom of the tart with a fork and bake for 10-15 minutes until the edges begin to turn golden, then let cool fully before filling.
Molly says
This recipe worked perfectly for my mini fruit tarts I made for a dessert table spread! Thanks!
John says
Hi i find the tart dough falls apart when I am rolling it making it hard to transfer it to the tart ring. Any suggestions ? Some suggest to mix the dry ingredients first then add butter and then egg which is a better method
The Sugar Geek Show says
Your dough might just be a little cold, let it warm a bit and keep rolling. 🙂
Laura G says
Was easy to make. Everyone was so impressed. They loved the recipe.
Laura G says
Made it with fresh fruit tart.
Jamie Garcia says
Hi there...
Do I need to grease or flour my tart pan? My pan has a removable bottom but it isn’t non stick
Elizabeth Marek says
No, you do not need to grease your tin.
DoxWife says
Is this able to be altered to chocolate version of pâte sucrée? Wondering if adding ⅓ to ½ cocoa powder would require adjusting other ingredients so as not to make too dry?
Elizabeth Marek says
I havent tried that but it seems like it could work