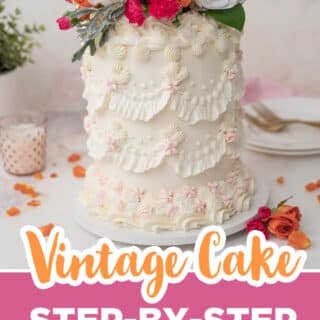
Do you love a vintage cake design? Obsessed with those perfectly piped buttercream borders? You Can learn how to recreate the timeless beauty of vintage design and it's easier than you think. These beautiful retro cakes are perfect for Mother's Day, bridal showers, baby showers, and even birthdays.
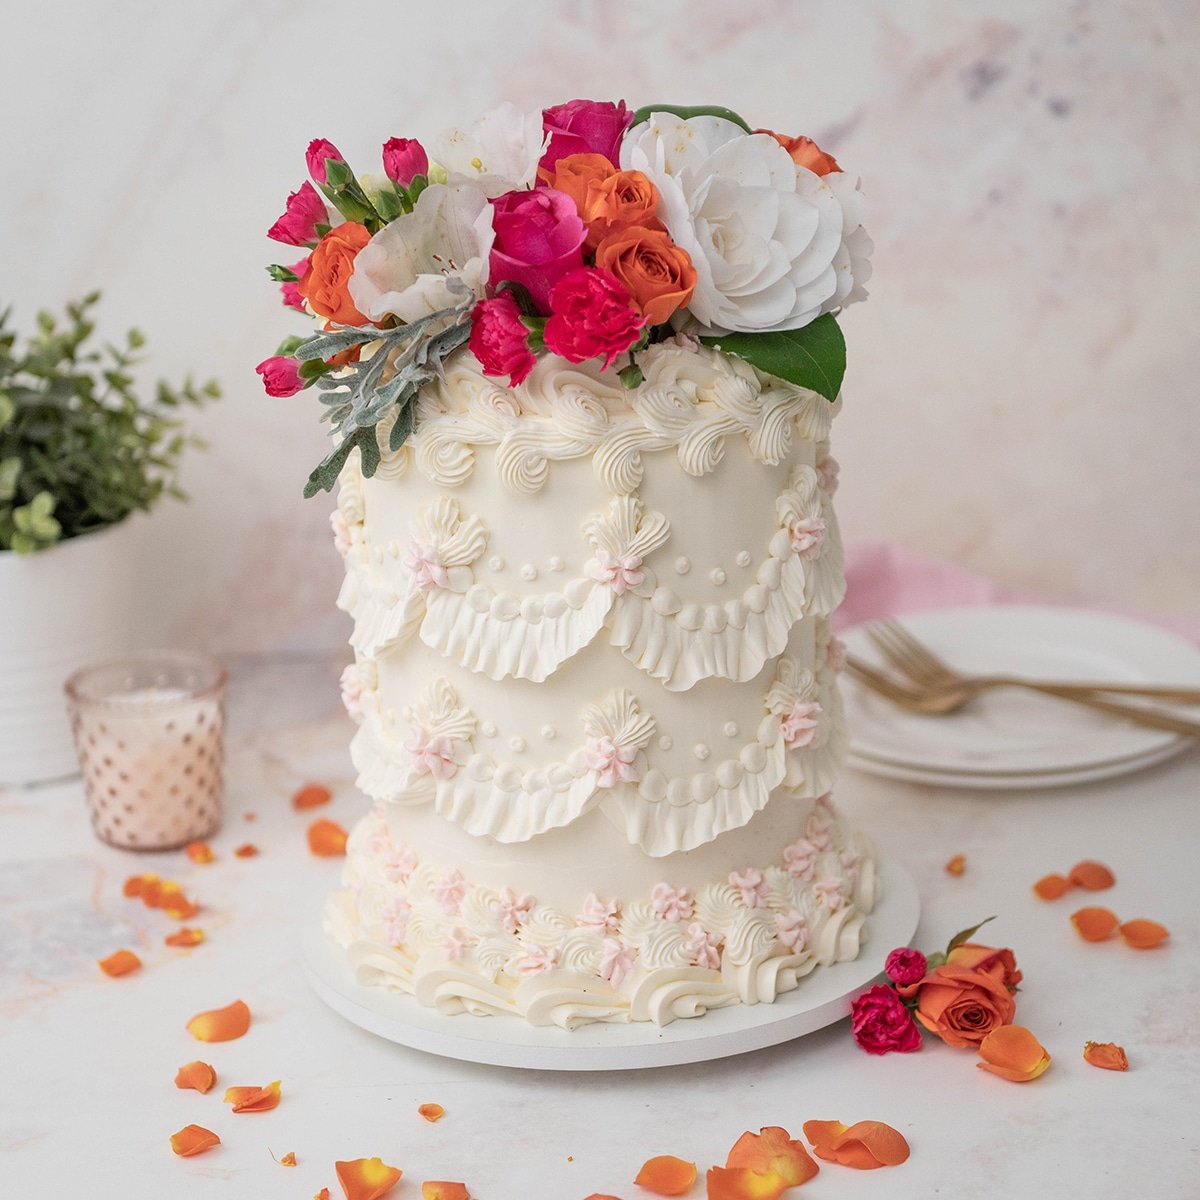
There is no special flavor for this delicious cake, you could even use a doctored boxed cake mix but I am especially fond of my white velvet cake which tastes amazing and like a classic wedding cake flavor.
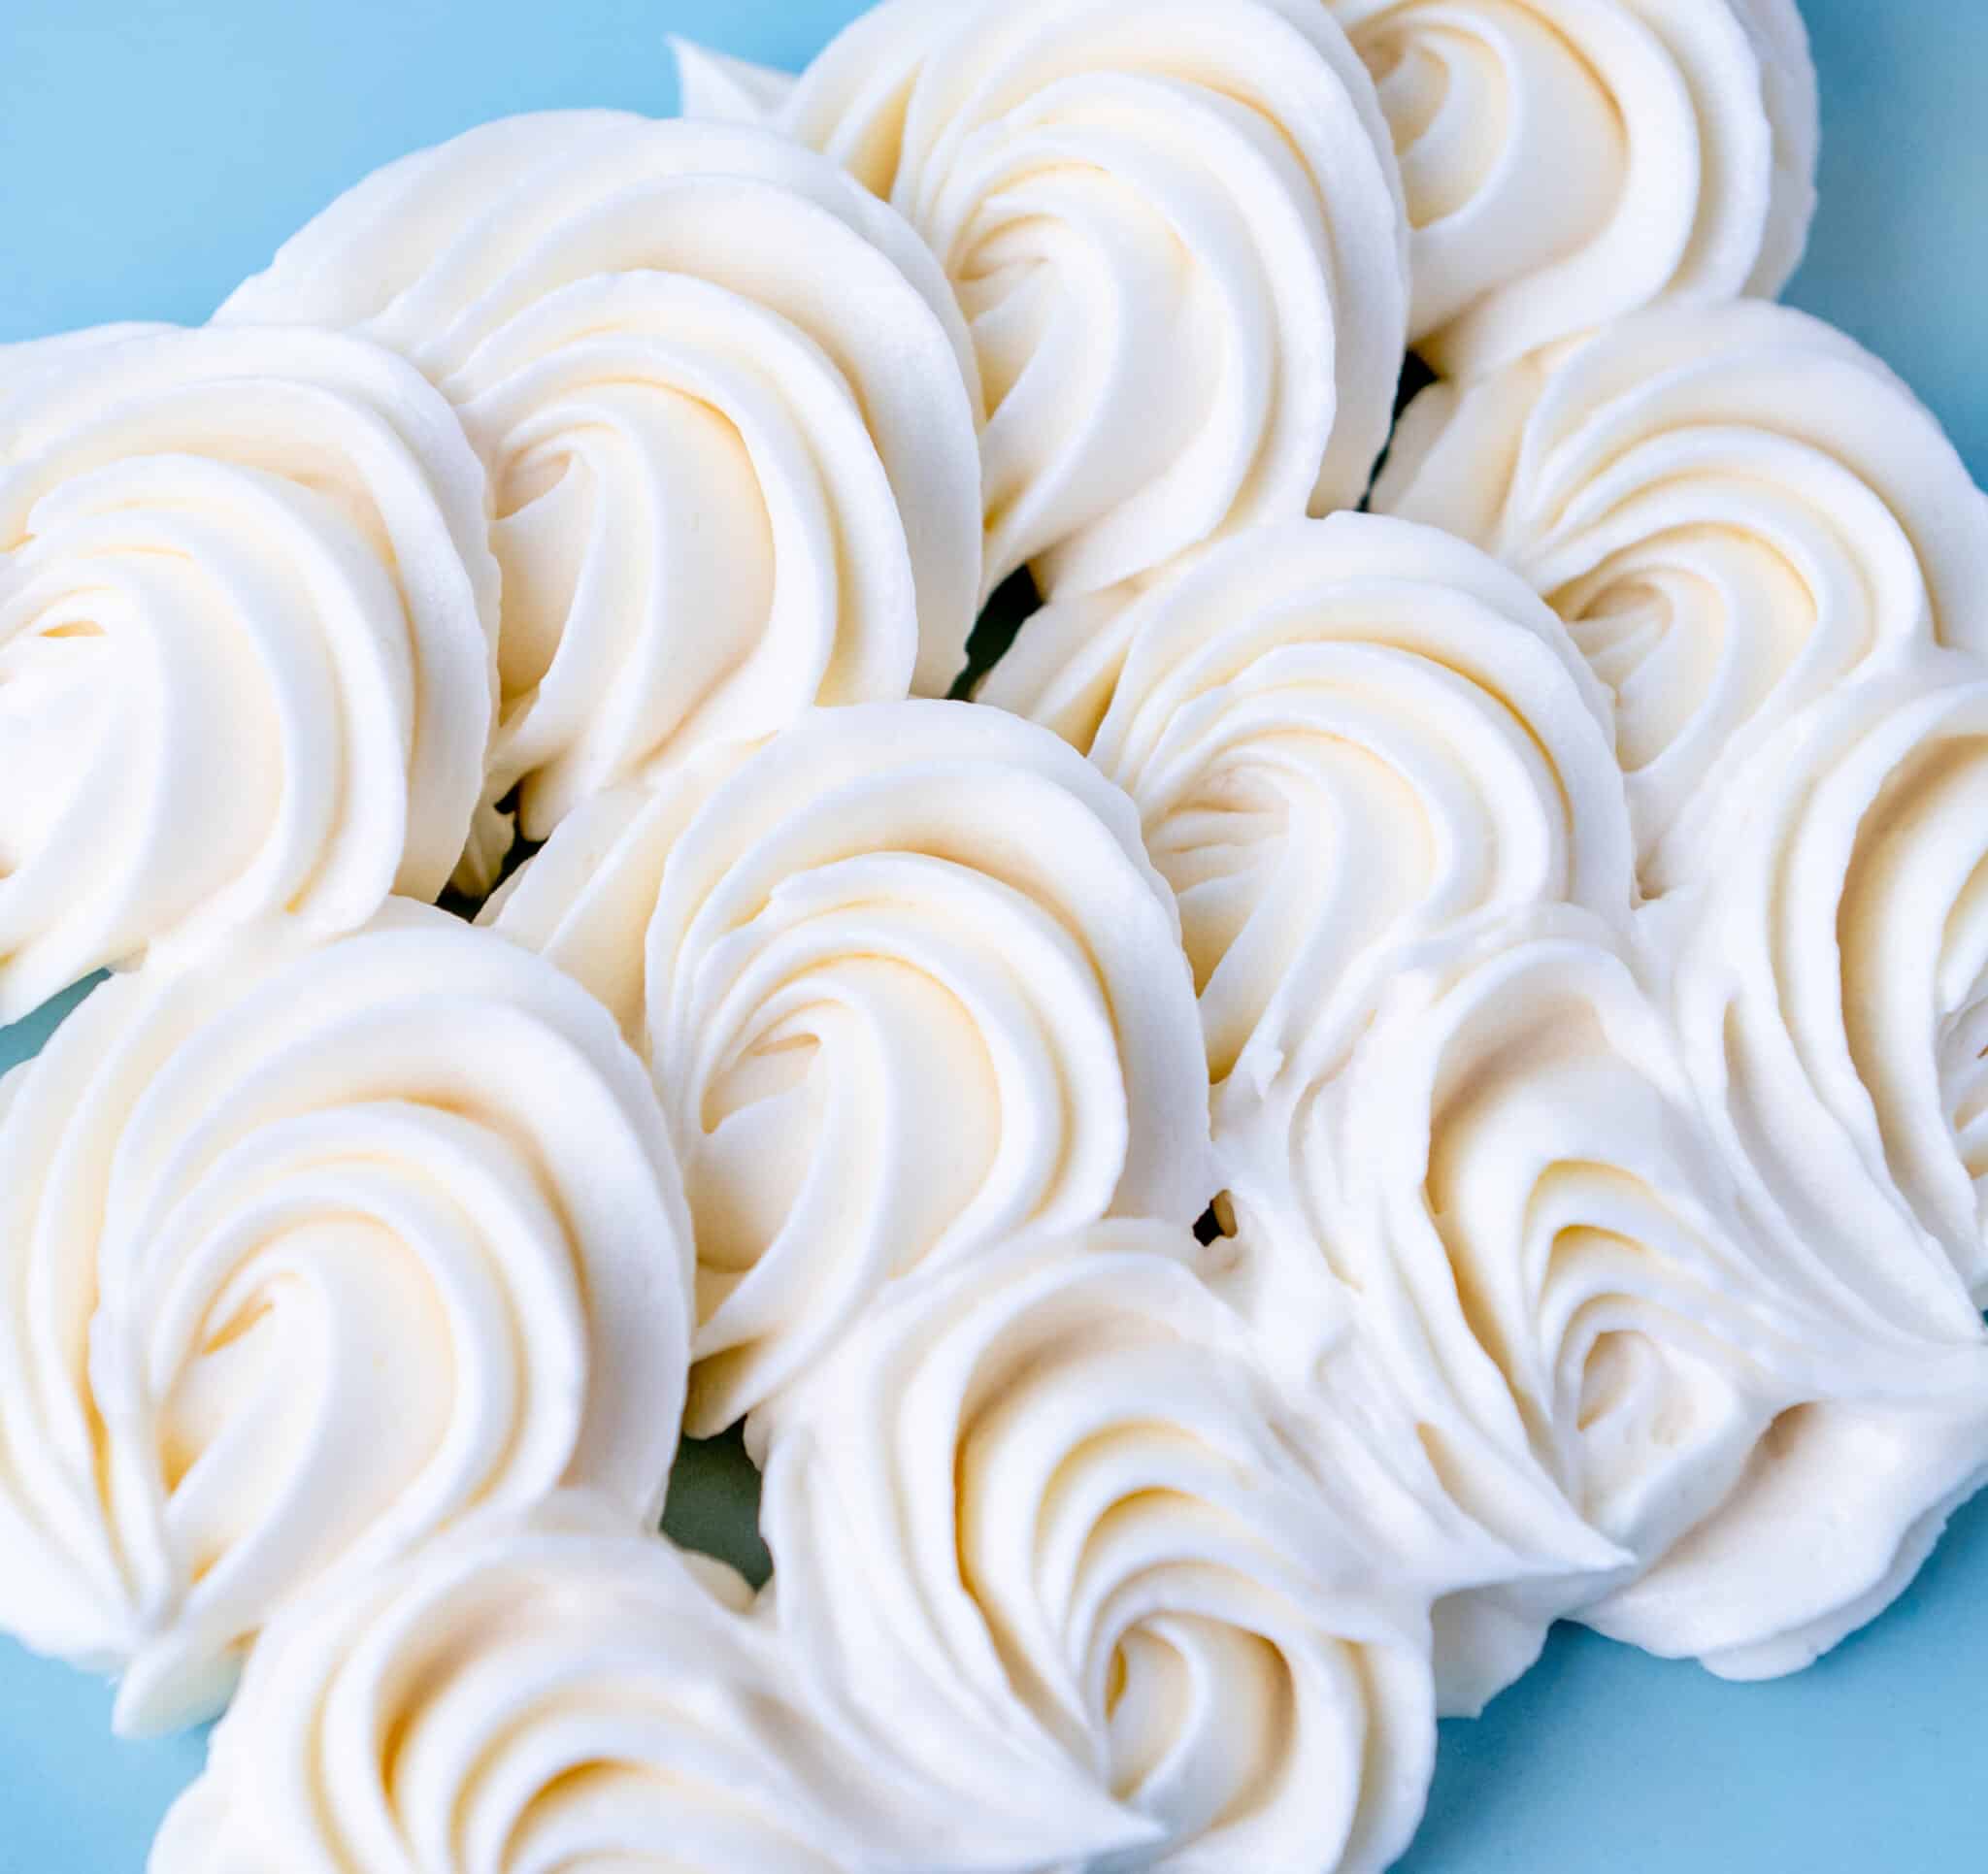
I'm using my easy vanilla buttercream recipe but you could use Italian buttercream, stabilized whipped cream, swiss meringue buttercream, cream cheese frosting, American buttercream, or even white chocolate ganache. If it's pipeable, you can use it.
What's In This Blog Post
Equipment Needed
- Piping Tips
- Piping Bags
- Food Coloring (optional)
- Cake Board
How To Fill A Piping Bag
- Place your piping tip into your piping bag.
- Cut the tip of the bag off just enough so that the tip of the piping tip comes through the bottom but is still secure in the bag.
- Add one cup of buttercream into the piping bag and twist the top. You should only have enough buttercream in the bag to feel comfortable in your hand.
- Squeeze the buttercream down towards the piping tip and now your bag is ready for piping.
Practicing Your Piping
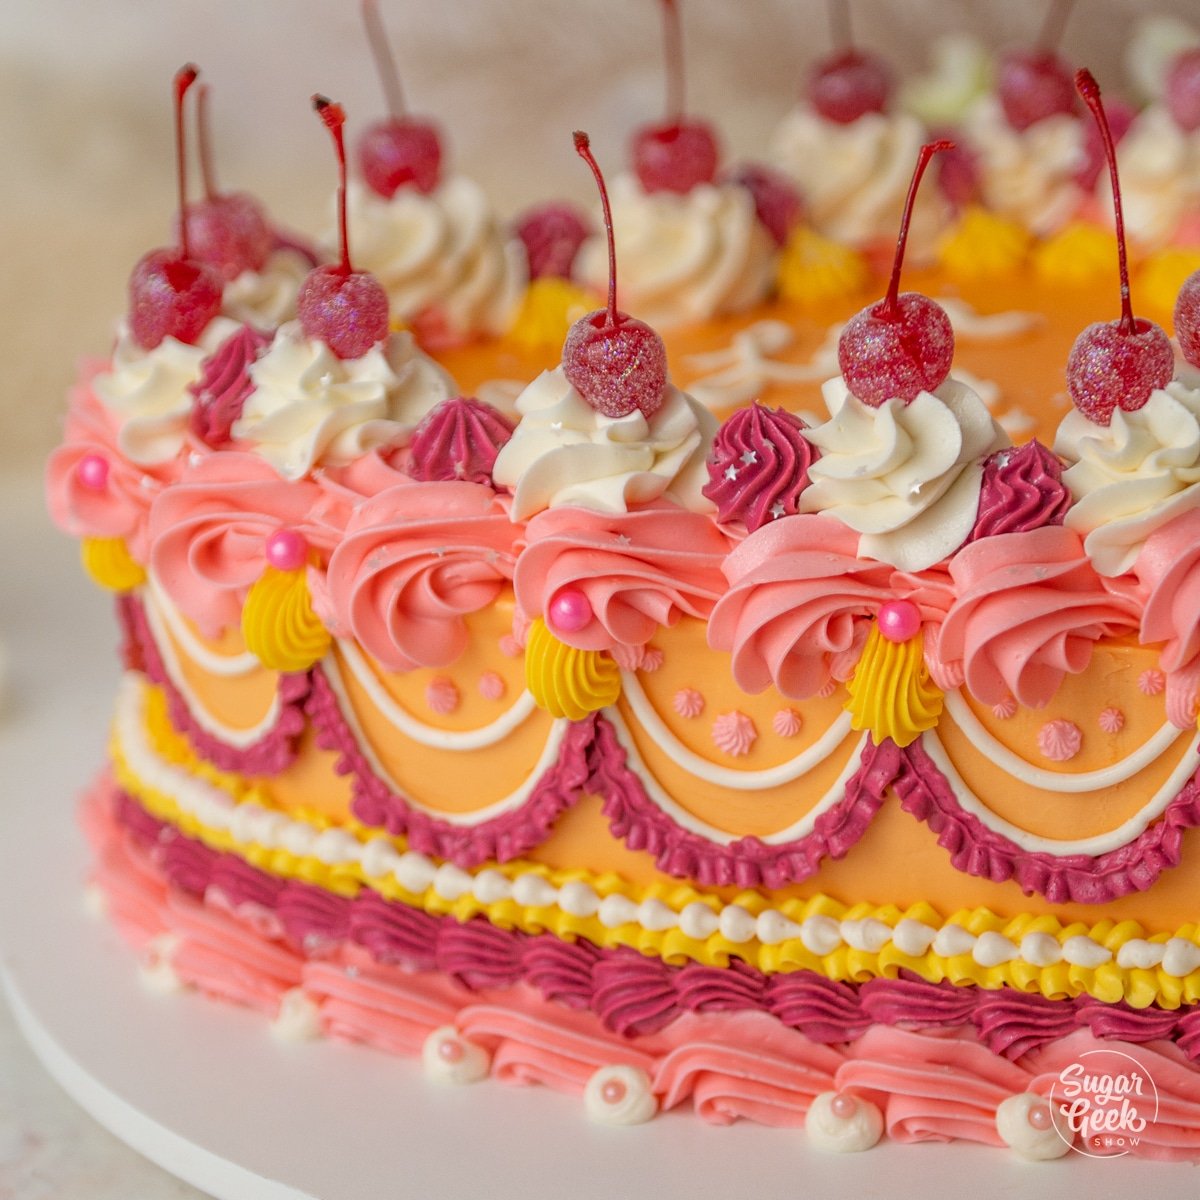
If you've never piped with buttercream before, doing some practicing can help! You can pipe right onto a cake board for practice and then scrape it off and reuse the buttercream. Here is a video example of how to do some piping techniques.
How To Prepare Your Cakes
Need more info on how to frost and fill your cake like a pro? Check out my free tutorial on how to make a cake.
- Bake your round cake layers and let them cool.
- Prepare your buttercream frosting and color it if you desire.
- Freeze your cakes for an hour or refrigerate them in plastic wrap overnight so they are firm enough to handle while frosting.
- Trim the brown edges off the tops and sides of your cake.
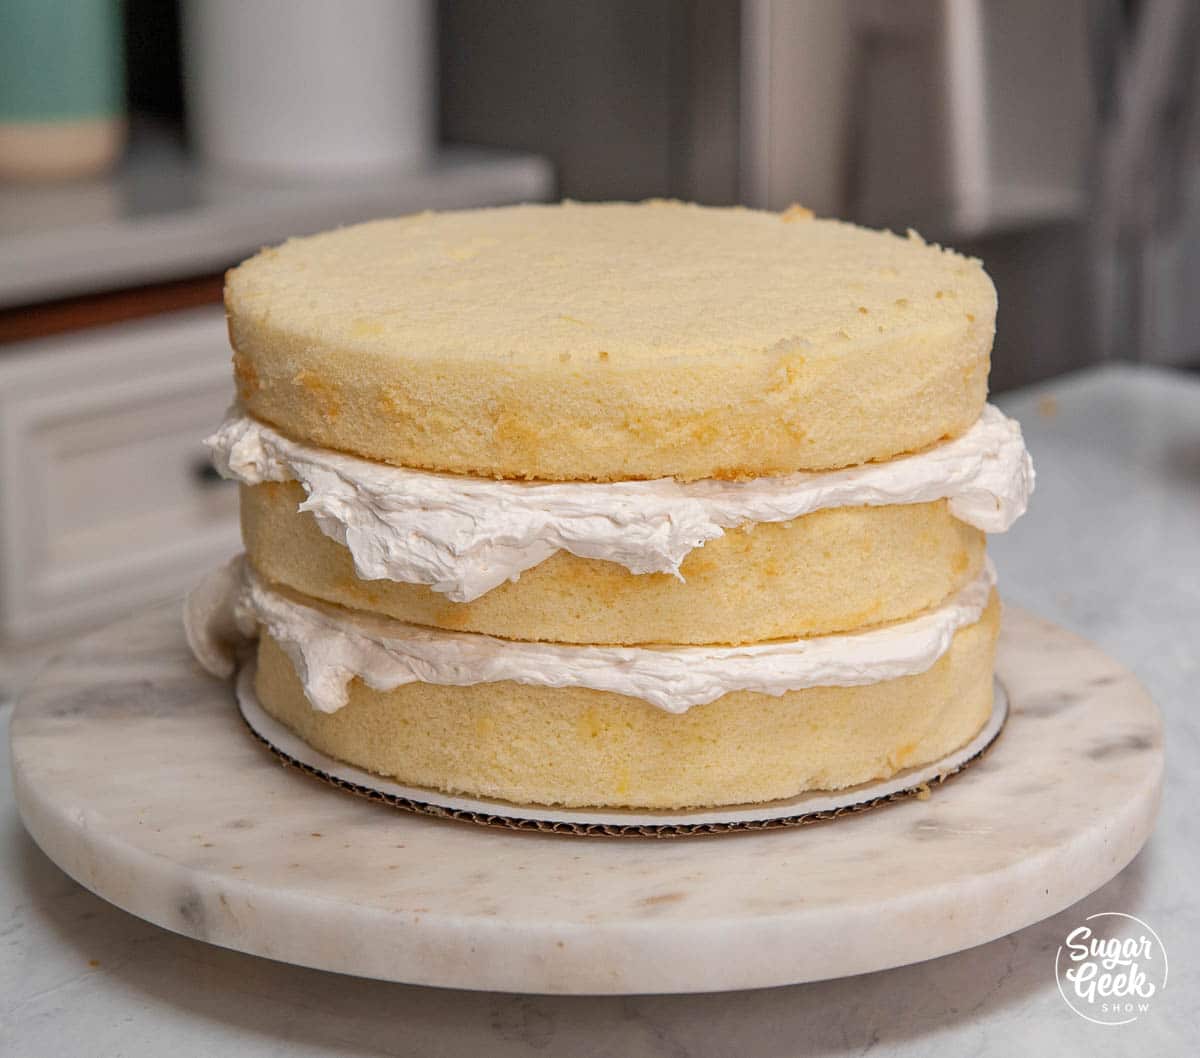
- Fill your cakes with whatever filling or frosting that you like.
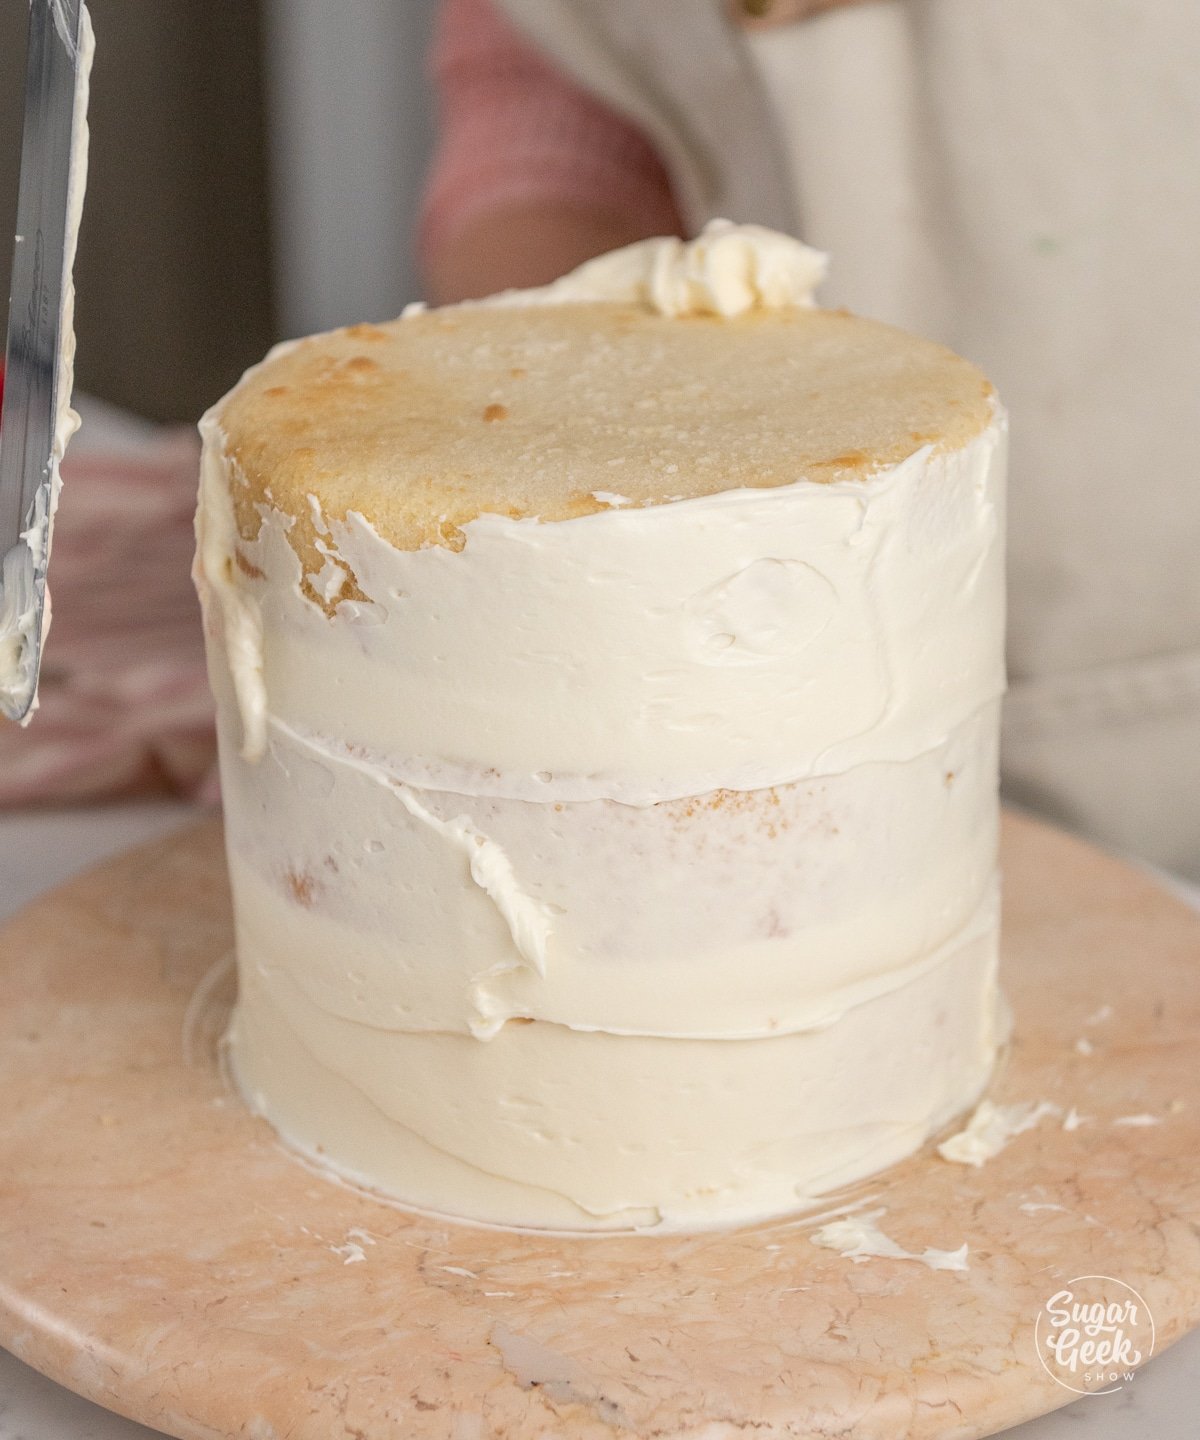
- Cover your cake in a thin layer of buttercream (The crumbcoat) and refrigerate your cake until the buttercream is firm.
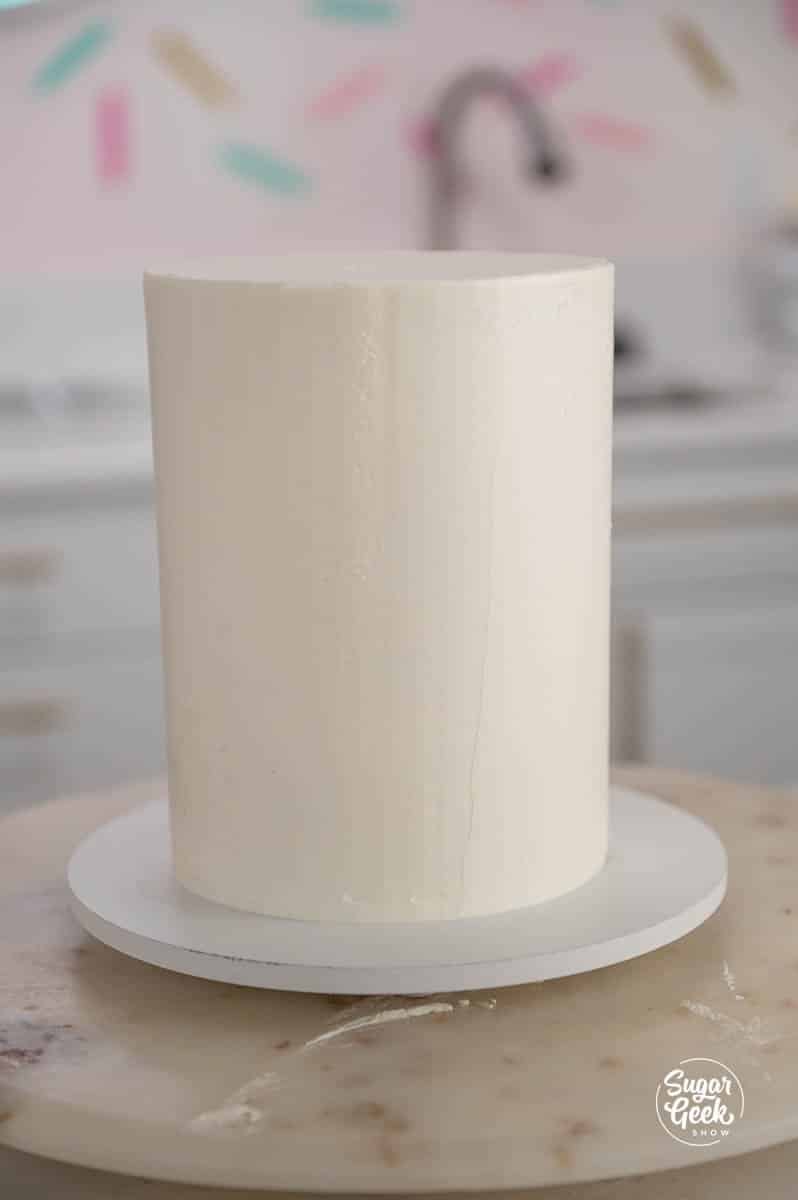
- Apply your final coat of buttercream to the cake and smooth it out carefully.
- Now you have the perfect canvas to make the perfect cake!
How To Make A Vintage Cake Step By Step
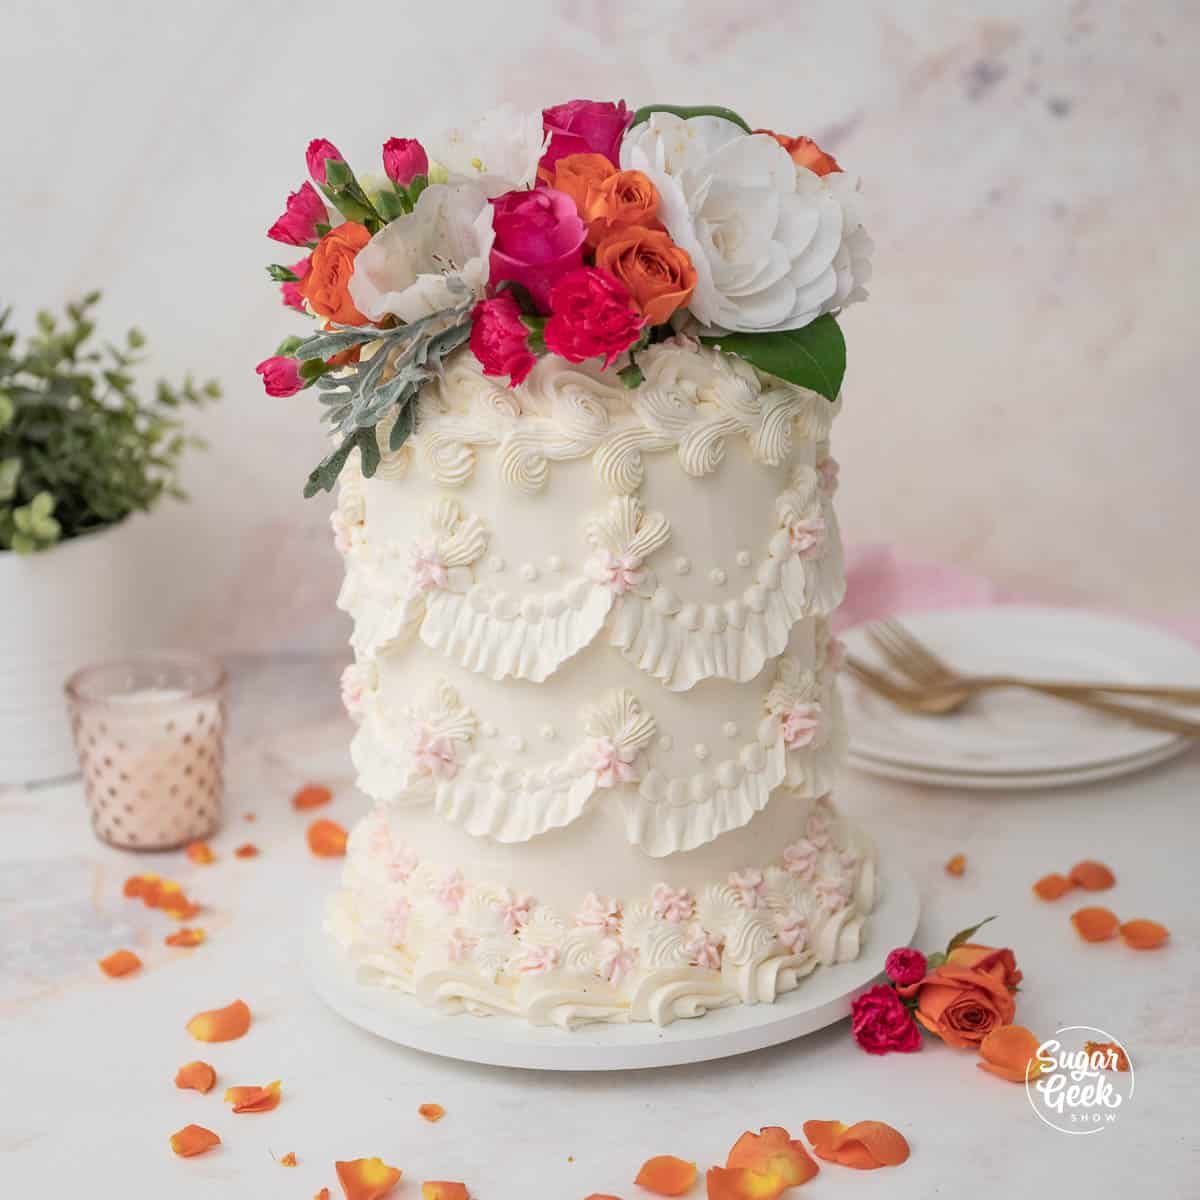
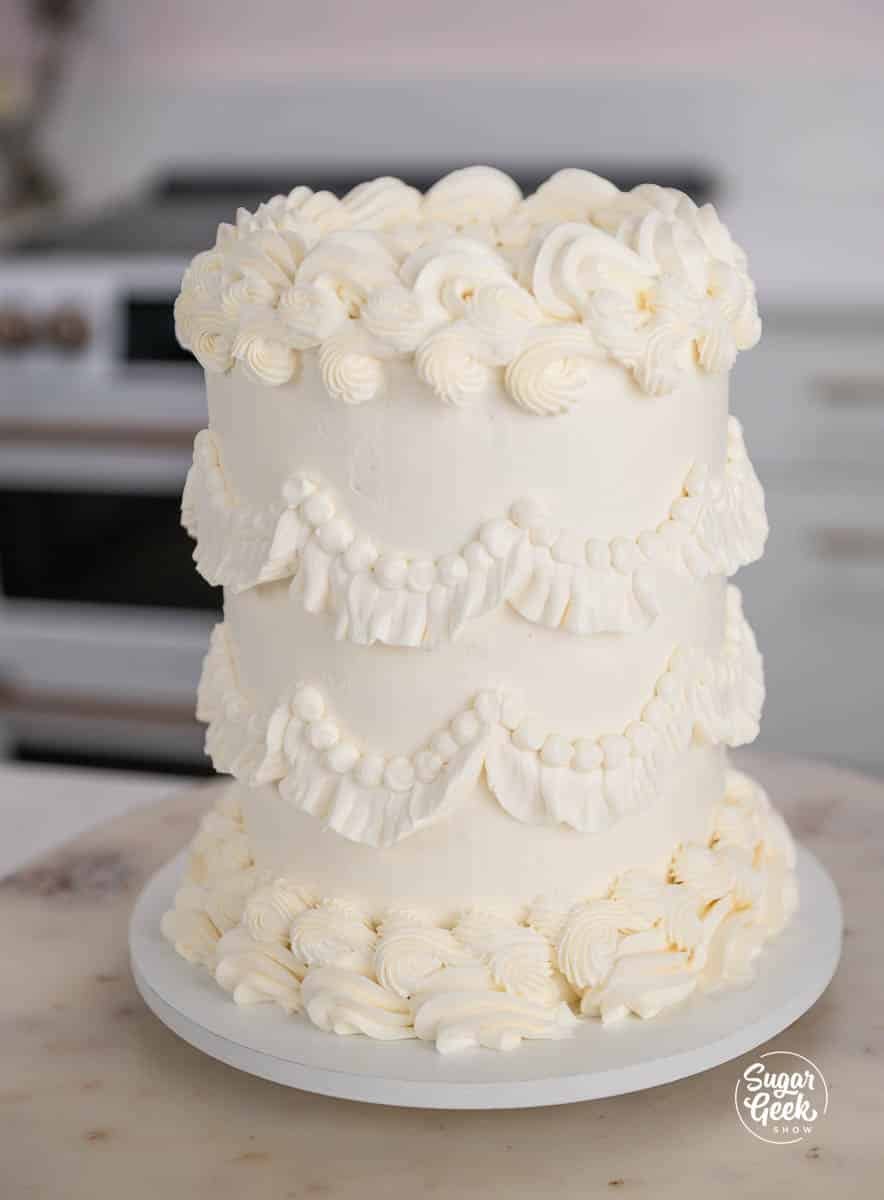
To get the vintage look, you want to layer your buttercream accents. Start with larger tips to lay down a base and continue with smaller and smaller piping.
- Make sure your buttercream is very smooth and bubble-free. I like to use an immersion blender to make it super creamy.
- Place your chilled cake onto the cake board.
- Use a round cutter or piece of paper (space key) to mark equal spaces around the top ⅓ and bottom ⅓ of the cake. This will be the guide for the ruffles later. The space key should be about 3" wide.
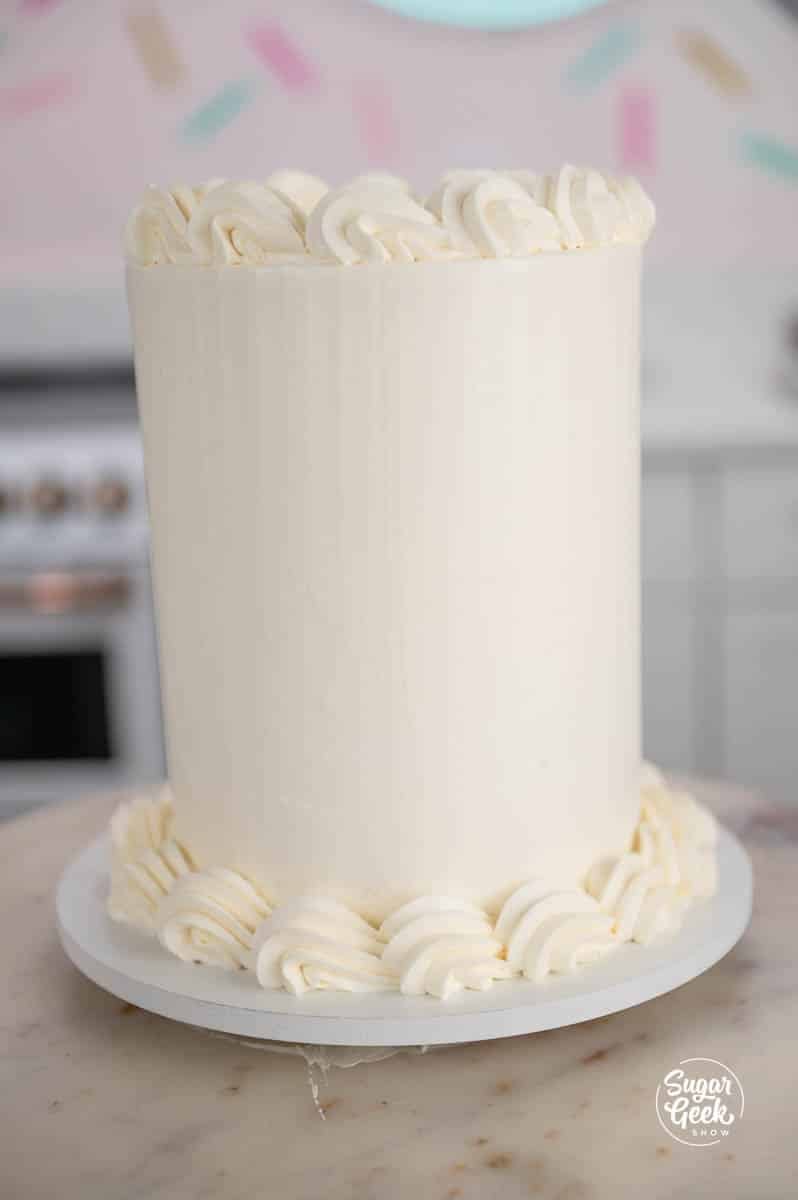
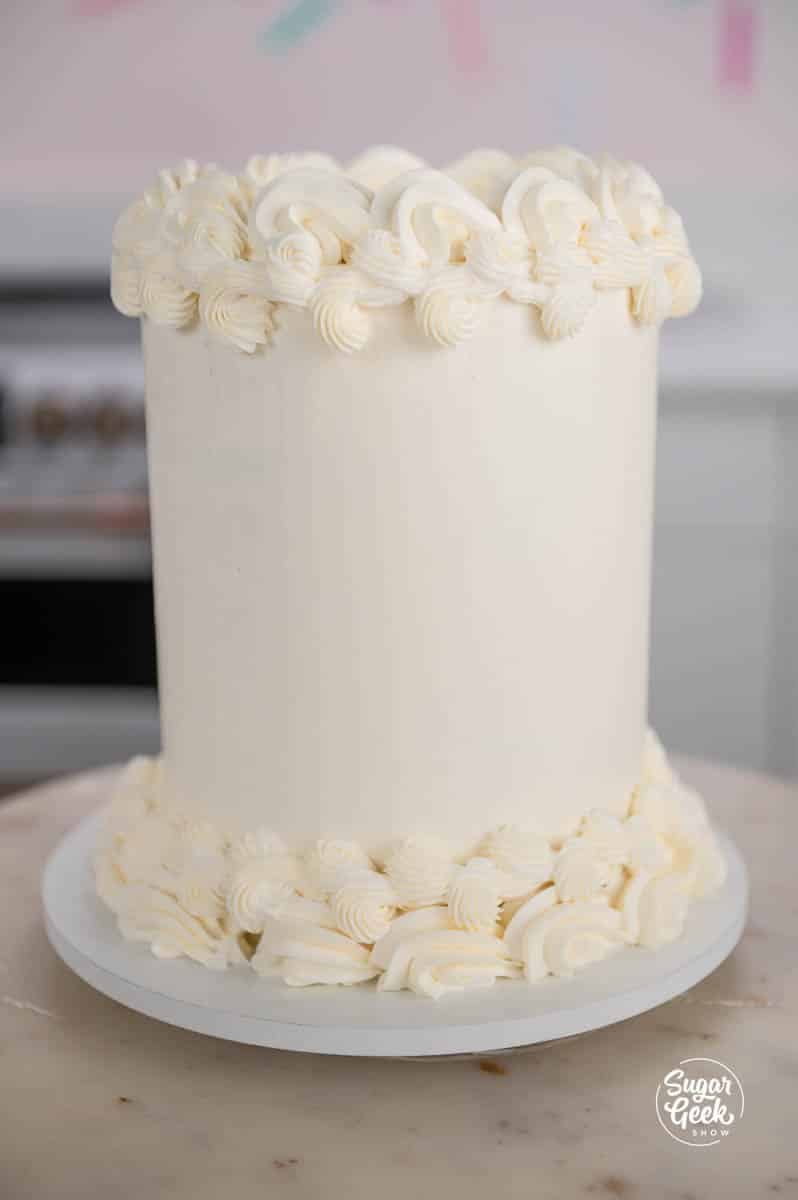
- Apply your first piped border around the base and at the top of the cake. I chose to do a shell border using a 1M piping tip.
- Pipe a reverse shell on top of the base border and below the top border with an open star tip Wilton 18.
- Following the guidelines that we made earlier, use your Wilton 104 to make some ruffles. The round part of the tip should be pointing up. This is easiest if your cake is on a turntable.
- Pipe a round pearl border on top of the ruffles using a round Wilton #4 piping tip.
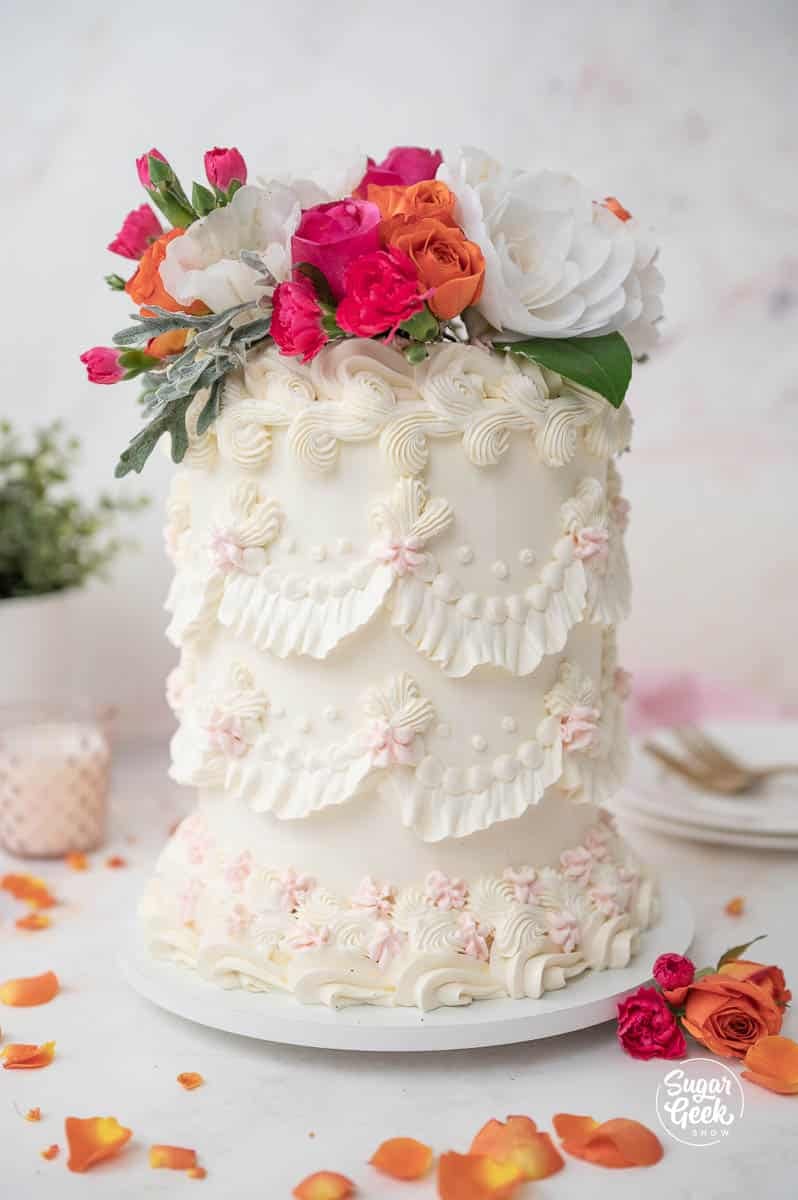
- Pipe some trios of shells to form a fleur d' lis on the points of where the ruffles meet using a Wilton #16 star tip.
- Pipe some small dots between the fleur d' lis in groups of three.
- Pipe some stars around the top of the reverse shell border, at the base of the fleur d' lis, and anywhere else you like with some pink buttercream and the Wilton #16 tip.
- Finish the top of your vintage cake with some fresh flowers.
Hungry for more vintage cake techniques? These cake trends are inspired by a technique called Lambeth and used by career pastry chefs to make the most beautiful and elaborate vintage cake designs. Sometimes used with royal icing to make the most delicate and beautiful layers of detail.
FAQ
What Are Vintage Cakes? Vintage cakes are vintage or “retro” because they've been around (and around and around) for centuries. They're known for their frilly, over-piped design and can be traced back to the French Rococo style of the 1700s – an age known for its ornate and gilded designs.
Vintage cakes are made with buttercream frosting using traditional piping techniques. Think buttercream swirls, lace, basketweave, and frills. Mix it all together in a variety of colors, patterns, and shapes and you get this delightful on-trend current style.
Recipe
Equipment
- 1M wilton piping tip
- #18 wilton piping tip
- 104 wilton piping tip
- #4 wilton piping tip
- #16 wilton piping tip
- 1 Tall bench scraper
- 1 Turntable
- 1 8" cakeboard or plate
- 1 6" cake cardboard
- 6 Piping Bags
- 1 Offset Spatula
Ingredients
White Velvet Cake Ingredients
- 14 ounces cake flour
- 13 ounces granulated sugar
- 1 teaspoons salt
- 1 Tablespoons baking powder
- ½ teaspoons baking soda
- 5 ounces egg whites room temperature
- 4 ounces vegetable oil
- 10 ounces buttermilk room temperature or slightly warm
- 6 ounces butter unsalted and softened
- 2 teaspoons vanilla
Easy Buttercream Frosting
- 24 ounces unsalted butter softened
- 24 ounces powdered sugar
- 2 teaspoons vanilla extract
- ½ teaspoon salt
- 6 ounces pastuerized egg whites
- ¼ teaspoon salt
Instructions
- NOTE: It is SUPER IMPORTANT that all the room temperature ingredients listed above are room temperature and measured by weight so that the ingredients mix and incorporate correctly. Heat oven to 335º F/168º C
- Prepare three 6"x2" cake pans with cake goop or preferred pan spray. Fill your pans about ⅔ of the way full of batter.
- Combine flour, sugar, baking powder, baking soda, and salt in the bowl of a stand mixer with paddle attachment. Mix for 10 seconds to combine.
- Combine ½ cup of the milk and the oil together and set aside.
- Combine the remaining milk, egg whites and vanilla together, whisk to break up the eggs and set aside.
- Add your softened butter to the dry ingredients and mix on low until mixture resembles a coarse sand (about 30 seconds). Add in your milk/oil mixture and let mix until dry ingredients are moistened and then bump up to med (setting 4 on my kitchenaid) and let mix for 2 minutes to develop the cakes structure. If you don't let your cake mix on this step your cake could collapse.
- Scrape your bowl and then reduce speed to low. Add in your egg white mixture in three batches, letting the batter mix for 15 seconds between additions.
- Scrape down the sides again to make sure everything has incorporated then pour into prepared pans. Bake 35-40 minutes until a toothpick inserted into the center comes out cleanly but the cake has not begun to shrink yet from the sides of the pan. IMMEDIATELY TAP PAN FIRMLY on countertop once to release the steam from the cake. This stops the cake from shrinking.
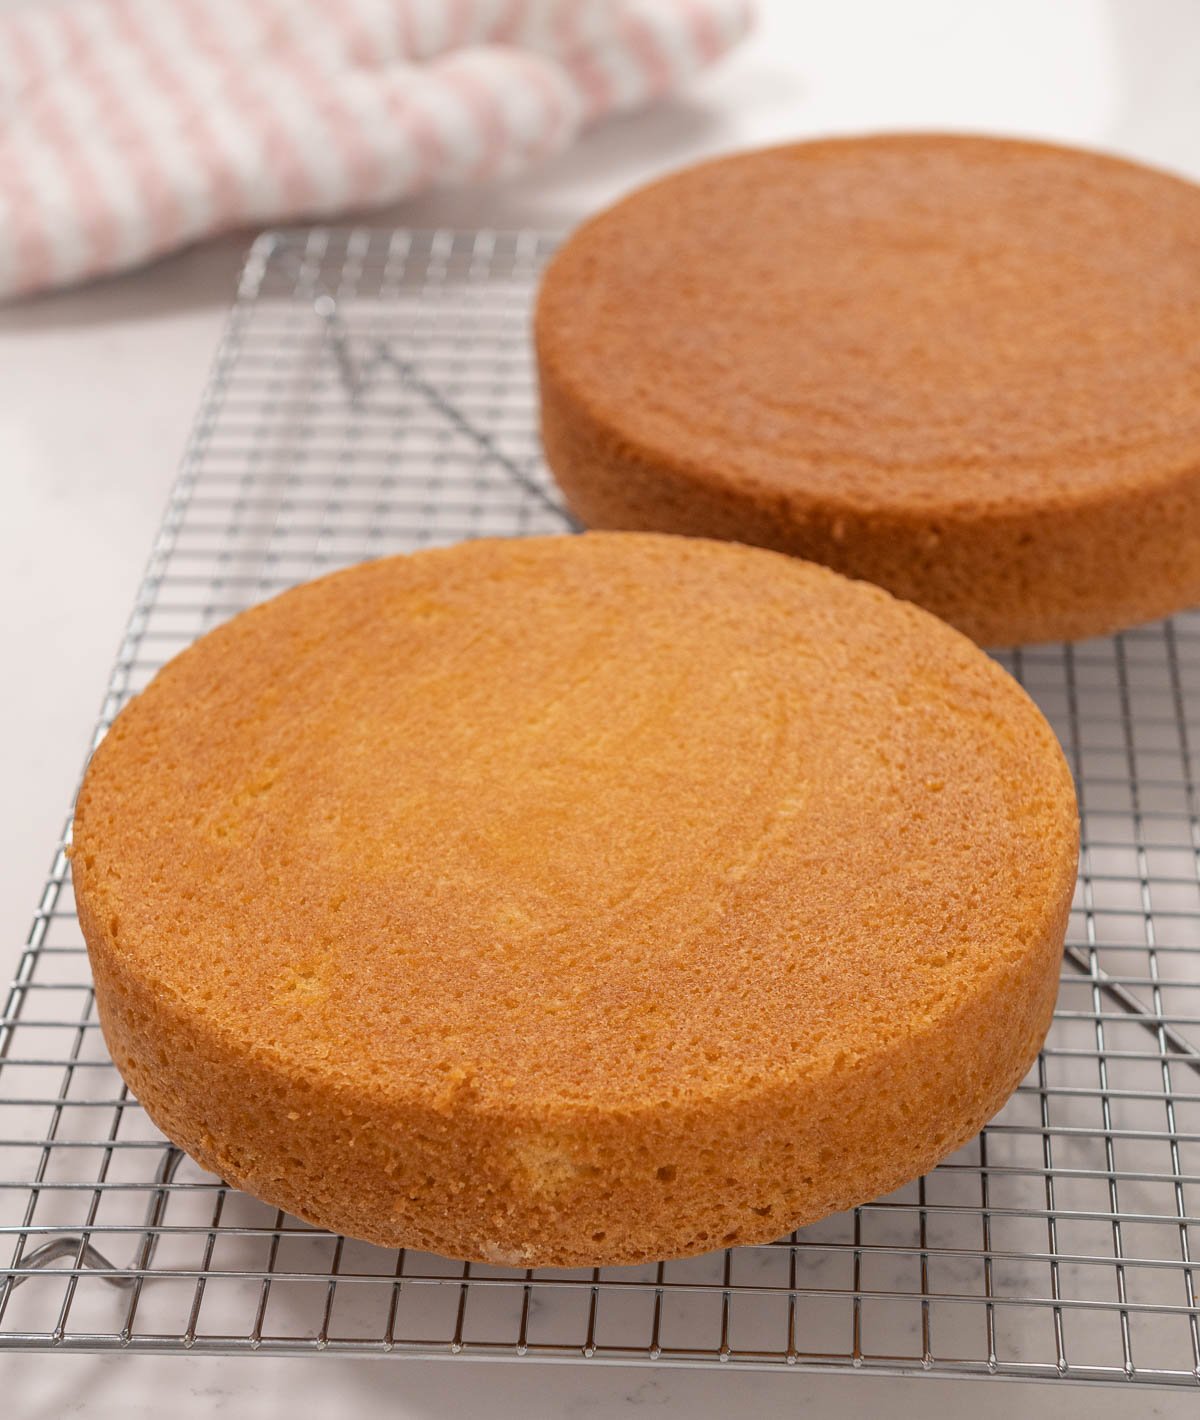
- Let cakes cool for 10 minutes inside the pan before flipping them out. The cake will shrink a bit and that is normal. Flip onto a cooling rack and let cool fully. I chill my cakes before handling or you can wrap them in plastic wrap and freeze them to trap moisture in the cake. Thaw on the countertop while still wrapped before frosting.
Buttercream Frosting
- Place your egg whites, powdered sugar, vanilla and salt into the bowl of your stand mixer with the whisk attachment.
- Mix on high for 5 minutes
- Reduce the speed to low and slowly add in your softened butter in small pieces until it's all added in.
- Mix on high for 5 minutes or until your buttercream no longer tastes of butter and tastes sweet
- Switch to the paddle attachment and mix on low for 5-15 minutes until your buttercream is very soft and doesn't have any bubbles.


Leave a Reply