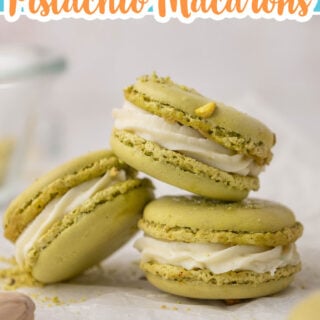
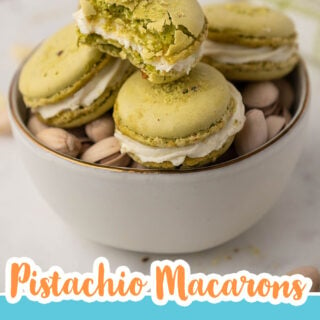
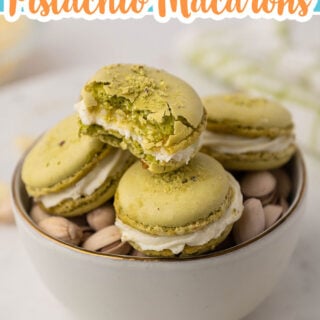
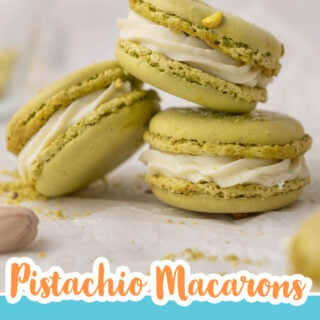
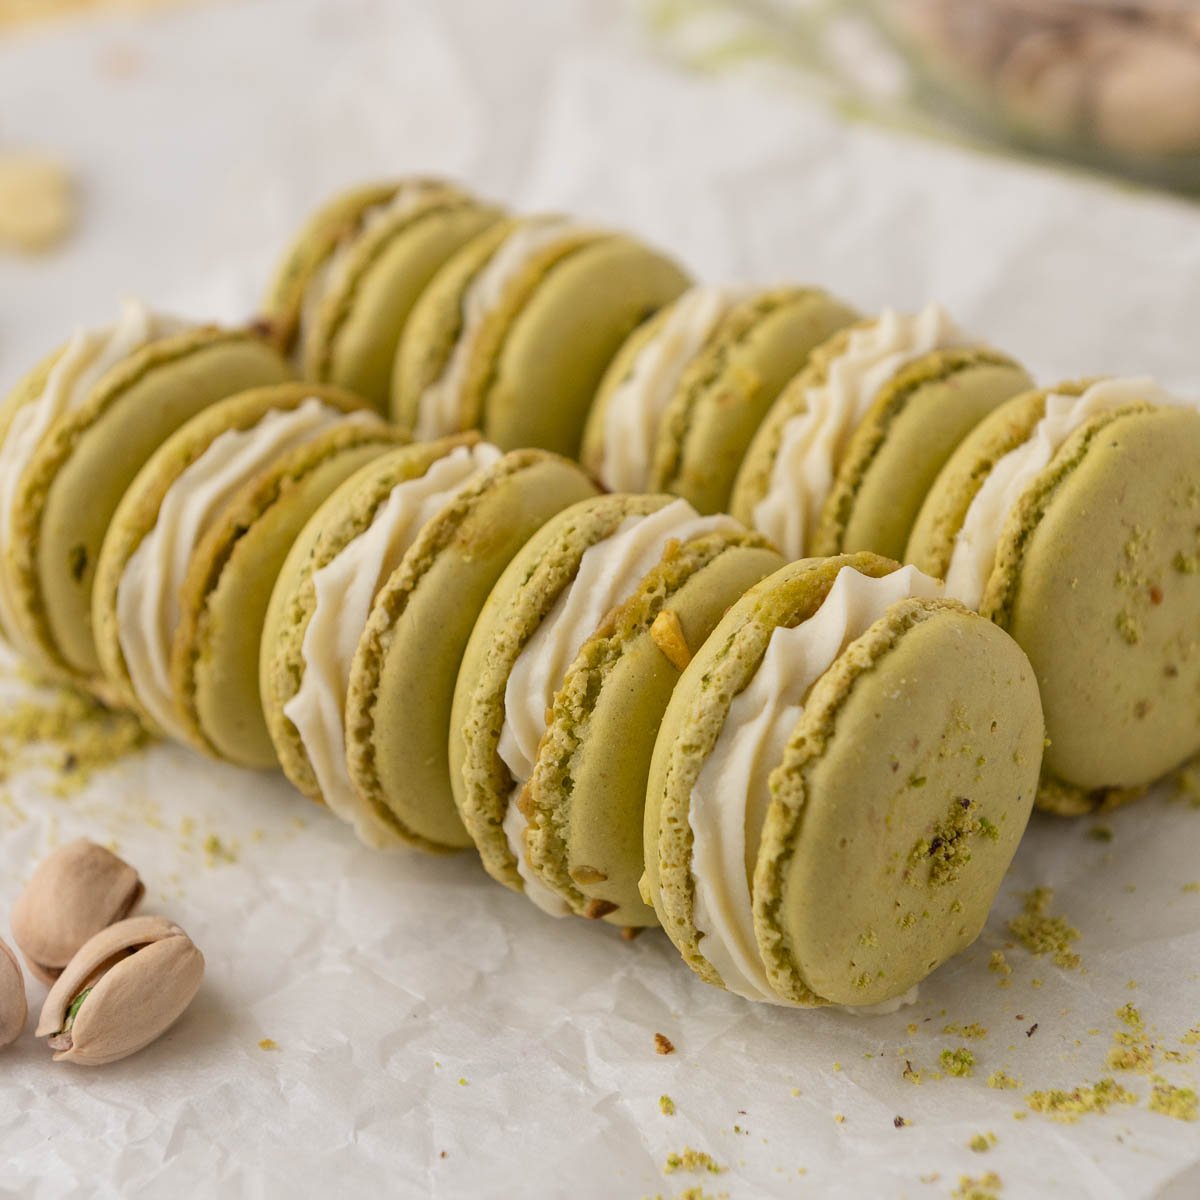
This pistachio macaron recipe is based on my viral, no-fail French macaron recipe. The nuttiness of these crispy and chewy pistachio macarons pairs perfectly with the creamy, white chocolate buttercream filling! If you love pistachios, you need to save this recipe!
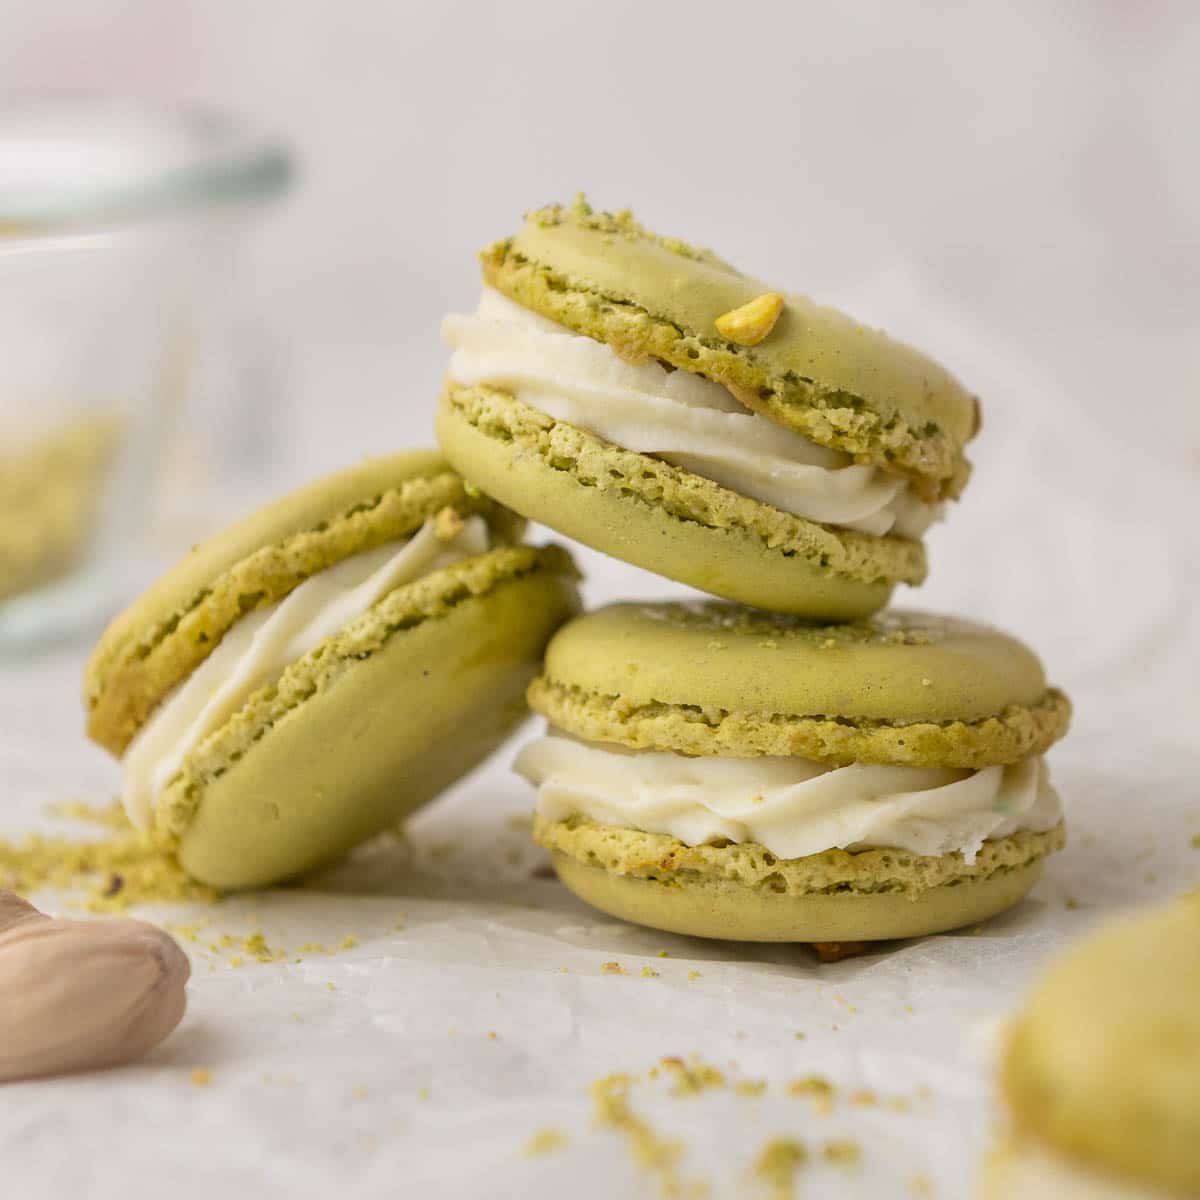
If you ask a baker which cookie has given them the biggest headache, chances are they will enthusiastically say "macarons!" They're notoriously difficult to make. Why? Because a lot could go wrong while making them. But, you won't need to reach for any aspirin today because this recipe is headache-free!
This is a foolproof, step-by-step pistachio macaron recipe that anyone can make! Keep reading to learn step-by-step how to make your very own nutty, crispy, chewy pistachio macarons.
Read through this blog post entirely and be sure to check out the FAQ section which will offer you additional tips, tricks, and ways to avoid common macaron mishaps!
What's In This Blog Post
Pistachio Macaron Ingredients
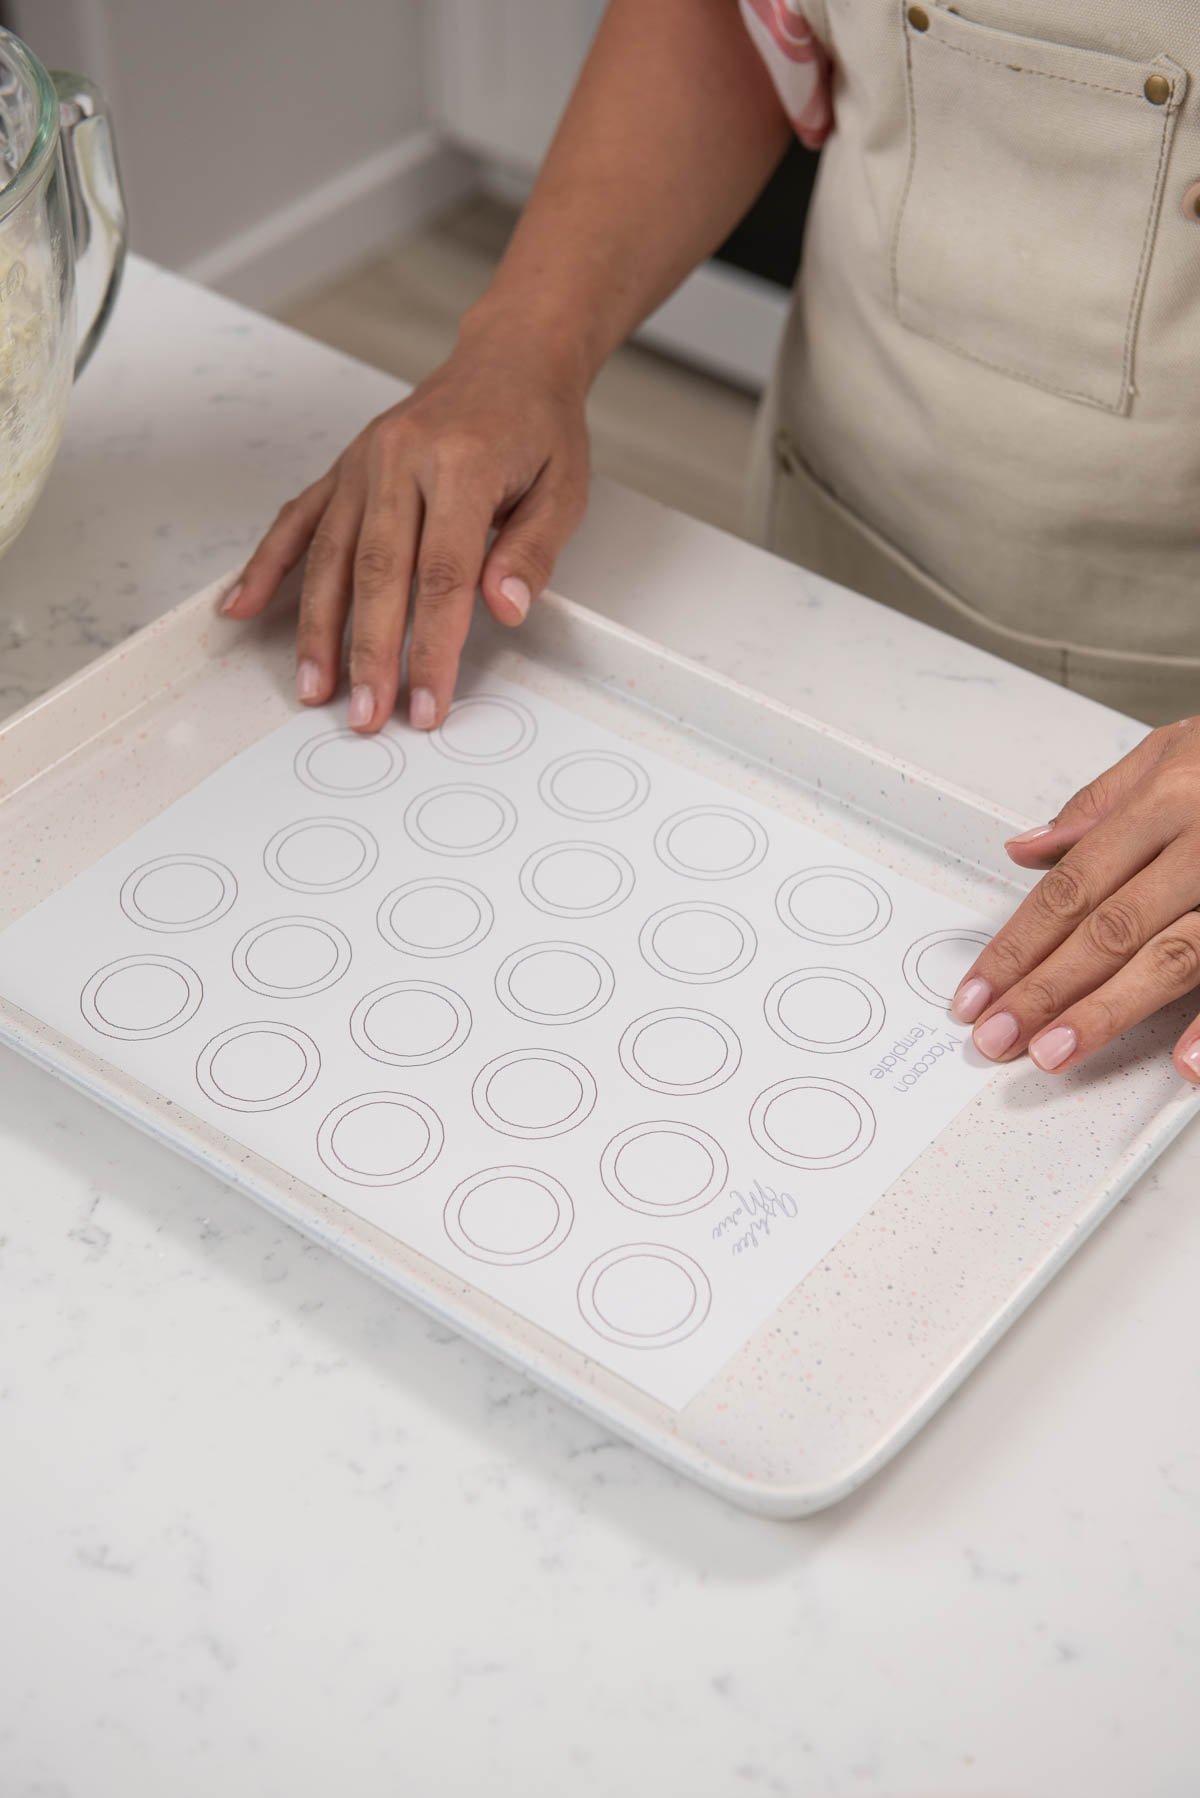
Before you get started, download and print my macaron template!
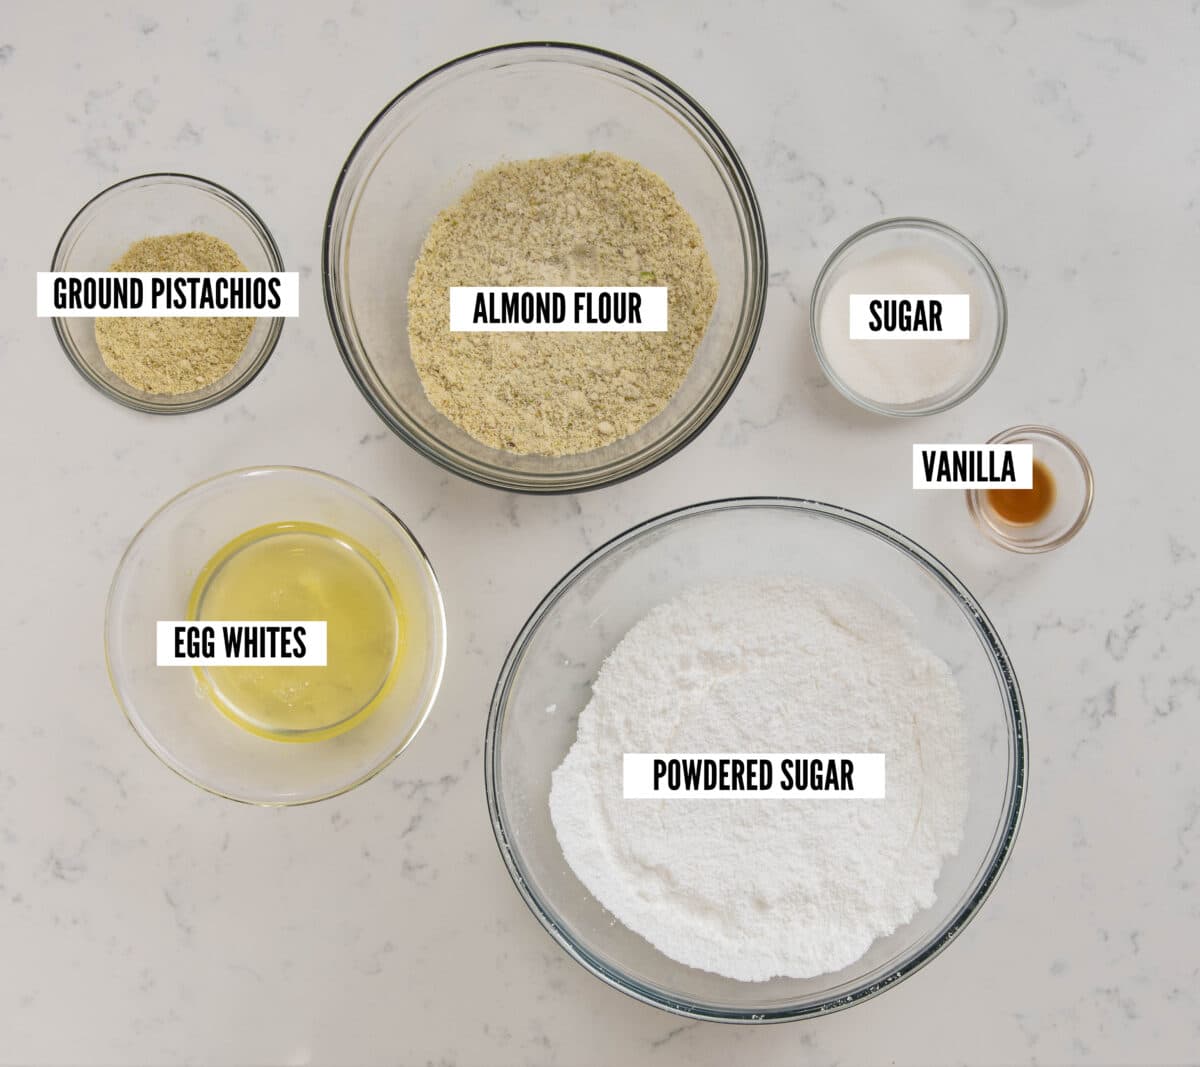
Almond Flour: Almond flour provides flavor, texture, and structure to the macarons. You can use storebought almond flour (I typically use Bob’s Red Mill super fine almond flour), or if you prefer you can make your own.
Pistachio Flour: If you have a food processor, you can make your own pistachio flour for this recipe by grinding up pistachios to an ultra-fine texture (you will need 28 grams of pistachios). Or, you can buy pistachio flour online.
Want to take your white chocolate ganache to the next level and try a more advanced recipe to really elevate your pistachio macarons? Be sure to check out Chef Christophe Rull's white chocolate vanilla bean ganache that we used to make bonbons!
How to Make Pistachio Macarons
Before you get started, download and print my macaron template! This is an optional step.
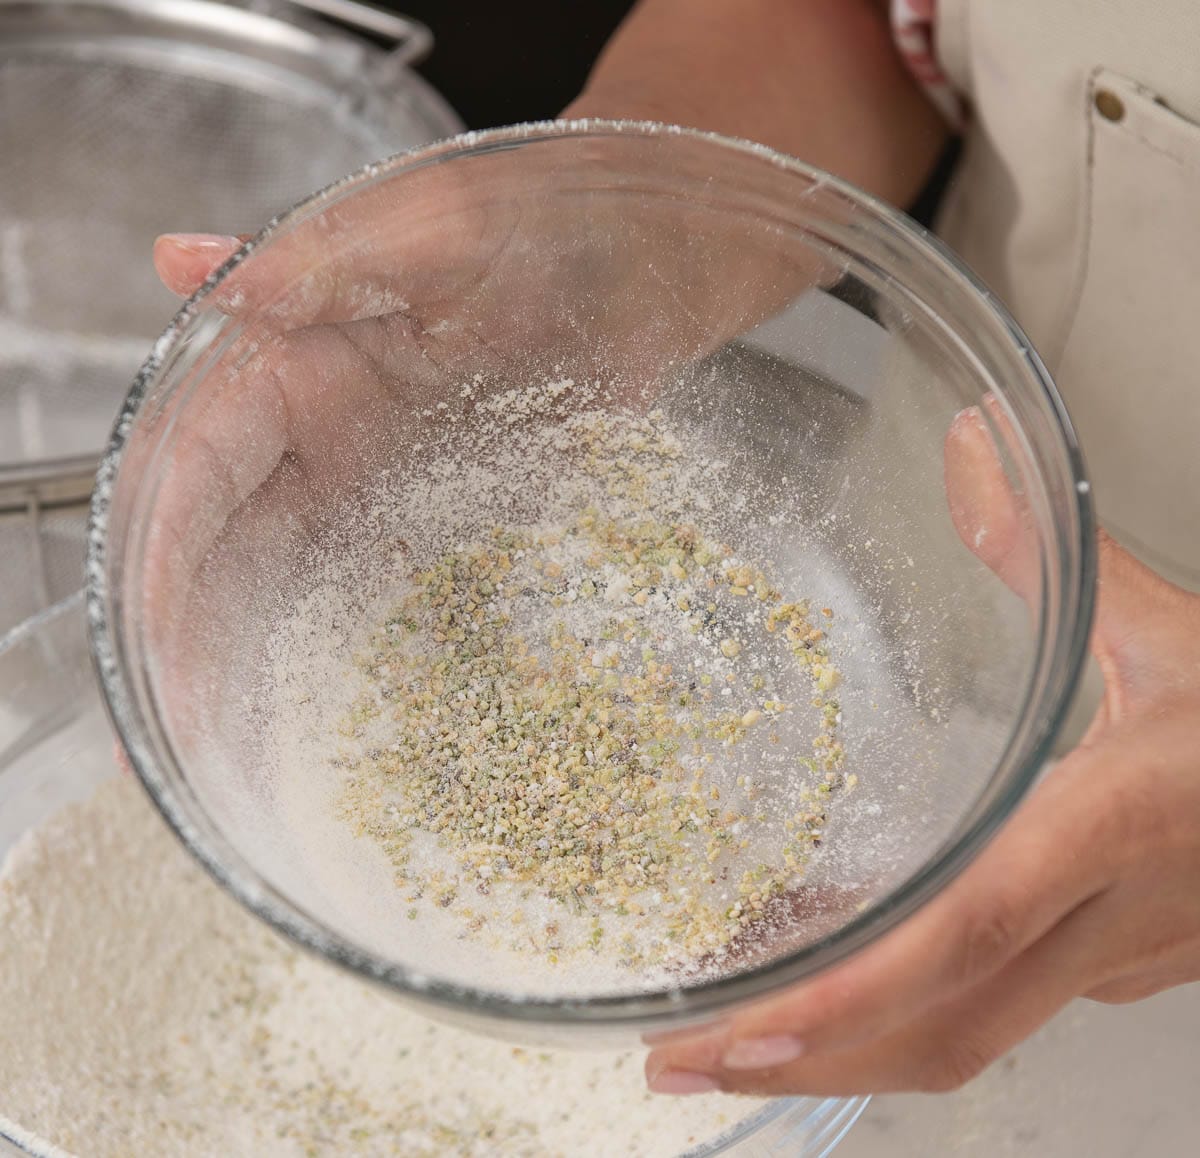
- First, you'll want to prepare your pistachio flour. Use a food processor to grind your pistachios up to an ultra-fine, flour-like texture. Or, if you prefer, you can buy your own pistachio flour.
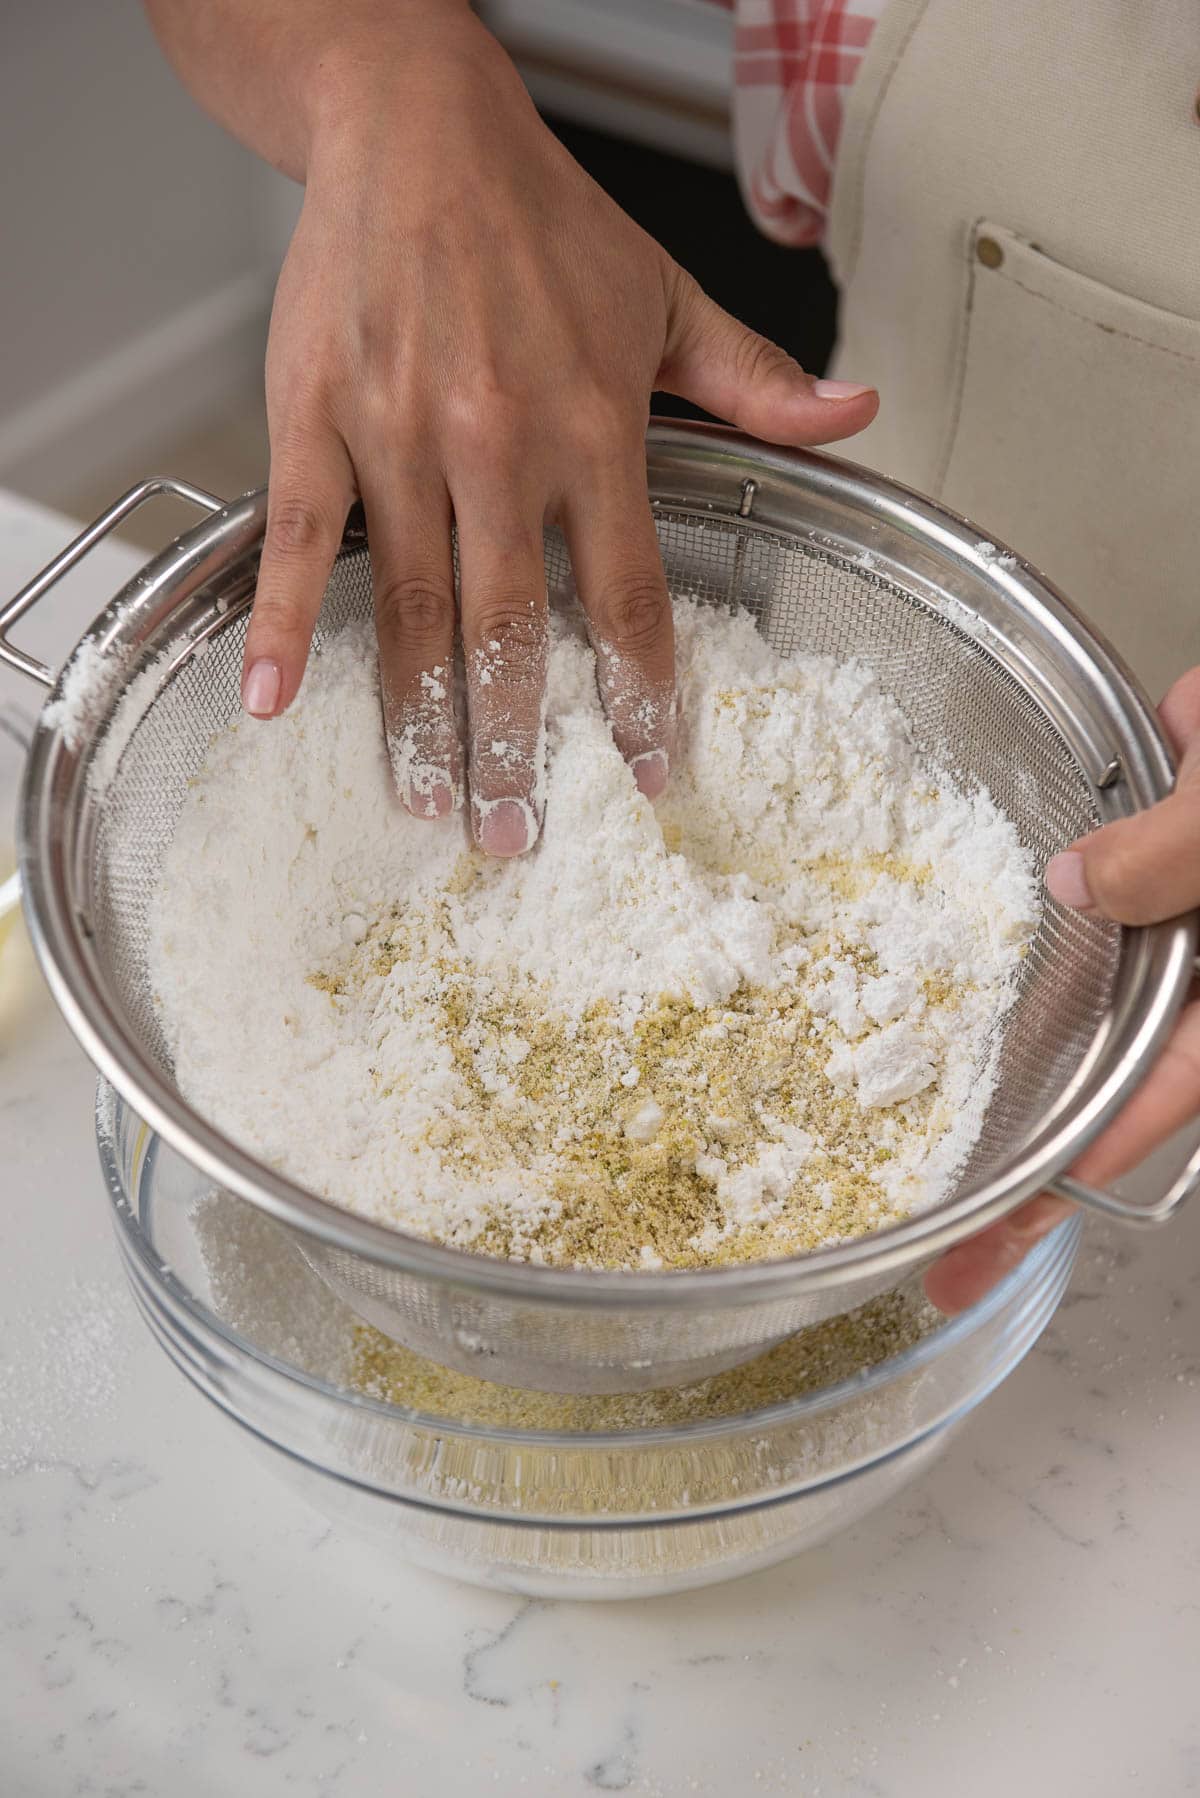
- Next, sift your pistachio flour, almond flour, salt, and powdered sugar into a large mixing bowl. Sift these ingredients 2 times. Other than sifting out large pieces, the reason you need to sift it twice is to allow the powdered sugar to properly mix with the flours while also aerating the flour (which will make it easier to mix with the egg whites).
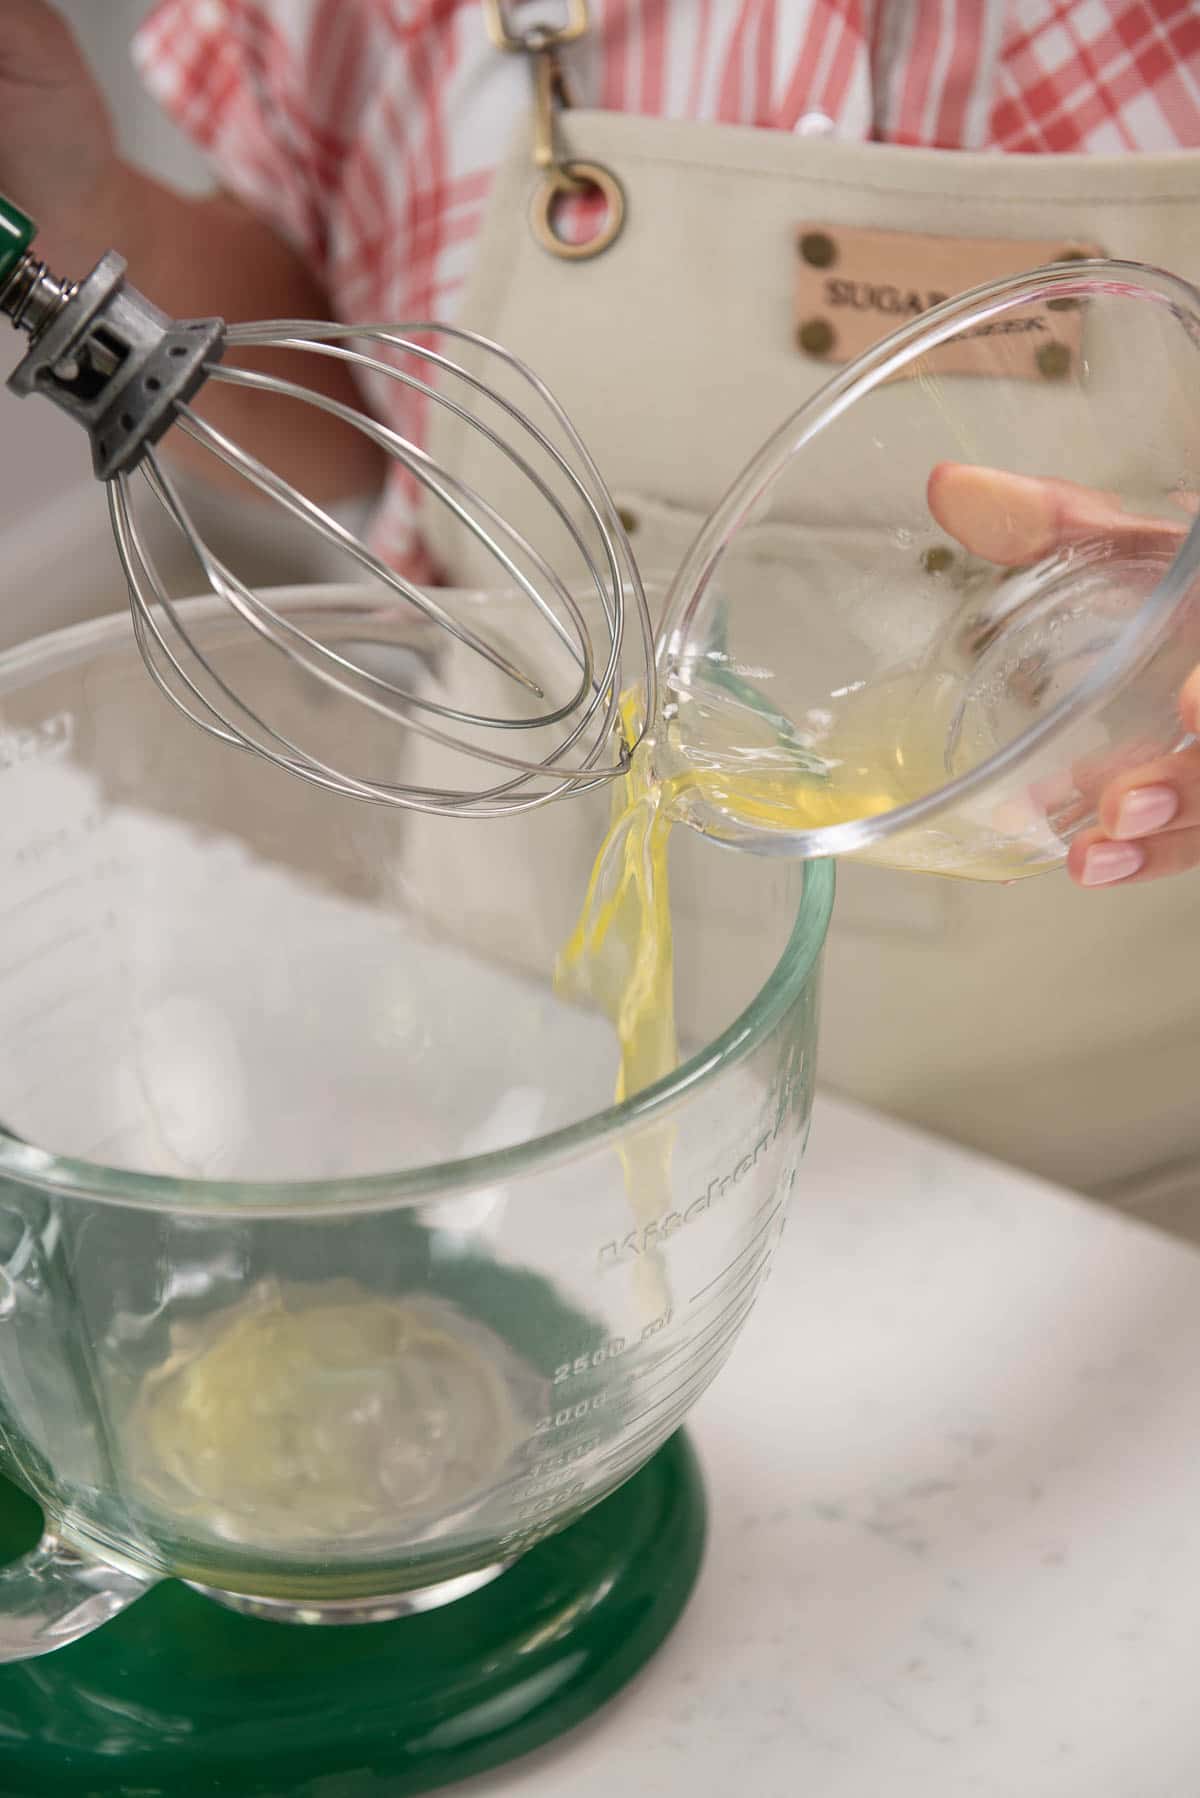
- Then, in the bowl of your stand mixer, add in the egg whites and mix them on medium speed using the whisk attachment until they appear foamy.
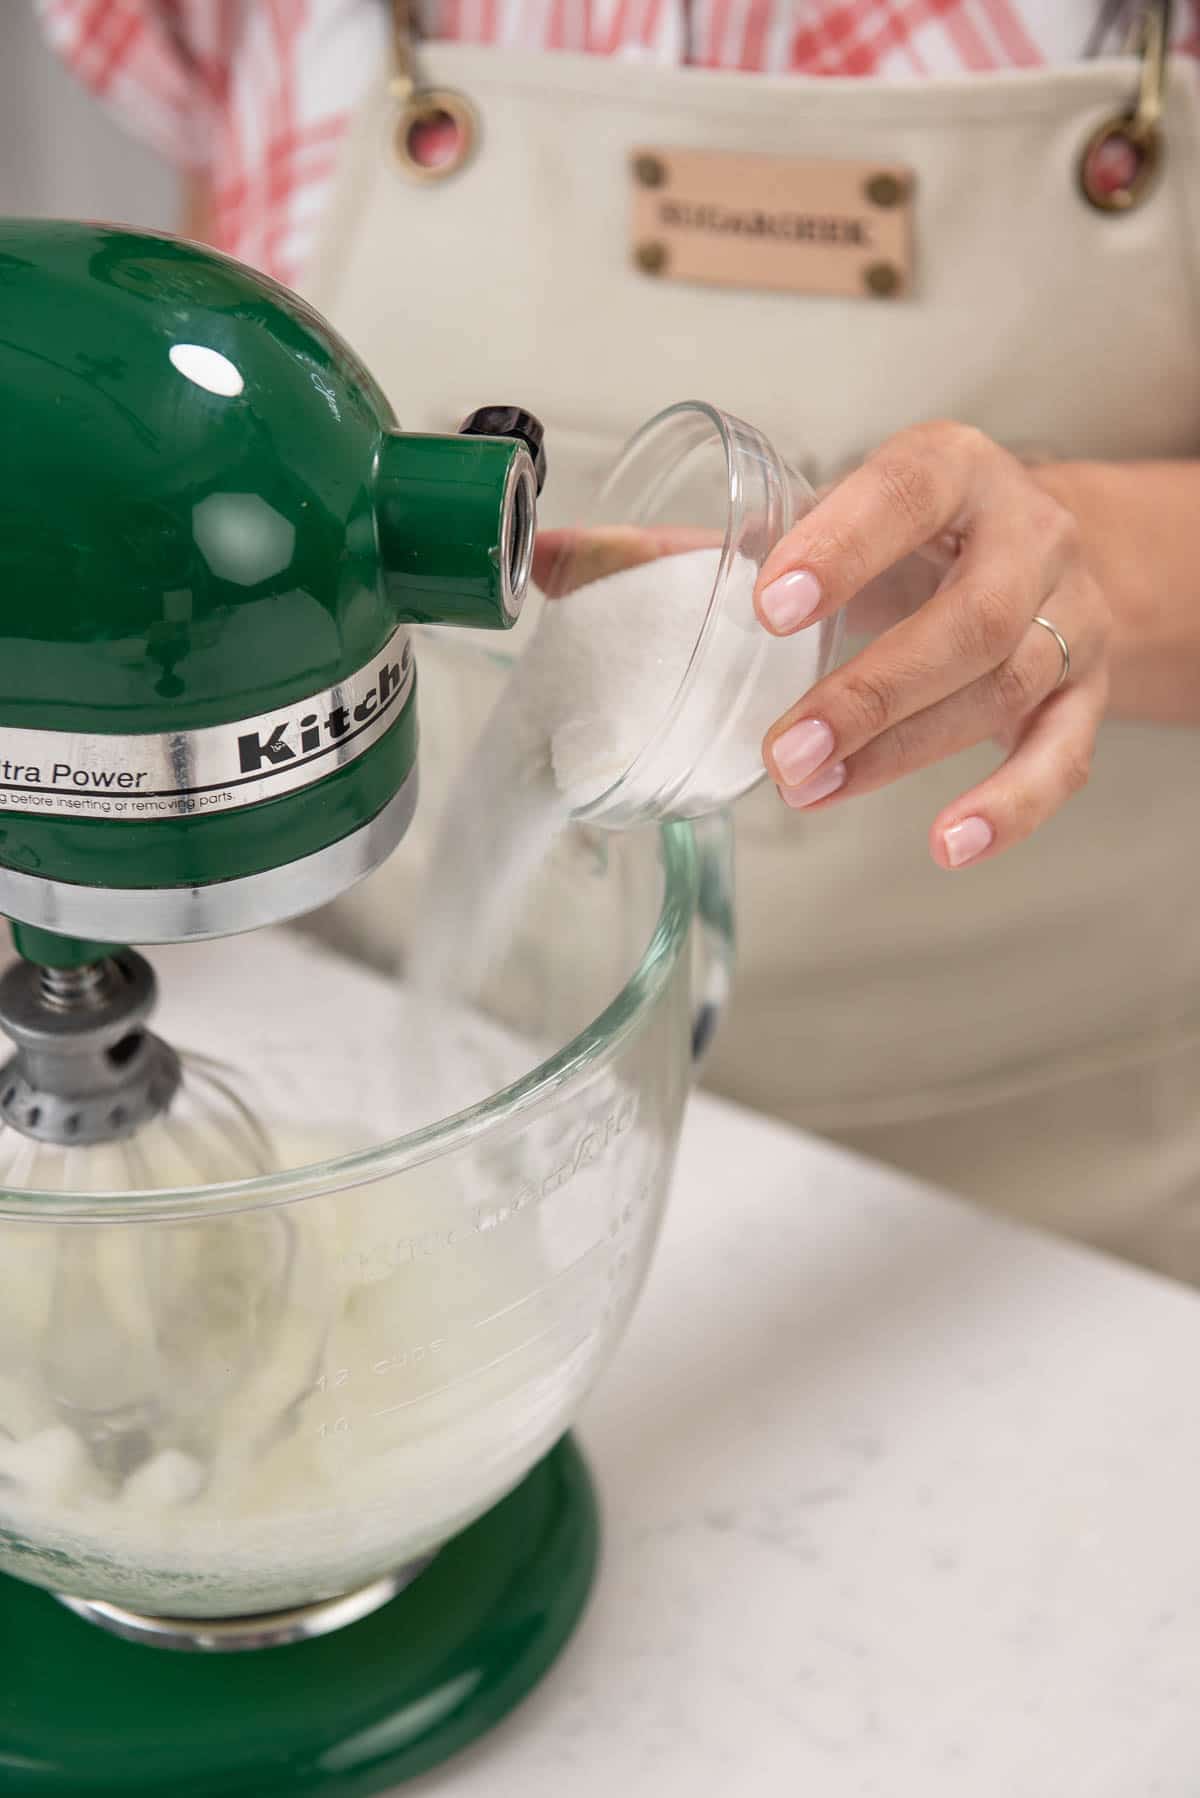
- Once the egg whites appear foamy, start to slowly sprinkle in the granulated sugar. Mix them until the egg whites turn white and you can see some lines forming in the surface from the whisk. Now, add in the cream of tartar and whip them until soft, glossy peaks form.
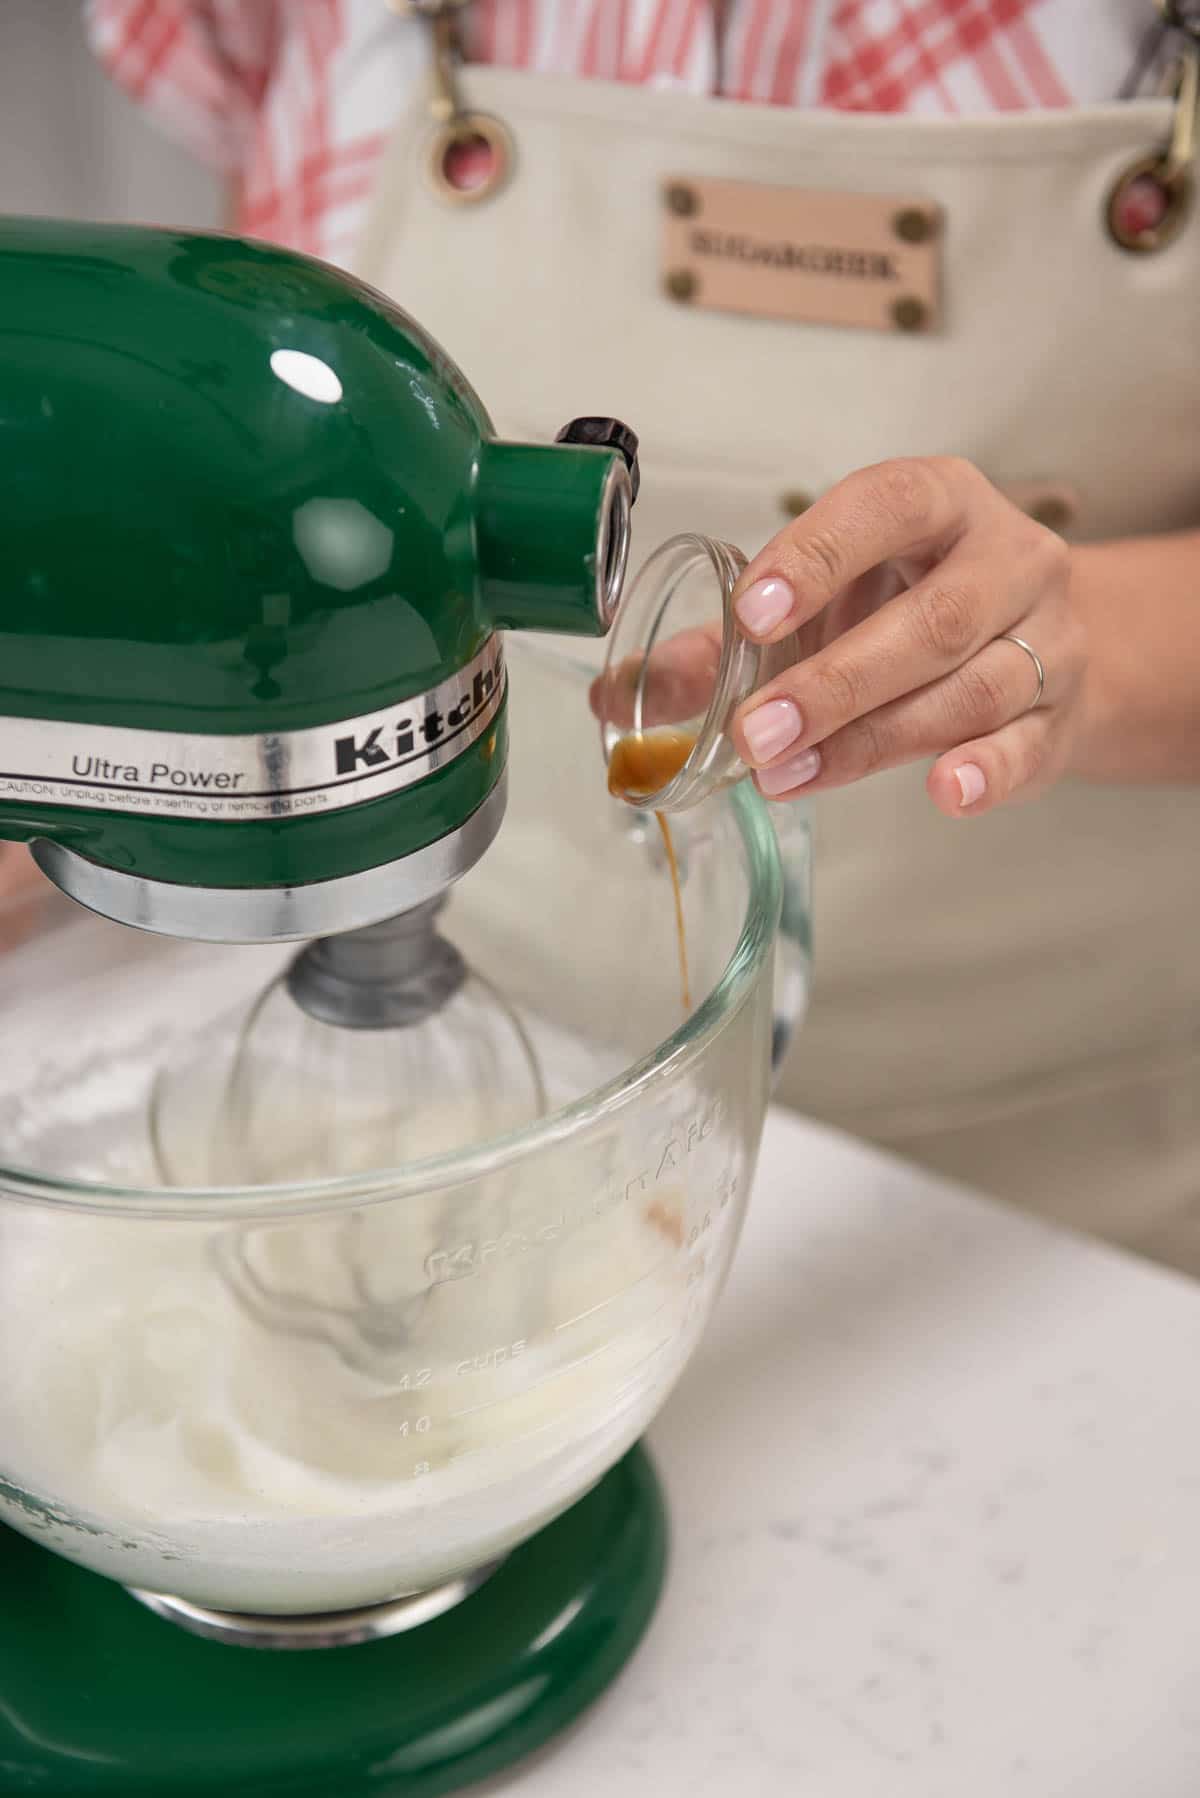
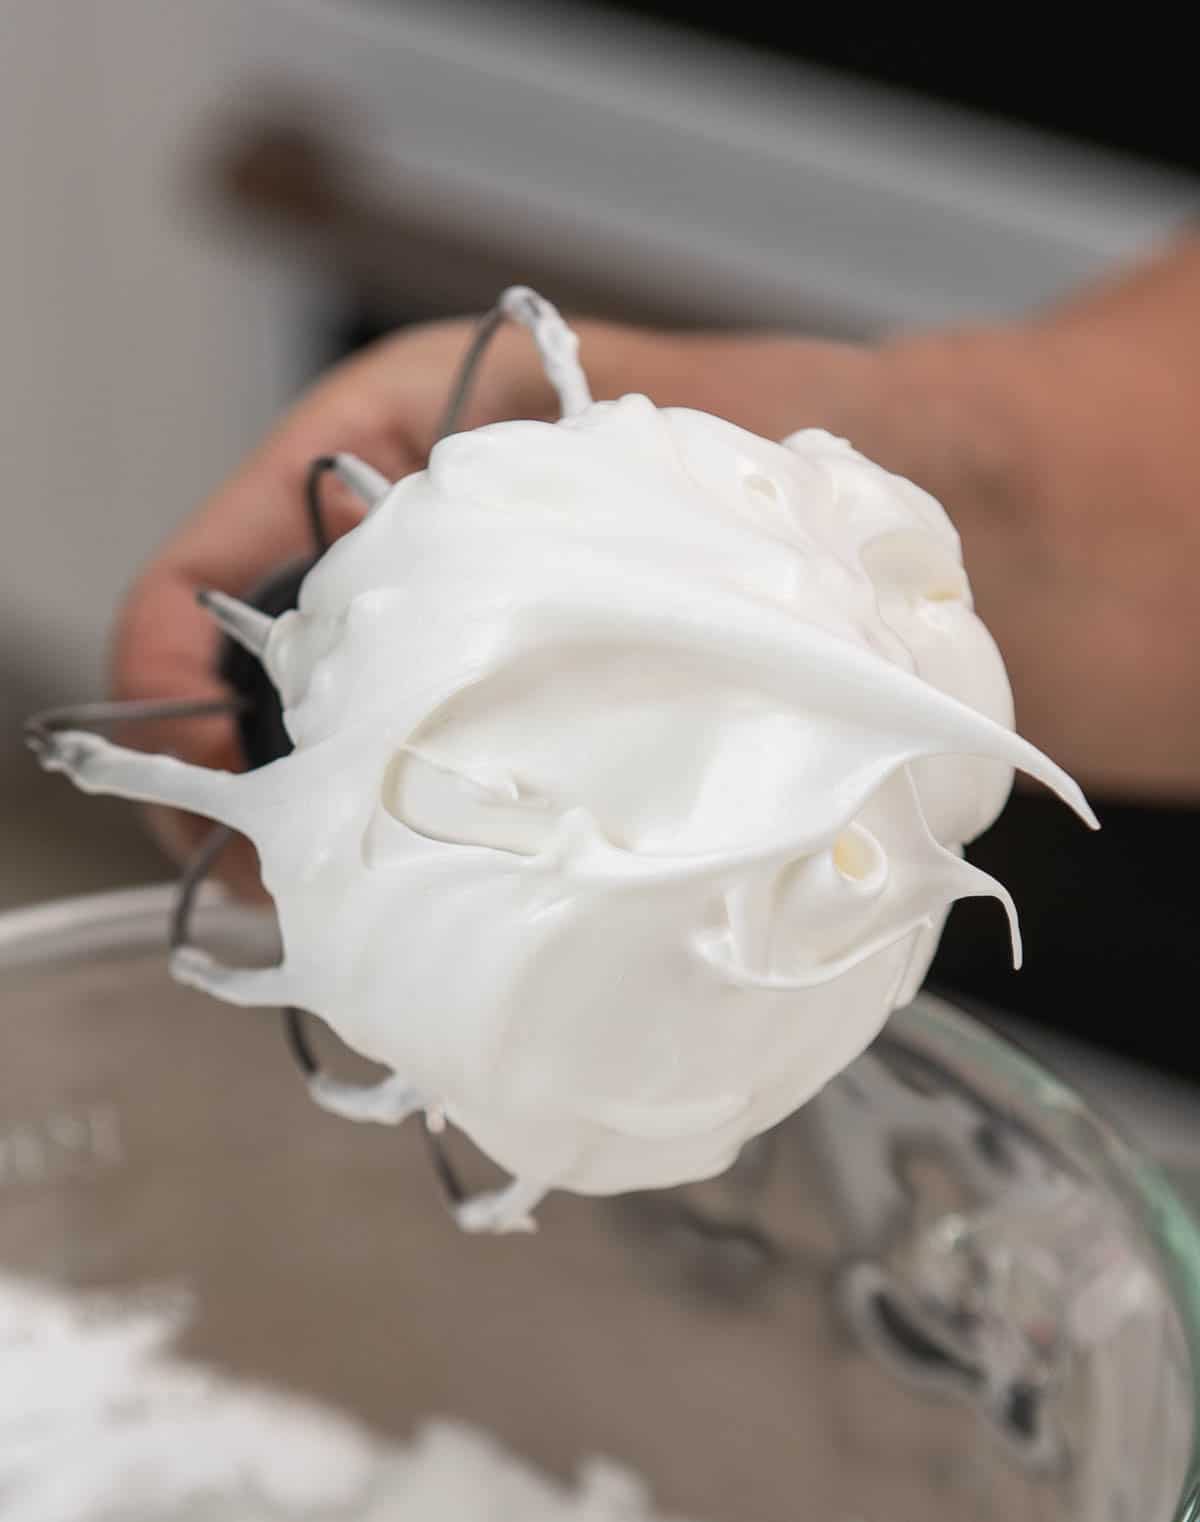
- Then, add in the vanilla extract and continue to mix until you have firm, glossy peaks. Usually, this process can take anywhere from 10 to 15 minutes. To test if your meringue is ready, turn off the mixer and remove the whisk attachment. Hold the whisk attachment to see if the meringue is firm enough to hold its shape without appearing curdled, dry, or breaking apart.
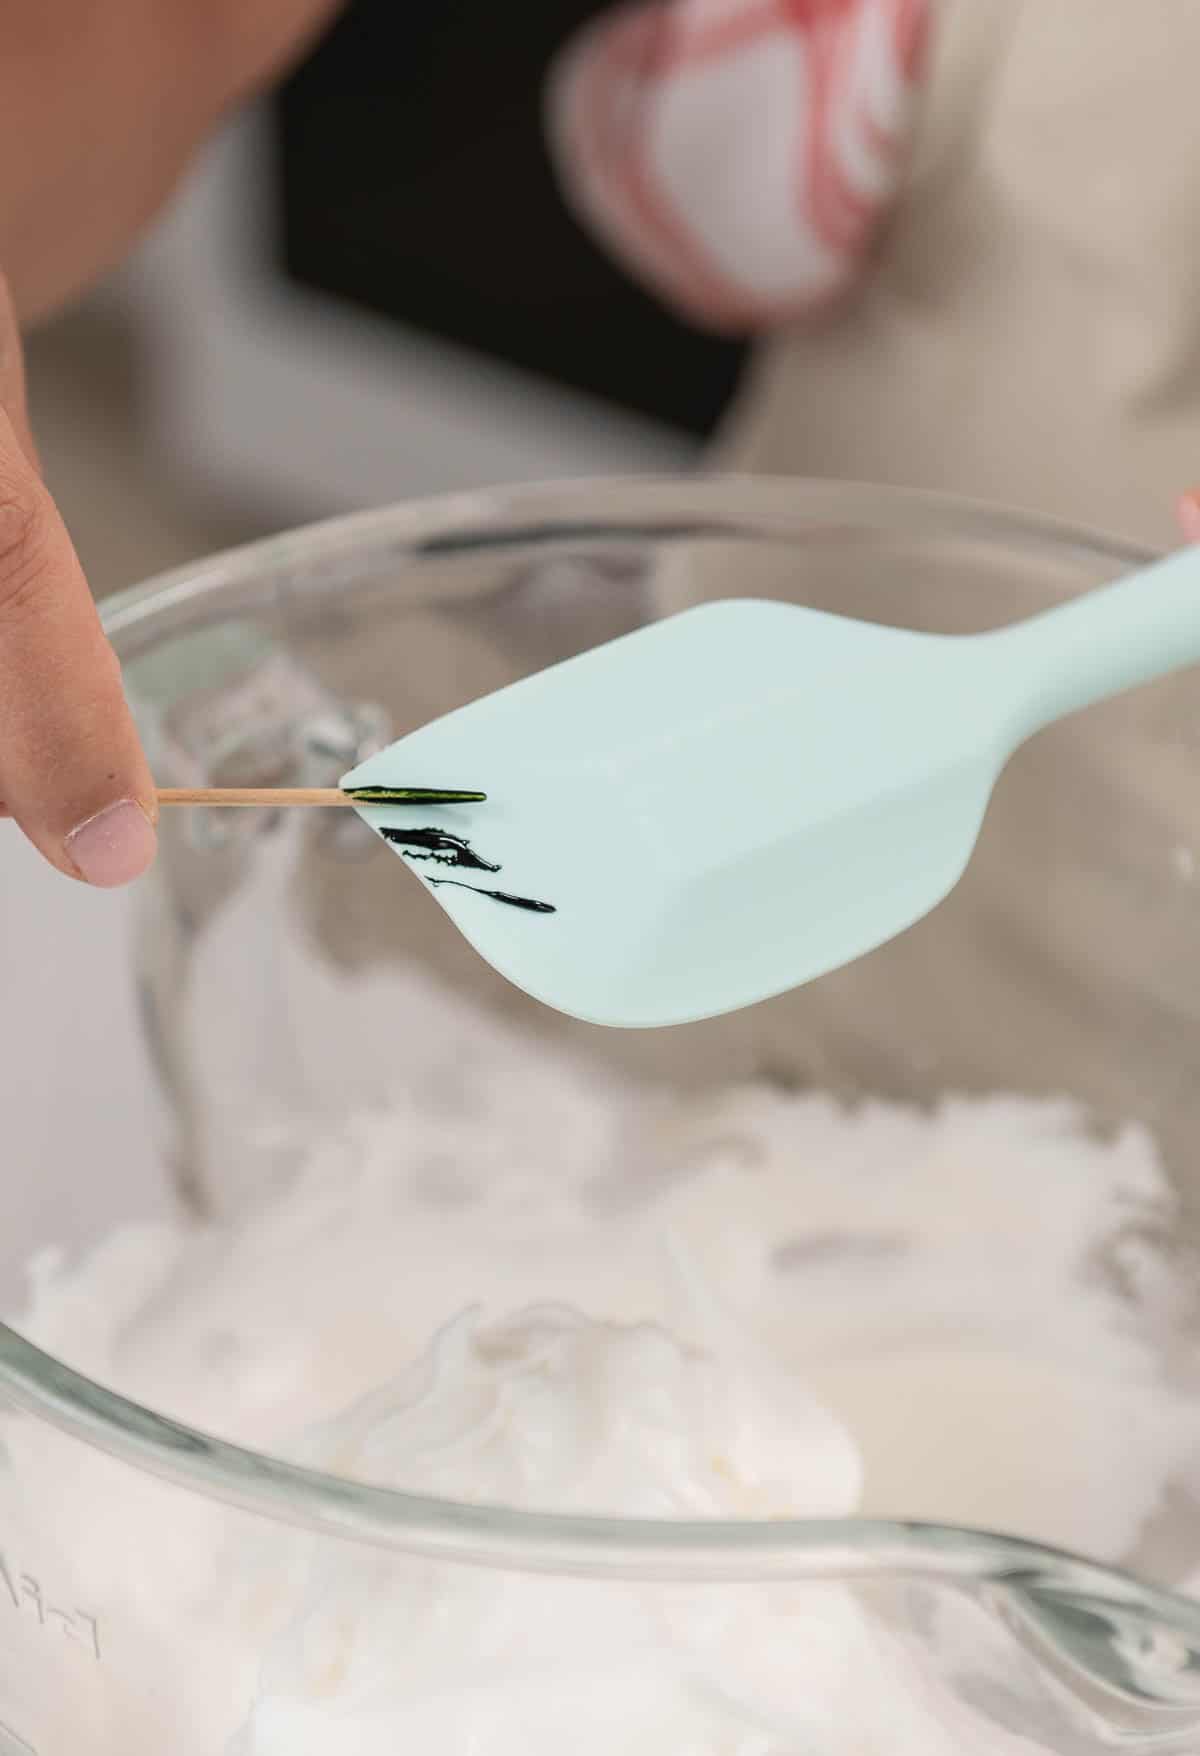
- Next, add in a very small amount of green food coloring (optional). I prefer to use Americolor food color gel. Use a toothpick to grab 2 drops of green food coloring and then wipe it onto a spatula. Then, use the spatula to gently fold it into your meringue.
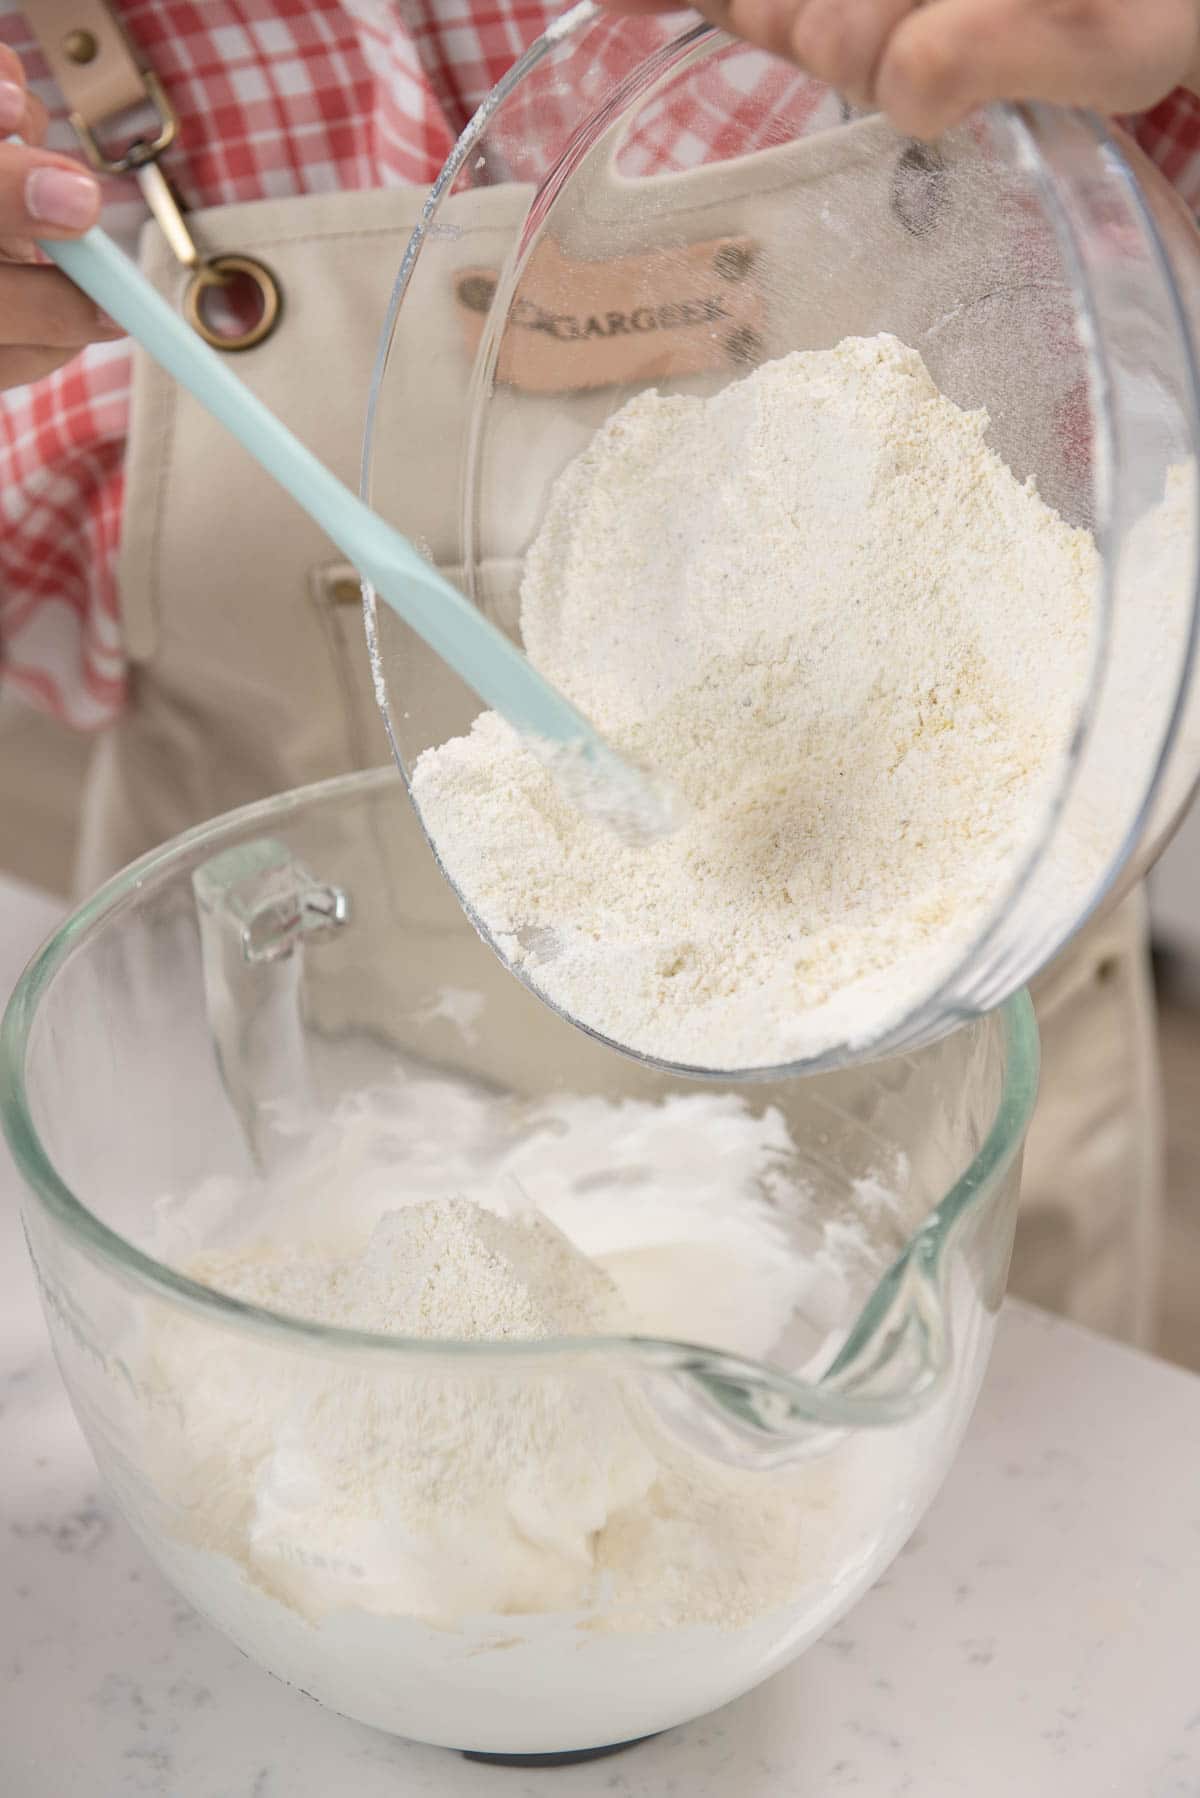
- Next, transfer ⅓ of your flour mixture into the meringue and fold it in.
- Once the flour is folded in and combined with the meringue, add in half of the remaining flour mixture and gently fold it in using a circular motion (like a tumble dryer).
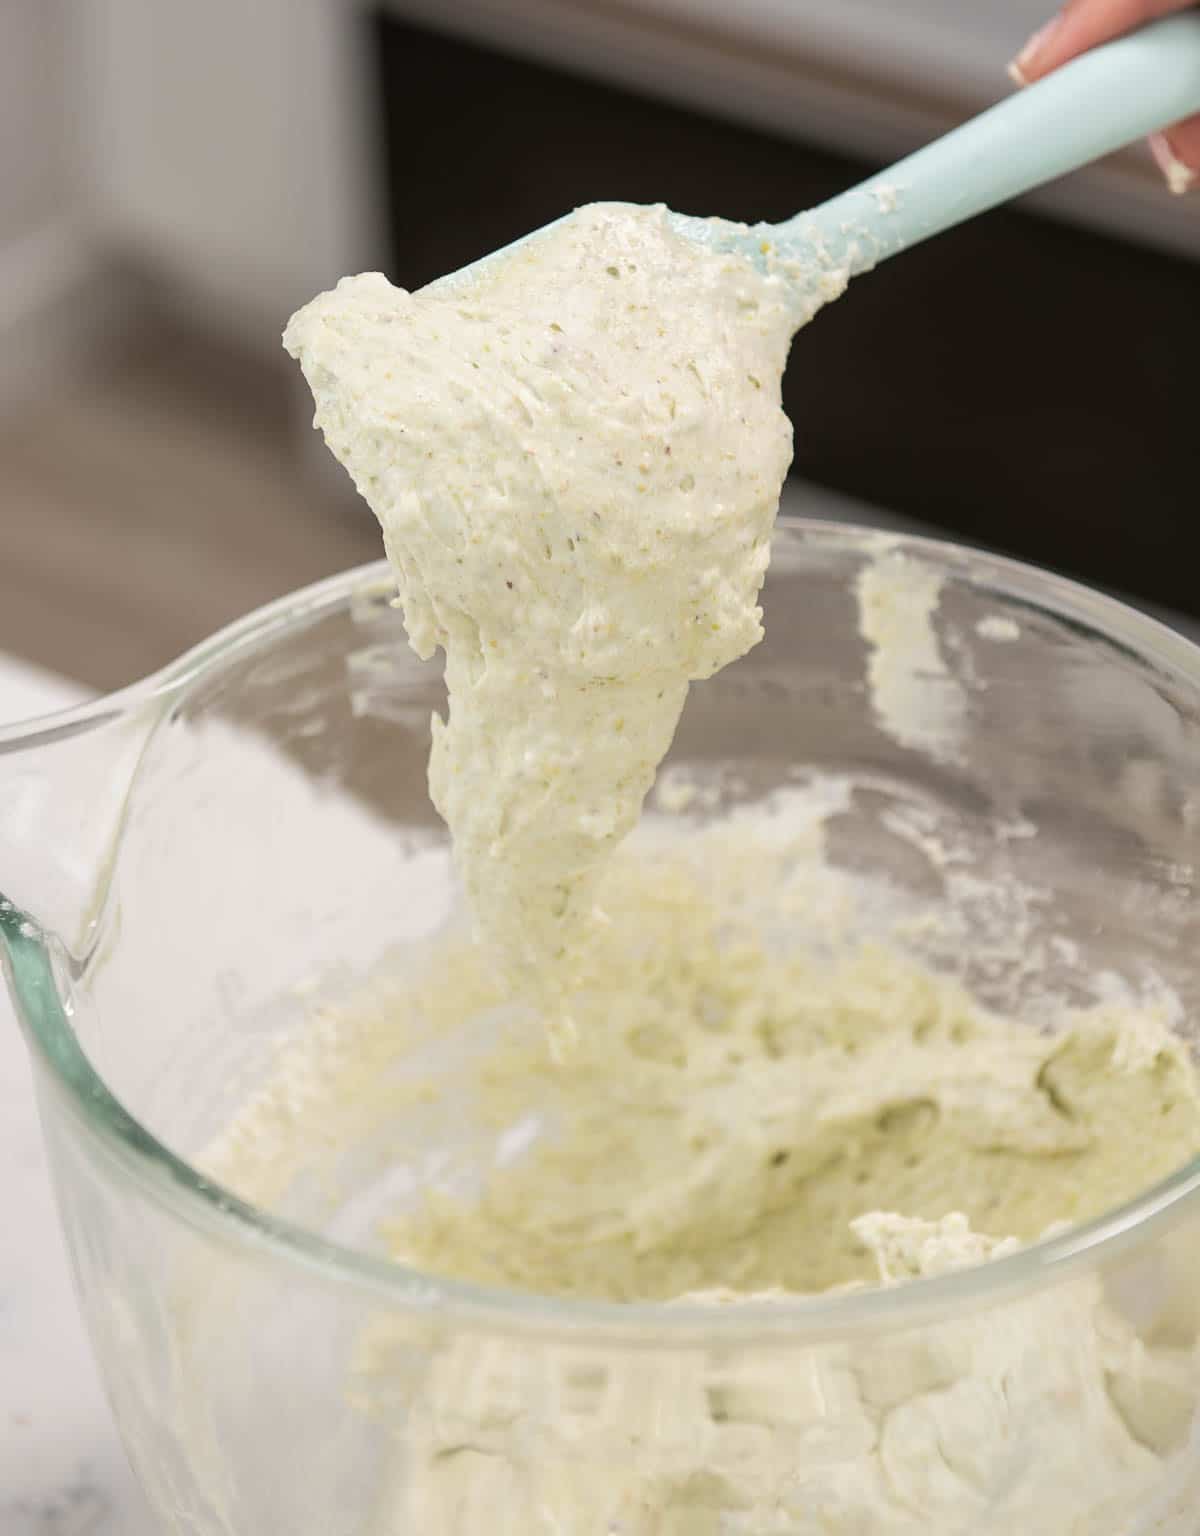
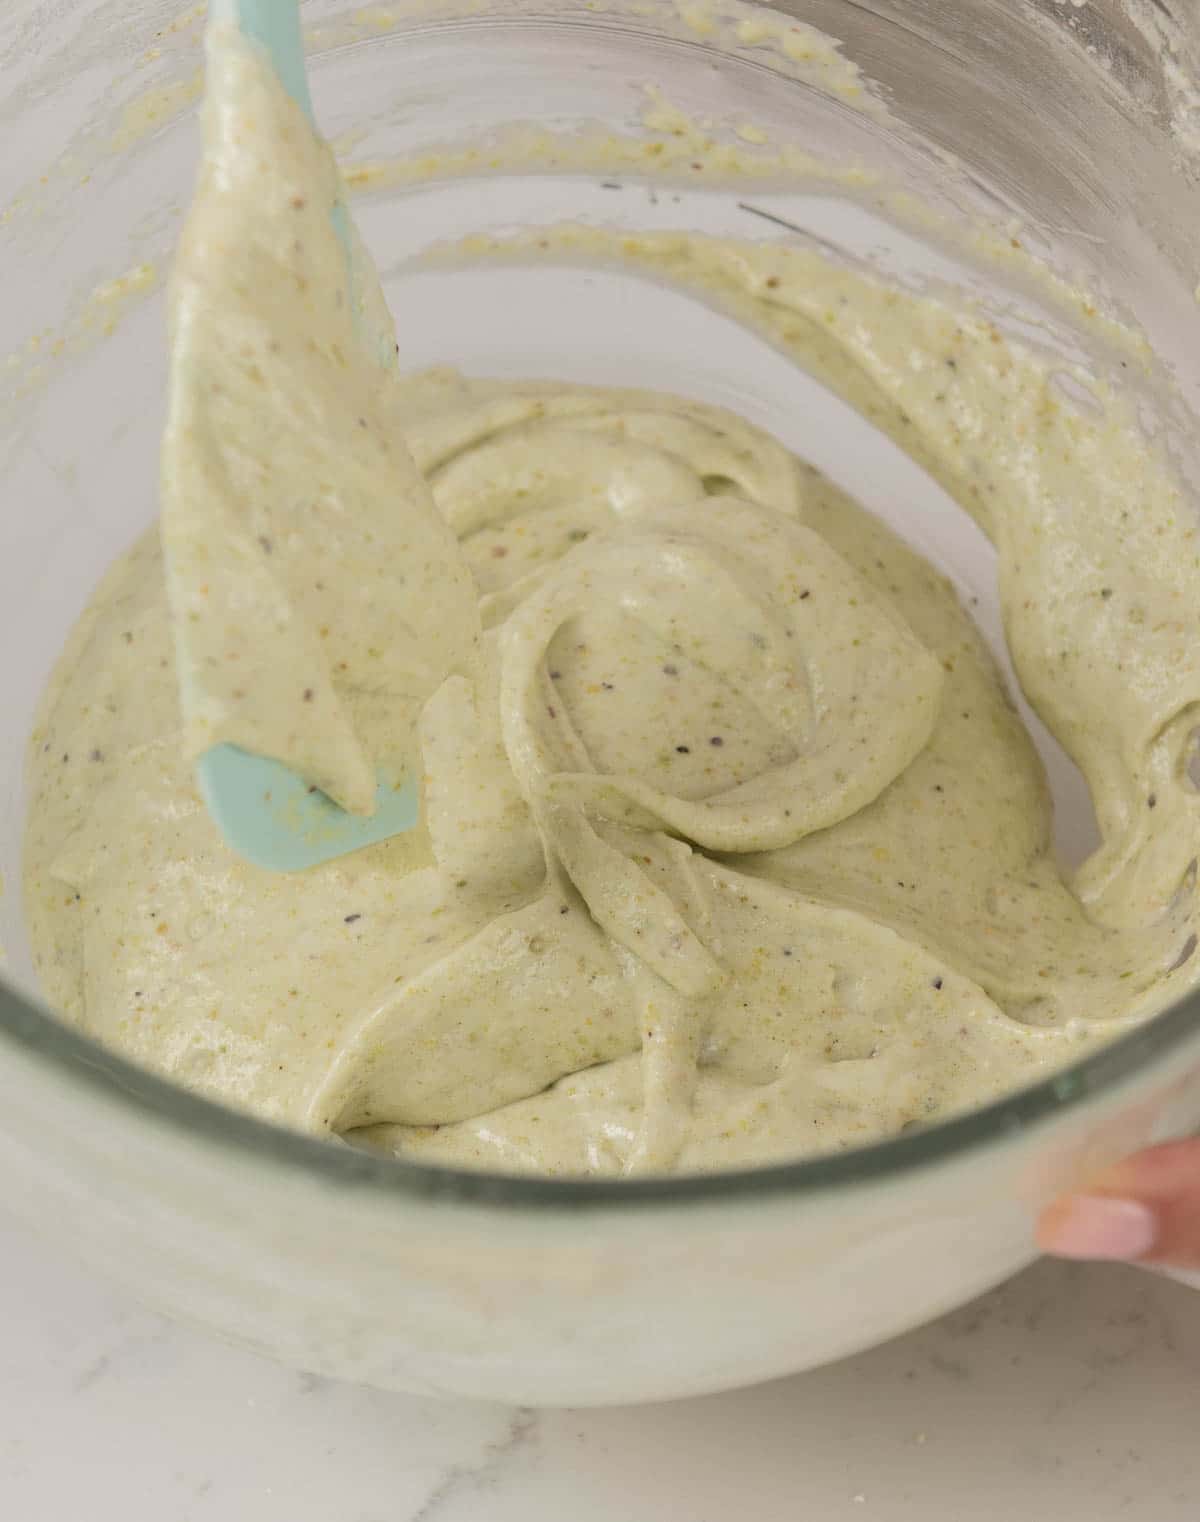
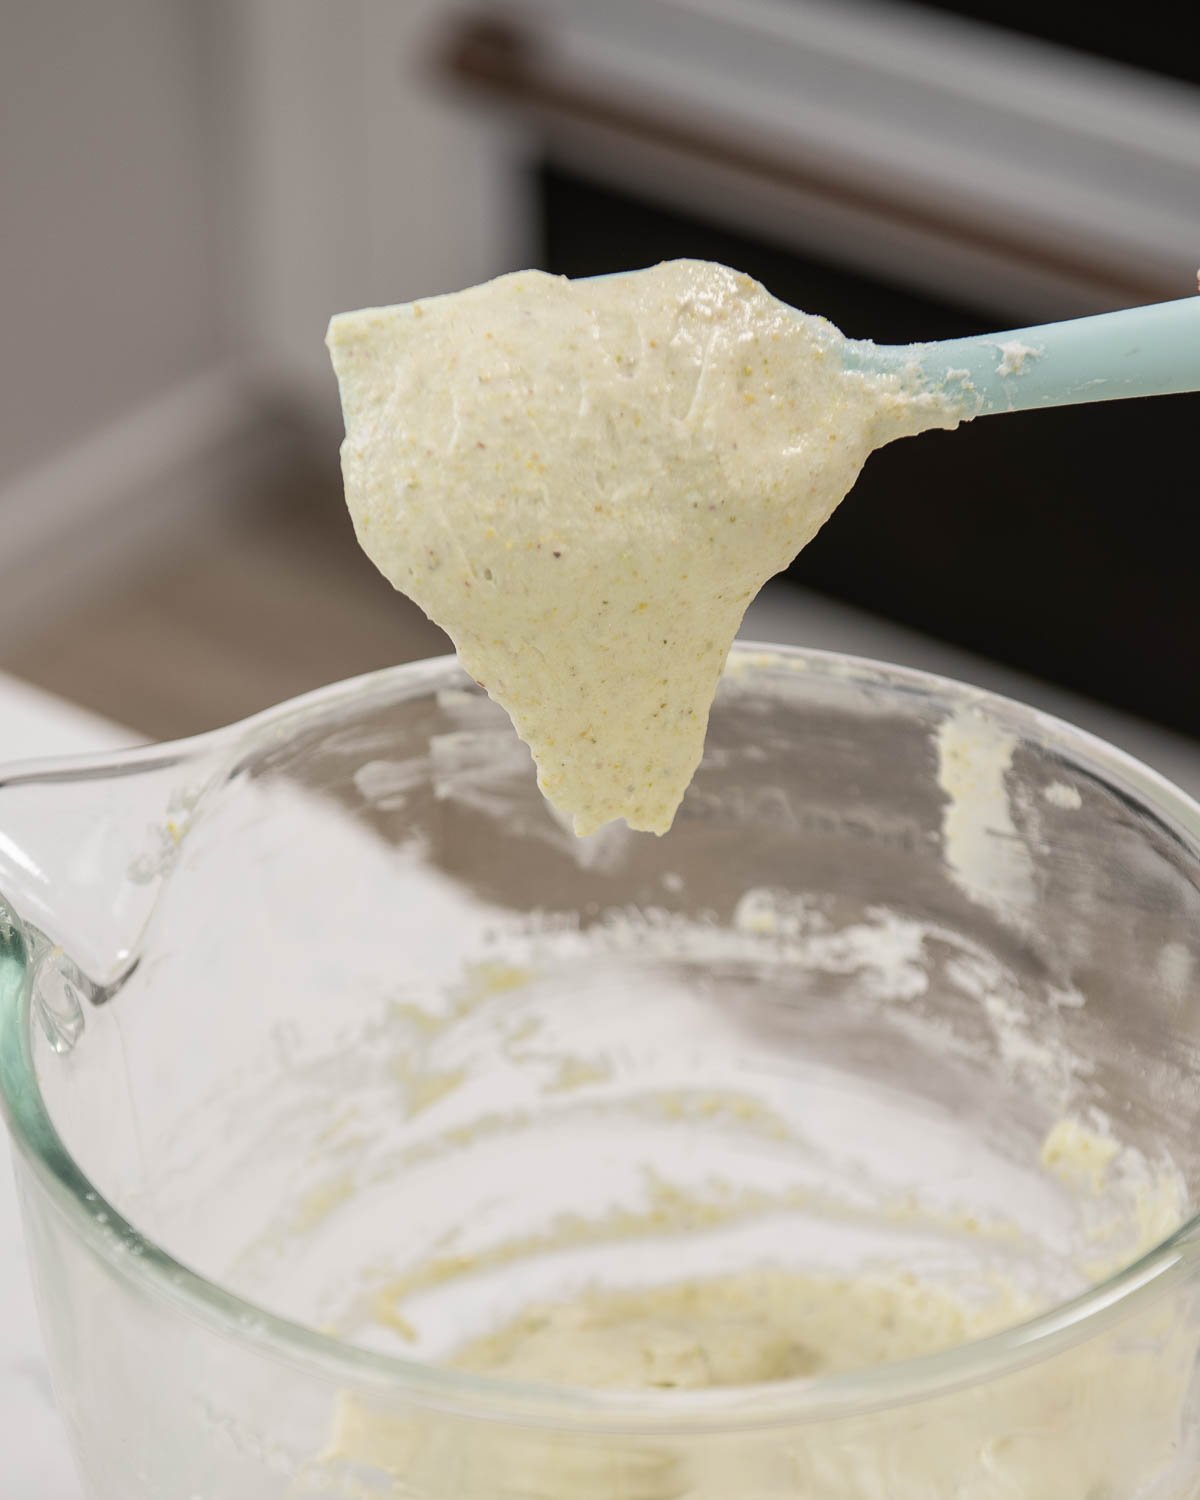
- Then, add in the rest of the flour mixture and continue to gently fold it in using a circular motion. When you do this, you want to gently move your spatula around the bowl without incorporating too much air into the mixture. While you're folding, occasionally, drag your spatula through the middle and then go back to using a circular motion. Stop folding the mixture once it no longer appears goopy and the batter begins to look stretchy. If you can draw a figure 8 using the batter that's falling off of your spatula, then your batter is ready.
- Preheat the oven to 300ºF (149ºC).
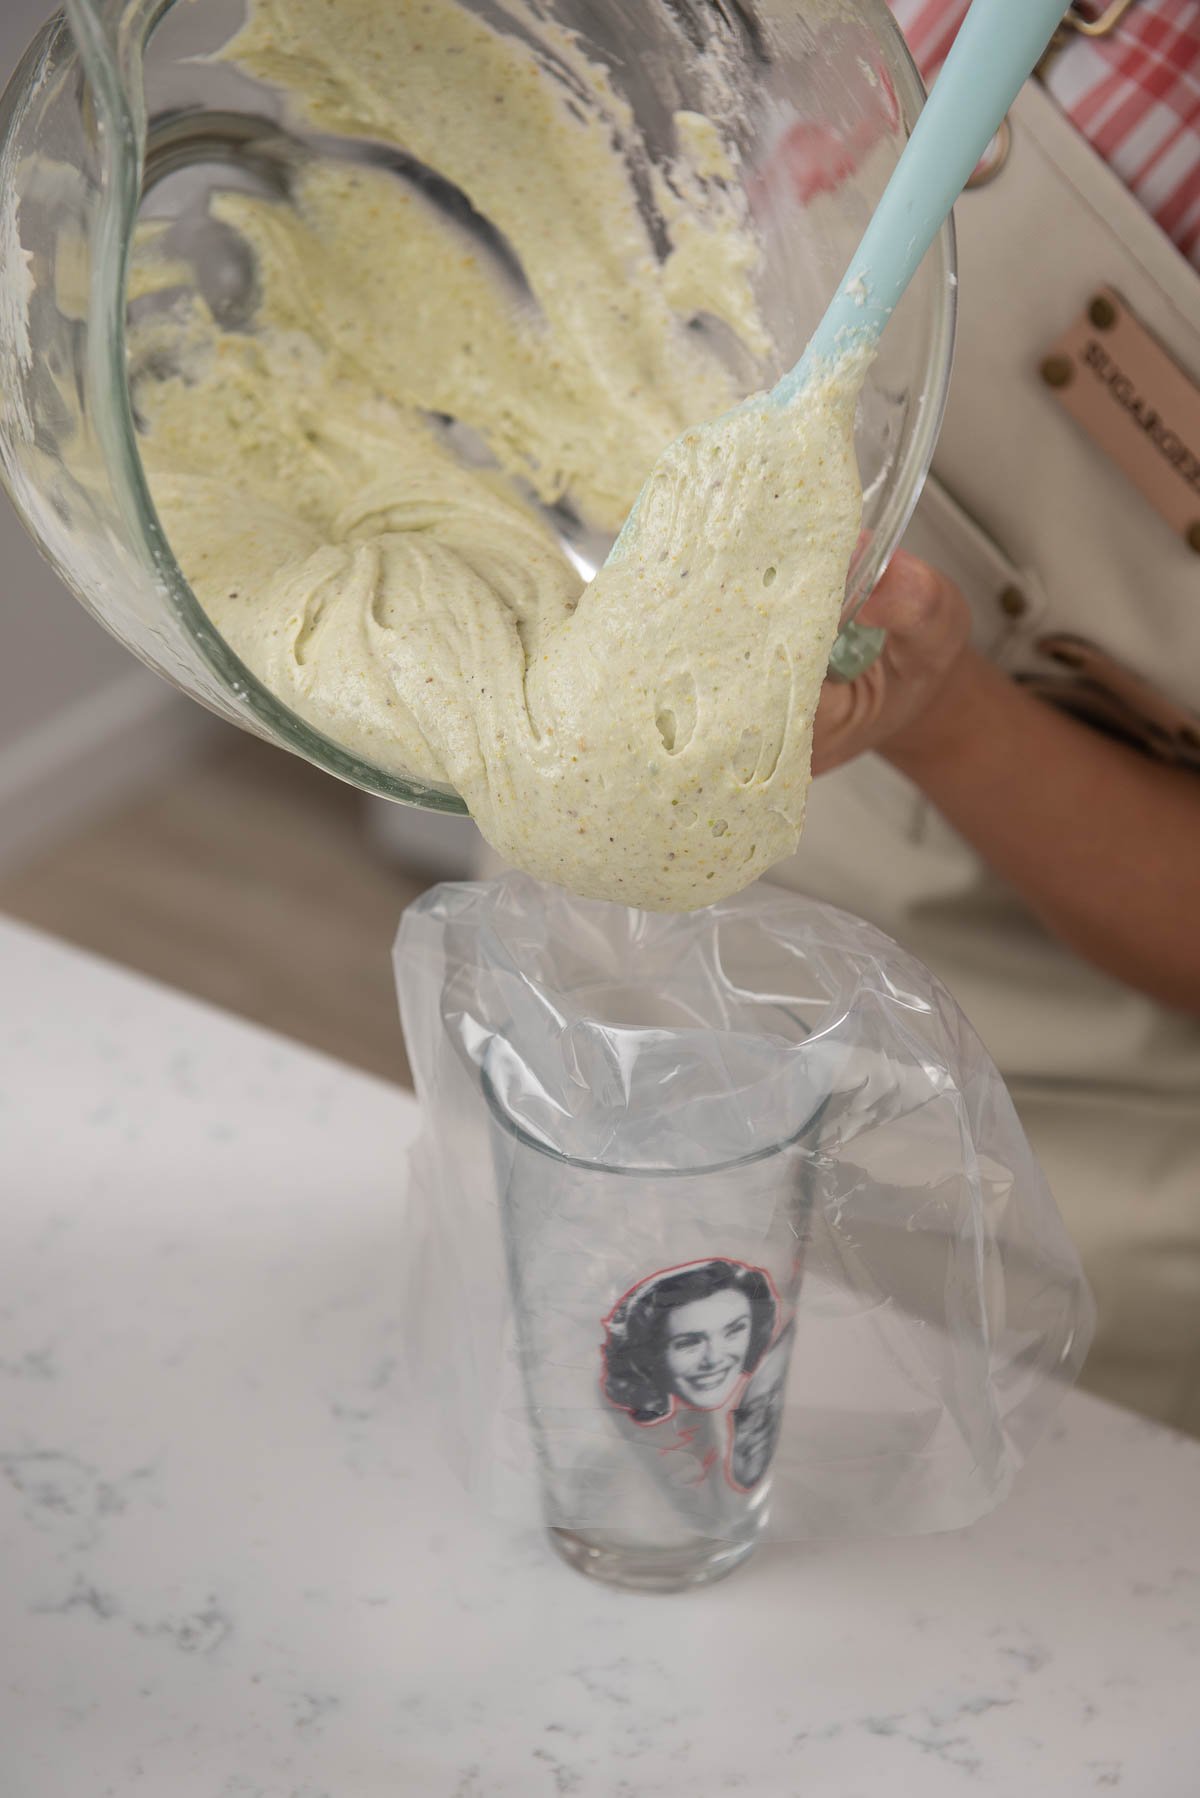
- Prepare a piping bag with a medium round tip, and fill it with the batter.
- Line a baking sheet with parchment paper. PRO TIP: Use a few dollops of batter to 'glue' down the parchment paper to your baking sheet to keep it from moving around.
- Then, if you're using my macaron template, place that layer on top of your parchment paper. Finally, add another layer of parchment paper on top of the template.
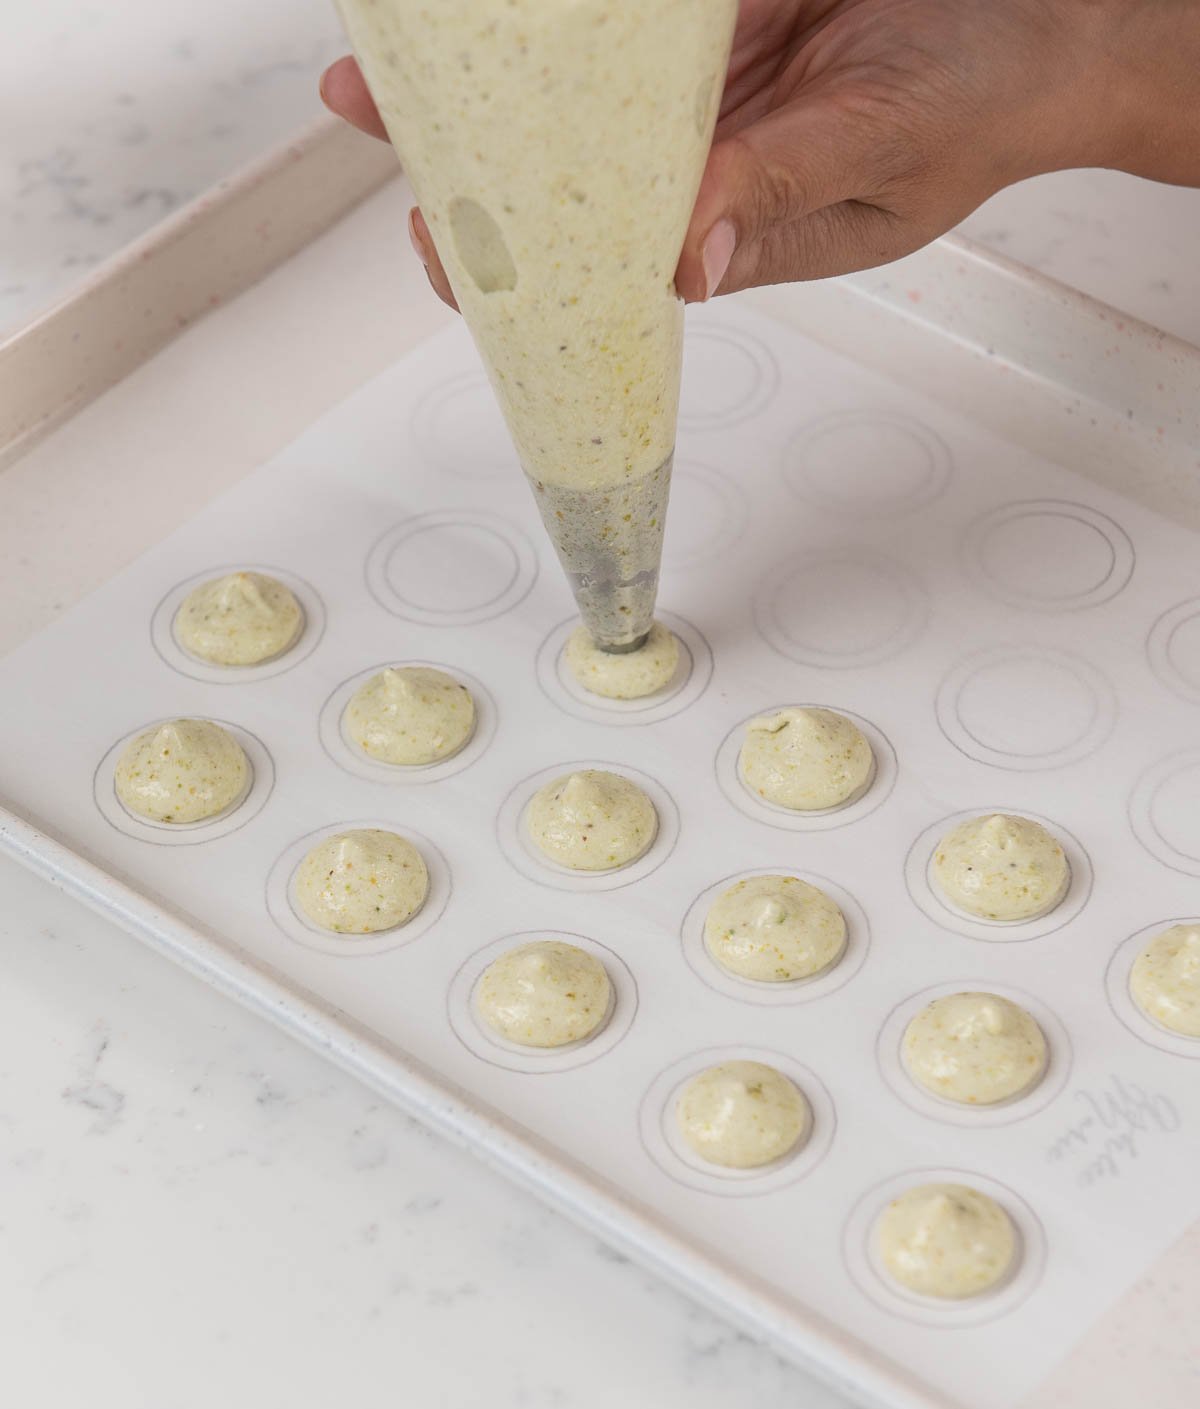
- Pipe your batter onto the parchment paper.
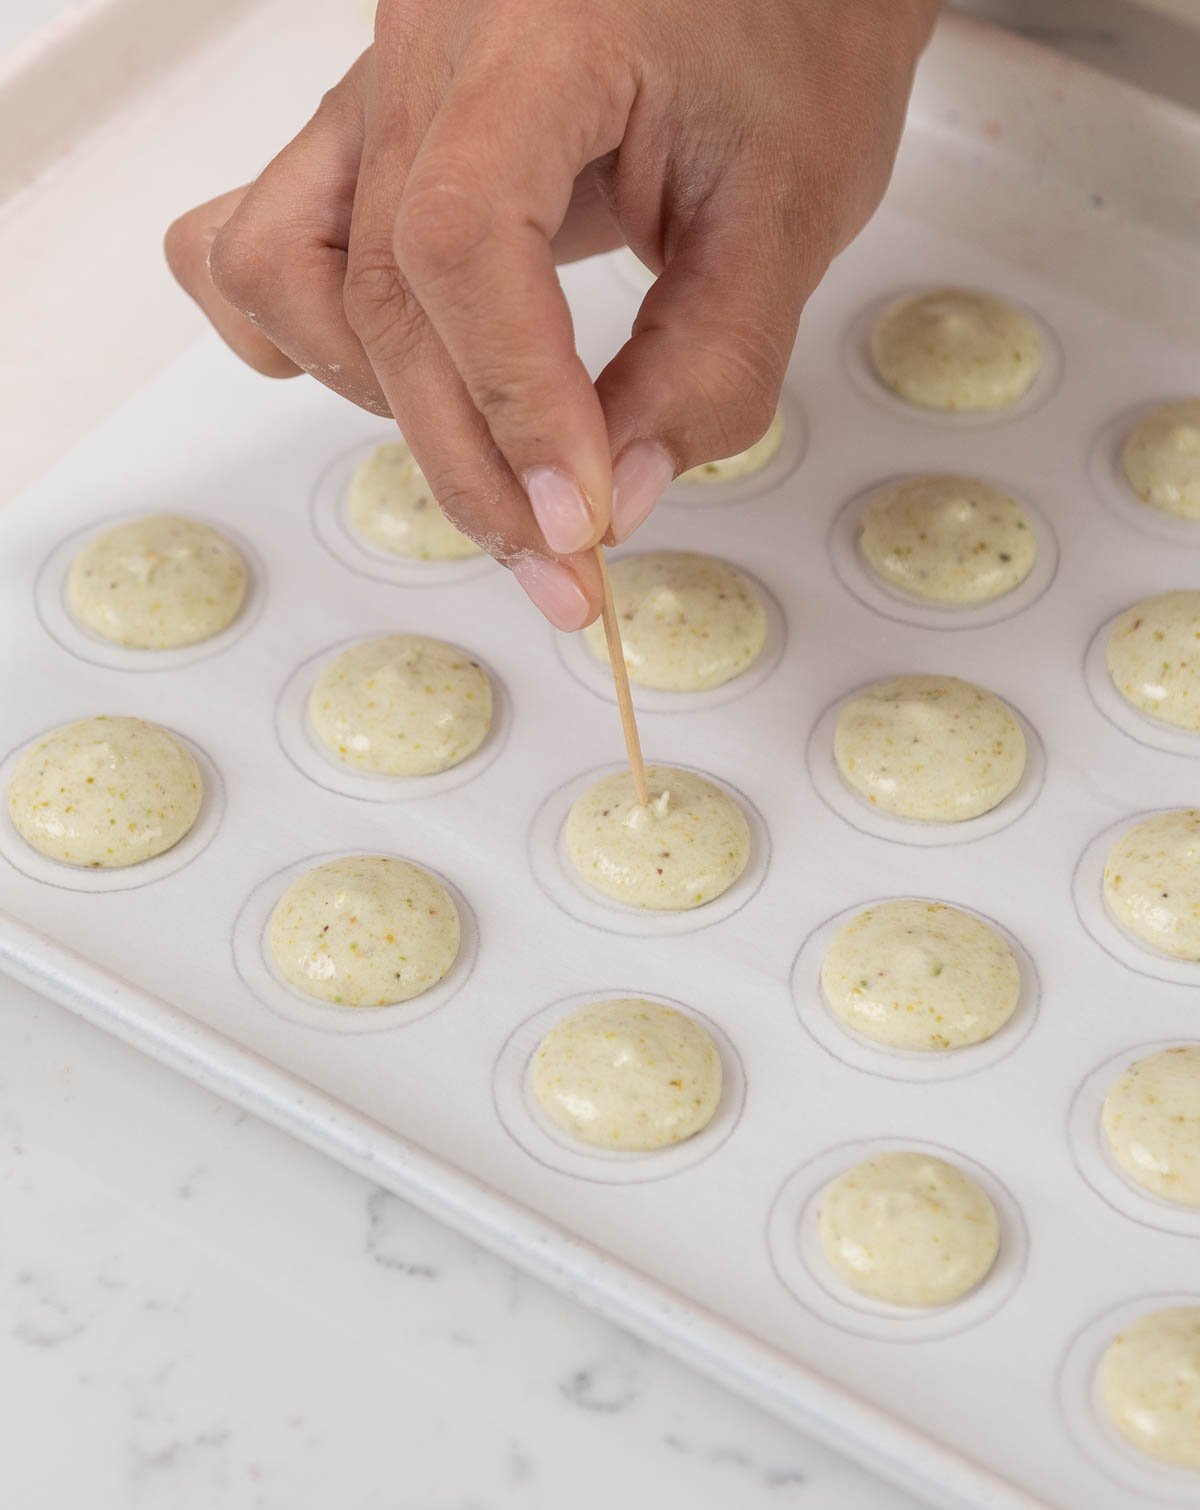
- Next, gently tap the baking sheet onto the countertop a few times to make sure there are no bubbles on the surface. Then, go in with a toothpick to break up any leftover bubbles. If you skip this step, your macarons may explode in the oven!
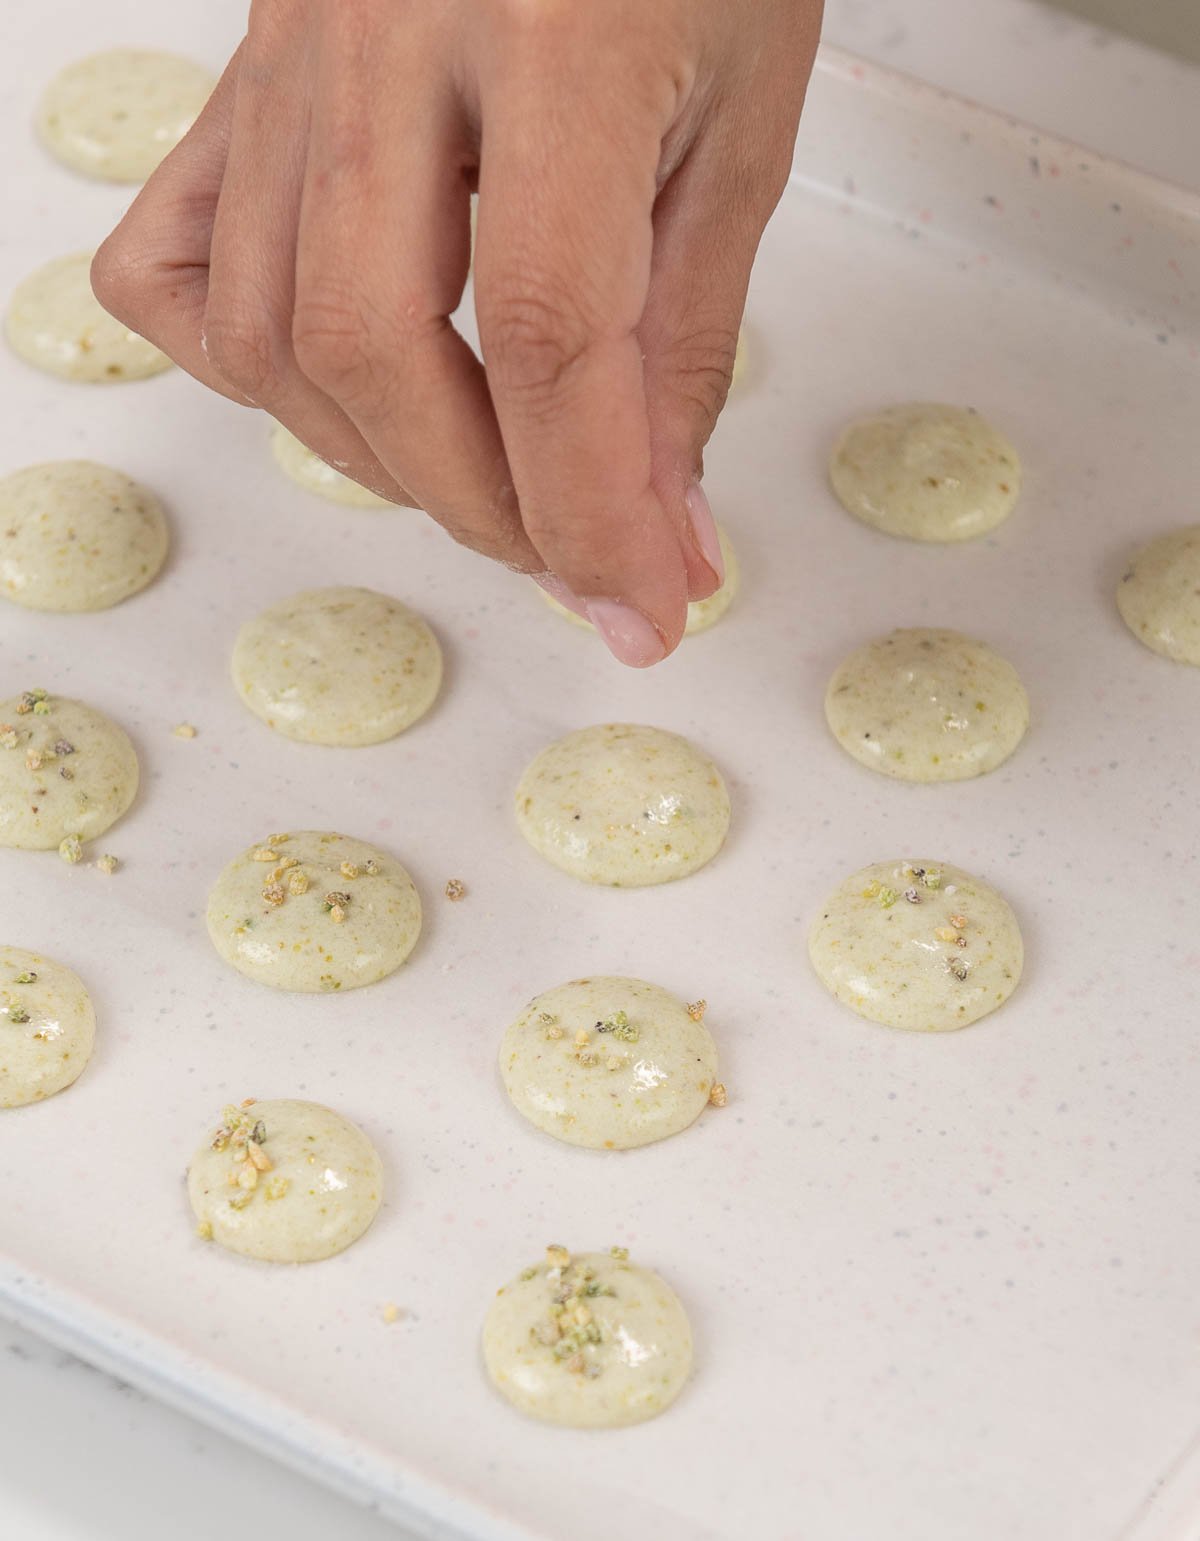
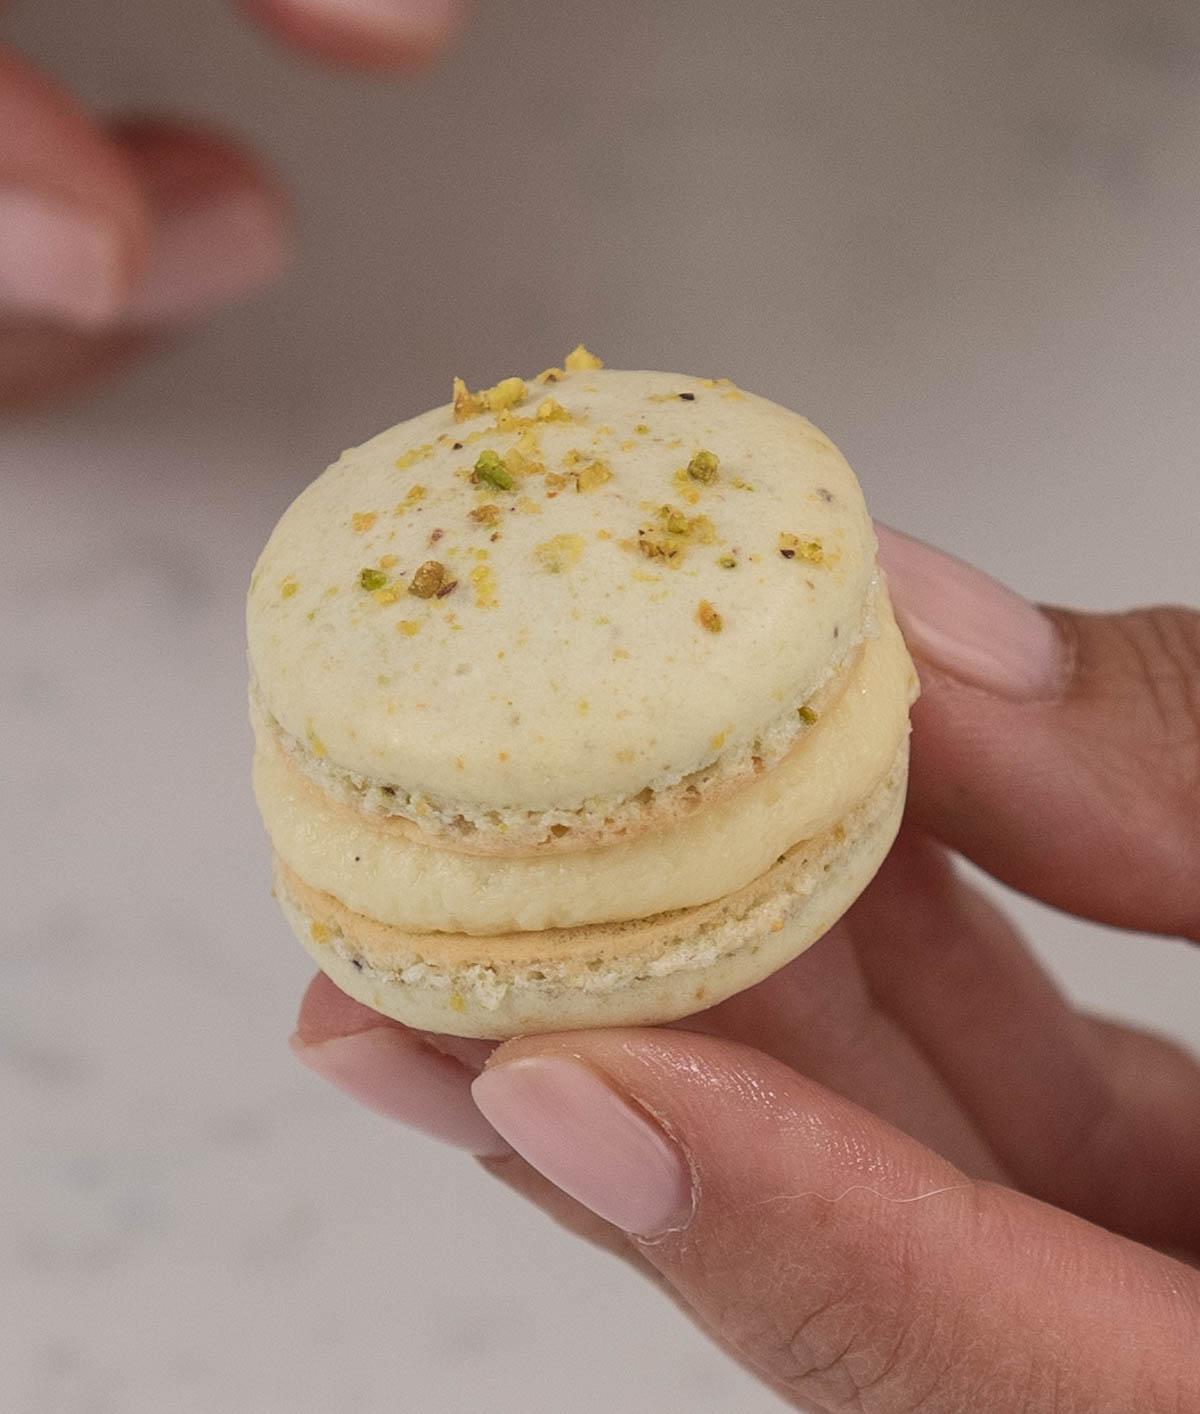
- (Optional) Sprinkle a pinch of ground-up pistachio pieces on top to garnish the macarons.
- Then, set the macarons aside at room temperature to dry. Ultimately, this can take anywhere from 15 minutes to a few hours depending on how humid it is where you are. Macarons are dry and ready to be baked in the oven once you can touch them and a crust or skin has appeared on the macaron.
- Bake in the oven at 300ºF (149ºC) for 10 to 15 minutes. Macarons are done once you see browning around the edges. If they are not quite baked, then bake them for an additional 1 minute because cooked cookies should pull away from the parchment paper easily without sticking. If they do stick, then they were not baked enough. PRO TIP: If you bake your macarons on a silicone mat, it may take a few extra minutes for them to bake properly.
Preparing the White Chocolate Ganache
- First, warm the chocolate in a microwave-safe bowl in the microwave for 1 minute. Be careful not to burn the chocolate since we only want to soften it.
- Next, using a saucepan, pour the heavy whipping cream into the pan and bring it to a simmer.
- Once the heavy whipping cream is simmering, carefully pour it over the chocolate in the microwave-safe bowl. Make sure the chocolate is fully covered.
- Then, let the heavy whipping cream and the chocolate set for 5 minutes.
- Whisk gently to combine the cream and the chocolate. Be careful not to incorporate any air into the bowl.
- Finally, pour it into a shallow pan or a dish to let it stiffen up. Then, stir it until it's creamy using it to fill your macarons. If your ganache is too firm, you can microwave it for 10 seconds to soften it, and then stir it until the ganache is the desired consistency.
Making the Easy Buttercream Frosting
- First, place the egg whites and powdered sugar in a stand mixer bowl. Using the whisk attachment, combine the ingredients on low speed first, and then whip the ingredients on high for 1 minute to dissolve the powdered sugar
- Then, add in the salt and the vanilla extract and mix.
- Next, add in your butter in small chunks and whip it with the whisk attachment to combine everything. It will look curdled at first. This is normal. It will also look pretty yellow. Keep whipping.
- If your buttercream looks curdled, remove about ⅓ cup of buttercream and melt it in the microwave for 10-15 seconds until it is just barely melted. Then, pour it back into the whipping buttercream to bring it all together.
- Next, add a very small drop of purple food coloring (optional). I would recommend using a toothpick to transfer it to the bowl. Then, whip it on high with the whisk attachment for 8-10 minutes until it is very white, light, and shiny.
- Finally, taste the buttercream. If it tastes like sweet ice cream, then it's ready!
White Chocolate Buttercream Filling
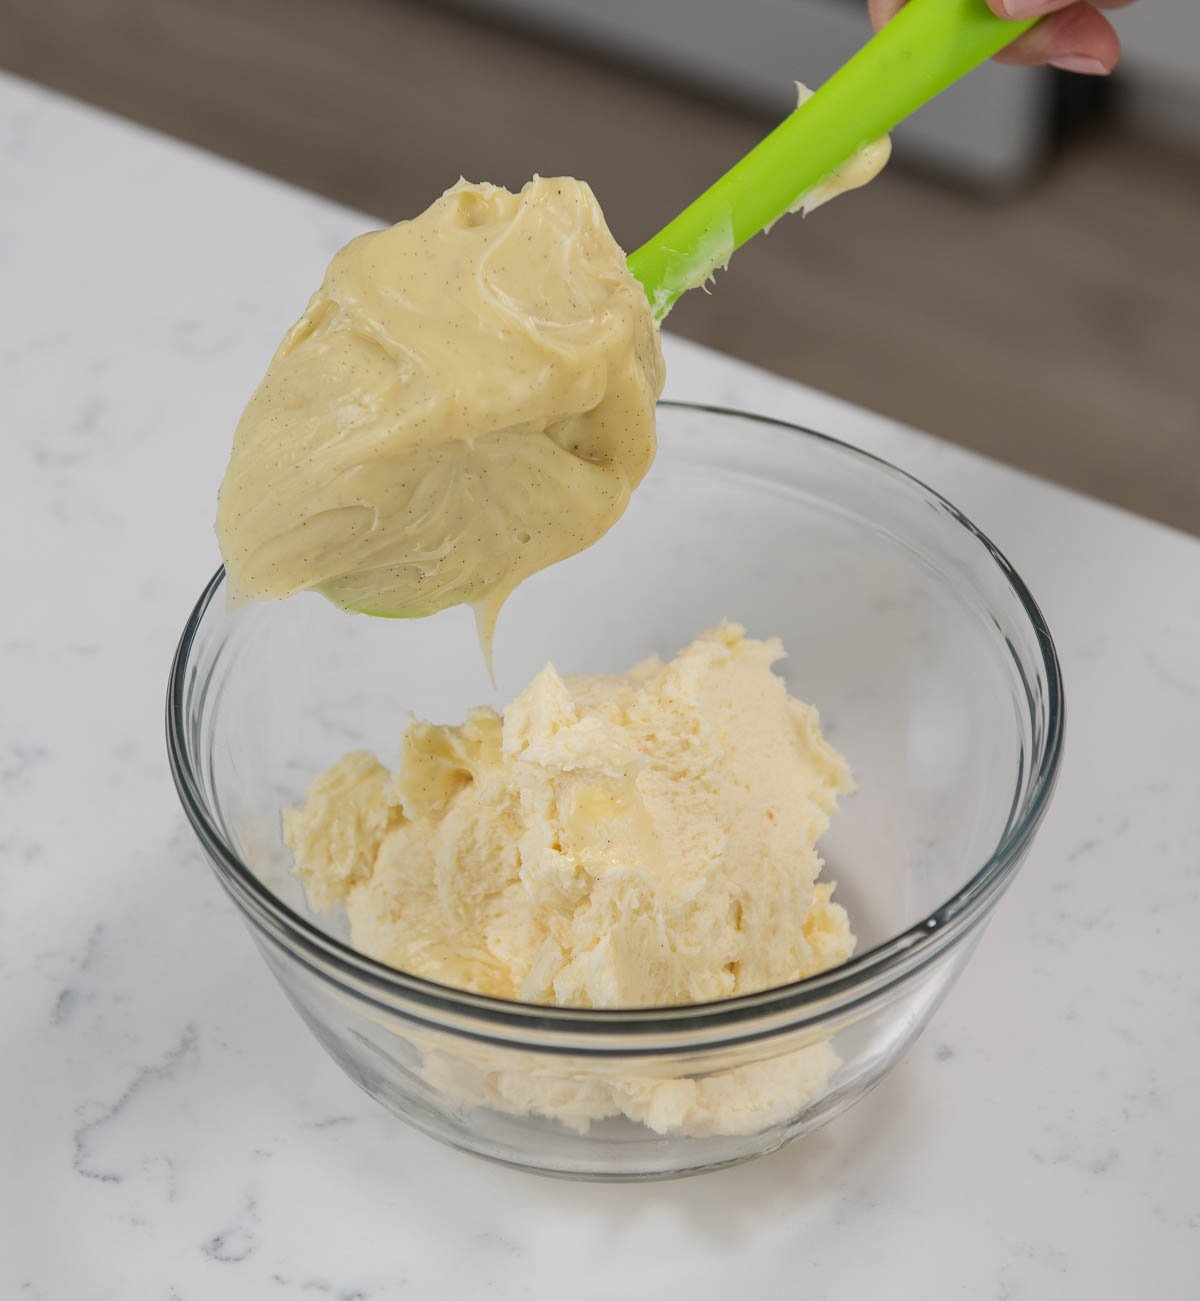
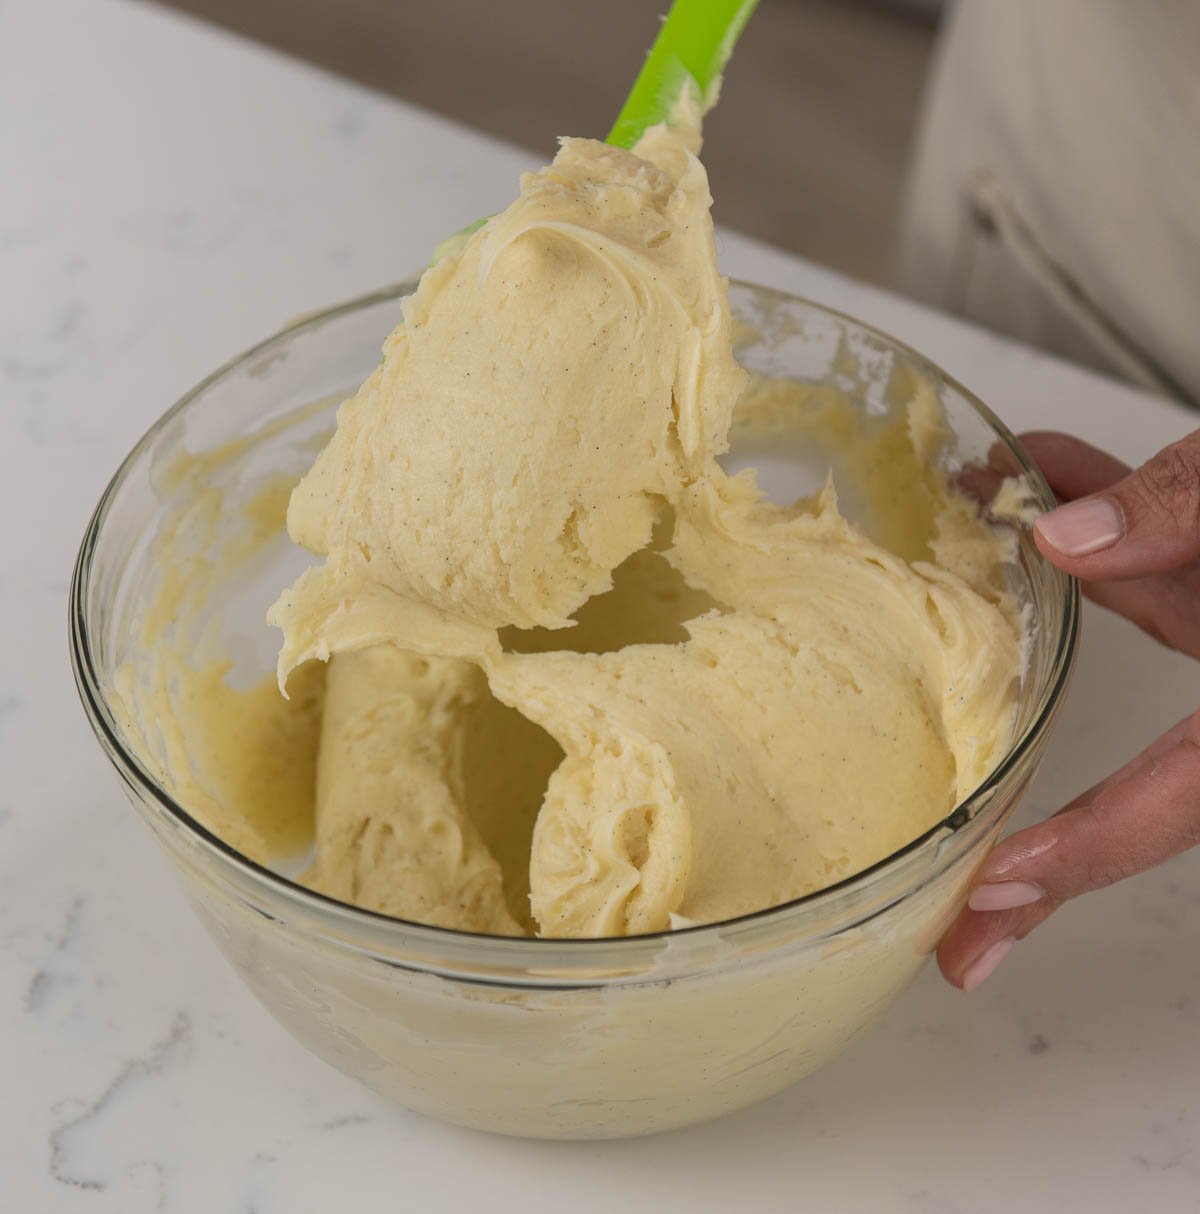
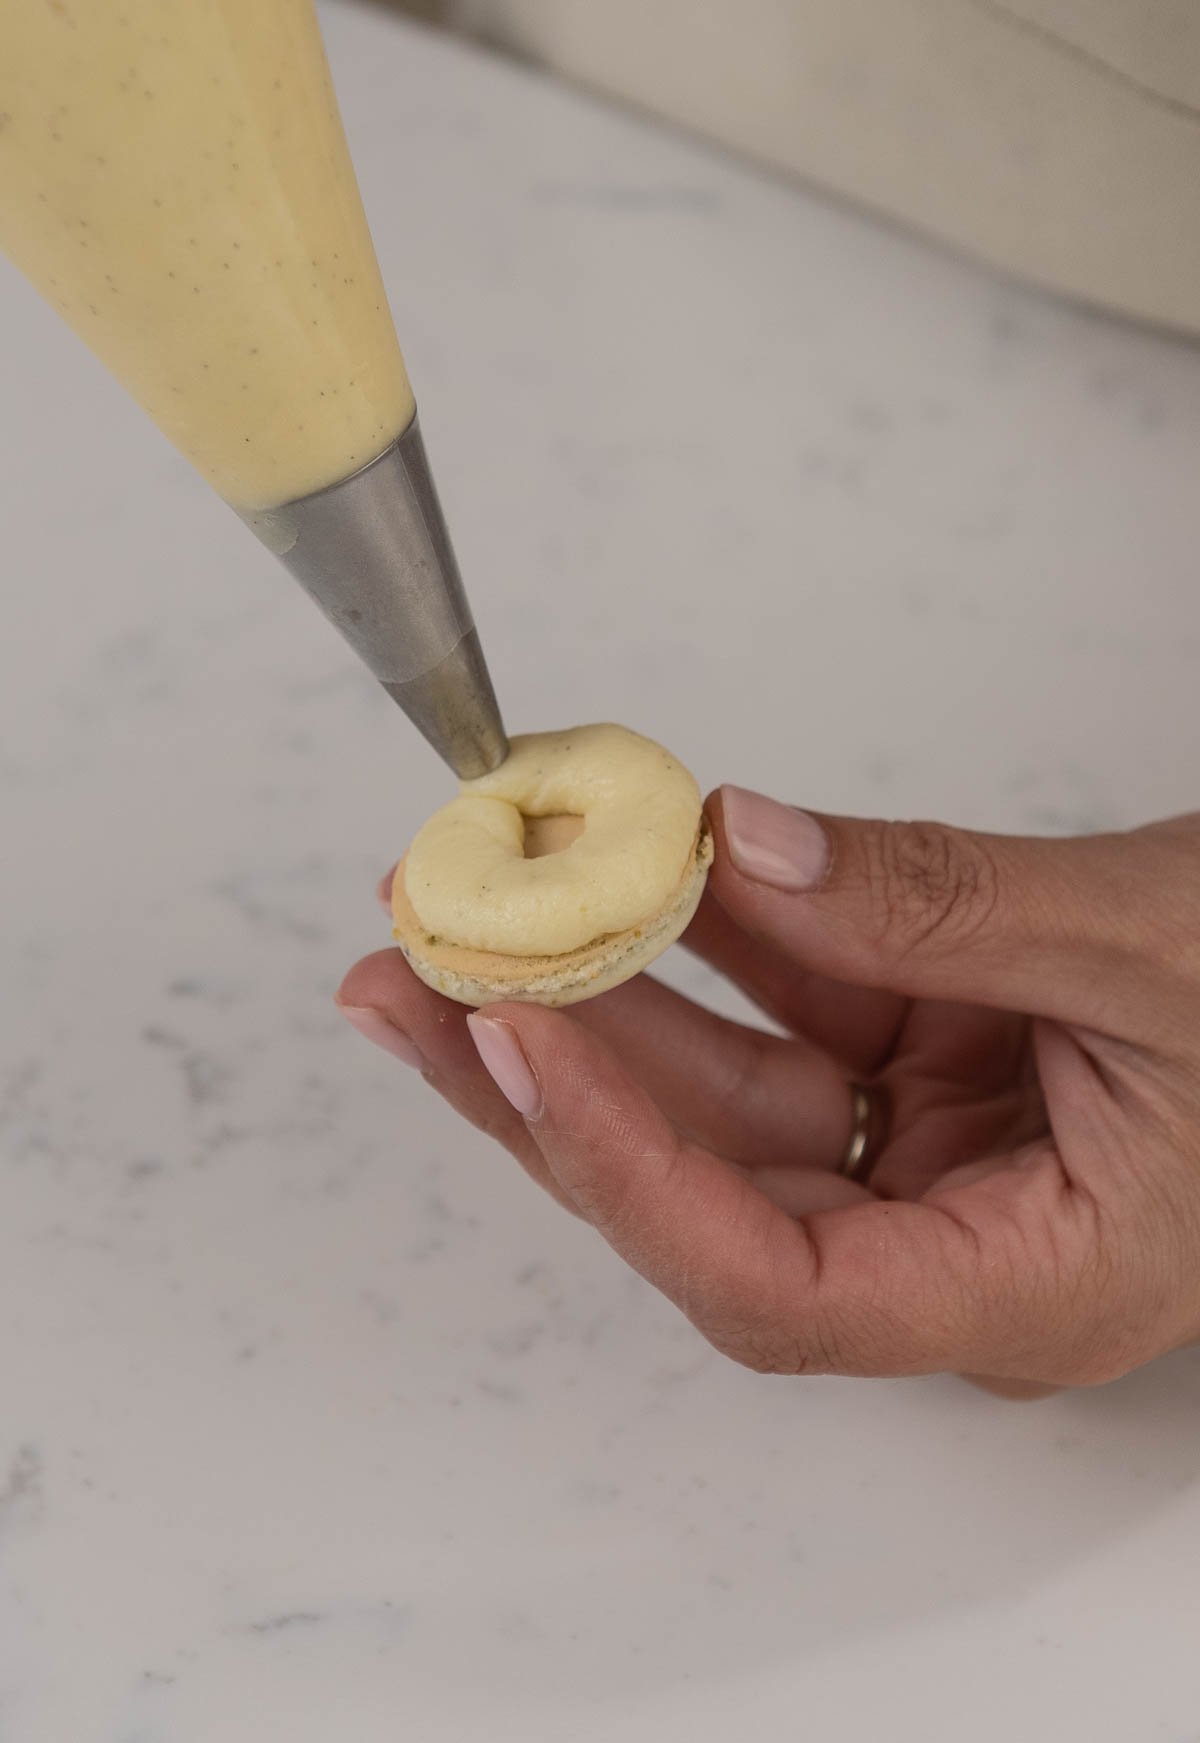
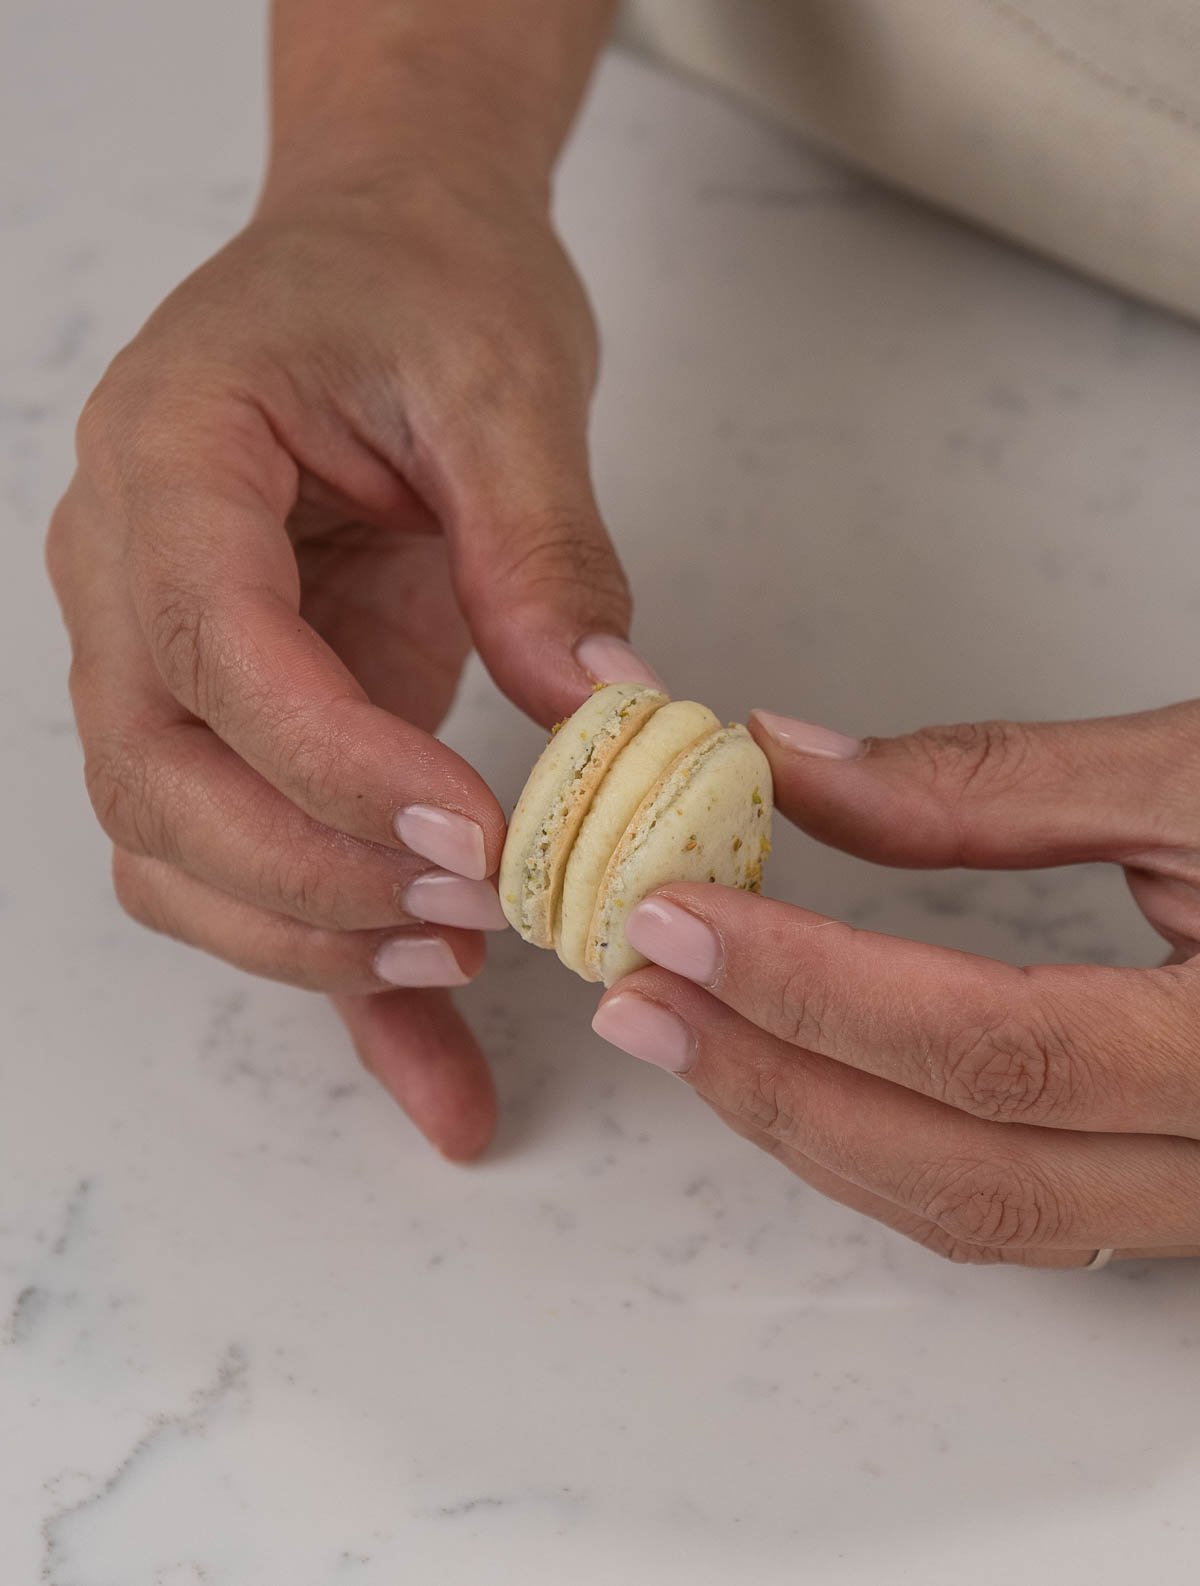
- Mix your white chocolate ganache with your buttercream frosting, and you are ready to fill a piping bag with your filling and assemble your macarons!
FAQs
Not at all! You can customize this macaron recipe if you do not want to make both. You can adjust it to include only the white chocolate ganache filling or even just the easy buttercream frosting by itself.
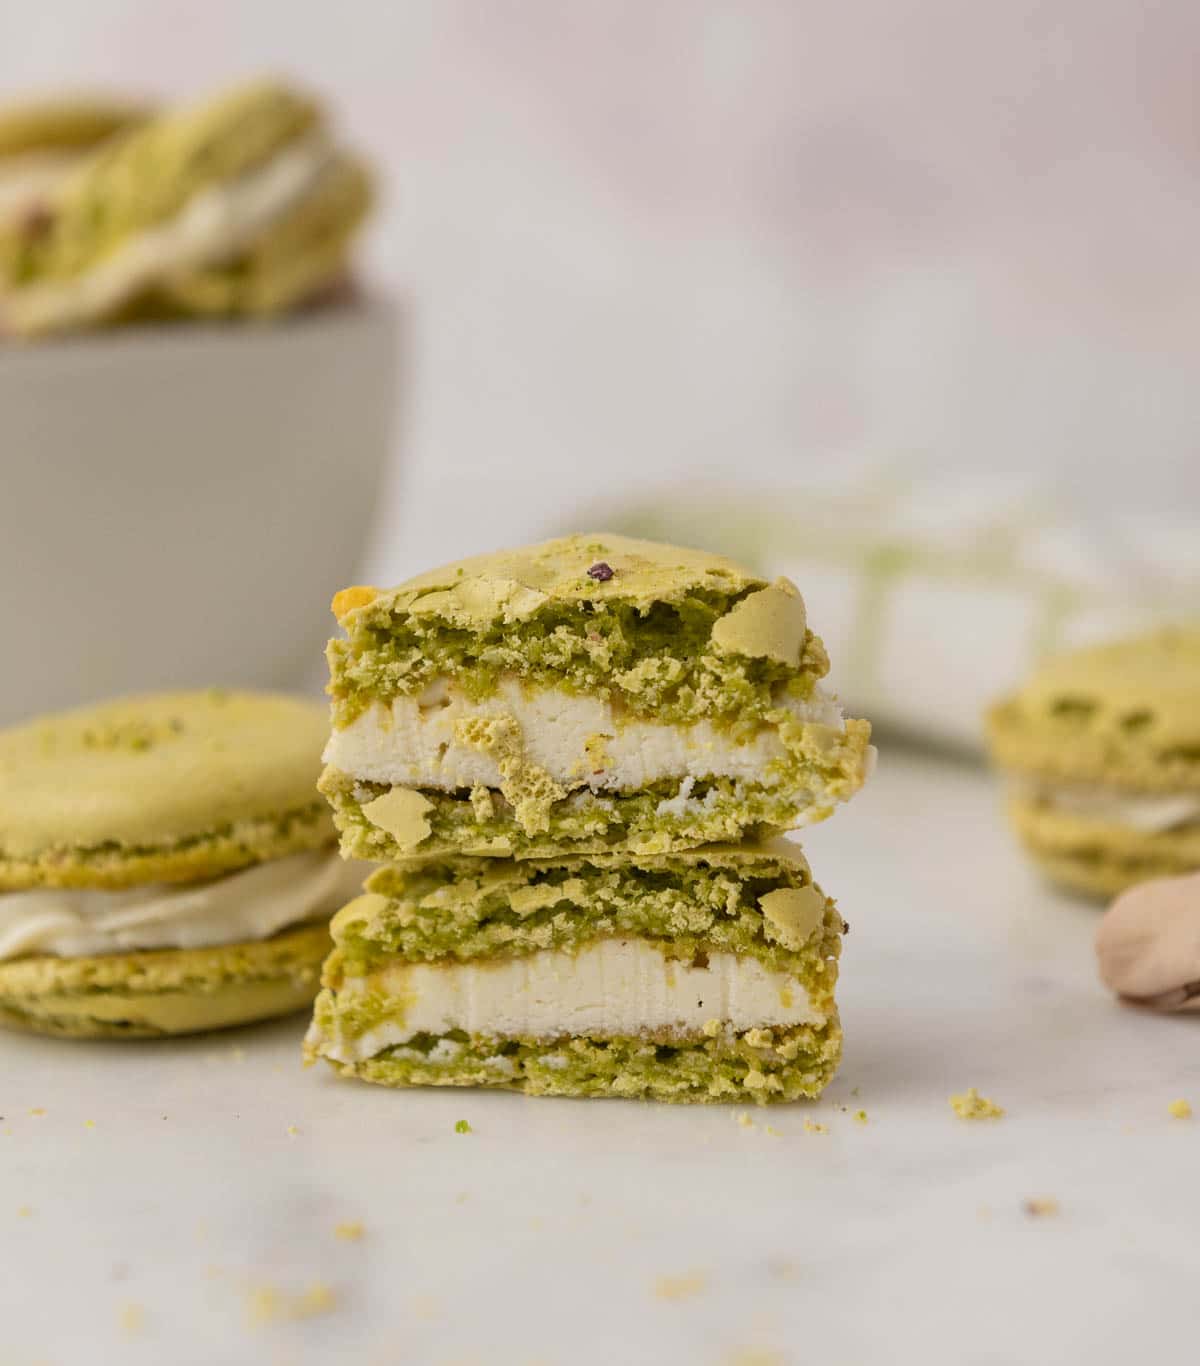
A macaron (mack-a-rohn) is a French cookie made with almond flour, sugar, and egg whites. It has a delicate, crispy shell and a soft and chewy center. They're not very sweet and are often brightly colored with a variety of flavors.
A macaroon (mack-a-roon) is a cookie made from shredded coconut, egg whites, and powdered sugar. It is usually scooped or piped into small balls and baked until the edges are golden brown. The texture is chewy and the flavor is very sweet.
Macarons will fall flat and will be hollow in the center due to overmixing the batter.
Oily blotches on the surface of your macaron are from overmixing and causing the oil from the almond flour to release into the batter. Try folding the batter more gently.
Undermixing your batter or not using super fine almond flour will make lumpy or rough-textured macarons.
Cracked macarons are from not letting them sit at room temp for long enough so they haven’t had time to develop a shell or they were not mixed enough.
Hollow macaron shells can result from not popping the bubbles in the surface of the macarons before baking, or from the meringue being under-whipped.
Absolutely! You can fill the macarons and freeze them for later. Obviously, this is especially helpful if you are making macarons for a party or an event.
Tips for the Perfect Macarons
PRO TIP: Prepare your egg whites a day in advance before mixing in order to make a stronger meringue! To do that, place the egg whites in an uncovered bowl in the refrigerator overnight (or even a couple of days if you plan ahead). If you do this, then it allows the water to evaporative out of them and ultimately whip into an ultimately stronger meringue to make macarons!
Additional tips and tricks:
- Sift your ingredients before mixing
- Weigh all your ingredients in grams for the best and most accurate results
- Wipe the inside of your bowl and attachments well to make sure they are grease-free
- Don’t over-whip your egg whites. Ensure they are at the firm peak stage but still glossy and moist
- If your room is very humid, put a space heater next to the macarons to help dry them out
More Recipes You'll Love
Recipe

Equipment
- Food Scale
- Stand Mixer
- Sifter
- Parchment Paper
- Piping Bag
- 802 Round Piping Tip
- Food processor
Ingredients
Pistachio Macarons
- 1 ounce almond flour
- 1 ounce pistachio flour
- 4 ounces powdered sugar
- 1 pinch salt
- 2 ounces egg whites aged overnight in the fridge and brought to room temperature
- ¼ teaspoon cream of tartar
- 1 ounce granulated sugar
- ½ teaspoon vanilla extract
- 2 drops green gel food coloring
White Chocolate Ganache
- 24 ounces White chocolate
- 8 ounces heavy whipping cream
Easy Buttercream Frosting
- 12 ounces unsalted butter (room temperature) You can use salted butter but it will affect the taste and you need to leave out additional salt
- 12 ounces powdered sugar sifted if not from a bag
- 1 teaspoon vanilla extract
- ¼ teaspoon salt
- 3 ounces pasteurized egg whites room temperature
- 1 tiny drop purple food coloring (optional) for whiter frosting
Instructions
Pistachio Macarons
- Download my macaron template to print before you get started! This is an optional step.
- First, you'll want to prepare your pistachio flour. Use a food processor to grind your pistachios up to an ultra-fine, flour-like texture. Or, if you prefer, you can buy your own pistachio flour.
- Next, sift your pistachio flour, almond flour, salt, and powdered sugar into a large mixing bowl. Sift these ingredients 2 times. Other than sifting out large pieces, the reason you need to sift it twice is to allow the powdered sugar to properly mix with the flours while also aerating the flour (which will make it easier to mix with the egg whites).
- Then, in the bowl of your stand mixer, add in the egg whites and mix them on medium speed using the whisk attachment until they appear foamy.
- Once the egg whites appear foamy, start to slowly sprinkle in the granulated sugar. Mix them until the egg whites turn white and you can see some lines forming in the surface from the whisk. Now, add in the cream of tartar and whip them until soft, glossy peaks form.
- Then, add in the vanilla extract and continue to mix until you have firm, glossy peaks. Usually, this process can take anywhere from 10 to 15 minutes. To test if your meringue is ready, turn off the mixer and remove the whisk attachment. Hold the whisk attachment to see if the meringue is firm enough to hold its shape without appearing curdled, dry, or breaking apart.
- Next, add in a very small amount of green food coloring (optional). I prefer to use Americolor food color gel. Use a toothpick to grab 2 drops of green food coloring and then wipe it onto a spatula. Then, use the spatula to gently fold it into your meringue.
- Next, transfer ⅓ of your flour mixture into the meringue and fold it in.
- Once the flour is folded in and combined with the meringue, add in half of the remaining flour mixture and gently fold it in using a circular motion (like a tumble dryer).
- Then, add in the rest of the flour mixture and continue to gently fold it in using a circular motion. When you do this, you want to gently move your spatula around the bowl without incorporating too much air into the mixture. While you're folding, occasionally, drag your spatula through the middle and then go back to using a circular motion. Stop folding the mixture once it no longer appears goopy and the batter begins to look stretchy. If you can draw a figure 8 using the batter that's falling off of your spatula, then your batter is ready.
- Preheat the oven to 300ºF (149ºC).
- Prepare a piping bag with a medium round tip, and fill it with the batter.
- Line a baking sheet with parchment paper. PRO TIP: Use a few dollops of batter to 'glue' down the parchment paper to your baking sheet to keep it from moving around.
- Then, if you're using my macaron template, place that layer on top of your parchment paper. Finally, add another layer of parchment paper on top of the template.
- Pipe your batter onto the parchment paper.
- Next, gently tap the baking sheet onto the countertop a few times to make sure there are no bubbles on the surface. Then, go in with a toothpick to break up any leftover bubbles. If you skip this step, your macarons may explode in the oven!
- (Optional) Sprinkle a pinch of ground-up pistachio pieces on top to garnish the macarons.
- Then, set the macarons aside at room temperature to dry. Ultimately, this can take anywhere from 15 minutes to a few hours depending on how humid it is where you are. Macarons are dry and ready to be baked in the oven once you can touch them and a crust or skin has appeared on the macaron.
- Bake in the oven at 300ºF (149ºC) for 10 to 15 minutes. Your macarons will be done once you see browning around the edges. If they are not quite baked, then bake them for an additional 1 minute. Ultimately, cooked cookies should pull away from the parchment paper easily without sticking. If they do stick, they were not baked enough. PRO TIP: If you bake your macarons on a silicone mat, then it may take a few extra minutes for them to bake properly.
White Chocolate Ganache
- First, warm the chocolate in a microwave-safe bowl in the microwave for 1 minute. Be careful not to burn the chocolate since we only want to soften it.
- Next, using a saucepan, pour the heavy whipping cream into the pan and bring it to a simmer.
- Once the heavy whipping cream is simmering, carefully pour it over the chocolate in the microwave-safe bowl. Make sure the chocolate is fully covered.
- Then, let the heavy whipping cream and the chocolate set for 5 minutes.
- Whisk gently to combine the cream and the chocolate. Be careful not to incorporate any air into the bowl.
- Finally, pour it into a shallow pan or a dish to let it stiffen up. Then, stir it until it's creamy using it to fill your macarons. If your ganache is too firm, you can microwave it for 10 seconds to soften it, and then stir it until the ganache is the desired consistency.
Easy Buttercream Frosting
- First, place the egg whites and powdered sugar in a stand mixer bowl. Using the whisk attachment, combine the ingredients on low speed first, and then whip the ingredients on high for 1 minute to dissolve the powdered sugar
- Then, add in the salt and the vanilla extract and mix.
- Next, add in your butter in small chunks and whip it with the whisk attachment to combine everything. It will look curdled at first. This is normal. It will also look pretty yellow. Keep whipping.
- If your buttercream looks curdled, remove about ⅓ cup of buttercream and melt it in the microwave for 10-15 seconds until it is just barely melted. Then, pour it back into the whipping buttercream to bring it all together.
- (Optional) Add a very small drop of purple food coloring. I would recommend using a toothpick to transfer it to the bowl. Then, whip it on high with the whisk attachment for 8-10 minutes until it is very white, light, and shiny.
- Finally, taste the buttercream. If it tastes like sweet ice cream, then it's ready!
White Chocolate Buttercream Filling
- Mix your white chocolate ganache with your buttercream frosting, and you are ready to fill a piping bag with your filling and assemble your macarons!
Video
Notes
- Use a scale to weigh your ingredients (including liquids) unless otherwise instructed (Tablespoons, teaspoons, pinch, etc). Metric measurements are available in the recipe card. Scaled ingredients are much more accurate than using cups and help ensure the success of your recipe.
- Practice Mise en Place (everything in its place). Measure out your ingredients ahead of time and have them ready before you start mixing to reduce the chances of accidentally leaving something out.
- PRO TIP: Prepare your egg whites a day in advance before mixing in order to make a stronger meringue! To do that, place the egg whites in an uncovered bowl in the refrigerator overnight (or even a couple of days if you plan ahead). If you do this, then it allows the water to evaporative out of them and ultimately whip into an ultimately stronger meringue to make macarons!
- If you're already comfortable making white chocolate ganache and want to try a more advanced version than the one in this recipe, you should use Chef Christophe Rull's white chocolate vanilla bean ganache recipe that we used to make bonbons! Just swap out the white chocolate ganache in this recipe for the vanilla bean version and you will love the added vanilla flavor!



Leave a Reply