

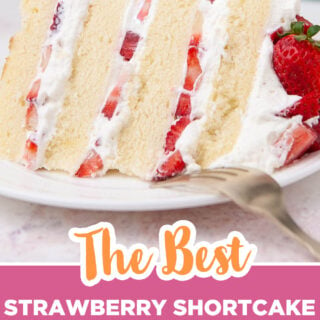
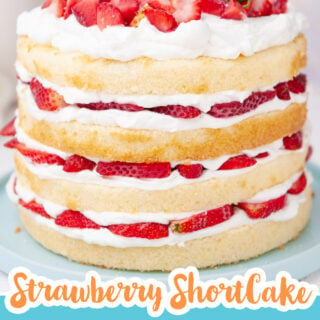
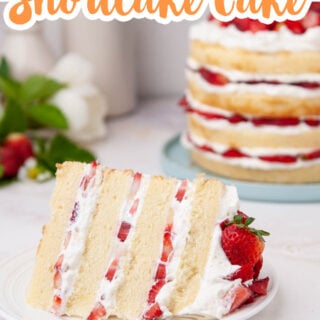
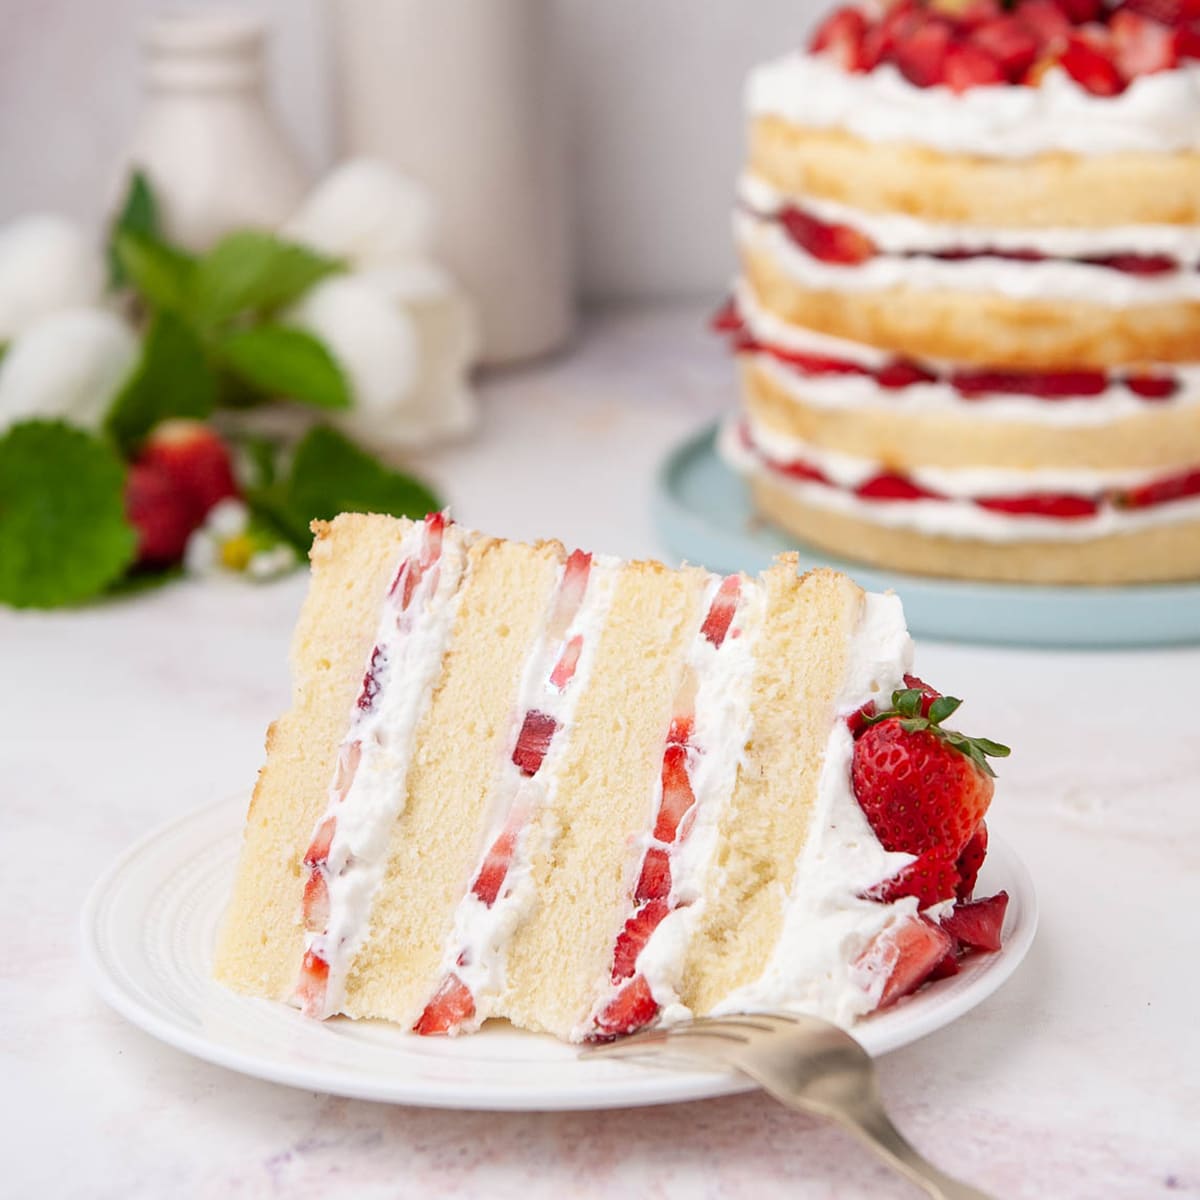
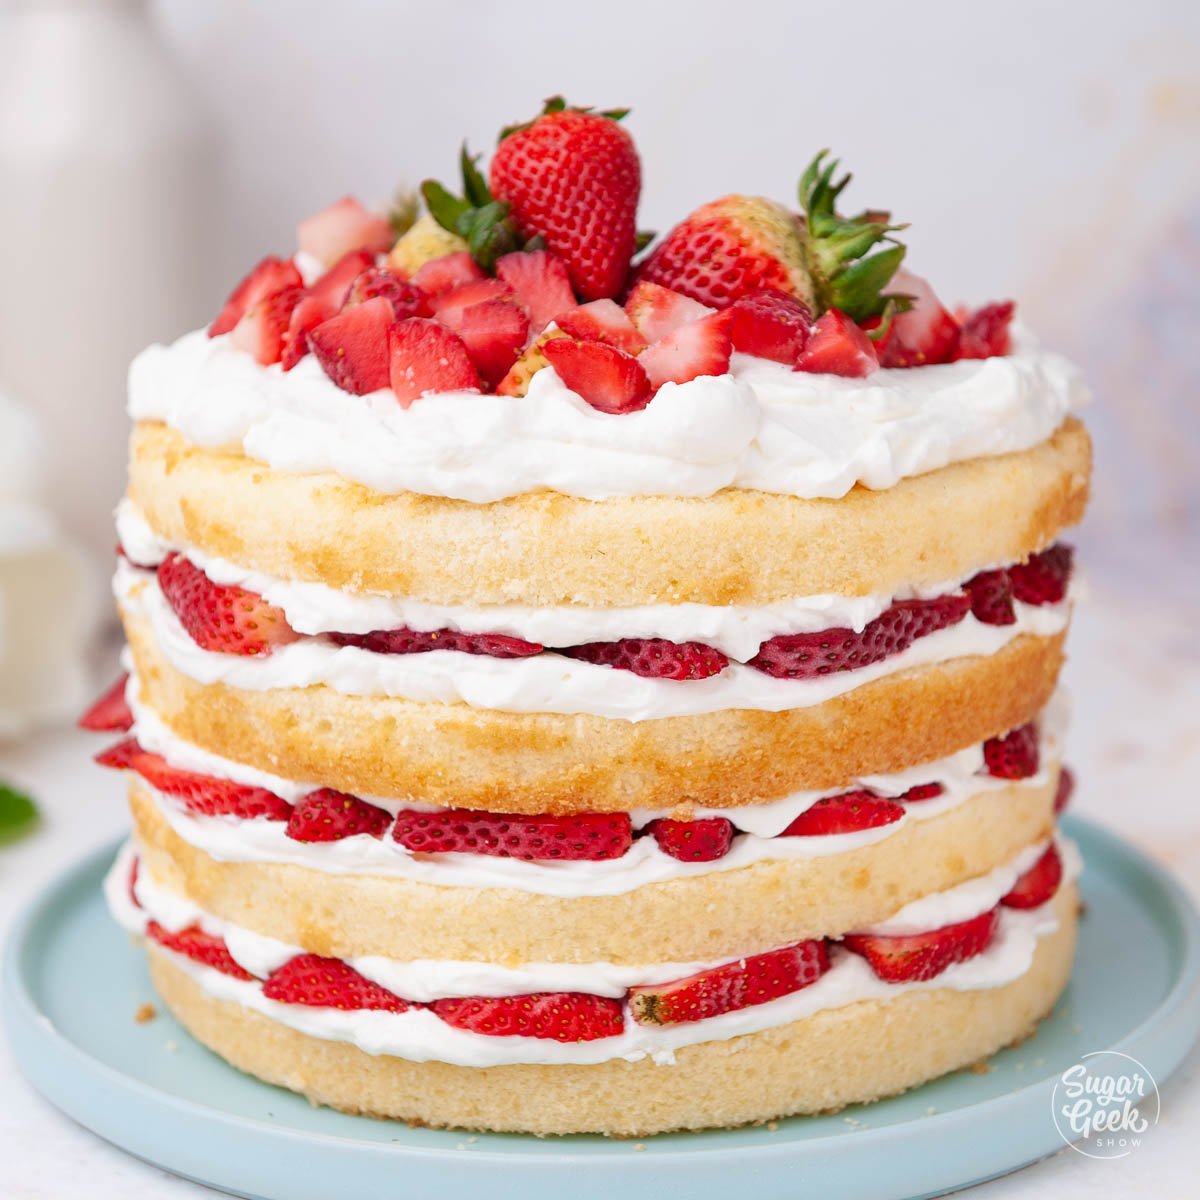
This strawberry shortcake cake recipe is 4 layers of moist vanilla cake with homemade whipped cream and fresh berries. Make the cake from scratch or doctor up a cake mix if you're looking for an easy version. Super light, summery, and the perfect cake to bring to a birthday party, BBQ, or picnic.
Typically, "shortcake" refers to a tender flaky biscuit but I wanted to transform the traditional strawberry shortcake into an actual layer cake while still staying true to those very distinct flavors. I had TWO slices of this cake after the photographs were done because it's SO good!
Table of contents
Strawberry shortcake cake ingredients
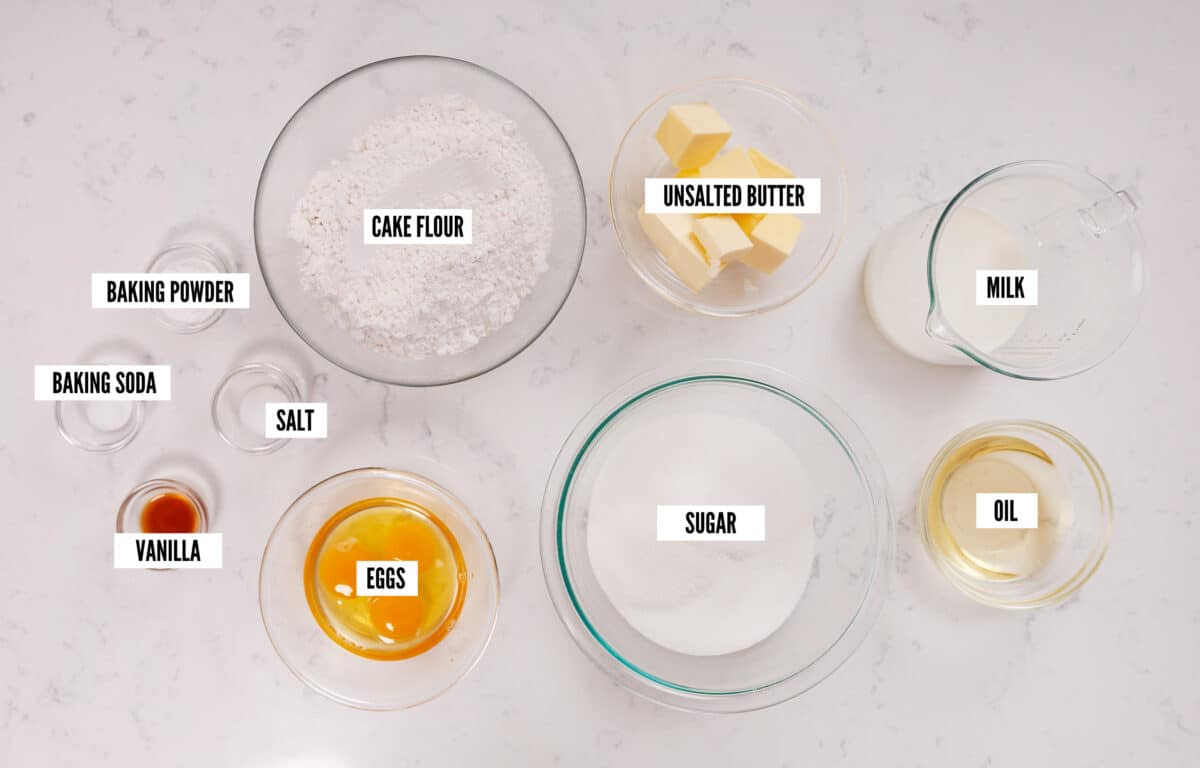
Strawberries - The best time to make this cake is during strawberry season, which is May through August in the pacific northwest. Late summer strawberries are actually the tastiest because they get the most warmth and sunshine, aka flavor!
Cake Flour- Cake flour has a protein level of 9% or less so look for a flour that specifies protein content or ask your local flour supply. If you're in the UK, search for Shipton Mills soft cake and pastry flour. I don't recommend doing the homemade cake flour hack (replacing some flour with cornstarch) for this recipe because of the reverse creaming method. The texture of the cake will be more like cornbread because of the extended mixing. If you’re located in another country, you can find cake flour but it might need to be ordered online. In the UK, look for Shipton mills cake and pastry flour.
Stabilized Whipped Cream- Stabilized whipped cream makes it easier to stack cakes so that it doesn't melt. I like to stabilize it with gelatin, but you can also stabilize it using corn starch or pudding mix or powdered milk, or 5 ways shown in my blog post.
Making a Strawberry Shortcake Cake
I recommend making the vanilla cake layers either the day ahead or early enough so that they have time to chill. Then wash your berries to let them dry, and make the whipped cream right before you're ready to use it. The stabilized whipped cream will start to set up quickly, so it can't be chilled and reused.
Making the Vanilla Cake
- Bring all your ingredients to room temperature, meaning the milk, eggs, and butter should not be even a tiny bit cold. This will ensure that the cake batter mixes together correctly and you'll get a better rise and texture in your final cake.
- Preheat your oven to 335ºF and prepare two 8"x2" round cake pans with cake goop or another preferred kind of pan release and parchment paper.
- I like to pre-measure all my ingredients and have them ready to go so that mixing goes very easily and I don't forget anything. To measure we are using a scale. If you haven't used a scale before, don't be intimidated. It's actually easier than using cups and way fewer dishes (yay). You can get a great scale online or in any local store that sells kitchen equipment.
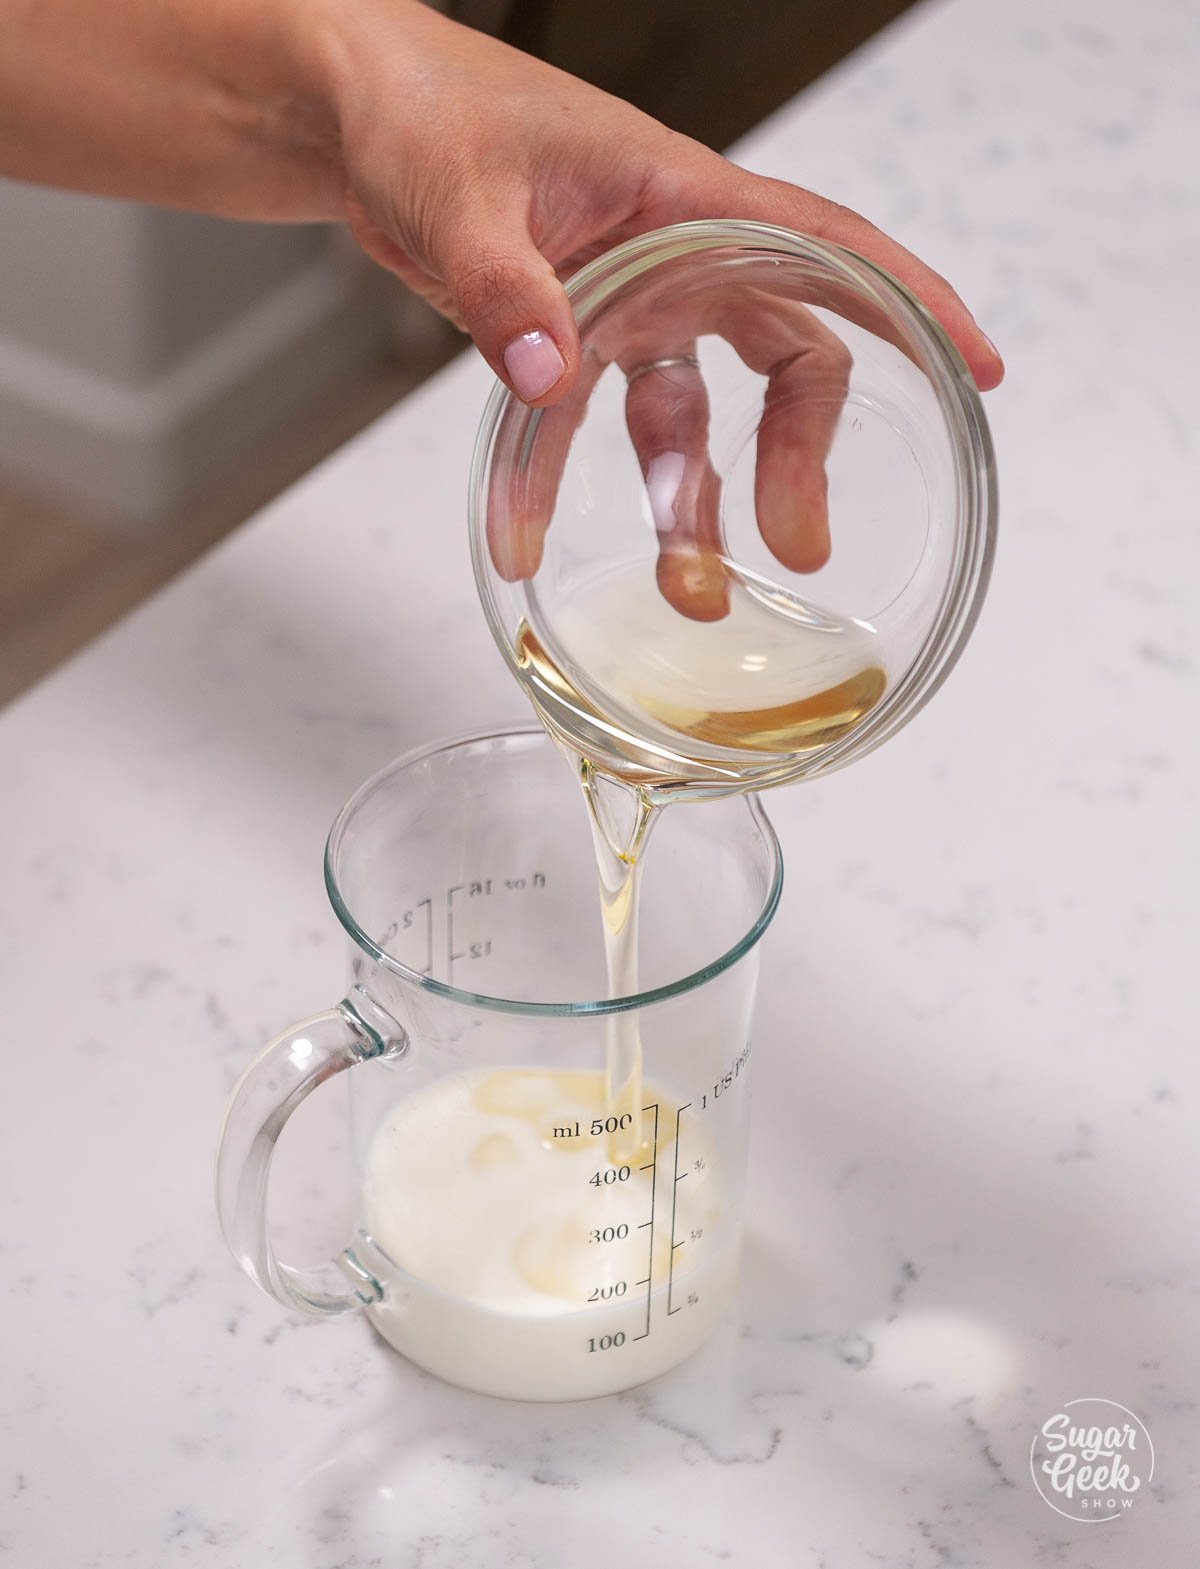
- Divide your milk in half and add your oil to one half and add the eggs and vanilla to the second half. Set them aside.

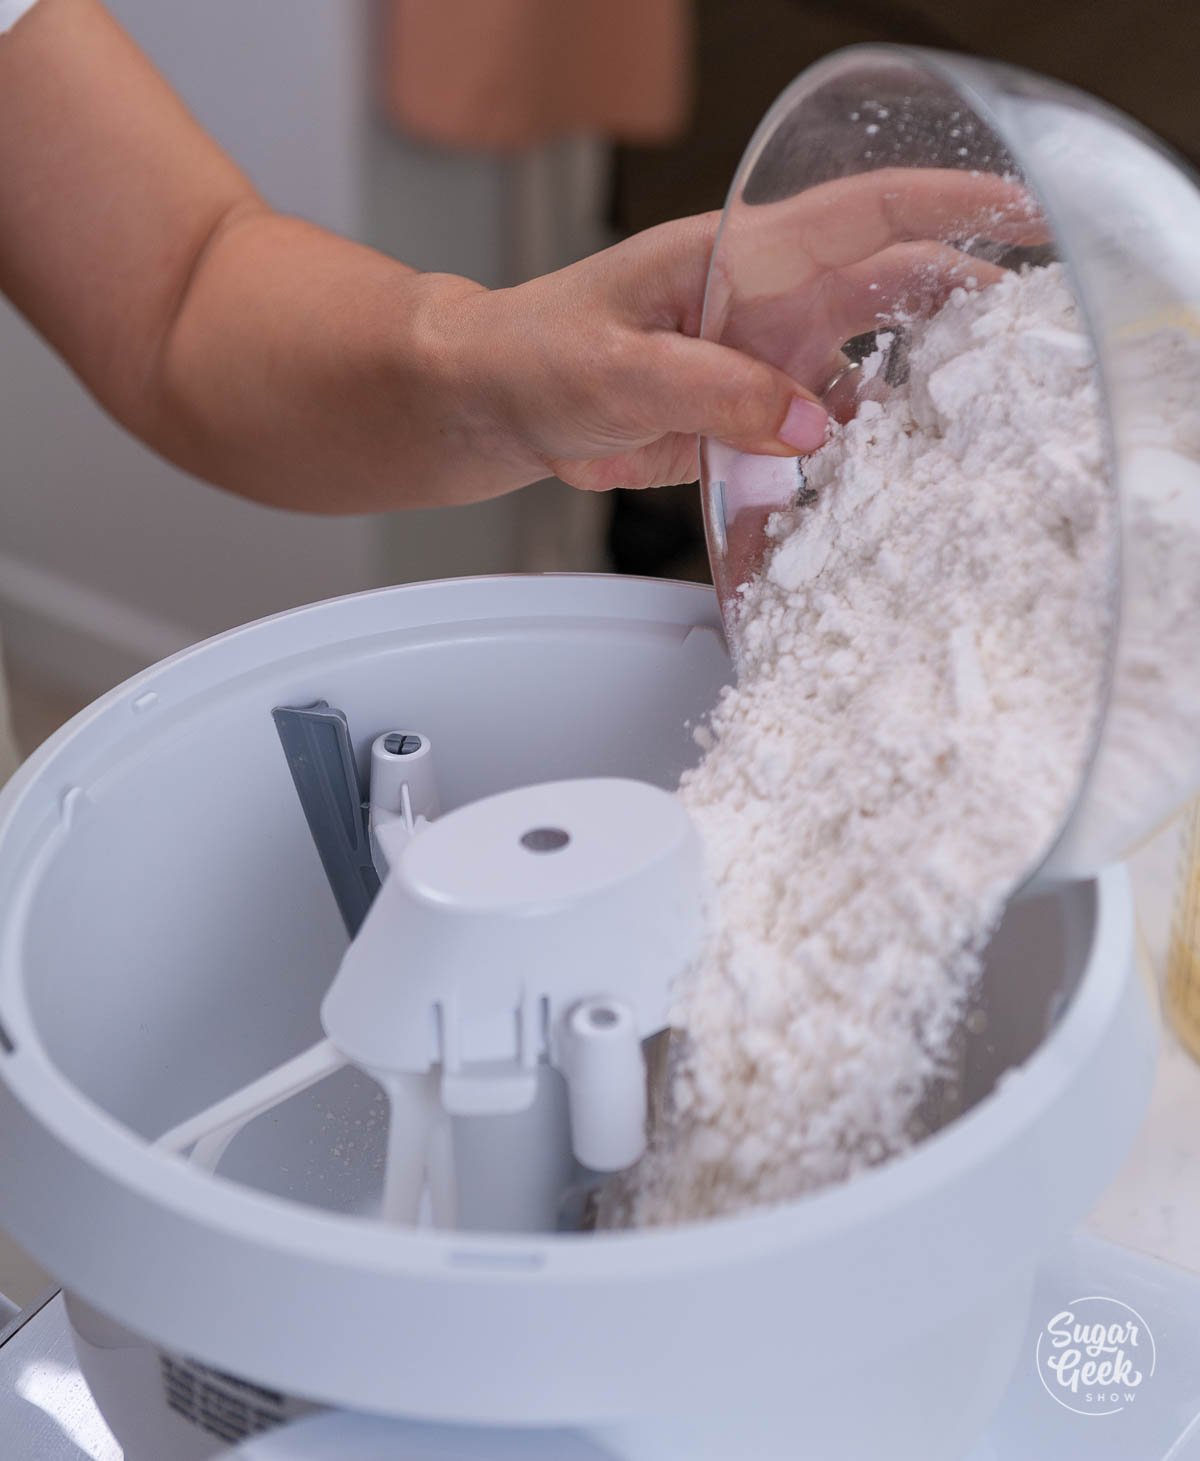
- Place your cake flour, sugar, baking powder, baking soda, and salt into the bowl of your stand mixer with the paddle attachment attached.

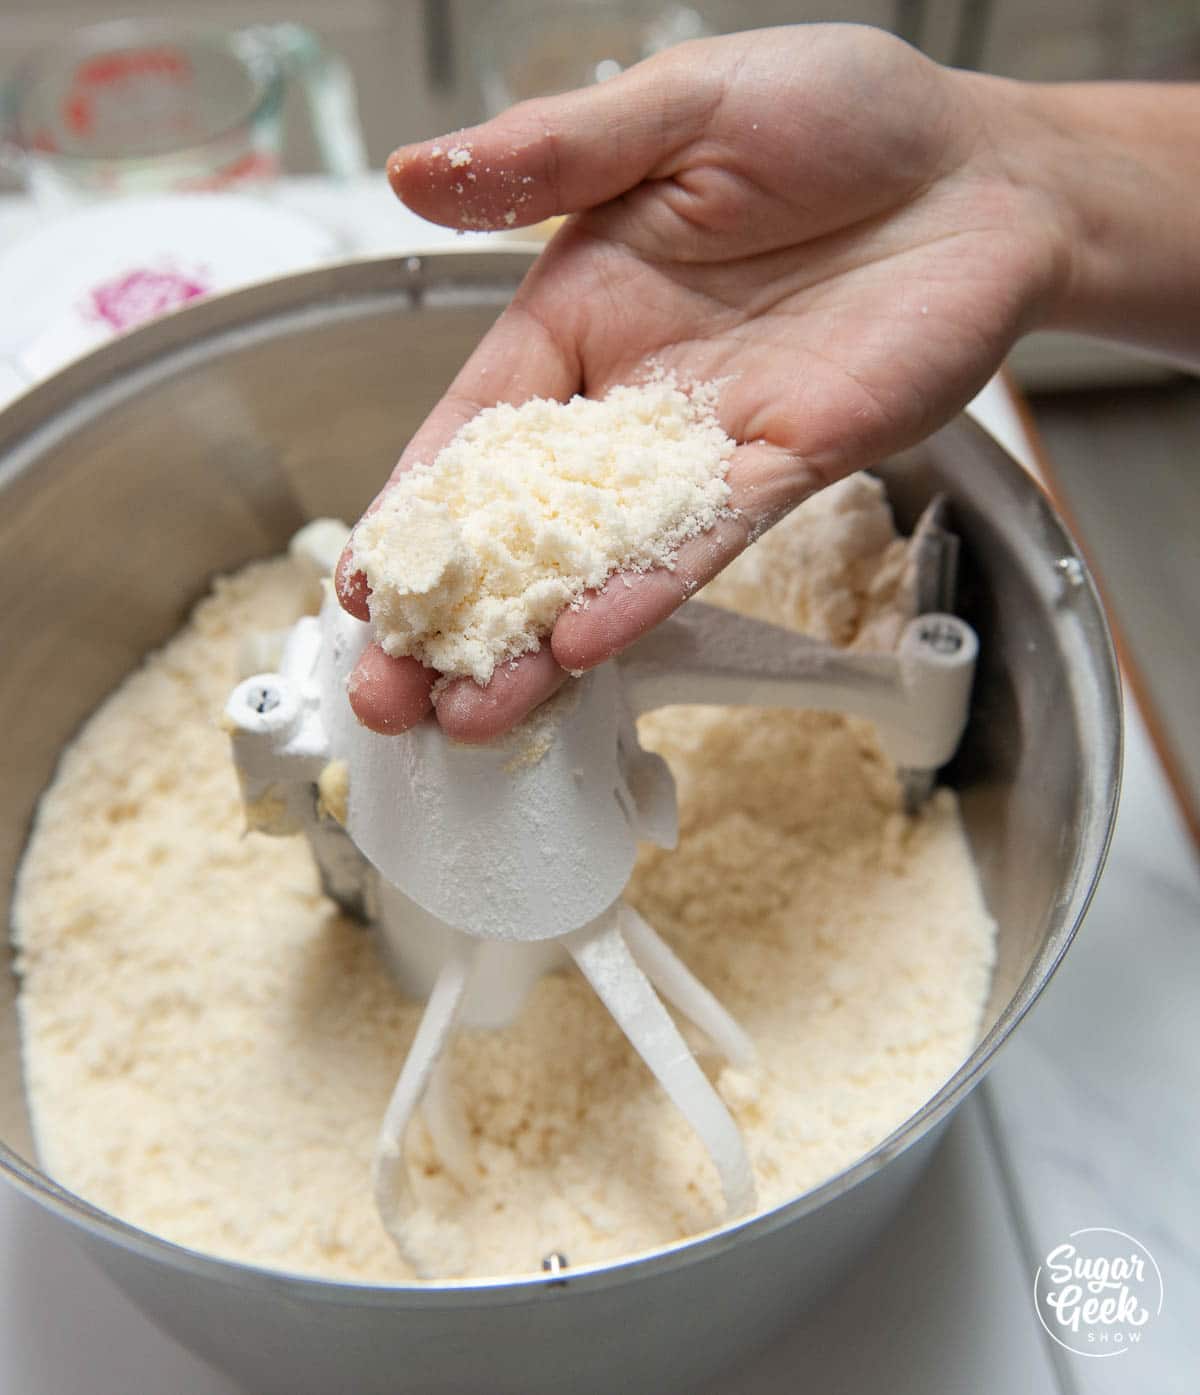
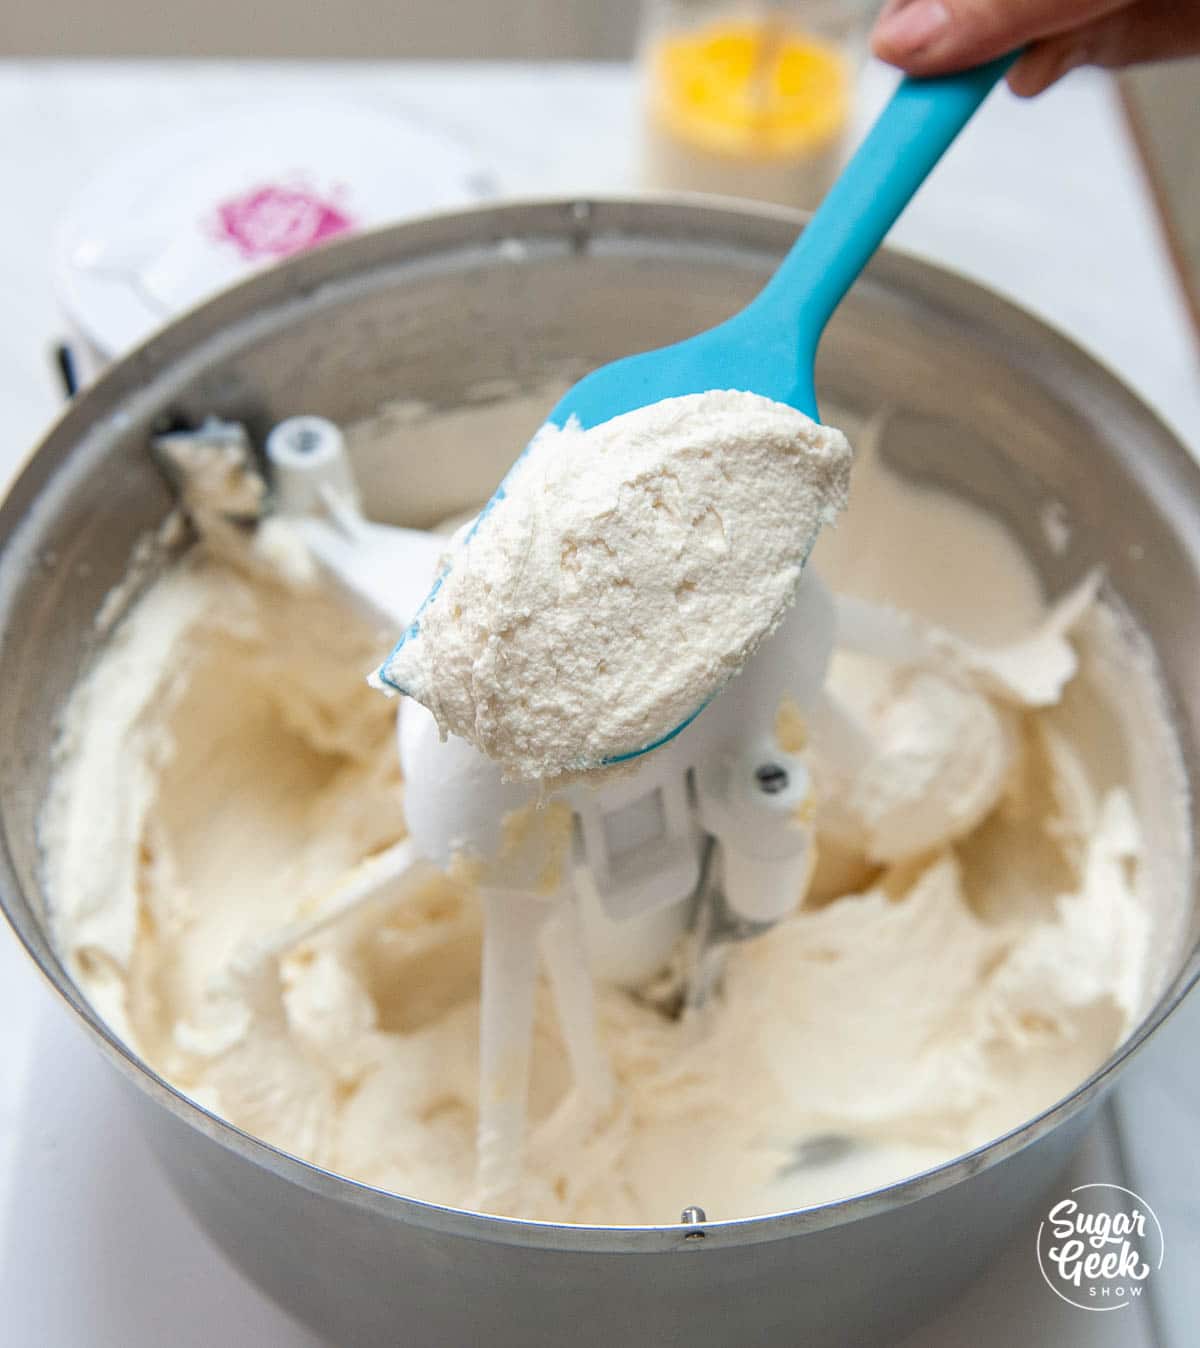
- Add in your softened butter and mix at low speed until the flour mixture resembles a coarse sand texture.


- Add your milk/oil mixture and increase the speed to medium. Let your cake batter mix for 2 full minutes. Scrape after 1 minute if you need to. The texture should be light, white, and fluffy after 2 minutes. Don't worry you won't overmix it.

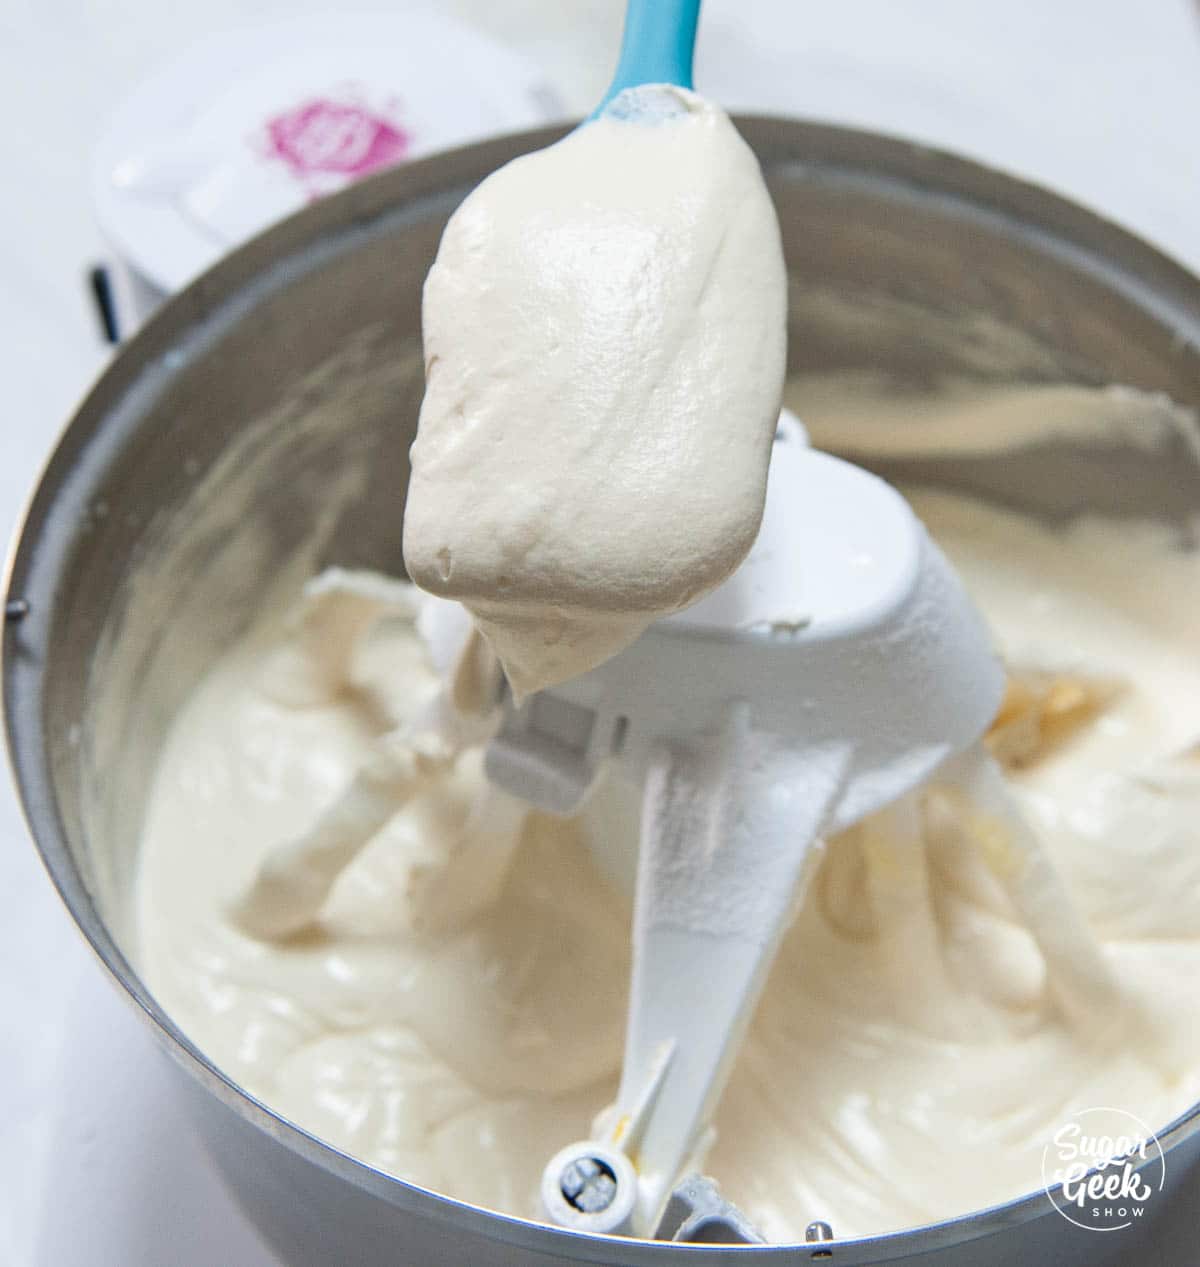
- Reduce the speed to low and slowly add in the milk/egg mixture in a steady stream until it's all added in. This takes me about 1 minute. Once the egg mixture is all mixed in, your cake batter is ready to bake!

- Divide your cake batter into your cake pans evenly and bake for 30-35 minutes or until the center bounces back when you lightly touch it.

- Let your cakes cool in the pan for 15 minutes or until the pan is just barely warm to the touch.
- Turn the cake out onto a cooling rack to cool the rest of the way or pop them into the freezer to cool them down faster. For me, it takes about an hour and then they are chilled and ready to go. You can also fully freeze your cakes (wrapped in plastic wrap) and that will help seal in the moisture and keep them moist until you're ready to frost your cakes.


Making the Whipped Cream
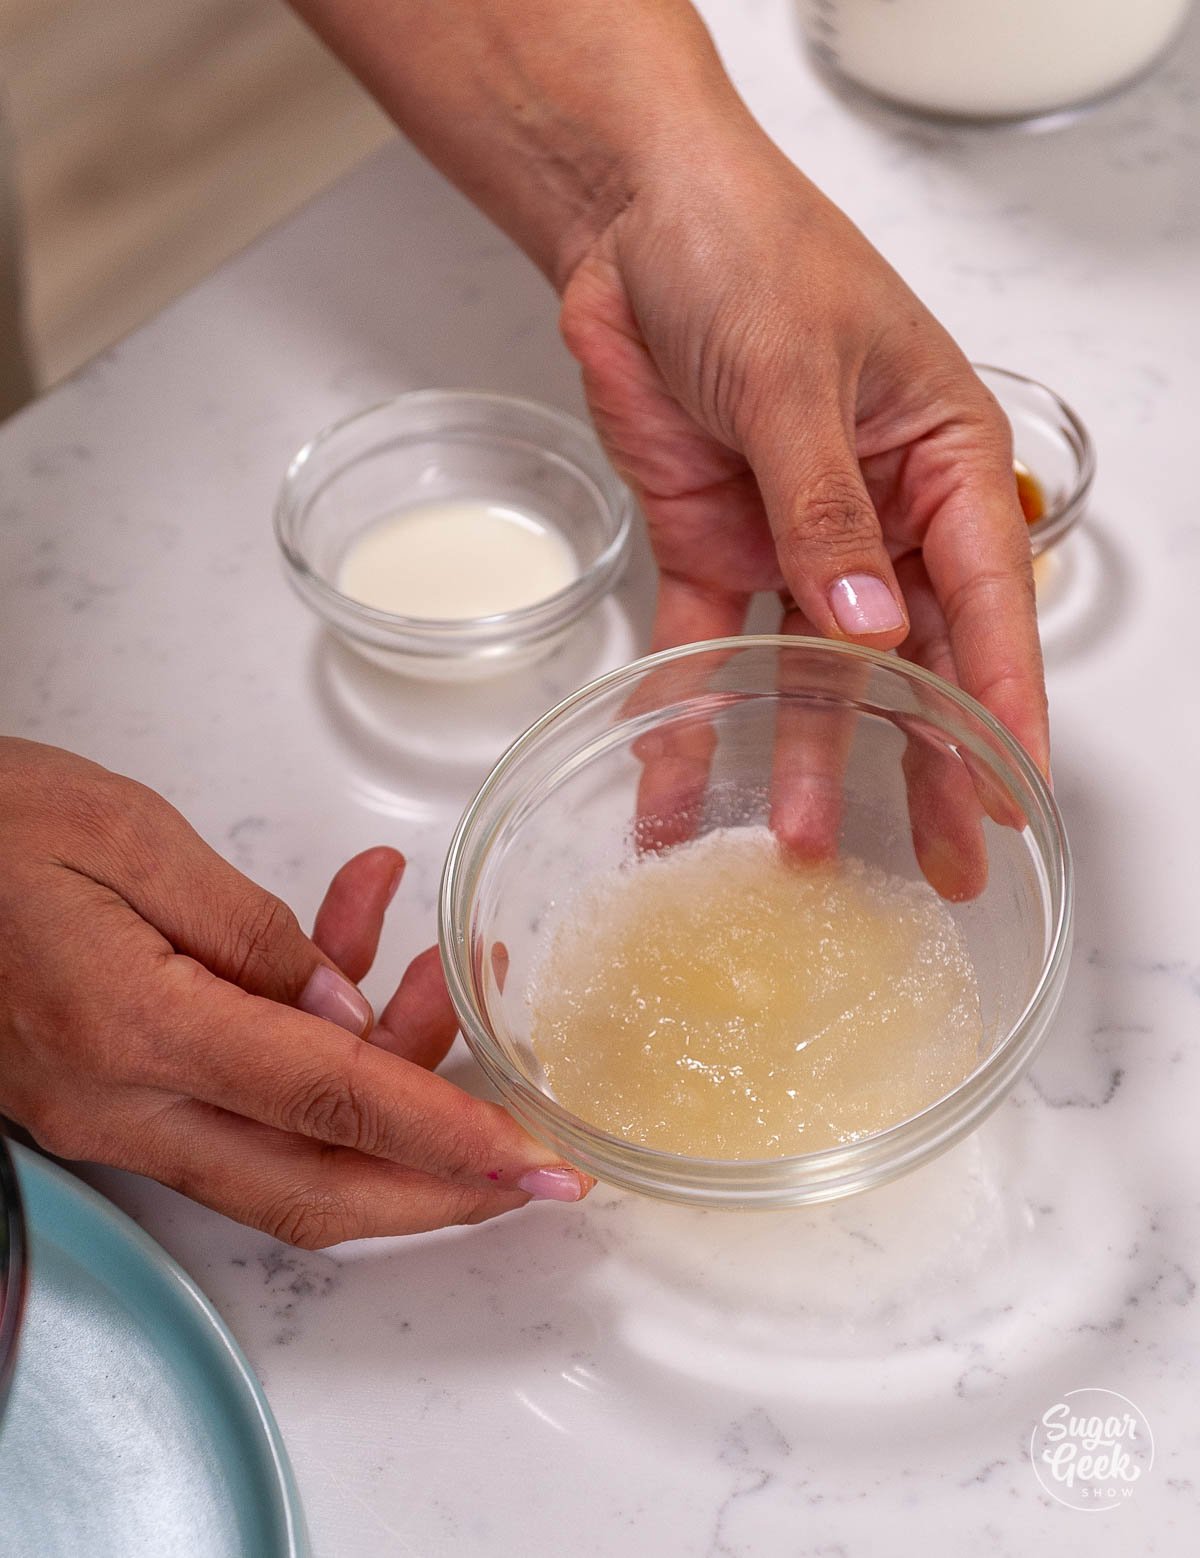
- Add your powdered gelatin to the cold water and let it bloom for 5 minutes.

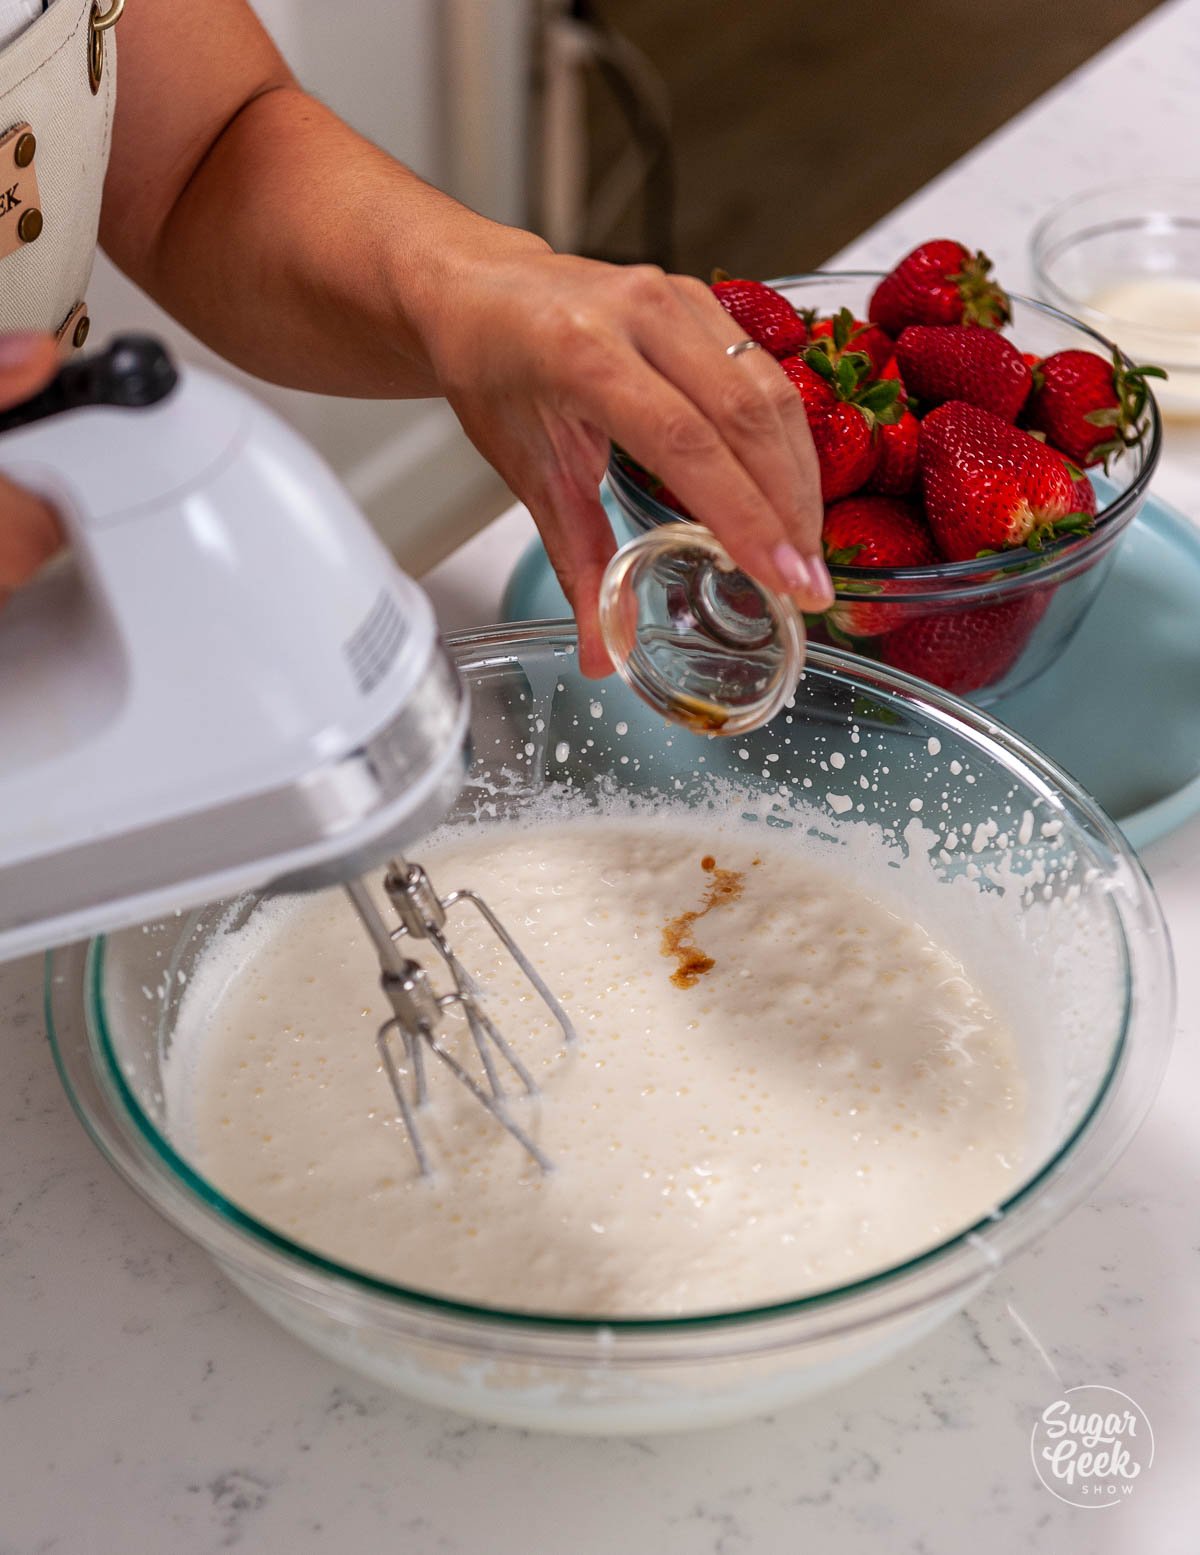
- Start mixing your 24 ounces of heavy cream in the stand mixer with the whisk attachment until it begins to look thick and foamy. Add the powdered sugar and the vanilla.

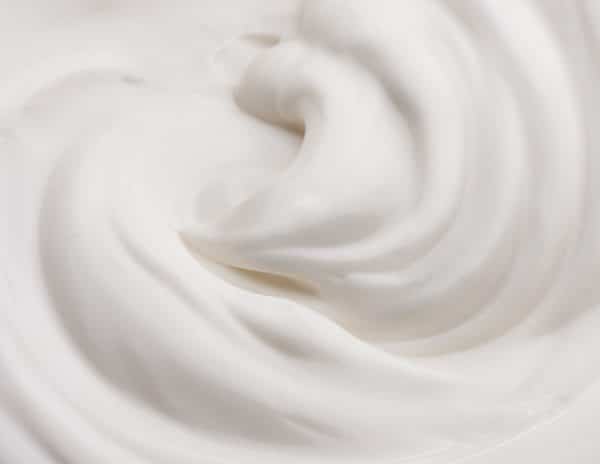
- Continue mixing until you start to see lines forming on the surface of the whipped cream (soft peaks)
- Microwave the gelatin for 15 seconds and stir. The gelatin granules should look transparent. If they aren't fully melted then go for another 5 seconds.
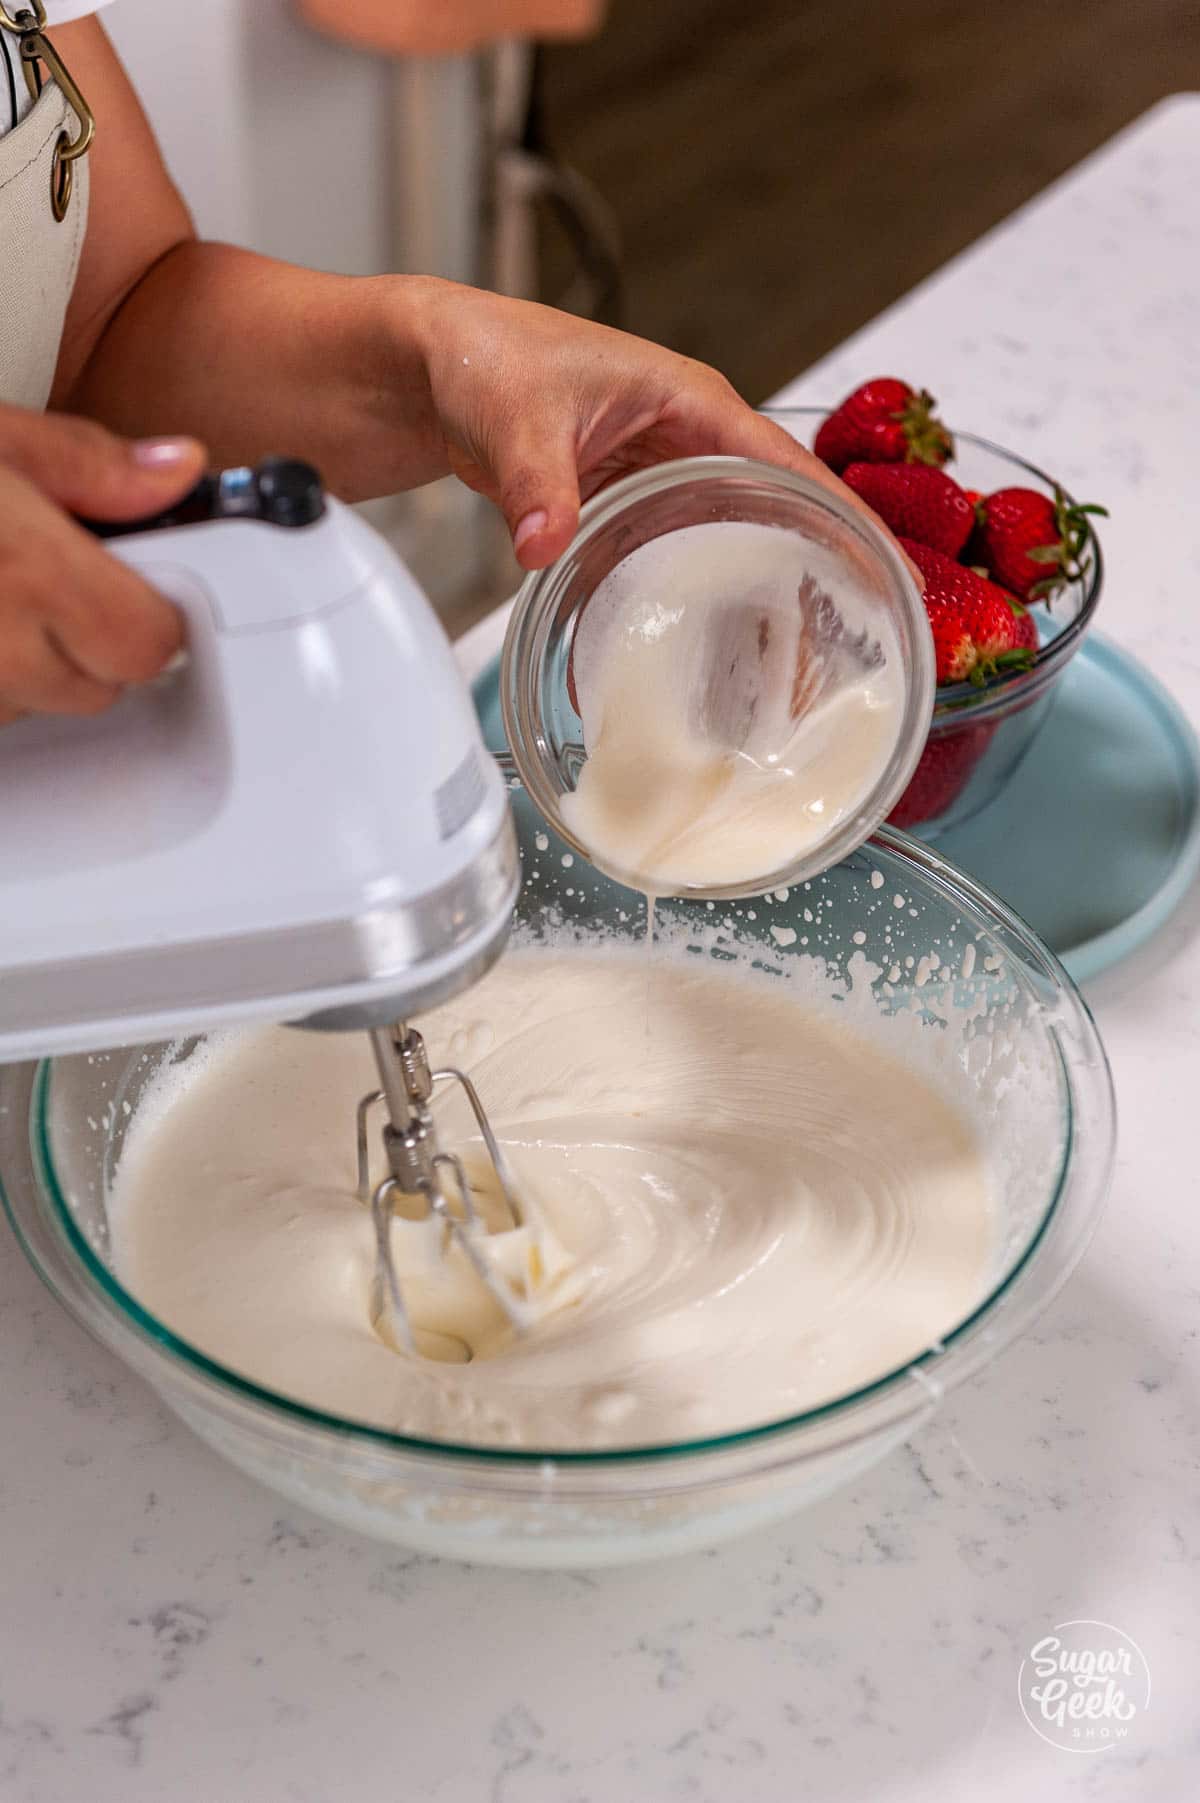
- Add 1 Tablespoon of heavy cream to the melted gelatin and stir.
- Drizzle the gelatin mixture into the heavy cream mixture and continue mixing on medium until firm peaks form. Don't over-mix it!


Assembling the Strawberry Shortcake Cake
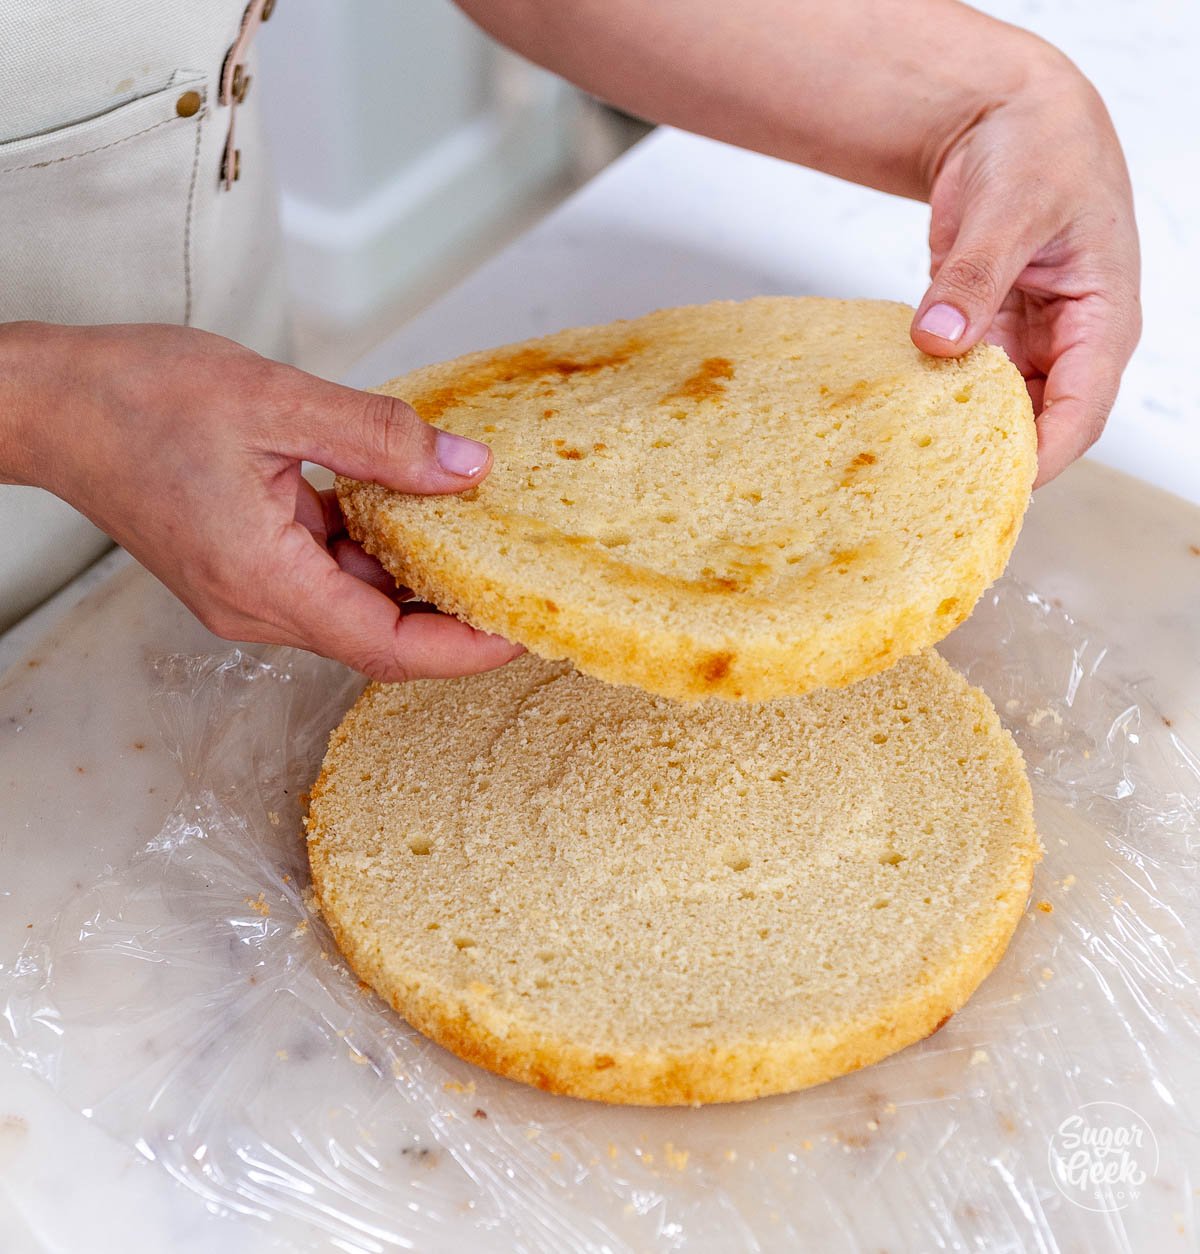
- Start by slicing your cakes length-wise (tort) with a serrated knife so the layers are thinner.

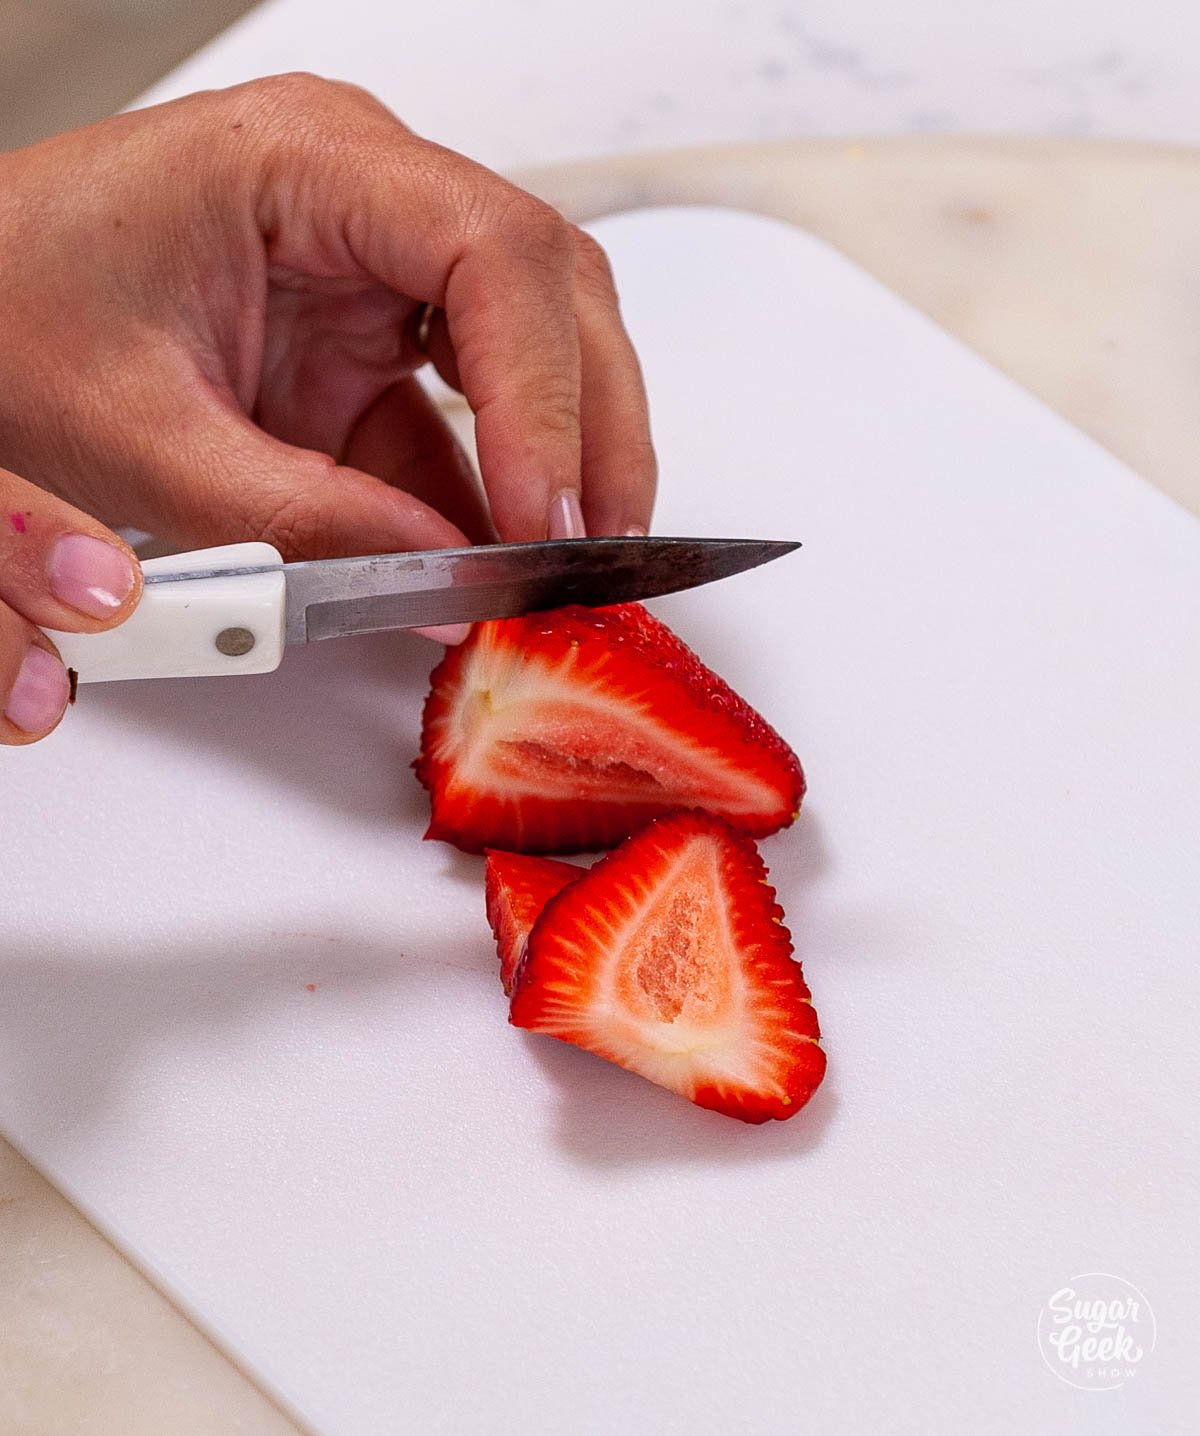
- Slice 1 lb of washed strawberries but keep 4-5 whole for decorating the top.

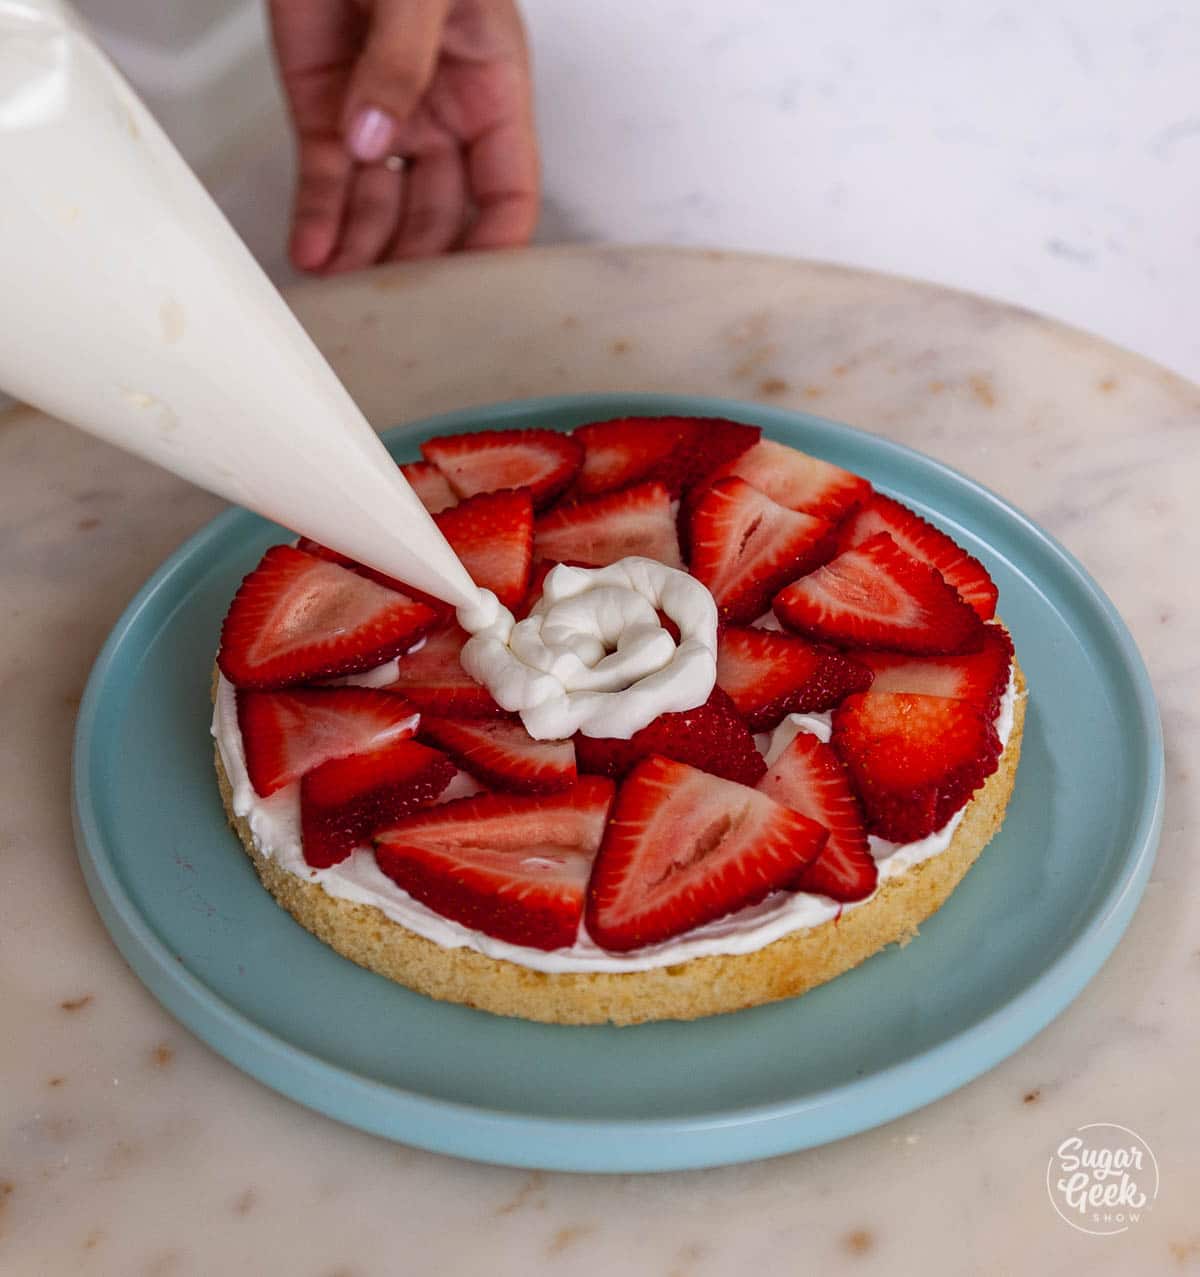
- Place the first layer of cake onto your cake board or cake platter and apply a thin layer of your stabilized whipped cream.
- Arrange a single layer of your sliced berries on top of the whipped cream.
- Cover the sliced berries in another layer of whipped cream so the top is nice and flat.

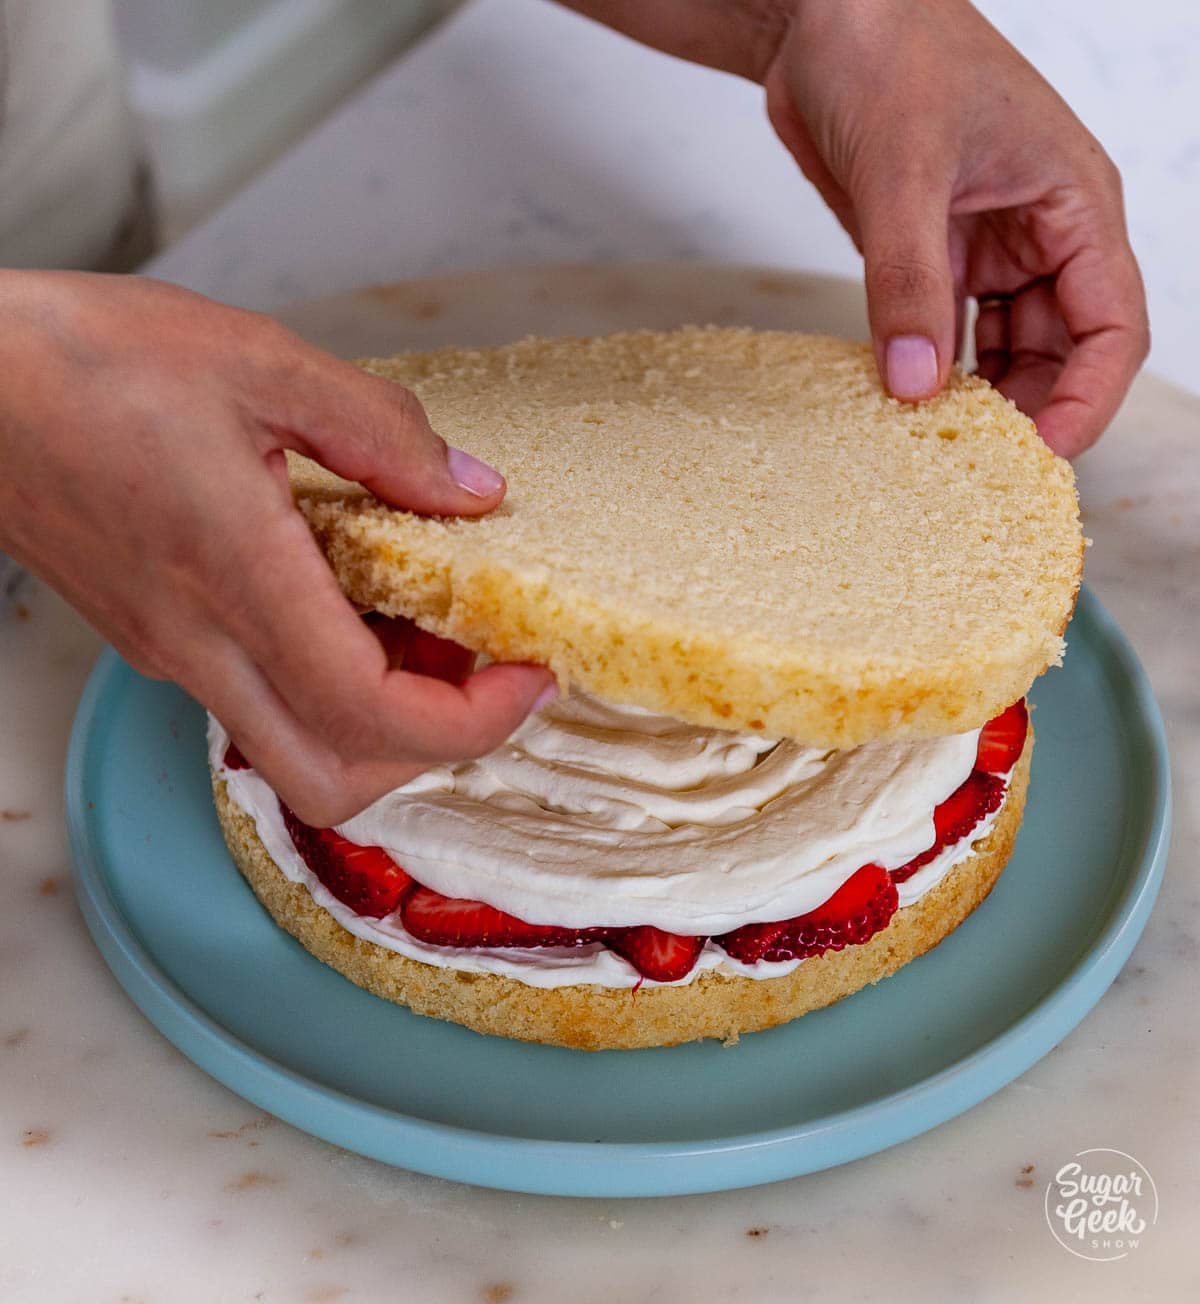
- Stack your next layer of cake on top of the berries and whipped cream and repeat the process. I like to leave the sides of the cake without any frosting, but you can cover it if you like.

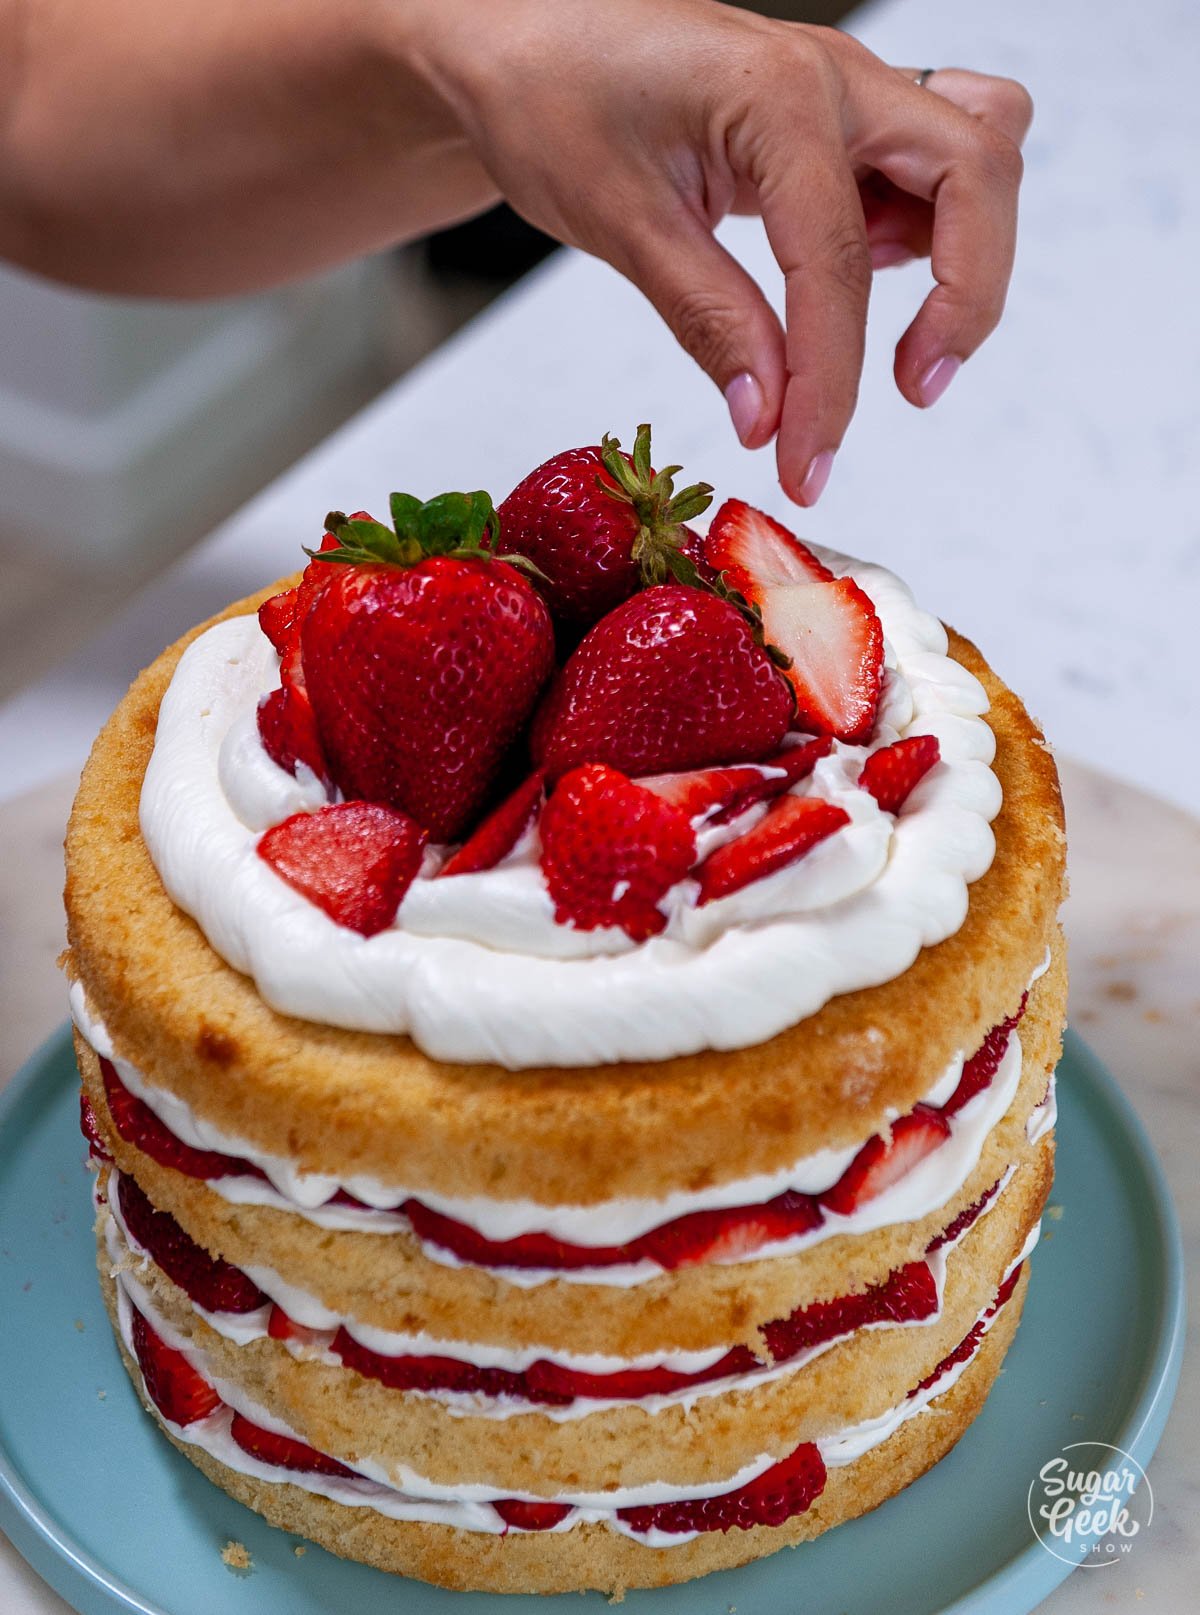
- Finish with a few dollops of whipped cream and whole berries on top of the cake!

- I highly recommend refrigerating the cake until you need to eat it because it will make it much easier to slice. If you plan on refrigerating the cake overnight, then wrap the cake in plastic wrap first to keep it from drying out.
FAQ
It's better to use my vanilla cupcake recipe so the cupcakes don't shrink. Put strawberries into the center of the cupcake by cutting a small piece of the cupcake out and then frost with stabilized whipped cream.
Yes, because of the fresh berries and the whipped cream. However, cold cake can taste dry so it's best to bring the cake out of the fridge a few hours before you are going to eat it so it has a chance to come to room temperature.
You can make this cake a day in advance but it can dry out in the fridge so you should brush the layers of vanilla cake with simple syrup and then wrap the cake in plastic wrap to help it stay moist.
Related Recipes
Recipe
Equipment
- Two 8"x2" round cake pans
- Stand mixer with paddle and whisk attachments
Ingredients
Vanilla Shortcake
- 10 ounces milk room temperature, divided evenly into two measuring cups
- 3 ounces canola oil
- 1 Tablespoon vanilla extract
- 3 Large eggs room temperature
- 13 ounces cake flour
- 13 ounces sugar
- 3 teaspoons baking powder
- ¼ teaspoon baking soda
- ½ teaspoon salt
- 8 ounces unsalted butter room temperature
Stabilized Whipped Cream
- 24 ounces heavy whipping cream
- 4 ounces powdered sugar
- 2 teaspoons gelatin I use KNOX brand
- 3 Tablespoons cold water
- 2 teaspoons vanilla extract
- 1 Tablespoon heavy whipping cream for the gelatin
- 16 ounces fresh strawberries washed and sliced for the filling
Instructions
Making the Vanilla Cake
- Bring all your ingredients to room temperature, meaning the milk, eggs, and butter should not be even a tiny bit cold. This will ensure that the cake batter mixes together correctly and you'll get a better rise and texture in your final cake.
- Preheat your oven to 335ºF and prepare two 8"x2" round cake pans with cake goop or another preferred kind of pan release and parchment paper.
- Measure out your ingredients with a food scale. If you haven't used a scale before, don't be intimidated. It's actually easier than using cups and way fewer dishes (yay). You can get a great scale online or in any local store that sells kitchen equipment.
- Divide your milk in half and add your oil to one half and add the eggs and vanilla to the second half. Set them aside.
- Place your cake flour, sugar, baking powder, baking soda, and salt into the bowl of your stand mixer with the paddle attachment attached.
- Add in your softened butter and mix at low speed until the flour mixture resembles a coarse sand texture.
- Add your milk/oil mixture and increase the speed to medium. Let your cake batter mix for 2 full minutes. Scrape after 1 minute if you need to. The texture should be light, white, and fluffy after 2 minutes. Don't worry you won't overmix it.
- Reduce the speed to low and slowly add in the milk/egg mixture in a steady stream until it's all added in. This takes me about 1 minute. Once the egg mixture is all mixed in, your cake batter is ready to bake!
- Divide your cake batter into your cake pans evenly and bake for 30-35 minutes or until the center bounces back when you lightly touch it.
- Let your cakes cool in the pan for 15 minutes or until the pan is just barely warm to the touch.
- Turn the cake out onto a cooling rack to cool the rest of the way or pop them into the freezer to cool them down faster. For me, it takes about an hour and then they are chilled and ready to go. You can also fully freeze your cakes (wrapped in plastic wrap) and that will help seal in the moisture and keep them moist until you're ready to frost your cakes.
Making the Whipped Cream
- Add your powdered gelatin to the cold water and let it bloom for 5 minutes.
- Start mixing your 24 ounces of heavy cream in the stand mixer with the whisk attachment until it begins to look thick and foamy. Add the powdered sugar and the vanilla.
- Continue mixing until you start to see lines forming on the surface of the whipped cream (soft peaks)
- Microwave the gelatin for 15 seconds and stir. The gelatin granules should look transparent. If they aren't fully melted then go for another 5 seconds.
- Add 1 Tablespoon of heavy cream to the melted gelatin and stir.
- Drizzle the gelatin mixture into the heavy cream mixture and continue mixing on medium until firm peaks form. Don't over-mix it!
Assembling the Strawberry Shortcake Cake
- Start by slicing your cakes length-wise (tort) with a serrated knife so the layers are thinner.
- Slice 1 lb of washed strawberries but keep 4-5 whole for decorating the top.
- Place the first layer of cake onto your cake board or cake platter and apply a thin layer of your stabilized whipped cream.
- Arrange a single layer of your sliced berries on top of the whipped cream.
- Cover the sliced berries in another layer of whipped cream so the top is nice and flat.
- Stack your next layer of cake on top of the berries and whipped cream and repeat the process.
- Finish with a few dollops of whipped cream and whole berries on top of the cake!
- I highly recommend refrigerating the cake until you need to eat it because it will make it much easier to slice. If you plan on refrigerating the cake overnight, then wrap the cake in plastic wrap first to keep it from drying out.


Harmony Powell says
To say this came out perfect is an understatement
Maggie says
This recipe is AMAZING!! I made it for my mom's birthday and we couldn't stop eating it. Thank you so much!