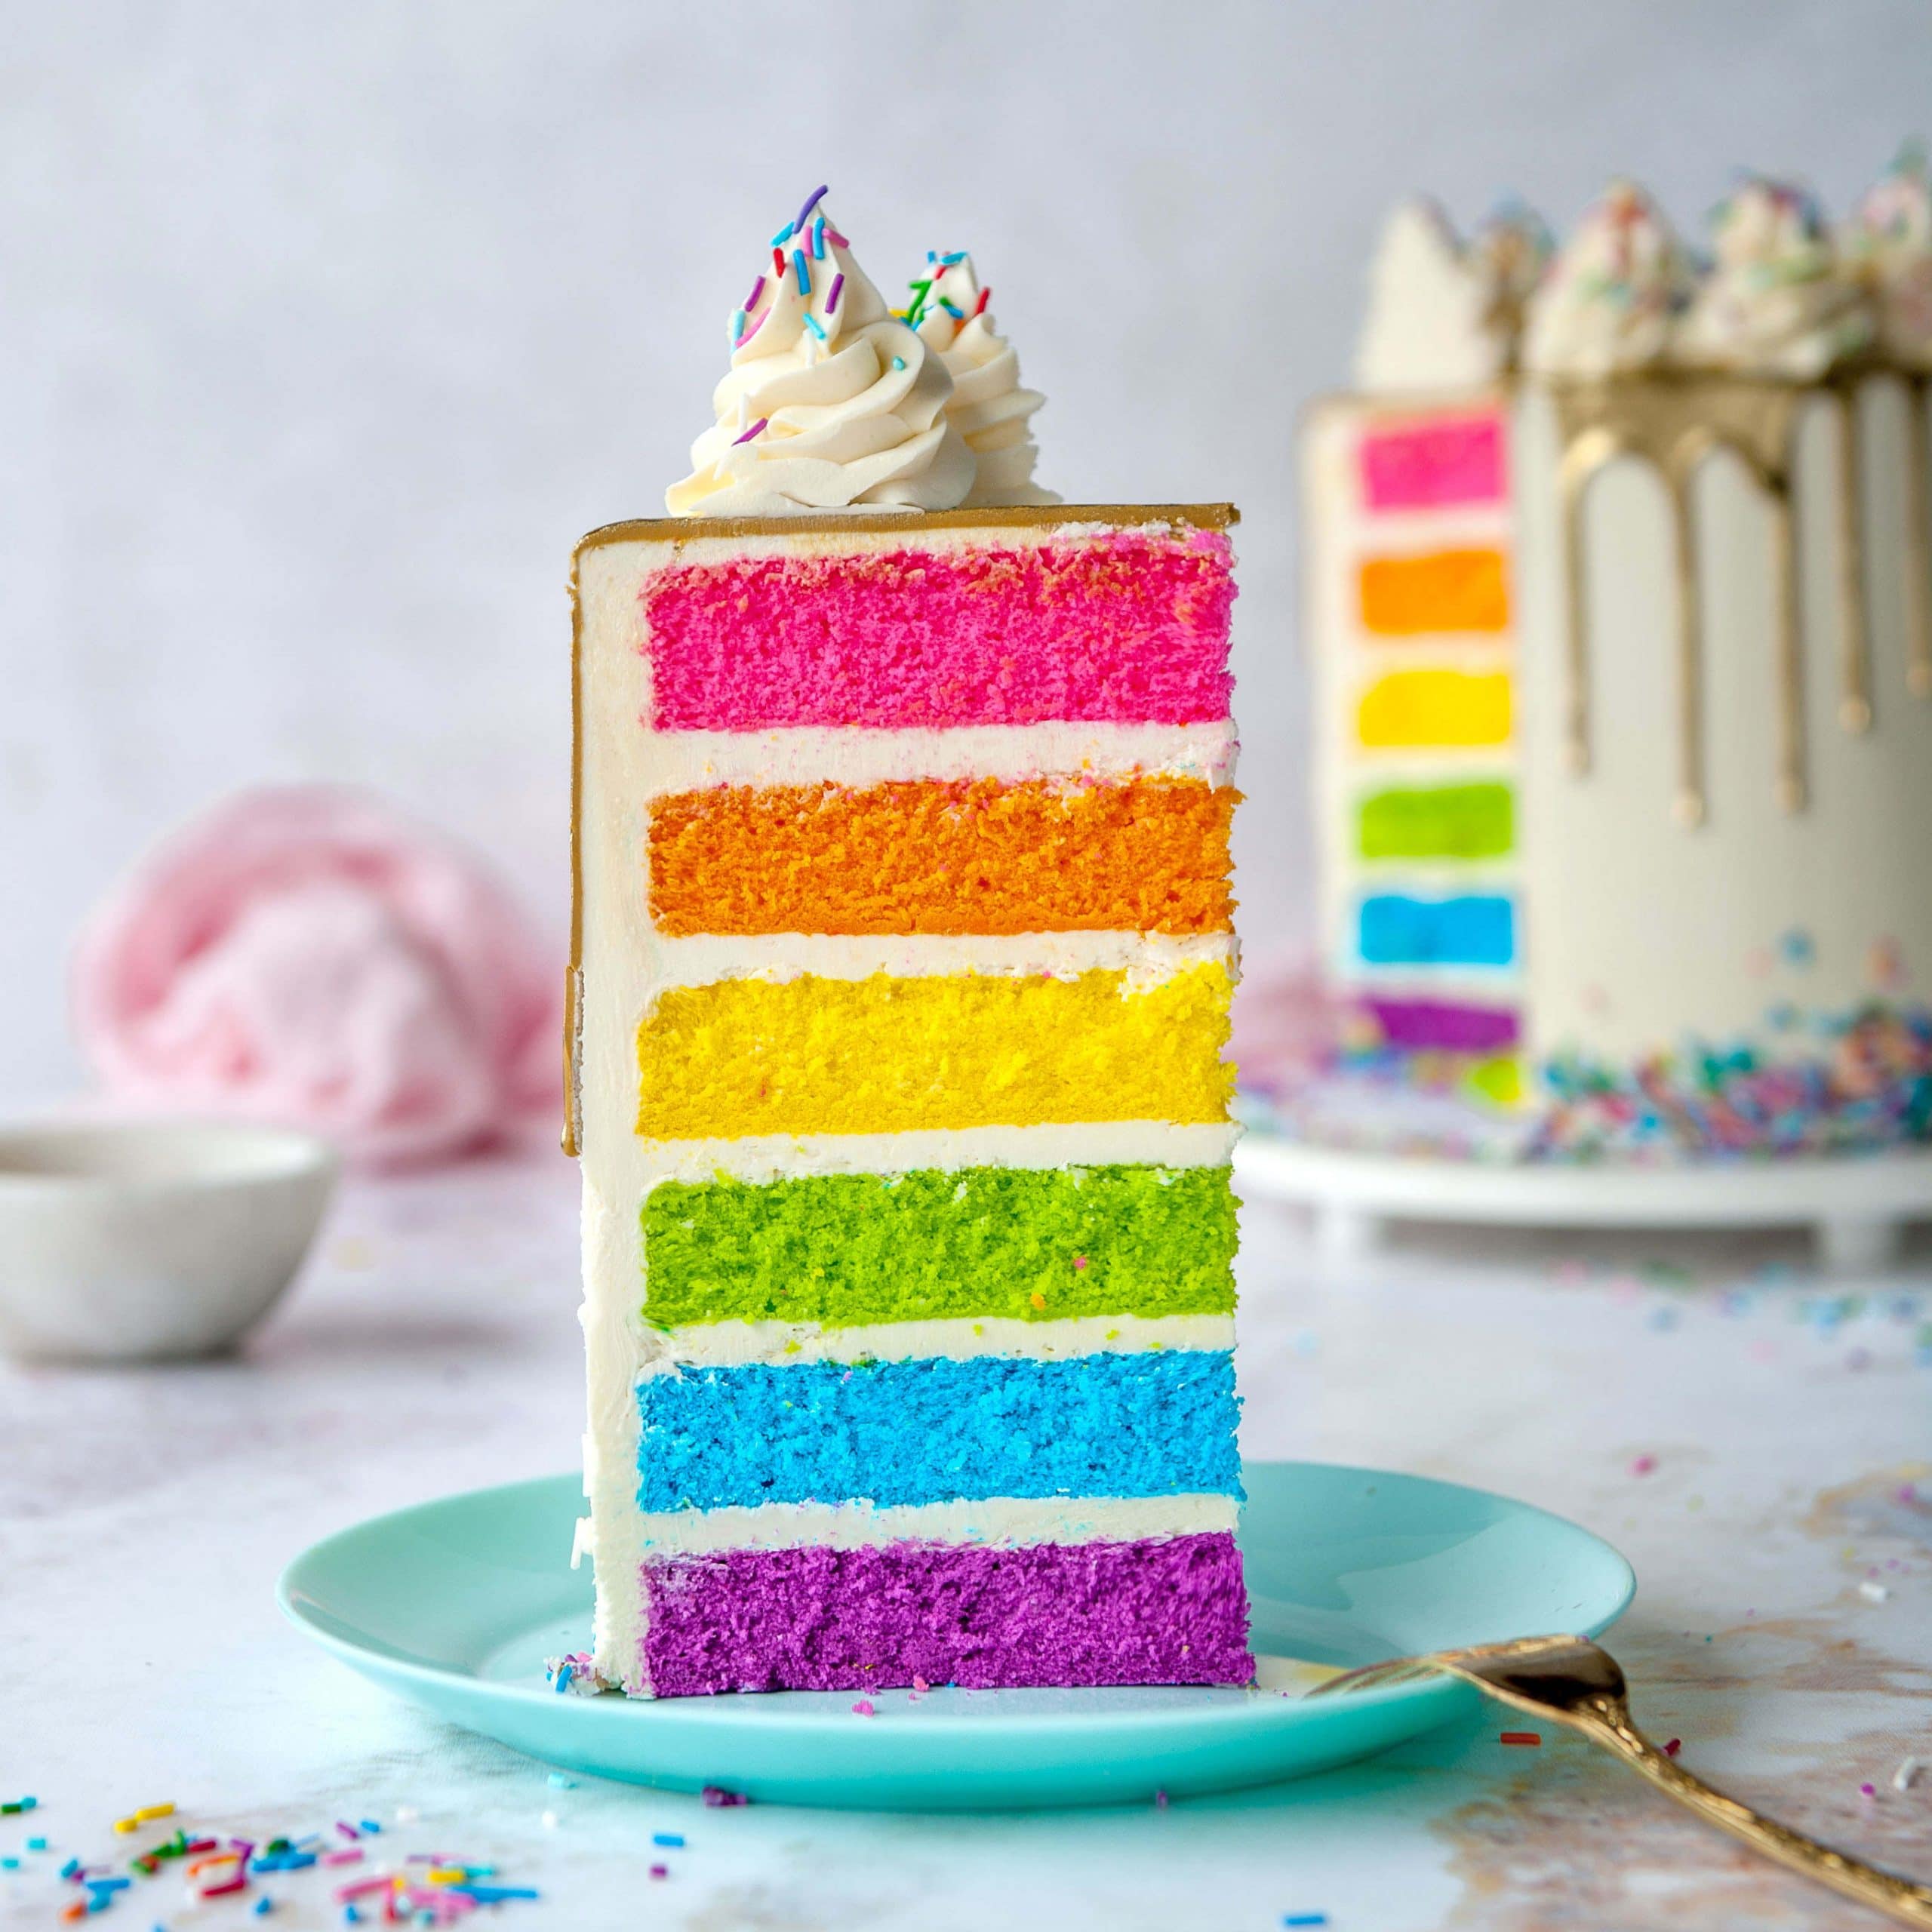
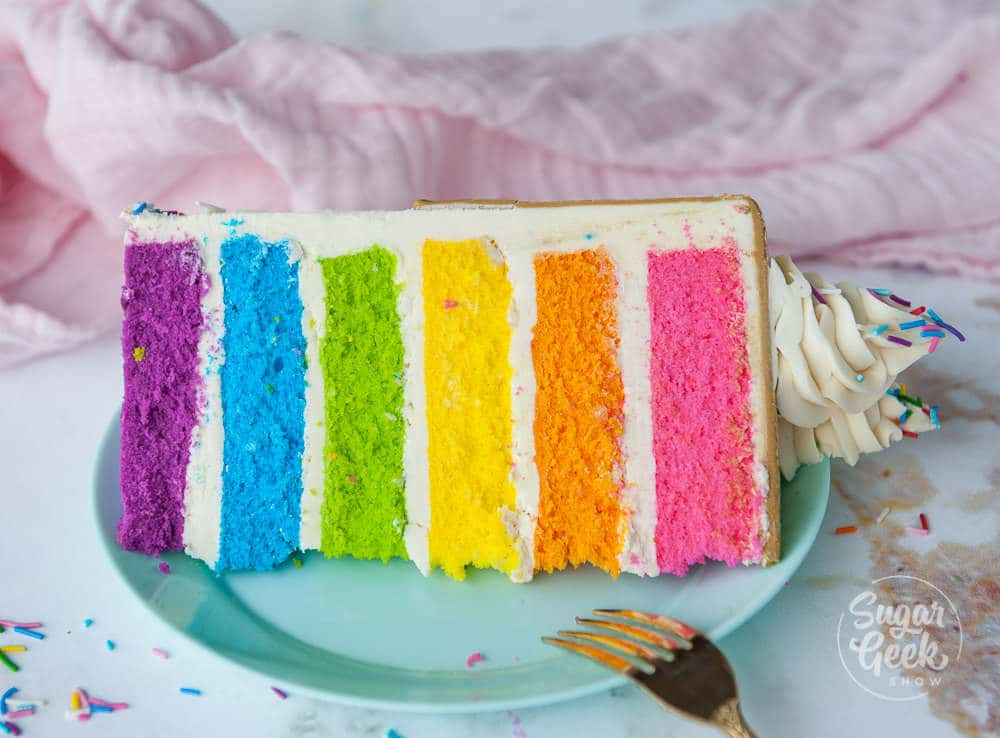
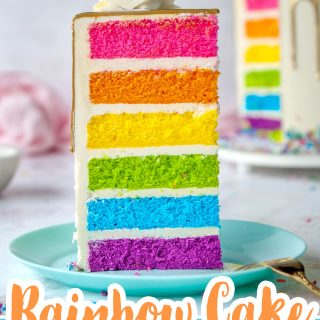
This rainbow cake just makes me feel so happy. I absolutely LOVED slicing into it to see all those gorgeous colorful layers! The best part is, this rainbow cake isn't just for looks, it tastes absolutely amazing. You won't have a crumb leftover.
This rainbow cake is very special to me. I've been waiting to make it for a long time. Ever since we found out we were pregnant with our son, Ezra, I knew I wanted to make him a rainbow cake for his half birthday (6 months).
Most people know that my husband and I had to go through a lot of infertility treatments to get our dear Avalon. I'm not ashamed of it. I think we should talk more about infertility and how common it is. So we feel less alone.
We started treatments TWO years ago. Nothing was working. My body was fighting against me. I was not in a good place emotionally or mentally.
It might sound crazy but I had a dream we had a son. I didn't tell anyone but I held onto hope as best I could.
We had honestly almost given up that we would ever have a second child. But I just felt in my soul that we had a second child waiting for us. So we didn't give up.
After all those treatments and all those medications, we ended up with ONE single egg. If you've gone through IVF you. know that the chances of that ONE egg taking are extremely low. I did not get my hopes up.
But that one egg did stick. And here we are with our beautiful baby boy. Our rainbow after the storm. Our lucky charm. The completion of our family.
What cake recipe is best for rainbow cake?
So the first thing that we have to do is bake our rainbow layers. This might sound intimidating but it's actually really easy.
We're going to use my favorite cake, white velvet. Not only. is this cake delicious, but it's also very white so it will take the color well.
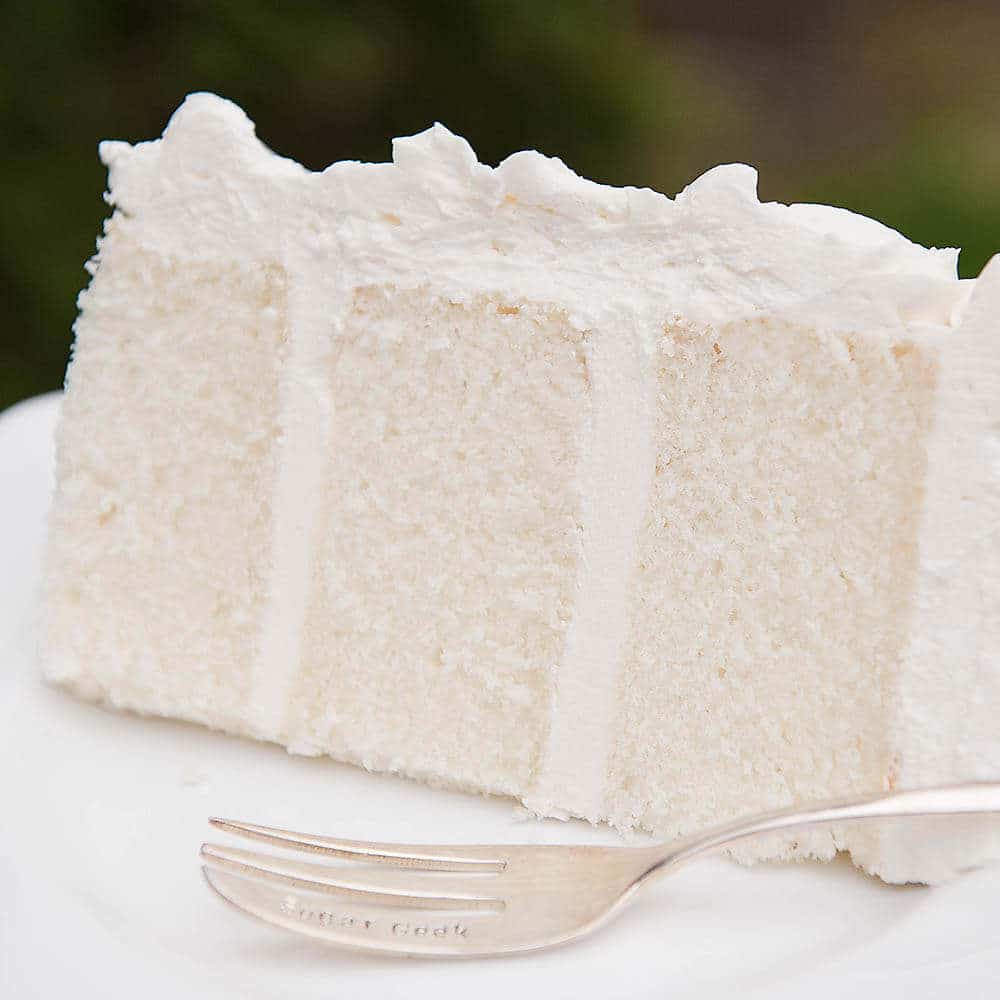
If you try to add color to a vanilla cake that has egg yolks in it, those yolks will distort your colors while baking.
The other reason white velvet is perfect for making a rainbow cake is that it won't get over-mixed when you add the color.
I've added color to white velvet so many times, making everything from pink velvet, green velvet, and even blue velvet. The texture always turns out amazing.
How to make rainbow cake layers
Get your 8"x2" cake pans ready. You might not have 6 cake pans all the same size (I don't) so keep your cake batter in the fridge while your other cakes are baking. They are really thin so they bake up fast.
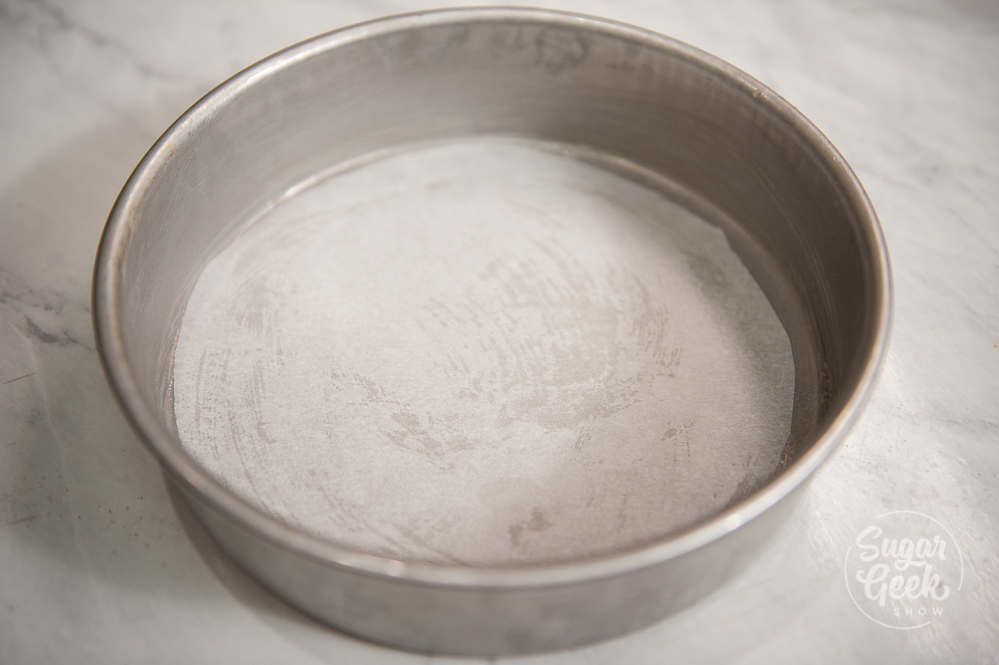
Coat your cake pan in a layer of cake goop and preheat your oven to 335ºF. I also put a piece of parchment paper in the bottom of my pans so that they were easier to take out of the pan since they would be so thin.
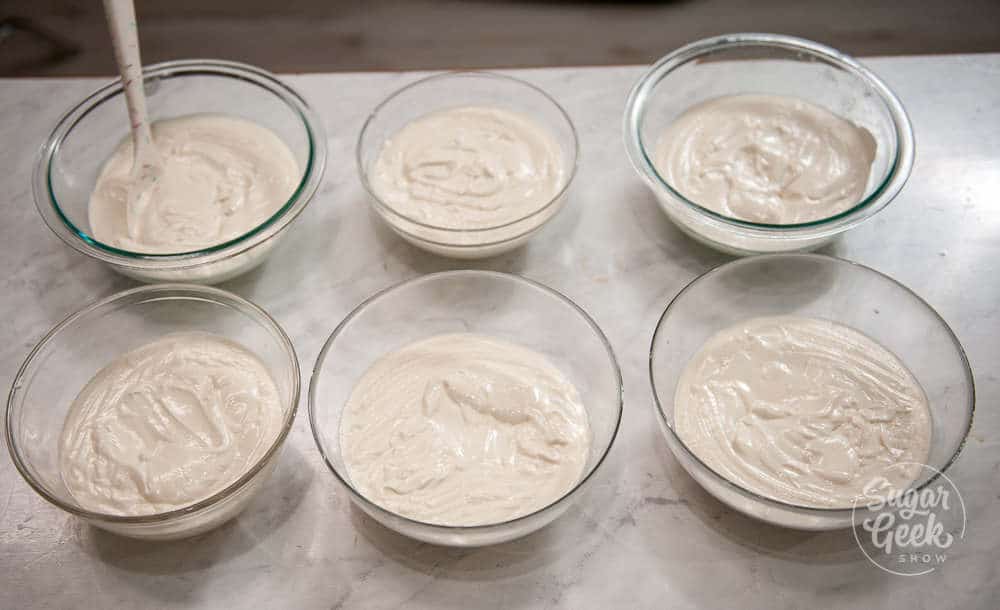
To make our rainbow cake layers, all you have to do is mix up your batter (follow the recipe below) and then divide your batter into 6 bowls evenly.
Each bowl holds 15 ounces of cake batter. I used a kitchen scale to weigh mine out so they would all be equal.
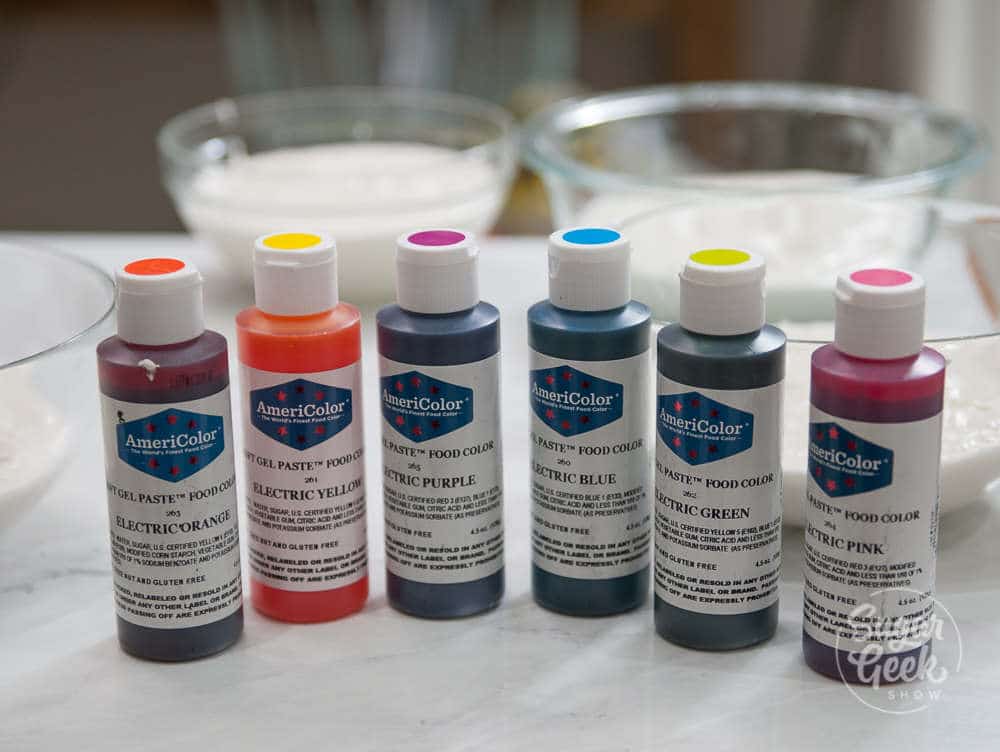
I'm using electric colors from Americolor and I'm not making an EXACT rainbow, this rainbow is more Lisa Frank style. I really like these electric colors because they make super bright neon colors and you don't have to use a lot of food color.
Colors I used
- Electric Purple
- Electric Blue
- Electric Green
- Electric Yellow
- Electric Orange
- Electric Pink
You can totally go classic rainbow and use red instead of pink, violet instead of electric purple and royal blue instead of electric blue.
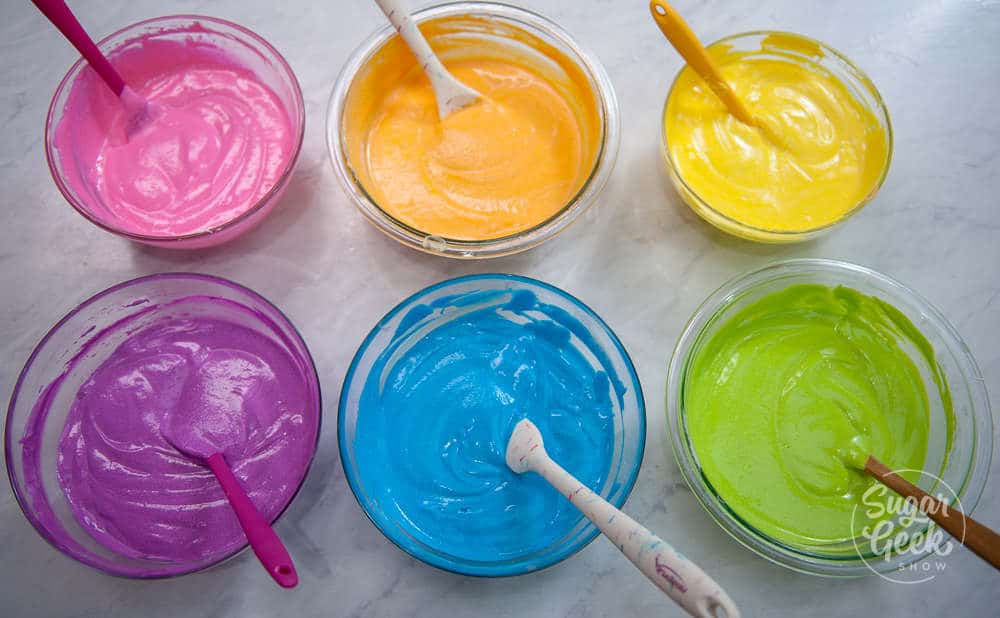
Add a drop or two of color to each bowl and stir with a spoon until combined. Make sure for the green you use a little yellow and a little green so the green is more vibrant.
For the orange, use a little orange and a little yellow to make the orange more vibrant.
For the purple, add a little pink and purple to make the purple more vibrant.
Pour your batter into your cake pans (I baked three at a time and put 15 ounces of batter in each pan).
When they are done baking, they will start to pull a tiny bit from the edges of the pan (that's normal) let them cool a bit in the pan before turning out onto a cooling rack to fully cool down.
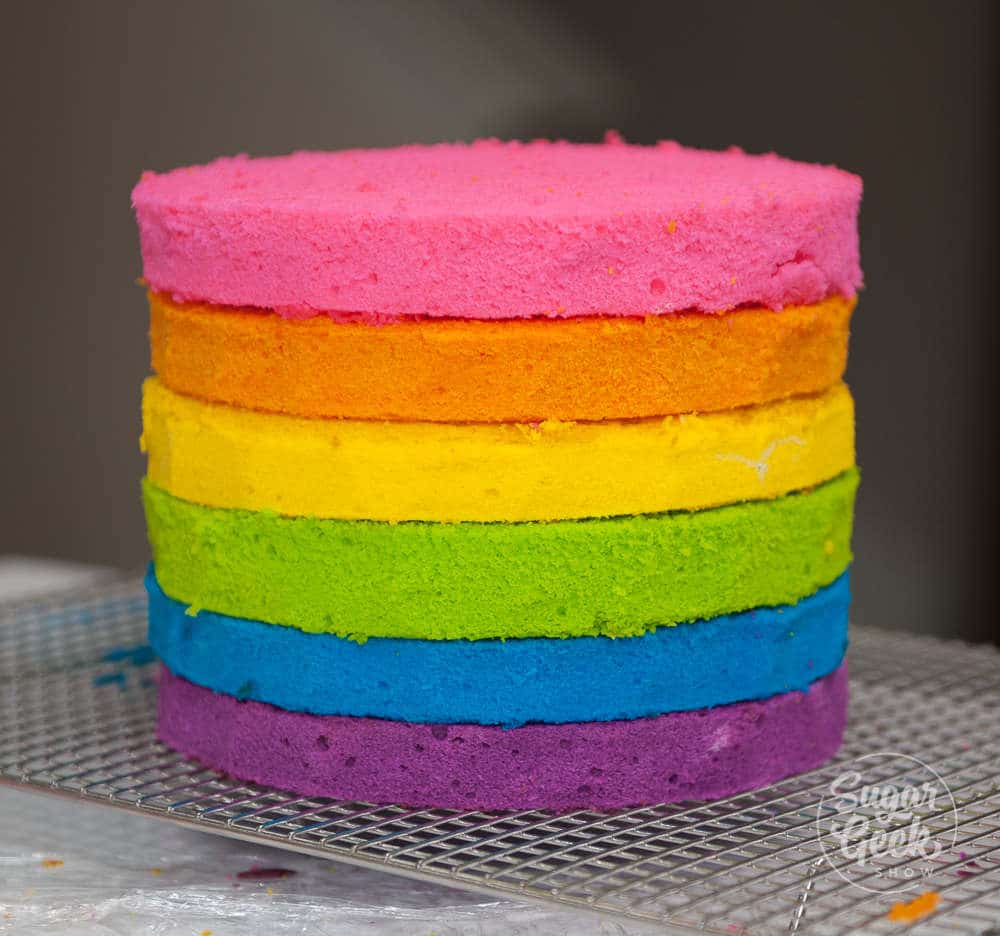
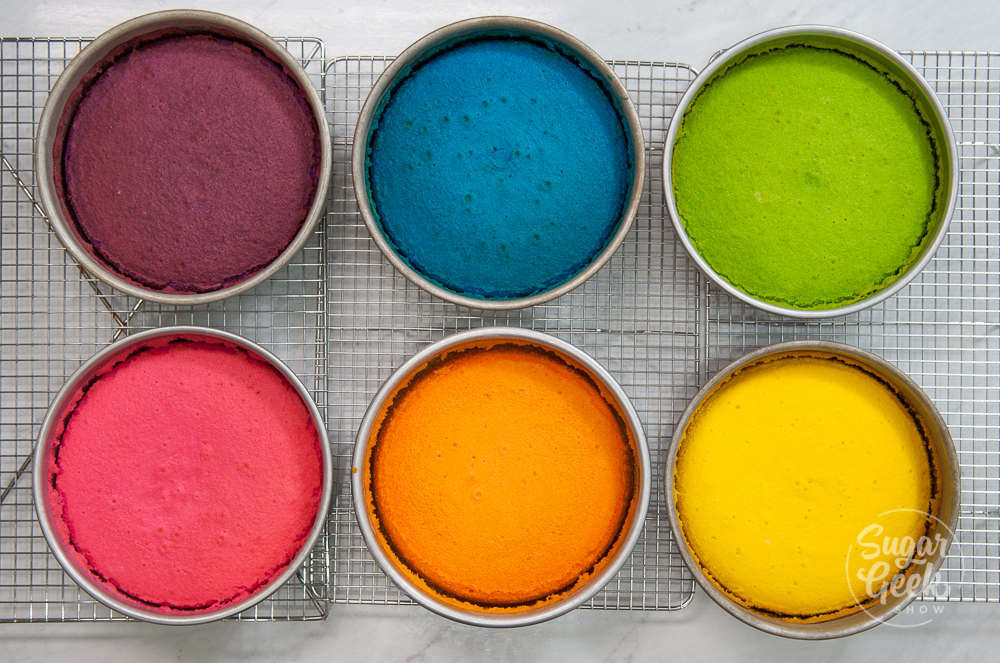 I put my cakes into the freezer for about 30 minutes to firm them up before trimming off the dome, the brown sides, and the brown bottom.
Trimming your cakes just makes the slices extra perfect and beautiful when you slice them.
How to decorate a rainbow cake
Time to decorate our rainbow cake! I'm using my easy buttercream because it comes together so fast. You could use any buttercream though like swiss meringue buttercream, Italian meringue buttercream or even cream cheese frosting.
Place your first layer onto your cake board. I'm working on a turntable to make this whole process easier.
Apply a thin layer of buttercream. Shoot for about ¼" of frosting.
Keep your spatula nice and flat so your buttercream has an even thickness.
I'm starting with the purple because that makes sense to me in my brain but you could start with the pink if you want to go in the opposite direction.
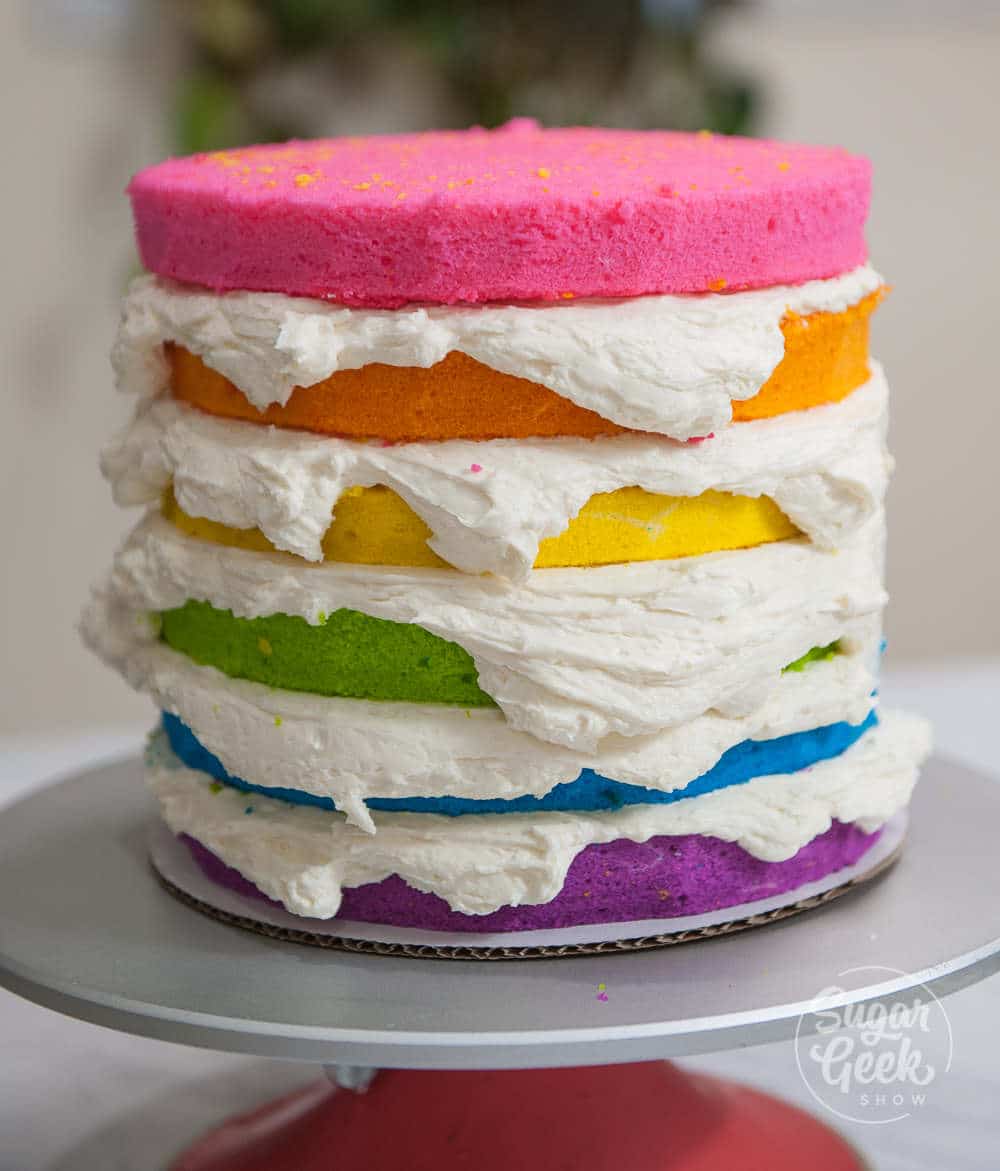
Continue frosting and stacking this way with the rest of the layers and then give the whole cake a nice crumb coat to seal in all those rainbow crumbs.
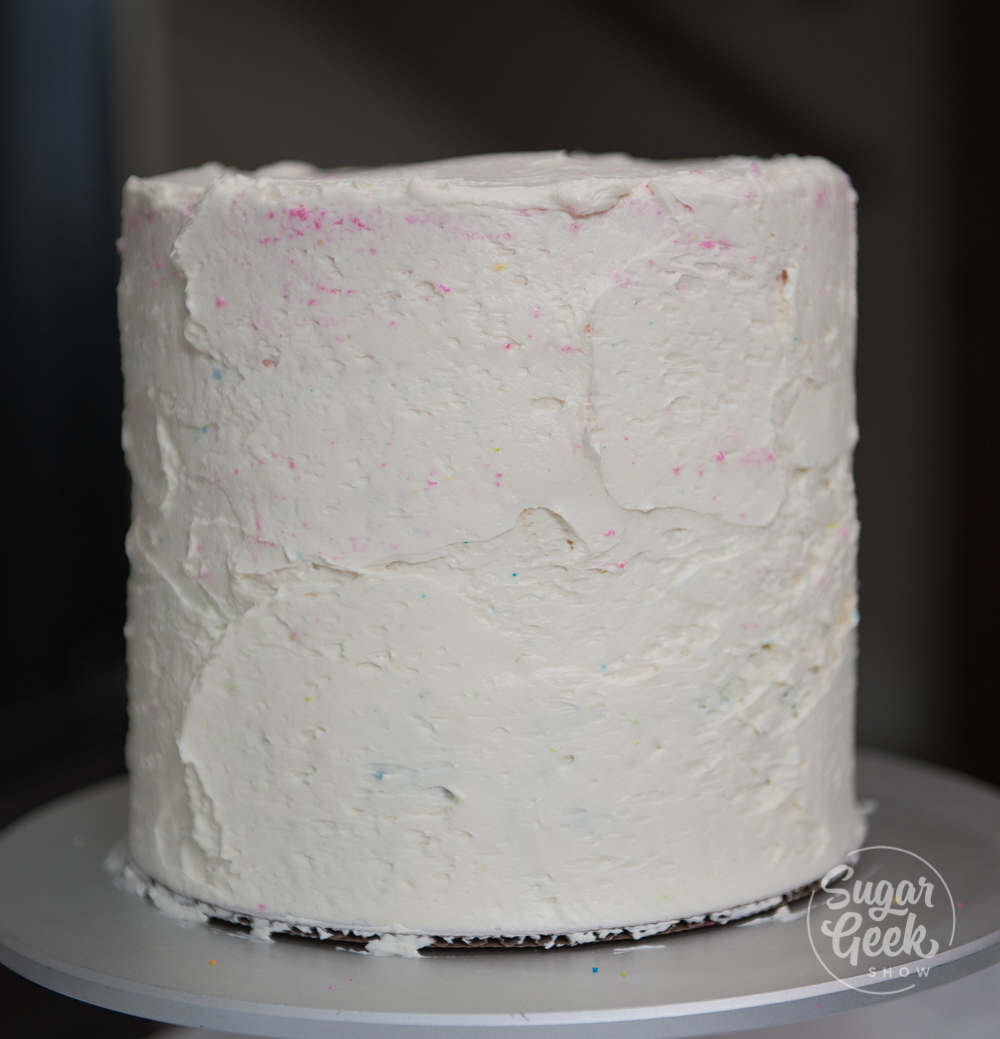
Chill your cake for 15 minutes to firm up that layer of buttercream.
Finish your cake with a final layer of buttercream and smooth it out with your bench scraper and offset spatula.
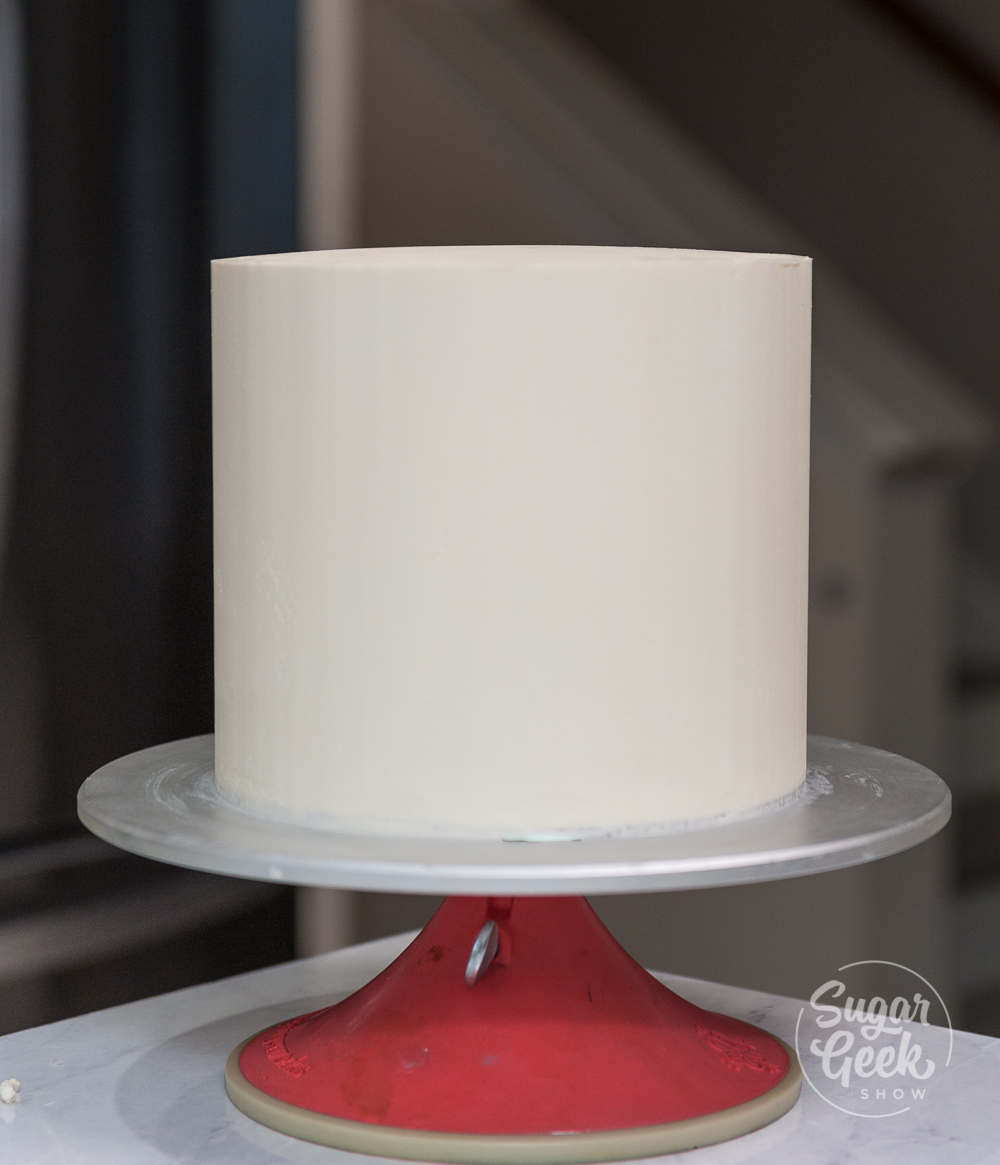
After chilling my cake, I added some fancy sprinkles to the bottom border of the cake, then I transferred my cake to a cake board.
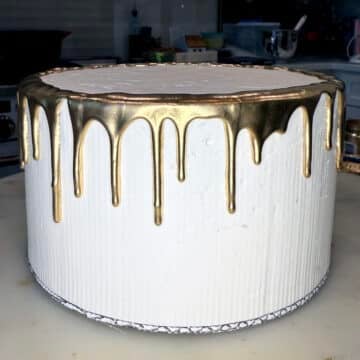
I'm finishing this cake with a water ganache drip. I used 5 ounces of white candy melts, 1 ounce of chocolate candy melts and 6 ounces of water.
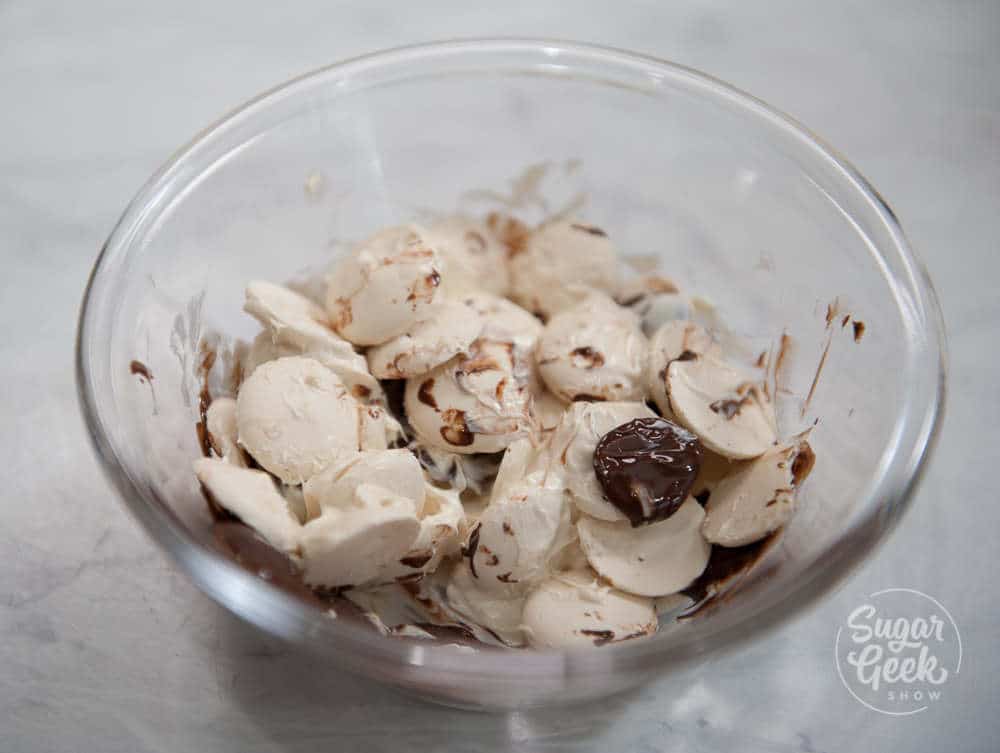
After melting, I added a few drops of electric yellow food coloring to make a gold candy melt color. I dripped this water ganache onto my chilled cake. Then painted gold with some truly mad plastics gold dust and vodka.
Make sure your mixture of dust and vodka is fairly thick, like paint so that you get good coverage.
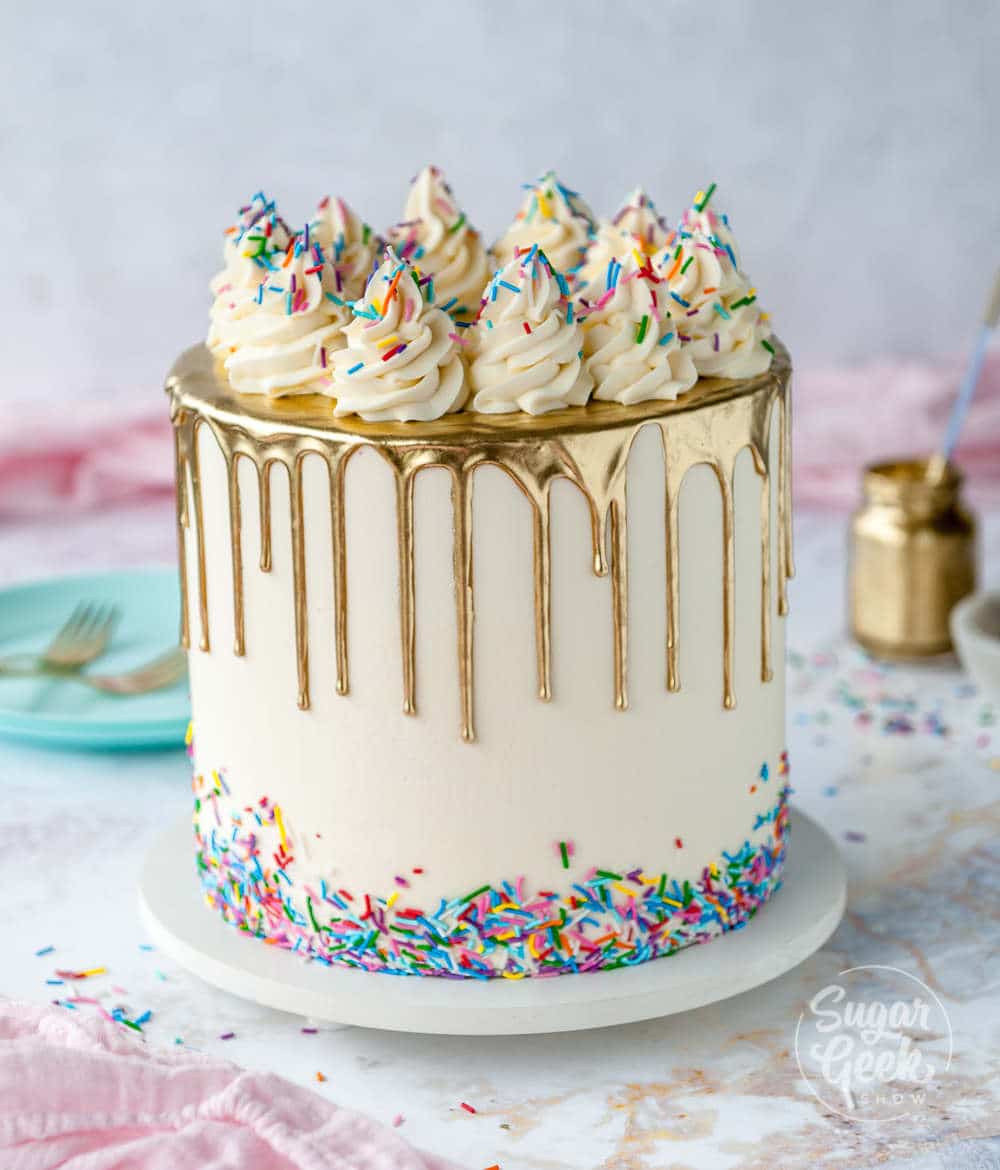
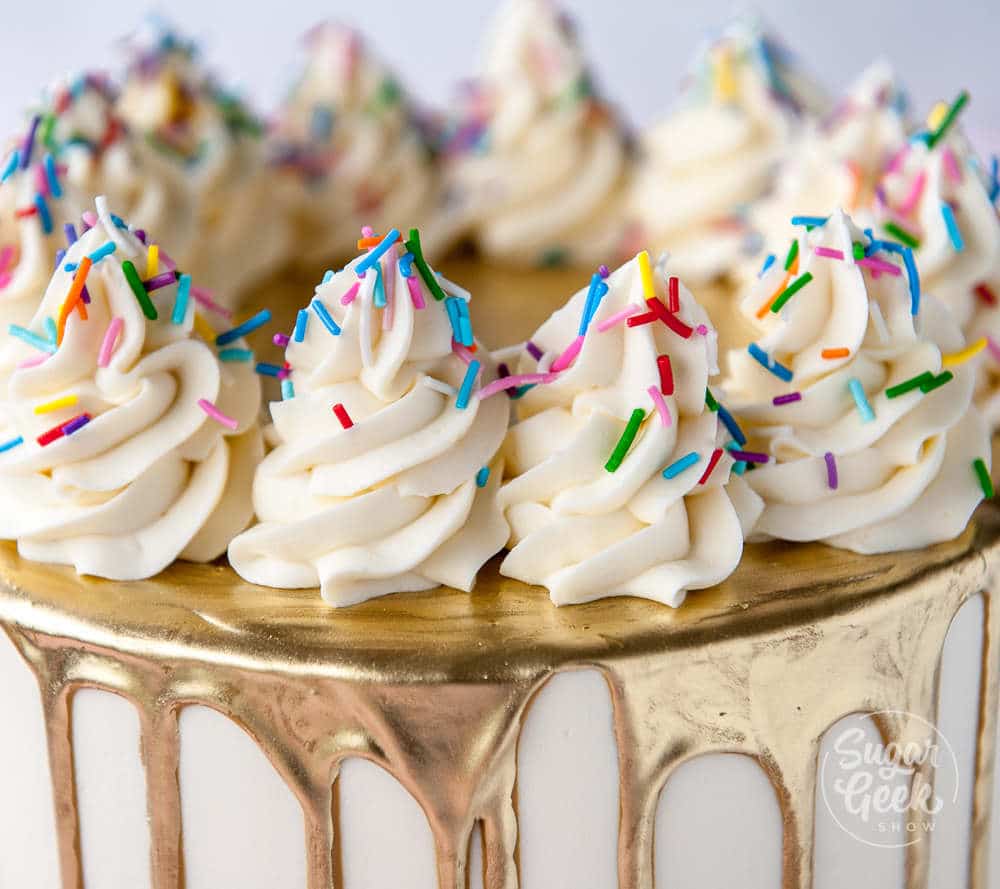
Then I added some little swirls of white frosting on top and added some more sprinkles. I used a 1M piping tip to do the swirls.
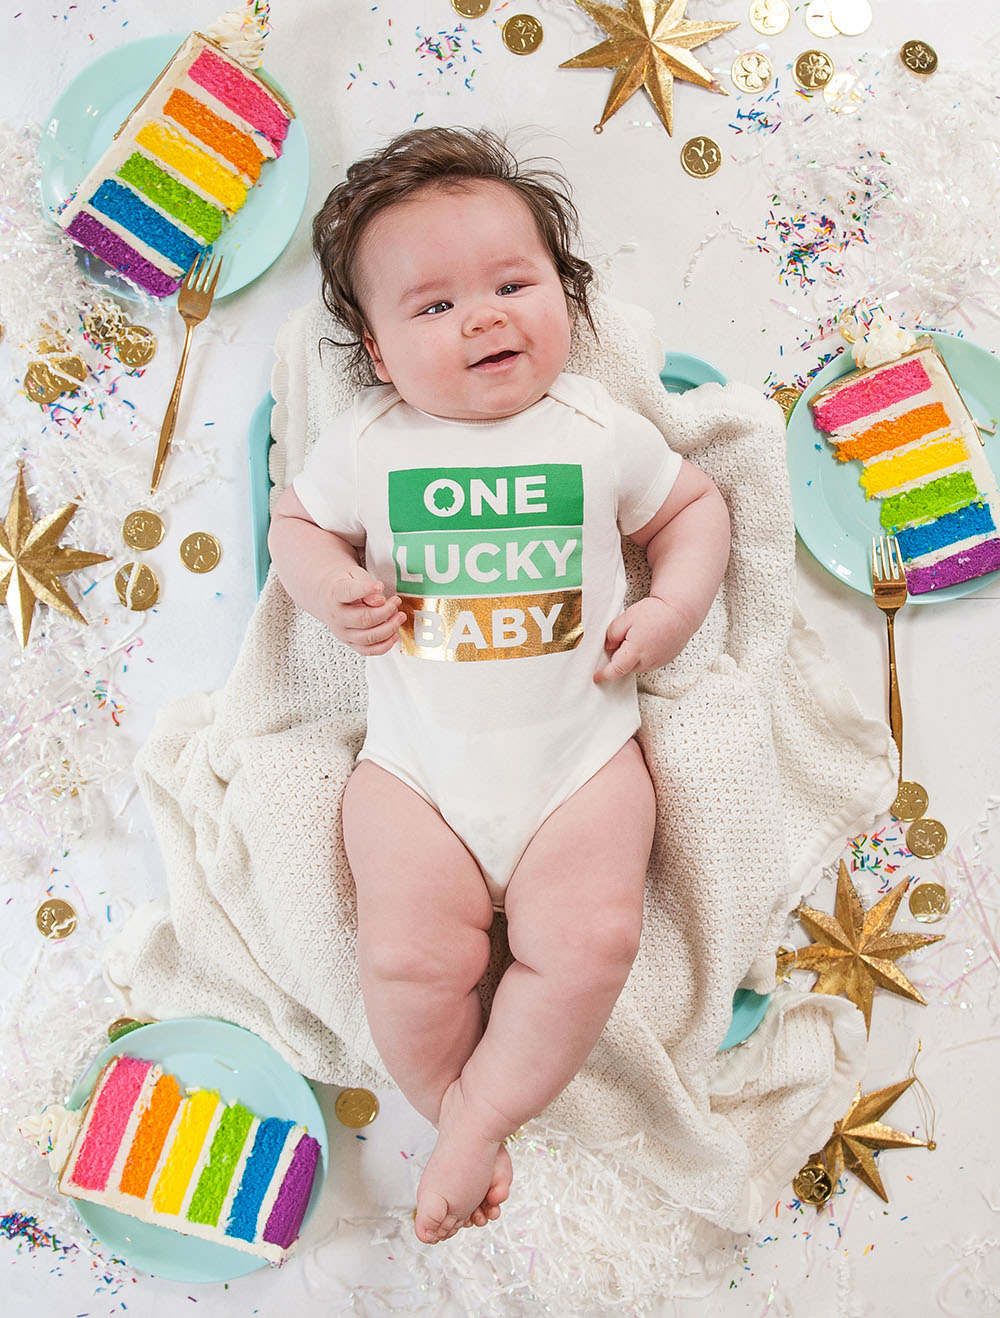
And we're done with our rainbow cake! Doesn't it look so pretty! I love how the slices look and they are the perfect accent to this month's Ezra photo.
Be sure to check out my other popular cake recipes for more delicious tried and true cake recipes that never disappoint.
Cake Batter and Frosting Calculator
Select an option below to calculate how much batter or frosting you need. Adjust the servings slider on the recipe card to change the amounts the recipe makes.
Choose a pan type
Choose a cake pan size
(based on 2" tall cake pan)
Choose a cake pan size
(based on 2" tall cake pan)
Cupcake Tin Size
Choose number of pans
Cups of Batter Needed
8 cups
Cups of Frosting Needed
5 cups
Note: measurements are estimated based off the vanilla cake recipe using standard US cake pans and sizes. Measurements used are for 2" tall cake pans only. Your results may vary. Do not overfill cake pans above manufacturer's recommended guidelines.
Recipe

Equipment
- Stand Mixer
- Whisk Attachment
- Paddle Attachment
- Turntable
- Offset Spatula
- Piping Bag
- 1M Piping Tip
Ingredients
Rainbow Cake Ingredients
- 24 oz cake flour
- 24 oz granulated sugar
- 1 teaspoon salt
- 2 tablespoon baking powder
- 1 teaspoon baking soda
- 10 oz egg whites room temperature
- 6 oz vegetable oil
- 18 oz buttermilk room temperature or slightly warm
- 12 oz butter unsalted and softened
- 1 Tablespoon vanilla extract
Easy Buttercream Frosting Ingredients
- 8 oz pasteurized egg whites
- 32 oz powdered sugar
- 32 oz unsalted butter softened but not melted
- 2 teaspoon vanilla extract
- ½ teaspoon salt
- 1 dot purple food coloring to make the buttercream white
Gold Drip
- 5 oz white candy melts
- 1 oz chocolate candy melts
- 1 oz hot water
- 1 teaspoon Truly mad plastics super gold dust
- ¼ teaspoon everclear or vodka or lemon extract
Instructions
- NOTE: It is SUPER IMPORTANT that all the room temperature ingredients listed above are room temperature and measured by weight so that the ingredients mix and incorporate correctly. Heat oven to 335º F/168º C
- Prepare six ( 8"x2") cake pans with cake goop and place a round piece of parchment paper in the bottom of the pan for easy removal of the cake
- Combine 8 oz of the buttermilk and the oil together and set aside.
- Combine the remaining buttermilk, egg whites, and vanilla together, whisk to break up the eggs and set aside.
- Combine flour, sugar, baking powder, baking soda and salt in the bowl of a stand mixer with the paddle attachment. Mix 10 seconds to combine.
- Add your softened butter to the dry ingredients and mix on low until mixture resembles coarse sand (about 30 seconds).
- Add in your milk/oil mixture and let mix until dry ingredients are moistened and then bump up to med (setting 4 on my KitchenAid) and let mix for 2 full minutes to develop the cake's structure. If you don't let your cake mix on this step your cake could collapse.
- Scrape your bowl and then reduce speed to low. Add in your egg white/milk mixture in three batches, letting the batter mix for 15 seconds between additions. Scrape down the sides again to make sure everything has incorporated.
- Divide your batter into 6 bowls. Weigh 15 ounces of batter for each bowl.
- Color each bowl with your Electric food colors. ½ teaspoon for pink for the pink layer, ¼ teaspoon yellow plus ¼ teaspoon orange for orange layer, ½ teaspoon yellow for yellow layer, ¼ teaspoon yellow plus ½ teaspoon green for green layer, ½ teaspoon blue for blue layer, ¼ teaspoon pink and ½ teaspoon purple for the purple layer.
- Bake your layers for 20-24 minutes or until the edges JUST start pulling away from the cake pan. Do not under-bake or the middle of the cake will collapse.
- IMMEDIATELY TAP PAN FIRMLY on countertop once to release the steam from the cake. This stops the cake from shrinking.
- Let cakes cool for 10 minutes inside the pan before flipping them out. The cake will shrink a bit and that is normal. Freeze your cake layers 30-60 minutes before trimming your cakes. Frost and fill with buttercream frosting.
- After your buttercream is smooth, place the cake back into the fridge for 15 minutes before you apply your drip.
- Wait for your drip to set before painting with gold paint. Finish the cake with buttercream rosettes and more sprinkles.
Easy Buttercream Instructions
- Place powdered sugar and pasteurized egg whites in the bowl of your stand mixer with the whisk attachment.
- Mix on low to combine then increase speed to high.
- Add the butter in small chunks while mixing. Continue mixing until all the butter is added in. Then add in your vanilla and salt.
- Mix on high until light and fluffy and no longer tastes like butter. Add a dot of purple food coloring to reduce the yellow appearance of the buttercream (optional).
- Remove the whisk attachment and replace it with the paddle attachment. Mix on low for 10 minutes to remove bubbles from the buttercream.
Gold Drip Instructions
- Melt the chocolate in the microwave in 15-second increments until almost fully melted.
- Add in your hot water and microwave another 15 seconds
- Stir until smooth. Then add in your yellow food coloring. Stir until smooth.
- Place water ganache into a piping bag, snip off the tip and drip the ganache around the edge of your chilled cake. After it sets, you can mix your gold dust and vodka together and paint the drip gold
Video
Notes
Cake flour sources: UK - Shipton Mills Cake & Pastry Flour



Sahar says
Hi,Liz.Which one of your recipes(white velvet buttermilk cake or white cake)is better for marbled colorful cake and checkerboard cake?And which one is better for 2 or 3 tiered cake for supporting the top tiers (with the dowels inside)?I am planning for my daughter's birthday party and I want to make two or three tiered cake ,I want them to be very soft and fluffy and not to be dense.I would be very thankful if you could help me.Which one of your white cakes recipe is better for my desired cake?(2 or 3 tiered marbled colorful or checkerboard cake 6&8")and each tier is going to be 3 layers .thx alot
Elizabeth Marek says
It doesn't matter what cake you use. Any cake can be used for a tiered cake. If you want to learn more about stacking cakes, you can watch my how to stack a cake tutorial. I always stack my cakes cold and then bring them out a few hours before the party starts so that the cake has time to warm up and taste soft again.
Sravya says
Hi Liz. I'm excited to try this recipe. Have 1 question - How can servings does 1 cup of batter give? I want 8 cups of batter. To what number should I adjust the servings scale to get the measurements?
Elizabeth Marek says
I haven't measured how many cups of batter this recipe makes yet because it's not the traditional style of cake with three layers. This recipe makes way more than 8 cups of batter though
Amanda L says
Hi!!! I use your recipes all the time now! And I FINALLY got my hands on some cake flour😆!! This cake is waaaaay different with cake flour. It was amazing!!
I practiced this for an upcoming cake I have. And now, I have a wedding cake to do and want to use this as my white cake. I love your batter calculator! I need this to fill 10” rounds. I see that I would need 12 cups of batter. But my question is, how much batter is THIS recipe for the 8” pans? I’m trying to see how to adjust my measurements. Doubling it would be too much, correct? So I was thinking to do this recipe times 1.5? Assuming this recipe is 8cups of batter since that’s what the calculator says for 8” cake pans”? 😅
Elizabeth Marek says
Ok so this is a tricky one to calculate because the layers are not 2" tall, they are only 1" tall. So my suggestion would be to use the calculator as usual then reduce the amount by 1/4. You might still have a little batter leftover but it's better than not having enough! The pans should only be filled a little less than halfway to make skinny layers.
Amanda L says
Hi! omg i dont know HOW i missed this. i was trying to see if my question was answered about how many cups of batter is this recipe. I felt like i read all over the place before i asked, but when i looked just now, i seen that it says it makes 14 cups of batter. I already knew about the "Cake Batter Calculator" and i was like, thats great it tells us how many cups of batter we need for each pan, but that still didnt help me as far as knowing how much to multiply this recipe by. Anyways, I JUST REALIZED that once you pick your pan size and how many pans you use, it tells you how much batter you will need, BUT THEN!!... you can adjust where it says "14" cups to the amount of cups you will need and the RECIPE AUTOMATICALLY adjusts for you!!!! DROP THE MIC, lol. im just so happy to have figured that out and i honestly dont know how i missed that because i searched and searched...i hate asking a question that is already in the post. Anyways, i hope that helps someone because i also like to look through comments to see what questions might be answered. Sorry for the long comment, im a dork. THanks again 🙂
Elizabeth Marek says
Just keep in mind that for the rainbow cake, the layers should not be as tall so the calculator doesn't work exactly the same way for this recipe. It's hard to calculate it exactly but you want the cake pan to be no more than 1/3" full of batter or the cake will get too tall.
Amanda L says
Hi. Thank you for your response to my question. But i just made another comment about discovering that i can adjust the servings to adjust the measurements in the recipe! Very excited to have discovered that, lol. But what i was saying is that in addition to making this exact cake, i also have a wedding cake that im doing and she wants vanilla/white cake. I was saying that i would like to use this recipe (without making it a rainbow cake). I was trying to figure out how many cups i would need to fill two 10" pans, but i see that it says i would need 12 cups of batter. So each pan should fit 6Cups of batter nicely correct? I havnt made a 10" cake in about 5 years. Thanks again so much!! 🙂
Elizabeth Marek says
You can just use the white velvet cake recipe instead of this cake. Its the exact same recipe without the food coloring and then you can adjust the servings to what you need them to be.
Paola Rodriguez says
Can I use the Wasp cake recipe instead of this white velvet for this rainbow cake or would you recommend to stick to the white velvet?
Elizabeth Marek says
You can definitely use the wasc 🙂
Elicia says
Made it this weekend in 8” pans and it turned out pretty awesome. I subbed Monkfruit in for 1/2 the sugar and it ended up great. My 4 year old was ecstatic.
It was like 14” tall and weighs about 10lbs 😂😂
Liz says
Hi Liz!! Congratulations on your gift from God! You have a beautiful Family!!
I love your Show and all your recipes!!!!
I did this lovely and beautiful rainbow cake for my daughter’s 18th Birthday . I follow your recipe step by step and the Cake came out perfect as well as the colors! But I had a problem and I will like to know what I did wrong when I taste my cake it’s taste bitter, I checked my Baking Powder and Baking Soda and they are not expired . All my ingredients was on temp What could I have done wrong? Thank you 😊
Dione Dieudonne says
This recipe was super easy to make. The colors were so vibrant and beautiful and the recipe was exact for everything. It was great as it was my first attempt at a rainbow cake. I may have added too much purple and my buttercream turned a soft pink instead of white but nevertheless it was soo pretty. I also used dot sprinkles instead and it was such a nice crunch. Amazing- thank you!
Erica says
I need to make a 6 layer 6in cake how many cups of batter is that?
Jessica Lala says
I wish i could give more than 5 stars! This is, by far, the most delicious cake i've made. I love to bake and am always looking for new fun cakes. I made this for my son for his 6th birthday party and it was a HIT. I didnt decorate it the best (not my gifting) but the flavor of this cake made up for it!
Jo Ann Hallmark says
I have to make this cake for a wedding in 6" and 8" stacked tiers and I don't want each tier to be 7" tall. Do you think this amount of batter would create thick enough baked cake layers to make 6" and 8" rainbow cakes that are about 4" tall each? Thanks.
Elizabeth Marek says
Its very hard to get a cake that is only baked less than 1". You can try and spread the batter as thin as possible but they might break.
Sara Köhle says
Hey, this looks great! I’m gonna dare to make it 🙃
Could you give tips on what tools I need to by and have prepared before I start?
Thanks
Elizabeth Marek says
A good place to start is to watch the video tutorial and make note of any tools or ingredients you don't have on hand like the food coloring or having enough pans to make all the layers.
Kristi says
I’m thinking about making this cake for my sister’s birthday! Can I turn it into a piñata cake? Where you put candies and sprinkles in the middle. Thanks!
Elizabeth Marek says
Sure you can! Just cut the centers out with a circle cutter before you stack 🙂
Marlo says
I wish I could share photos of how this turned out. I cant believe it was a success for me. So delicious! I never ended up trimming anything bc I was scared but it all worked out regardless. I did somehow not make enough batter and only managed 5 layers but that was plenty.
Sarah says
Hi, I have a very small oven that fits only 1 pan. Can I leave the rest of the batter sitting on room temperature?
Sugar Geek Show says
Yes, or you can refrigerate it if you want!
Marilyn Jennings says
This turned out to be a beautiful cake. I could only use 5 layers because my cake keeper was not tall enough. I left out the green. My Granddaughter was so happy when i sliced into it. She yelled out, "It's a rainbow cake." All the labor put into was well worth it seeing how happy she was. I did mess up on the frosting because my brain kept telling me to use 3 sticks of butter. When i did notice my mistake, i had to use 3 sticks of salted butter. Everyone liked the cake and frosting but the salted butter i believe made a difference. I like the unsalted butter better for this frosting. I will try making the regular white velvet cake with the frosting and see how i like it. My sister and i have searched for years to find a really good cake mix with a great buttercream frosting and i finally believe my search is over. Thanks
C. G. says
Hi, just a quick question about the water ganache.
For a water ganache, can you use normal food colouring gel to colour it?
I've heard many horror stories that say to NOT use gel food colouring in chocolate otherwise it will make a grainy texture.
Any help would be much appreciated 🙈
Sugar Geek Show says
If you're using candy melts you can use any type of food coloring that you like! I use Americolor gel colors. Since they're not really technically chocolate I think any kind will be fine 🙂
Violeta Filipova says
what if I don't have access to pasturised egg whites?can I use fresh?
Sugar Geek Show says
For the frosting? You have to use pasteurized eggs because they are safe to eat without cooking. If you want to use raw egg whites, try making SMBC! https://sugargeekshow.com/recipe/swiss-meringue-buttercream/
Stacey says
If I wanted to make a pastel rainbow cake could I use the same electric colors just in lesser amounts?
Elizabeth Marek says
Absolutely and that would look lovely
Stephen says
Hi, this recipe looks absolutely amazing! I can’t wait to try it out! I do have a few questions though: I only have two 9” cake pans; should I make the same amount of batter the recipe calls for, or should I make more? Also, should I bake the cake for the same amount of time, and at the same temperature. Thank you so much!
Elizabeth Marek says
You should be able to still use the same amount of batter, it will bake faster so keep your eye on them.
Emily says
am I reading this correclty that the cake calls for 12 oz (3 whole sticks of butter) in addition to vegetable oil?
Sugar Geek Show says
Yes! For extra moisture.
joyce says
First let me start by saying, your instructions are excellent ! You cover everything you are doing with instruction and reason. Thank you! I want to make the rainbow cake for my Grandson. My question is this: My oven only lets me select in Intervals of 25 degrees, so I am unable to bake at 335. Any suggestions on what would be a good temp to bake at ? higher or lower? thanks in advance.
Elizabeth Marek says
You can bake at 350, just keep an eye on your layers so they don't burn
Roslyn Grant says
Thank-you for this wonderful recipe. The cake is light and tastes great. The detailed instructions are very good. The only thing that didn't work for me was the gold drip. I think because I live in Australia the candy melts may be different. I ended up using a normal ganache drip.
Sonja Nortje says
Thank you for sharing your recipe. It mentions that I'm supposed to get 2-inch layers, but mine came out of the oven measuring 1-inch each... not sure what went wrong, as I followed your recipe exactly. Only difference is that I have 8 x 3-inch pans... not sure if that plays a role? Also, we use Celsius and the knob on my oven is manual, not digital... so, I'm hoping this didn't play a role in my 'flat and denser cake layers.
Elizabeth Marek says
1" tall cake layers is correct, if the layers were 2" tall then you'd end up with a 12" tal cake!