

This green velvet cake with my easy vanilla buttercream frosting and a shiny gold drip is the perfect cake for St. Patrick's Day! The classic combo of buttermilk, a hint of cocoa and vinegar give this cake the same flavor depth and velvety color as red velvet. Being able to switch the colors out makes this cake recipe fun and versatile.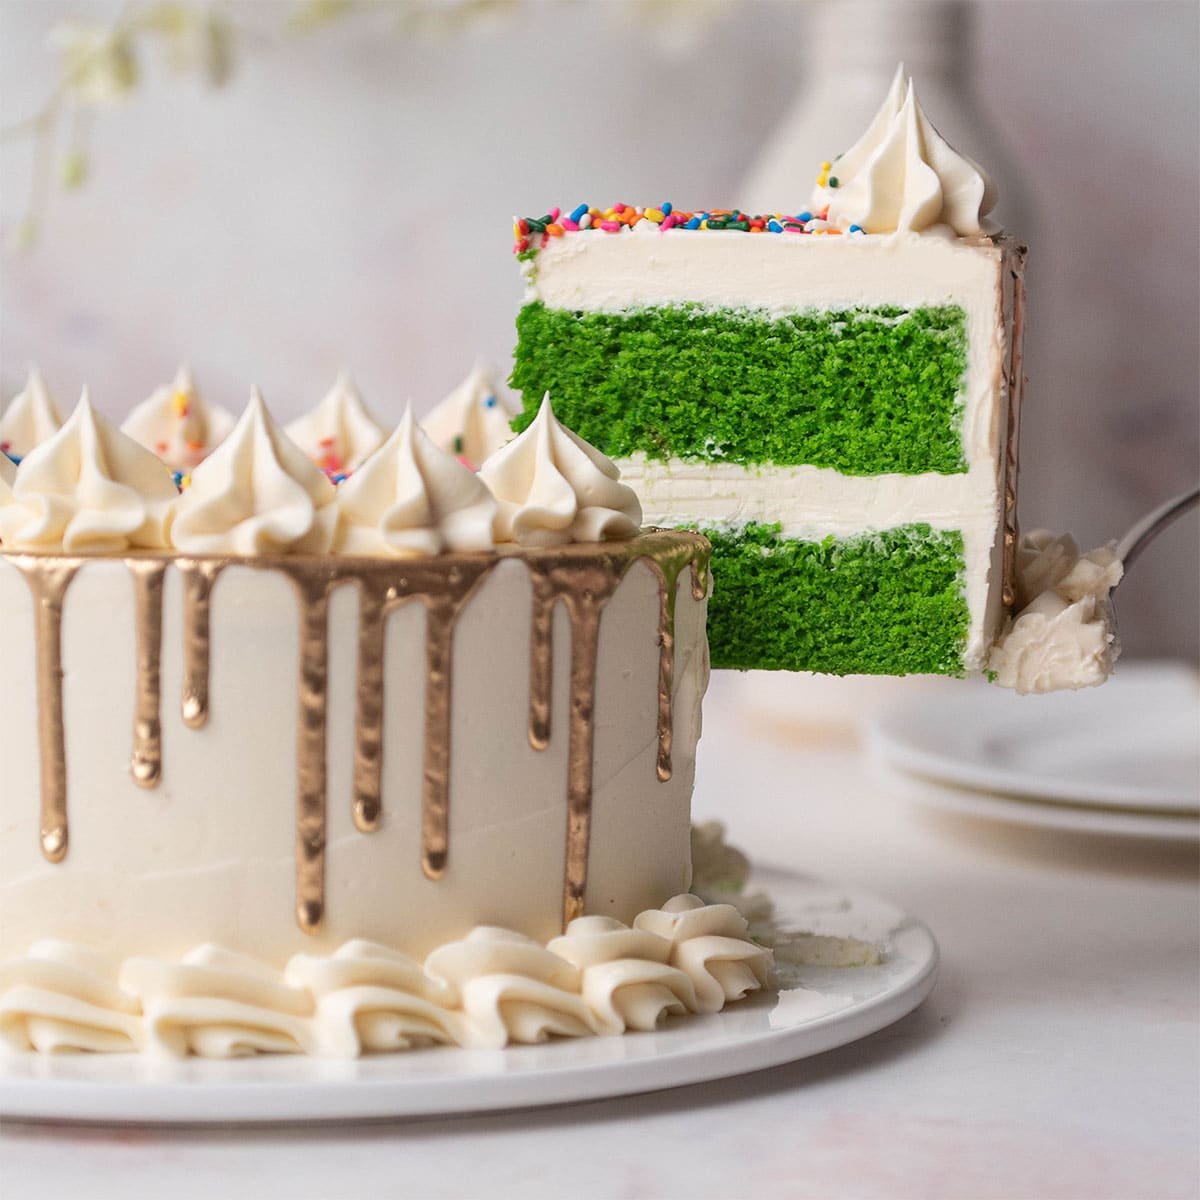
This is a festive treat for those who don't care for the typical St Patrick's day treats, like Guinness beer cake or Irish cream cake. There are so many ways to decorate this fun cake, let your inner leprechaun run wild! Maybe a pot of gold or green frosting. No matter what, everyone will feel lucky to get a slice!
Table of contents
Green Velvet Cake Ingredients
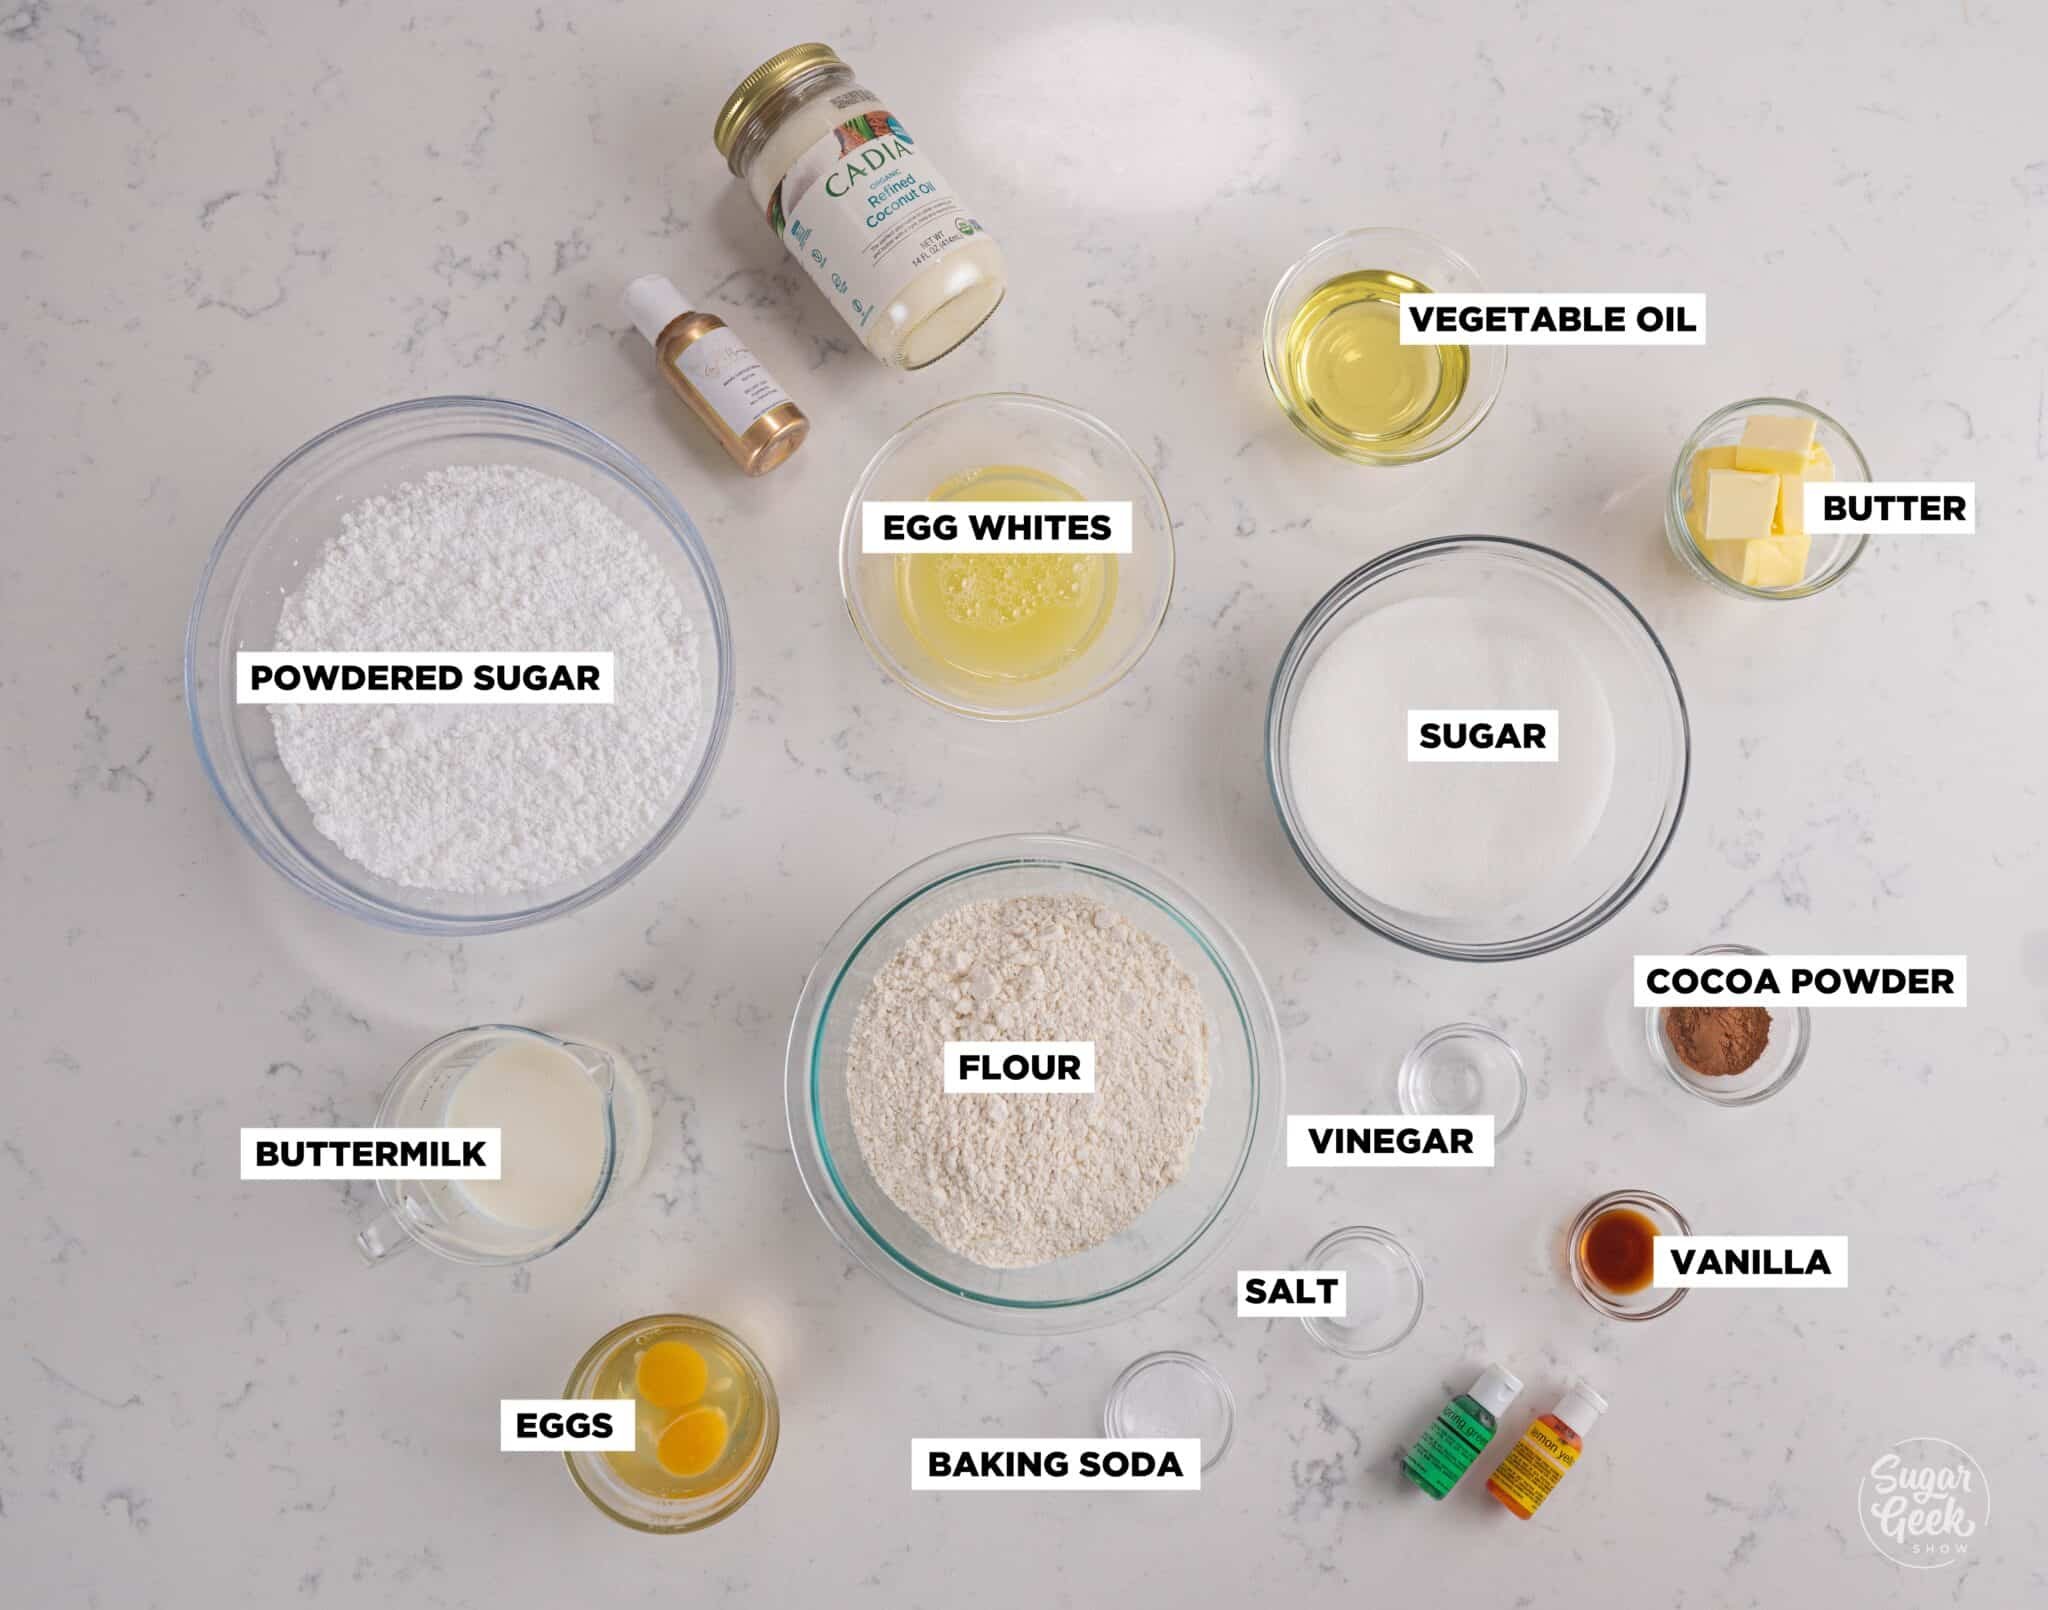
Buttermilk adds a tangy flavor to the cake and it tenderizes the crumb. If you do not have buttermilk you can substitute by adding a teaspoon of lemon juice to a cup of regular milk. Check out my buttermilk substitutes blog post for more recipes.
Cocoa Powder is the not-so-secret ingredient in velvet cakes. There isn’t enough to make it taste like chocolate but just enough to deepen the color of the batter and also tenderize the flour.
Vinegar keeps this cake batter on the acid end of the scale, which is why we use only baking soda as a leavener, no need for the acid in baking powder to balance the recipe. The signature of a velvet cake is the “velvet” texture, meaning very moist and tender, this is due to the amount of acid in the batter.
Making Green Velvet Cake
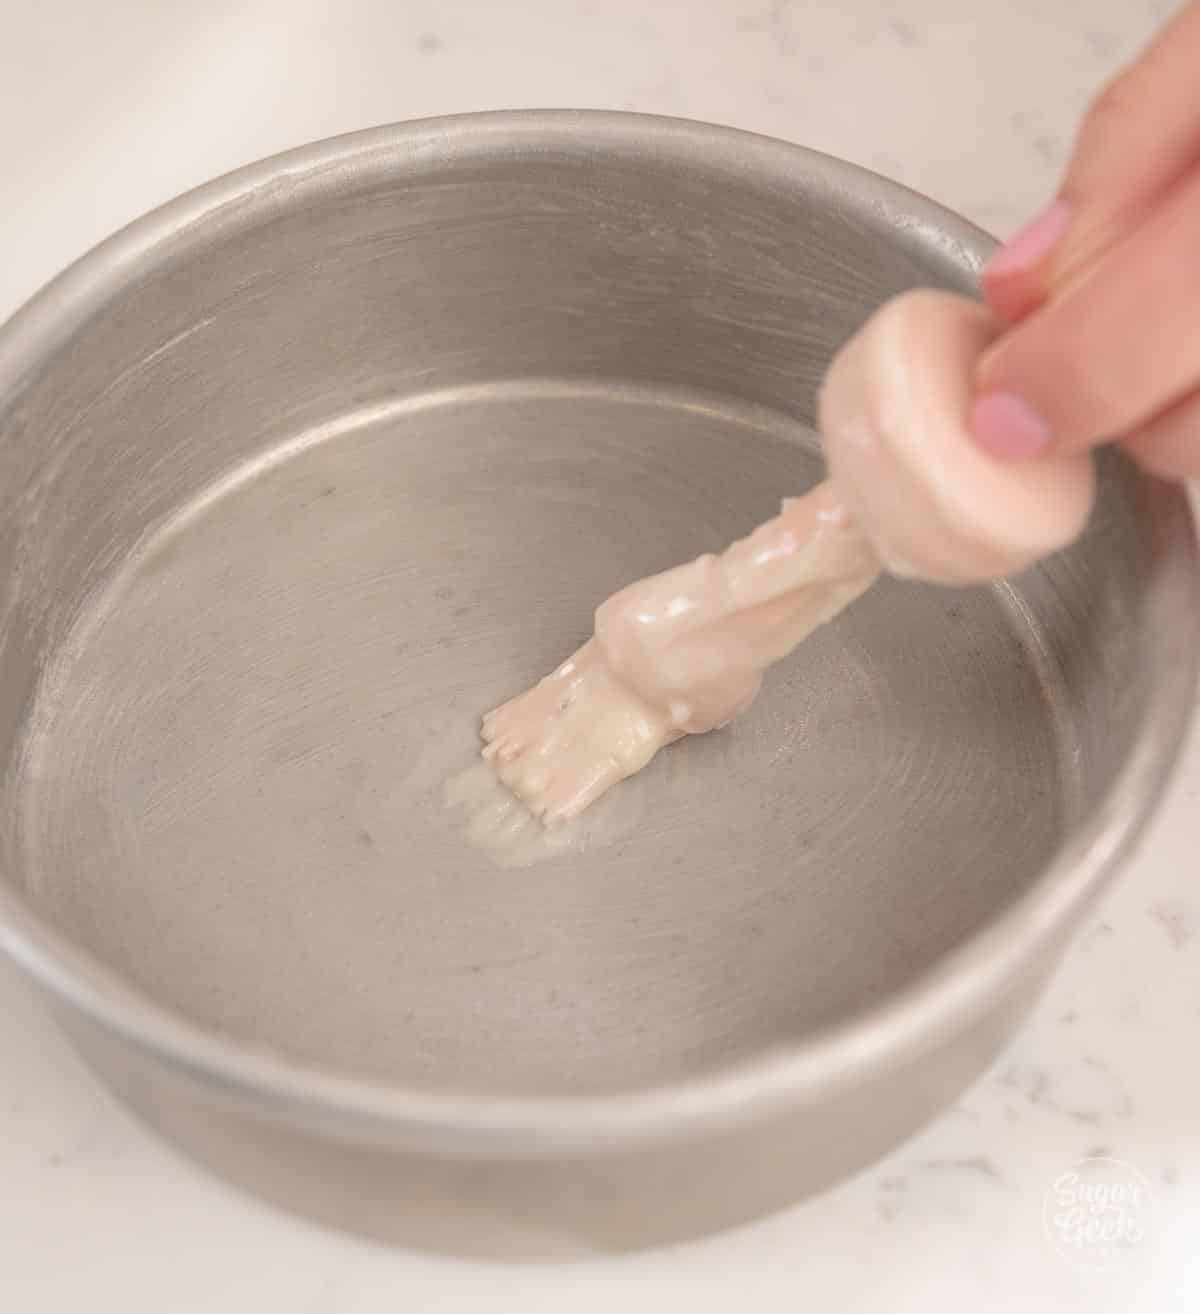
- Preheat the oven to 350°F and prepare two 8-inch cake pans with cake goop, parchment paper, or preferred pan spray. This recipe will also make three 6-inch cakes.

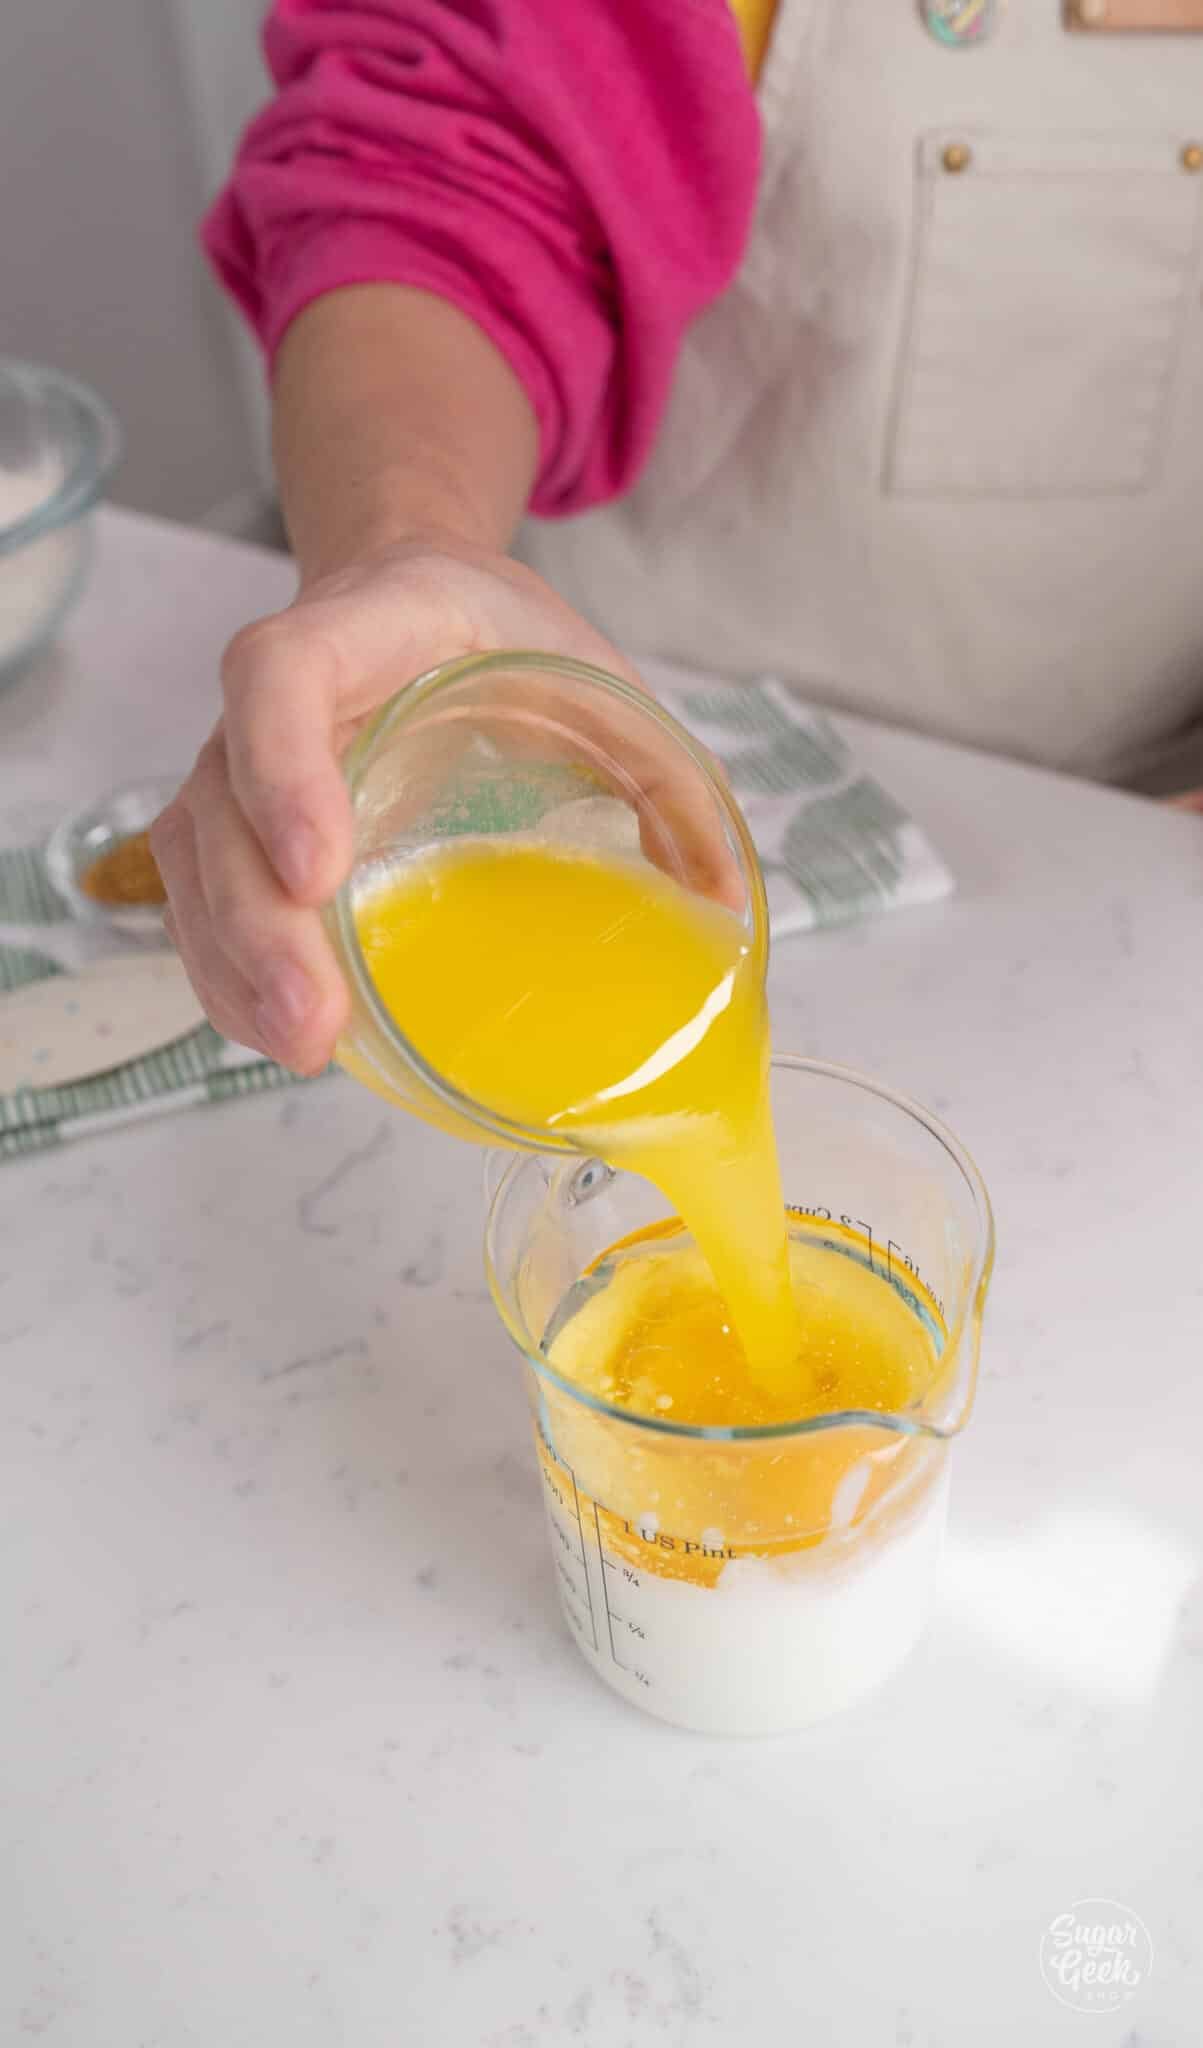
- Whisk the eggs with the oil, buttermilk, vinegar, and melted butter until combined and set aside.

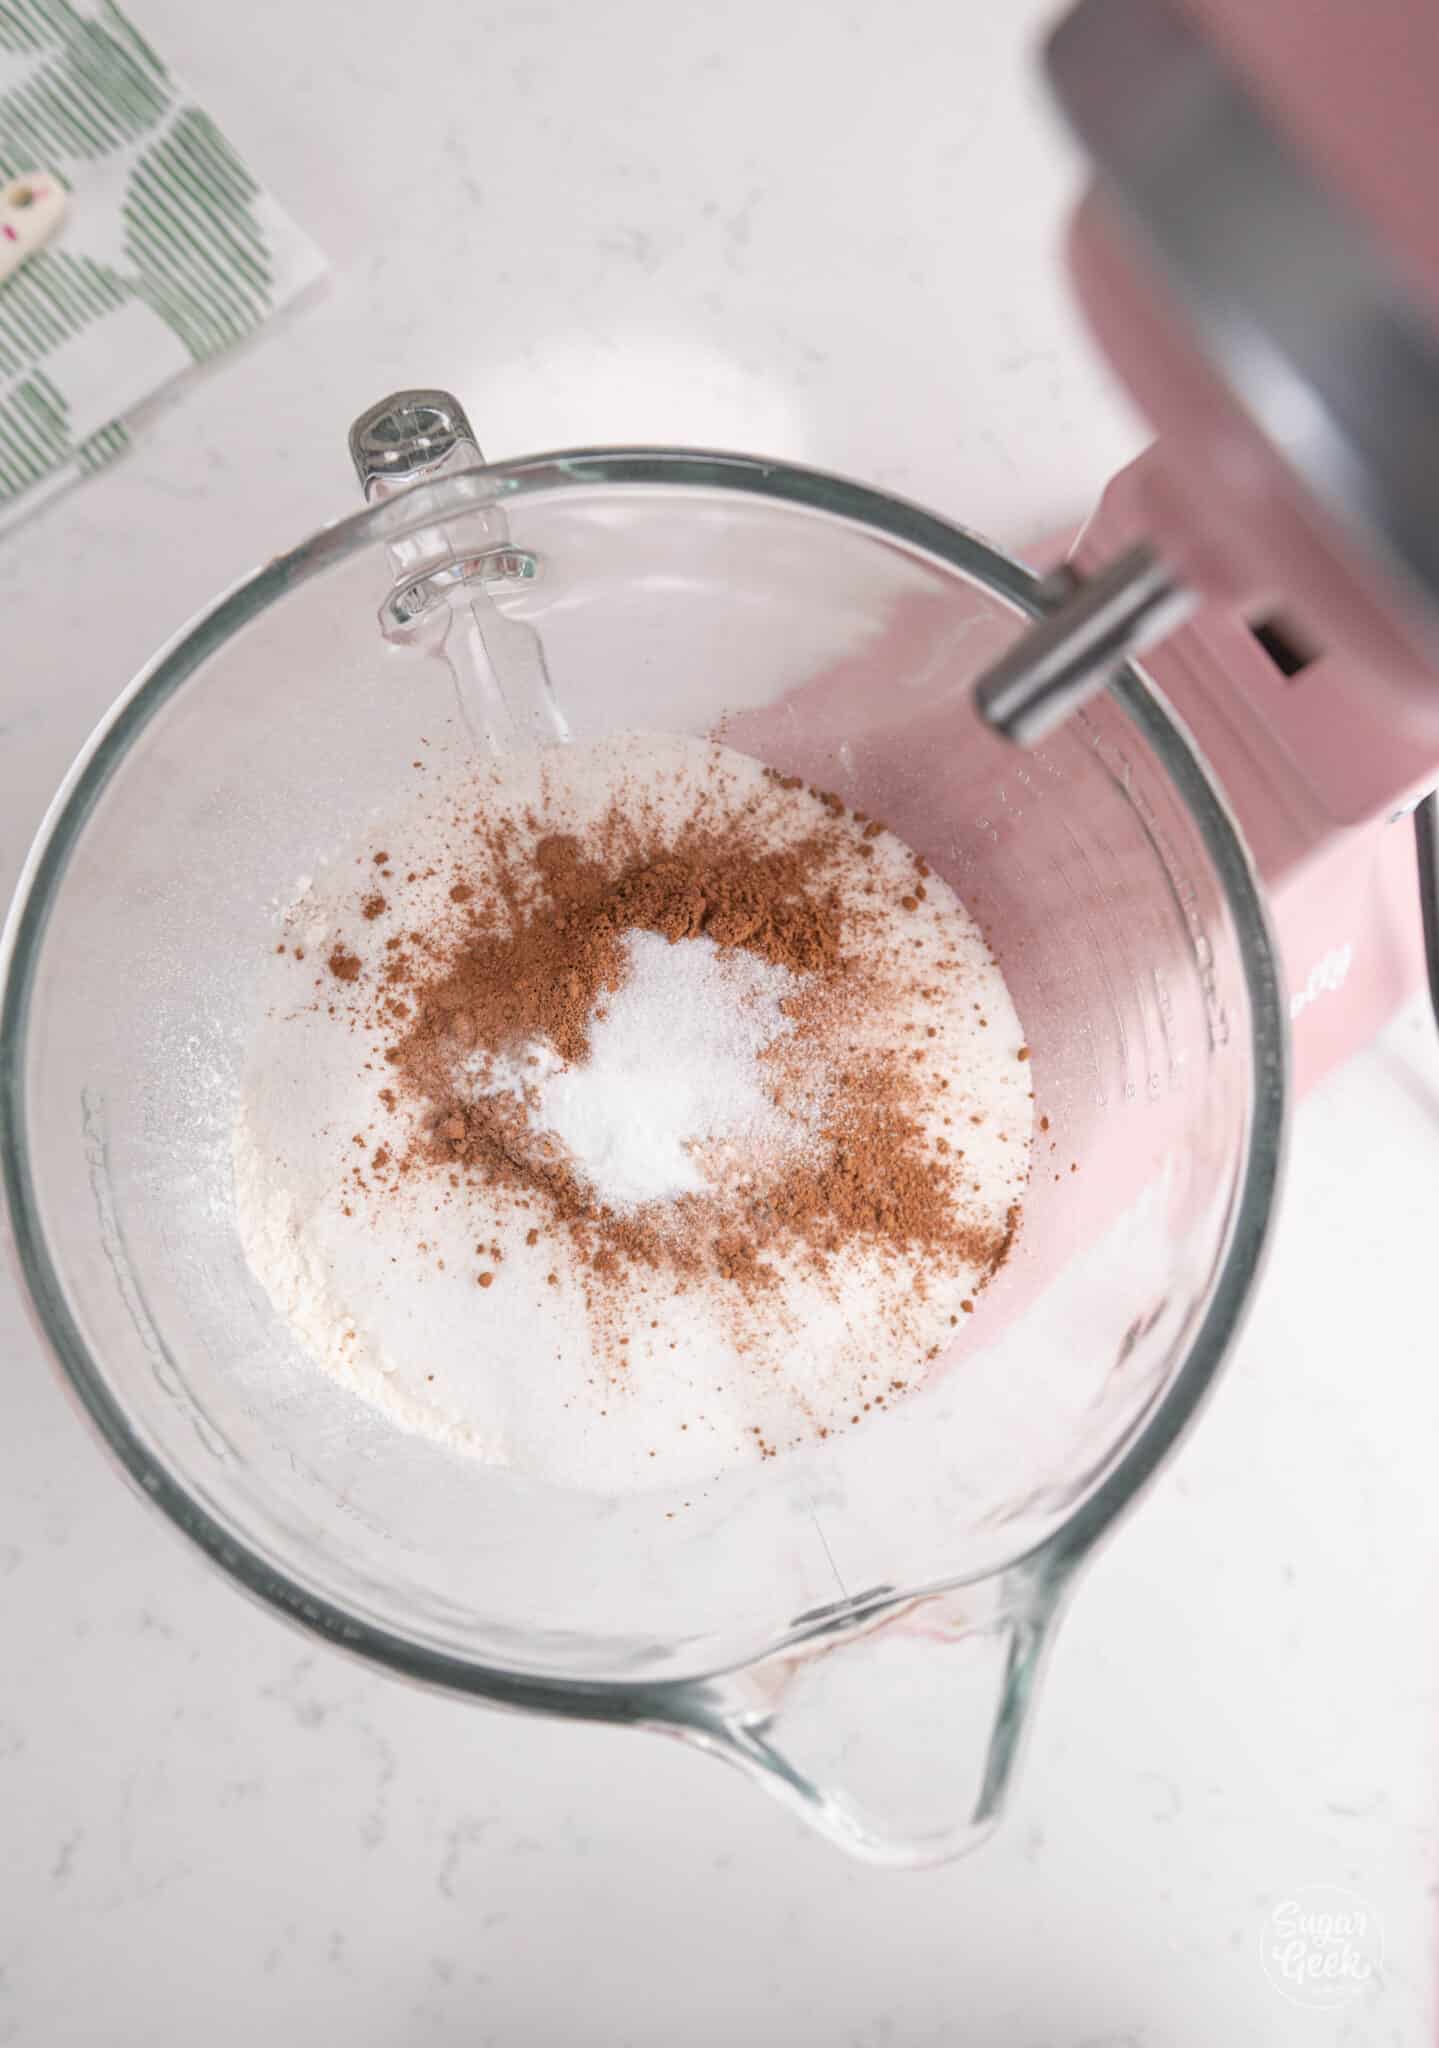
- Place the flour, sugar, cocoa powder, salt, and baking soda into the bowl of your stand mixer and mix on low speed with the paddle attachment for a few seconds to combine.

- Add the buttermilk mixture into the flour mixture and mix on medium-high for about a minute until combined.

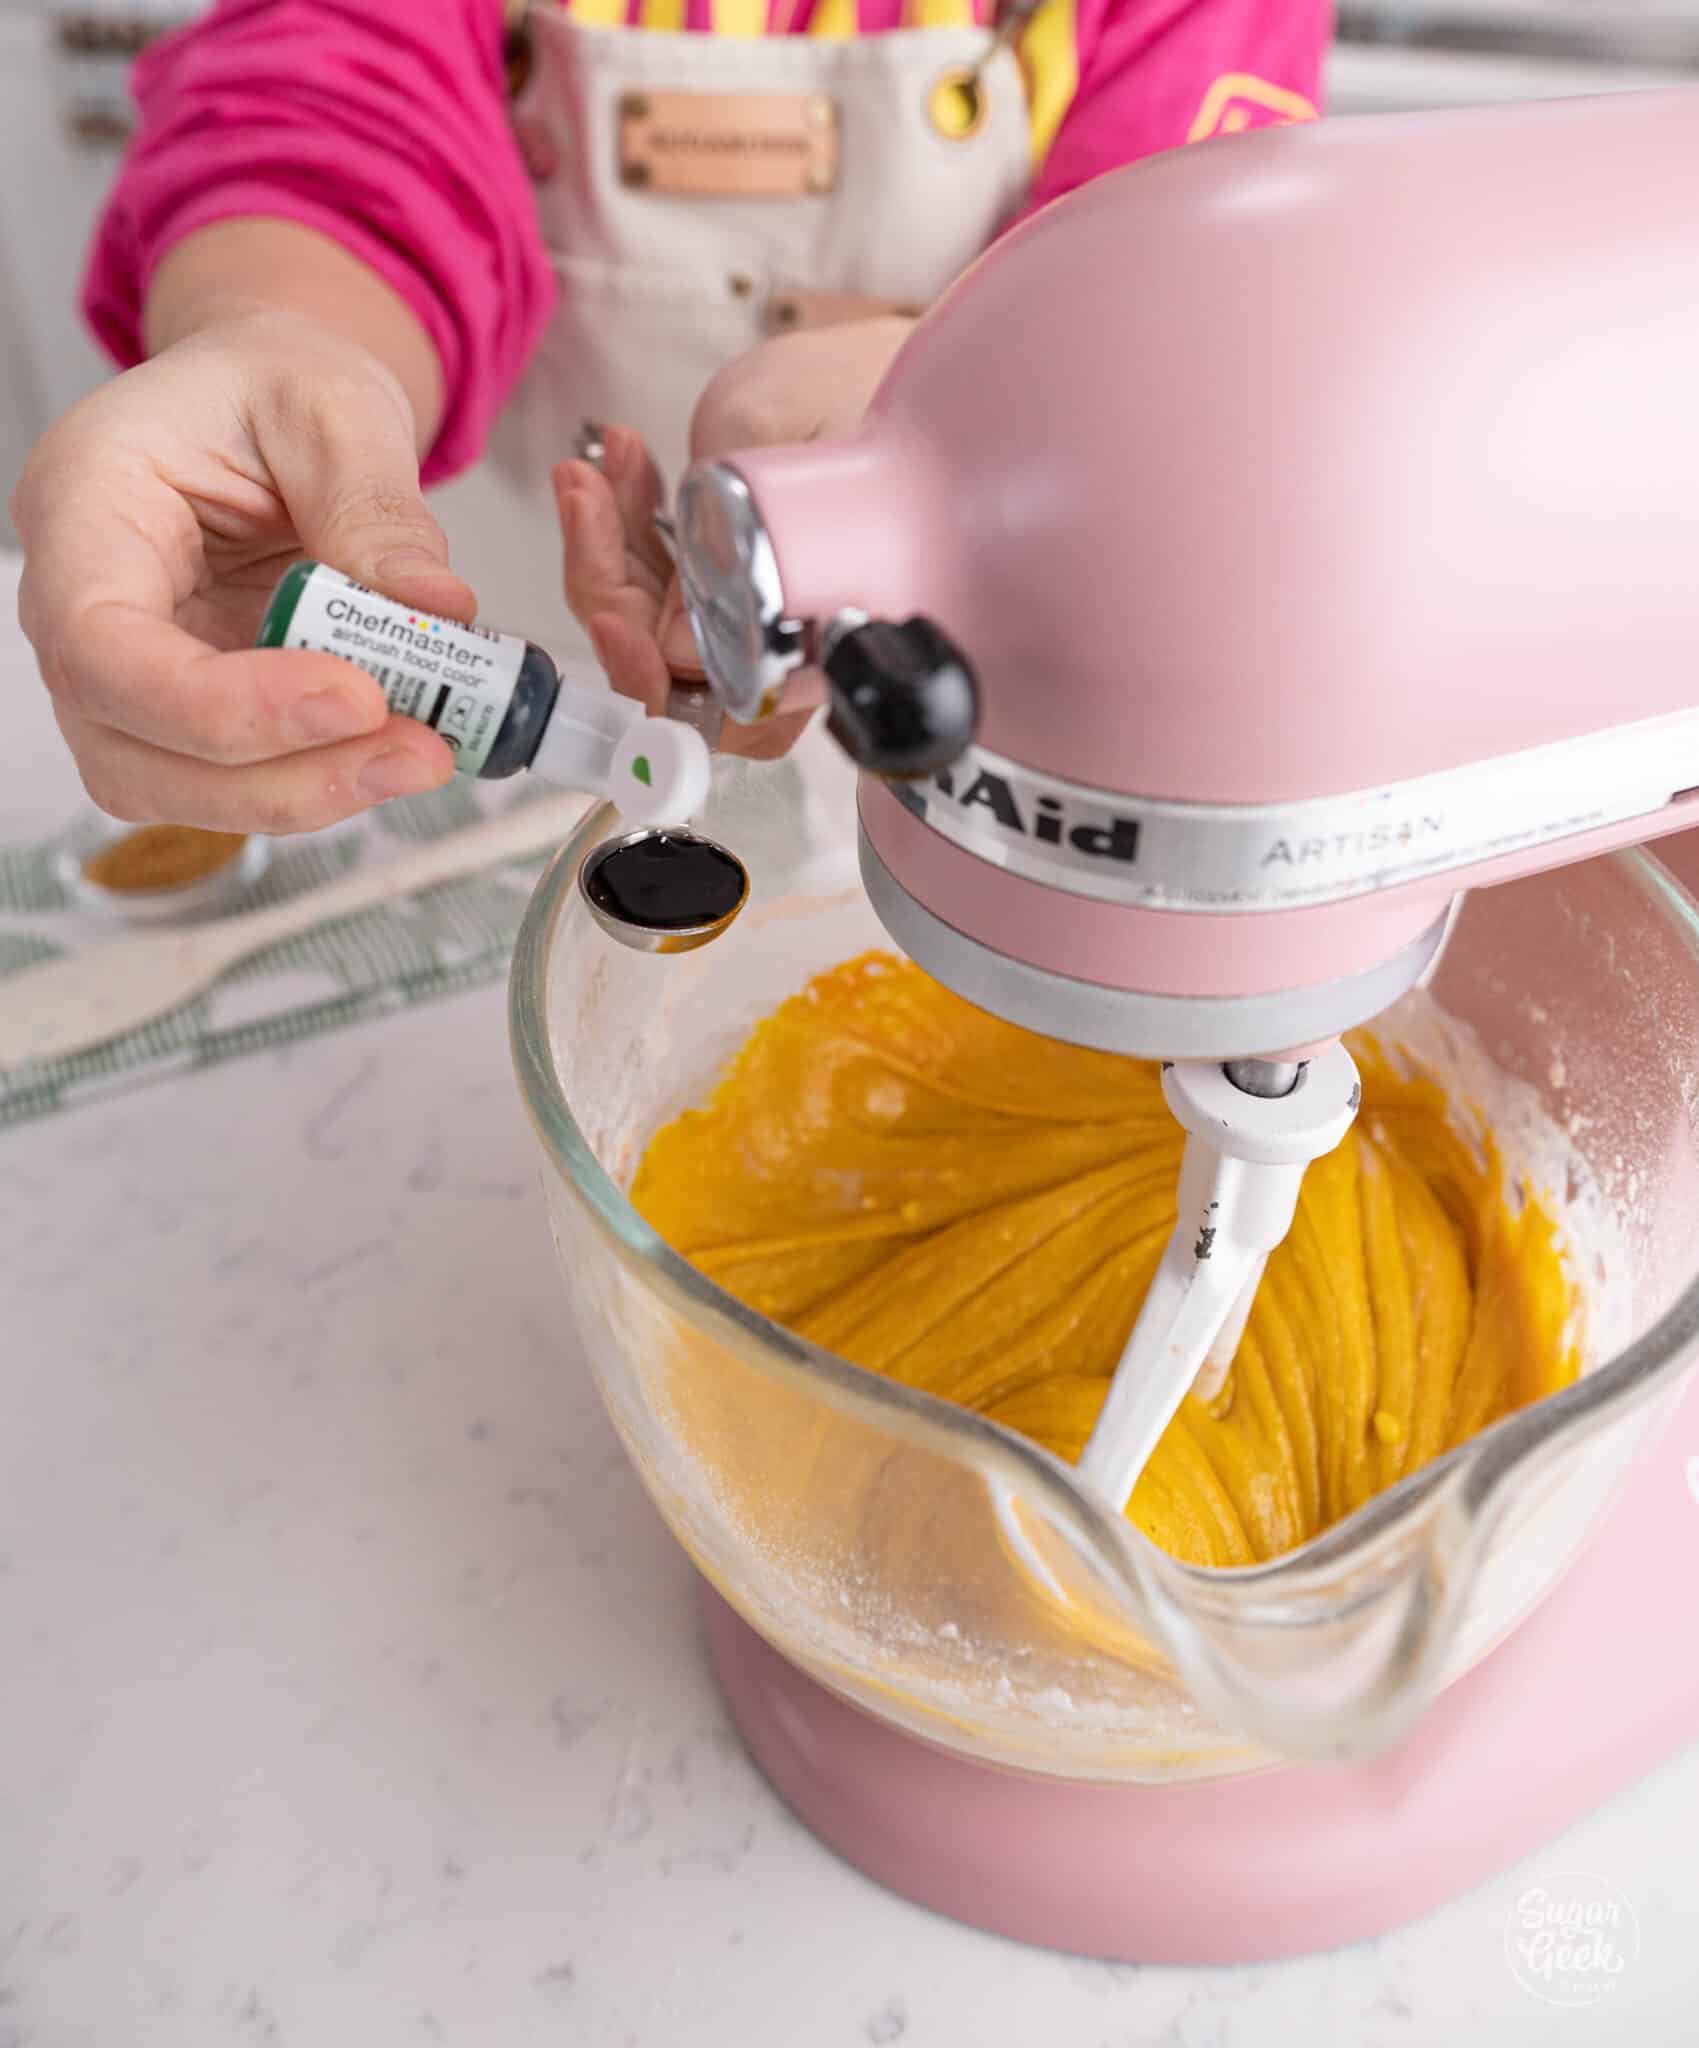
- Add the food coloring and mix until combined.

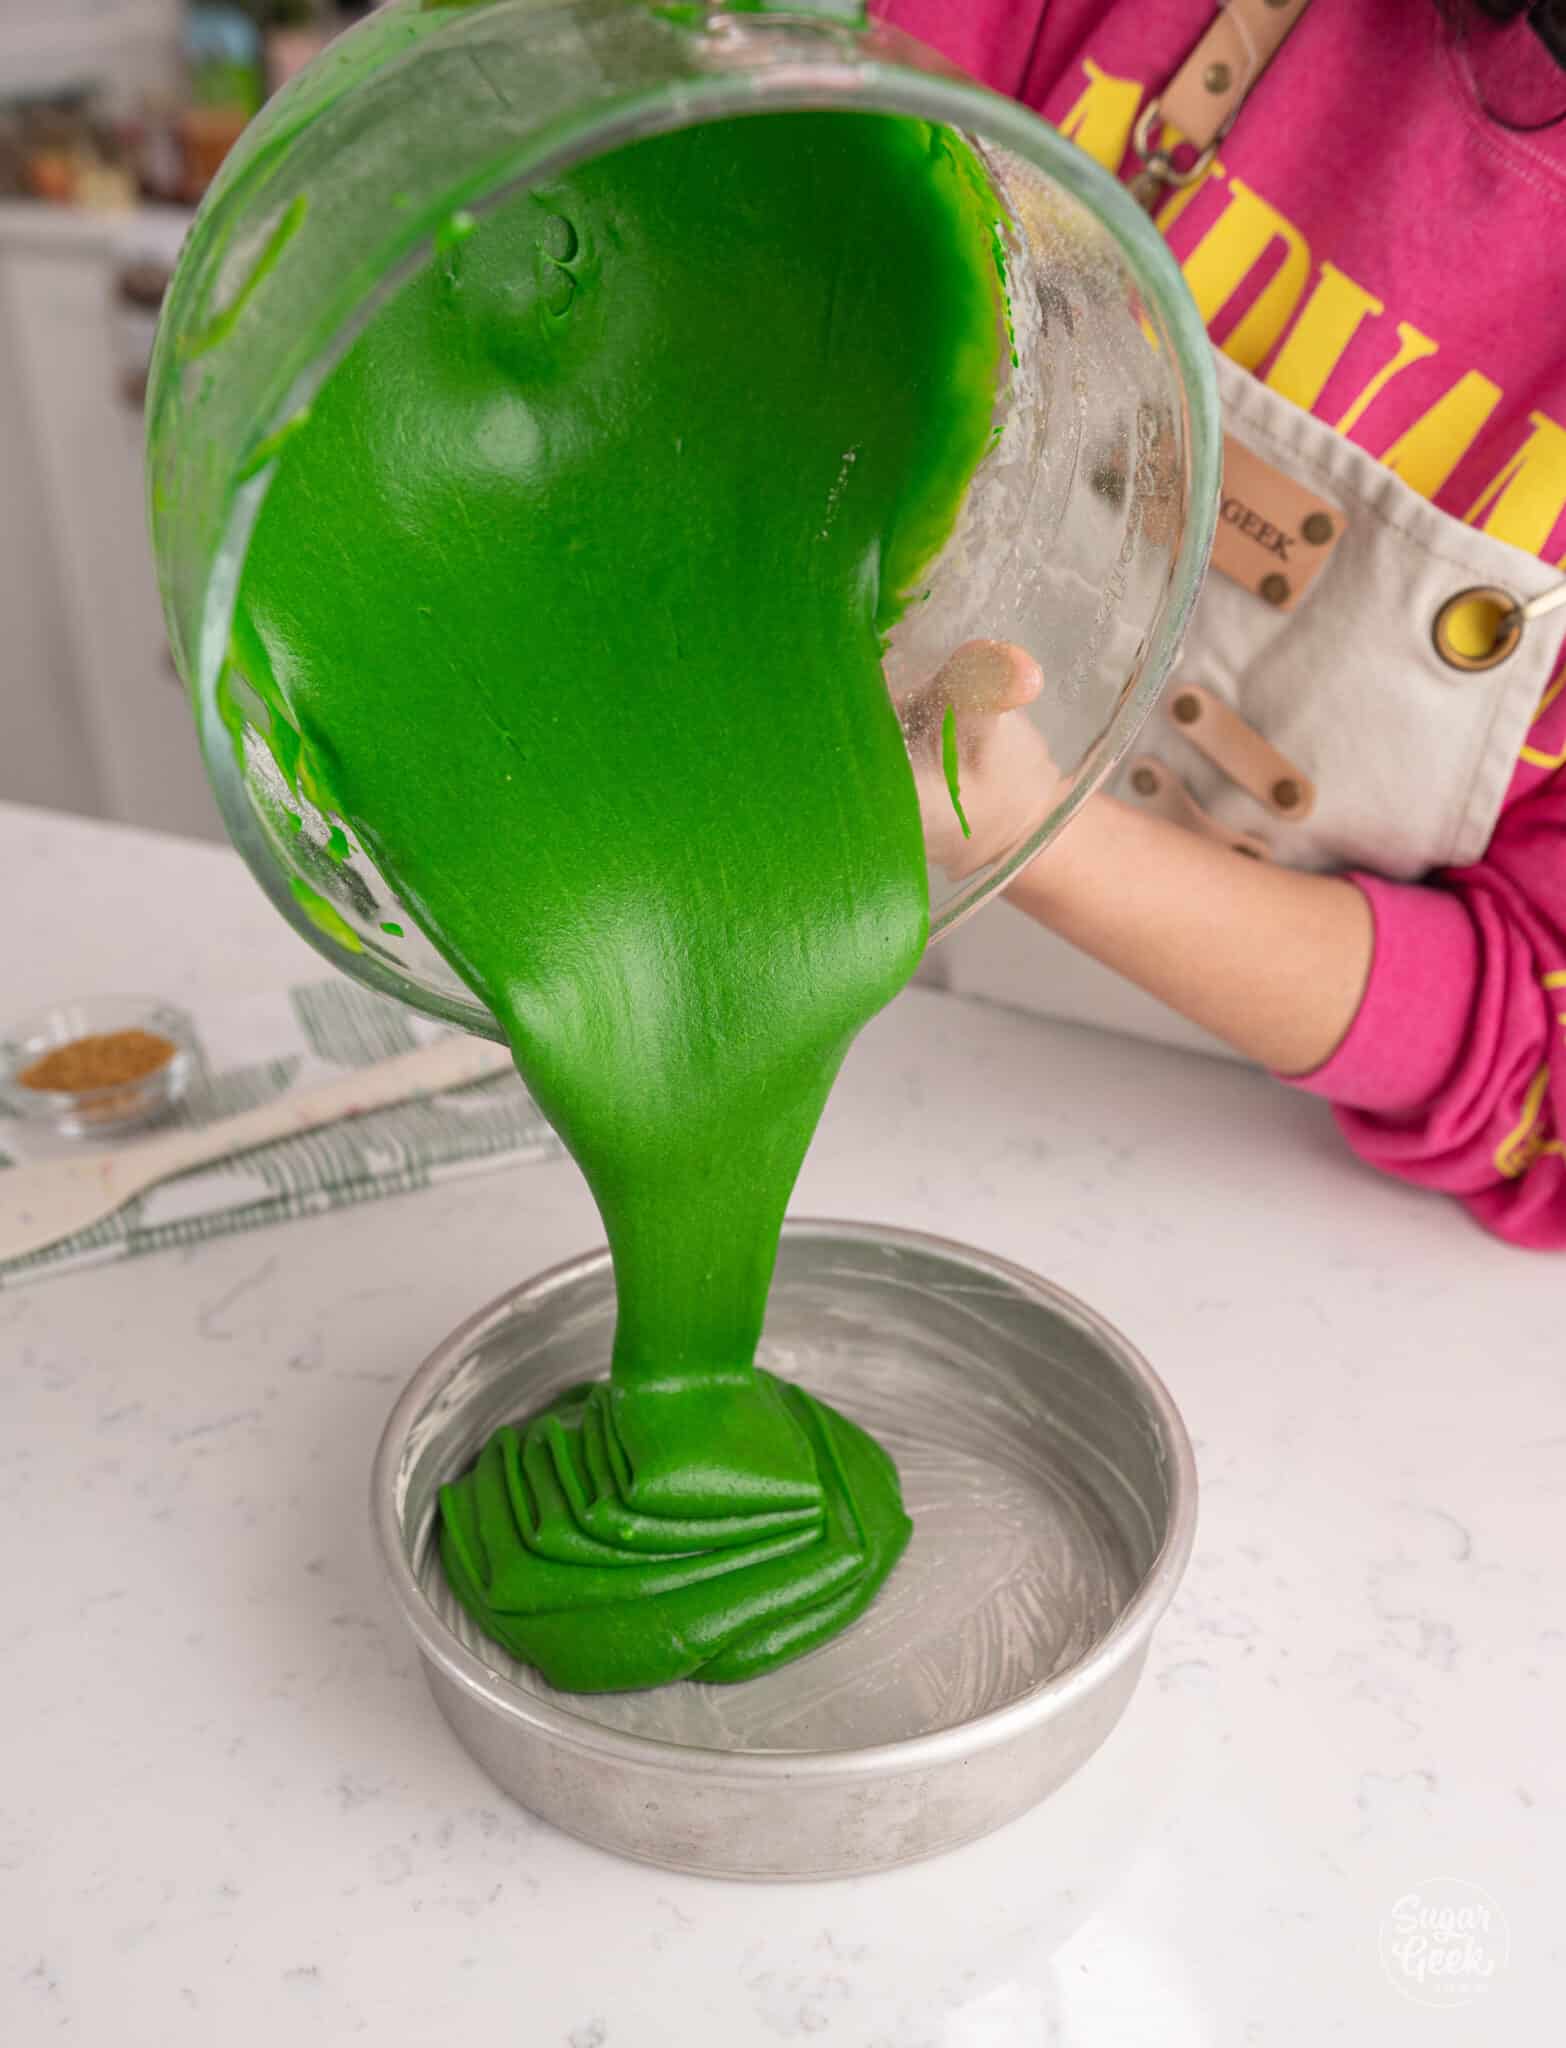
- Pour the cake batter evenly into the cake pans and bake for about 30 minutes or until a toothpick comes out clean.

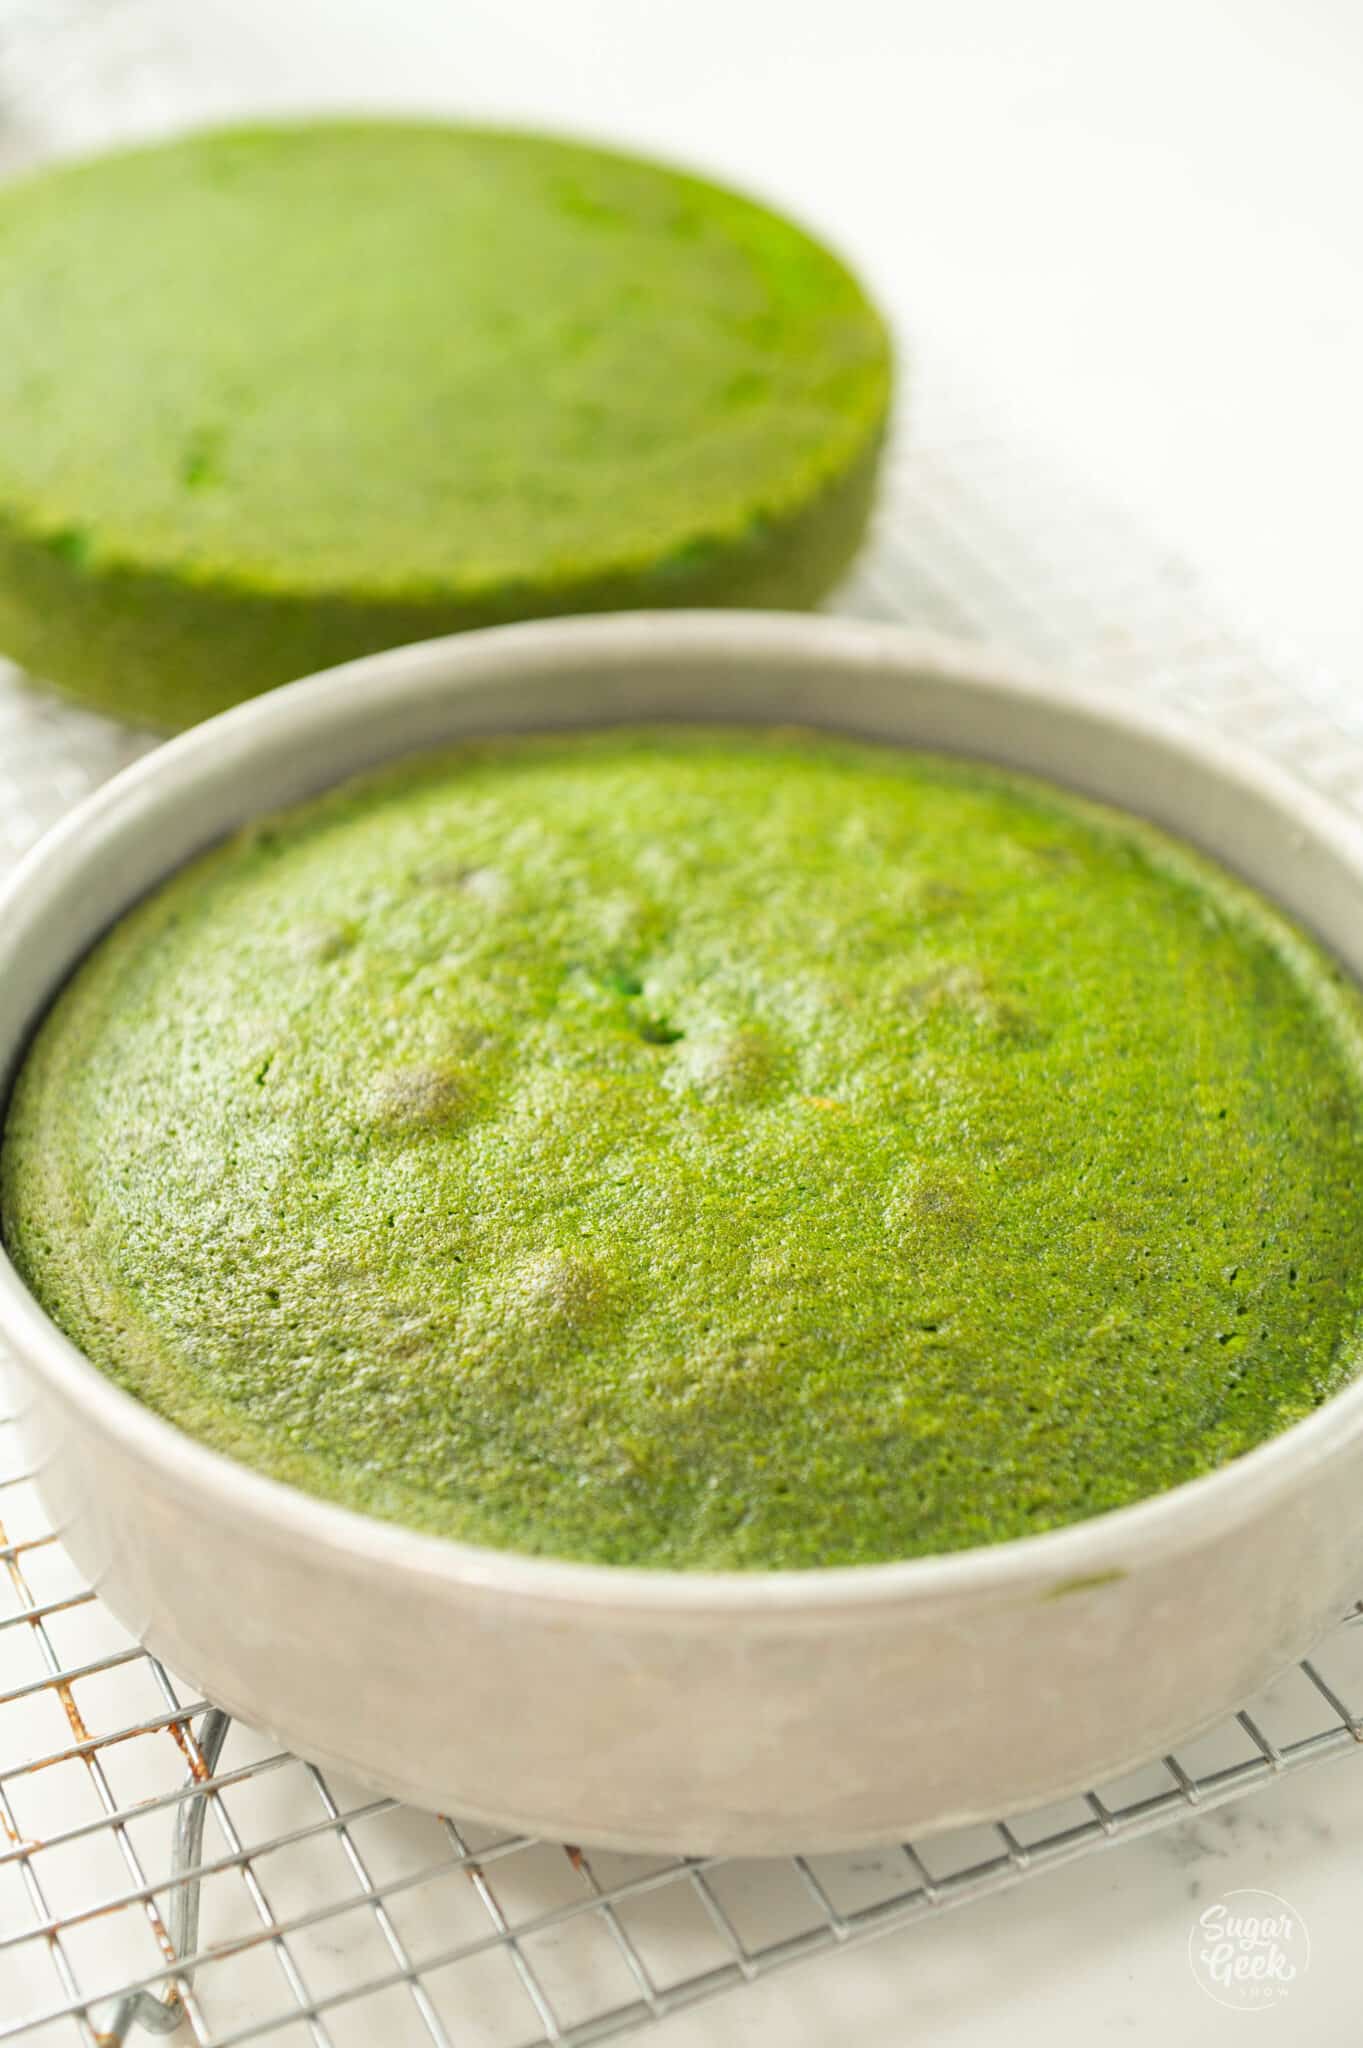
- Cool cakes for 10 minutes and then flip them out onto a wire rack to finish cooling. Place the cakes in the freezer for 30 minutes to chill quickly if you plan to frost them the same day. Wrap the cake layers in plastic wrap and freeze if you are baking ahead.


Making Easy Buttercream Frosting
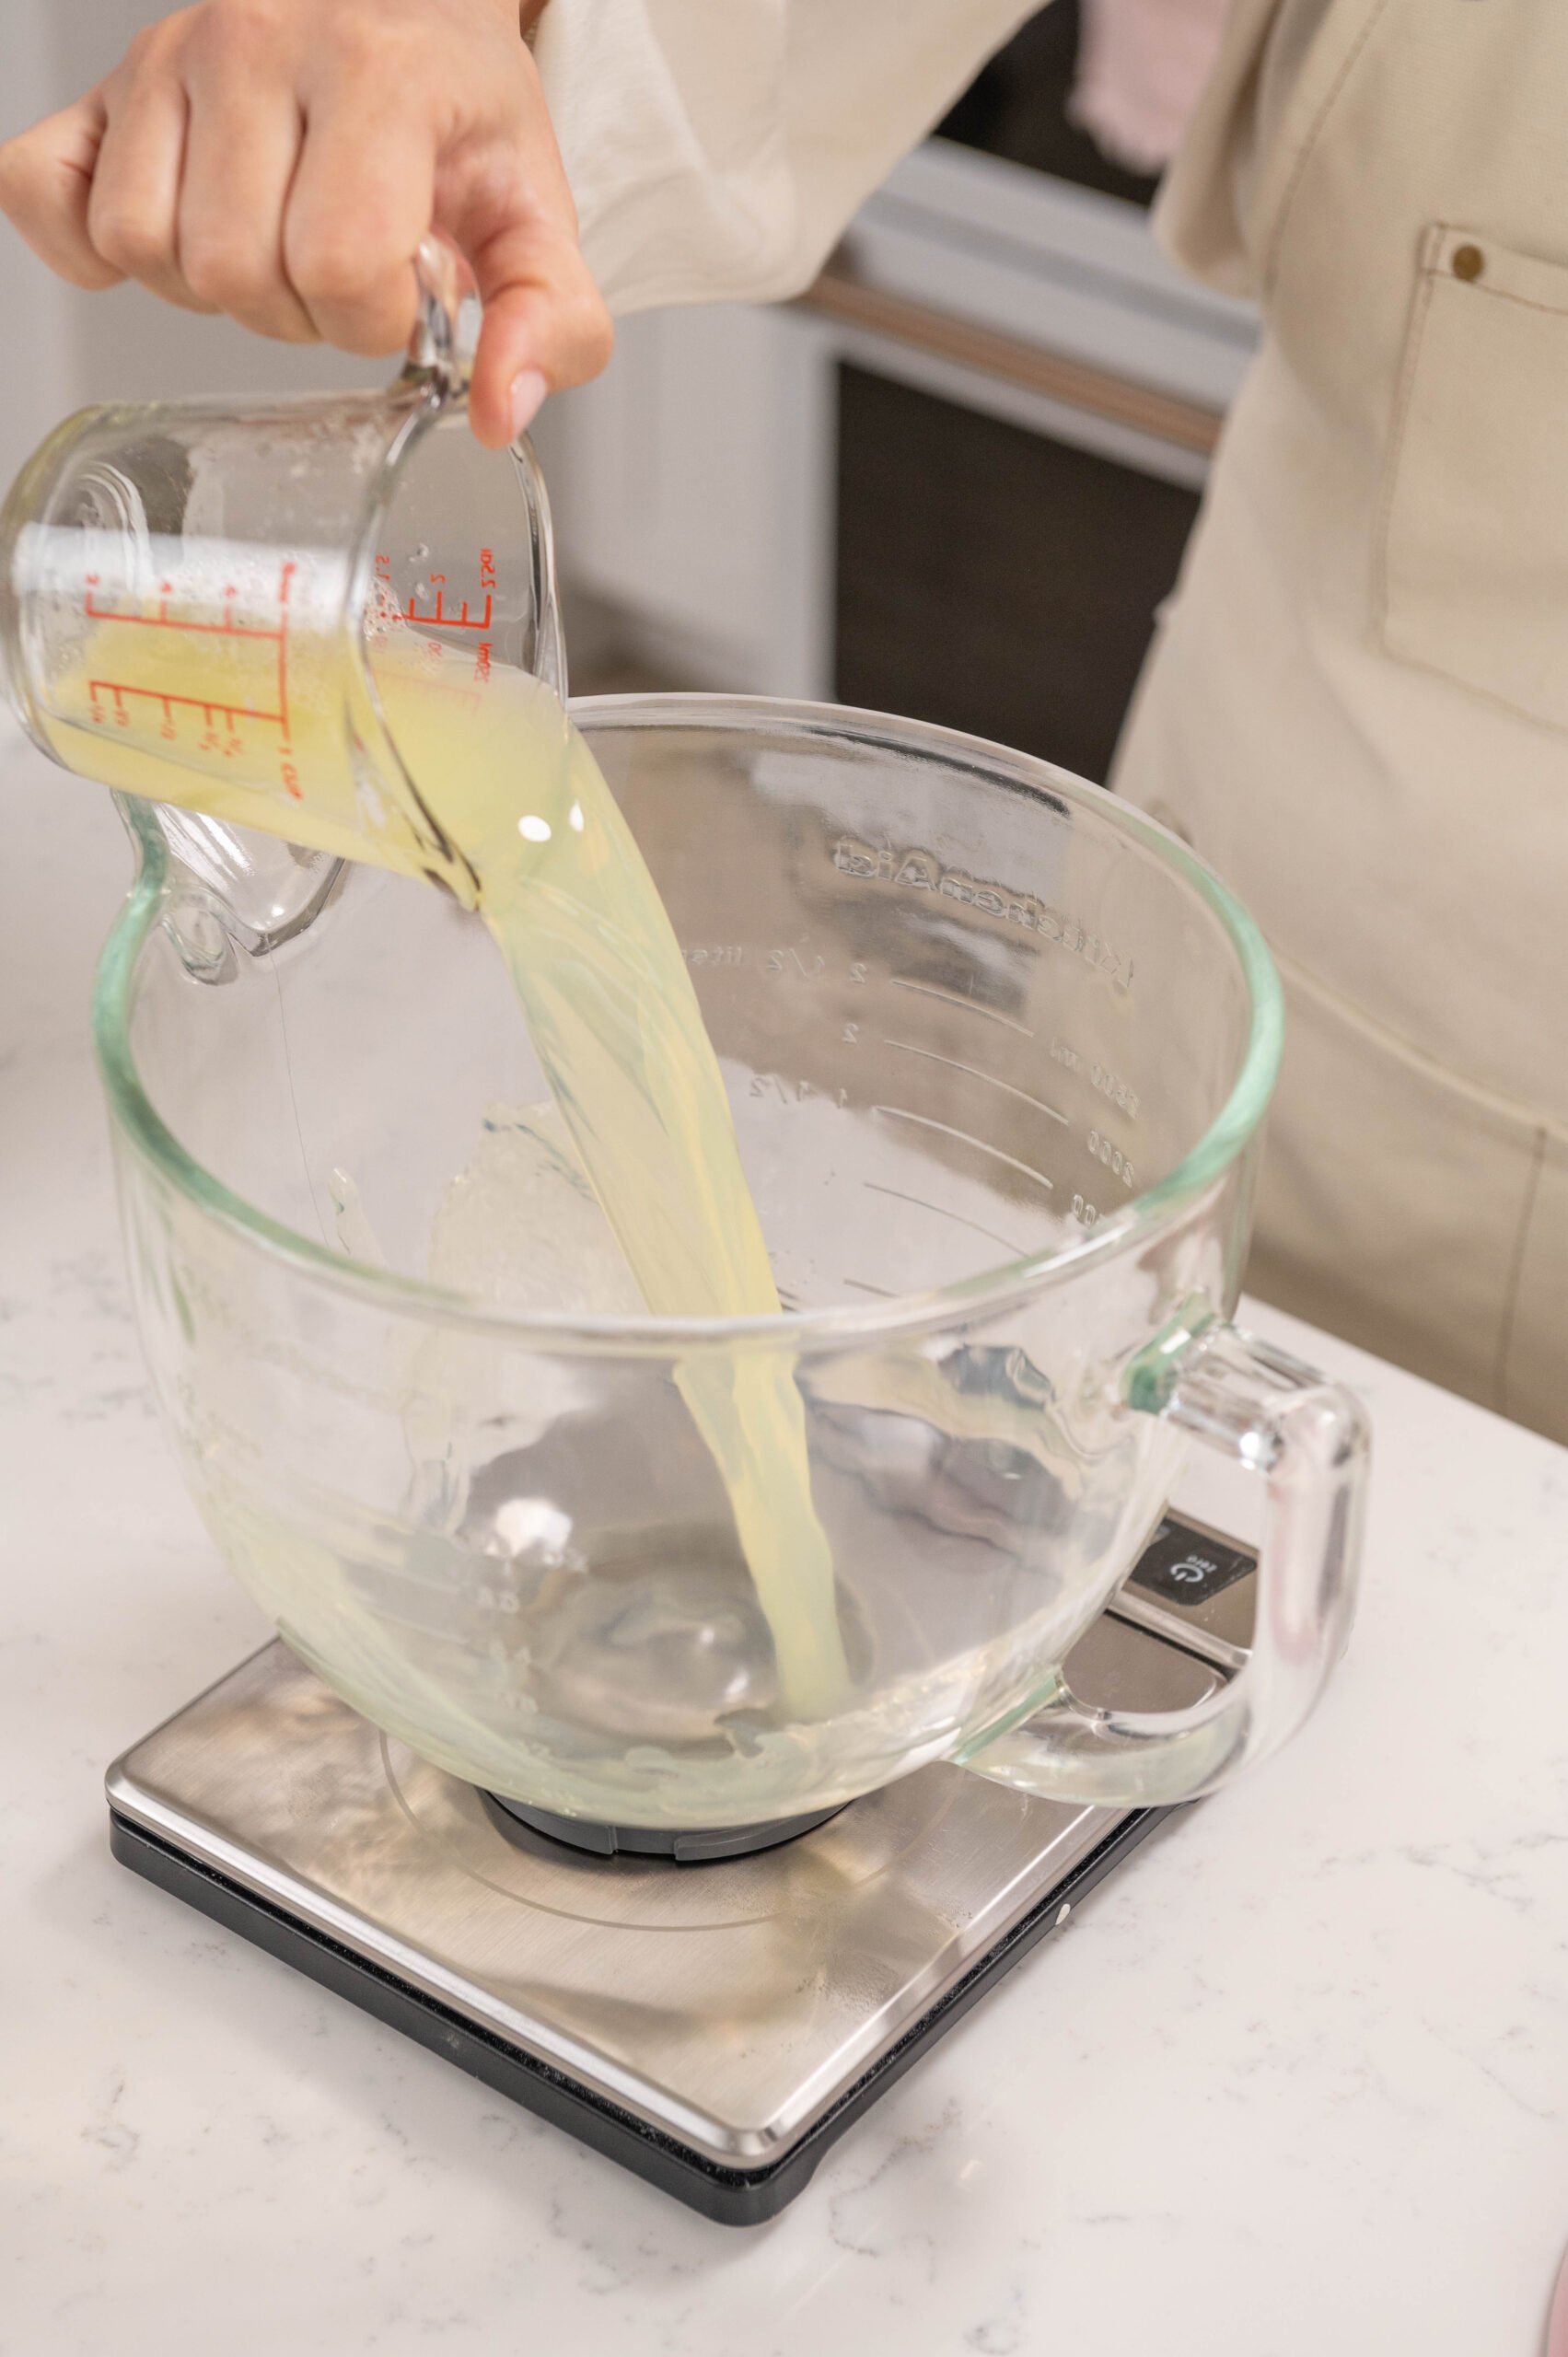
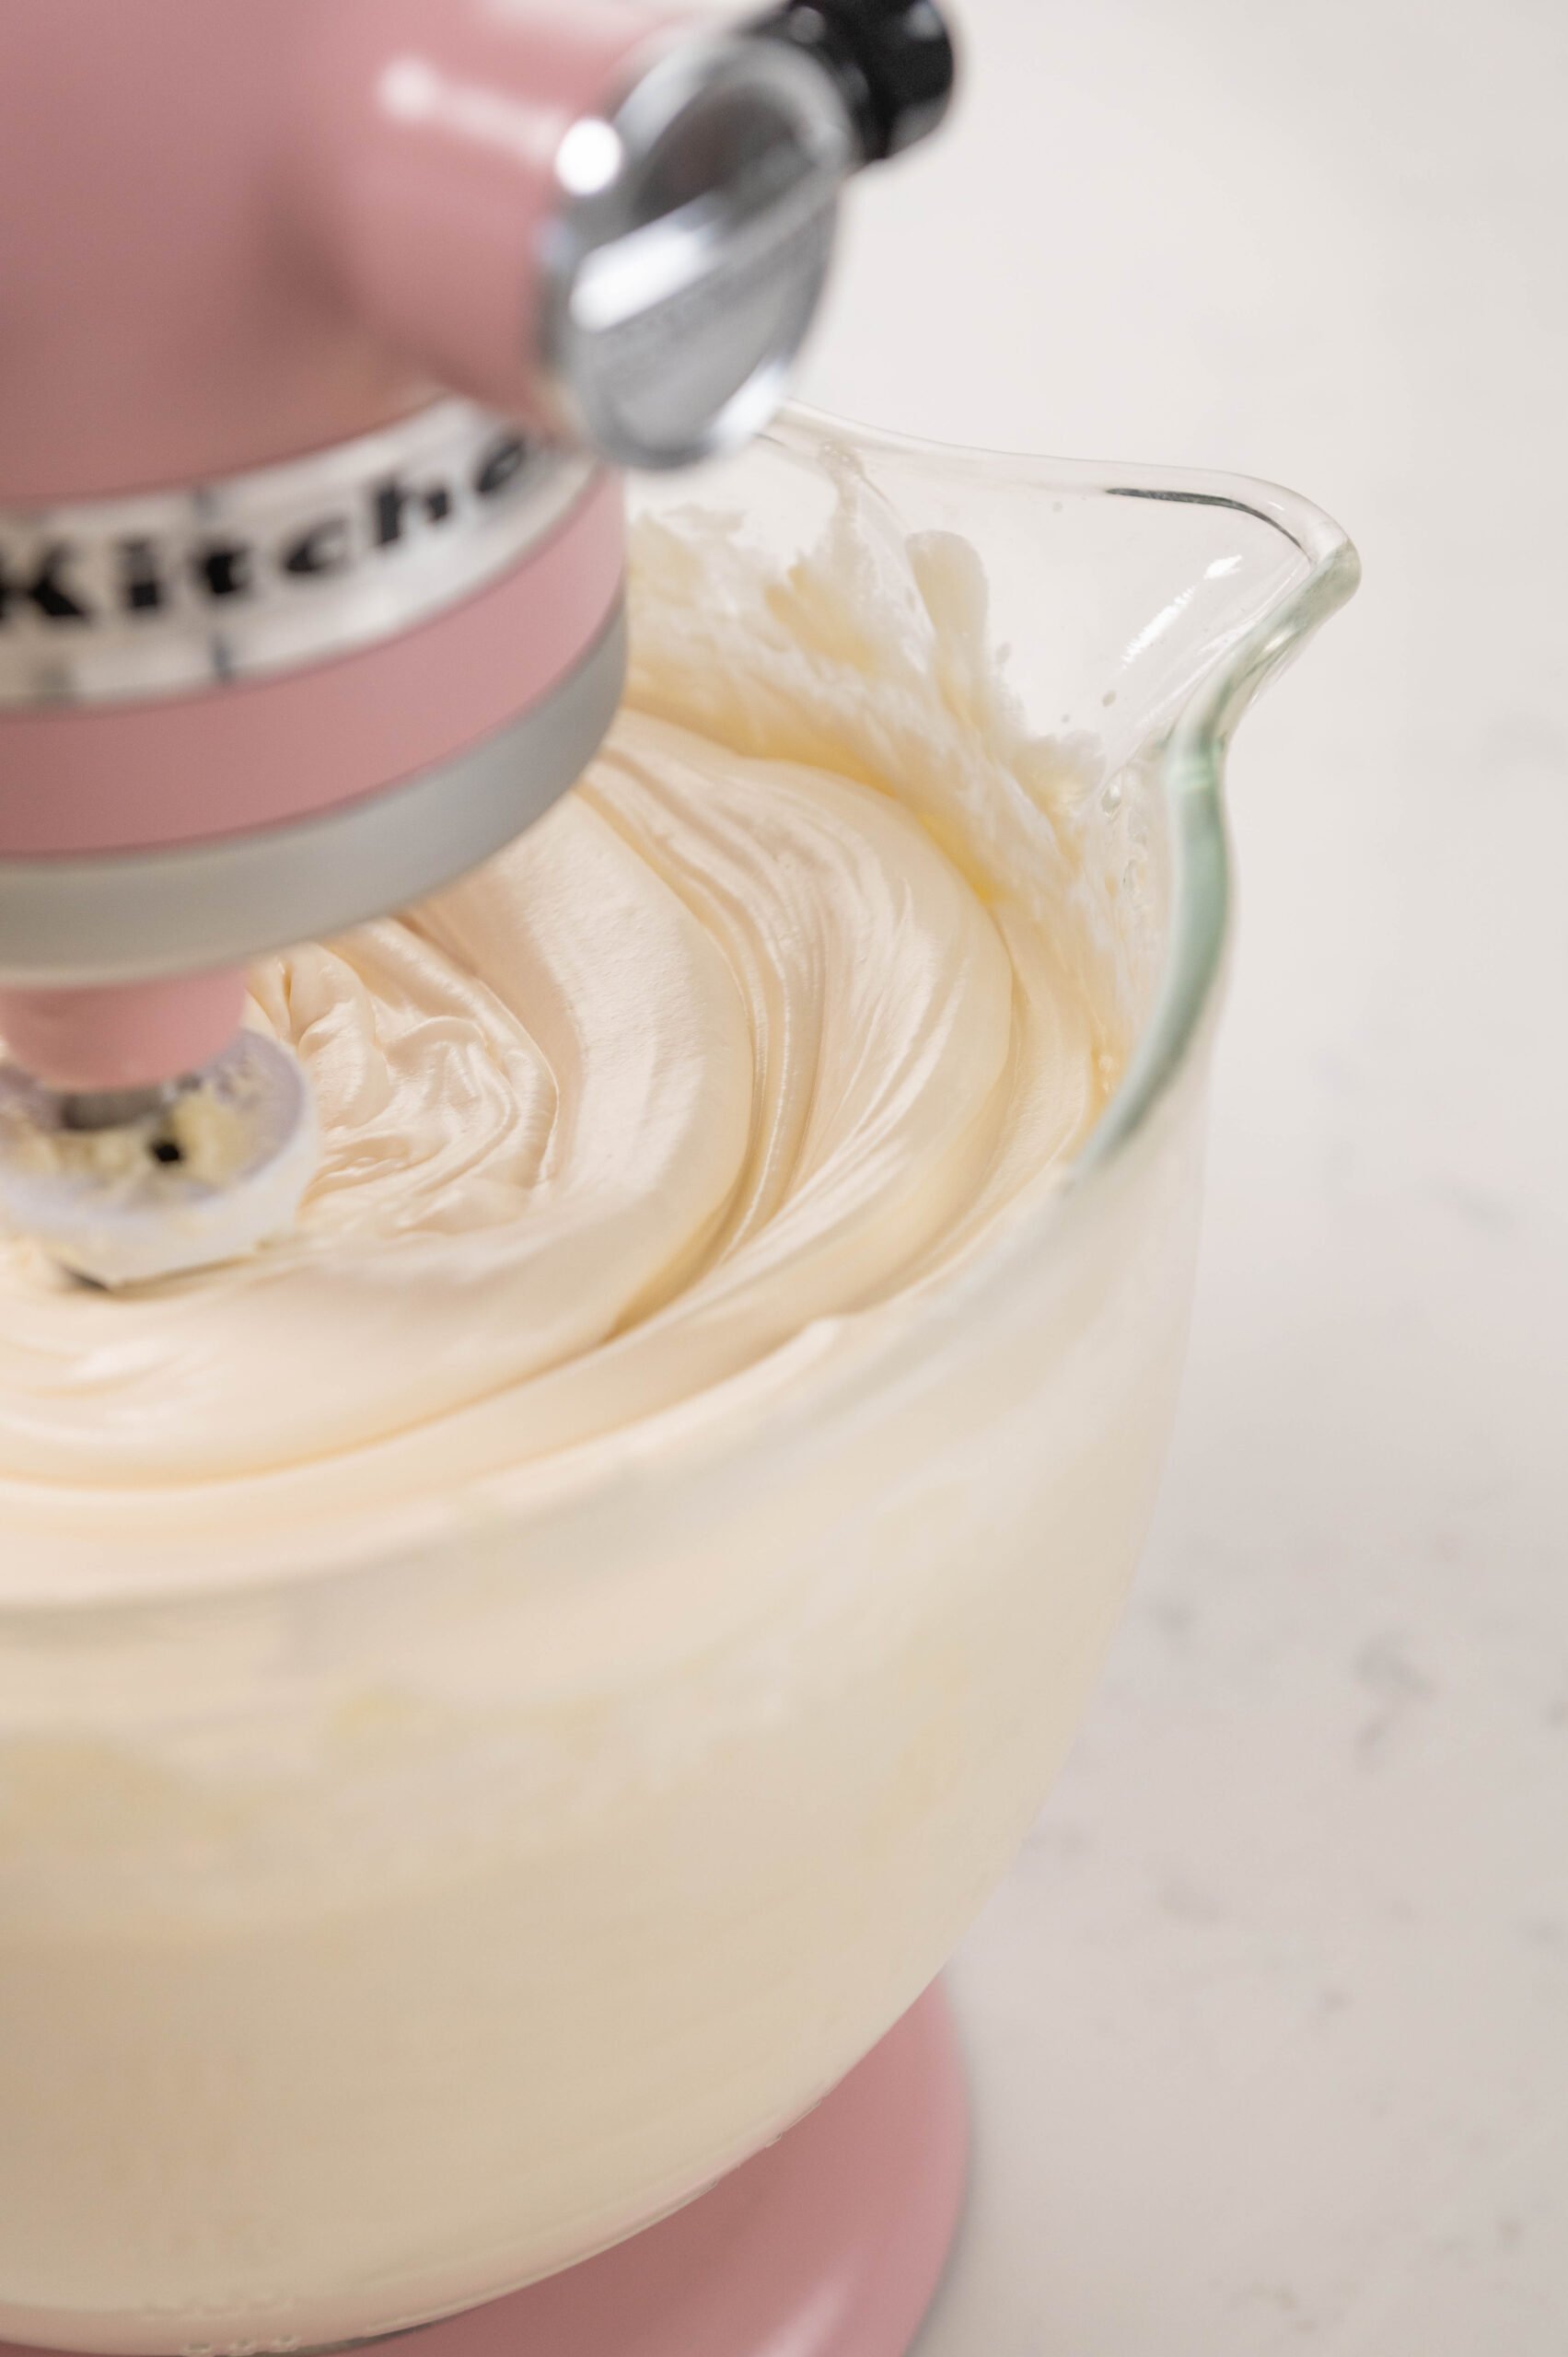
- Place the egg whites and powdered sugar in the bowl of your stand mixer with the whisk attachment and whip on high speed for 3-5 minutes.

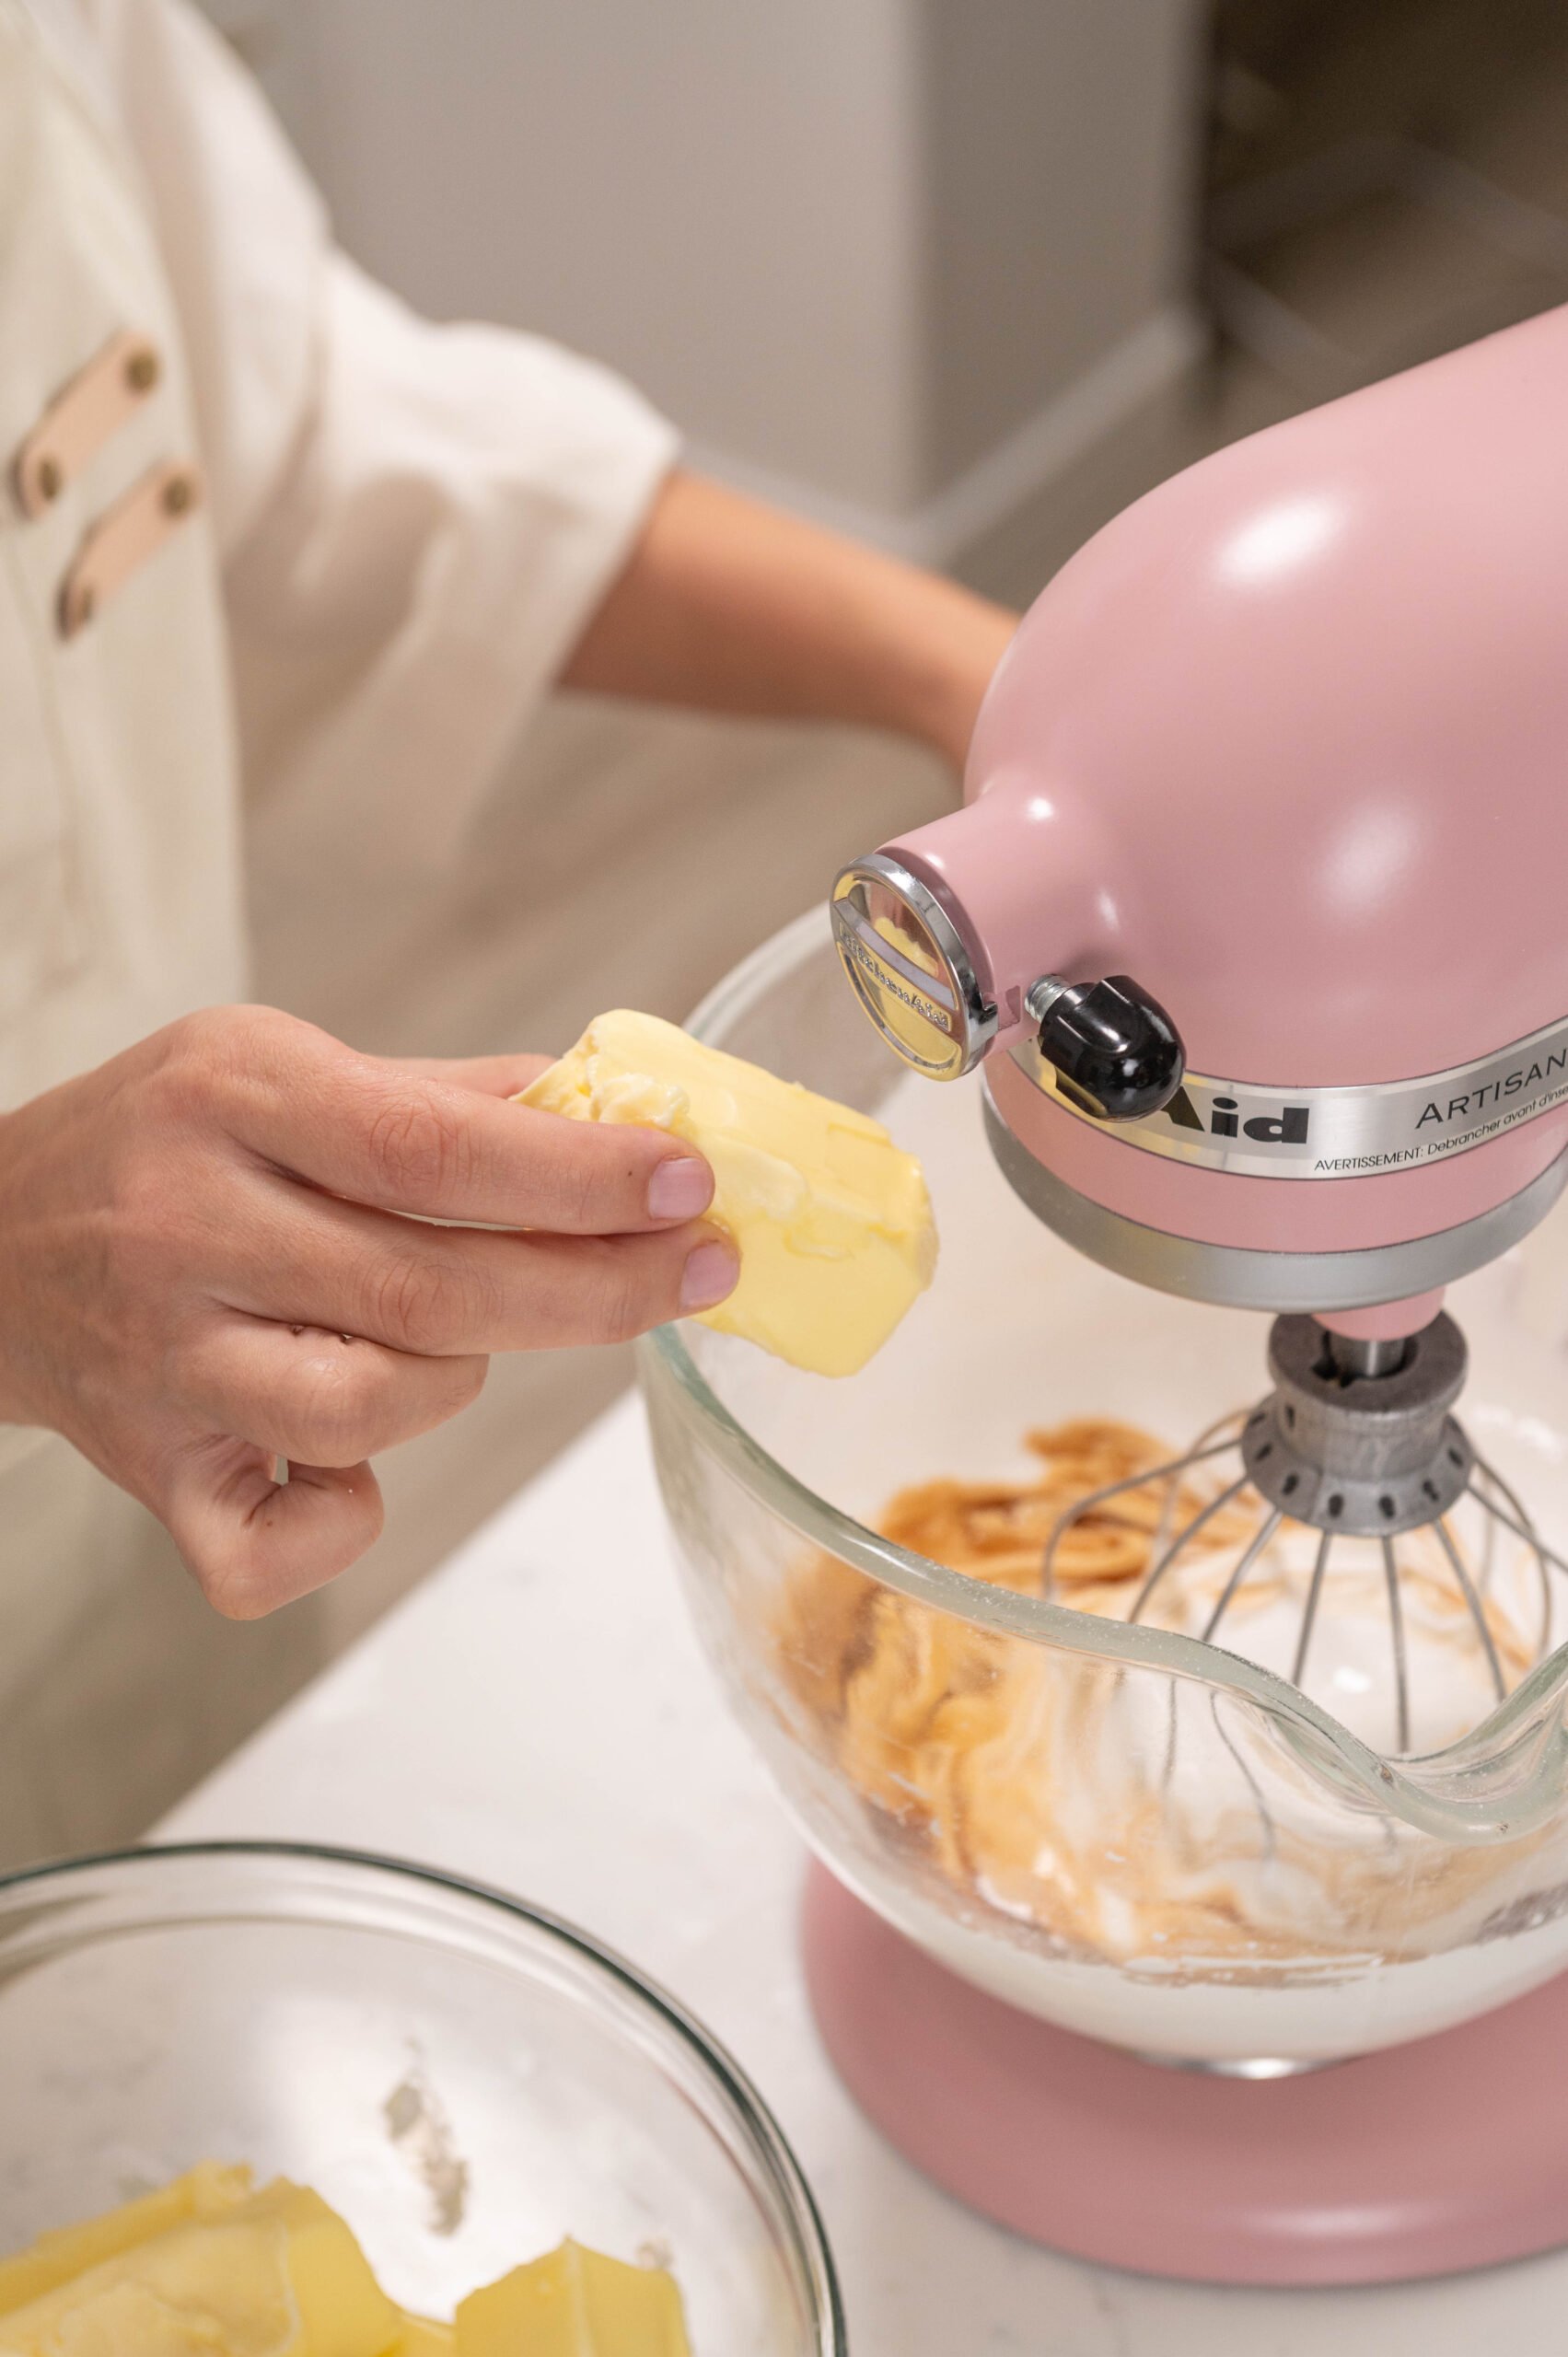
- Add the softened butter in small chunks then vanilla and salt. Whip on high until light and fluffy and white, about 8 to 10 minutes.
- For the best results, switch to the paddle attachment and mix on low for 15-20 minutes until all air bubbles are gone. This is optional but makes for really smooth buttercream.
Assembling the Cake
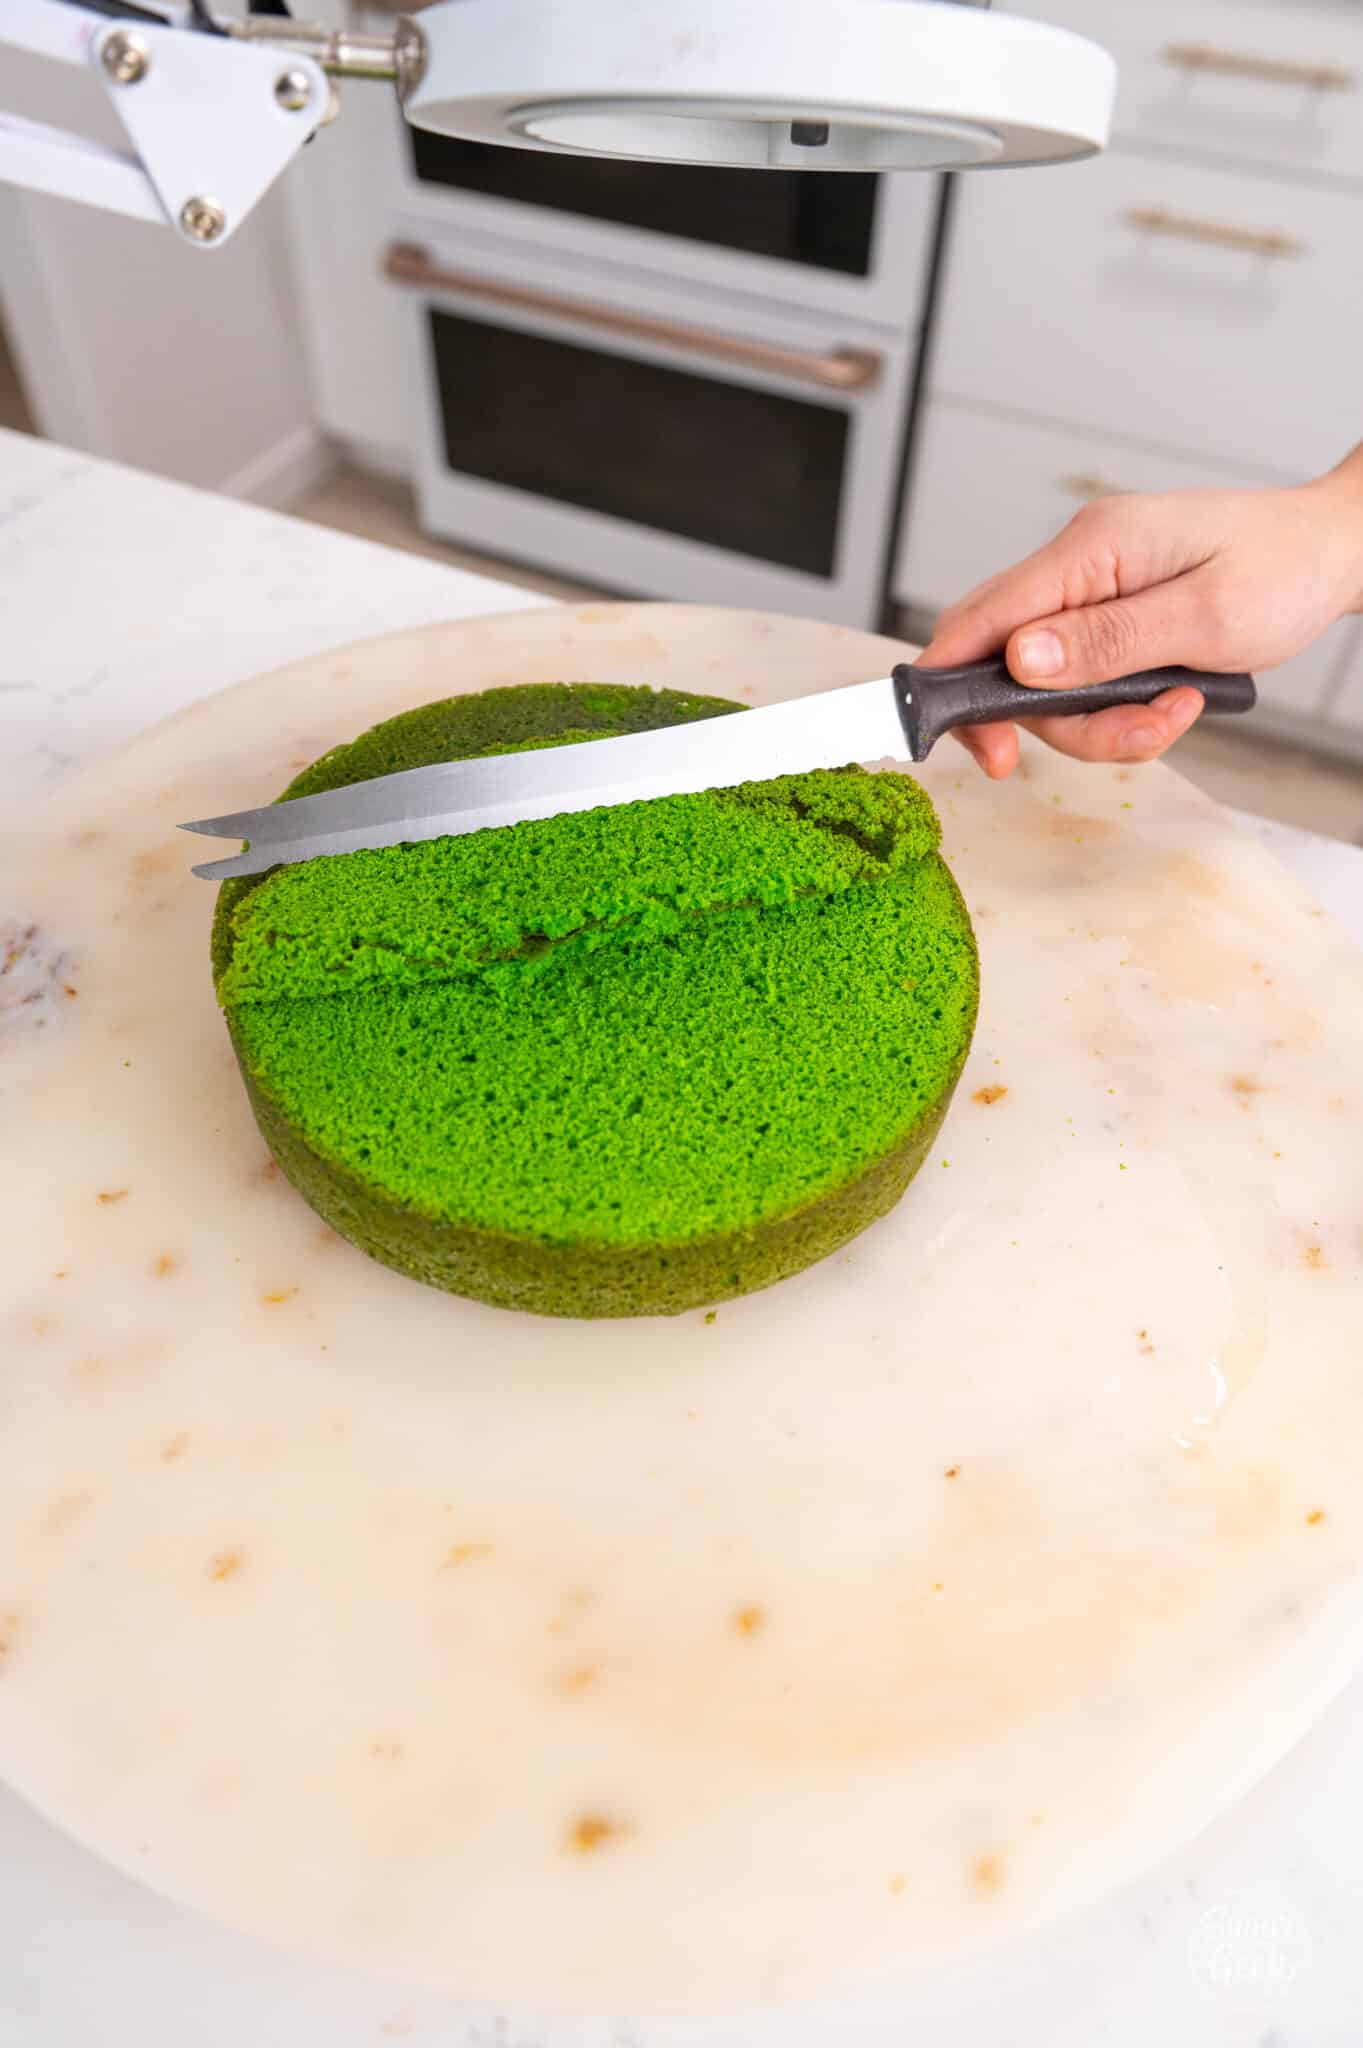
- Trim the top dome off of the green velvet cake layers and place one layer onto an 8-inch cardboard cake round, top side down, this ensures an even surface. This is not necessary, but the layers look clean even when the cake is cut. I recommend using a cake turntable to make frosting easier.
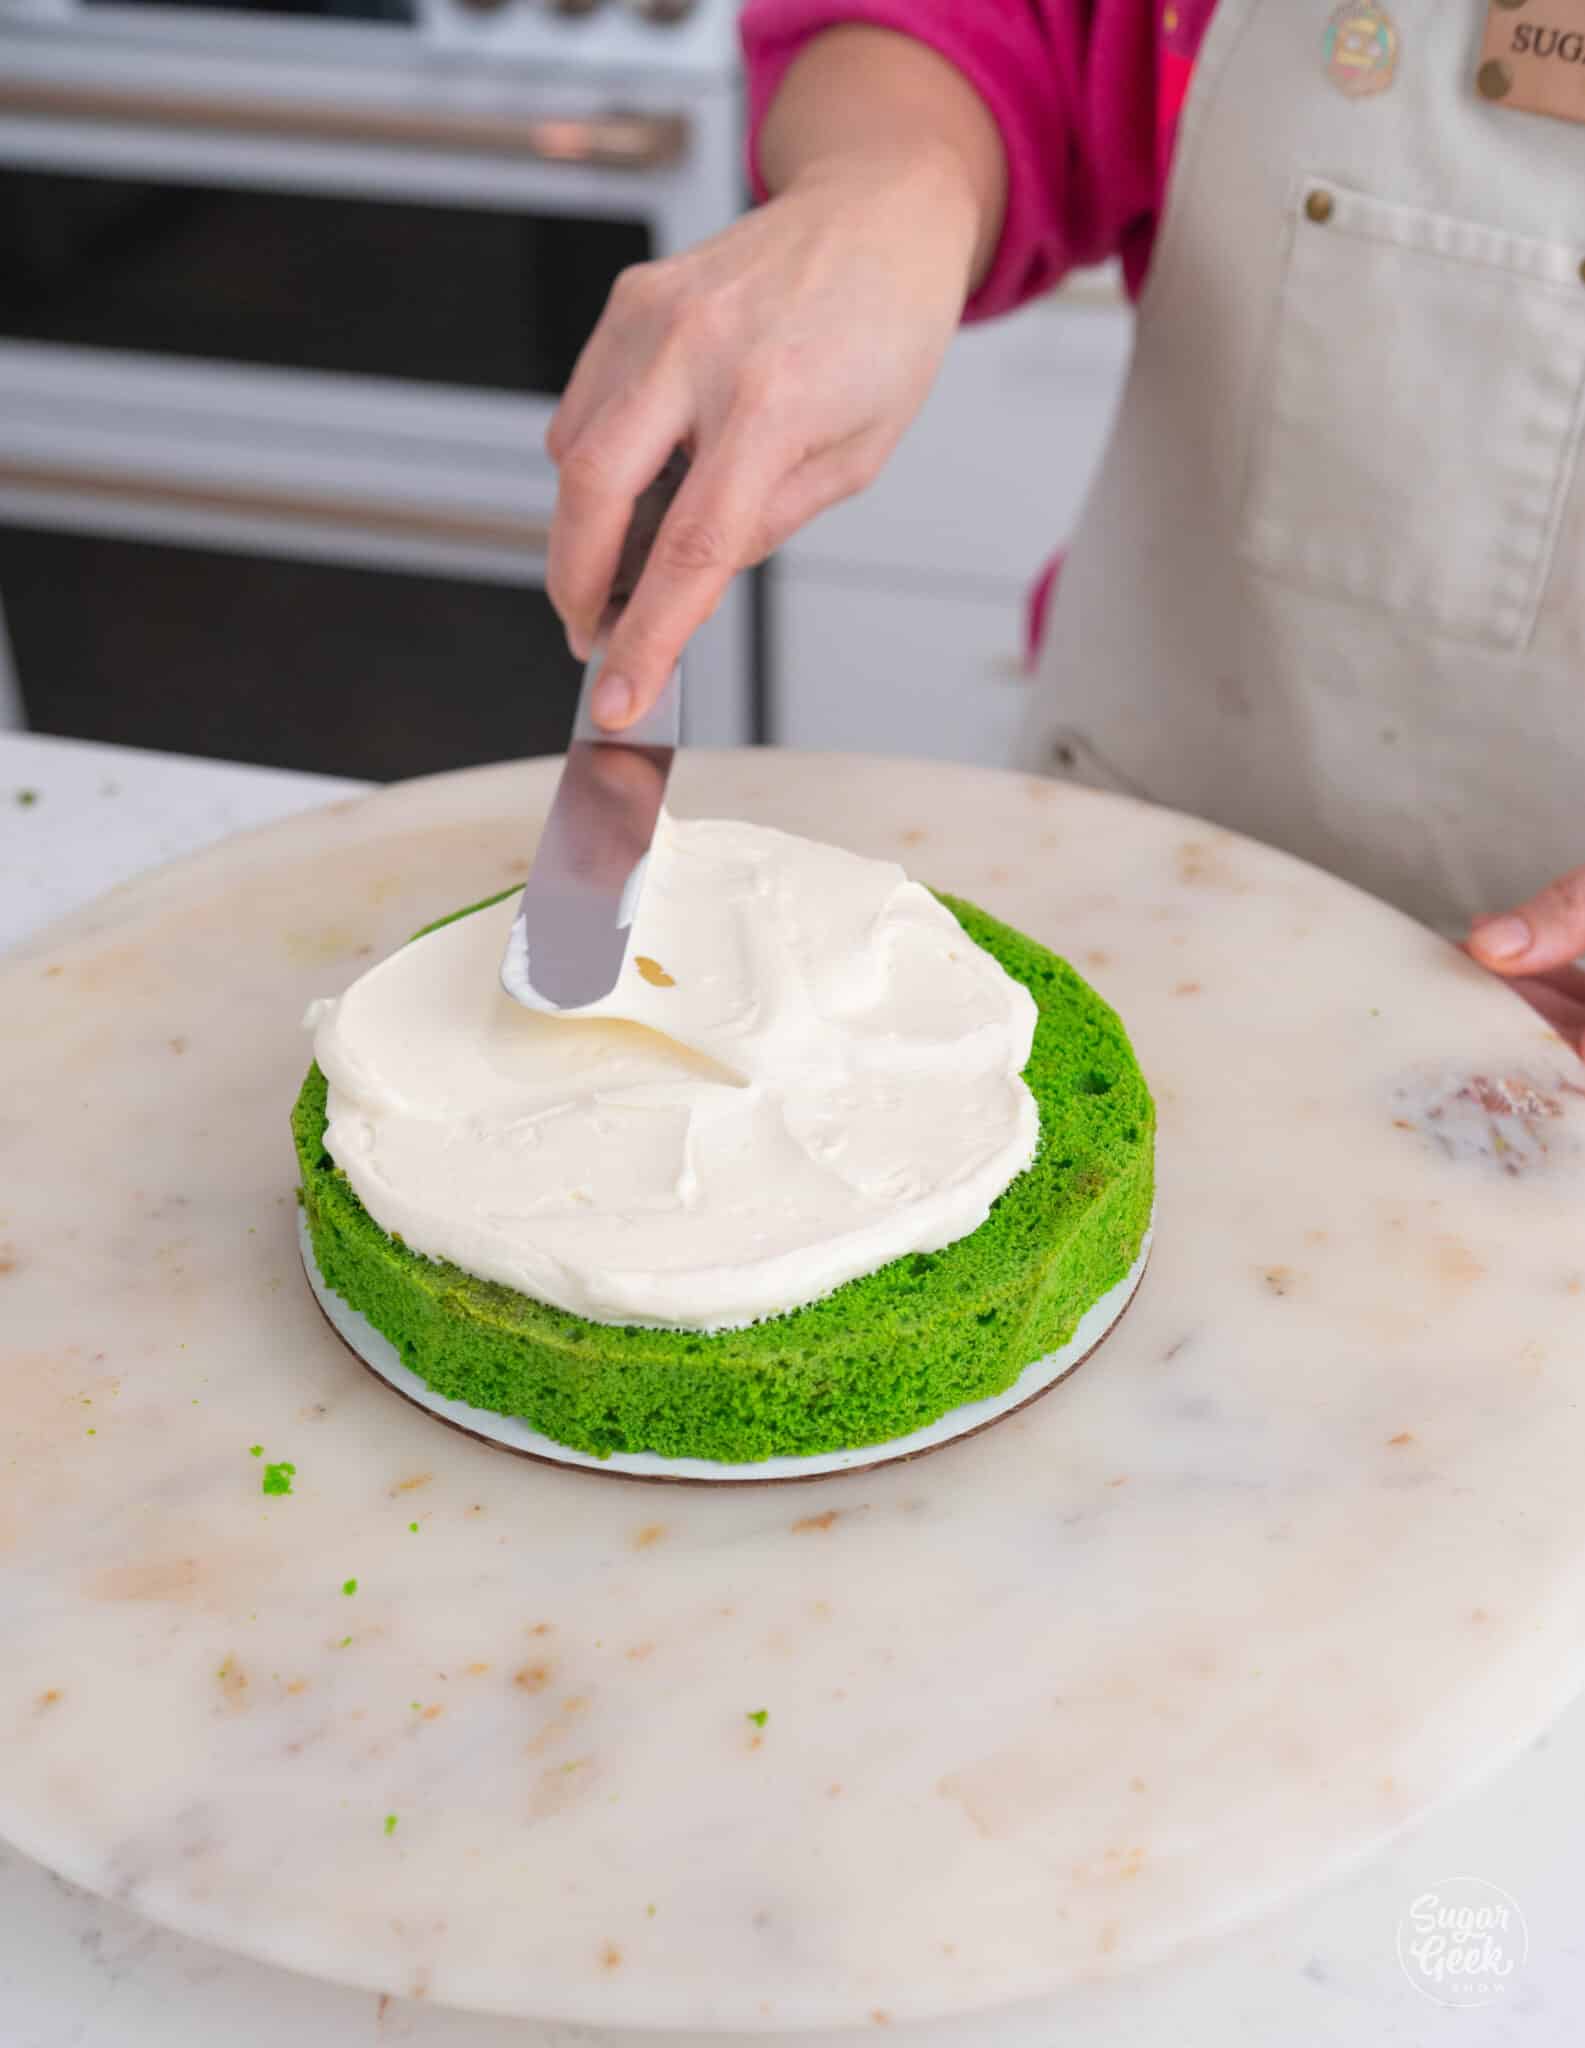
- Fill the center with the vanilla buttercream and spread evenly with an offset spatula. This cake would also pair well with homemade cream cheese frosting.

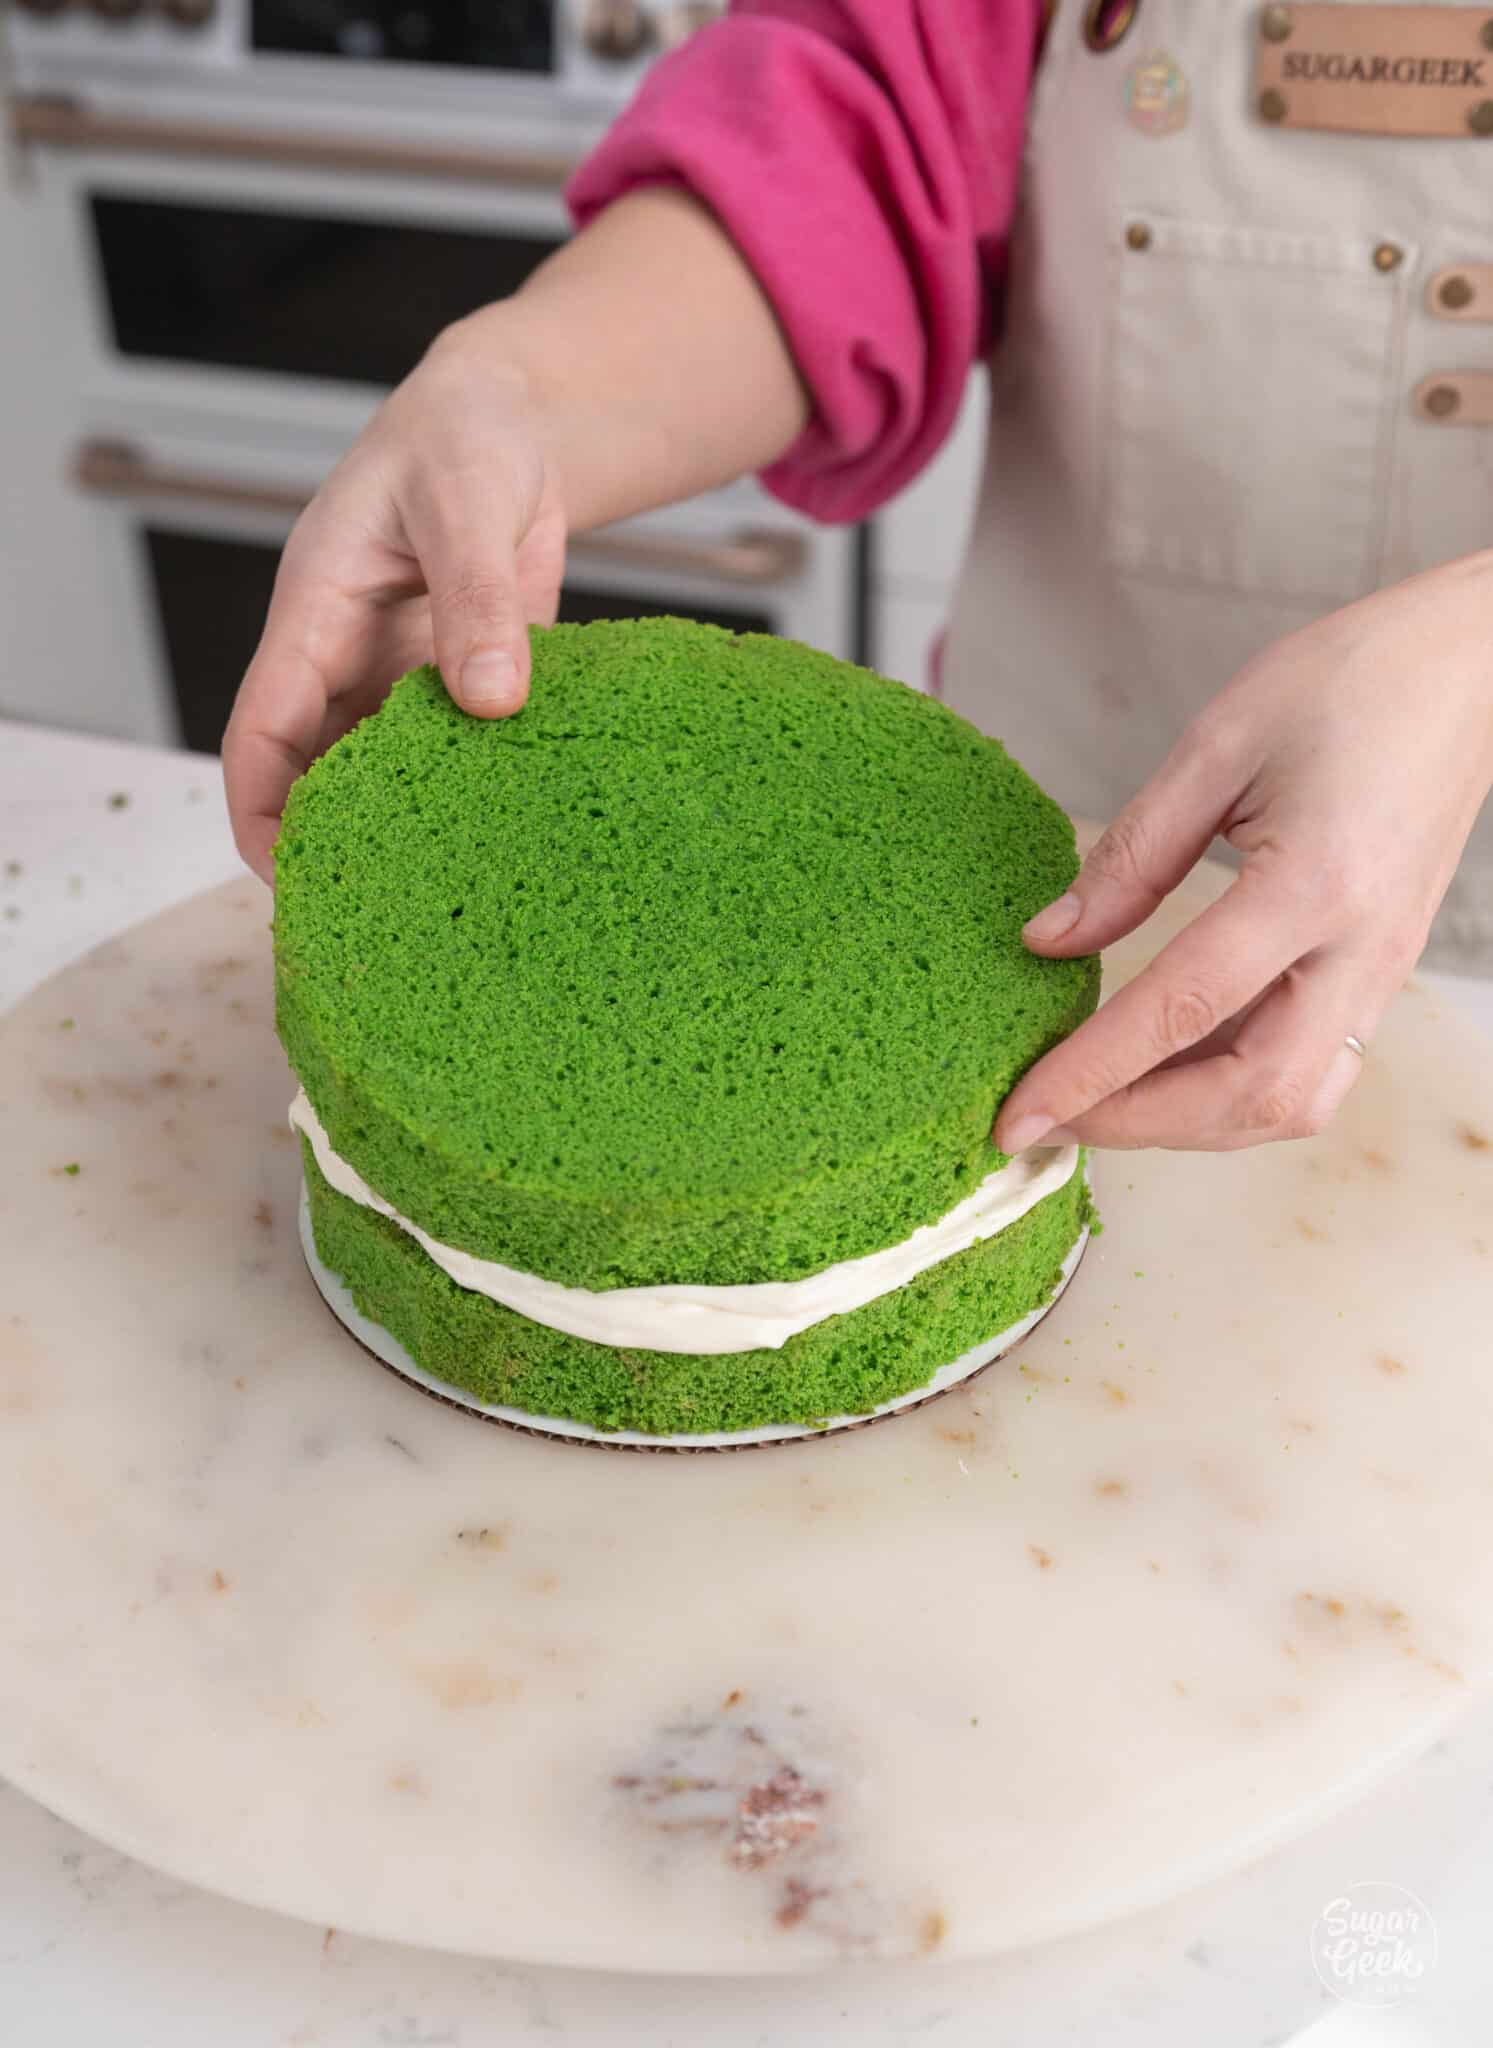
- Place the remaining cake layer on top.

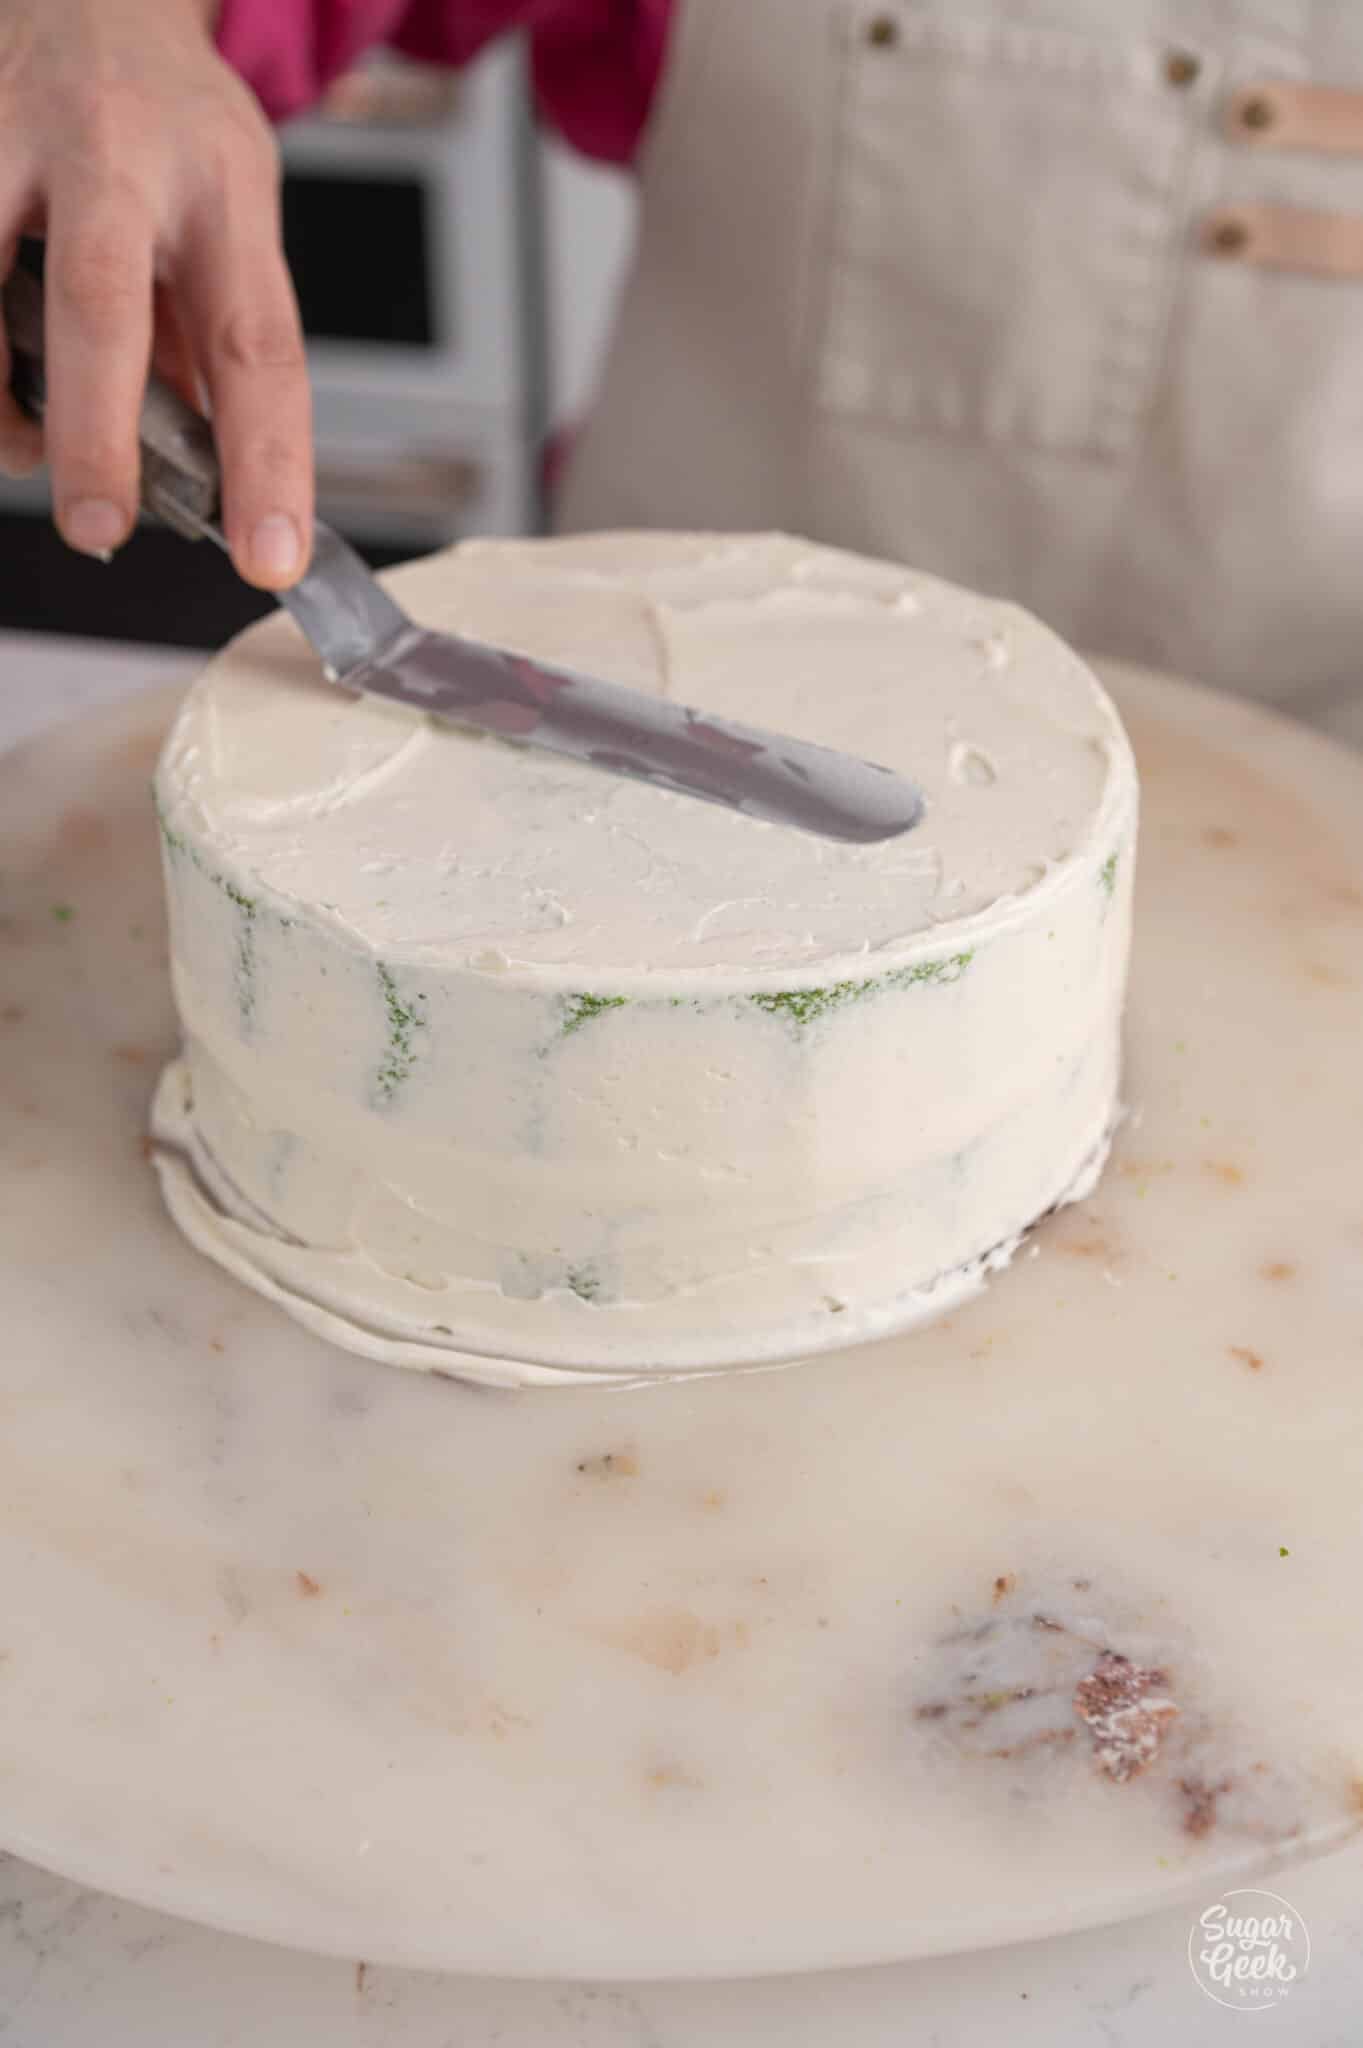
- I like to begin by frosting the top of the cake and pushing the buttercream down the sides and then smoothing. Start with a thin layer of buttercream to create a smooth crumb coat around the whole cake and chill for 5 minutes for the buttercream to set up.
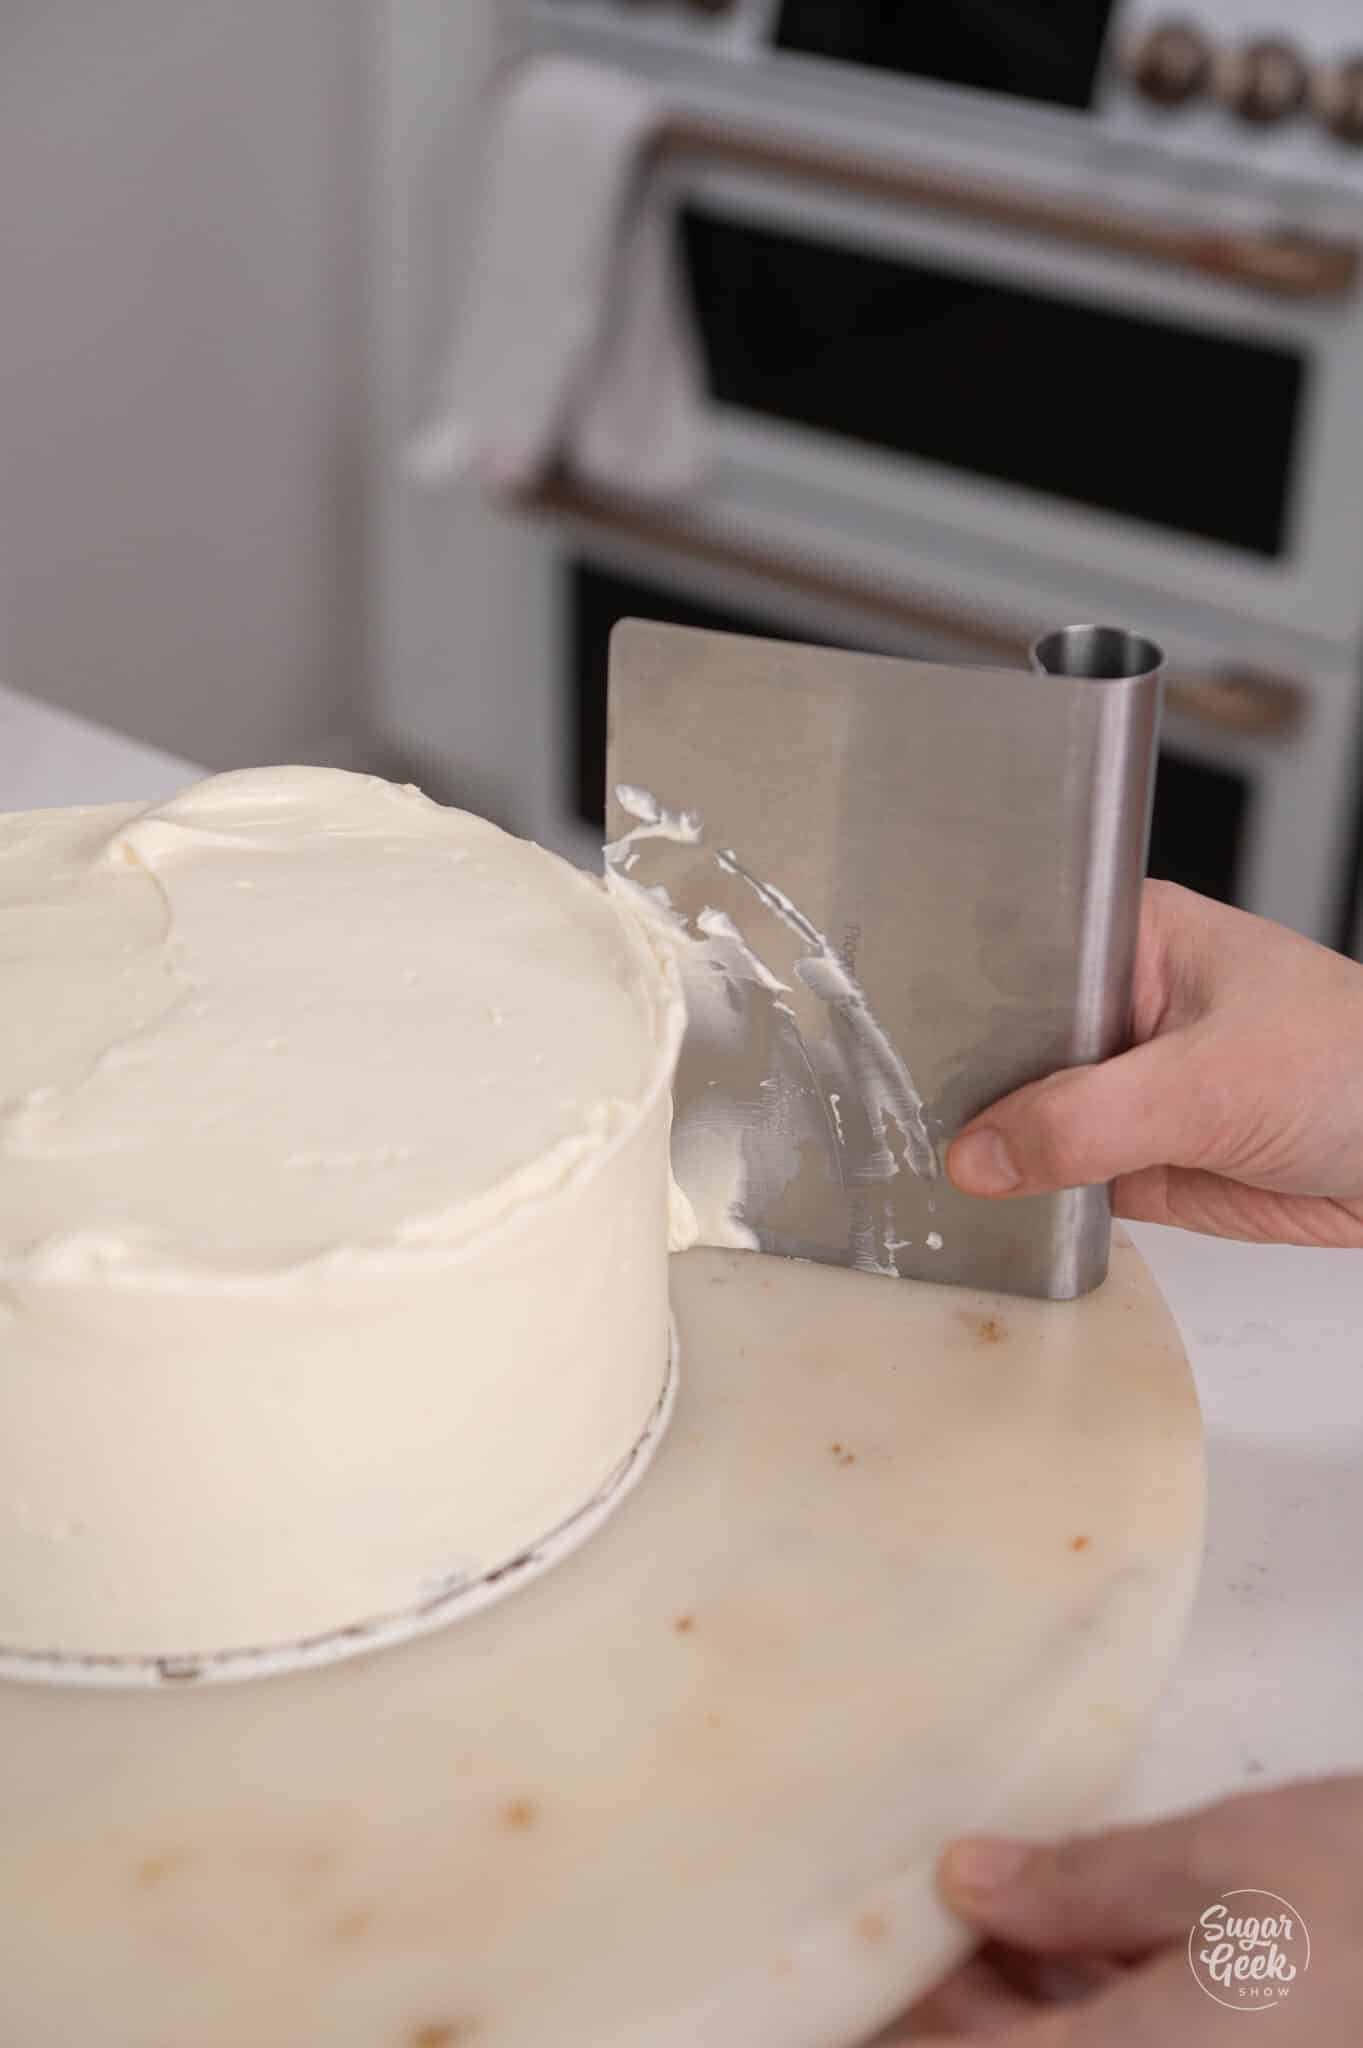
- Continue to frost the final layer of frosting onto the cake and smooth it with a bench scraper.
- Place the cake on the serving board and chill the cake while preparing the drip.
Decorating the Cake
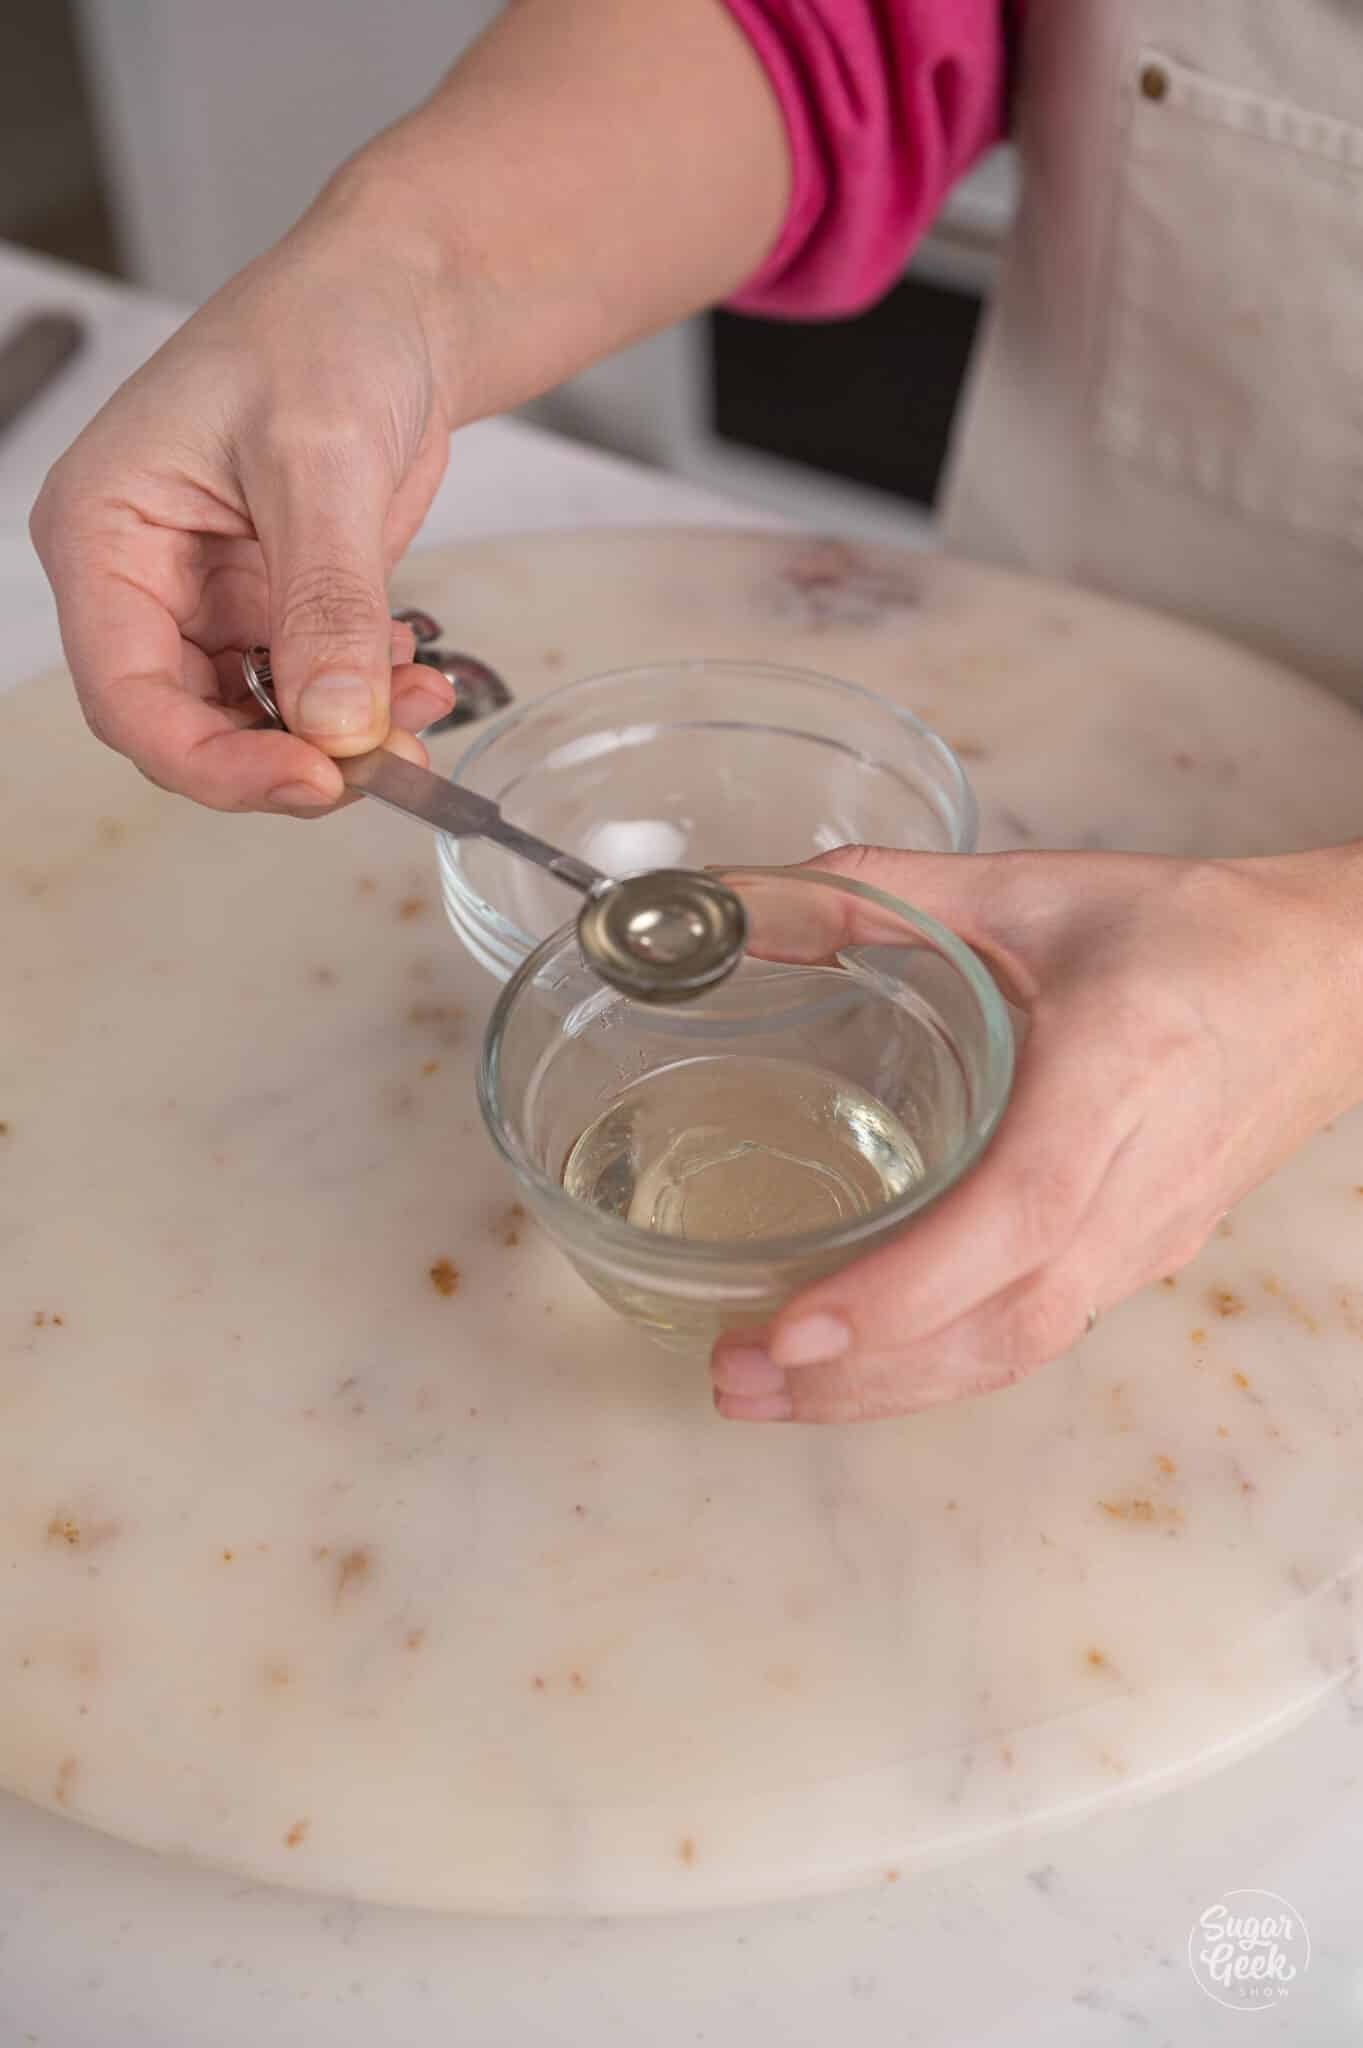
- Melt some coconut oil in the microwave, just until melted, not too hot. Then measure 6 tablespoons into a medium larger bowl to mix.
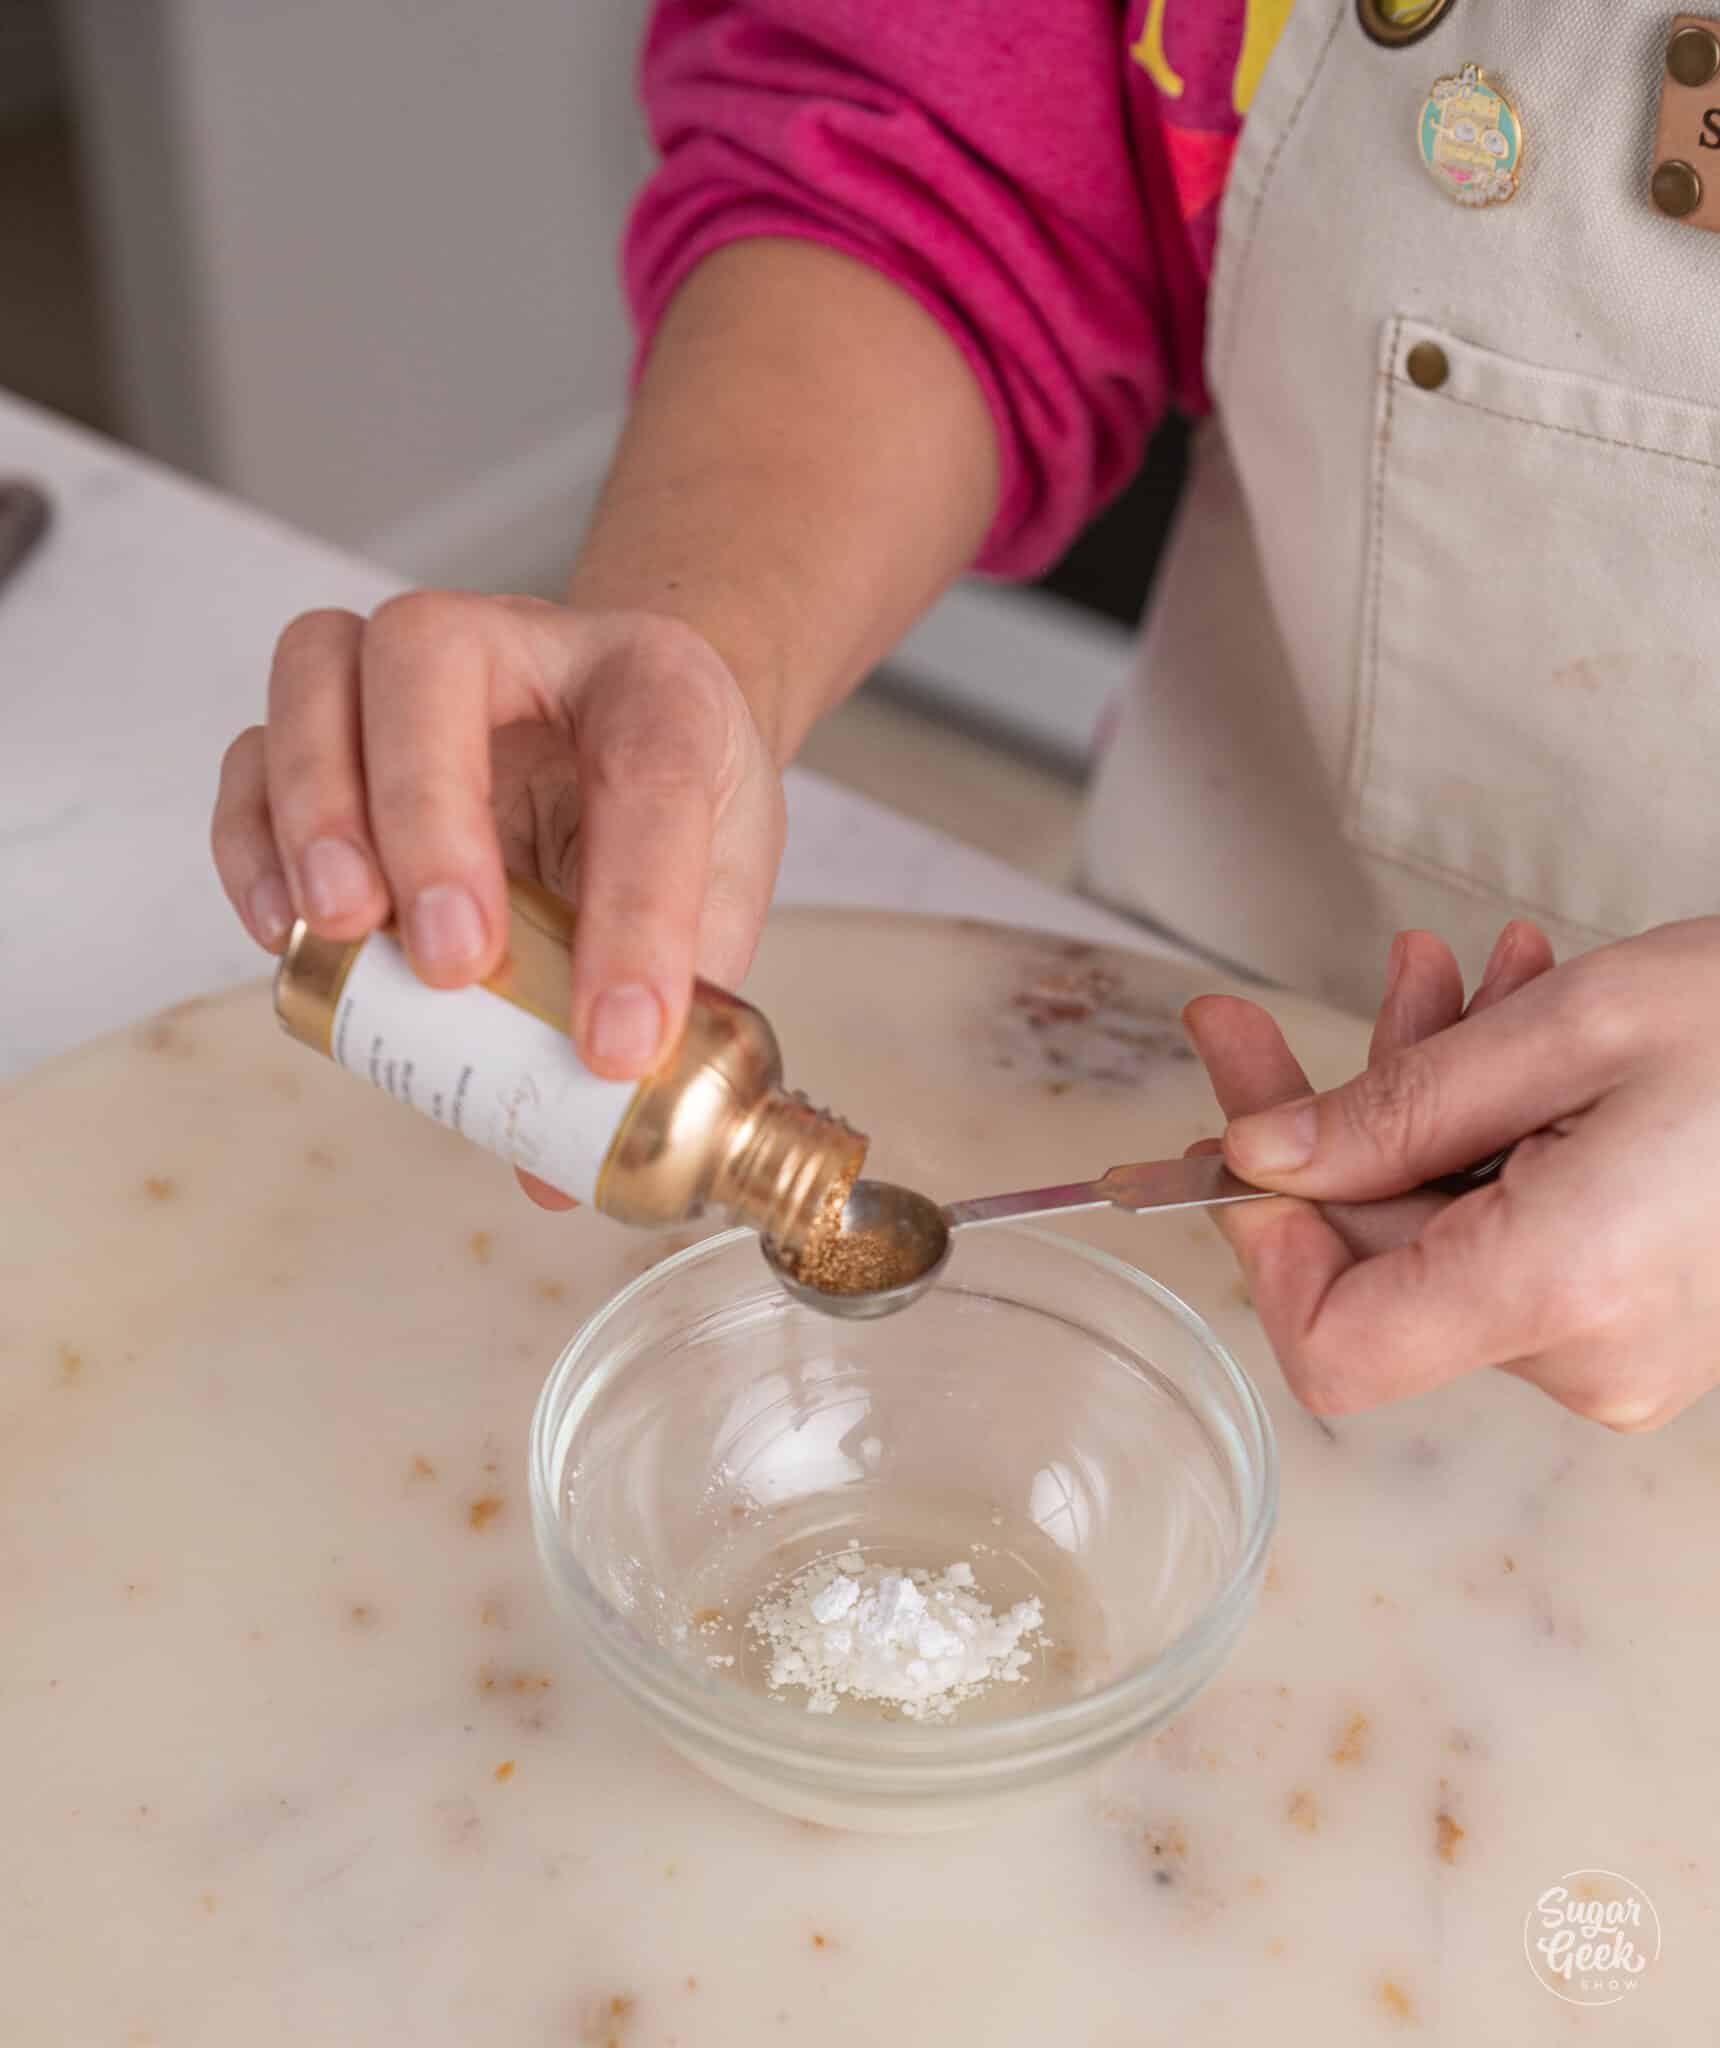
- Add the powdered sugar and gold dust and whisk until smooth.

- Transfer the gold drip to a piping bag and cut a small hole in the tip.
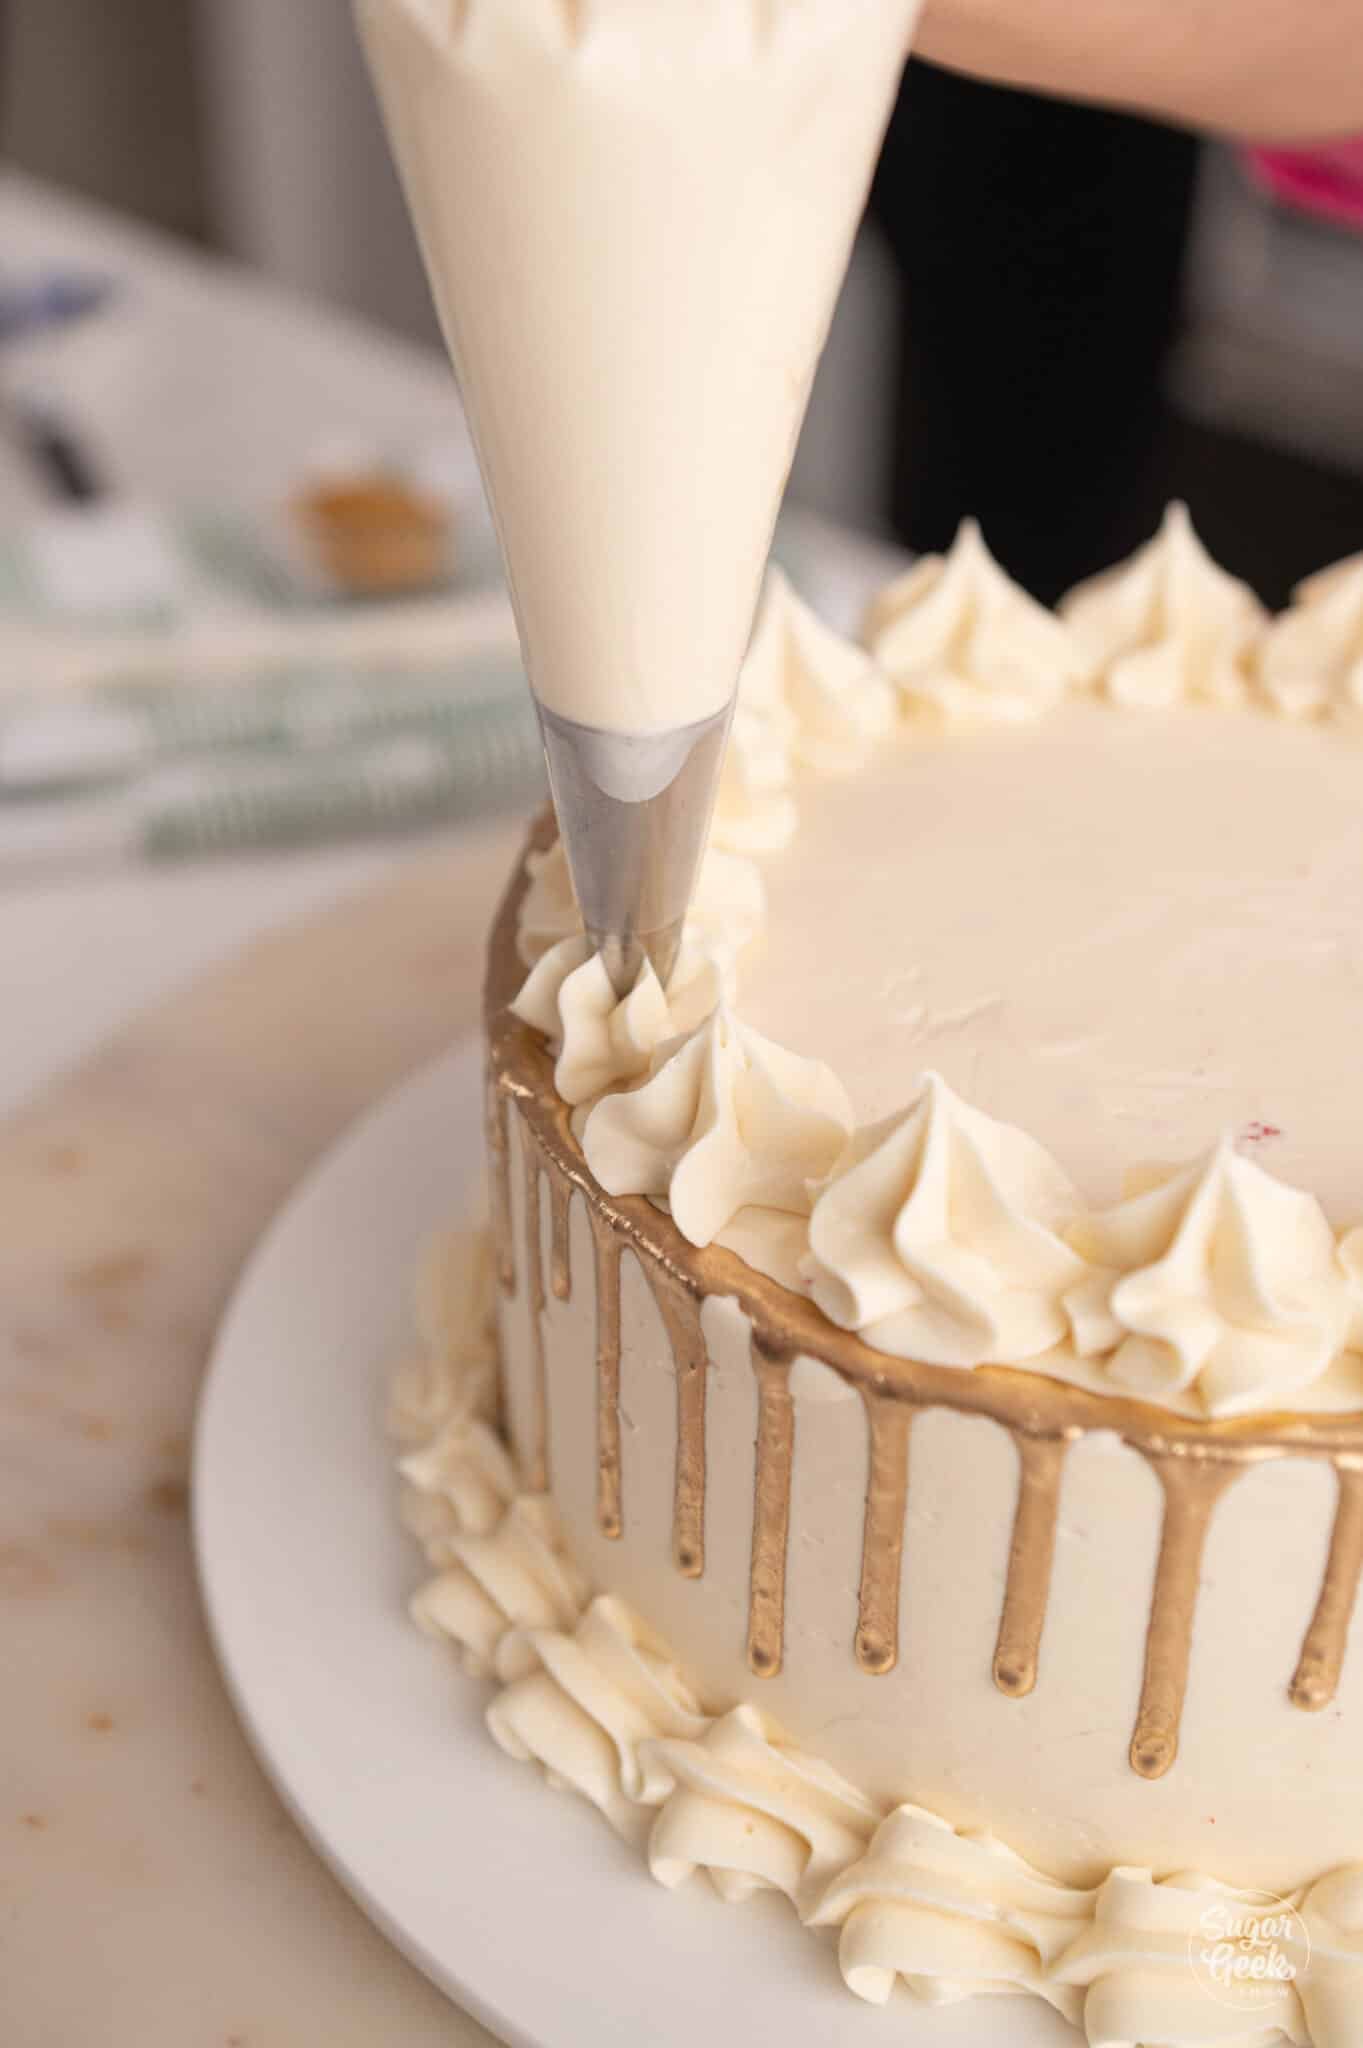
- Slowly pipe the gold drip around the top edges of the cake and then fill the center.
- Pipe dollops around the top edge of the cake, and a scalloped border around the bottom edge.
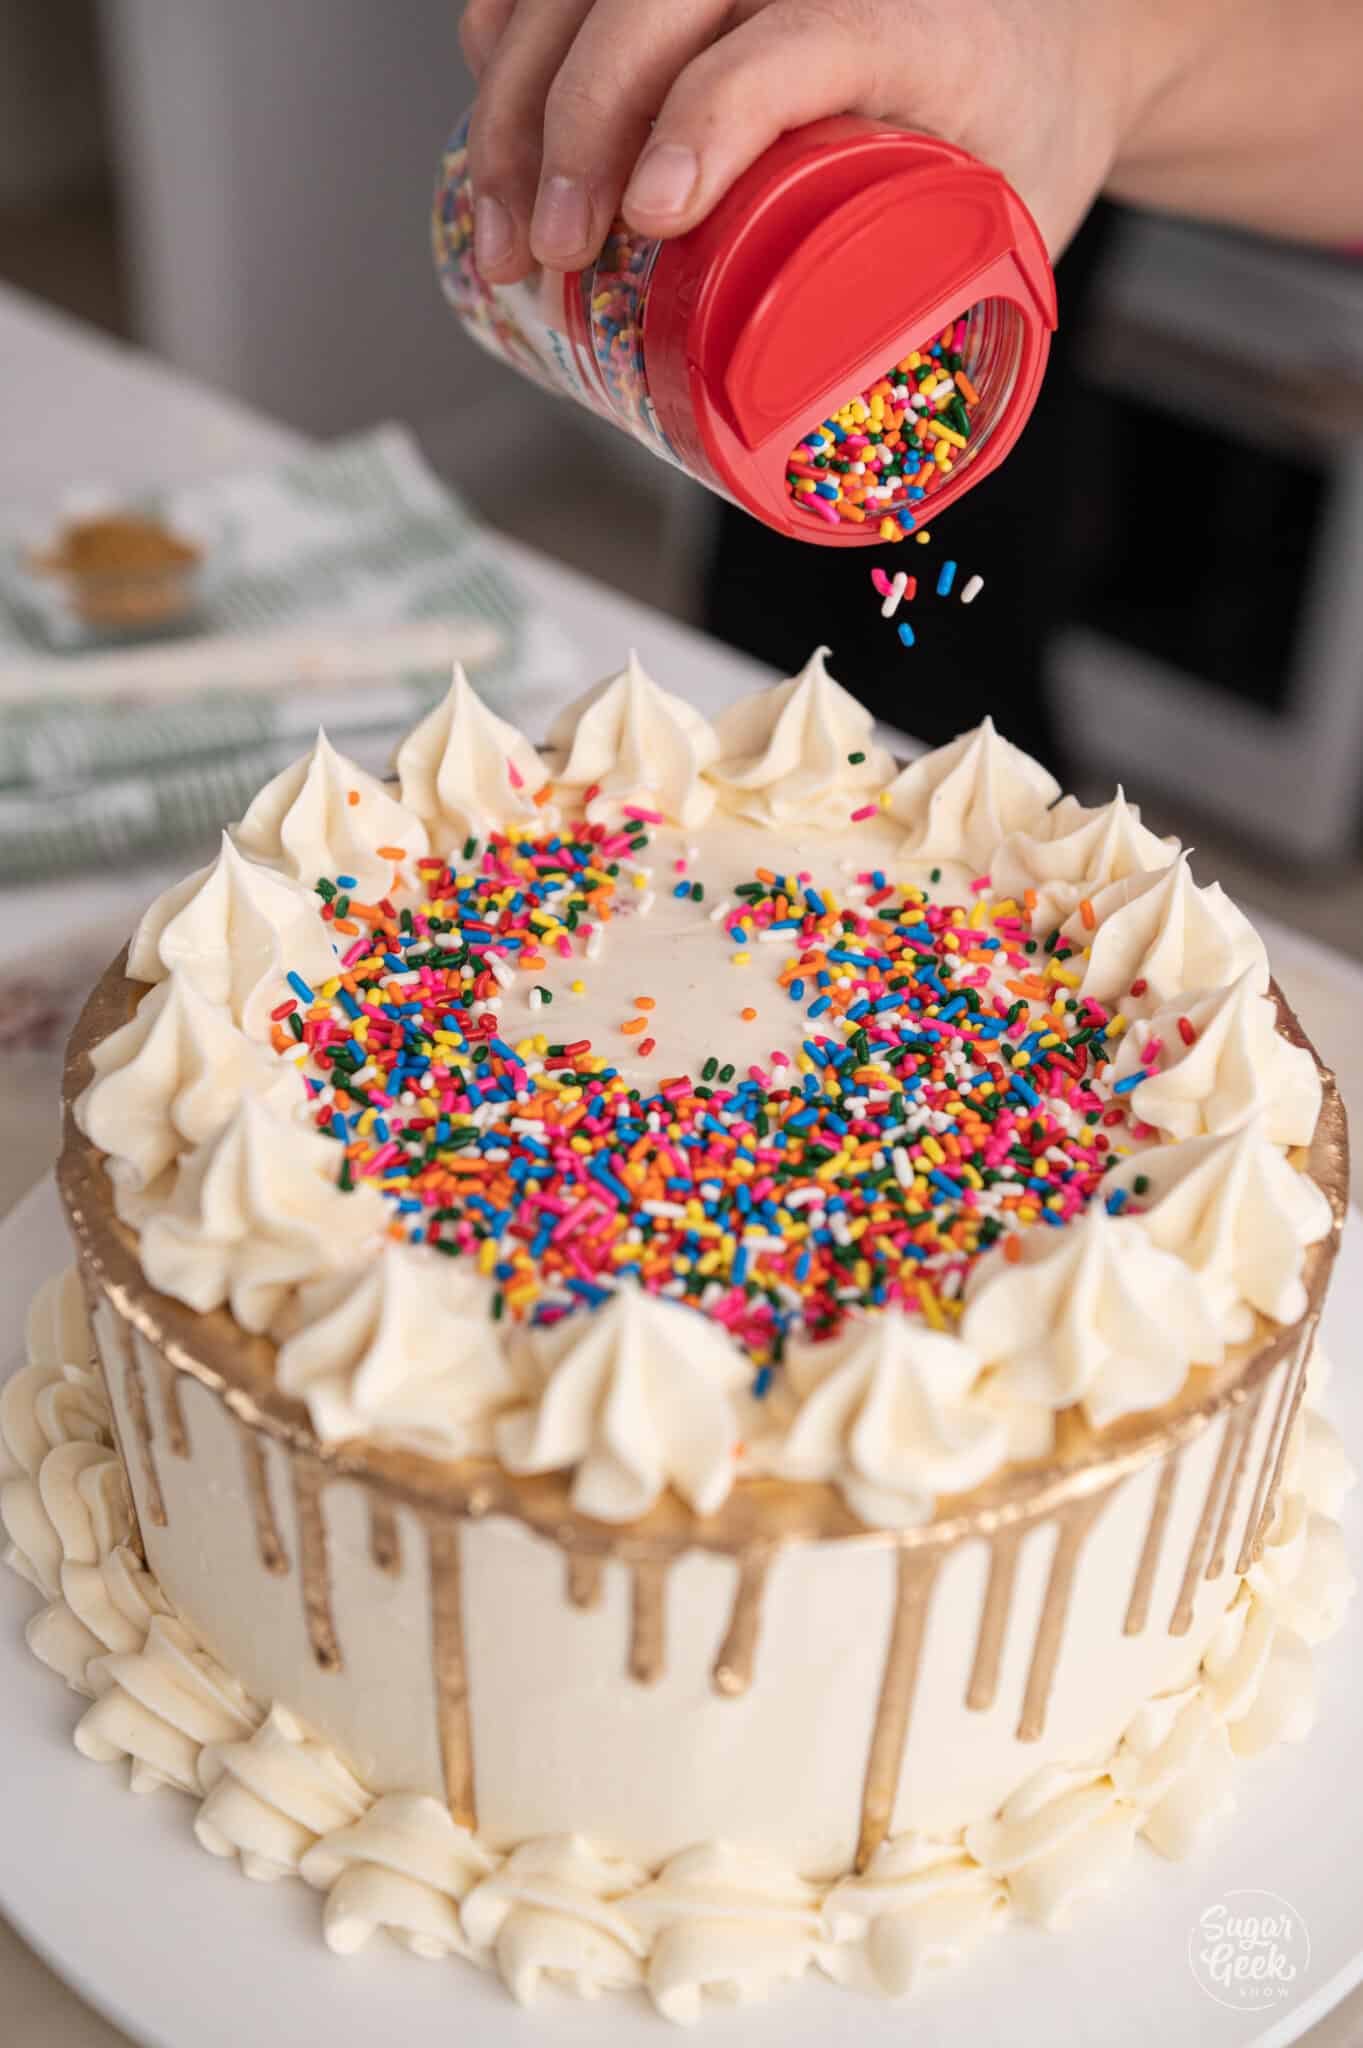
- Finish the layer cake by filling the center with rainbow sprinkles.

FAQ
Green velvet cake is actually just red velvet cake, the only difference is the color of the food coloring! The taste is sweet with a slightly tangy flavor from the buttermilk. There is cocoa powder in this recipe but the cake definitely doesn’t taste like chocolate, the cocoa powder adds some depth and also tenderizes the crumb of the cake, and helps retain moisture.
There's more to velvet cake than just the added food coloring. Velvet is made with cocoa powder, vinegar, and buttermilk. The chemical reaction between these ingredients helps give the cake a deeper color that is often enhanced by the extra food coloring.
Yes, this is an excellent recipe for cupcakes as well, making about 24 cupcakes.
Related Recipes
Grandma's Sweet Irish Soda Bread
Cake Batter and Frosting Calculator
Select an option below to calculate how much batter or frosting you need. Adjust the servings slider on the recipe card to change the amounts the recipe makes.
Choose a pan type
Choose a cake pan size
(based on 2" tall cake pan)
Choose a cake pan size
(based on 2" tall cake pan)
Cupcake Tin Size
Choose number of pans
Cups of Batter Needed
8 cups
Cups of Frosting Needed
5 cups
Note: measurements are estimated based off the vanilla cake recipe using standard US cake pans and sizes. Measurements used are for 2" tall cake pans only. Your results may vary. Do not overfill cake pans above manufacturer's recommended guidelines.
Recipe
Equipment
- 2 8" x 2" cake pans
Ingredients
Cake Ingredients
- 14 ounces All purpose flour
- 14 ounces Granulated Sugar
- 2 teaspoons natural (not dutched) cocoa powder I like Hershey's Special Dark
- 1 teaspoon salt
- 1 teaspoon baking soda
- 2 large eggs
- 4 ounces vegetable oil
- 8 ounces buttermilk
- 1 Tablespoon white vinegar
- 4 ounces unsalted butter
- 1 teaspoon vanilla
- 1-2 teaspoons yellow food coloring
- 1 teaspoon green food color
Easy Buttercream Frosting
- 6 ounces pasteurized egg whites
- 24 ounces powdered sugar
- 24 ounces unsalted butter room temperature
- 1 Tablespoon vanilla extract
- ½ teaspoon salt
Gold Drip
- 6 Tablespoons coconut oil melted
- 1 Tablespoon powdered sugar sifted
- 2 teaspoons metallic gold powder I'm using Angela Morrison non toxic metallic gold powder
Instructions
Making Green Velvet Cake
- Preheat the oven to 350°F and prepare two 8-inch cake pans with cake goop, parchment paper, or preferred pan spray. This recipe will also make three 6-inch cakes.
- Whisk the eggs with the oil, buttermilk, vinegar, and melted butter until combined and set aside.
- Place the flour, sugar, cocoa powder, salt, and baking soda into the bowl of your stand mixer and mix on low speed with the paddle attachment for a few seconds to combine.
- Add the buttermilk mixture into the flour mixture and mix on medium-high for about a minute until combined.
- Add the food coloring and mix until combined.
- Pour the cake batter evenly into the cake pans and bake for about 30 minutes or until a toothpick comes out clean.
- Cool cakes for 10 minutes and then flip them out onto a wire rack to finish cooling. Place the cakes in the freezer for 30 minutes to chill quickly if you plan to frost them the same day. Wrap the cake layers in plastic wrap and freeze if you are baking ahead.
Making Easy Buttercream Frosting
- Place the egg whites and powdered sugar in the bowl of your stand mixer with the whisk attachment and whip on high speed for 3-5 minutes.
- Add the softened butter in small chunks then vanilla and salt. Whip on high until light and fluffy and white, about 8 to 10 minutes.
- For the best results, switch to the paddle attachment and mix on low for 15-20 minutes until all air bubbles are gone. This is optional but makes for really smooth buttercream.
Assembling the Cake
- Trim the top dome off of the green velvet cake layers and place one layer onto an 8-inch cardboard cake round, top side down, this ensures an even surface. This is not necessary, but the layers look clean even when the cake is cut. I recommend using a cake turntable to make frosting easier.
- Fill the center with the vanilla buttercream and spread evenly with an offset spatula. This cake would also pair well with homemade cream cheese frosting.
- Place the remaining cake layer on top.
- I like to begin by frosting the top of the cake and pushing the buttercream down the sides and then smoothing. Start with a thin layer of buttercream to create a smooth crumb coat around the whole cake and chill for 5 minutes for the buttercream to set up.
- Continue to frost the final layer of frosting onto the cake and smooth it with a bench scraper.
- Place the cake on the serving board and chill the cake while preparing the drip.
Decorating the Cake
- Melt some coconut oil in the microwave, just until melted, not too hot. Then measure 6 tablespoons into a medium larger bowl to mix.
- Add the powdered sugar and gold dust and whisk until smooth.
- Transfer the gold drip to a piping bag and cut a small hole in the tip.
- Slowly pipe the gold drip around the top edges of the cake and then fill the center.
- Pipe dollops around the top edge of the cake, and a scalloped border around the bottom edge.
- Finish the layer cake by filling the center with rainbow sprinkles.
Notes
- The best investment you can make when you’re getting started with baking is a digital kitchen scale! Weighing your ingredients will help you avoid cake failure. Using a kitchen scale for baking is super easy and gives you the best results every single time.
- Practice Mise en Place (everything in its place). Measure out your ingredients ahead of time and have them ready before you start mixing to reduce the chances of accidentally leaving something out.
- Need more help with making your first cake? Check out my how to decorate your first cake blog post.
- Make sure all of your cold ingredients (e.g. butter, eggs, milk) are at room temperature or a little warm. Why? Because we want to create an emulsion and allow the ingredients to fully mix together.
- Make your own pan release (cake goop!) The best pan release ever!
- Chill your cakes before frosting and filling. You can cover a frosted and chilled cake in fondant if you wish. This cake is also great for stacking!
- If you are using pasteurized egg whites from the fridge then you might notice this rim of cold butter forming. This is normal and can easily be fixed. Simply stop your mixer and remove about ⅓ cup of the buttercream. Melt this in the microwave for about 20 seconds or until it’s just barely melted. You don’t want it hot! Pour the mixture back into your whipping buttercream and the warmth from the melted buttercream will cause it all to come together and get creamy. This is honestly easier than taking out the egg whites ahead of time and trying to bring them to room temperature.

Niffy Fash says
Hi, please can I have your recipe in grams or cups and spoons? Thanks.
The Sugar Geek Show says
So sorry, all my recipes are by weight for accuracy. You can use an online calculator to convert oz to grams easily if you prefer grams.
Avril says
Thank you Avalon for the “mmmmms and yuks”??? and for the detailed video too..I enjoy watching you and your mummy work together.
Thank you Liz,can’t wait tot try it.
Tj says
SHE IS ADORABLE!
Martha says
What’s the glaze on top made out of? Looks fruity and delicious ?
The Sugar Geek Show says
That's just purple water ganache drip 😀
Chandra Persaud says
Oh my gosh Liz!! What have you done with her?? She’s a mini you now? so cute!!
Lisa Gardner says
My 4 year old son just asked if he can do that now! He also said Avalon is cute and she did a great job ???
The Sugar Geek Show says
awwww do it!!
Jewel B says
Hello - Can I use this cake with the champagne cake tutorial? I wanted to make sure it would be sturdy enough to stack up and cover with ganache.
The Sugar Geek Show says
All my recipes are made for stacking.
Jewel B says
Yes! Thank you
Laura C says
I made this yesterday for my coworkers and they could not stop raving about how great the cake was. How can I post a picture?! Lol the recipe was bulletproof and your little girl is so cute! Thank you for posting this recipe. It was my first time making a real professional cake ?
The Sugar Geek Show says
Aww thank you so much! That means the world! You can post a pic on social media and tag us @sugargeekshow
Annie says
Hi! I made this recipe and LOVED IT! Can I use any color I want? let´s say.... peach or light blue?
The Sugar Geek Show says
You can't do light colors for this cake because it has cocoa powder in it. I suggest using the white velvet cake recipe and then adding colors to that 🙂
Teisha says
Ive been so confused with dutch processed vs natural when it comes to Hershey's brand. I use Hersheys, but the special dark version says its Dutched and when I check online, most dutch processed are darker in color. In this recipe it says Natural but then Hershey's special dark. I want to try it but I've had some failed attempts with other recipes and he wrong chocolate. Can you help clarify for me?
The Sugar Geek Show says
I can't attest to Hershey's specifically but I have used their special dark with no issues. Here is another article on the difference between natural and dutched https://sugargeekshow.com/dutch-processed-cocoa-powder/
Heather says
What’s the difference on n AP flour and cake flour? I’m making a cake with multiple colors. The recipe I’m using for my lighter colors calls for cake flour. I want to use yours for my darker colors. I just don’t want there to be an obvious texture difference in the colors, etc. Would you recommend that I substitute cake flour in place of the AP flour? If so, would the measurements be the same? Or am I fine to leave the two different types of flours in my cake? Thanks for your time!
The Sugar Geek Show says
I would use the flour the recipe calls for and not worry about the texture difference.
Bunny says
Does it take all that frosting to fill the cake, or should some be left white to frost the top and sides?
The Sugar Geek Show says
There is enough frosting to fill and decorate the cake
Jennifer says
I just discovered your YouTube channel two weeks ago and I’m obsessed - I’ve learned so much. I made this cake this week and LOVED it. I’m so hooked (and not afraid anymore) of measuring vs. measuring. I’m anxious to try a reverse cream recipe. I’m curious why that method and oven temp aren’t used in this recipe!
The Sugar Geek Show says
This cake uses all purpose flour so you can't use the reverse creaming method 🙂 All purpose flour has more gluten in it than cake flour.