How to get sharp edges on your buttercream
So what comes after all the baking, torting, trimming, filling and crumb coating? The final glorious coat of buttercream! Today we will take you through the steps of how to do a basic smooth final coat of buttercream whether you plan to fondant your cake or not. If you've missed all the previous steps leading to this one, be sure to visit all the other Cake Decorating Basics blog posts to get caught up on how to get to this point!
What You Need
- Crumb-coated and chilled cake
- Turntable
- Buttercream
- Offset spatula
- Bench scraper
- Parchment paper
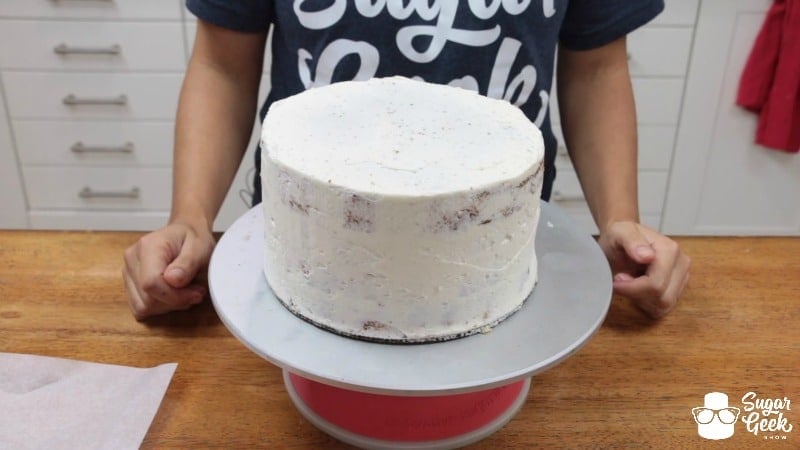
Step 1
Have your crumb coated cake chilled firm and ready to go.
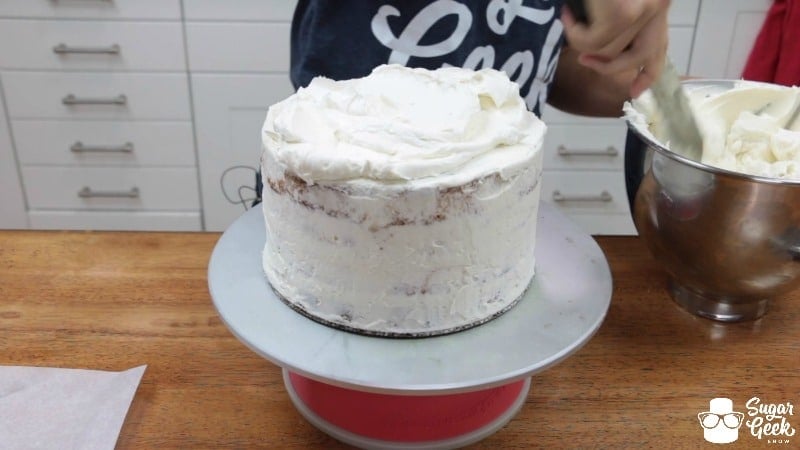
Step 2
Add a generous amount of buttercream to the top of your cake. Here Liz is using her Easy Buttercream Recipe.
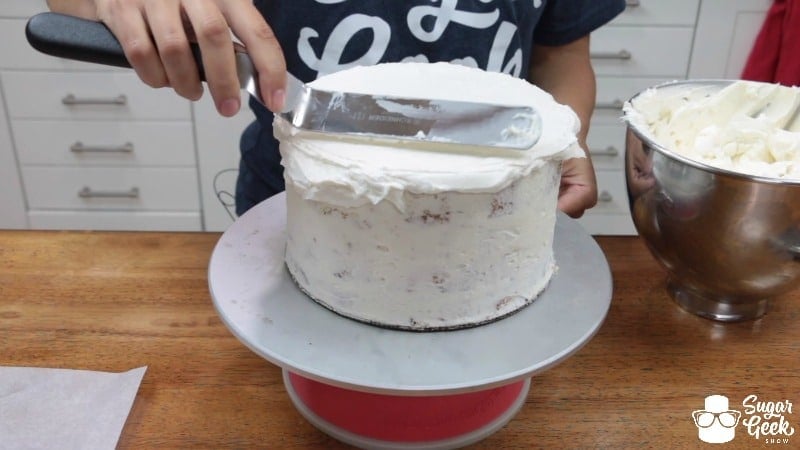
Step 3
Begin using your offset spatula to smooth out the buttercream on top. Try to keep your spatula level and keep working it until your top is also level and as smooth as possible.
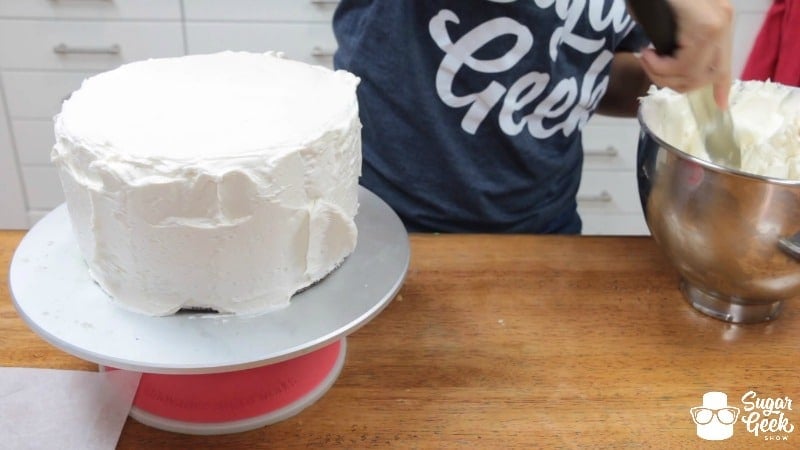
Step 4
Begin adding another generous amount of buttercream to the sides of your cake. Don't worry, we will be taking most of this away soon in the smoothing process.
Step 5
Use a bench scraper or Innovative Sugarworks firm scraper like Liz is here to start smoothing out the sides of your buttercream. Hold your scraper so that it is slightly angled in toward you and not at a straight 90 degree angle from the cake.
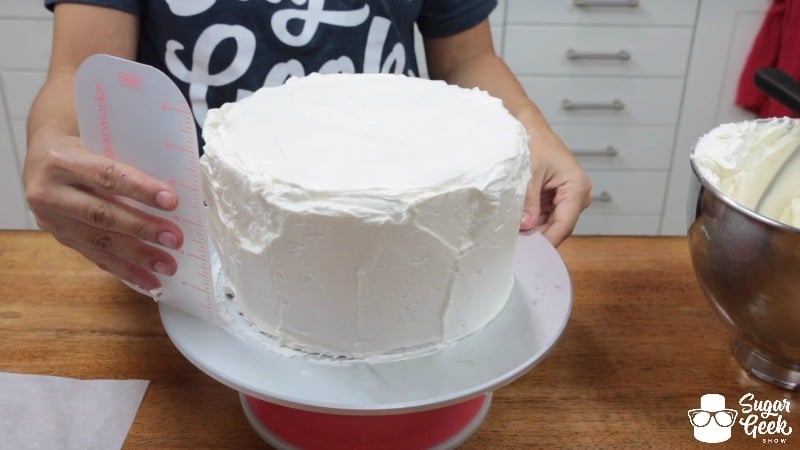
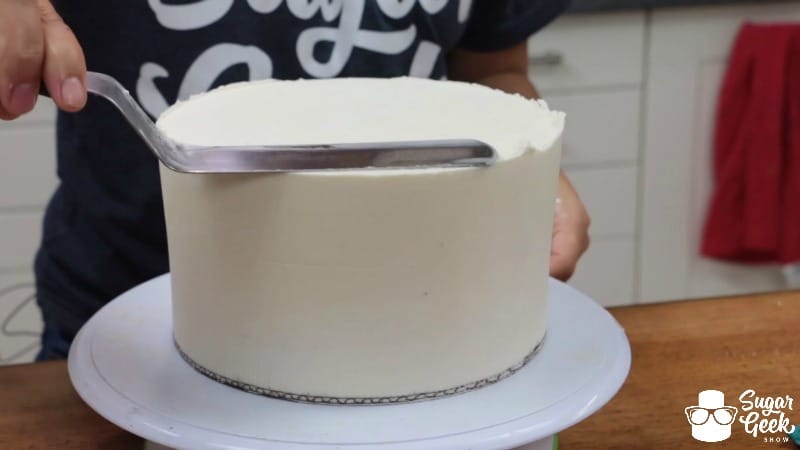
Step 6
Scrape your buttercream smooth while turning your turntable making sure to keep your scraper level and straight. Scrape excess buttercream into bowl as you go.
Here you can see the correct angle the scraper should be at from your point of view. Continue scraping until you reach your cake board underneath and the sides look pretty good! If you have a few holes here and there at this point it's okay because we will fix them later.
Your sides should look something like this.
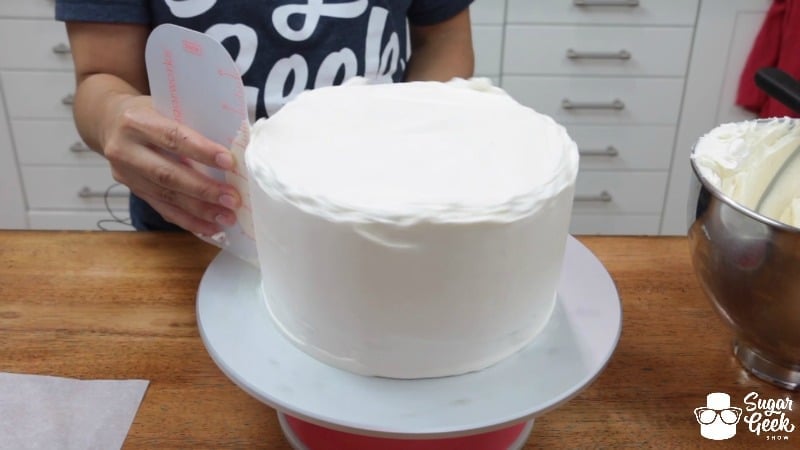
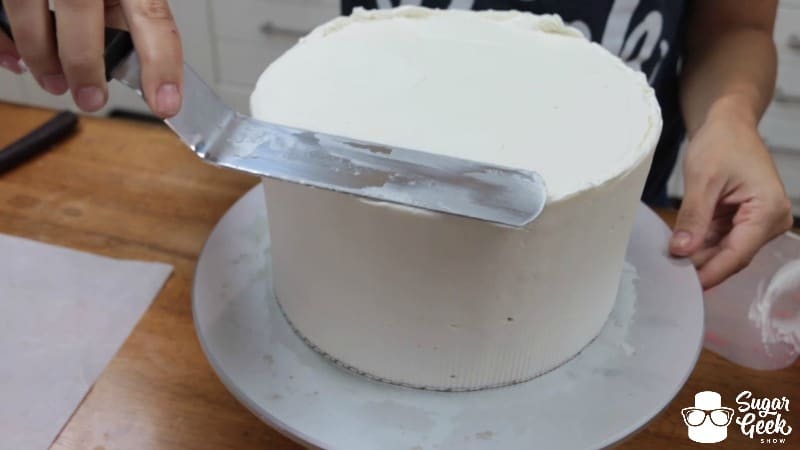
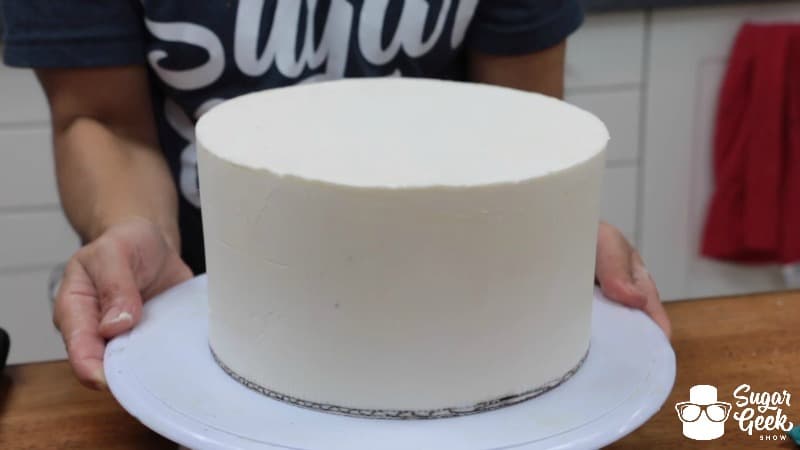
Step 7
Take your clean offset spatula and smooth your top edges in. Continue scraping the excess buttercream off your spatula to get a better result.
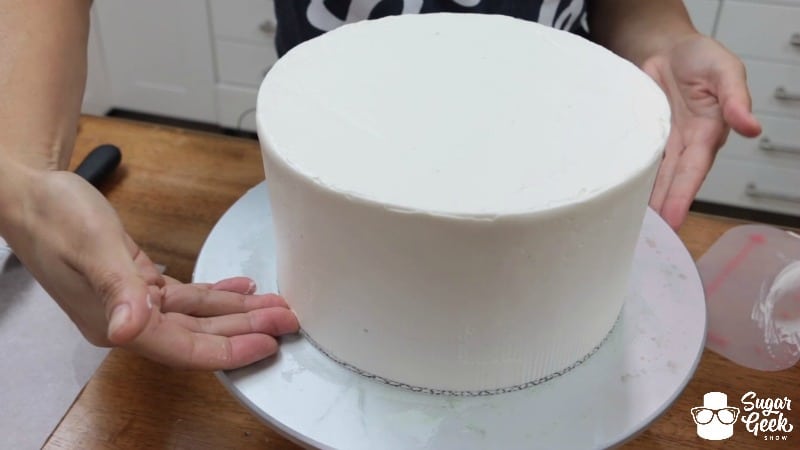
Here's what you should have at this point. Now we will chill this in the freezer until firm once again.
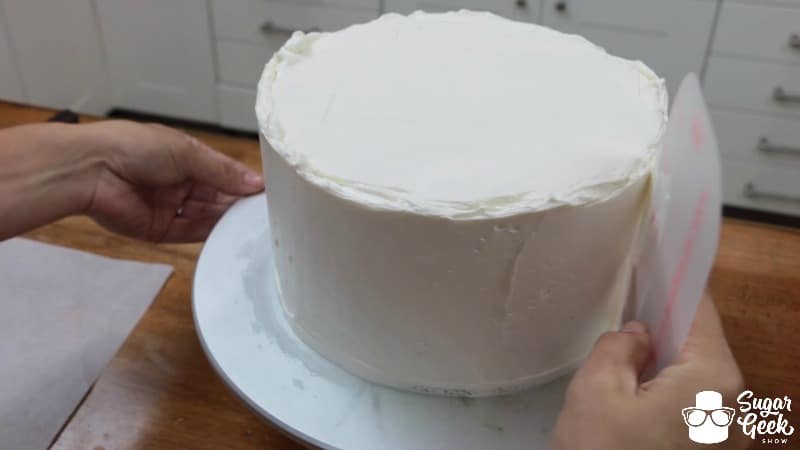
Step 8
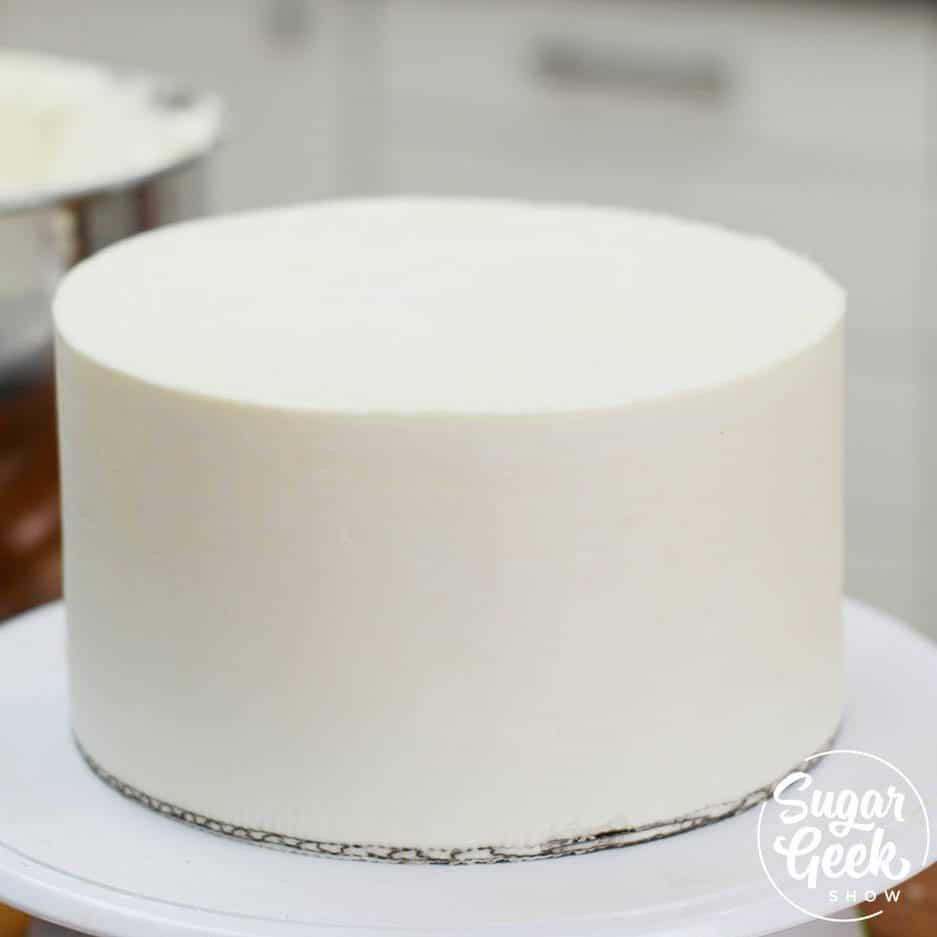
Once your cake is nice and firm, add one final thin coat of buttercream to your top and sides to fill in any gaps or holes you might still have.
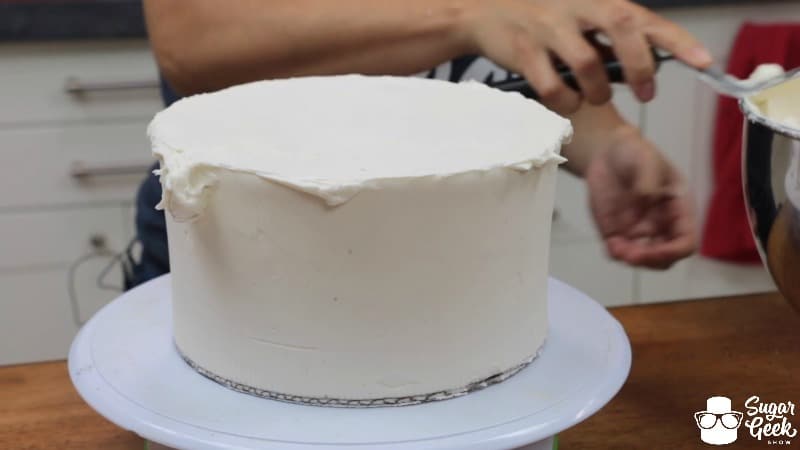
Continue scraping and adding until it is as smooth as possible!
MYTH: It doesn't matter what your buttercream looks like if you're putting fondant on your cake.
TRUTH: The smoother your buttercream is, the smoother and better your fondant will look. Take the time to create a nice base for your fondant because it will show large imperfections.
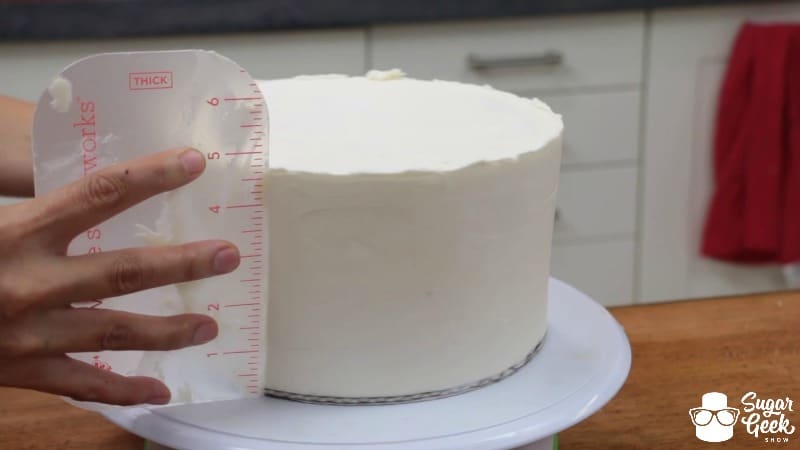
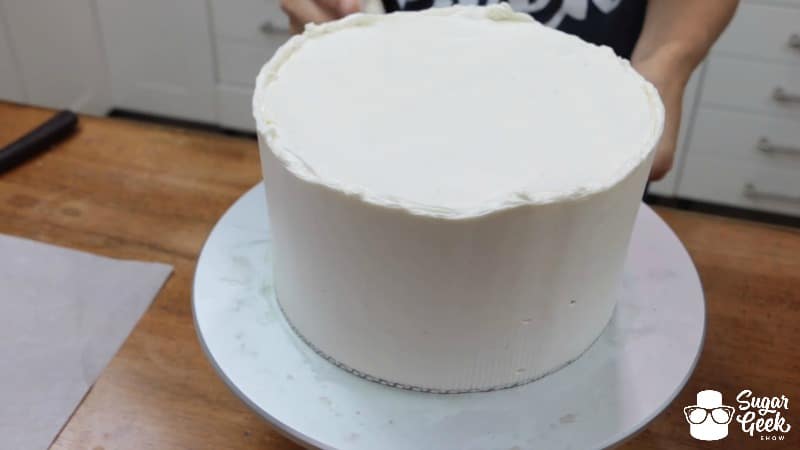
Using your clean offset spatula once again, smooth in the top edges of buttercream. This final coat process can take quite some time especially if you are new to it. Be patient and practice good techniques and the speed will come later!
After all that you should have something like this! A cake ready to be covered in fondant. If you aren't covering your cake in fondant, you'll want to take even more time to make sure it is flawless.
Now was that nearly as scary as you thought it'd be? You can do it! Patience really is the key. If you ever have any questions the Sugar Geek Team is always here to help! Next week we will cover an alternative technique for the final coat of buttercream called The Upside Down Method. This method can save mega time and frustration and yield a better result but it's not for everyone so if you want to stick to the basic method we've shown today, there's nothing wrong with that! No judgement here folks.