So last week we torted and trimmed our cake layers and they have been sitting in the fridge for a week waiting to be filled and crumb coated. I'm kidding, these videos were filmed awhile ago but the point is that the next step in the series is filling and crumb coating, woohoo! Liz takes you through the steps to creating a good base ready for a beautiful final coat of buttercream.
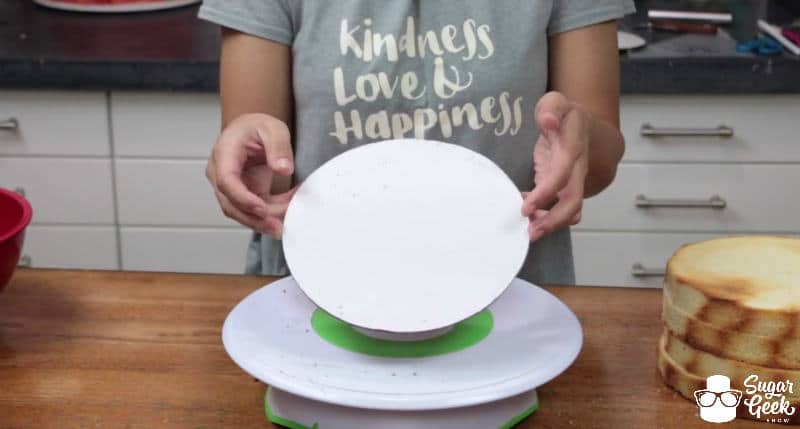
Each and every cake tier whether it's round, square or some custom carved shape needs to be on it's own cardboard cake round.
Things to Know...
Each and every cake tier whether it's round, square or some custom carved shape needs to be on it's own cardboard cake round. The cardboard round provides stability for the cake and a base for your structural supports to hold up as well as a way for you to pick up, move and transport a cake.
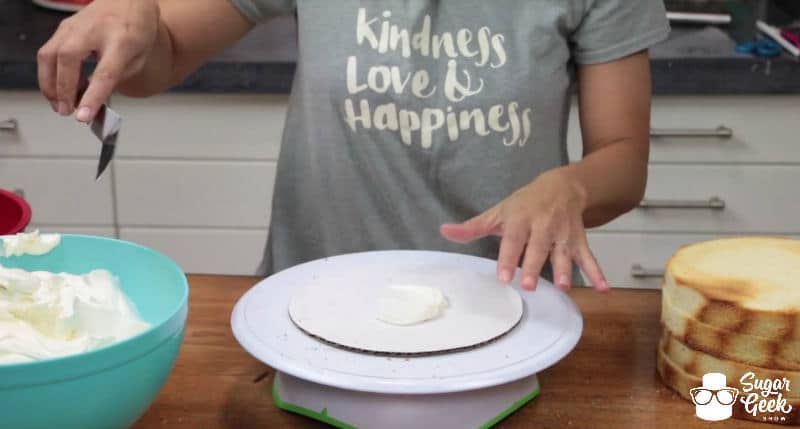
It's a good idea to put a little bit of buttercream on your cake board to help keep the cake from sliding off.
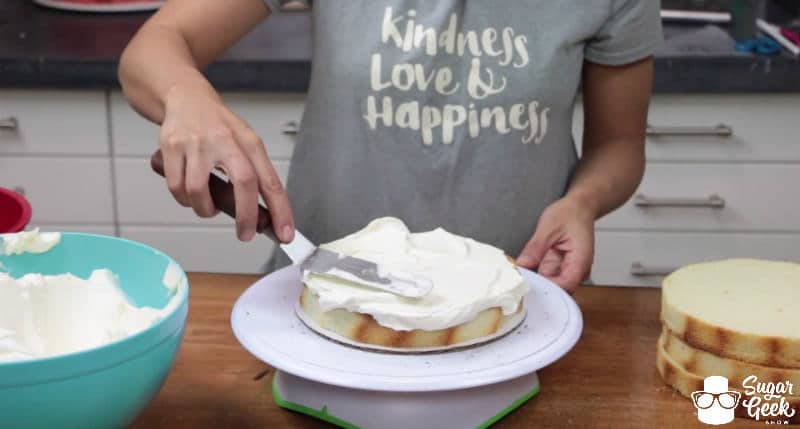
Filling
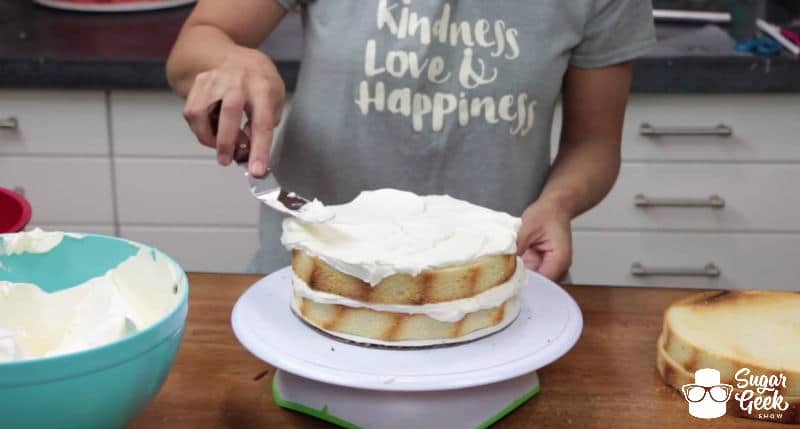
Add your first layer of cake to your board and begin adding a layer of buttercream. You want enough buttercream to create about a ¼" layer. Be sure to spread the buttercream clear to the edges of the cake. Keep your spatula level and do your best to make the layer of buttercream as level and even as possible.
Add your second layer of cake making sure to line up the edges of the cake. Press the layer of cake down to squash any air bubbles and even it up.
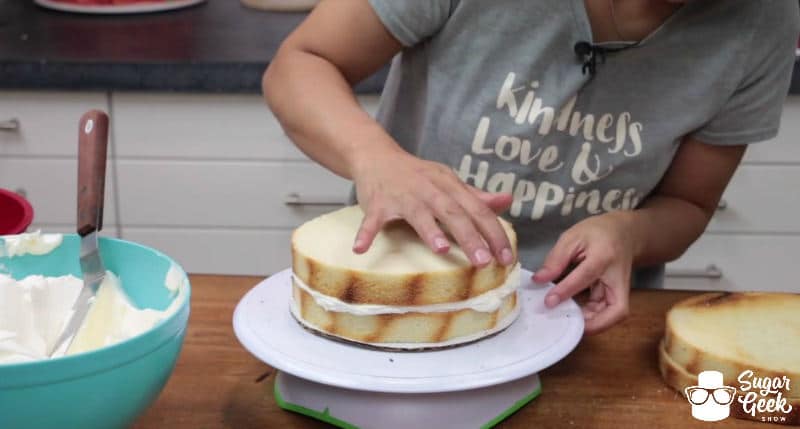
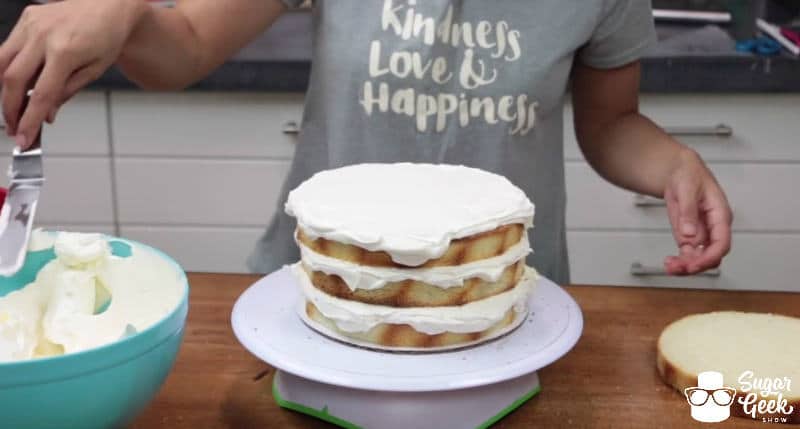
Repeat the previous process keeping your layers of buttercream about ¼" thick and everything straight and even.
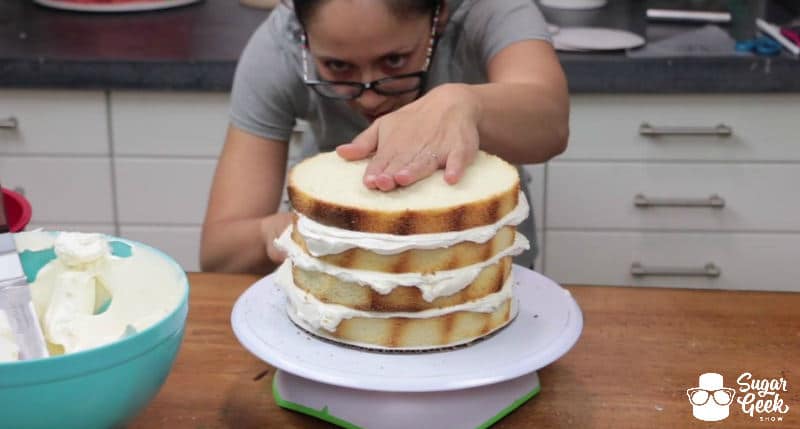
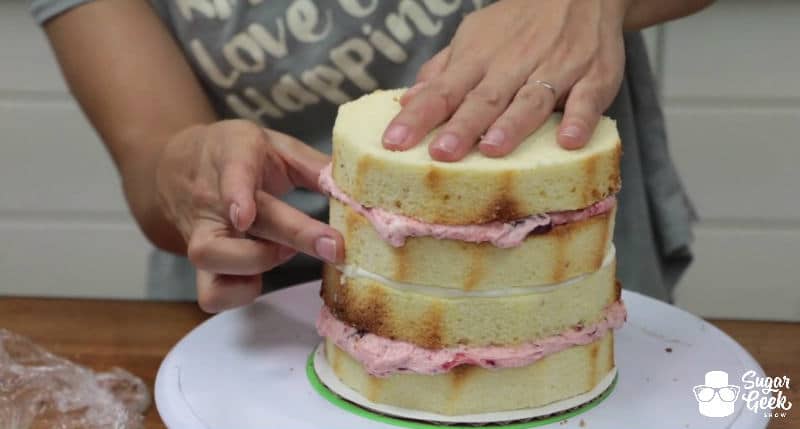
Add your last layer and give it a final check to make sure it is even, straight and level. Getting down to the level of the cake helps!
Crumb Coating
Spread any excess buttercream that has come out from between the layers onto your cake.
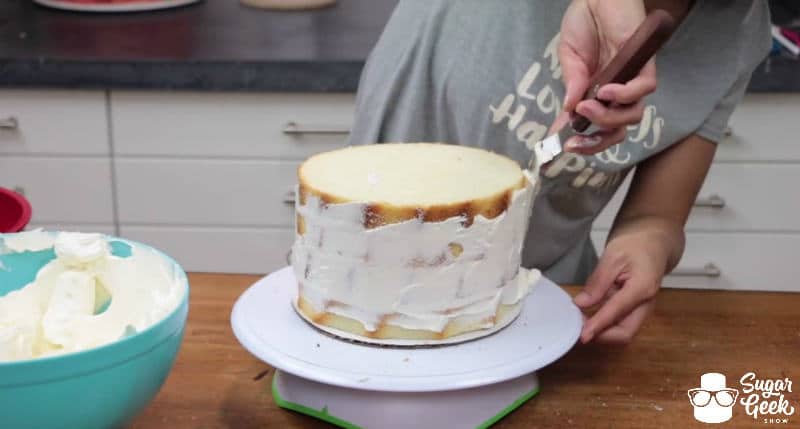
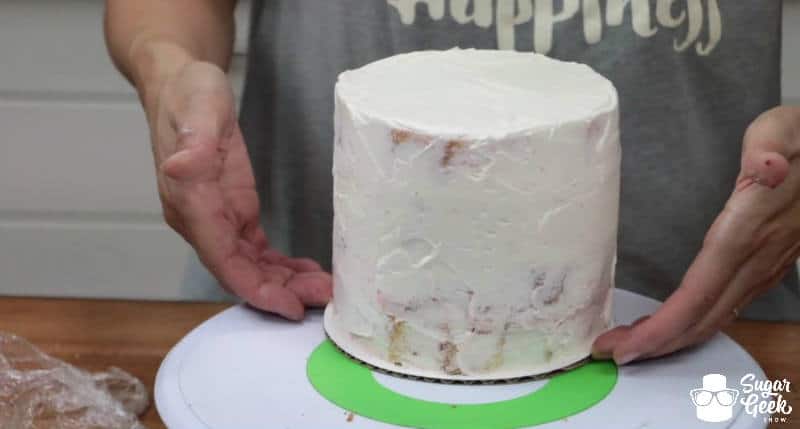
Add more buttercream until the sides and top are completely covered with a THIN layer of buttercream. Thin being the point of a crumb coat. We just need enough to seal in the crumbs and keep them from getting in the final layer of buttercream. SO, this layer by no means needs to be pretty.
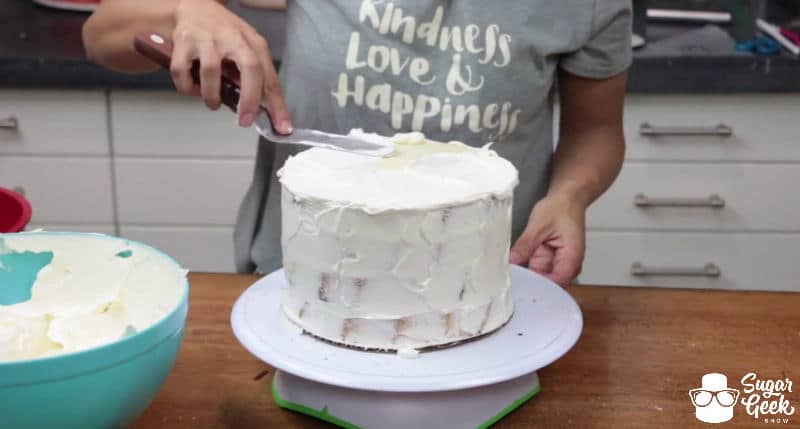
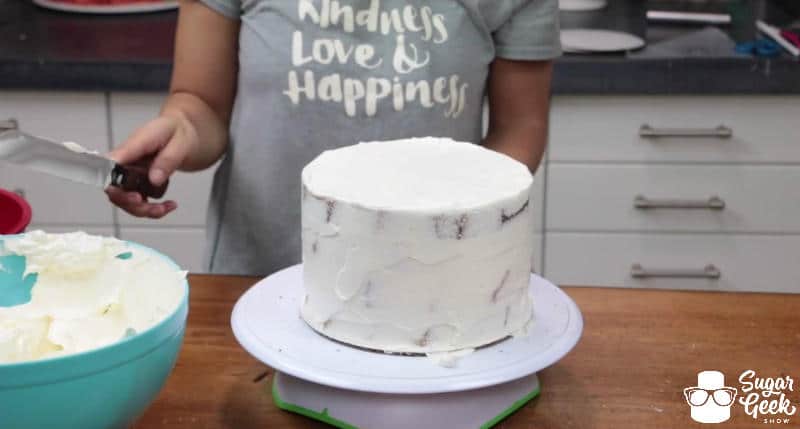
Once everywhere is covered just clean it up a little bit by smoothing the edges of buttercream in to the center and you're good! Your cake is ready to place in the refrigerator to chill until it's nice and firm and stable.
Using Fruit or Other Fillings
Want to fill your layers of cake with something other than buttercream? Of course you can! There are just a couple things you will want to do differently. Why you ask? Because fruits, custards, mousses and other fillings of the like are much runnier than buttercream and do not set up solid when refrigerated and therefore can cause oozing, bulging and shifting, none of which are on our list of things we want or love, am I right?
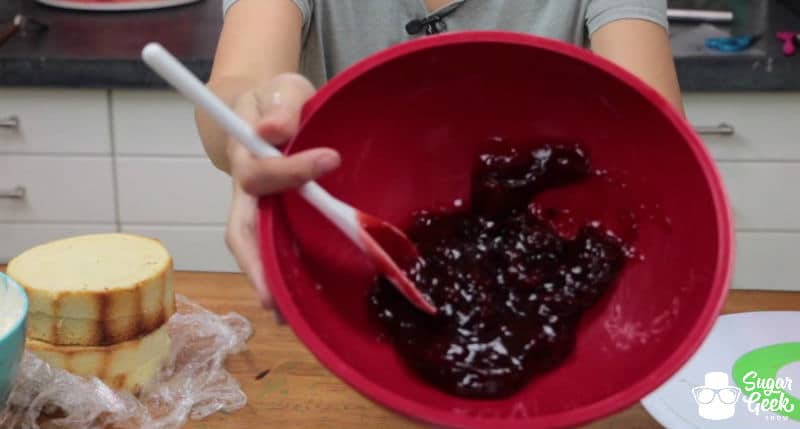
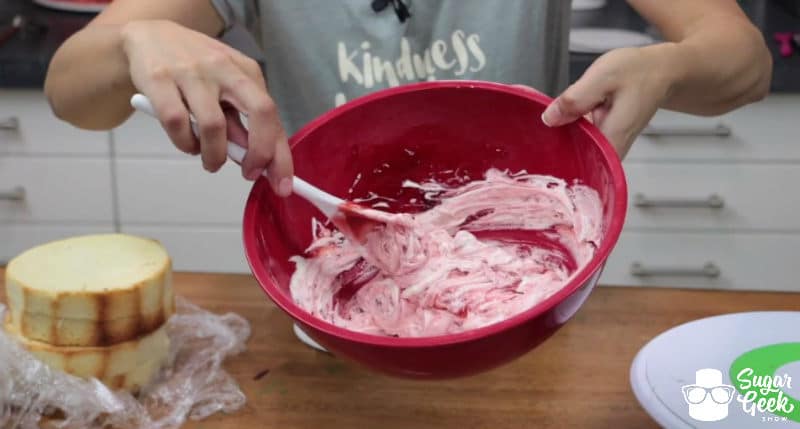
One option is to add a little buttercream to your fruit or other filling to give it stability. Once you do this it will set up firm in the fridge and no longer cause the previously mentioned issues, problem solved. Then just proceed to use the filling as you would buttercream.
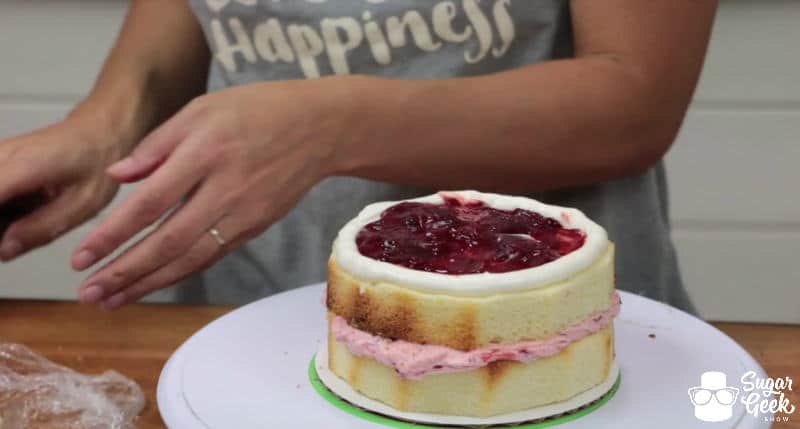
BUT, if you do not want to add buttercream to your filling you're going to want to create what's known as a dam, no that's not the swear word. The dam is simply a buttercream barrier to keep your filling from causing all of the bad things in the world from happening, well, bad cake filling things.
Just put some buttercream into a piping bag with the end cut off and pipe a nice thick line all around the edge of the cake. Remember, we really only want about ¼" of filling so don't get too crazy.

Then just add your filling to the center of your cake layer and fill up the circle of buttercream. Keep your filling amount level with or just below your buttercream dam, this way your cake layer has some buttercream to rest on and it can't escape out the sides.
Once you're finished adding your filled layers, move and shift things around to make sure they are even and you don't have any leakage.
Add your buttercream crumb coat just as before and again place the cake in the refrigerator to chill until completely firm. That's it! That's all there is to filling and crumb coating a cake.
Not too bad right? I mean we still haven't even had to care if the cake looked good yet so no sweat. Soon we will delve into the scary realm of adding the final coat of buttercream and the beginnings of the cake looking as professional and perfect as possible. BUT FIRST, we will cover all the ways to avoid blowouts.
In case you were wondering, Liz used her Easy Buttercream Recipe through this tutorial. Thanks for 'chilling' with me today and I hope you will join me next week! Don't judge my corny jokes.