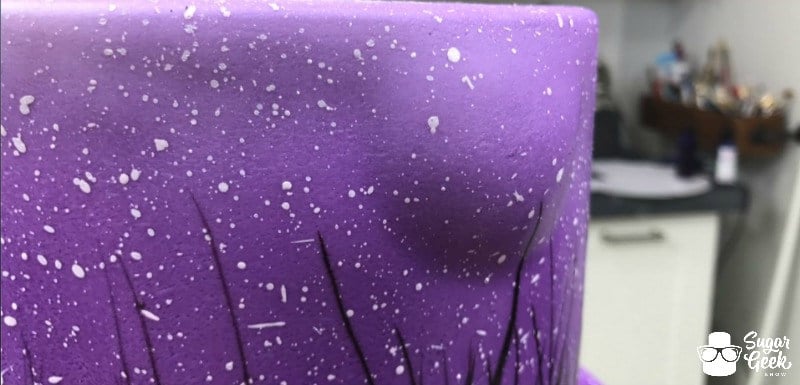
You've just finished the basic prep of your cake, the mixing, baking, leveling, torting, filling, crumb coating, final coating and fondanting, yes I am making that a word now, and you think everything is hunky dory and just as you go to add your final decorations you see it... a BLOWOUT, dun dun dunnnn. Or maybe the cake was totally finished and you're getting ready to load it up and you see it... a BLOWOUT, dun dun dunnnn. It is one of the worst feelings any cake decorator can encounter and we want to help you avoid ever having to see that and feel that way if we can. Today, we've got some tips for avoiding this situation because once it happens, well, there isn't much you can do about it so it's best to just never get there.
Tip #1 - Use Scratch Cake
Our first tip is to simply use a scratch cake recipe when you can. Scratch cake is always more dense and sturdier than box cake mix and has a lot less air trapped inside of it naturally. Because of these things it can better hold up to the weight of more cake, buttercream and fondant making it less likely to compress and push out air causing... a BLOWOUT, dun dun dunnnn. Okay, I will stop that now.
Tip #2 - Fix the Mix
If you prefer to use box mix then there are a few things you can do to help avoid a blowout and you will definitely want to do them because box mix is one of the main causes of cake blowouts. It's just so dang light and fluffy and full of air which is delicious but not so great for stability. That doesn't mean however that you can't use them! I've been using doctored cake mix for six years without a single blowout.
As we mentioned in the torting and filling post, you will want to start by replacing the oil with butter and the water with milk. This adds some nice stable fat to your cake that can firm up when chilled in the fridge making it sturdier.
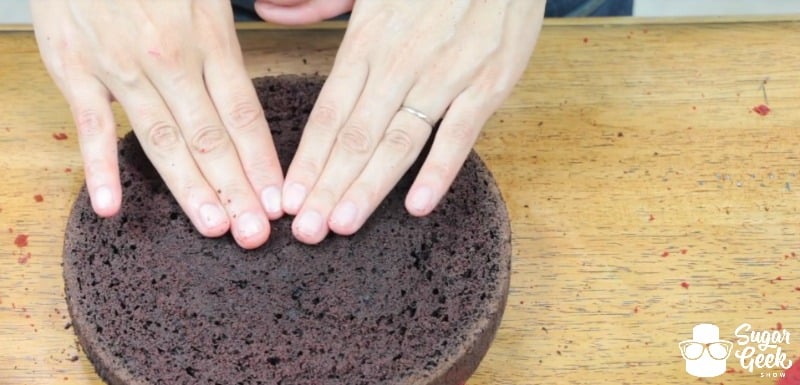
Next, you will want to compress your cake as soon as it comes out of the oven. This will immediately get rid of a lot of that air that has accumulated in your cake during the baking process and create a more dense and sturdy cake. Simply press down on your hot cake (with a towel or glove or something of course) immediately after taking it out of the oven.
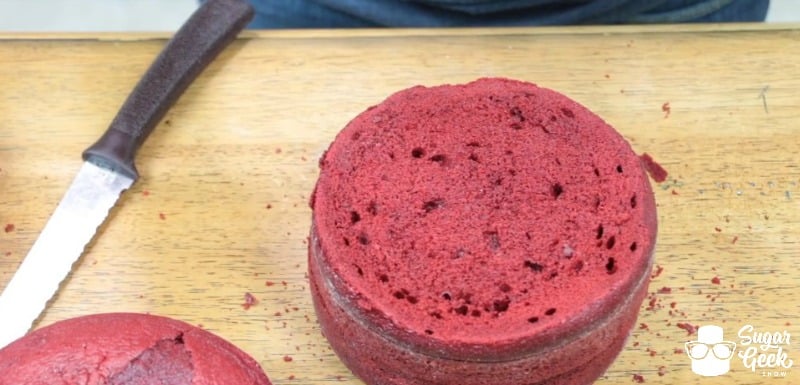
Here we have a cake that has not been compressed...
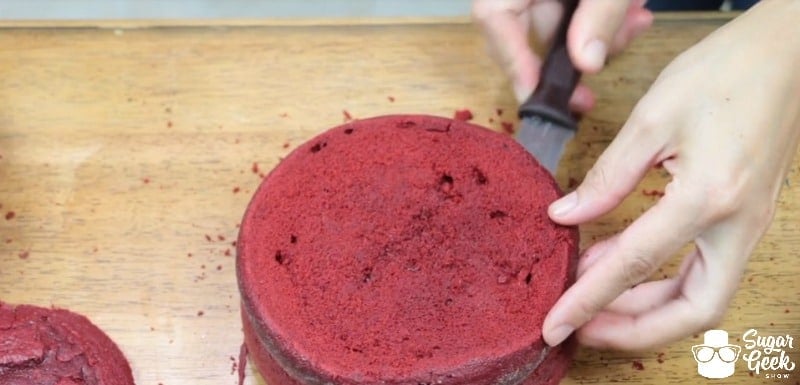
And here we have one that has...
Same exact mix but the compressed one definitely has less air bubbles right? So you're off to a good start.
Tip #3 - Chill Man
I don't mean you, I mean your cake. Chill your cakes! The whole point of adding in the butter was so that it could firm up and make your cake more stable and easy to work with. Cakes at room temperature are soft and squishy and, well, just a huge pain. Trying to cut, fill, frost and especially cover them in fondant while at room temperature can cause lots of air release during the process causing...you guessed it, a BLOWOUT. I'll spare you the dun dun dunnnn. I guess I still said it though didn't I, ah I can't help it, dramatics are fun.
Tip #4 - Don't Add Too Much Filling
About ¼" of buttercream or filling is really all you need. Any more than that and the cake loses stability as it comes to room temperature.
Tip #5 - Level Filling to the Edge
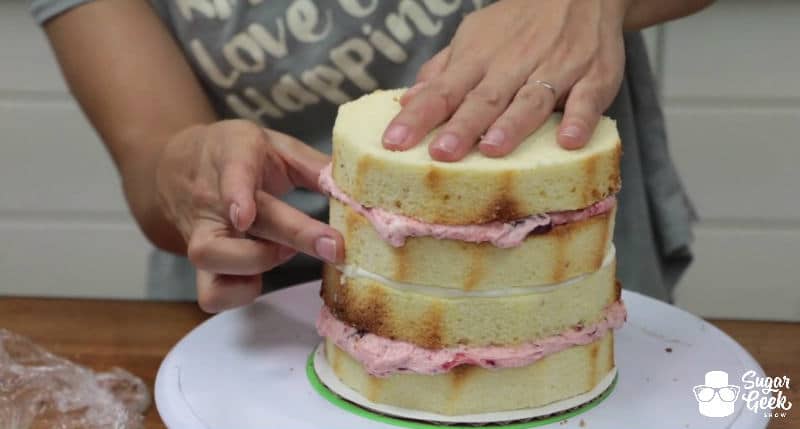
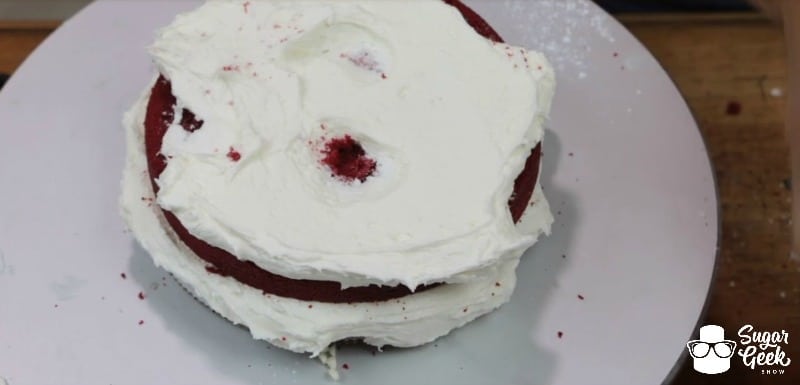
When adding your buttercream between your cake layers, be sure to make it nice and smooth and level without holes or divots. If you have holes or divots, when you add your next layer of cake on top you are just trapping air inside your cake that may decide it wants to come out later.
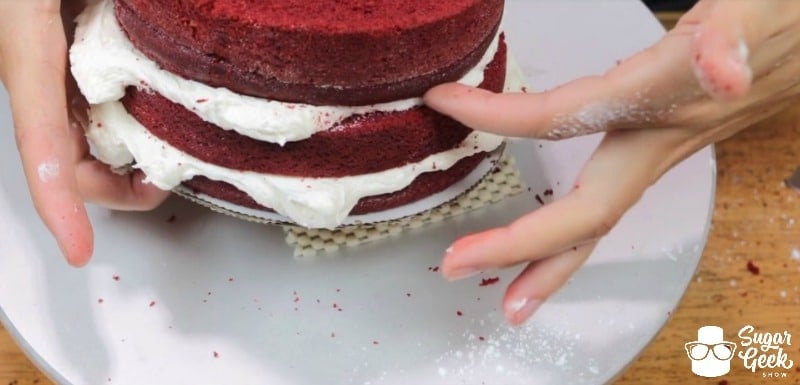
You also want to make sure you bring your buttercream clear to the edge of your cake, even spilling out a bit. If you leave gaps you are also trapping air on the very outside of your cake and any little bit of settling or compression from the weight of more buttercream and cake and fondant will cause it to push out. This is what most blowout occur from. So don't be stingy with the buttercream! Fill that sucker out good.
All of that spilled out buttercream can just get pushed back in to the cake for the crumb coat and used to fill in any remaining gaps or bubbles so be sure to smooth it in good.
Tip #6 - Give it Time to Rest
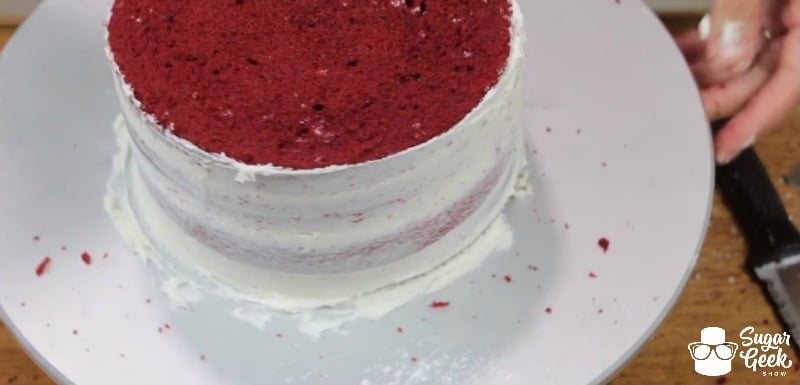
After you've crumb coated your cakes, place them in the fridge to chill overnight if you can. This gives the cakes some time "chill out" and settle releasing some of that air before you've sealed it all in.
Tip #7 - Make an Airhole
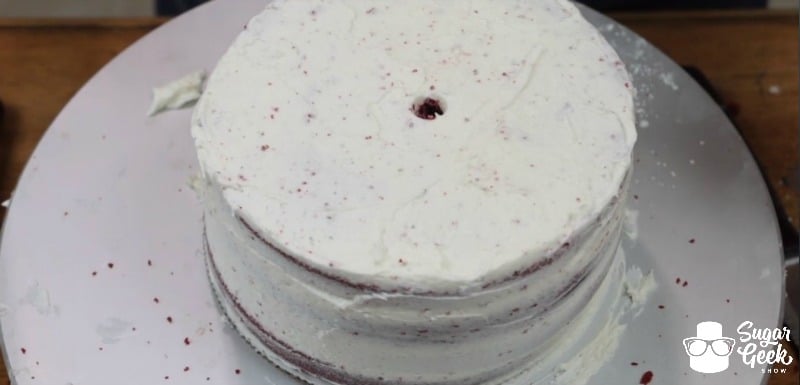
After your cakes are all finished one last option for helping to ensure you won't have a blowout is to make a hole in the center of your cake with a straw giving the air somewhere to escape if it needs it.
The photo shows you in an unfinished cake but again you would do this after the cake is finished with it's final coat of buttercream and fondant if it's a fondanted cake. The photo is just for visual stimulation to give you an idea of what to do.
I hope these tips give you an idea of what causes blowouts and how to best prevent them! I mean, let's face it, sometimes the Cake Gods just seem to be angry with us and want something to go wrong no matter what we do, but for all the other times, these extra steps should give you some peace of mind and a better result!
Going over the basics? Check out these!
Cake Decorating Basics: Must Have Tool Review
Cake Decorating Basics: Airless Space Buttercream
Cake Decorating Basics: Leveling and Torting
Cake Decorating Basics: Filling and Crumb Coating
Cake Decorating Basics: Smooth Final Coat of Buttercream
Cake Decorating Basics: The Upside Down Method
Cake Decorating Basics: The Secret to Small Cakes
Cake Decorating Basics: Covering a Cake in Fondant
Cake Decorating Basics: How to get Sharp Edges
Cake Decorating Basics: Easy Double Barrel
Cake Decorating Basics: How to Panel
Cake Decorating Basics: Stacking Cakes


