Making your own sourdough starter is so rewarding! In only 5-7 days, you can be making beautiful loaves of sourdough bread, pancakes, pikelets, and other baked goodies with naturally occurring yeast that's already found in your Flour. This blog post will walk you through everything the beginner needs to know when making a sourdough starter for the first time.
Sourdough Bread WorkBook
Sourdough Starter Workbook
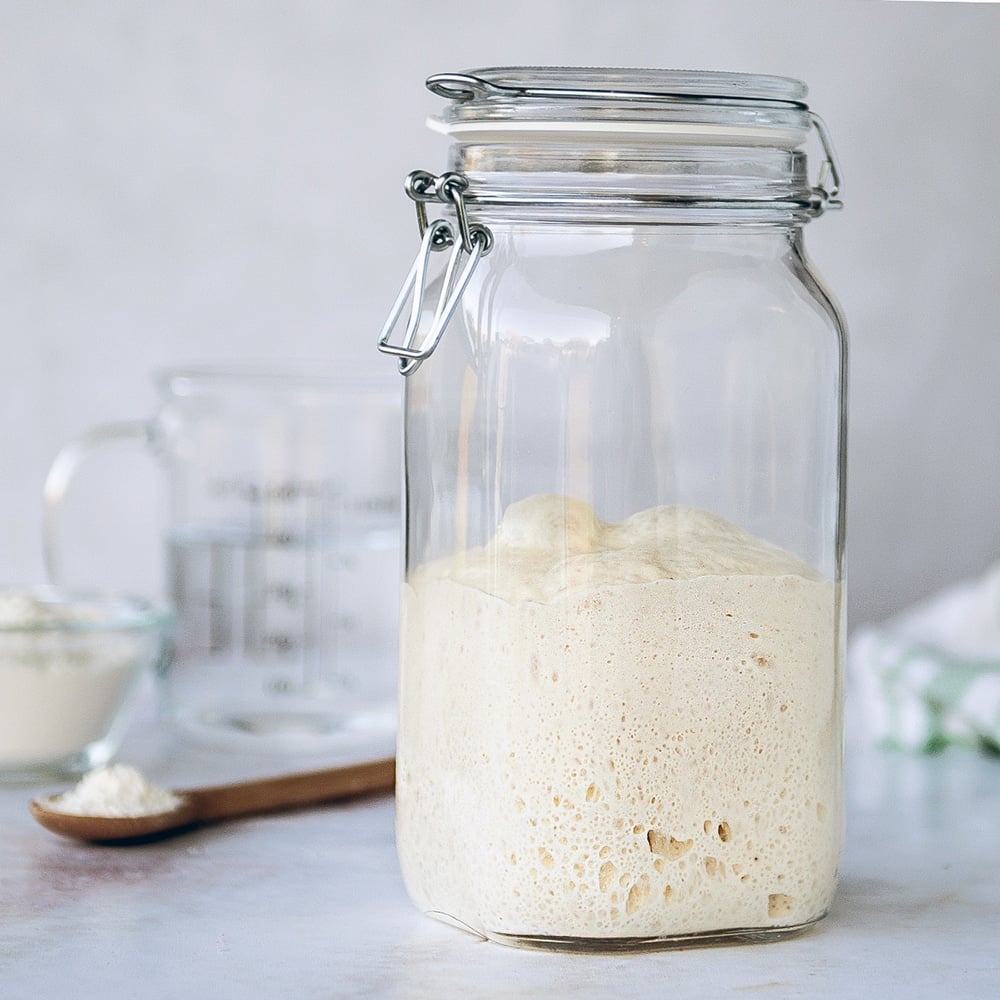
This post is going to be very simplified. I'm not going to give you the history of sourdough or give you any extra information you don't need to get started. Because when I was trying to learn how to make a sourdough starter, I was overwhelmed with information and felt like it was going to be too complicated.
I assure you this process is not complicated! It just takes a little time and patience. If you don't want to make your own starter, you can always ask for some from a friend! Most sourdough starter parents are very happy to share some of their well-established sourdough starter.
Before you begin, I recommend you download my FREE 7-day sourdough starter pdf to keep track of this process and keep notes.
This saves you the trouble of making your own if you want to go that route. But making your own will teach you a lot about what sourdough starter needs to really thrive and make great bread!
Even though this post is simplified, there is still a TON of information at the bottom of this post if you want to go over a few frequently asked questions but trust me, just get started and you will start learning as you go.
What Is Sourdough Starter?
Let's just establish what starter actually is. This is just basic info so you understand what we're trying to achieve.
Sourdough starter is natural yeast (already found in your flour), mixed with water and flour. The flour is the food the yeast eats and the water is the ideal environment that helps it grow. The yeast needs time and warmth to grow.
Making your own sourdough starter is a process that takes several days (5-7) because it takes time for your yeast to eat, multiply, and become strong enough to give rise to a loaf of dough.
To make our yeast stronger, we have to feed it food! Yeast loves to eat the starch in the flour. As it eats, it makes gas, which turns into bubbles. That gas gets trapped in the gluten of dough and causes bread to rise when we bake it.
If our yeast is weak... it can't eat the starch in the dough. Not enough gas is produced and your bread will not rise.
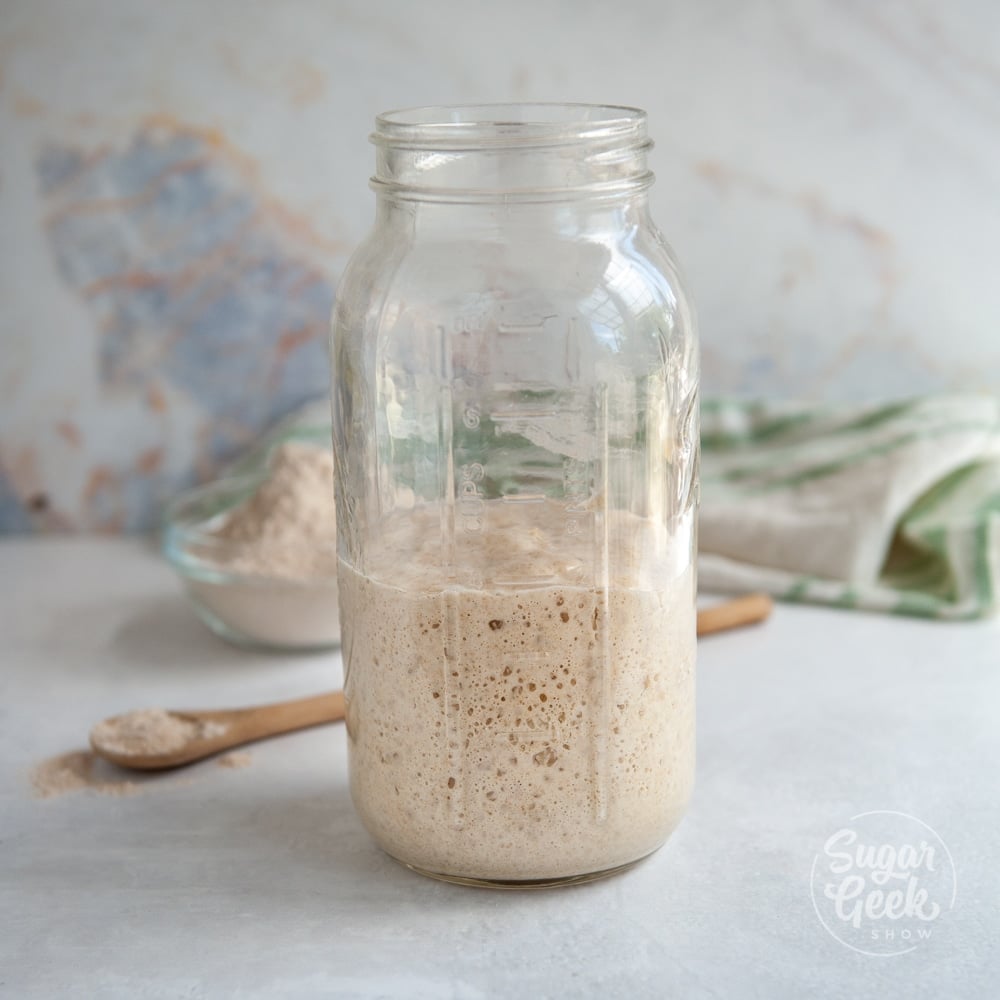
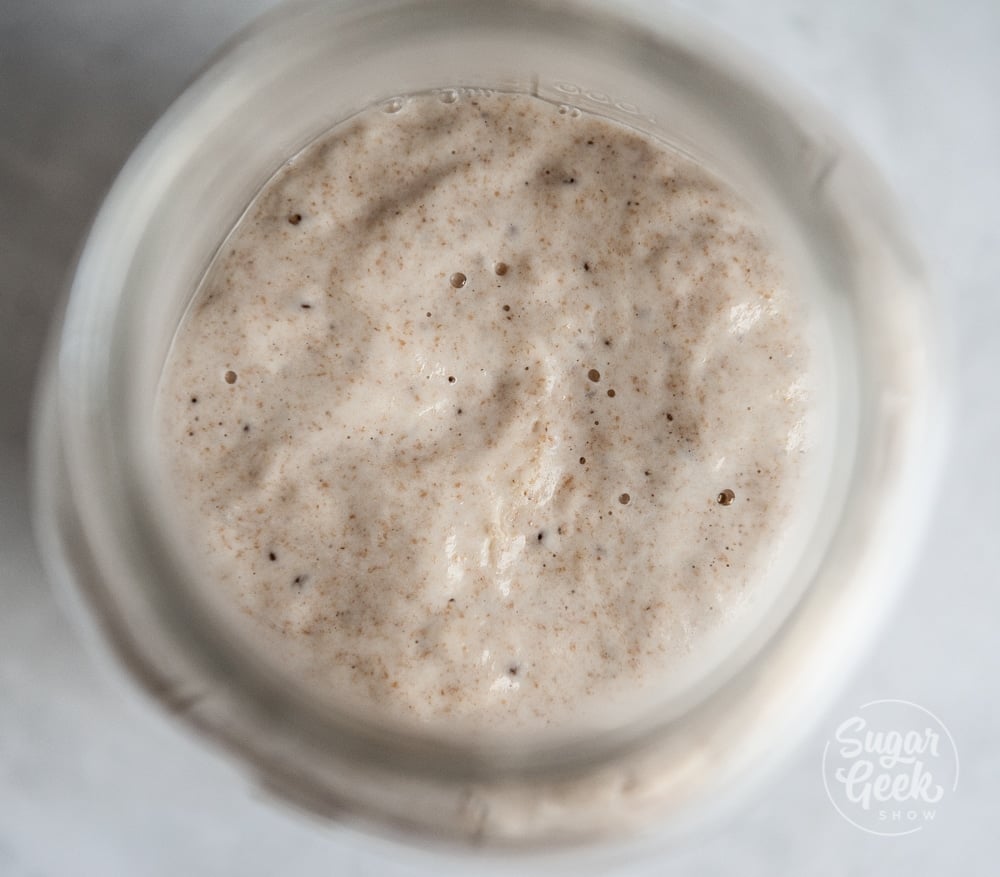
Feeding sourdough starter involves giving it water and flour every day. As the yeast eats the flour, it bubbles and rises and becomes "active". As the yeast eats, your starter will rise in the jar. At some point, it will reach its highest point and then begin to fall again. This is called the "peak".
When your starter is at its peak, it is the most active and strong! You don't want to use your starter until it can reach its peak in 5 hours or less.
After it's eaten all it can, it falls back to the bottom of the container and becomes flat. About 24 hours later. This is when we discard half the starter and replace it with new flour and water. Don't worry, this isn't wasteful! The flour has a job, to be food for the yeast. We will talk more about what to do with the discard later in this post.
A lot of people try to rush this process and want to use the sourdough starter before it's strong enough. Try to understand that growing yeast takes time, just like growing a garden. If you plant a pumpkin seed and try to make pumpkin pie from a tiny sprout, it's not going to do much for you. It's important to give the starter time to grow.
Once your starter is established you can keep it on the countertop and feed daily if you plan on baking a few times a week. If you don't want to bake more than once a week, you can keep it in the fridge and feed it weekly. If kept properly, your sourdough starter will last you a lifetime and provide you with endless loaves of delicious bread!
Does it take a long time to make a sourdough starter?
Your starter will take a minimum of 5 days to make because in the first 5 days your flour will have all kinds of yeast and bacteria in it not suited for baking. It will take 5 days for the good yeast to multiply enough and make an environment that is only suited for sourdough starter yeast.
You can usually tell when this happens because your sourdough starter will go from smelling like wet socks to fresh tangy bread.
So how long does it take? It depends.
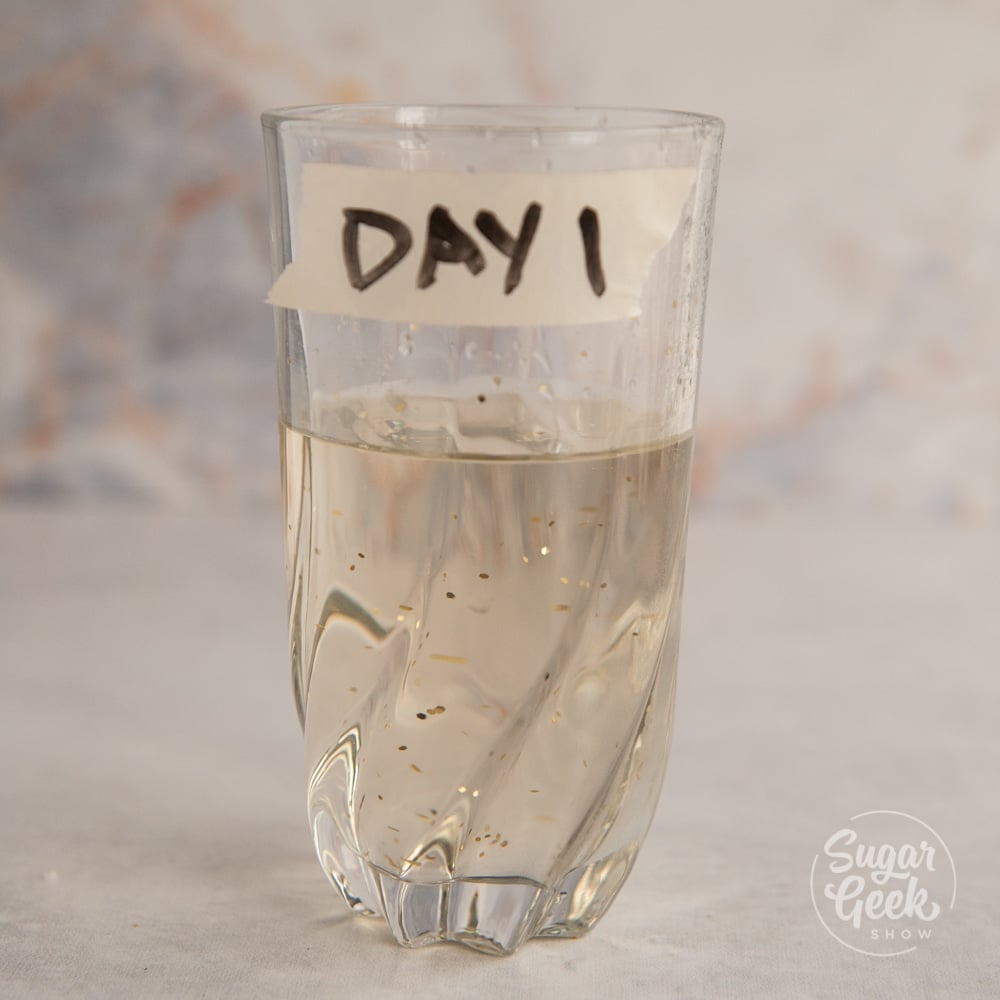
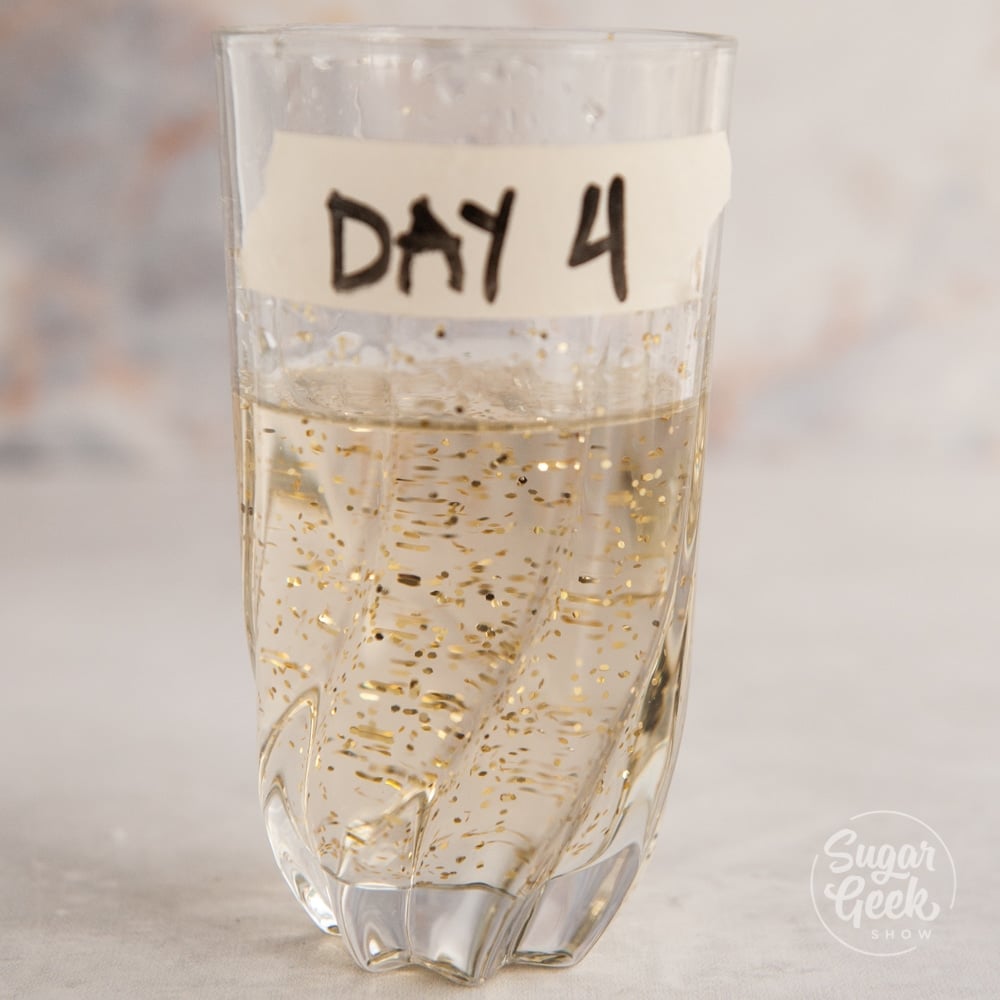
Imagine this jar of water represents the first day of making your starter. Those little dots of glitter represent how much yeast is naturally found in the flour. Not much.
As you feed your starter flour and water, an epic battle begins to happen. The yeast multiplies and kills off other types of yeast and bacteria in the jar (the stuff we don't want). This is usually about the time your starter smells really bad and why we don't eat starter discard before day 5.
By day 4, there is a lot more yeast but not enough to bake a loaf of bread. Your starter might start to smell sweet and more like baked bread.
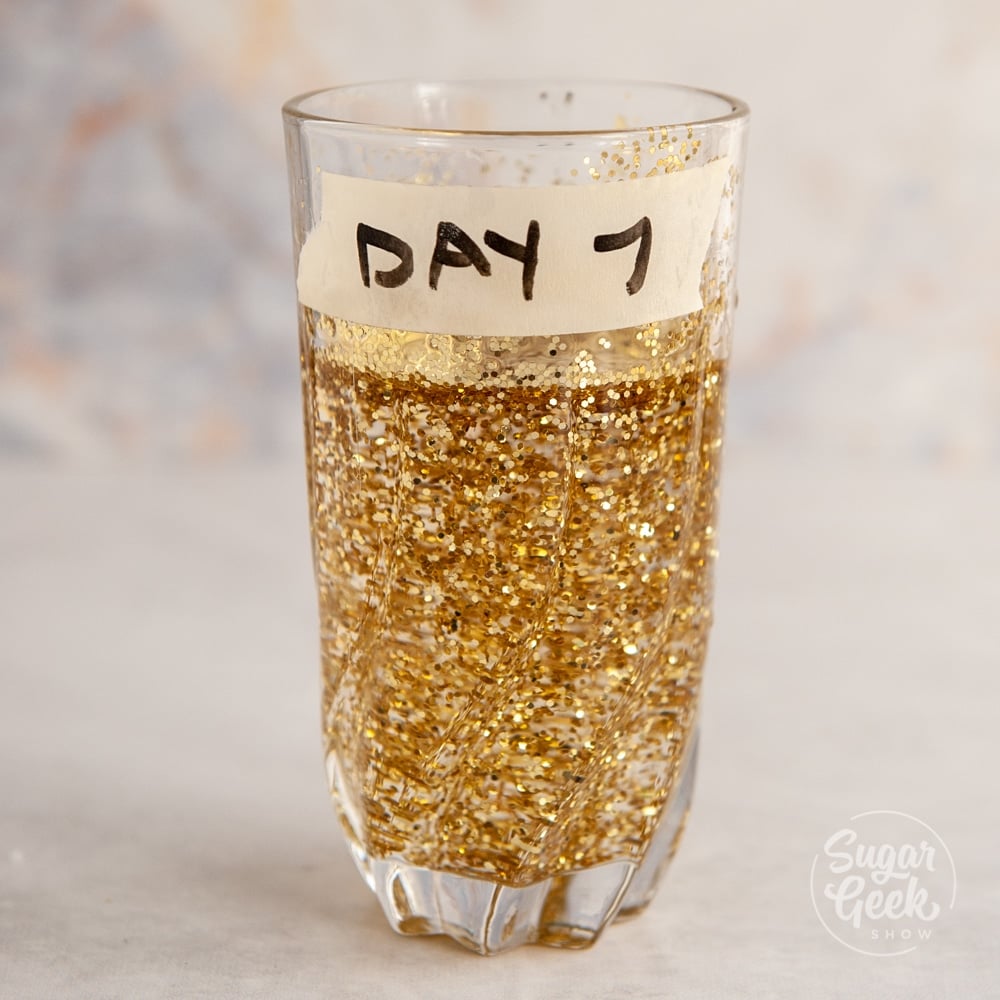
By day 7 your yeast MAY be strong enough to use to make a loaf of bread. I say MAY because it depends on how warm your room was, what kind of flour you started with, and if you used filtered water etc etc. There are a million factors to take into account, but remember... making starter takes time and patience. DON'T START OVER! Just keep feeding and giving warmth and time until you see progress.
So just keep in mind that you will most likely not use this starter to make any bread for at least 5 days, closer to 7 days. BUT I will show you how you can use the leftover discard to make tasty treats so you can at least start appreciating your little yeast garden as soon as possible.
What Ingredients Do You Need?
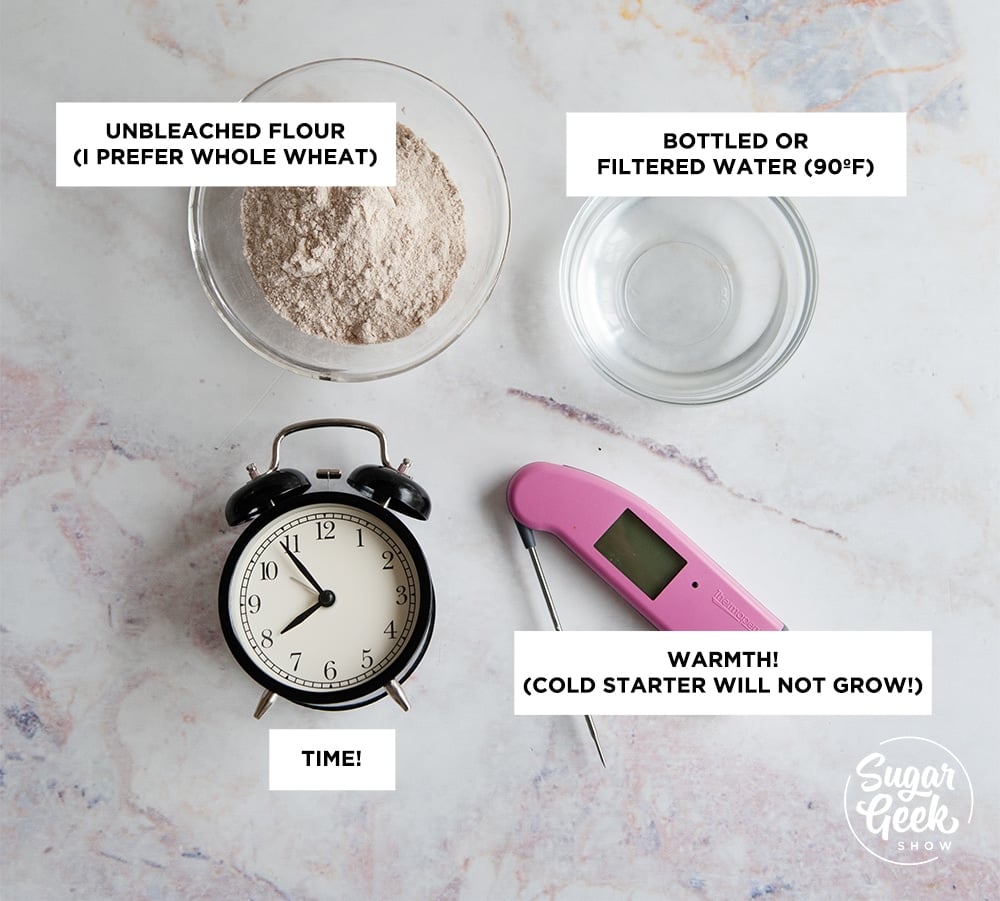
Whole Wheat Flour - You can start sourdough starter from any kind of unbleached flour. Bleach really stops yeast from growing so if you can get your hands on any kind of unbleached flour, this process will be incredibly easy. Even better, use whole wheat flour to start. Whole wheat flour has a higher amount of yeast already built-in so it gives your starter a jump start to success.
Filtered Water - When making a sourdough starter, you want to use filtered water. Yeast doesn't like chemicals like chlorine which most tap water contains. I happened to have a huge 2-gallon jug of filtered water in my garage so that is what I used. You can use tap water if that's all you have but again, the process might be much slower and your yeast might not grow so using bottled water will make it much easier on you.
Time - You might not think of time as an ingredient but in the case of sourdough, it definitely is. Keeping track of time is key to understanding how long your starter has been growing and if it needs to be fed. I used my phone to set timers to remind me to feed which takes about 5 minutes.
A Warm Area To Grow - Another ingredient you might not think is important is temperature. Yeast needs warmth to grow. If it's cold in your house (below 70º) the yeast will grow at a much slower rate or not at all. (That doesn't mean it's dead, it's just too cold to grow). When possible, use bottled water that is warmed to 85º-95ºF to promote growth. Store your starter in an area that is warm (80ºF-90ºF) and draft-free. A common place is on top of the refrigerator or in the oven with the light turned on (make sure you crack the oven if the light is too warm, it shouldn't be warmer than 90ºF in the oven).
If your house is extremely warm (above 80º) your yeast might grow very fast. In this case, you might need to feed it more often or store it in a cooler area of your house.
Once your starter is established and growing regularly, you won't need to worry so much about the temperature of the room.
What equipment do you need?
Kitchen Scale - You don't have to have one but it will make this process a lot easier. I'm all about easy.
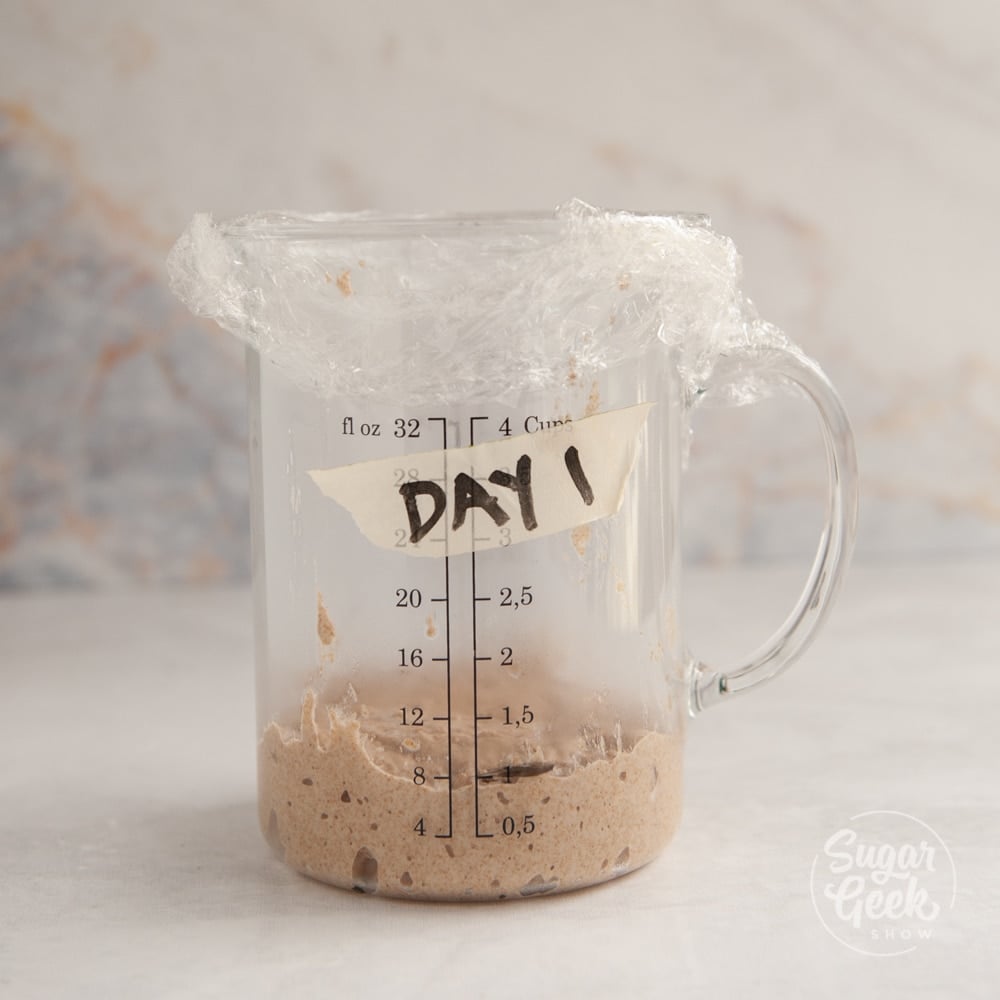
Clean 4 Cup Container - I used a 4 cup IKEA measuring cup and it worked so well! I just ran it through the dishwasher beforehand to kill any unwanted bacteria. It has nice straight sides so you can easily see how much the starter has risen and lines for measurement are great visual cues. If you don't have a container like this you can use anything, just make sure it's clean and not too big, or its hard to track growth.
Don't use metal! Sourdough starter is very acidic and will eat away at metal containers which will then leach into your food. Ew.
How To Make Sourdough Starter Step-By-Step
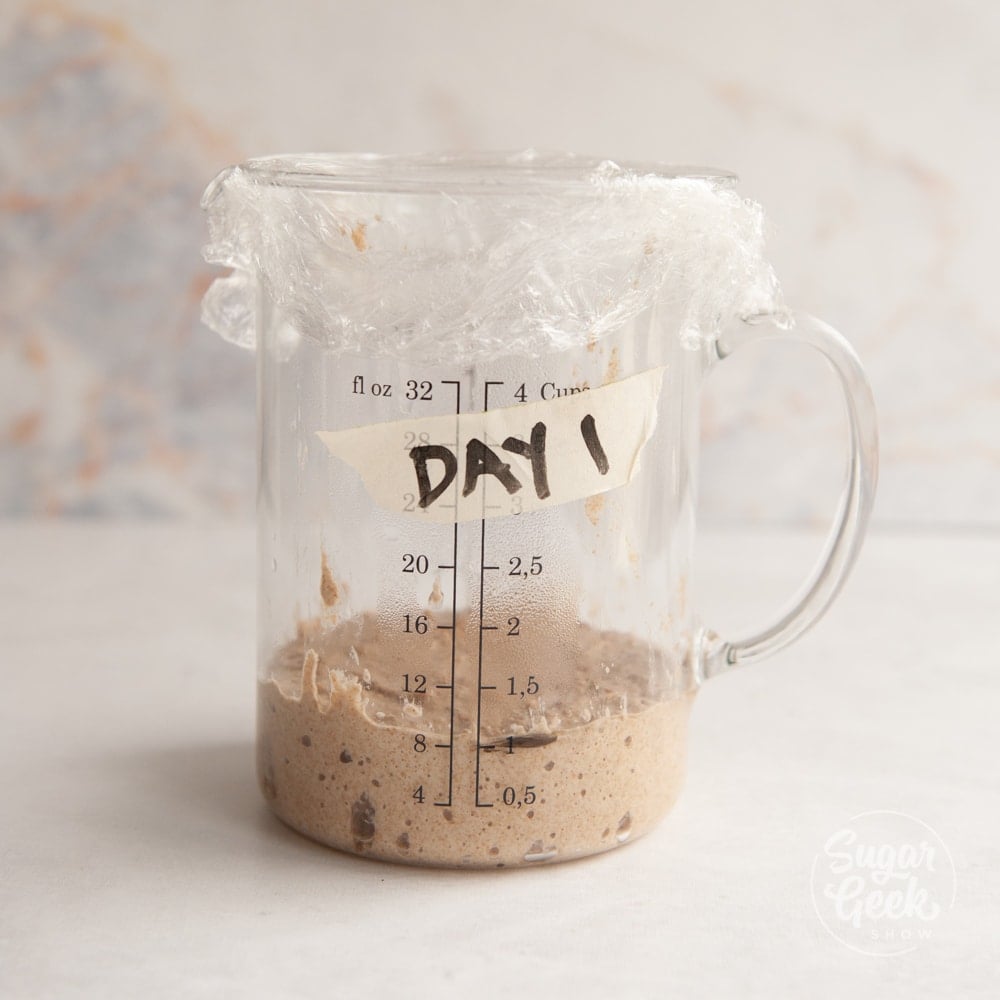
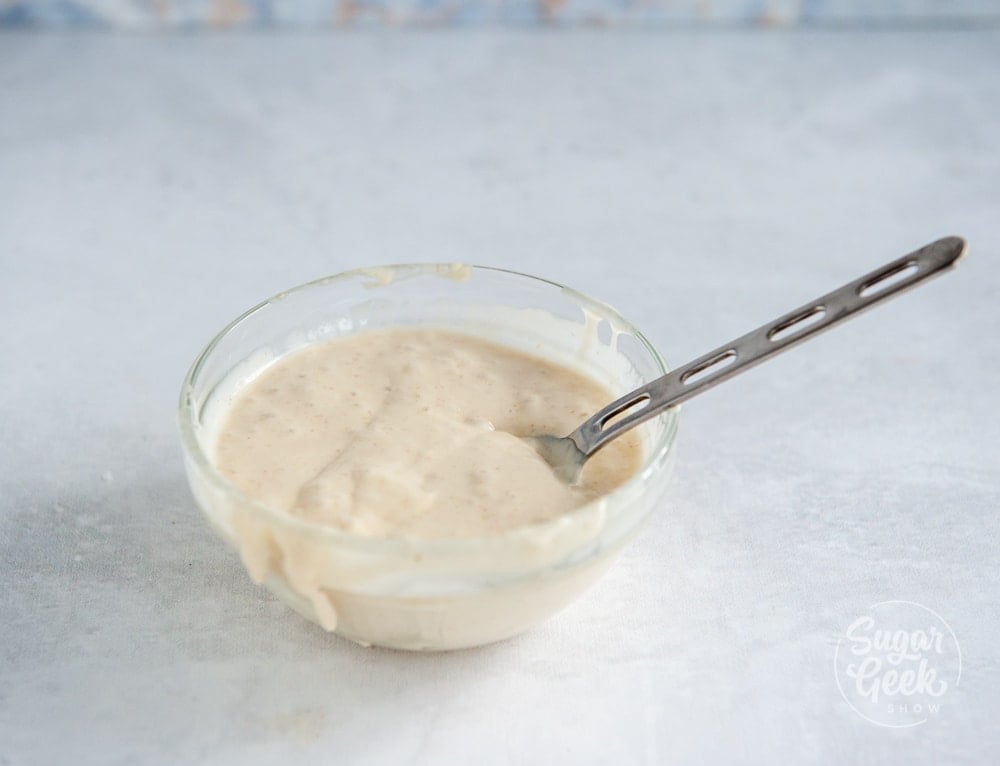
Day 1: - 8 AM When you get up in the morning (first thing is easiest for me) combine together 150g whole wheat flour and 150g bottled or filtered water warmed to 90ºF in a clean bowl. Mix it with your hand. Squish and squeeze it until you can't feel any flour or lumps. Put the starter into your clean container and cover it loosely with a piece of plastic wrap or towel. You will feed your starter tomorrow at the same time of the day so be prepared and set an alarm if you need a reminder.
Pro Tip - When you use equal parts flour and water by weight, this is called 100% hydration. You'll learn more about hydration levels when we make sourdough bread.
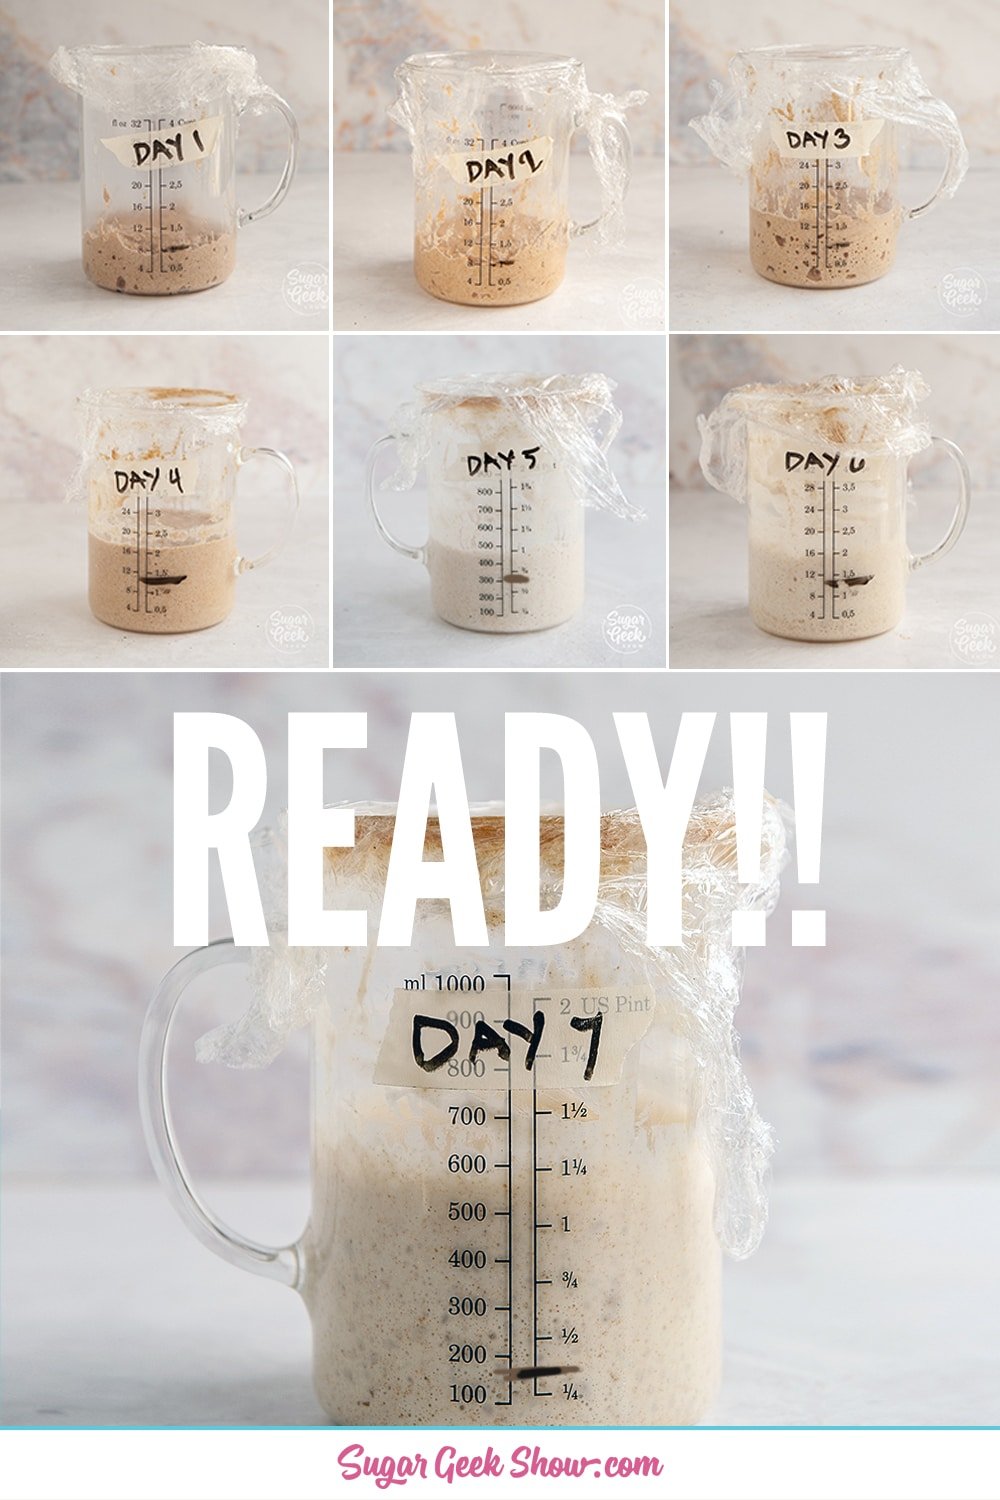
What Happened After 24 Hours? A few more bubbles, SMELLS TERRIBLE, and a little rise.
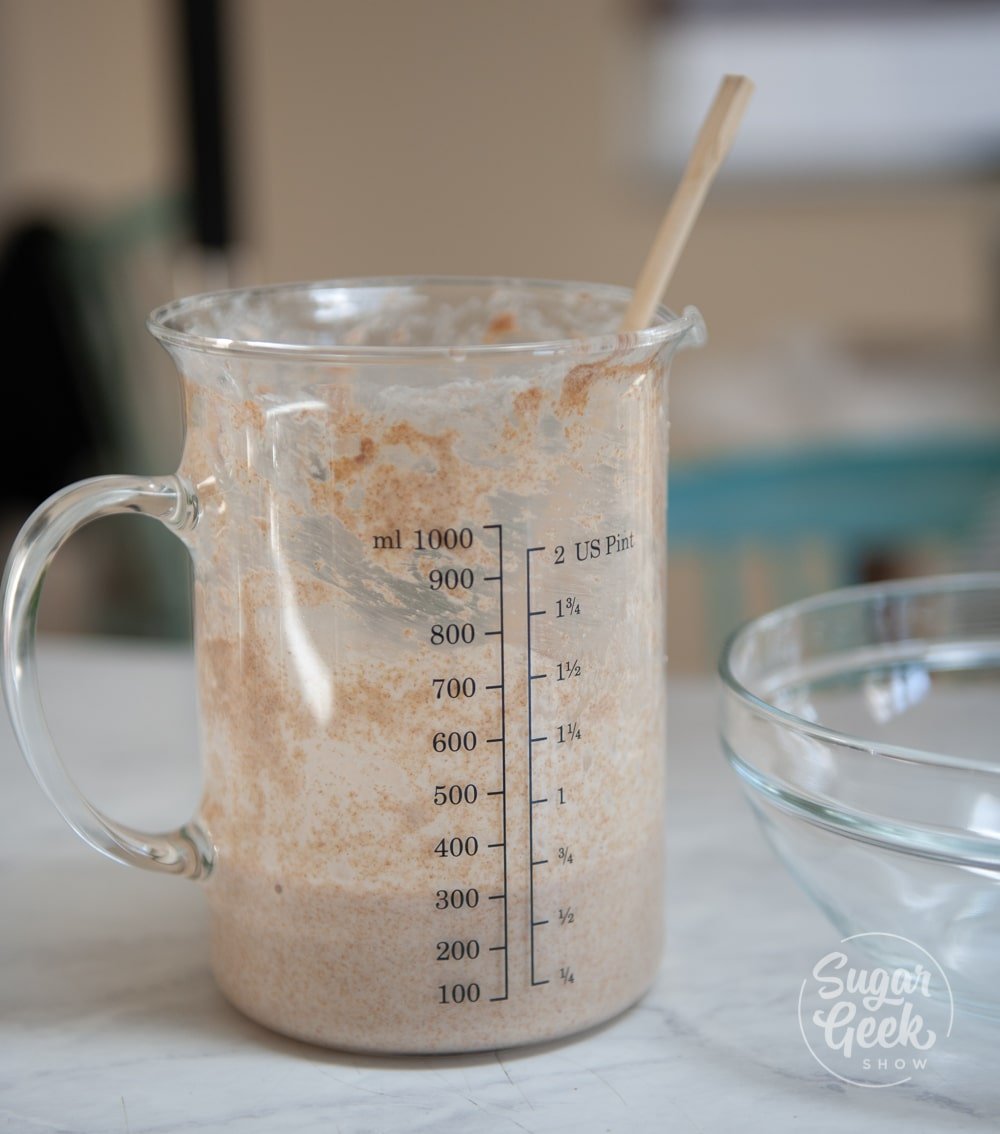
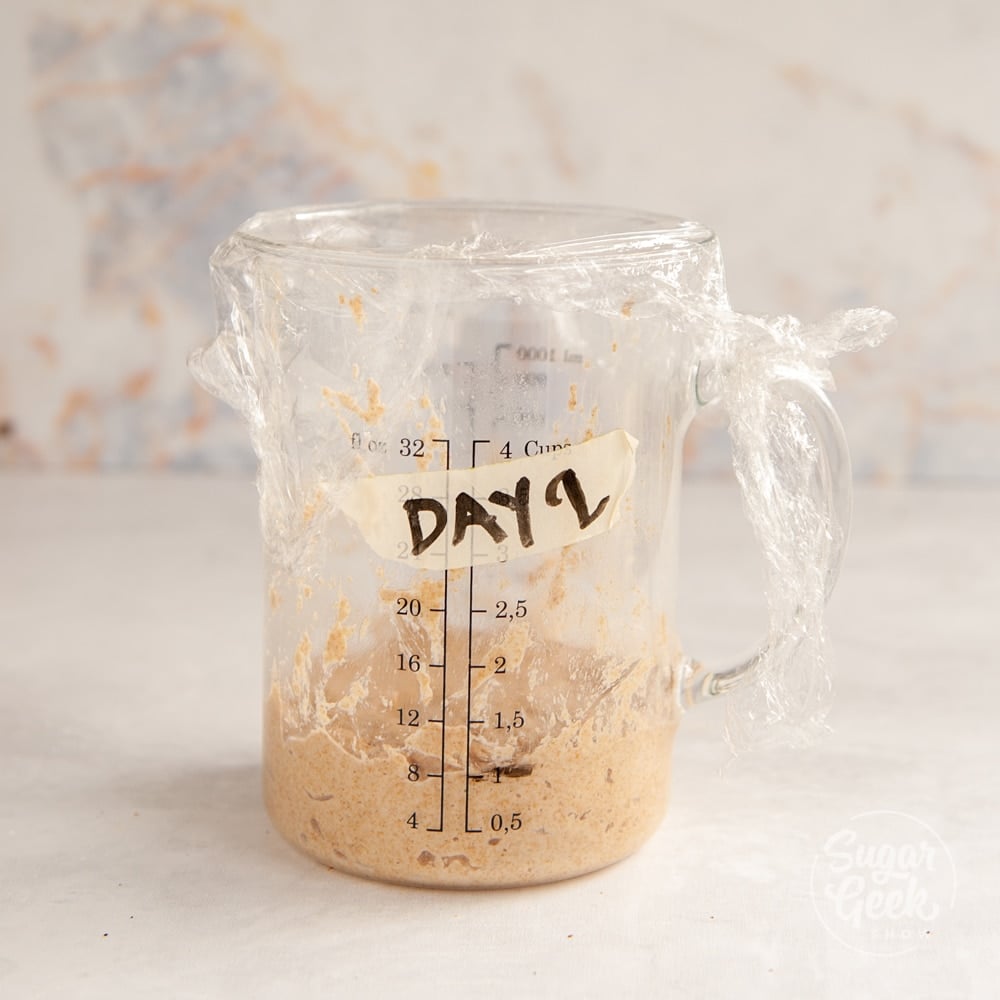
Day 2: Same time of the day if possible, stir your starter, then remove half the starter and throw it away. I know it hurts to do this but trust me, this starter isn't good for anything except being food for the yeast right now. There is still a lot of bad bacteria and yeast in the starter that we don't want to eat.
If we don't discard, we will end up with WAY too much starter and will waste more flour feeding it every day so it's best to discard half.
You can eyeball the amount of starter you need to discard, this is where having a container with measured lines really helps visually. I use a spoon to scoop mine out.
Remove half the starter. There should be about 75g left in the container. Feed the starter 75g whole wheat flour and 75g bottled water warmed to 90ºF. Stir with your spoon until you don't see any flour and then cover it back up. This takes 5 minutes tops.
What Happened After 24 Hours? Not much! A few bubbles, no rise, still smells terrible.
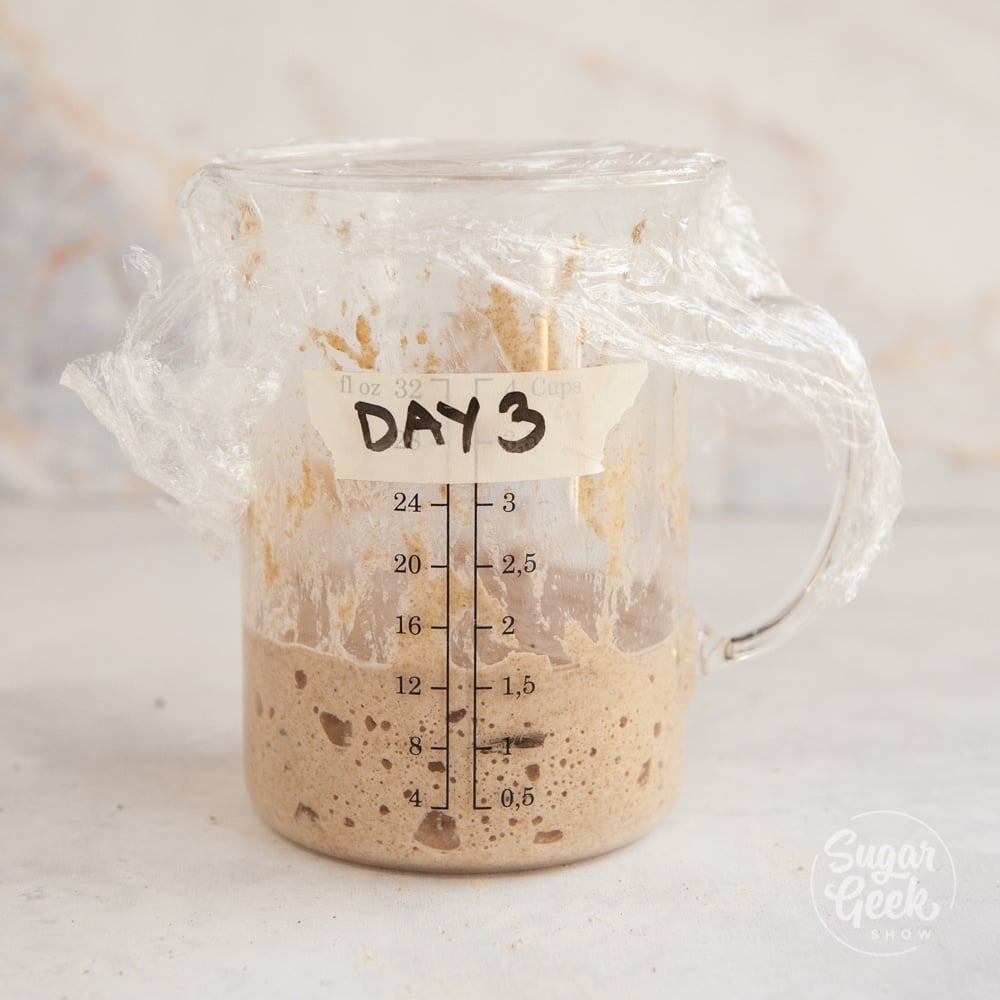
Day 3: You may begin to see bubbles forming within the starter. This is good! It means awesome things are happening at a microscopic level. If you don't see anything, don't worry! Just keep going. If at any point you see liquid, it's ok! All normal. DO.NOT.STRESS.
- Remove half the starter and throw it away. Add 75g whole wheat flour and 75g bottled water. Stir until you can't see any dry flour, cover loosely, and set back in a warm area.
What Happened After 24 Hours? - We have bubbles! A TINY bit of rising and a whole lot of funky smells!
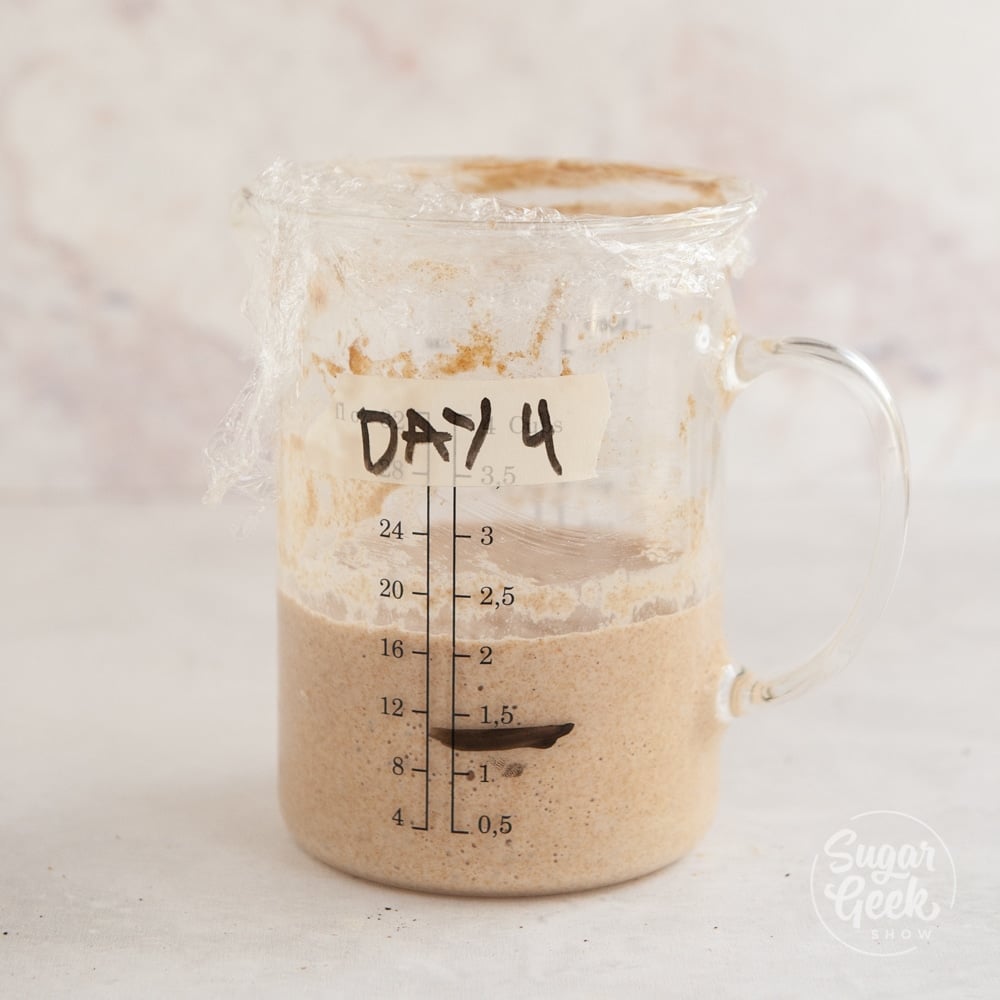
Day 4: The “activity” level (bubbles) may decrease, but don’t fret! You didn’t kill your starter. KEEP. GOING. You might see liquid above or below the starter, this is called "hooch" and is a bi-product of yeast activity. It's a GOOD thing to see. It means your yeast is hungry!
- Remove half the starter and throw it away. Add 75g whole wheat flour and 75g bottled water. Stir until you can't see any dry flour, cover loosely, and set back in a warm area.
What Happened after 24 hours? Much less bubbling but a little more rise. The smell is a little better.
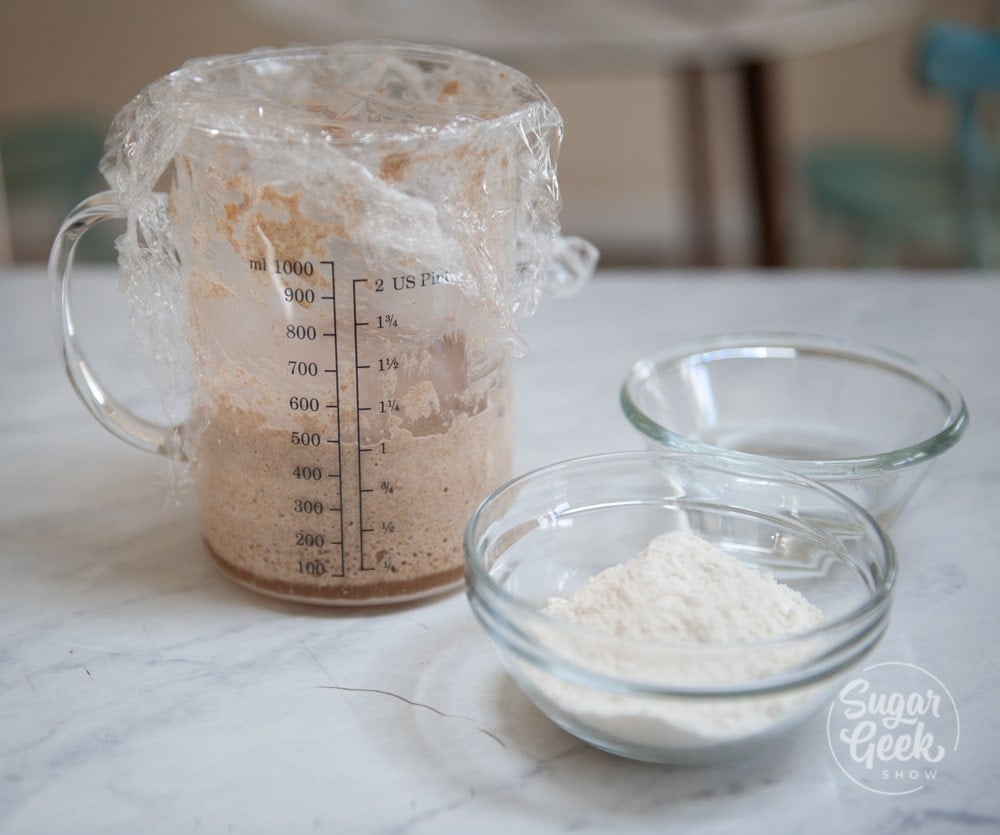
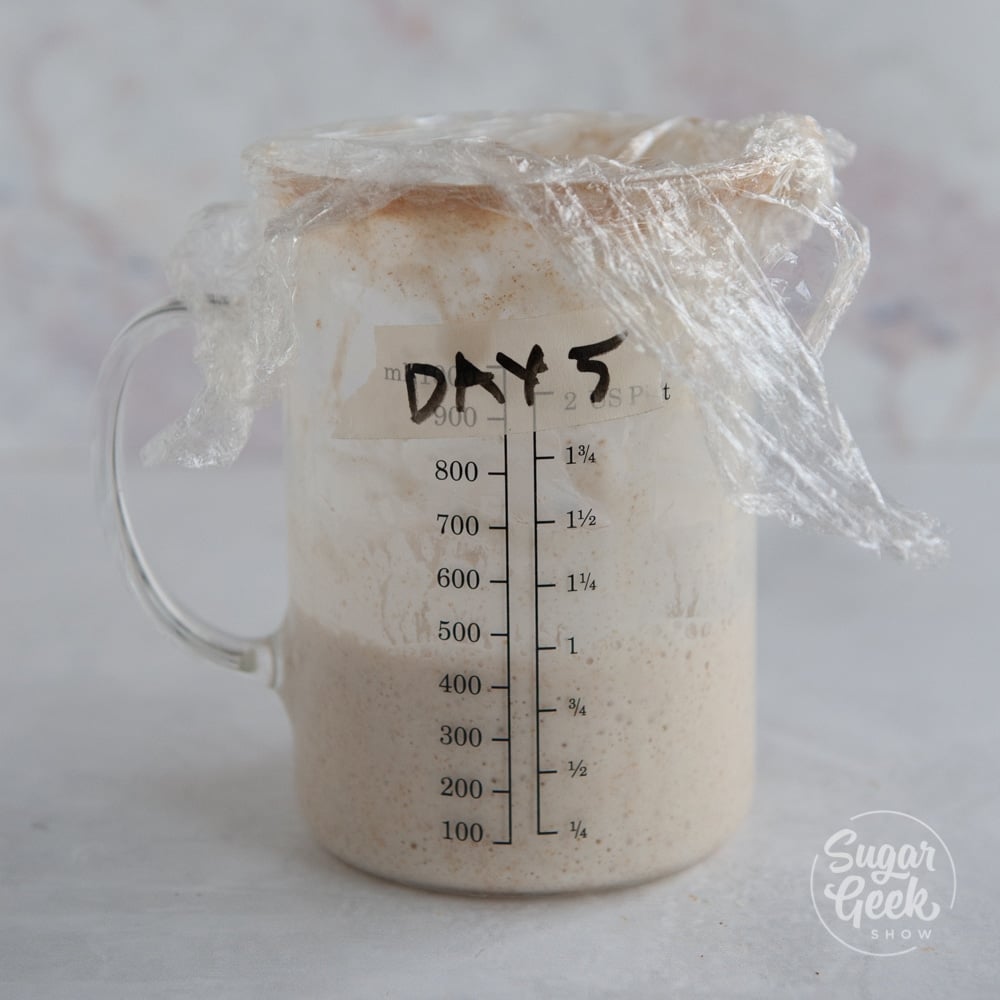
Day 5: Today we can switch from feeding with whole wheat flour and use unbleached bread flour or unbleached all-purpose flour which takes longer for the yeast to process so it doesn't get as hungry as fast as it grows stronger.
We will also start feeding our starter TWICE a day to give it more of a boost! You can now use the discard to make yummy sourdough pikelets, pancakes or crumpets. VERY easy to make and incredibly tasty!
- In The Morning - Remove half the starter and throw it away. Add 75g whole unbleached bread flour or unbleached all-purpose flour and 75g bottled water. Stir until you can't see any dry flour, cover loosely, and set back in a warm area.
- In The Evening (12 hours later) - Remove half the starter and throw it away. Add 75g whole unbleached bread flour or unbleached all-purpose flour and 75g bottled water. Stir until you can't see any dry flour, cover loosely, and set back in a warm area.
What happened after 24 hours? Looks like the starter has doubled at some point and has begun to fall again because it ran out of flour to eat. The smell is sweet and tangy.
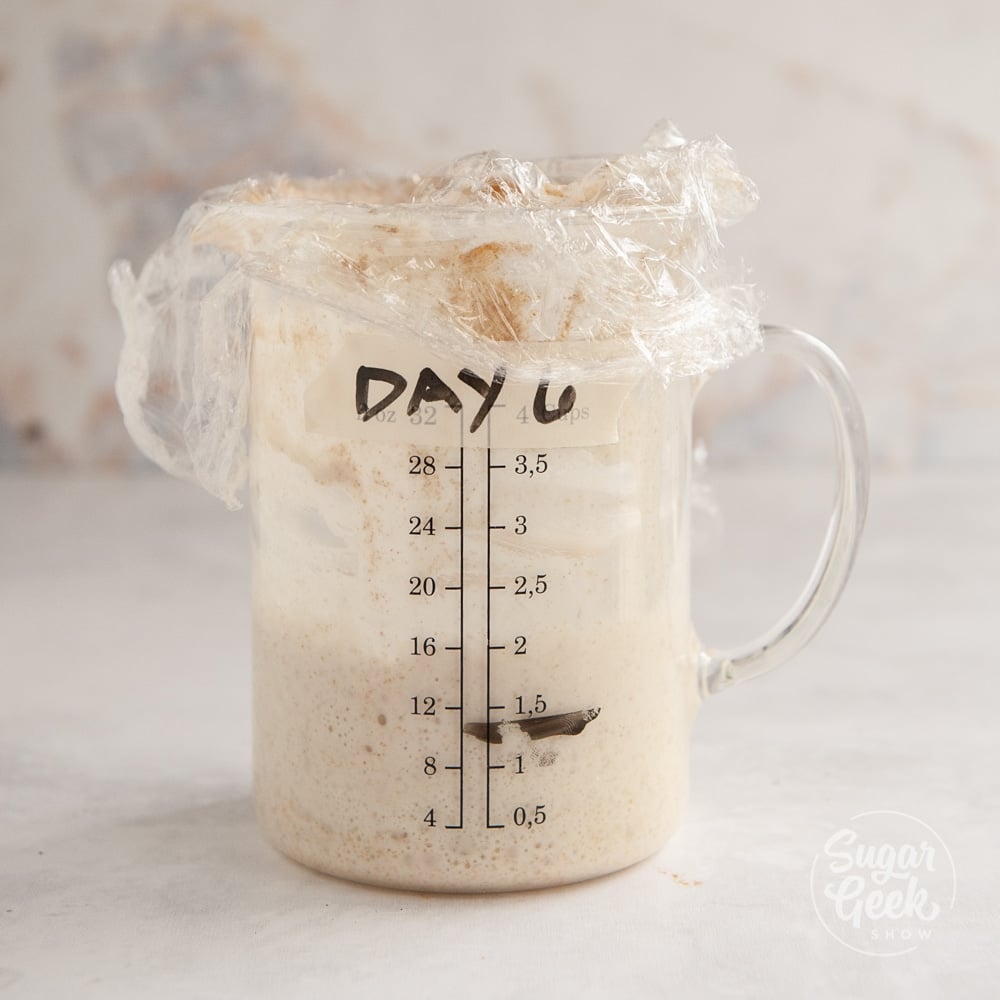
Day 6: You may be seeing tons of activity and lots of bubbles and think you're ready to bake bread but right now our starter is a wild beast that isn't very reliable. While you COULD try to make a loaf, it may not rise because the starter isn't very strong.
- In The Morning - Remove half the starter and throw it away. Add 75g whole unbleached bread flour or unbleached all-purpose flour and 75g bottled water. Stir until you can't see any dry flour, cover loosely, and set back in a warm area.
- In The Evening (12 hours later) - Remove half the starter and throw it away. Add 75g whole unbleached bread flour or unbleached all-purpose flour and 75g bottled water. Stir until you can't see any dry flour, cover loosely, and set back in a warm area.
What happened after 24 hours? Looks like the starter has doubled at some point and has begun to fall again because it ran out of flour to eat. That's a good sign when the starter doubles in size. The smell is sweet and tangy.
Now is a good time to check on your starter every hour to see when it reaches its "peak" so you know when it's the most active.
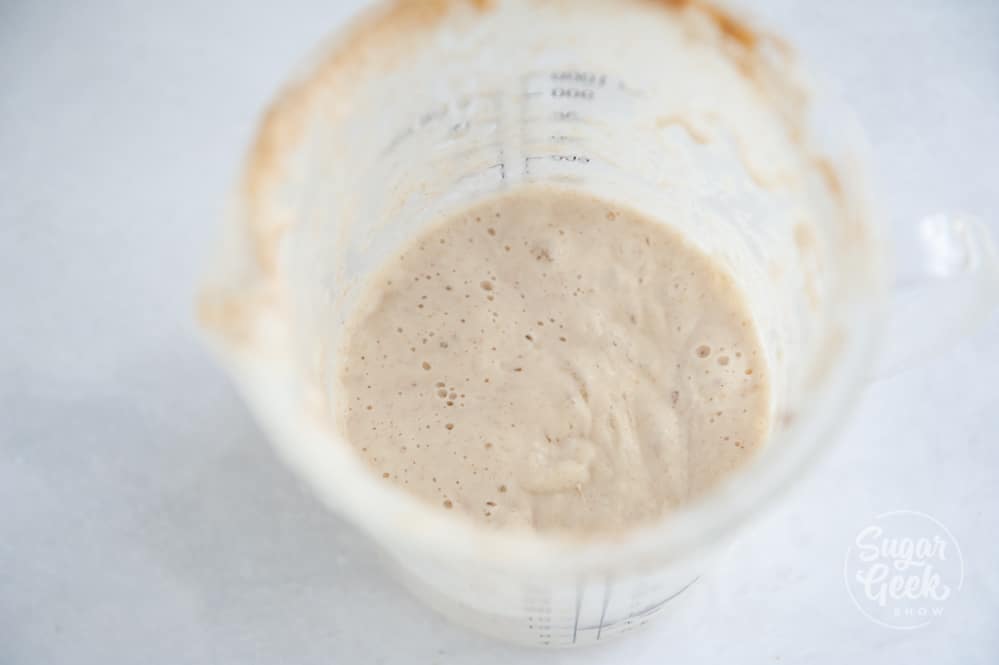
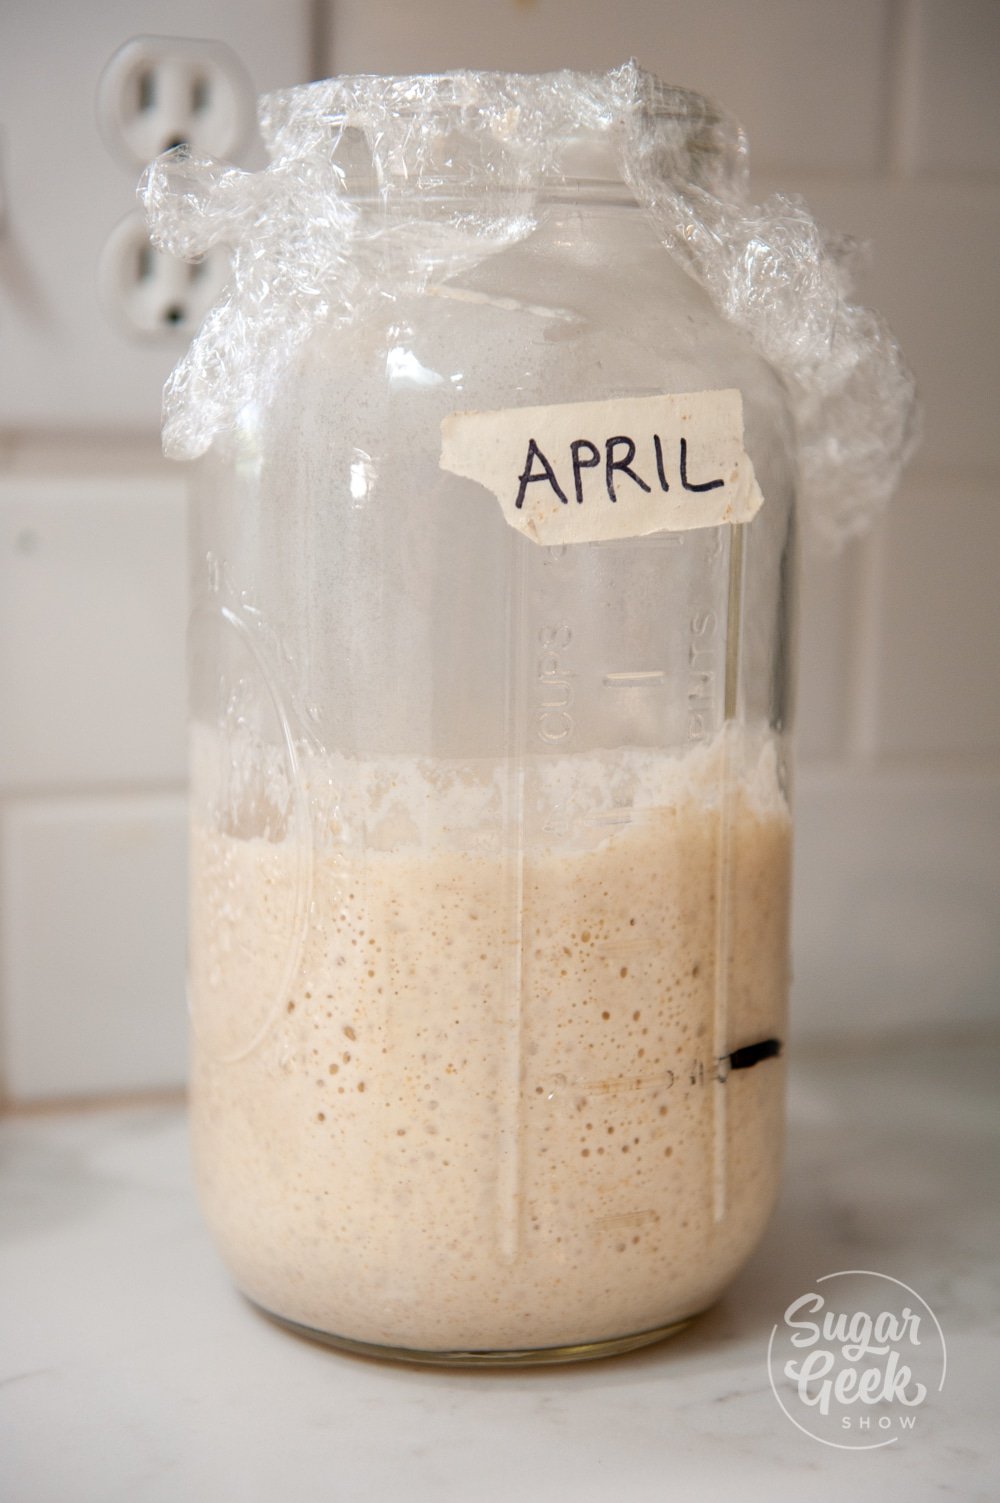
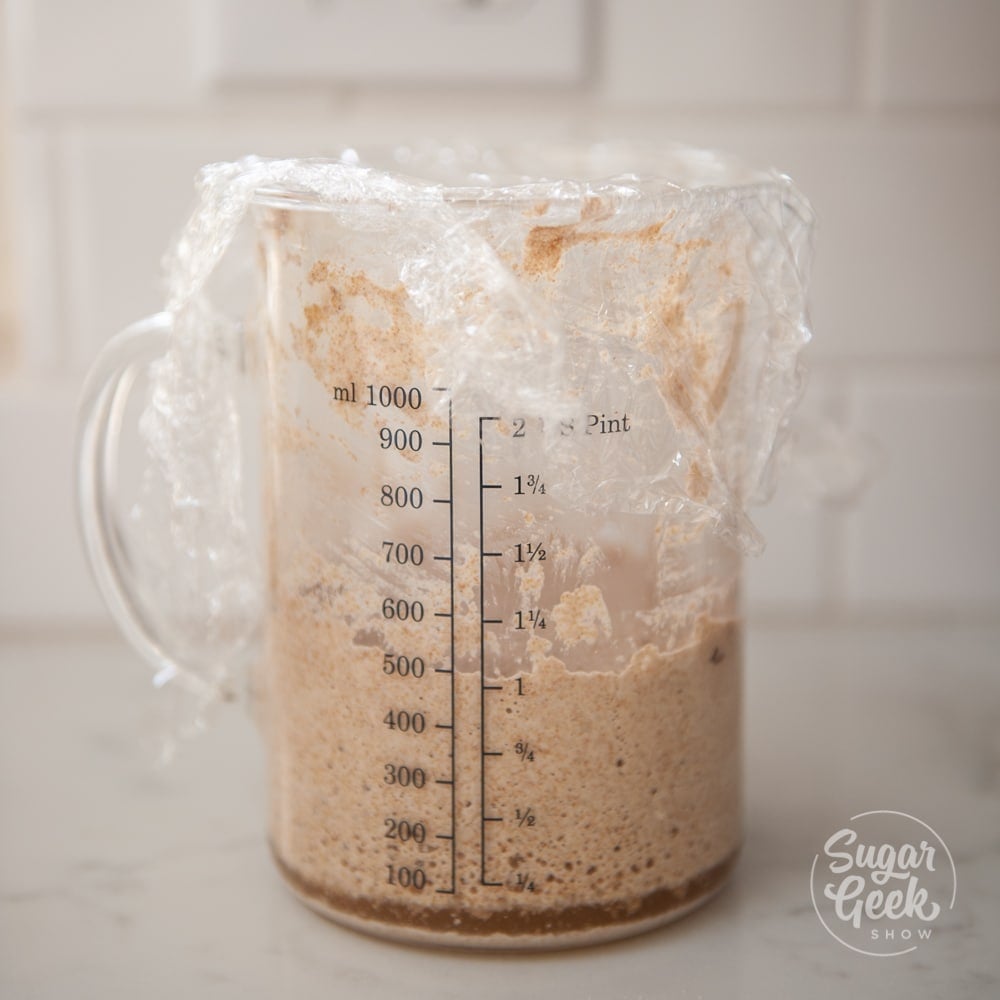
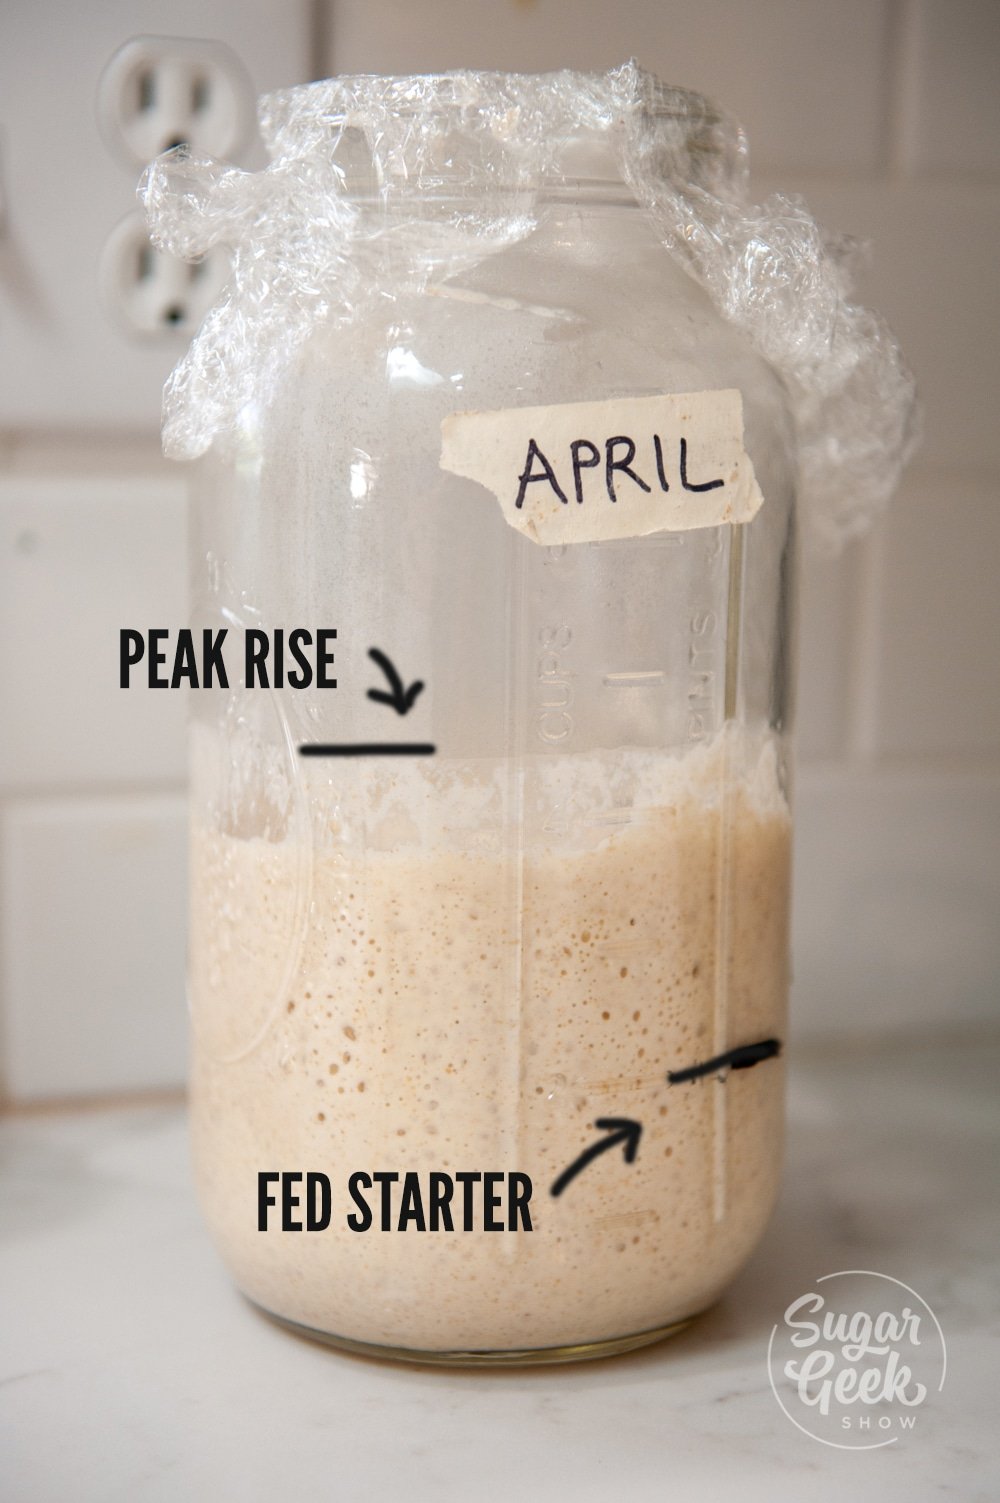
How do you know when your starter has peaked? When you place the starter into a clean jar, you mark where the level of the starter begins. When it rises to its peak and begins to fall, you will be able to see a line where it reached the highest point.
Make a note of how many hours it took from the time you fed to when it reached its peak.
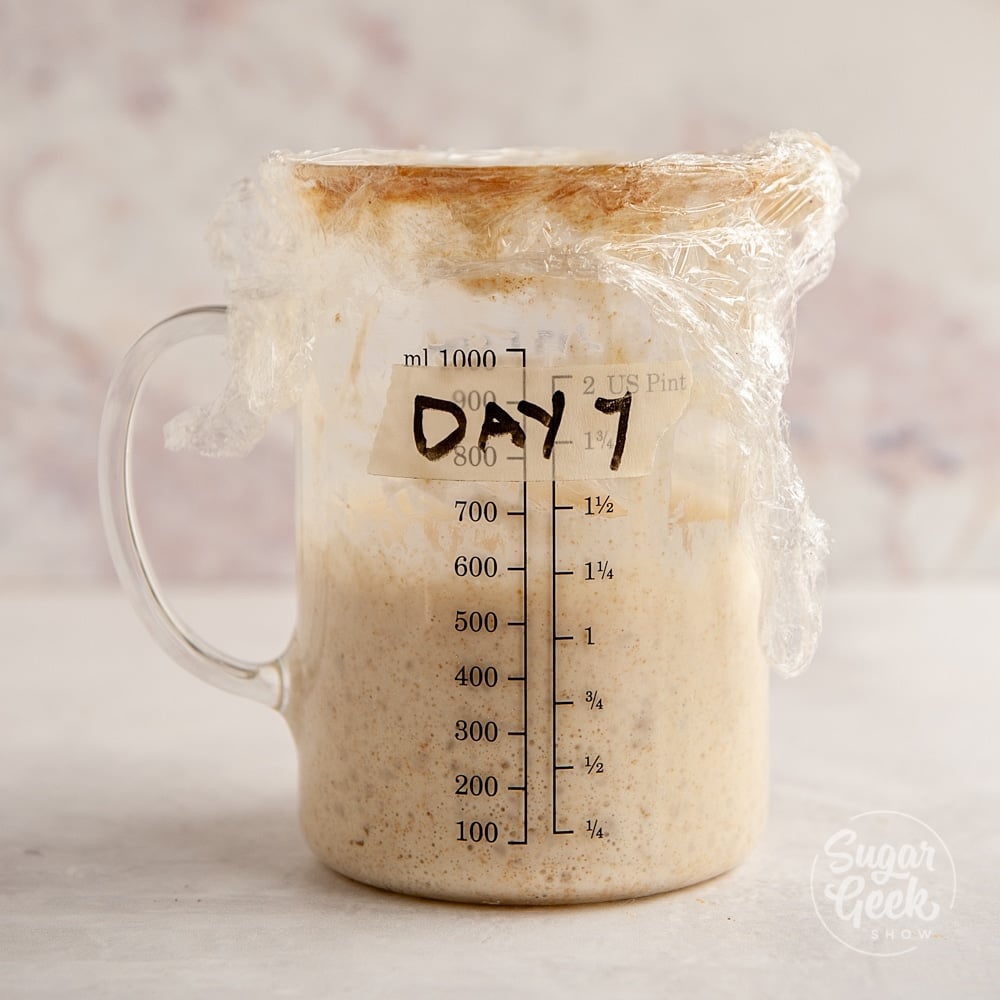
Day 7 and on: By this time, your starter should “rise and fall” after feedings depending on the temperature of the water and room. Warmer water and room temperatures lead to faster fermentation times. The starter should smell sweet and tangy and have lots of bubbles.
We will now only feed our starter once a day to keep them active. You can also transfer your starter to a new jar and name them! After all, you did just create a living creature that you have fed and cared for and if you continue to do so, it will last for generations to come!
FAQ & TIPS
What if I don't want to feed my starter every day?
If you aren’t baking bread regularly, you can let your starter chill out in the refrigerator after feedings for a week. However, established starters are quite resilient and can be revived after MONTHS in the refrigerator without being fed. If you want to bake bread, get your starter out a couple of days before you plan to make the dough. Feed twice per day (morning and night as we did in the beginning) and it should bounce back in no time.
Did I Kill My Starter?
Chances are you probably didn’t. The yeast will digest sugar compounds in the flour and produce carbon dioxide (the only leavening agent in sourdough bread) and alcohol.
If it's cold outside, the starter will not grow very much or when it's still young, some days it grows a ton and somedays it doesn't grow at all. Just be flexible and feed as usual.
The only thing that can kill your starter is if it gets too hot (above 138ºF) or if it's been hungry for so long it's no longer active.
I See Water In My Starter? Did I Kill My Starter?
No. You didn't kill your starter. That is alcohol from the starter eating, often referred to as "hooch". Your starter has been eating a TON and is hungry! Drain it off or stir it back in and feed as usual.
It's Been 7 Days And My Starter Isn't Rising, Is It Dead?
I promise, your starter isn't dead. Remember the fourth ingredient for a starter? Temperature. Chances are your starter is cold. Make sure you're feeding with warm filtered or bottled water, unbleached flour, and placing it in a warm area. You can also try putting it in the oven with the light on but don't turn the oven on!
What Do I Do If I See Mold In My Starter?
If you see mold growing in your container you will have to toss your starter. This can happen if the container you use was not clean or you accidentally introduced food particles into your starter. Or sometimes mold just happens. It's not common though so don't stress about mold.
When Can I Use Starter To Make Bread?
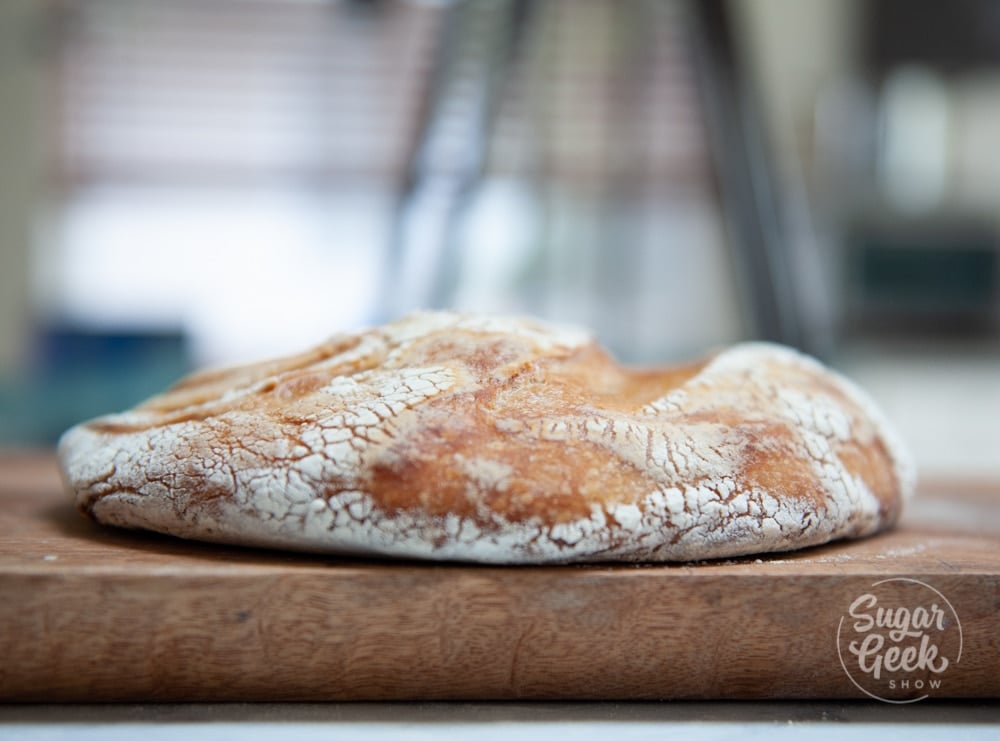
After 7 days, your starter should be strong enough to make bread but some people recommend waiting a month! I personally could not wait that long but my first loaf of bread looked like this.
WHOMP WHOMP
So let this be a lesson to wait until your starter is ready and don't go by exact dates and times. Your starter is alive!
After you feed your starter always mark the level of your starter.
After 12 hours, check your starter and you should be able to see a line where the starter rose the highest (the peak) and then began to fall again. This is a lot easier to see if you're using a clean jar or at least scrape the sides down after feeding.
Once your starter doubles or triples in size, you can now test it to see if it's ready to make a loaf of bread.
How To Test Starter To See If Its Ready To Use
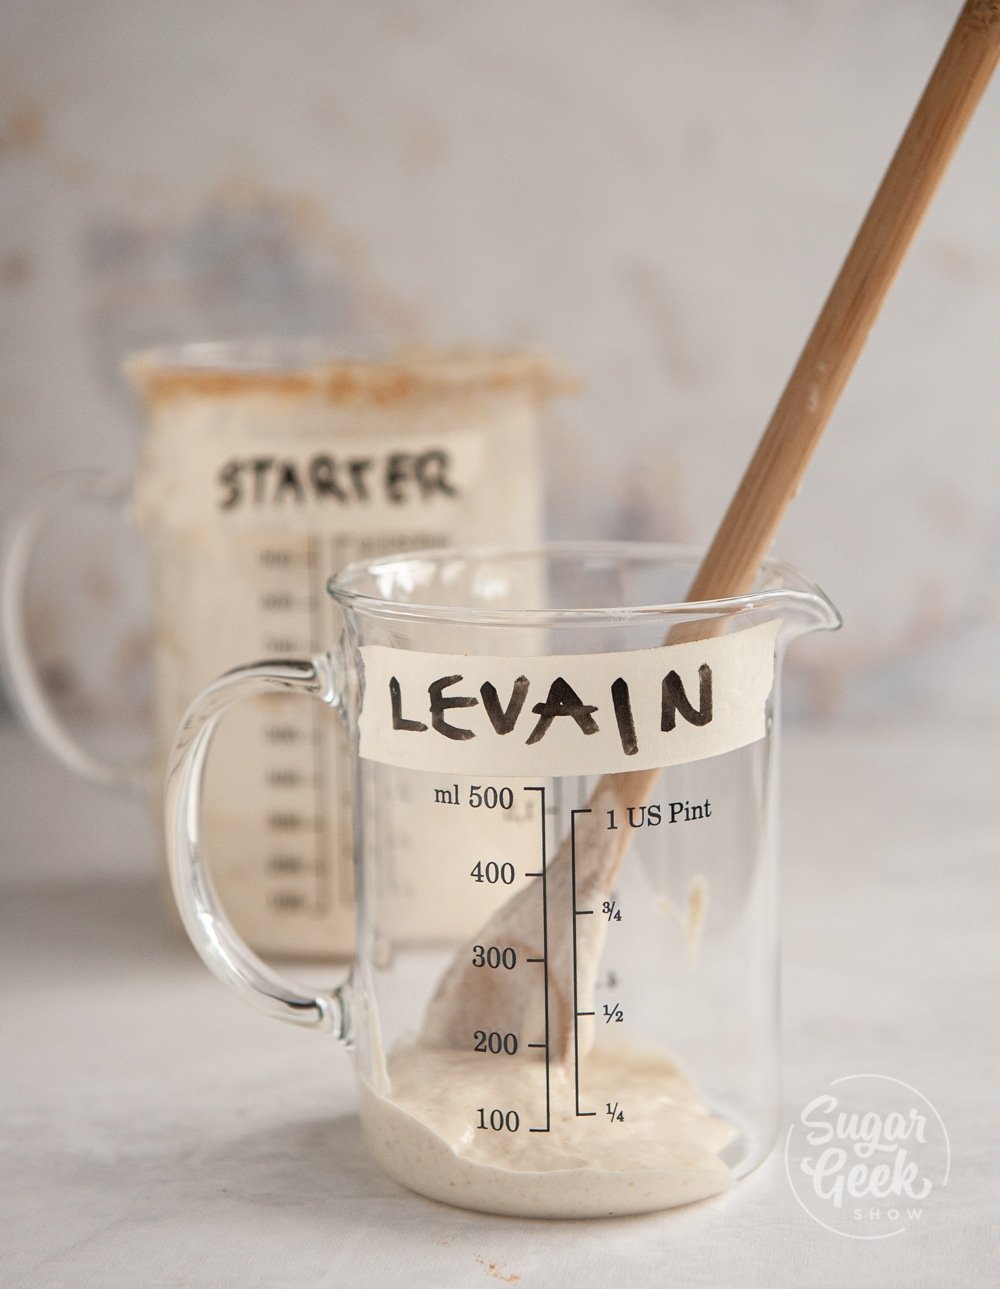
Most sourdough bread recipes will instruct you to make a levain before you make the dough. Levain is just a fancy word for a mixture of healthy established starter, flour, and water at its peak of activity.
Different recipes will list different amounts of flour and water to make a levain so just follow the recipe. I use a levain of 50 grams unfed starter, 50 grams warm filtered water 90ºF, and 50 grams whole wheat flour.
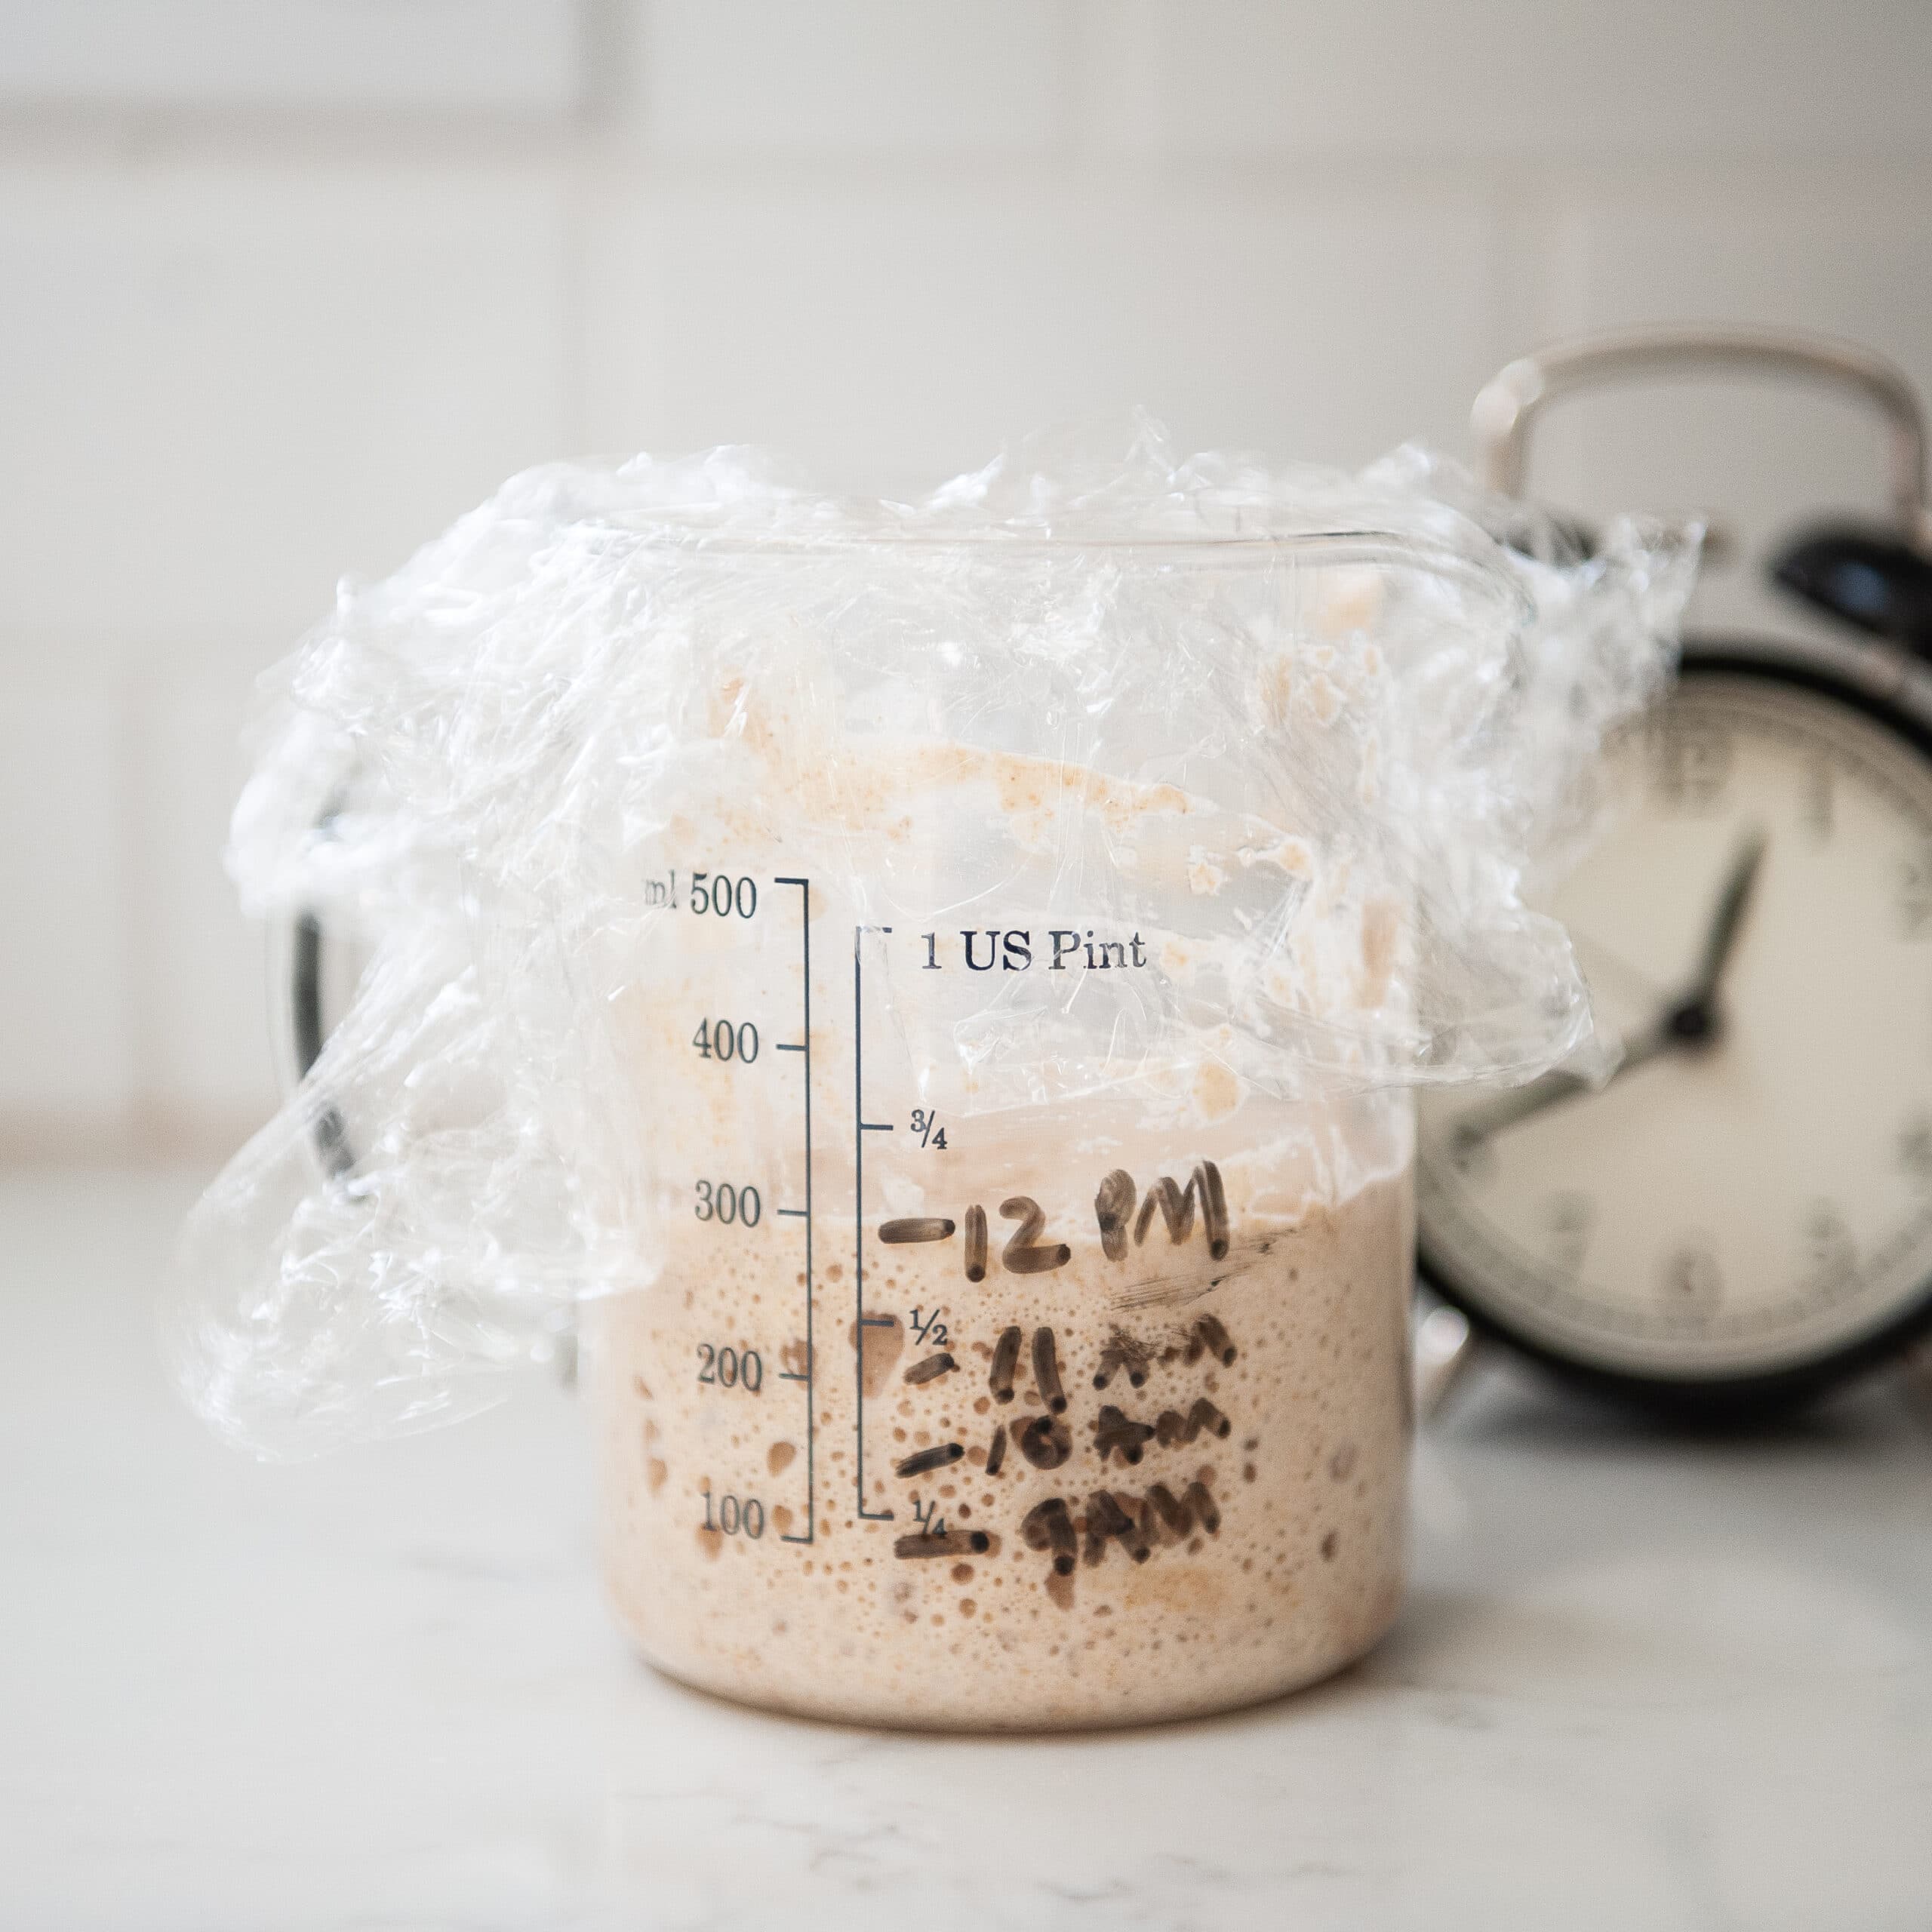
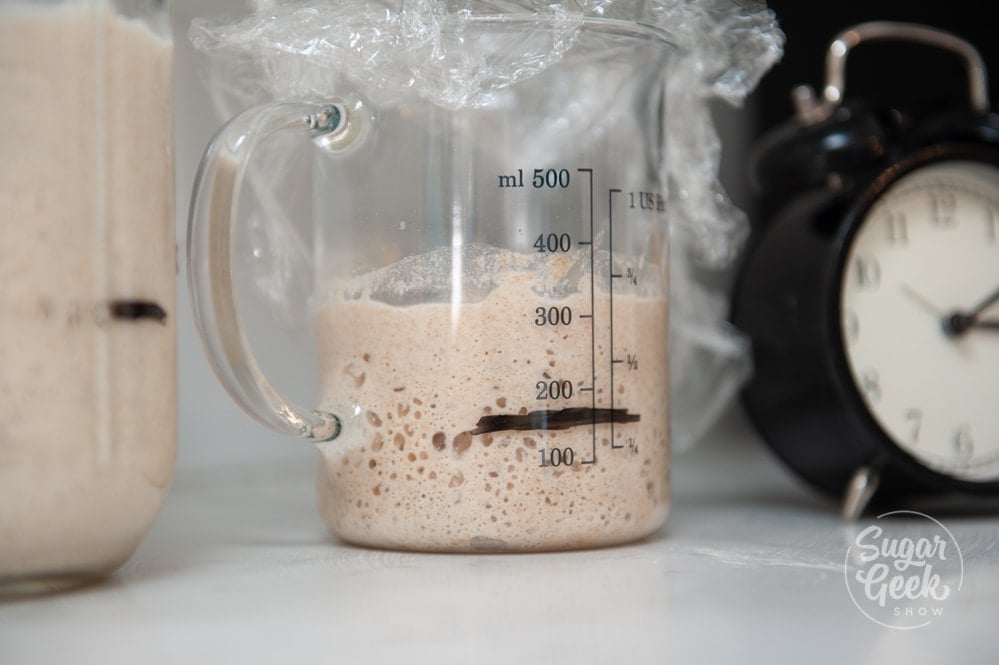
After you make your levain, mark the height and place it in a warm area (80ºF-95ºF).
After one hour, mark the height again. It should be rising.
After two hours, mark the height. It should still be rising.
Continue marking the height until it doubles in size. If your levain doubles in size within 5 hours then you can use it to make bread. Mine usually triples in size in about 3 hours if that gives you an idea of what you're shooting for.
This is also a good way to know how fast your levain will double and will help you plan your bread making schedule better.
If it doesn't double then continue the twice a day feedings until it does double.
How Do I Store My Sourdough Starter?
You can store your starter on the counter in its container. Feed it once a day if you plan on baking a few times a week.
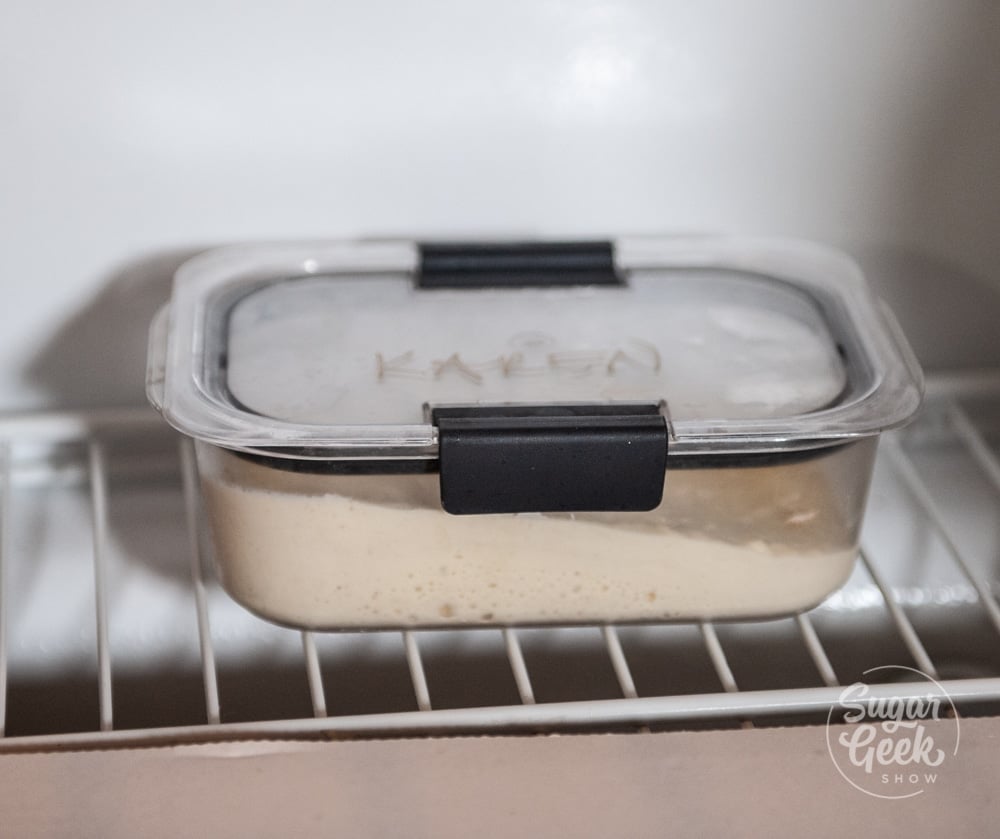
If you don't plan on baking for a week or more, keep your starter in the fridge. You will only have to feed it once a week. I have let mine go for a few weeks and was still able to bring it back with a couple of feedings.
If you absolutely don't want to mess with your starter for a long time, you can spread it out thin on some plastic wrap and let it dry out. Crumble it up, place it in a ziplock bag and put it in the freezer (make sure you label it). When you're ready to use it again, take it out, add equal parts water by weight and begin feeding it in 12-hour intervals until it's bubbling and lively again.
When Should I Feed My Sourdough Starter?
I feed my starter at around 9 am every day. It just feels the most convenient for me. You can feed whenever it feels right to you but try to keep it evenly spaced.
I also make my levain at the same time I feed my starter.
Around 2 pm, my levain has peaked and I'm ready to start making my dough so that I can bake my sourdough bread the next day.
Feeding your sourdough starter more food keeps your starter milder and sweeter in taste. When your starter gets really hungry and eats all its available food, that is when it gets really sour. If you like that flavor then remember to use your starter after your starter has peaked and just begins to fall again.
If you're like me and like a lot of sourdough discard (for breakfast pancakes or crumpets) then you can increase the amount of starter you feed every day and therefore have more discard.
You can keep your starter alive on very very little flour. Feeding 50g starter 50g flour and water every day.
How long does discard last?
You can save your daily discard and place it into a separate container in the fridge if you don't want to use it right away. Some people keep their weekly discard to use on the weekend.
Discard get's more sour over time so I would try to use it to make sourdough discard pancakes or sourdough pikelets as soon as possible. Check out more sourdough discard recipes on King Arthur Flour.
Related Recipes
Sourdough Bread For Beginners
Sourdough Discard Pikelets
Sourdough Discard Pancakes
Fast Bread Recipe
Sourdough Bread WorkBook
Sourdough Starter Workbook
Recipe
Equipment
- 4 Cup clean jar or container with straight sides
Ingredients
- 150 grams Whole Wheat Flour (about one cup) plus more for feeding
- 150 grams Bottled or Filtered Water 90ºF (about ¾ cup) plus more for feeding
Instructions
Sourdough Starter Schedule
- Before you start: We will begin feedings with whole wheat flour through day 4. On day 5 we will switch to unbleached bread flour or all-purpose flour for feeding so make sure you have some of that on hand too. Use warm (90ºF filtered or bottled water if you can to promote growth).
- Day 1 - In the morning when you wake up, combine together 150g whole wheat flour and 150g warm (90ºF) bottled or filtered water together in a bowl using your hand until no dry flour remains.
- Place the mixture into a clean container with straight sides. Make its able to hold at least 4 cups of liquid. A large mason jar or measuring cup works great for this.
- Day 2 - At the same time of day, stir your starter then remove half the starter and discard it. You cannot eat discard at this point.
- Add 75g whole wheat flour and 75g warm (90F) filtered water. Stir until no dry flour remains. Cover loosely with plastic wrap and place in a warm area (on top of the fridge is common).
- Day 3 - At the same time of day, remove half the starter and discard it. Add 75g whole wheat flour and 75g warm (90F) filtered water. Stir until no dry flour remains. Cover loosely with plastic wrap and place in a warm area (on top of the fridge is common).
- Day 4 - At the same time of day, remove half the starter and discard it. Add 75g whole wheat flour and 75g warm (90F) filtered water. Stir until no dry flour remains. Cover loosely with plastic wrap and place in a warm area (on top of the fridge is common).
- Day 5 - Begin feeding unbleached bread flour instead of whole wheat flour twice a day, every 12 hours. In the morning, remove half the starter and use it to make discard recipes like pancakes or pikelets! Add 75g unbleached bread flour and 75g warm (90F) filtered water. Stir until no dry flour remains. Cover loosely with plastic wrap and place in a warm area (on top of the fridge is common). Repeat this 12 hours later in the night.
- Day 6 - In the morning, remove half the starter and discard it or use for discard recipes. Add 75g unbleached bread flour and 75g warm (90F) filtered water. Stir until no dry flour remains. Cover loosely with plastic wrap and place in a warm area (on top of the fridge is common). Repeat this 12 hours later in the night.
- Day 7 - If your starter is doubling in size, resume feeding ONCE a day. If your starter is still not doubling, keep feeding twice a day until it does. Add 75g unbleached bread flour and 75g warm (90F) filtered water. Stir until no dry flour remains. Cover loosely with plastic wrap and place in a warm area (on top of the fridge is common). You can now transfer your starter to another container if you wish to be it's permanent home or keep it in the same jar. Do not wash your container daily! It has important yeast in there that keeps the starter alive. You can periodically wipe down the outside and the rim to keep it clean. I transfer my starter to a clean jar once a week so I can wash the other jar.
- If your starter is doubling in size then it's ready to make bread! Follow the instructions in the blog post about testing your starter to see if it's ready to make bread then head to the sourdough bread post to learn how to make your first loaf of sourdough bread!
Video
Notes
- Whole wheat flour is the best flour to start with because it has a higher amount of yeast and microbial content but you can also use unbleached all-purpose or bread flour to make a sourdough starter.
- Using filtered or bottled water is best for making a sourdough starter. Once your starter is established you can switch to tap water as long as it doesn't have a ton of chlorine in it.
- Using warm (90ºF) water will help your starter grow. I warm mine for a few seconds in the microwave and then use a thermometer to check the temperature. After a while, you will be able to tell with your finger if the water is warm enough.
- After 5 days of feeding and discarding your starter, you can begin cooking the discard. I love making sourdough starter pancakes with some freshly chopped chives and butter in the morning after I feed my starter.
- Don't try to make bread with your starter until day 7. The sourdough starter needs time to grow and gain strength before it can rise a loaf of bread.
- If you only want to bake once a week, store your starter in the fridge. If you want to eat sourdough on Saturday, you would take the starter out of the fridge on Wednesday and feed it. Feed it again Thursday and begin making your bread Friday. Sourdough takes some pre-planning but most of the time is hands-off.
- Once your starter is established, you can keep it in the fridge for a month without feeding. Revive by feeding as we did on day 5 of our initial starter with twice a day feedings for two days until it's bubbling and happy again.







Melissa Adams says
Where do I find your 7 day sourdough starter pdf? Thank you.
Elizabeth Marek says
Just scroll through the blog post, you will see it 🙂
Stefanie says
In your tips you say “Once your starter is established, you can keep it in the fridge for a month without feeding. Revive by feeding as we did on day 5 of our initial starter with twice a day feedings for two days until it's bubbling and happy again.”
Do you need to feed and discard? Or just feed?
Elizabeth Marek says
Feed and discard just as we did on day 5 🙂 Always discard or you will end up with a LOT of starter 😀
Rae says
Hi! I absolutely LOVE all your recipes. Just last week I tried your focaccia recipe and it was a big hit!! Just wondering if the line on your container is where it started or...? Also, can we use a mason jar to make the starter? And my whole wheat flour has small flakes in it (not sure if this is normal, so should I just sift it out, or is this an important part in developing the yeast?). Sorry for all the questions... this is my first attempt at making a sourdough starter. Thank you so much, and keep up the awesome in-detail videos and recipes!!
Elizabeth Marek says
All good questions! Yes the line on my jar is where my starter starts after I feed it so I can keep track of it's growth. Some people use a rubberband. I use an dry erase marker. Whole wheat flour with flakes is great! The yeast will love it 😀
Leidy Q. says
I will make this today! Cant wait!!!
S M R says
Hey Liz, I didn't actually try your recipe - I am already parent to an established sourdough baby. The 5 stars are for your ultra-detailed, excellent instructions - it absolutely guarantees success. When I started out years ago with sourdough, I was totally overwhelmed by the internet's fussy, inaccessible tsunami of information. It is very intimidating to a novice.
Thank you for taking the time to give home bakers a clear, easy-to-understand method of starting and maintaining their sourdough. Your site is always a source of practical, real-world useful information.
To everybody reading this recipe and review: Don't be scared. Do what Liz says, and there shall be amazing bread in your future! Stay safe, happy baking xoxo
Elizabeth Marek says
Thank you so much! Your words mean so much <3
Leslie Horman says
Yes!!! I’m on day six of growing my sourdough starter, and it has been so easy! For convenience, I just copied the instructions to my notes app on my phone so I could highlight and rearrange the information. It has been so helpful and easy to follow! I made your discard pancakes yesterday, and they were delicious! 🤤 My daughter loved them!
Elizabeth Marek says
Great idea!
swati bhuwalka says
i have started with my sourdough starter, and i got a good response on the first 24 hours, some bubbles could be seen. on day 2, hope to successfully grow it
Elizabeth Marek says
Hey Swati, those first bubbles are not from yeast, it's from other kinds of stuff inside the flour reacting so don't be alarmed when it slows down for a few days. Just keep going and you will see more activity later 😀 Remember, yeast doesn't die unless you bake it or you see mold 🙂
Stacey V says
Hi Liz! This is such a great tutorial! My husband and I were just talking about trying a sourdough starter and your instructions were perfectly on point, as always! I just adore you and you keep teaching me so much! My question is, during the upkeep phase, if keeping in the fridge and you feed once a week, do you feed it 2x, every 12 hours that day or just once? Thank you so much!
Elizabeth Marek says
Thank you so much stacey!
Eva R says
Hi Liz,
I love ALL your recipes and tutorials. In fact I bought a Bosch mixer 3 weeks ago because of your YouTube demonstration. My question is, what if we want to increase the amount of sourdough in preparation for using in recipes. Do we keep doubling the feeding weights to match the quantity in the jar or just feed the same amount but not throw away anything.
Elizabeth Marek says
You can def increase or decrease the starter amounts or levain amounts to make as much sourdough as you need. Bakeries have HUGE containers of starter 🙂
Kelsie says
Hi Liz! I am sitting on the evening of day 7 of my starter now, but not seeing any further progress.
My starter had its best day on Day 3 where it doubled in size. However, since then it wasn’t rising much. I moved to a warmer location for the last couple of days and the rise had upped a little bit now where near double or triple. The temp of the starter is happily sitting at 68 degrees Farenheight. So I don’t think it is too cold.
Not only is it not doubling in size it is also not leaving a line at a peak rise and falling, its just rising and sitting there, not dropping down at all.
And lastly every time I smell it it smells of alcohol (nail varnish remover)
Because it’s day 7, I was planning on feeding it twice today. But should I revert to just once a day for the next few days now and see what happens? I’m just not getting the height i need!
Elizabeth Marek says
68º is very cold. It needs an environment that is warmer.
Sahana says
Hi Liz, I started making this sourdough starter and left it near my stove for the first day the next day it doubled. On day two after I fed it it rose and then when I came back the next day it had fallen a little bit. Is the the starter rising on the first day normal, and does my starter falling mean I should start feeding it AP flour twice day. Please let me know.
Elizabeth Marek says
Rising and falling on the first day is just normal activity from the yeast/bacteria. Its not a traditional rise you get from just the yeast so you might notice less activity over the next few days as the yeast and bacteria fight it out. Just continue to follow the steps for each day 🙂
Jacqueline Ruiz says
How much starter I need to bake a loaf?
Elizabeth Marek says
Follow my sourdough bread recipe 🙂
Britt J says
This may sound like a silly questions but for measuring the water, do I weigh the water on the kitchen scale just like I weigh the flour? I was planning to put a measure cup on my scale, press the tare button to zero it out and then pour in my bottled water until the scale reads 150g. Is this correct or am I missing something?
Elizabeth Marek says
Yes that is correct, I weigh everything
Tabia says
Appreciate your thorough work. Question: do you know if alternative flours can be used to make a starter e.g. spelt or kamut? Or if this starter can be used to make breads from alternative grain?
Elizabeth Marek says
I haven't tried making starter with other grains so I can't say for sure. I do know that rye makes a very strong starter.