You can make these fast dinner rolls in 60 minutes! They bake up super soft and fluffy and are the perfect side to any meal.
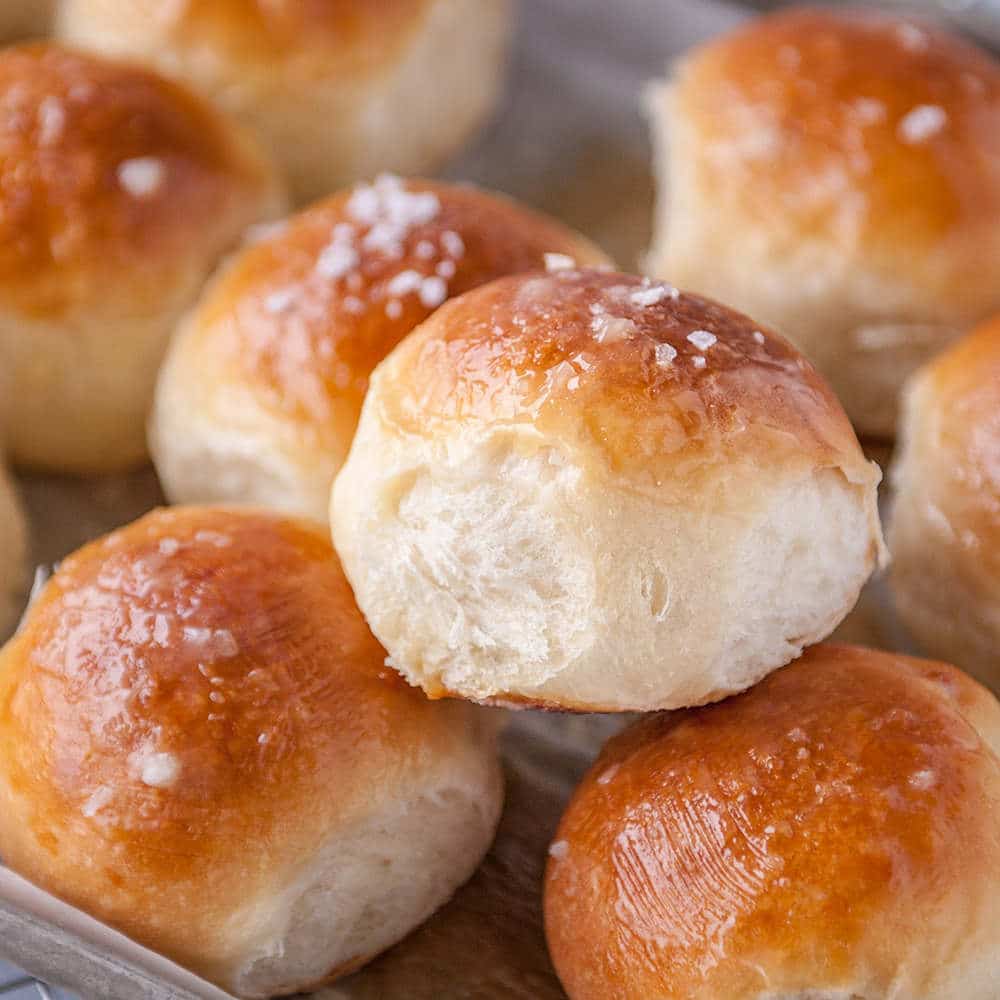
It always seems like whenever I want fresh dinner rolls, it's 3 pm and dinner is already on the stove! Maybe it's just me?
I cannot live without this fast dinner roll recipe, and it's very versatile! You can turn them into garlic knots, burger buns, pretty much any last-minute kind of baked bread you might need.
Dinner rolls are a rich yeasted bread similar to sweet dough but with less sugar. This means they have fat (butter and eggs) in them, which keeps them soft and fluffy.
Yeasted bread that does not have butter or eggs is called a lean bread and is chewier and has a crunchy crust. There are tons of bread recipes out there, but this is a great one for beginners or if you've never worked with yeast before and want to learn to make your own homemade bread.
What's In This Blog Post?
Dinner Roll Ingredients
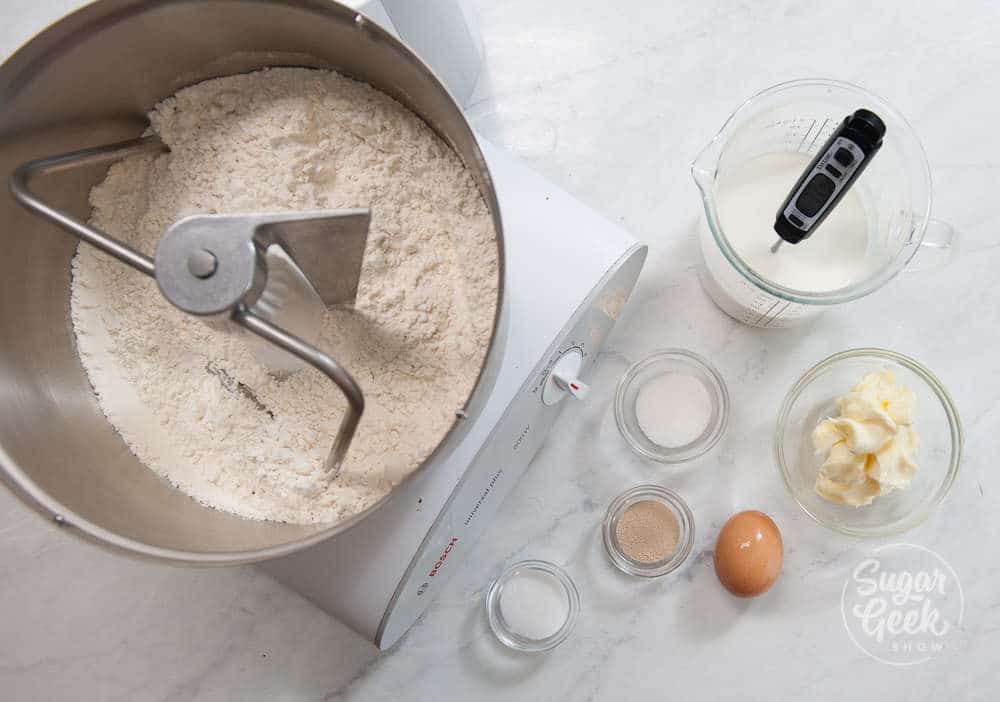
To be clear, when you're making bread the only things you really need are flour, water, salt, and yeast. This bread has added sugar, butter and eggs to make the bread softer, moister and a little bit sweet.
- Flour - The main ingredient in bread. When combined with liquid, the gluten in the flour is activated and creates the structure for bread. The more you knead it, the more structure is created which is why kneading is crucial for bread to turn out. You can use bread flour or all-purpose flour.
- Milk - Activates the gluten in the flour, activates the yeast and makes the rolls more tender. Warm to 110ºF
- Active Dry Yeast - Makes the dough rise and also provides flavor. (You can also use Instant dry yeast, let rise for 30 minutes the first proof then 10 minutes for the second proof after you shape your rolls)
- Sugar - Feeds the yeast and helps keep the rolls moist and soft.
- Egg - Provides flavor and structure to the dough and helps keep it soft.
- Salt - Crucial to good flavor in your bread!
- Softened Butter - The key ingredient for super-soft, flakey dinner rolls.
What is yeast?
There are different kinds of yeast but just to be clear, we're talking about baking yeast. Yeast is a naturally occurring, living organism that need sugar, warmth, and moisture to grow.
That must sound strange right? Like, what do you mean a LIVING ORGANISM? Basically, yeast is like a bunch of tiny mushrooms. Mushrooms grow best in warm environments with access to food (light) and moisture.
When they have the right conditions, they grow like crazy. Yeast does the same thing. When you give yeast warmth, moisture and food (sugar) it grows like crazy, producing alcohol and carbon dioxide through fermentation. The carbon dioxide get's trapped in the dough and expands during baking which causes the bread to rise.
Baking yeast comes in three formats, fresh yeast, dried yeast, and instant yeast. Back in the day, I worked at a bread bakery and we made HUGE 50 lb batches of bread using fresh yeast cakes. The cakes are kept in the refrigerator and crumbled over flour, sugar, and water, and very specific temperatures to make the dough. That is the only time I've ever seen it used.
Typically, most people use dried yeast which is in a dormant stage until it is introduced to moisture, warmth, and sugar. Imagine a tiny bag of dried mushroom roots, that's dried yeast.
What temperature does yeast grow?
Yeast will start growing between 110ºF - 115ºF and rises the best at about 95ºF. If the yeast gets too hot (around 120ºF) it will start dying. Yeast completely dies off at 140ºF.
Terminology and timing
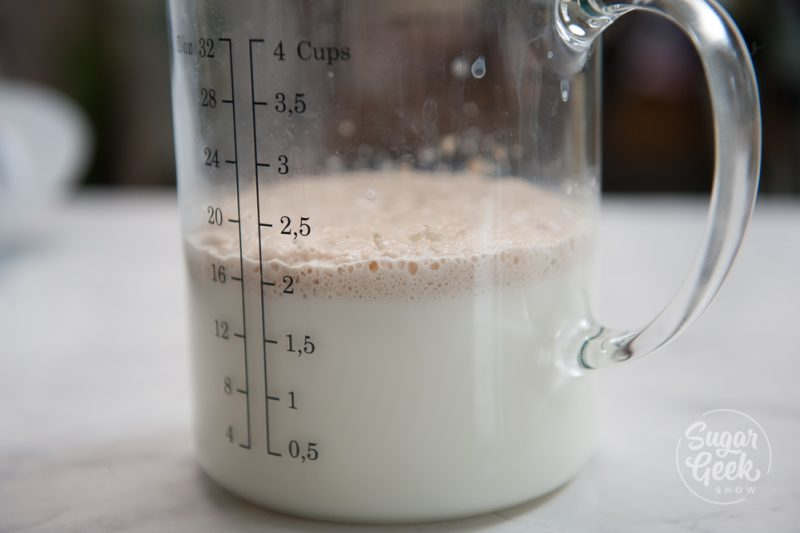
- Proofing Yeast - Mixing the yeast in with the warm milk and sugar get's the yeast growing. This is also a good way to check if your yeast is expired. If it doesn't start bubbling after 5 minutes, toss it out and buy new yeast.
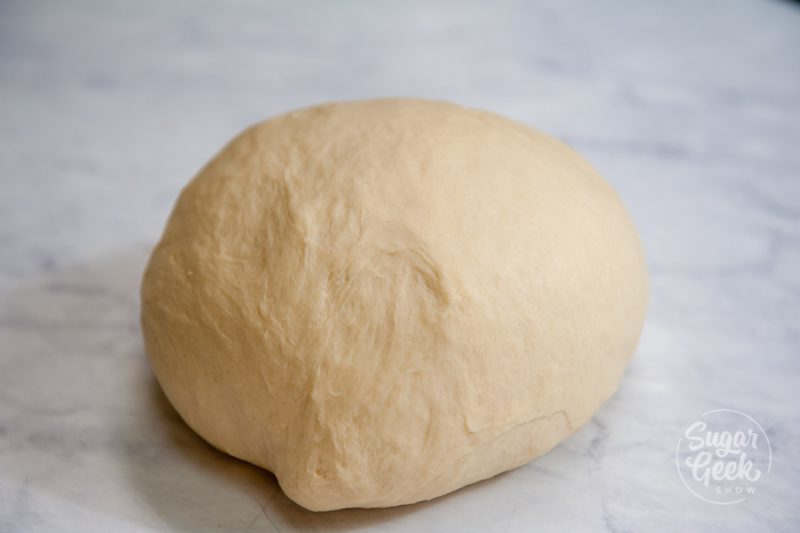
- Kneading Dough - Kneading is very important for making bread. The more you knead the dough, the more structure you create. That structure is needed to trap all the carbon dioxide that the yeast makes in order for the bread to rise. Underkneading your dough can result in a very poor rise and texture. You should knead your dough for about 8-10 minutes either by hand or in your mixer or until the dough has a smooth surface and pulls away from the bowl.
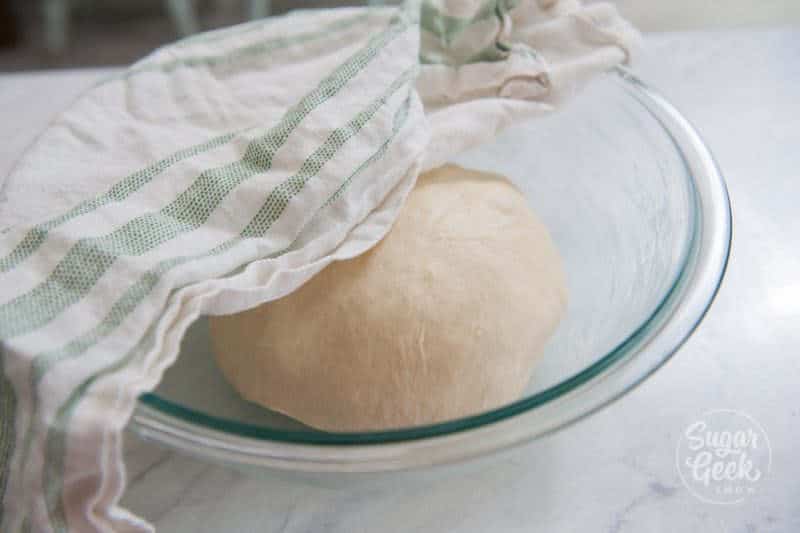
- First Rise - Once you've created the structure for your bread, now it's time to let the yeast do it's thing. Set your dough in a warm place (about 80º) and let the dough rise until it doubles in size. About 90 minutes. (30 minutes for instant yeast)
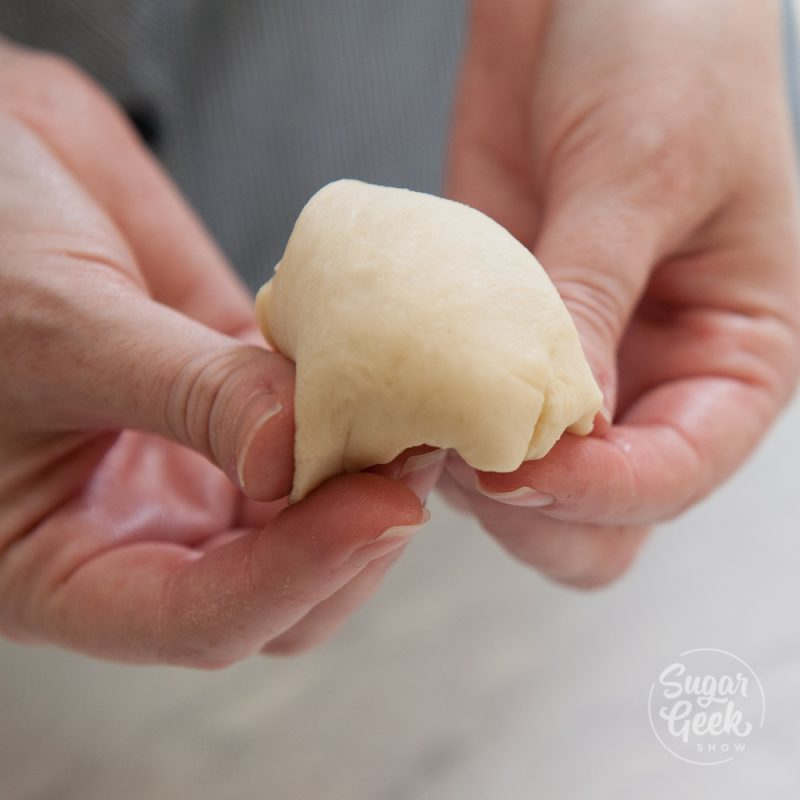
- Shaping Dough - Once your dough has doubled in size, it's time to shape it. Shaping is important so that the surface of your bread is smooth and bakes evenly.
- Proofing Dough - Once your dough is shaped, all that's left to do is let your bread rise one more time to develop the final structure and flavor of the bread. About 30 minutes. (10 minutes for instant yeast)
- Baking - Times for baking your bread will vary depending on how big the dough is. Rolls bake faster than loaves of bread. Lean bread is done when the internal temperature reaches 190ºF and rich bread is finished at 200ºF. It's better to bake for longer until the bread reaches a nice golden color than to under-bake which can result in a doughy interior.

How to make easy dinner rolls step-by-step
Time to make the dinner rolls! The first thing we want to do is make a comfy environment for the yeast to start growing.
- Warm your milk in the microwave or on the stovetop until it reaches 109ºF.
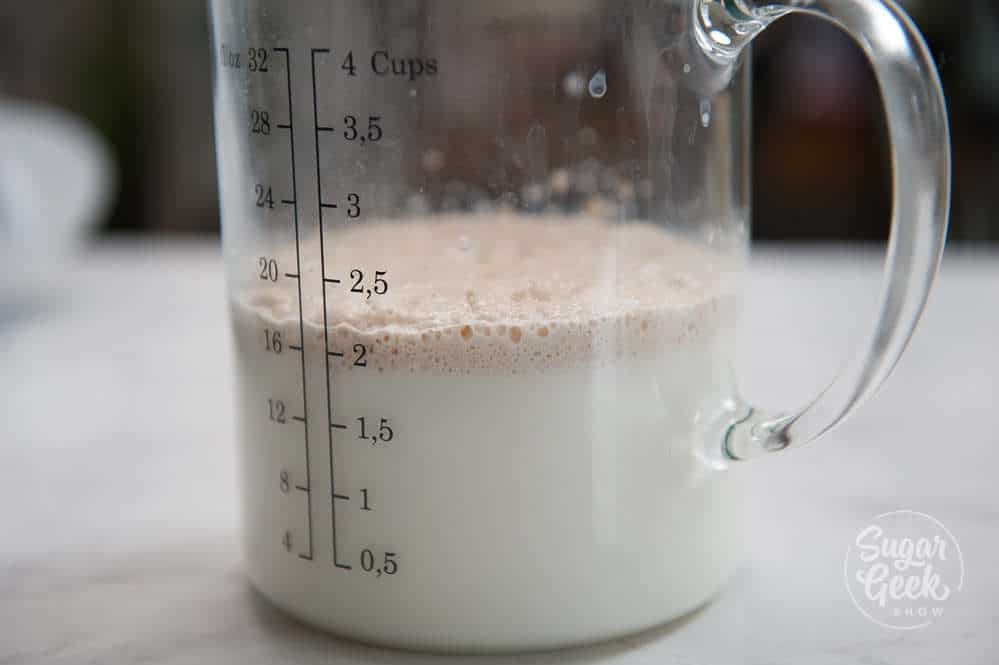
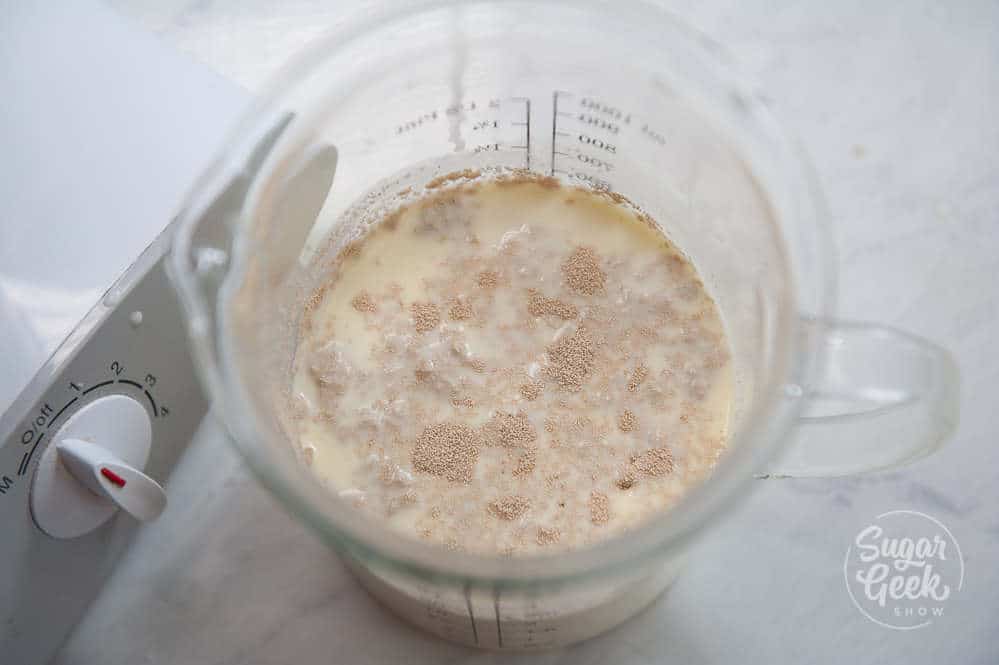
- Add your sugar to the milk (the food for the yeast) and then add the dried yeast.
- Give it a stir and set it aside for about 5 minutes. You should start to see some bubbles growing on the surface, a good sign the yeast has been activated!
- Add your flour to the mixing bowl with the egg and yeast mixture.
- Mix with the dough hook on low speed until everything is blended.
- Then add your butter and salt to the bowl.
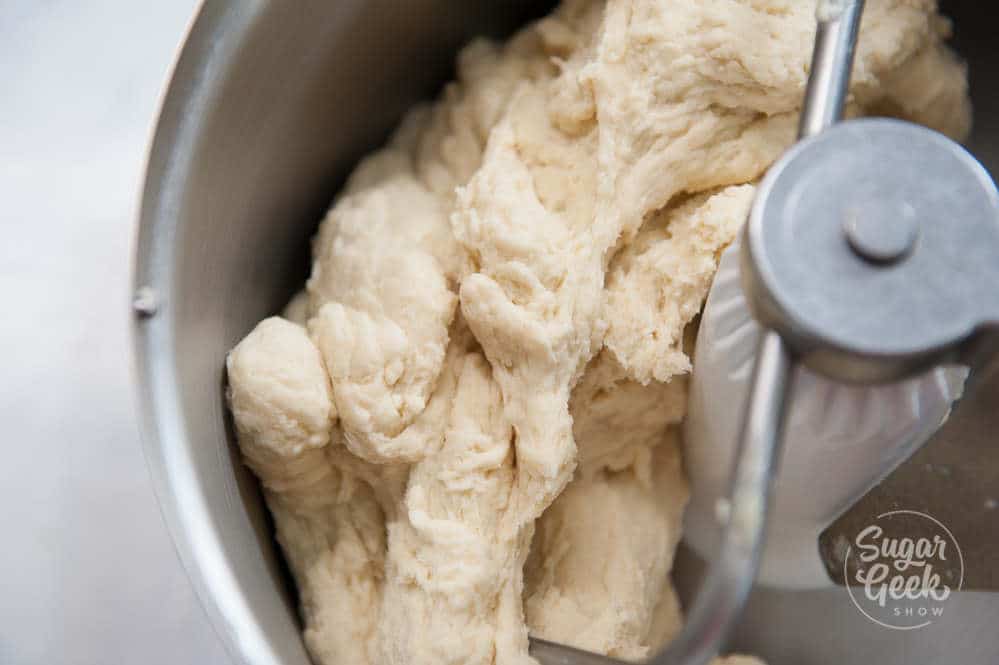
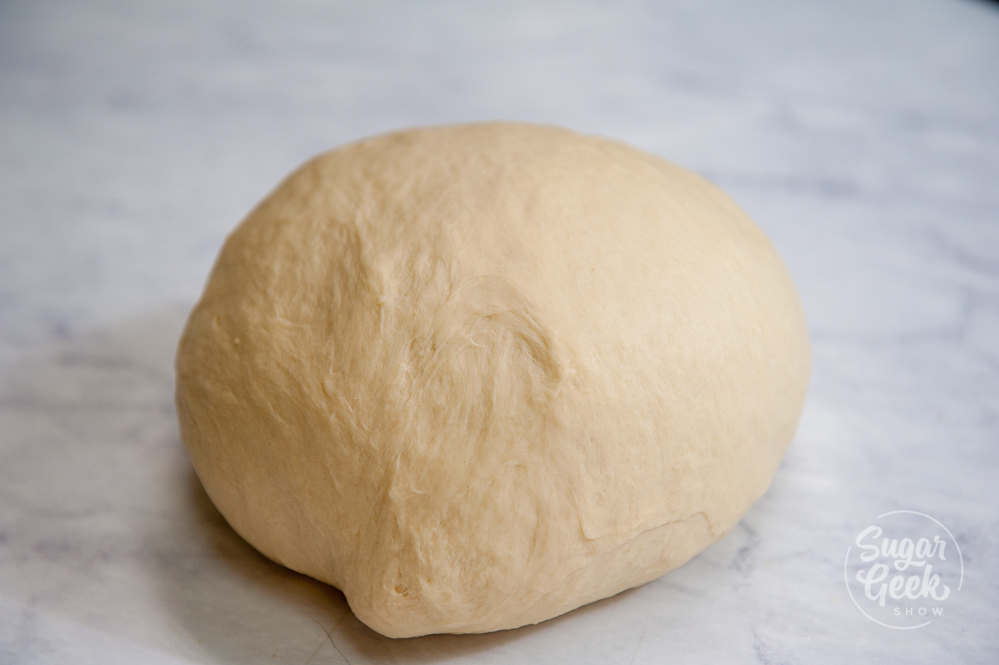
- Continue mixing on low for 10-12 minutes or until the dough ball pulls away from the bowl and is firm and elastic.
- Touch the side of the dough ball, does it spring back? It's ready. If it still seems very soft and oozes between your fingers, it hasn't developed enough gluten. Keep mixing until it passes the windowpane test.
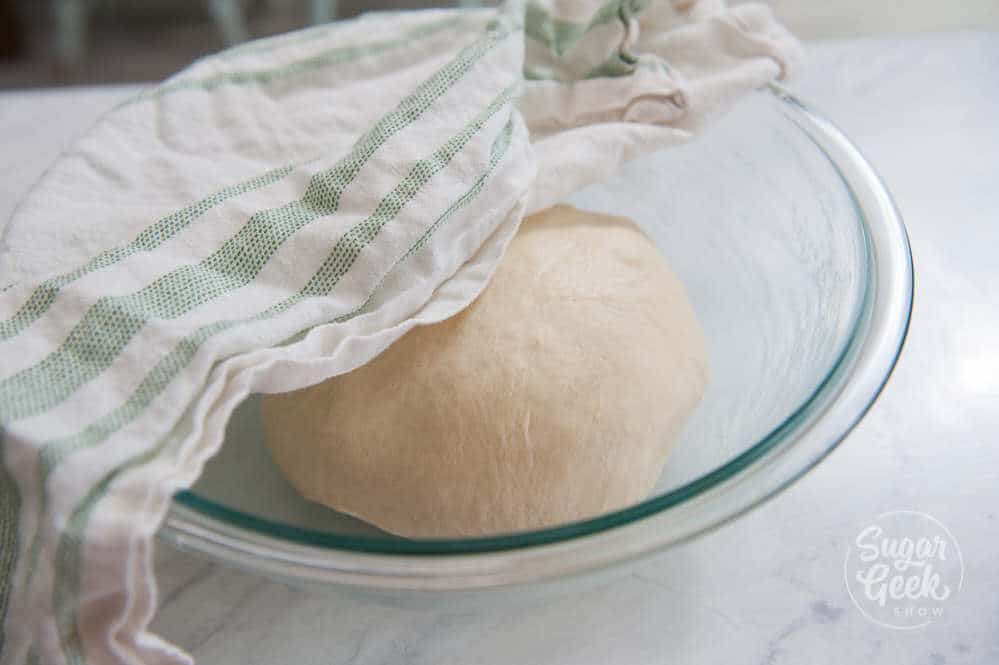
- Place the dough into a lightly oiled bowl.
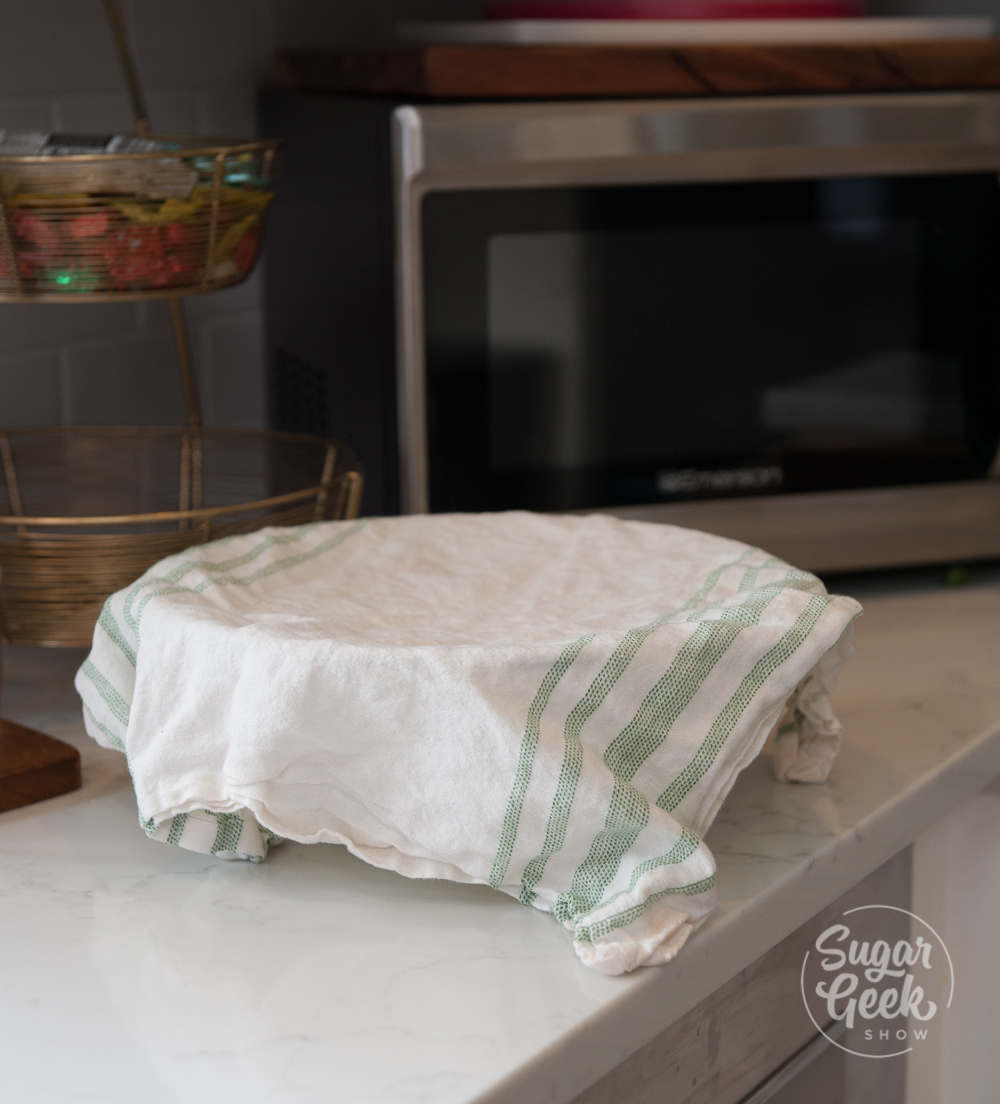
- Cover the bowl with a tea towel and set it in a warm place (but not too warm) for 60 minutes or until it doubles in size. Too much warmth will kill the yeast. Too cold and they won't grow quickly. The ideal environment is about 80ºF. If you're at my house, then it's always pretty warm because I get cold!
I know some people who put the bread on the counter next to the oven if it's on or on top of the fridge. My favorite spot is on top of the counter above the running dishwasher. Warm and moist! lol.
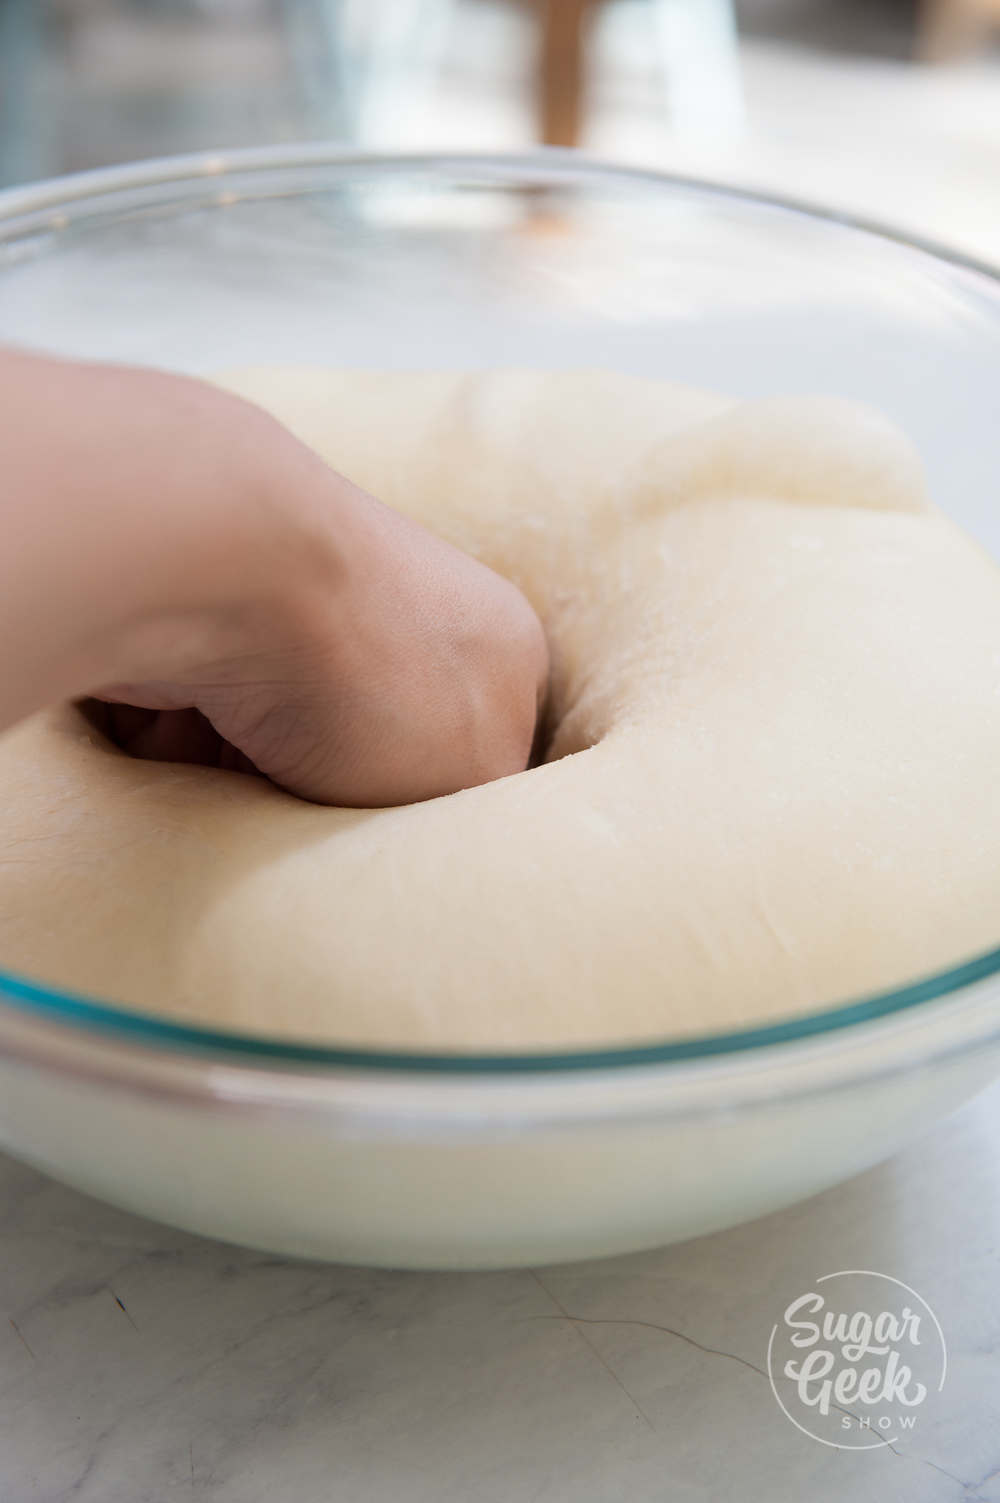
You can also proof the dough in the oven. Pre-heat the oven to the lowest setting and then turn it off. Place a bowl of hot water in the back corner of the oven then place your covered dough into the oven. You can use a thermometer in the oven to make sure it's not hotter than 100ºF inside. The ideal temperature is about 75ºF - 95ºF - Once the dough is done rising, you can punch it down. Because it's fun. Not necessary though. Just poke two fingers down into the top of the dough, if the hole stays and the dough does not spring back then the dough has risen enough. If the dough bounces back then it needs more time to rise.
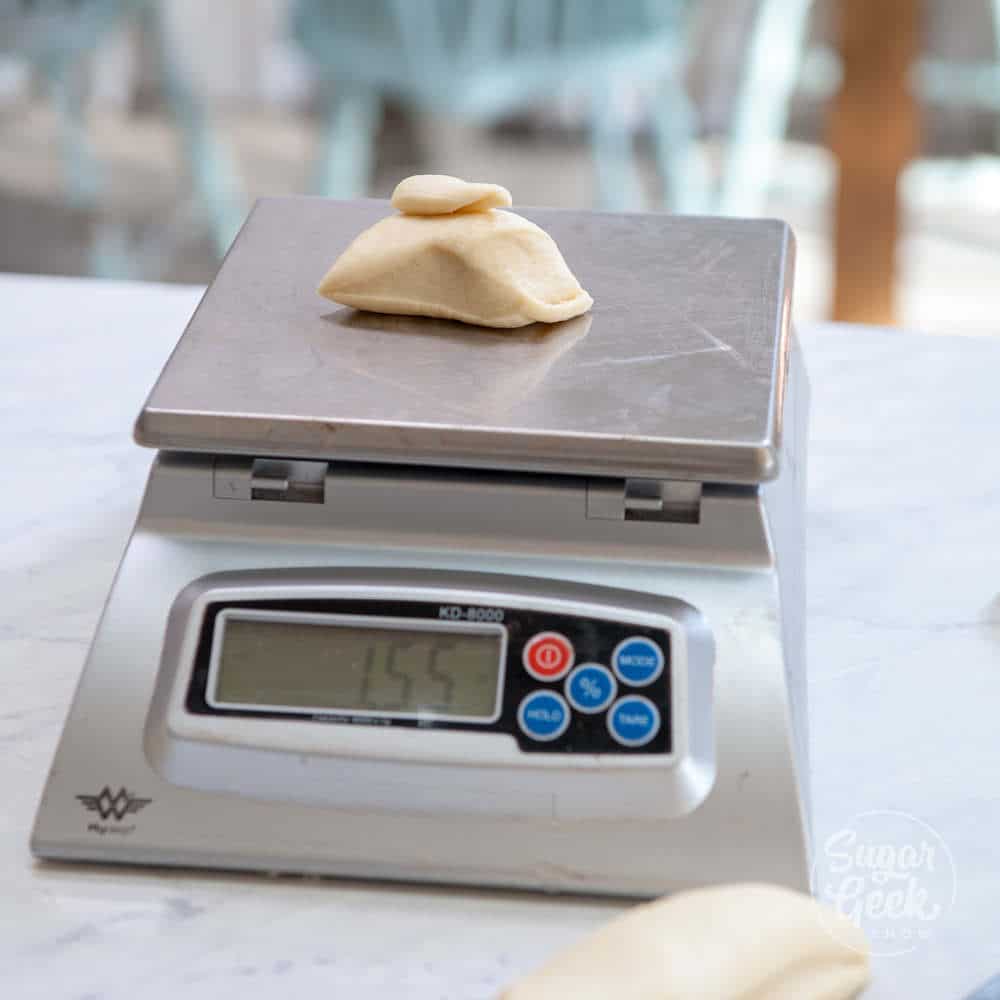
- Take the dough out of the bowl and divide it into thirty, 2-ounce pieces of dough. I weigh mine but you can eyeball it too.
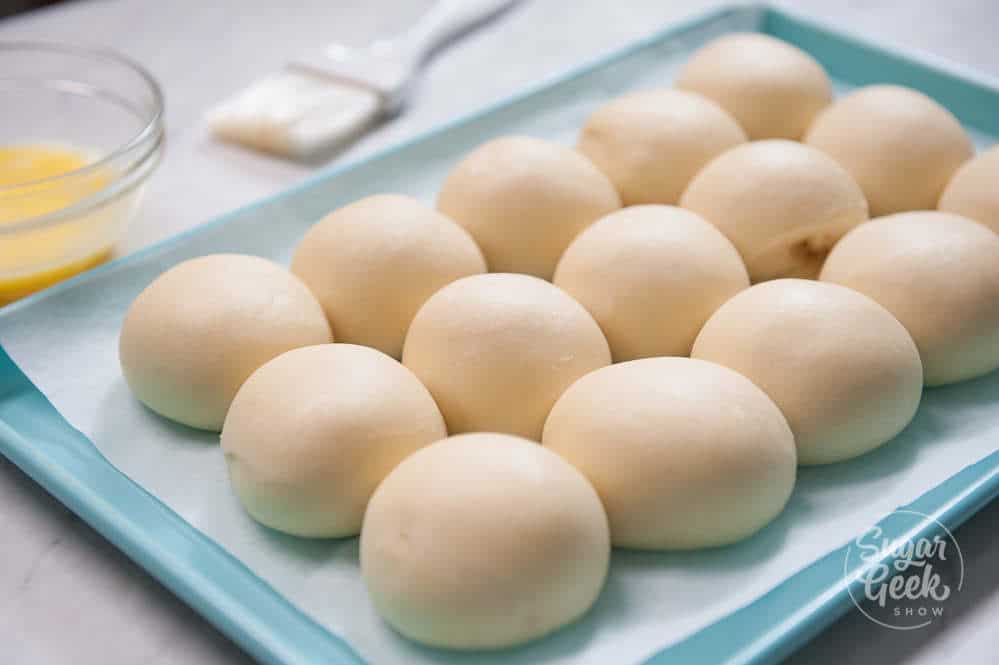
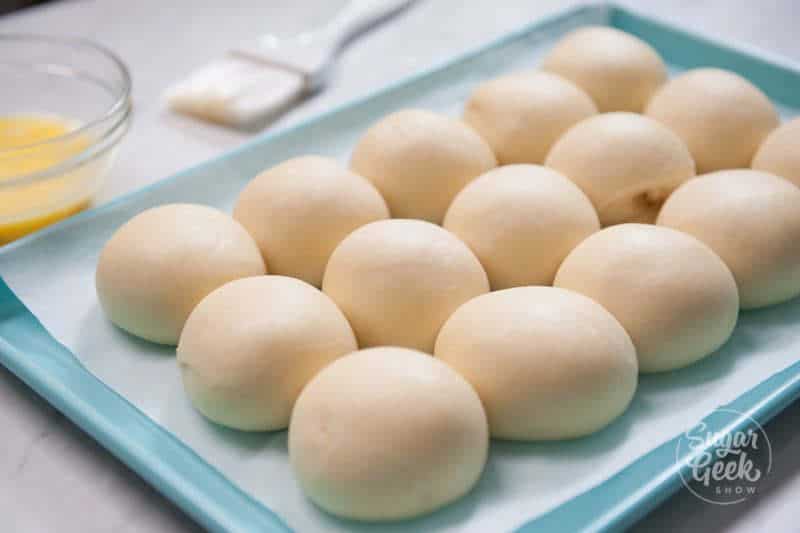
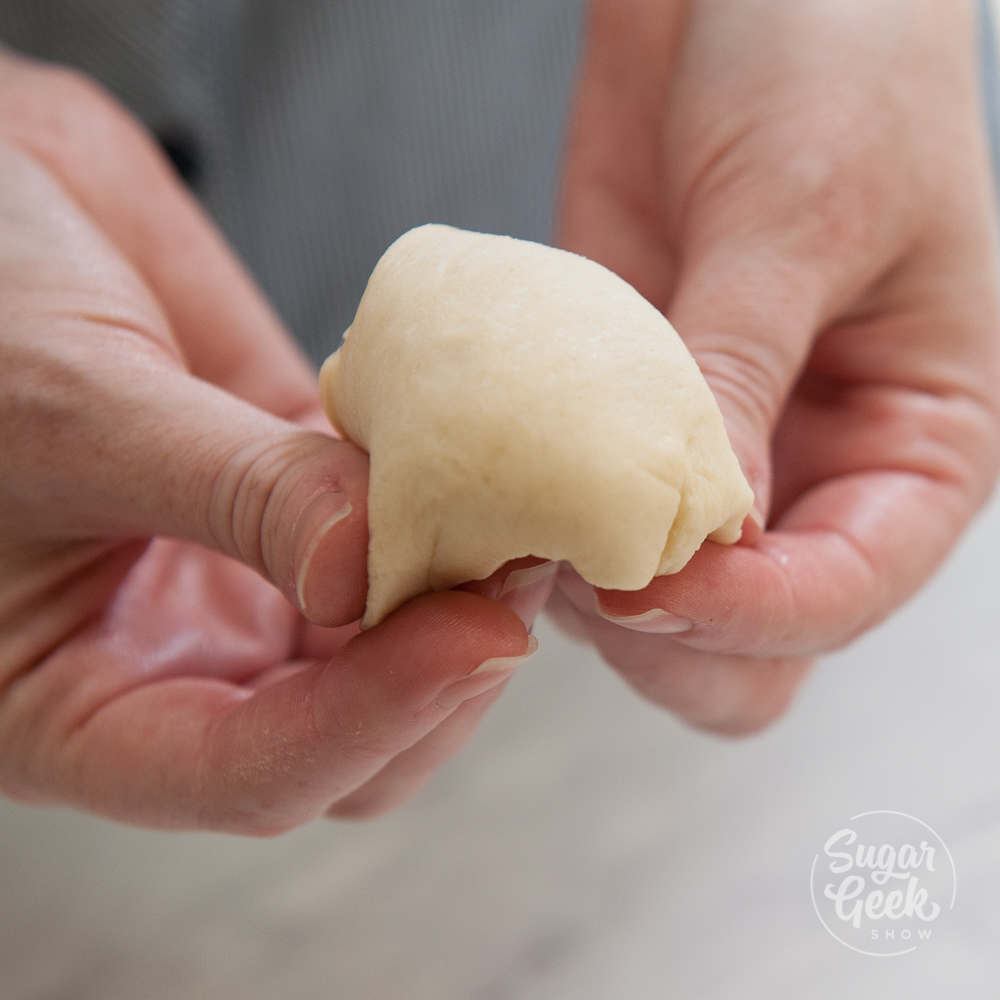
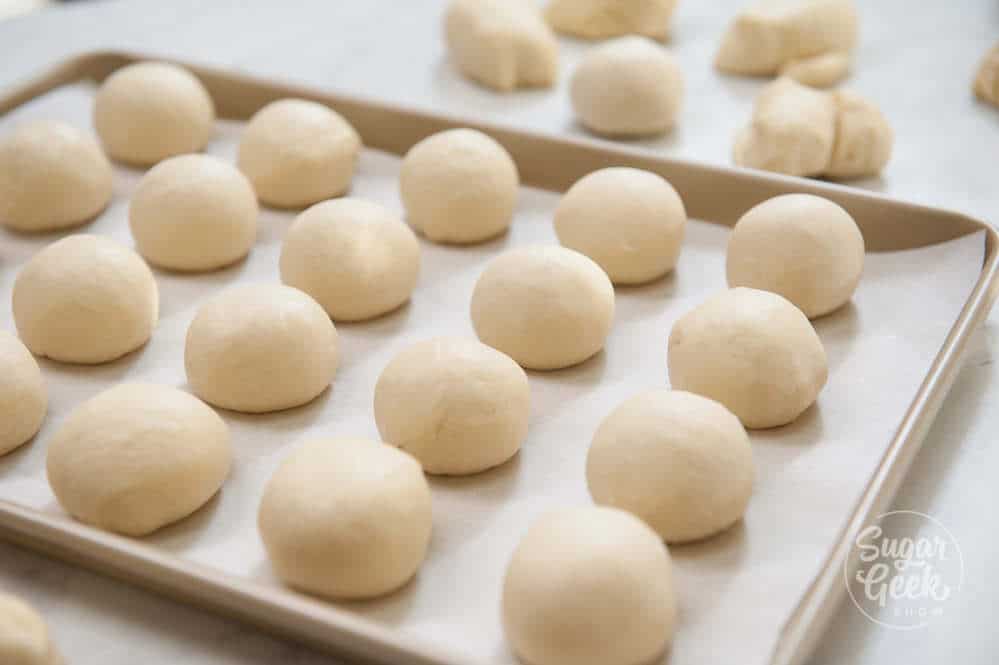
- Fold the edges of the dough under itself until all the top of the dough is smooth. Place into the pan in four rows.
- Cover with a towel and let them rise for one hour or until doubled in size. If the room is hot they might rise faster. If the room is cold they might take more time. Just keep an eye on them.
- If you want to save the rolls for the next day, cover them in plastic wrap and put them in the fridge. The cold air stops them from rising. Bring them out two hours before you need to bake them and give them time to rise before baking. Remember, they are cold so they will take a little longer to rise.
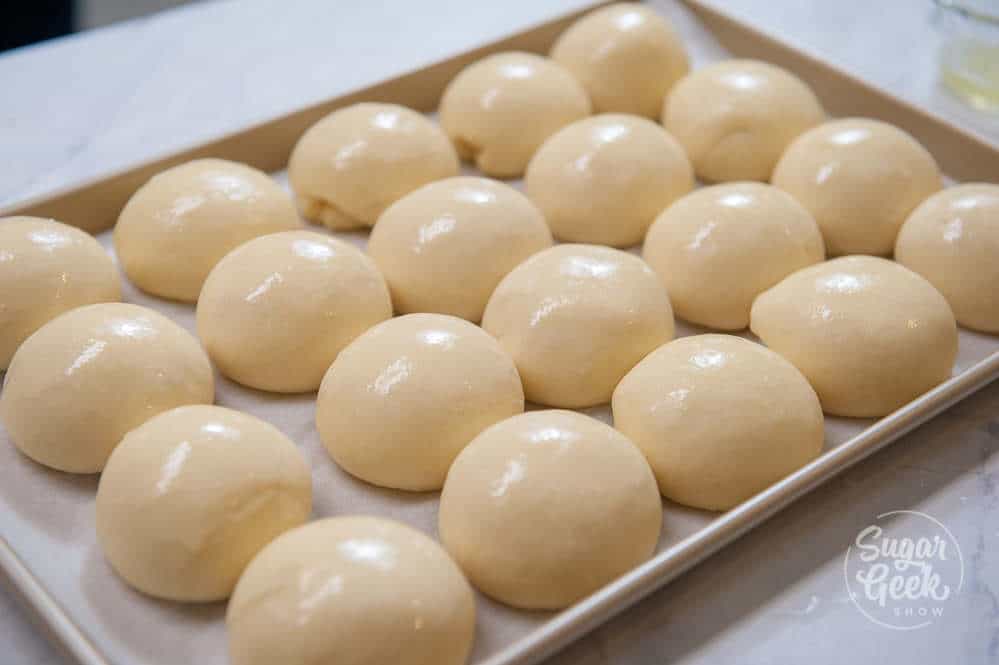
- Once the rolls are nice and puffy (30 minutes for active dry yeast you can bake them! Brush the tops with your egg wash.
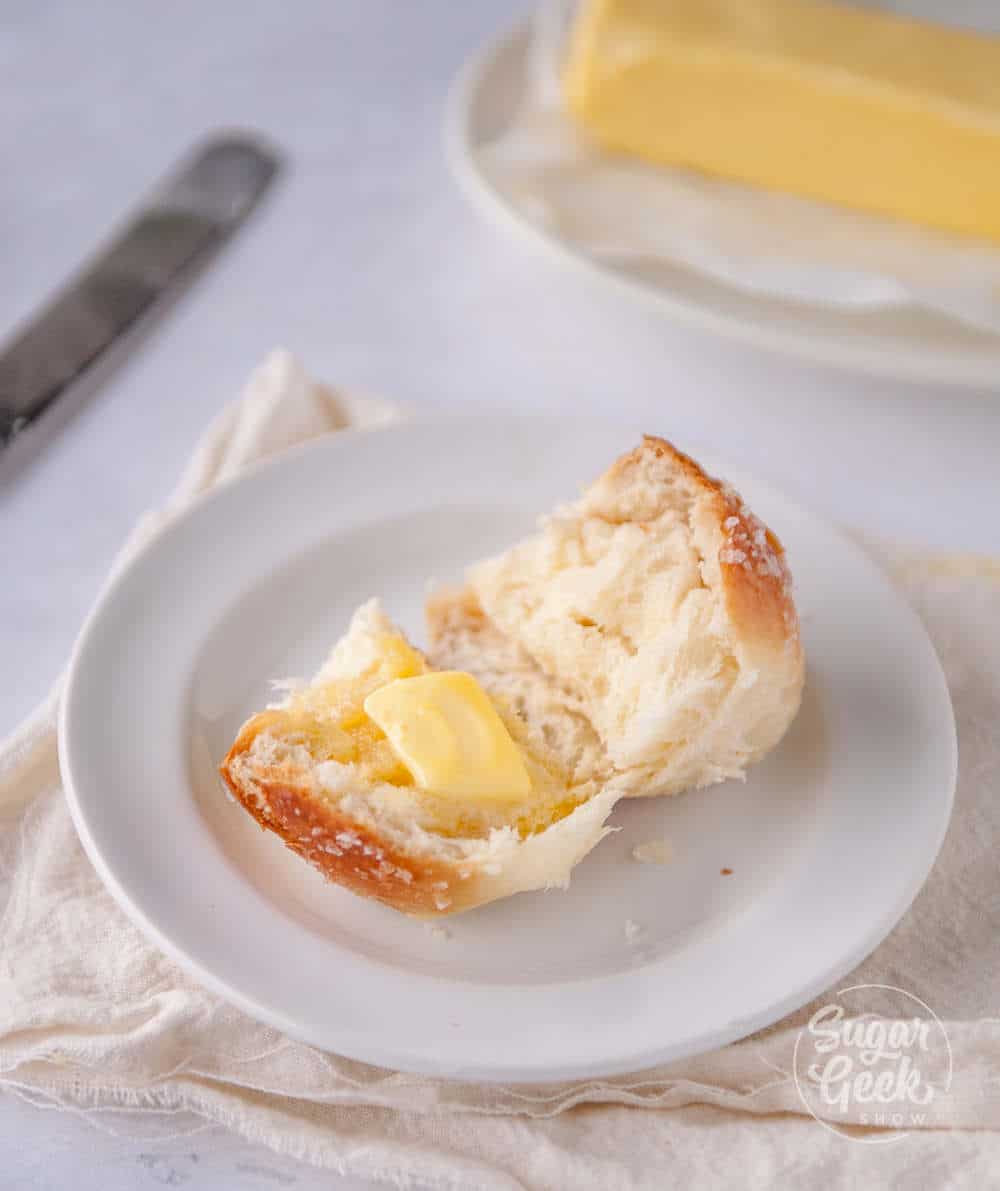
- Bake for 25-30 minutes or until nice and golden brown. Don't under-bake them or they will be doughy in the center. Brush them with melted butter and a sprinkle of sea salt and serve warm. Oh my gosh, they are heaven on a plate!
Recipe

Equipment
- Stand Mixer
- dough hook
- Thermometer
Ingredients
Soft Dinner Rolls
- 16 ounces whole milk warmed to 109ºF
- 1 large egg room temperature
- 1 Tablespoon sugar
- 10 grams active dry yeast or instant yeast (see notes)
- 30 ounces Bread flour or all-purpose flour
- 1 Tablespoon salt
- 5 ounces butter softened but not melted
Egg Wash
- 1 large egg
- 1 Tablespoon water
For the rolls
- 2 Tablespoons butter melted
- 1 Tablespoon flakey sea salt
Instructions
Egg Wash Instructions
- Combine 1 egg with 1 Tablespoon water and whisk until smooth
Dinner Roll Instructions
- First, warm your milk in the microwave or on the stovetop until it reaches 109ºF.
- Combine the warm milk with your sugar, and then add the dried yeast.
- Give it a stir and set it aside for about 5 minutes.
- Next, in the bowl of your stand mixer, add your flour to the bowl with the egg and your yeast mixture.
- Mix with the dough hook on low speed (setting 1 on my Bosch Mixer, setting 2 on a KitchenAid) until everything is blended.
- Then, add your butter and salt to the bowl.
- Continue mixing on low speed (setting 1 on my Bosch Mixer, setting 2 on a KitchenAid) for 10-12 minutes or until the dough ball pulls away from the bowl and is firm and elastic. Touch the side of the dough ball, does it spring back? It’s ready. If it still seems very soft and oozes between your fingers, it has not developed enough gluten. Keep mixing.
- Place the dough into a lightly oiled bowl.
- Cover the bowl with a tea towel and set it in a warm place (but not too warm) for 60 minutes or until it doubles in size. Too much warmth will kill the yeast. And if it’s too cold, it won’t grow quickly. The ideal environment is about 80ºF.
- Once the dough is done rising, poke two fingers down into the top of the dough. If the hole stays and the dough does not spring back, then the dough has risen enough. If the dough bounces back, then it needs more time to rise.
- Take the dough out of the bowl and divide it into thirty, 2-ounce pieces of dough. I weigh mine, but you can eyeball it if you want.
- Fold the edges of the dough under itself until all the top of the dough is smooth.
- Place into the pan in four rows.
- Next, cover them with a towel and let them rise for one hour or until they have doubled in size.
- Once the rolls are nice and puffy (about 30 minutes).
- Brush the tops of the dough with your egg wash.
- Bake them in the oven at 350ºF for 25-30 minutes or until nice and golden brown. Don’t under-bake them or they will be doughy in the center.
- When they’re done baking, brush them with melted butter and add a sprinkle of sea salt. Serve warm!
Video
Notes
- Use a scale to weigh your ingredients (including liquids) unless otherwise instructed (Tablespoons, teaspoons, pinch etc). Metric measurements are available in the recipe card. Scaled ingredients are much more accurate than using cups and help ensure the success of your recipe.
- Practice Mise en Place (everything in it’s place). Measure out your ingredients ahead of time and have them ready before you start mixing to reduce the chances of accidentally leaving something out.
- When proofing the dough, I turn my oven on to 170ºF and open the door. Then, I place my dough on the oven door near the opening of the oven to proof (i.e. not INSIDE of the oven).
- You can use Instant yeast, but you will want to let your dough proof for only 30 minutes the first time and then 10 minutes after you shape your rolls before baking.
- There is no need to bloom instant yeast in milk. Just add the yeast to the flour, and add the milk mixture to the flour mixture before you mix as directed.
Nutrition








Loretta says
What is that machine called you use to mix the dough with? I am very intrigued!
The Sugar Geek Show says
This is called a bosch universal plus mixer and is amazing! Here is a link to my review https://sugargeekshow.com/news/bosch-mixer-review/
Susan Phillips says
Hi! These look amazing, thanks for posting. Wondering if these can be baked, then frozen? Would love to serve for Christmas but could not make that day. Thanks! I love your blog
The Sugar Geek Show says
Absolutely you can freeze them.
Alicia says
Does whole milk have to be used?
The Sugar Geek Show says
Whole milk just has more fat in it which results in moister rolls but you can use any milk you have on hand
Casey says
Awesome recipe! So light and fluffy. It was my first time making bread, so I was a little intimidated, but this blog post really helped. Thanks!
Deedee O says
can any left over dough be frozen?
The Sugar Geek Show says
Definitely. Shape into rolls and then freeze. Defrost and let them proof to double before baking
Aphrodite says
May I ask about instant dry yeast? Is it the same with instant yeast u are using? If not what changes do I have to make?? Only time for rising? Can’t wait to try them!!
The Sugar Geek Show says
You can use instant instead of dry. Instead of putting the yeast in the milk, just mix it right into the flour and you will only need to proof for 25 minutes or until the dough has doubled in size. Shape into rolls and let the rolls rest 5-10 minutes before baking.
Victoria says
My dough didn't rise all that much. I bloomed my instant yeast in the milk because I forgot about the note at the bottom. Would that have a negative effect? Thanks!
The Sugar Geek Show says
Yes, your yeast was probably over-proofed so it began to deflate.
Maddie says
Hello! In your notes it says oil can be used instead of butter and I’m wondering what type of oil would work well here? Also, do you think the difference of using oil vs butter would be drastic? Not sure which one I wanna use haha. Thanks for this recipe, very excited to try it 🙂
Elizabeth Marek says
The difference is minimal. I like using olive oil.
IrenArt says
Bellissimo !❤️❤️❤️
Susi says
I made them today. They were delicious. I had to control my family so there were some left for tomorrow's breakfast. Really easy and few ingredients.
Sana says
I tried this recipe and I can guarantee the dough was supposed to produce amazing soft rolls as I followed the dough recipe carefully. My rolls came out harder. Is it because of my oven running may be low?
Elizabeth Marek says
It could be if your dough did not rise, make sure you're using instant yeast, not active yeast. If you're using active yeast then the bread will need to rise for longer.
Sarahí says
Absolutely loved the flavor!!! Omggg, the buttery salty flavor, amazing!!