

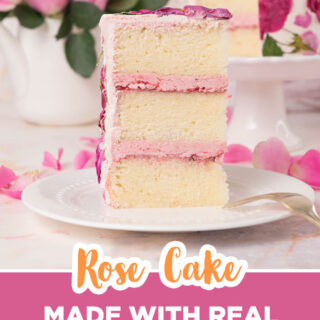
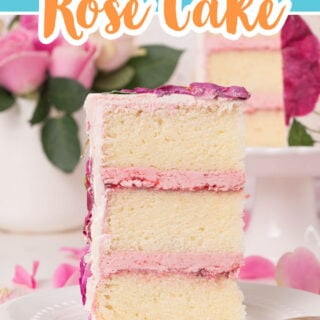

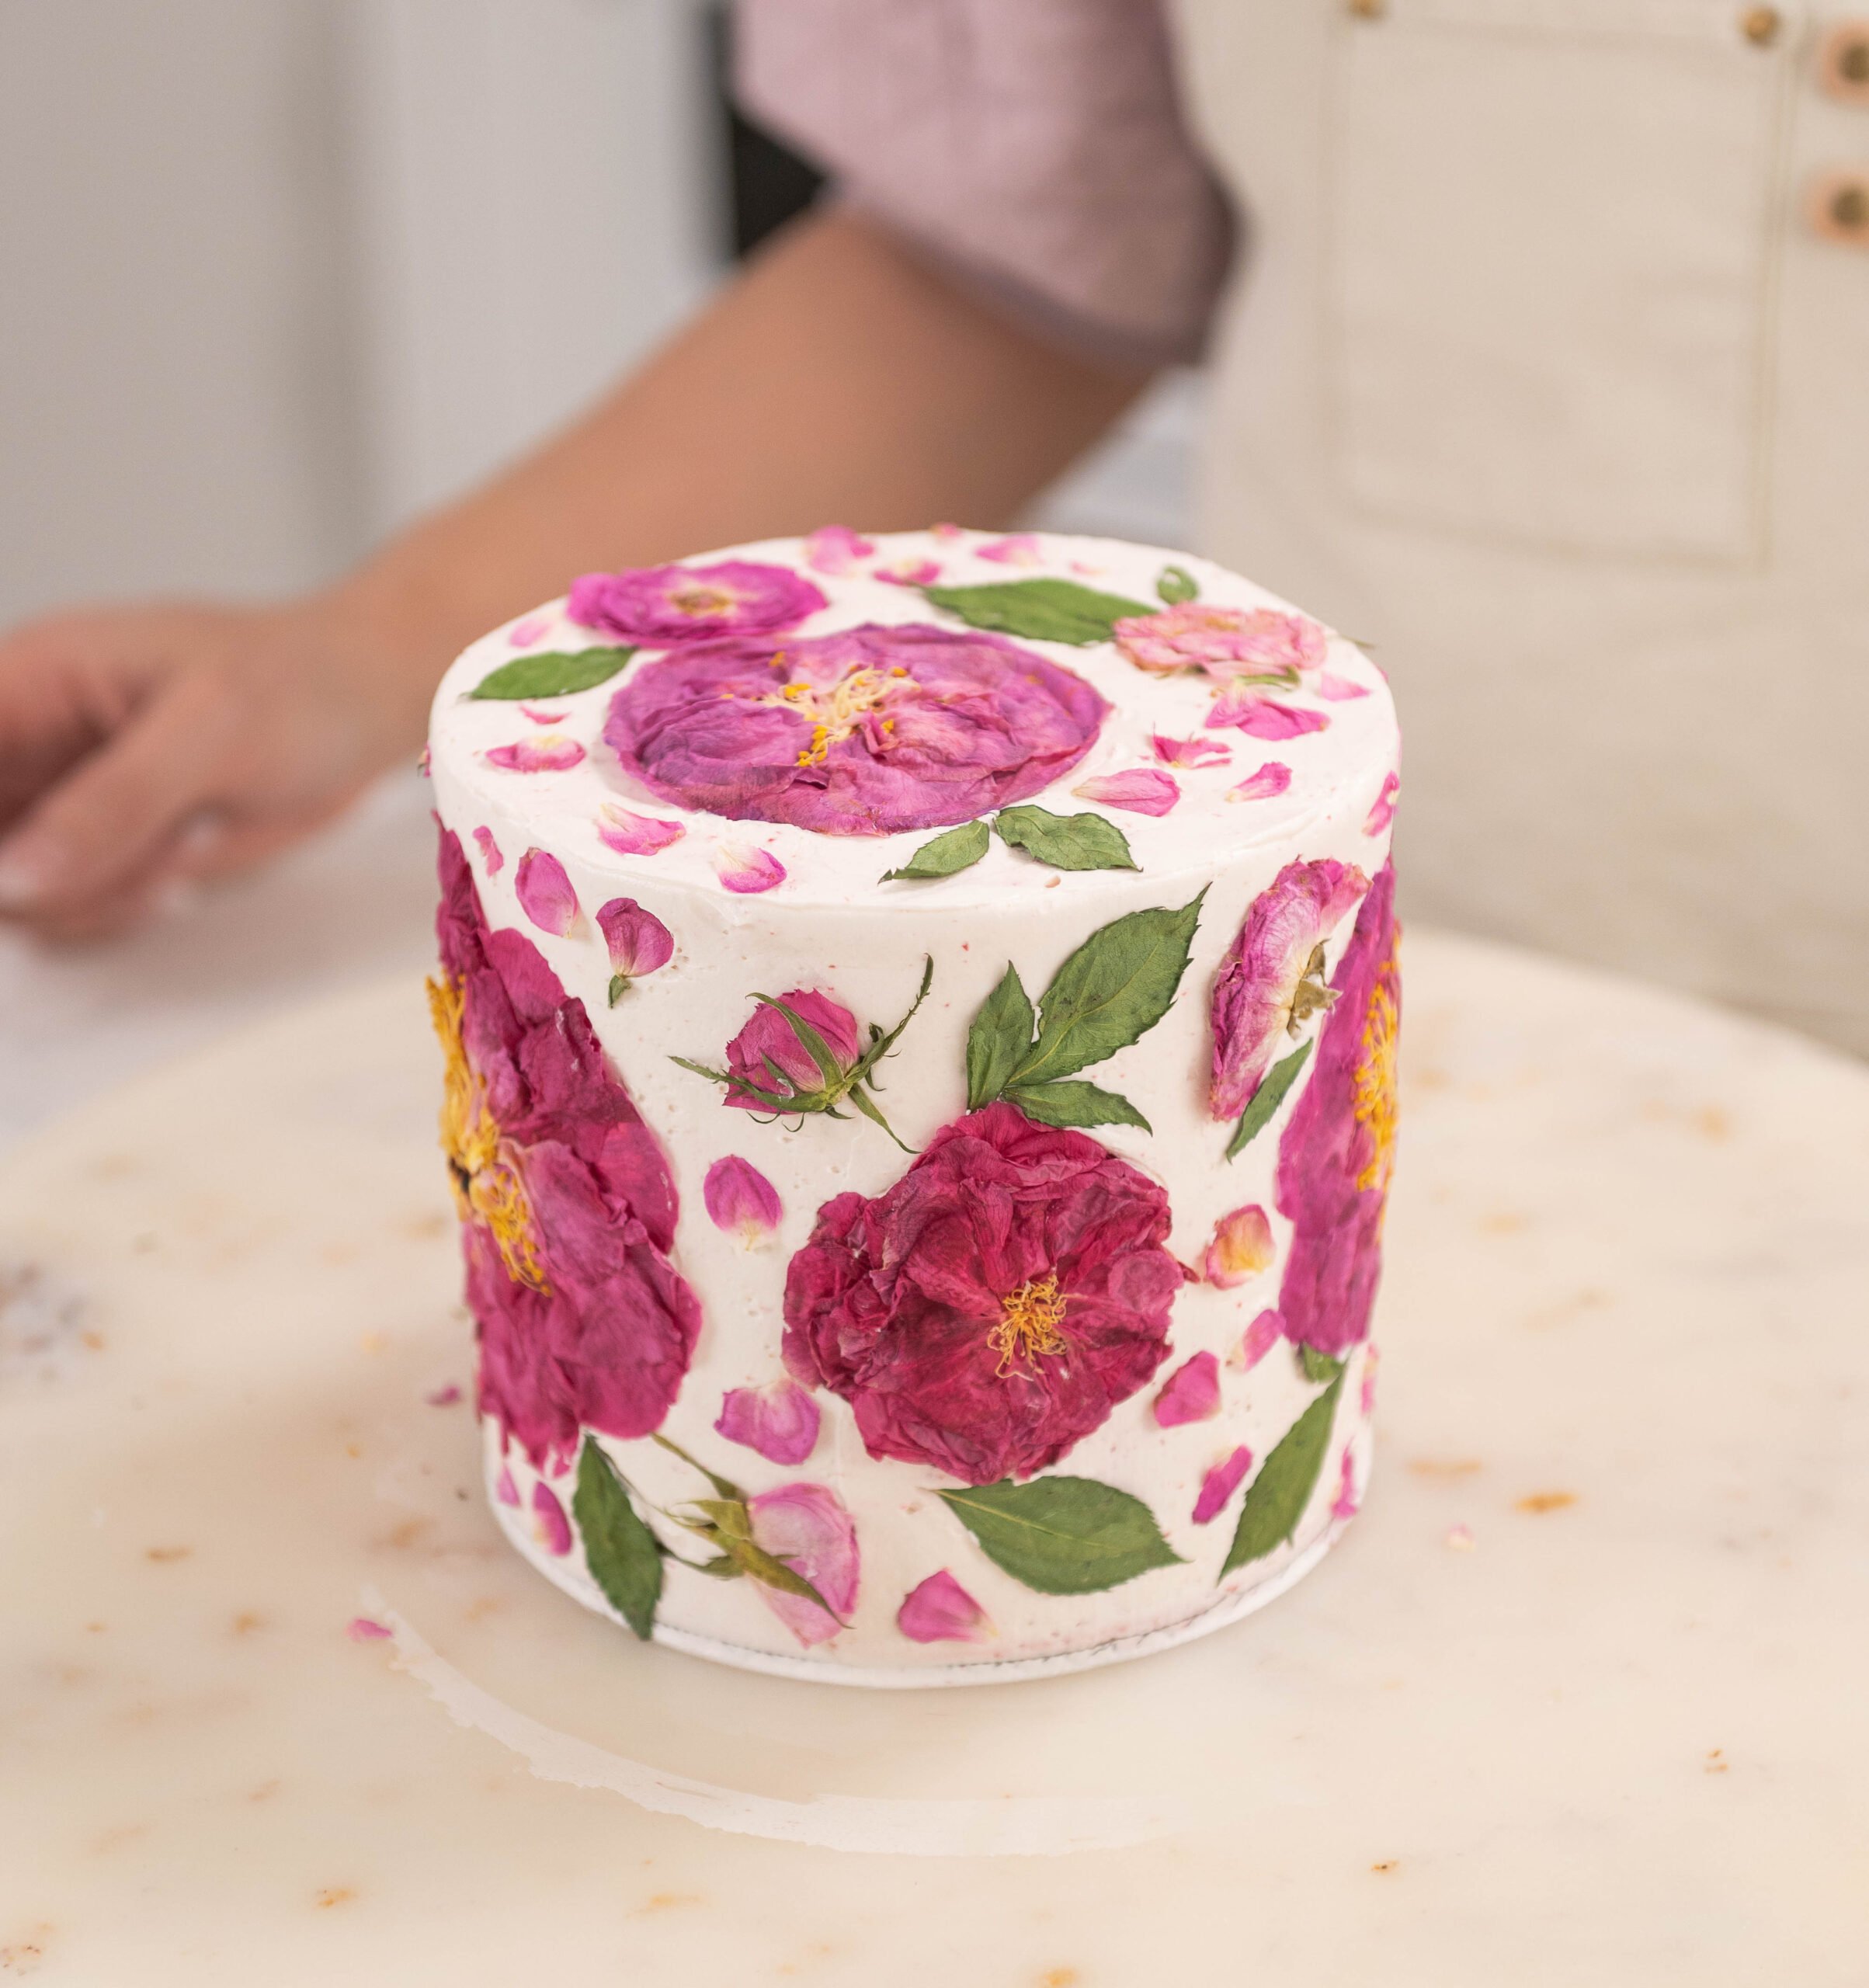
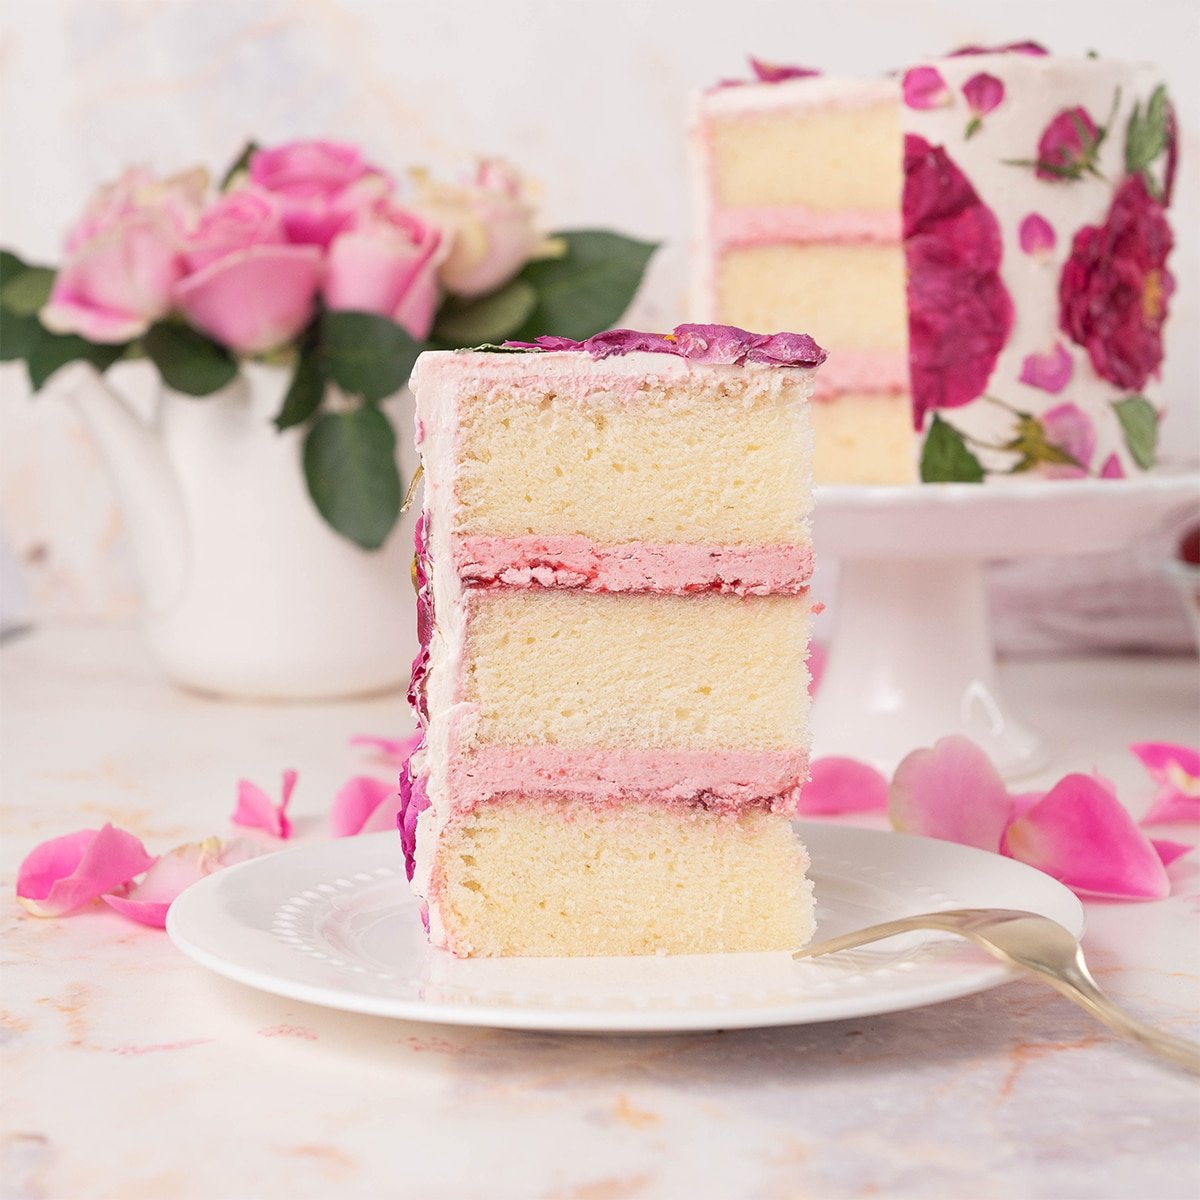
This Rose Cake tastes like rose bushes blooming in the spring. It’s filled with my Raspberry Filling and topped with sweet tangy raspberry buttercream making this cake super light, soft, and overall beautiful. It makes for a perfect gift for mothers day, valentines day, or a gift to family and friends. 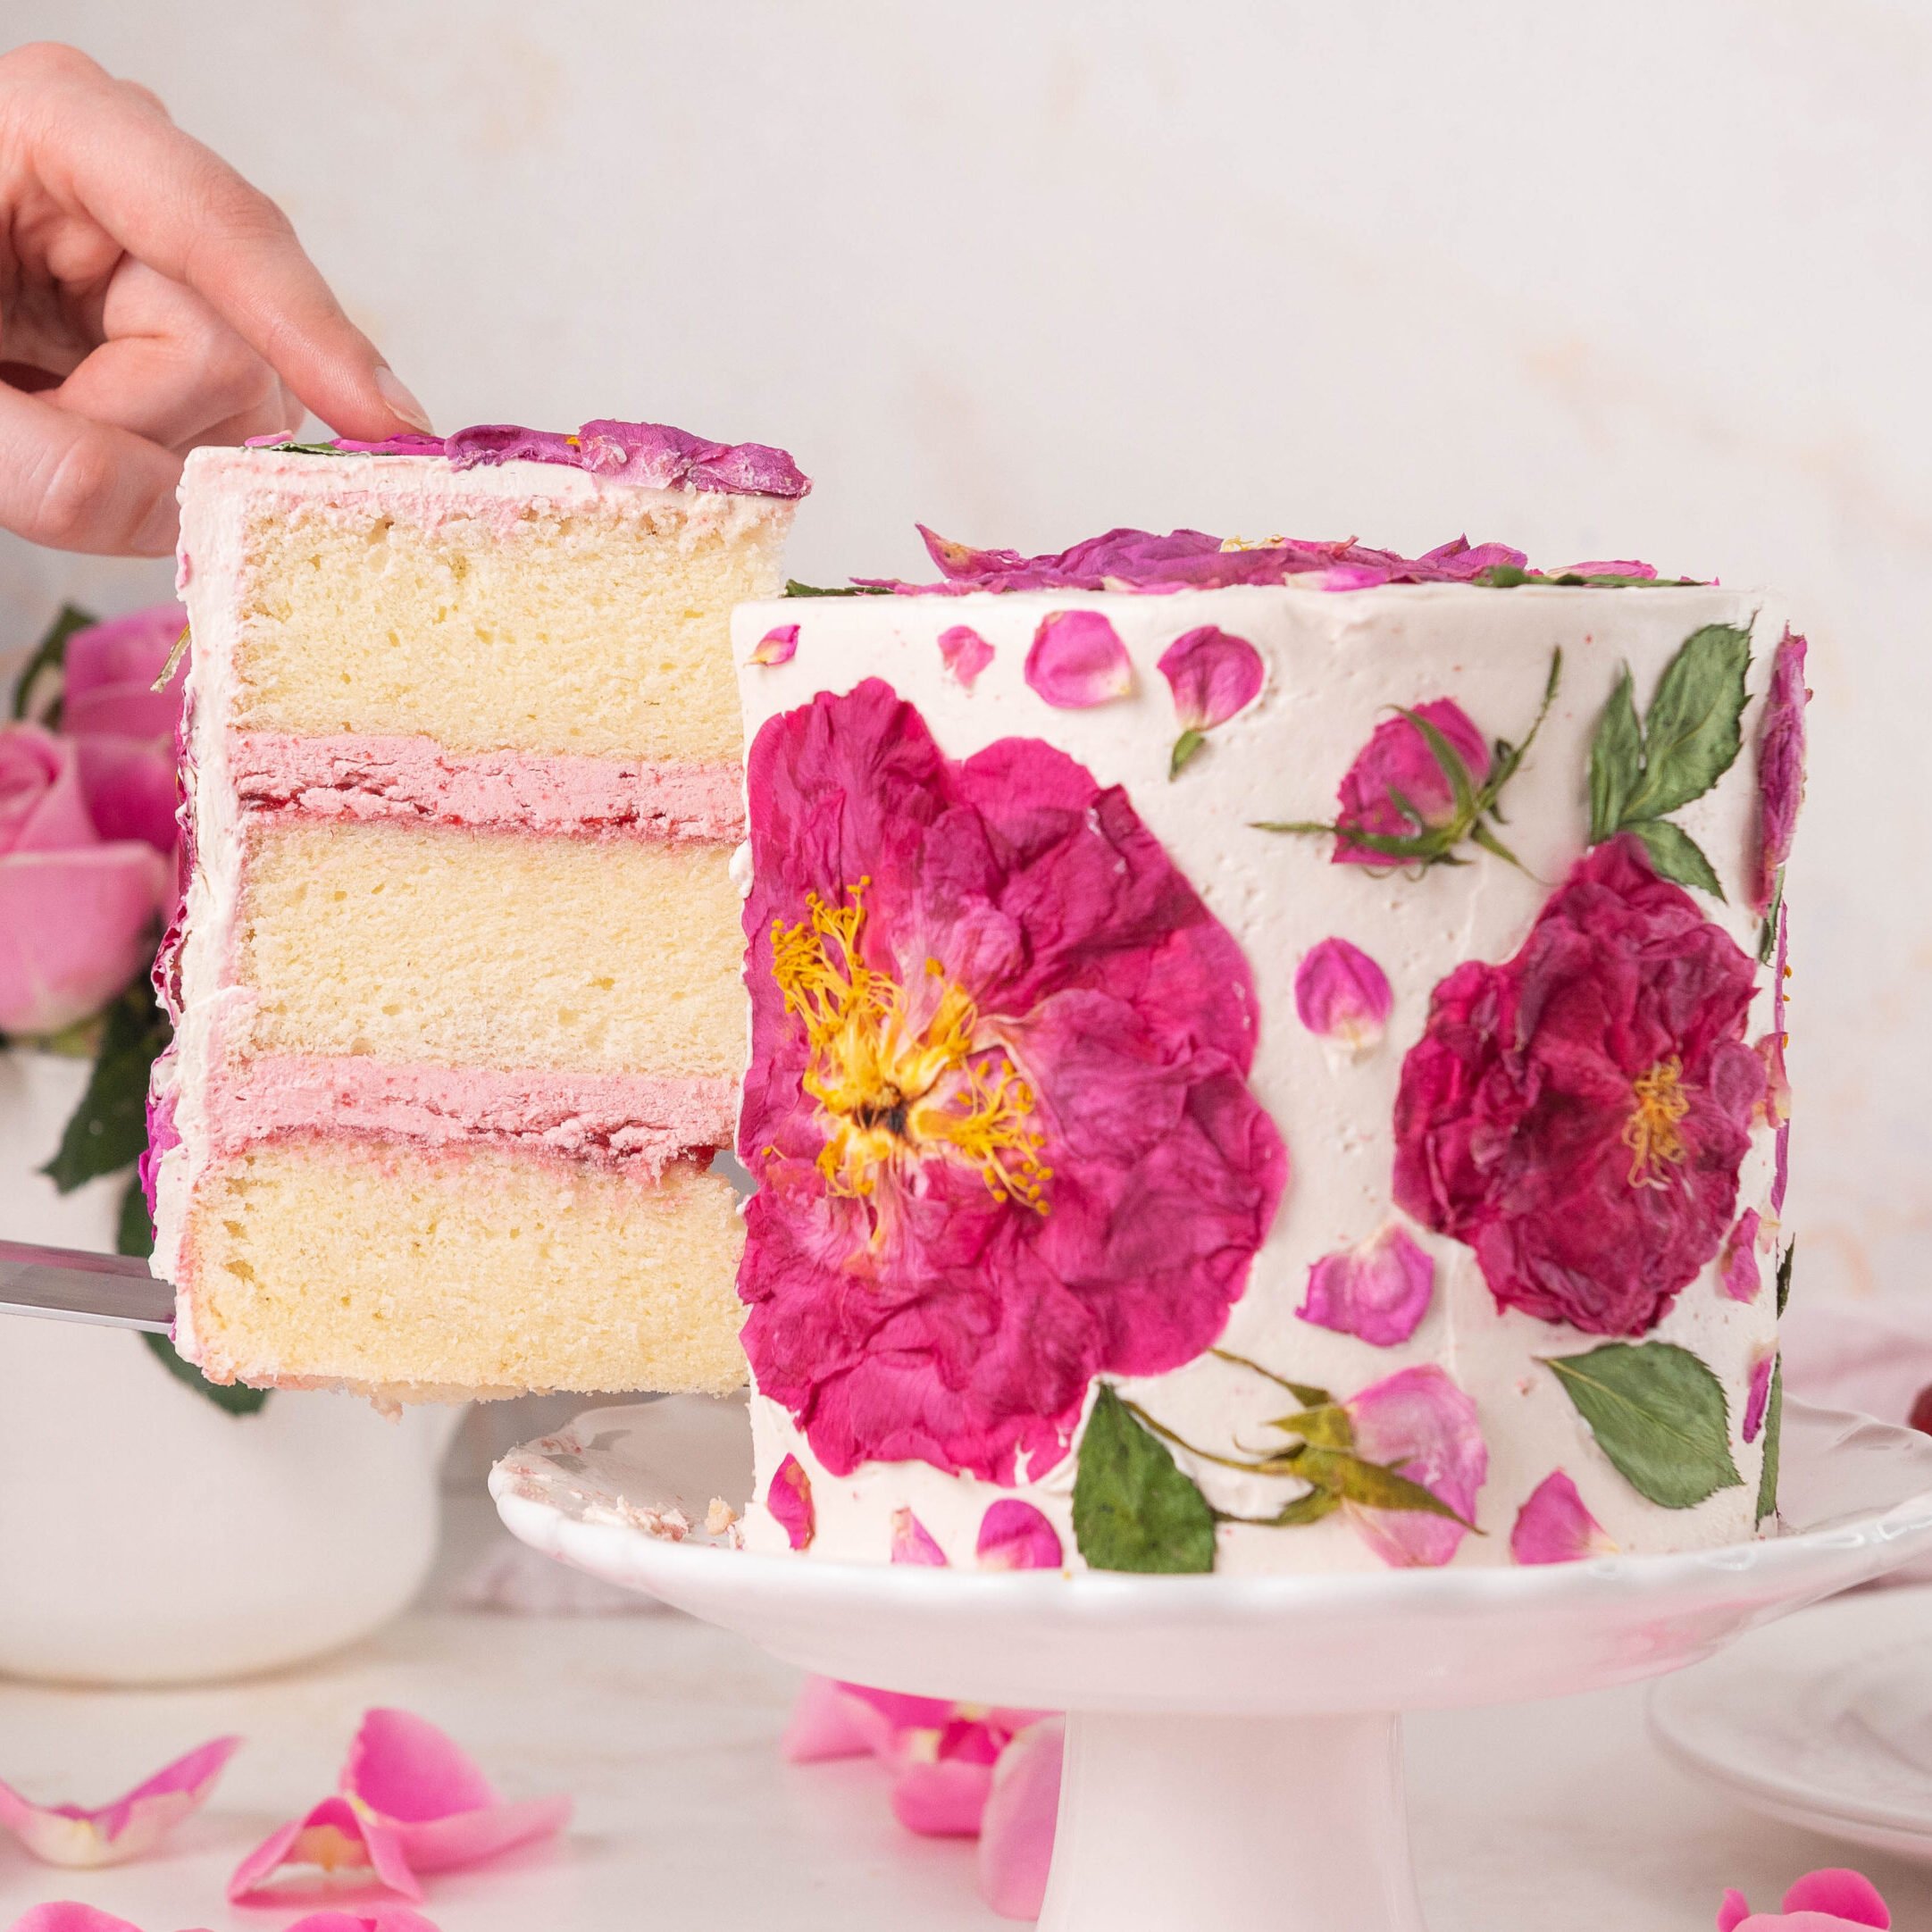
This Rose Cake contains rose water and dried rose petals that give this cake a light, beautiful essence of rose. The dried rose petals look adorable in each slice you cut and it blends wonderfully with the tang of the raspberry filling and the raspberry buttercream. This recipe is based on my famous white velvet buttermilk cake!
What's In This Blog Post
Rose Cake Ingredients
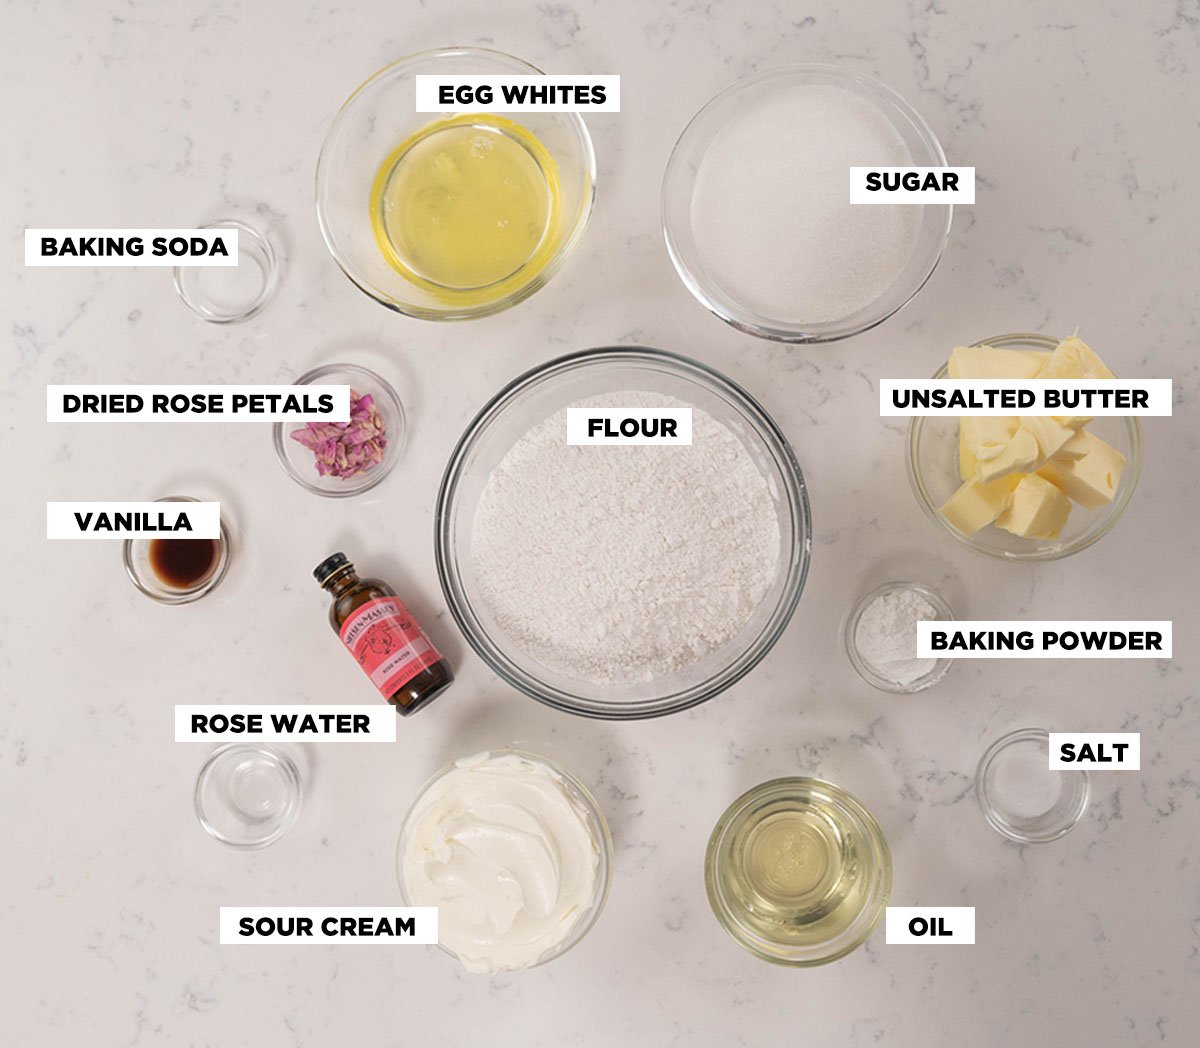
Sour Cream: For this recipe, we are using sour cream instead of buttermilk because it’s less tangy than buttermilk but it still gives it enough acidity while adding in extra moisture.
Rose Water: Since this is a rose cake we obviously need to add rose flavoring. You can use rose extract also because it’s the exact same thing as rose water. I'm using Neilsen Massey , but you can use any brand. You can get them on Amazon or find them usually in a mixer section of the grocery store. Find one you like because each brand has a different strength of flavor and smell.
Dried Rose Petals: We are adding dried rose petals inside the batter because it looks pretty, but this is totally optional. The darker color the rose petals are, the stronger your flavor will be. You can use any that you would like but try and use bright colors because when the cakes bake in the oven, the color will become dull. Rose petals are safe to consume, just make sure you buy them organic to make sure they have no pesticides.
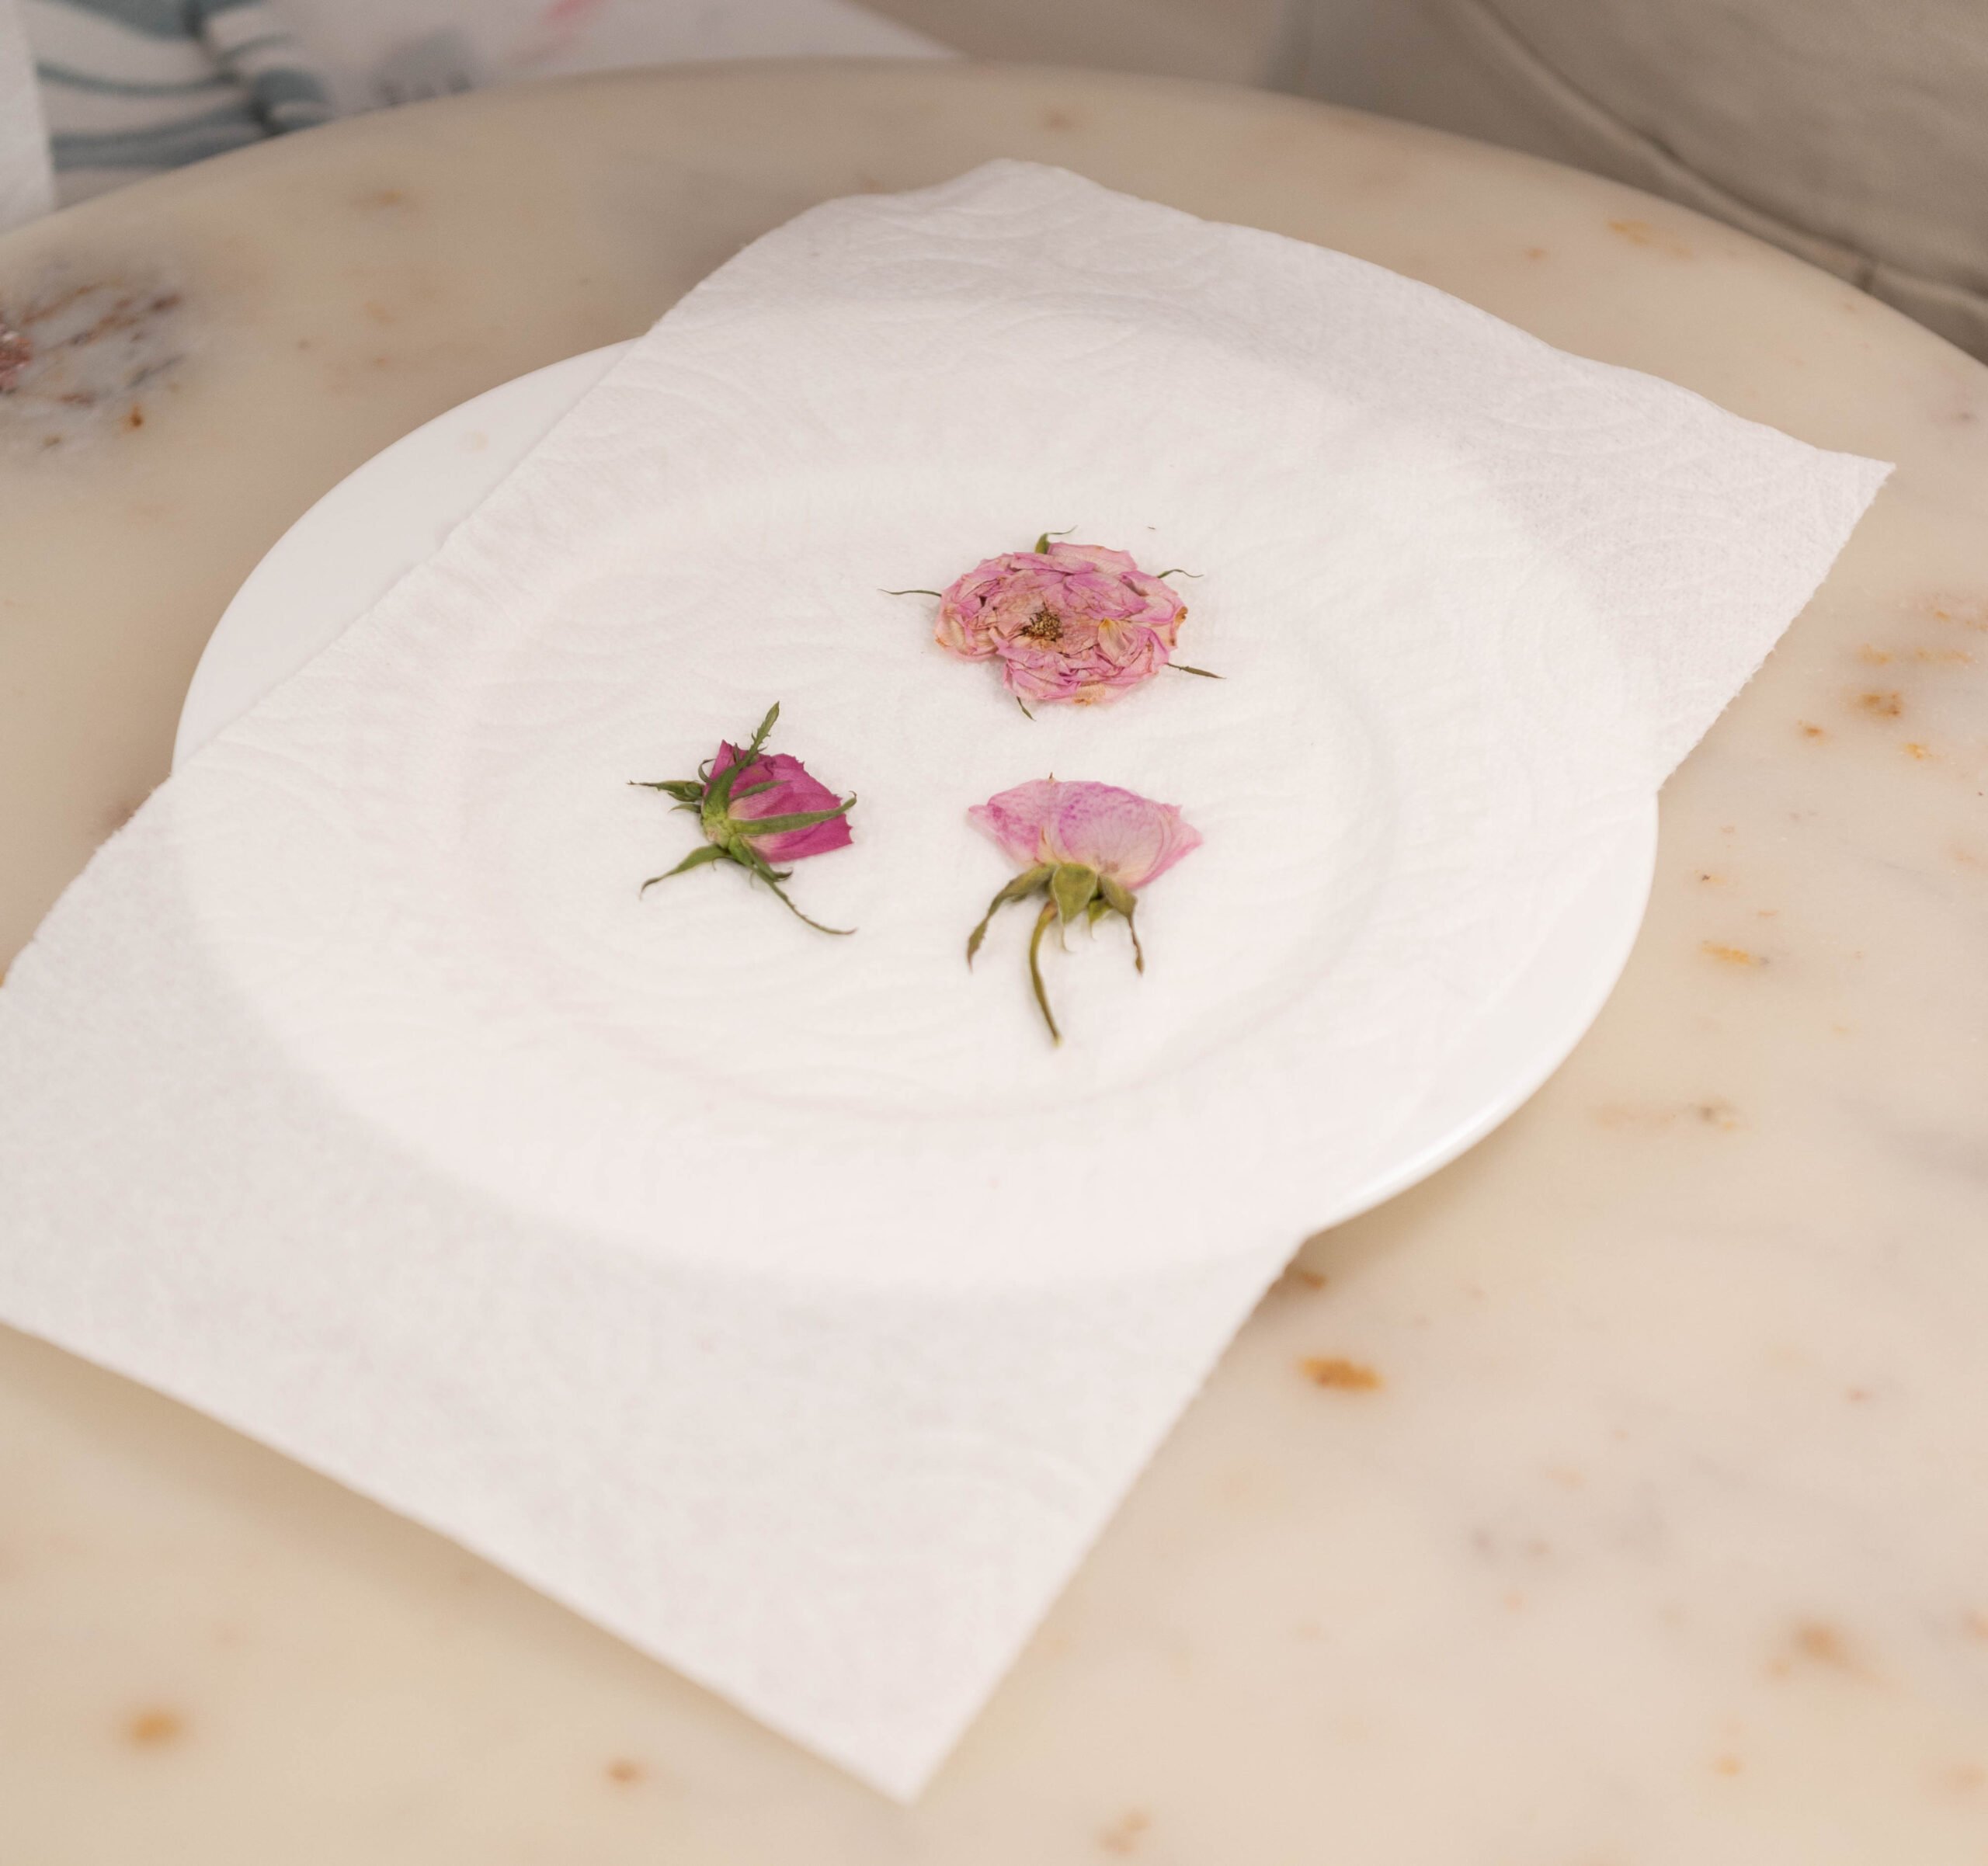
Preparing The Dried Flowers and Petals
- Take a plate of your choice and place a paper towel on top.

- Place your rose petals and full flowers on a plate. Spread out the full flowers a little to flatten them out. Use as many as you would like.
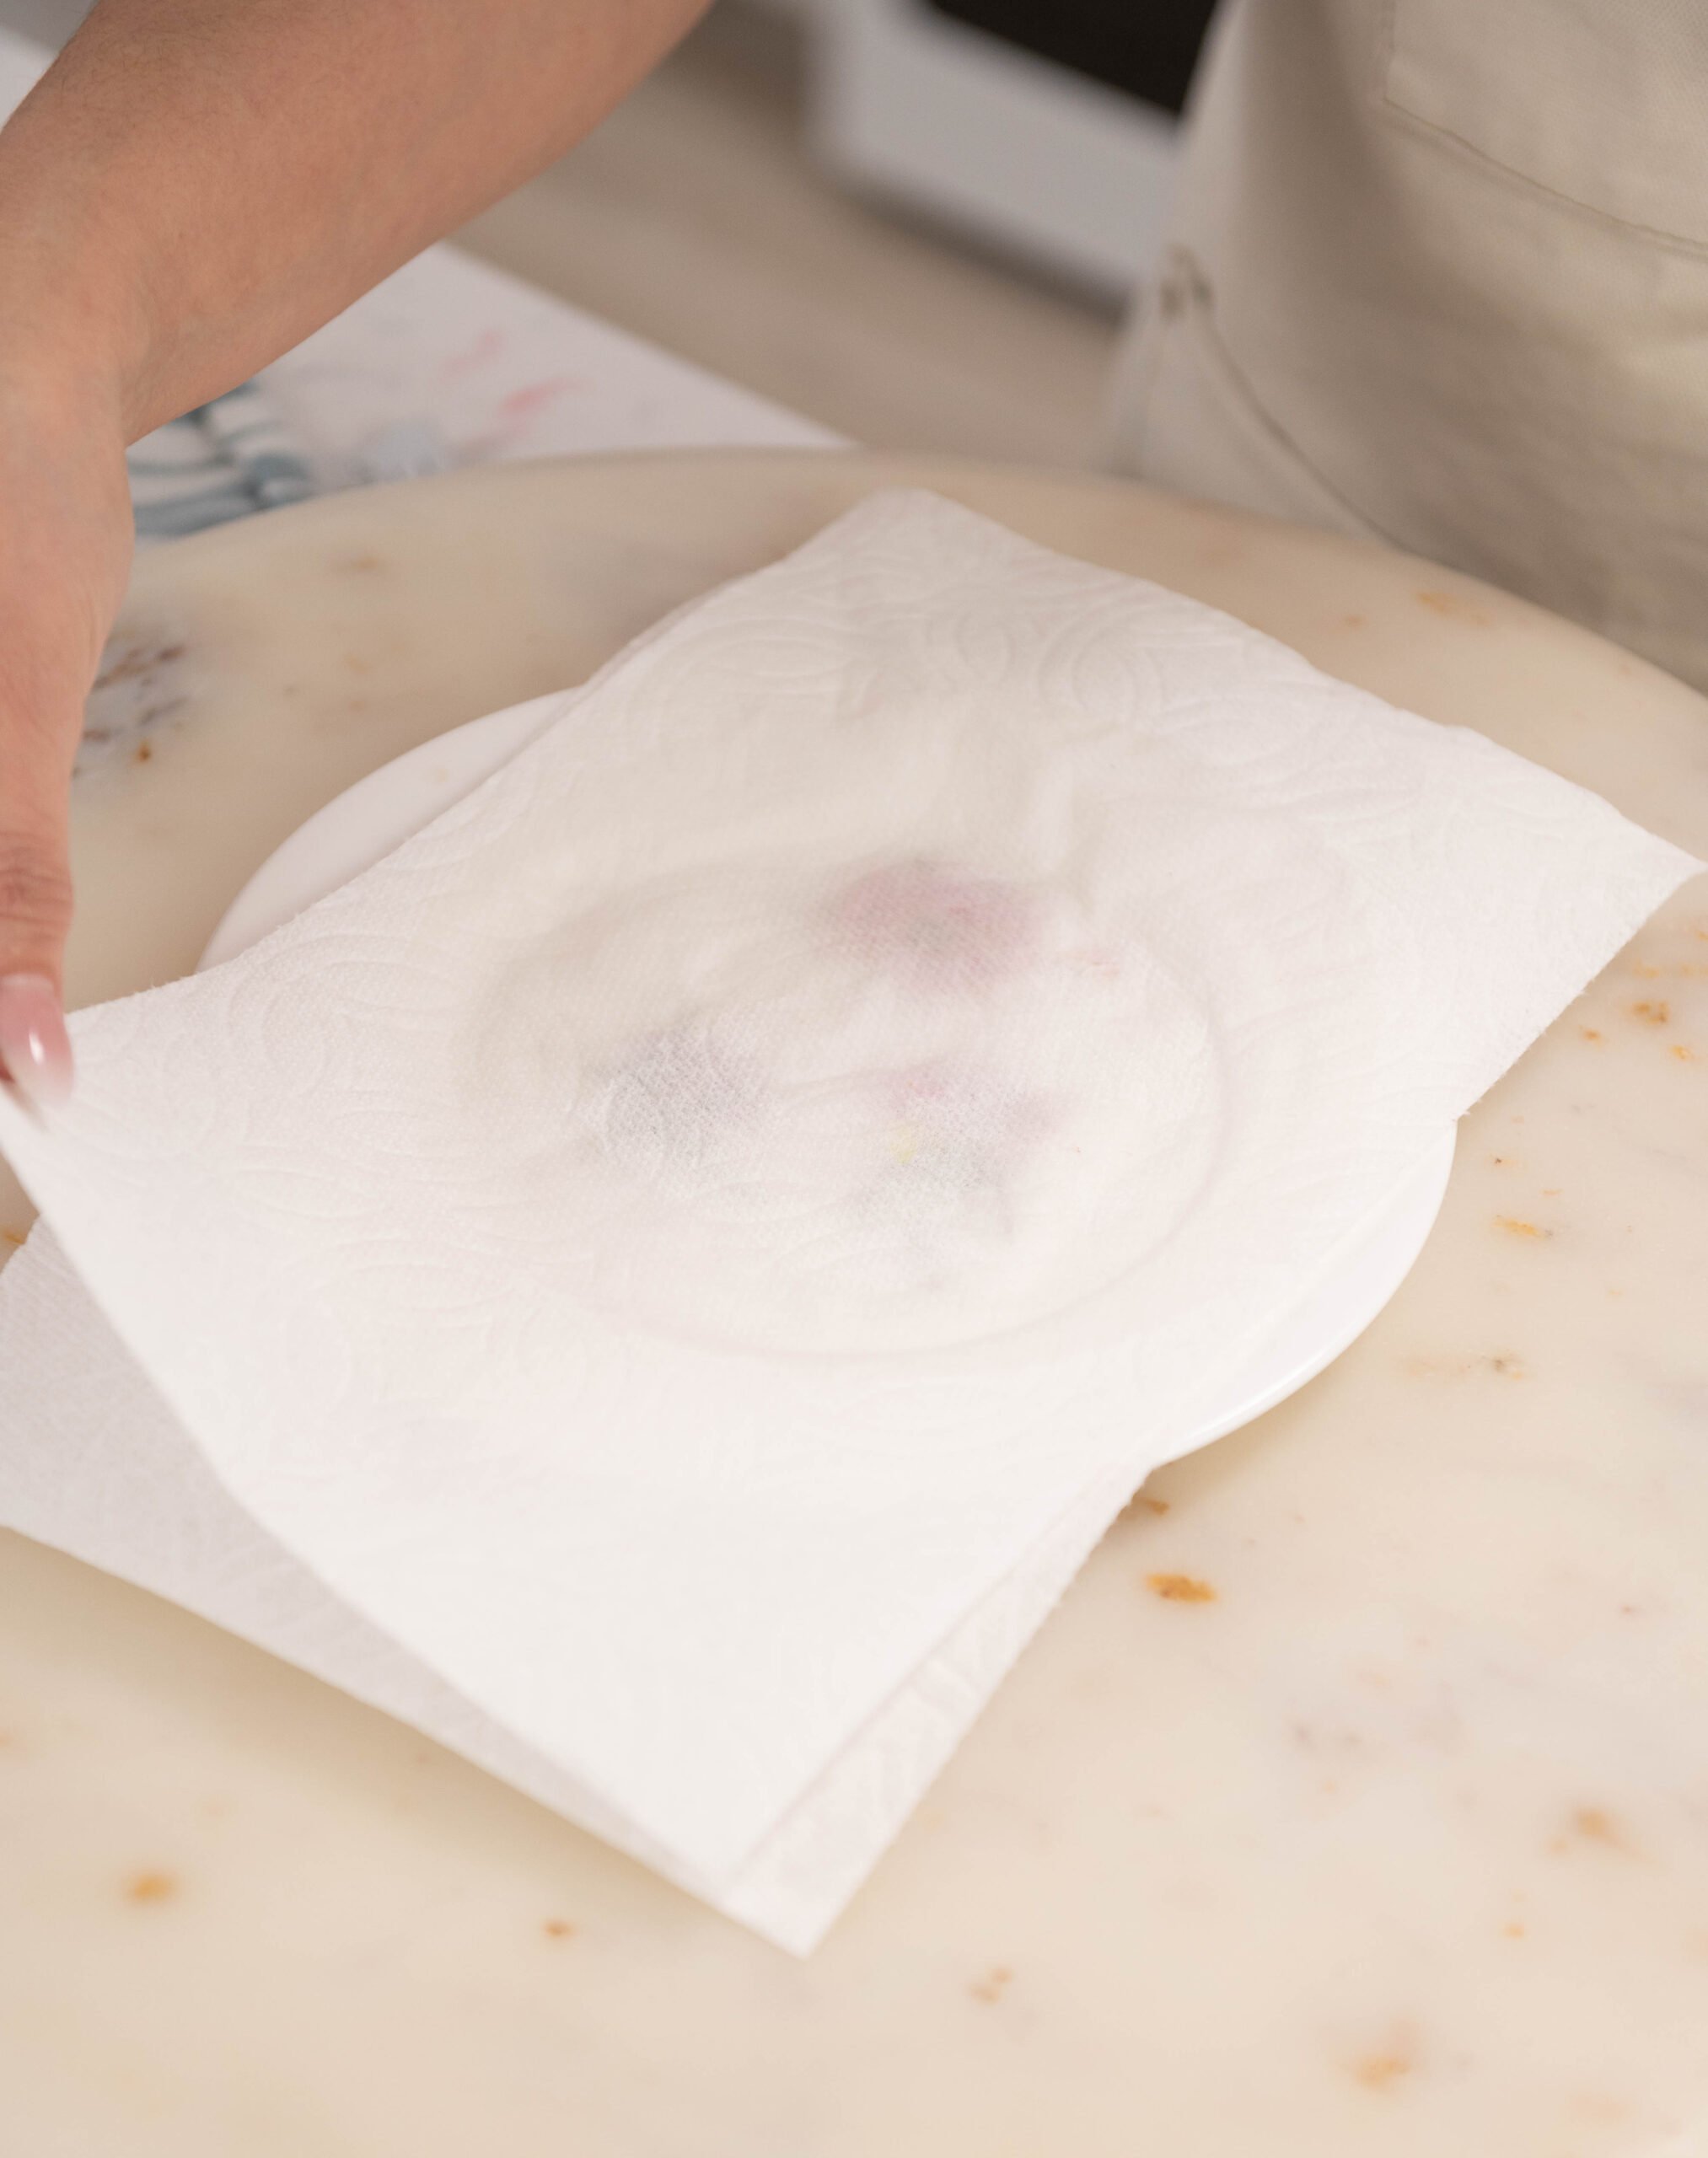
- Place another paper towel on top of the flowers, then place a second plate on top to weigh the petals down.

- Microwave for one minute.
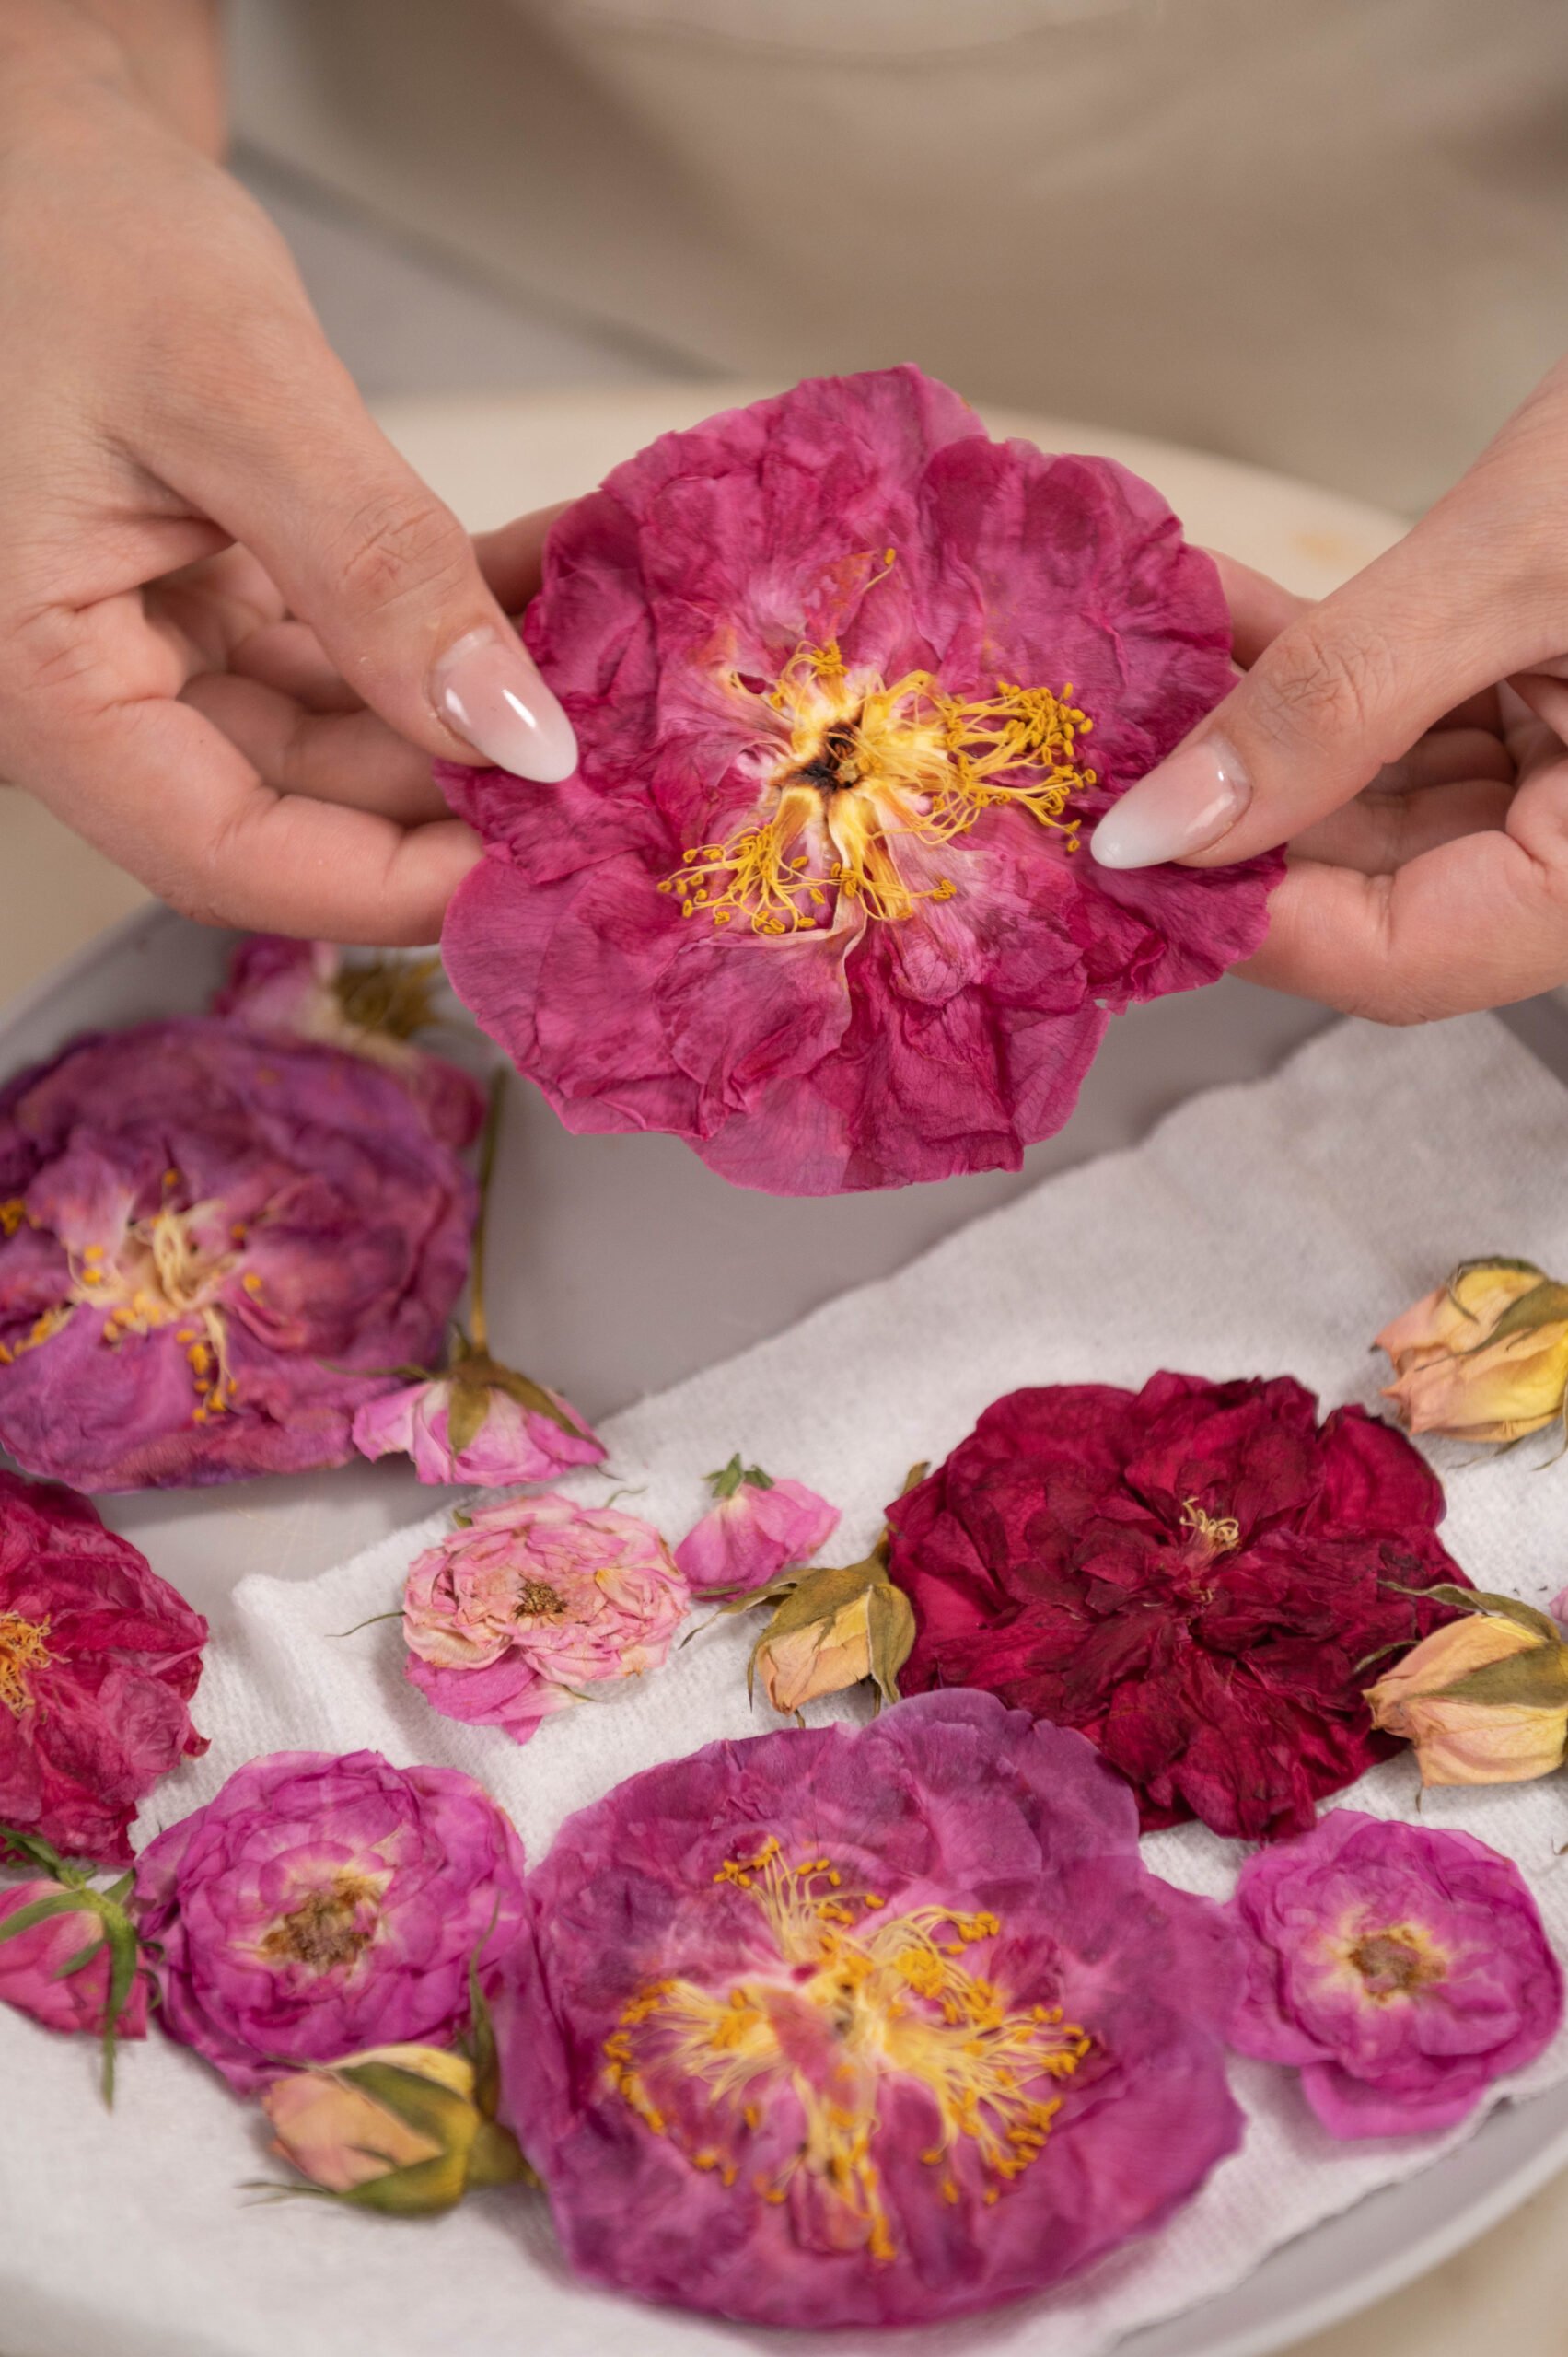
- Use for decoration or crush and use in the cake. Note: if you notice after a minute of microwaving that they are still wet, keep microwaving at 15-second intervals until they are dry to the touch. You can also use the same process for any flowers or even leaves.

Making The Rose Cake
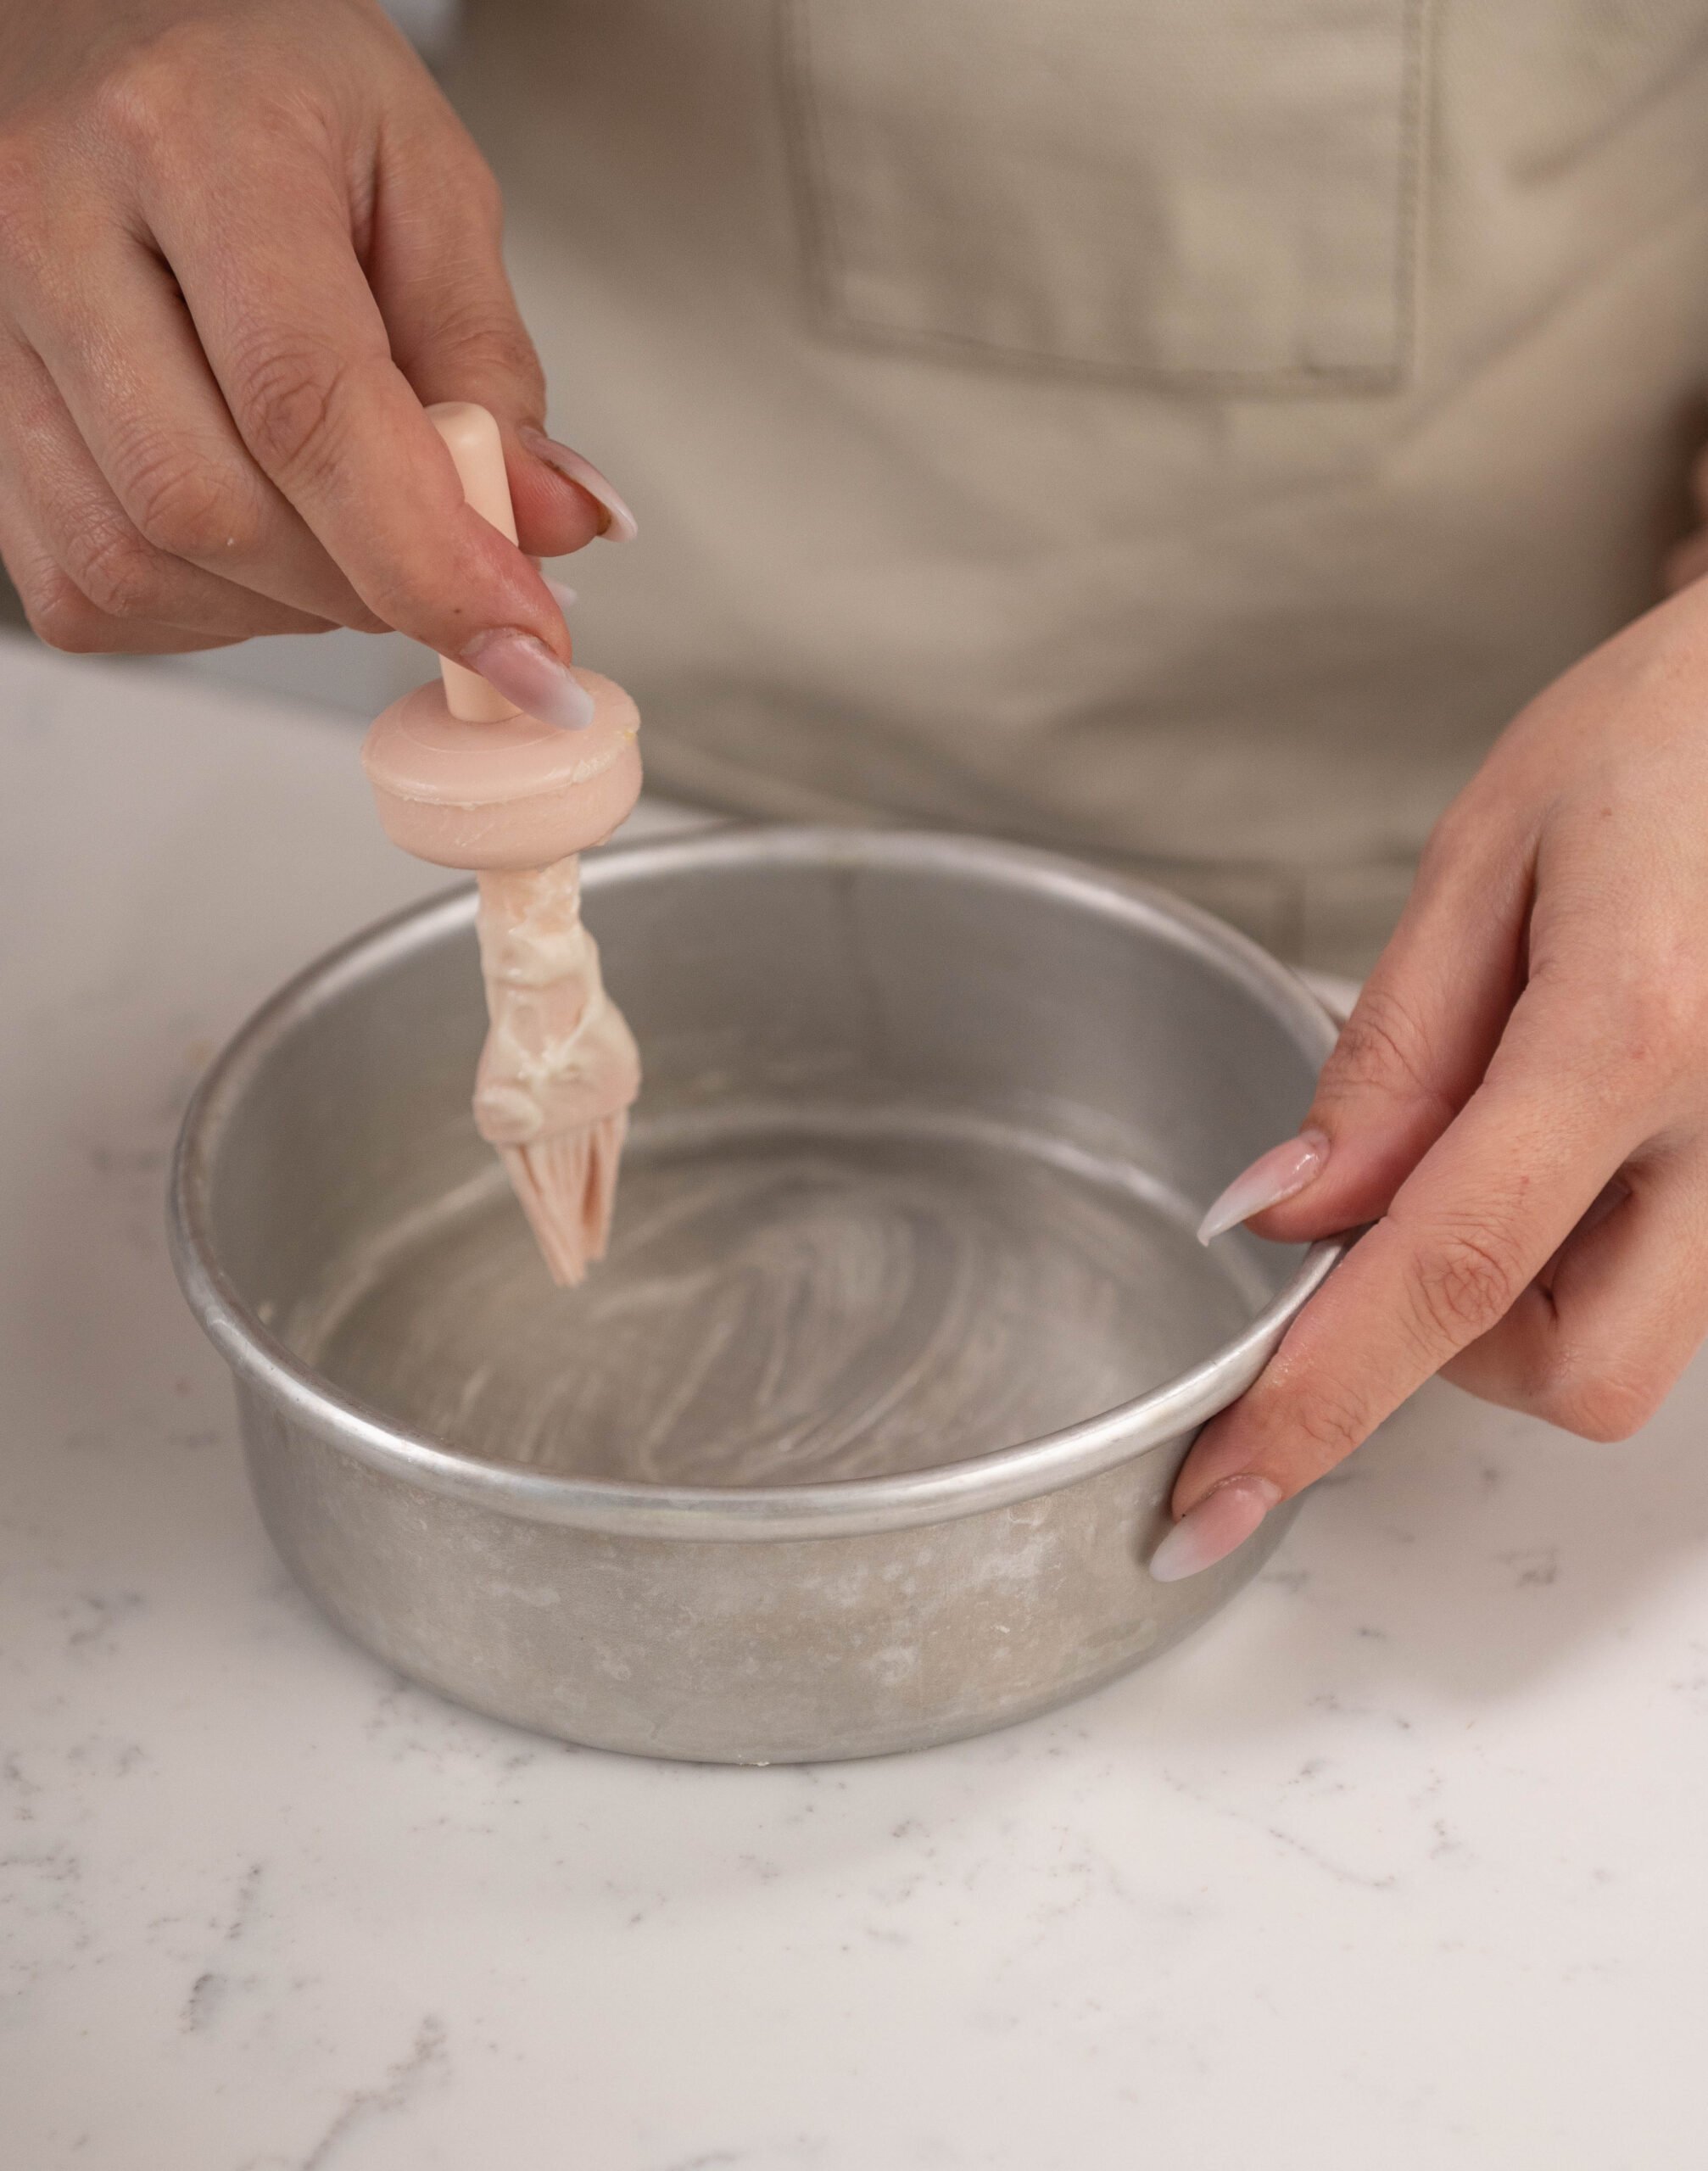
- Preheat your oven to 350º F and prepare 3 cake pans with cake goop, or your preferred cake release.

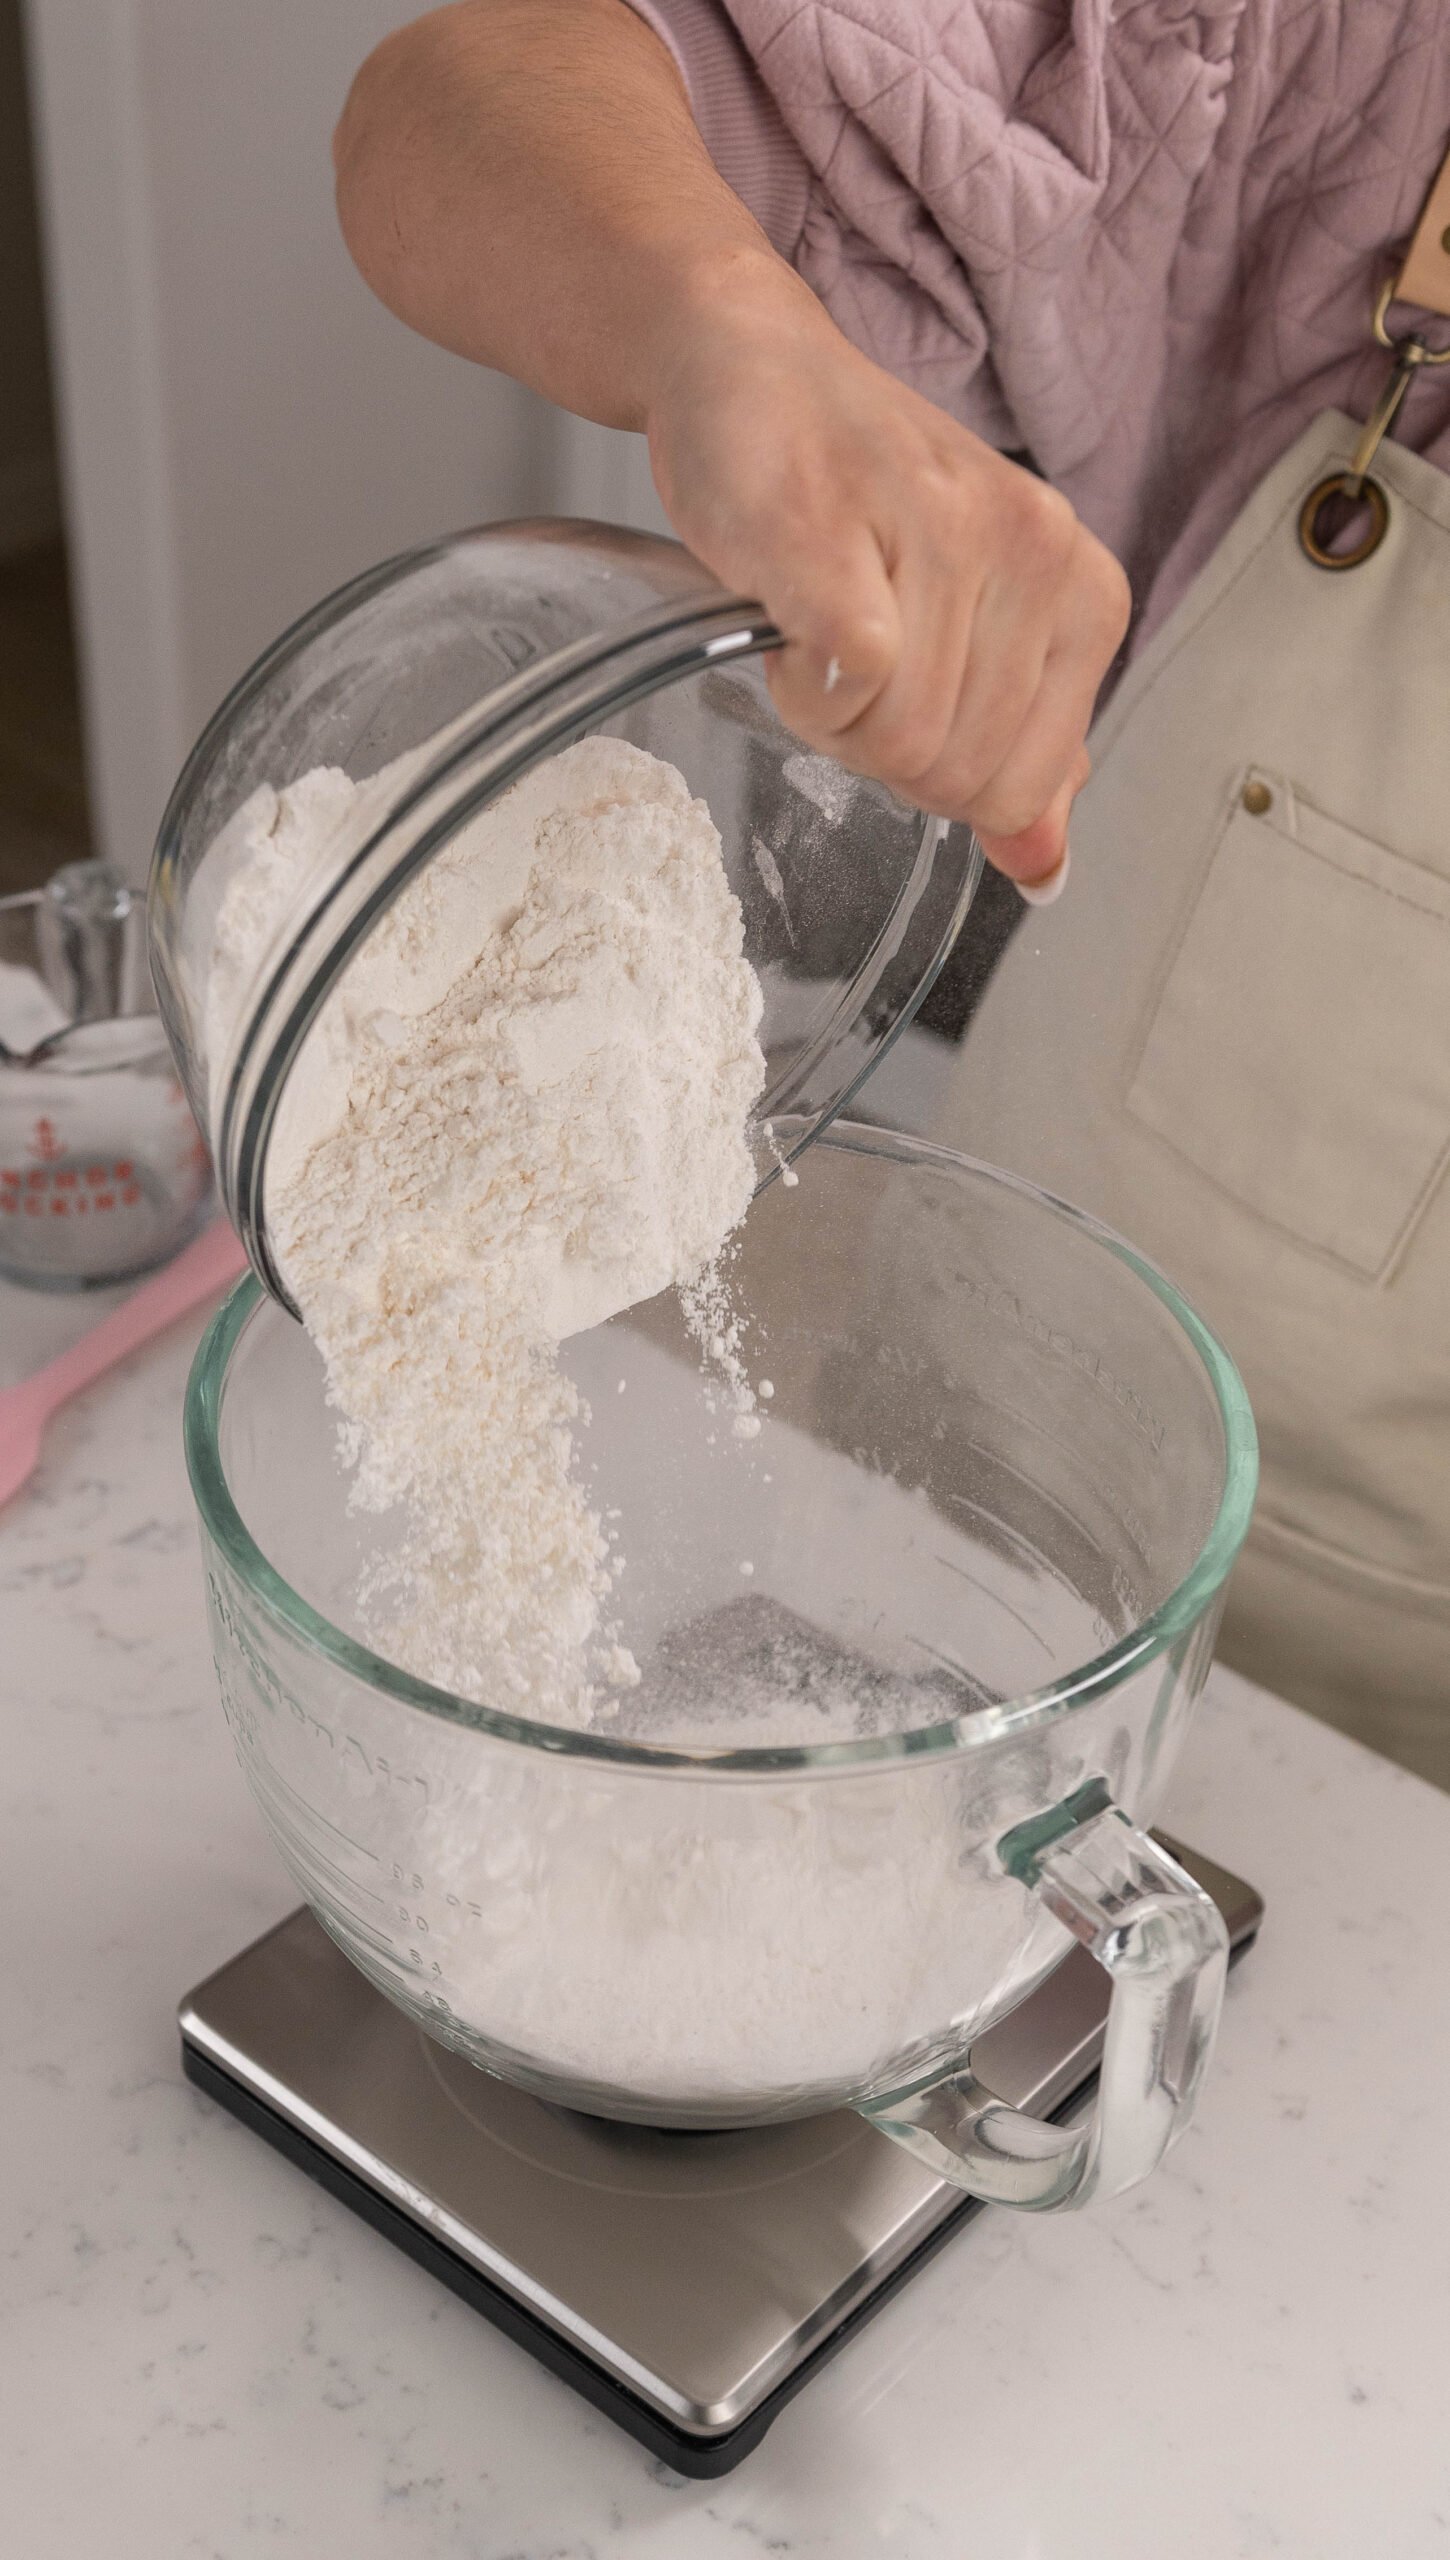
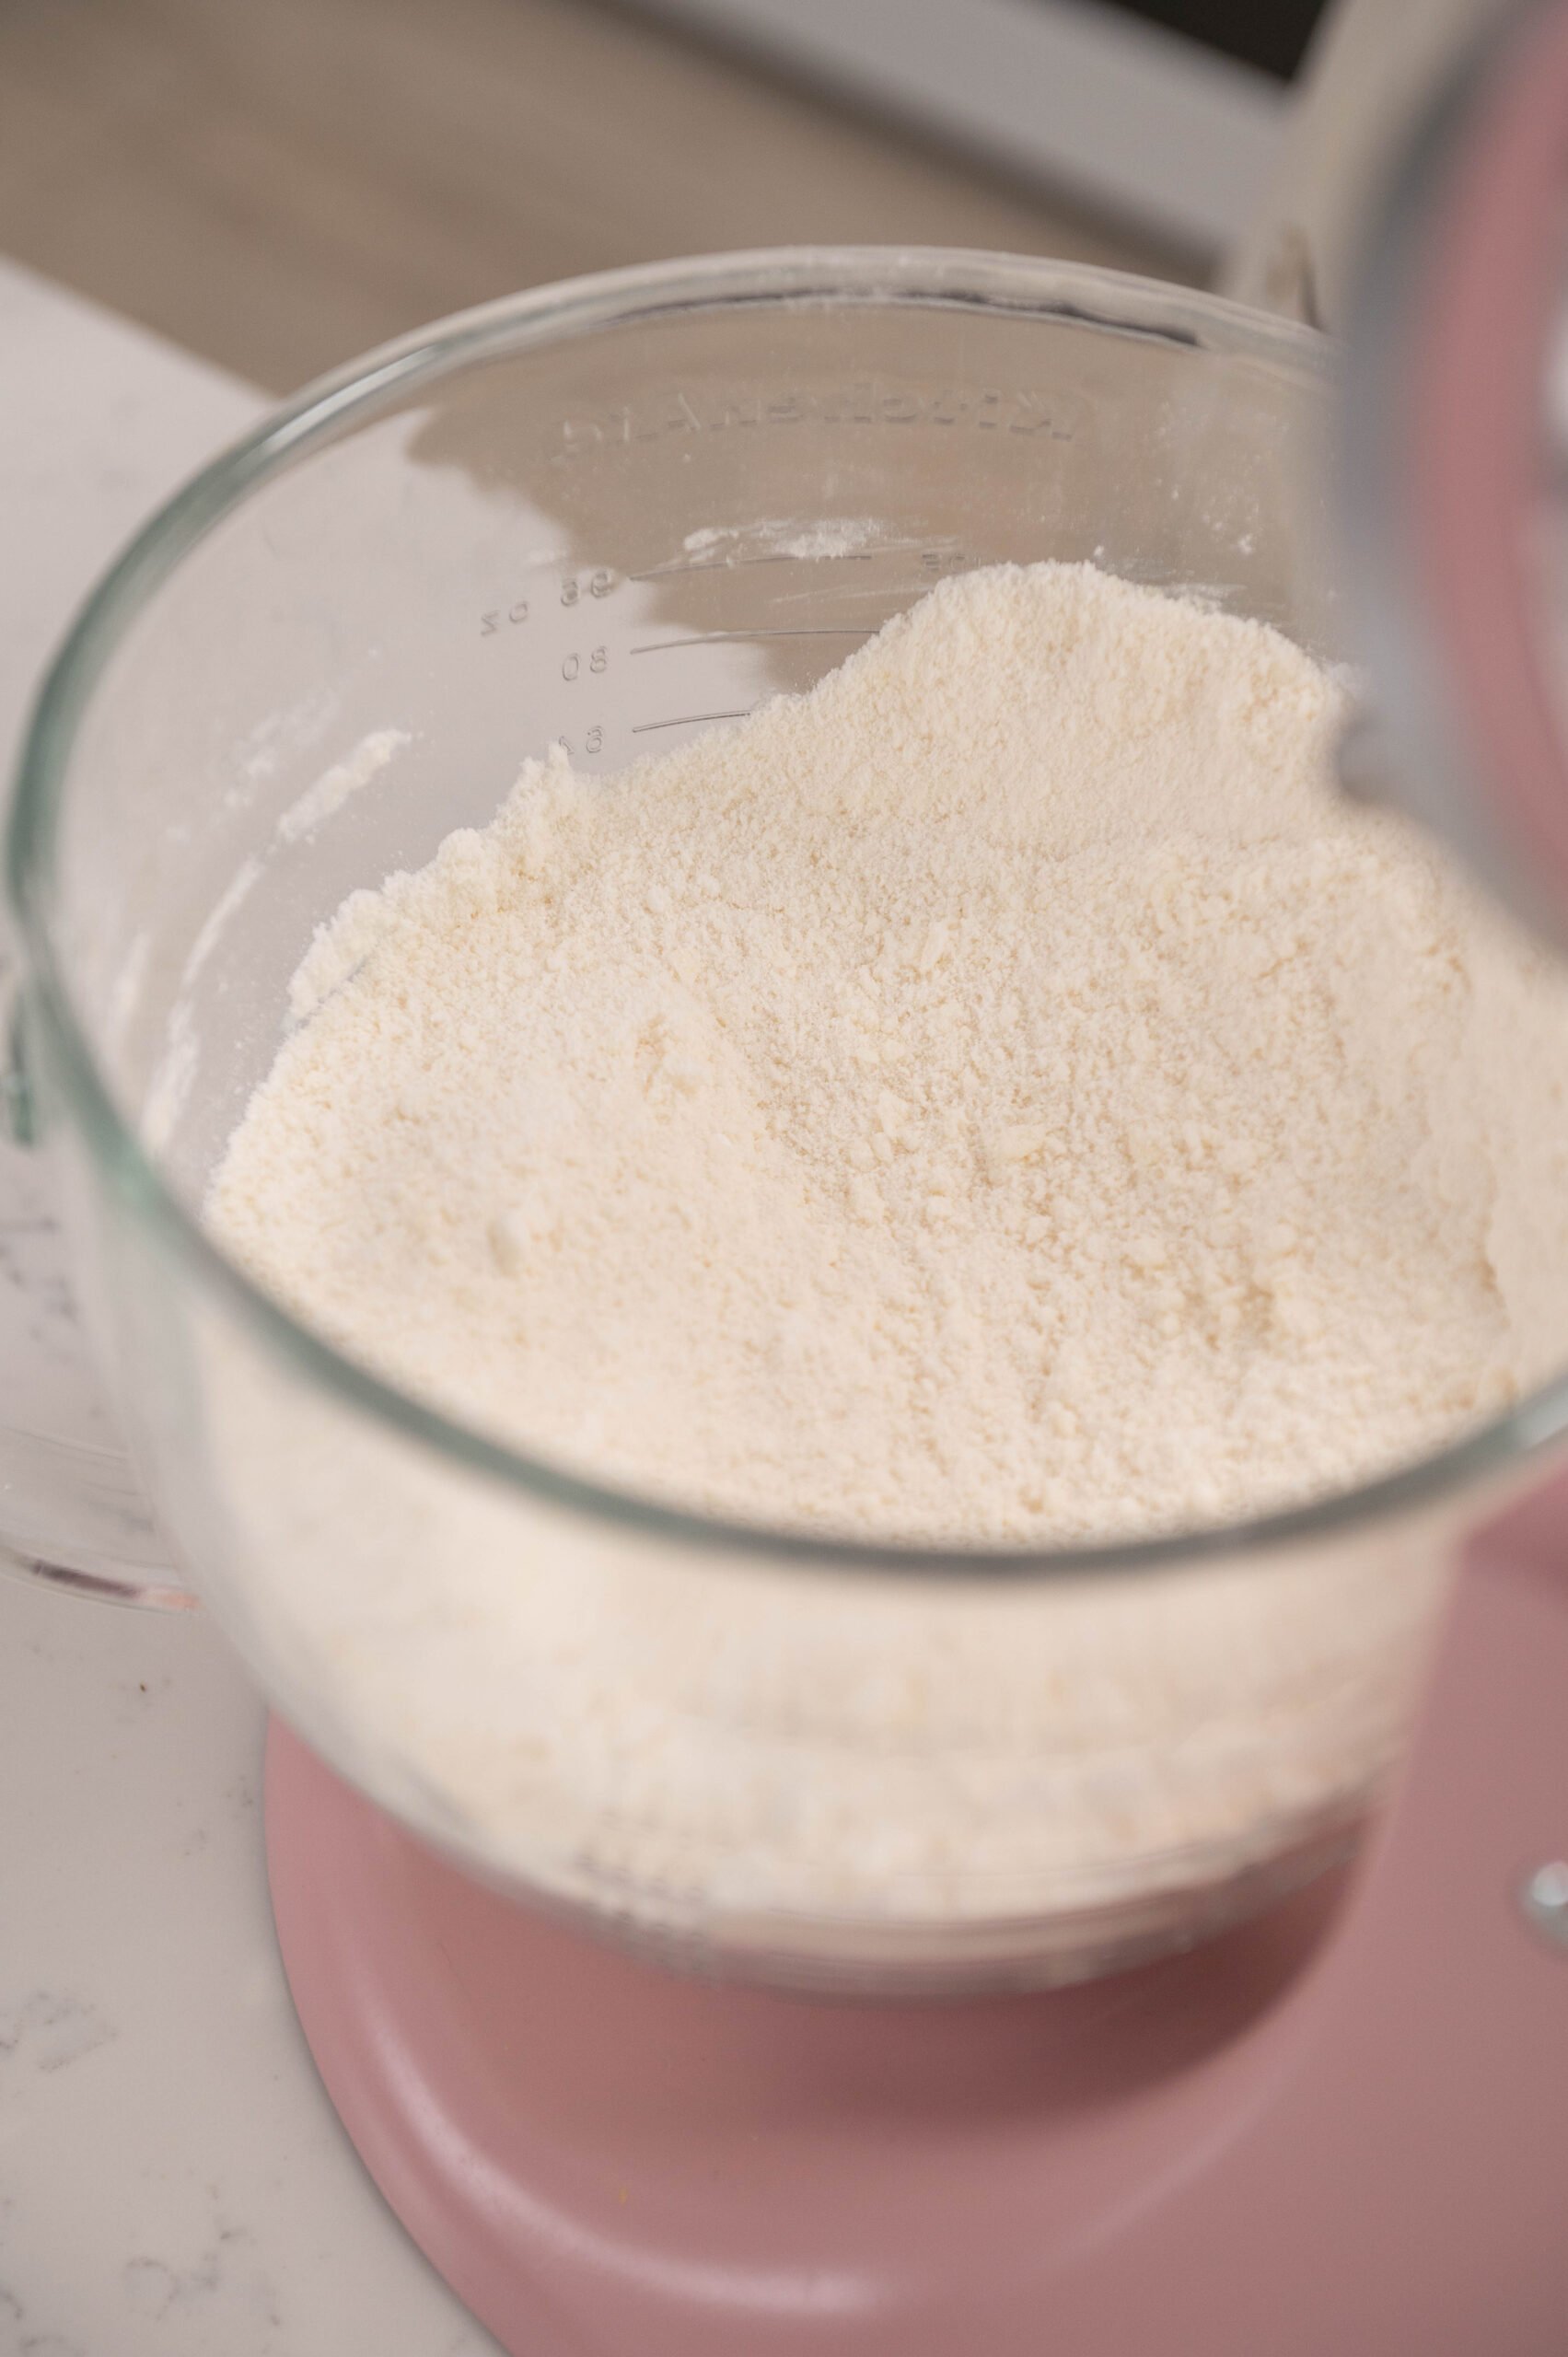
- Add your cake flour, sugar, salt, baking powder, baking soda, and softened butter into the bowl of your stand mixer with the paddle attachment. Set aside.

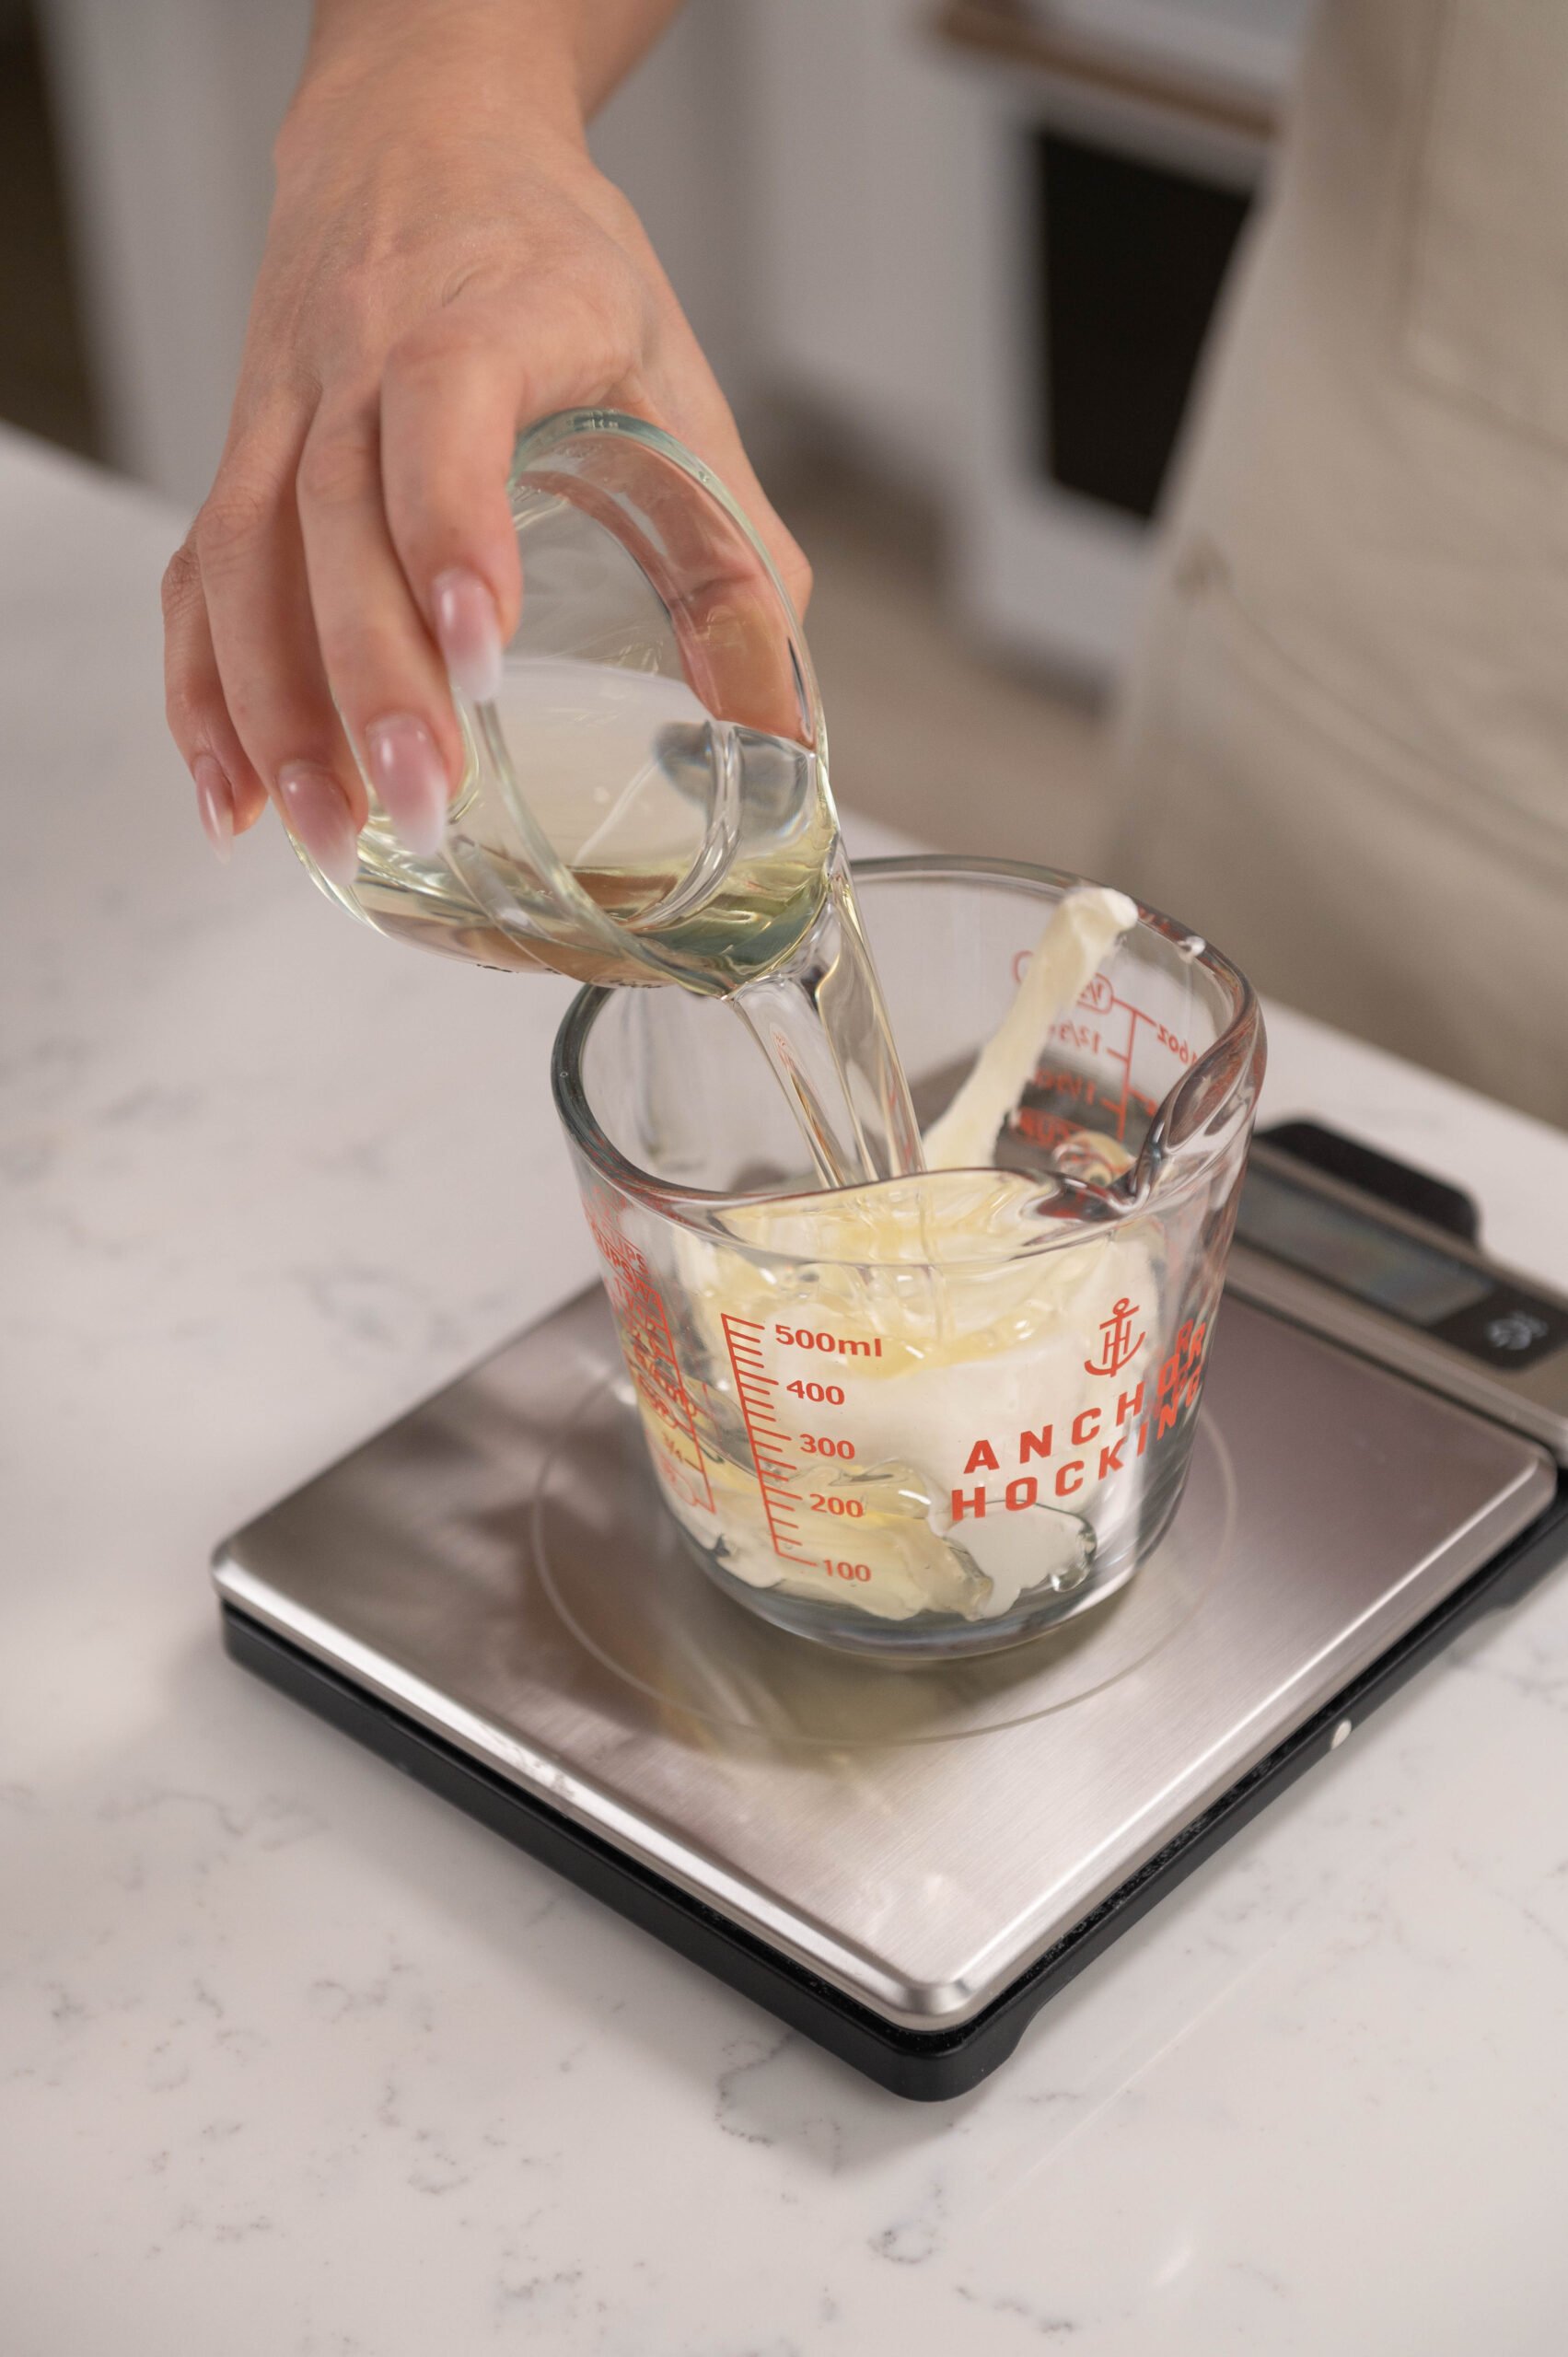
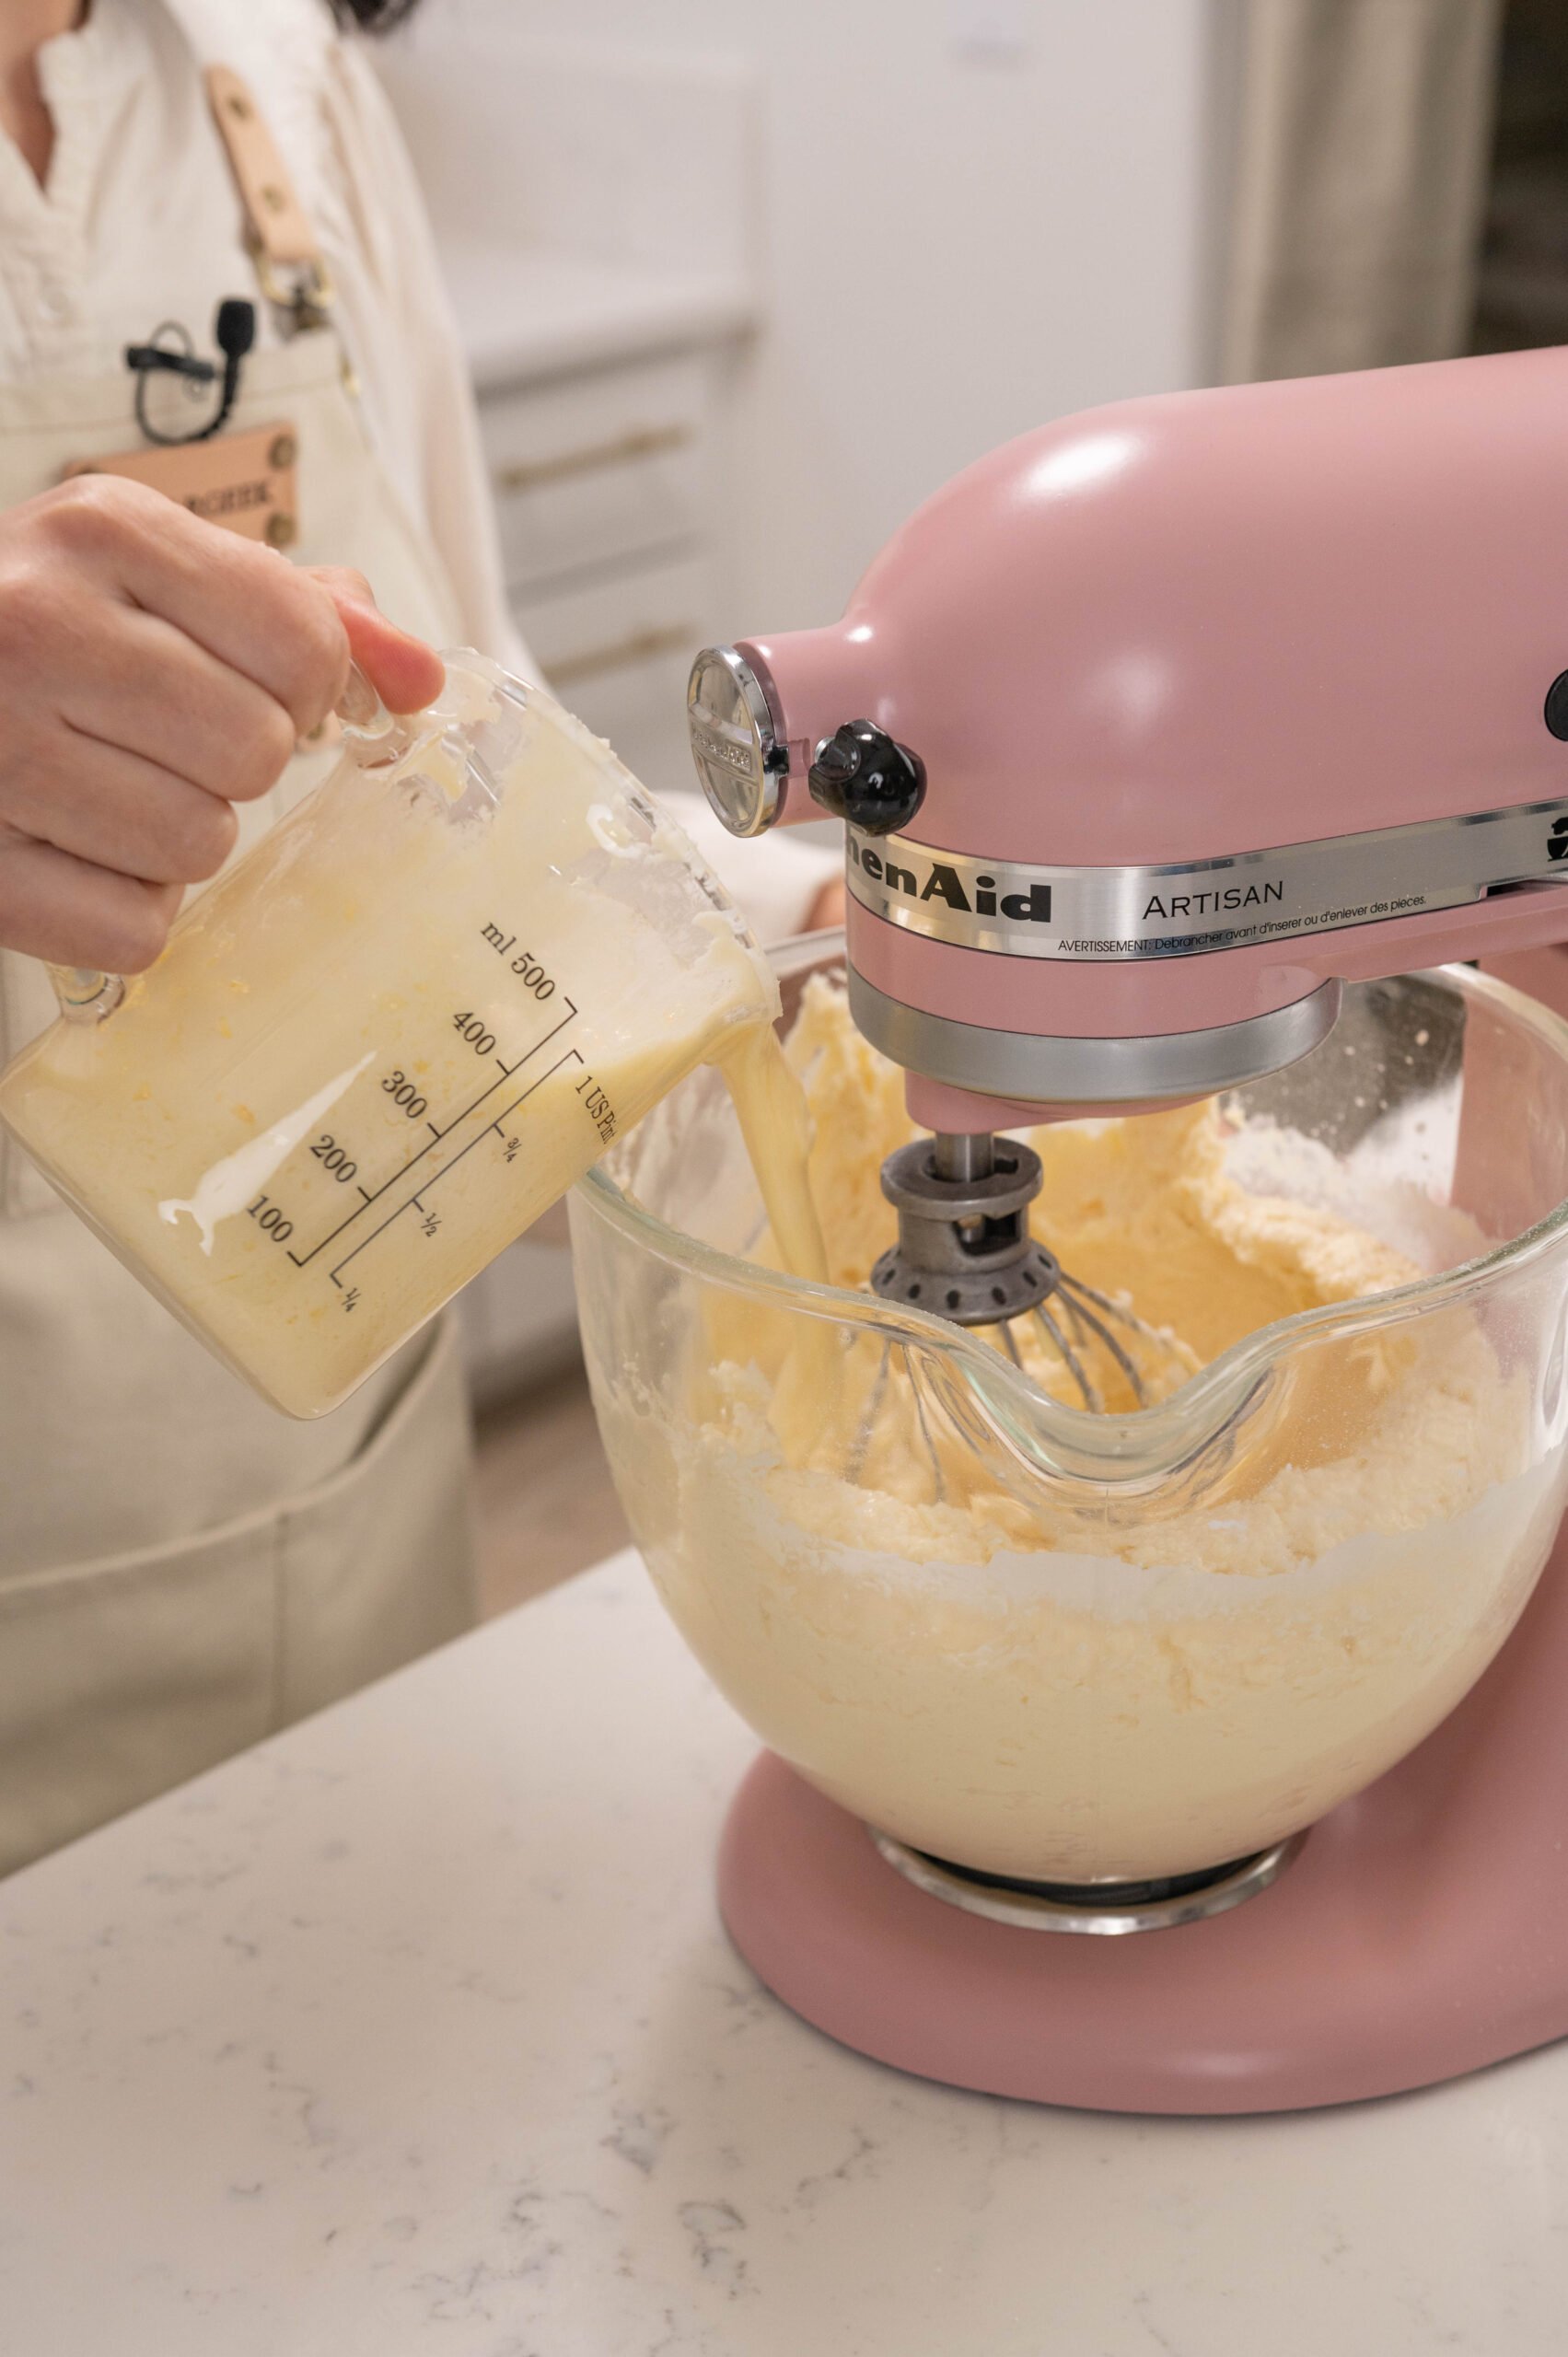
- Place half of your sour cream and all of your vegetable oil into a measuring cup. Give it a quick mix until the oil and sour cream are combined. Make sure your sour cream, eggs, and butter are all room temperature or a little bit warm.
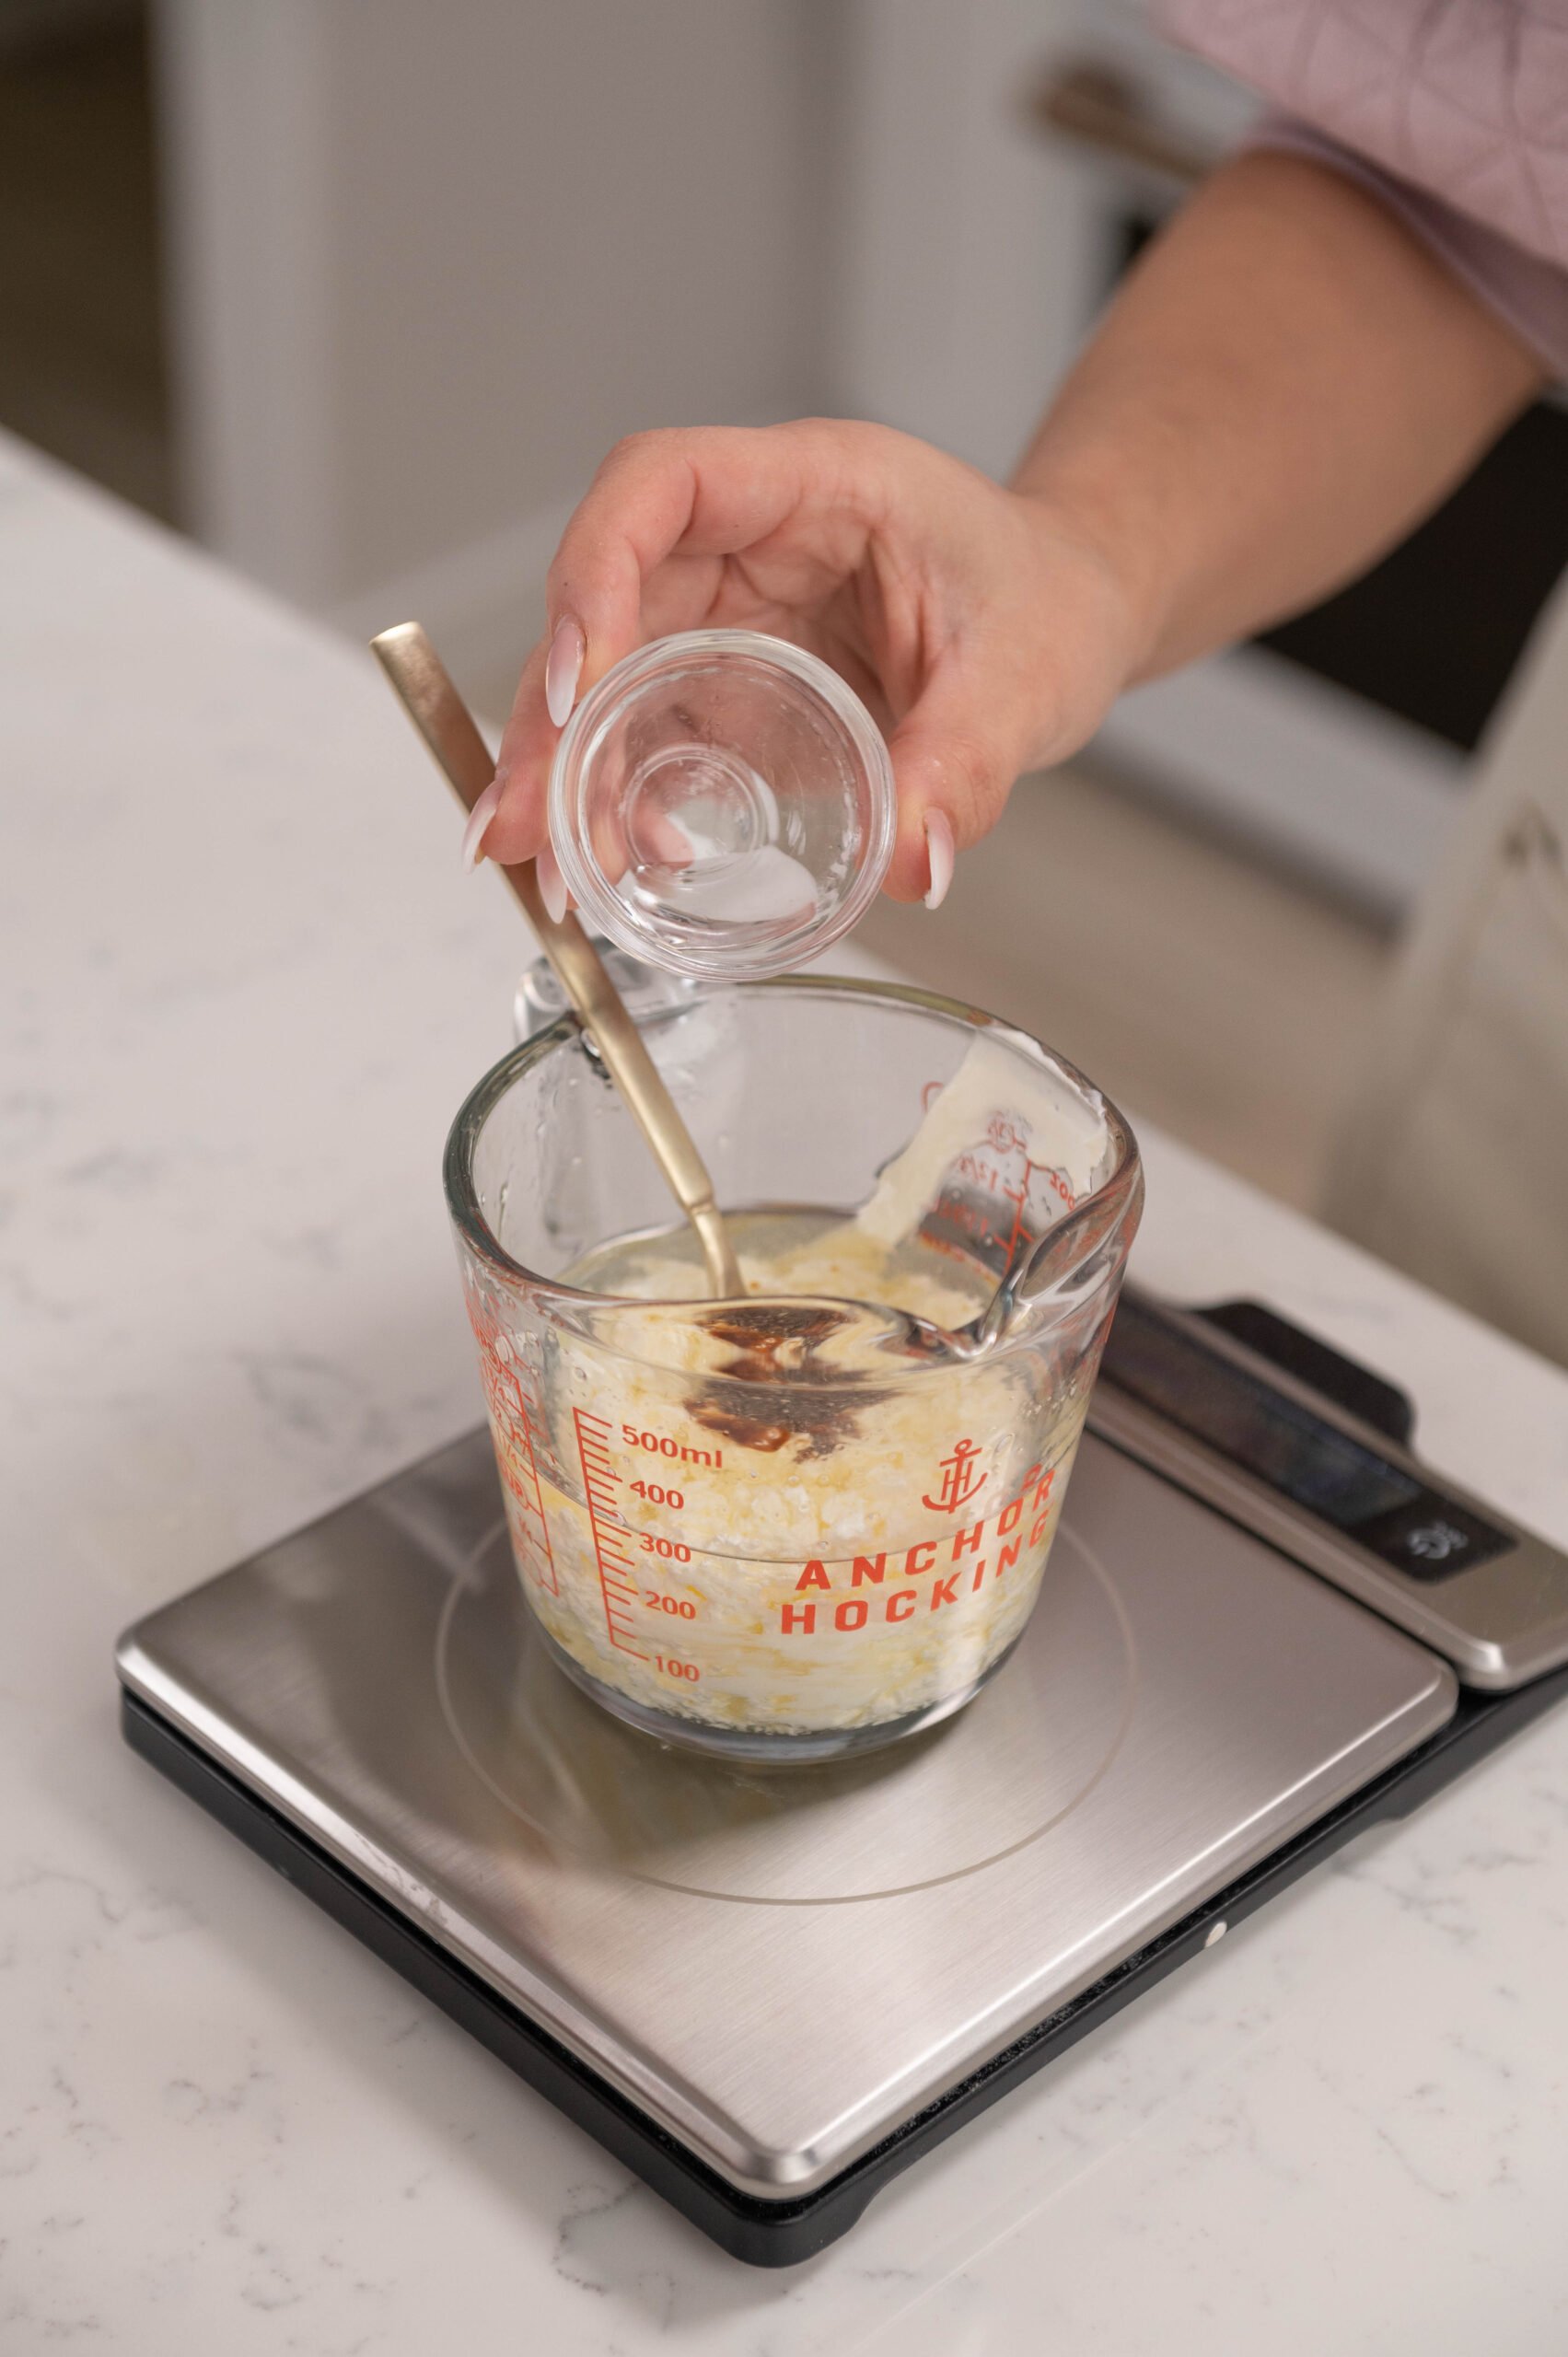
- Add your rosewater and vanilla extract into your sour cream and oil mix. Set aside.
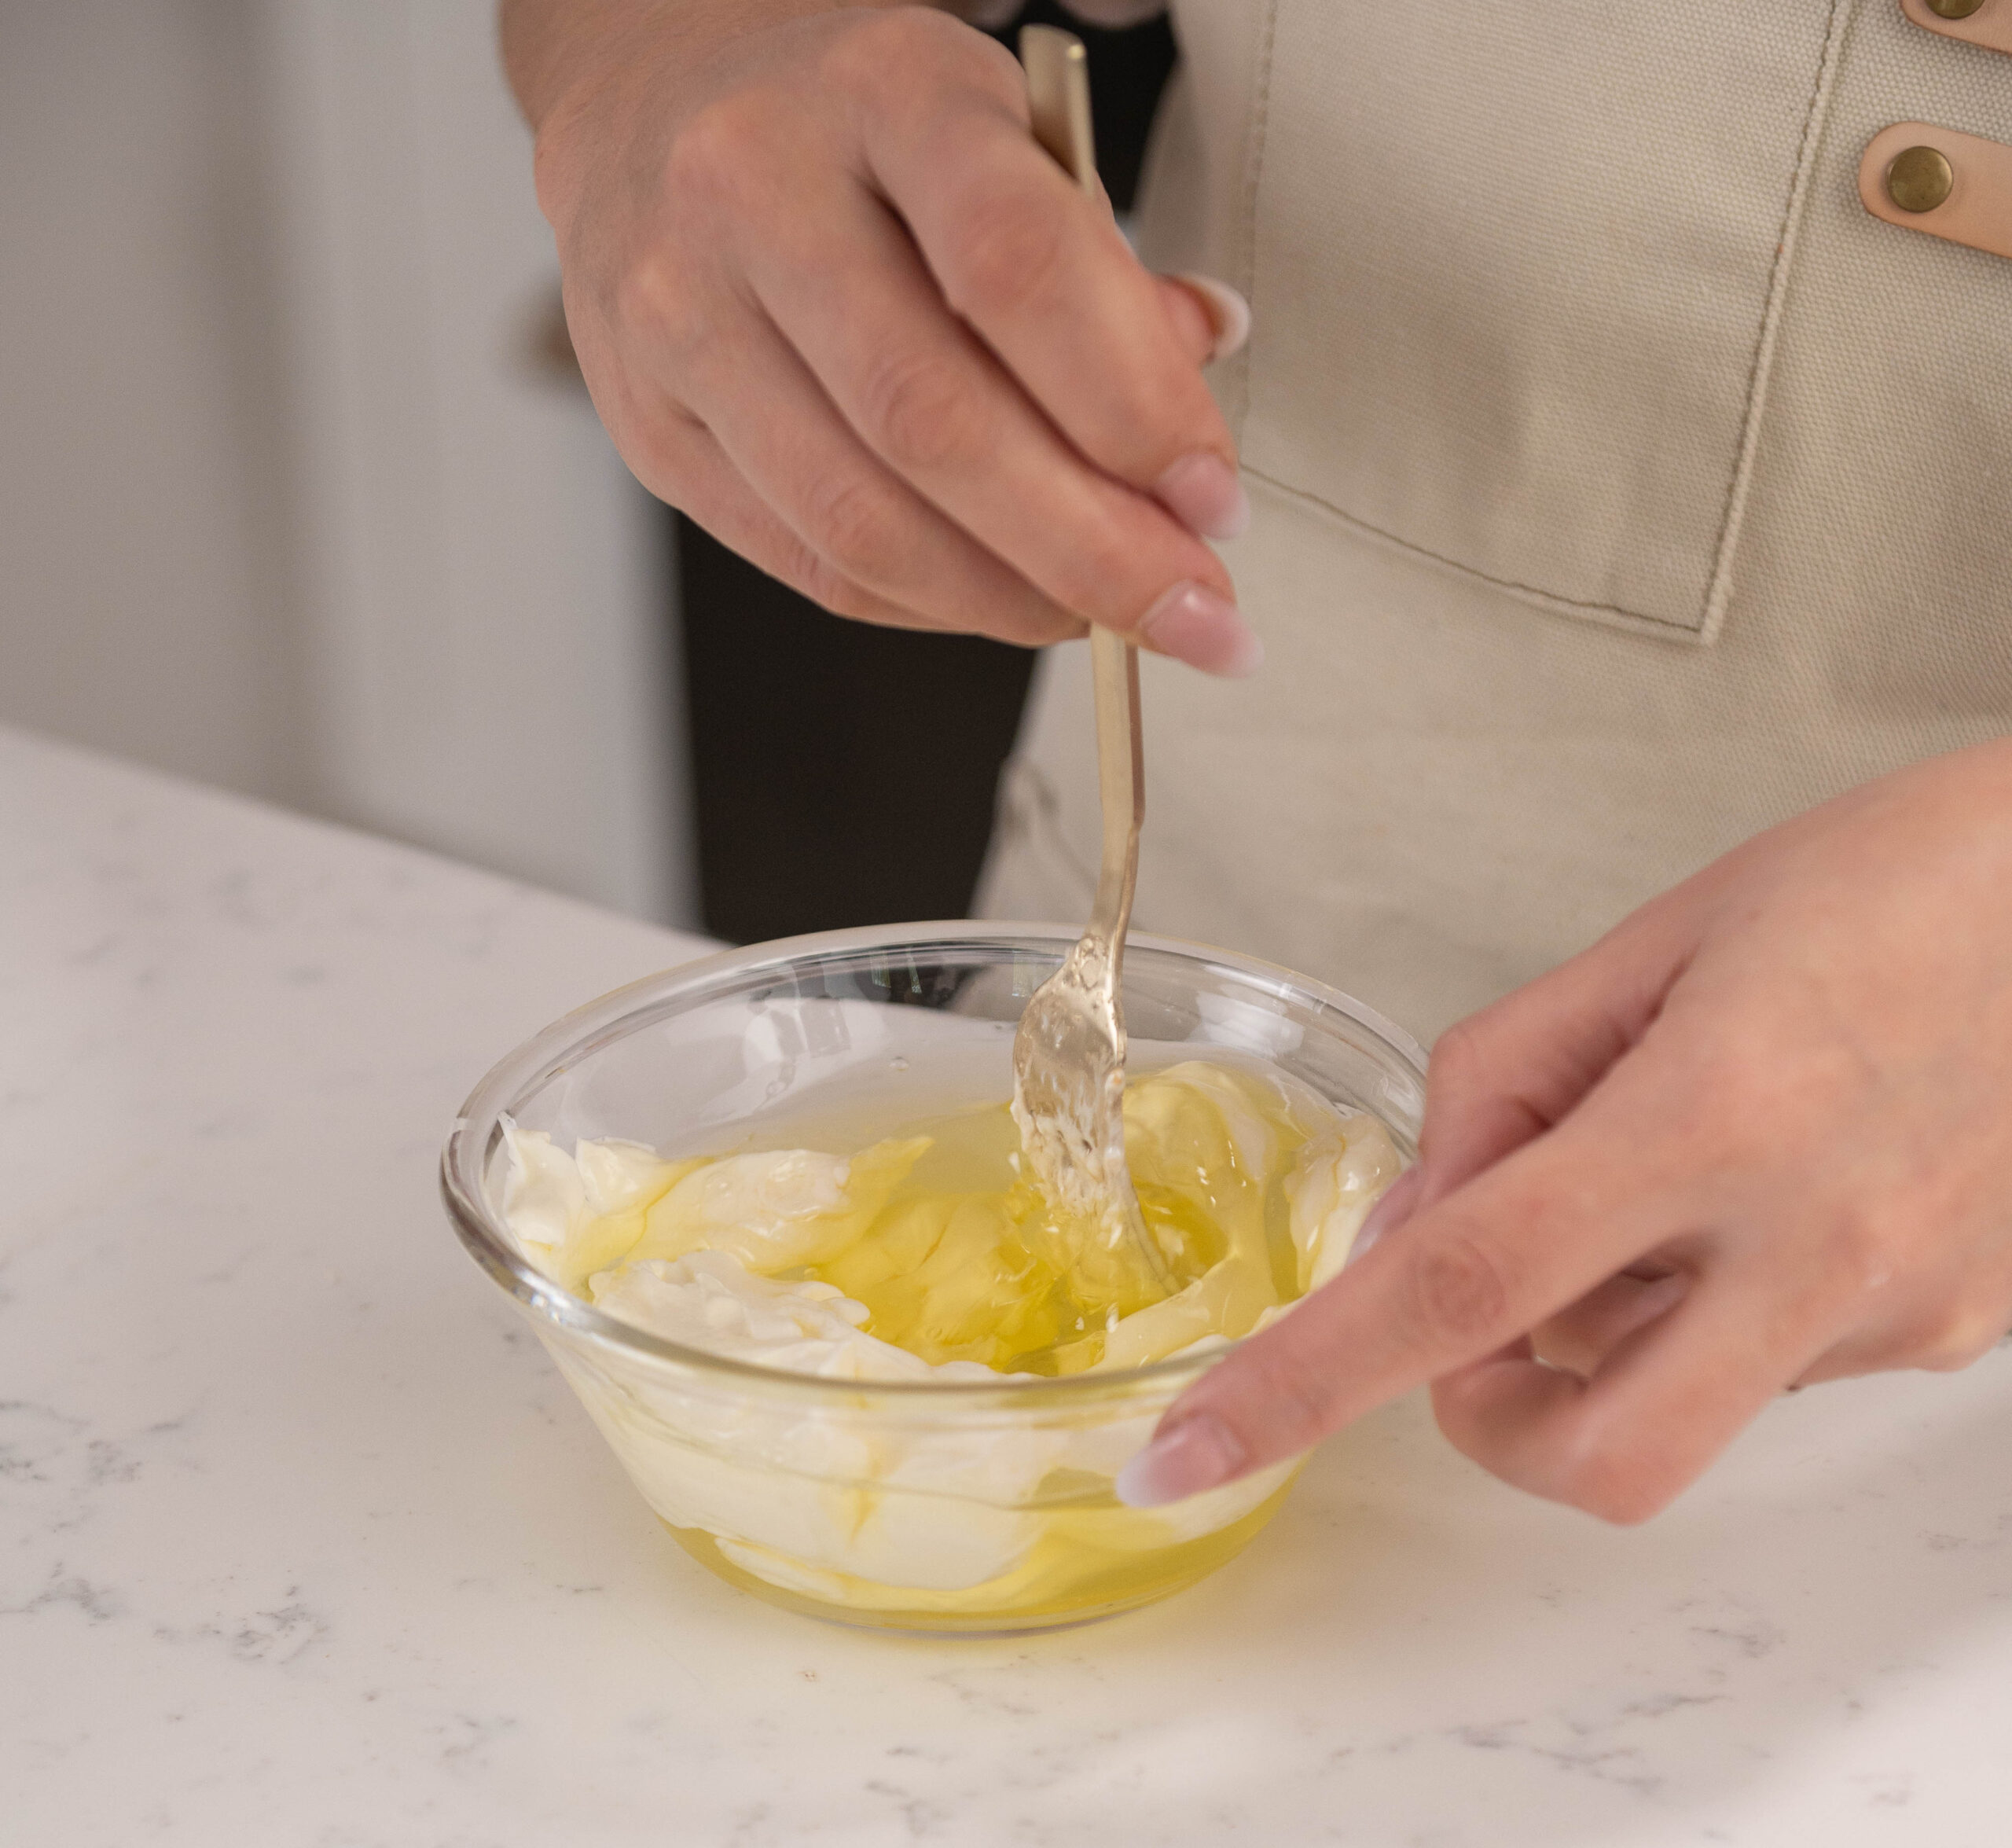
- Place the remaining half of your sour cream into your egg whites and mix until combined.

- Mix your dry ingredients in a bowl of your stand mixer with the paddle attachment on low speed for 1-2 minutes, or until the texture looks like sand.
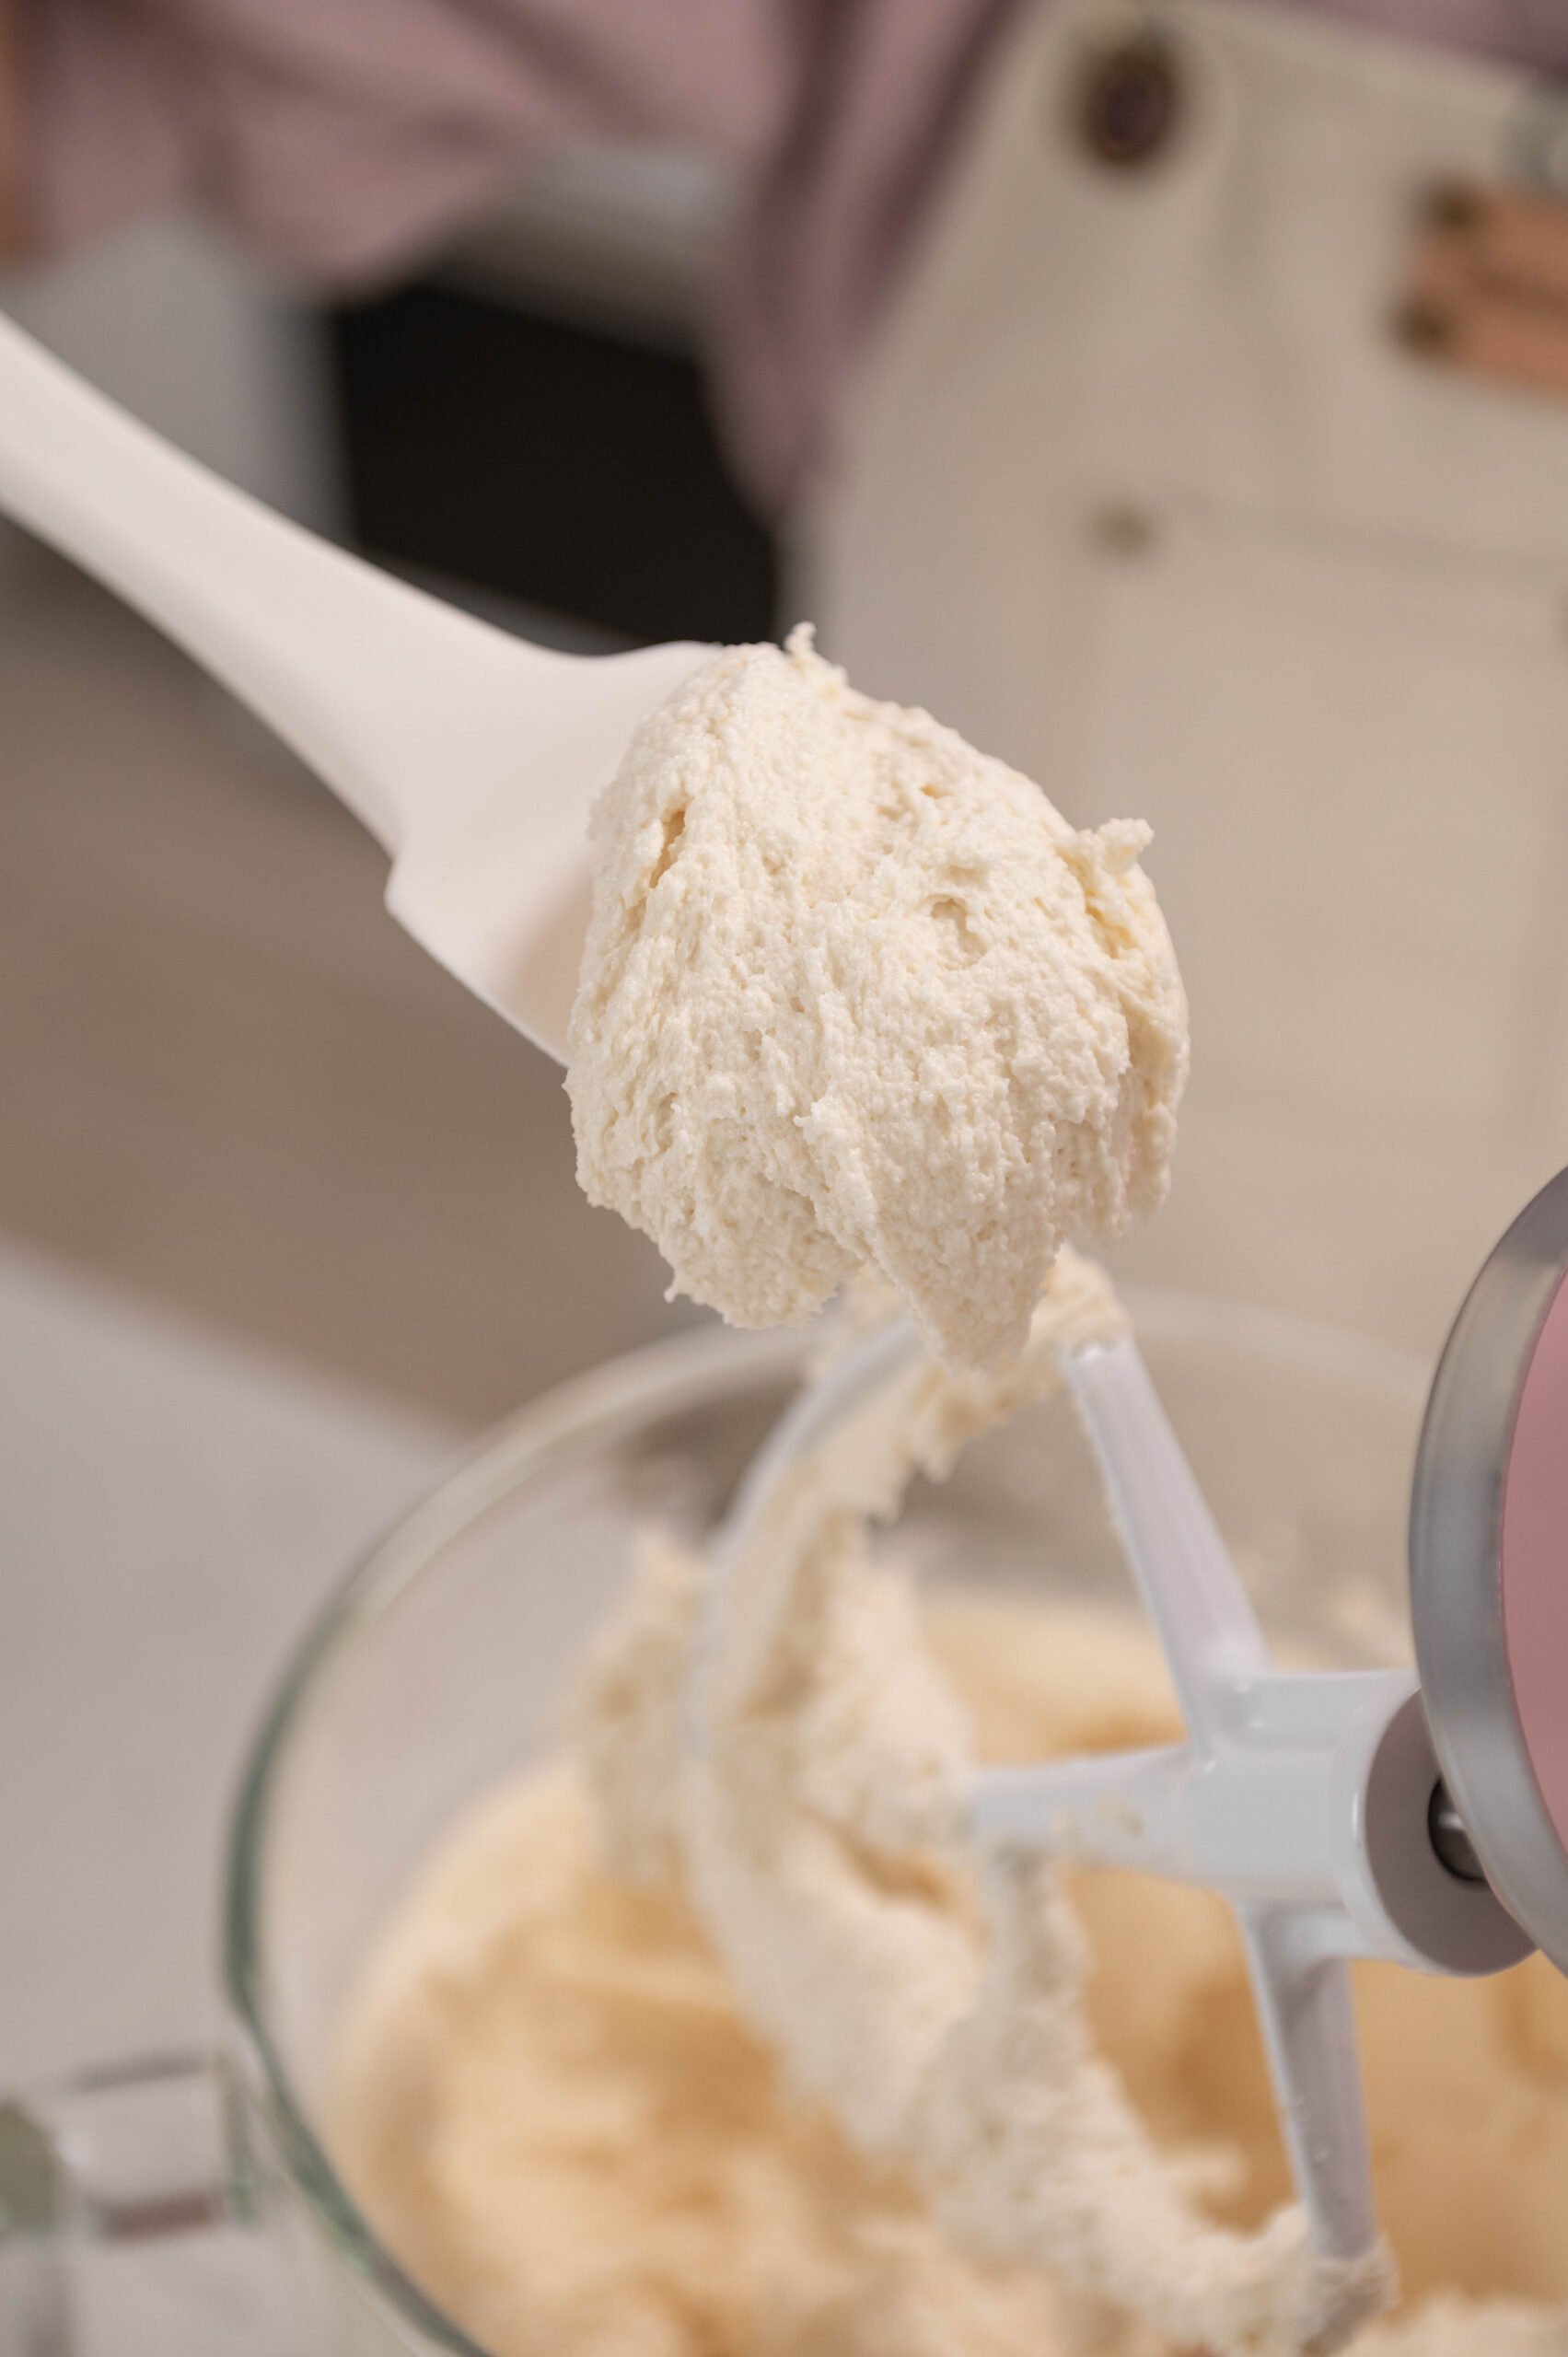
- Take your oil and sour cream mixture, then stream it into your flour mixture while mixing on medium-low speed (speed 4 on a Kitchen Aid, 2 on a Bosch). Mix for 2 minutes (set a timer!) until the color is pale and the mixture is nice and fluffy.
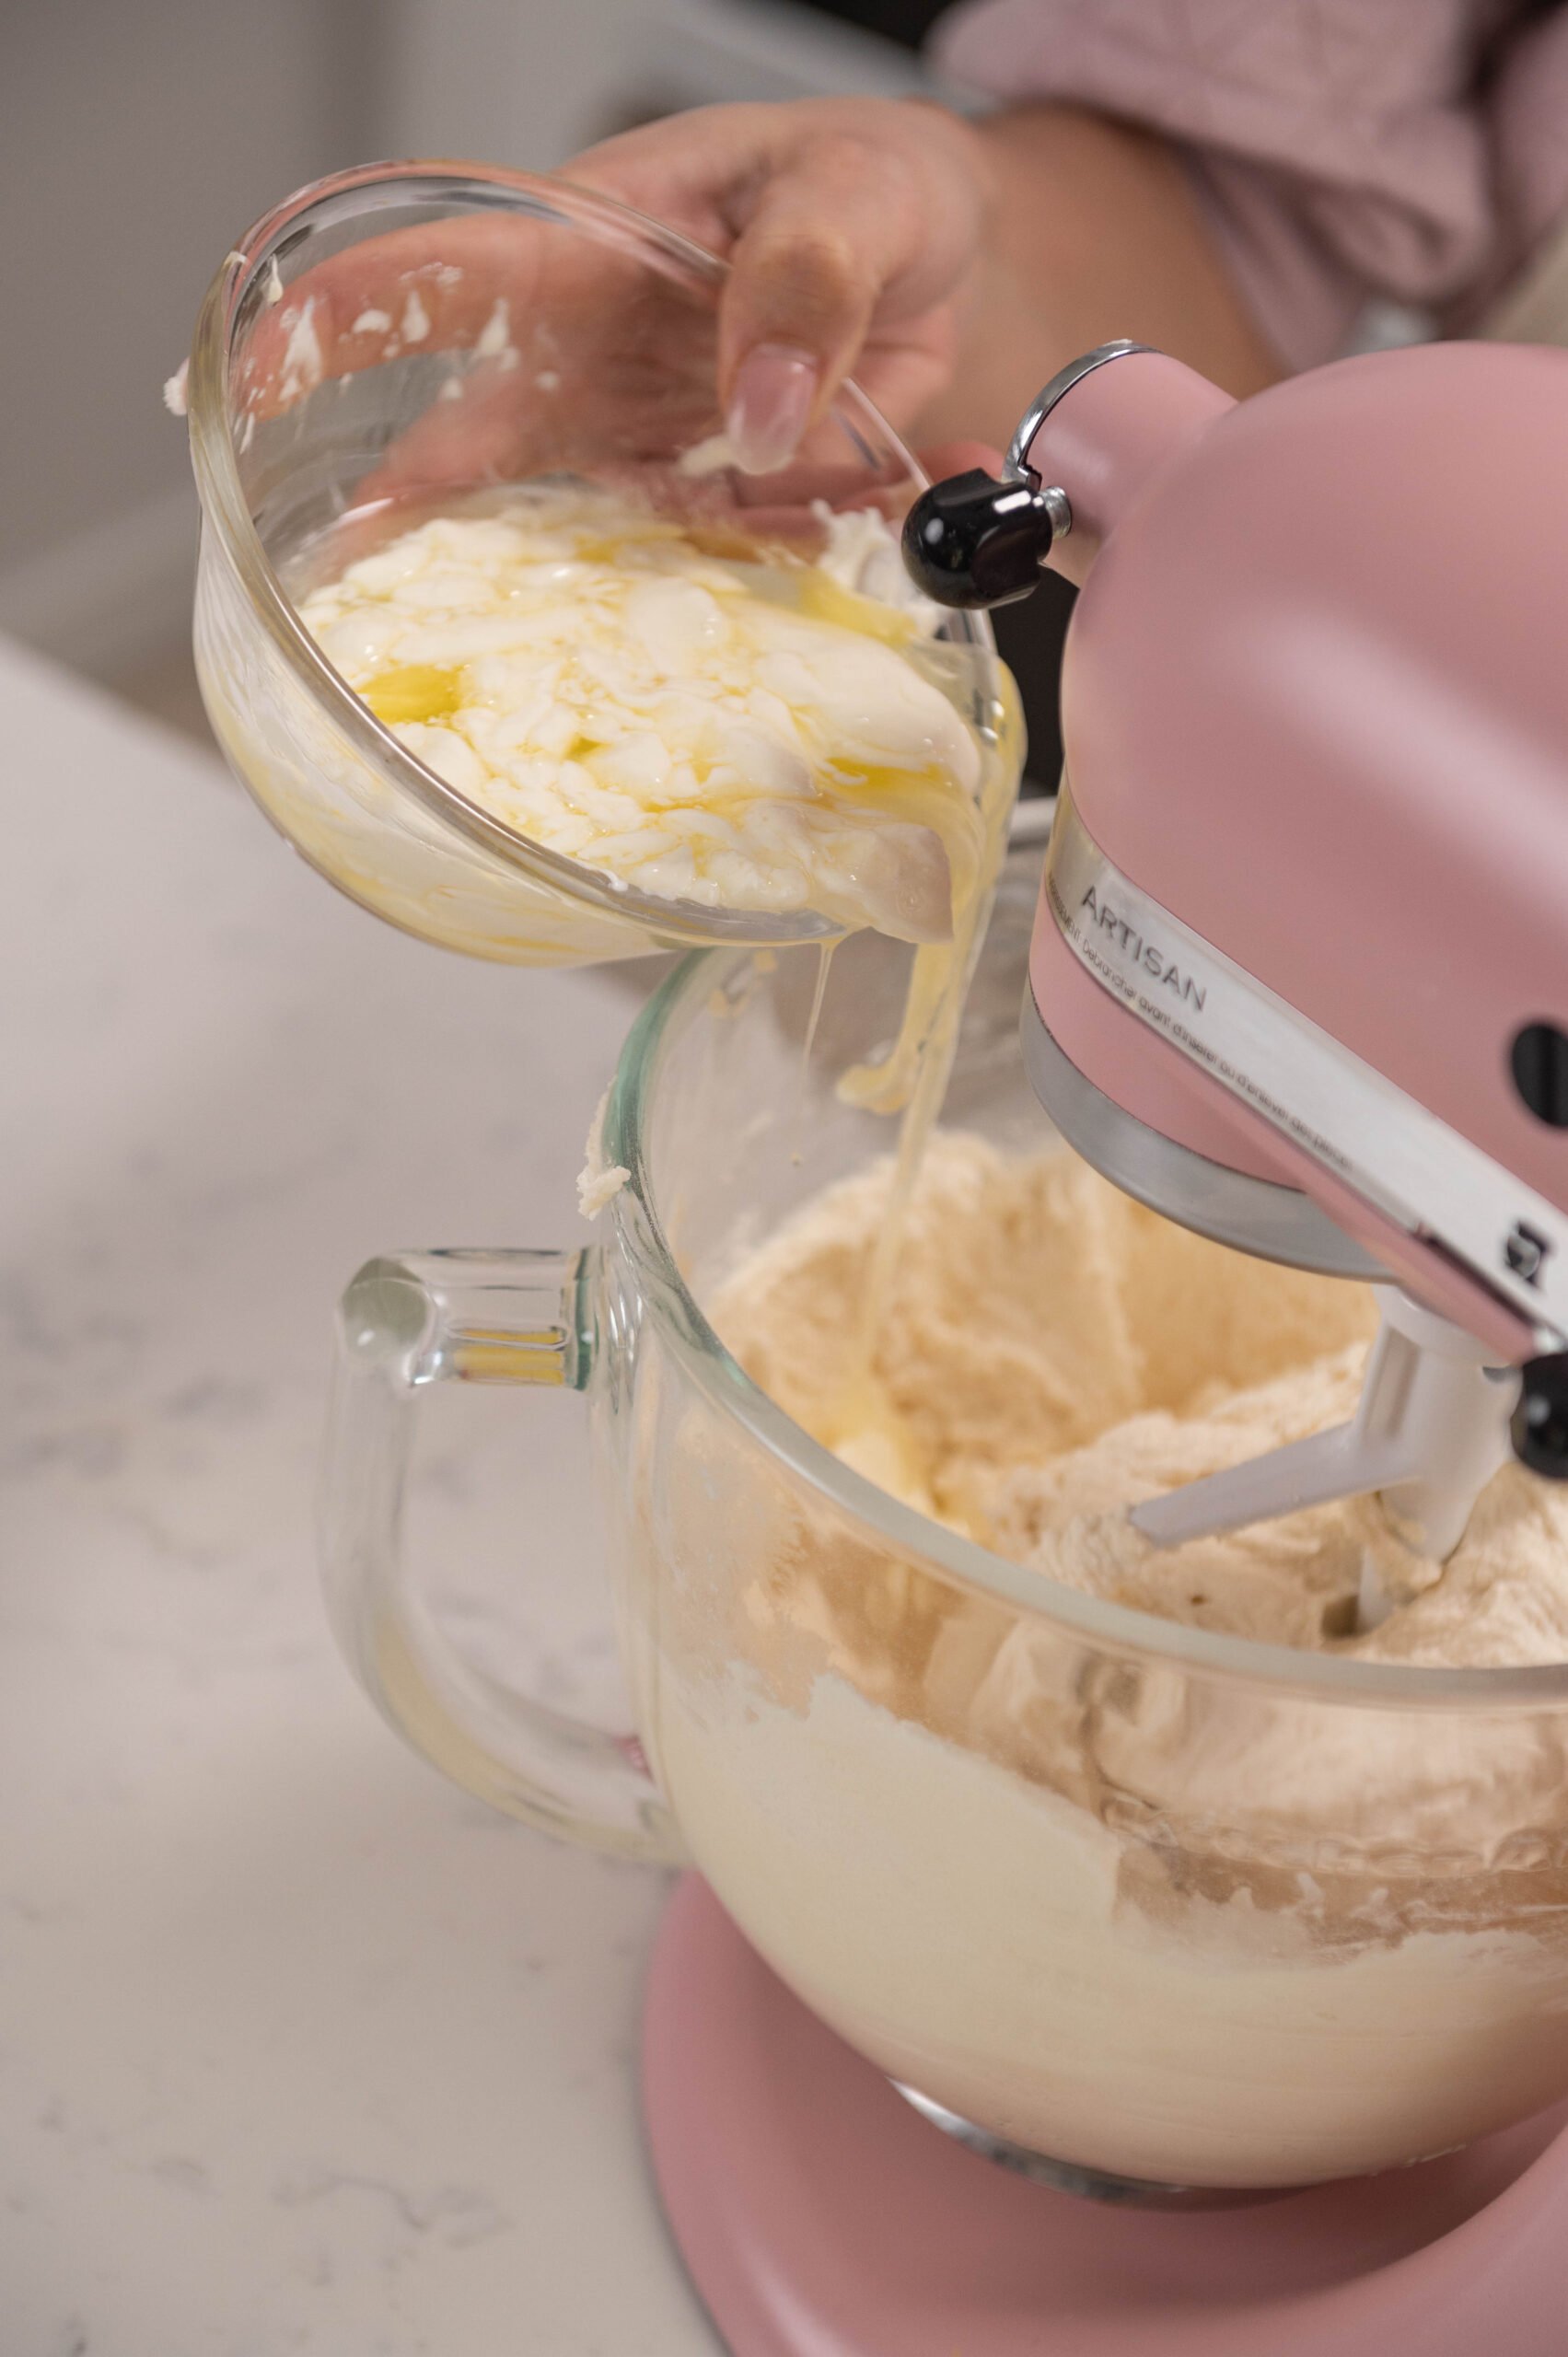
- Stream in your egg whites and sour cream mixture in 3 parts while mixing on low speed. Make sure to let each part mix for a couple of seconds before adding in the rest. Don't forget to scrape the bowl!
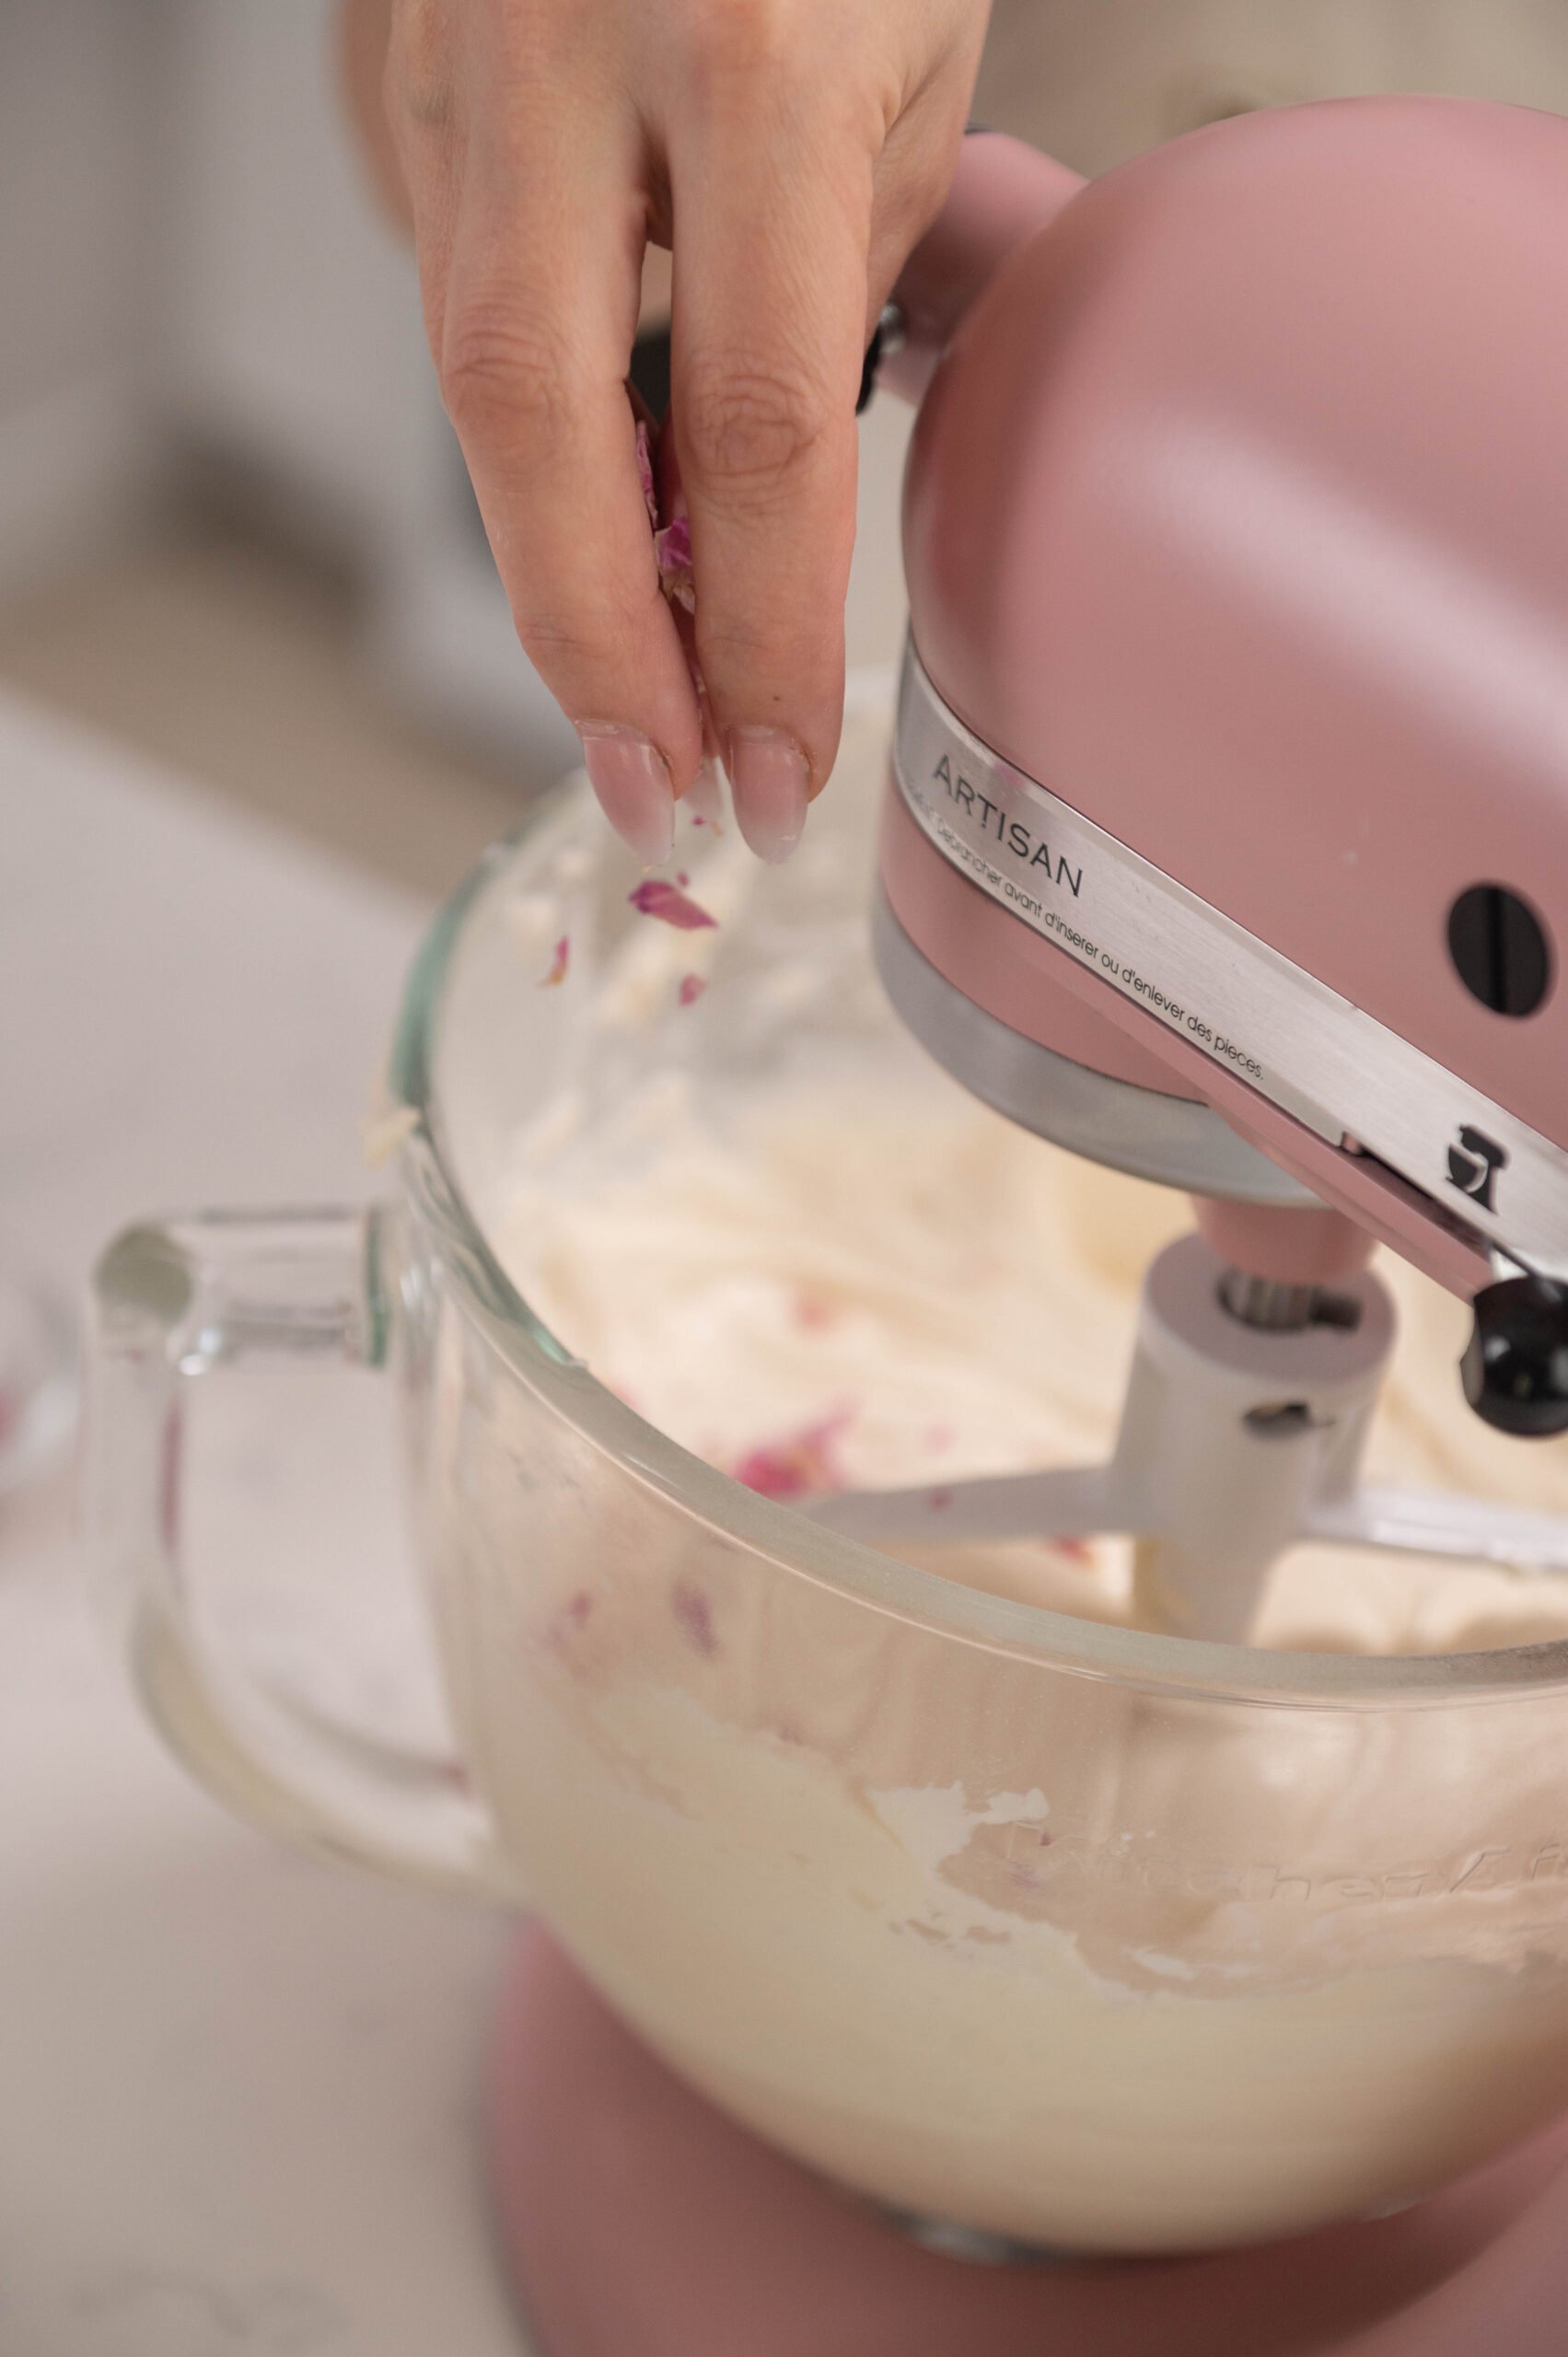
- Add in your crushed rose petals (optional) and mix on low just to combine.
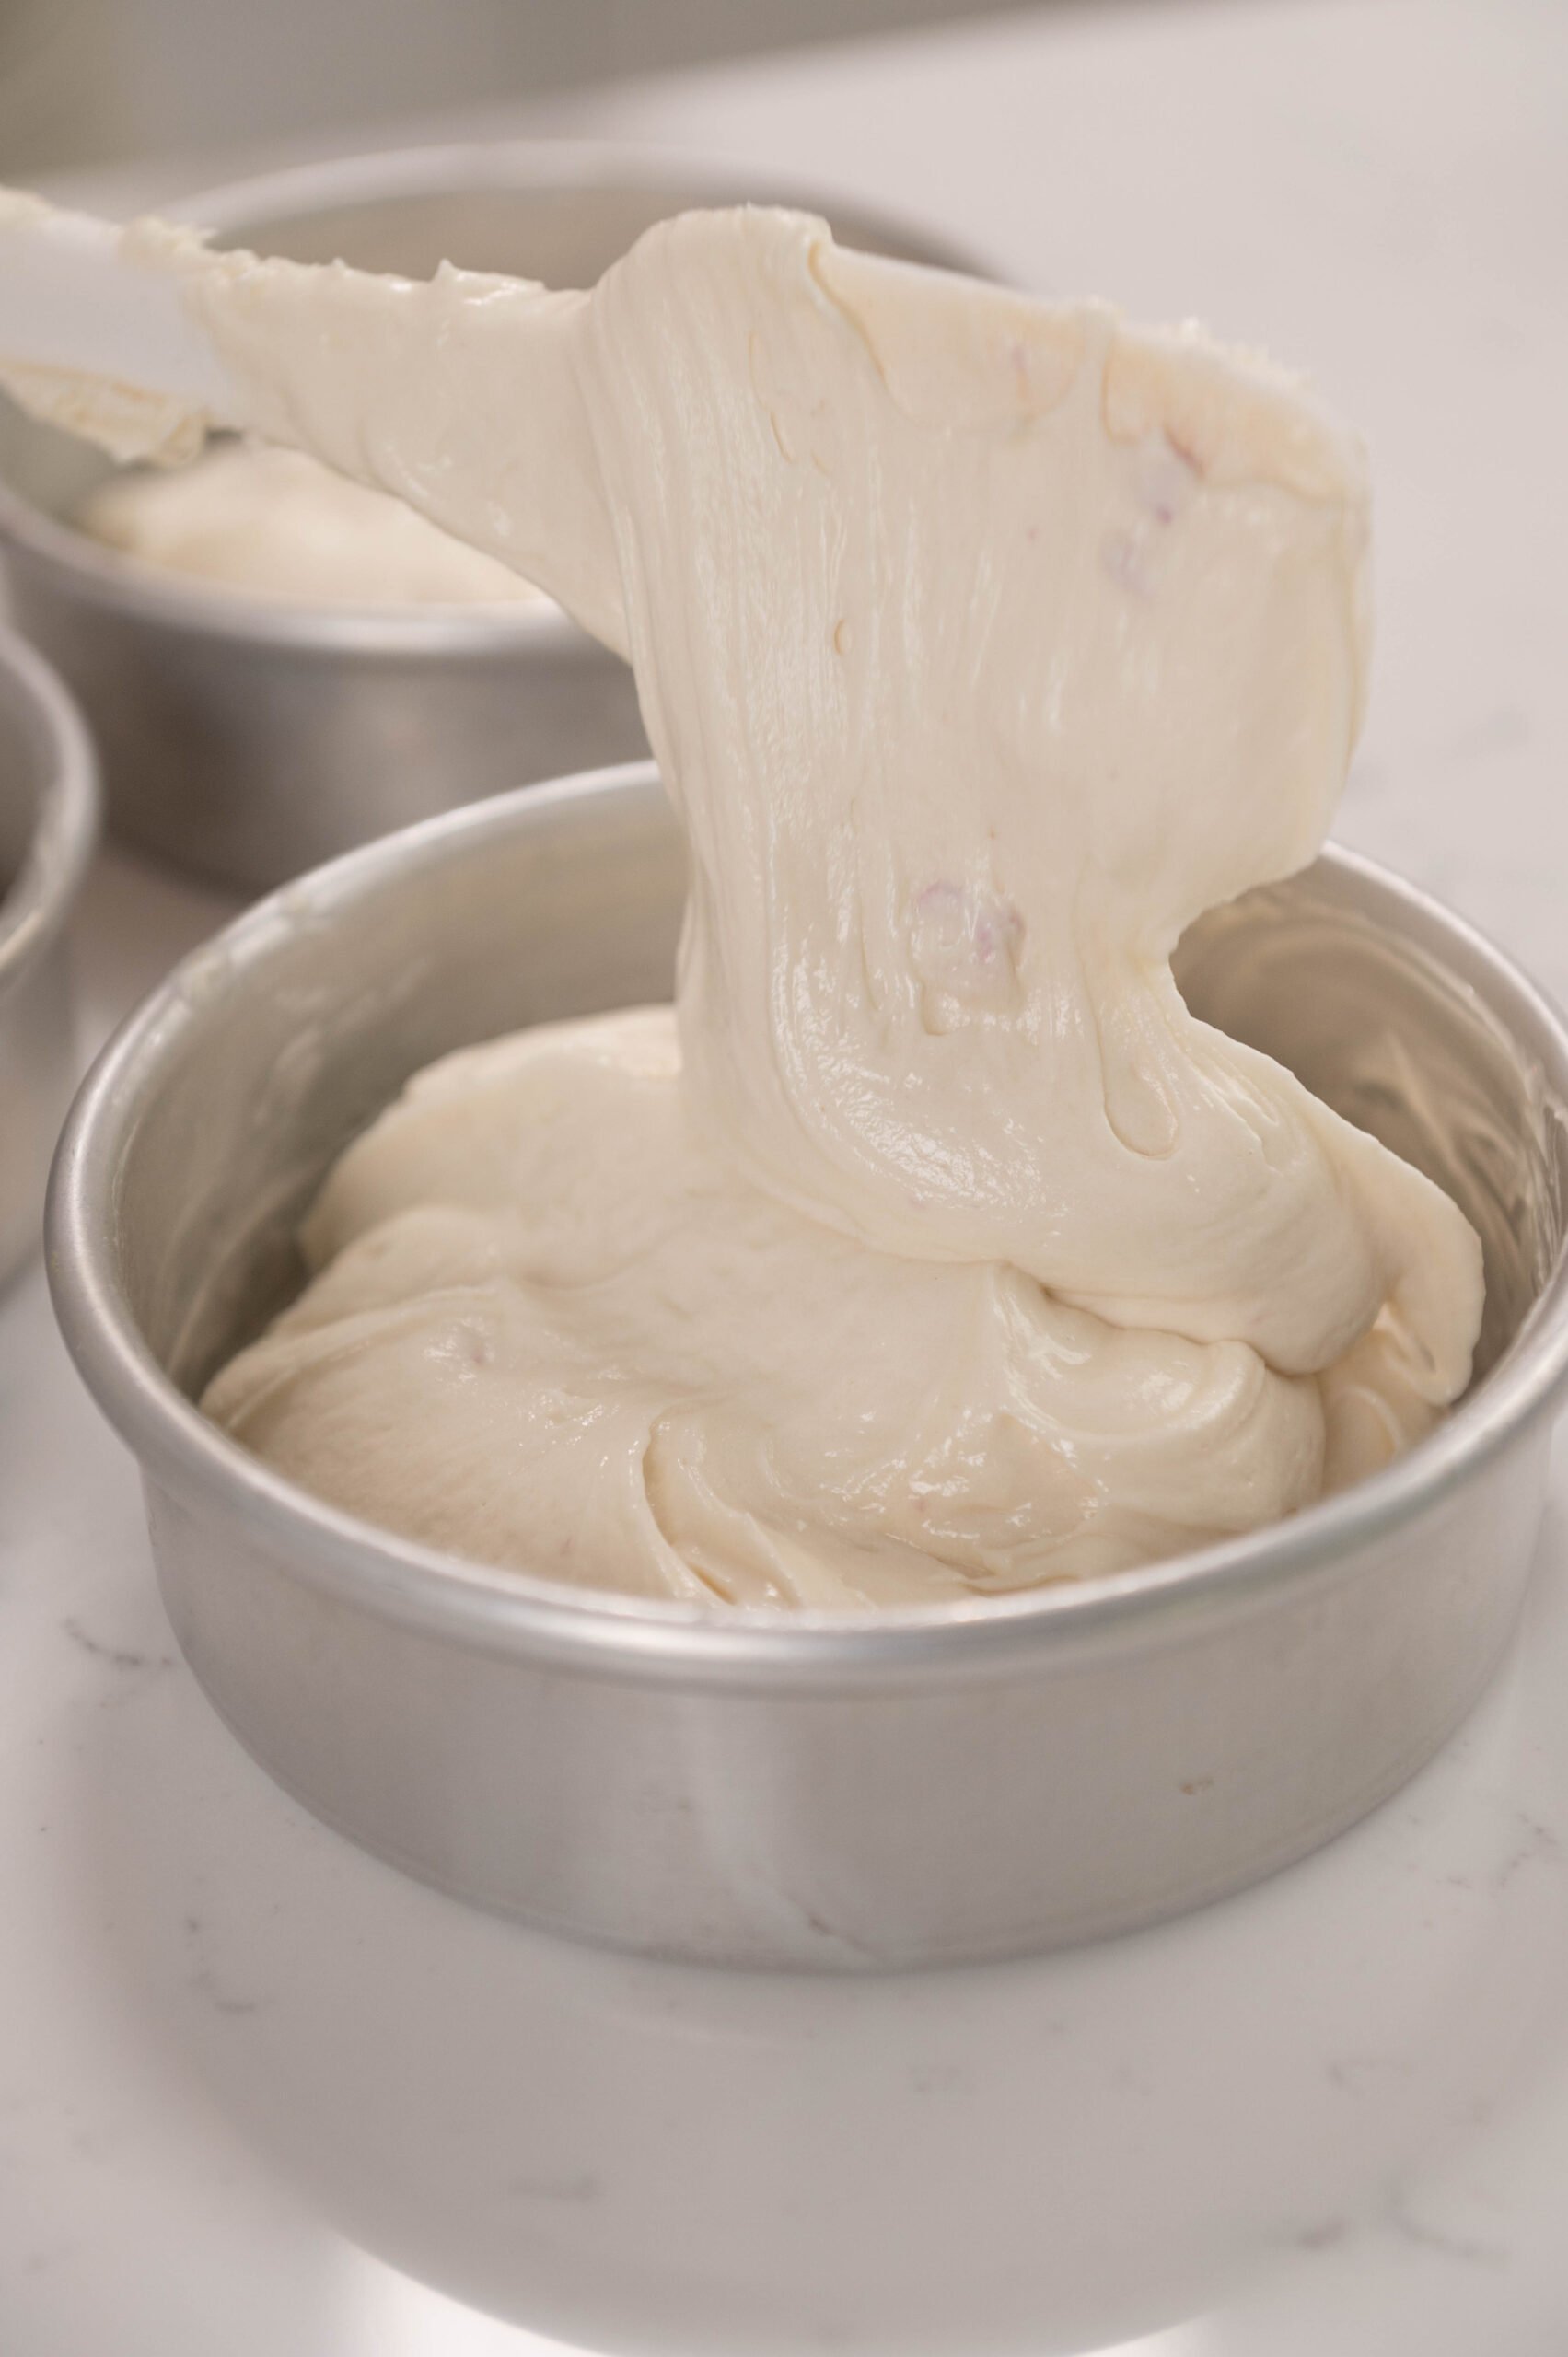
- Divide your batter into your 3 cake pans. I'm using three, 6"x2" pans or you can use two, 8"x2" pans. (If making cupcakes add 1-2 spoonfuls of batter into each cupcake liner).
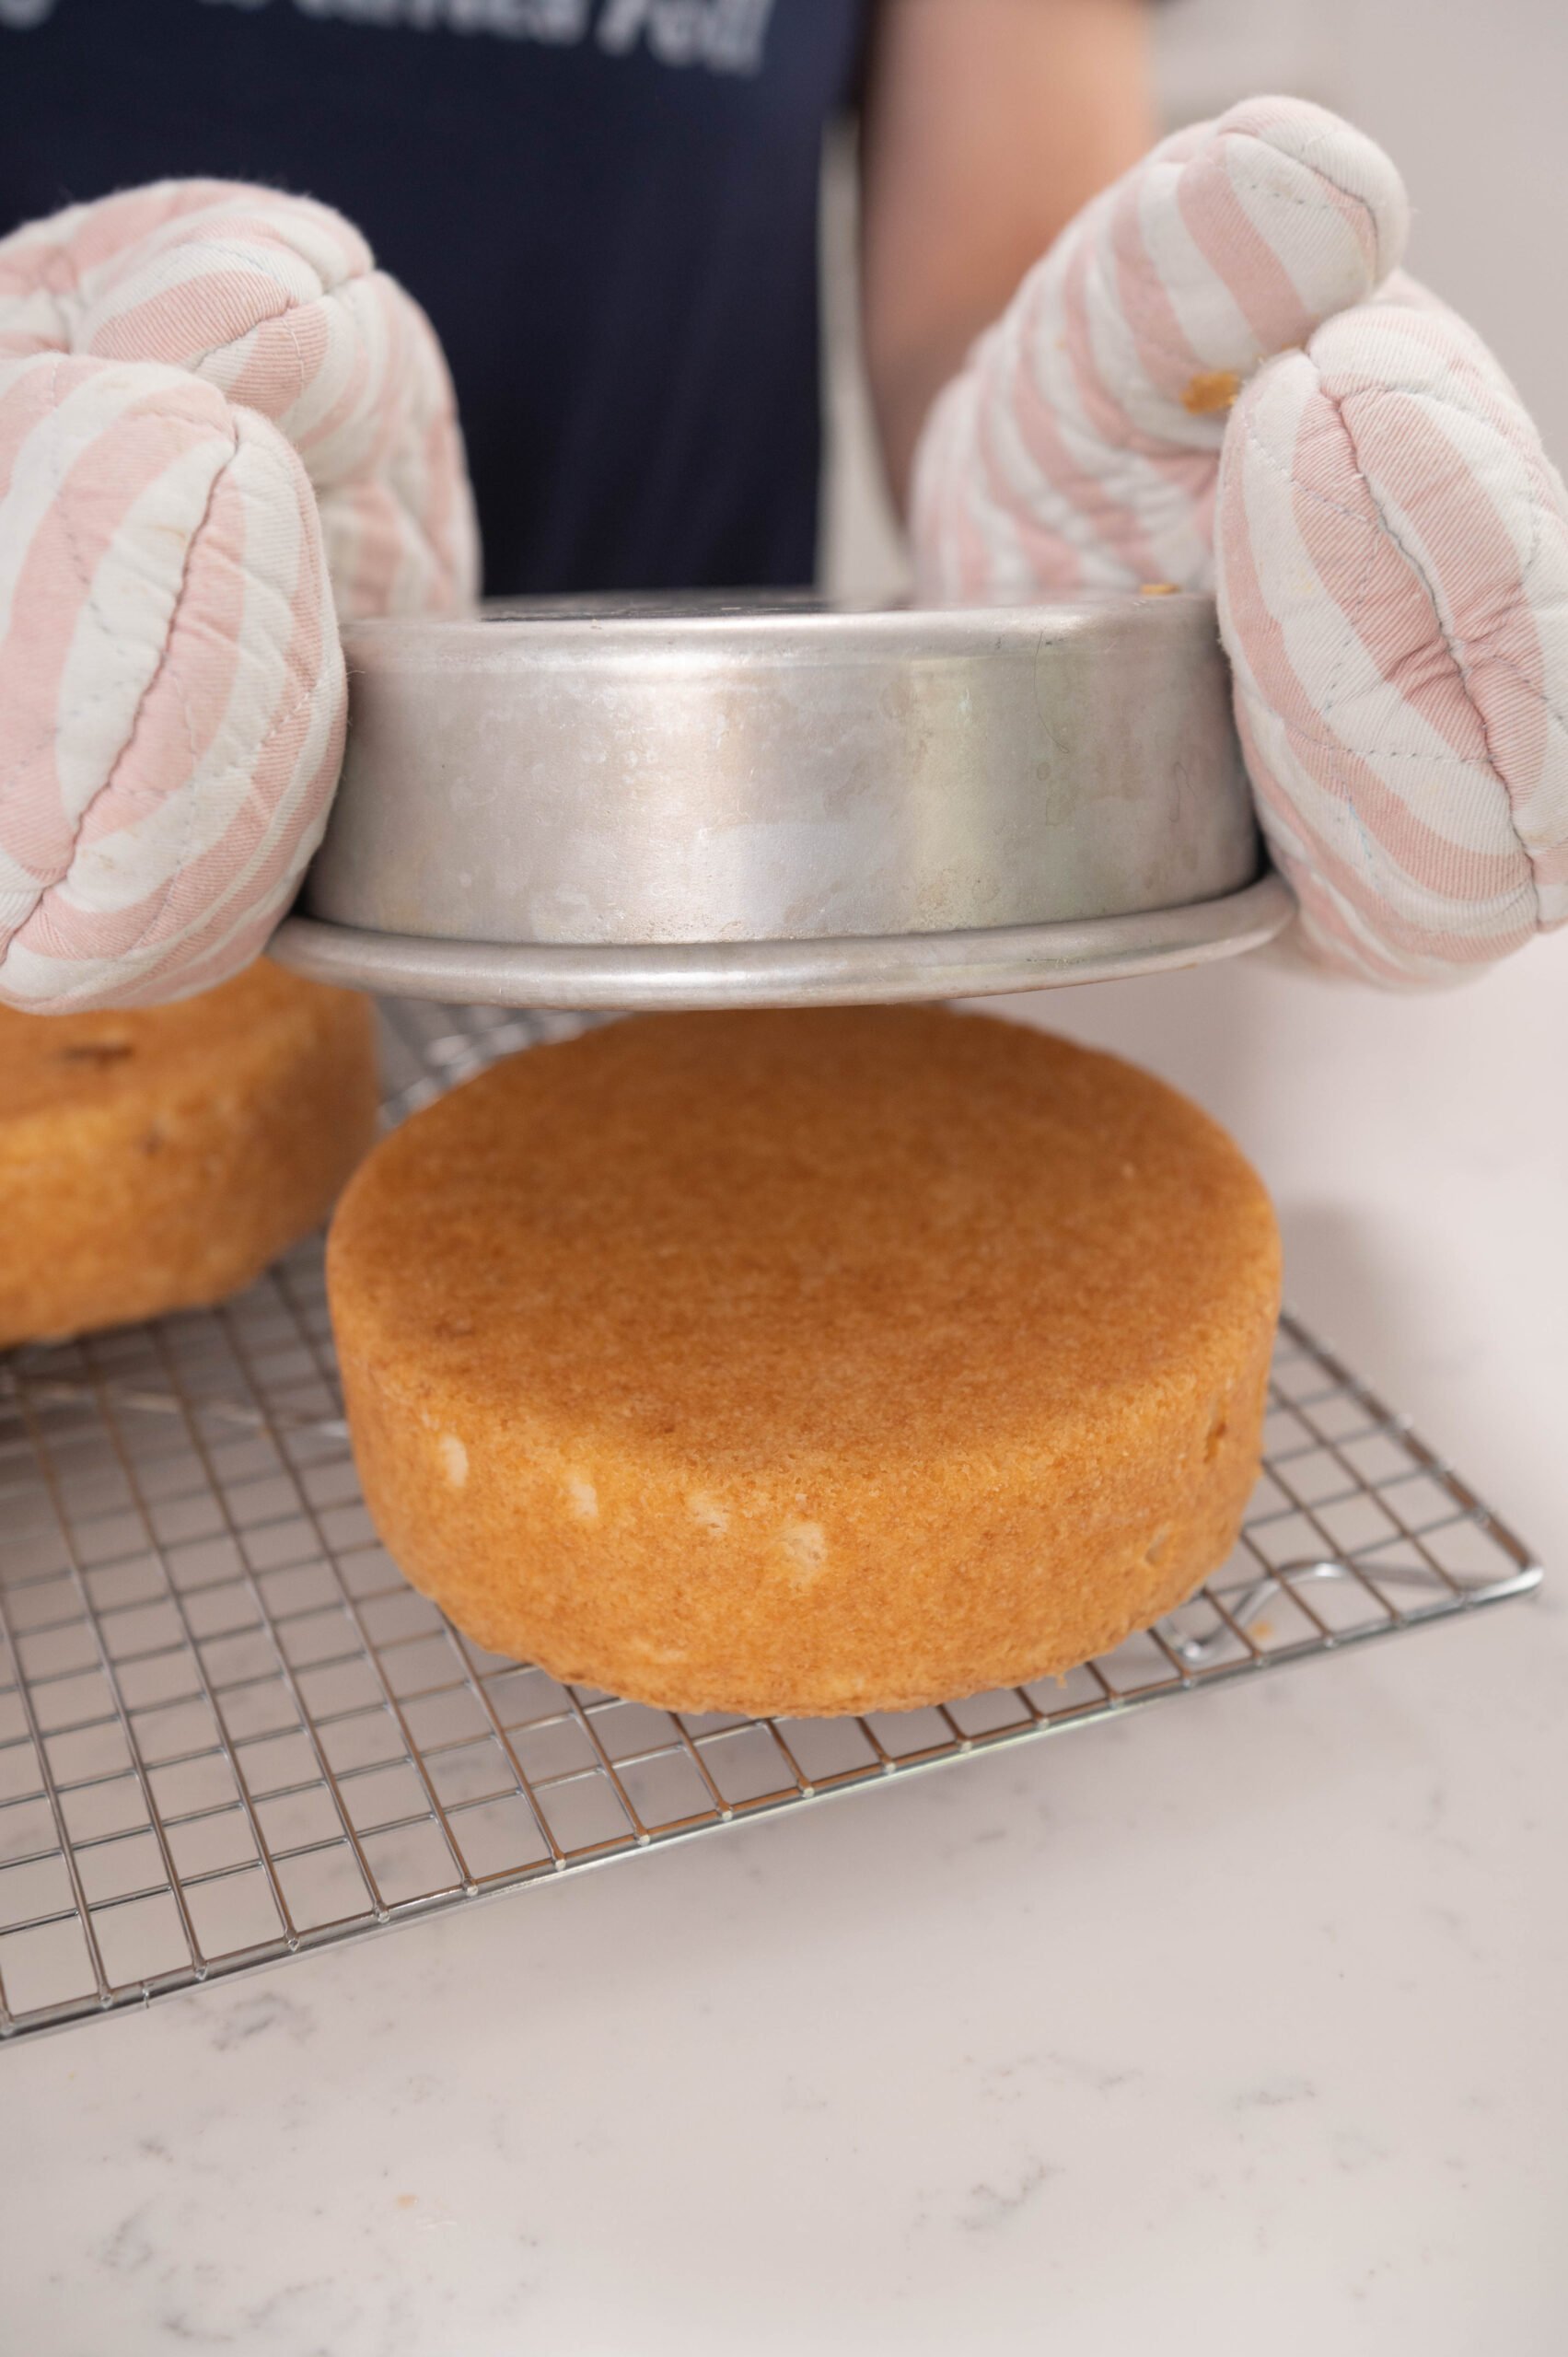
- Bake for 35-40 minutes or until you can place a toothpick in the center and it comes out clean. ( If you are making cupcakes bake for 15 minutes.)
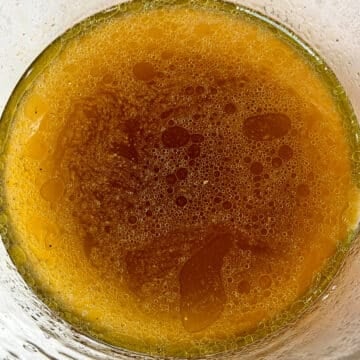
Making The Raspberry Filling
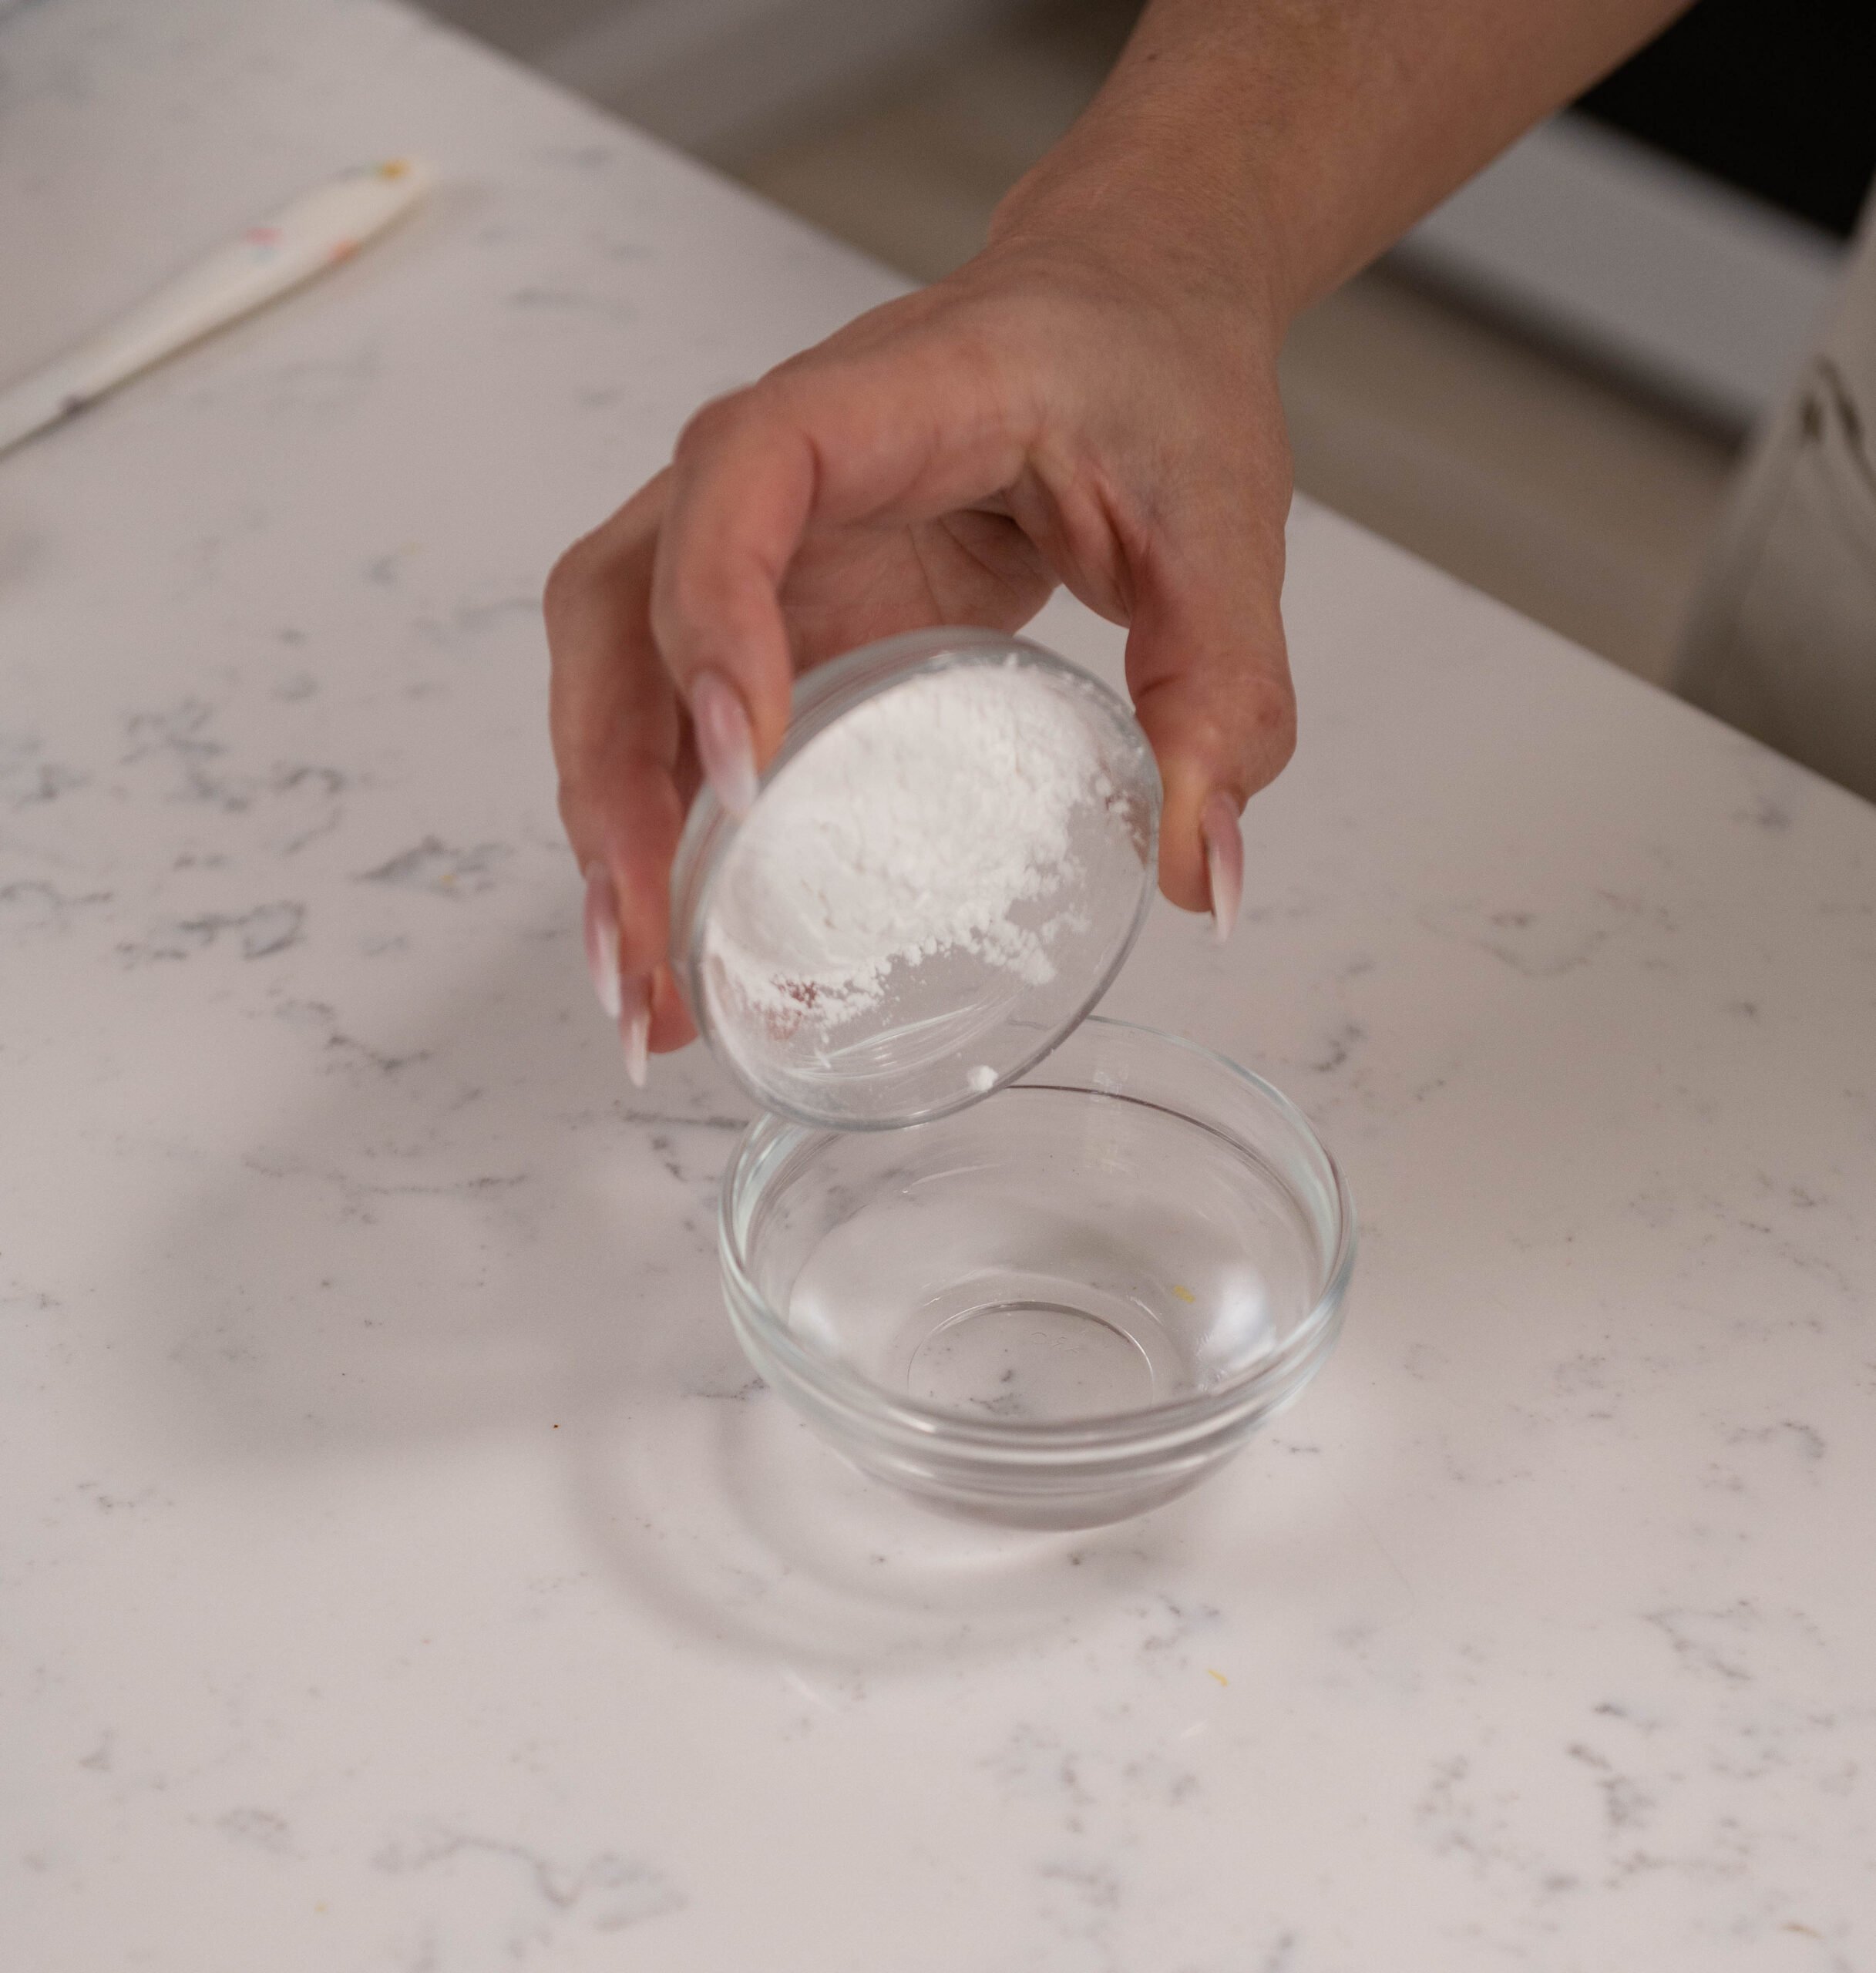
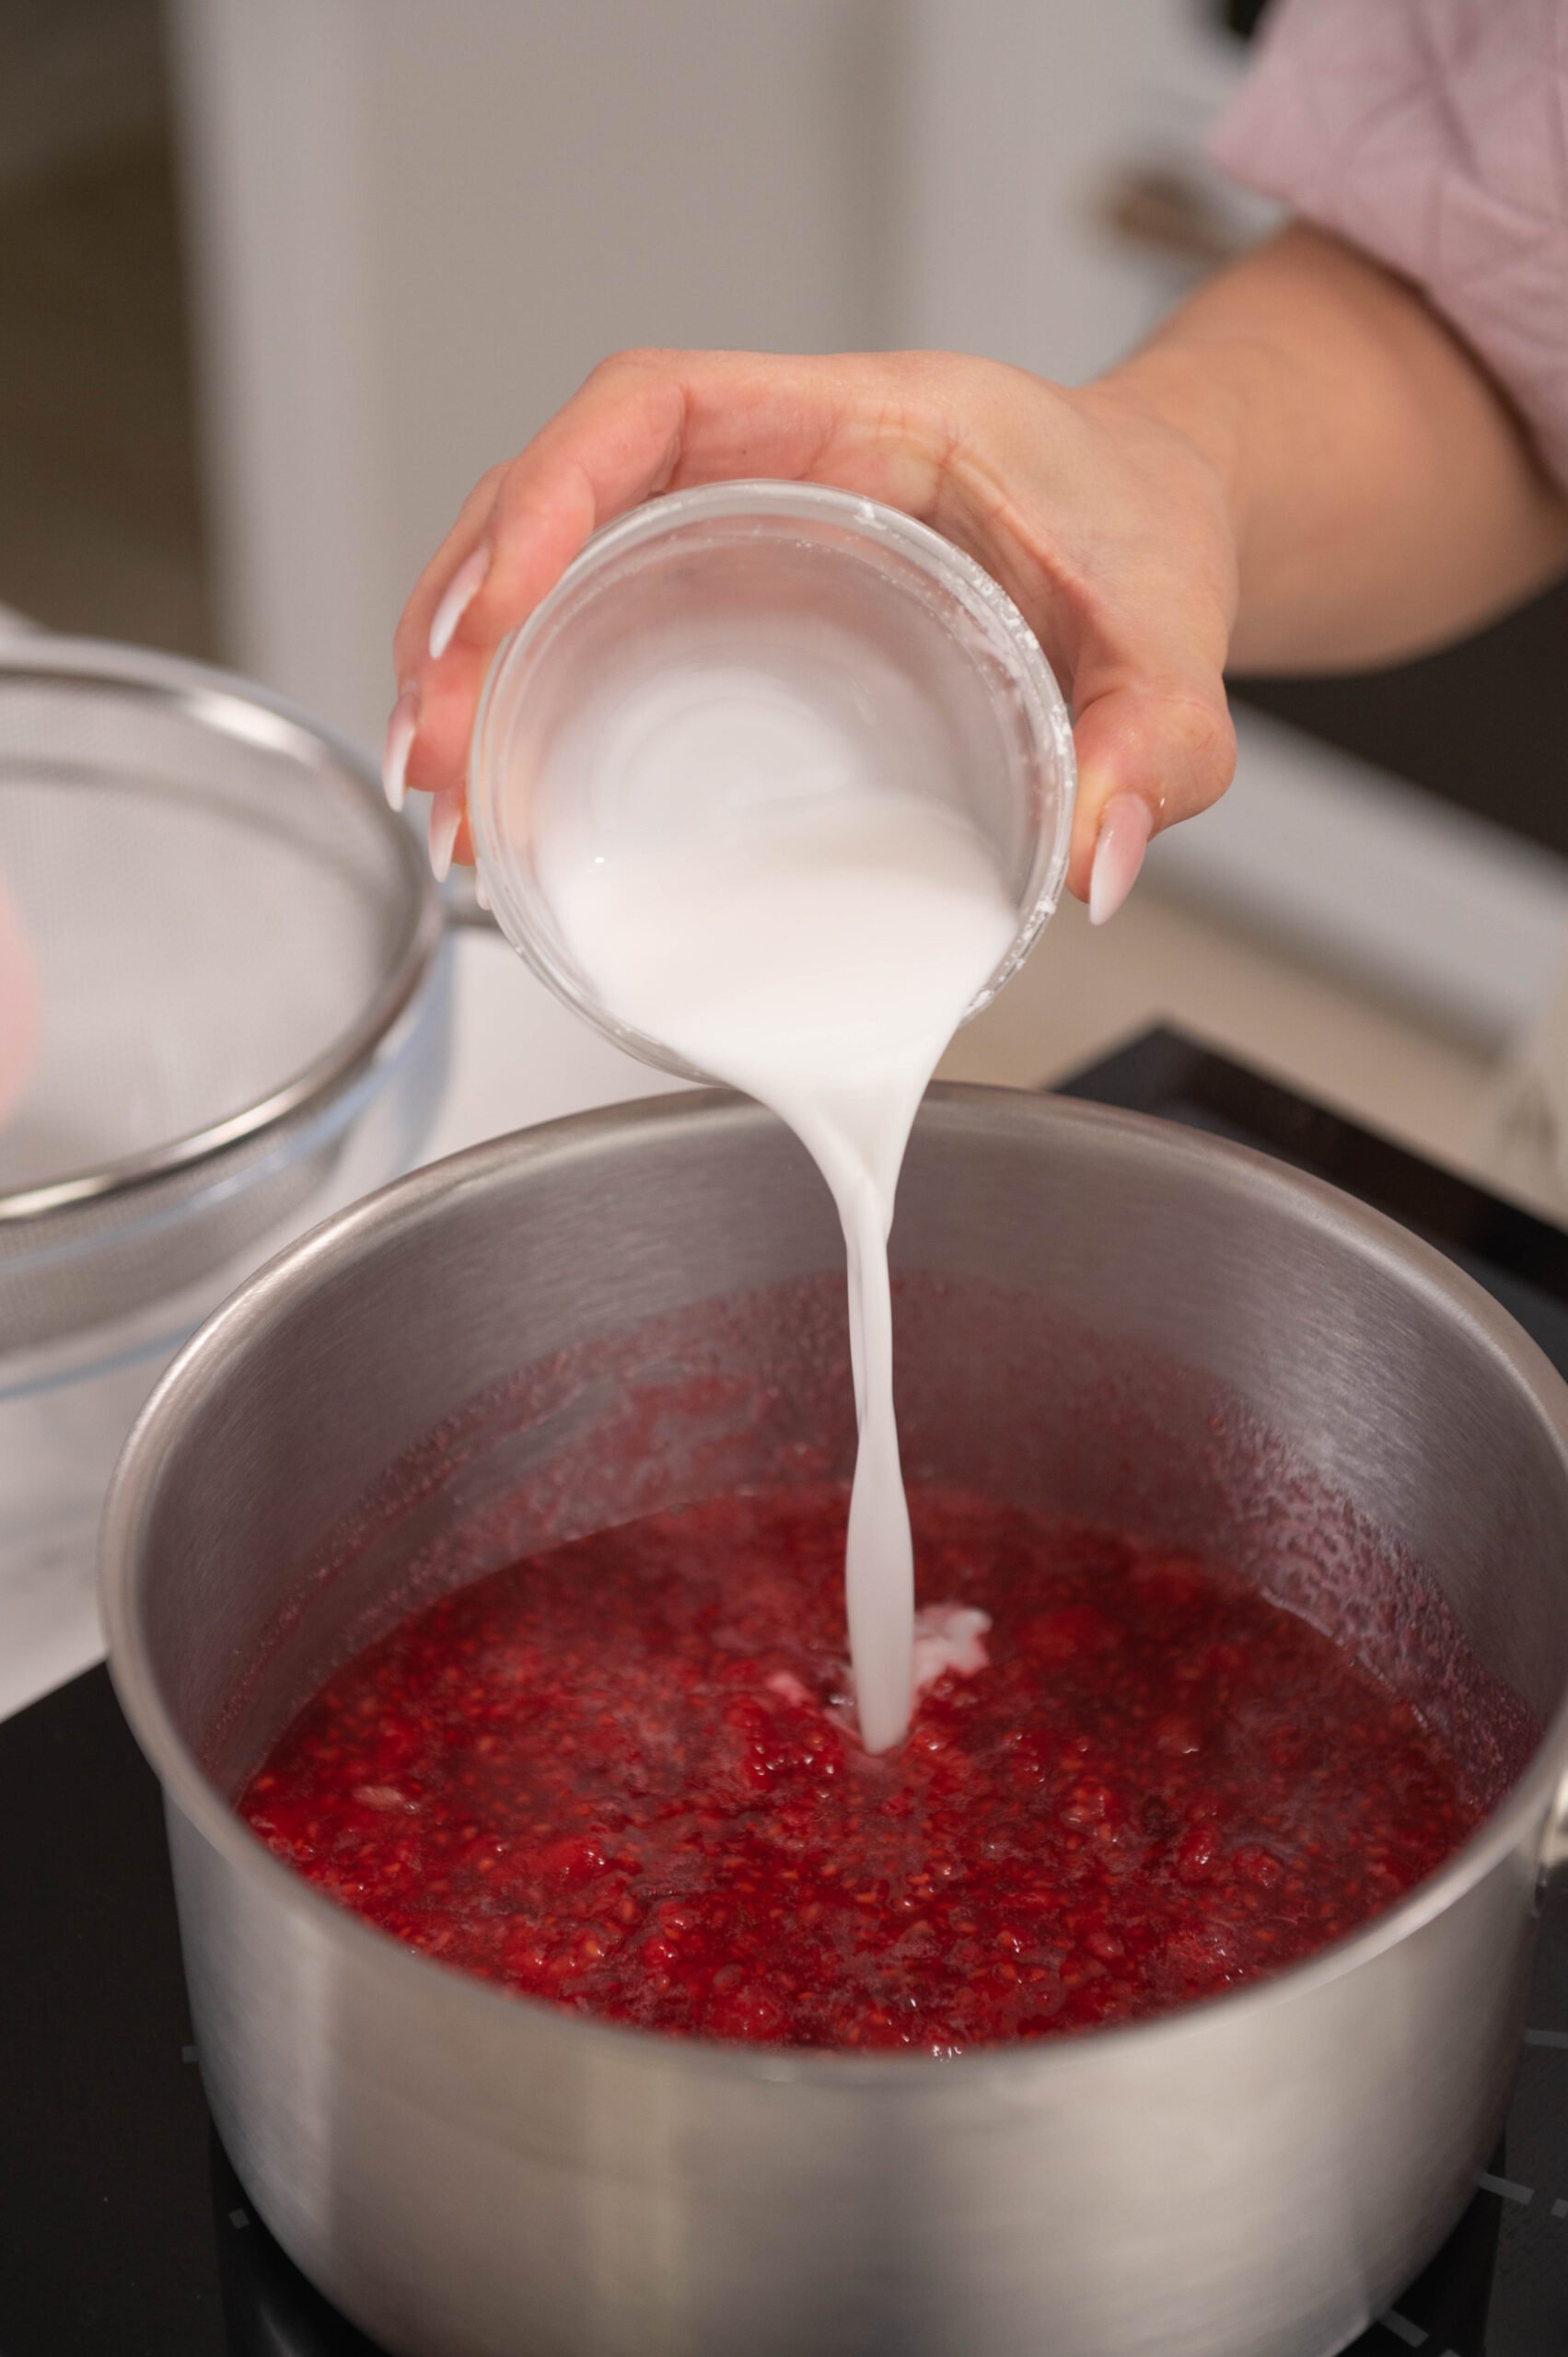
- Combine your cold water and cornstarch or clear gel. Give it a quick mix to combine.

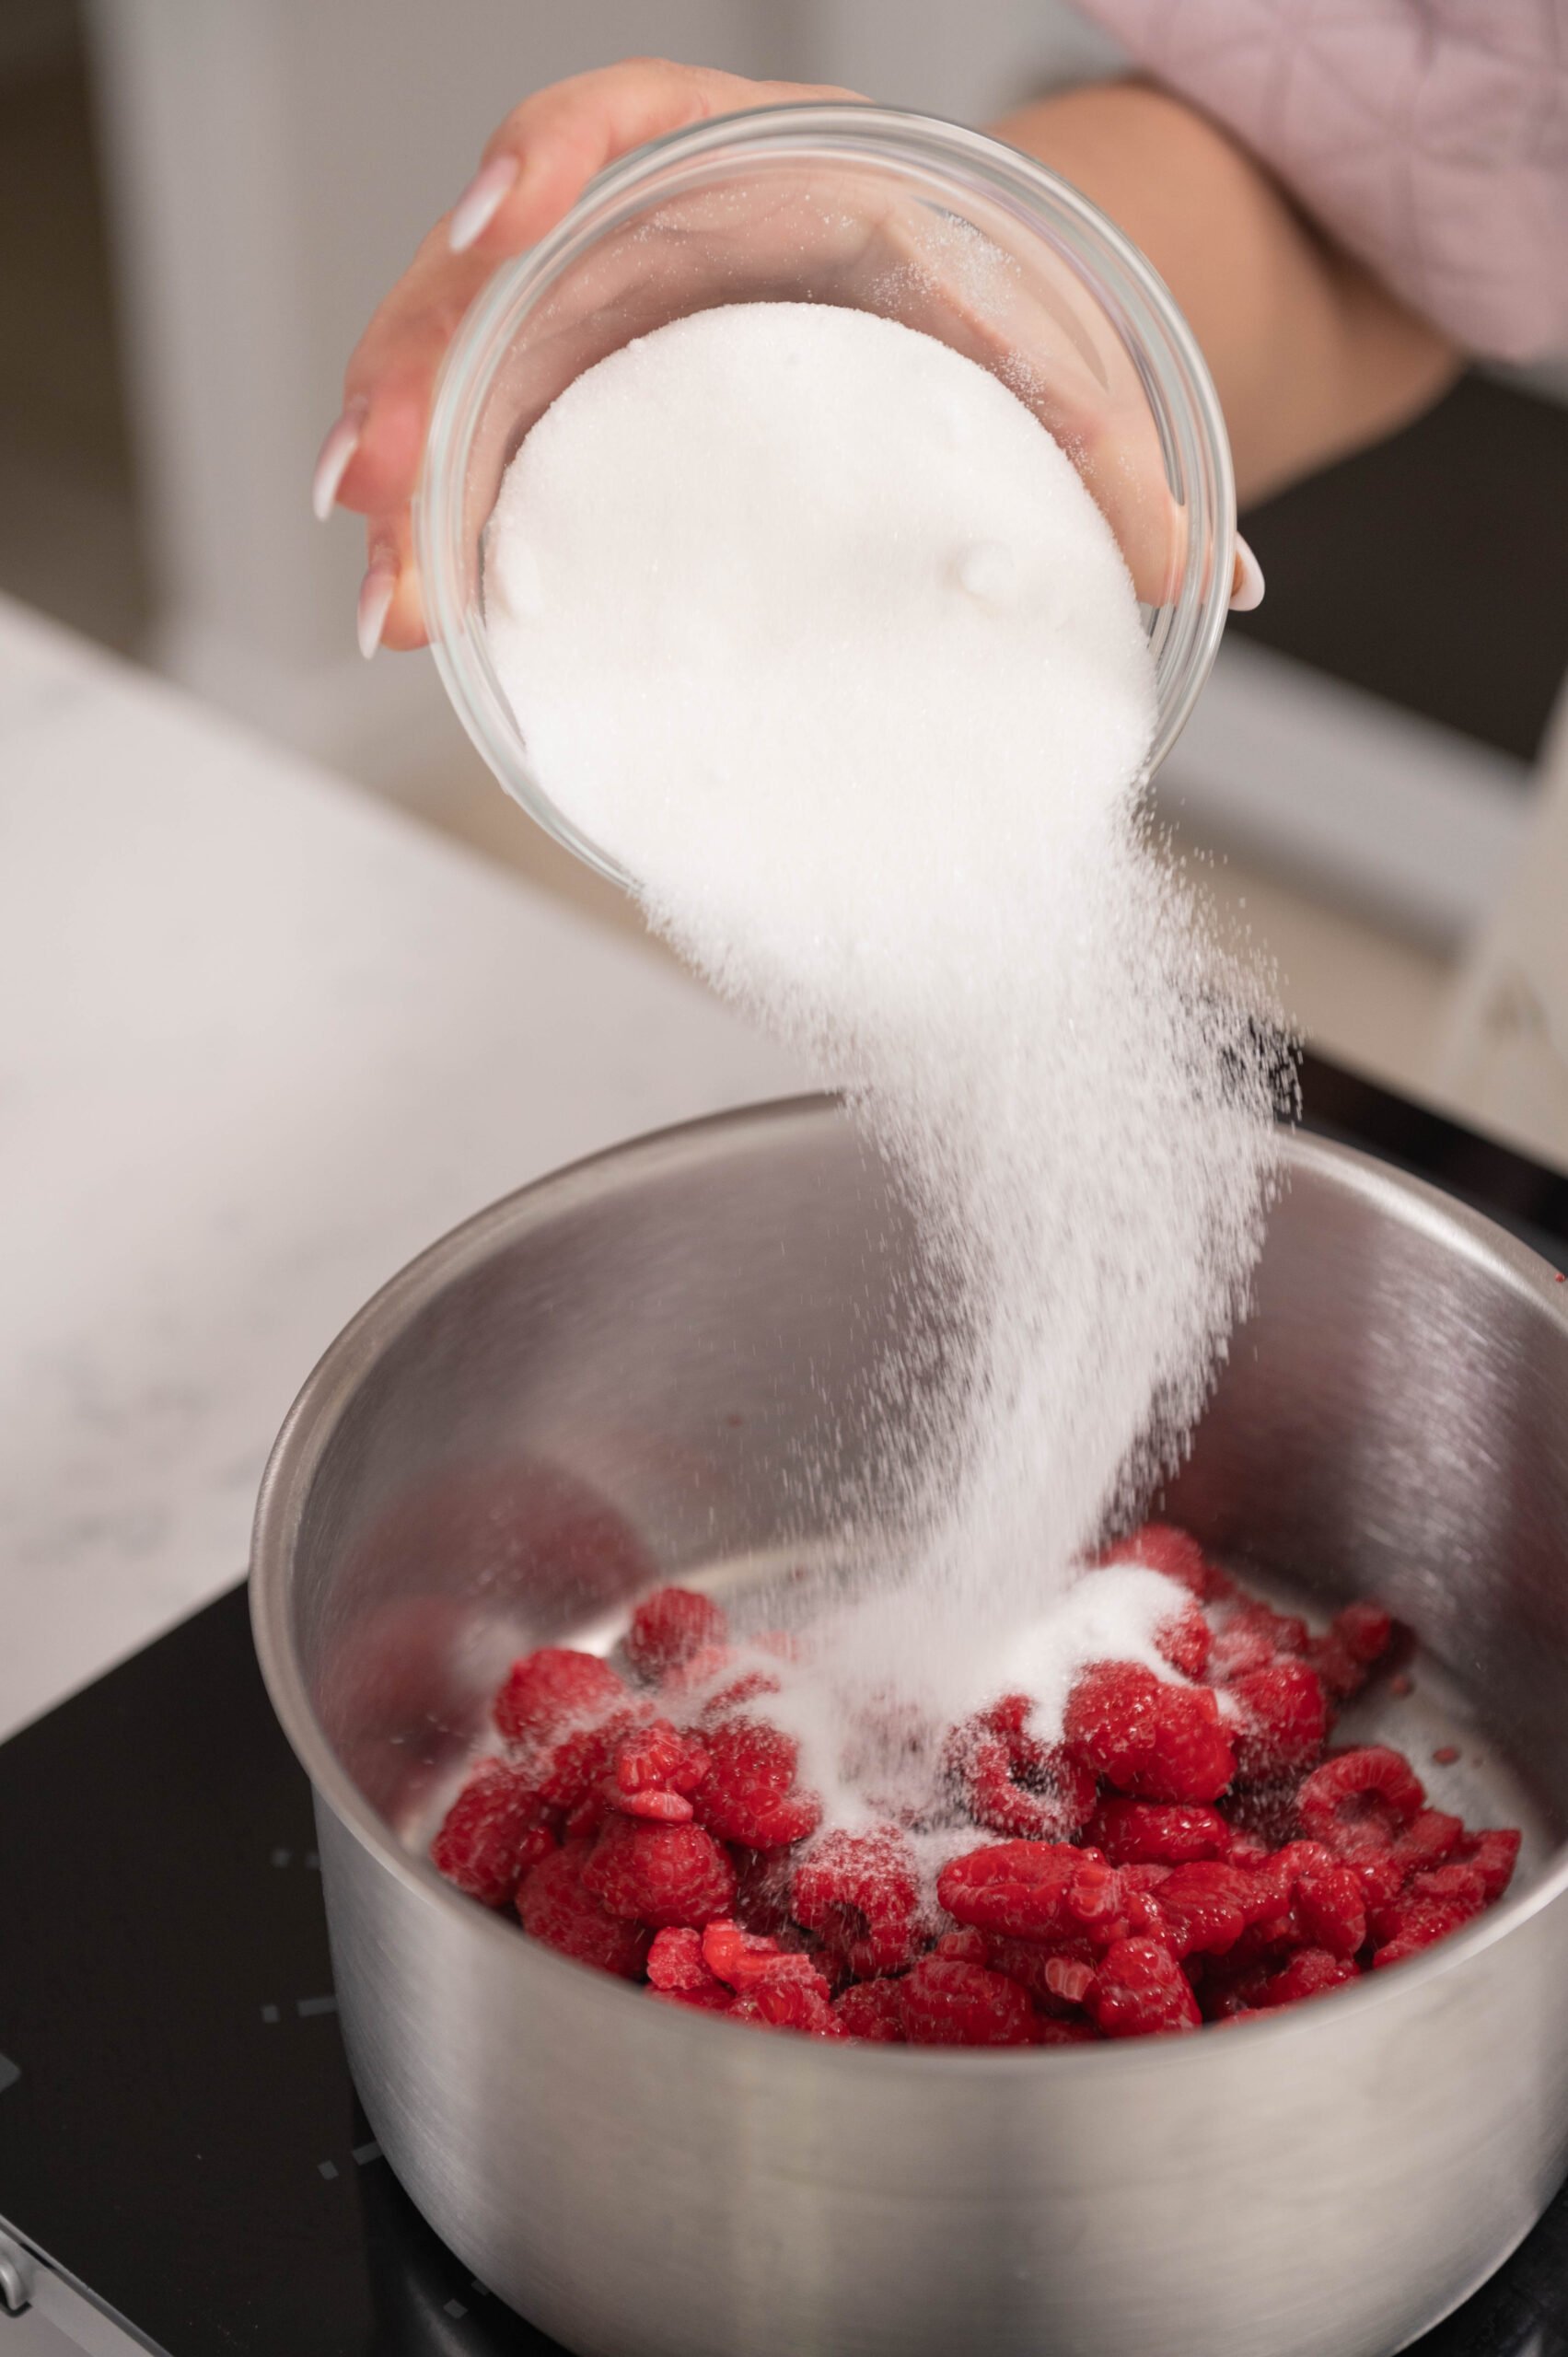
- Place your raspberries and sugar into a medium-sized saucepan. Bring to a boil and stir once in a while with a spatula.
- Once your mix starts bubbling, add in your cornstarch and water mixture and cook for 1 minute. The cornstarch mix is what helps to thicken the sauce.
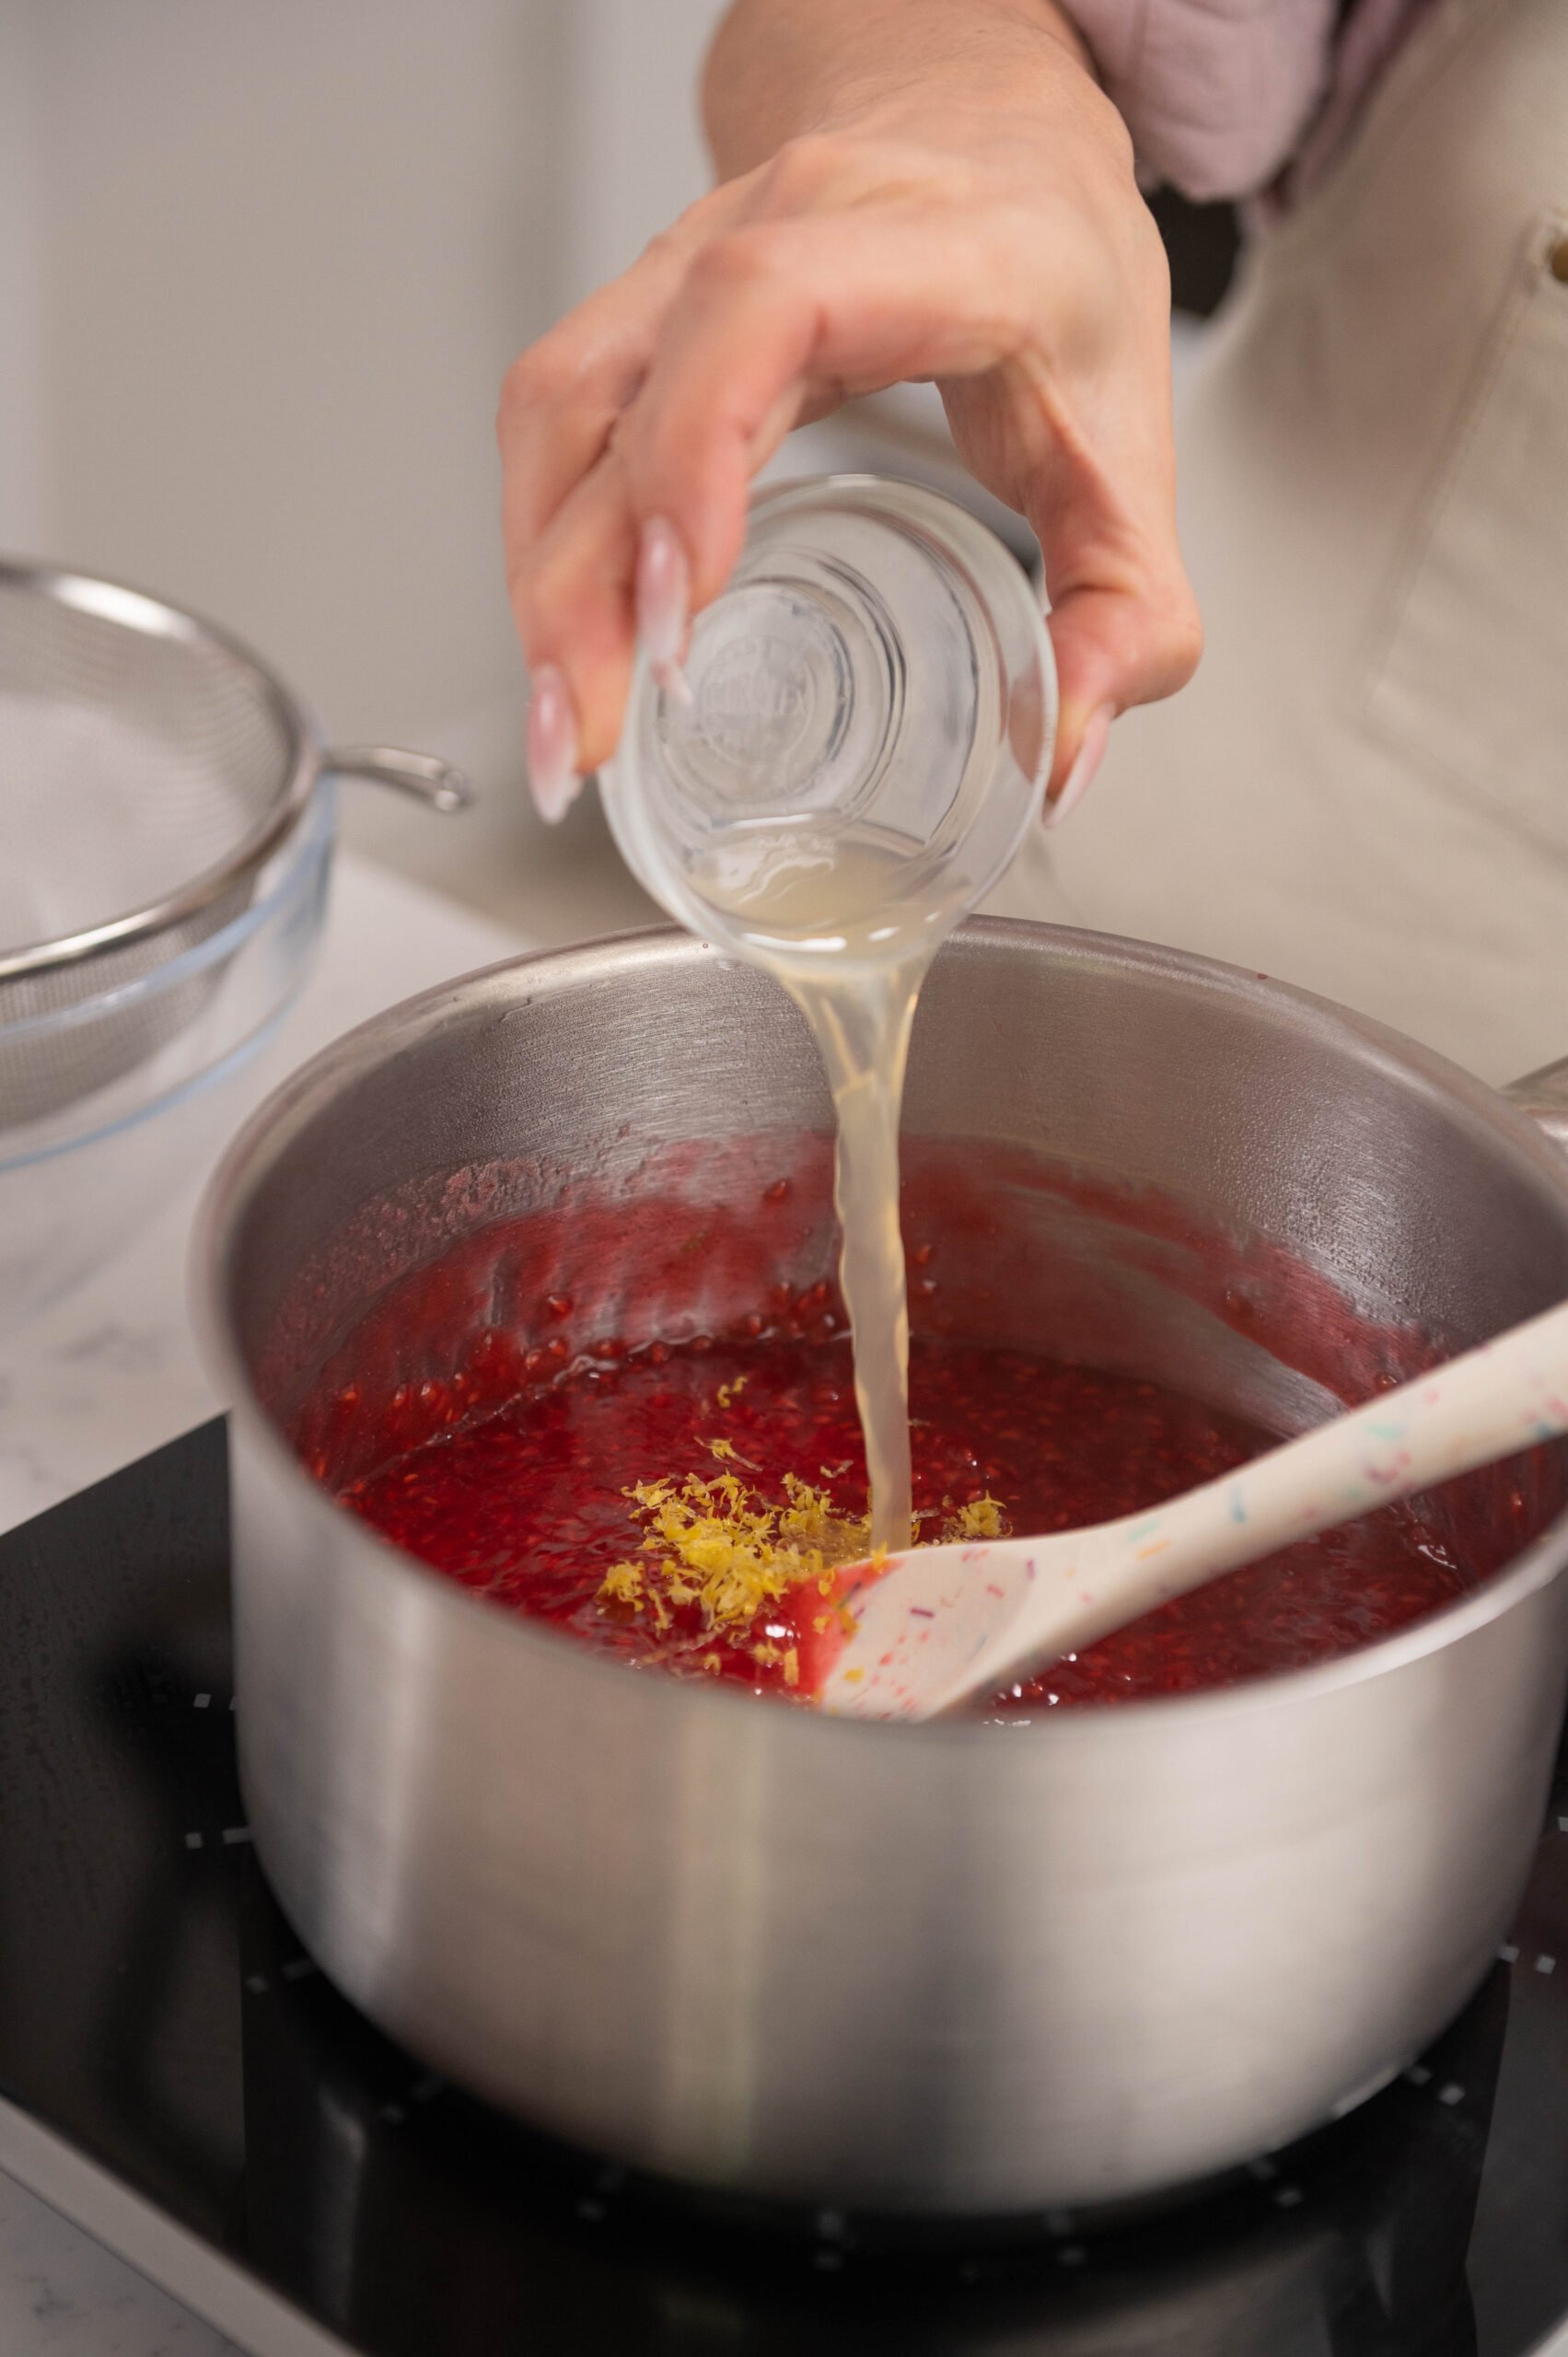
- After it's thickened, add in your lemon zest and lemon juice. Give it a quick stir with a spatula.
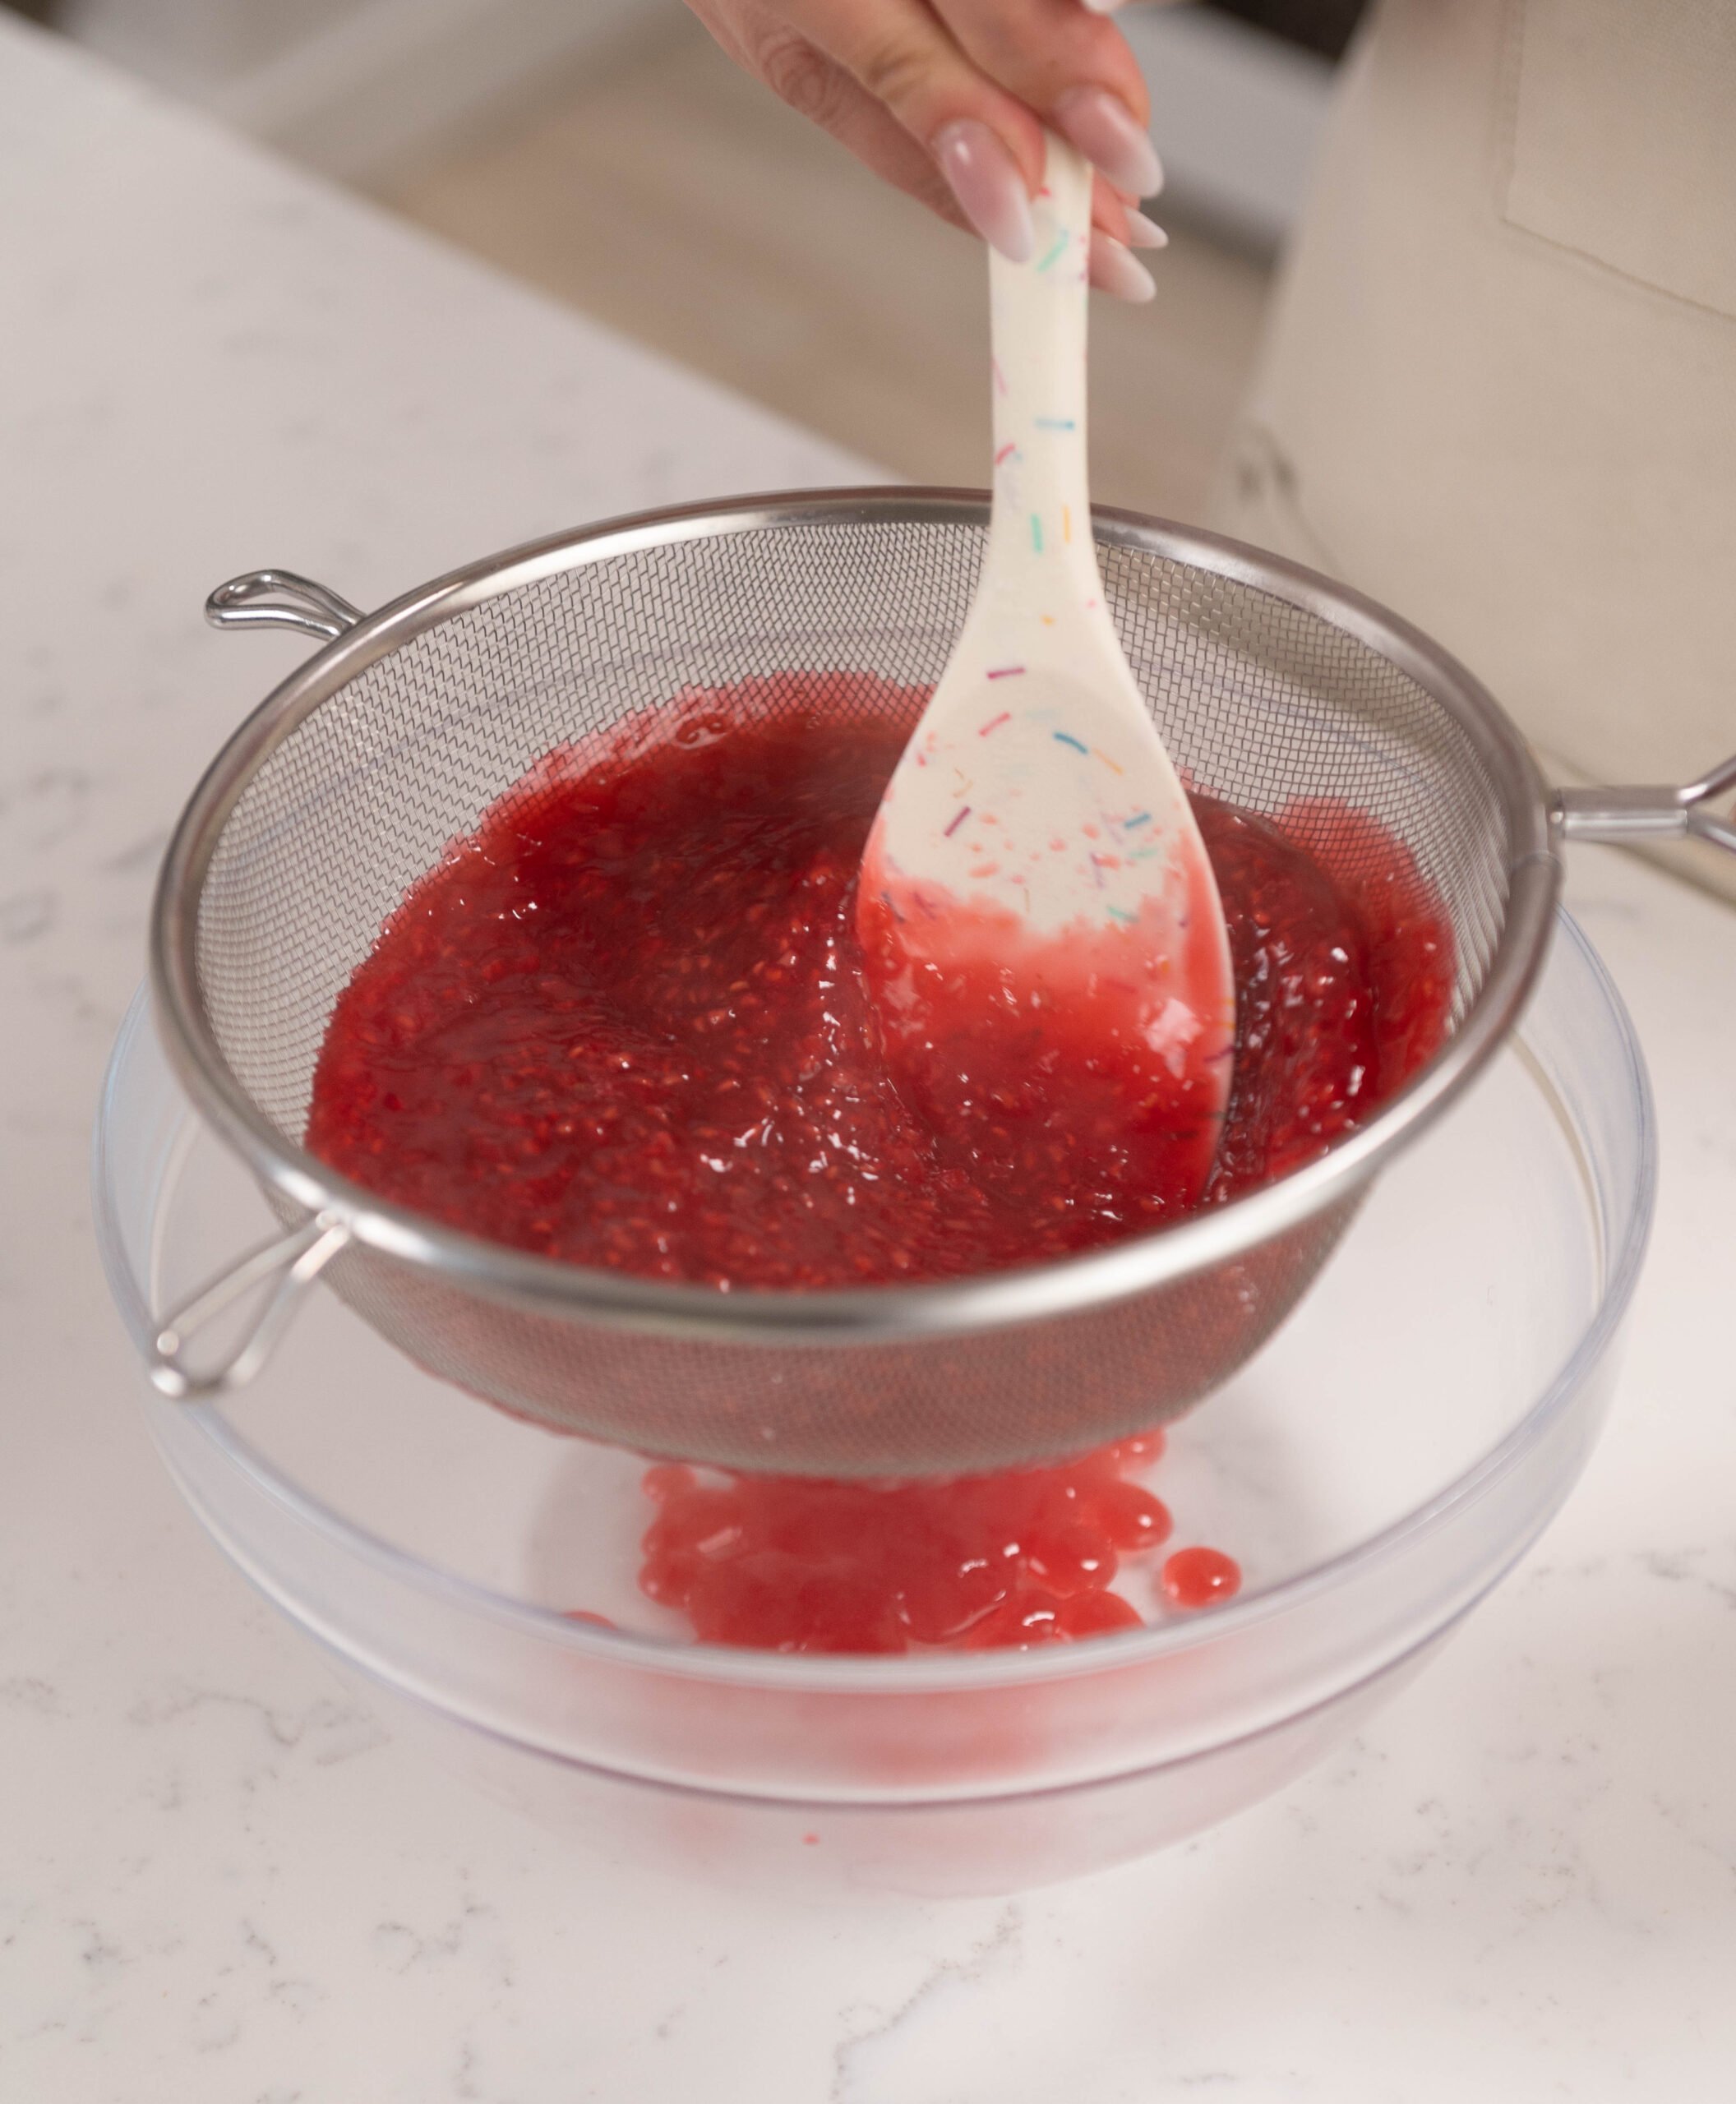
- OPTIONAL: Strain the raspberry filling into a bowl to get rid of the seeds. If you like having seeds you can skip this part.

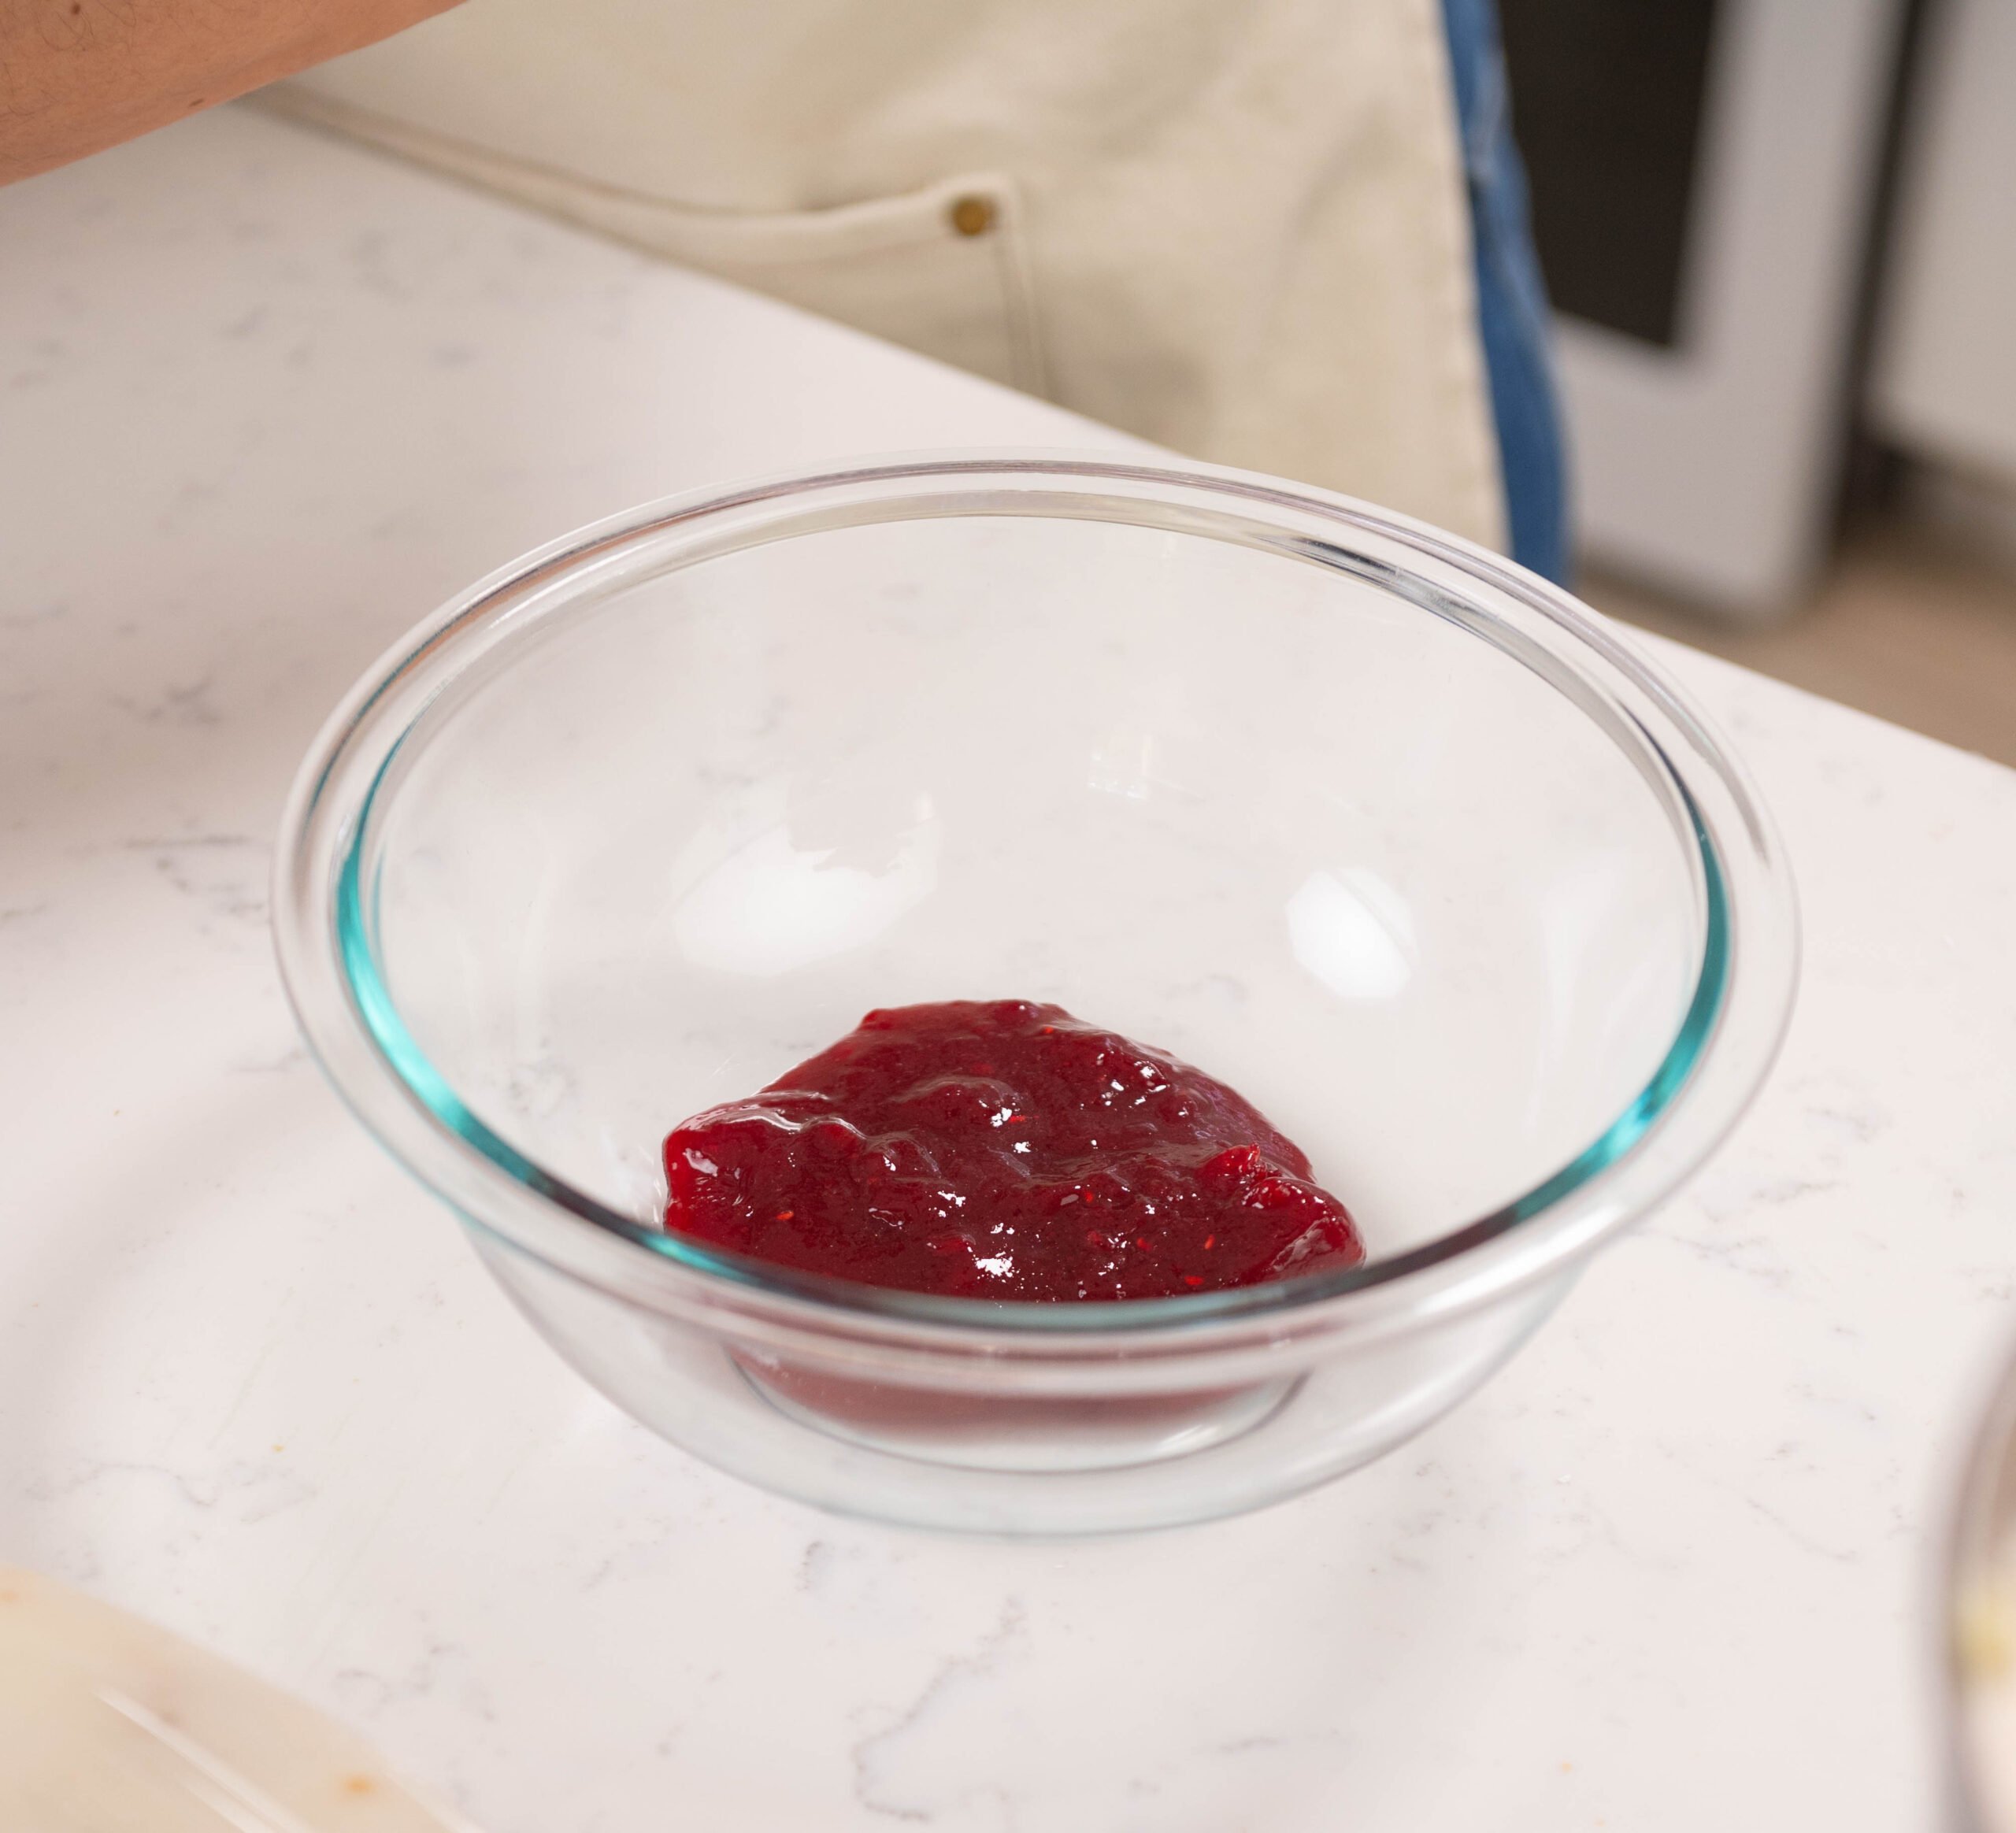
- Set the mix aside to cool down. You can also place it in the fridge or freezer to cool down faster. It’s ready to use when it comes to room temperature or below.

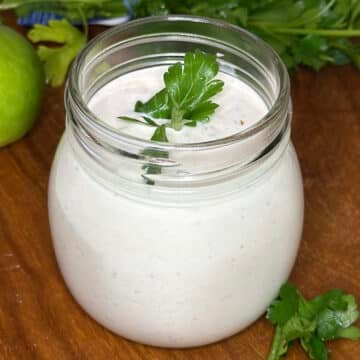
Making The Raspberry Buttercream
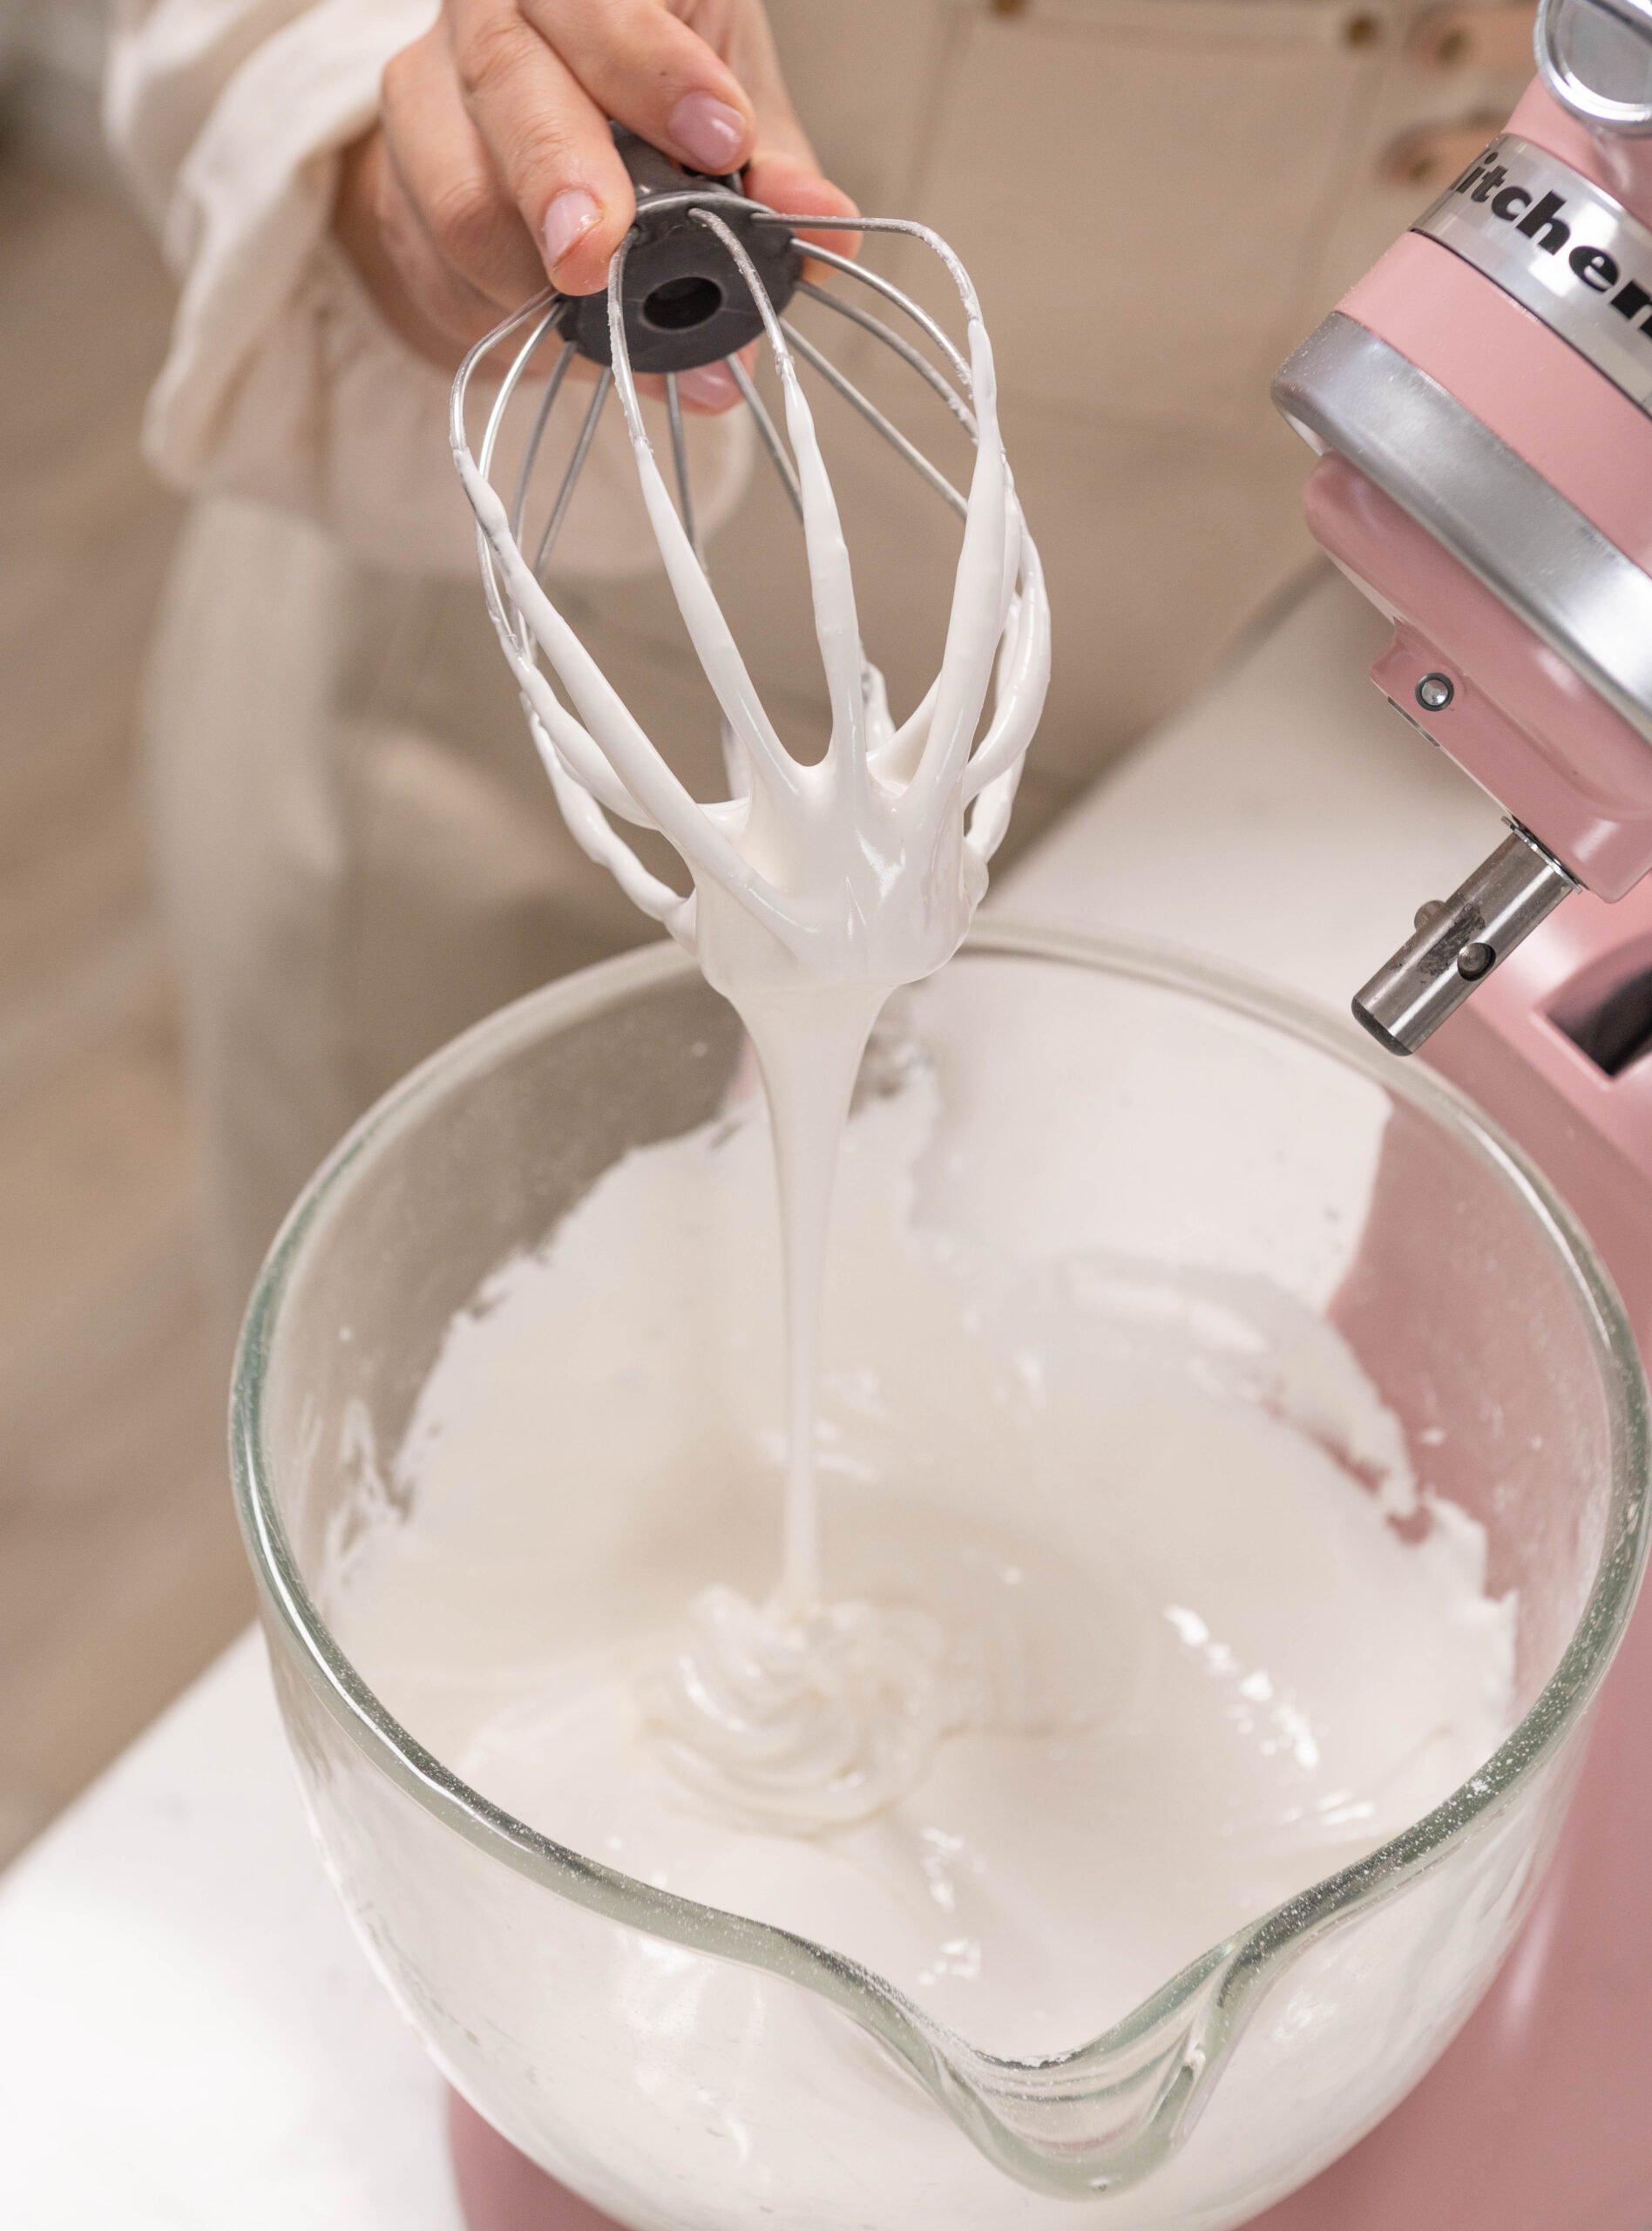
- First, place the egg whites and the powdered sugar in a stand mixer bowl. Attach the whisk and combine the ingredients on low, and then whip them on high for 4-5 minutes (until shiny) to dissolve the powdered sugar.

- Then, add in the salt and the vanilla extract. If you are adding in any food coloring, this is the point where you would do that.
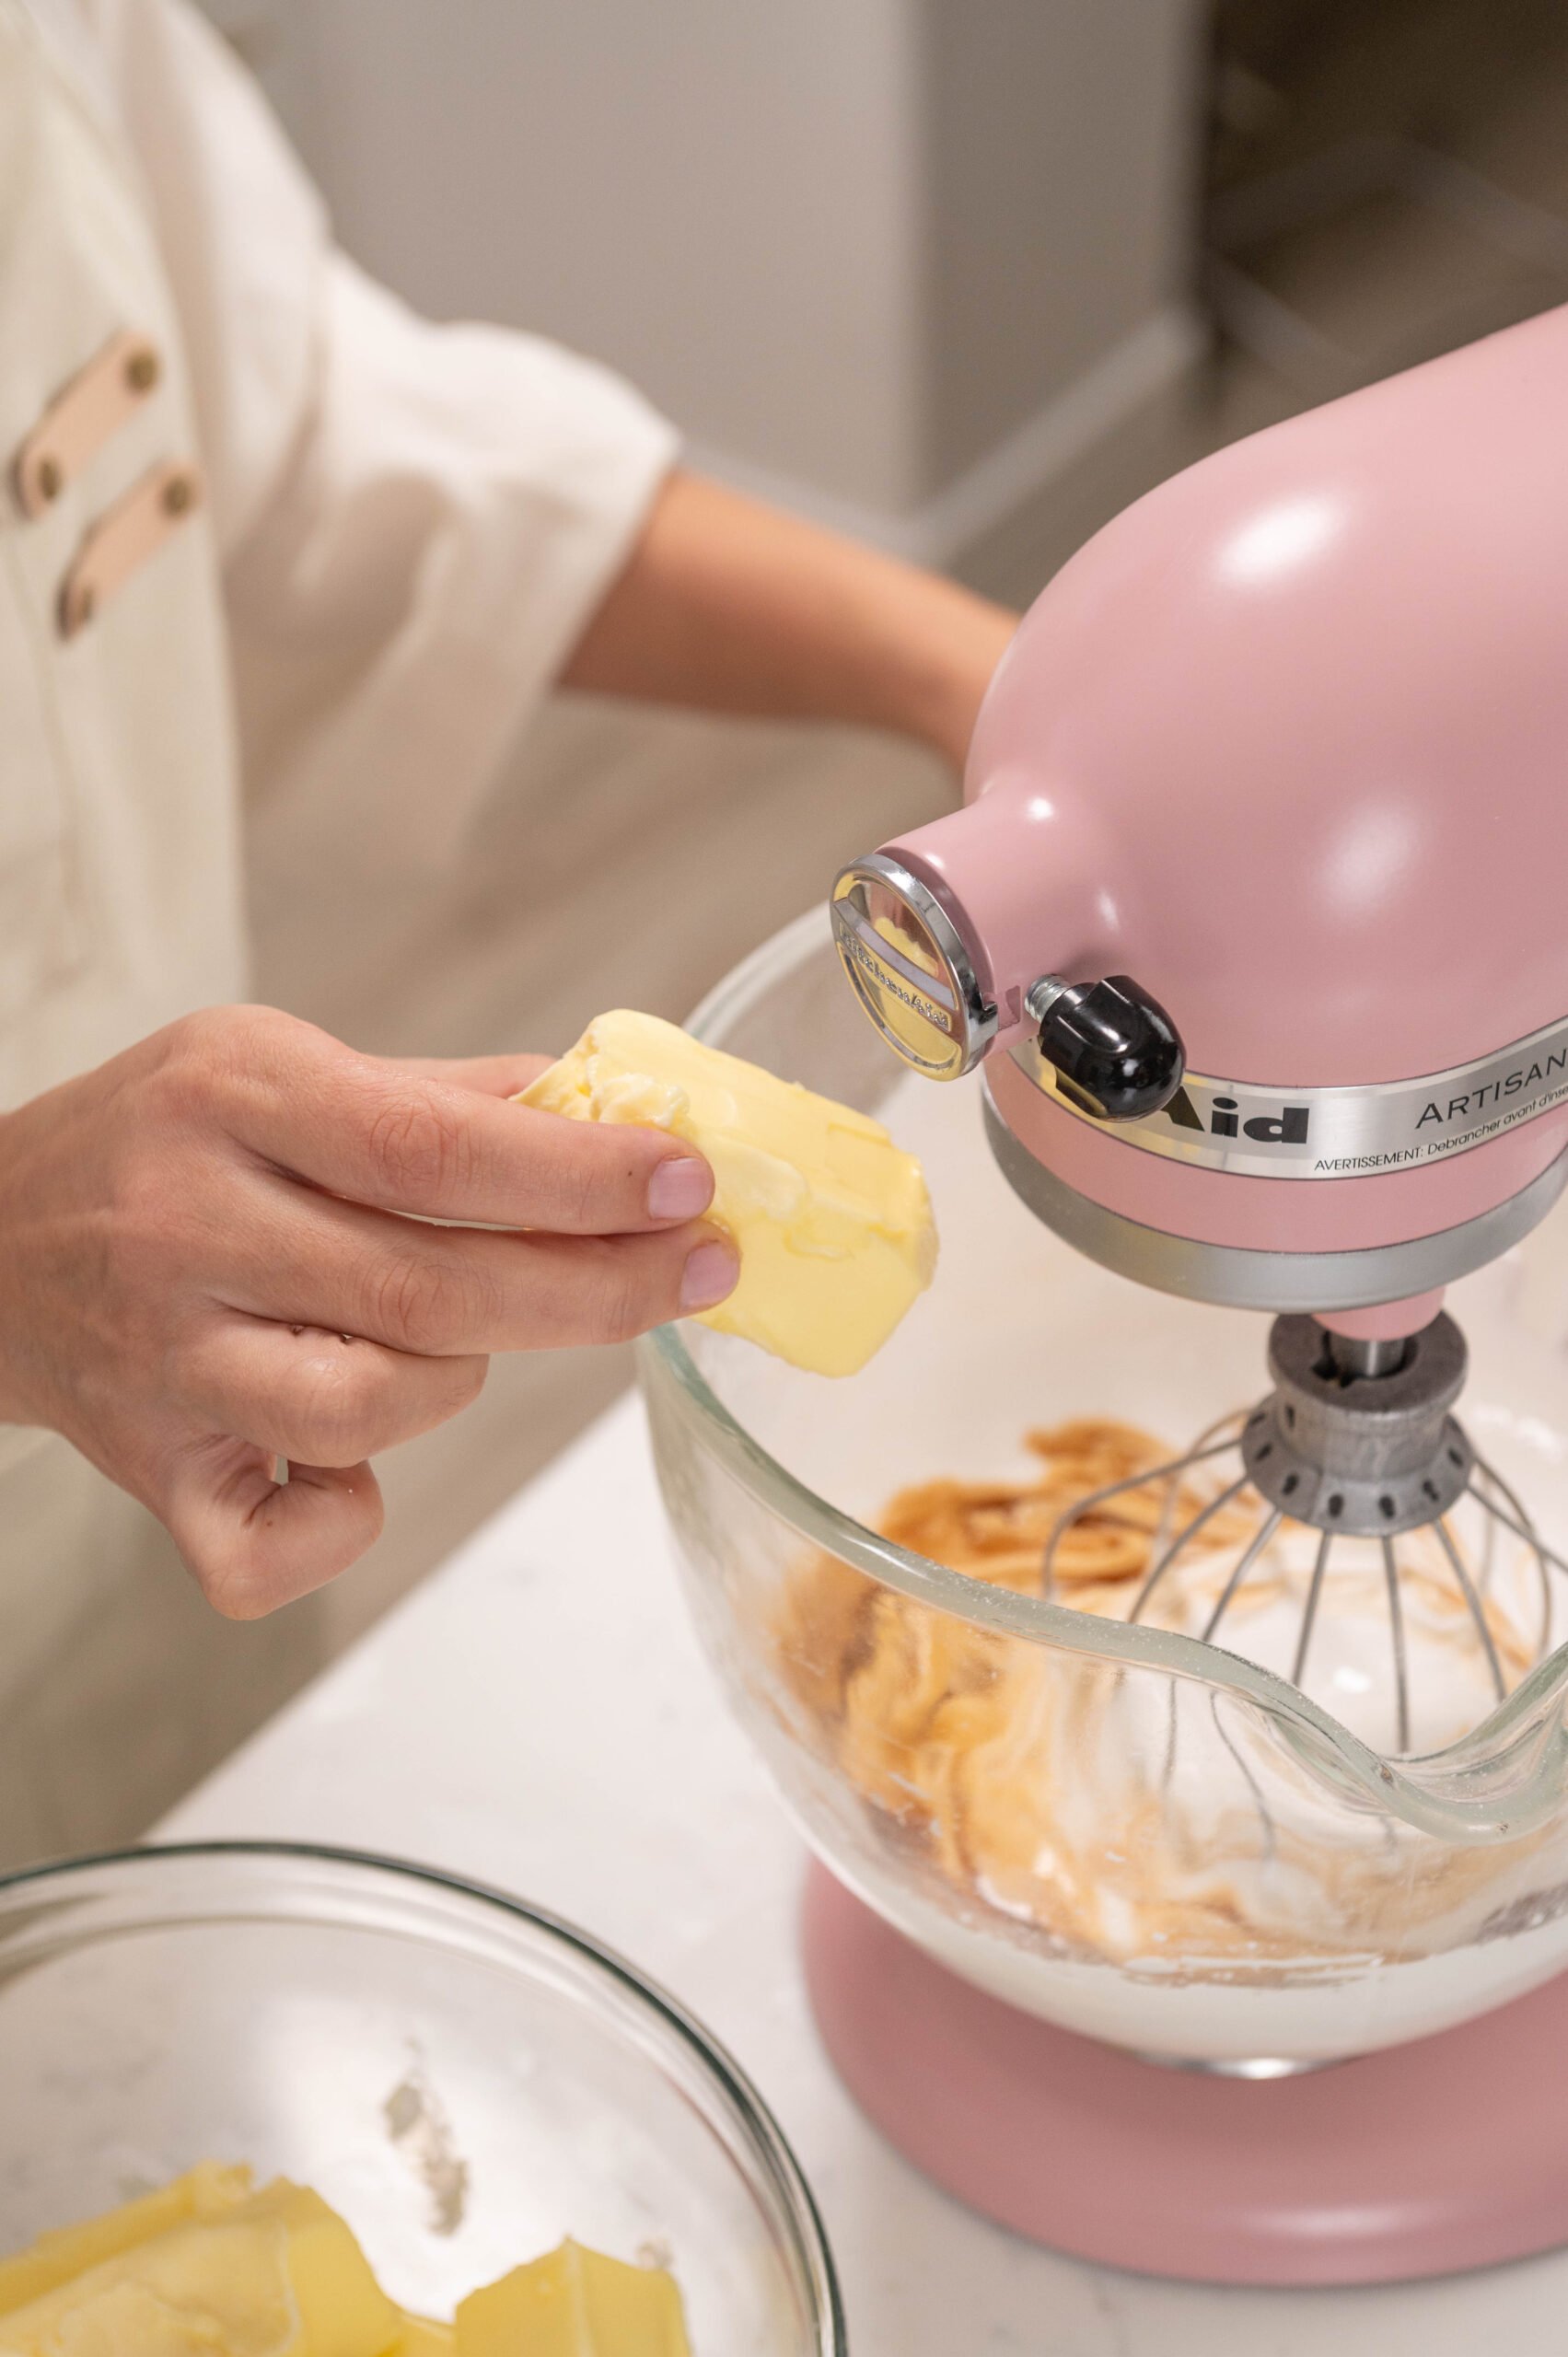
- Next, add in your softened butter piece-by-piece, and whip it with the whisk attachment to combine. It will look curdled at first. This is definitely normal. It will also look pretty yellow. Keep whipping.
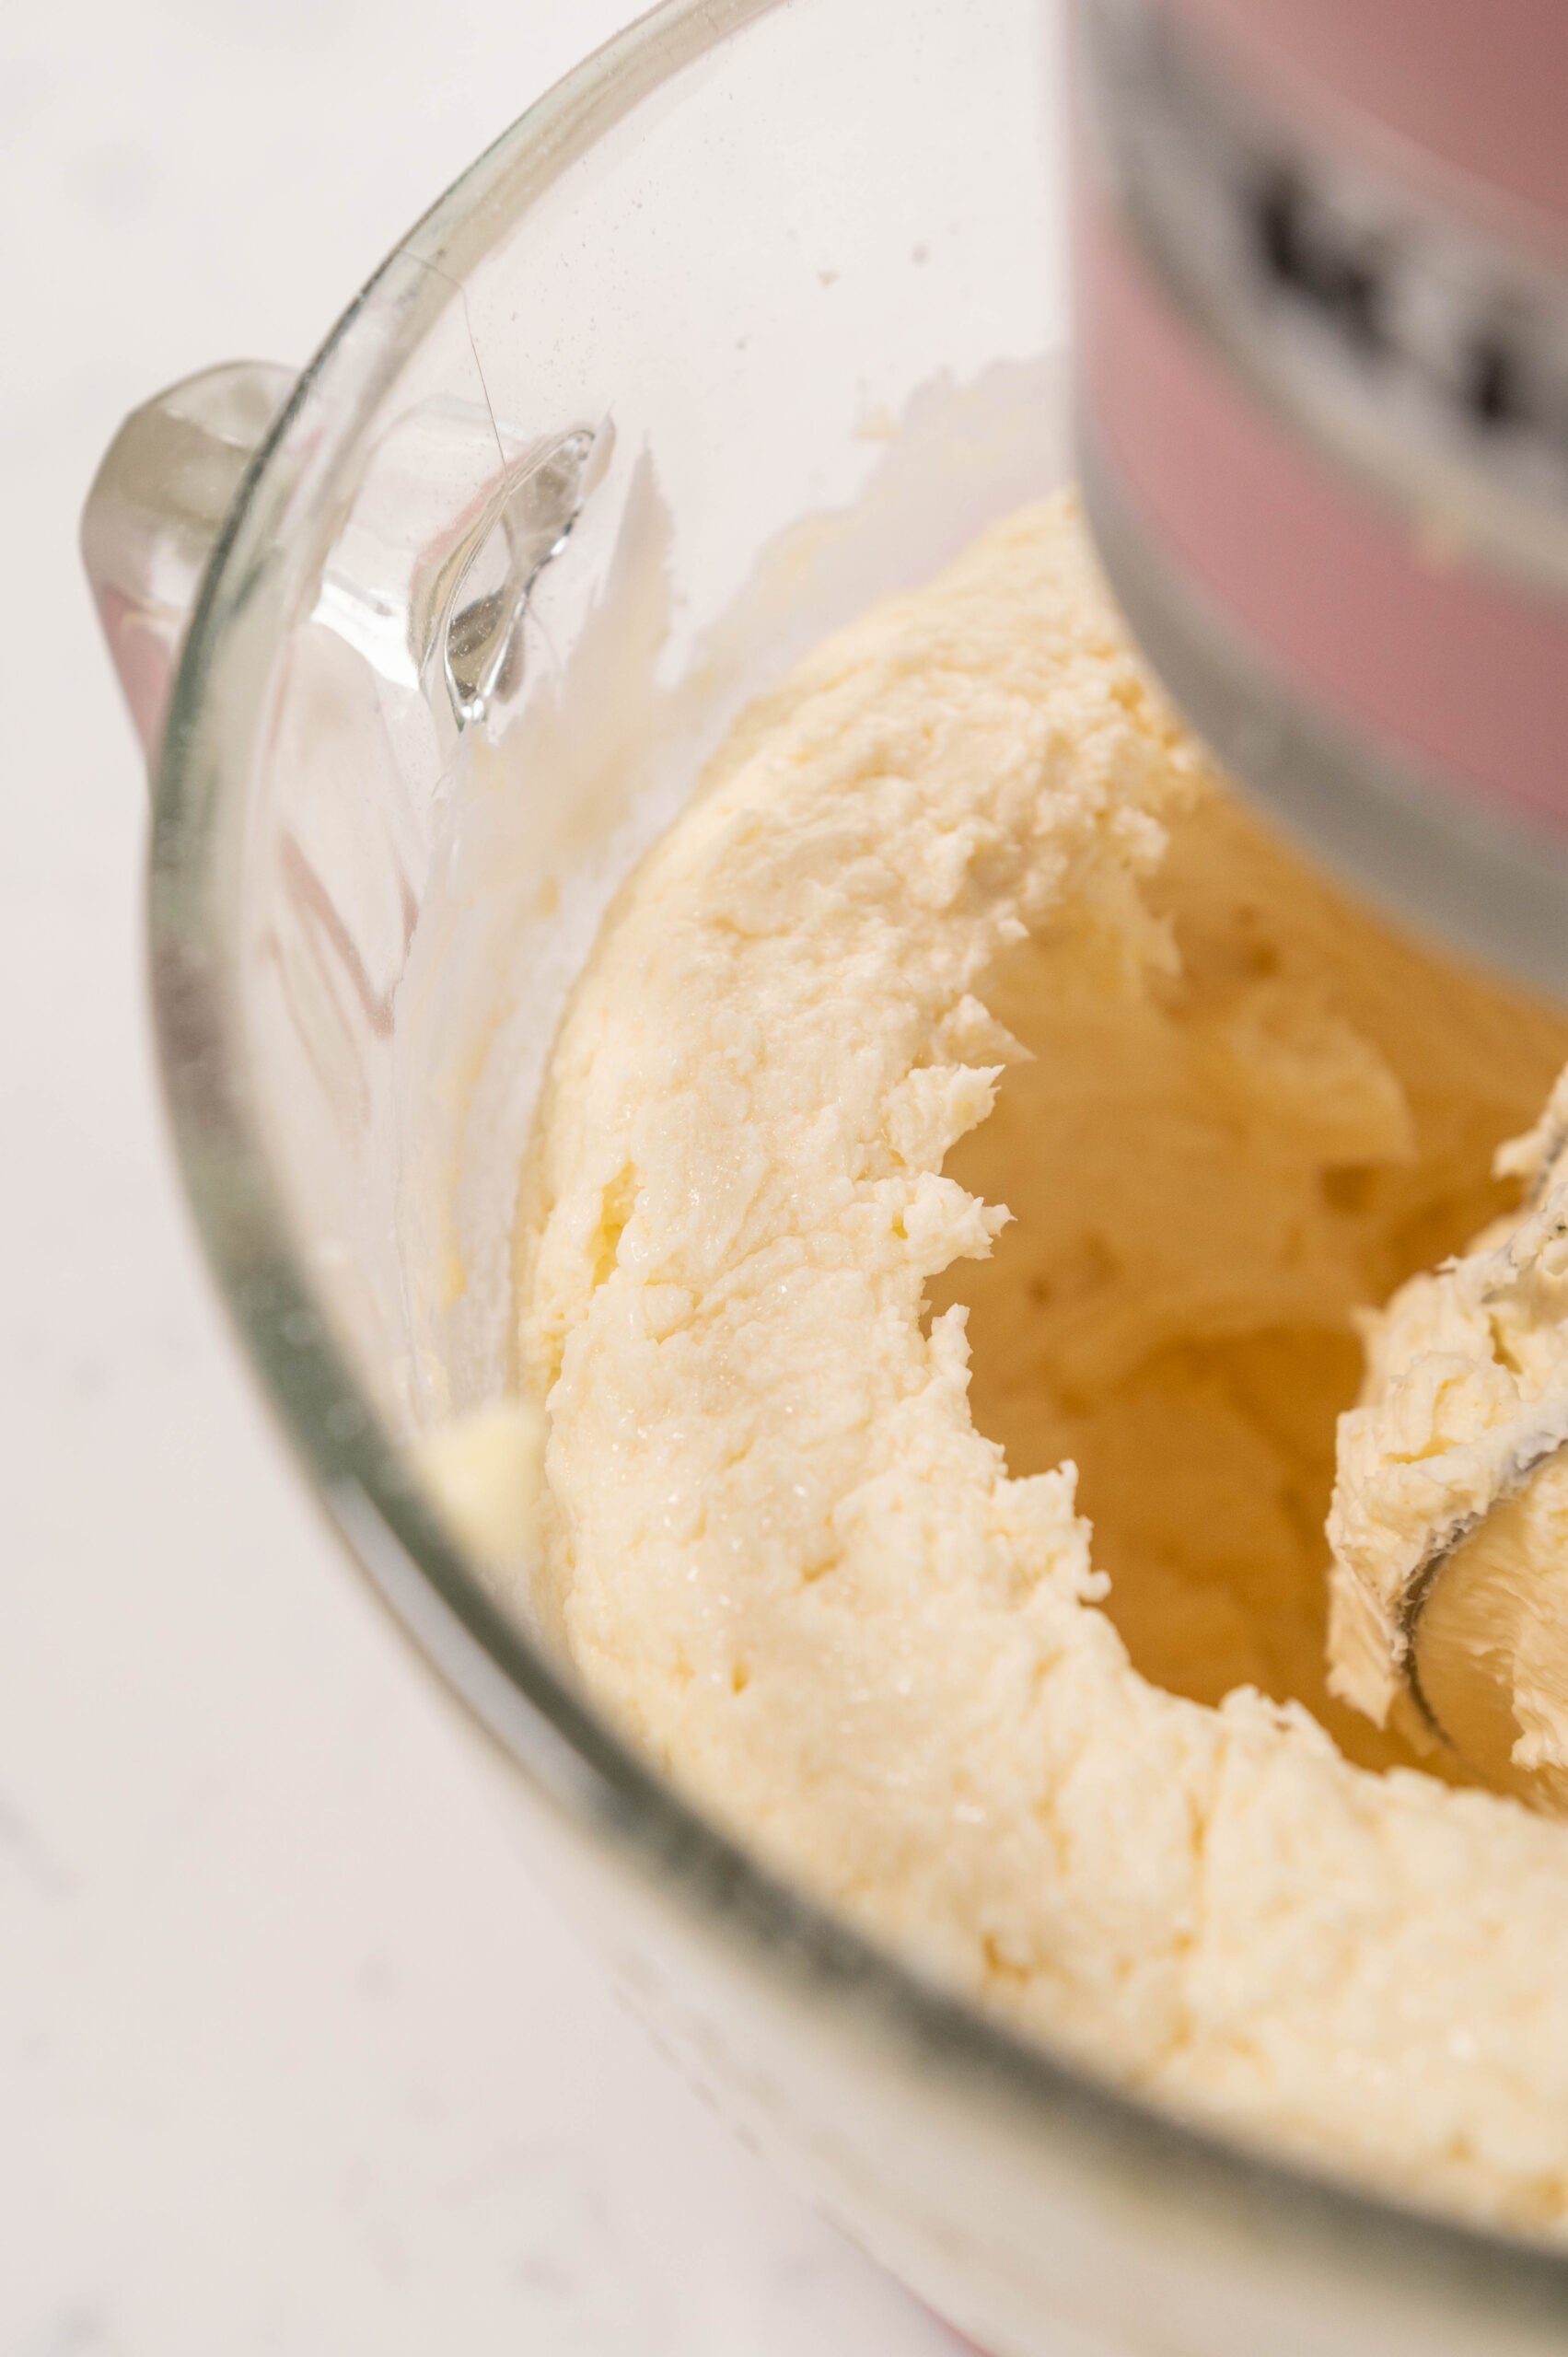
- After your buttercream looks like this, remove about 1 cup of buttercream and melt it in the microwave for 10-15 seconds until it is just barely melted.
- Then, pour it back into the whipping buttercream to bring it all together.
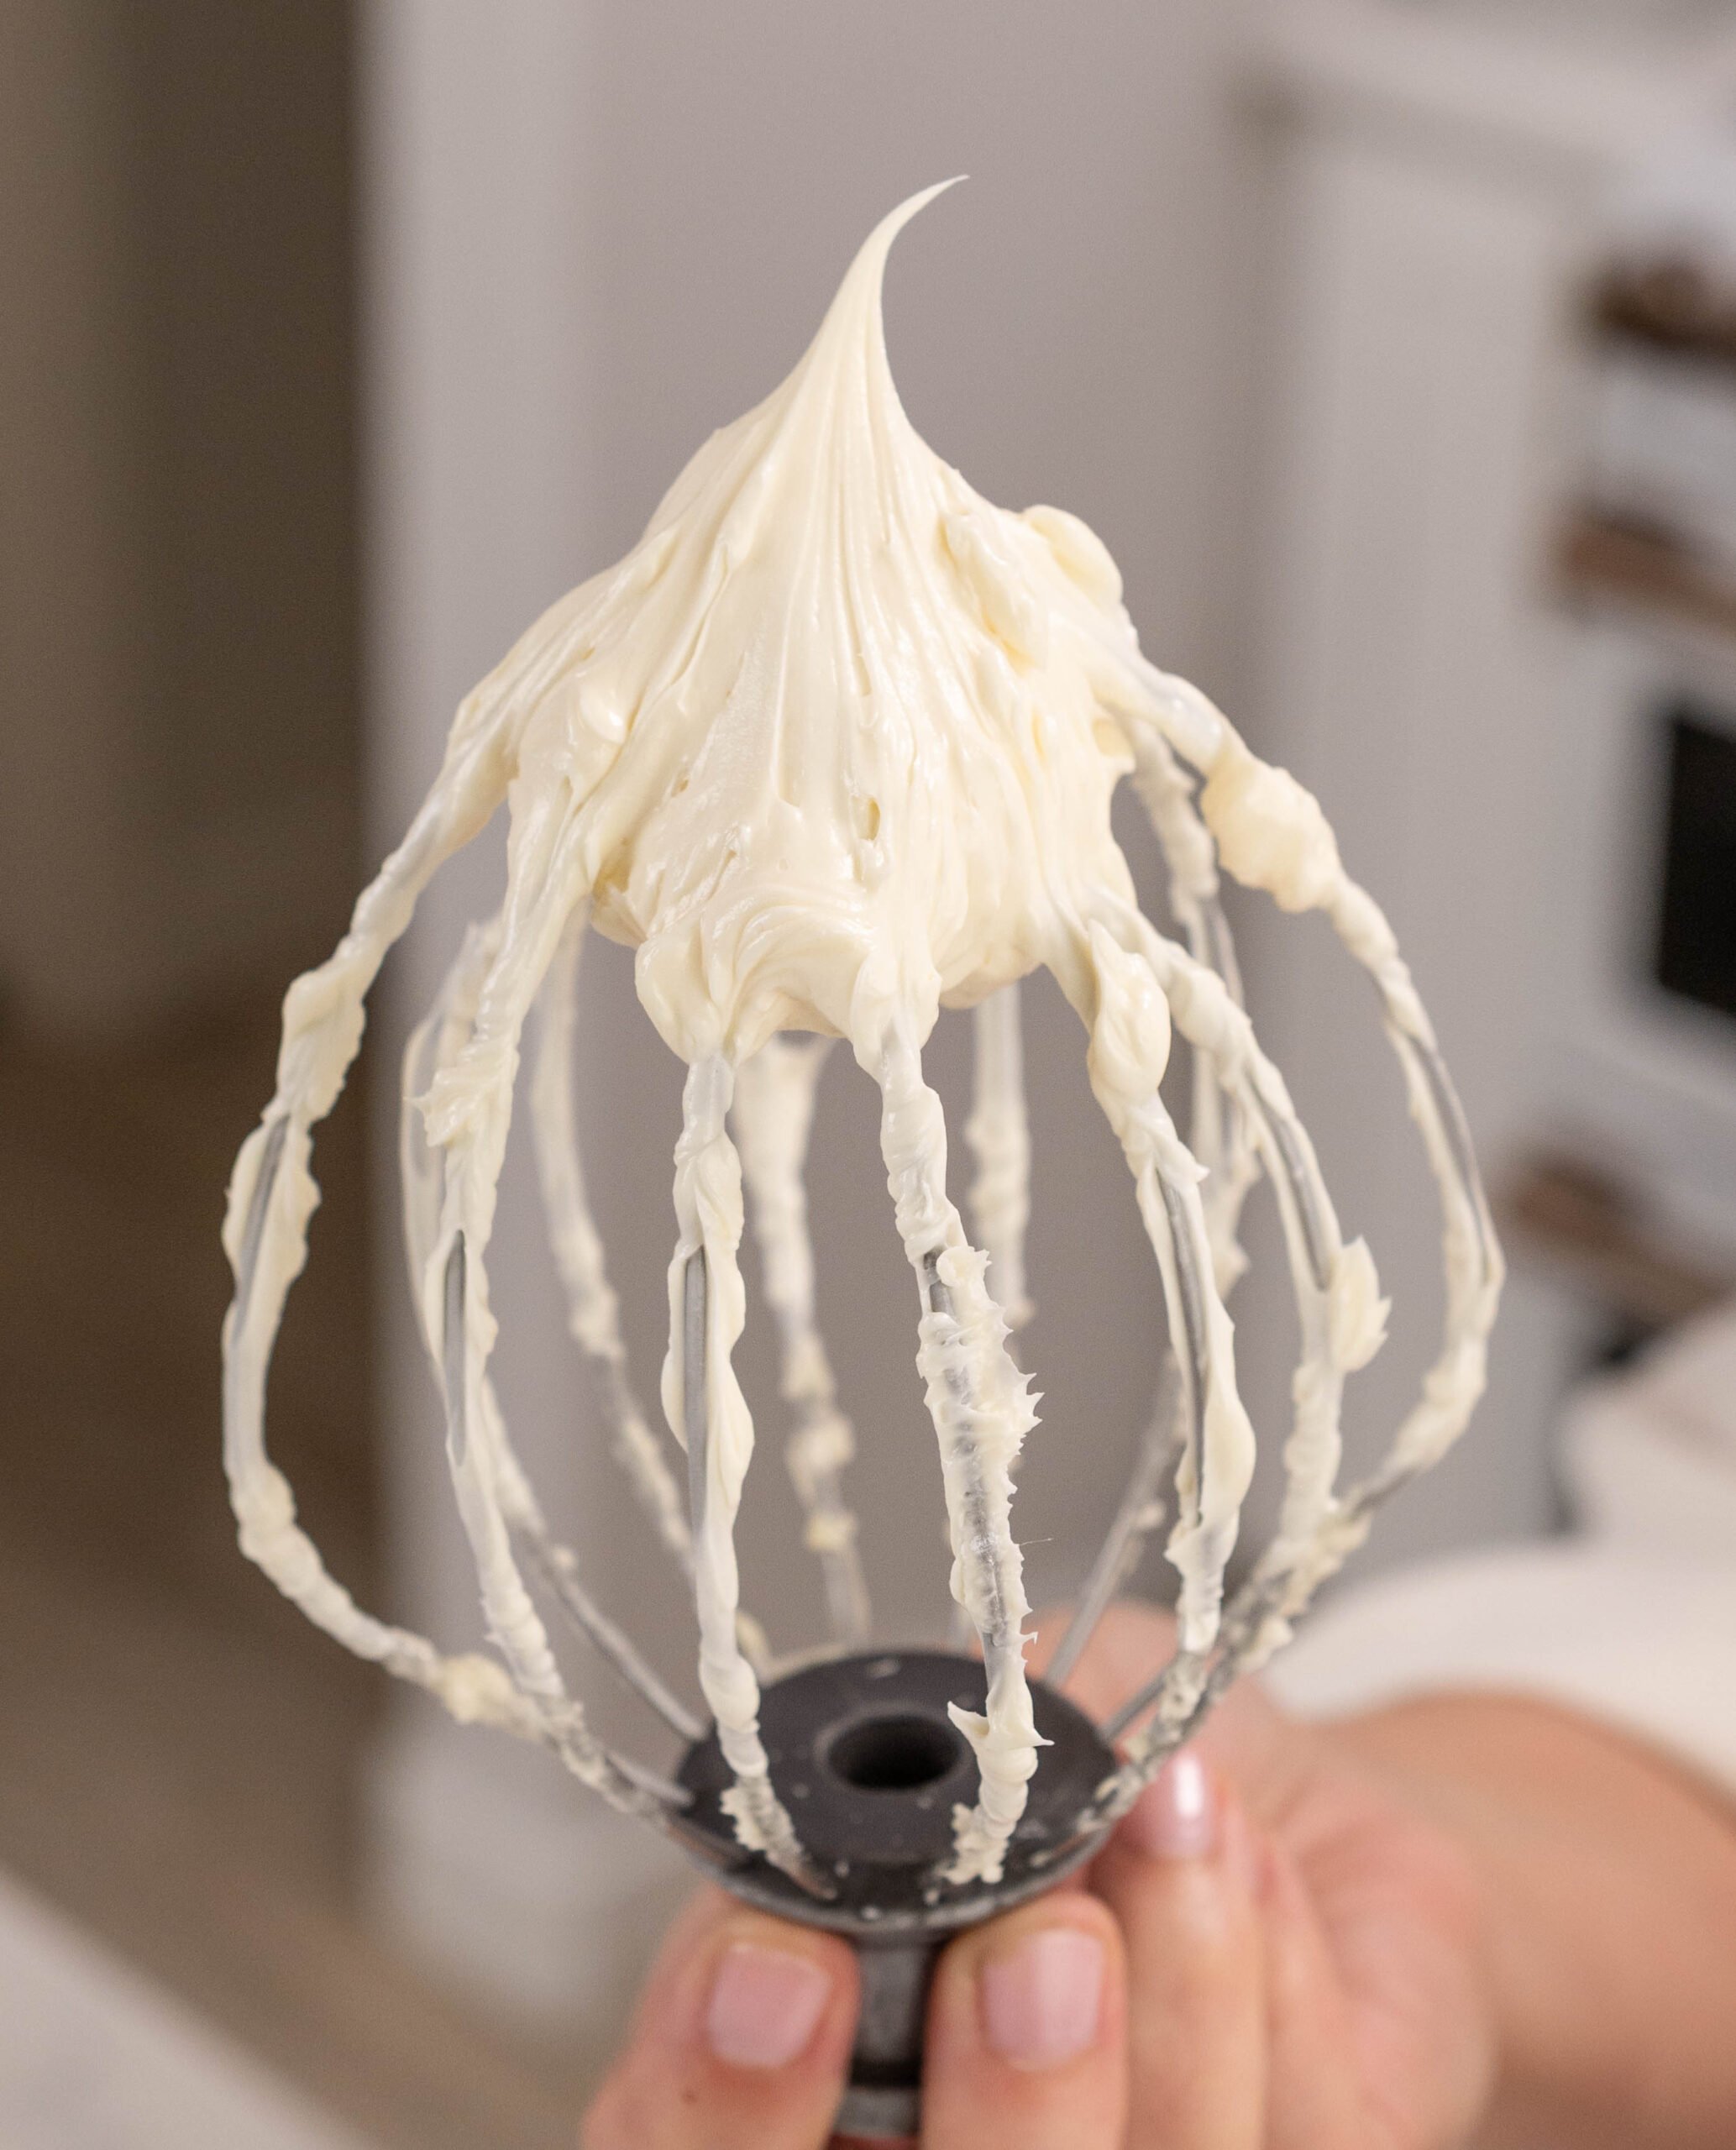
- Then, whip it on high with the whisk attachment for 8-10 minutes until the buttercream is white, light, and shiny. Taste test the buttercream. If it tastes like sweet ice cream, then it’s ready!

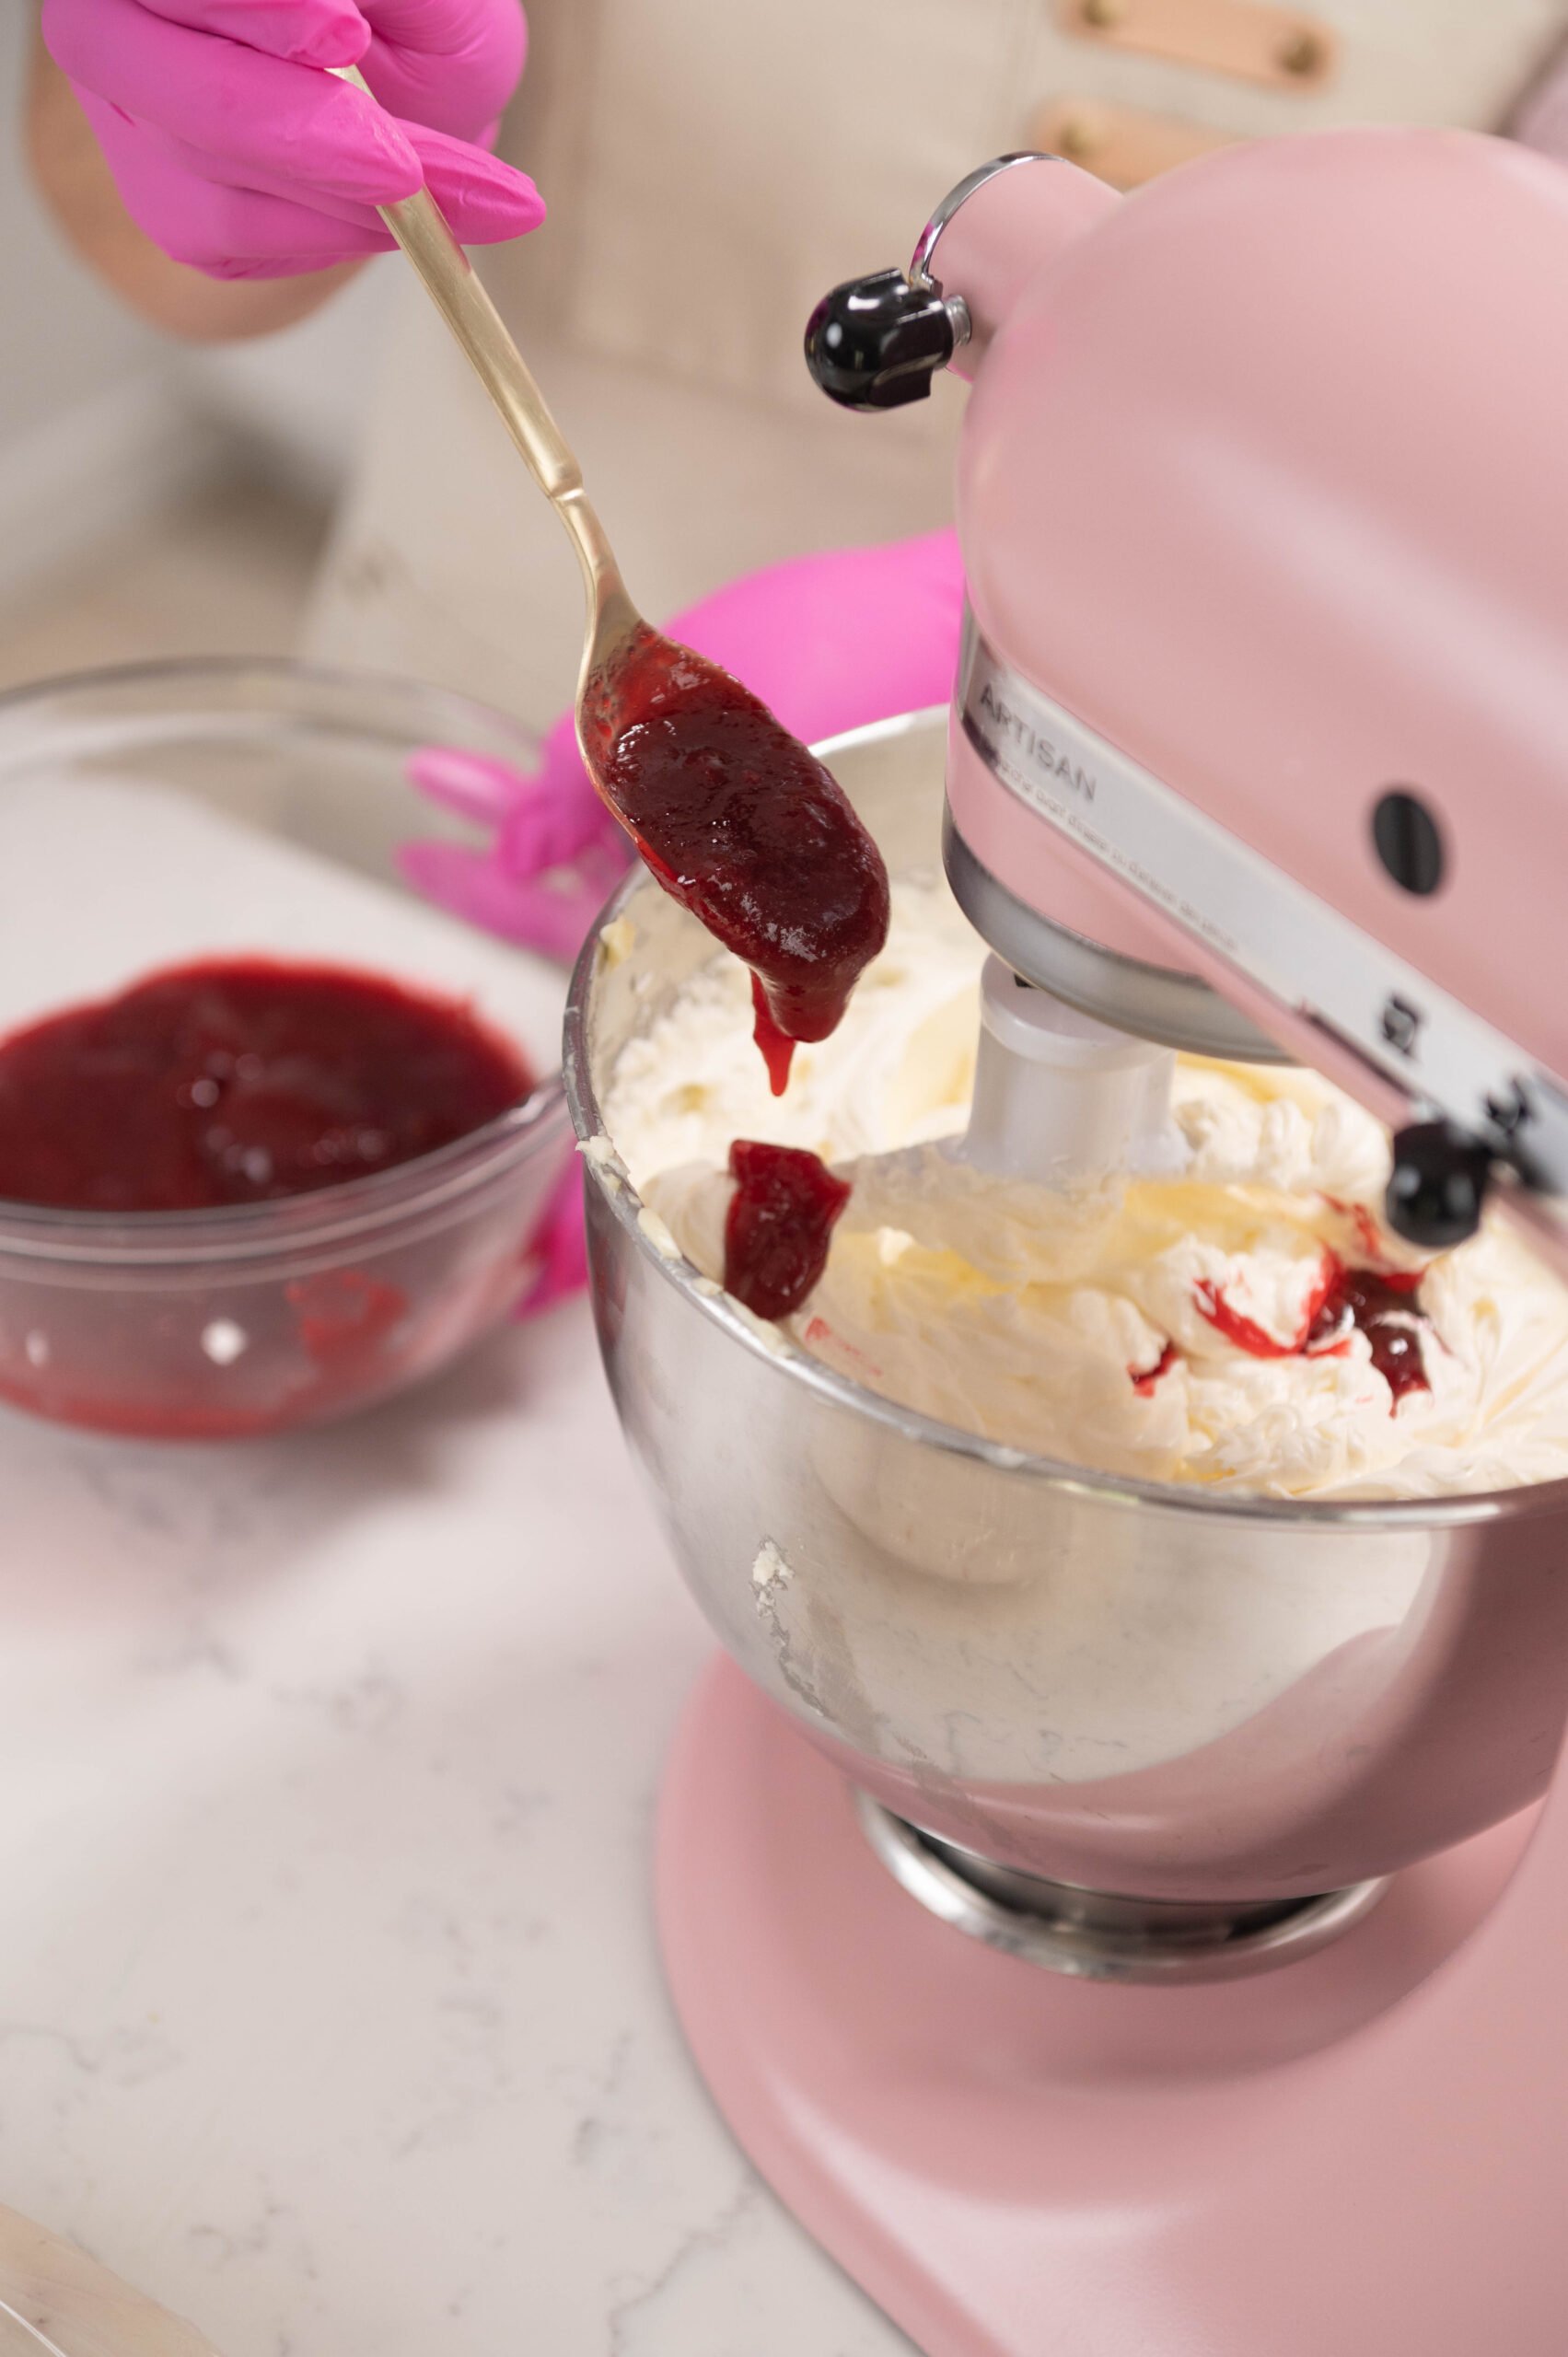
- Take ¼ cup of the raspberry filling you just made and add a spoonful at a time while mixing on low speed.
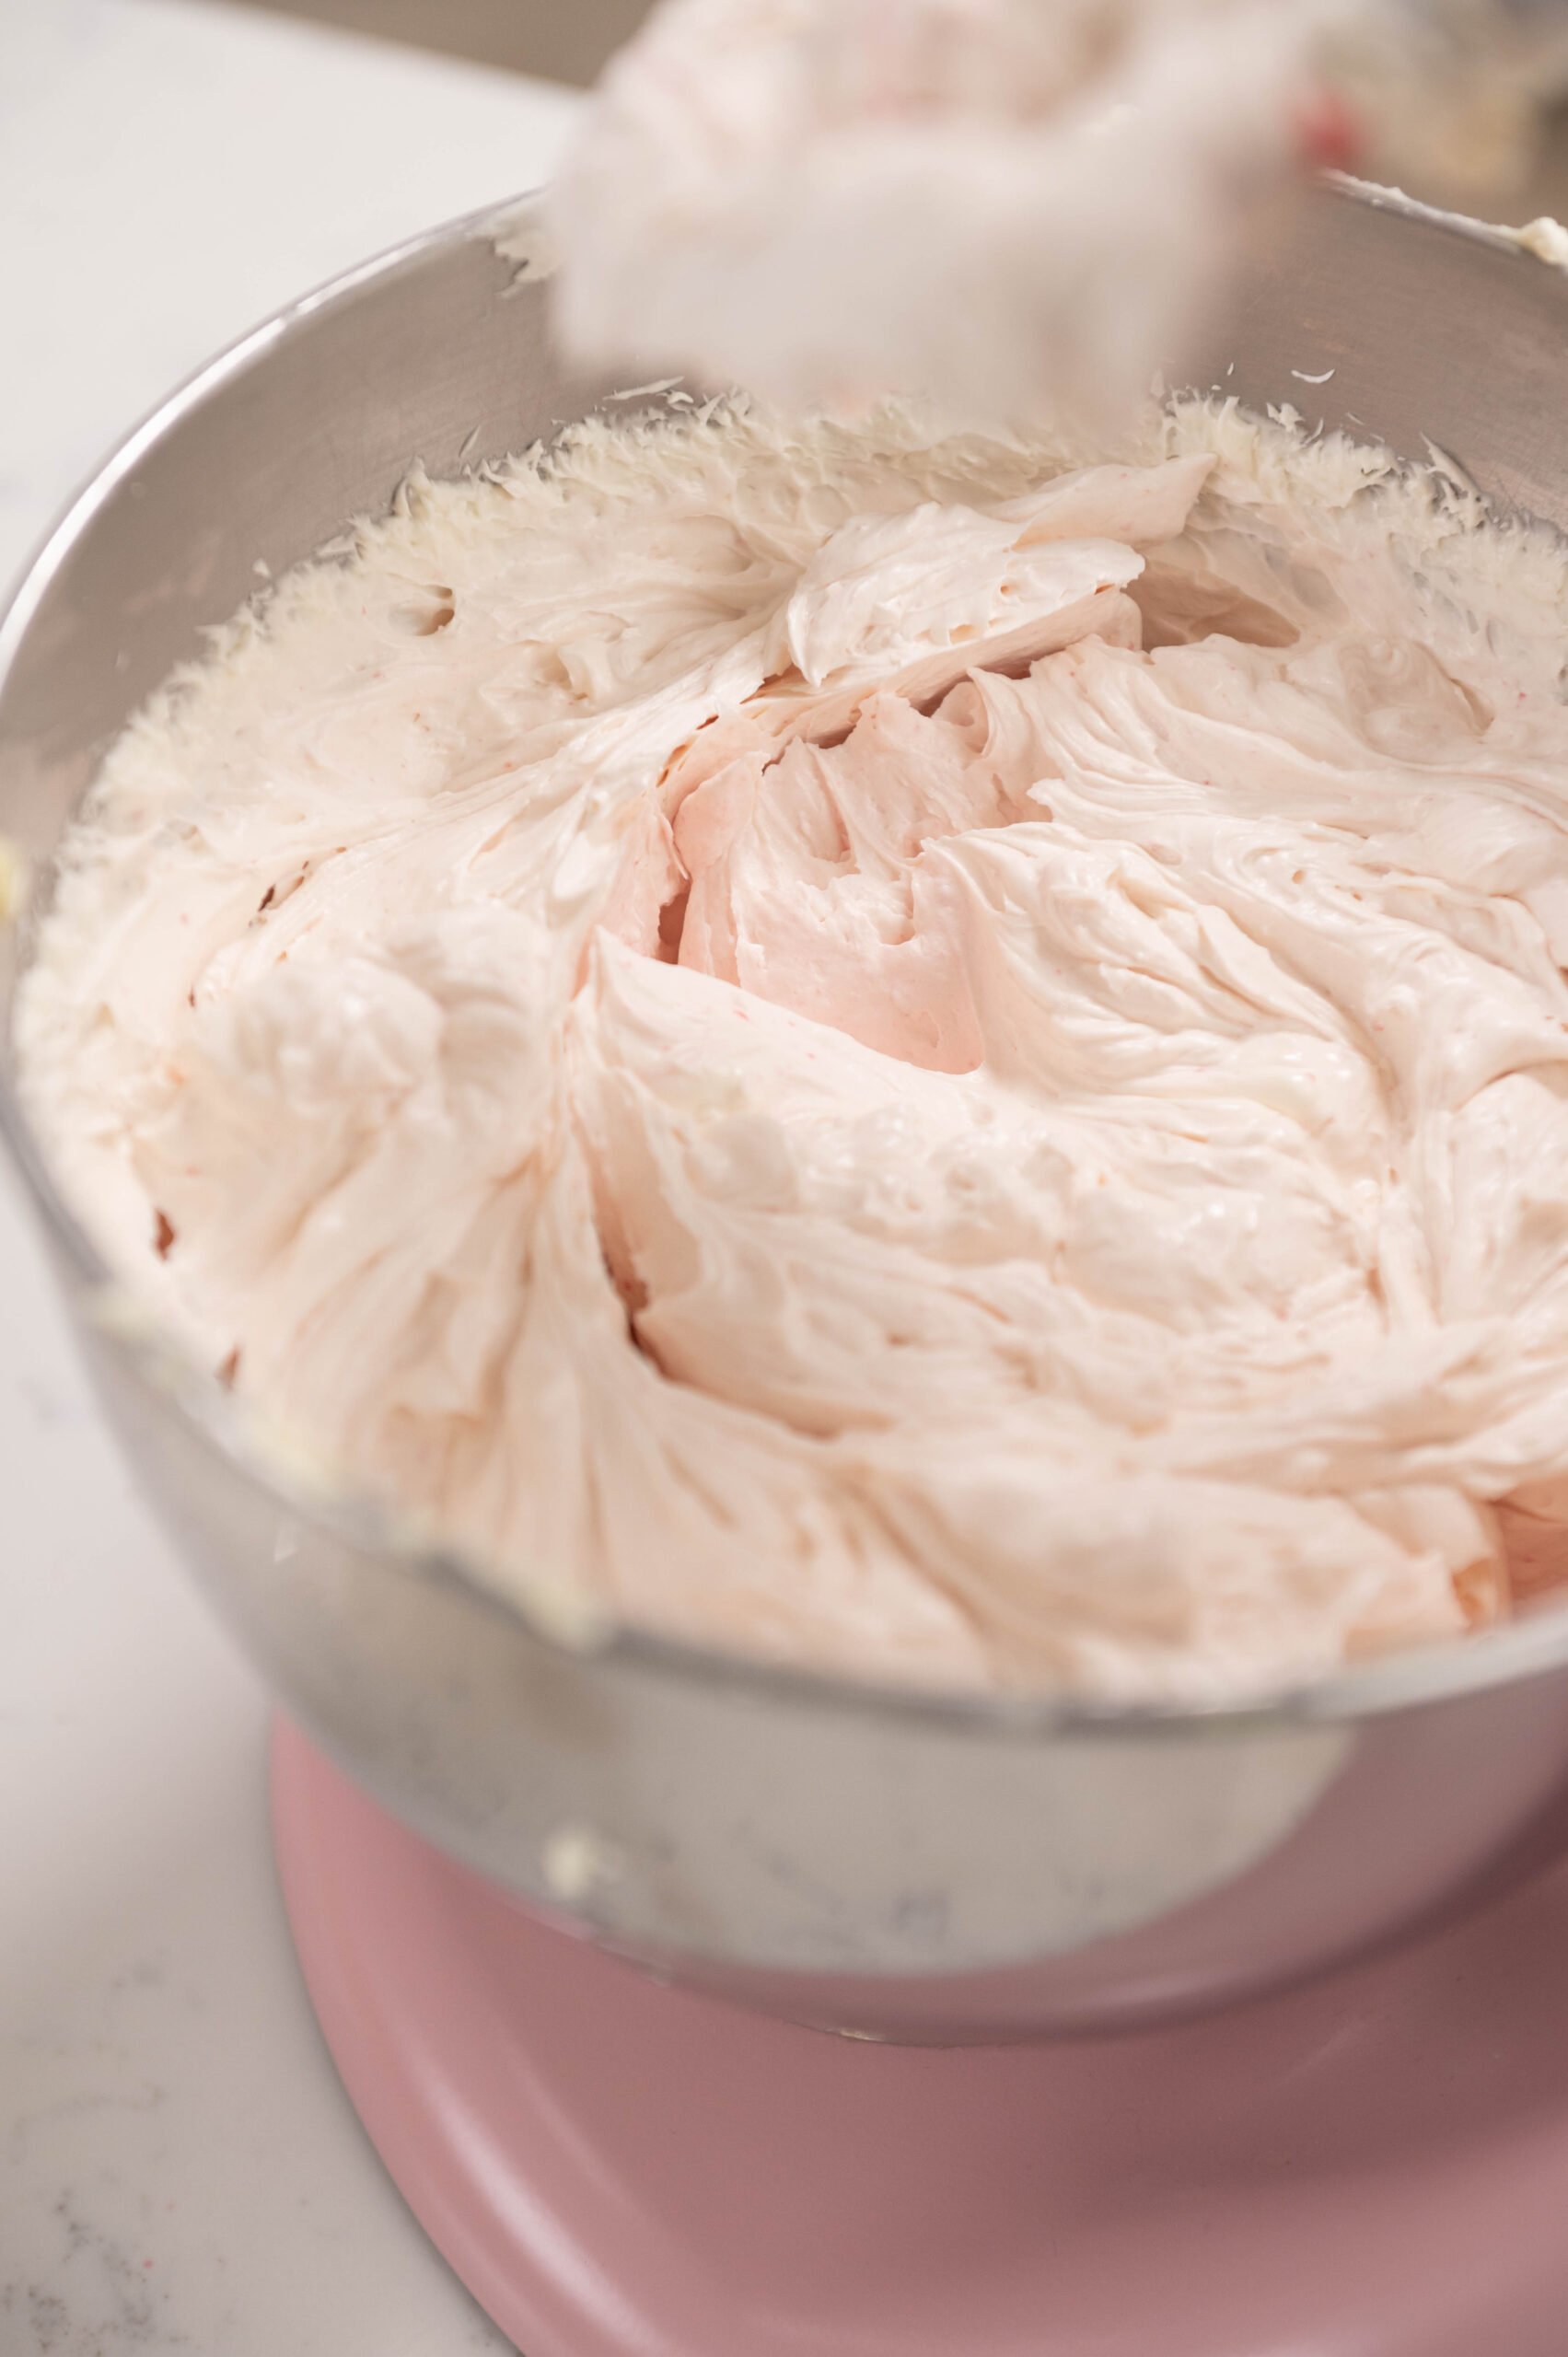
- Mix for about a minute until everything is smooth and combined. We want this batch to be light in color because this will be our buttercream for the outside of the cake.
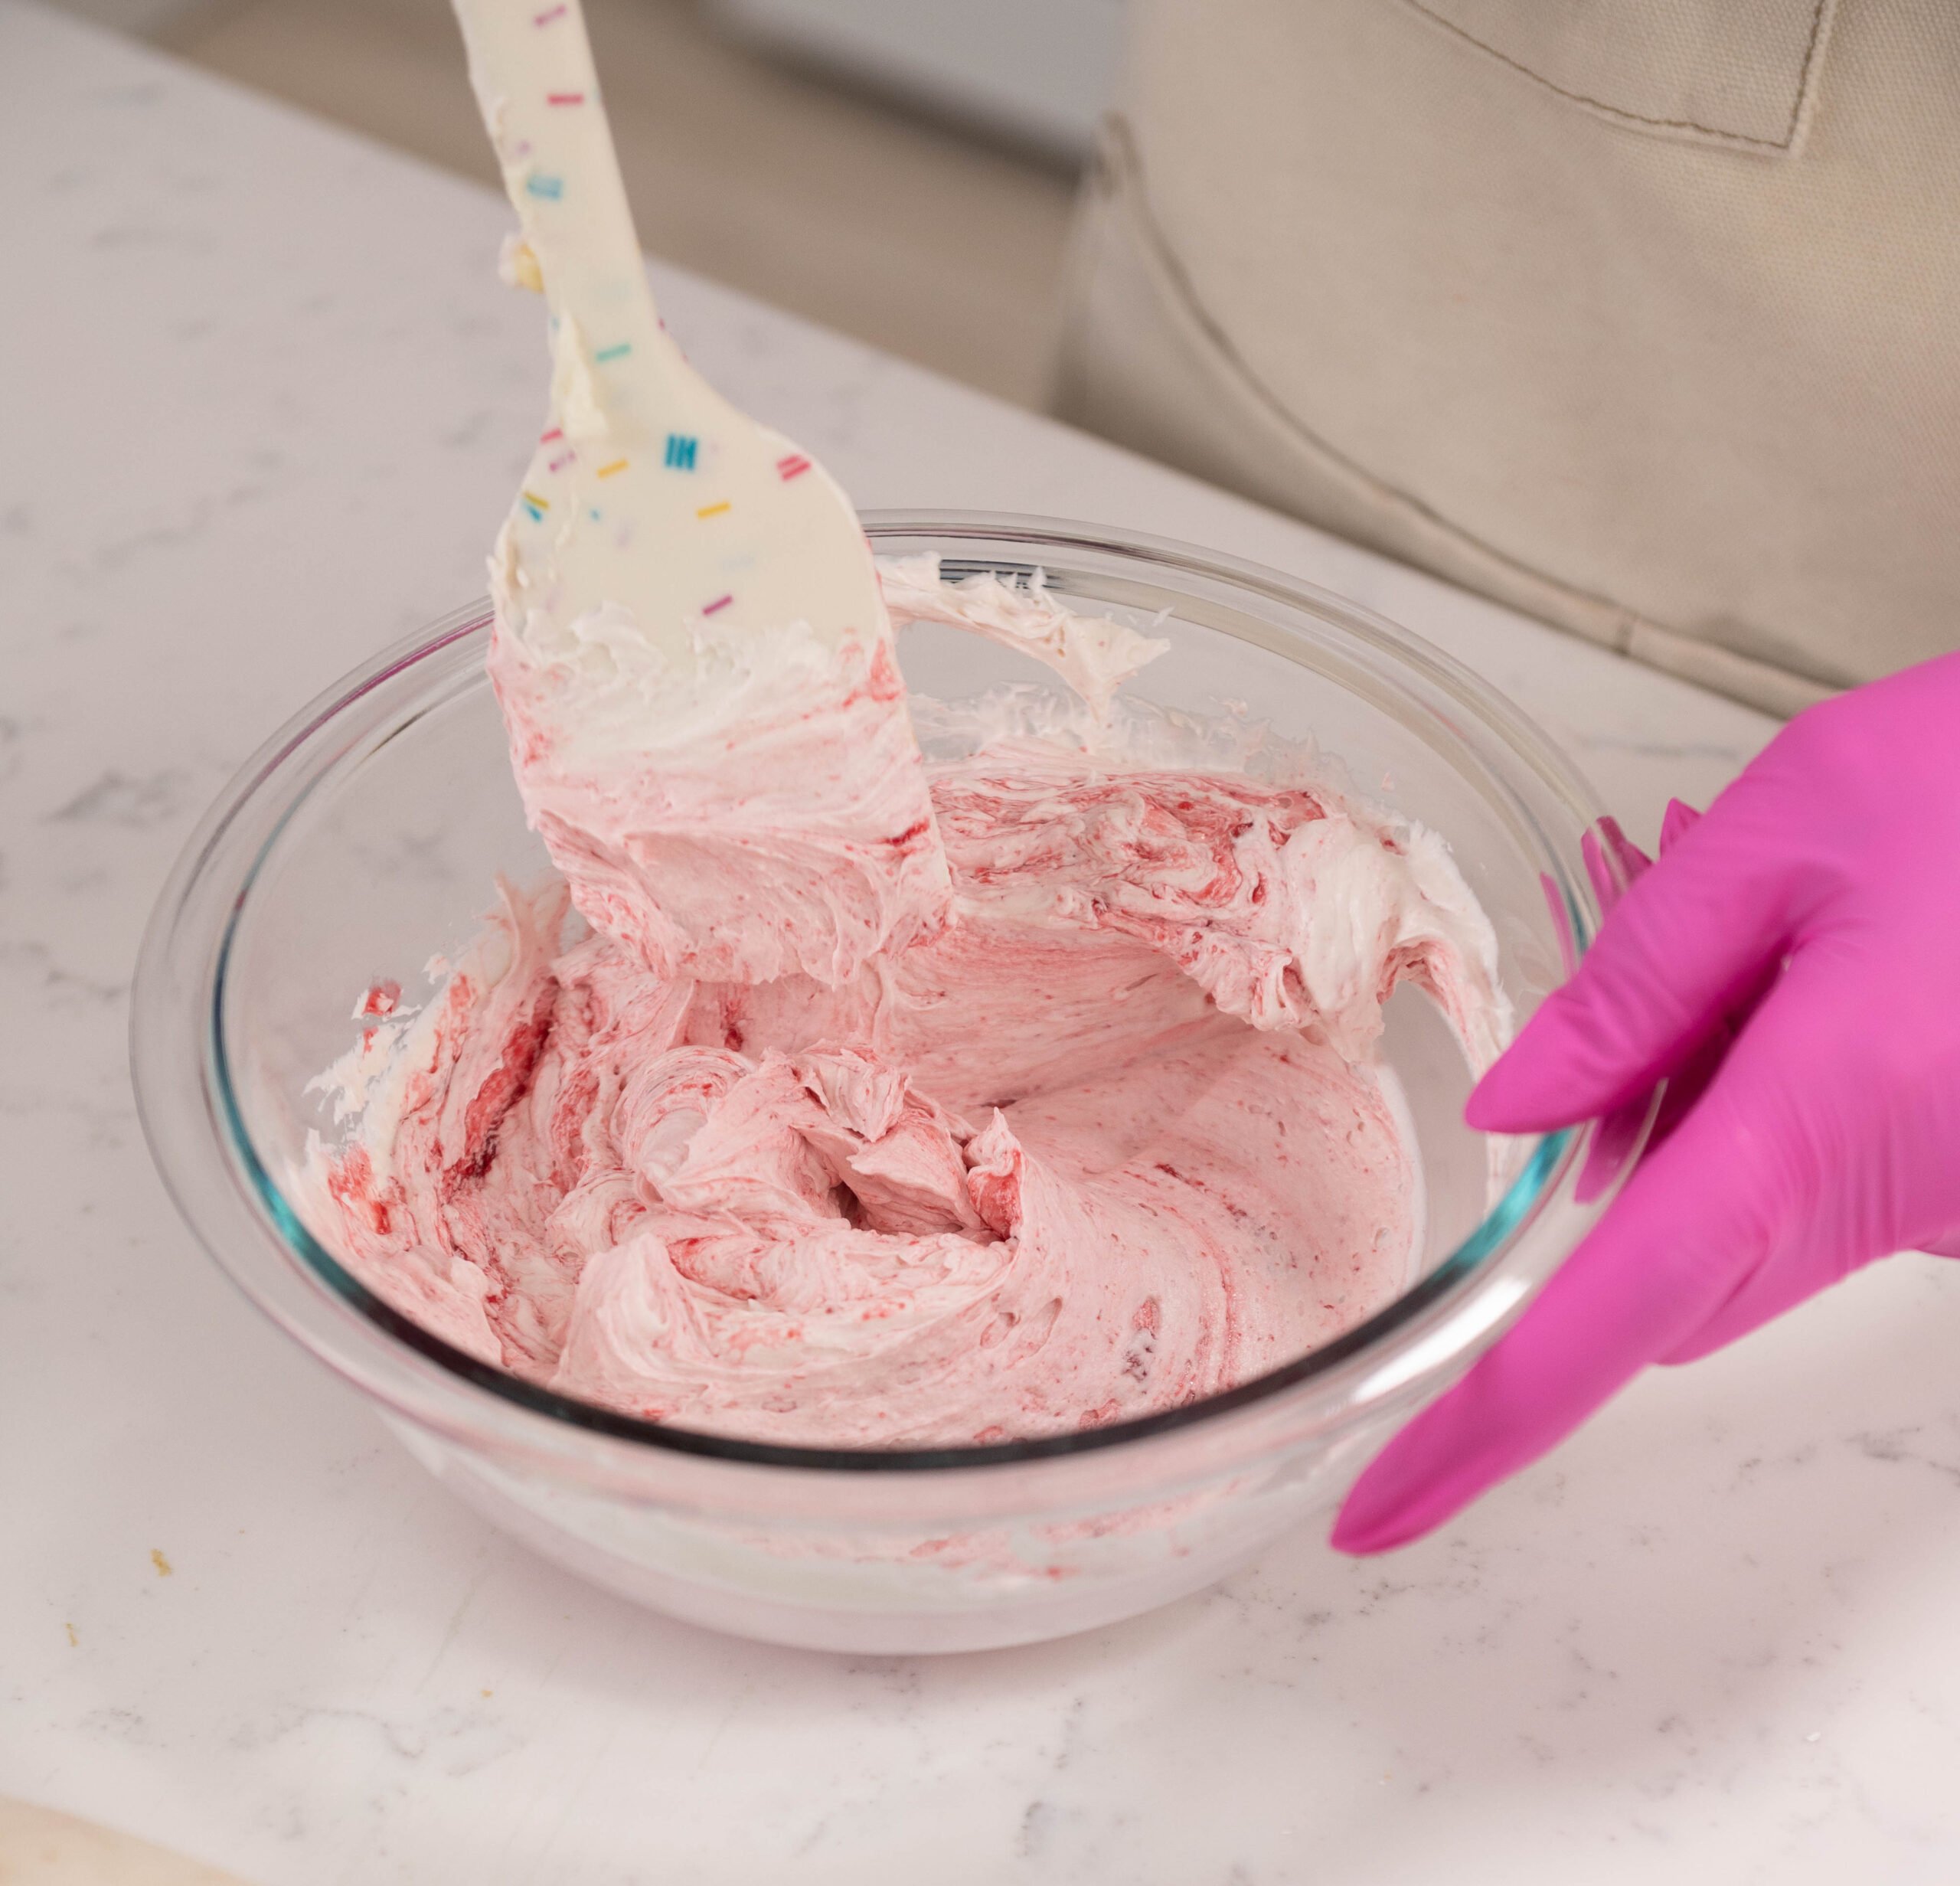
- For the filling between the cake layers, we want a stronger raspberry flavor. Take about 2 cups of buttercream and add it to half of your raspberry filling.

- Mix until everything is combined and you have your desired flavor and color.


Assembling The Rose Cake
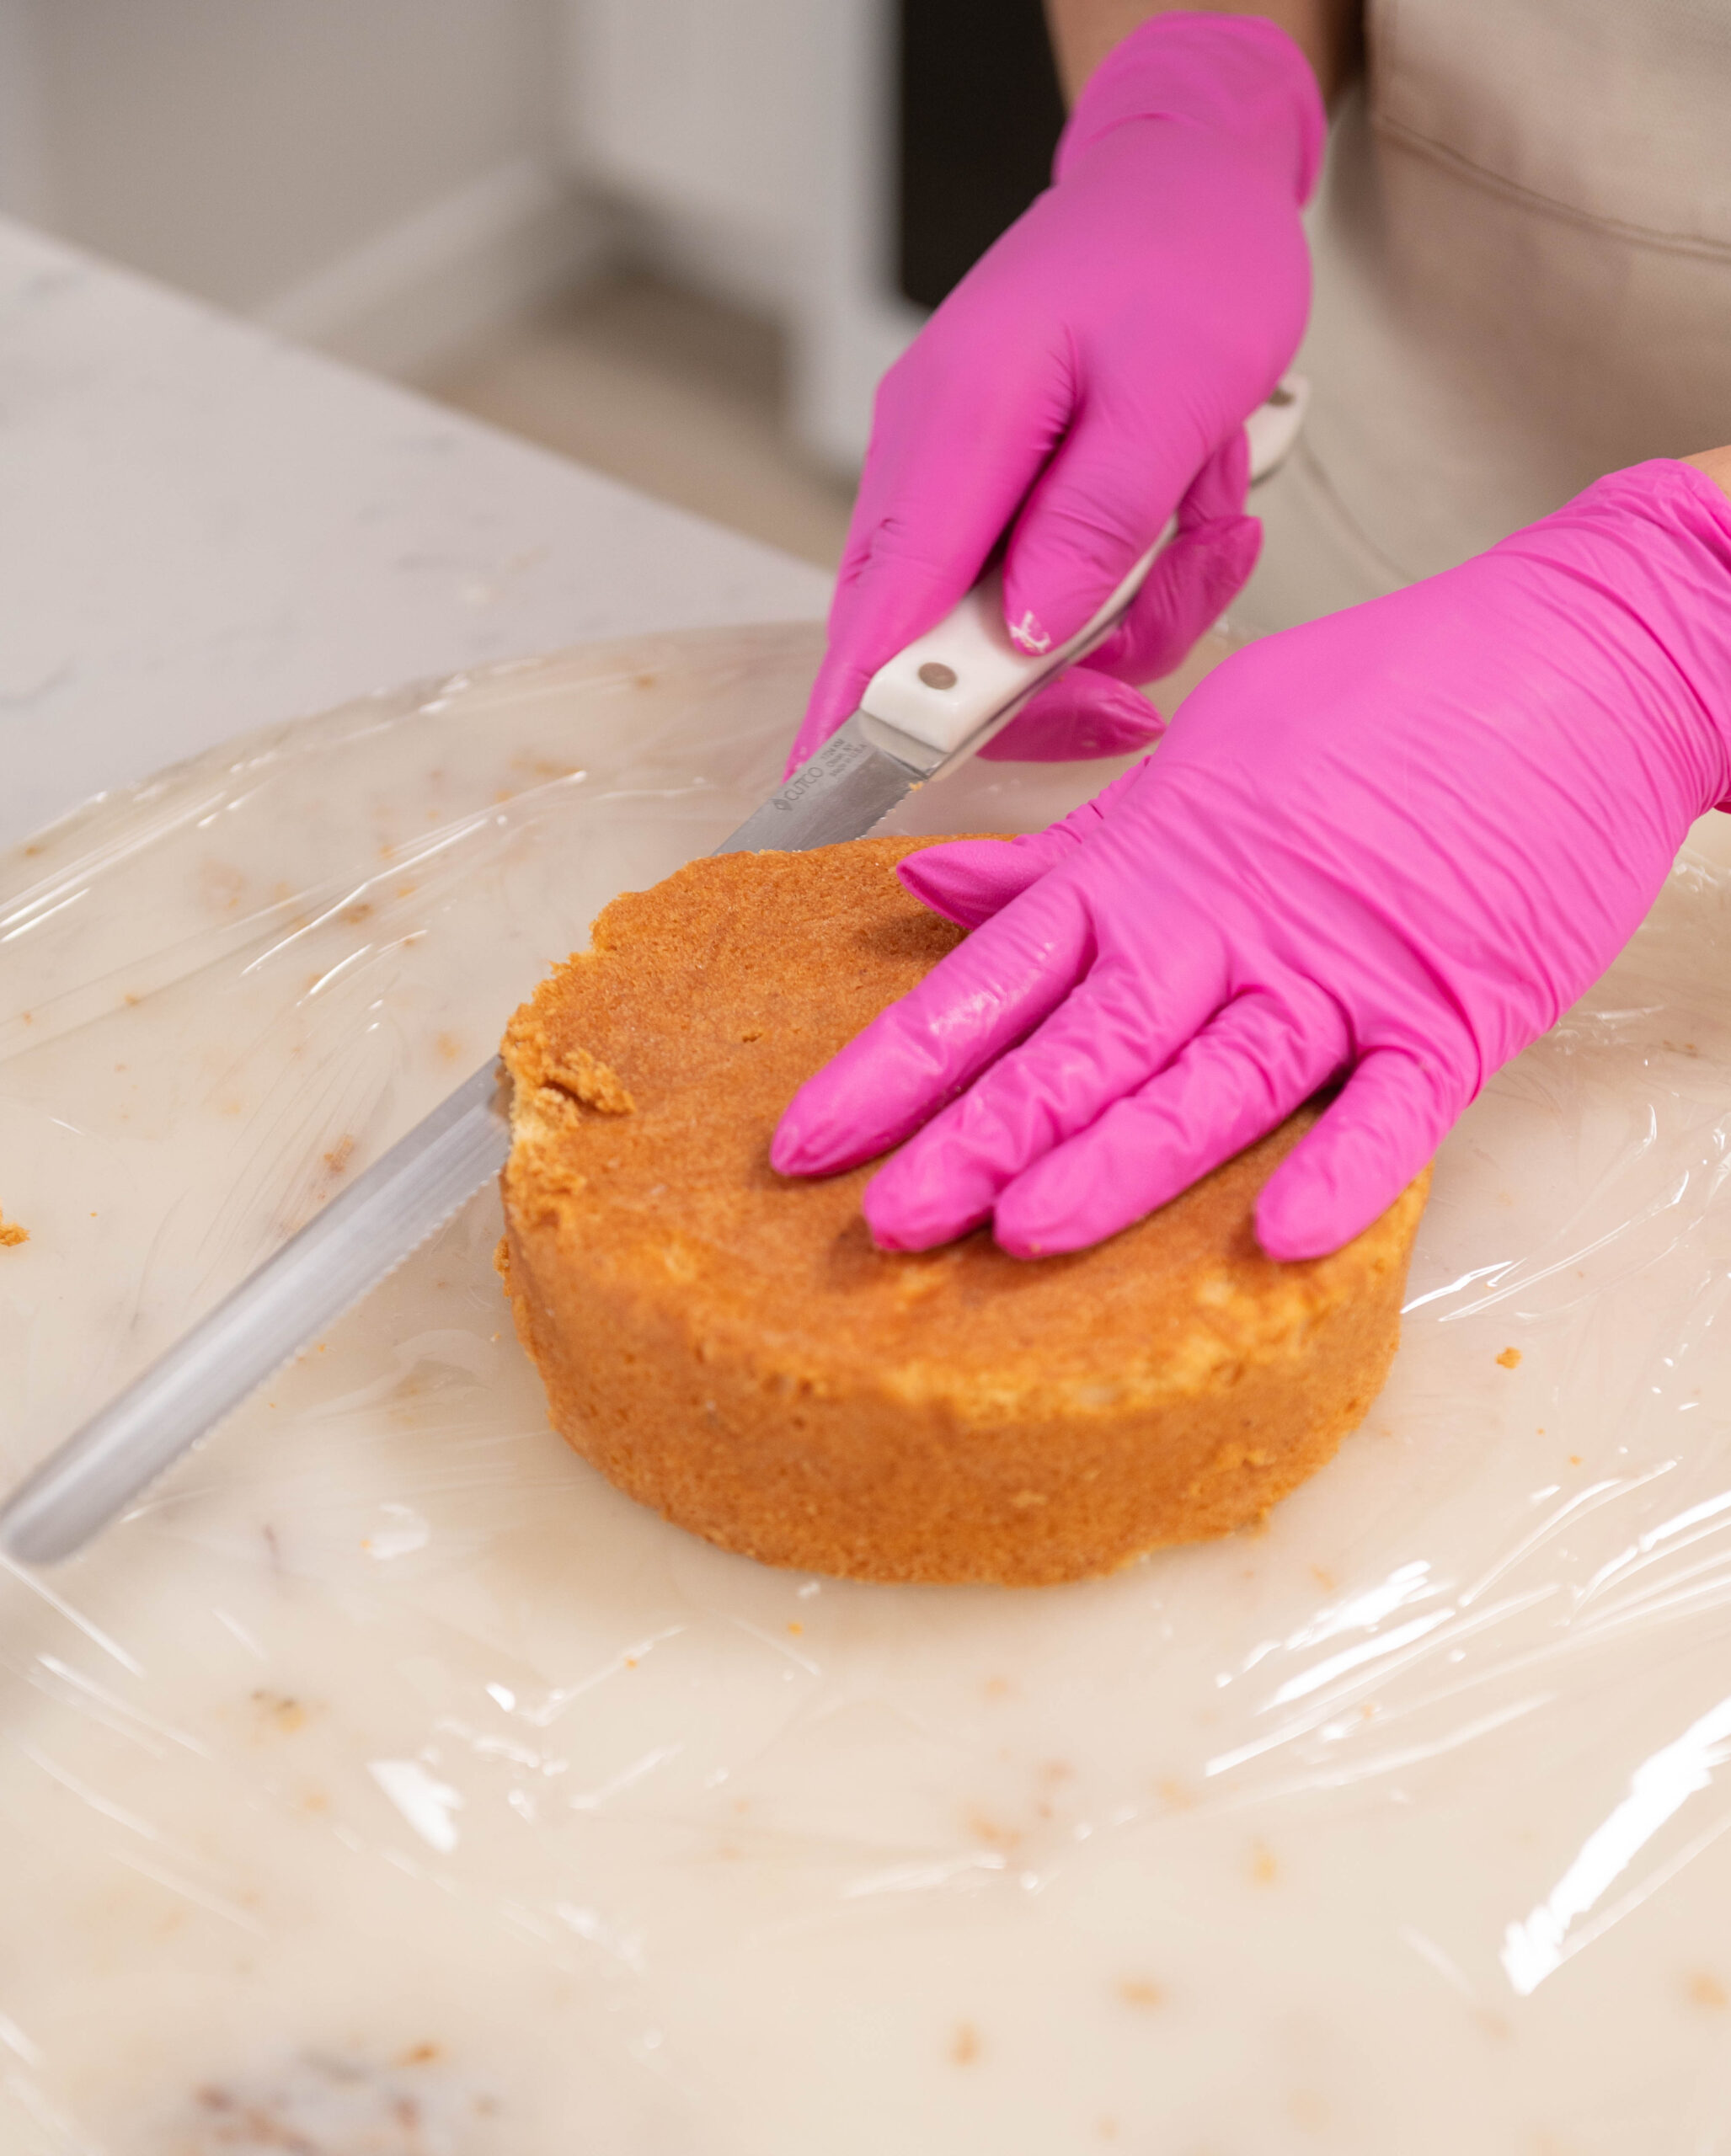
- OPTIONAL: Trim the edges of your cake using a serrated knife. I like to do this because it creates sharp and clean edges, but you don’t have to.

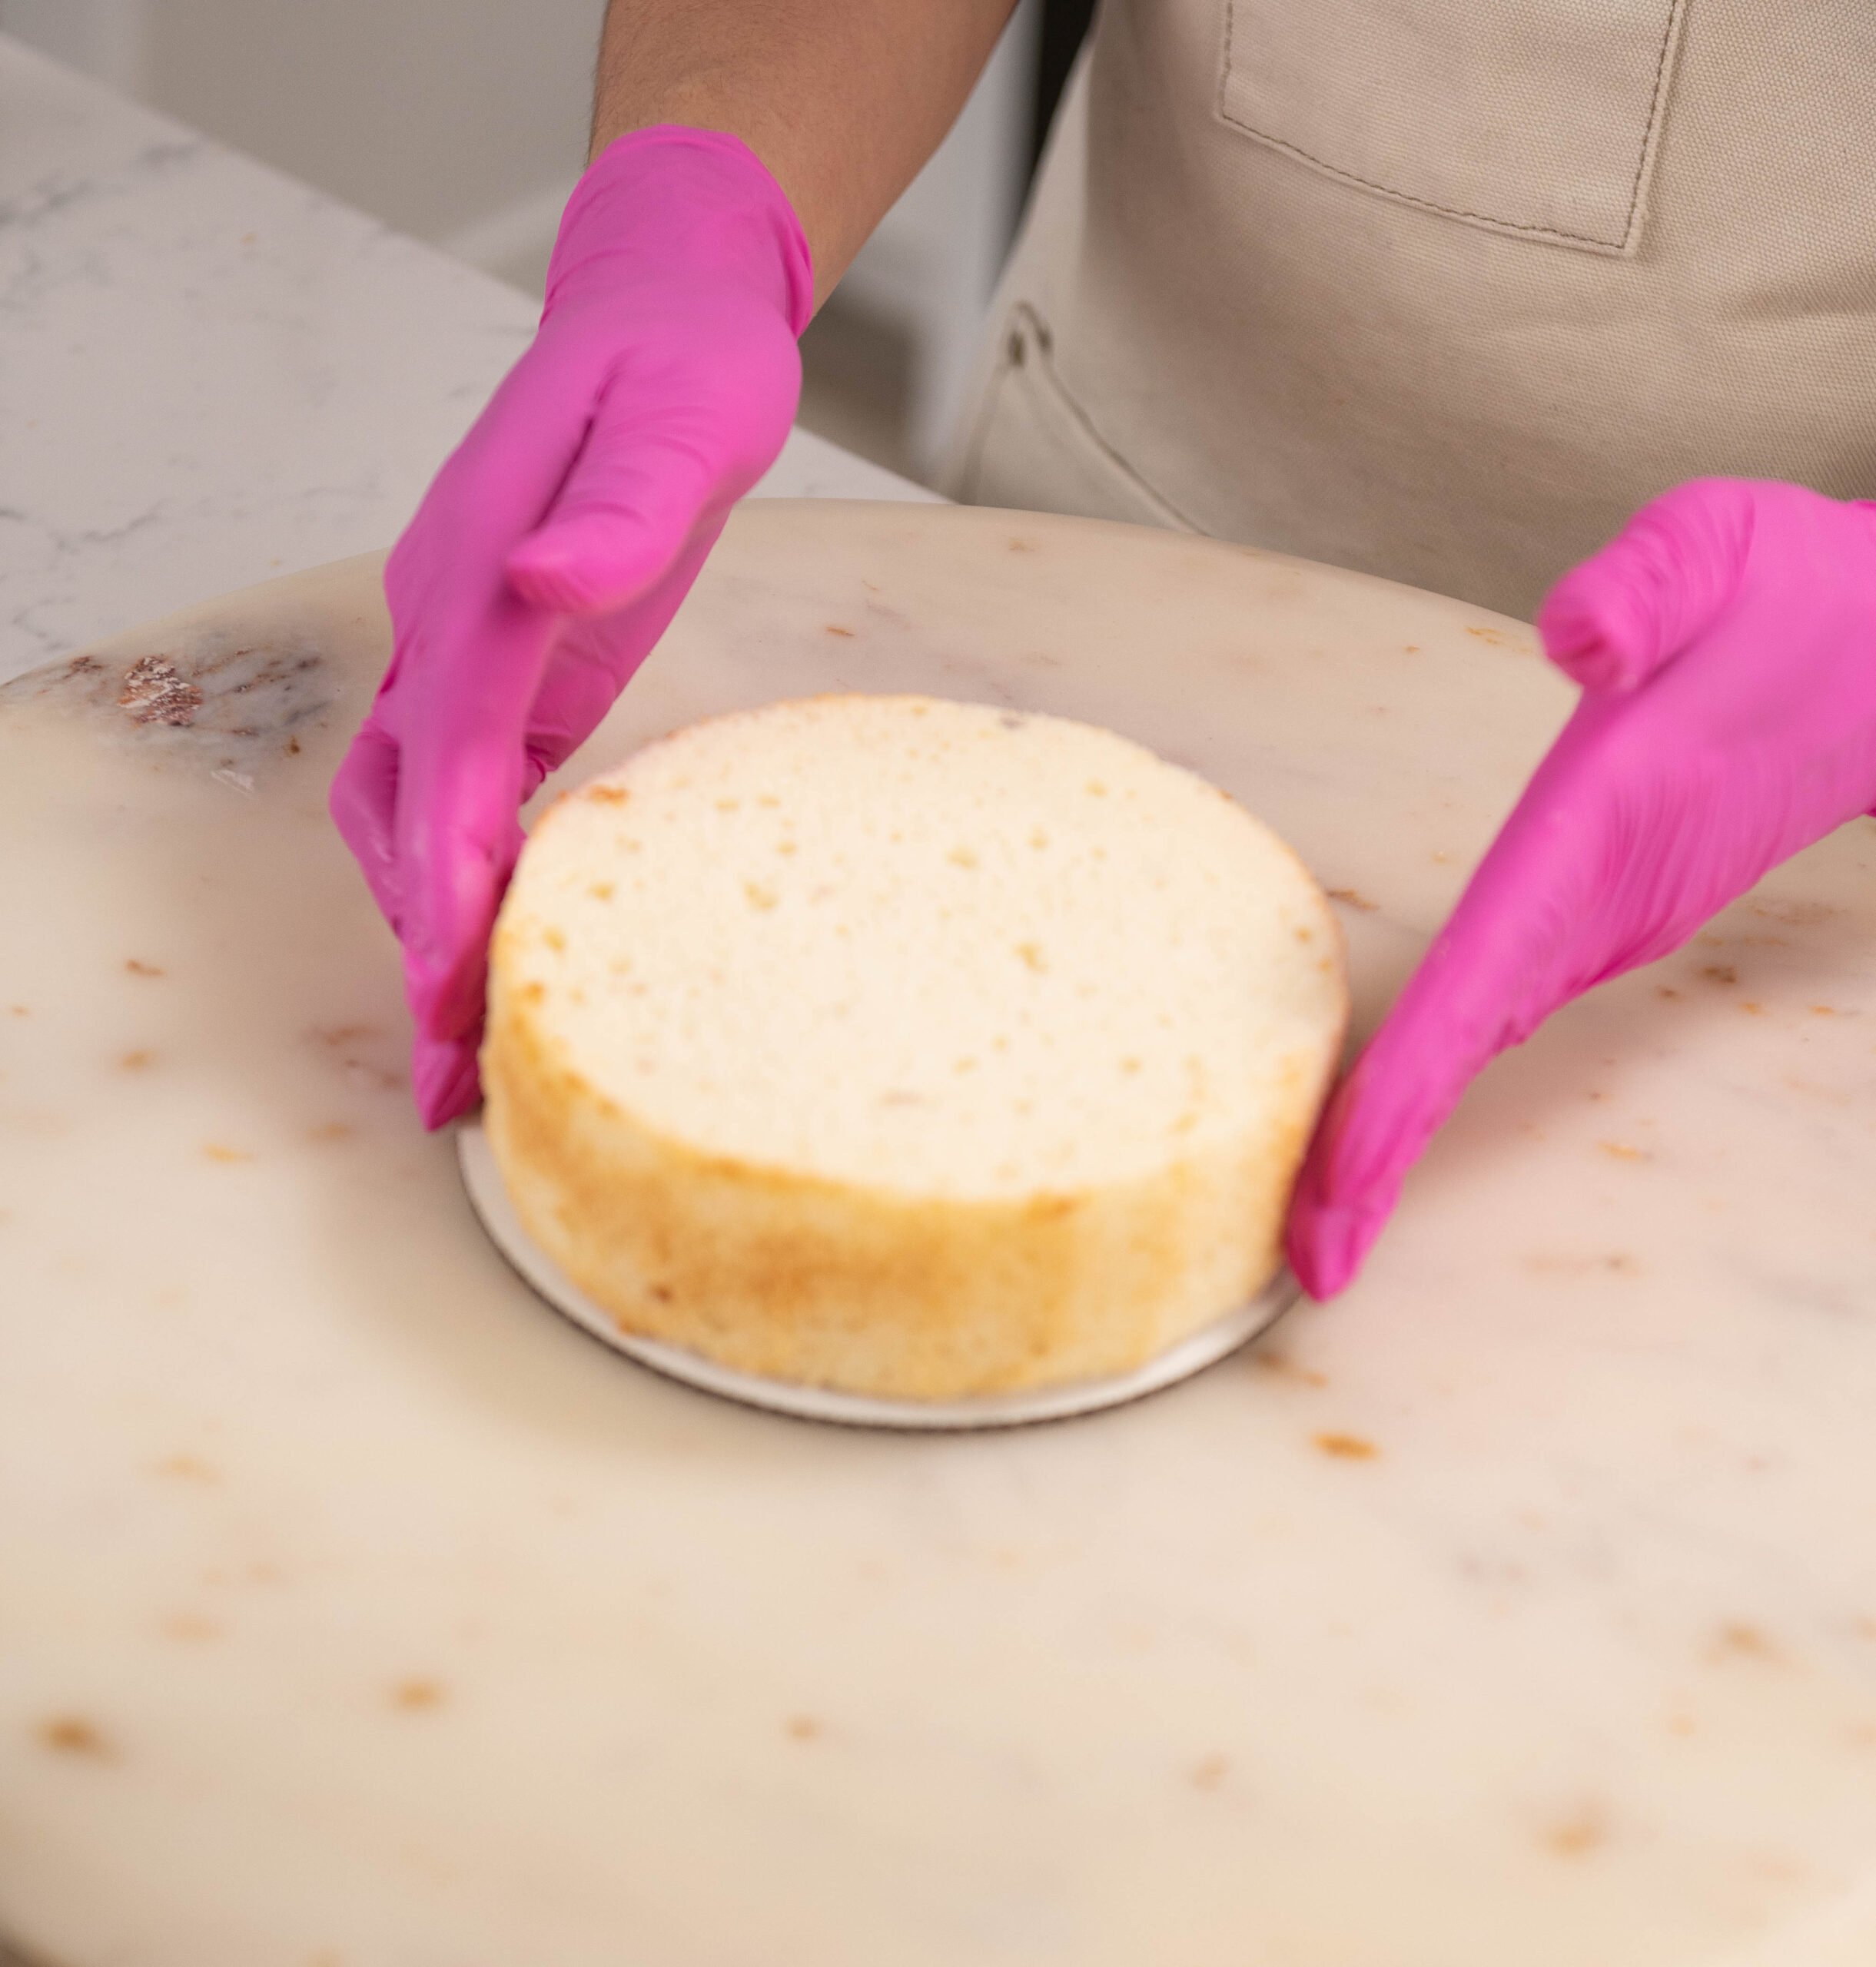
- Take the first layer of your cake and place it on a cake board.

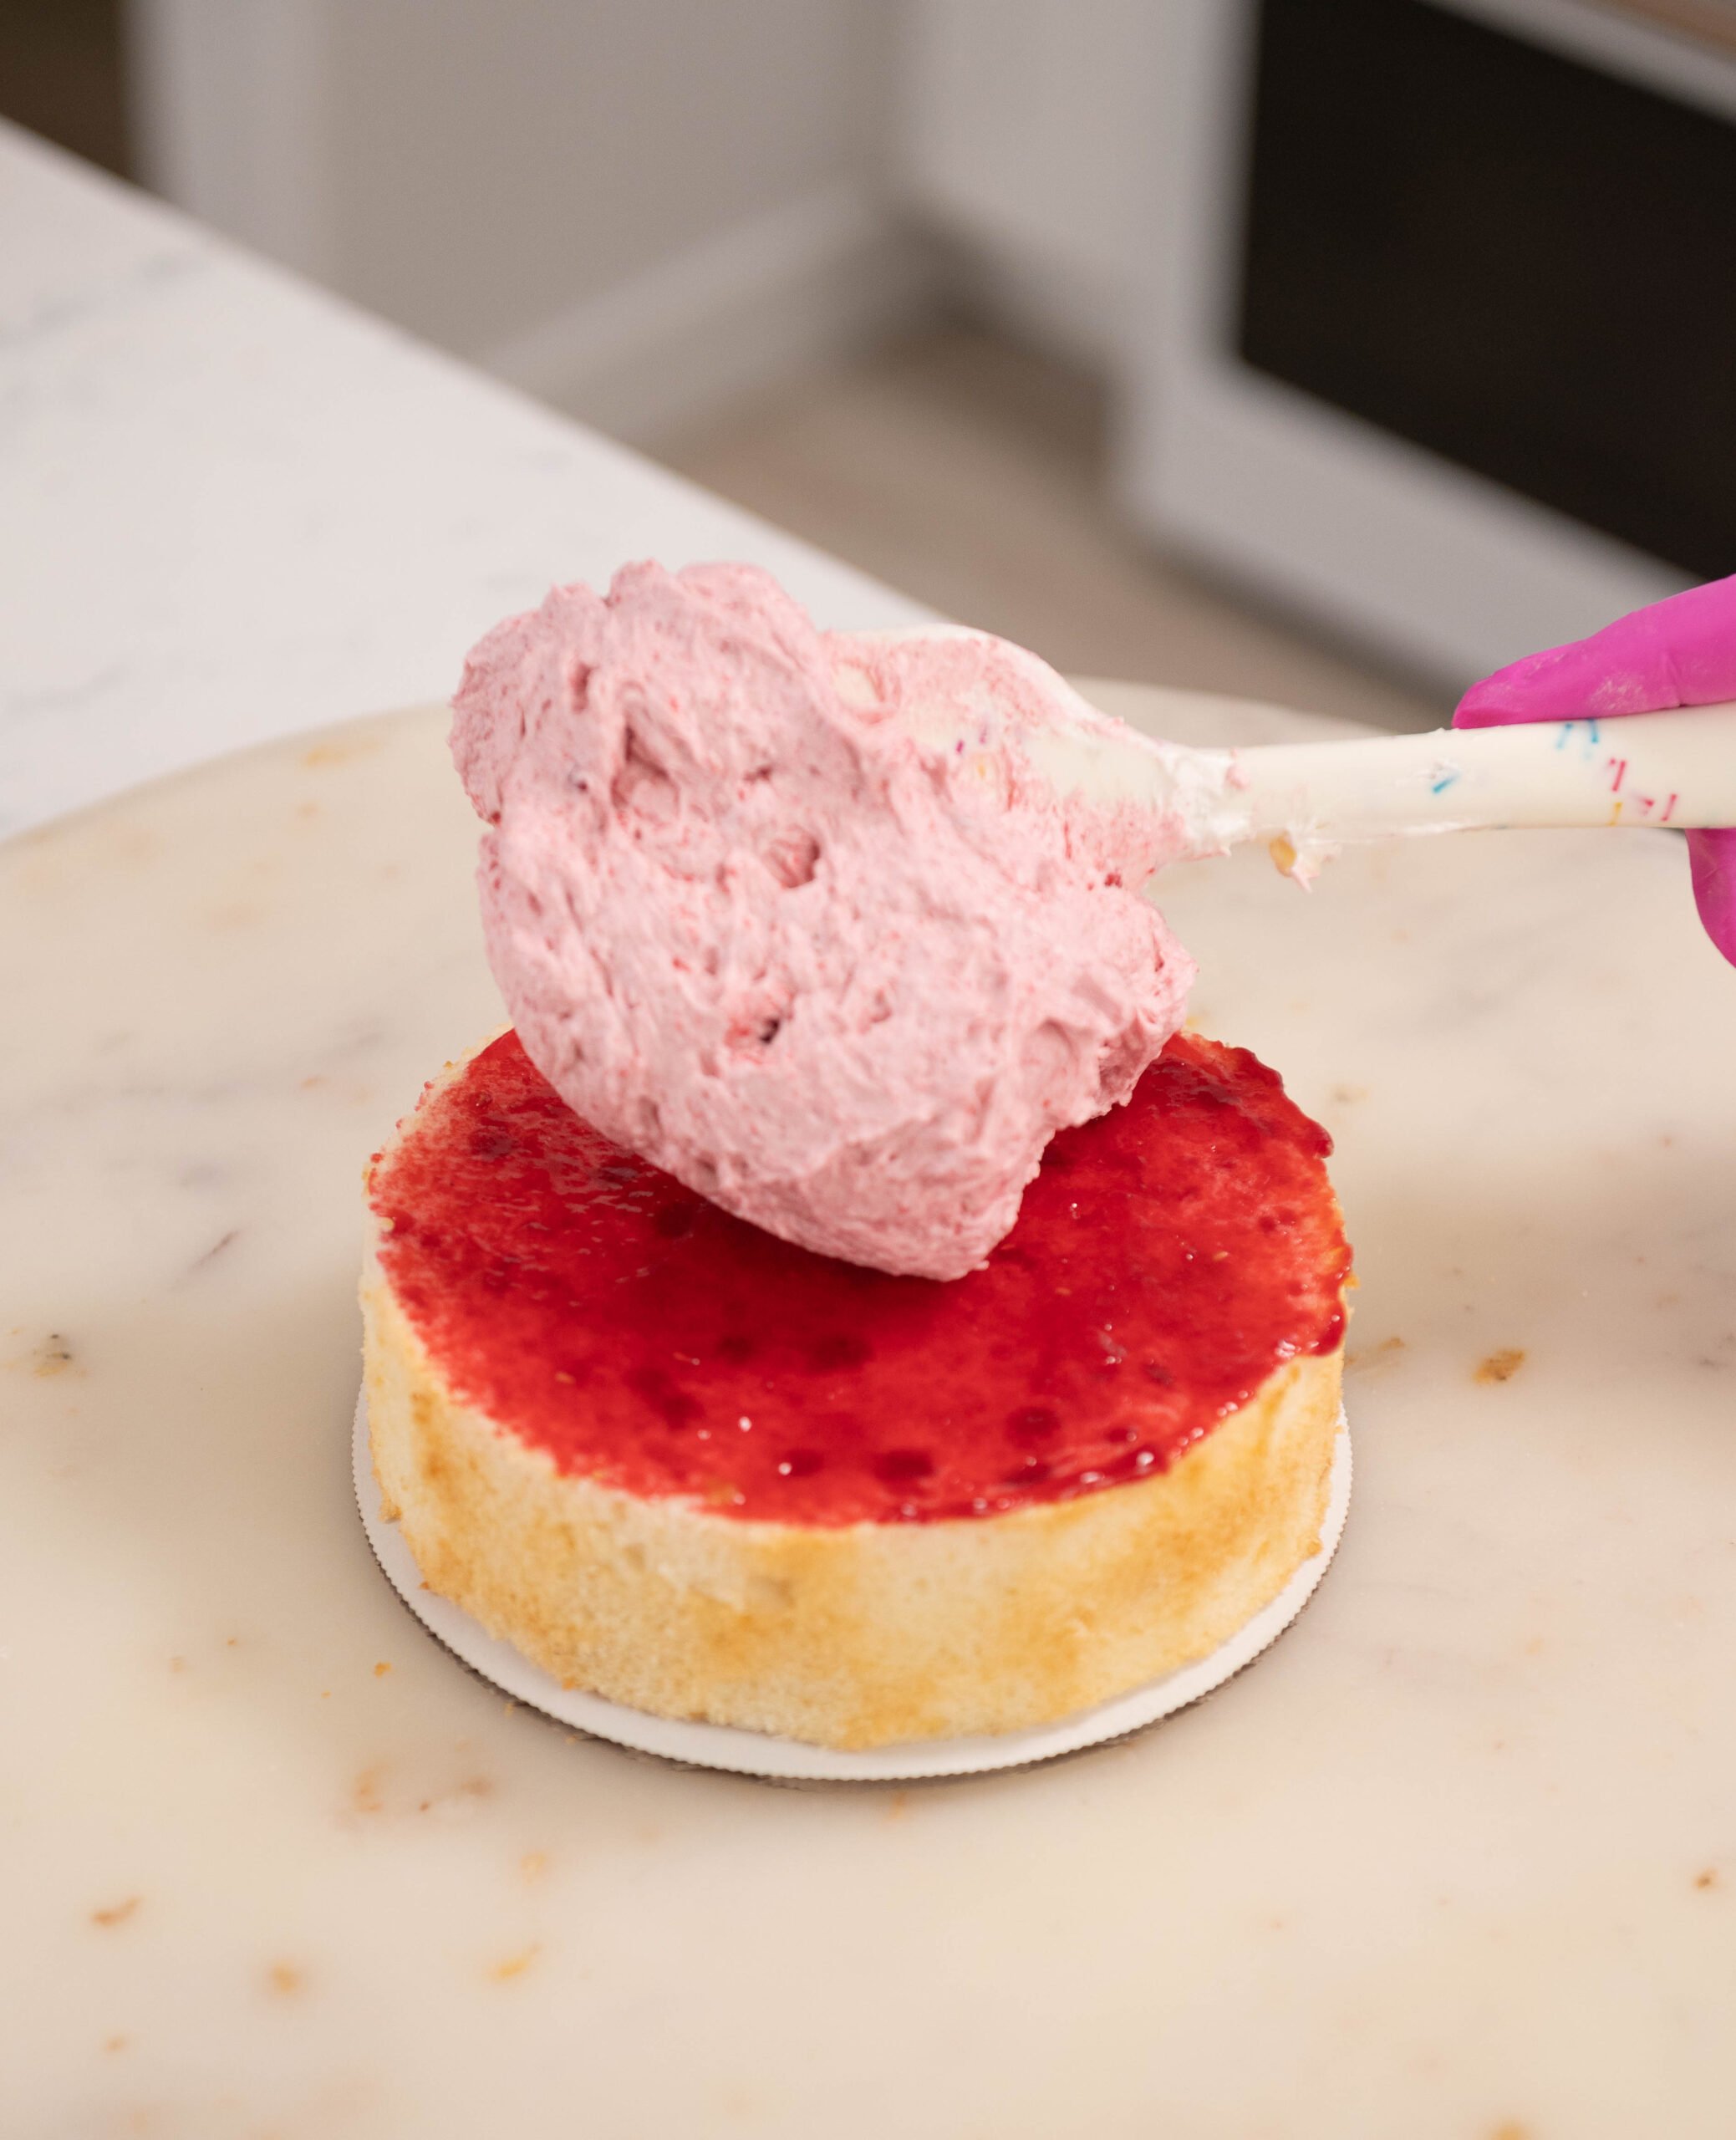
- Add a thin layer of the raspberry filling, then add a layer of raspberry buttercream on top.

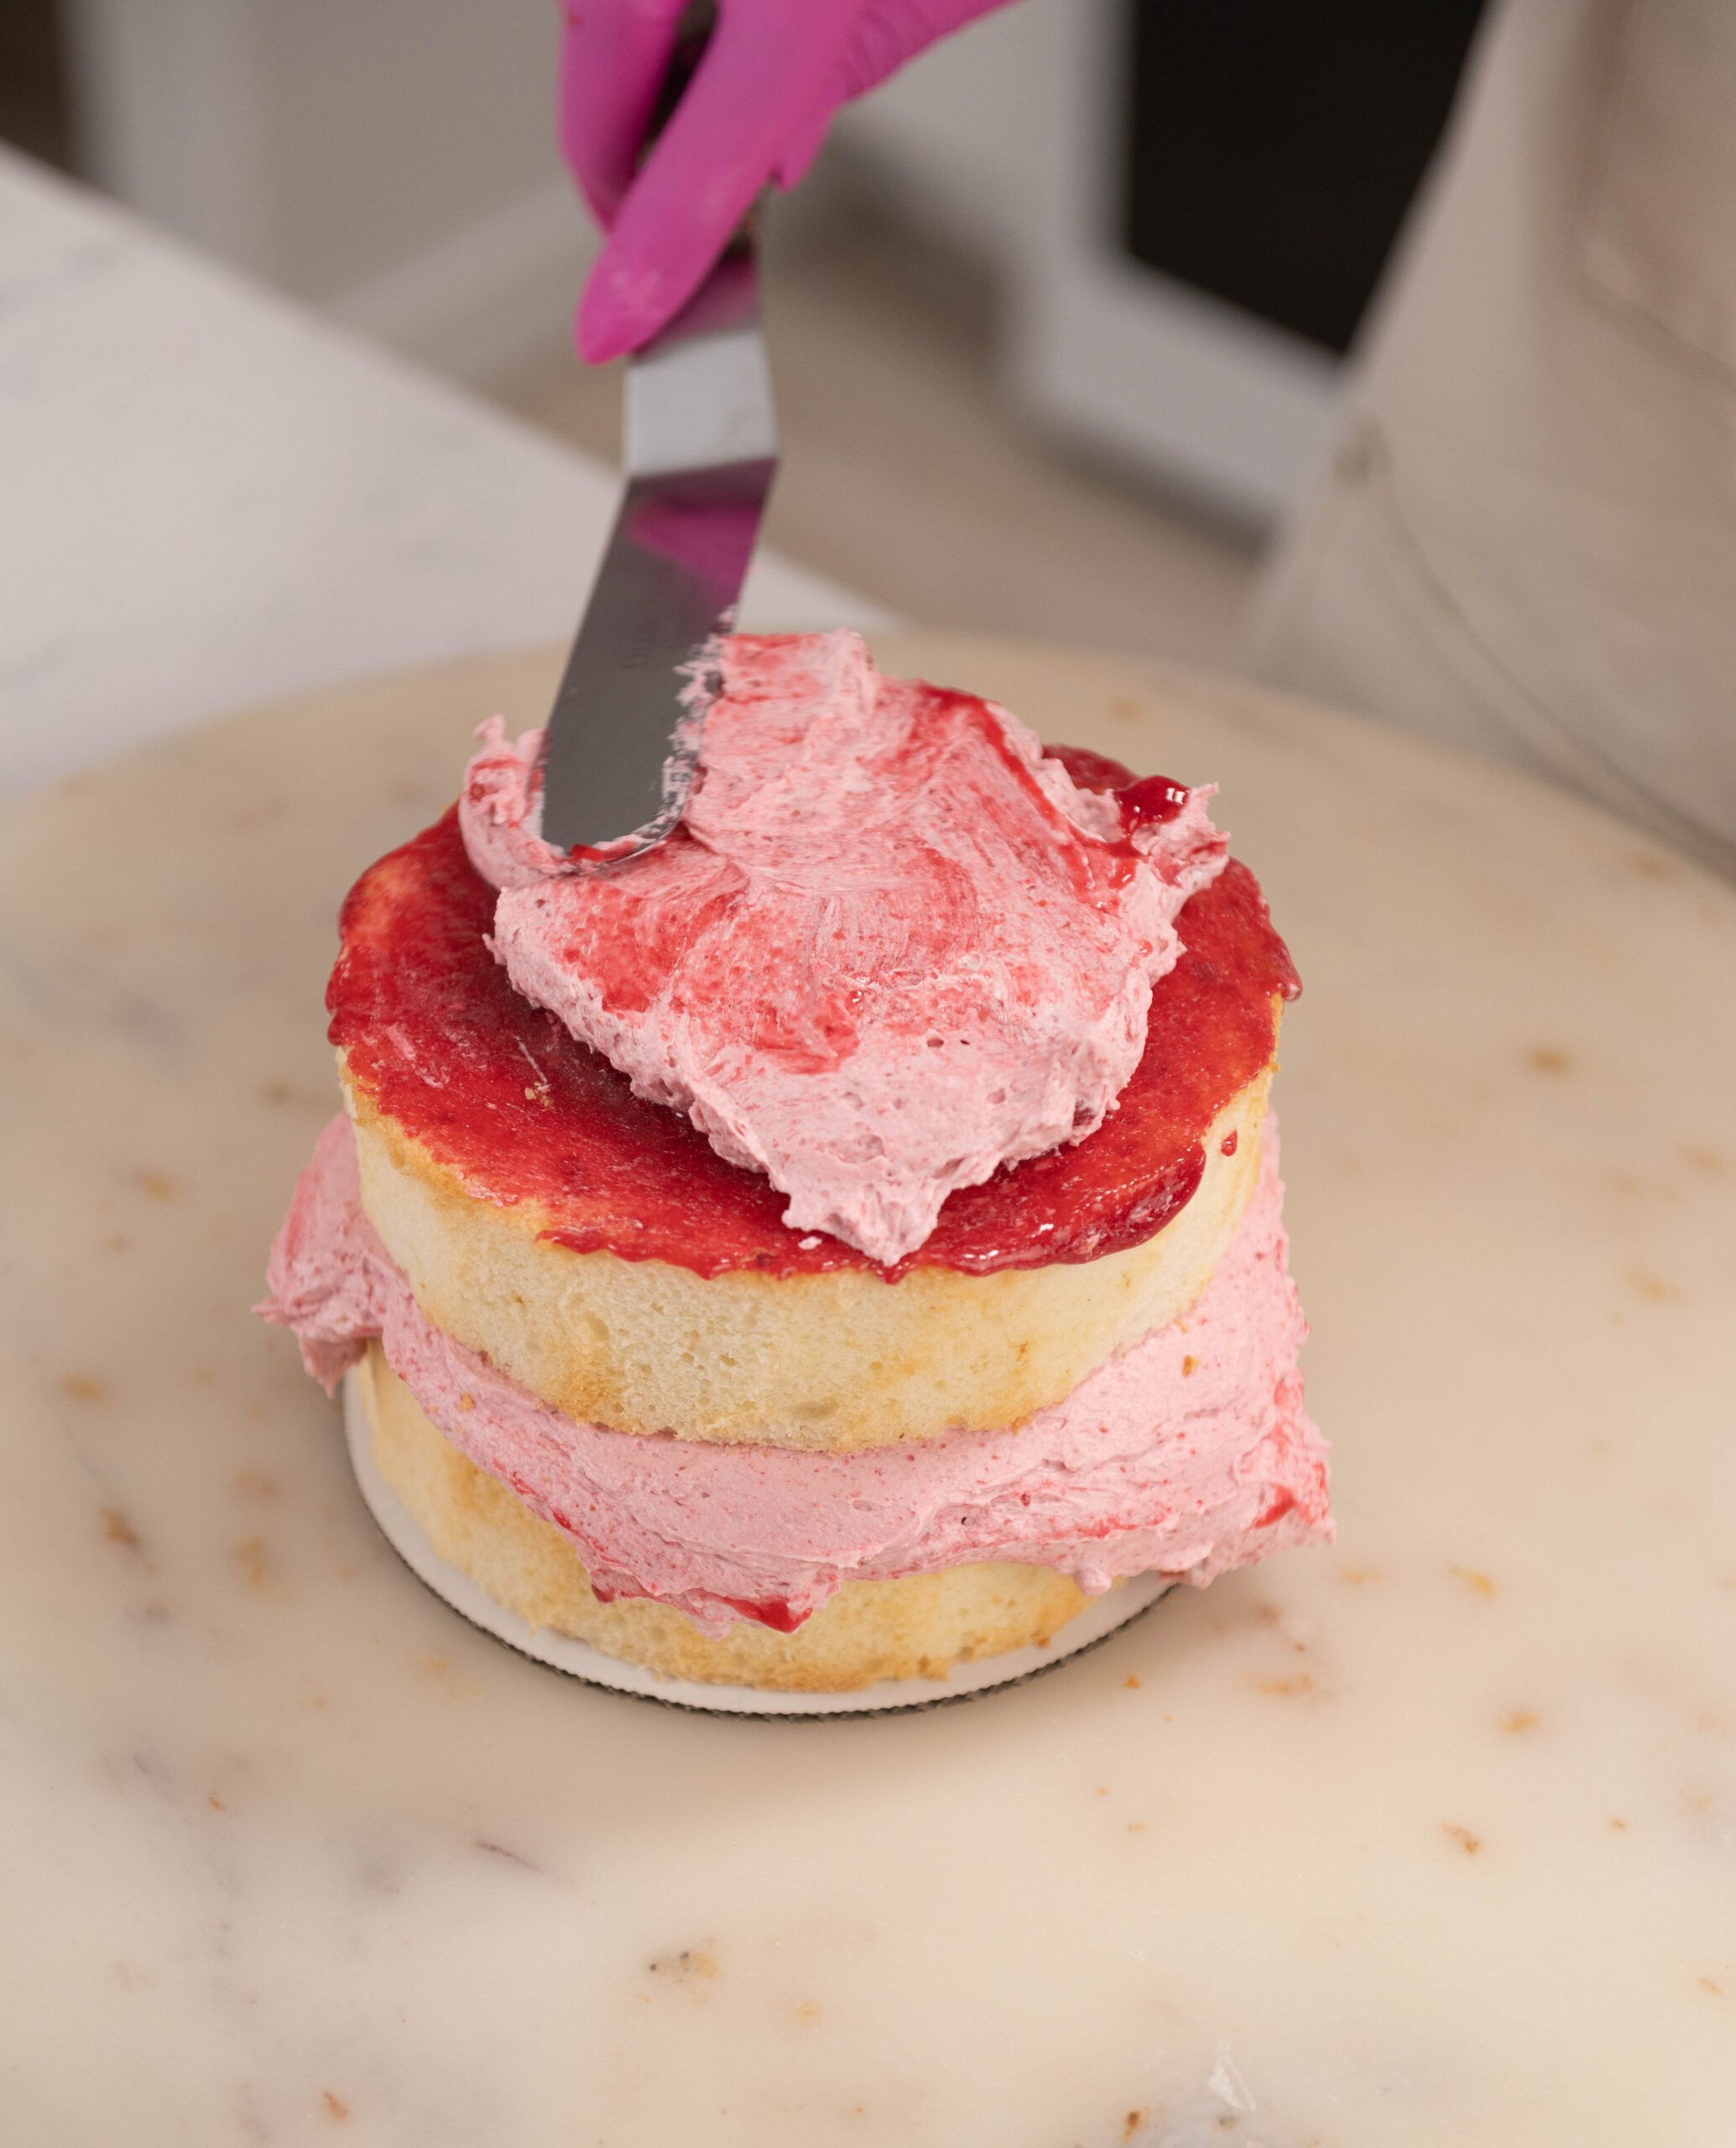
- Place your second layer of cake on top and repeat the process.

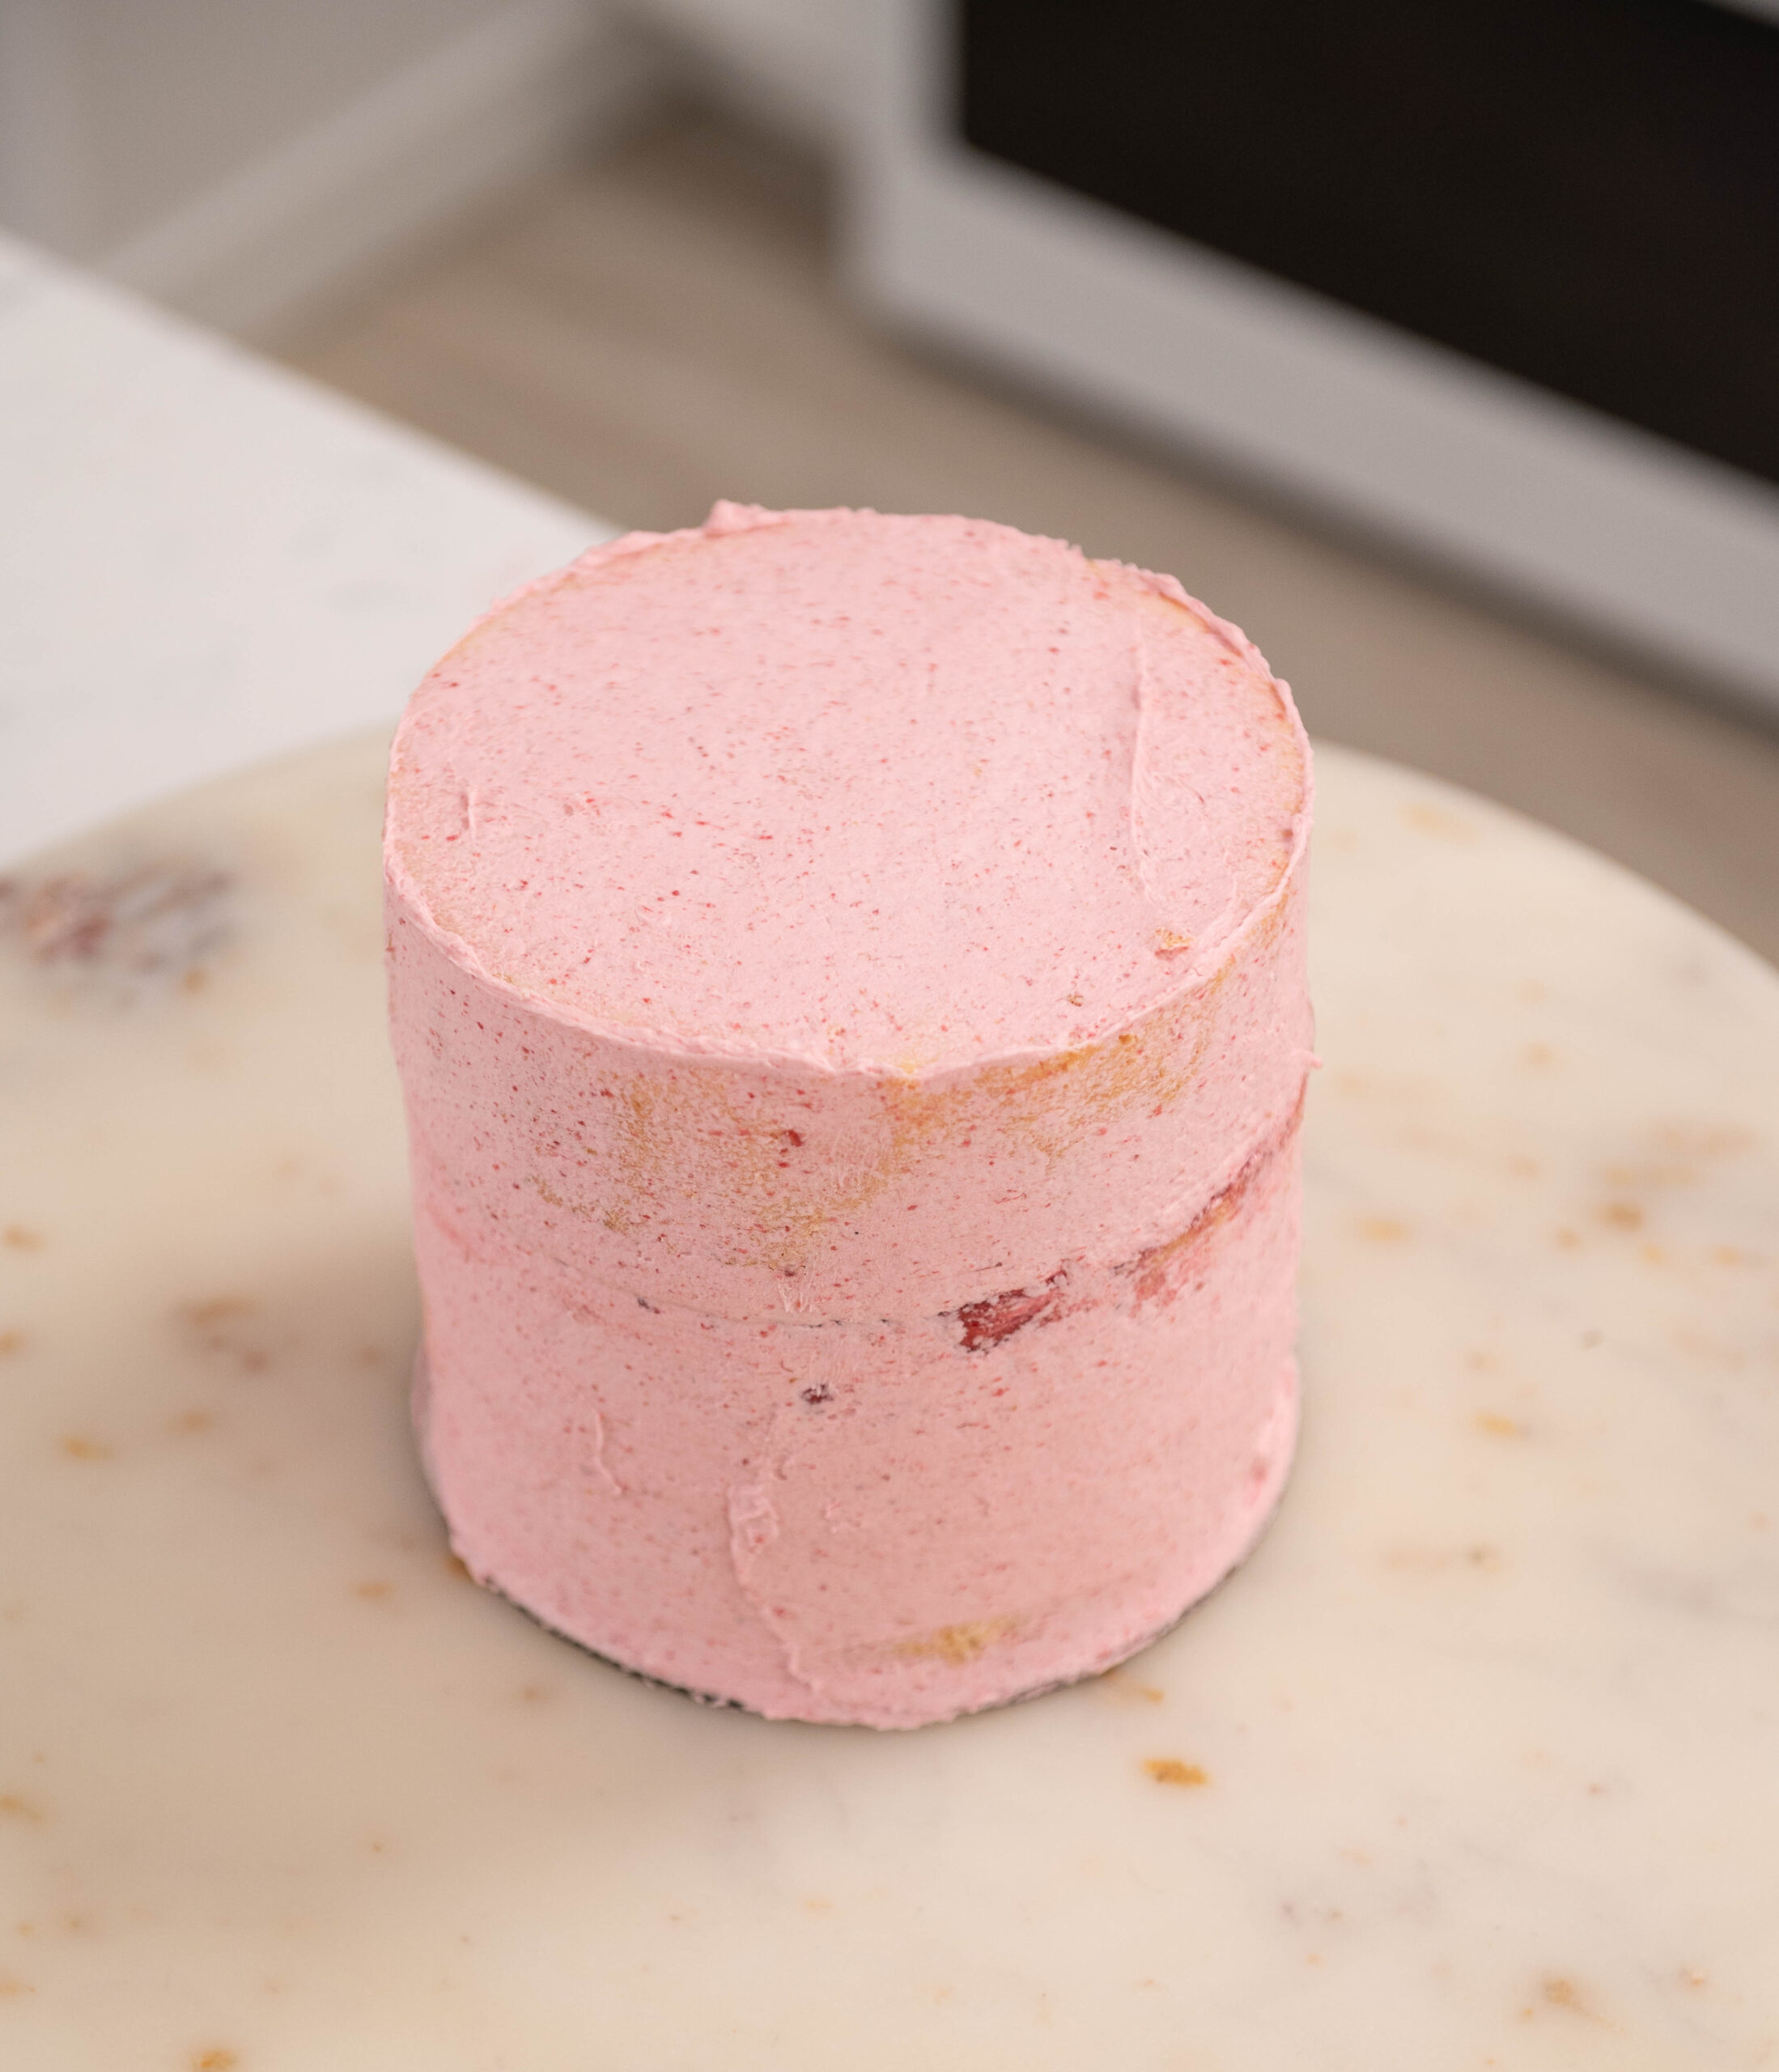
- Stack your third cake layer on top of the second and spread a thin layer of buttercream around the whole cake. Scrape off any excess buttercream to where you can almost see your cake layers through your buttercream with your offset spatula or a bench scraper. This is called a crumb coat.

- Place your cake in the fridge to chill for about 20 minutes or until the cake is firm to the touch. Learn more about baking, trimming, frosting, and decorating a cake in my beginner tutorial.
Decorating The Rose Cake
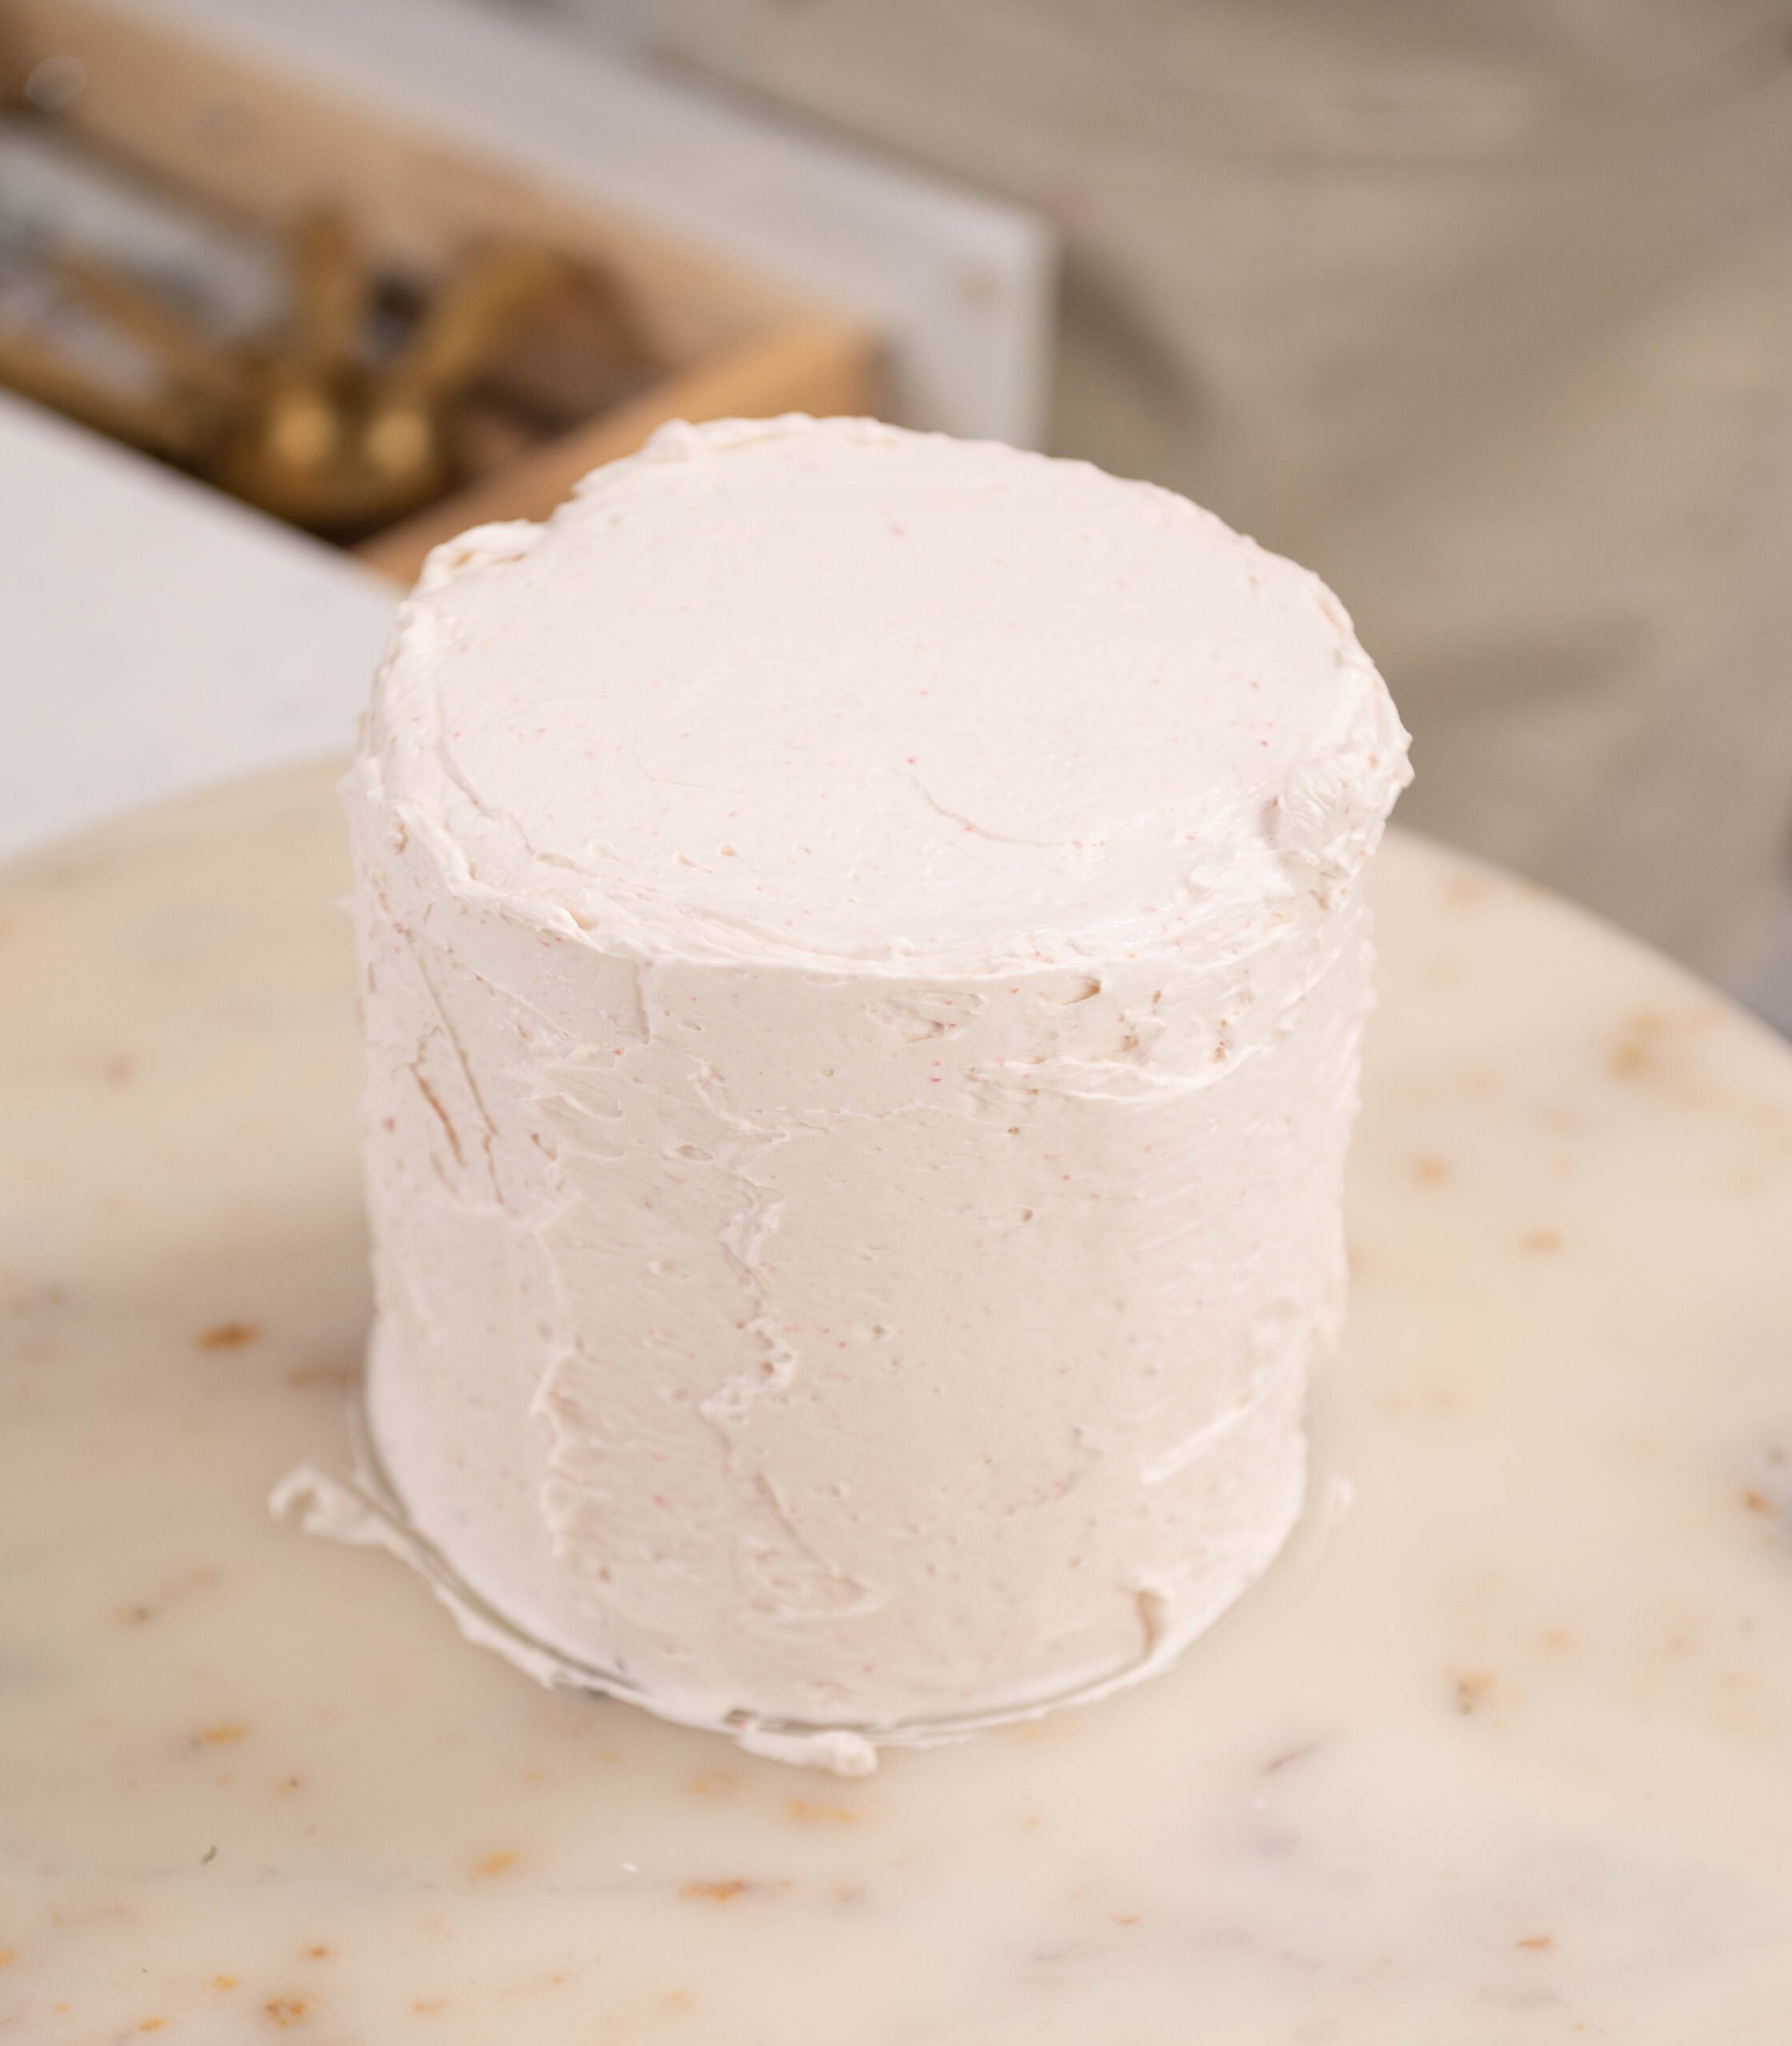
- Once your cake is chilled, take it out of the fridge and cover it again using the other half of your raspberry buttercream. Spread a thin layer using an offset spatula. I'm using the other half because it has more of a blush pink color, but if you want a deeper color you can add more raspberry filling.

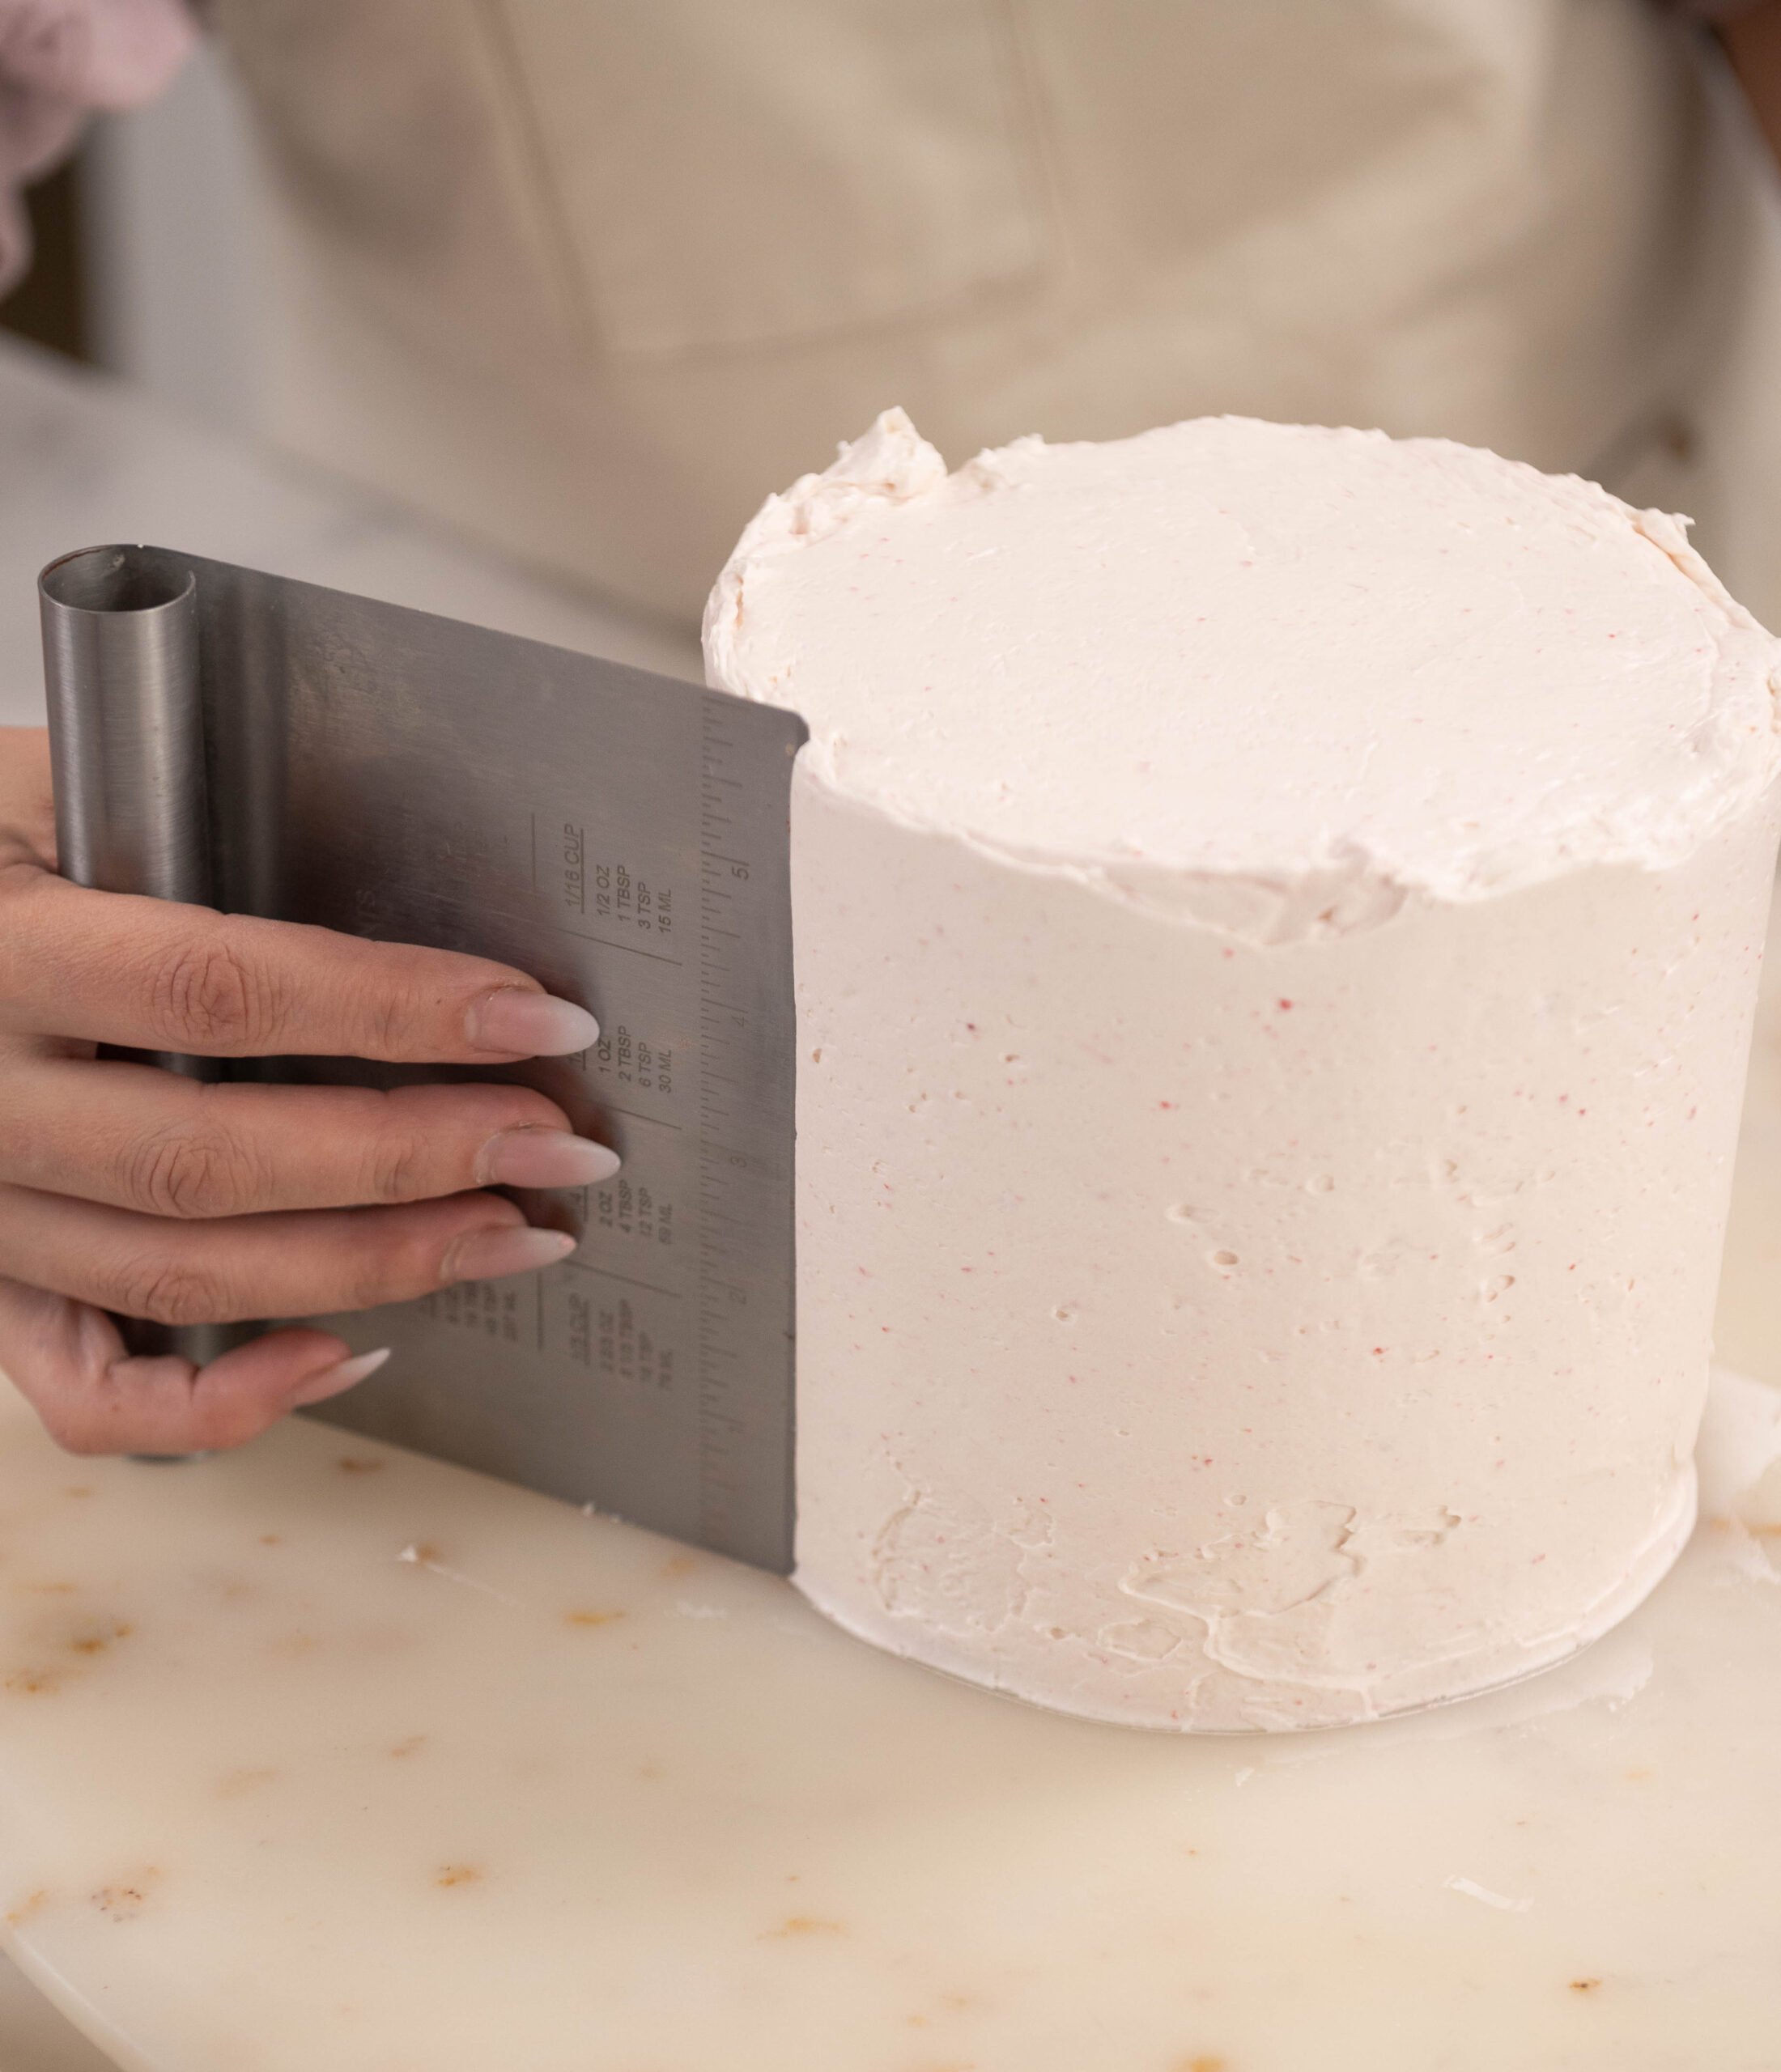
- Scrape off the excess and smooth it out using a bench scraper or offset spatula.

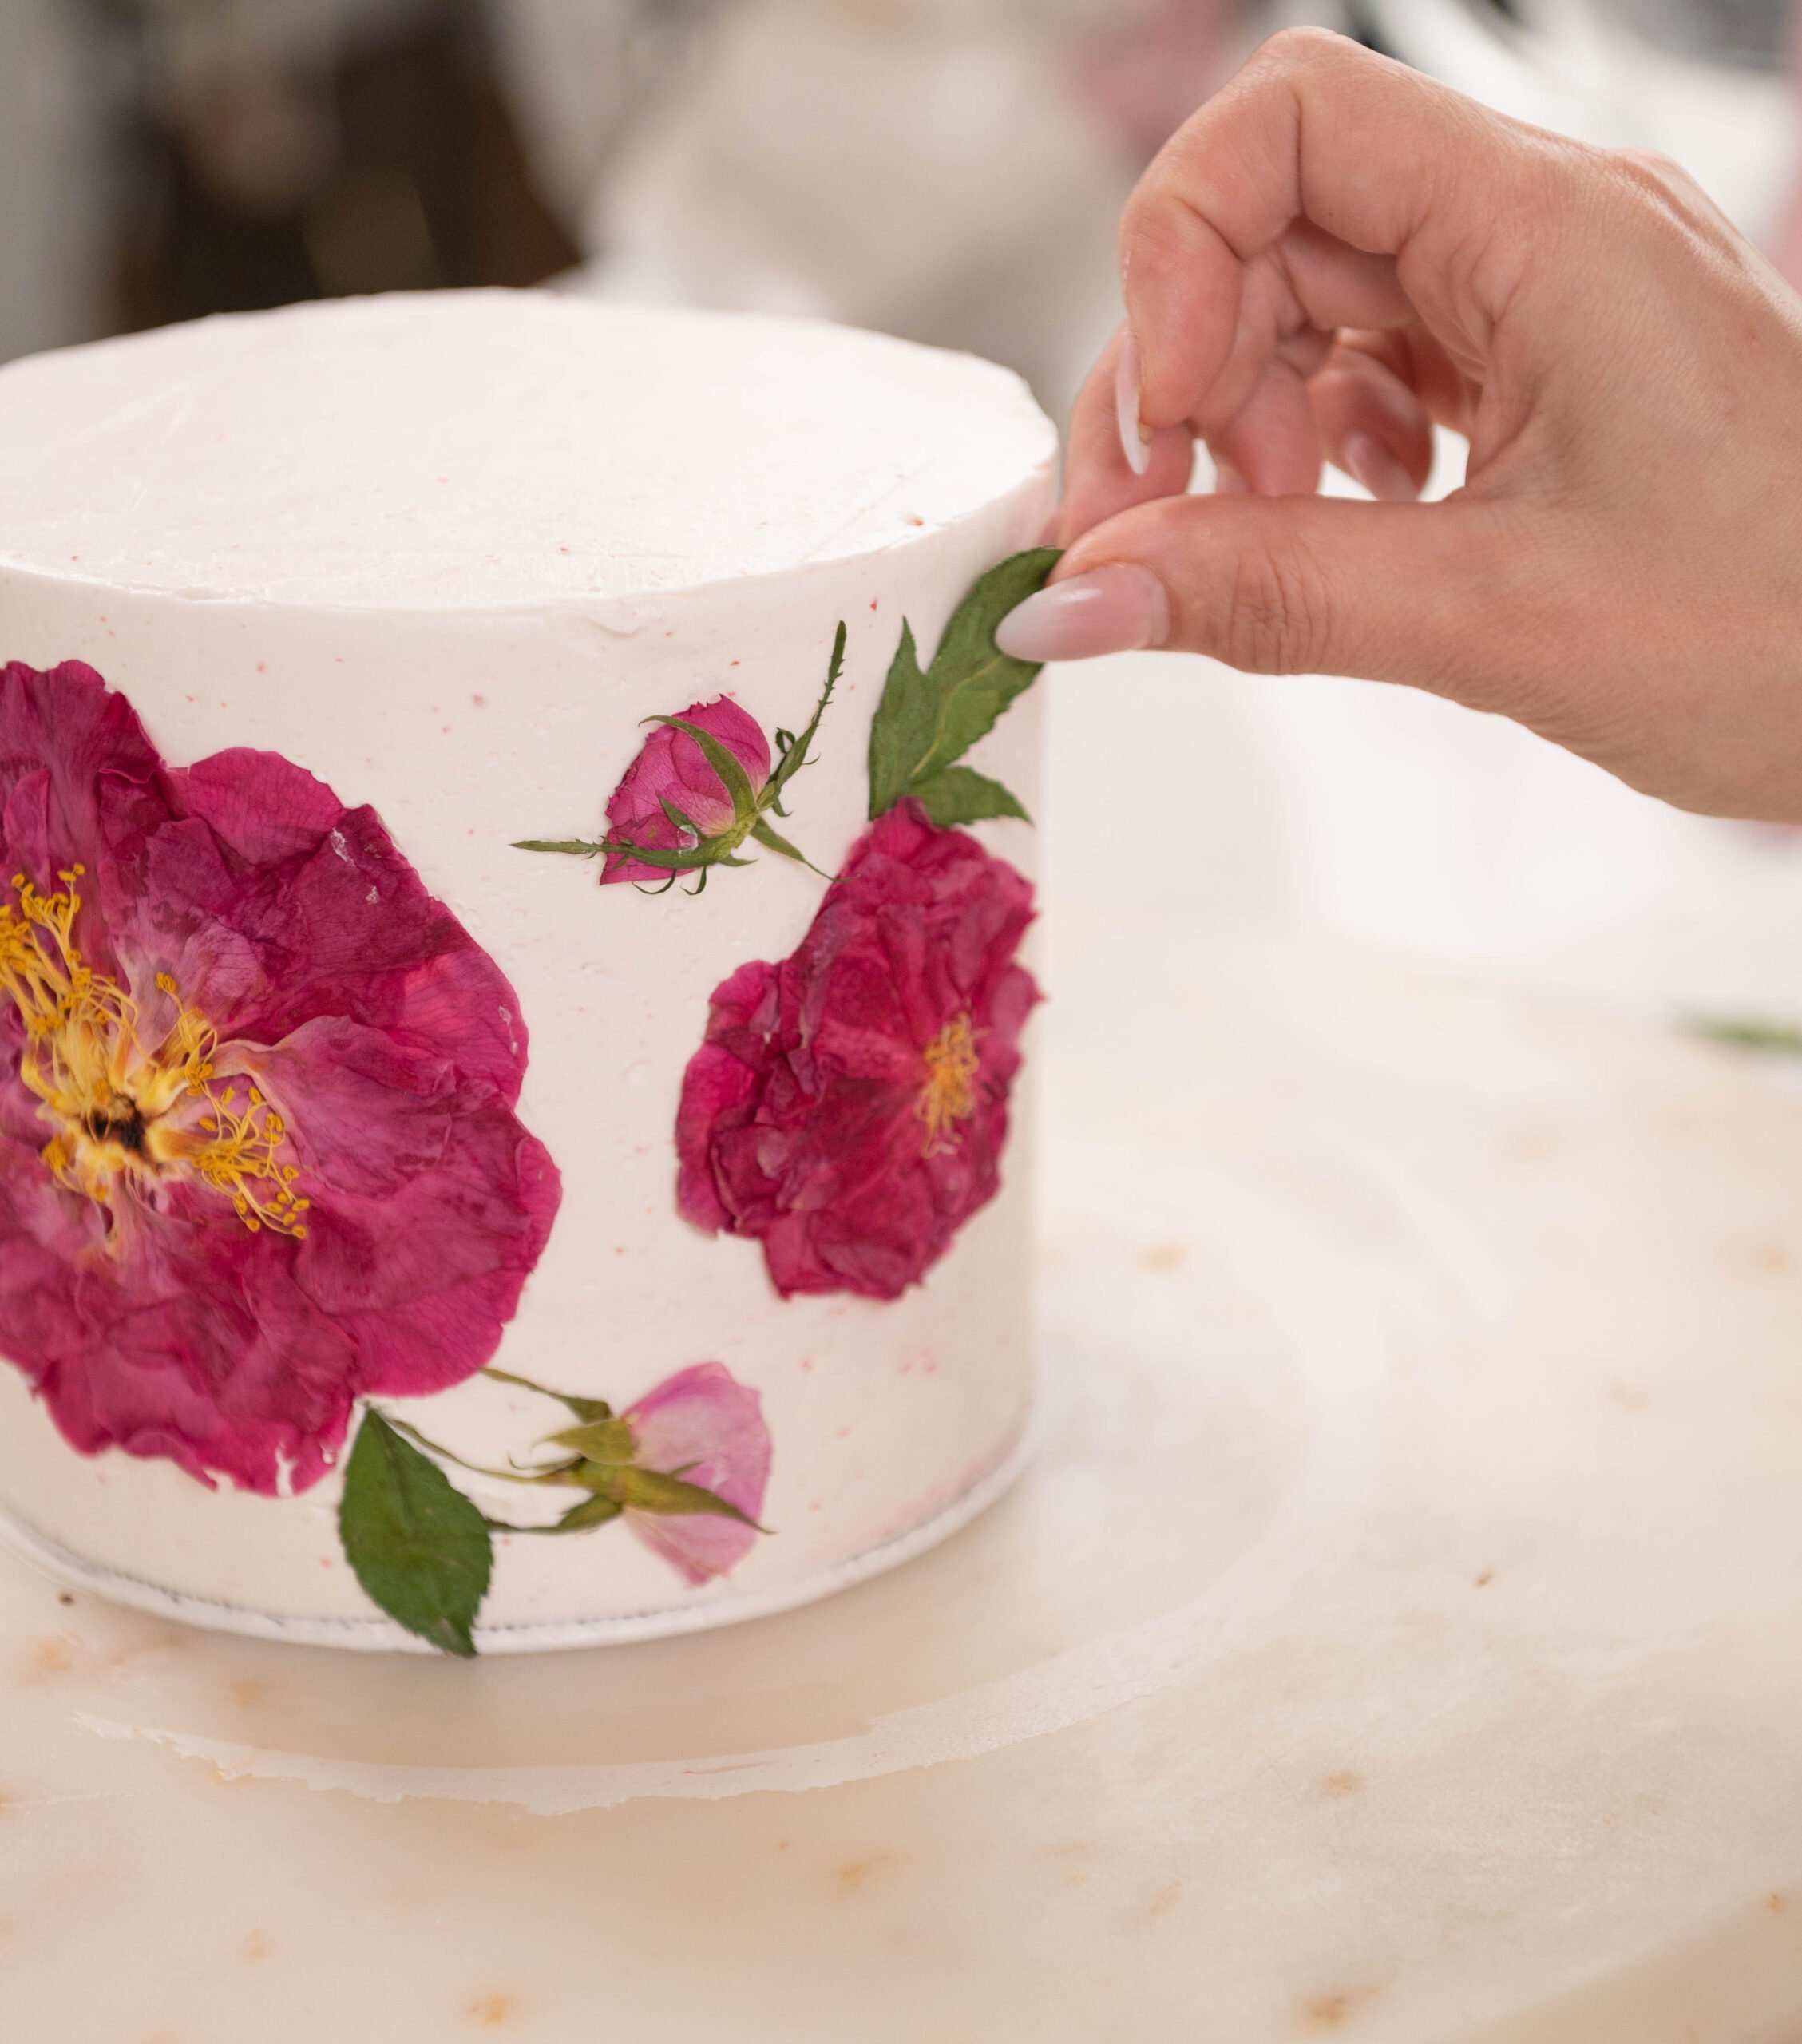
- Once your cake is smooth, take your dried flowers and petals, then place them wherever you would like on your cake by pressing firmly on the edges to make them stick to the buttercream. If you don't want to decorate with flowers, you can make an extra ½ batch of buttercream and use a 1M piping tip to pipe some pretty rosettes along the side of your cake.

- Keep placing flowers around your whole cake until you are happy with the design. his cake is best served immediately, but it will last for about 4 days in the fridge. I'd take off the flowers before cutting, but you don't have to. let your cake come to room temperature by taking it out of the fridge for a few hours before serving.

More Recipes You'll Enjoy
Pistachio Cake with Raspberry Filling
Frequently Asked Questions
Yes! Most flowers are. Just make sure they are organic and free of pesticides. Some popular roses that are used in foods are Damask roses (Rosa damascena) and Apothecary rose (Rosa gallica).
You can find it in the cocktail section of your grocery store, Mediterranean stores, or online.
Some flavors that can pair well with a flora taste are pistachio or any fruit flavors such as strawberry, raspberry, or blueberry. You can also just fill your cake with plain vanilla buttercream.
Rose extract is made similar to vanilla extract by infusing it with vodka for a certain amount of time. To make rose water, you just infuse water with as many rose petals as you would like depending how strong you want your flavor, then you leave it to sit for a few days to weeks. If you are substituting one or the other, remember that rose extract is more potent, so use 1 teaspoon of extract for about every 2 tablespoons of rose water.
Yes! it will make 24!
Recipe
Equipment
- 3 6 inch cake pans or two 8 inch cake pans
- 1 Bench scraper optional
Ingredients
Rose Cake
- 14 ounces cake flour
- 13 ounces granulated sugar
- 1 teaspoon salt
- 1 tablespoon baking powder
- ½ teaspoon baking soda
- 5 ounces egg whites room temperature
- 4 ounces vegetable oil
- 10 ounces sour cream room temperature or slightly warm
- 6 ounces unsalted butter softened
- 1.5 teaspoon rose water
- 1 teaspoon vanilla extract
- 2 tablespoons dried rose petals crushed
Raspberry Filling
- 3 cups raspberries fresh or frozen
- 5 ounces sugar
- 1 tablespoon lemon juice
- 1 tablespoon lemon zest
- 4 tablespoons water
- 2 tablespoons Clear Jel or cornstarch
Rasberry Buttercream
- 16 ounces unsalted butter room temperature or softened
- 16 ounces powdered sugar sifted
- 1 teaspoon vanilla extract
- ½ teaspoon salt
- 4 ounces pasturized egg whites room temperature
- 6 ounces raspberry filling
Decoration
- 2 cups flowers of choice I'm using roses and camellias
Instructions
Preparing The Dried Flowers and Petals
- Take a plate of your choice and place a paper towel on top.
- Place your rose petals and full rosebuds on a plate. Spread out the full flowers a little to flatten them out. Use as many as you would like.
- Place another paper towel on top of the roses, then place a second plate on top to weigh the petals down.
- Place in the microwave for one minute.
- Use for decoration. Note: if you notice after a minute of microwaving that they are still wet, keep microwaving at 15 second intervals until they are dry to the touch. You can also use the same process for any flowers or even leaves.
Making The Rose Cake
- Preheat your oven to 350º F and prepare 3 cake pans with cake goop or your prefered cake release
- Add in your flour, sugar, salt, baking powder, baking soda, and softened butter into the bowl of your stand mixer with the paddle attachment. Set aside.
- Place half of your sour cream and your vegetable oil into a measuring cup. Give it a quick mix until the oil and sour cream are combined.
- Add in your rose water and vanilla extract into your sour cream and oil mix. Set aside.
- Place the remaining half of your sour cream into your egg whites and mix until combined.
- Mix your dry ingredients in your stand mixer on low speed for 1-2 minutes, or until the texture looks like sand.
- Take your oil and sour cream mixture, then stream it into your flour mixture while mixing on medium - low speed. Mix for 2 minutes or until the color is pale and the mixture is nice and fluffy.
- Stream in your egg whites and sour cream mixture in 3 parts while mixing on low speed. Make sure to let each part mix for a couple seconds before adding in the rest.
- Add in your crushed rose petals and mix on low just to combine.
- Divide your batter into your 3 cake pans. (If making cupcakes add 1-2 spoonfuls of batter into each cupcake liner)
- Bake for 35-40 minutes or until you can place a toothpick in the center and it comes out clean. (If you are making cupcakes bake for 15 minutes)
Making The Raspberry Filling
- Combine your water and cornstarch or clear gel. Give it a quick mix to combine.
- Place your raspberries and sugar into a medium sized saucepan. Bring to a boil ans stir once in a while with a spatula.
- Once your mix starts bubbling, add in your cornstarch and water mixture and cook for 1 minute. (The cornstarch mix is what helps to thicken the sauce).
- Add in your lemon zest and lemon juice. Give it a quick stir with a spatula.
- OPTIONALS: Strain the raspberry filling into a bowl to get rid of the seeds.
- Set the mix aside to cool down. You can also place it in the fridge or freezer to cool down faster. It’s ready to use when it comes to room temperature or below.
Making The Raspberry Buttercream
- Place the pasteurized egg whites and powdered sugar in a stand mixer bowl. Attach the whisk and combine ingredients on low, then whip on high for 4-5 minutes to dissolve the powdered sugar. You do NOT need to whip to a meringue.
- Add in your salt and vanilla extract.
- Add in your softened butter in chunks and whip with the whisk attachment on high.
- Now let the buttercream whip until white and fluffy. This will take 8-10 minutes with a KitchenAid, but taste it to see when it’s done. When it no longer tastes like butter and is sweet like ice cream, it’s done.
- Optional: switch to the paddle attachment and mix on low for 15-20 minutes to make your buttercream extra smooth.
- Take ⅓ of your buttercream and place it in a separate bowl. Add ½ cup or as much as you would like of the raspberry filling to half the buttercream. This will be used for the filling and crumb coat
- Now add ¼ of raspberry filling to the rest of your buttercream to create a blush color. This will be used as our final layer of icing around the cake.
Assembling The Rose Cake
- OPTIONAL: Trim the edges of your cake using a serrated knife. I like to do this because it creates sharp and clean edges, but you don’t have to.
- Take the first layer of your cake and place it on a cake board.
- Add a thin layer of the raspberry filling, then add a layer of raspberry buttercream on top.
- Place your second layer of cake on top and repeat the process.
- Stack your third cake layer on top of the second and spread a thin layer of buttercream around the whole cake. Scrape off any excess buttercream to where you can almost see your cake layers through your buttercream with your offset spatula or a bench scraper. This is called a crumb coat.
- Place your cake in the fridge to chill for about 20 minutes or until the buttercream is firm to the touch.
Decorating The Rose Cake
- Once your cake is chilled, take it out of the fridge and cover it again using the other half of your raspberry buttercream. Spread a thin layer using an offset spatula. I'm using the other half because it has more of a blush pink color, but if you want a deeper color, add more raspberry filling.
- Scrape off the excess and smooth it out using a bench scraper or offset spatula.
- Once your cake is smooth, take your dried flowers and petals, then place them wherever you would like on your cake.
- Keep placing flowers around your whole cake until you are happy with the design. his cake is best served immediately, but it will last for about 4 days in the fridge. I'd take off the flowers before cutting, but you don't have to. let your cake come to room temperature by taking it out of the fridge for a few hours before serving.
Video
Notes
- The best investment you can make when you’re getting started with baking is a digital kitchen scale! Weighing your ingredients will help you avoid cake failure. Using a kitchen scale for baking is super easy and gives you the best results every single time.
- Practice Mise en Place (everything in its place). Measure out your ingredients ahead of time and have them ready before you start mixing to reduce the chances of accidentally leaving something out.
- Need more help with making your first cake? Check out my how to decorate your first cake blog post.
- Make sure all of your cold ingredients (e.g. butter, eggs, milk) are at room temperature or a little warm. Why? Because we want to create an emulsion and allow the ingredients to fully mix together.
- Make your own pan release (cake goop!) The best pan release ever!
- Chill your cakes before frosting and filling. You can cover a frosted and chilled cake in fondant if you wish. This cake is also great for stacking!
- If you are using pasteurized egg whites from the fridge then you might notice this rim of cold butter forming. This is normal and can easily be fixed. Simply stop your mixer and remove about ⅓ cup of the buttercream. Melt this in the microwave for about 20 seconds or until it’s just barely melted. You don’t want it hot! Pour the mixture back into your whipping buttercream and the warmth from the melted buttercream will cause it all to come together and get creamy. This is honestly easier than taking out the egg whites ahead of time and trying to bring them to room temperature.


Alicia says
This cake is exactly what I was looking for. I want to do a different cake and I thought about a rose cake. It looks tender, fluffy and delicious. I can almost fell the smell of roses. And what an amazing decoration!
I’m going to use rose extract and strawberries. I’ll tell you how it turns out.
Thanks for sharing the recipe.
Regards from the Canaries, Spain.