How to make a trendy fault line cake with fresh strawberries and buttercream frosting
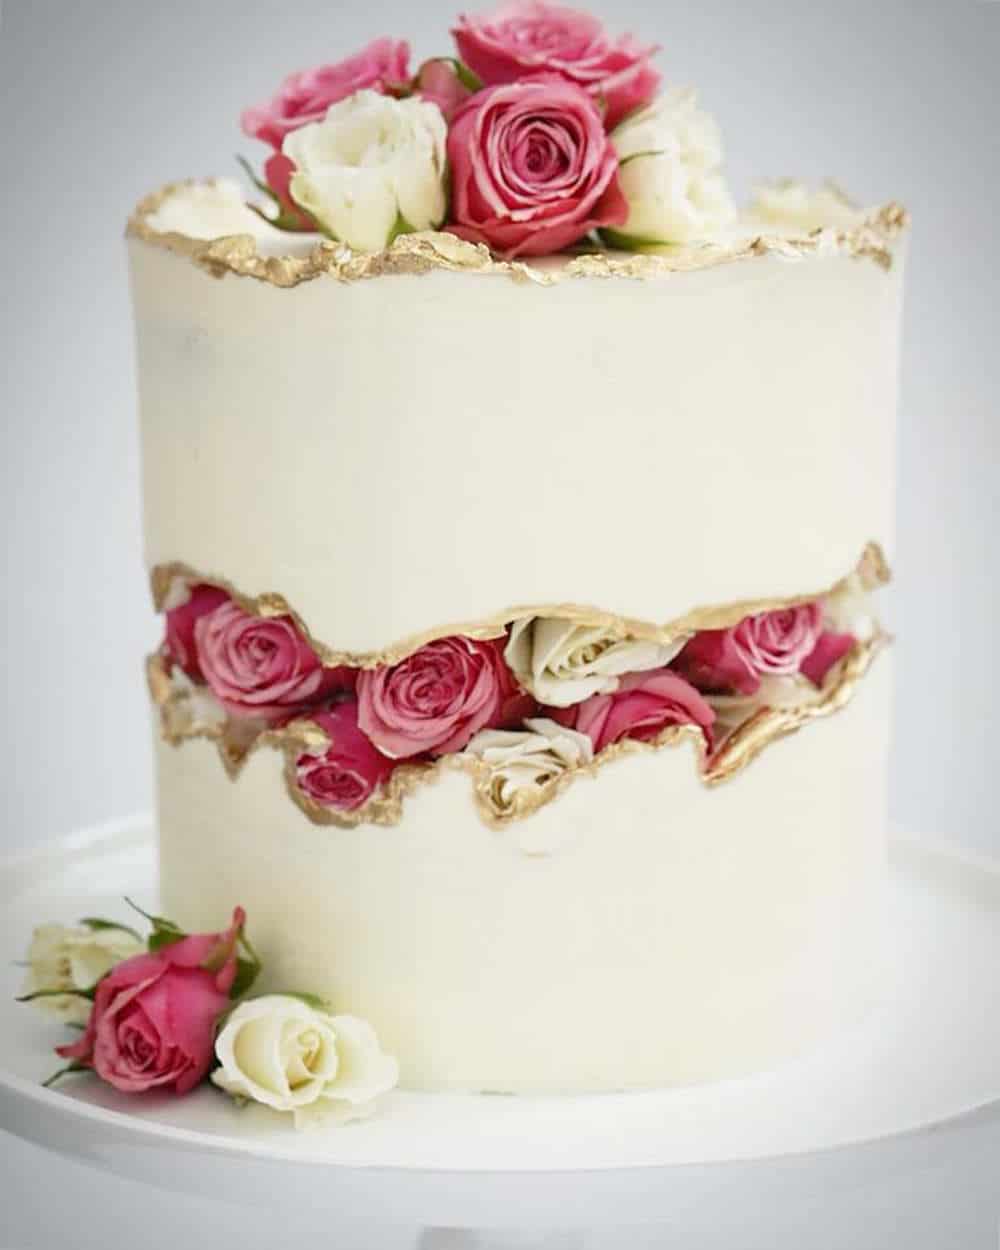
Fault line cakes are all the rate right now on social media. There have already been so many creative interpretations of this theme from sprinkles to flowers! One of the best things about this cake trend is that it does allow for so much creativity but the basic steps for creating a fault line cake are the same.
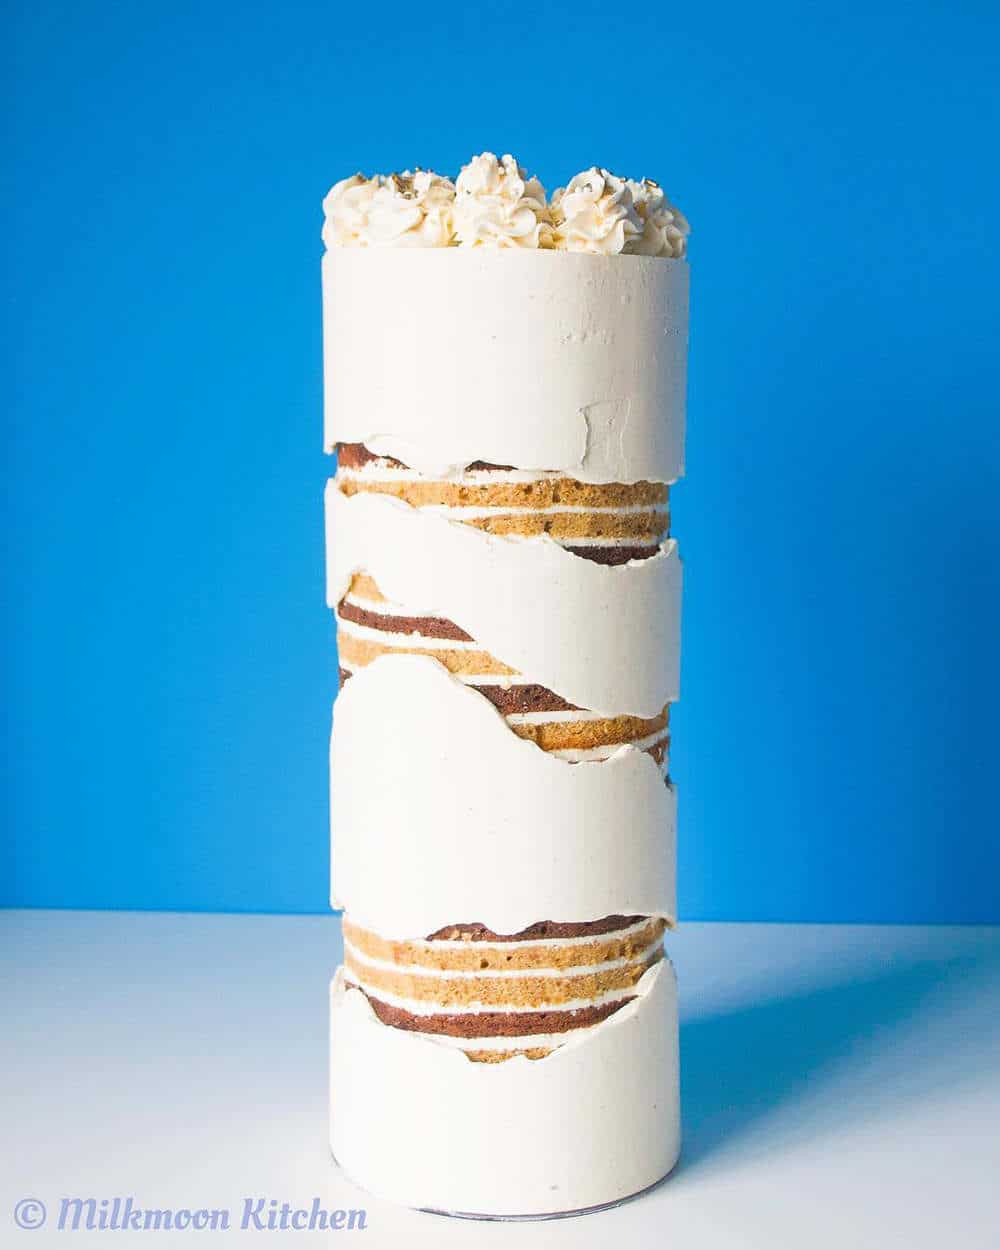
As far as I can tell, this is the earliest version of the fault line cake, created by Milk Moon Kitchen on Instagram. She's been making these beauties since March of 2018.
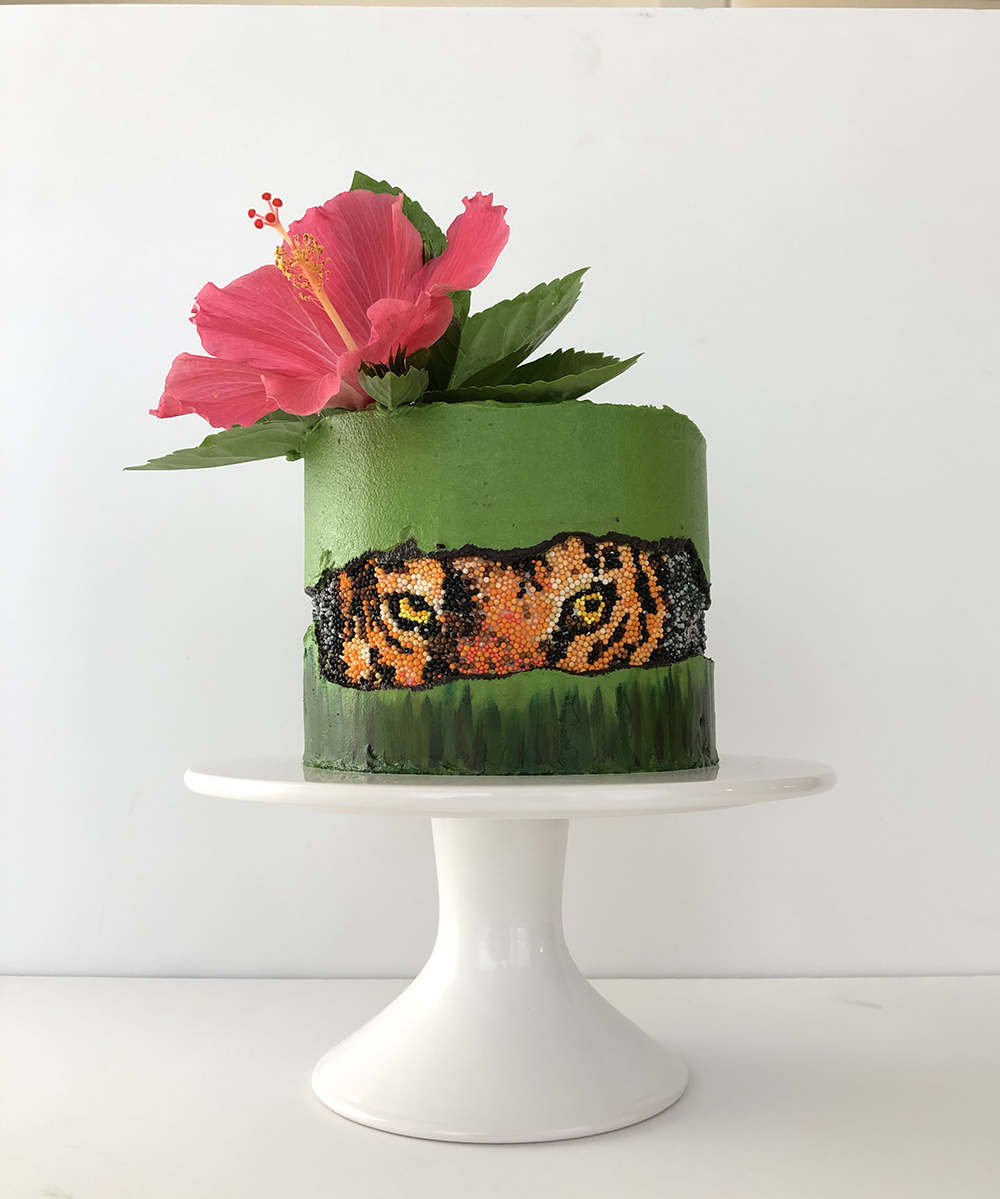
Now, this trend is really taking off and we're seeing all kinds of super creative versions like this amazing tiger sprinkles cake from Susie Makes. She hand-placed each of those sprinkles onto wafer paper brush with piping gel to make the tiger pattern! Then wrapped the paper around the cake before applying the final coat of buttercream. Amazing work!
Or this stunning rose fault like cake from Cutely Made. The creator states that this cake was made by placing a 4" styrofoam cake dummy between two 6" cakes. The roses were then pushed into the styrofoam and the buttercream frosted over the top to create the fault line cake. Don't worry, roses are edible and were prepared in a food-safe way.
The possibilities really are endless if you think about it!
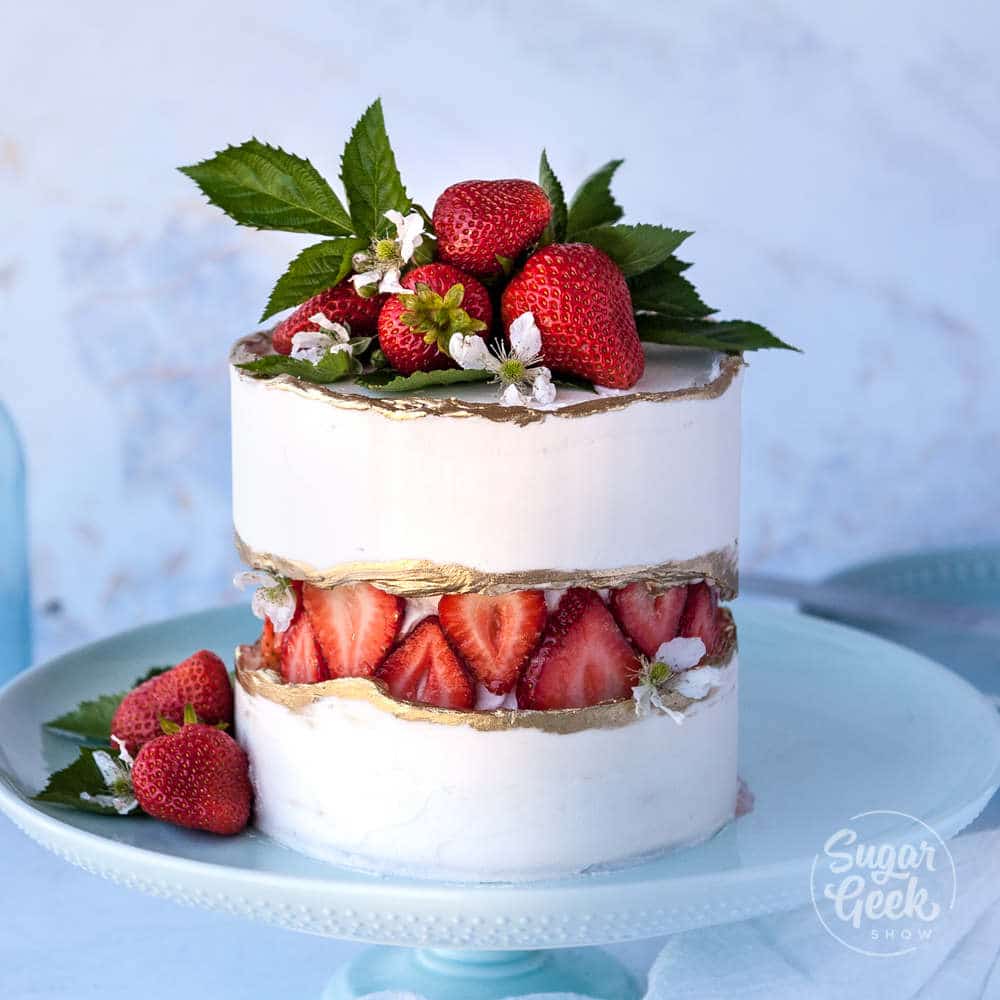
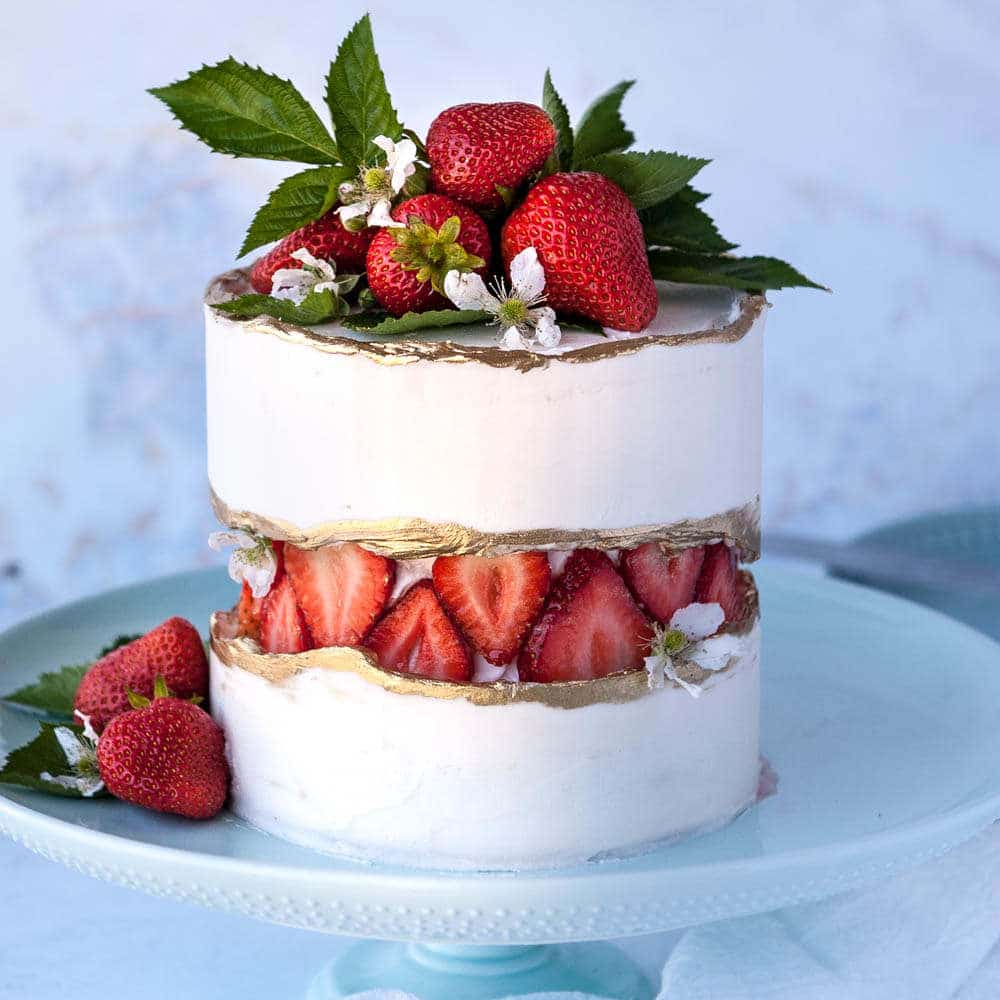
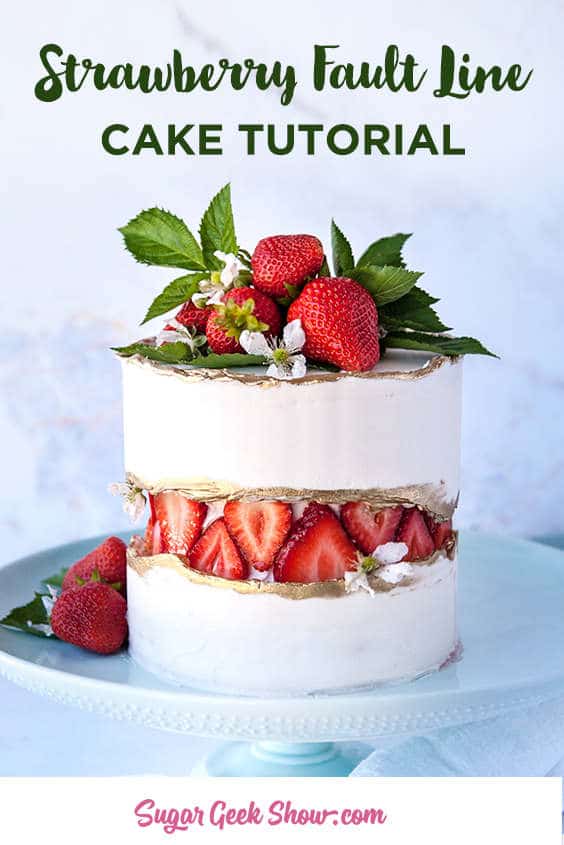
Today I'm going to show you how to make my version of the fault line cake using fresh strawberries! A total no-brainer for a delicious and beautiful cake for summer.
How to keep berries fresh
Whenever you are using fresh fruit in a cake, you have to take some precautions to make sure that your fruit doesn't mold quickly. I think we've all experienced purchasing a box of fresh fruit from the store that looks great one day and the next it's all moldy.
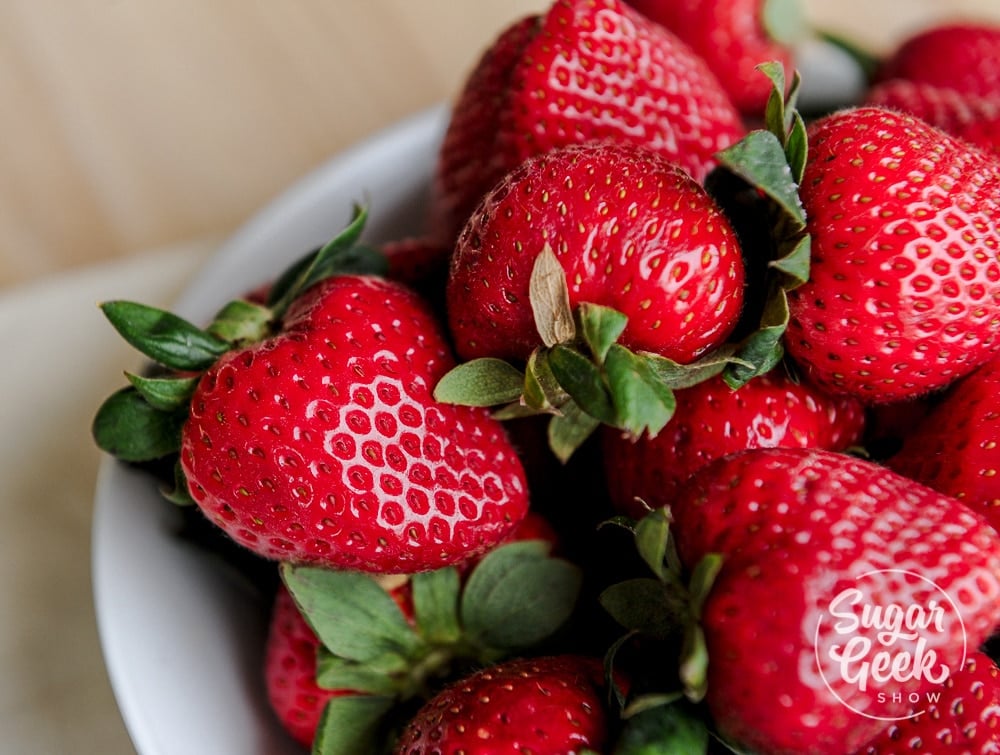
To prevent your fruit from molding in the cake, you're going to give it a little bath. Combine 4 cups of cool water and ½ cup of white vinegar in a large bowl. Add in your fresh fruit and let soak for about 5 minutes. Rinse your berries under cool water in a colander and then lay on a paper towel to dry.
The vinegar bath does not make your berries taste like vinegar so don't worry about that. It will, however, extend the life of your berries and kill off any mold that is lurking around the corner.
How to stack and fill your fault line cake
The first step to making the fault line cake is to prep the cake. I am using my fresh strawberry cake but you could use any cake that you like. I have two 6" cake layers and one 4" cake layer. Each cake layer is 2" tall. My cakes have already been chilled and I have trimmed off the brown edges on the top, sides and bottom. If you want to know more about preparing a cake for decorating, check out my video on how to make your first cake.
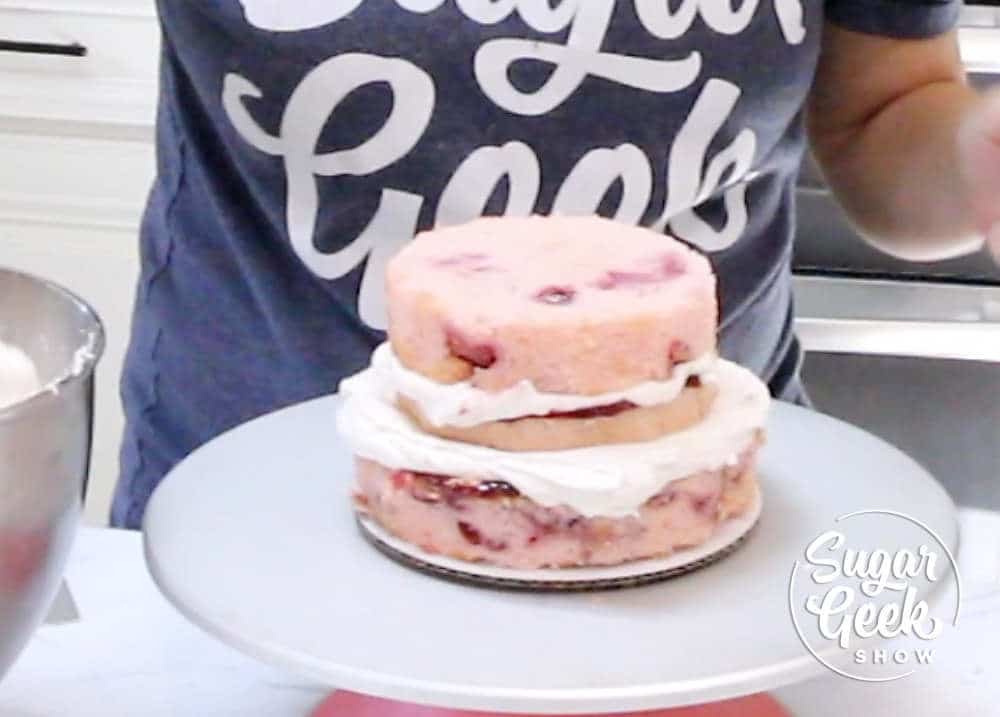
Start by stacking your first 6" cake on a cake board. Add a layer of strawberry puree (if you prefer) then cover with a layer of easy buttercream. I decided to slice my 4" cake layer in half to make it a bit taller. I filled it with buttercream and strawberry puree as well.
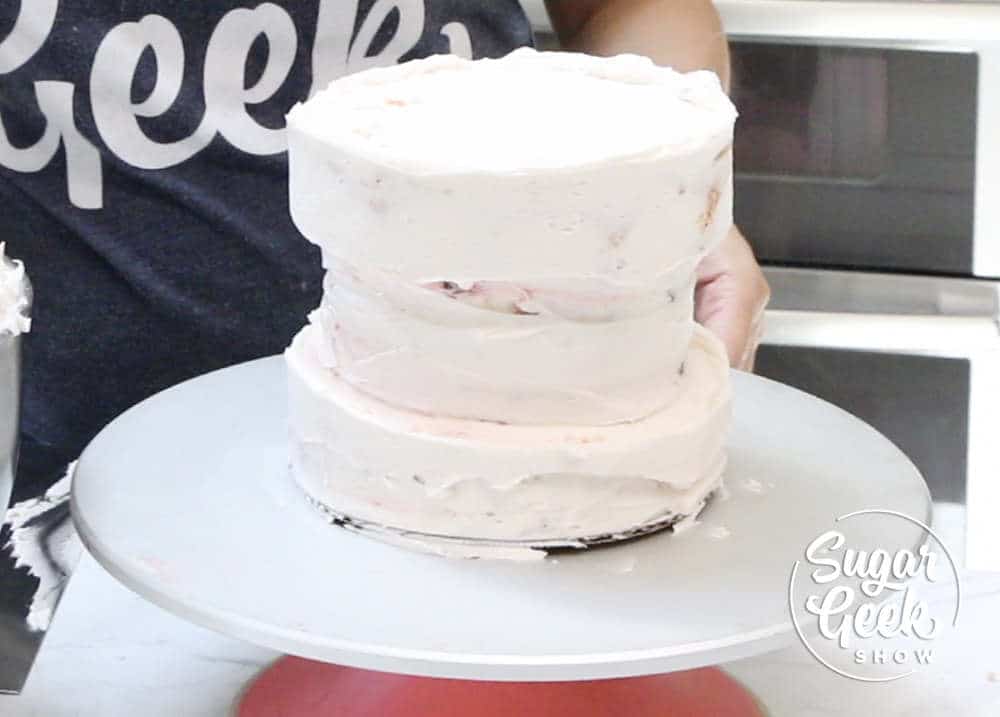
Now let's do a quick crumb coat of buttercream before we move onto the next layer of cake. You can decide to chill the cake at this point if you feel like your cake is too soft and moving around a lot but I went ahead and pushed on to the next step.
Stack the last 6" cake layer on top of the 4" cake layer and crumb coat. Place the whole cake in the freezer for 20 minutes to let the cake firm up.
While the cake is chilling, slice up some medium sized strawberries. You can also use other types of fruits!
Let's also prepare our fruit glaze. I'm using apricot jam and have watered it down a bit to make it thinner. This is a technique I learned in pastry school to glaze all sliced fruits to keep them from drying out and keep them looking shiny and beautiful!
How to create the fault line look with buttercream
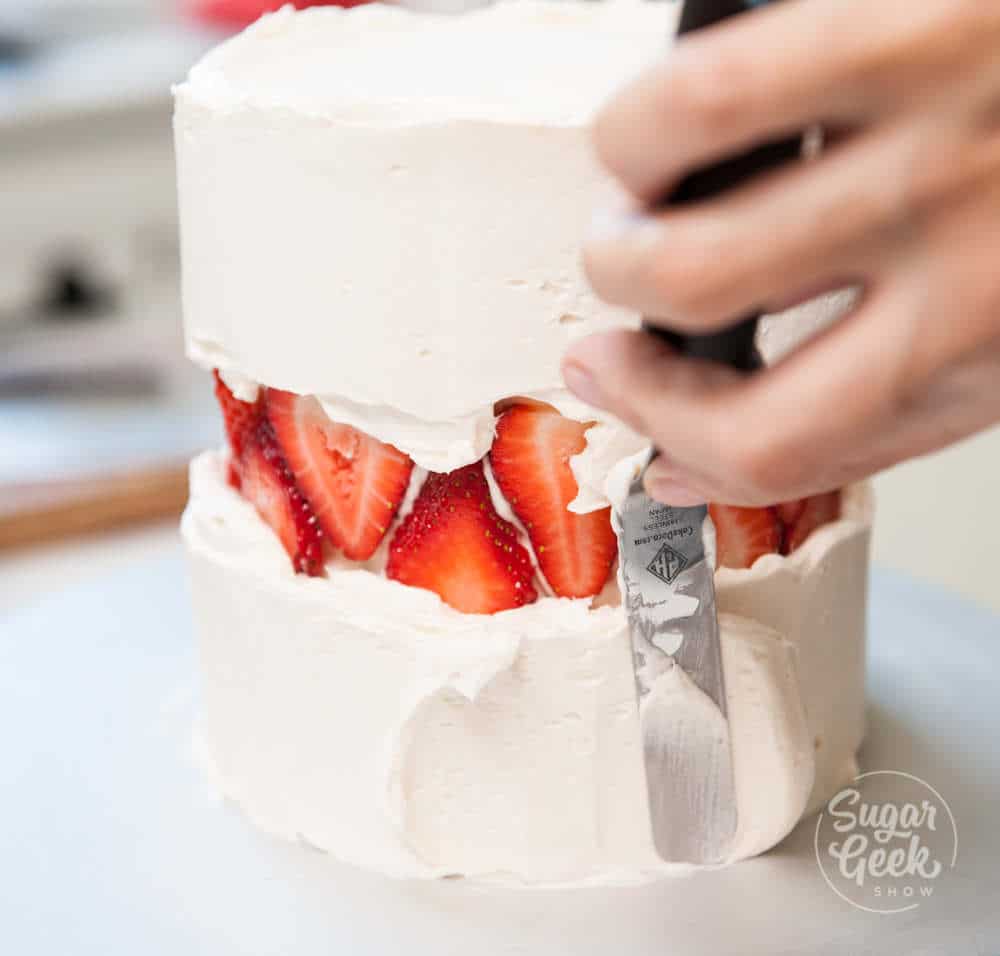
Once the cake is chilled, add another thin layer of buttercream to the center of the cake so you can push in the strawberries easily. Press your strawberries into the soft buttercream. Alternating them so that they fit snugly next to each other.
Now let's start adding our buttercream. Add some to your top layer and smooth it out nice and flat. Then add some buttercream to the sides of the cake but don't cover your strawberries. You want to keep the buttercream nice and thick so you don't scrape into your strawberries.
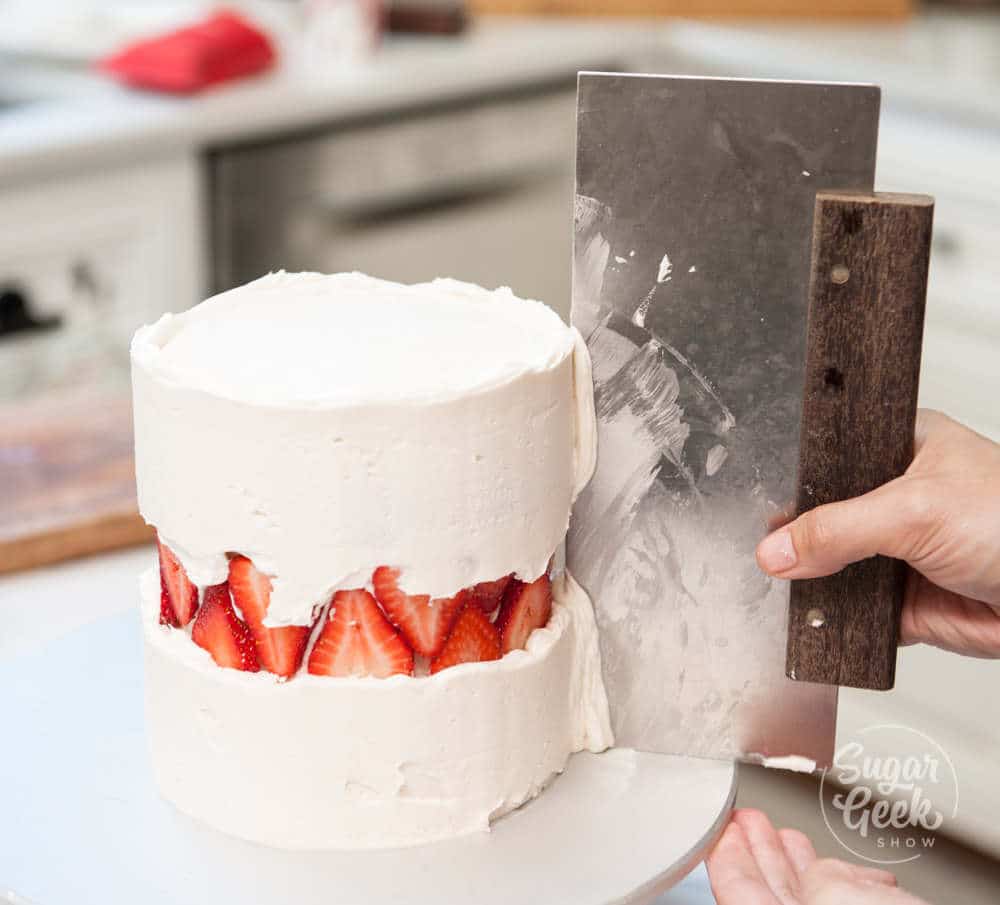
Start smoothing down the sides of the cake with your bench scraper. Fill in any gaps or holes and continue to scrape until nice and smooth.
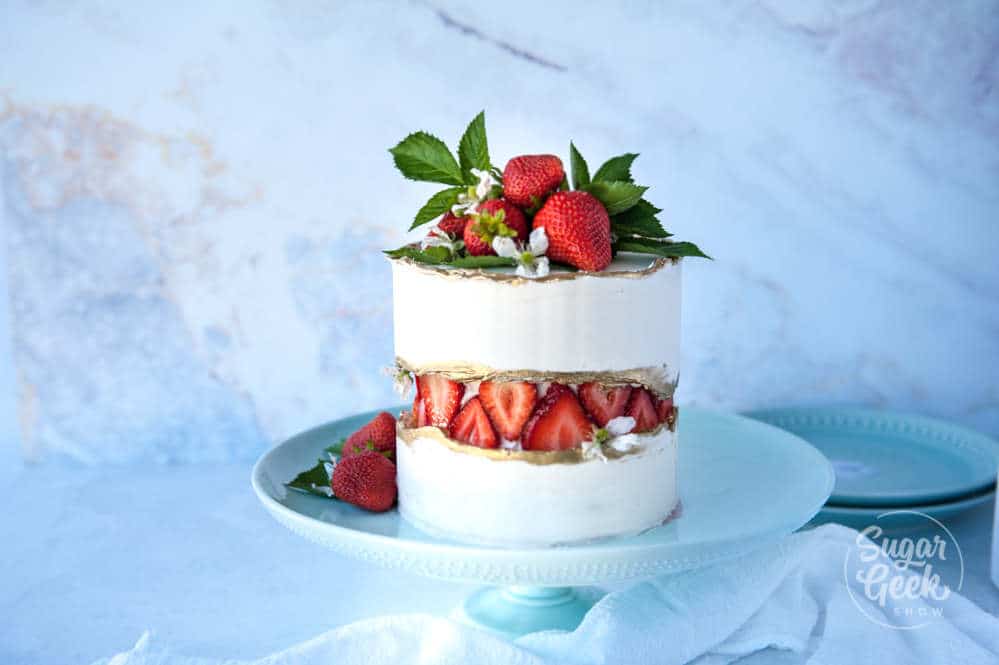
Paint the edges of the buttercream with some gold paint if desired. The one I used was the Truly Made Plastics super gold mixed with a little Everclear alcohol. You want the mixture to be a thick liquid for best coverage. One teaspoon of gold dust mixed with a few drops of alcohol until it's just become liquid is good.
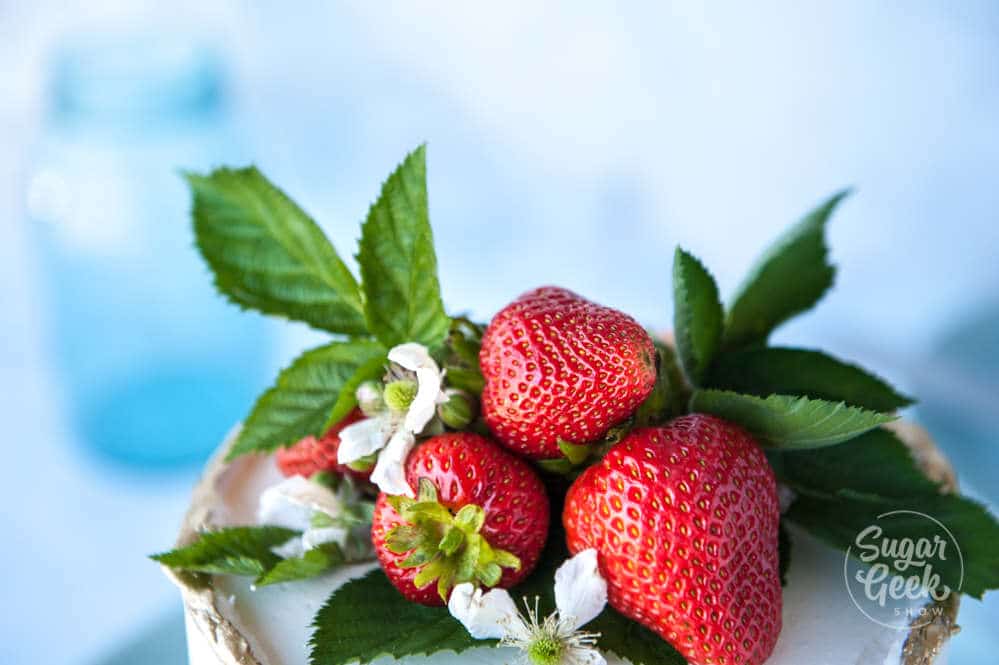
I transferred my chilled cake to a cake stand and then stacked some more fresh berries and leaves on top of the cake along with some blackberry leaves and edible flowers.
That's it! You can use these same techniques with other types of berries, sprinkles, candy, whatever you like! The possibilities are endless!
Watch the full tutorial below on how to make this strawberry fault line cake. If you have any questions just leave them in the comments.
Fault Line Cake Ingredients & Tools
- Two 6"x2" strawberry cakes, chilled and trimmed
- One 4"x2" strawberry cake, chilled and trimmed
- One batch easy buttercream frosting
- 6" cake board
- 2 cups fresh strawberries
- Few sprigs blackberry leaves and flowers for garnish (optional)
- Truly Mad Plastics super gold dust
- Everclear (lemon extract or other grain alcohol will also work)
- Apricot jam for glazing the berries
- Offset spatula
- Bench scraper
- Turn table
Recipe
Equipment
- Stand mixer or hand mixer
- Offset Spatula
- Two 6-inch cake pans and one 4-inch cake pan
- 6 inch cake board
- Turn table
Ingredients
Strawberry Cake Ingredients
- 14 ounces AP flour
- 10 ounces granulated sugar
- 1 ½ teaspoons baking powder
- 1 teaspoon baking soda
- ½ teaspoon salt
- 8 ounces unsalted butter room temperature
- 1 teaspoon vanilla extract
- ½ teaspoon lemon extract
- 1 ½ teaspoons strawberry extract
- zest one lemon
- 1 Tablespoon fresh lemon juice
- 6 ounces egg whites room temperature
- 4 ounces strawberry puree
- 6 ounces milk room temperature
- ½ teaspoon electric pink food color
Strawberry Puree
- 32 ounces fresh or frozen strawberries do not thaw
- 1 teaspoon lemon zest
- 1 Tablespoon lemon juice
- 1 pinch salt
- 4 ounces sugar (optional)
Easy Buttercream Frosting
- 8 ounces pasteurized egg whites
- 32 ounces unsalted butter
- 32 ounces powdered sugar
- 1 teaspoon salt
- 1 teaspoon vanilla extract
Instructions
Cake Instructions
- NOTE: It is SUPER IMPORTANT that all the room temperature ingredients listed above are room temperature and not cold or hot. If your ingredients just came out of the refrigerator or the strawberry puree is too hot, your mixture could curdle during the process of making the cake batter and become ruined.
- Adjust an oven rack to the middle position and preheat to 350ºF/176ºC.
- Grease two 6" cake pans and one 4" cake pan with cake goop or other preferred pan release.
- Add butter to stand mixer and beat at medium-high speed until smooth and shiny, about 30 seconds. Gradually sprinkle in the sugar, beat until mixture is fluffy and almost white, about 3-5 minutes. Add the egg whites approximately two at a time, beating 30 seconds between.
- Whisk the flour, baking powder, baking soda, salt, and lemon zest in a medium bowl.
- Combine the strawberry reduction, milk, vanilla extract, lemon extract, strawberry extract and food coloring in a separate medium bowl.
- With the mixer at the lowest speed, add about a third of the dry ingredients to the batter, followed immediately by about a third of the milk mixture, mix until ingredients are almost incorporated into the batter. Repeat the process 2 more times. When the batter appears blended, stop the mixer and scrape the sides of the bowl with a rubber spatula.
- Divide the batter evenly between the prepared pans. Smooth the tops with a rubber spatula. Bake cakes until they feel firm in the center and a toothpick comes out clean or with just a few crumbs on it, about 35-40 minutes.
- Transfer pans to a wire rack and let cool for 10 minutes. Invert cakes onto the rack and pop cakes out of pans. Cool completely before frosting.
Strawberry Puree Instructions
- Defrost strawberries if frozen or cut up strawberries if wholeBlend strawberries if you prefer a smoother texture of strawberry pureePlace into a small sauce pan and bring to a simmer over med heat. Add in sugar if desired. Once bubbling, reduce heat to low and let slowly reduce until berries begin to break up and liquid is almost gone. Occasionally stir the mixture to prevent burning. Add in lemon zest and salt. Transfer to another container and let cool before use. Store extra in the freezer for up to 6 months
Buttercream Instructions
- Place egg whites and powdered sugar in a stand mixer bowl. Attach the whisk and combine ingredients on low and then whip on high for 5 minutes Add in your butter in chunks and whip with the whisk attachment to combine. It will look curdled at first. This is normal. It will also look pretty yellow. Keep whipping.Let whip on high for 8-10 minutes until it's very white, light and shiny. Switch to a paddle attachment and mix on low for 15-20 minutes to make the buttercream very smooth and remove air bubbles. This isn't required but if you want really creamy frosting, you don't want to skip it.
Video
Nutrition



Shawna Tvrdy says
Can this be made a day in advance or will the moisture from sliced strawberries cause problems?
The Sugar Geek Show says
The glazing prevents the strawberries from weeping
Raquel says
I love it. You are the best. Thank you ????
Lauren says
How would you store this cake if making it the day before an event?
The Sugar Geek Show says
I keep mine in the fridge because of the fresh fruit
Susan says
With the stacking of the cakes, I was expecting to need to put supper rods through it to prevent it from falling over...and perhaps a cake board under the top layer of cake...is that overkill? Is it truly stable enough tomjist stack as done in video? (I’m going to try and do it w rock candy for the geode look.)
Thanks! Susan
The Sugar Geek Show says
I don't think it needs all that but if you feel like it does it's ok to add supports
Denise says
This looks like such a fun cake to make. Thank you for the excellent tutorial!
I am planning on making this for a family gathering. My question is about cutting the cake--does it hold together if it is cut like a normal cake, or what do you recommend? Thank you.
Cindy OKeefe says
I made your strawberry cake for a birthday last week. The best ever! In the video you mentioned to process the strawberries if you want a smoother reduction. I did not process and the berries cooked down to a smooth consistency anyway. In the fault line video I see that there are large strawberry pieces in the cake as I watched you frosting it. Did you add larger strawberry chunks to the cake before baking it? The picture of the slice of strawberry cake on the recipe does not show any visible berries. I do like the look of that extra berry in the cake for the fault line cake but was not sure about how to go about it. If I should add larger pieces to the reduction at the end of cooking so they don’t cook down to the smoothness of the other berries or if I should just add a few smushed fresh berries directly into the batter. Advise on either of these and how much berry to add?
Thank you so much Liz!
Elizabeth Marek says
I don't recall adding any fresh berries, my berries may not have broken down as much during cooking
Tiffany says
I’m not sure what happened but my strawberries in the fault line seeped while it was chilling in the fridge. Now the bottom half of my cake is covered in a pink Sticky mess. How exactly do you glaze the berries to keep that from happening? I painted them with a paint brush.
Elizabeth Marek says
Try slicing your berries and placing them onto paper towels before adding them to the cake so they aren't as juicy and then glaze them
Joy Cohen says
This may be a stupid question but..
Can i do with a taller cake? Like a barrel cake type?
2 8 inch, 2 6 inch then another 2 8 inch?
Will the top tiers break due to lack of support on the sides?
Elizabeth Marek says
I would definitely add a central board like you would with a double barrel and some supports for a taller cake
maria campayo says
Hi Liz, do you use the White vinegar which is due yo clean? Or is it an specific for kitchen. Here, in Spain, white vinagre is used for cleaning, and it is 8% acid. I’m bit sure about using it with my strawerrys. Thanks in advance
Elizabeth Marek says
The vinegar is for cooking, I'm not sure what acidic rate it is.