• Skip to primary navigation
  • Skip to main content
  • Skip to primary sidebar
  • Halloween
  • Recipes
  • Free Tutorials
  • Cake Classes
  • Cake Commissions
  • About Liz

Sugar Geek Show logo

menu icon
go to homepage
  • Halloween
  • Recipes
  • Free Tutorials
  • Cake Classes
  • Cake Commissions
  • About Liz
subscribe
search icon
Homepage link
  • Halloween
  • Recipes
  • Free Tutorials
  • Cake Classes
  • Cake Commissions
  • About Liz
×
Home

Blog

whipped ganache

October 2, 2015 Blog

Whipped Ganache Recipe

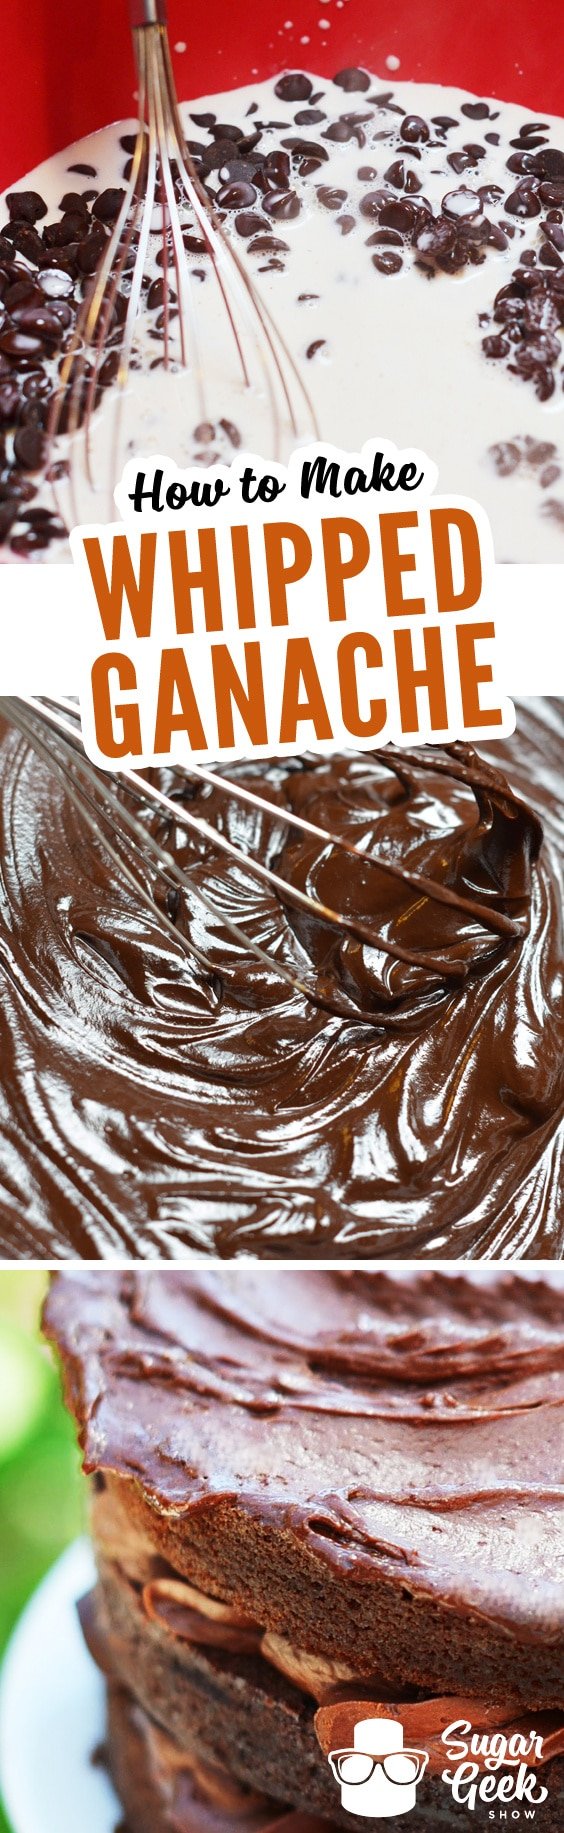
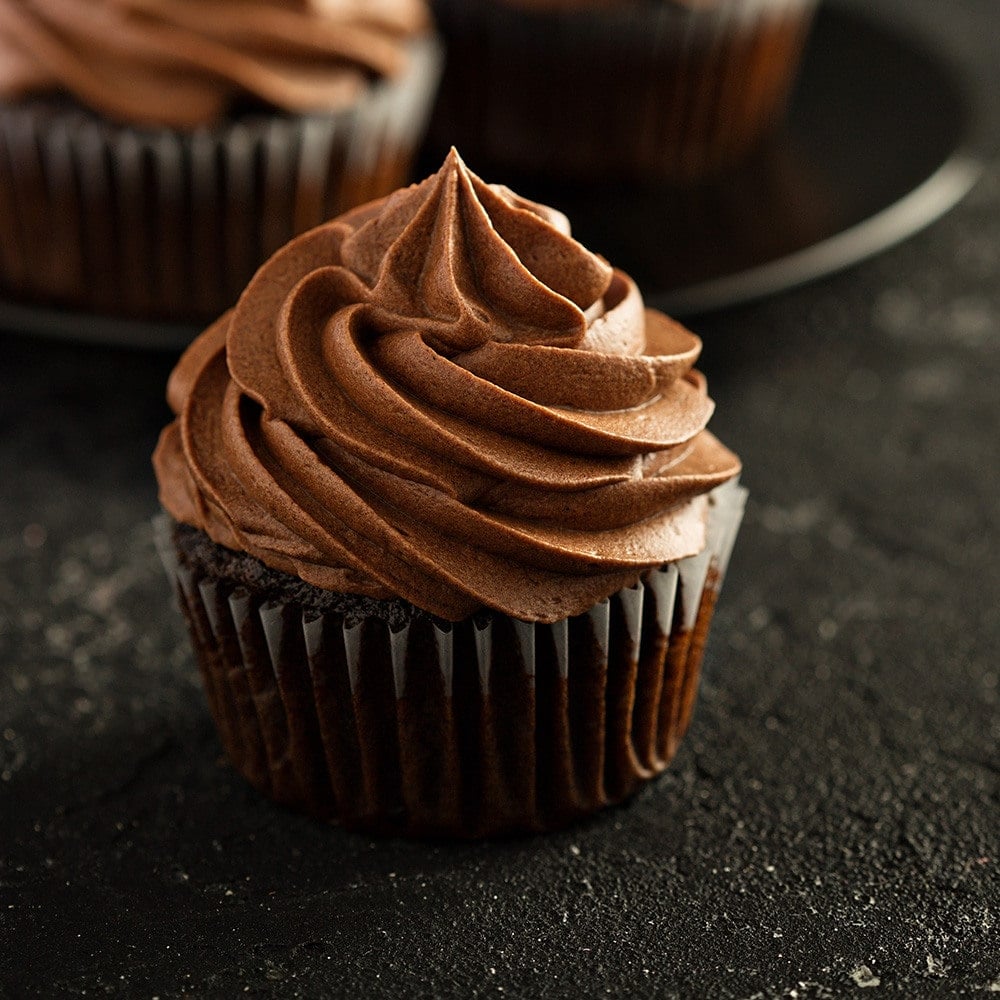
Whipped ganache takes regular ganache and turns it into a light and fluffy chocolate lovers dream!

Whipped ganache is much like a mousse but without added eggs. I love making whipped ganache to lighten a heavy, decadent ganache. Makes a really great option for frosting a cake! If you use dark chocolate then it's really low in sugar as well. 

Whipped ganache CAN get grainy if you whip it too much so don't over do it. 
whipped ganache

How to make whipped ganache

Making whipped ganache is pretty simple! Simply heat your cream and pour it over your chocolate and let it sit for 5 minutes. I like to do this in the bowl of a stand mixer so that after five minutes you can attach your paddle attachment and let it mix until smooth and creamy. 

Add in your rum, salt and vanilla and let cool to a peanut butter consistency. Letting it mix slowly with the paddle attachment actually helps it cool down. 

Then switch to your whisk attachment and whip for a couple of minutes until it's light and fluffy! Soooo good on top of cupcakes or using for a frosting or filling inside cakes. 


Cake Batter and Frosting Calculator

Select an option below to calculate how much batter or frosting you need. Adjust the servings slider on the recipe card to change the amounts the recipe makes.

Choose a pan type

Choose a cake pan size
(based on 2" tall cake pan)

Choose a cake pan size
(based on 2" tall cake pan)

Choose a cake pan size
(based on 2" tall cake pan)

Cupcake Tin Size

Choose number of pans

Cups of Batter Needed

8 cups

Cups of Frosting Needed

5 cups

Note: measurements are estimated based off the vanilla cake recipe using standard US cake pans and sizes. Measurements used are for 2" tall cake pans only. Your results may vary. Do not overfill cake pans above manufacturer's recommended guidelines.


Recipe
Whipped Ganache recipe by Liz Marek of Sugar Geek Show Cake Tutorials
Print Recipe
4.88 from 32 votes

Whipped Ganache Recipe

Learn how to make decadent whipped ganache. Perfect for icing cakes or piping onto cupcakes.
Prep Time10 minutes mins
Cook Time10 minutes mins
Total Time20 minutes mins
Course: Dessert
Cuisine: American
Servings: 32 oz
Calories: 60kcal
Author: Liz Marek

Ingredients

  • 8 oz semi-sweet chocolate good quality, at least 60% cocoa
  • 8 oz heavy whipping cream
  • 1 pinch salt
  • 1 teaspoon vanilla extract
US Customary - Metric

Instructions

  • Weigh out chocolate and chop into small pieces if needed. Place into the bowl of a stand mixer. 
  • Heat cream in a saucepan until it just starts to steam.
  • Pour cream over chocolate and make sure it's completely covered. Let stand 5 minutes. 
  • Attach paddle attachment to stand mixer and mix at low speed until cream and chocolate are combined.
  • Let mixture cool at room temperature until it's a peanut butter consistency. Do not place in the fridge. 
  • Add 1 teaspoon vanilla, a pinch of salt. Attach the whisk attachment to the mixer.
  • Mix on medium until all the ingredients are incorporated, then turn the mixer up to high for 2-3 minutes, until ganache is light and fluffy.

Notes

This whipped ganache is perfect for cake filling, as a frosting for cupcakes or regular cakes and for piping.

Nutrition

Serving: 1serving | Calories: 60kcal | Carbohydrates: 4g | Fat: 5g | Saturated Fat: 3g | Cholesterol: 9mg | Sodium: 5mg | Potassium: 25mg | Sugar: 3g | Vitamin A: 105IU | Vitamin C: 0.1mg | Calcium: 6mg | Iron: 0.2mg

how to make whipped ganache recipe

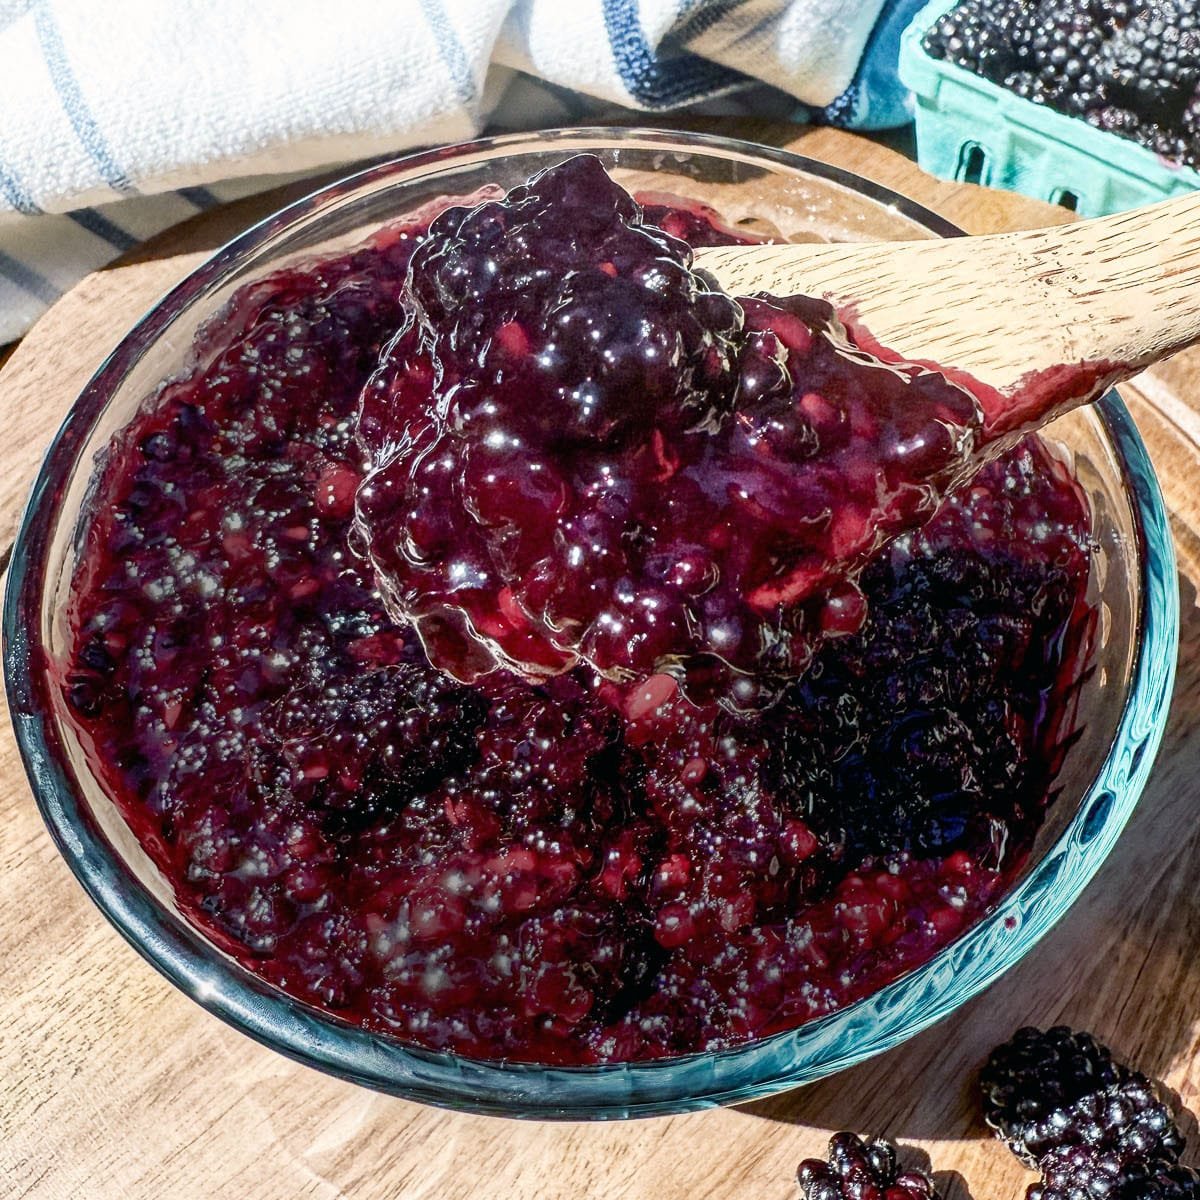
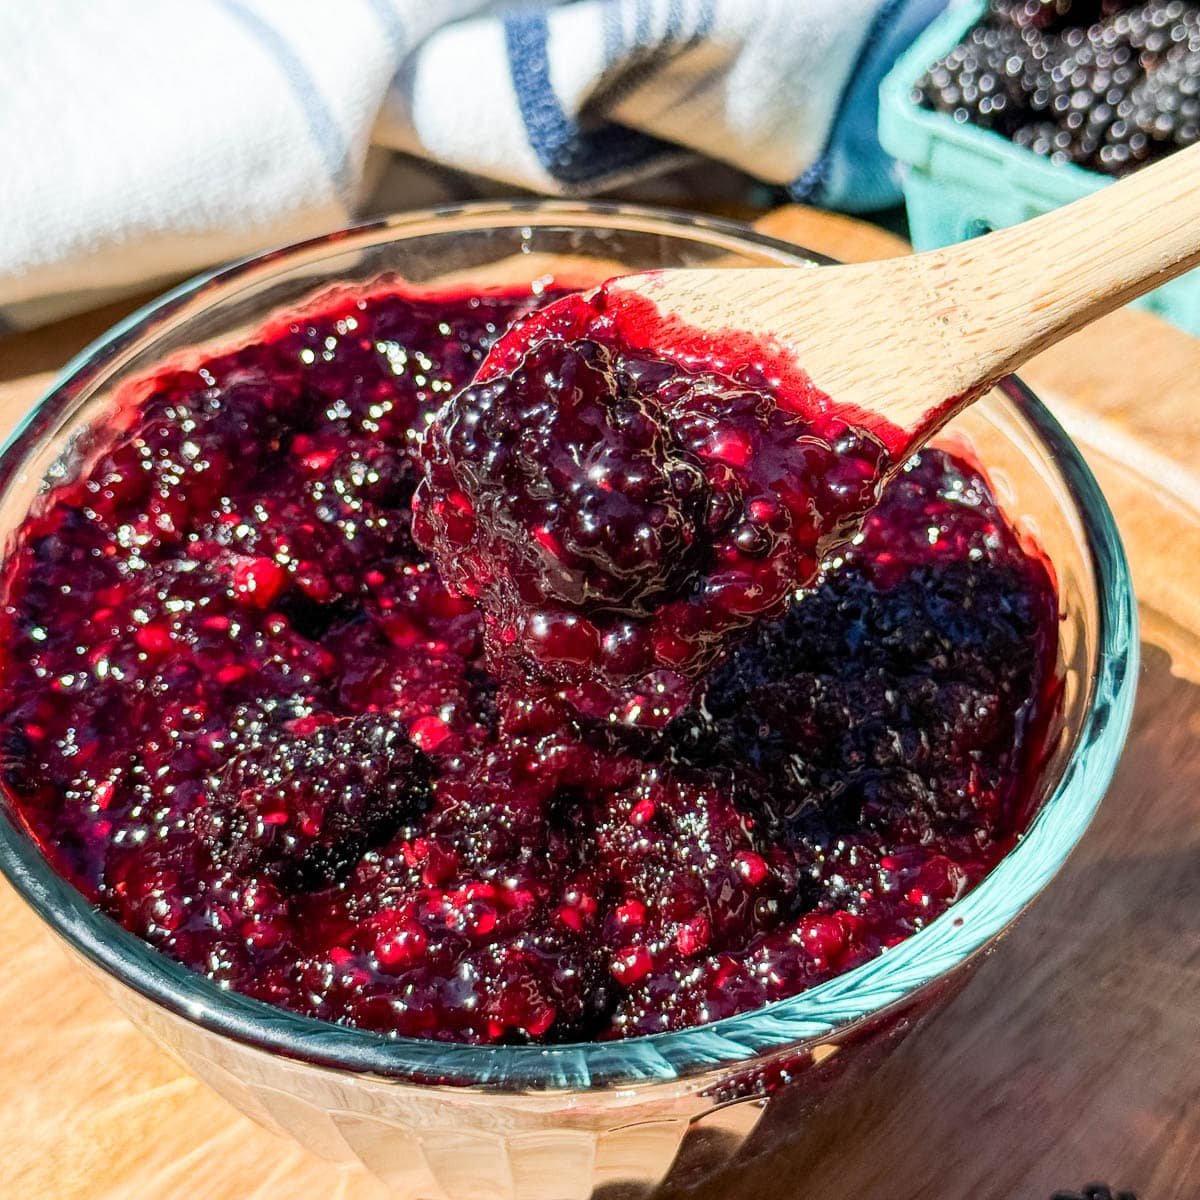
closeup of blackberry filling in a clear bowl with a spoon

October 2, 2015 Blog

Glossy Blackberry Filling

If you're looking for the perfect blackberry filling for pies or bakery-style layer cakes, this blackberry filling is it. Juicy blackberries simmer down into a glossy, tart-sweet mixture that sets beautifully inside cake layers, hand pies, or under a flaky top crust. It's an easy recipe that tastes just like summer and proves you don't need high fructose corn syrup or complicated steps to get that professional finish at home.

closeup of blackberry filling in a clear bowl with a spoon

What's in this blog post

  • Ingredients
  • Tips for the Perfect Consistency
  • Step-by-Step Instructions
  • Great Ways to Use Blackberry Filling
  • Frequently asked questions
  • More recipes you'll love

Ingredients

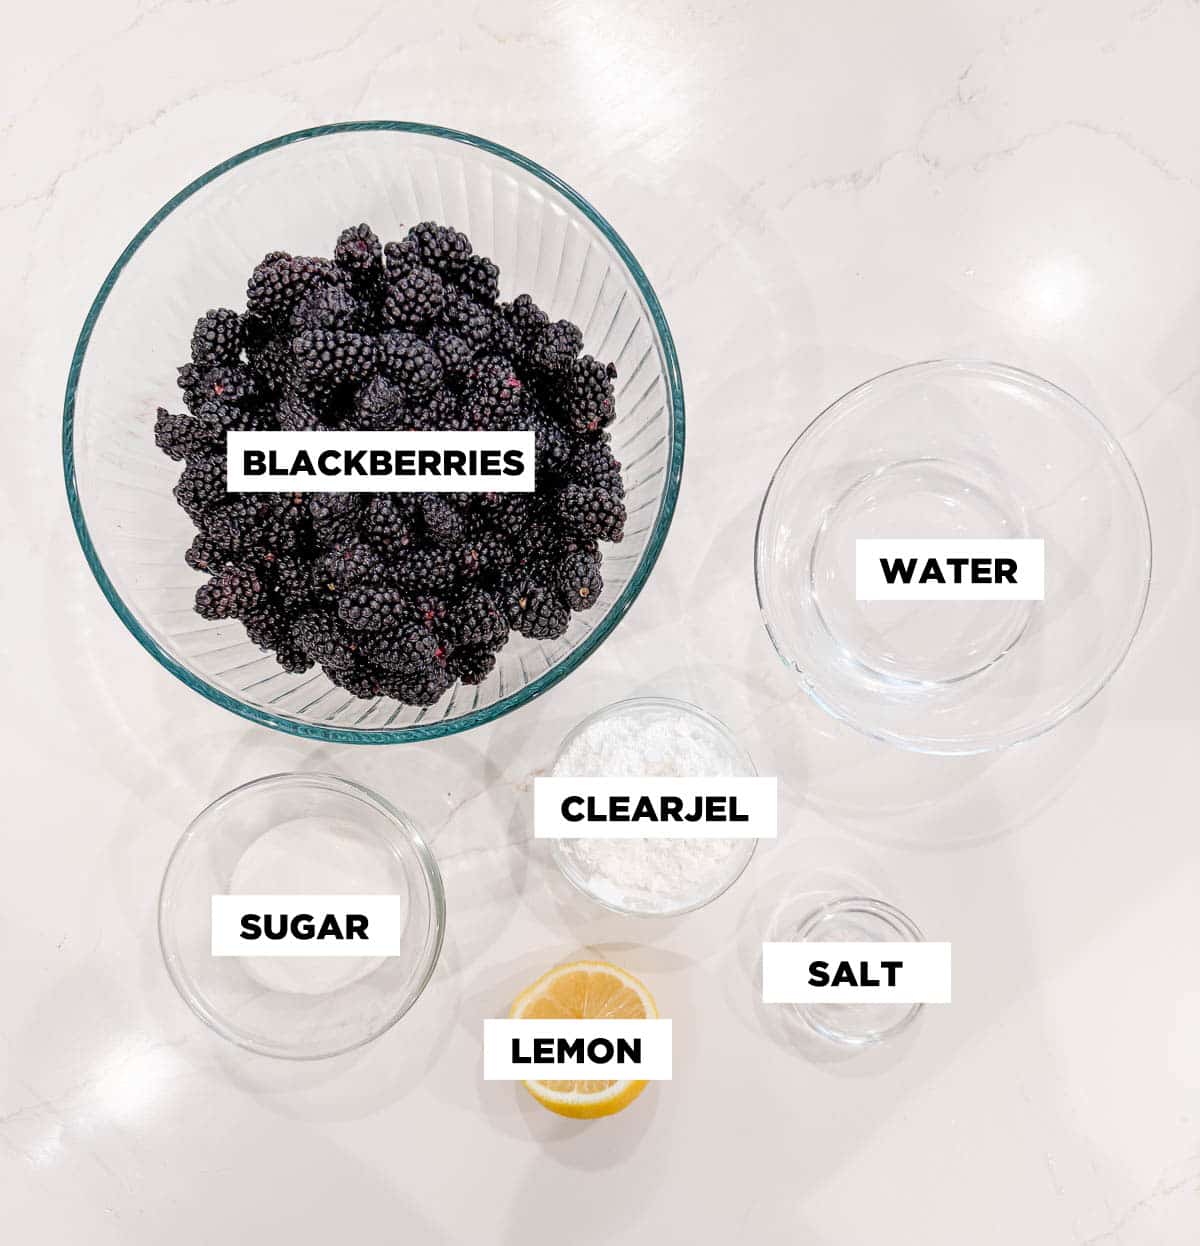
I love using fresh blackberries whenever I can get them-especially if I can sneak a few extras for topping later. But frozen blackberries work just as well, and their juice is a flavor goldmine. Instead of wasting it, you can combine it with sugar and cook it down for maximum flavor. A pinch of salt balances out the sweetness of the pie, while lemon juice and lemon zest brighten everything up with that citrus zing. At the very end, I like to fold in a half cup of fresh berries so the filling has both soft, jammy fruit and juicy pops of texture.

blackberry ingredients

No high fructose corn syrup, no weird stabilizers-just berries, sugar, and a thickener like clearjel or a classic cornstarch slurry. That means you get a filling that's clean, fresh, and way more delicious than anything canned.

Tips for the Perfect Consistency

The key to silky-smooth filling is gently cooking the juice mixture over medium heat until the sugar dissolves. Then whisk in the thickener (slurry) until glossy and bubbling. Once it reaches that perfect consistency, you remove it from the heat and stir in the remaining sugar, salt, and citrus. Adding the extra fresh berries at the end keeps the filling from turning into mush-it's one of those simple steps that makes all the difference.

And yes-you can process this filling in a water bath canner if you want to have jars ready for your next blackberry pie, cheesecake, or blackberry cake filling.

Step-by-Step Instructions

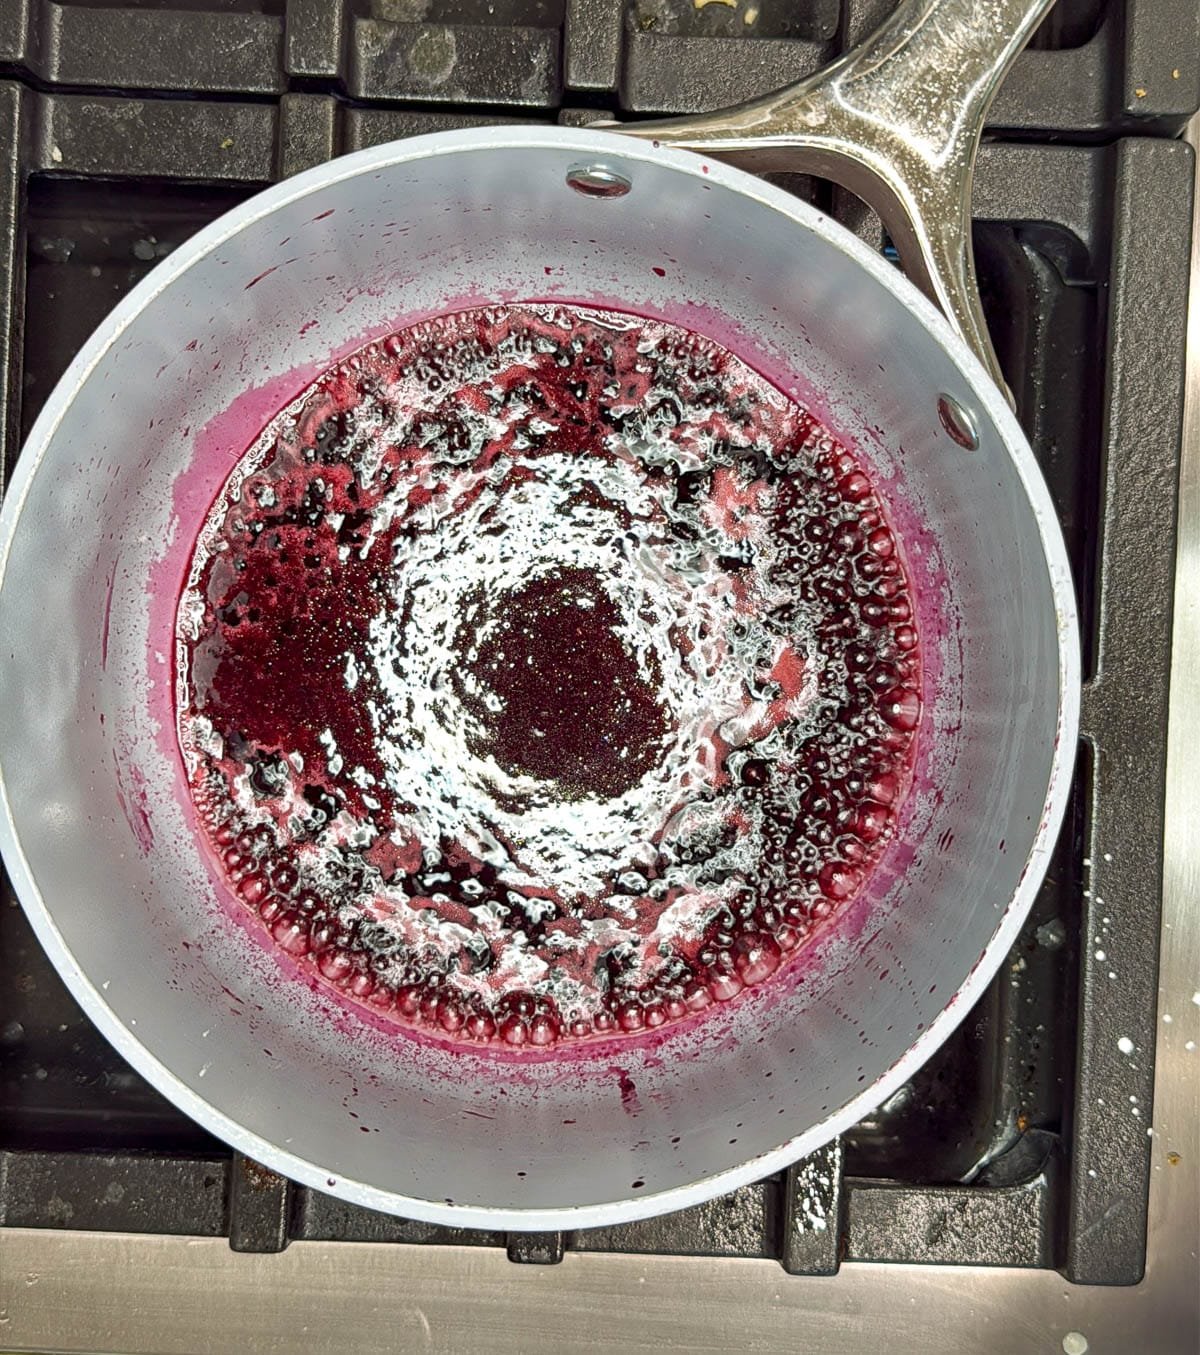
blackberry juice in a saucepan
juice bubbling in a saucepan
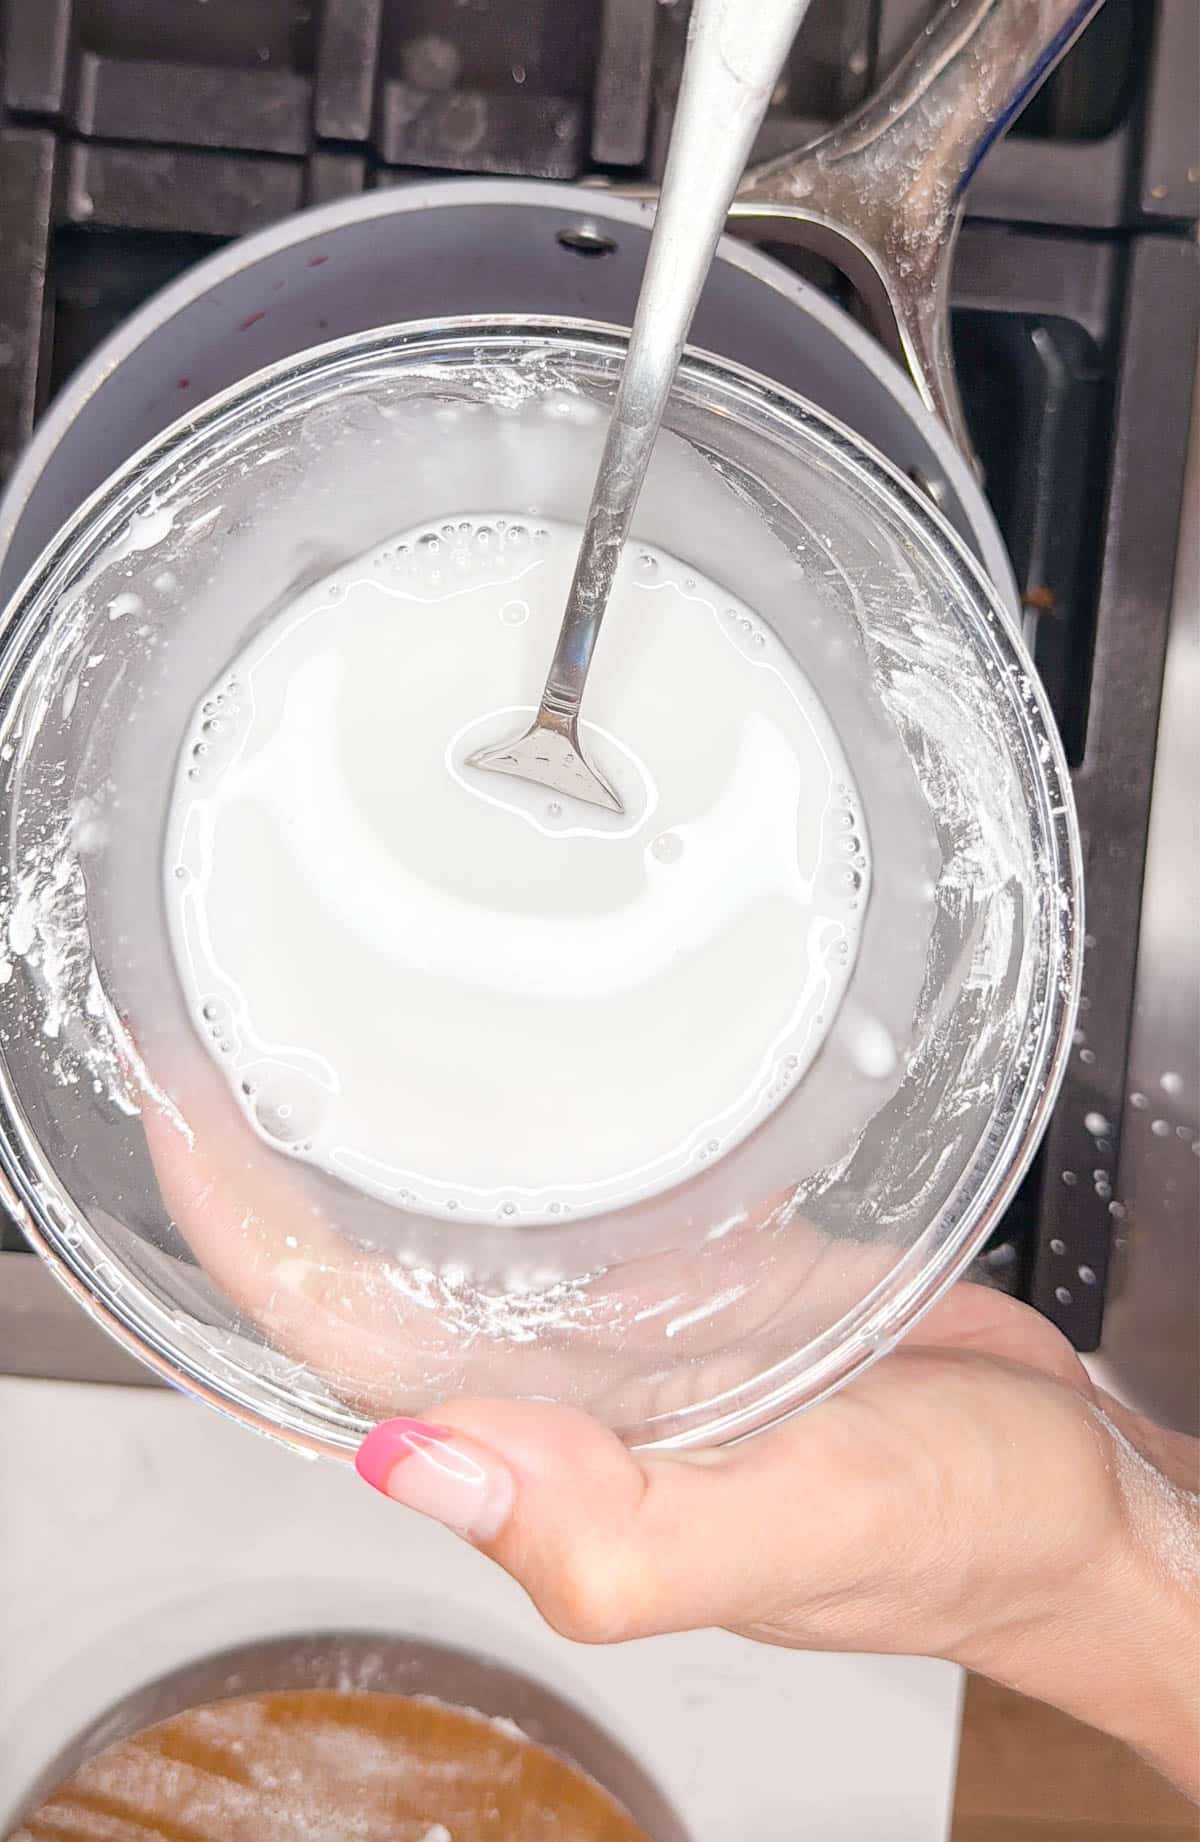
clearjel slurry in a clear bowl
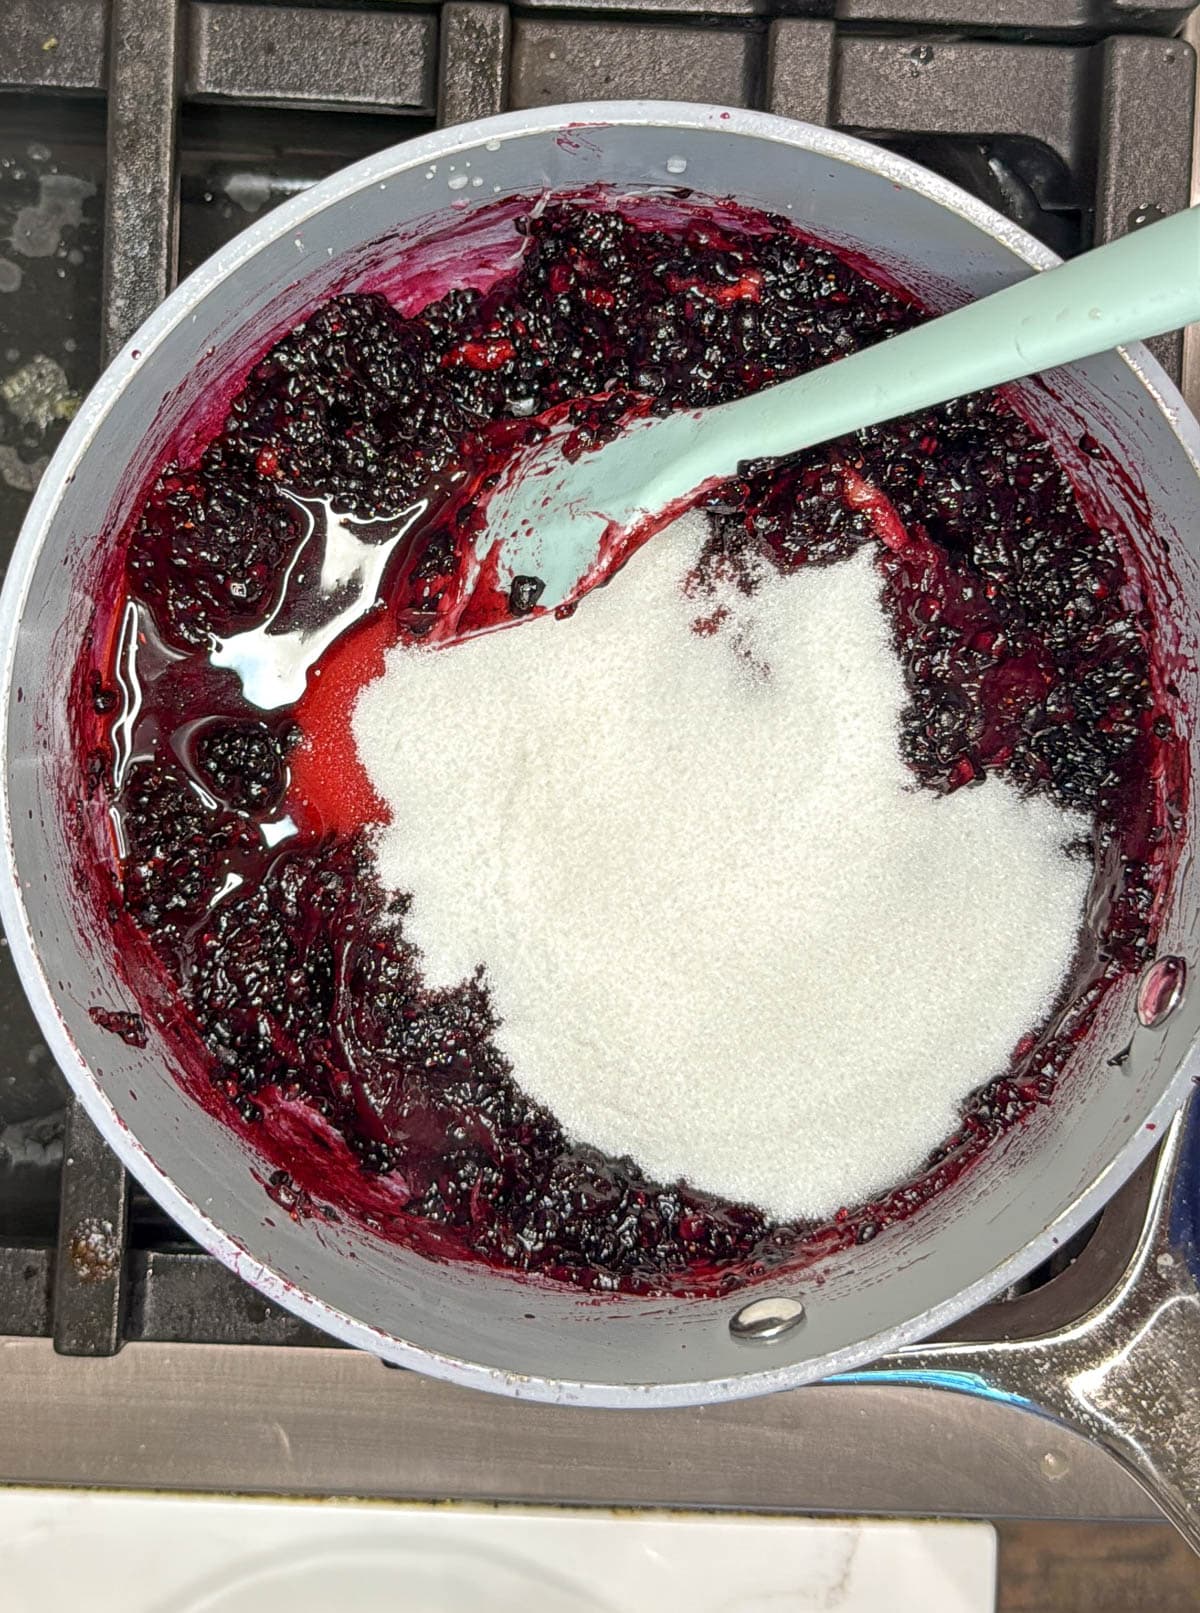
clearjel slurry with blackberries in a saucepan
clearjel slurry with hot blackberries in a saucepan
blackberry filling in a clear bowl with a spoon
finished blackberry filling
  1. In a medium saucepan or large pot, bring the blackberry juice (or water) and the first amount of sugar to a boil over medium-high heat.
  2. In a separate bowl, whisk together the clear jel (or cornstarch) with the first measurement of water to make a slurry.
  3. Slowly whisk the slurry into the hot juice mixture. Cook it over medium heat until thickened and glossy.
  4. Remove the blackberry filling from the heat and stir in the remaining sugar, salt, lemon juice, and lemon zest.
  5. Fold in ½ cup fresh berries for extra texture.
  6. Let the filling cool to room temperature before using.

Great Ways to Use Blackberry Filling

  • Bake it between a bottom crust and lattice crust for a stunning homemade blackberry pie.
  • Use it as a blackberry cake filling between layers of vanilla or lemon cake.
  • Spoon it on top of cheesecake for the ultimate blackberry cheesecake.
  • Bake into hand pies or pie rectangles for portable snacks.
  • Or keep it simple-serve it warm over ice cream for the easiest dessert ever.

This original recipe is proof that sometimes the best desserts come from the most simple ingredients. It's a must-have for cake bakers and pie lovers alike.

Frequently asked questions

How do you store blackberry filling

You can keep homemade blackberry filling in the refrigerator for up to 1 week, though some sources suggest a shorter period of 3-5 days for optimal freshness. For longer storage, the filling can be frozen for 2 to 3 months, or even up to 6 months, in a freezer-safe container. 

More recipes you'll love

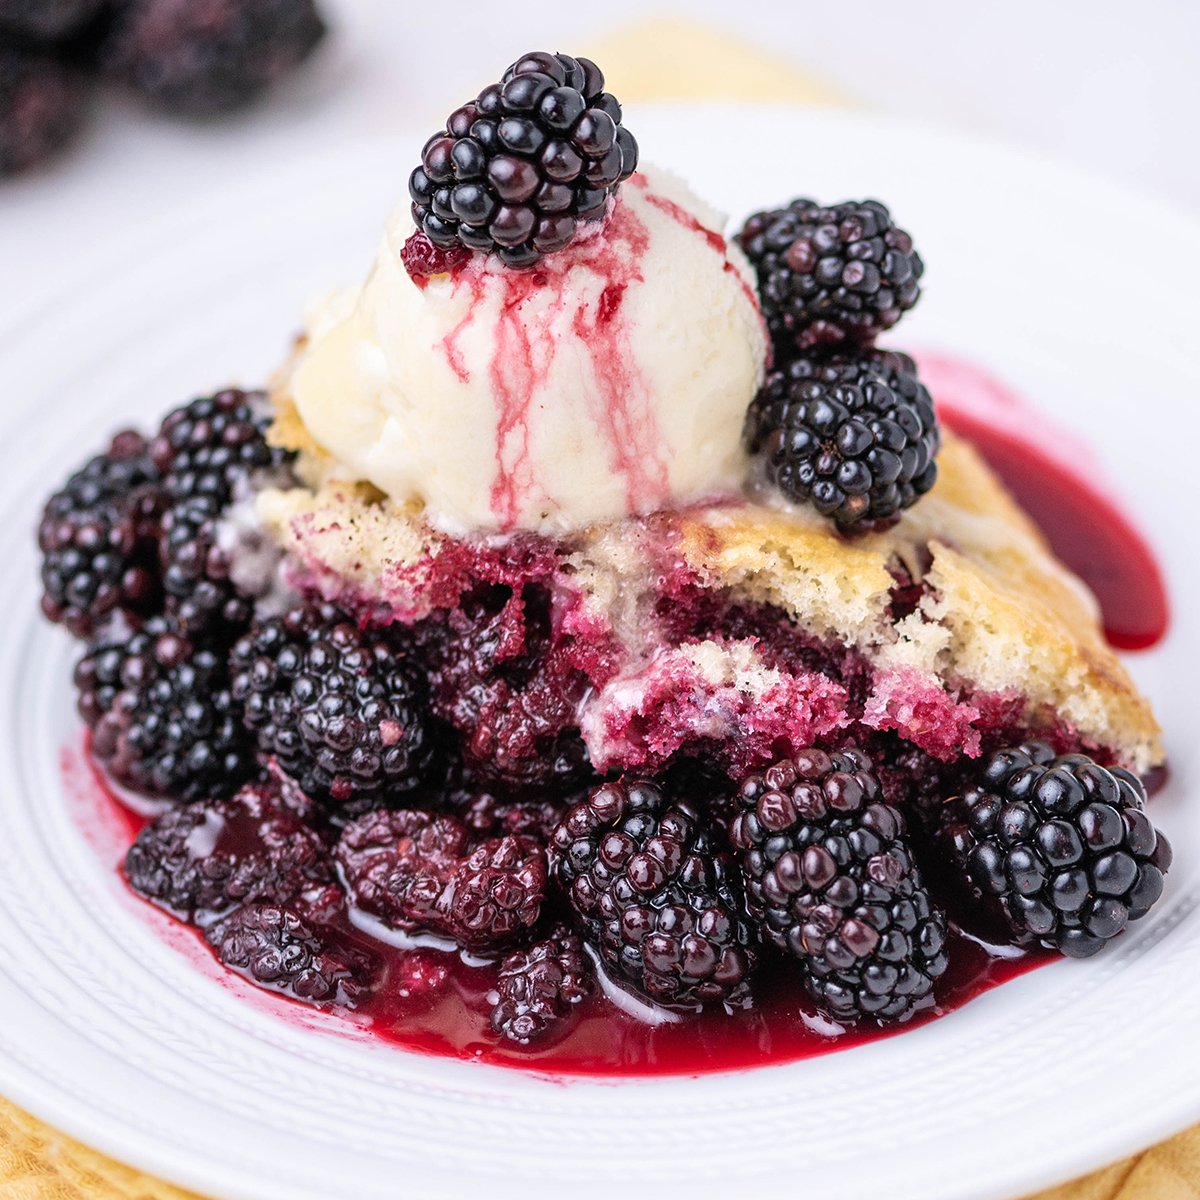
close up of blackberry sponge cake on a white plate
blackberry sponge cake
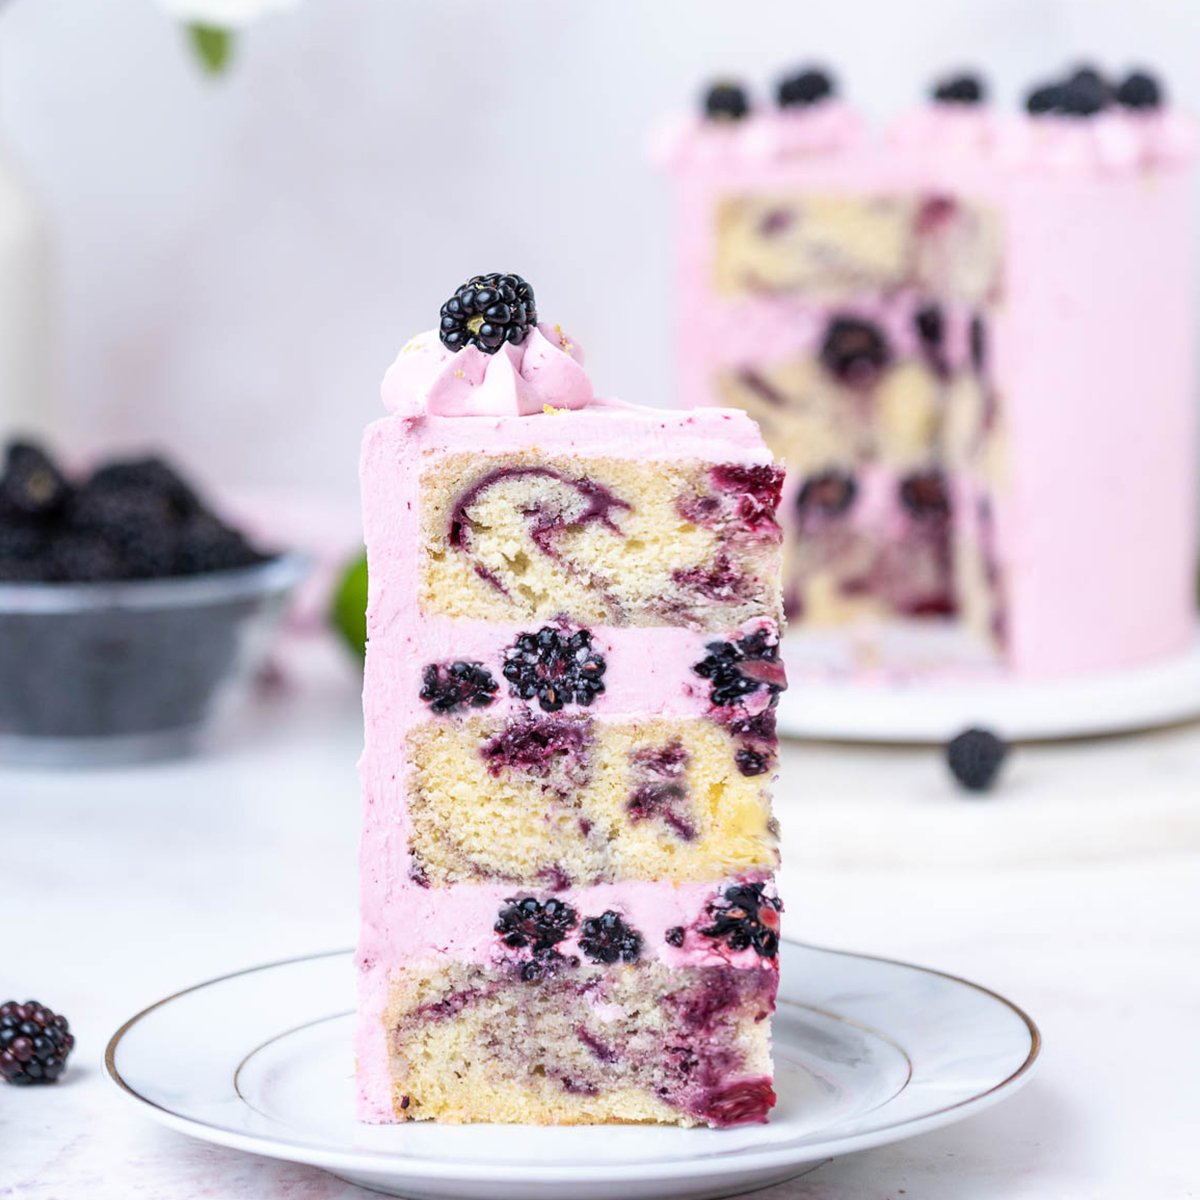
blackberry cake
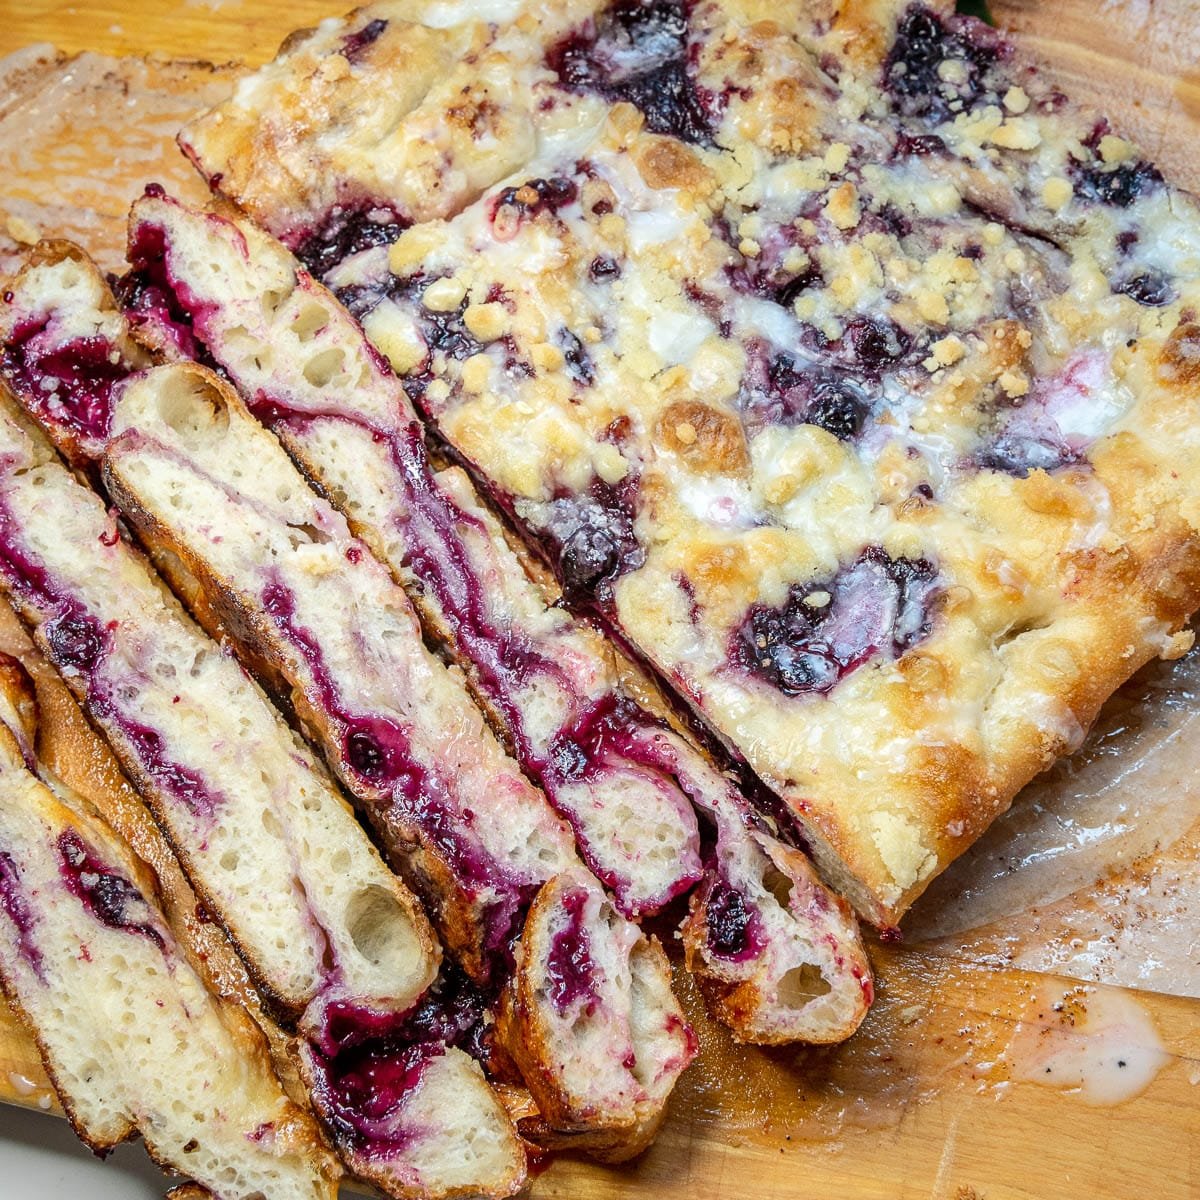
close up of sliced lemon blueberry sourdough focaccia
lemon blueberry focaccia
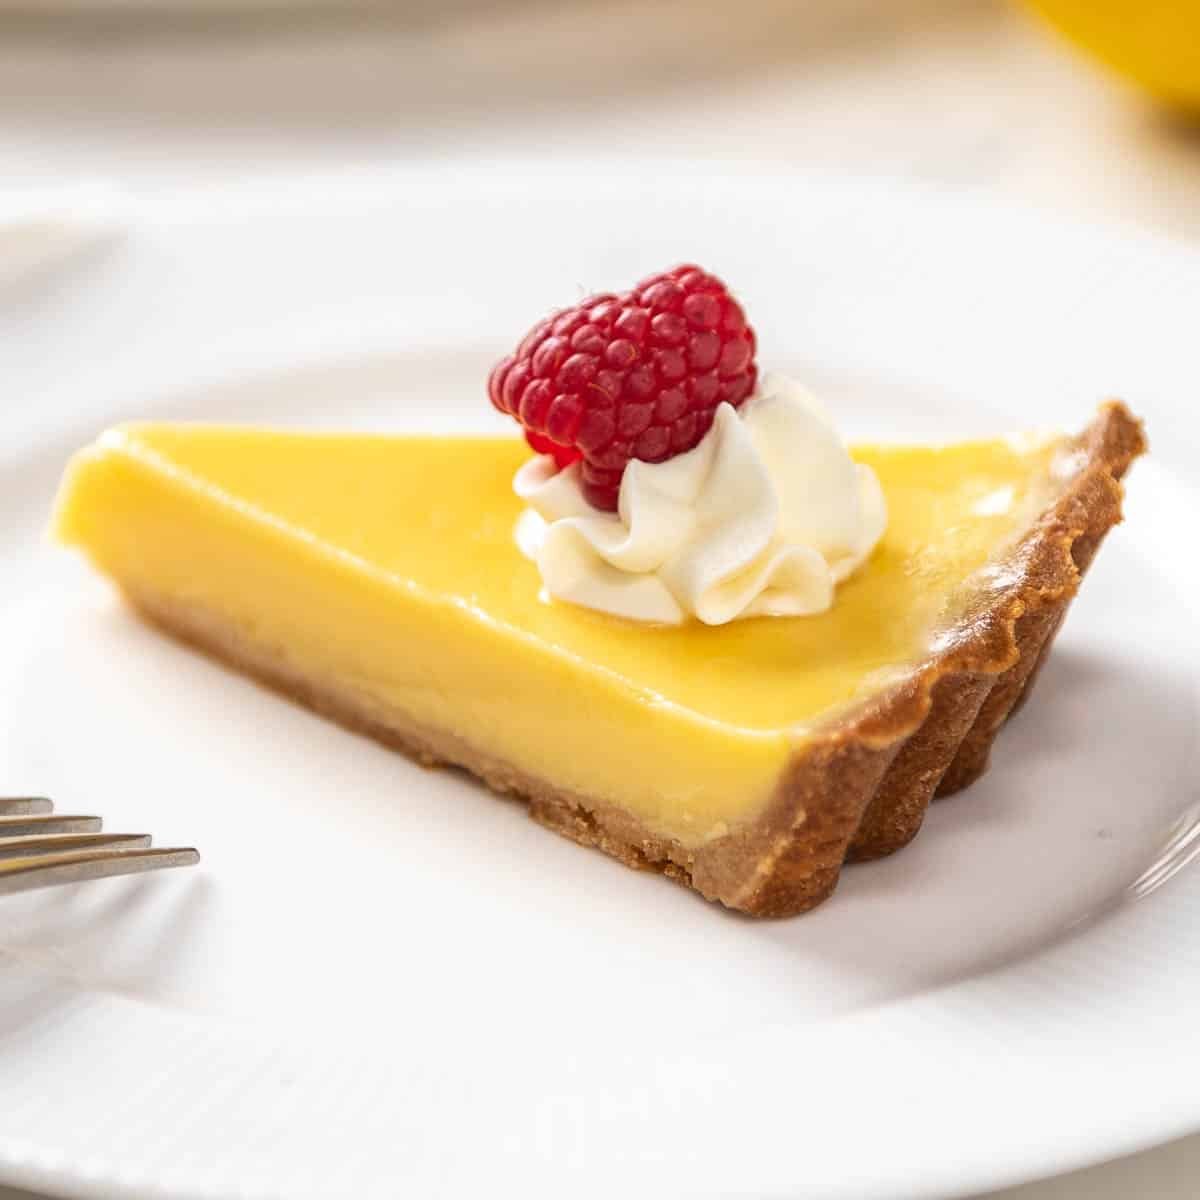
close up of a slice of lemon tart with creme fraiche and a raspberry on a white plate
lemon tart
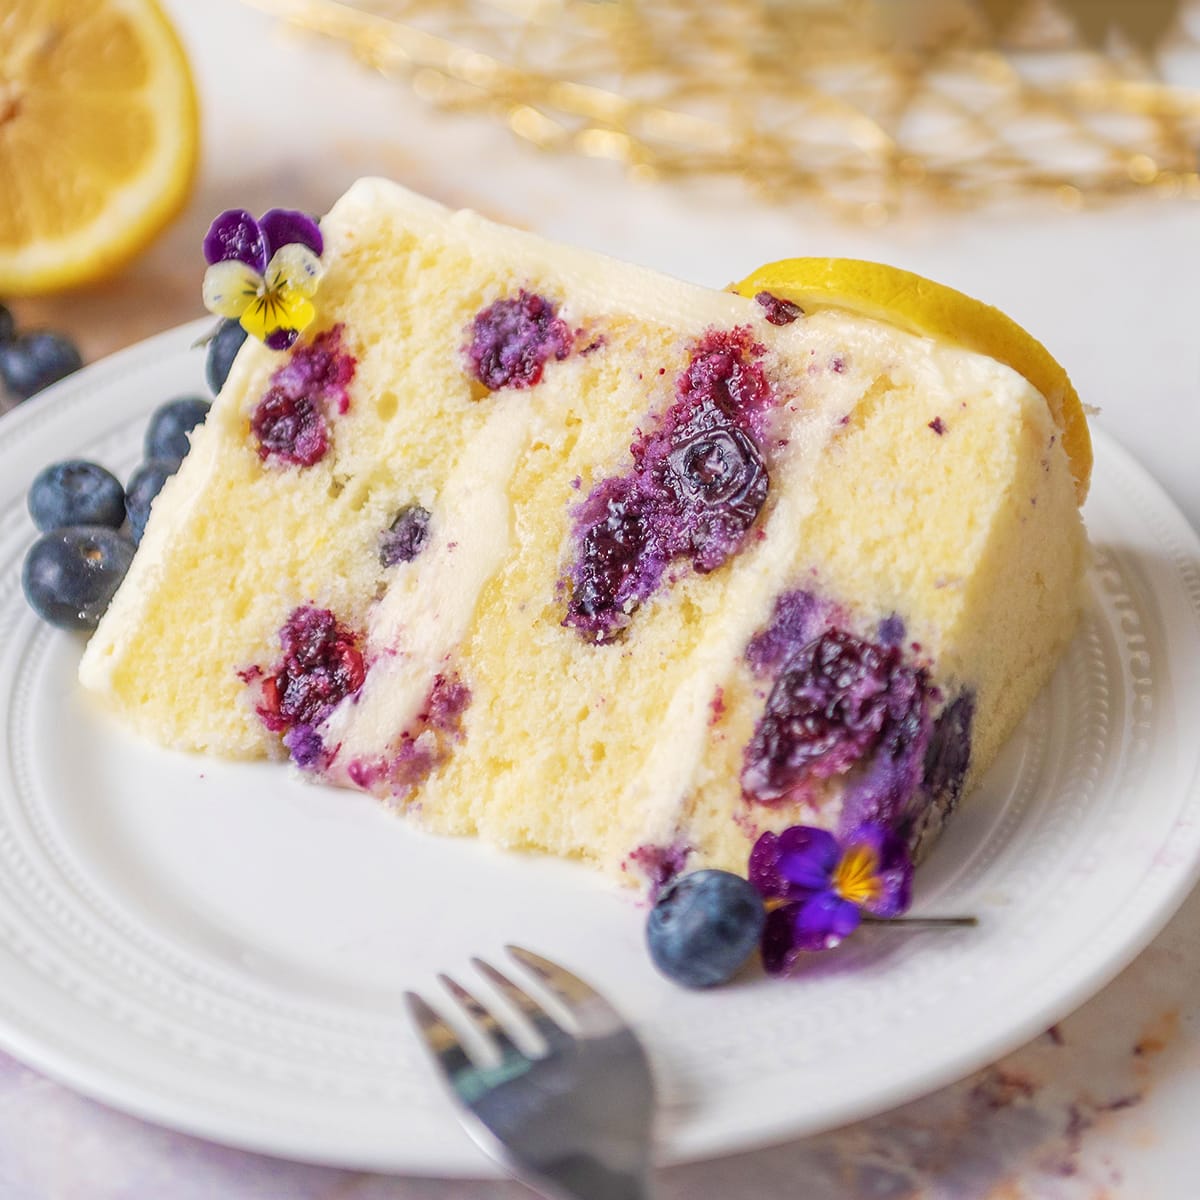
lemon blueberry cake

Recipe

closeup of blackberry filling in a clear bowl with a spoon
Print Recipe
4.72 from 7 votes

Blackberry Filling Recipe

This homemade blackberry filling is thick, glossy, and bursting with juicy blackberries. A touch of lemon juice and zest brightens the tart flavors, while a half cup of fresh berries folded in at the end adds extra texture. Perfect for homemade pie, cake layers, cheesecake, or spooned over ice cream, this easy recipe uses simple ingredients and comes together in just a few minutes for a versatile filling you'll want to make again and again.
Prep Time5 minutes mins
Cook Time5 minutes mins
Total Time10 minutes mins
Course: Dessert
Cuisine: American
Servings: 5 cups
Calories: 232kcal
Author: Liz Marek

Ingredients

Ingredients

  • 32 ounces blackberries fresh or frozen (thawed if frozen)
  • 6 ounces water or juice from thawed berries
  • 5 ounces sugar
  • 3 ounces water
  • 3 Tablespoons ClearGel or 2 Tablespoons cornstarch
  • 2 ounces sugar
  • ½ teaspoon salt
  • 1 Tablespoon lemon juice
  • 1 Tablespoon lemon zest
US Customary - Metric

Instructions

Instructions

  • If using frozen berries, allow them to thaw in a strainer with a bowl underneath so you can use the juice.
  • Bring the water (or juice) and the first quantity of sugar to a boil in a saucepan over medium high heat
  • Whisk together the cleargel and the water and add it to the hot mixture.
  • Whisk until the mixture bubbles and thickens. Add in the blackberries and mix until combined. Remove it from the heat.
  • Fold in the remaining sugar, salt, lemon juice, lemon zest, and fresh berries (optional).

Video

Notes

Adding in the fresh berries at the end is optional but it does add some nice texture to the filling

Nutrition

Serving: 4ounces | Calories: 232kcal | Carbohydrates: 57g | Protein: 3g | Fat: 1g | Saturated Fat: 0.03g | Polyunsaturated Fat: 1g | Monounsaturated Fat: 0.1g | Sodium: 237mg | Potassium: 300mg | Fiber: 10g | Sugar: 49g | Vitamin A: 389IU | Vitamin C: 41mg | Calcium: 56mg | Iron: 1mg

Skill level: Newb
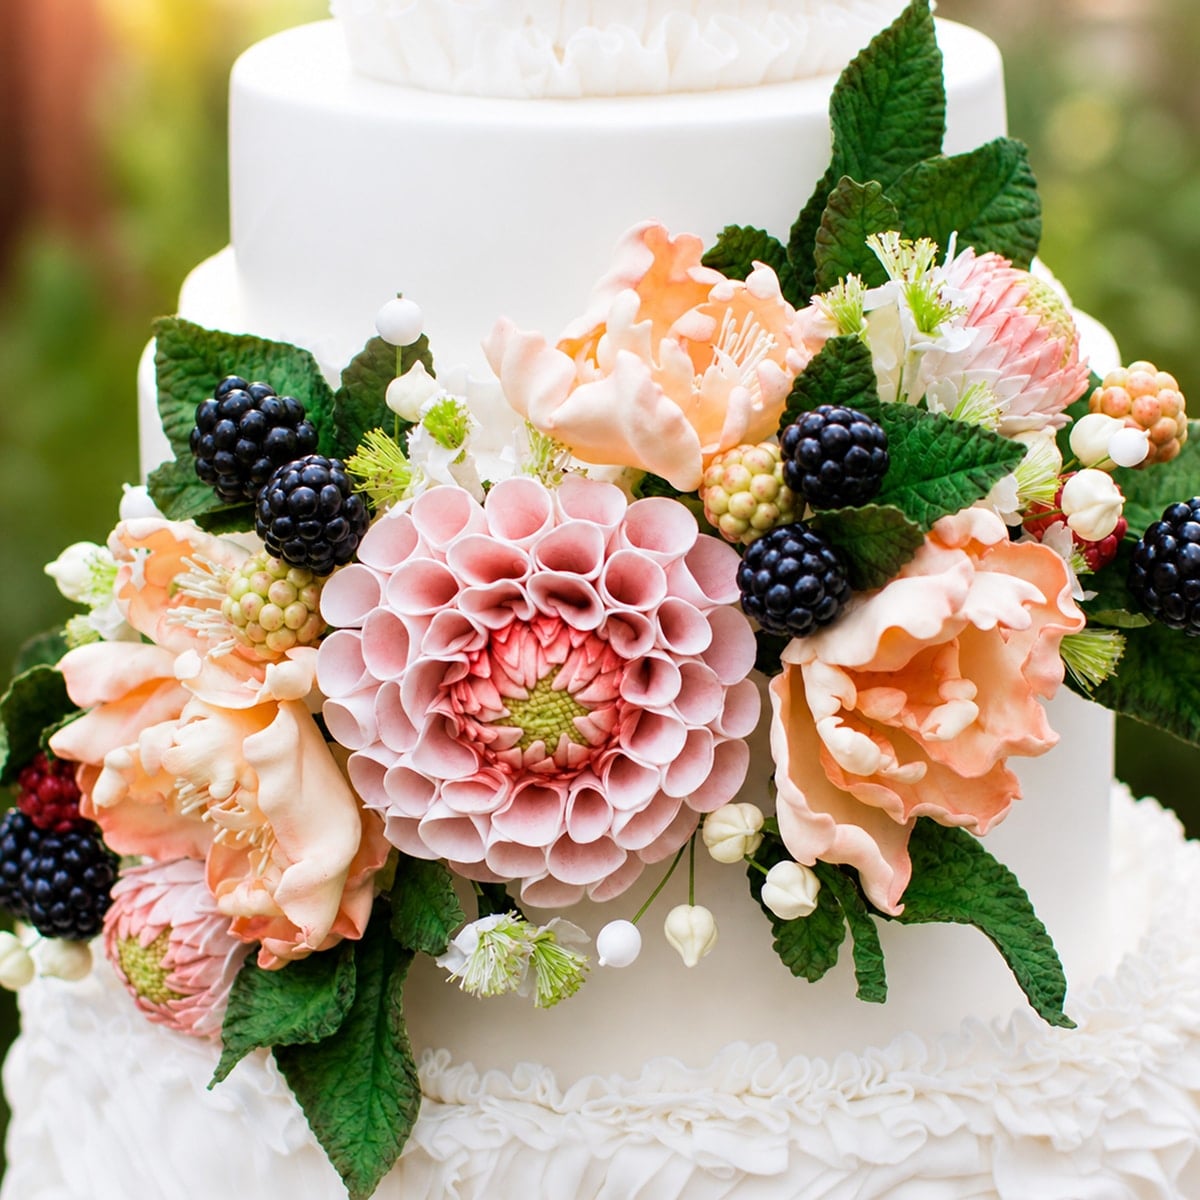
Learn how to make this delicious Marionberry cake filling.

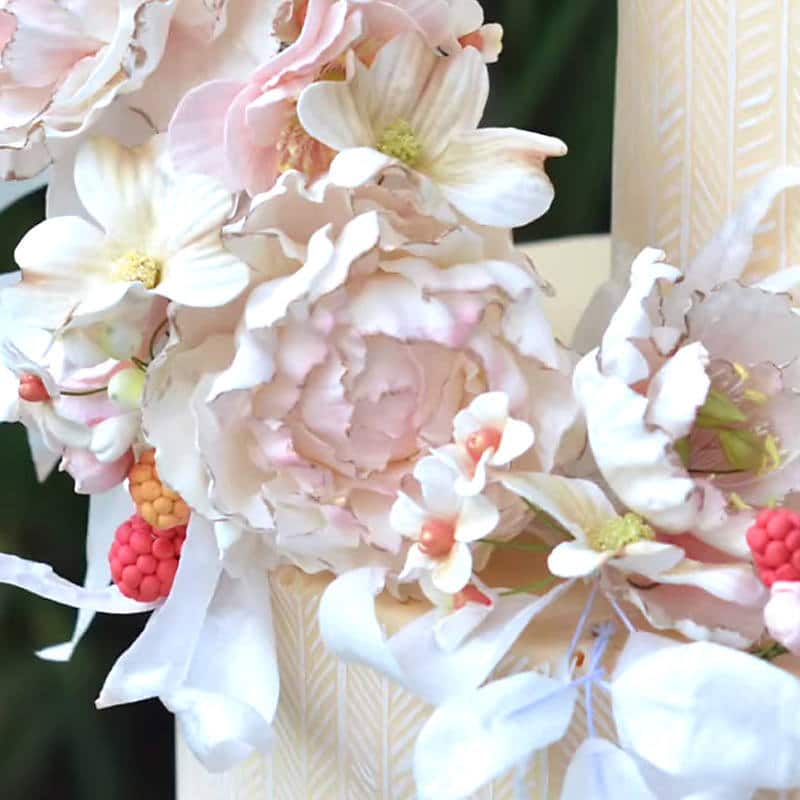
Close up of gumpaste flowers

October 2, 2015 Culinary Techniques

Nicholas Lodge Gumpaste Recipe

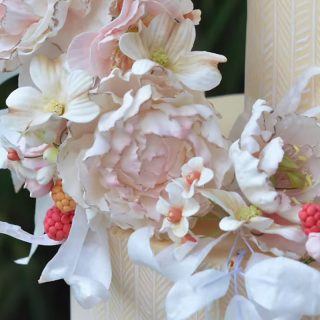
This gum paste recipe is one of those foundational skills that instantly levels up your cake decorating. If you're working through my How to Make a Square Wedding Cake tutorial, this is exactly what you'll use to create those delicate, realistic sugar flowers that make a cake look professionally finished. It rolls out super thin, holds its shape, and dries firm so your decorations stay exactly where you put them.

If you've struggled with gum paste in the past, this method is all about getting the texture just right from the beginning so it behaves the way you want it to. I was taught this original recipe by the late great Nicholas Lodge and have never used anything else.

Why This Recipe Works

This is essentially a strengthened sugar dough. The powdered sugar creates structure, the egg whites bind everything together into a smooth paste, and the tylose activates to give the gum paste elasticity and that firm dry you need for decorations.

You'll notice the mixture goes through a few stages, from loose to royal icing to spongy and pocked. That's exactly what you want. Once it rests overnight, the texture evens out into a smooth, workable dough.

And yes, this recipe uses raw egg whites. Between the high sugar content and the fact that gum paste dries out completely, it becomes shelf-stable quickly. If you prefer, you can use pasteurized egg whites.

Tips for Success

  • Always use the paddle attachment, not the whisk.
  • Letting the gum paste rest overnight makes a huge difference in how smooth and workable it is.
  • Keep gum paste tightly wrapped at all times to prevent it from drying out.
  • If it feels stiff after resting, knead it with a bit of shortening to bring it back to life.

Final Thoughts

Gum paste is one of those things that gets better the more you work with it. Once you understand the texture and how it should feel at each stage, it becomes really predictable and easy to use.

And when it works… it really works.


Recipe

Nicholas Lodge Gumpaste Recipe Cake Tutorial
Print Recipe
4.94 from 15 votes

Nicholas Lodge Gumpaste Recipe

This gum paste recipe is strong, smooth, and perfect for creating realistic sugar flowers that dry firm and hold their shape beautifully.
Prep Time5 minutes mins
Cook Time10 minutes mins
rest ovenright23 hours hrs 20 minutes mins
Total Time15 minutes mins
Course: Dessert
Cuisine: American
Servings: 2 lbs
Calories: 1839kcal
Author: Liz Marek

Ingredients

Ingredients

  • 2 lbs powdered sugar
  • 2-3 teaspoon vegetable shortening
  • 12 teaspoon Confectionary Arts tylose powder Make sure the 12 teaspoon are level (30 grams)
  • 4 egg whites fresh egg whites are best
US Customary - Metric

Instructions

instructions

  • Add 4 egg whites to a stand mixer bowl.
    Mix the egg whites for 1-2 minutes using a paddle attachment to break them up. You must use a paddle attachment.
  • Pour all the powdered sugar in except for about 1 cup.
  • Mix the powdered sugar and egg whites at medium-high (about 6 or 7 on a Kitchenaid mixer) until you get a royal icing consistency.
  • Sprinkle the tylose into the royal slowly until the mixture starts to clump.
  • Remove from the mixing bowl.
  • Put shortening on your hands and knead until consistent.
  • Knead in more sugar if it's too soft or wet. It will feel spongy and have a pocked look, that is normal.
  • Place gumpaste in a zip-lock bag and then put into the refrigerator overnight to mature. This step is mandatory.
  • Bring to room temperature before use. Knead until smooth with a bit of shortening on your fingers.

Notes

Tips: always store gumpaste in the fridge while not in use in an airtight container so it does not go bad.
You can freeze it if you're not going to use it for a long time.
Last for 6 months or longer in the fridge.
Bring to room temperature before using.
Put a little shortening on your hands and knead it onto the gumpaste until it's smooth and satin-y before you roll it out to make petals to prevent cracking.

Nutrition

Serving: 2ounces | Calories: 1839kcal | Carbohydrates: 453g | Protein: 7g | Fat: 5g | Saturated Fat: 1g | Polyunsaturated Fat: 1g | Monounsaturated Fat: 2g | Trans Fat: 1g | Sodium: 109mg | Potassium: 107mg | Sugar: 444g | Calcium: 9mg | Iron: 0.3mg

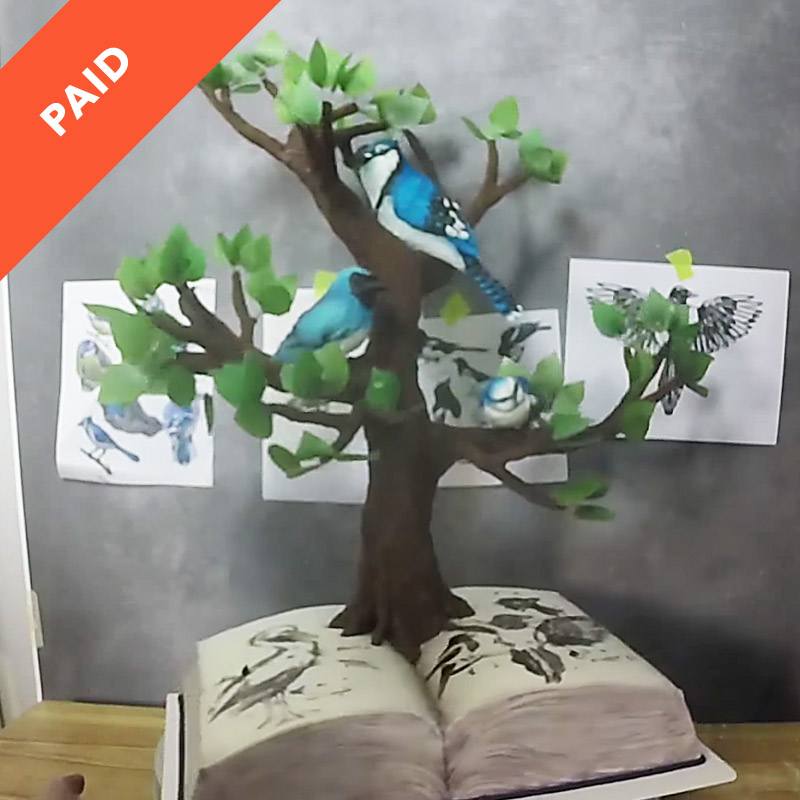
Birds in a Tree Cake

October 2, 2015 Paid Video

Birds Tree Book Cake

Skill level: Advanced
Learn how to create this spectacular tree structure, realistic birds and open sculpted book that is sure to wow!Techniques
Covering a Cake in Fondant

Downloads

Materials List

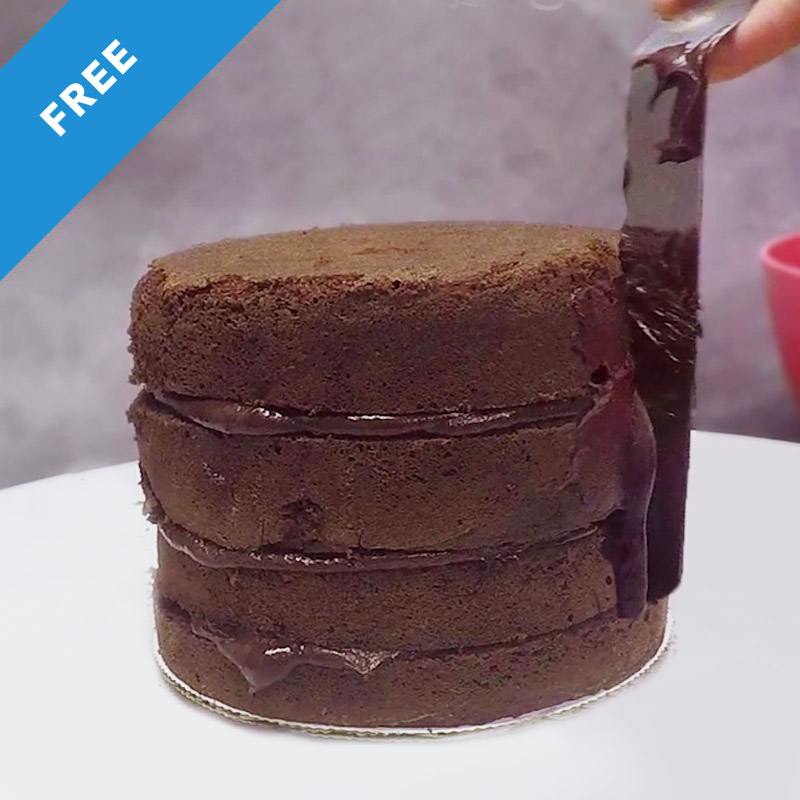
Stacking Filling and Crumb Coating a Cake

October 2, 2015 Blog

Stacking and Filling a Cake

Skill level: Newb
Learn the basics of stacking and filling a cake.

Techniques
Stacking a Cake

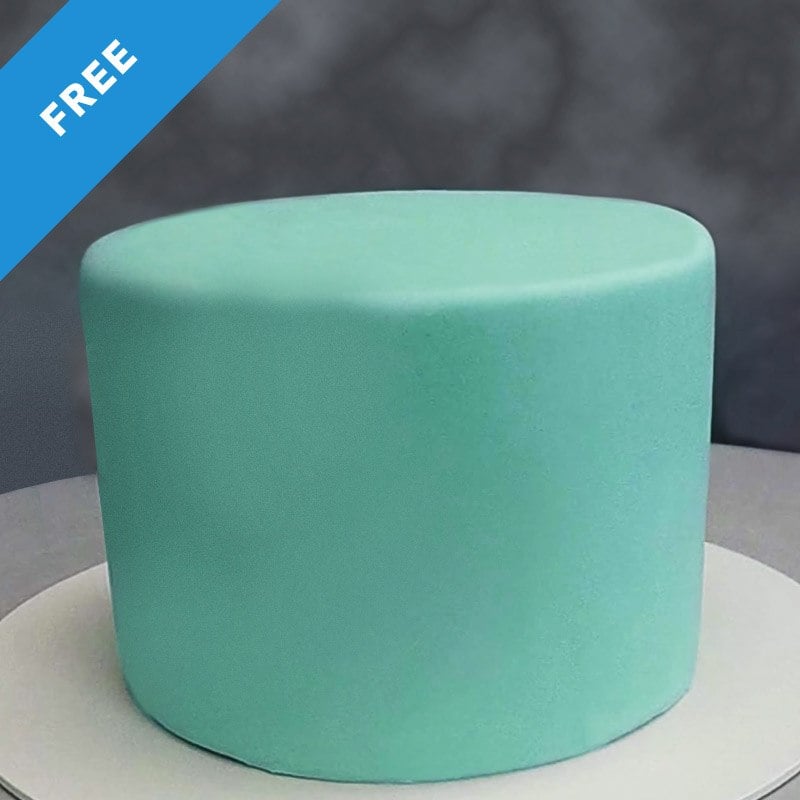
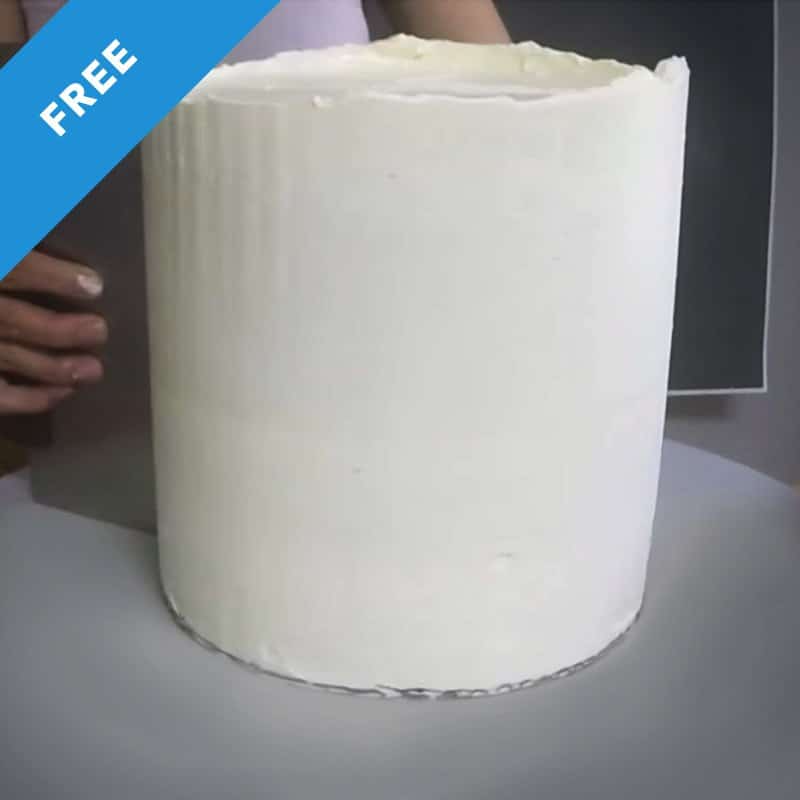
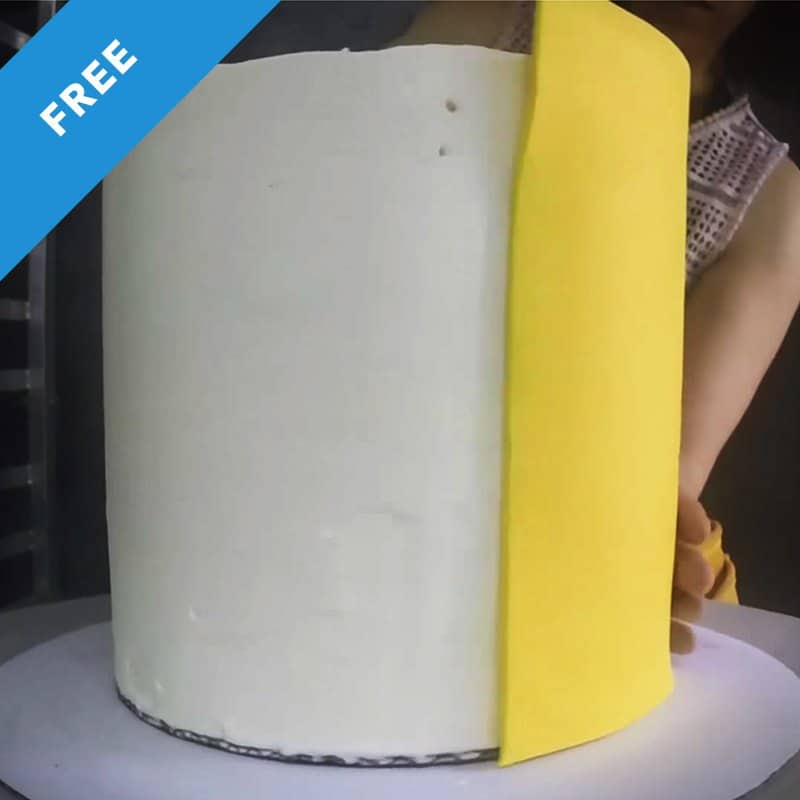
How to Cover a Cake in Fondant

October 2, 2015 Blog

How to Cover a Cake in Fondant

Skill level: Newb
Learn the basics of how to cover a cake in fondant for a flawless cake canvas.

Techniques
Covering a Cake in Fondant

Downloads

Reference Photos

How to Make a Double Barrel Cake

October 2, 2015 Blog

How to Make a Double Barrel Cake

Skill level: Newb
Learn how to bake and stack a double barrel cake that won't fall over or get air bubbles.

Downloads

Materials List

Paneling a Double Barrel Cake in Fondant

October 2, 2015 Blog

Paneling a Double Barrel Cake

Skill level: Newb
Learn the basics of how to cover a double barrel in fondant using the paneling technique for a flawless finish.

Techniques
Modeling Choclate, Fondant, Buttercream, Ganache, Cake

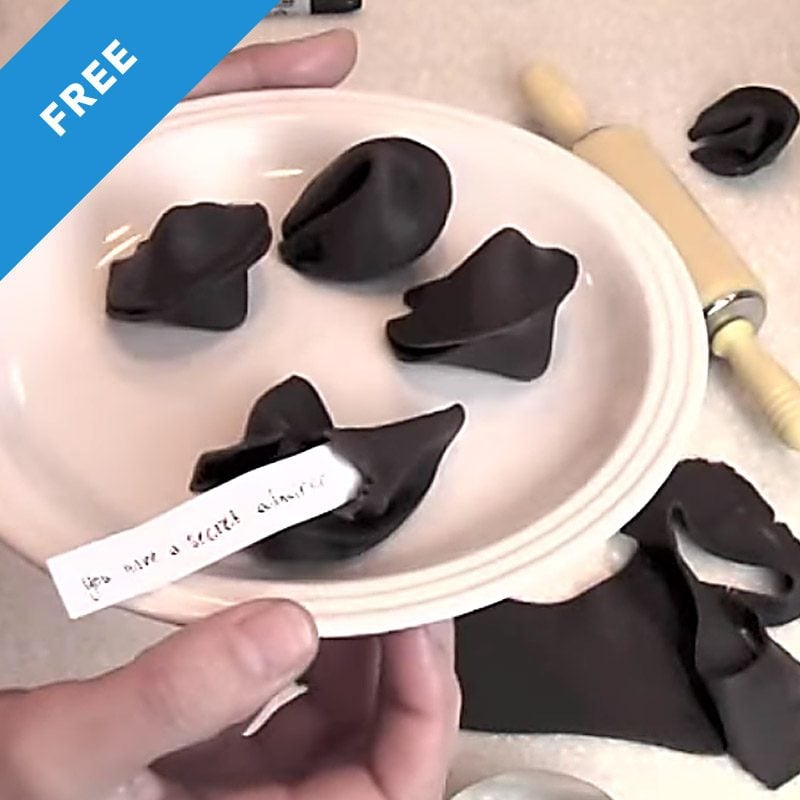
Chocolate Fortune Cookies

October 1, 2015 Blog

How to Make Chocolate Fortune Cookies

Skill level: Newb
Learn how to make some delicious chocolate fortune cookies.

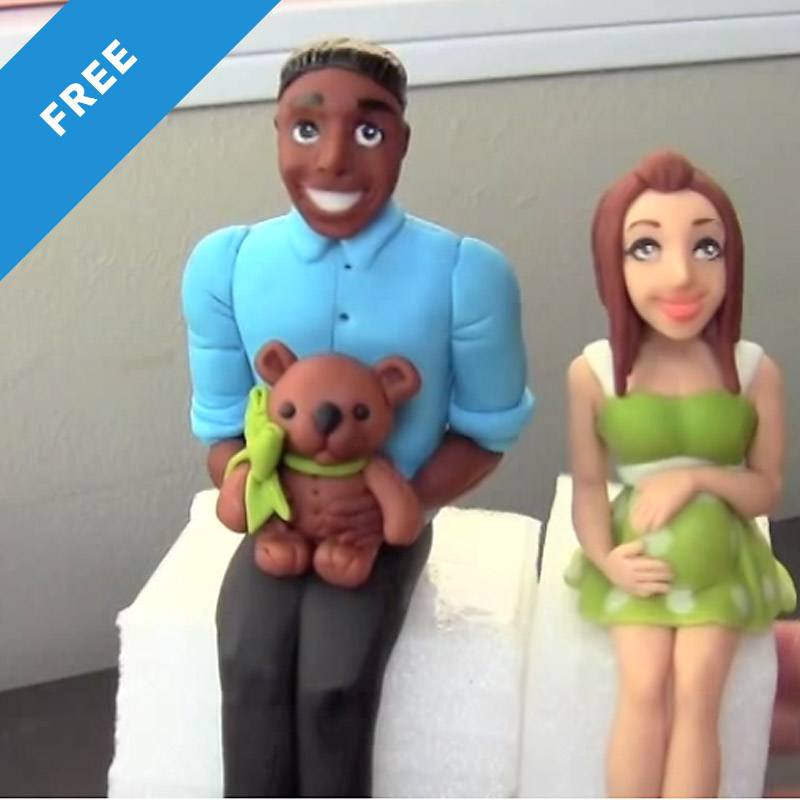
Sitting Male Topper Part 2

October 1, 2015 Free Video

Sitting Male Topper: Part 2

Skill level: Newb
Learn how to make the finishing details for the sitting male figure

September 17, 2015 Paid Video

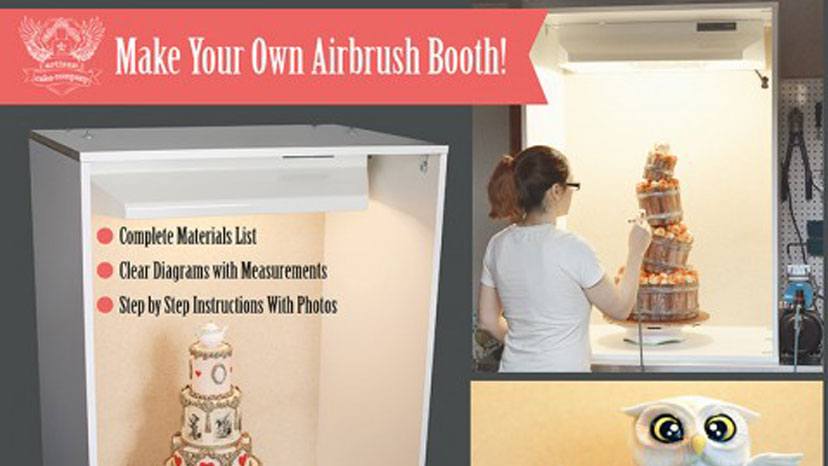
DIY Airbrush Booth (PDF Tutorial)

Skill: Intermediate
Step by step directions on how to make your very own airbrush booth. This is the exact booth I made for myself to use in my bakery because I couldn't afford to drop hundreds of dollars on a professional booth!No more food coloring in your nose or all over your house! Large enough to spray even the biggest of cakes. Final booth measurements are 48" tall, 35" wide and 24" deep.

All materials needed are listed

Detailed photos included

Very simple instructions! No Major power tools required (only a power drill, hammer and a screw driver)

Note: The Tutorial is PDF only, There is no Video.

Airbrush Booth Tutorial

« Previous Page

Primary Sidebar

Hi, I'm Liz! I'm a cake artist and recipe developer, and I won Netflix's Is It Cake? Holiday 2 with a hyperrealistic Santa. I write foolproof recipes that explain why things work, not just how.

I also teach full-length cake tutorials, including sculpted cakes, at Sugar Geek University.

More about me →

Our Cake Greatest Hits

Check out our best cake recipes

Celebrate Halloween 🎃

  • black and white striped cake with pink drip, gummy eyeball with ice cream cone on top
    Gummy Eyeball Cake
    Cook Time1 Hours 30 Minutes
  • close up of a slice of black velvet cake
    Black Velvet Cake
    Cook Time50 Minutes
  • monster mash cheesecake brownies cut into squares on a white background. Sprinkles, pumpkins and plates around the brownies
    Monster Mash Cheesecake Brownies
  • close up of candy apples
    The Best Candy Apple Recipe
  • pumpkin pie recipe
    Pumpkin Pie Recipe
    Cook Time2 Hours
  • close up of pumpkin cheesecake bars on a plate
    Pumpkin Cheesecake Bars
    Cook Time4 Hours

Popular Recipes

  • close up of ganache drizzling into a bowl
    The Best Chocolate Ganache Recipe
    Cook Time20 Minutes
  • Piping easy buttercream rosettes onto a cake using a 1M star piping tip
    Easy Buttercream Frosting
    Cook Time25 Minutes
  • close up slice of marble cake
    Moist and Fluffy Marble Cake Recipe
    Cook Time40 Minutes
  • Slice of red velvet cake with cream cheese frosting on a white plate.
    Red Velvet Cake Recipe
    Cook Time1 Hours 40 Minutes

Footer

↑ back to top

About

  • Privacy Policy
  • Terms of Service

Newsletter

  • Sign Up! for emails and updates

Contact

  • Contact
  • About Us

Copyright © 2024 Sugar Geek Show, Inc. All Rights Reserved.

Rate This Recipe

Your vote:


A rating is required
A name is required
An email is required