


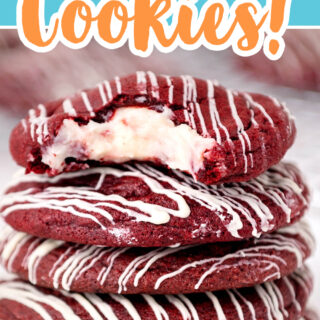

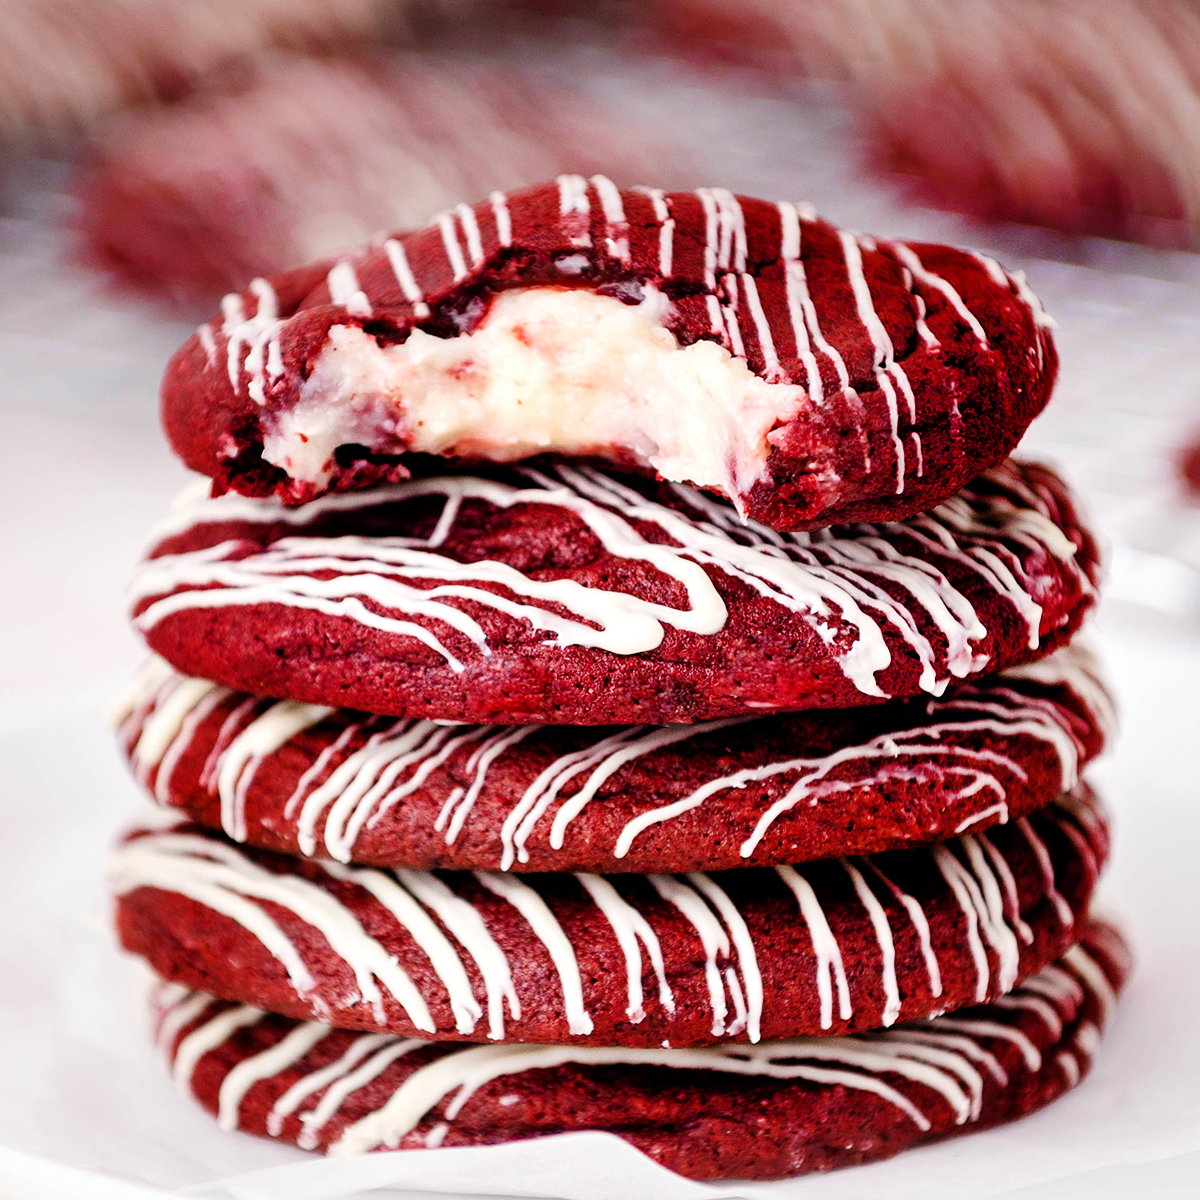
Red velvet cookies STUFFED with cream cheese frosting and drizzled with melted white chocolate chips are the perfect treat for Valentine's day. This red velvet cookie recipe isn't just colored red, it gets it's true red velvet flavor from a mixture of buttermilk, cocoa powder and baking soda. If you love my classic red velvet cake, you'll love this cookie recipe.
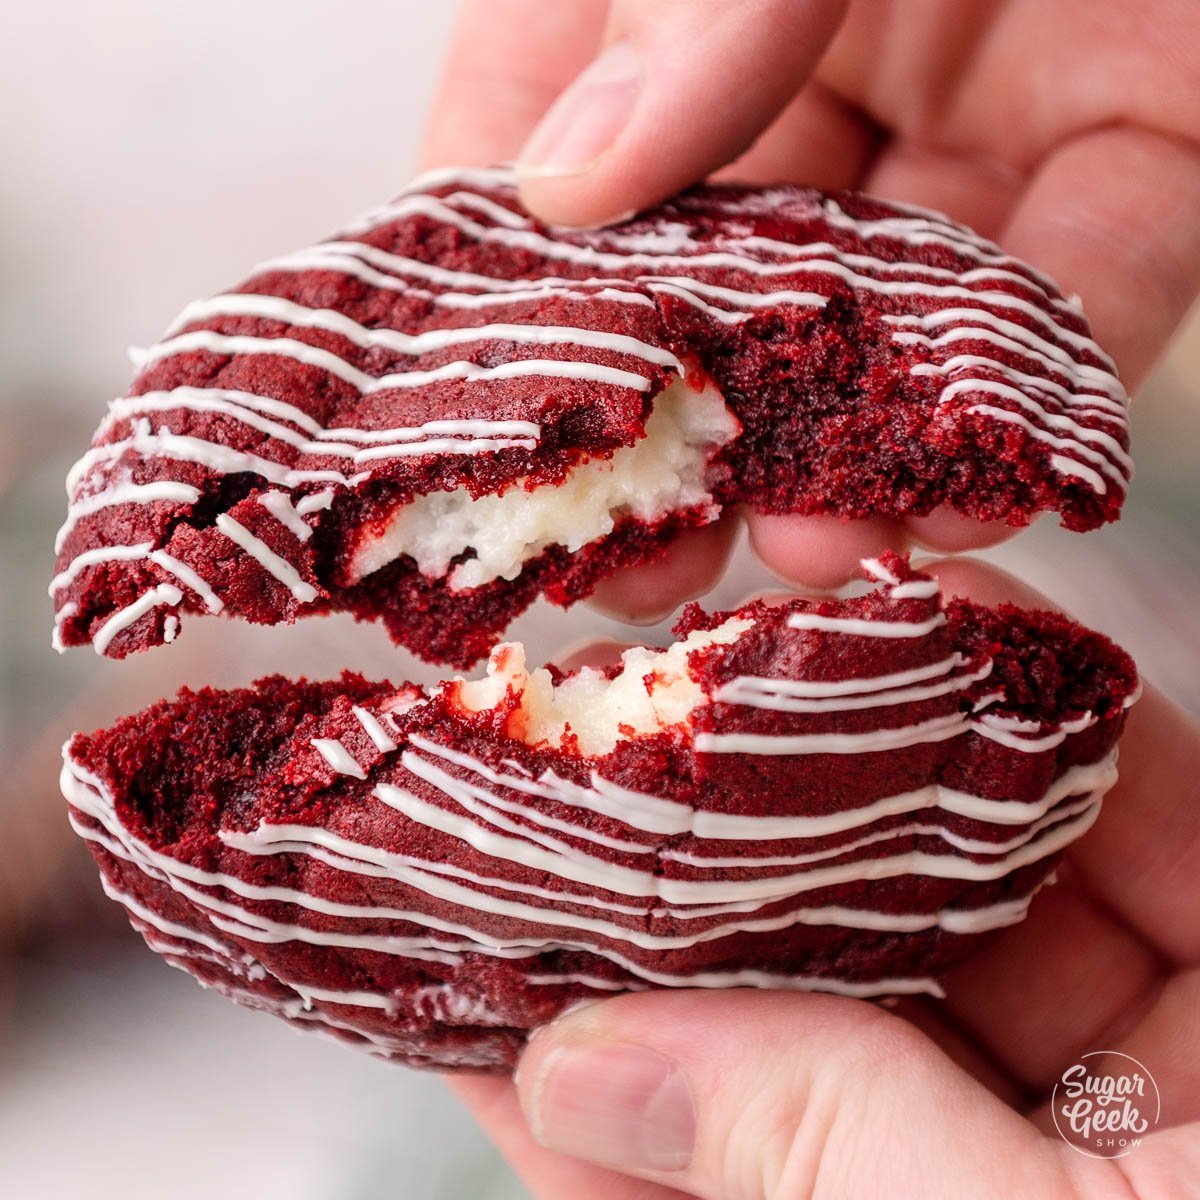
To me, red velvet just isn't red velvet without cream cheese frosting. You may think stuffing a cookie is complicated but it couldn't be simpler and the result truly takes these cookies to the next level of delicious! All you have to do is freeze your frosting first then mold the cookie dough balls around the frozen balls before baking.
After you cookies have cooled down, all that's left to do is drizzle on that white chocolate and you'll have the most amazing red velvet cookies you've ever had!
What's In This Blog Post
- Red Velvet Cookie Ingredients
- How To Make The Cream Cheese Filling
- Making The Red Velvet Cookie Dough
- Putting The Cookies Together
- How To Store Red Velvet Cookies
- FAQ
Red Velvet Cookie Ingredients
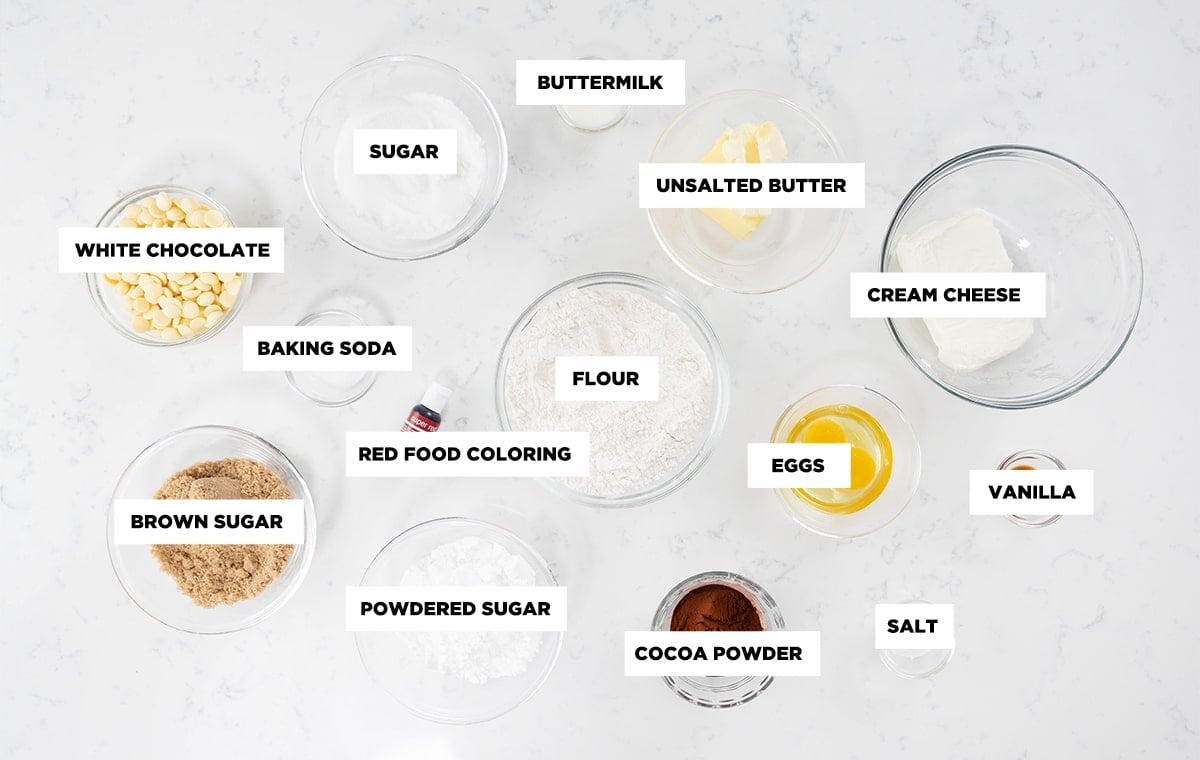
Buttermilk is the secret ingredient here. The tangy flavor is the secret to a true red velvet flavor. If you don't have any buttermilk don't worry, you can make your own buttermilk substitute with regular milk and some white vinegar.
Natural cocoa powder like Hershey's is preferred for this recipe (not dutch process cocoa) because it's acidic and will react to the addition of buttermilk and baking soda, adding to the overall flavor of the cookies.
Full fat cream cheese is needed for the cookie filling. I prefer Philadelphia brand cream cheese which you can find in most grocery stores.
White chocolate chips are needed for that final drizzle on top of the red velvet cookies. Not only does it taste delicious but it looks so pretty! I prefer a bar of Lindt white chocolate that you can chop finely and temper easily so the chocolate sets up on top of the cookies. You can use any kind of white chocolate that you like but I would look for a brand that contains cocoa butter which tastes better than fake chocolate like candy wafers or candy melts.
Red food coloring is needed to ensure the vibrancy of the red color in these cookies. I prefer the use of a nice super red food color gel over liquid food coloring or if you don't want to use food coloring you can use a teaspoon of beet powder which is a nice natural alternative.
How To Make The Cream Cheese Filling
You'll want to make the cream cheese filling first so that it has time to freeze while you prepare the cookie dough.
- Combine the cream cheese, sugar, flour, and salt in the bowl of your stand mixer with the whisk attachment or a hand mixer on low speed until smooth. Take care not to over mix as cream cheese liquifies the more it is mixed.

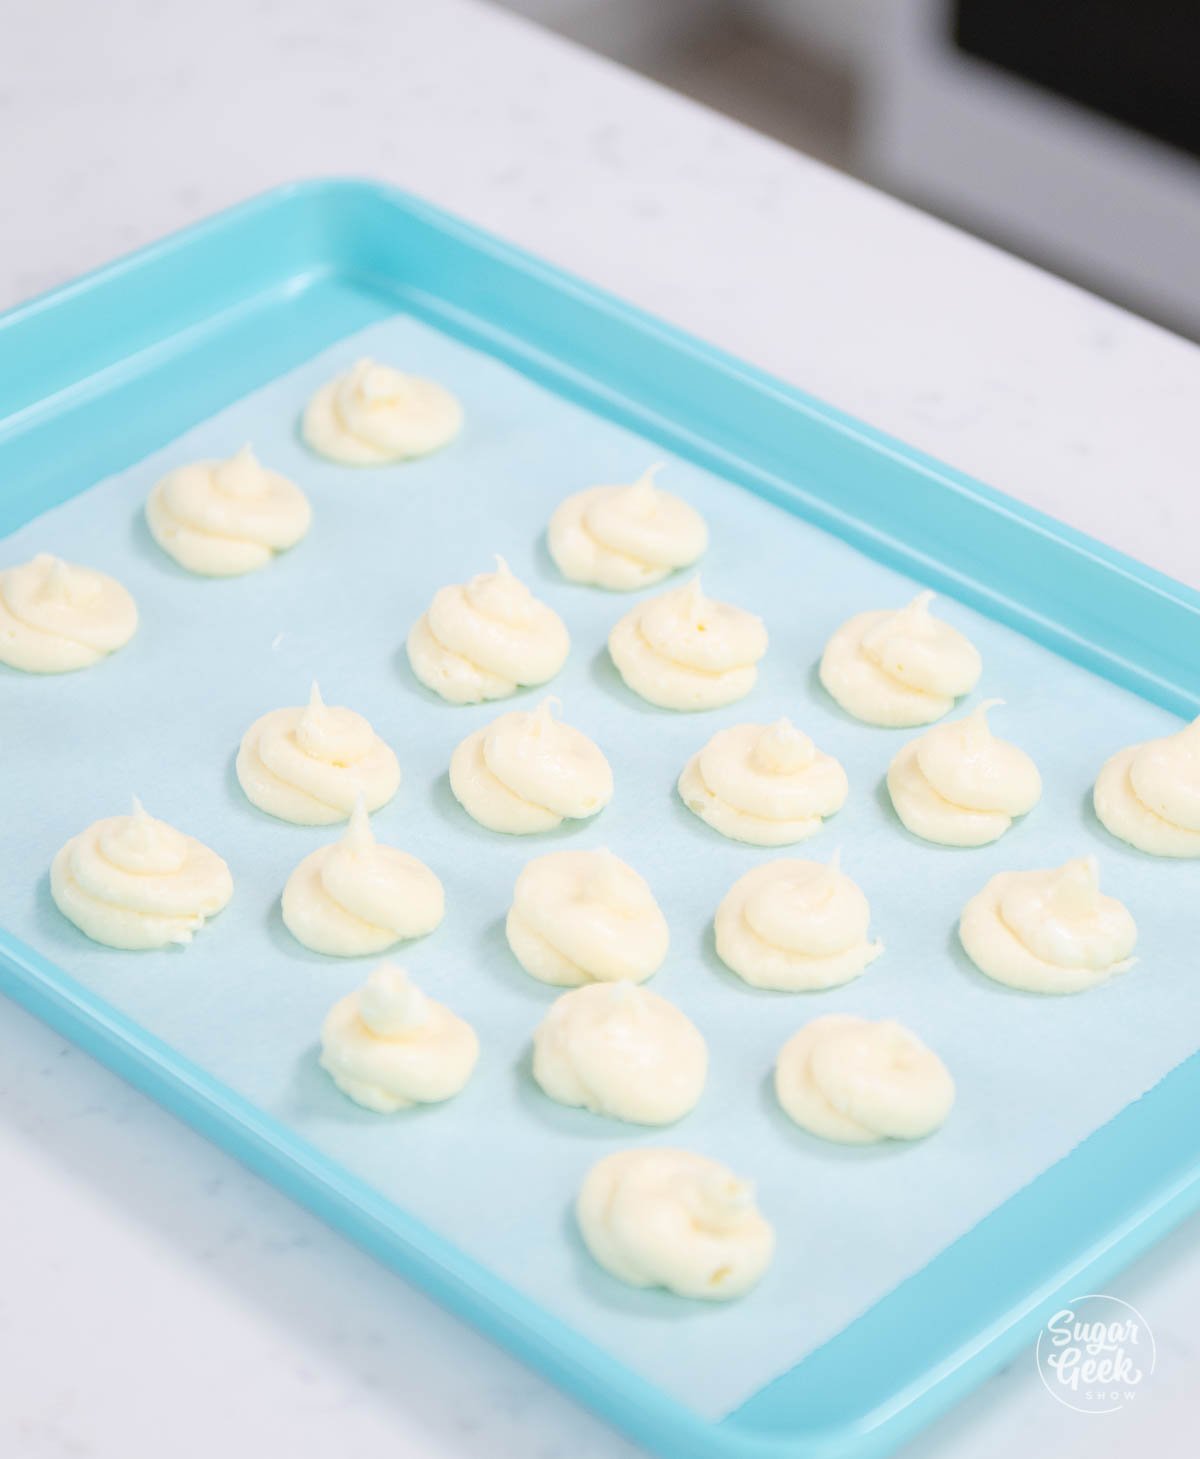
- Scoop the frosting (or pipe it) into small balls (about 2 Tablespoons worth) onto a parchment lined cookie sheet.
- Place the cookie sheet into the freezer for at least 1 hour or until they are firm.
Making The Red Velvet Cookie Dough
- In a separate bowl, combine the all purpose flour, cocoa powder, baking soda, and salt. Whisk them together and set them aside.
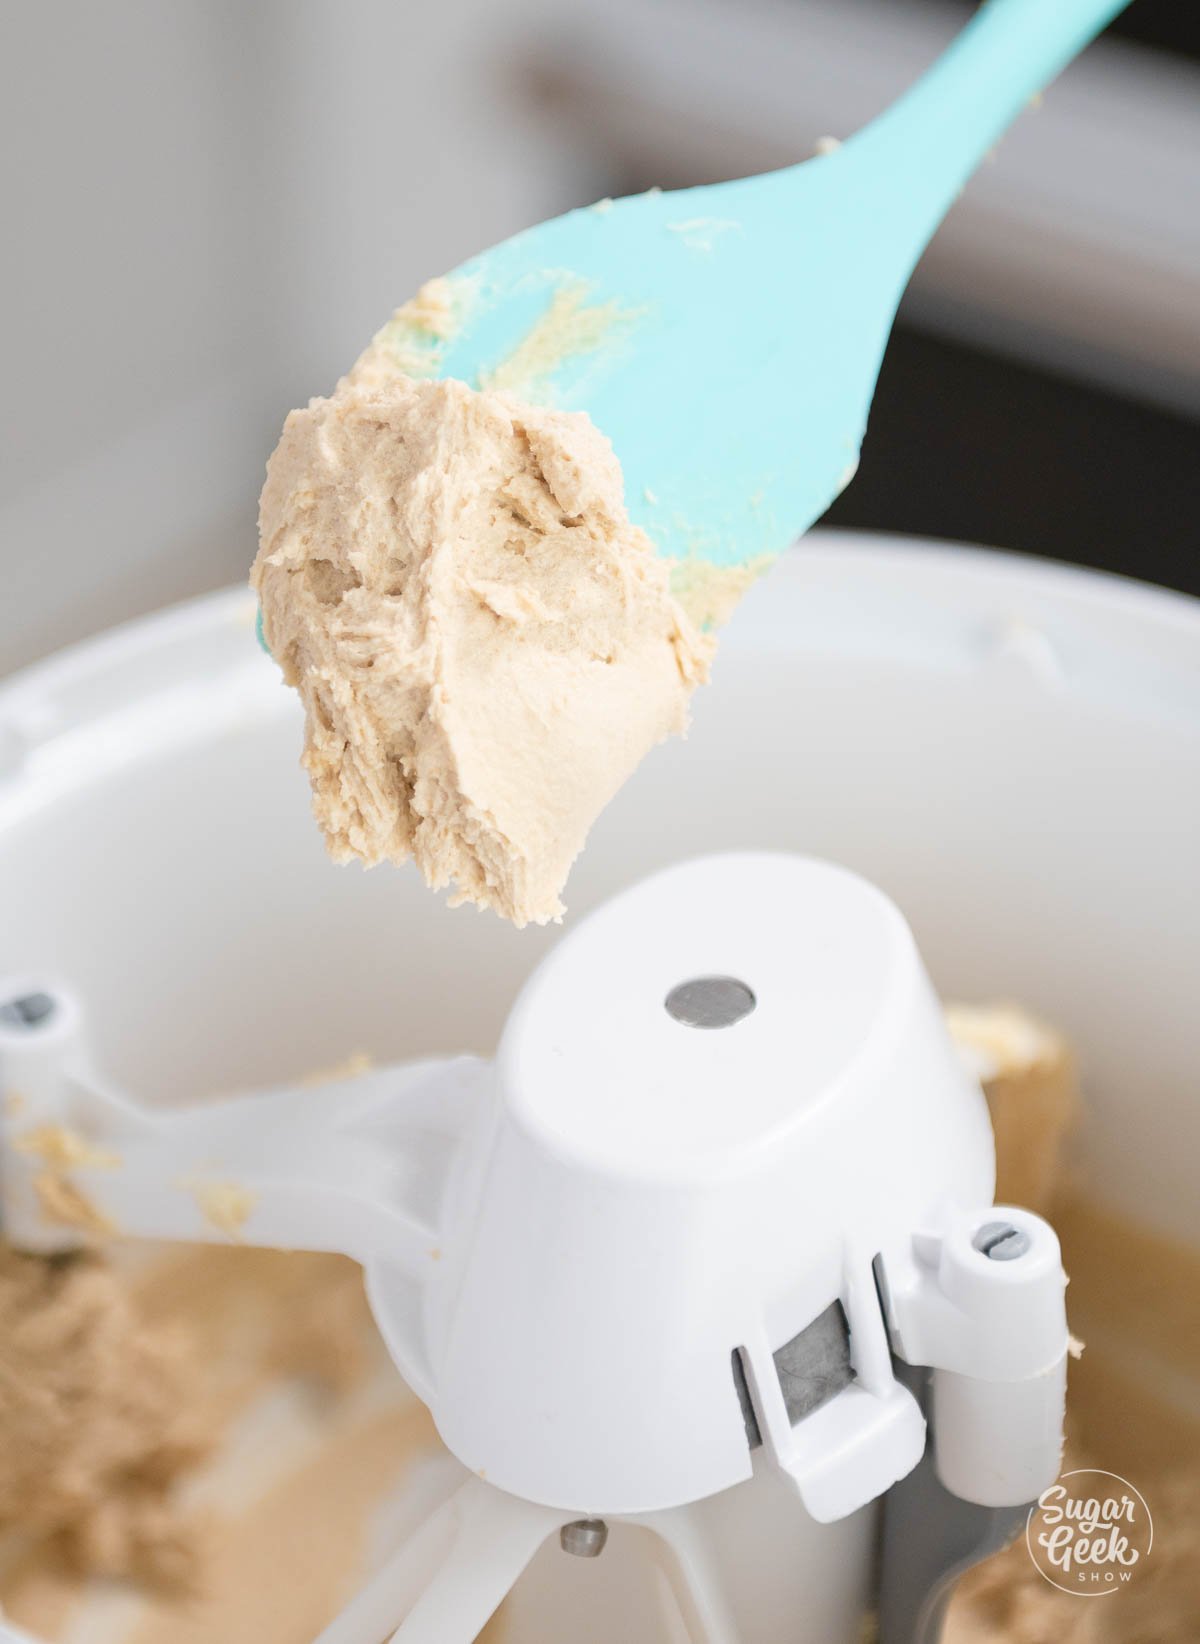
- In the bowl of your stand mixer with paddle attachment attached, cream together the room temperature, unsalted butter, white sugar, and brown sugar until it is pale and fluffy. This takes about 2-3 minutes.

- While mixing on low, add the eggs to the creamed butter mixture one at a time, waiting until each egg is fully incorporated before adding the next.
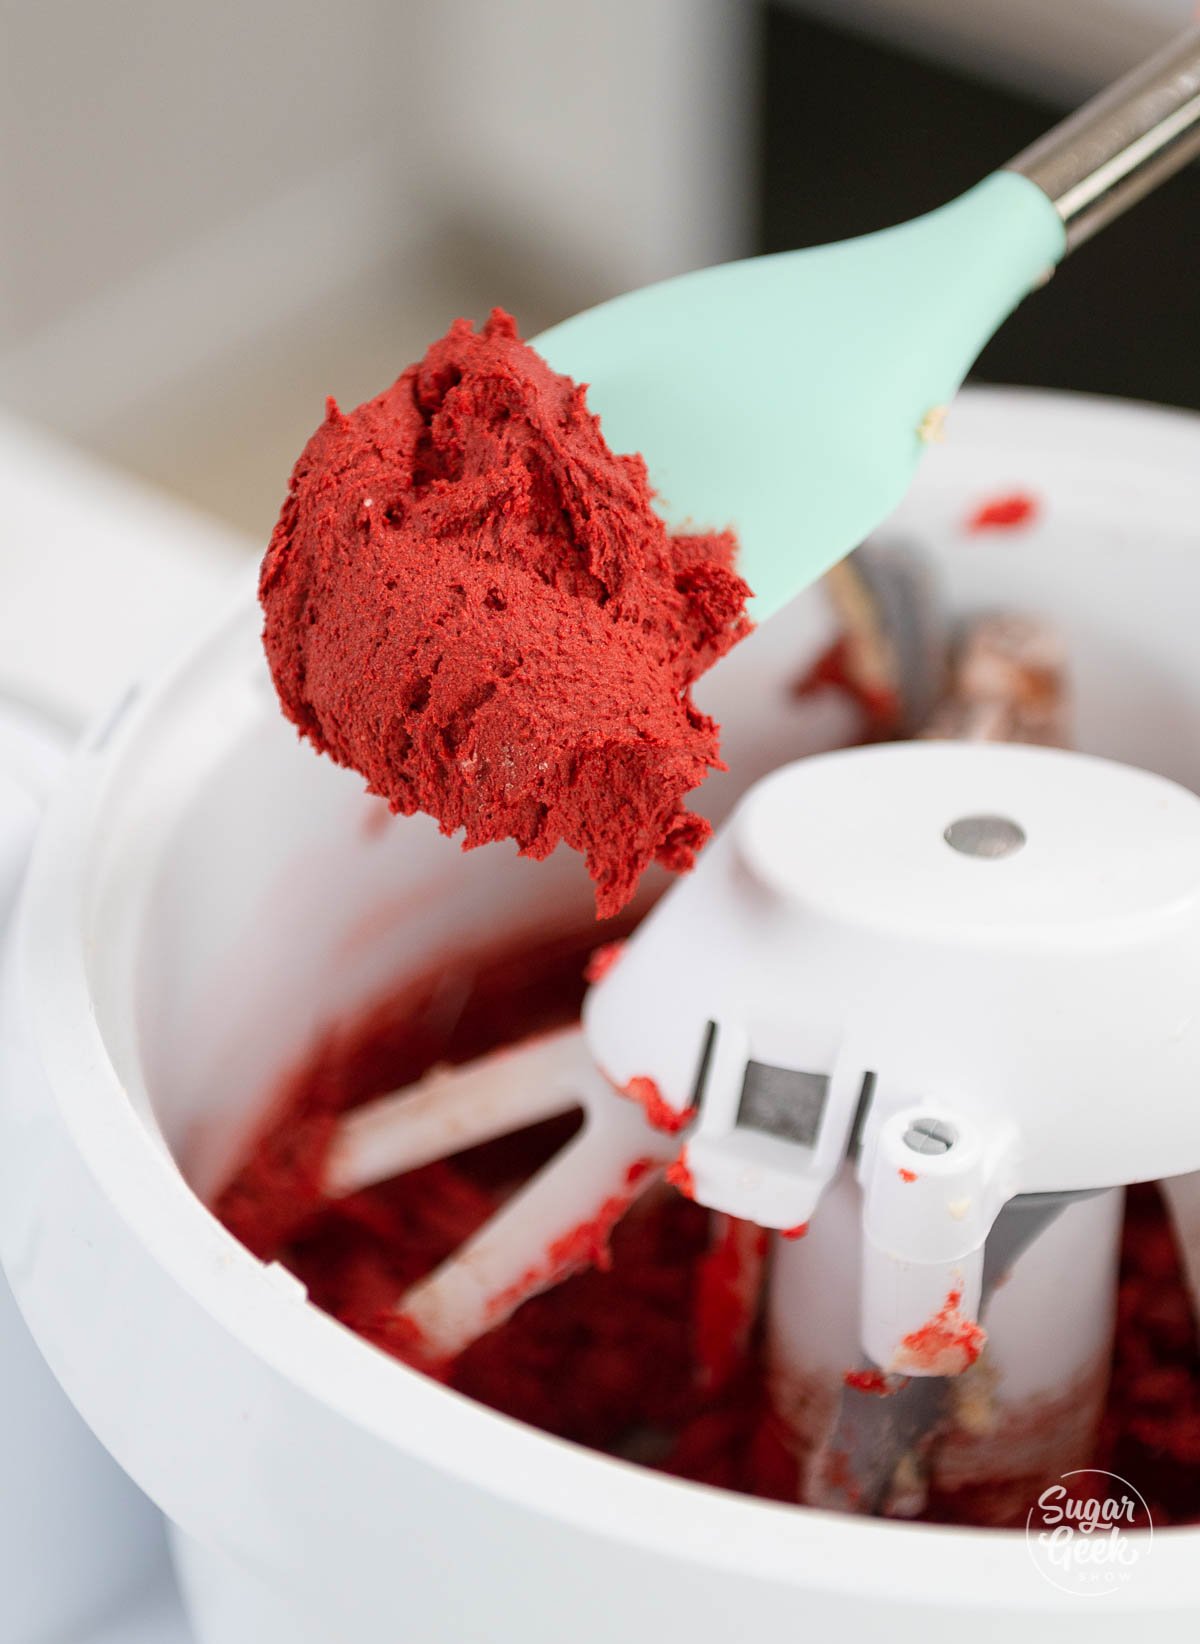
- Add in the vanilla extract, red food coloring and buttermilk. Mix until just combined.
- Add the dry ingredients mixture to the wet ingredients gradually while the mixer is running on low, until the dough is fully combined. Make sure to scrape the bottom of the bowl so all of the butter and sugar are evenly mixed into the dough.
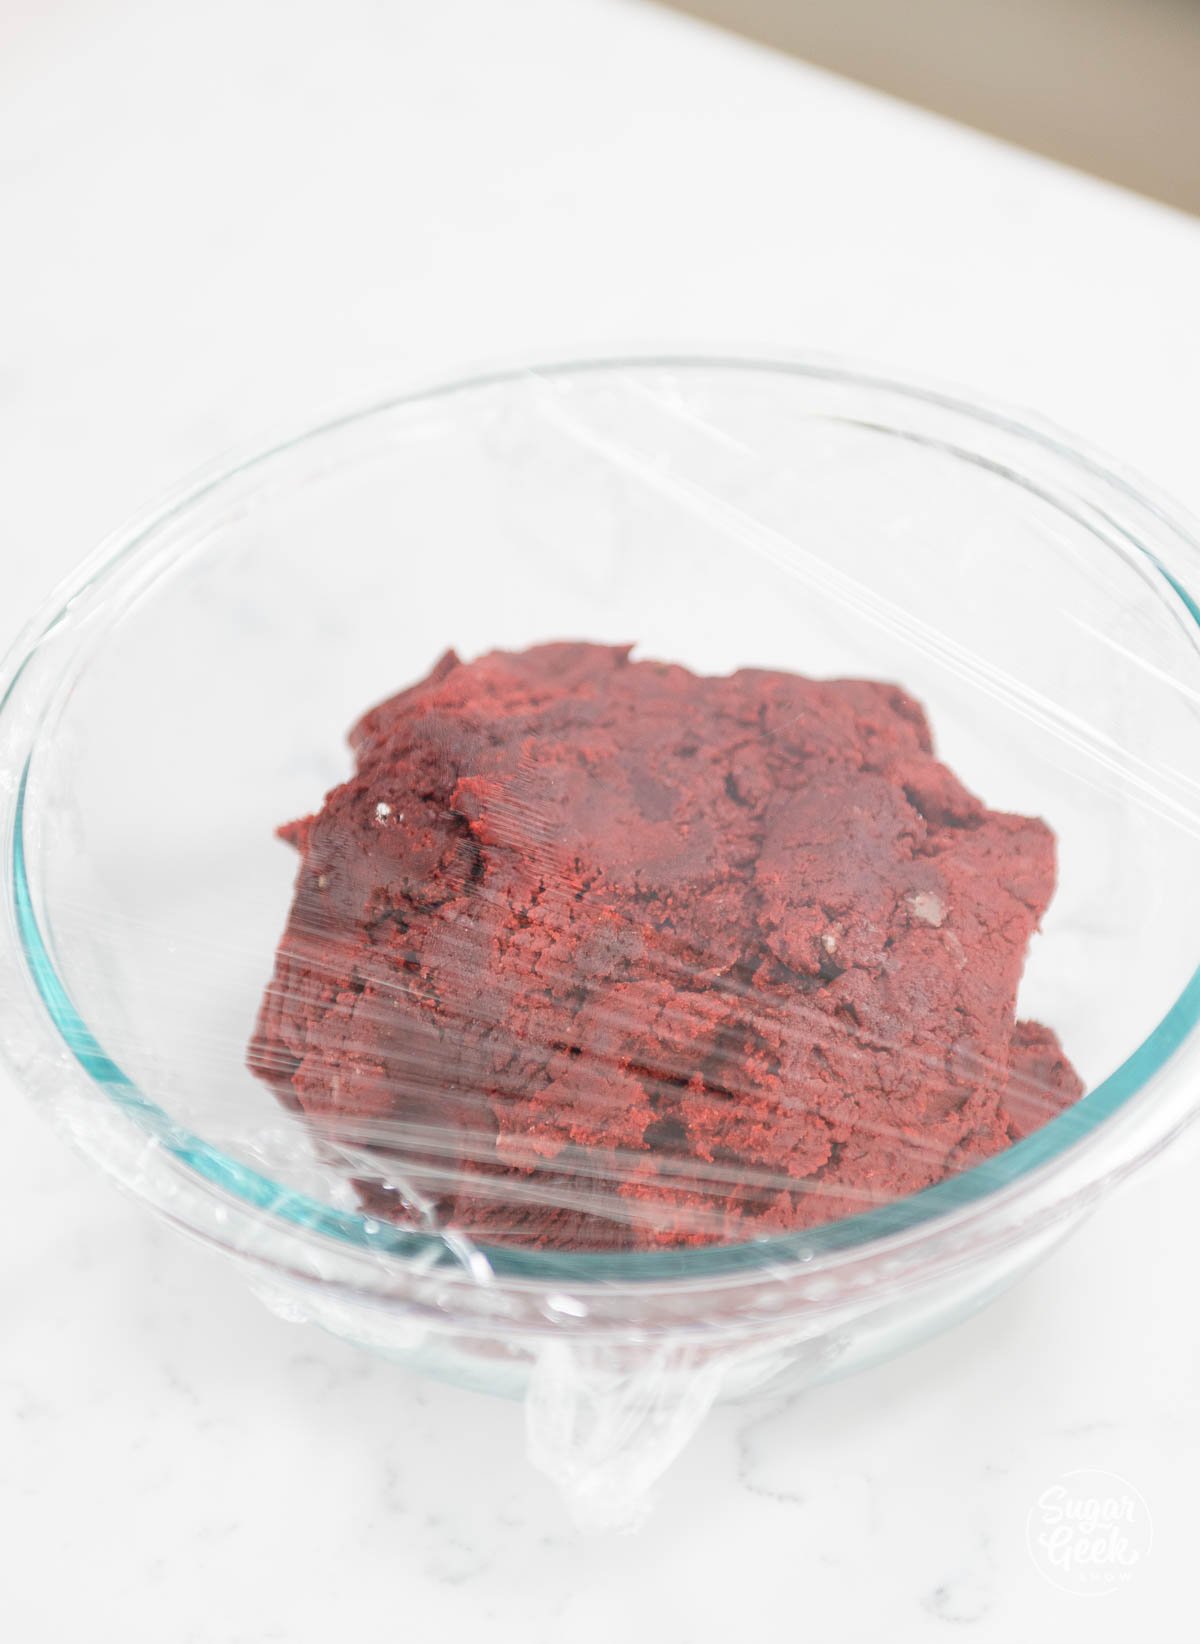
- Cover the dough with plastic wrap and chill the cookie dough for at least 60 minutes or overnight. Chilling your cookie dough is an important step to hydrating the flour. If you don't give the flour time to hydrate, your cookies will spread too much during baking.
Putting The Cookies Together
- Preheat your oven to 350ºF (176ºC) and prepare two cookie sheets with parchment paper.
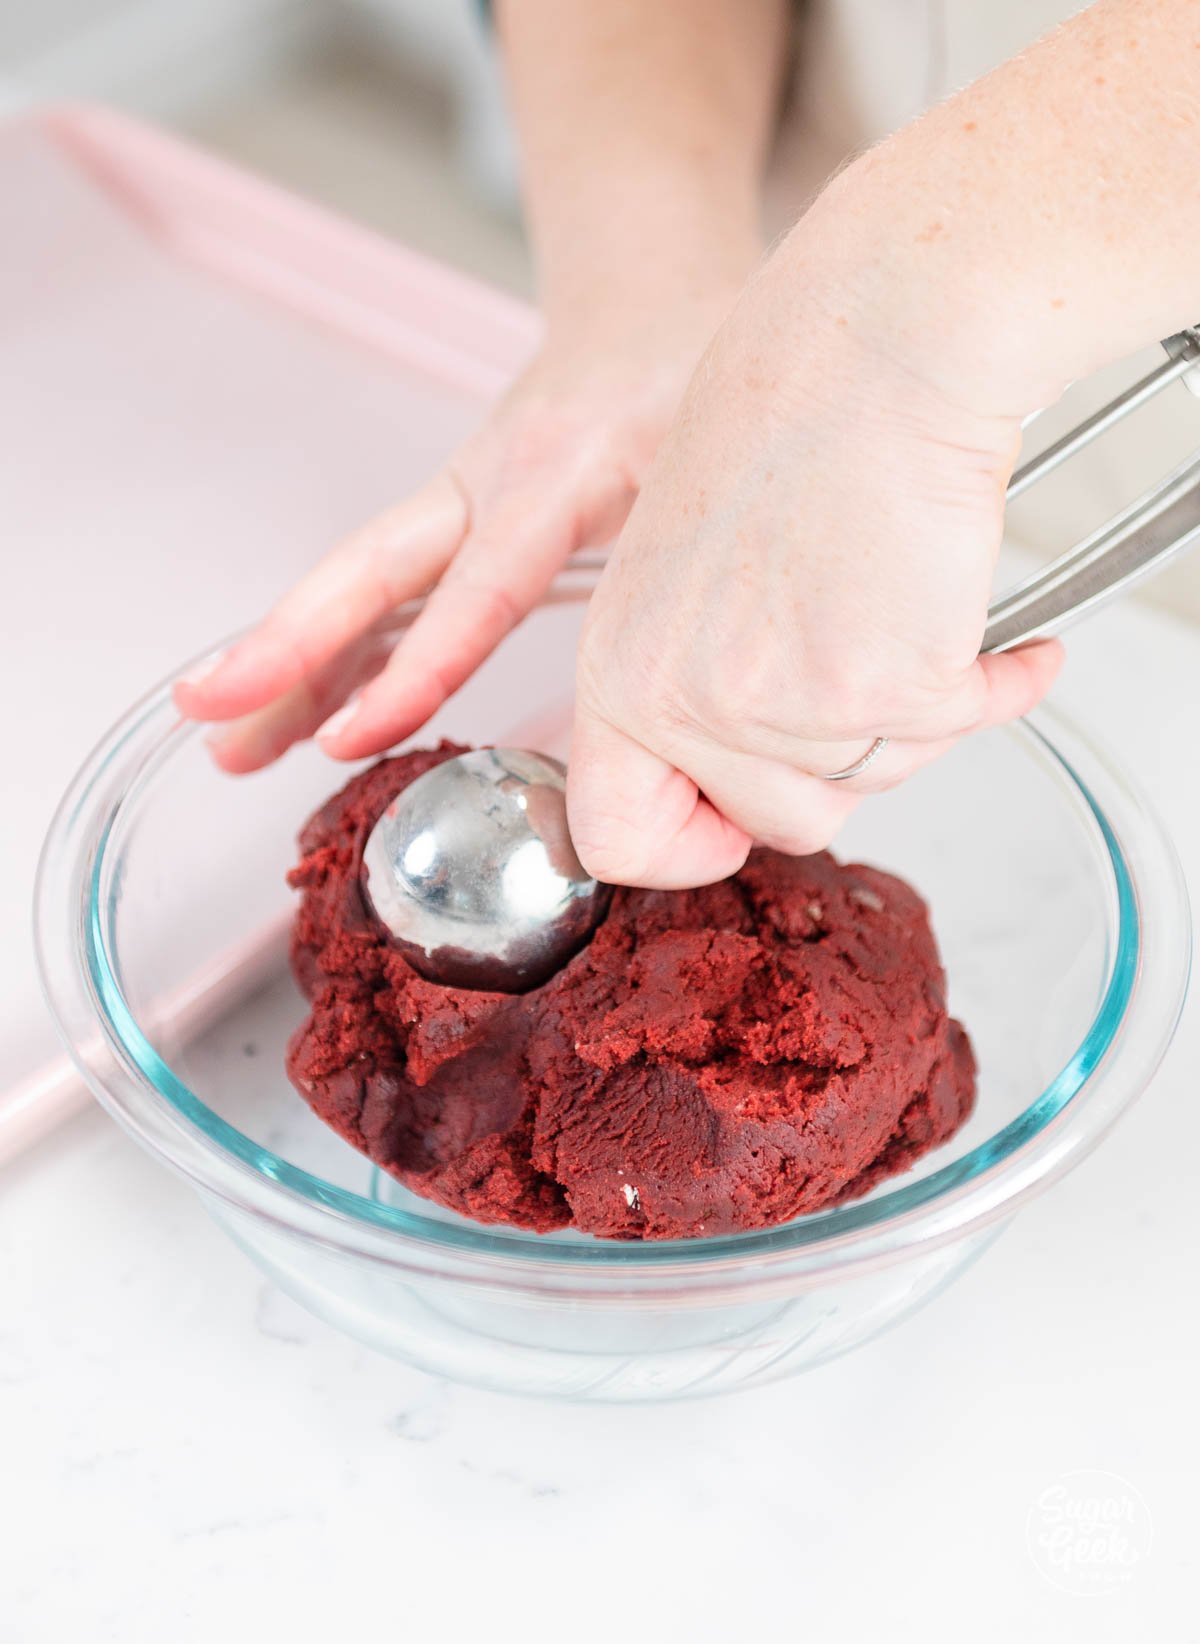
- Portion the cookie dough out into roughly 2oz portions using a medium cookie scoop.
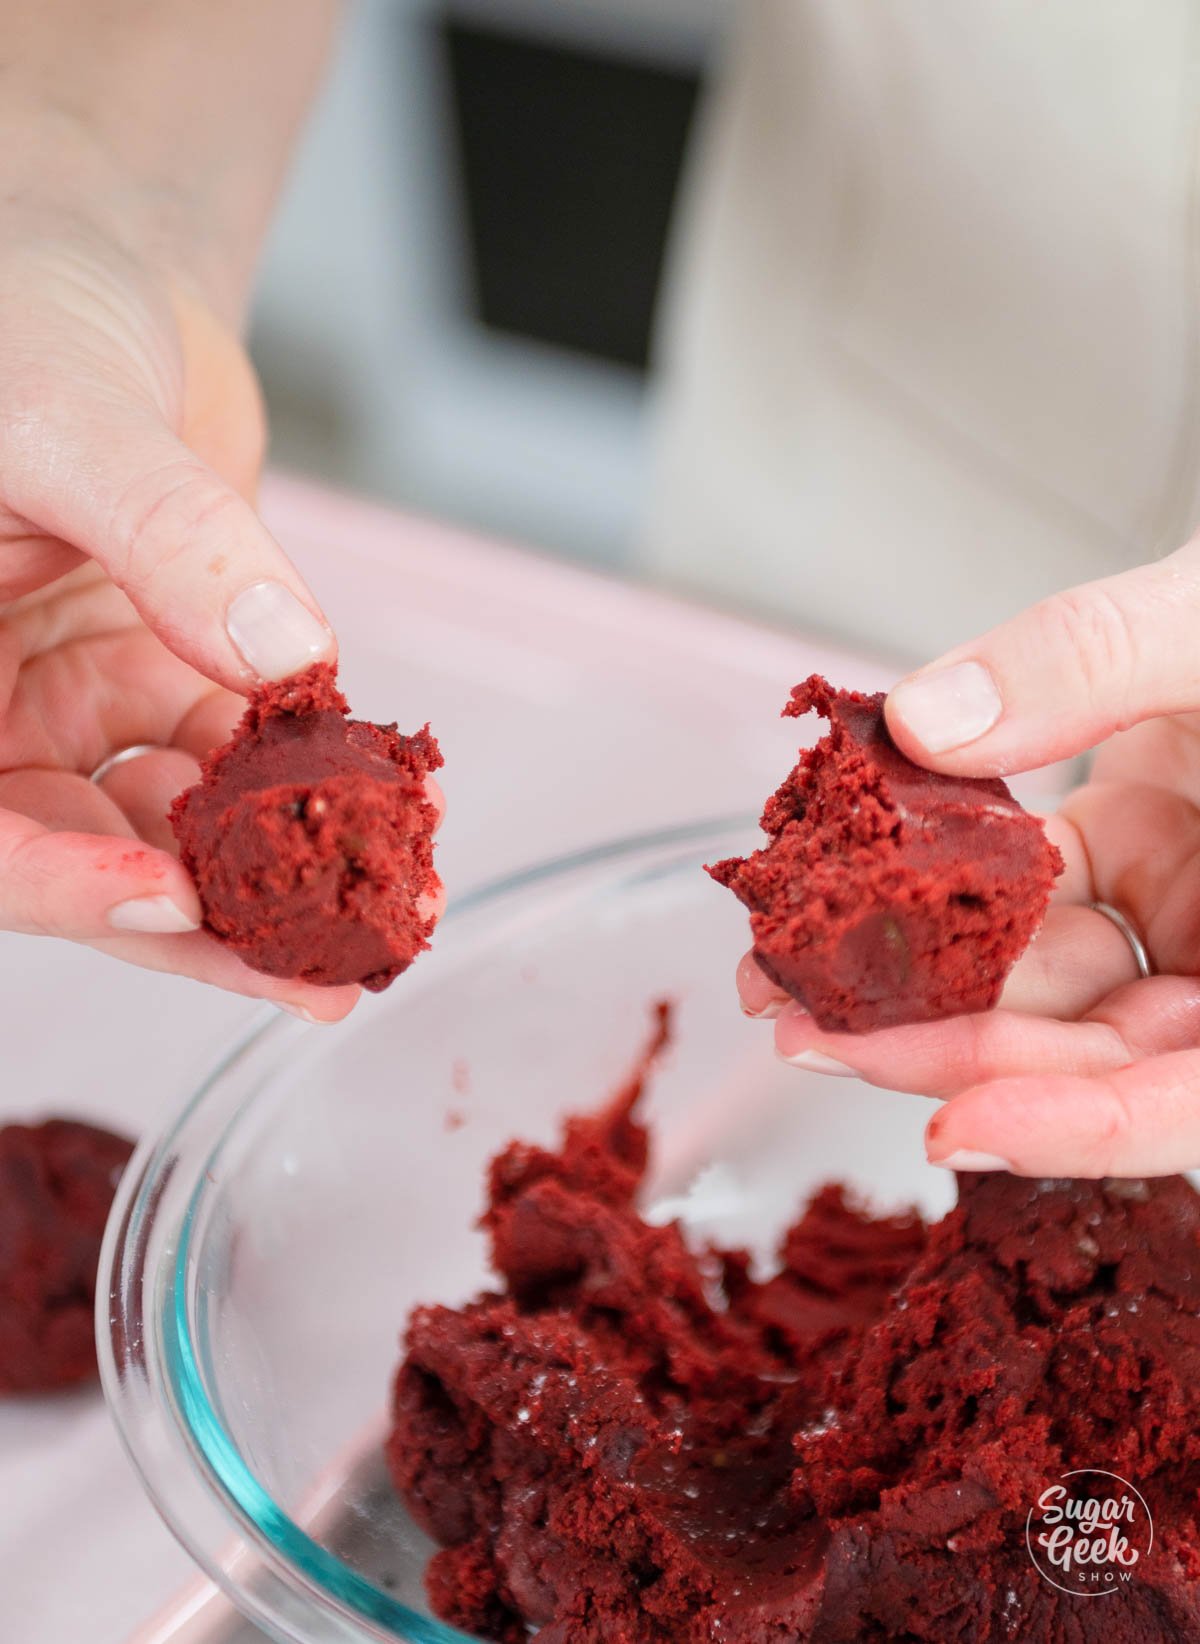
- Working quickly with the cold dough, divide it in 2 pieces and flatten them slightly.
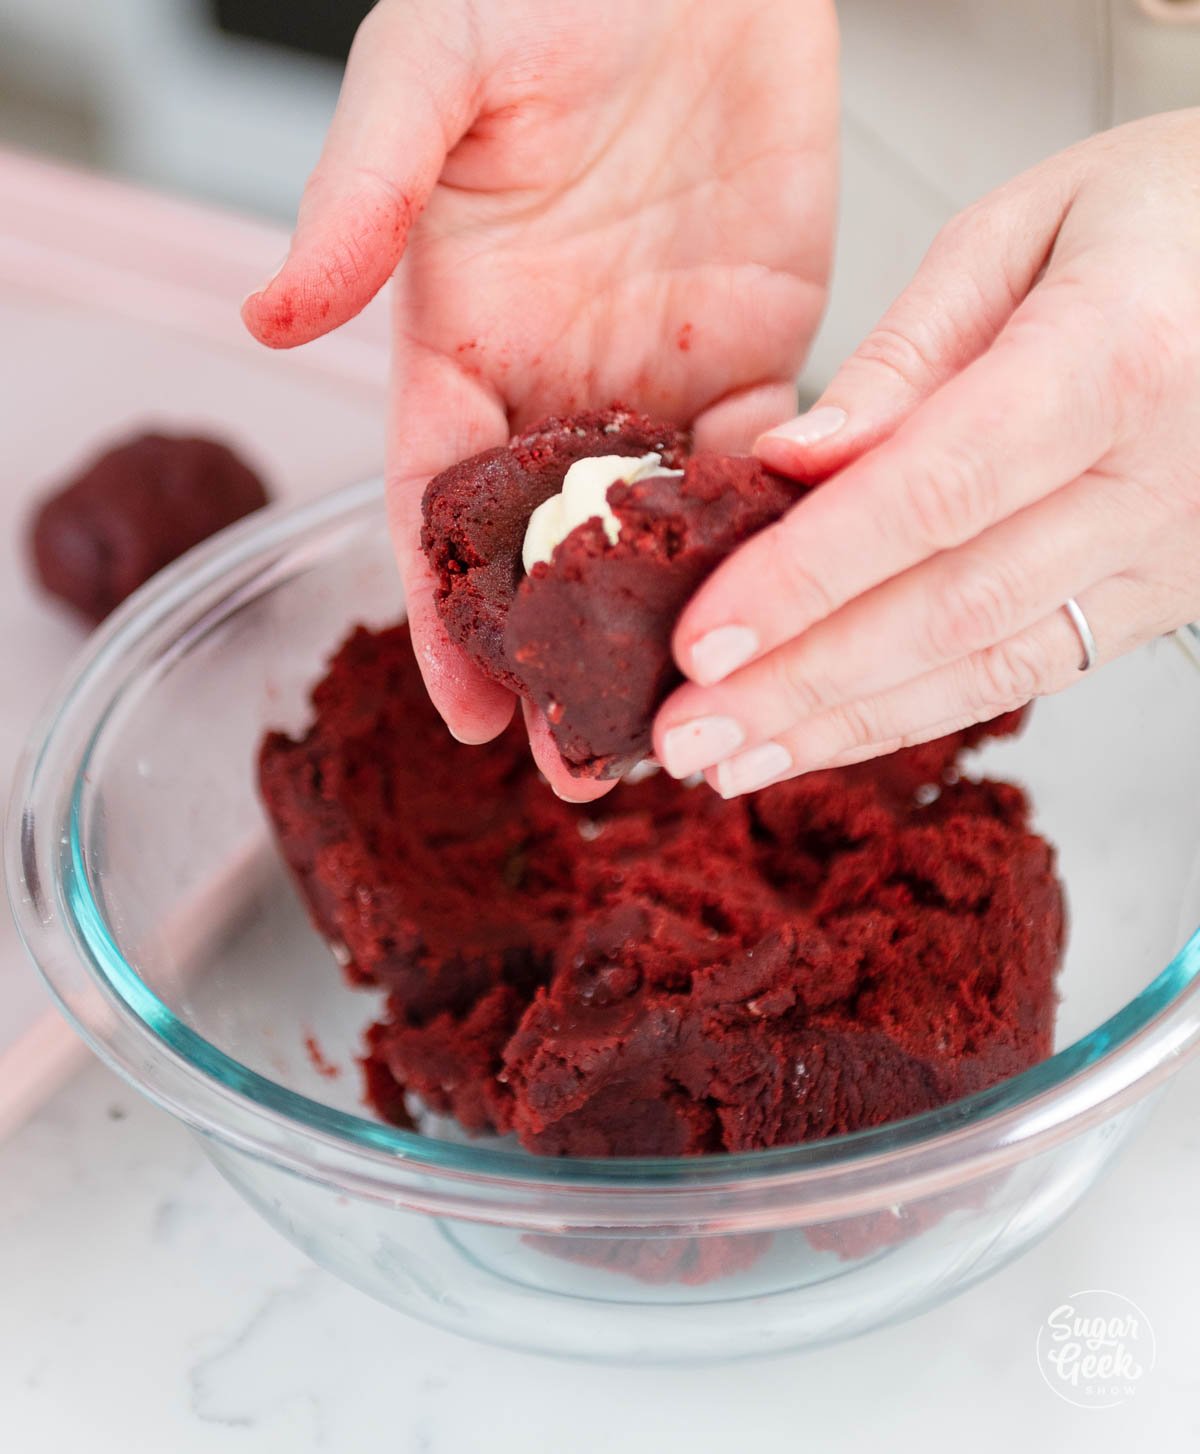
- Form the two pieces around your frozen ball of cream cheese frosting.

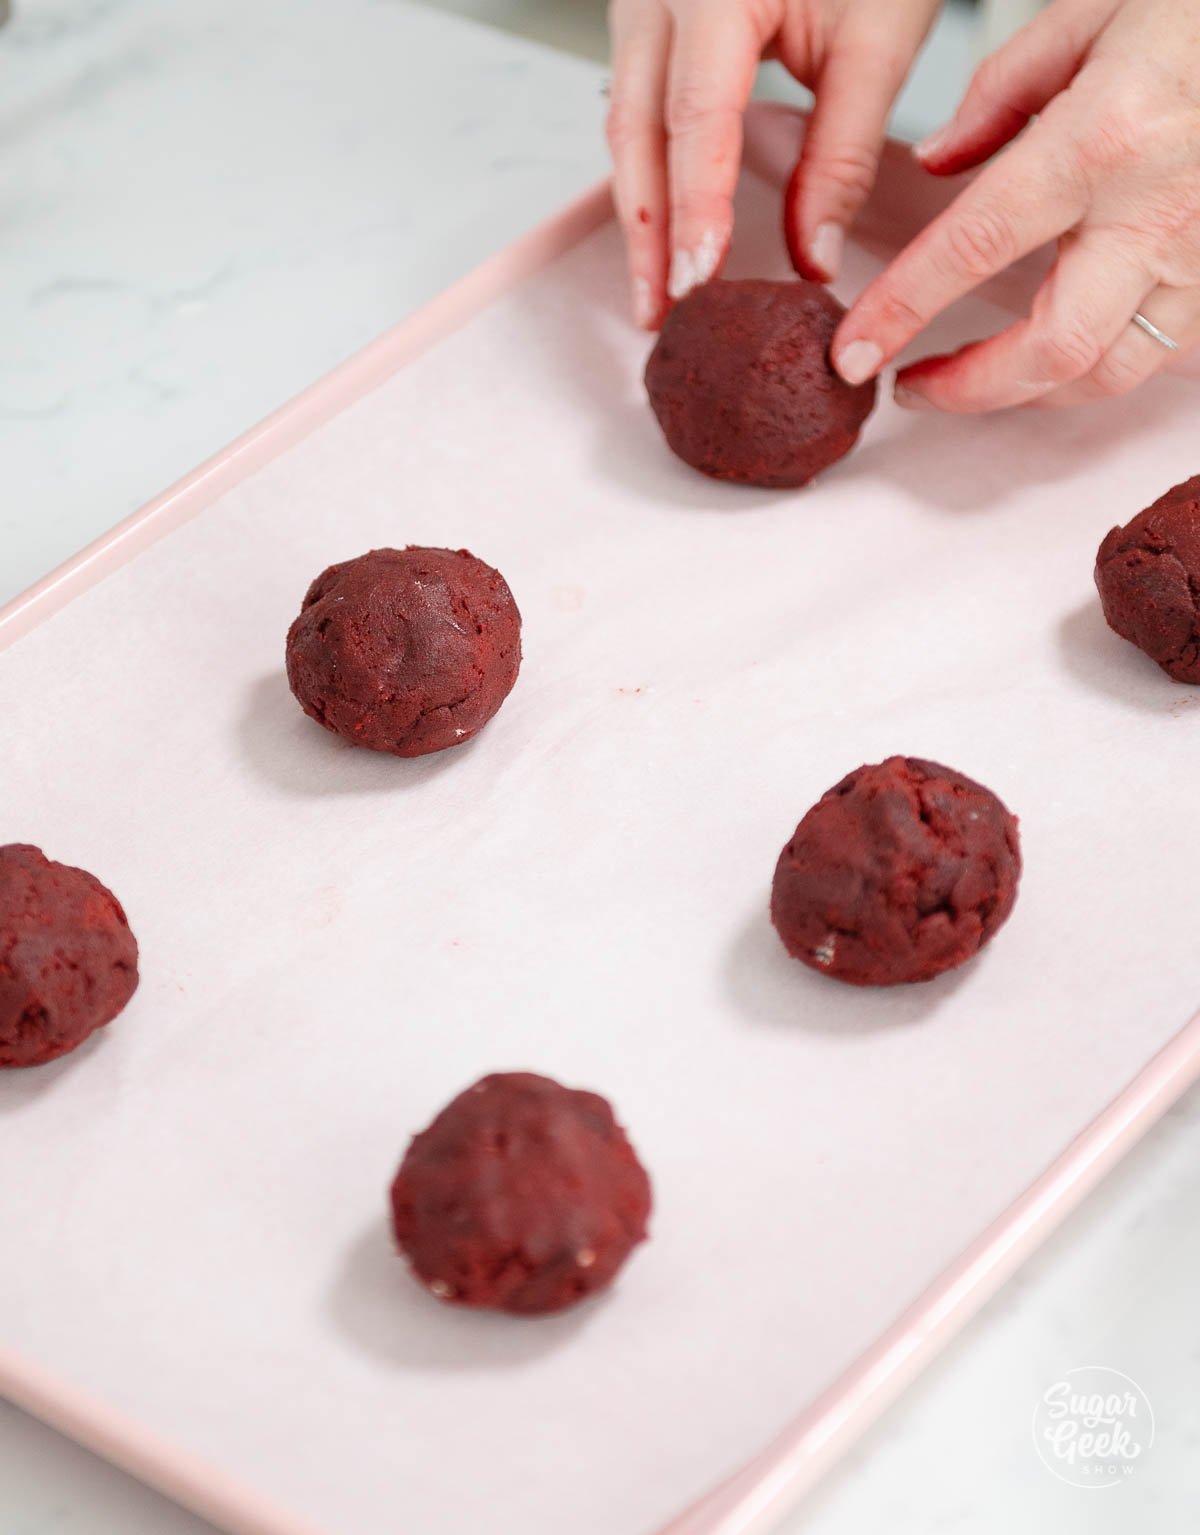
- Place the cookie back onto the cookie sheet and chill the cookies for 10 minutes.
Note: The cream cheese filling dollops do not freeze hard, so working quickly so it all doesn't get too sticky is ideal. This dough is also very sticky, if it becomes too sticky dip your fingers in some flour to help, or put the dough back in fridge.
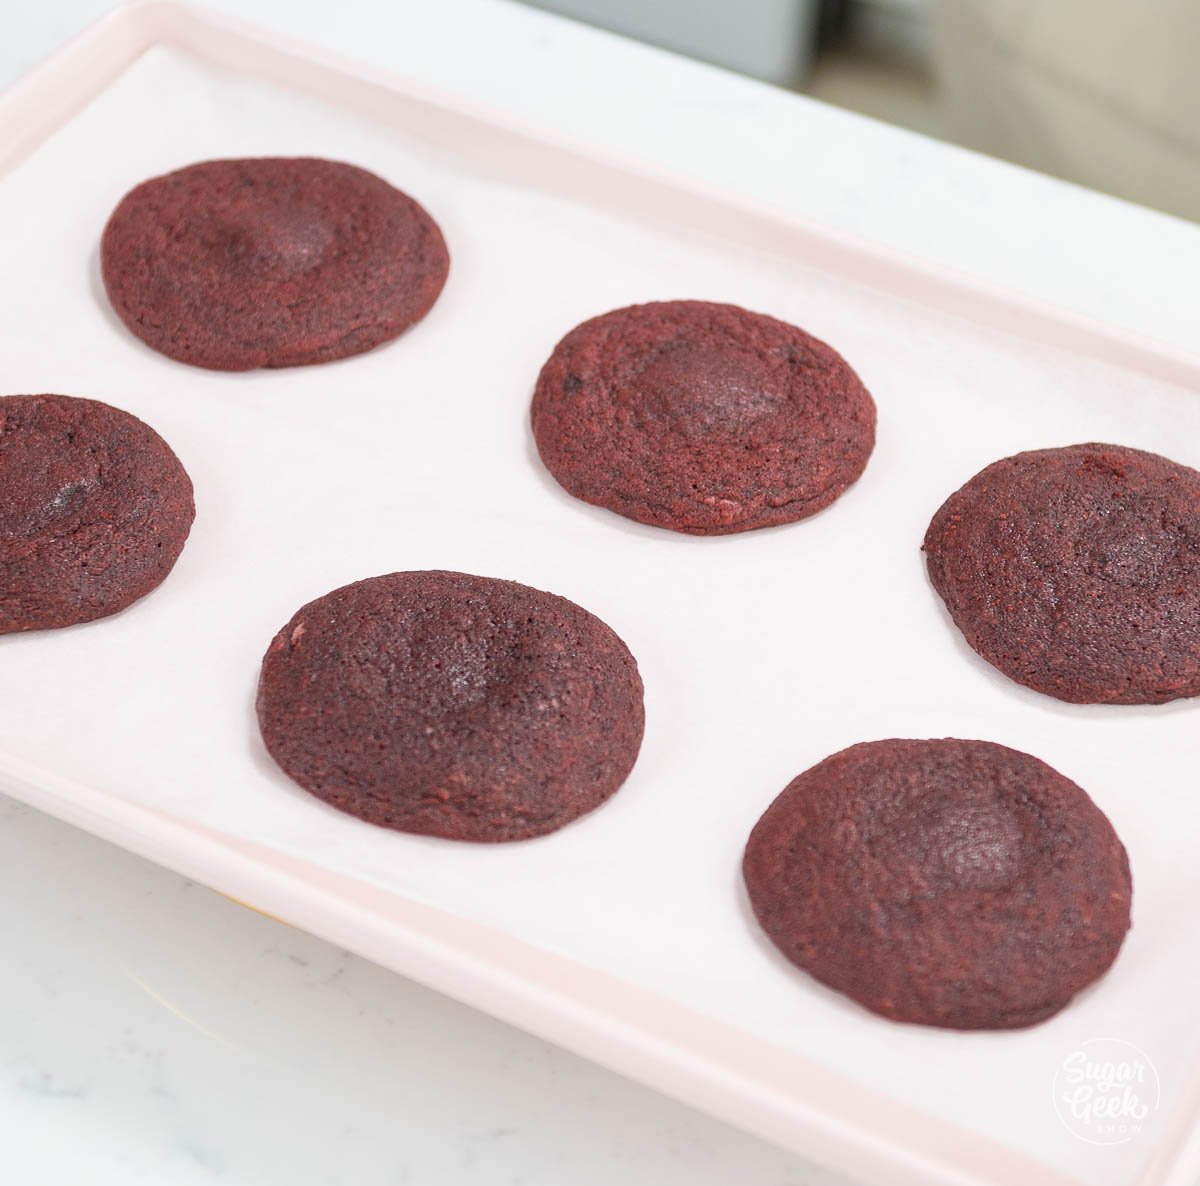
- Place your cookies onto your prepared baking sheet pan. I put about 6 cookies on each sheet pan to allow room to spread.

- Bake the cookies in the preheated oven for approximately 12-14 minutes. The center will look underbaked, if it appears wet, bake for another 1-2 minutes until it doesn't appear wet anymore.

- Once the cookies have cooled, temper some white chocolate and place it in a piping bag or parchment paper cone and drizzle across the top of the cookies.
The texture of these cookies bake up with a wonderful crisp edge and chewy centers.
How To Store Red Velvet Cookies
Because these cookies contain cream cheese, they should be stored in the fridge in an air-tight container to prevent drying out. However, they can be left at room temperature for about 4 hours safely.
Storing cookies in an air-tight container helps the cookies retain moisture.
Baked goods begin to stale after 24 hours so they should be eaten within 48 hours for the best flavor and texture.
If you're not going to enjoy those cookies within 48 hours you can freeze them! I like to freeze mine first then wrap them individually and put them into a ziplock freezer bag to prevent freezer burn and to keep them from sticking to each other.
FAQ
The main flavor of red velvet is vanilla and cocoa powder but what truly gives red velvet its name is the velvety texture and the hint of tang that comes from using buttermilk and cream cheese in the recipe.
If you don't use enough red food coloring or you don't use gel-based food coloring then the color of the cocoa powder will dominate the red and the cookies will look more brown rather than red.
Recipe
Ingredients
Red Velvet Cookies
- 1 ounce cocoa powder
- 12 ounces all-purpose flour
- 1 teaspoon soda
- ½ teaspoon salt
- 7 ounces unsalted butter room temperature
- 5 ounces brown sugar
- 5 ounces white sugar
- 2 large eggs room temperature
- ½ teaspoon vanilla
- 1 Tablespoon red food color gel
- 1 Tablespoon buttermilk
- 4-6 ounces white chocolate for decoration
Cream Cheese Filling
- 6 ounces cream cheese room temp
- 5 ounces powdered sugar
- ½ teaspoon salt
- 1 Tablespoon flour
Instructions
Cream Cheese Filling
- Using a hand mixer or stand mixer, combine the cream cheese, sugar, flour and salt until smooth. Take care not to over mix as cream cheese liquifies the more it is mixed.
- Place the cream cheese mixture into a piping bag and pipe or scoop about 2 teaspoon-sized mounded disk-shaped onto parchment and place them in the freezer. Let them freeze for at least 30 minutes.
Red Velvet Cookies
- In a separate bowl combine the flour, cocoa powder, baking soda, and salt. Whisk it together and set it aside.
- In the bowl of your stand mixer, cream together the butter and white sugar, and brown sugar until it is pale and fluffy.
- Add the eggs one at a time until each egg is fully incorporated.
- Add the vanilla, red food coloring, and buttermilk. Mix it together until just combined.
- Add in the flour mixture gradually while the mixer is running on low, until the dough is fully mixed. Make sure to scrape the bottom of the bowl so all of the butter and sugar are evenly mixed into the dough.
- Chill the cookie dough for at least 60 minutes or overnight.
- Using a medium sized cookie scoop, scoop a 2oz size ball of dough. Working quickly with the cold dough, pull it in 2 pieces and sandwich a dollop of cold cream cheese filing in the center and gently form the dough around it into a ball. Place it back onto the cookie sheet and chill the cookies for 10 minutes.The cream cheese filling dollops do not freeze hard, so working quickly so it all doesn't get too sticky is ideal. This dough is also very sticky, if it becomes too sticky dip your fingers in some flour to help, or put the dough back in fridge.
- Place 6 cookies on a sheet pan and bake them in a 350ºF oven for approximately 12-14 minutes. The center will look underbaked, if it appears wet, bake for another 1-2 minutes until it doesn't appear wet anymore.
- Once the cookies has cooled, temper your white chocolate and place in a piping bag or parchment paper cone and drizzle across the cooled cookie. Give the cookie at least 30 minutes for the chocolate to set up before trying to handle it.


Leave a Reply