Monster Mash Halloween Cheesecake Brownies
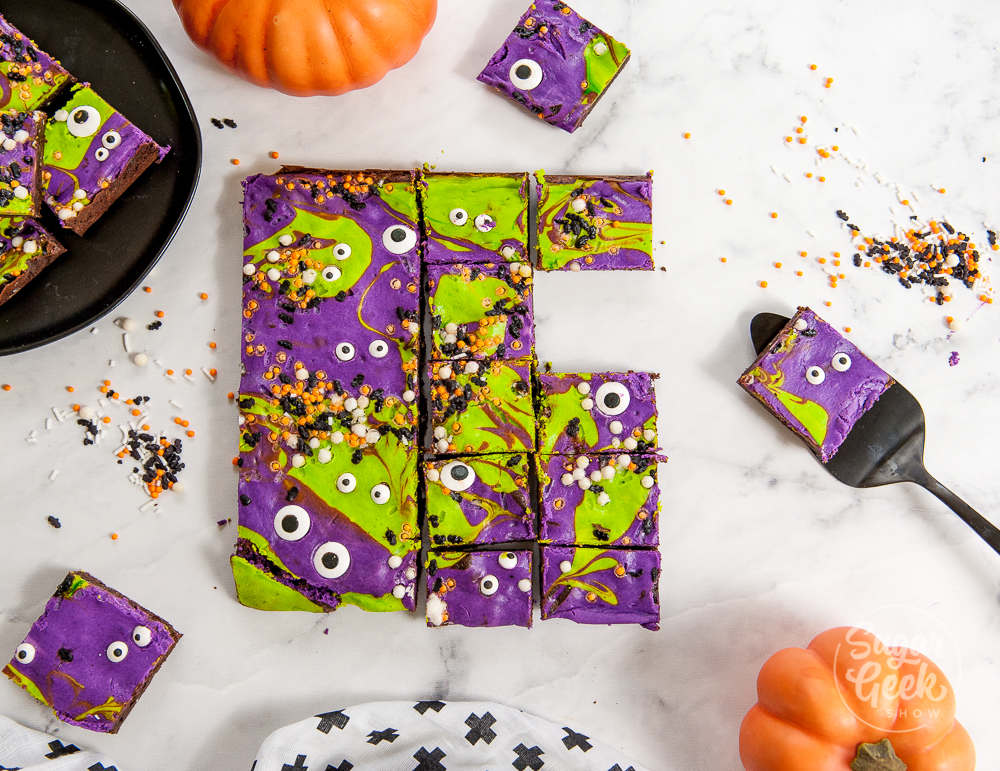
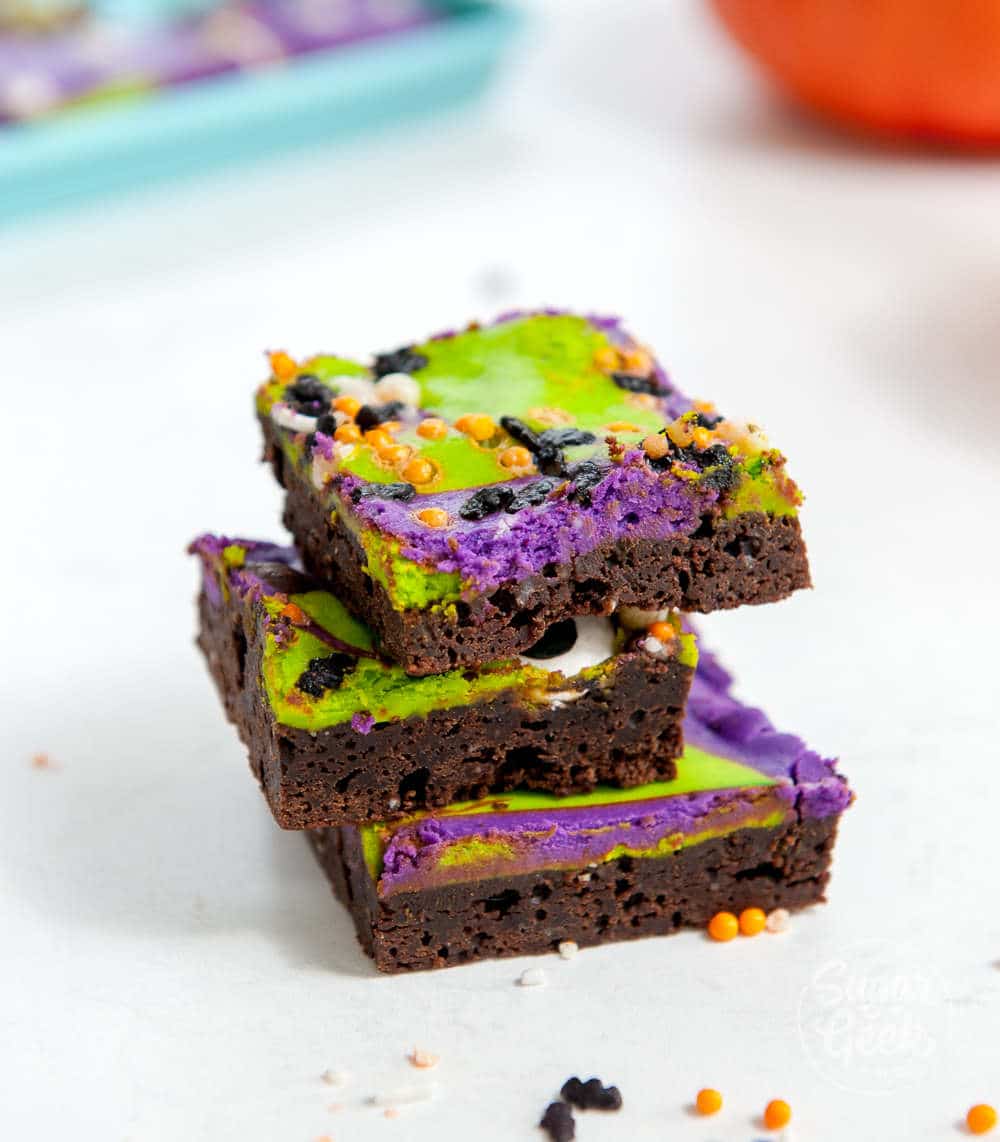
I made these monster mash cheesecake brownies for my son's one-month-old Instagram photo (yes I am that extra). My family completely loved these brownies and devoured them! The fudgy brownie layer is balanced perfectly with that yummy cream cheese. The fact that they look like funny monsters with eyes is just a bonus.
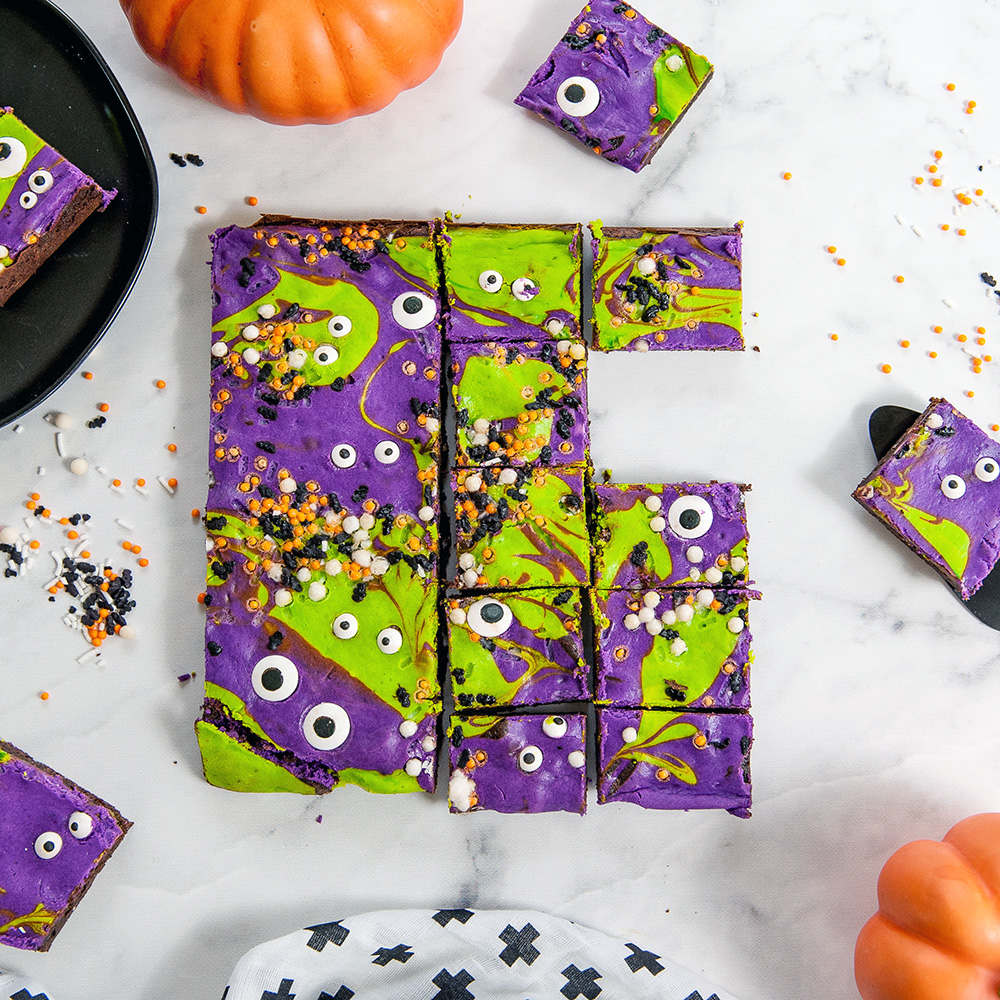
This recipe is based on a recipe I found on pinterest. The photo was really cute but was based on box mix brownies and canned frosting. I have nothing against boxed but I prefer the taste of my homemade fudgy brownies. So I adapted my recipe to include a cream cheese layer and voila! Monster mash cheesecake brownies! So cute, colorful, and perfect for Halloween.
How to make monster mash cheesecake brownies
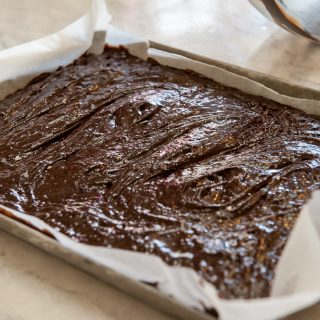
Making these monster mash cheesecake brownies is really simple. Just mix up your brownie batter and pour into a 9"x13" pan lined with parchment paper. Spread the batter out because it is kind of thick.
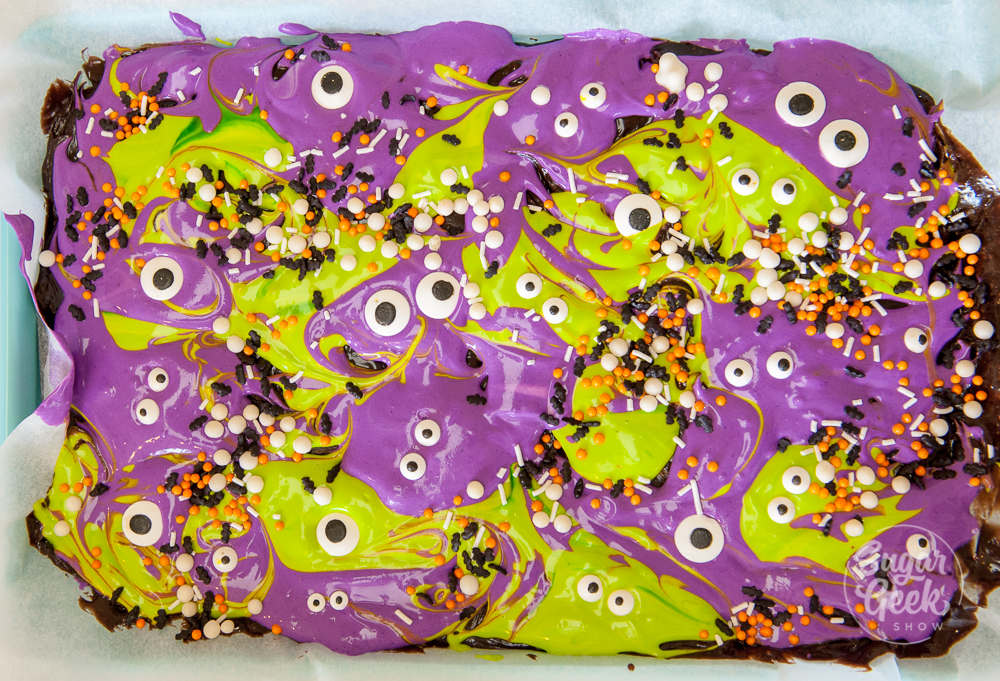
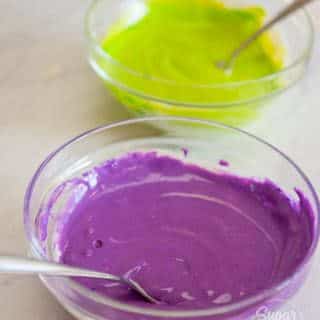
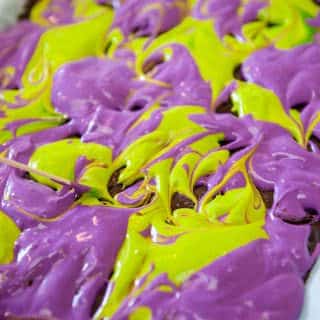
Then make your cream cheese topping, divide it into two bowls and color it with food coloring. I used about ¼ of a teaspoon of yellow and green for one bowl and ¼ of a teaspoon of pink and purple for the other bowl. Using yellow with the green makes the green more intense and vibrant looking. Same thing for using pink in the purple. If you don't build your colors, they can look a little flat.
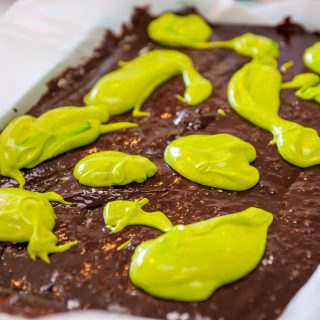
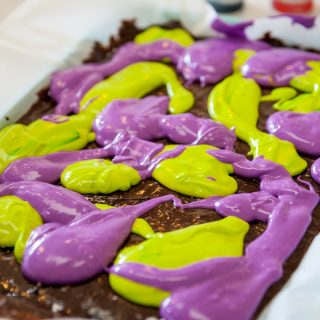
Then, spoon your cream cheese topping on top of the brownie batter randomly. Swirl the colors together slightly with a toothpick.
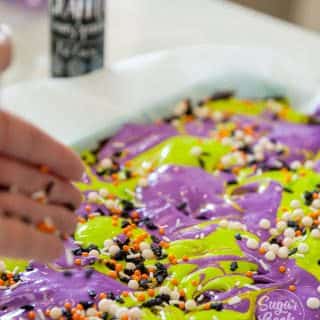
I also added some Halloween sprinkles from in2Food to add some more texture and color to the cheesecake brownies.
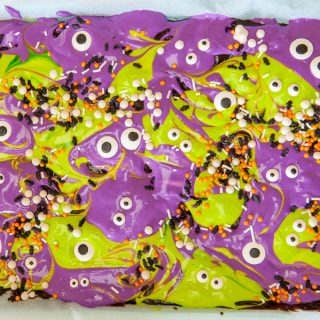
The first time I baked these, I also added eyeball sprinkles but found that they kind of melted during the baking process. The second time I made these I added the eyeballs after the cheesecake brownies where done baking and that worked a lot better.
Just don't cover the cheesecake brownies in plastic wrap when you put them in the refrigerator because the condensation causes the eyeballs to run.
How to know when the cheesecake brownies are done baking
You want to take these brownies out of the oven when a toothpick inserted into the center of the brownie comes out with a few sticky crumbs. If you wait until the toothpick comes out clean, they will be over-baked. Brownies continue baking for about 10 minutes after you take them out of the oven.
If you bake your cheesecake brownies in a dark metal pan, they will bake much faster so keep an eye on them and check them for doneness about 10 minutes earlier.
Don't put your pan too close to the top of the oven or your cheesecake topping could brown and look discolored.
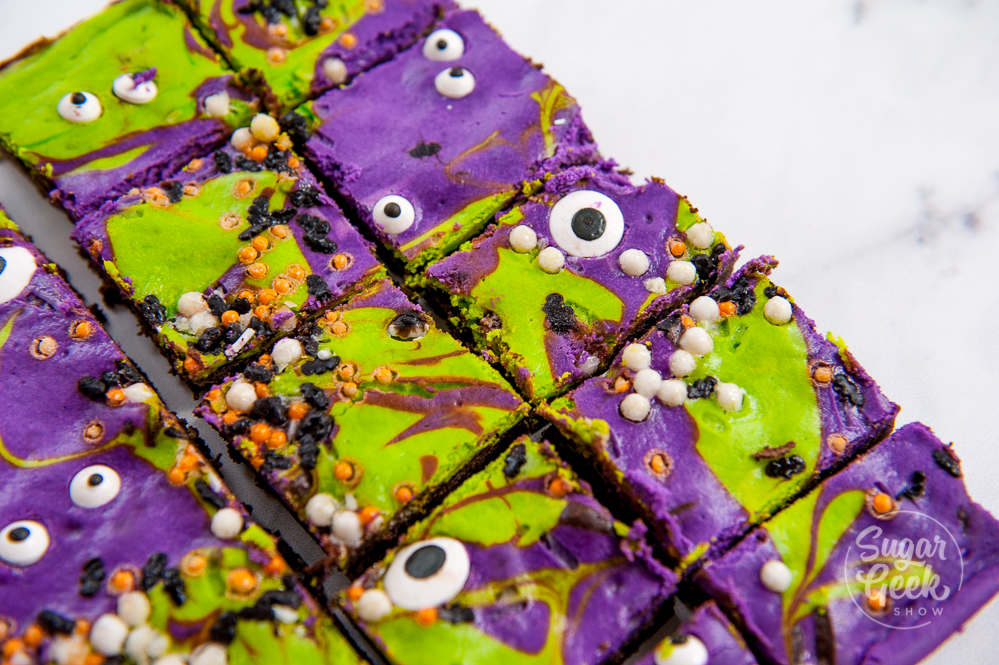
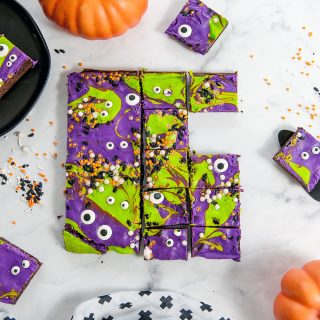
After your cheesecake brownies have cooled, you can lift them out of the pan by the parchment paper which makes them a lot easier to cut into squares. I got about 20 squares from one pan.
I love how fun and colorful these monster mash cheesecake brownies are! You can totally switch up the colors and sprinkles for other holidays as well!
Other recipes you might love
Easy fudgy homemade brownies
Spider egg cake tutorial
Death by chocolate cake
Recipe

Equipment
- 9"x13" Pan
Ingredients
Brownies
- 8 ounces unsalted butter
- 4 ounces chocolate dark, semi-sweet or milk
- 4 large eggs
- 6 ounces sugar
- 4 ounces brown sugar
- 2 ounces cocoa powder
- 5 ounces AP flour or cake flour for a more tender brownie
- 2 teaspoons vanilla extract
- ½ teaspoon salt
Cream Cheese Topping
- 16 ounces cream cheese softened
- 4 ounces sugar
- 2 large eggs room temperature
- ½ teaspoon vanilla extract
Instructions
Cheesecake Topping Instructions
- Place cream cheese into the bowl of a stand mixer with the paddle attachment and cream until smooth.
- Add in your sugar and cream until smooth.
- While mixing on low, add in the vanilla and then your eggs one at a time, letting each one incorporate fully before adding the next. Scrape the bowl. Cream until smooth (2-3 minutes)
- Divide the cream cheese mixture into two bowls. Color one with the yellow and green food coloring and the other bowl with the pink and purple. Set aside.
Brownie Instructions
- Preheat your oven to 350ºF. Line a ¼ sheet pan with parchment paper so there is 1" of overhang on all sides.
- Melt your butter and chocolate together in a heatproof bowl over simmering water or in the microwave. Let cool until it no longer feels hot to the touch.
- Whisk together your sugar, salt, vanilla and eggs in a bowl until just combined.
- Sift together the flour and cocoa powder to remove lumps and then set aside.
- Add your melted chocolate mixture to the egg mixture and whisk until just combined.
- Add your chocolate egg mixture to the flour mixture and stir gently until just combined and no flour lumps are visible.
- Pour your batter into the parchment-lined pan.
- Spoon alternating dollops of the colored cream cheese batter on top of the brownies and swirl the colors together.
- Add some sprinkles if desired
- Place the pan in the center of the oven and bake until a toothpick comes out from the center with a few sticky moist crumbs. About 35 minutes.
- Remove the pan from the oven and place onto a cooling rack. Place eyeball sprinkles on top of cream cheese layer
- Let cool slightly before slicing and serving. Do not cover or the black pupils on the eyeballs will run.


Alice says
These are SO good and easy! I made them for a Halloween party this week and they were a huge hit. Planning on doing them for Christmas again and making them red and white.
The Sugar Geek Show says
Thanks so much!
Michele Elliott says
I love your recipe, Liz, thank you so much! Last year, for Halloween I followed your color examples and added large and small eyeballs and it came out looking very much like yours, so cute and delicious! This year, it's my daughter's birthday and we're having an ice cream bar. I made your brownies and colored the cheesecake part, pastel pink, yellow, white and teal with pearl sprinkles and edible rosettes. Sooooo pretty and will be delicious with the ice creams scoops (vanilla and chocolate chip mint). I love how I can change up the colors and designs 😀. Thank you again!
Lori Mattsson Bjorke says
So delicious and easy to make. I used a glass pan and lowered the temp 25 degrees and baked for 10 minutes longer. They turned out great but I’ll be buying an aluminum pan for future bakes.