


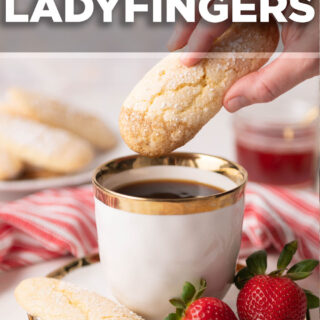

Ladyfingers are a great recipe to learn how to make because they are a main ingredient in many popular desserts such as tiramisu, charlotte cake, and trifles. They are super light and fluffy, making them a perfect snack during your next coffee break.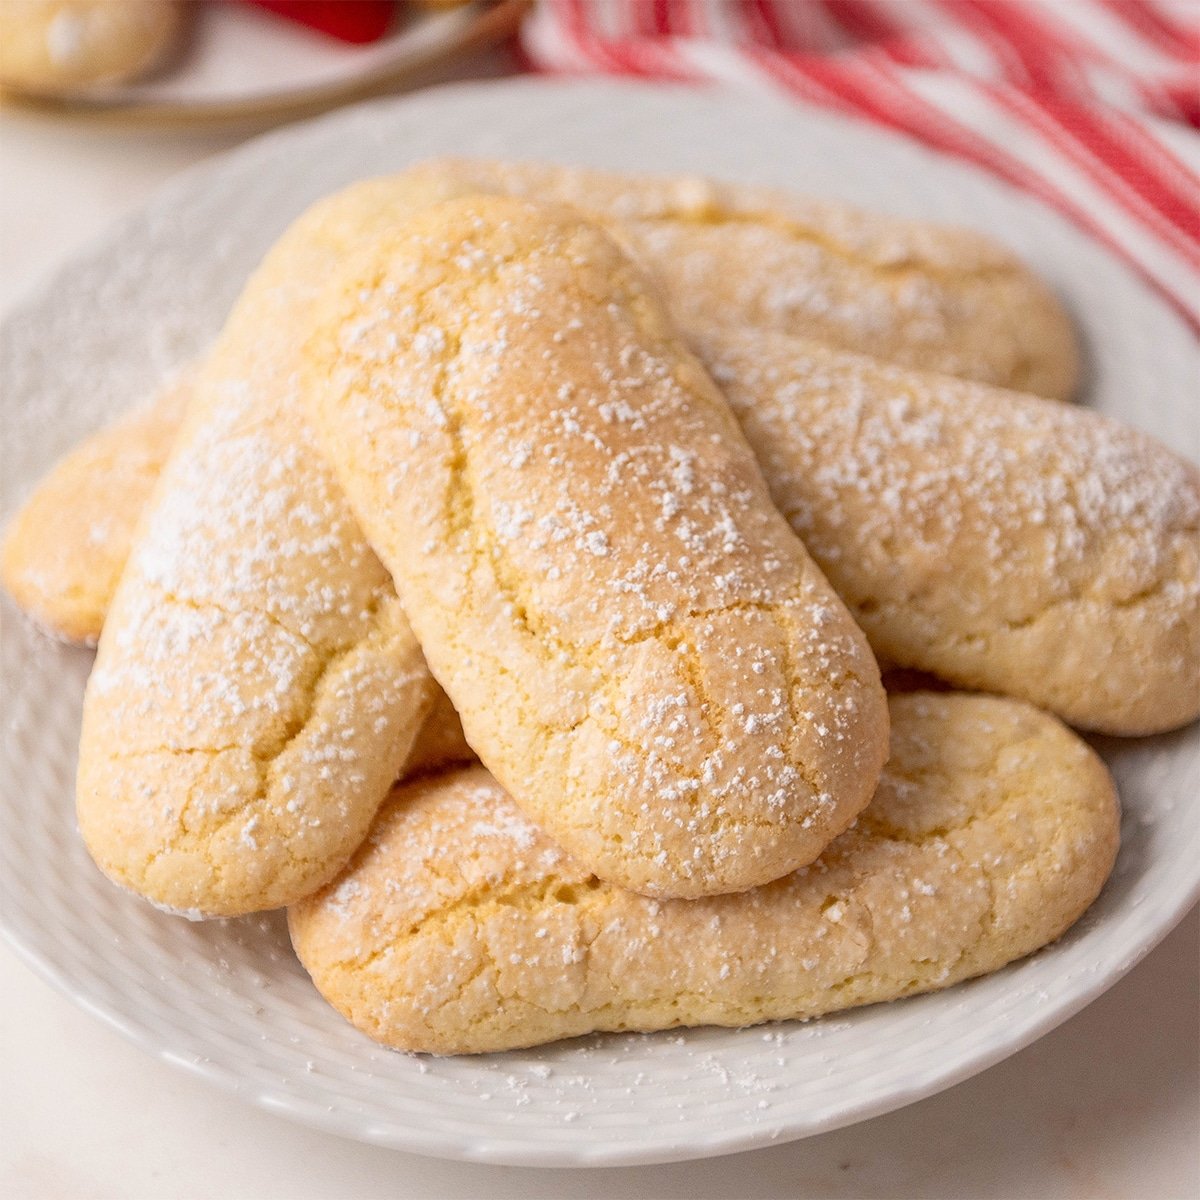
Ladyfingers are meringue-based cookies which makes them super spongey. That makes them great cookies for soaking up any kind of liquid they come into contact with. They are way softer than the ladyfingers you’d find at a store, so they can hold more liquid to enhance your desserts.
What's In This Blog Post
LADYFINGER INGREDIENTS
The best part about this recipe is that there are no special ingredients you need to go hunting for to make this recipe. There are only five ingredients and they are probably already in your pantry if you are a regular baker. ( PHEW! No extra trip to the store necessary.)

Vanilla: For this recipe we are using extract, but you can use a vanilla bean or vanilla paste. I am using vanilla extract from Neilson Massey.
LADYFINGERS STEP BY STEP
- Preheat your oven to 350º F.
- Prepare a sheet pan with some parchment paper
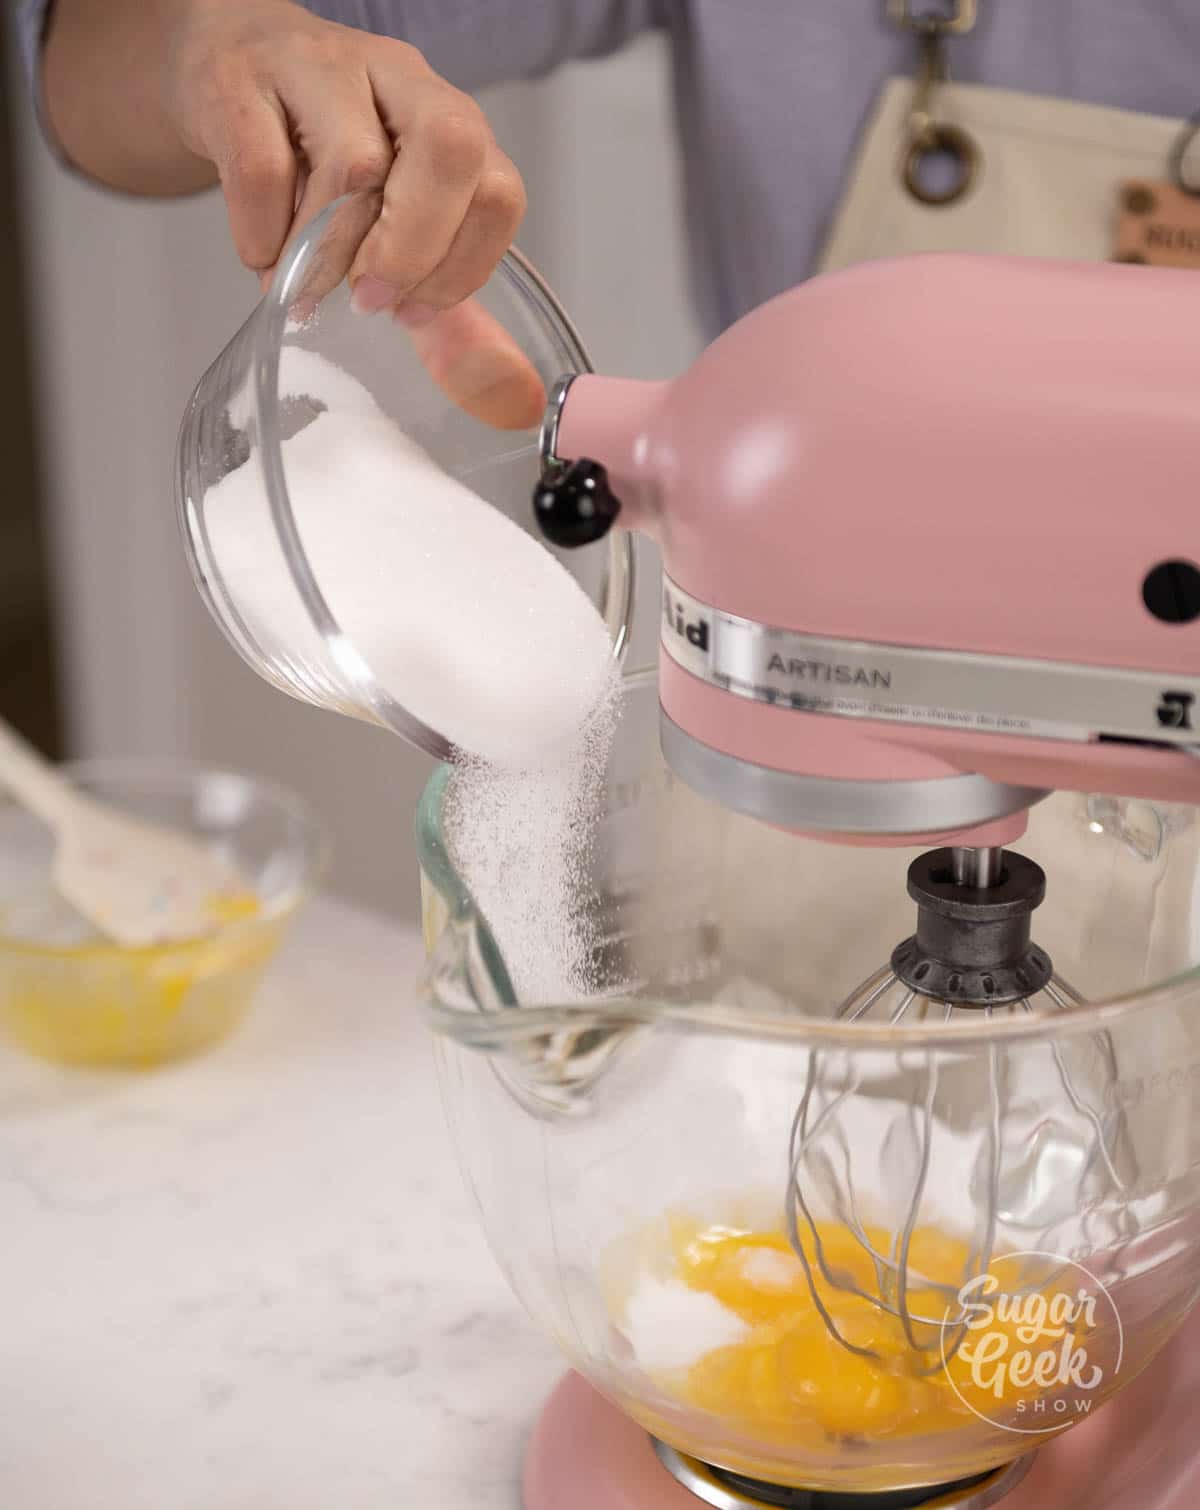
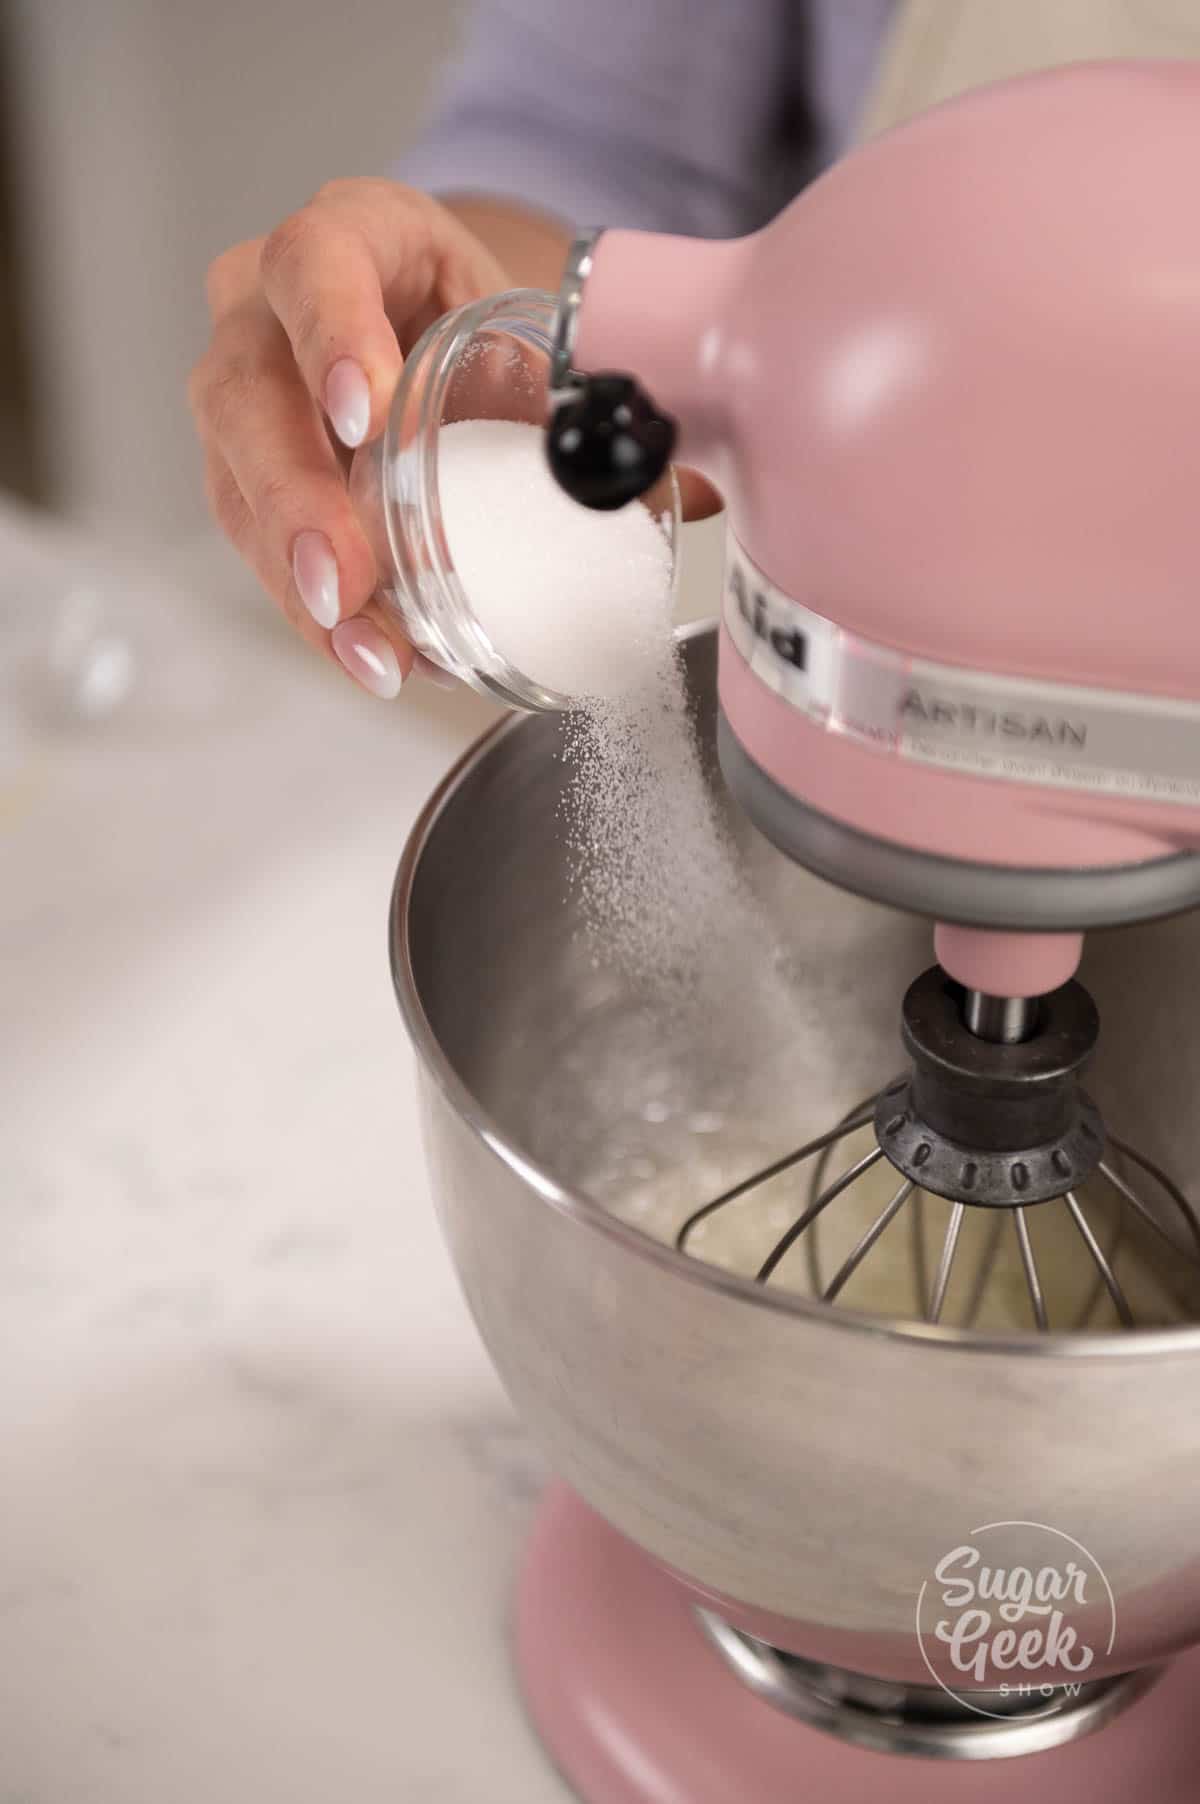
- Place your egg yolks into the bowl of a stand mixer with the whisk attachment. Turn the mixer on low and sprinkle in your first measurement of sugar.

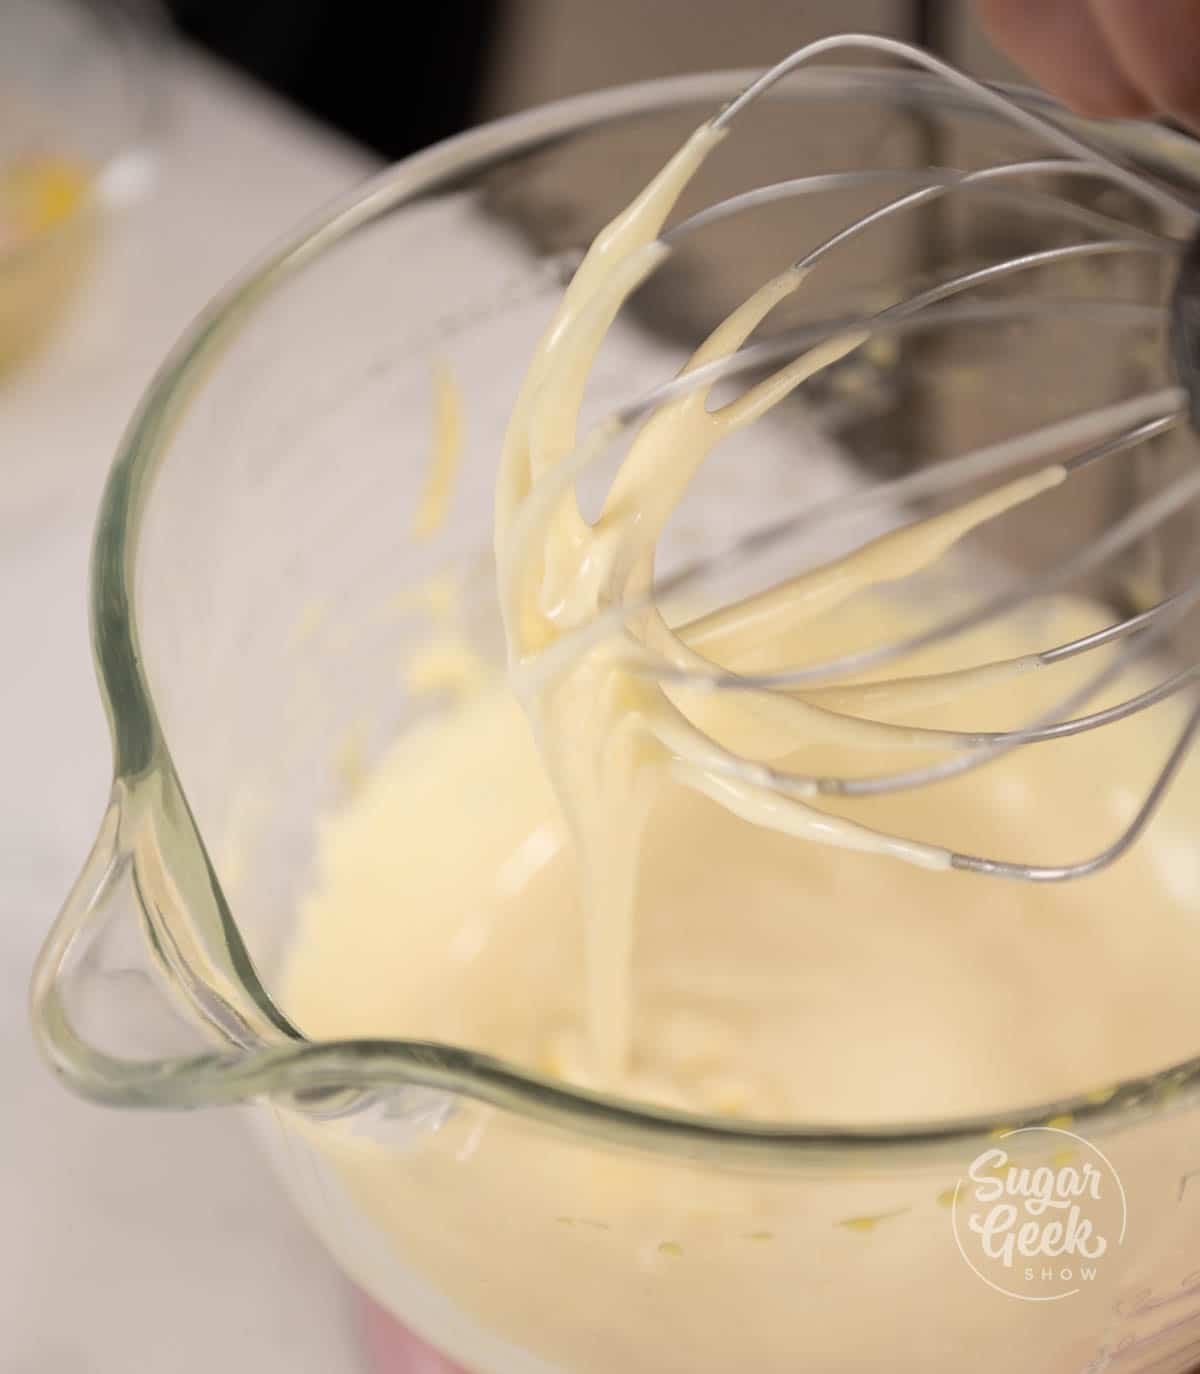
- Once the egg yolks are combined, increase the speed to medium-high. Whip until the mixture triples in volume, is pale in color, and forms a thick ribbon on the surface of the batter when you drizzle it onto itself. This may take about 3-4 minutes.

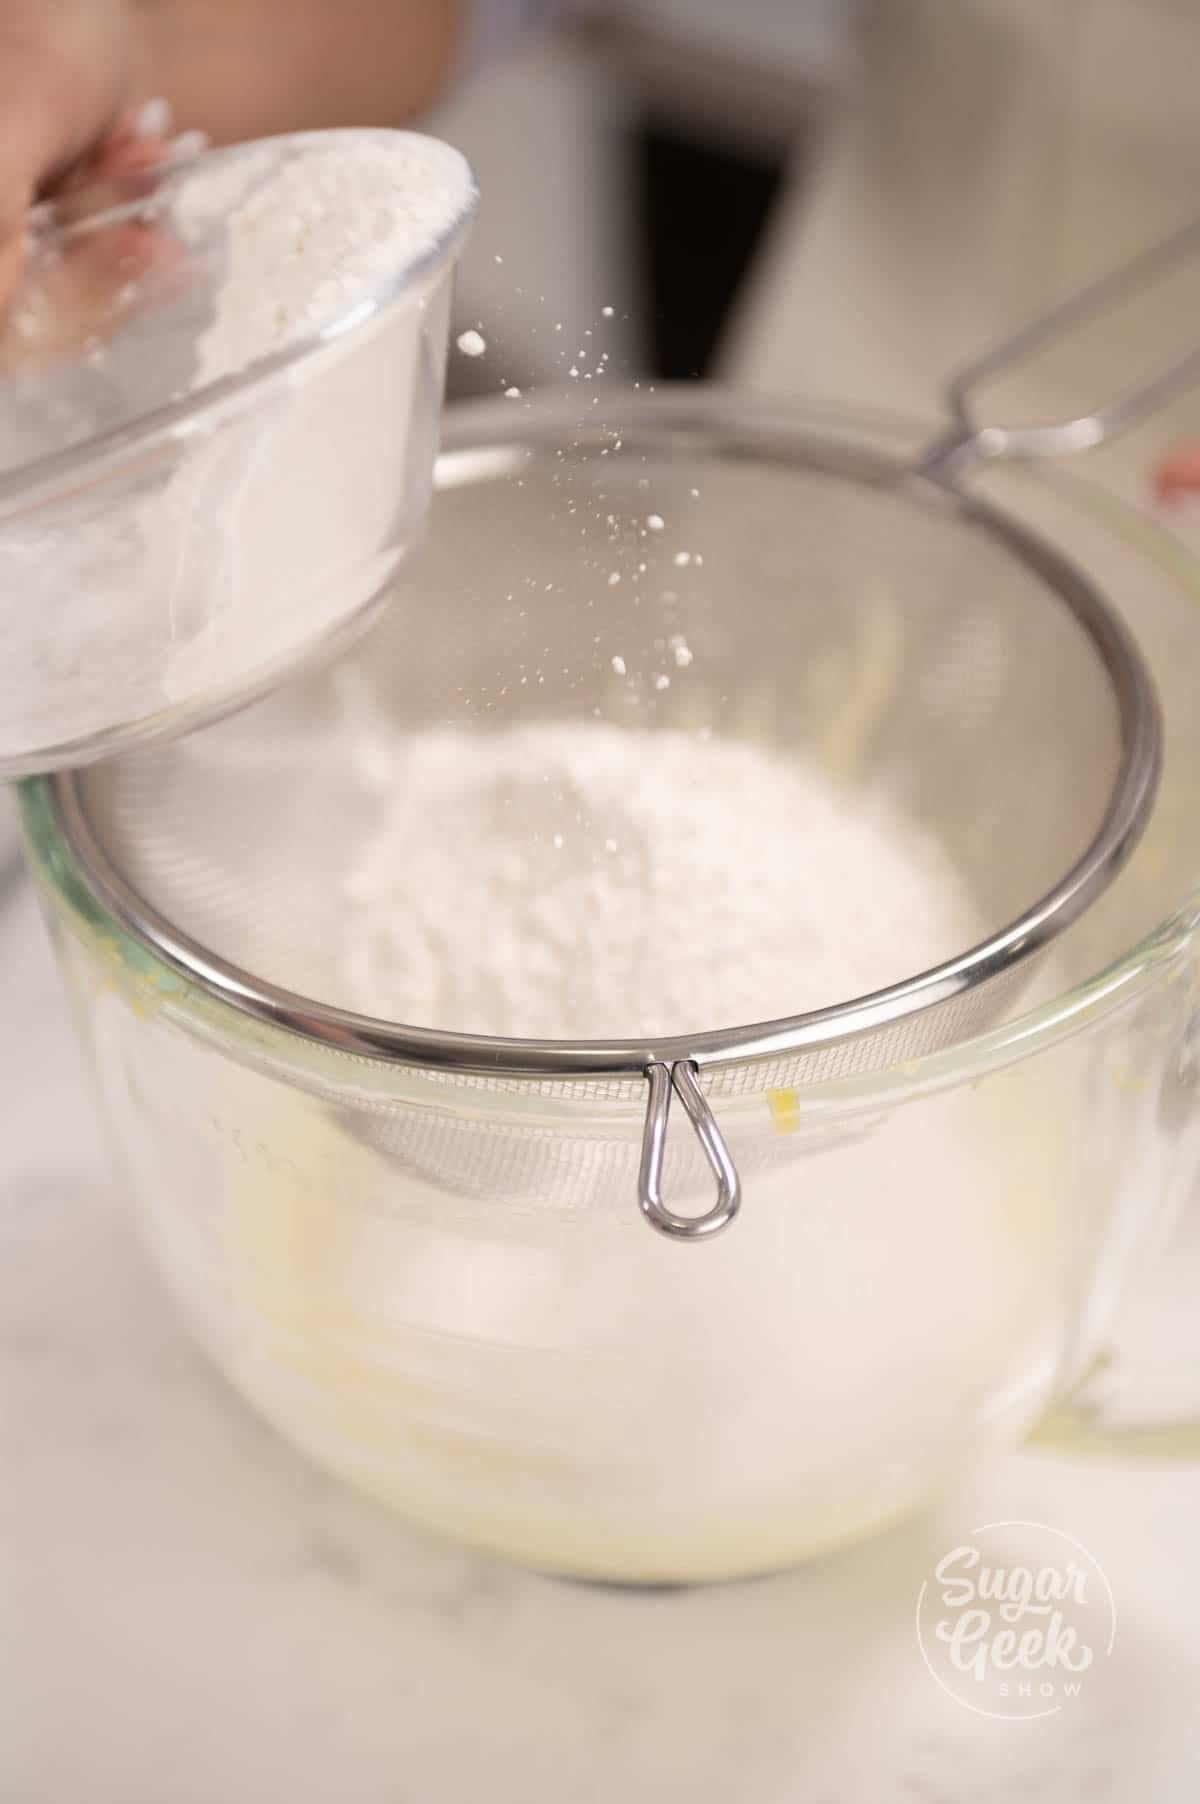
- Combine your flour and salt together in a separate bowl.
- Sift half of the flour mixture over the egg mixture, then gently fold it using a spatula.

- Once your flour and egg mixture is incorporated, sift in the second half of the flour. Continue folding until everything is combined. Set aside.

- In a separate mixer bowl, add in your egg whites with your whisk attachment.
- While mixing on medium speed, sprinkle in the second measurement of sugar, then increase the speed to medium-high.
- Continue whipping until you reach medium-stiff peaks.
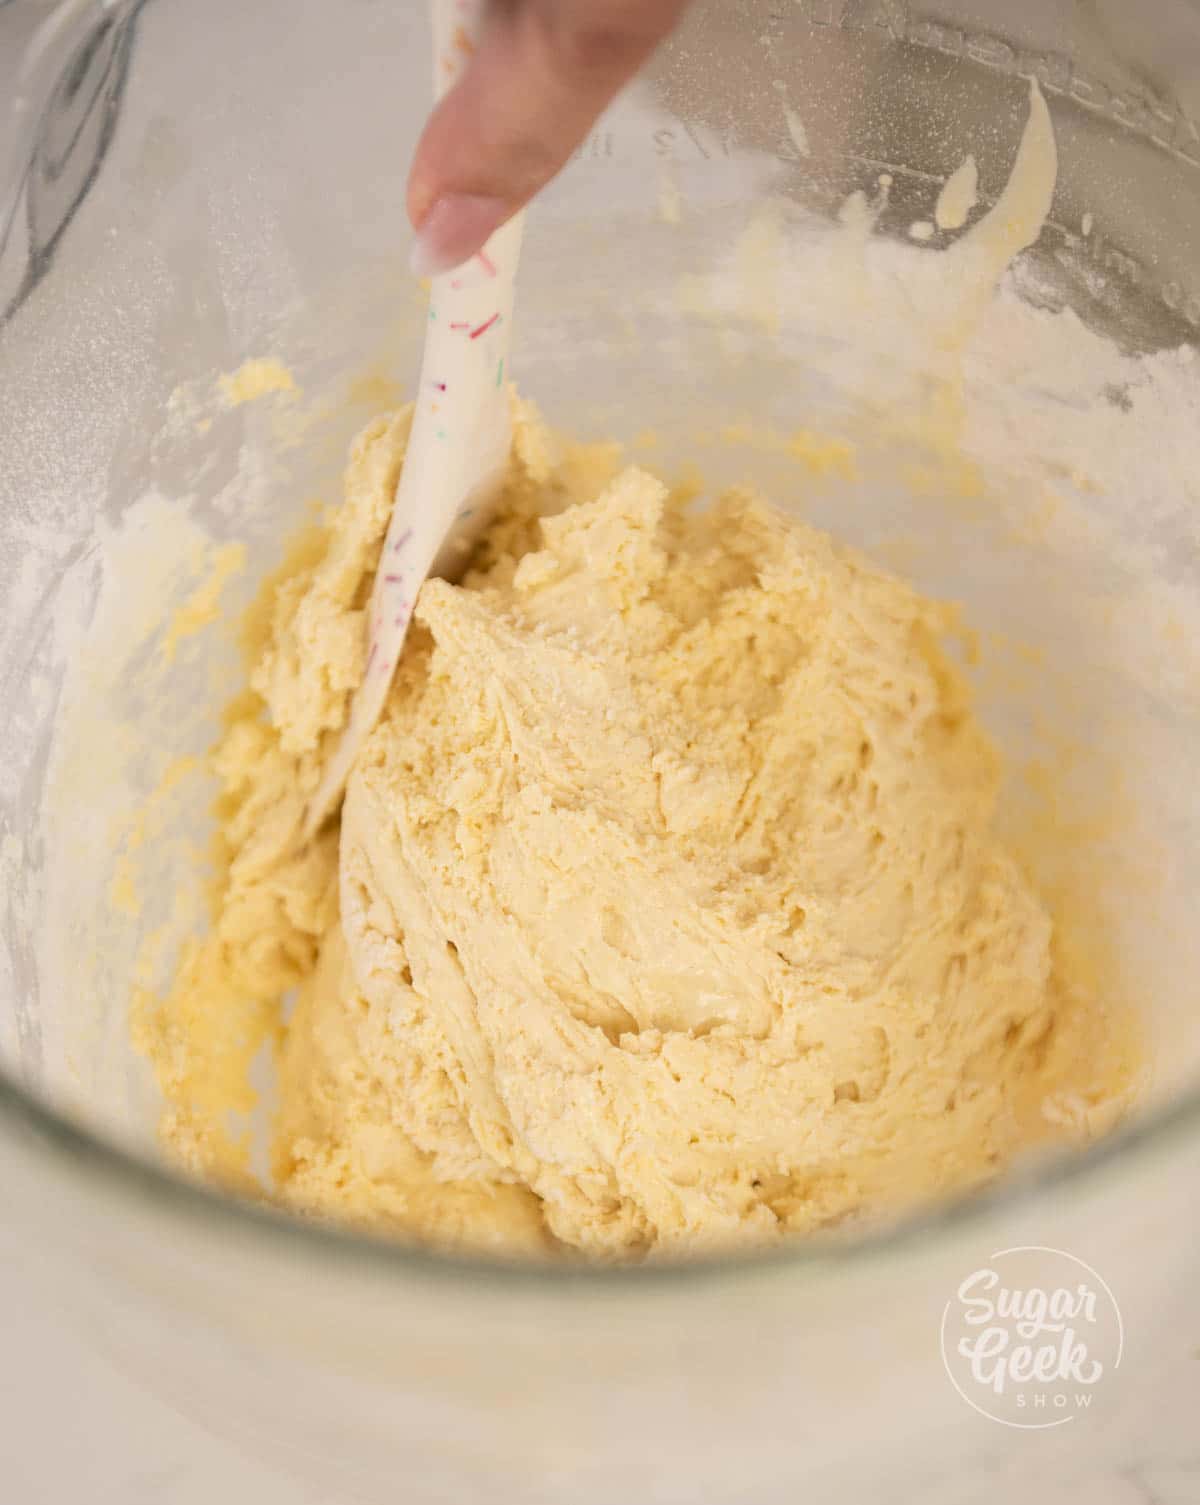
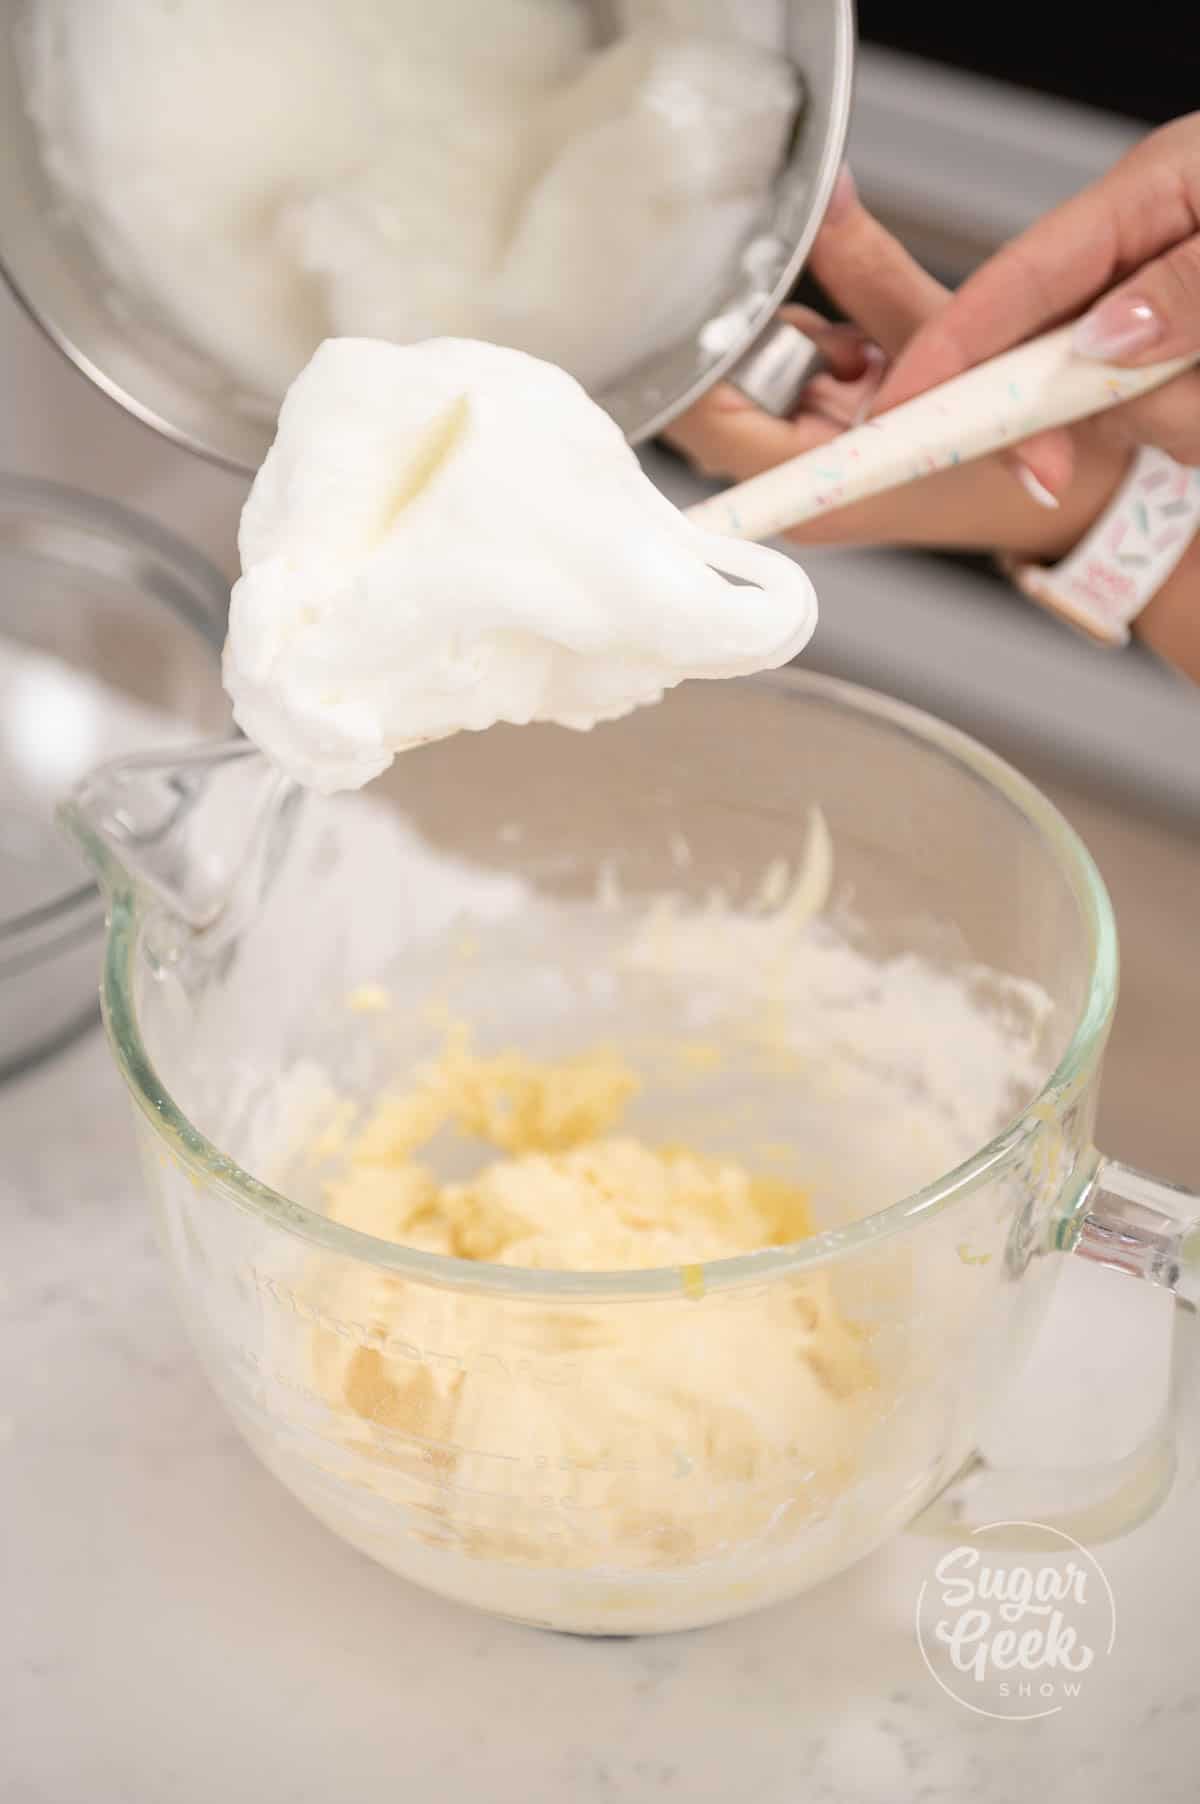
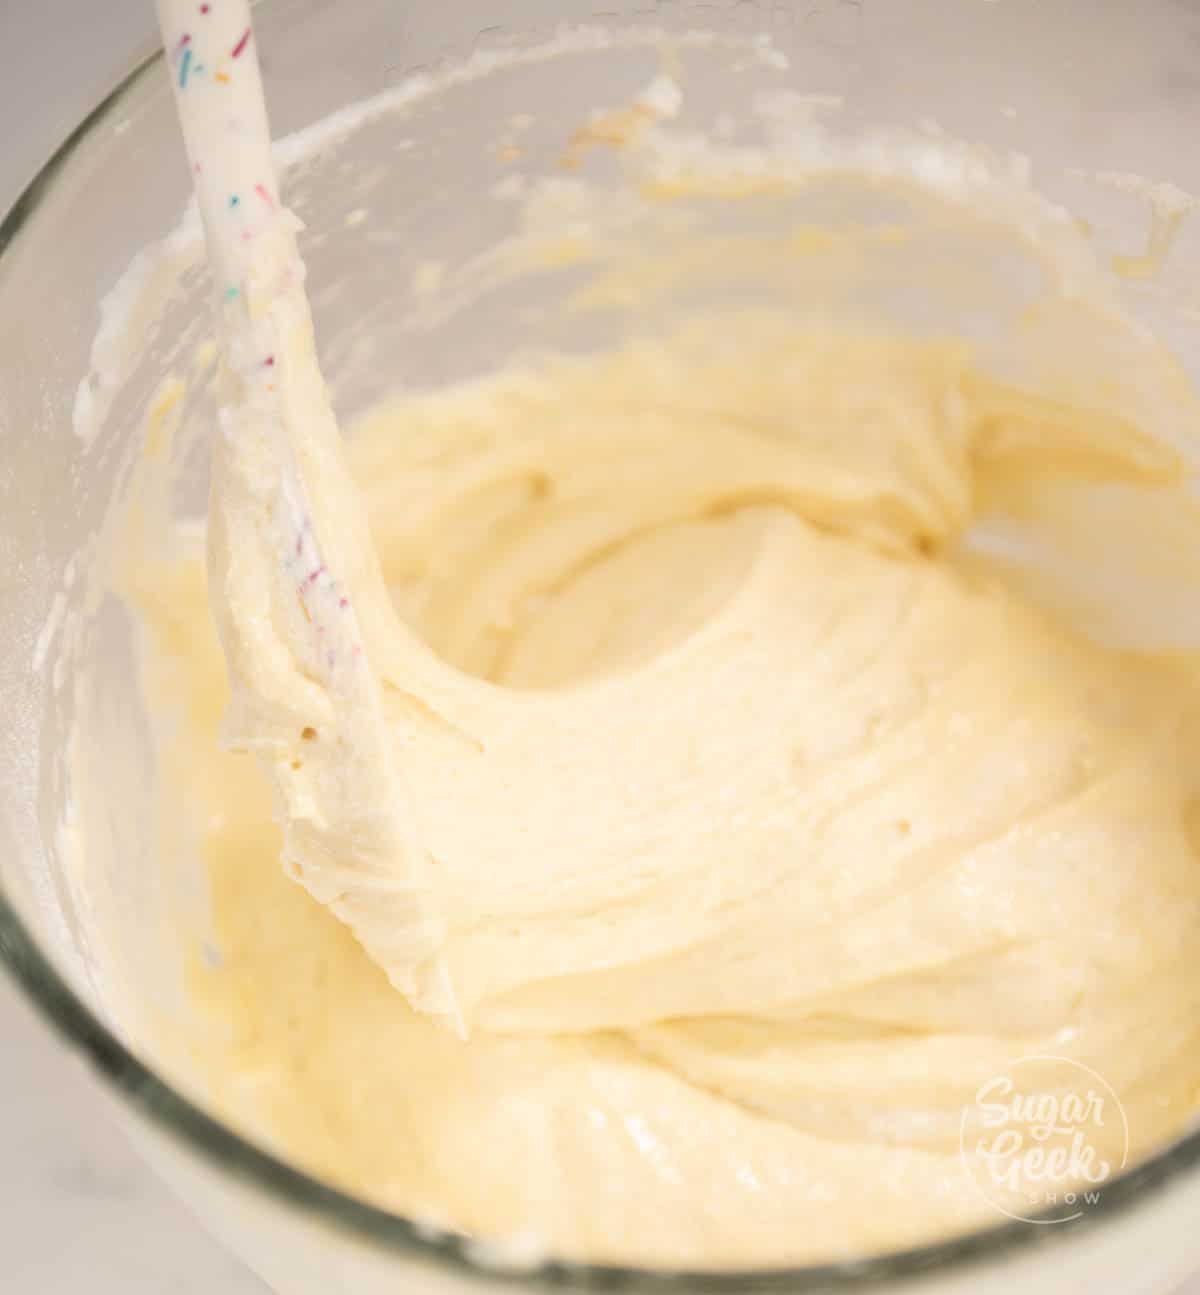
- Fold ⅓ of the meringue into the egg yolk mixture using a spatula to lighten its density. This might take a few minutes to work all the meringue in but just keep folding.
- Then add in the rest of your meringue and continue folding carefully until it's homogeneous. Be careful not to over mix because you will knock out the air inside your batter and your lady fingers will not rise well.

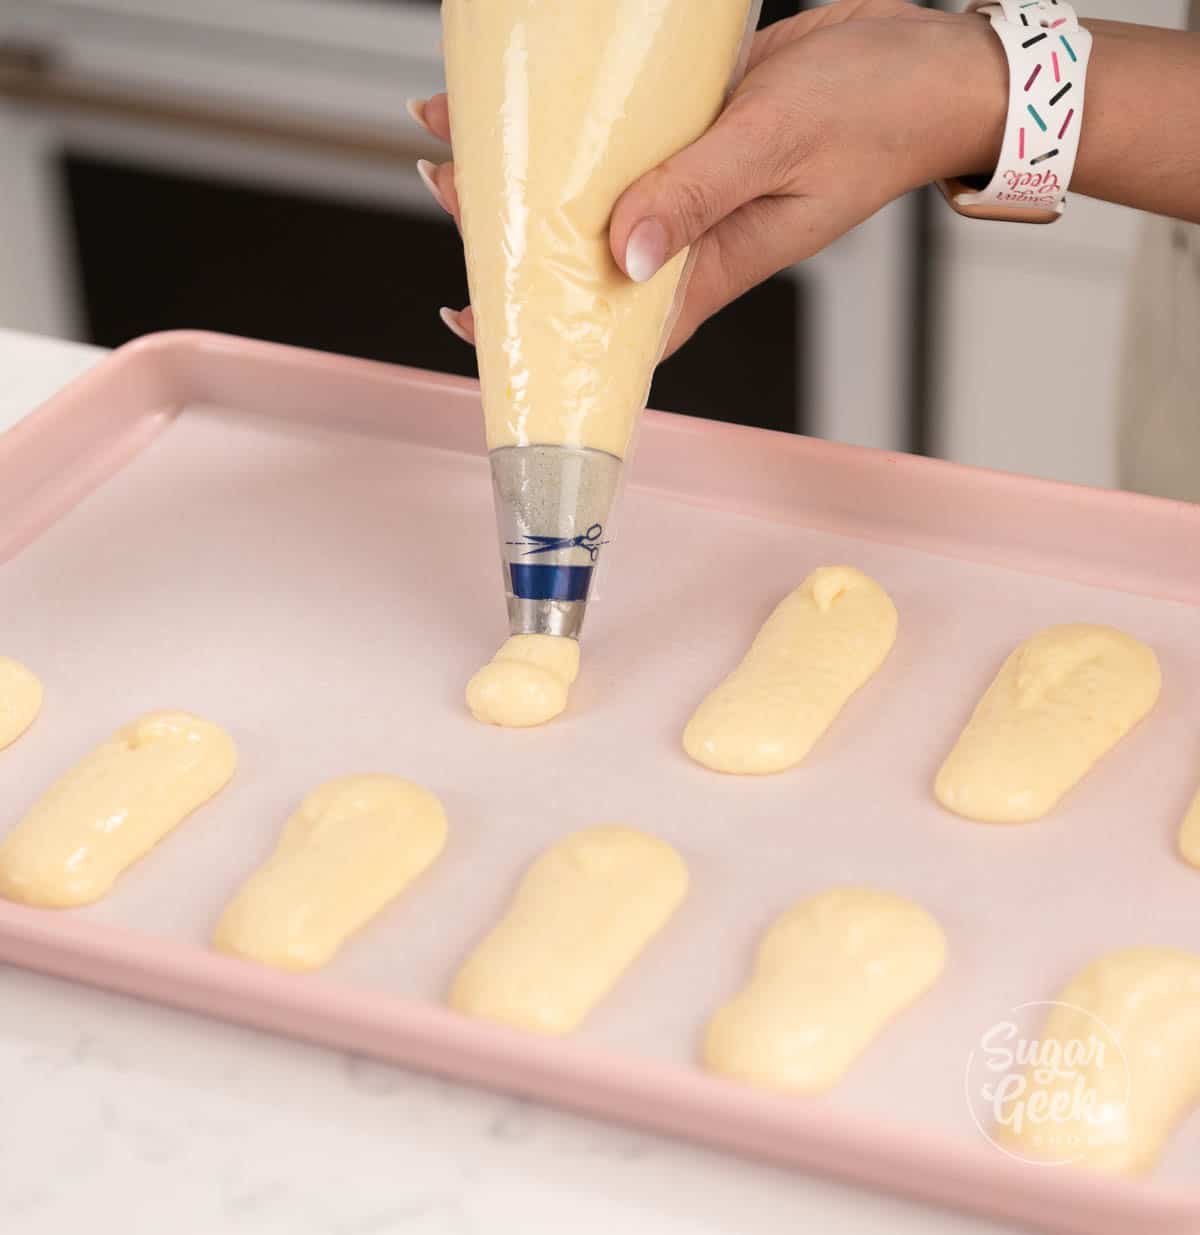
- Fit a large piping bag fitted with an 806 piping tip then fill it with the batter. ( If you don't have a piping tip you can just cut a decent sized hole in the piping bag.)
- Pipe your batter in 4” long lines, leaving about 1” of space in between each line.

- Sift an even layer of powdered sugar over all of the ladyfingers and let it soak in for about 2 minutes. Without the powdered sugar, the fingers don’t rise as much.
- Place the tray in a 350” oven for 15-18 minutes. Rotate the tray halfway through baking to ensure even browning.
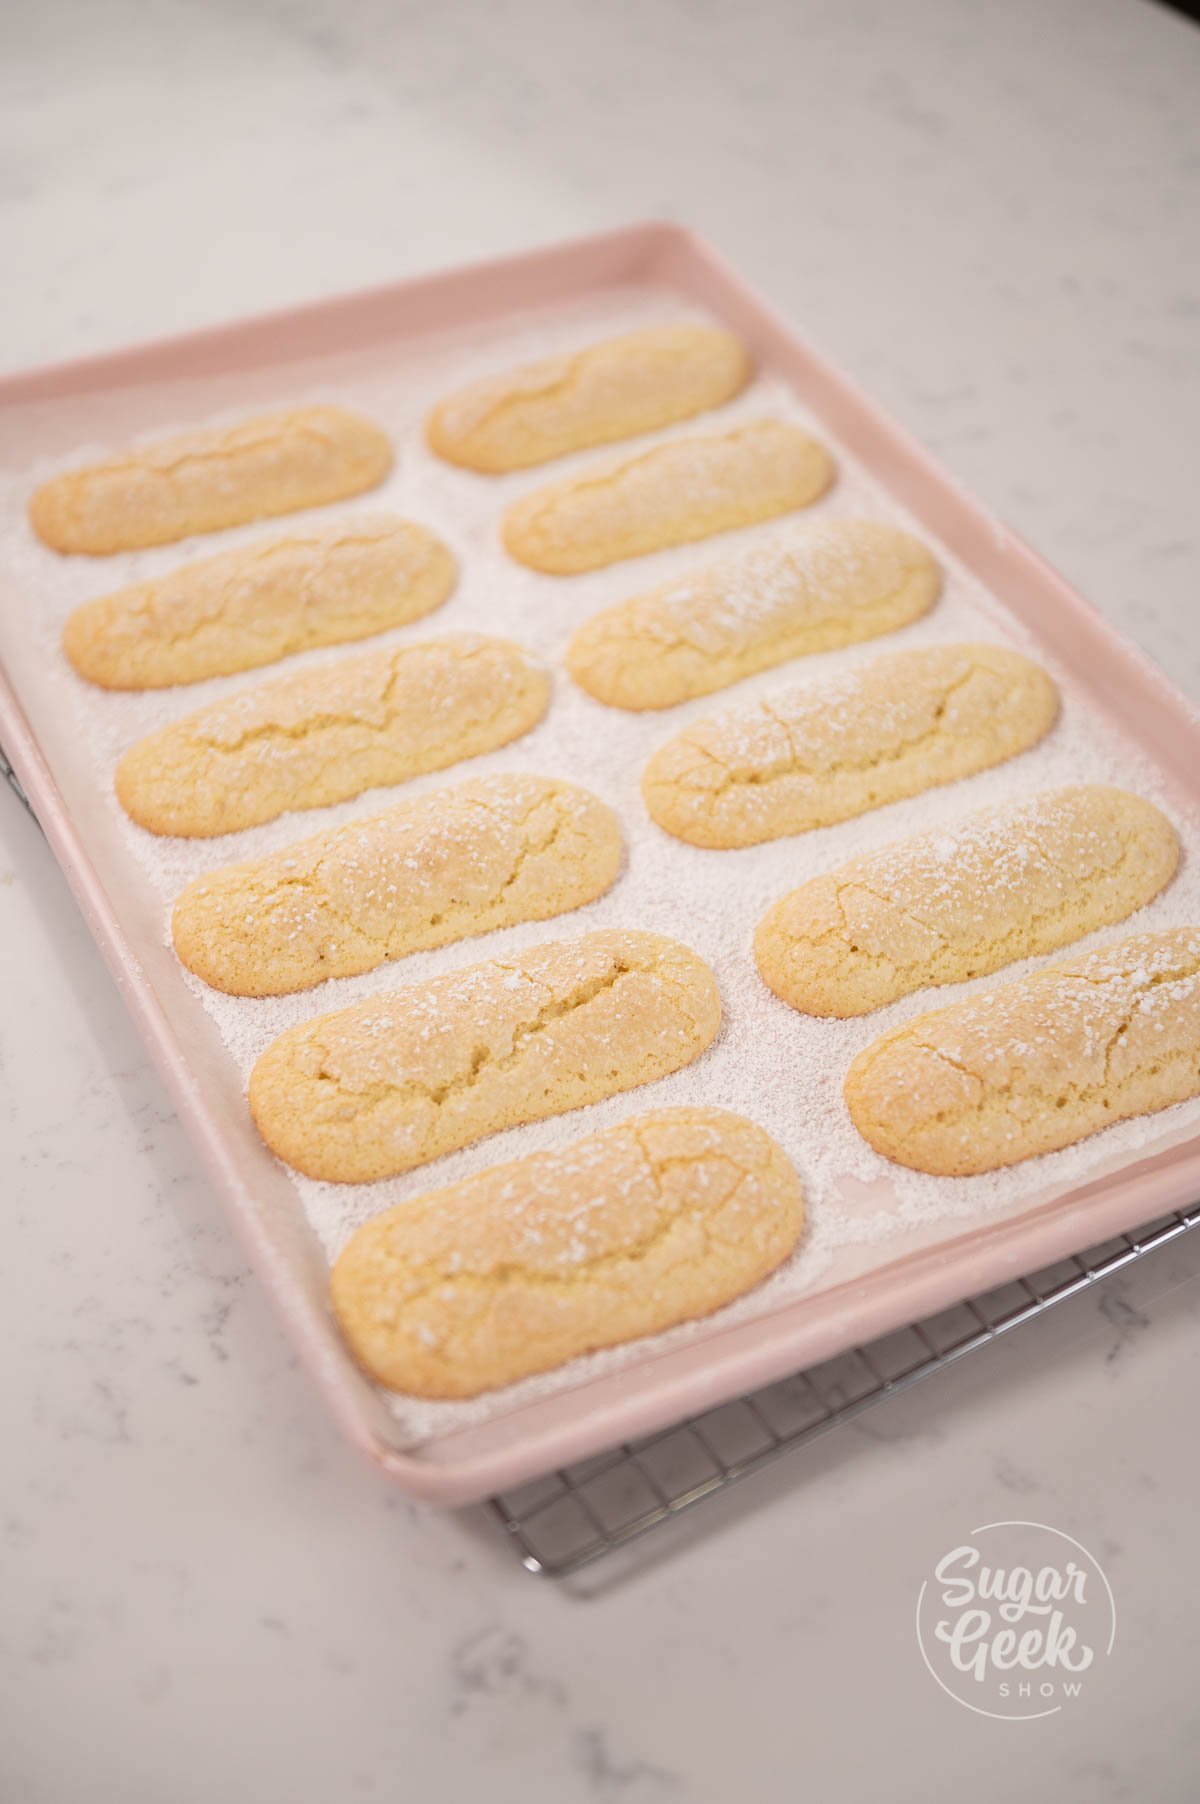
- Remove the ladyfingers from the oven and let them cool. Once they have cooled gently remove them from the parchment paper to avoid them sticking and tearing later.
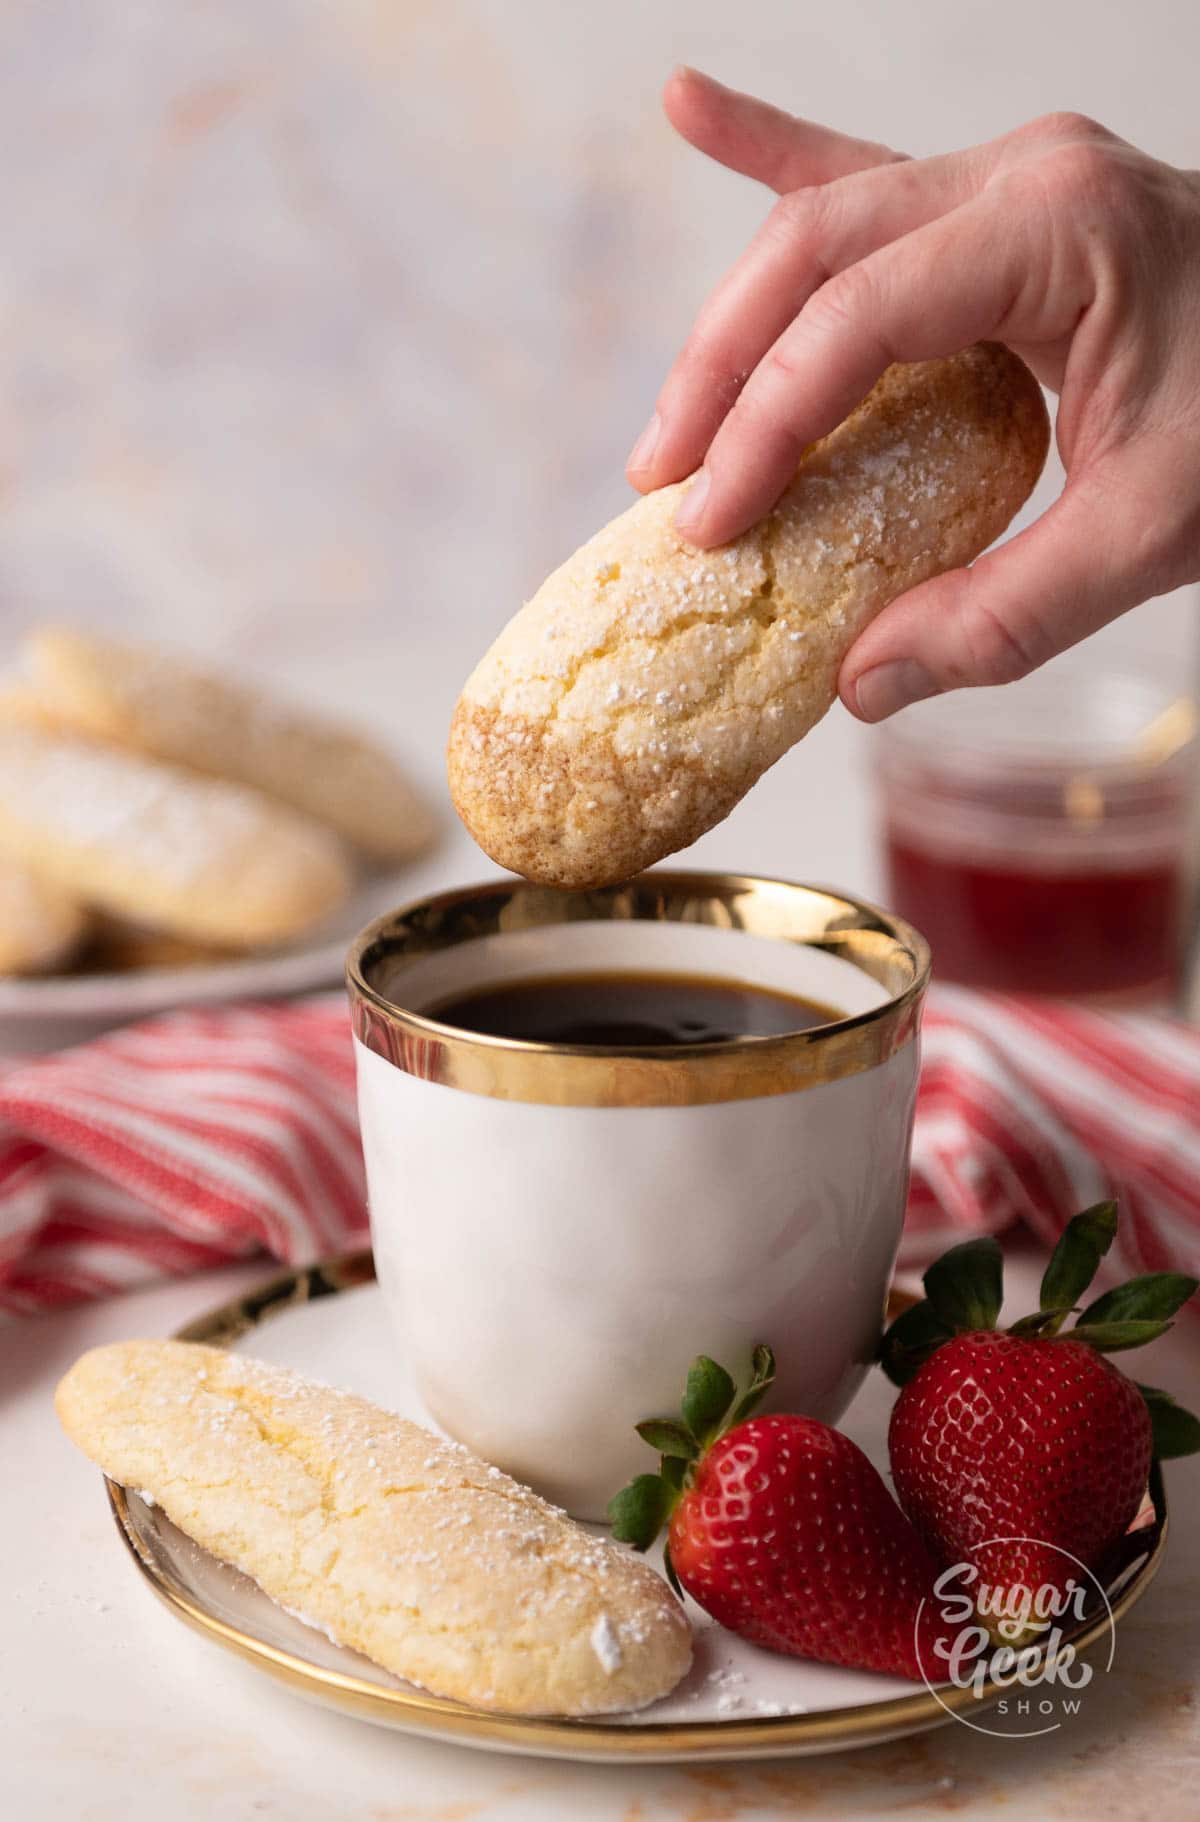
They are now ready to eat!
FREQUENTLY ASKED QUESTIONS
Why are they called Lady Fingers?
They are called ladyfingers because their shape resemble fingers of a woman.
Can I make this gluten-free?
Yes! You just need to replace the flour with an extra part of cornstarch or almond flour.
Is the texture supposed to be soft or crunchy?
It can be either! Typically store bought ladyfingers are very crunchy, so making them homemade is ideal if you want them super soft and able to soak up more moisture.
What can I use ladyfingers for?
They are great to absorb any liquid which makes for a great soft and flavorful dessert. You can also eat them on their own and dip them in your coffee or hot chocolate.
MORE RECIPES YOU'LL LOVE
Recipe
Equipment
- 1 Piping Bag
- 1 Sifter
- 1 Round Piping Tip
Ingredients
- 7 Large Eggs (Separate the yolks and whites)
- 6 ounces Granulated Sugar (Separate 1 ounce of the sugar)
- 7 ounces All Purpose Flour
- ¼ teaspoon Salt
- 2 teaspoons Vanilla Extract
- 1.5 ounces Powdered Sugar (Used for dusting)
Instructions
- Preheat your oven to 350ºF.
- Place your egg yolks into the bowl of a stand mixer with the whisk attachment. Turn the mixer on low and sprinkle in your 1 ounce measurement of sugar and the vanilla.
- Once it's combined, increase the speed to medium high and whip until the mixture triples in volume, is pale in color and forms a thick ribbon on the surface of the batter when you drizzle it onto itself. This will take about 3-4 minutes.
- Combine your flour and salt together in a separate bowl.
- Sift half of the flour mixture over the egg mixture and gently fold it using a spatula.
- Once it's incorporated, sift in the second half of the flour and continue folding until everything is combined. Set aside.
- In a separate mixer bowl, add in your egg whites with your whisk attachment.
- While mixing on medium speed, sprinkle in the second measurement of sugar, then increase the speed to medium high. Continue whipping until you reach medium-stiff peaks.
- Fold ⅓ of the meringue into the egg yolk mixture using a spatula to lighten its density. This might take a few minutes to work all the meringue in but just keep folding.
- Then add in the rest of your meringue and continue folding carefully until it's homogeneous. Be careful not to over mix because you will knock out the air inside your batter and your lady fingers will not rise well.
- Place your printed templates under parchment paper on 2 sheet pans (one for rounds and one for fingers)
- Fit a large piping bag fitted with an 806 piping tip then fill it with the batter. ( If you don't have a piping tip you can just cut a decent sized hole in the piping bag).
- Pipe the batter on top of the circle template while holding the tip about ½ away from the pan so that the batter is not too thick. Stop piping about ¼” away from the outline of the circle because the batter will spread.
- Place your 8.5”x11” sheet of paper on top of the baking sheet and place some parchment on top. Pipe your batter in 8” long lines, leaving about ⅛” of space in between each line. You will have leftover batter, I suggest piping extra cookies or another tray of lady fingers as a backup just in case you have gaps (like I did).
- Sift an even layer of powdered sugar over all of the lady fingers and let it soak in for about 2 minutes.
- Without the powdered sugar the fingers don’t rise as much. Place the tray in a 350” oven for 15-18 minutes. Rotate the tray halfway through baking to ensure even browning.
- Remove the ladyfingers from the oven and let them cool. Once they have cooled gently remove them from the parchment paper to avoid them sticking and tearing later.
Video
Notes
- The best investment you can make when you’re getting started with baking is a digital kitchen scale! Weighing your ingredients will help you avoid cake failure. Using a kitchen scale for baking is super easy and gives you the best results every single time.
- Practice Mise en Place (everything in its place). Measure out your ingredients ahead of time and have them ready before you start mixing to reduce the chances of accidentally leaving something out.
- Make sure your ingredients (e.g. butter, eggs, milk) are at room temperature or a little warm. Why? Because we want to create an emulsion and allow the ingredients to fully mix together.
- Make sure to dust a generous amount of powder sugar on top of the ladyfingers before and after baking. This helps them puff up nicely.
- When piping the ladyfingers on the baking tray, pinch the end of the piping bag when finishing because the batter tends to be runny.

Jennifer Lopez says
What step do you add vanilla?
Elizabeth Marek says
Whoops. Sorry, missed that. I updated it, step 2.