
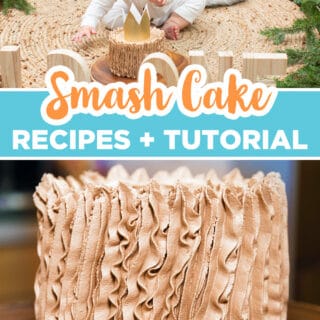
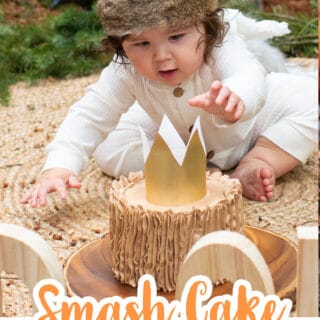
A smash cake is a small cake that is decorated simply to be smashed by a toddler, typically on their first birthday! You don't need to be a professional cake decorator to make a cute smash cake! All you need is some cake, whipped cream and about 60 minutes! You can do this!
Tools & Supplies
To make your smash cake all you need are a couple of small cake pans, I'm using two 6"x 2" Fat Daddio pans. A 6" round cake board or flat platter to build your cake on, a spatula or spoon for spreading the frosting, and something to pipe with if you want a design.
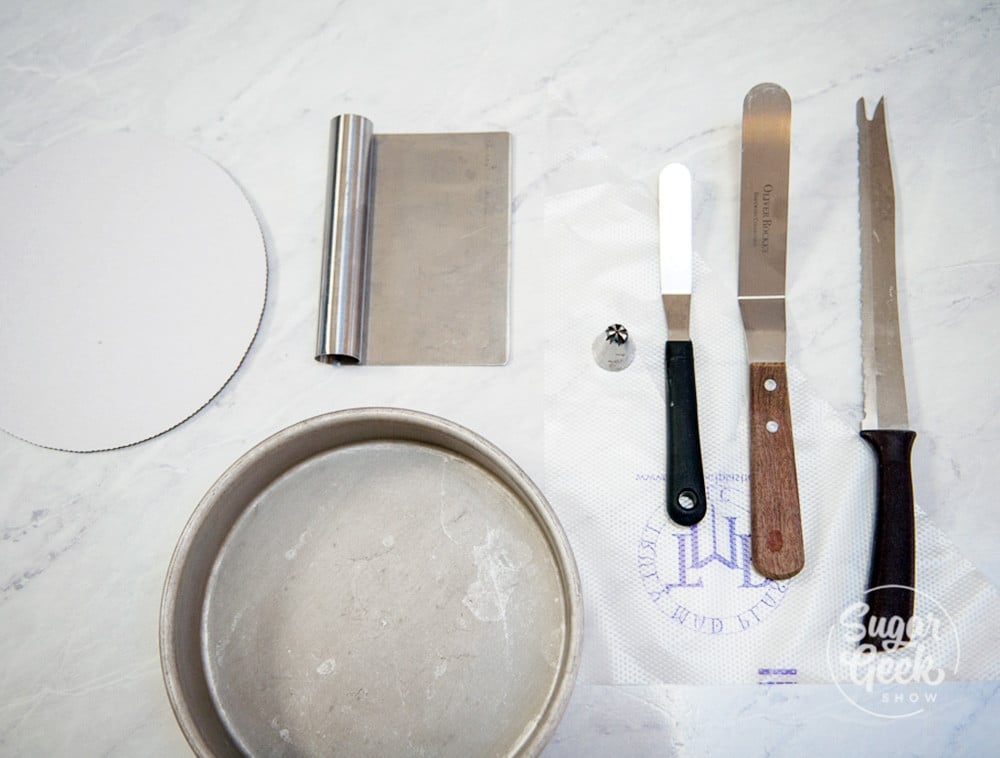
I'm using a 1M piping tip and a disposable piping bag. A turntable will make it a little easier to smooth the frosting but it's not 100% necessary! I also have a bench scraper that I got from the dollar store which is really great for smoothing out the sides of the cake for the crumb coat.
If you want to learn more about how to decorate your very first cake, I have a free tutorial for beginners here.

You can get cake pans and all your supplies at most grocery stores in the baking aisle or at craft stores like Michaels or Joann Fabric in the cake decorating aisle.
Ingredients
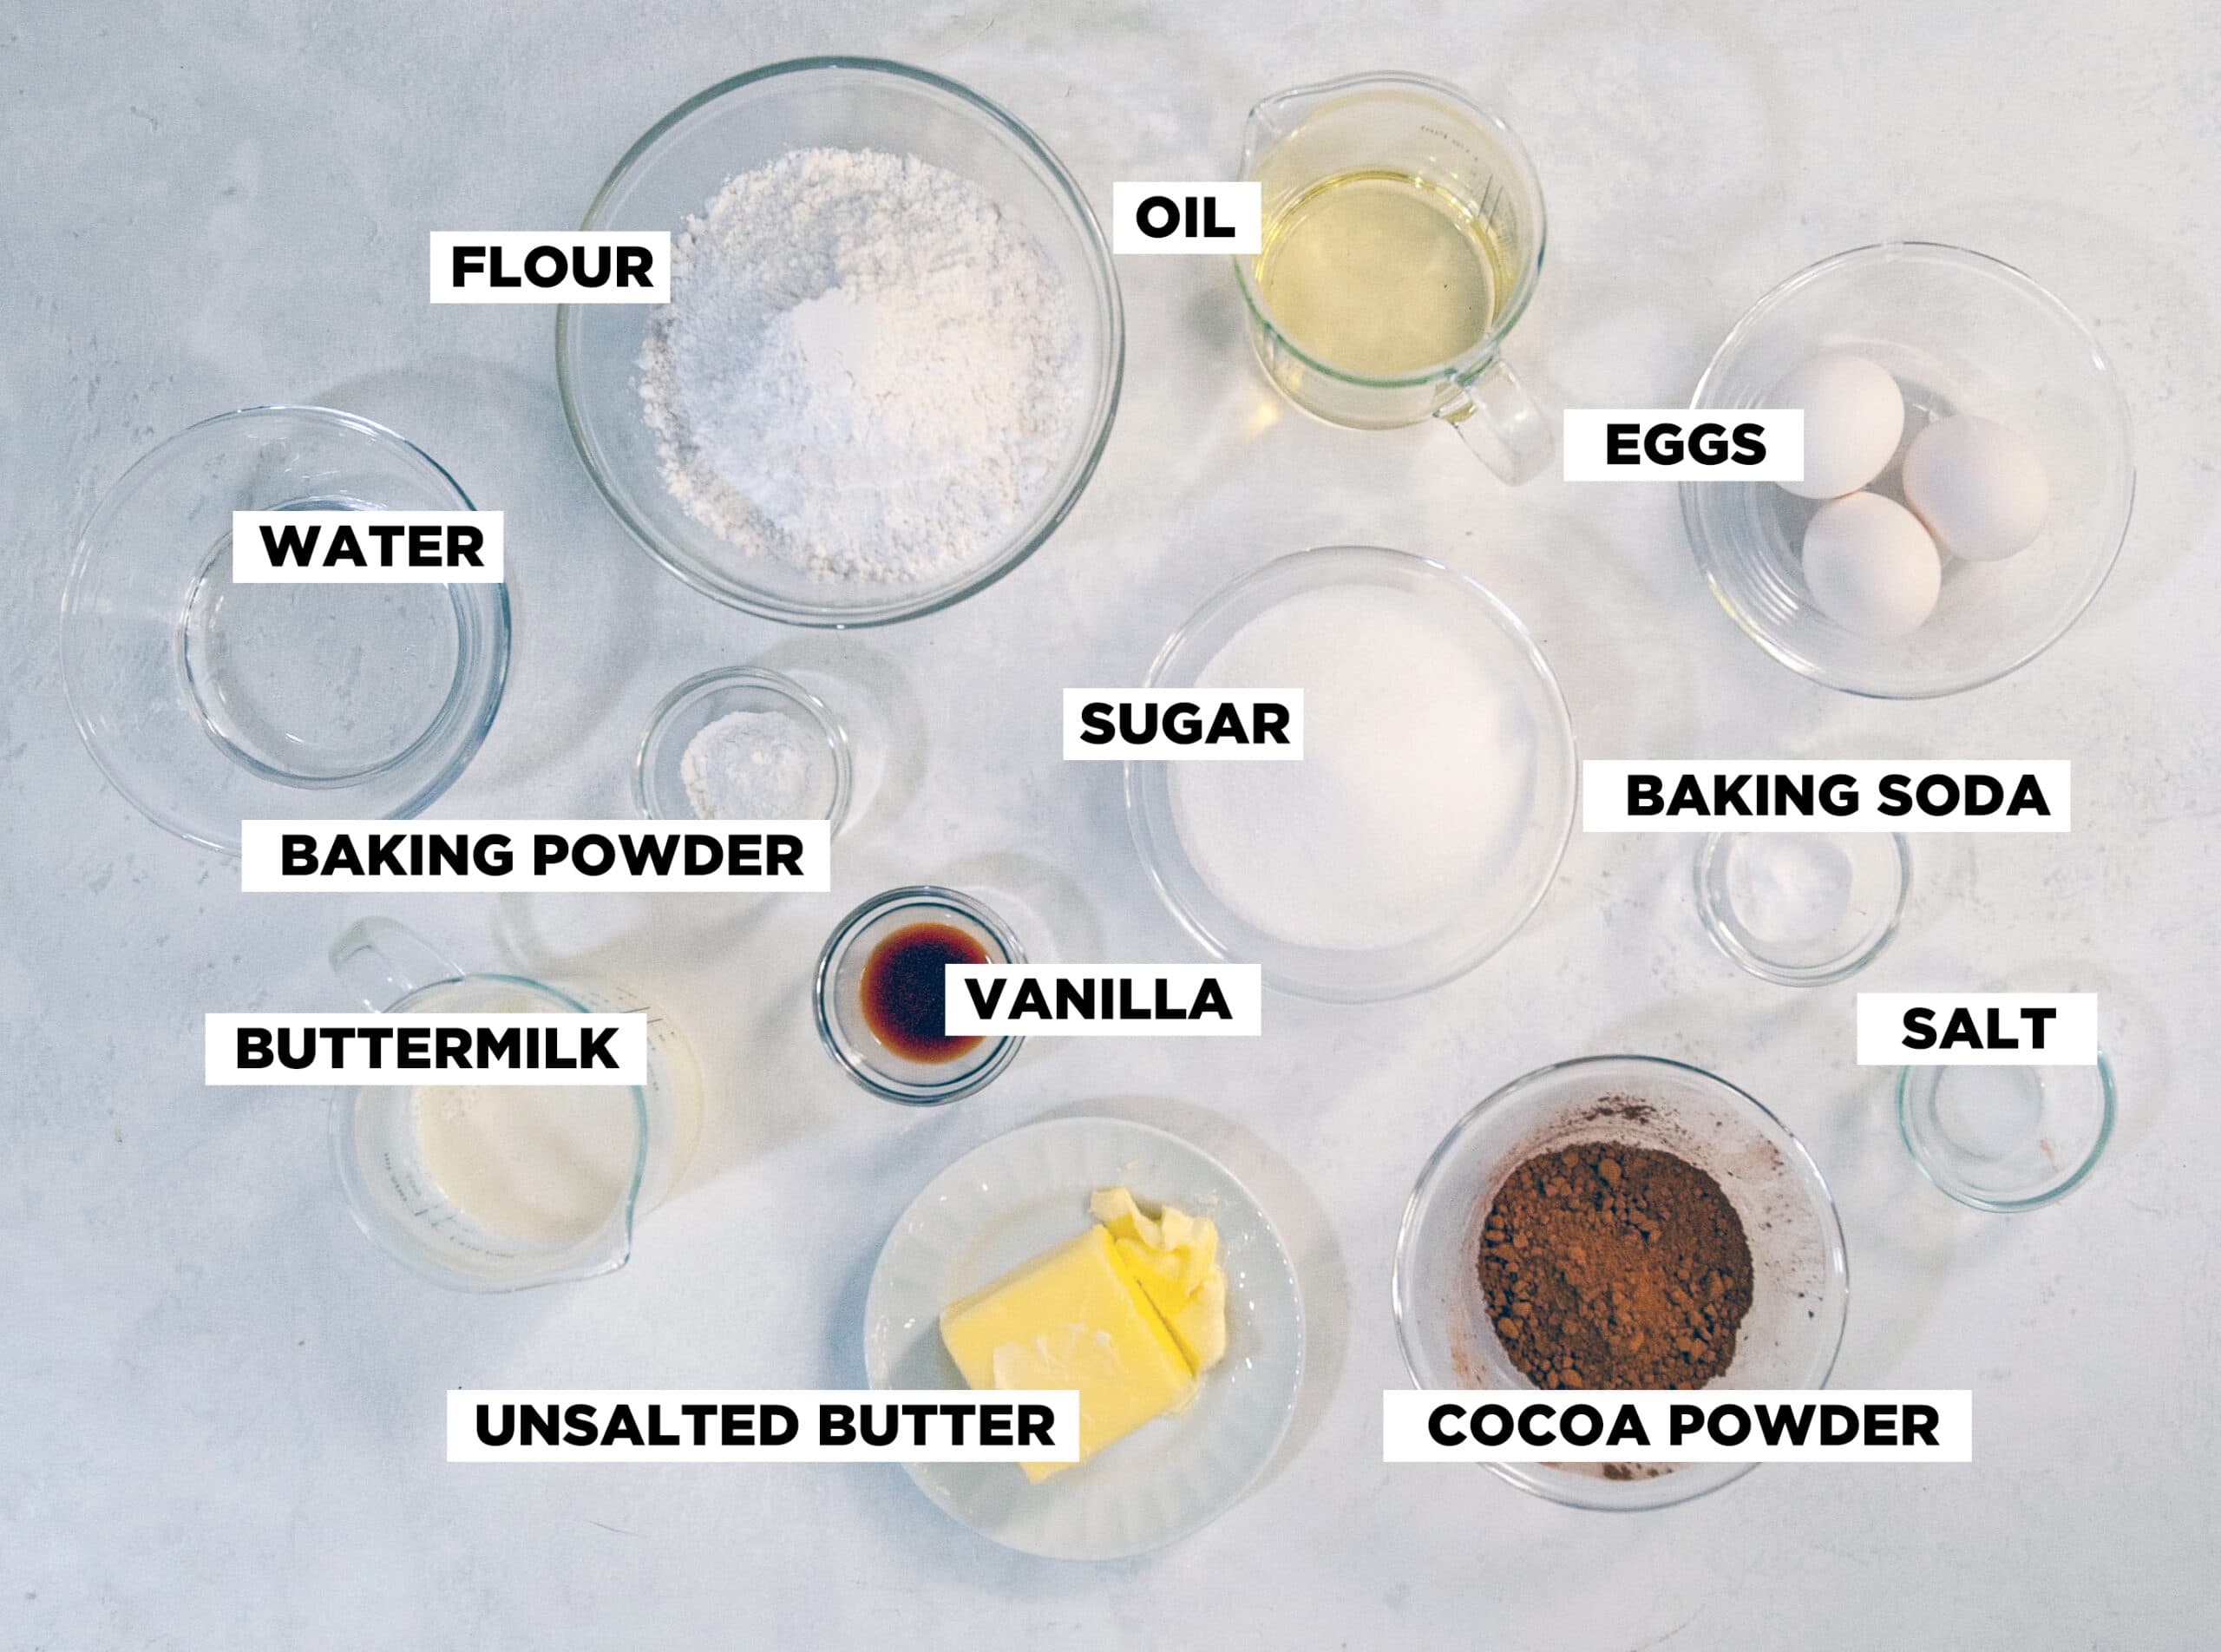
You should have almost everything you need already in your cabinet except the following.
Buttermilk: Makes the cake extra tender. No buttermilk? You can make your own substitution here.
Unsalted butter: Salted butter contains too much salt and will make your cake salty so bakers usually use unsalted butter and add in the amount of salt that is necessary.
Oetker Whipped Cream Stabilizer: Helps the whipped cream keep it's shape in warm weather but it's not required. You can see all my other ways to stabilize whipped cream on this post.
Chocolate Syrup: I wanted to flavor my whipped cream so it tasted like chocolate milk but that's optional!
What flavor should a smash cake be?
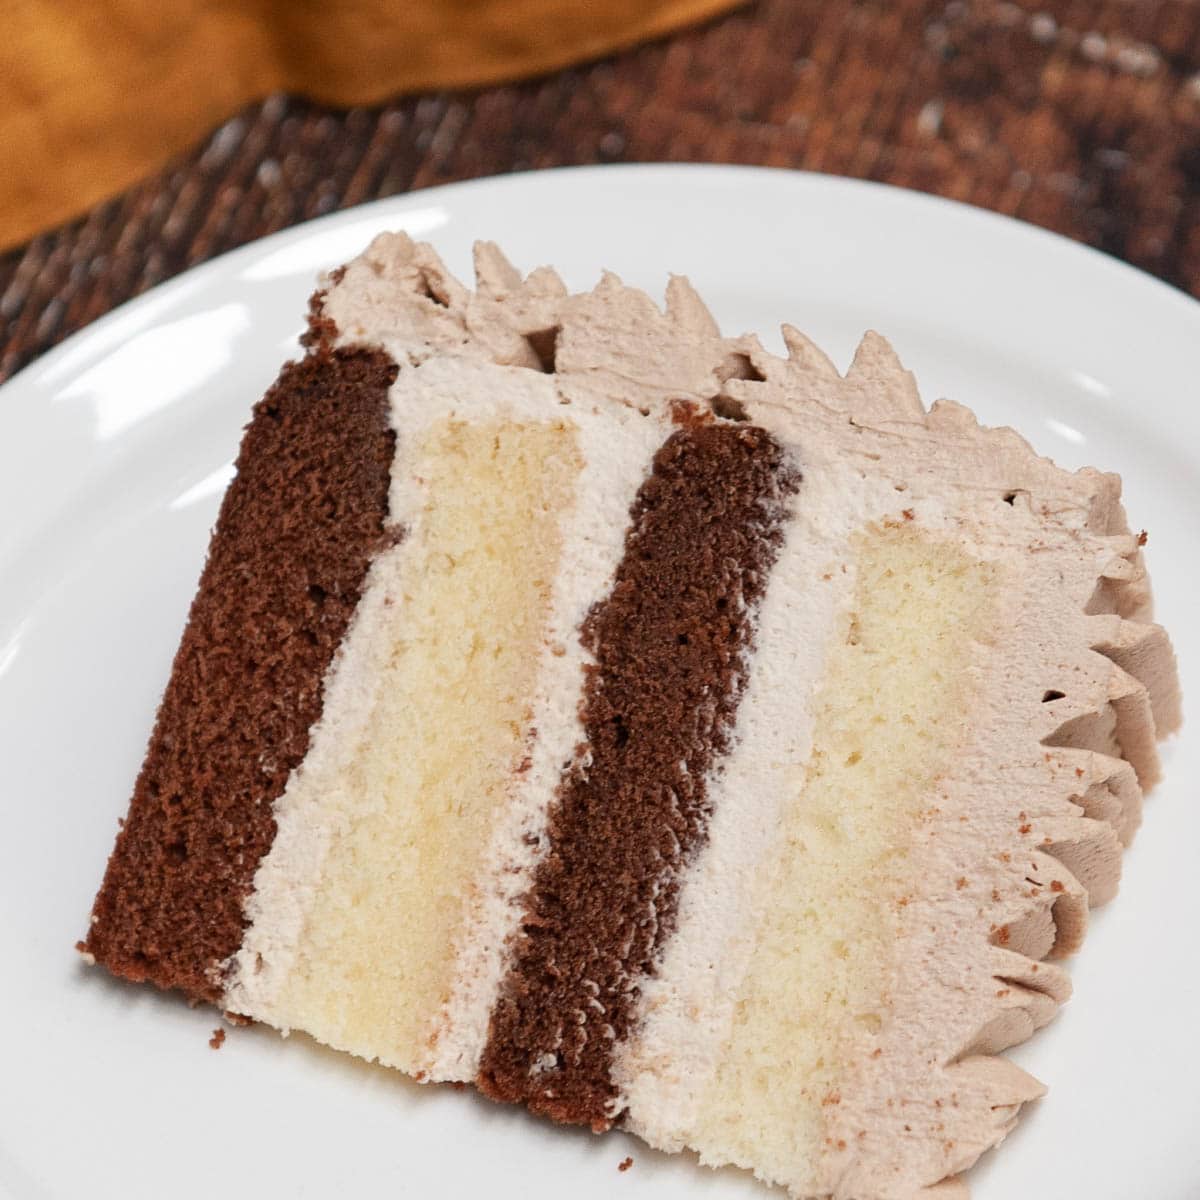
Smash cakes can be any flavor you want but typically, toddlers are not used to foods that have really intense flavors so most parents opt for simple flavors like vanilla or chocolate. In this recipe, I will show you how to make a delicious vanilla cake (from scratch) and how to turn half of it into chocolate!
The reason I decided to make my smash cake half vanilla and half chocolate is because I wasn't sure which flavor my son Ezra would like best, so I decided to give him options! If you want to make your smash cake all vanilla, or all chocolate, that's totally up to you!
What is the best frosting for a smash cake?
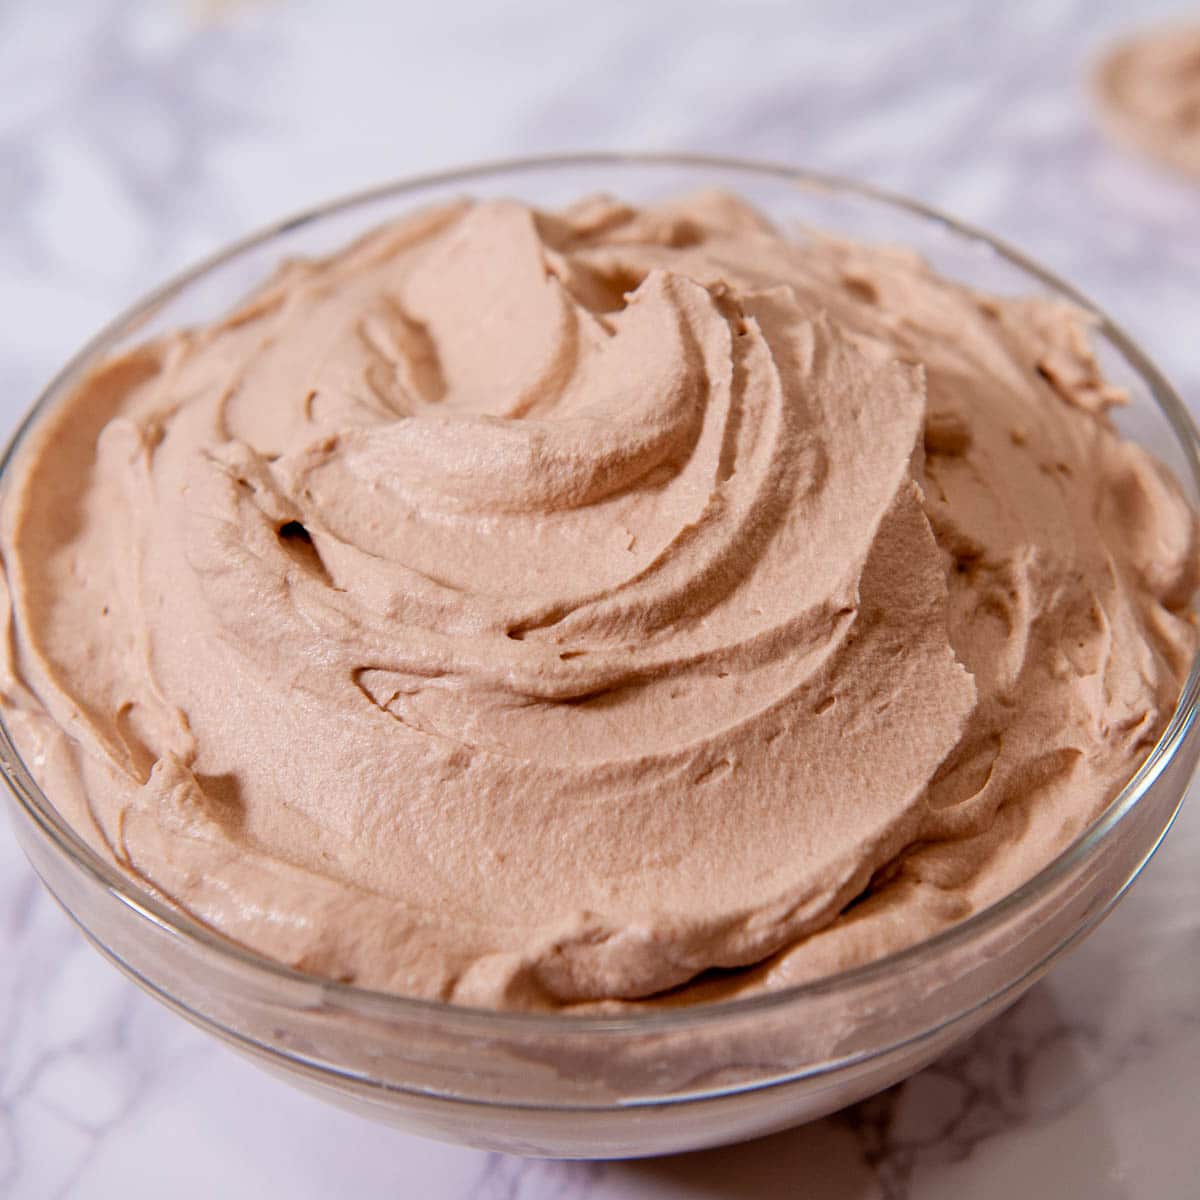
There are a lot of types of frosting you can use for your baby's first smash cake, like easy buttercream or chocolate ganache. But I think the BEST frosting to use is some whipped cream that is not too sweet. The reason I like using whipped cream is that the taste is very similar to milk that your baby is already used to drinking. I added a tiny bit of chocolate to my whipped cream but that is completely optional.
And yes, you can color the whipped cream if you want. Just add a drop of liquid food coloring to the whipped cream along with the powdered sugar and vanilla extract.
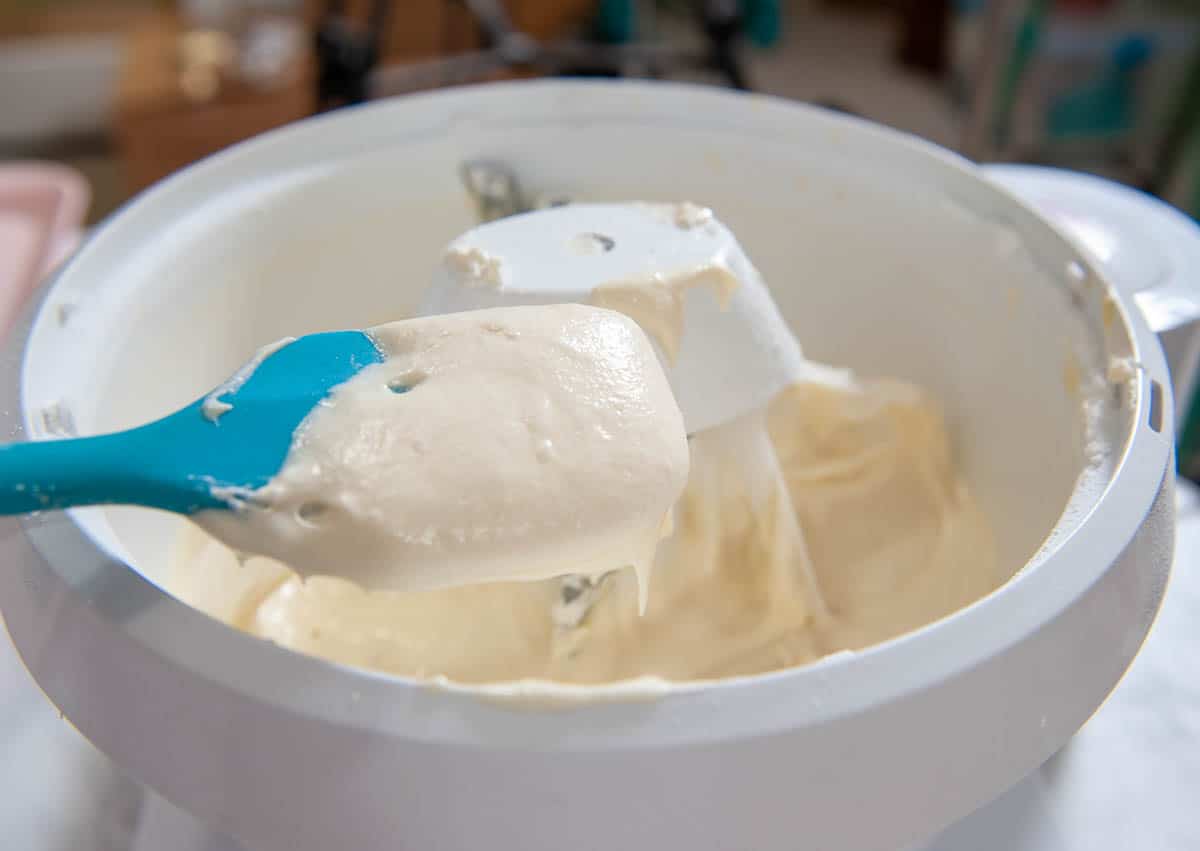
The main thing you want to be careful of is over-whipping. Whipped cream goes from liquid to butter in no time so never walk away from it while it's whipping. It's better to under-whip and stop at the point it's just starting to form peaks than to over-whip and end up with butter because you can't fix it after it's been over-whipped.
How big should a smash cake be?
Typically, a toddler hasn't had much cake (if any) by the time they are one. So a smash cake should not be very big. Some people even just do a little cupcake instead of a smash cake and that's totally fine!

But if you're planning a photo shoot as I did for Ezra's first birthday, you might want to do a 6" cake. It's still very small but big enough that you'll be able to get a few snaps of the destruction before the cake is completely destroyed.
I actually made two 6" cakes. One for Ezra to smash and one for the family to eat after the smashing. If you want to make two cakes, just double the recipe below by adjusting the "servings" slider on the recipe card to read 24 instead of 12. Then you will have enough batter for two cakes.
If you don't want to make the second cake in three 6" pans, you can use two 8" pans. Or you can use the cake batter calculator above the recipe to figure out how much cake batter you would need for pretty much any shaped pan you can think of.
How to make a smash cake step-by-step
Step 1 - Make the cake batter. I'm using my white velvet buttermilk cake (see the recipe at the bottom of this blog post) but I've adapted it to have a little less sugar and whole eggs instead of egg whites. I love this cake because it's very soft and easy for a toddler to eat. You can also add food coloring to the cake if you want a colorful smash cake, like in my rainbow cake recipe.
Pro-tip: Make sure your eggs, buttermilk, and butter are all room temperature or even a little warm. Cold ingredients do not mix together well and will ruin your cake.
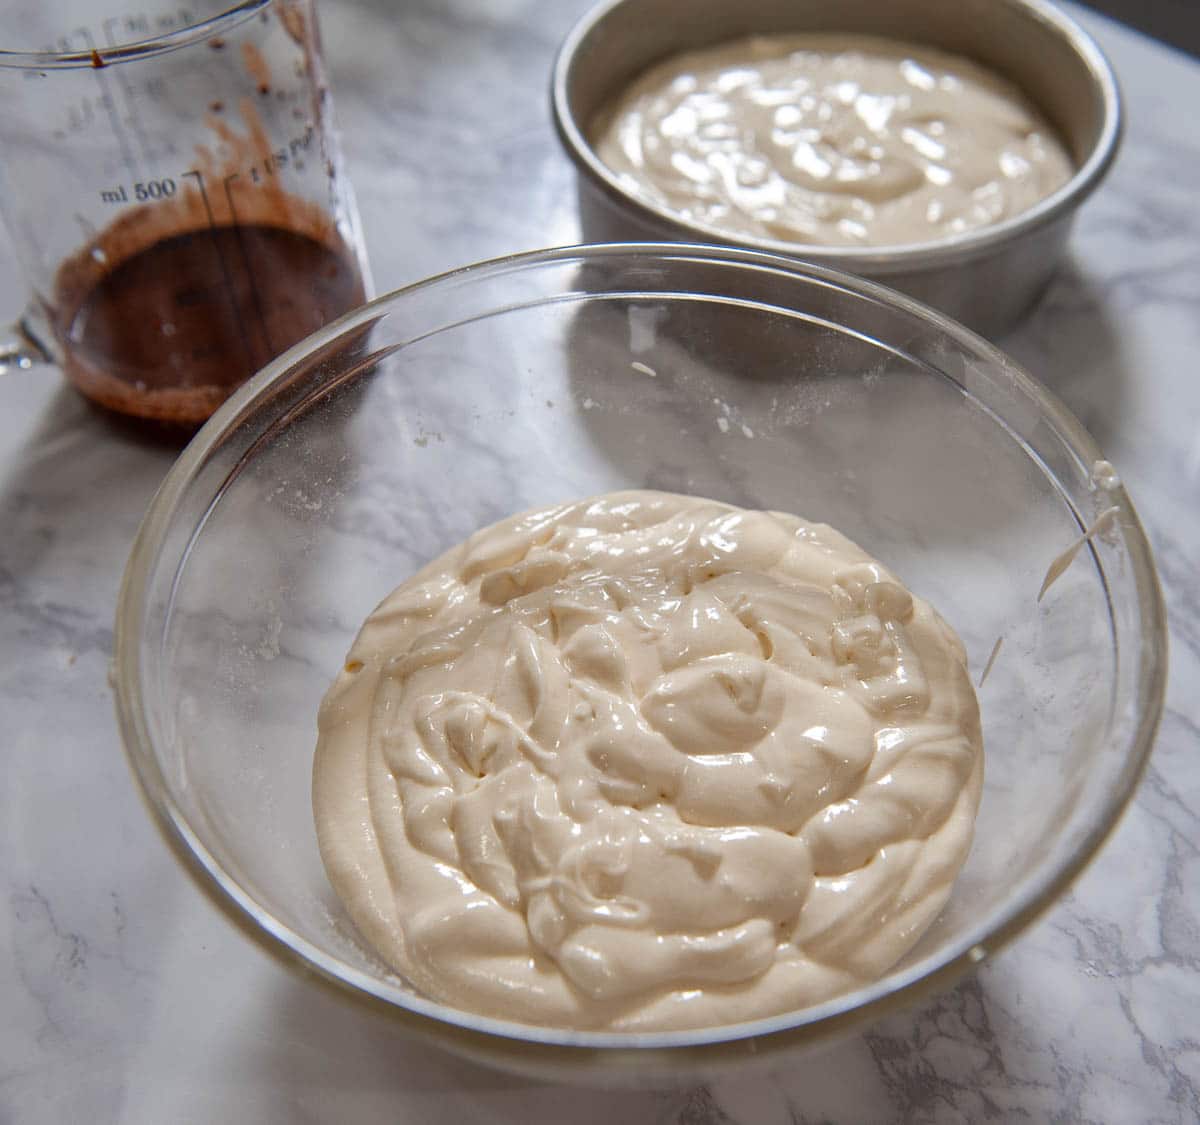
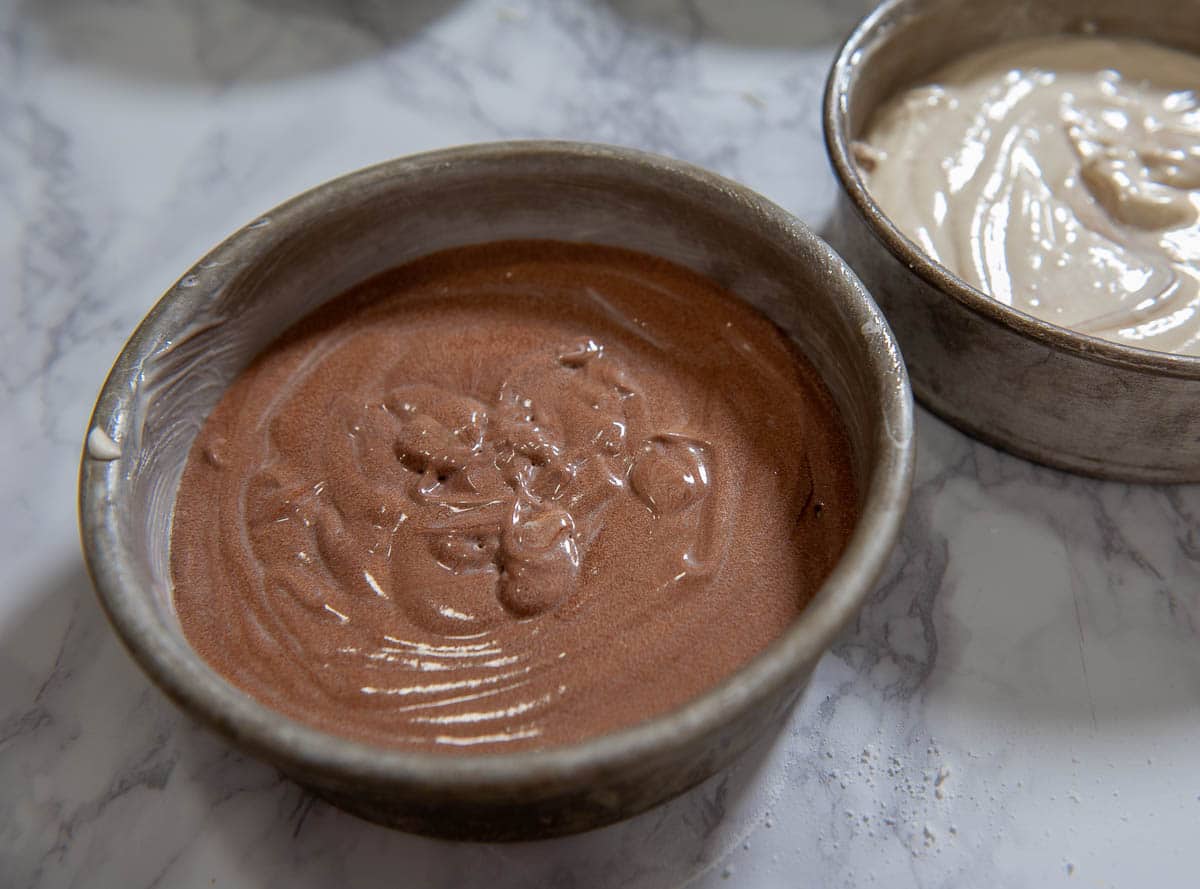
Step 2: Divide the batter in half and add the cocoa powder mixture to half to make it chocolate instead of vanilla. I coat my pans with cake goop but you can use any pan release that you like. Fill your cake pan halfway with batter.
Step 3: Bake the cakes. If you only have one pan, you can put the leftover cake batter in the fridge until you're ready to bake it. The cakes are done baking when you can touch the tops of the cakes and the cake springs back. This may take a few minutes more or less than the time listed in the recipe and can vary greatly if you are using a different size pan.
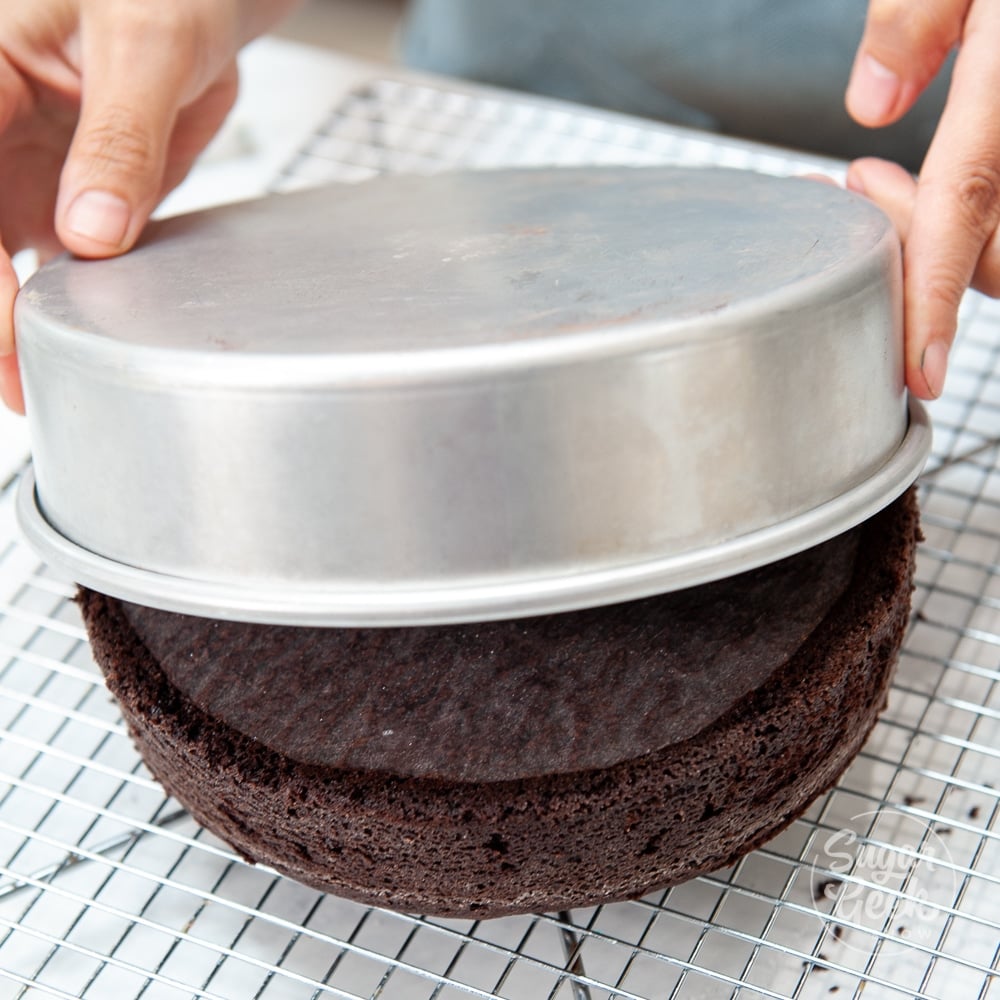
After your cakes are baked, let them cool in the pan until the pan is just barely warm (not cold or they might stick). Invert the cakes onto a cooling rack and let them cool fully before frosting. I put mine into the freezer for about 30 minutes to speed up this process.
You can also wrap the cakes in plastic wrap and put them in the fridge overnight if you don't plan on decorating the same day as baking.
Step 4: Make your whipped cream. I am using my stabilized whipped cream recipe with Oetker stabilizing powder but you can skip the powder if you want. I added a little chocolate syrup to my whipped cream which made it taste like chocolate milk! Soooo tasty!
Pro-tip: Don't make your whipped cream until you are ready to frost your cake. Once it sets up, it won't be creamy again.
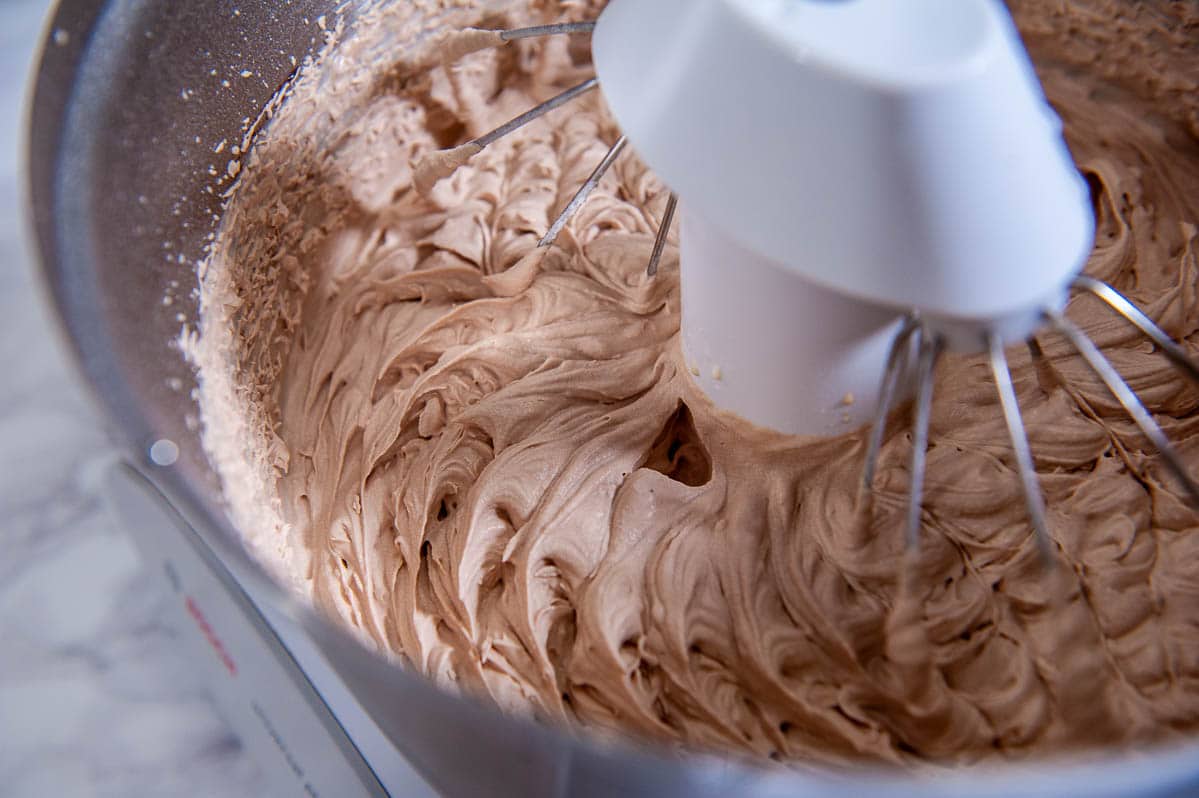
Make sure you don't over-whip your whipped cream or it will turn to butter and it can't be saved. You want to stop mixing at the point that you see peaks forming but it's not quite stiff yet.
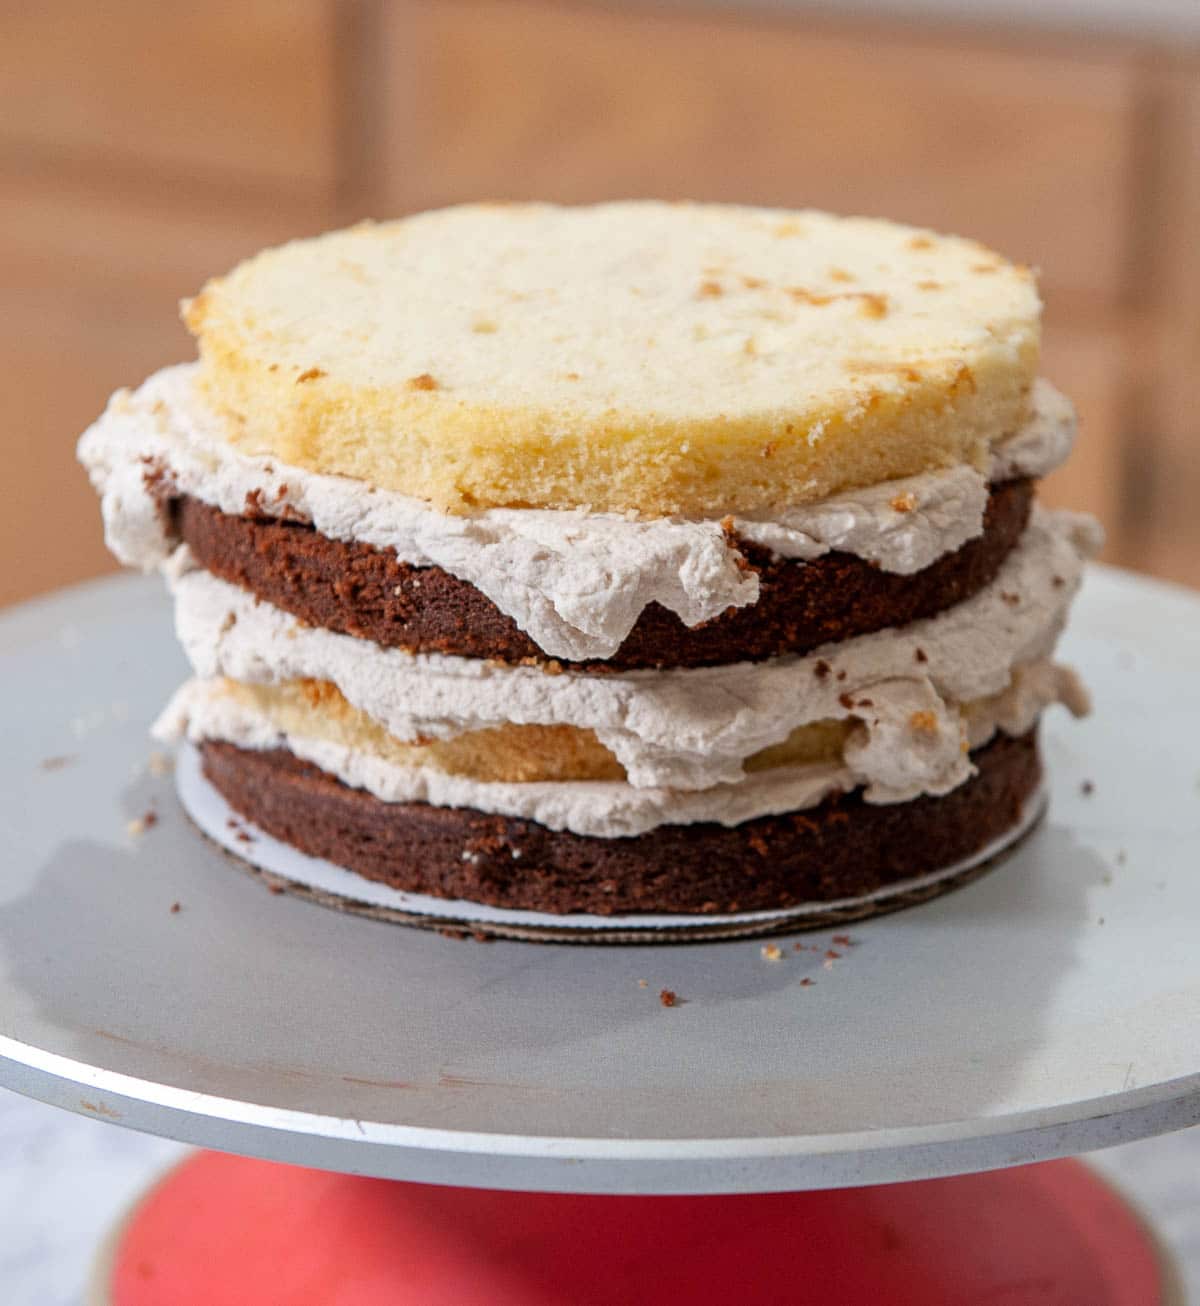
Step 5: Stack your cakes. If your cakes have a dome, use a serrated knife to remove the dome. Makes a great snack to fuel all this hard work you're doing!
Cut each layer in half length-wise to make it thinner (optional). This is called torting your cake. Make sure your cakes are cold so they are easy to handle and don't crumble while you're stacking.
Place your first layer onto the cake board or onto your cake platter. Spread on a layer of your chocolate whipped cream and smooth it with your spatula. Try to keep it as level as you can and about ¼" thick.
Place the next layer of cake on top and continue this process until you've used all your cake layers.
Step 6: Crumb coat. Apply a thin layer of whipped cream over the entire cake to seal in the crumbs. Place the whole cake into the freezer for 15 minutes before moving onto the final step.
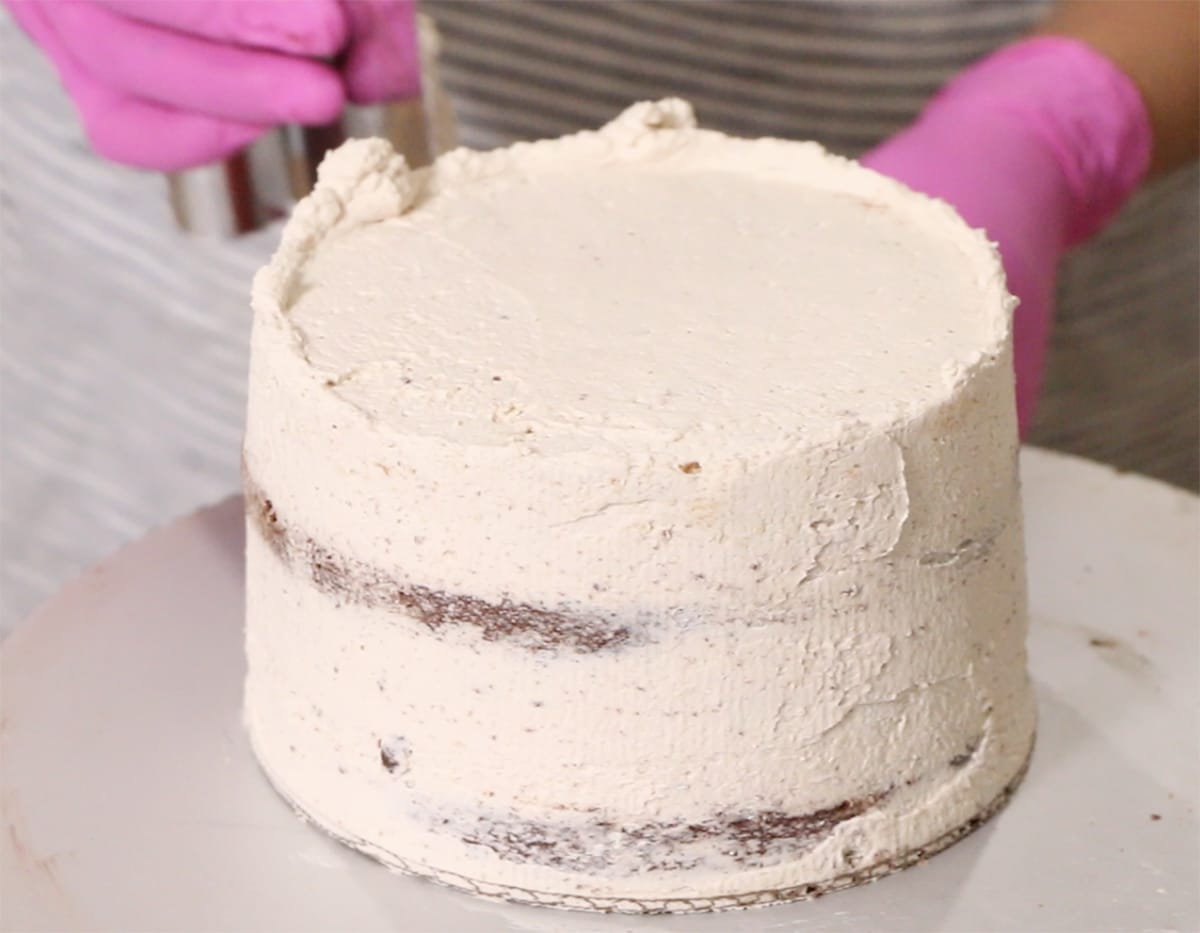
Step 7: Decorate the cake.
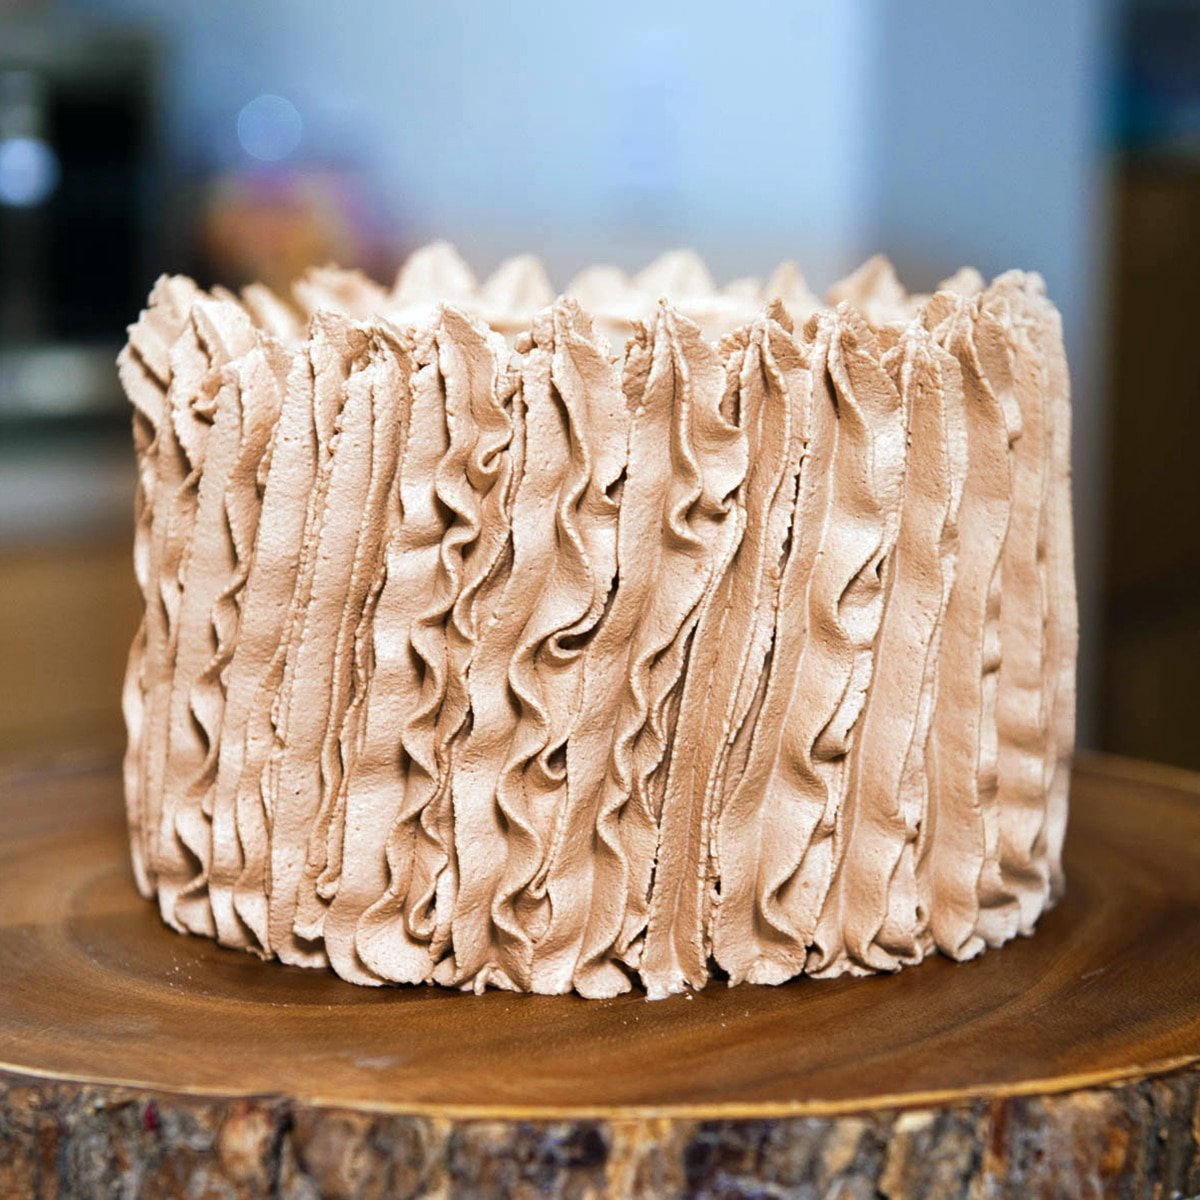
To decorate the smash cake, I decided to use a piping bag and 1M piping tip. Start at the bottom and squeeze while moving upward.
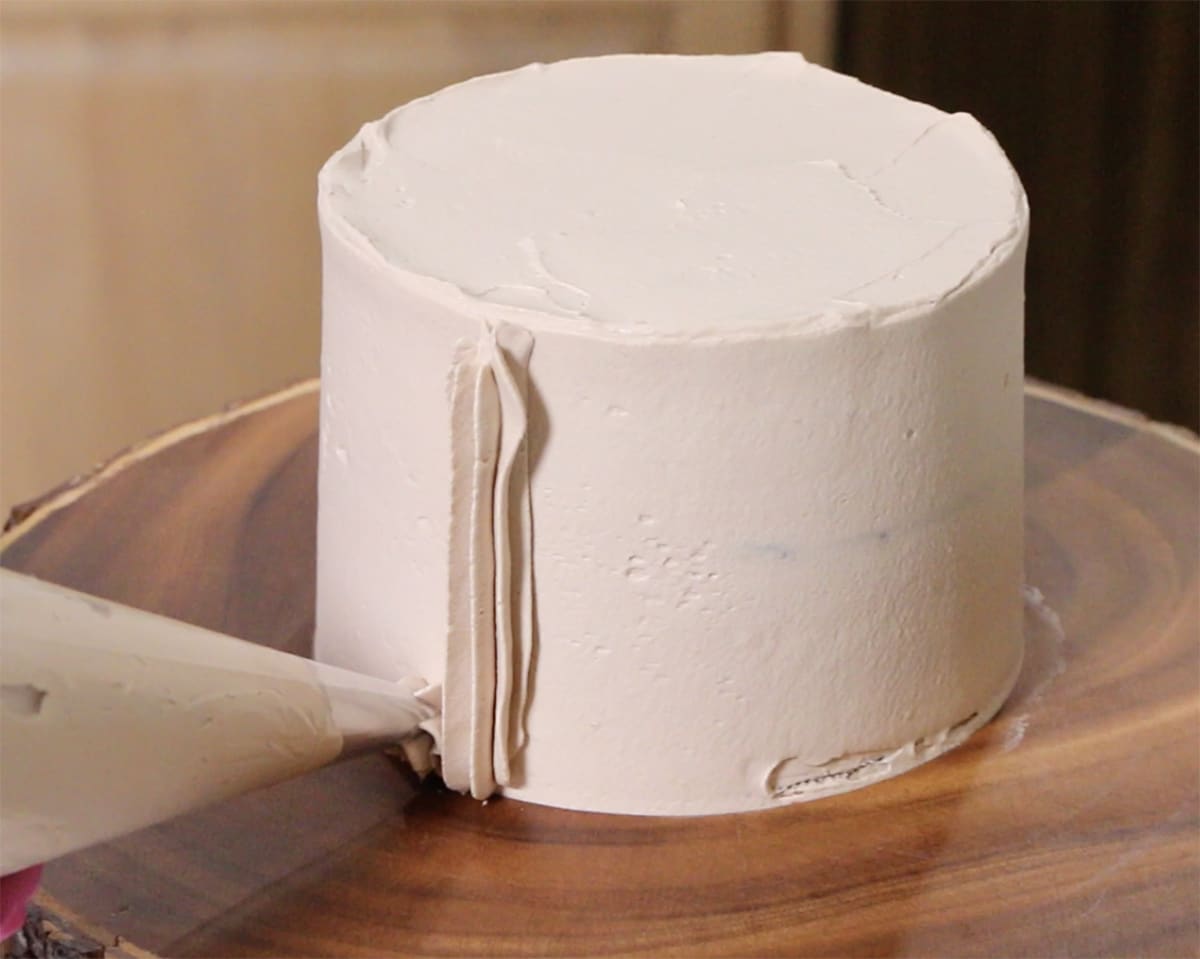
Do this all the way around the cake and done! You can also make rosettes or just use your offset spatula to do a rustic finish. It's totally up to you! I purposefully kept this tutorial really simple so that anyone can make a smash cake!
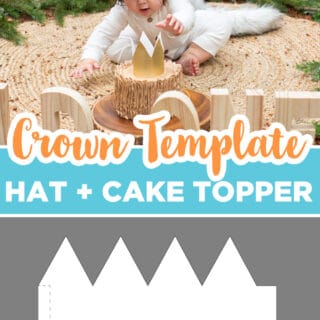
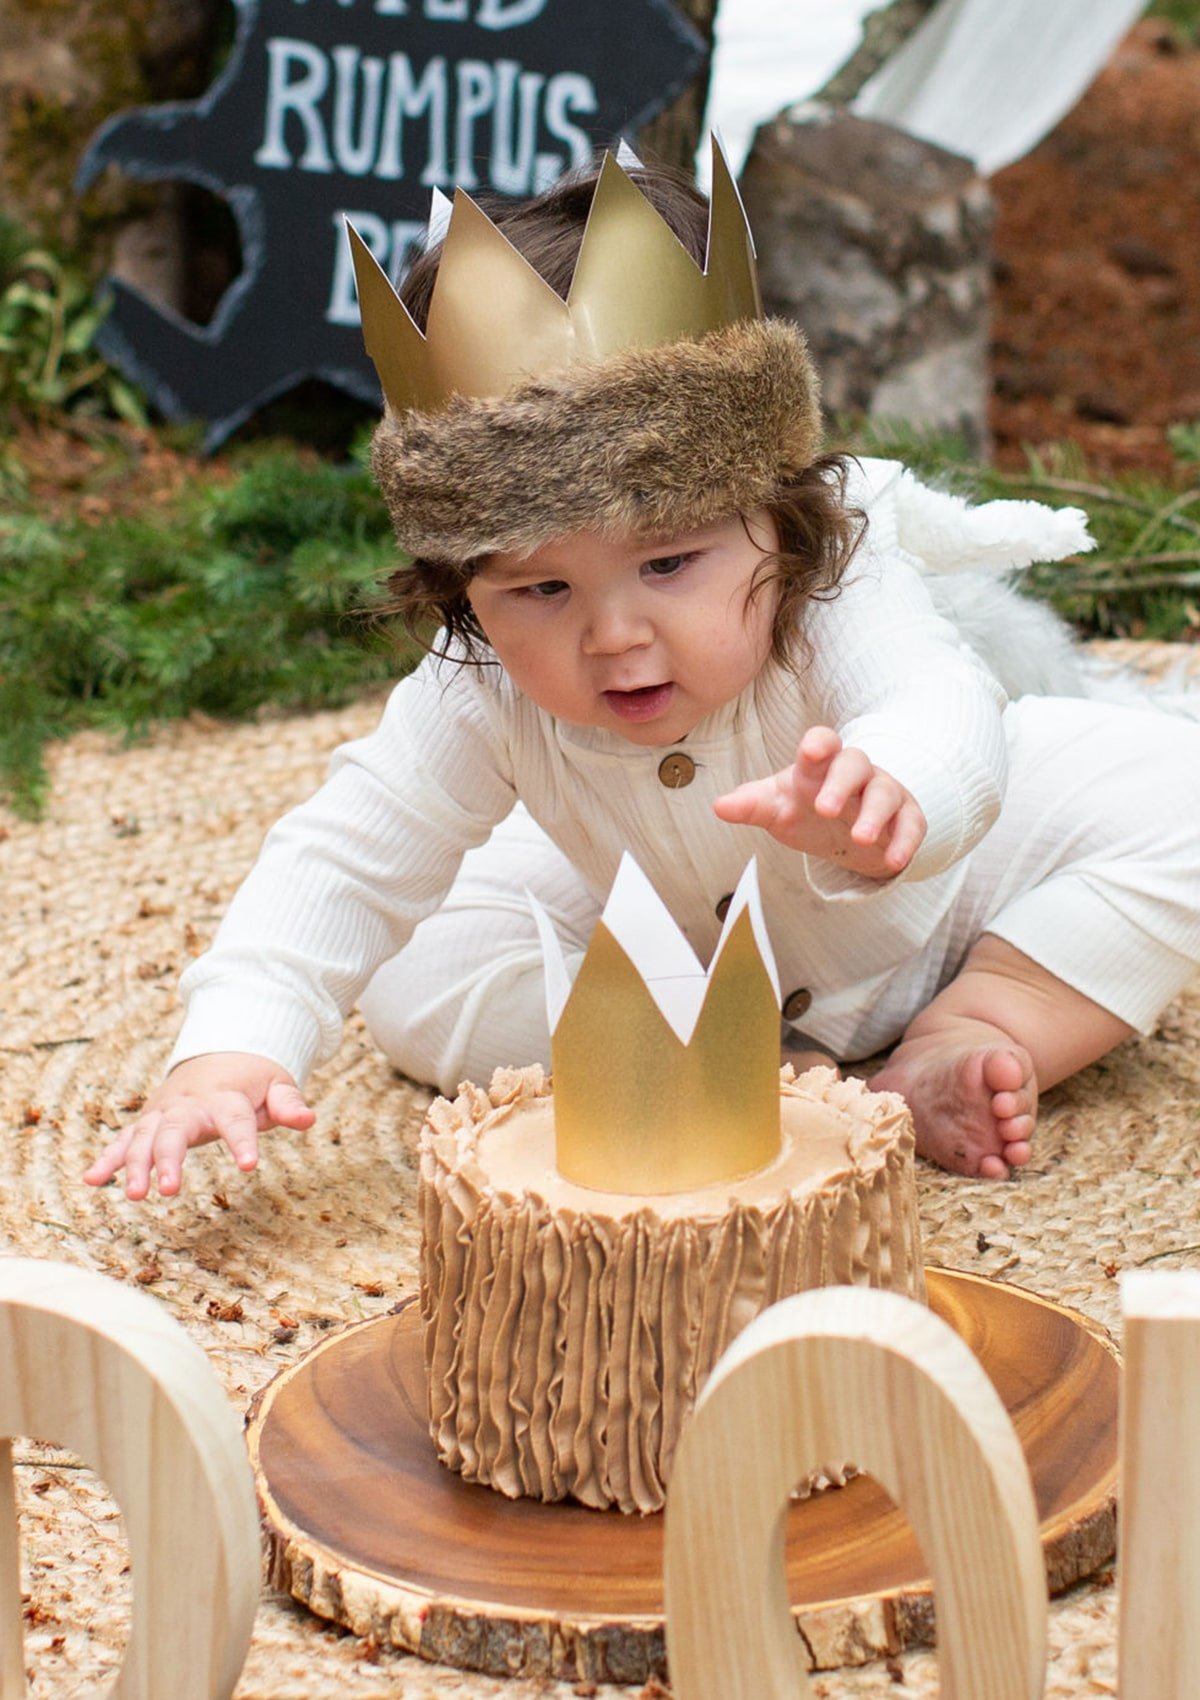
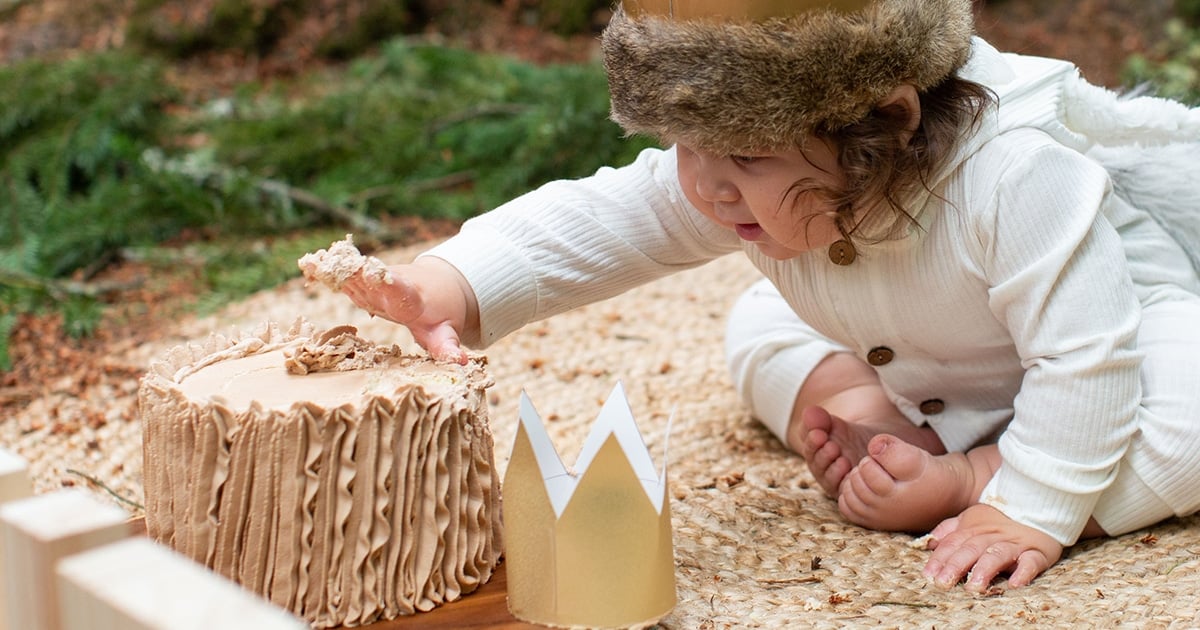
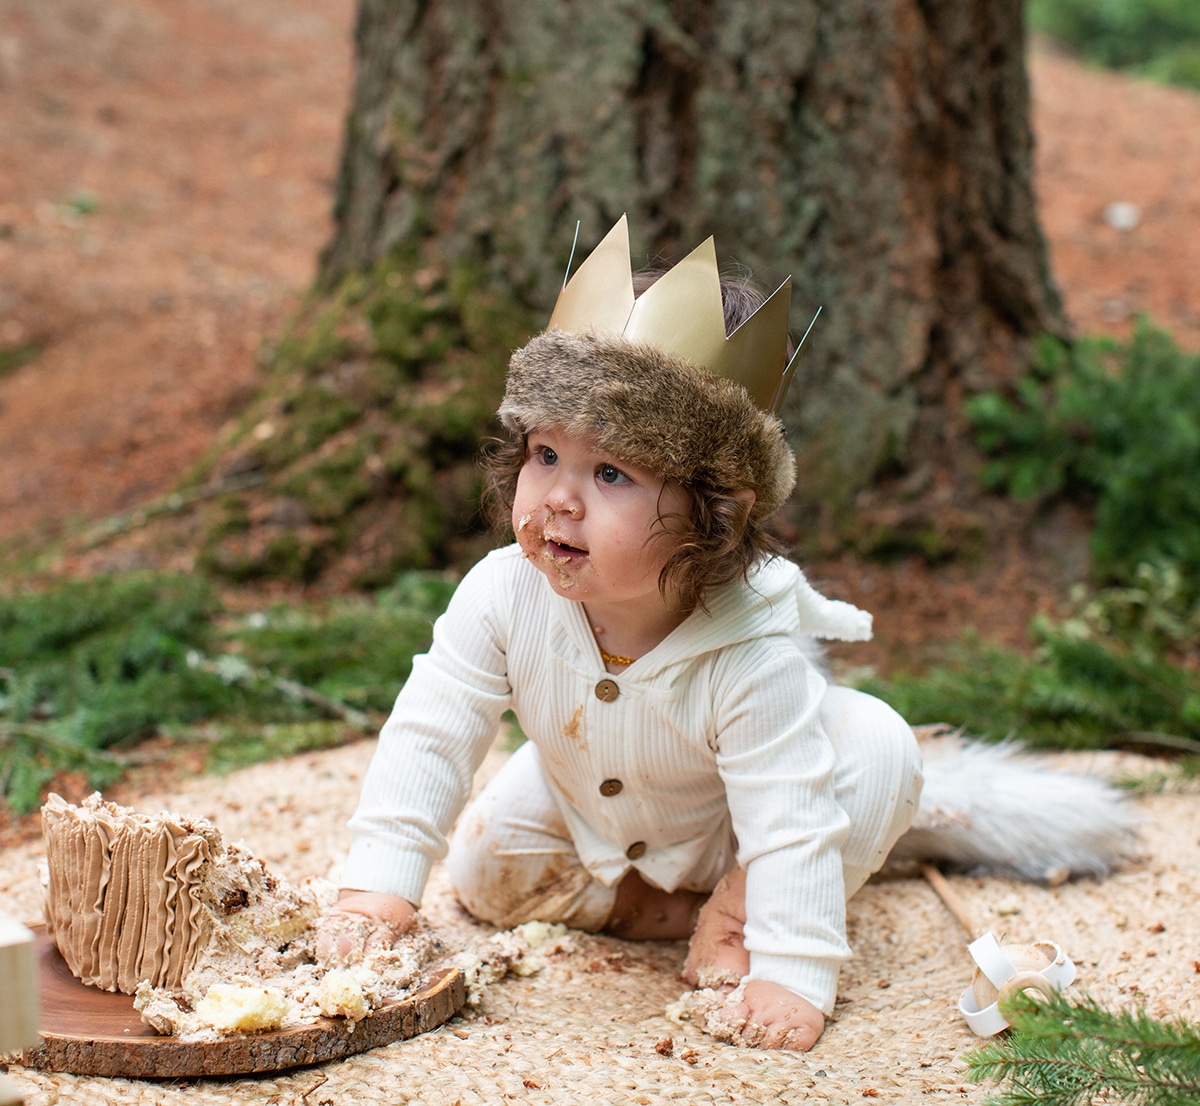
You can get my gold crown printable cake topper template here. Just print the template on gold cardstock and glue the ends together OR you can glue two together to make a crown for a toddler! I added some faux fur to the bottom so it looks more like the crown from Where The Wild Things Are.
Remember, you should never have fondant or any small objects on a smash cake because they are a choking hazard.
Tips For Success
- A cold cake is a yucky cake. Make sure you take your cake out of the fridge the morning of the smash cake session. At least a few hours in advance to give the cake time to warm up.
- Toddlers don't usually know what to do with a cake at first, encourage them to taste by putting their hand in the frosting or give them a little taste of the frosting with your finger to get them started.
- A tired baby plus a smash cake does not go well. When my daughter Avalon turned one, I made the mistake of doing her smash cake at the end of the party when she was exhausted and wanted no part of that cake. Start the party with the smash cake then do a quick wardrobe change afterward and enjoy the party!
Cake Batter and Frosting Calculator
Select an option below to calculate how much batter or frosting you need. Adjust the servings slider on the recipe card to change the amounts the recipe makes.
Choose a pan type
Choose a cake pan size
(based on 2" tall cake pan)
Choose a cake pan size
(based on 2" tall cake pan)
Cupcake Tin Size
Choose number of pans
Cups of Batter Needed
8 cups
Cups of Frosting Needed
5 cups
Note: measurements are estimated based off the vanilla cake recipe using standard US cake pans and sizes. Measurements used are for 2" tall cake pans only. Your results may vary. Do not overfill cake pans above manufacturer's recommended guidelines.
Recipe
Equipment
- Two 6"x2" cake pans
- 1M piping tip and piping bag
Ingredients
Smash Cake
- 3 ounces hot water
- 1 ounce cocoa powder
- 7 ounces Cake Flour
- 5 ounces granulated sugar
- ¼ teaspoon salt
- 2 teaspoon baking powder
- ¼ teaspoon baking soda
- 2 large eggs room temperature
- 2 ounces vegetable oil
- 5 ounces buttermilk room temperature or slightly warm
- 3 ounces unsalted butter room temperature
- 1 teaspoon vanilla
Chocolate Whipped Cream
- 12 ounces heavy whipping cream cold
- 2 ounces powdered sugar
- 1 teaspoon vanilla extract
- 2 Tablespoons Hershey's chocolate syrup or sifted cocoa powder
- 1 package Oetkers whipped cream stabilizer
Instructions
Smash Cake Recipe
- Combine the cocoa powder with the hot water and whisk until smooth. Set aside to cool.
- Combine half the buttermilk with the vegetable oil and set aside.
- Add the egg and vanilla to the remaining buttermilk and whisk to combine. Set aside.
- Into the bowl of your stand mixer with the paddle attachment attached, add in your flour, sugar, salt, baking powder, and baking soda and mix for 10 seconds to combine.
- While mixing on low, add in your softened butter and mix until the mixture looks like coarse sand.
- While mixing on low, add in your buttermilk/oil mixture and mix for 2 minutes to develop the cakes structure.
- Scrape the bowl and then continue mixing on low while slowing drizzling in the buttermilk/egg mixture until cohesive.
- Divide the cake batter in half and add the chocolate mixture to half the vanilla cake batter and stir to combine.
- Coat two 6"x2" cake pans with cake goop or another preferred pan release. Fill one pan with the vanilla mixture and the other with the chocolate.
- Bake your cakes at 350ºF for 25-30 minutes or until the cake bounces back when you touch the top.
- Let your cakes cool in the pan until they are barely warm to the touch but not cold.
- invert your cakes onto a cooling rack to cool the rest of the way. I put my cakes in the freezer for 30 minutes (on the cooling rack) so they can cool down further and are easier to handle while stacking the cake. Watch my video above to see how to stack and decorate.
Chocolate Whipped Cream
- Combine your heavy cream and powdered sugar, vanilla and stabilizer (optional) in the bowl of your stand mixer with the whisk attachment.
- Mix on medium until you start to see soft peaks form.
- Add in your chocolate syrup and mix until combined. Do not over mix. Whipped cream should hold it's shape but still be very soft. It will continue to whip and become more stable as you frost the cake.
Video
Notes
- Make sure your eggs, buttermilk, and butter are all room temperature before you make your cake or the cake won't combine properly.
- Chill your cakes before stacking and frosting
- Don't overwhip your whipped cream so that it stays nice and smooth
- You can omit the chocolate if you want your cakes to be vanilla or you can double the chocolate if you want all the cake batter to be chocolate instead of vanilla.
- If you’re in the UK search for Shipton mills soft cake and pastry flour or flour that has a protein level of 9% or less. Doing the cornstarch and AP flour trick will not work for this cake, it is formulated specifically with the reverse creaming method to use cake flour.


Maribel Martinez says
I love this recipe. if I just want to make it vanilla I can just not add the chocolate part, correct?
Elizabeth Marek says
Yep!