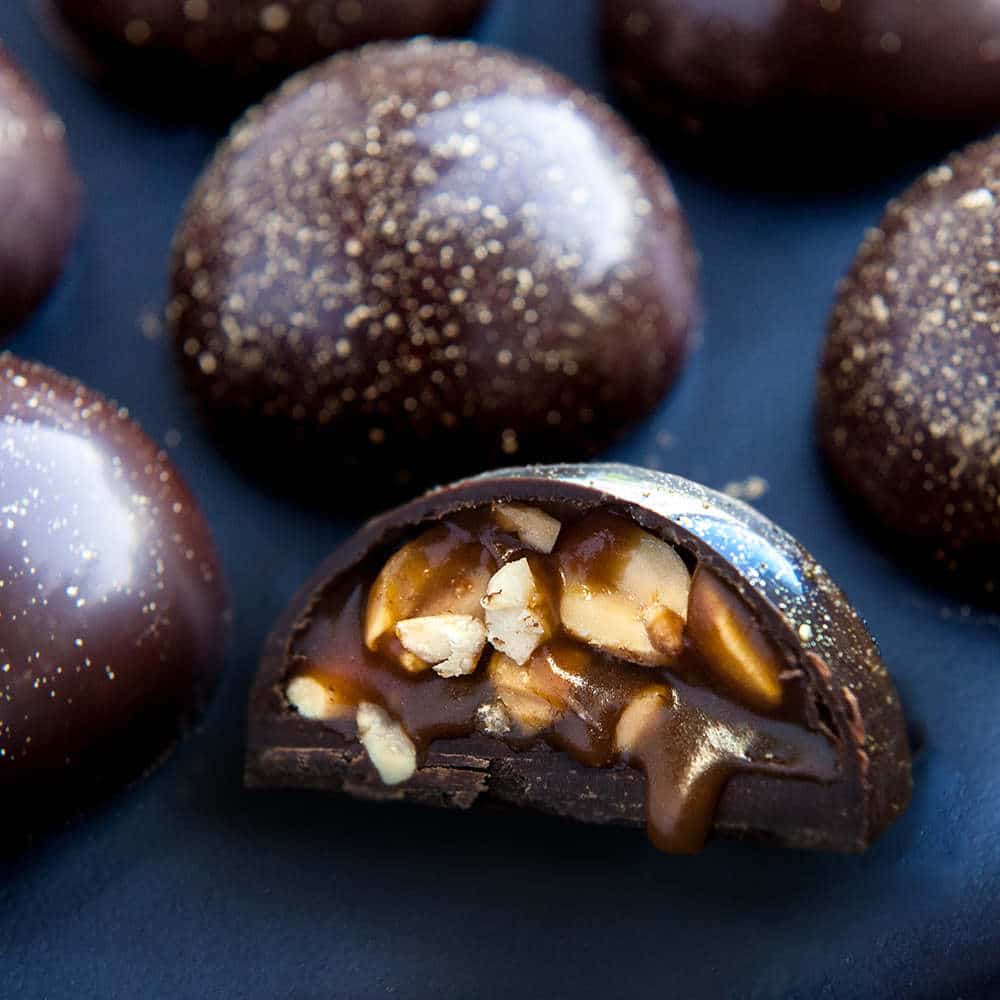
Shiny homemade chocolate caramel candy with sea salt and toasted hazelnuts
Making your own chocolate caramel candy at home is something I have always wanted to do! Now that I have learned how to temper chocolate in the microwave, making molded chocolates and hot chocolate bombs has never been easier! And so impressive looking!
**this post contains affiliate links which means I may get a couple of pennies if you purchase from my link but it doesn't cost you anything extra***
The first time I made molded chocolates was in pastry school. That was also the first time I learned about polycarbonate molds. These are hard acrylic molds that are SUPER shiny on the inside. It's what the professional chocolatiers use to get those gorgeous shiny molded chocolates.
I decided to go with the 50mm molds because they were gifts but I think in hindsight, they were too big and I should have gone with the 30mm.
How to make the filling
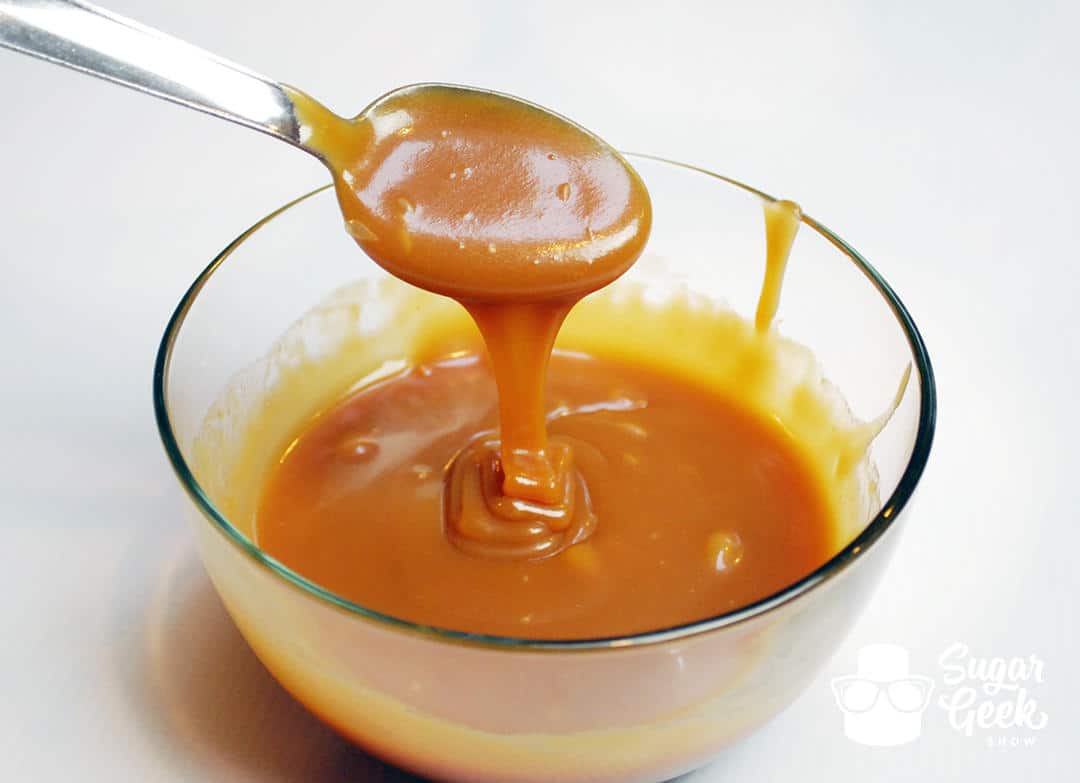
I used my salted caramel filling for this chocolate caramel candy recipe but you could fill these chocolates with SO many different things. Ganache infused with tea or herbs, fruit purees or even peanut butter filling! The possibilities are really endless.
-
Bring the sugar and water to a boil on medium high. Cover with a lid for 5 minutes
-
Remove lid and continue cooking the sugar until thermometer reads 350º (hard crack stage) or it's a deep golden brown color. No need to stir.
-
Remove from heat. Start adding your butter in small pieces (it will bubble so be careful) then carefully mix in the cream.
-
Add in your sea salt and let sit at room temperature overnight or put in the refrigerator to cool. Store leftover caramel in the refrigerator.
How to make molded chocolate shells
After you have tempered your chocolate, you can now make your chocolate shells. This process is fairly simple but I've broken it down into some simple steps to help clarify everything. You can also watch the video below on how to make these molded chocolate caramel candies below.
- Make sure molds are super clean and dry. Wipe the insides of each mold thoroughly with a paper towel to remove any residue that might make your chocolates stick.
- Warm your mold slightly with a hair dryer or heat gun so it's not super cold (optional). Should not be hot, about body temperature.
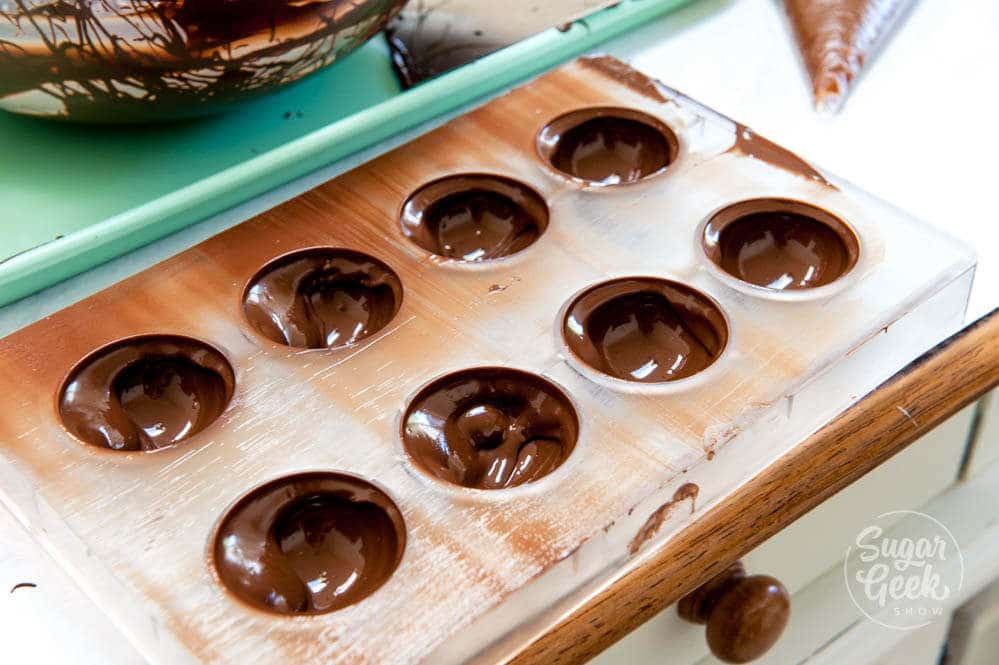
- Pour your tempered chocolate into your mold and tap the edge with a bench scraper to remove any air bubbles.
- Scrape off the excess chocolate back into the bowl. Let the mold sit for 30-60 seconds.
- Turn your mold upside down over the bowl and pour out the excess chocolate. Tap the edge with your bench scraper to remove the majority of the chocolate. You don't want the shells to be too thick.
- Scrape the back of the mold ONE time to make the edges nice and clean.
- Place the chocolate upside down on a piece of parchment paper and press flat. Leave for 5-10 minutes or until the chocolate is half-set (not liquid but still soft).
- Scrape the back one more time to remove any excess chocolate.
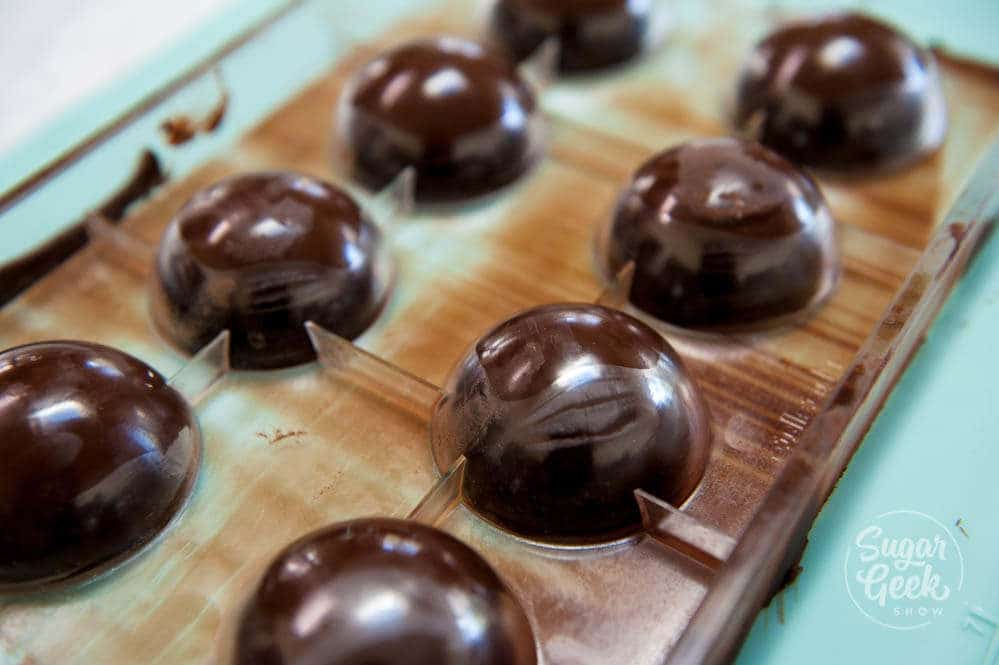
- Place the mold into the fridge for 10 minutes to set the chocolate.
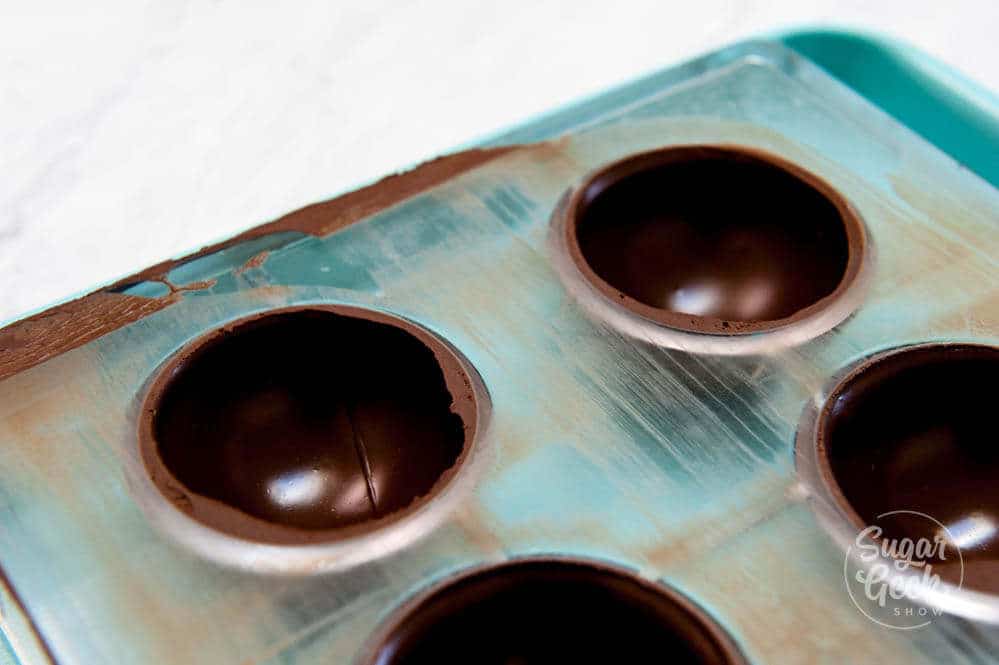
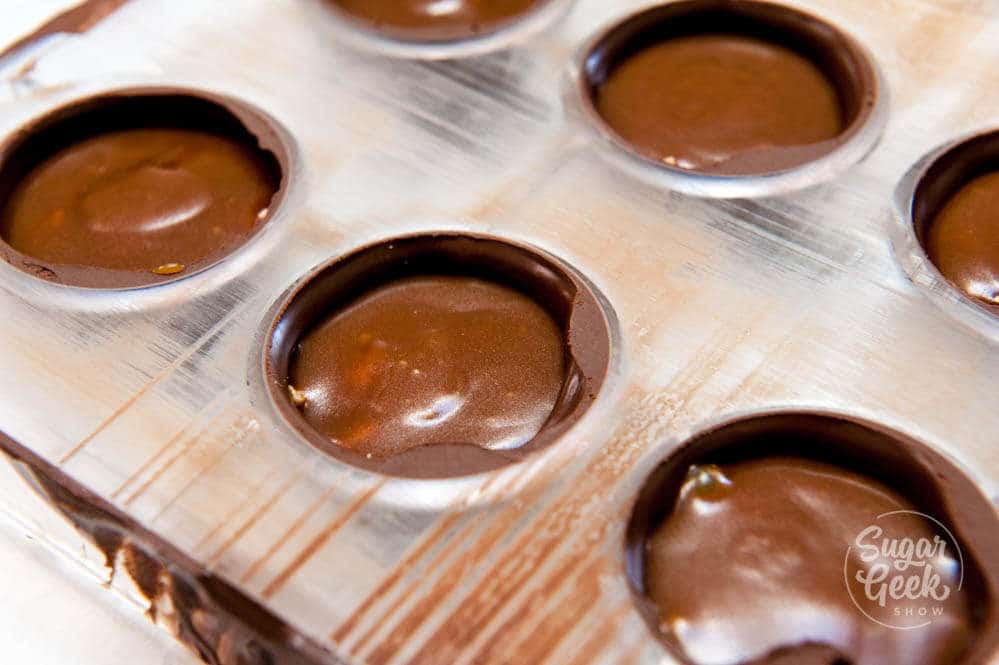
- At this point, you can check to see that the chocolates are releasing from the mold. If you haven't tempered your chocolate correctly they will have spots that are stuck (see photo below) and they will not release. So if that is the case, you're better off re-tempering your chocolate and trying again so you don't waste your filling.
How to fill your chocolate candy shells
Full disclosure, I did not roast these hazelnuts myself although you totally could. Typically when I roast nuts, I place them on a baking sheet and put them into the oven at 350ºF until they are fragrant. Usually for about 5 minutes. Let them cool before you use them.
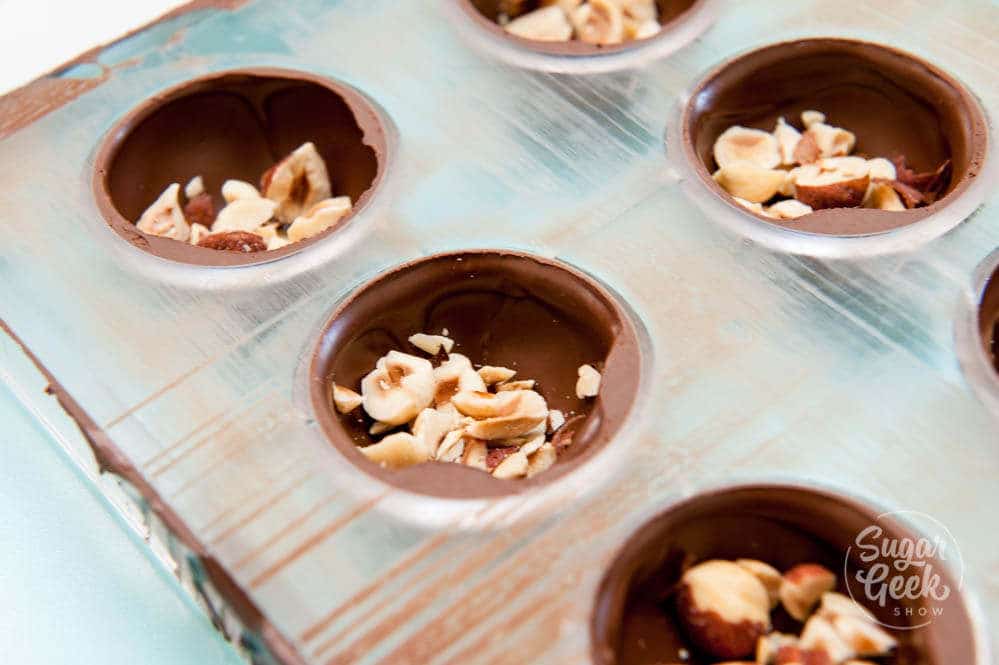
I chopped my hazelnuts roughly and then filled my shell up to about halfway.
Then I put my cooled caramel into a piping bag and piped the caramel over the nuts. Don't fill the chocolates all the way up or you won't have any room to put the chocolate on the back.
Tap your molds to make sure the caramel settles down in between the nuts and there aren't any air bubbles trapped in there.
Put some of your tempered chocolate into a piping bag and pipe around the outside edge of the chocolate shells, slowly working your way to the center.
After all your chocolates are covered on the back, give your mold another little tap to get rid of air bubbles and get the chocolate to smooth out. Scrape the back edge one time with your bench scraper to get off the excess chocolate.
Place back into the fridge for 10 minutes to set the back of the chocolates.
How to decorate your chocolate caramel candy
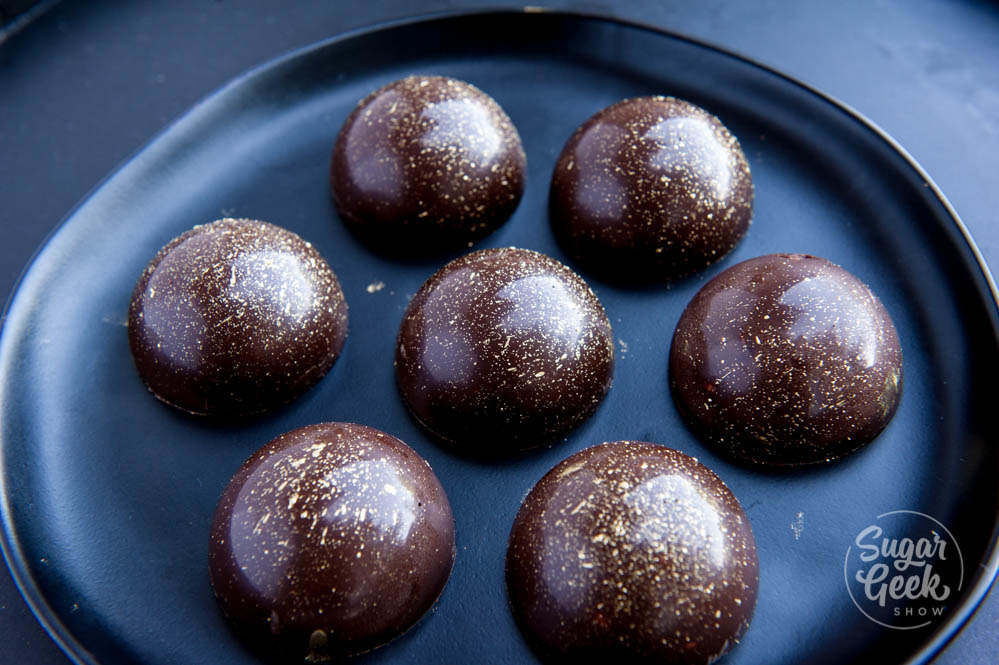
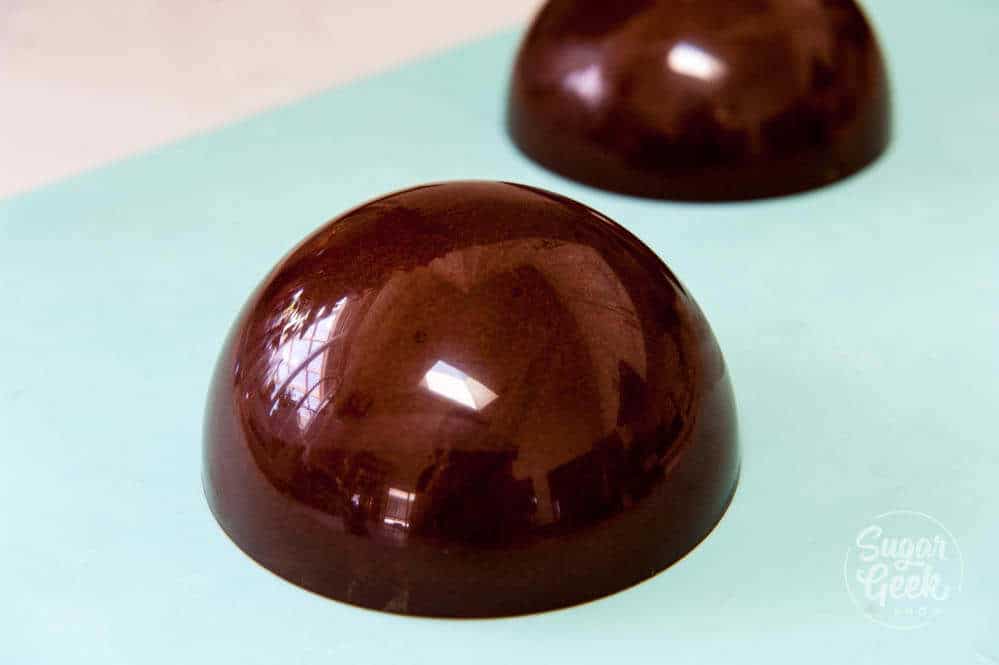
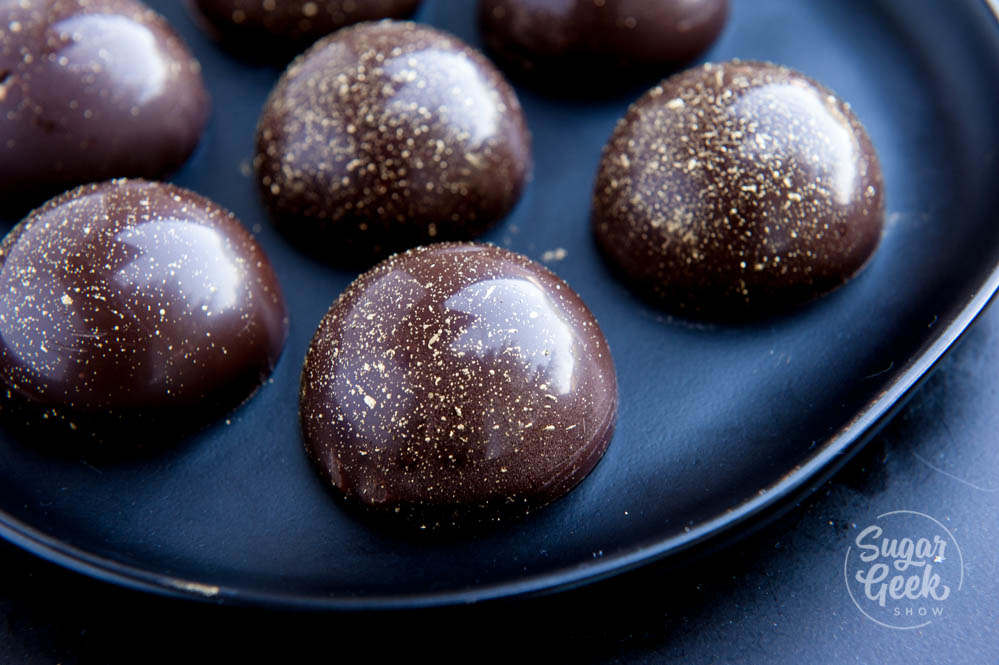
Once your chocolates are set, you can flip them out onto a silicone mat or you can push on the edge and turn them over one by one. I decided to add a pretty gold splatter to my chocolate caramels.
To make the gold splatter, mix 1 teaspoon of gold powder with a couple of drops of alcohol until you get a paint consistency. Use a new toothbrush to splatter the tops of your chocolates with the gold.
Now your chocolates are ready to be packaged up and given as gifts or to just enjoy with a big scoop of ice cream or a cold glass of milk! Soo good!
Recipe

Instructions
Tempering Chocolate Instructions
- Place your chocolate in a plastic or silicone bowl in the microwave and heat on high for 30 seconds. Then stir
- Heat again for another 30 seconds, stir, then 15 seconds, stir, then 10 seconds, stir. Make sure your temperature never goes above 90ºF for dark chocolate. 86F for milk chocolate and 84F for white chocolate. DO NOT RUSH THIS
- If your chocolate is not fully melted then only do another 5 seconds until it is melted
- Now your chocolate is in temper and ready to use!
Caramel Filling
- Bring sugar and water to a boil on medium high in a medium sized sauce pan. Cover with a lid for 5 minutes
- Remove lid and continue cooking sugar until thermometer reads 350º (hard crack stage) or it's a deep golden brown color. No need to stir.
- Remove from heat and add in your butter in small pieces. Be careful, it will bubble up. Slowly whisk in your cream until combined.
- Add in your sea salt and let set at room temperature overnight or cool in the refrigerator.
Video
Nutrition




Bernadette Niebuhr says
They look delicious! Do they require being stored in the refrigerator because of the caramel?
The Sugar Geek Show says
After a few days, the caramel will begin to separate but it isn't dangerous to leave it at room temperature.
Kelsey says
These were surprisingly easy and super delicious!
Kerrie says
Thanks for posting! I'm intimidated with working with pure chocolate, the ratio numbers on the bags confuse me. What brand and cocoa butter percentage do you find works well?? Thanks so much.
The Sugar Geek Show says
Totally understand. Try Callebaut. I got mine on amazon. I think its 56%
Sabrina says
Hi...pls update ratio n ingredient measurement for caramel...as its not updated in ingredients column
Sugar Geek Show says
Here's my caramel recipe: https://sugargeekshow.com/caramel-sauce-recipe-3/