I'm just going to warn you now, this post is a doozy. If you're not in it for the long haul this time you might as well turn around now and go back to whatever you were doing before you stumbled upon this blog post. If you are up for it, then you won't regret it! Today we are going to show you step by step how to carve a female bust out of cake, ACTUAL cake. Let's get to it shall we?
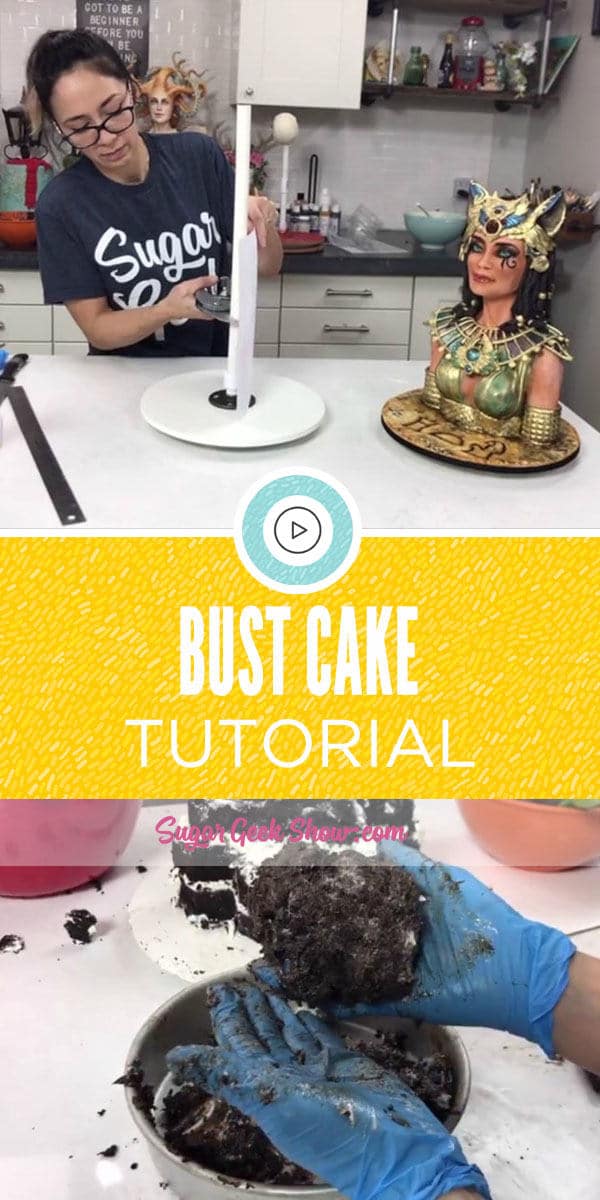
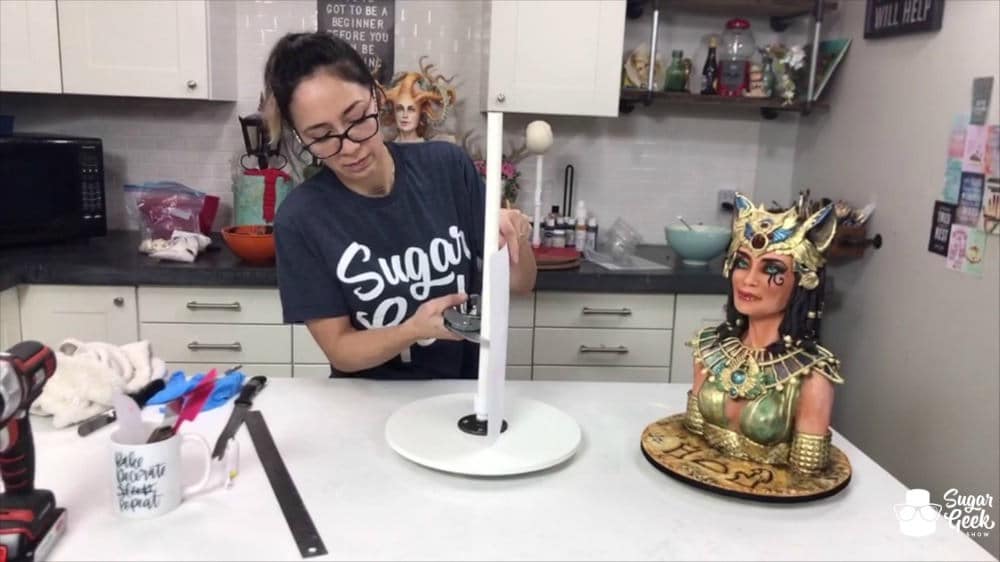
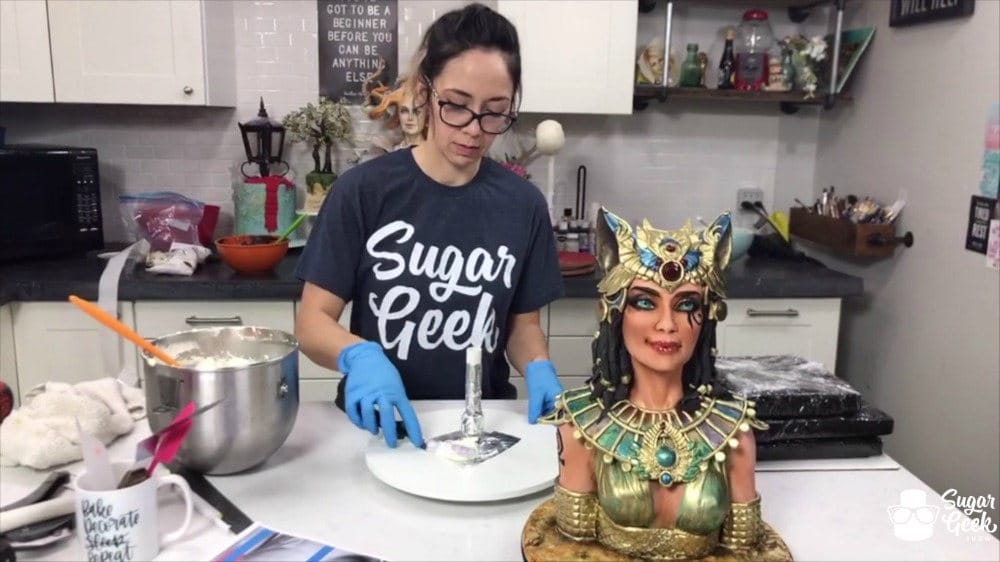
First off, you need a structure to support your bust and head. Liz has constructed a structure out of a 12" wooden board, a ½" metal flange she has screwed to the board, a ½" male adapter and some ½" PVC pipe.
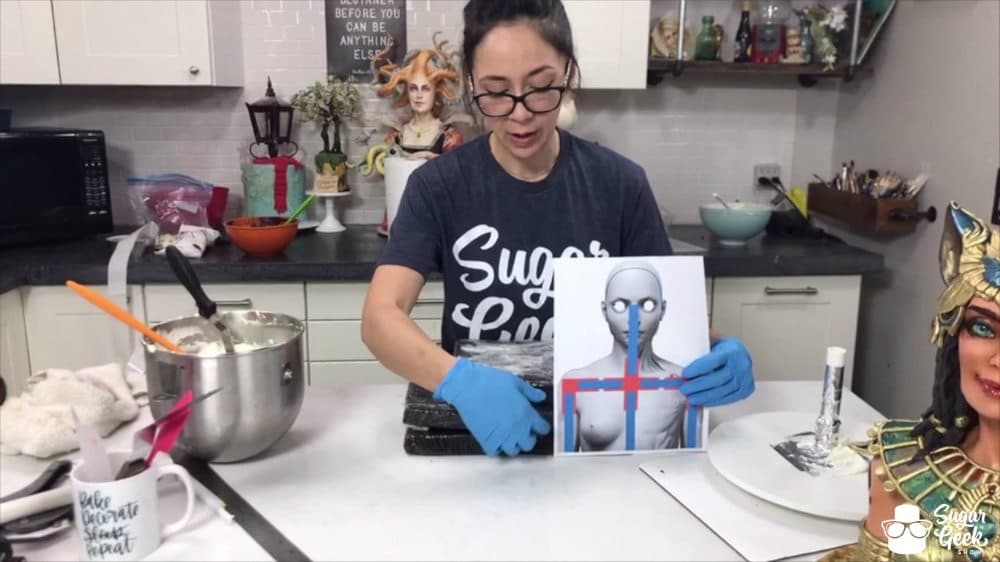
You'll want to measure your PVC to about where you want the top of the shoulders to be. It helps to print out a template to measure from. If you are a Premium or Elite Member of the Sugar Geek Show, the template Liz uses in this demonstration is available to you with the lovely Egyptian Goddess Bust Cake Tutorial. Using PVC cutters, cut your PVC at the correct height.
Cover your flange and PVC pipe with aluminum foil tape. This can be found at local hardware stores, Home Depot, Lowe's, that sort of thing. The PVC pipe is food safe but everything seems to stick to aluminum foil tape better. No matter what, you need to cover the metal flange.
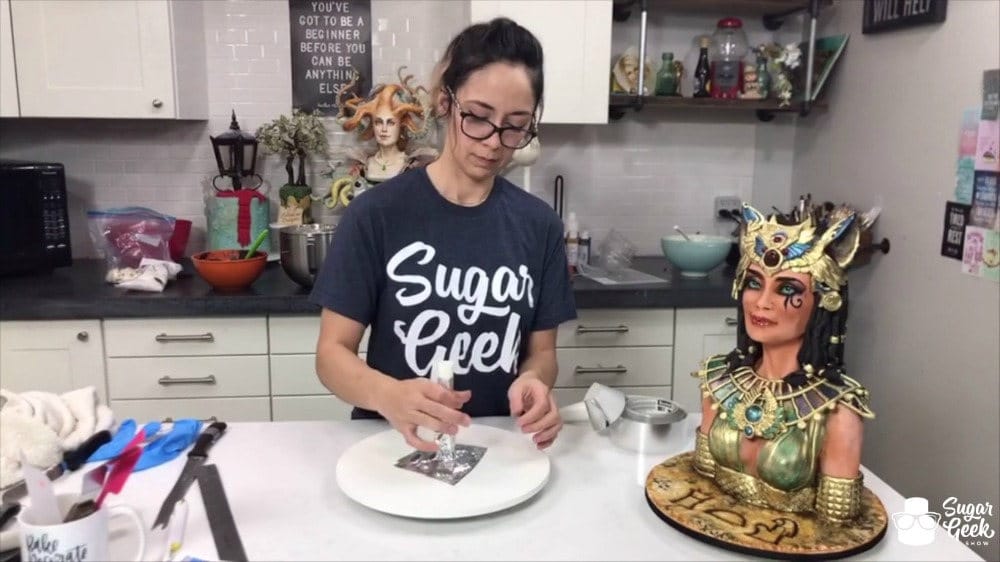
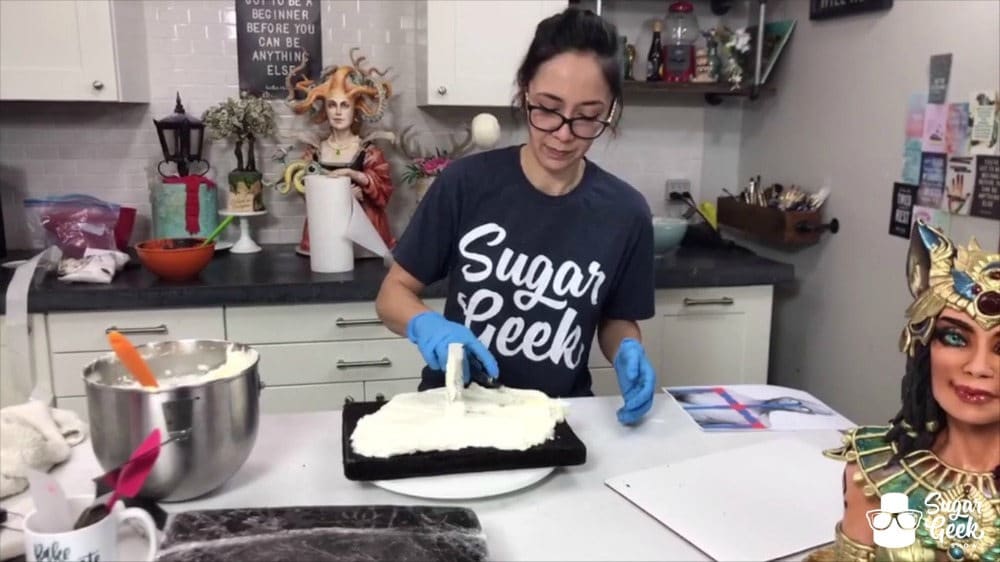
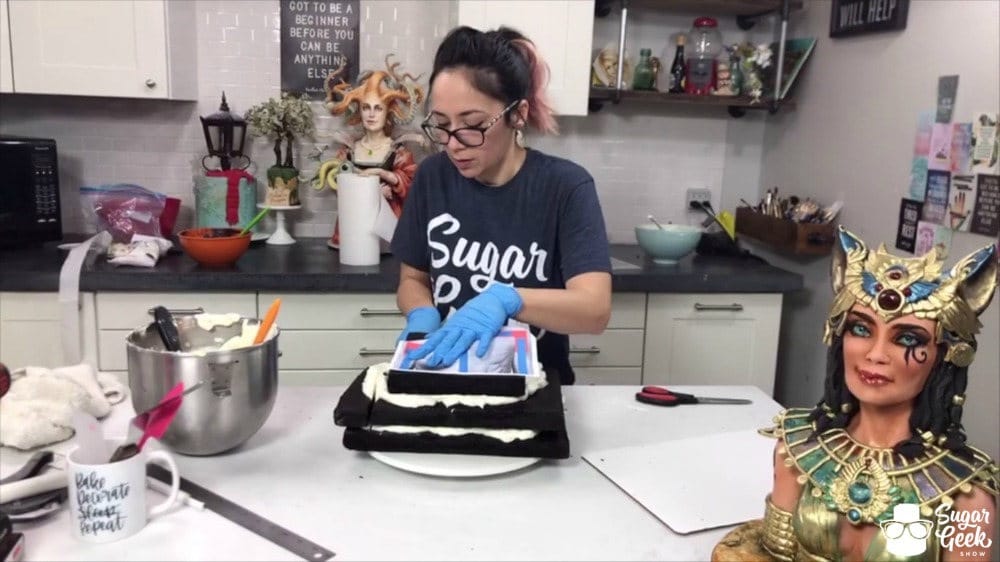
Add a little buttercream to your board to act as glue for your first cake layer.
Liz based the size of her cake layers off of the size of her template. She used a half sheet cake for the first two layers and a smaller section for the very top to cut down on waste. You always want to give yourself room to carve away. If you make your cake the exact size you want it to be finished you will not have room to carve.
Add your cake layers, followed by a generous layer of buttercream. It's easiest to use a firm, robust cake for carving like the Chocolate Cake Recipe Liz is using here.
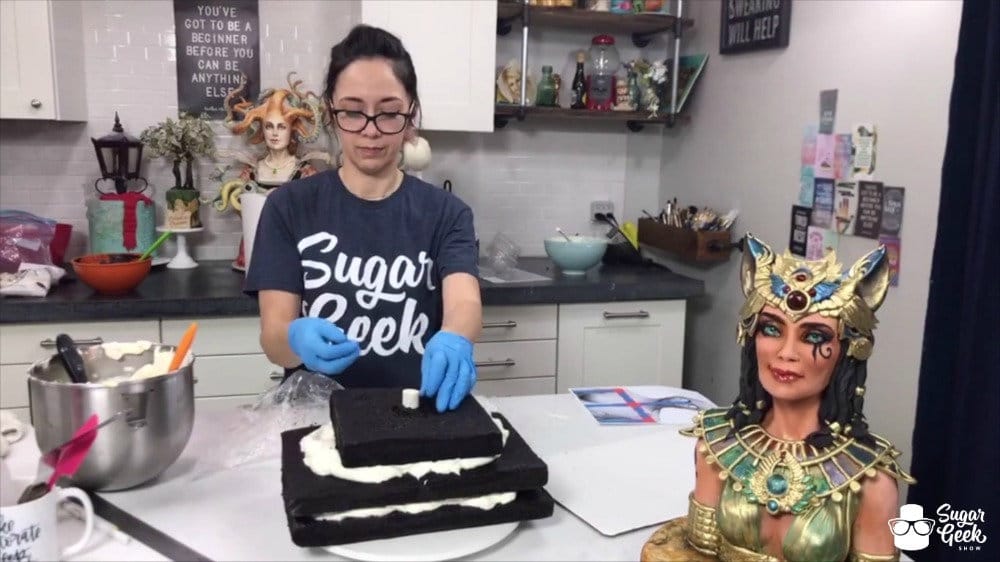
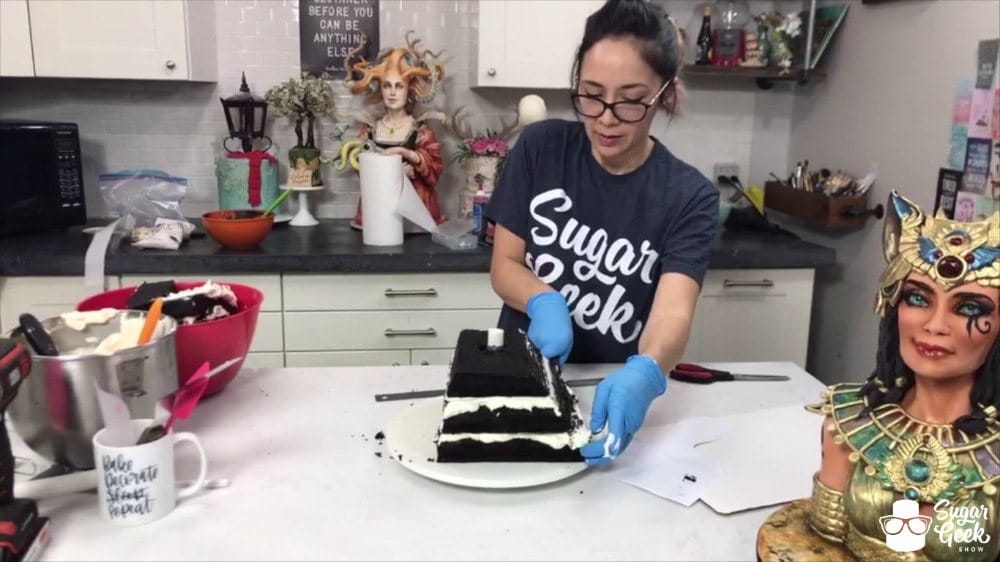
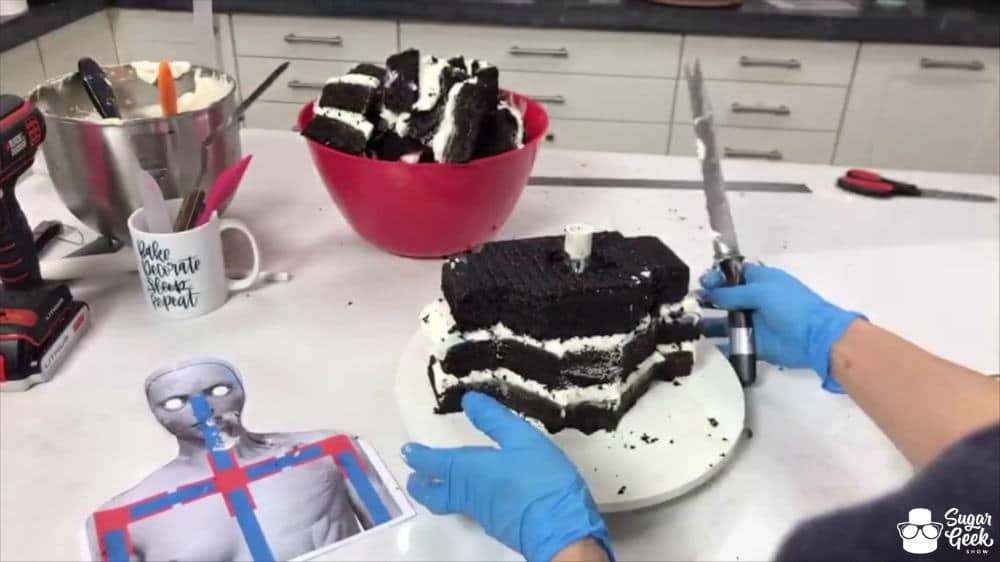
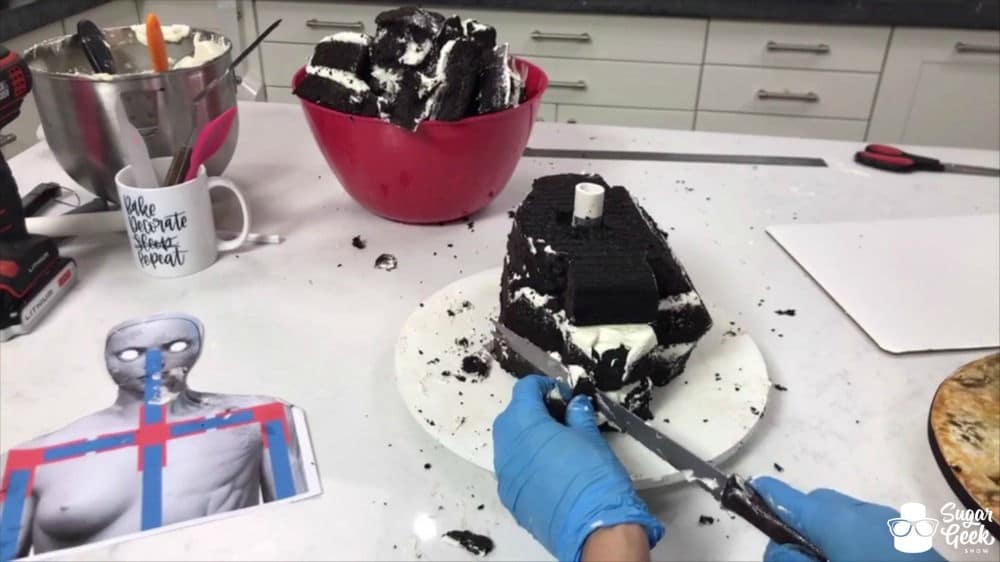
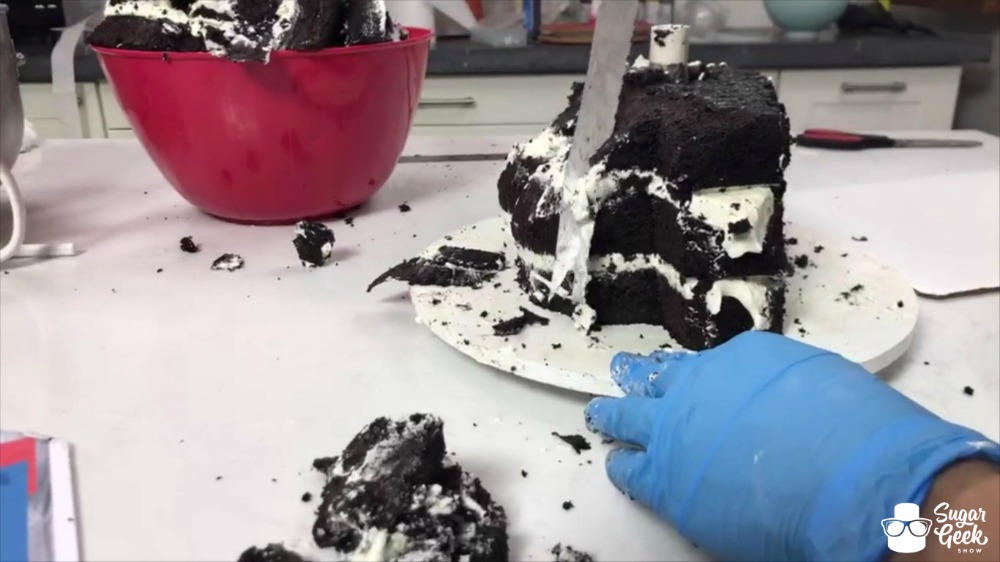
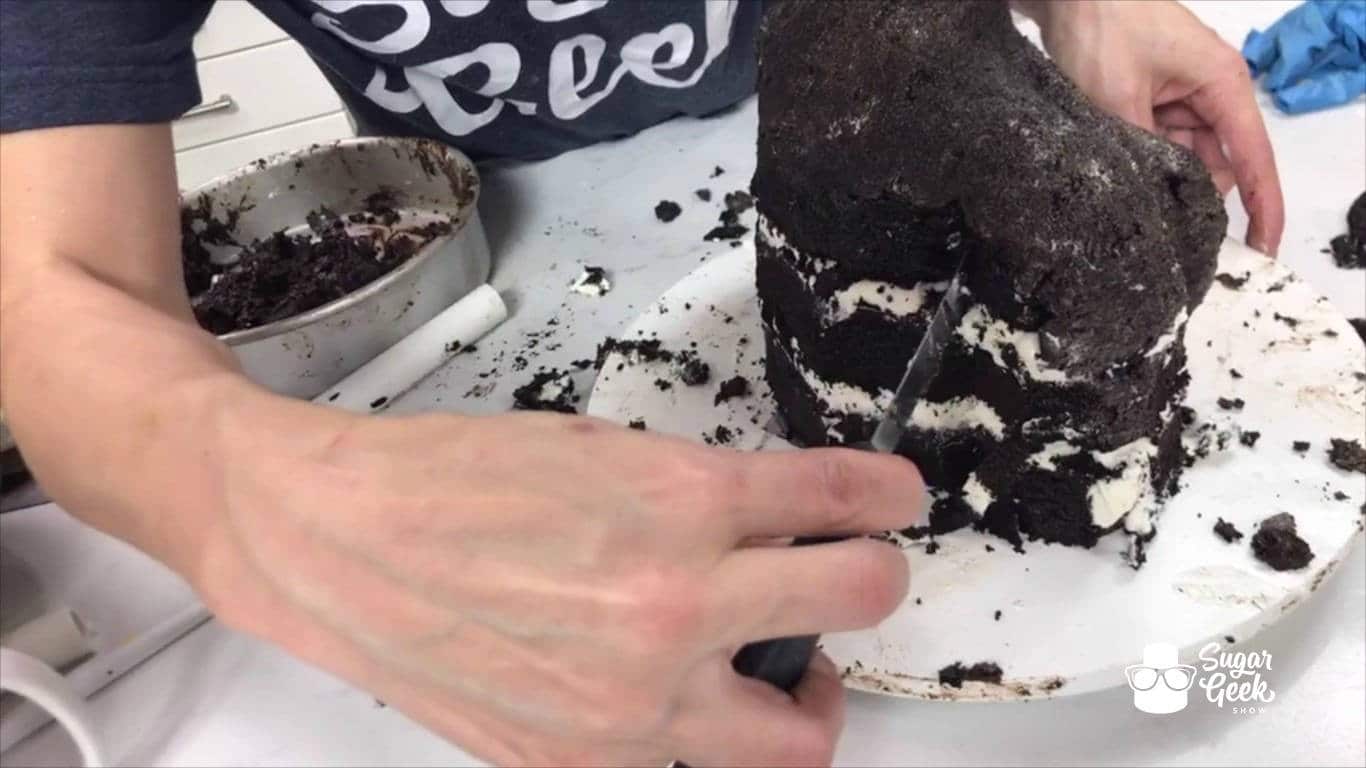
Use your template once again to get an idea of the width from shoulder to shoulder and cut away any unnecessary excess giving yourself a little wiggle room for carving.
Determine the width from back to front. Liz estimated about 5" at the top. Cut the back at a slight angle and the front at a slightly more extreme angle. Remember, we have lady lumps to carve.
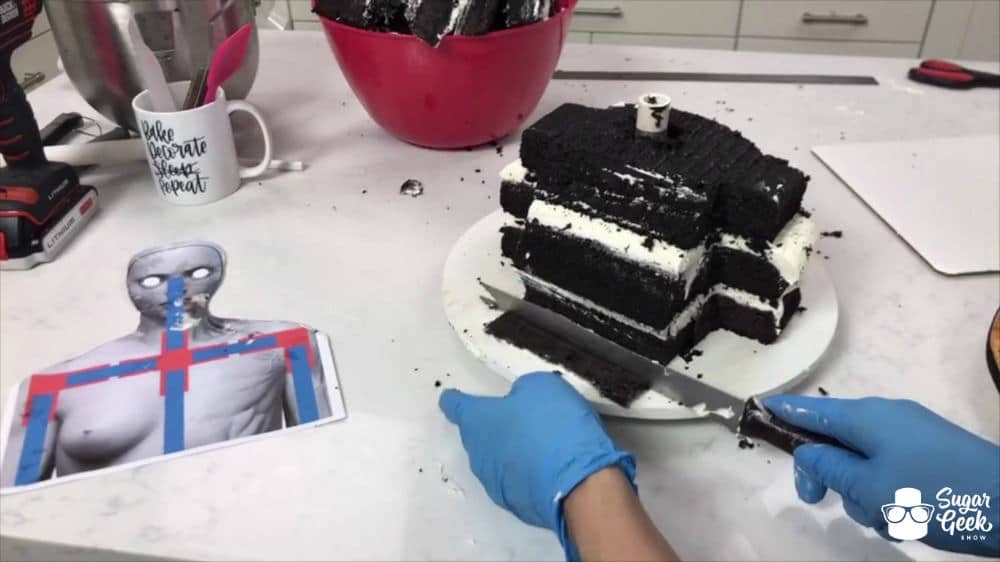
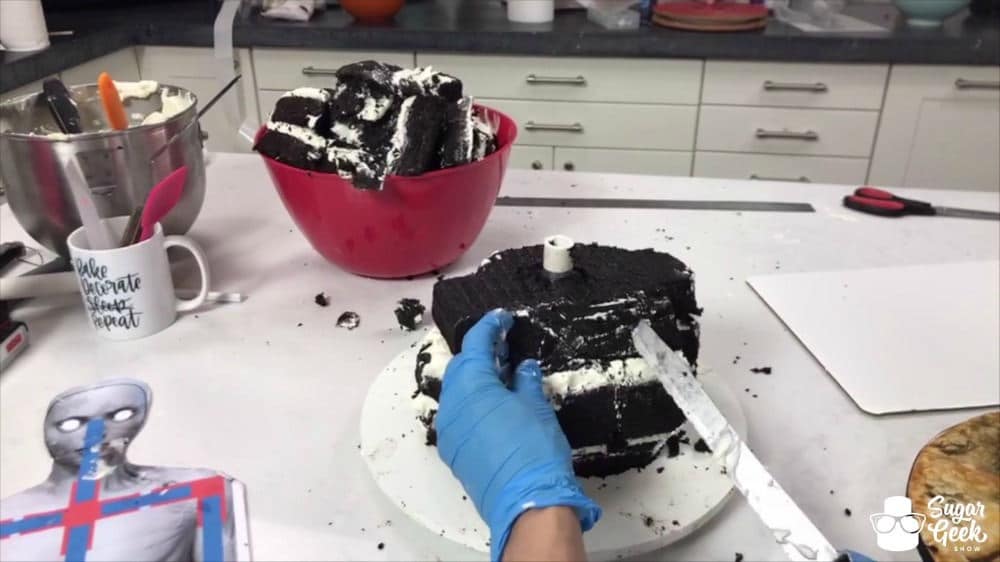
Use your template once again to determine where the arms will begin.
Cut a notch of cake out on either side of those areas.
Do the same for the back, slightly angling it in toward the back area.
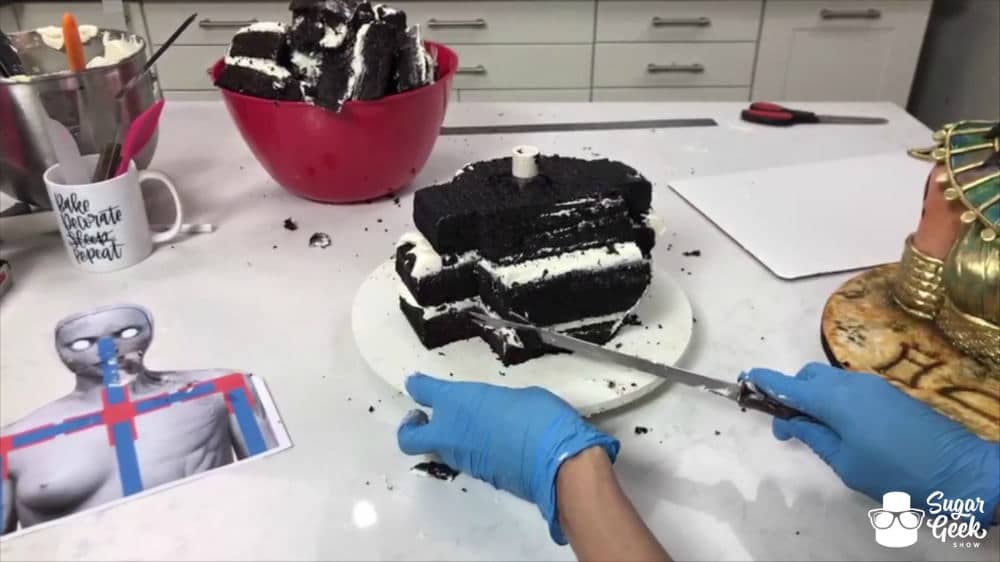
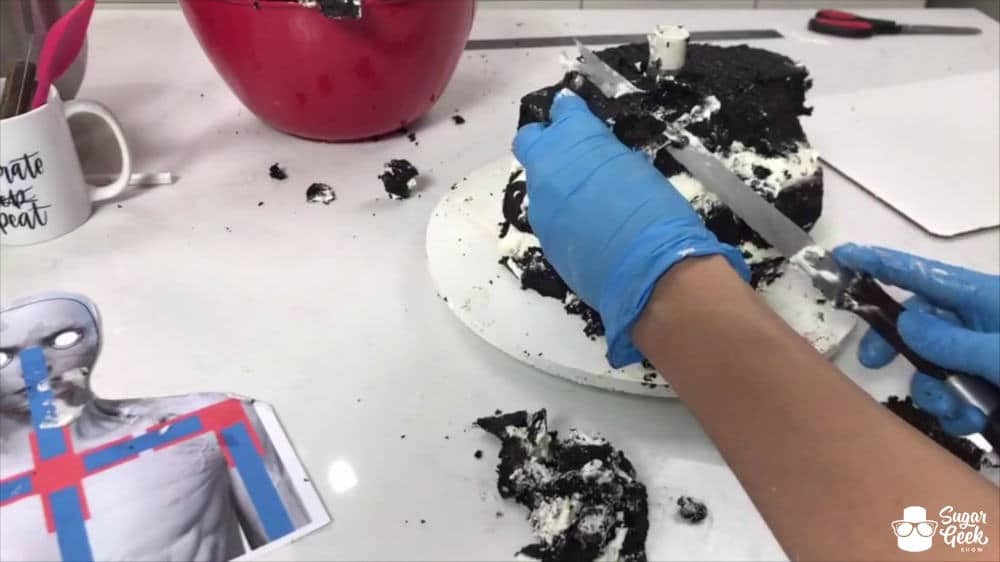
Slightly round out the back area.
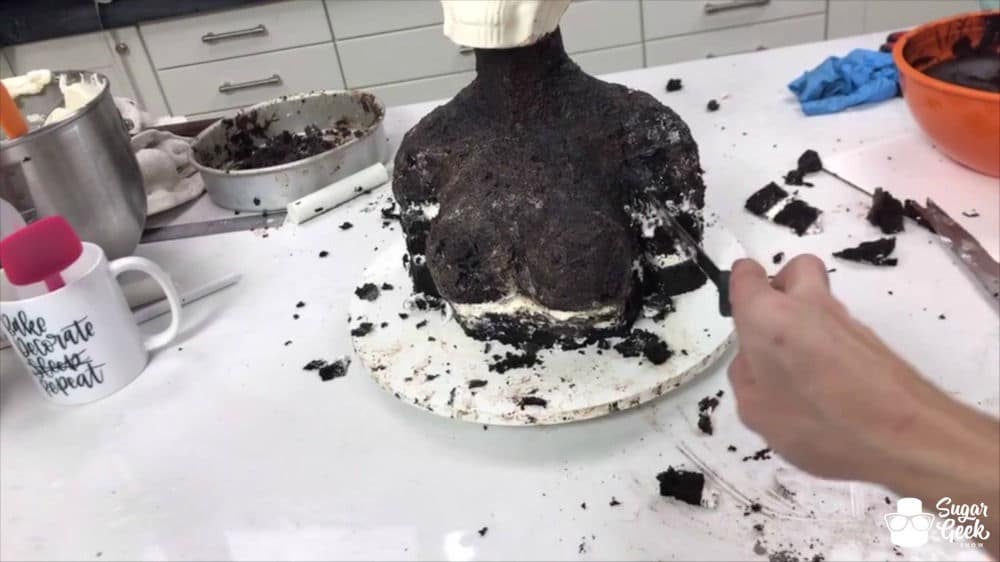
Cut a small amount out underneath of the front for the boobs.
Now basically begin rounding out any sharp corners or edges. After all we are round.
Cut a triangular notch out of the top of the chest between the boobs. Round the top of the chest area out out as well.
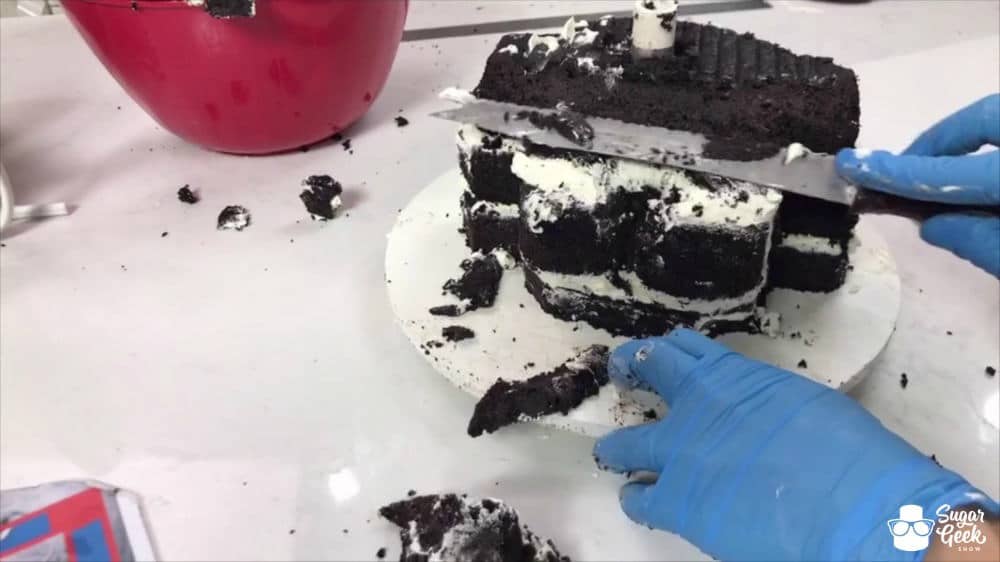
Continue rounding out any edges that are too harsh and don't look natural.
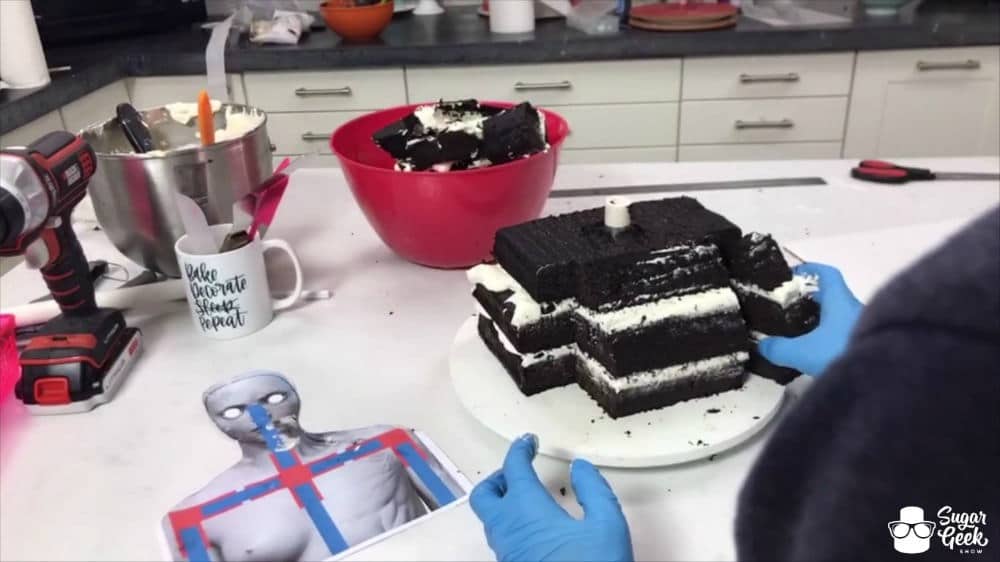
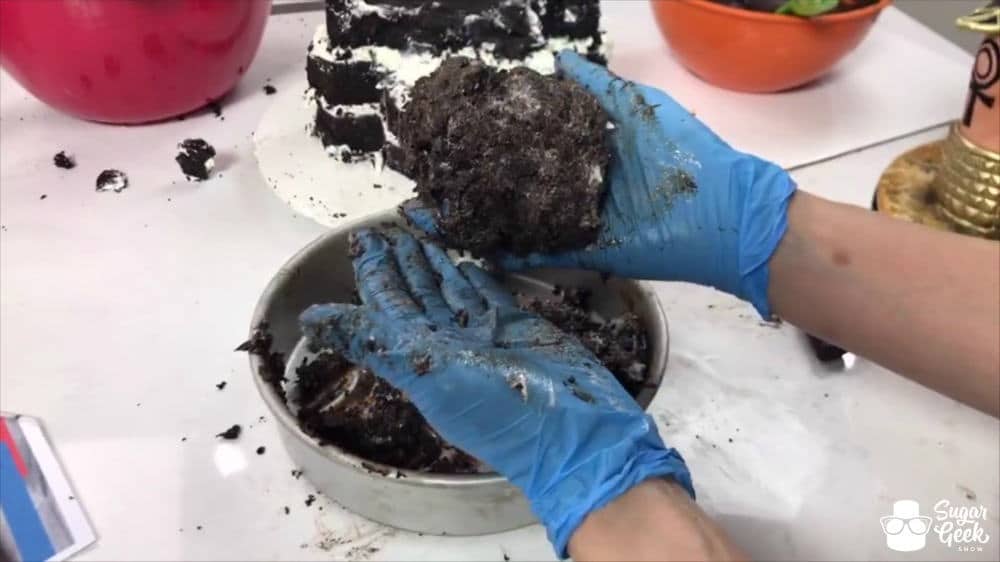
Once you have your basic shape you are going to put some of those cake scraps to good use! Add a bit of chocolate ganache to a bowl full of your cake scrap and smoosh it together with your hands. Wearing gloves for this is recommended for easy cleanup.
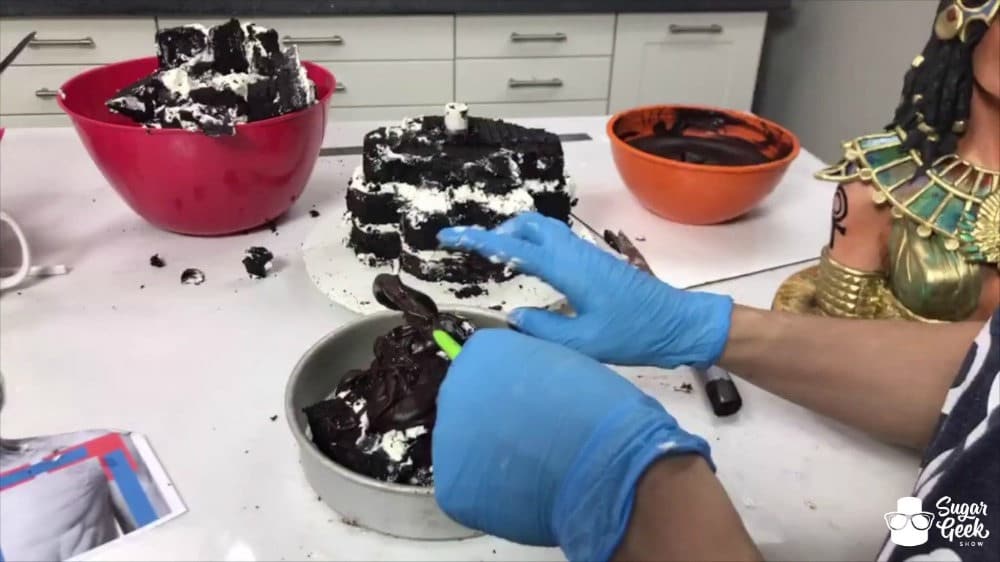
Your mixture should look like this. Not entirely combined to mush but somewhat marbled with cake lumps and buttercream still. You have made a cake clay that will now finish off your shape!
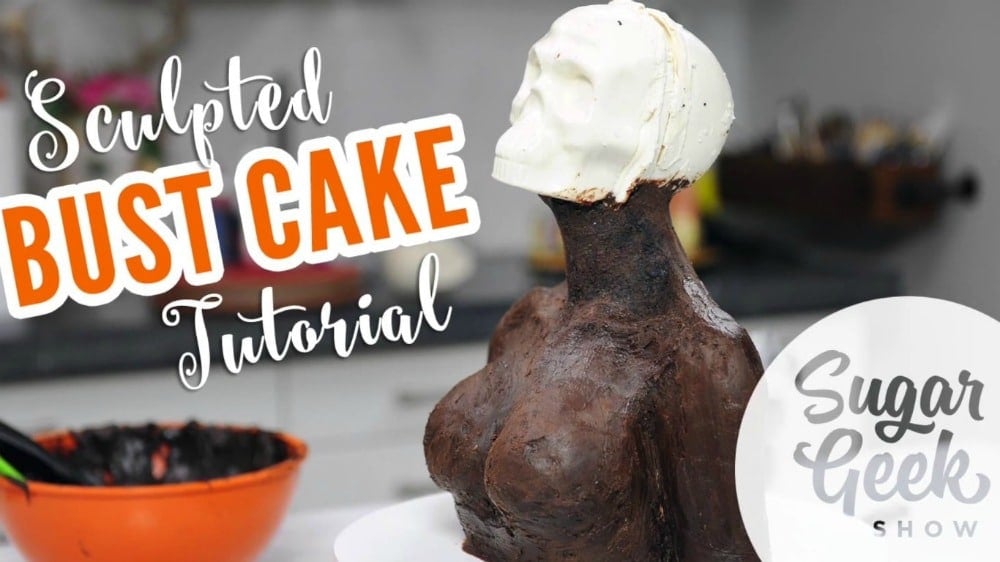
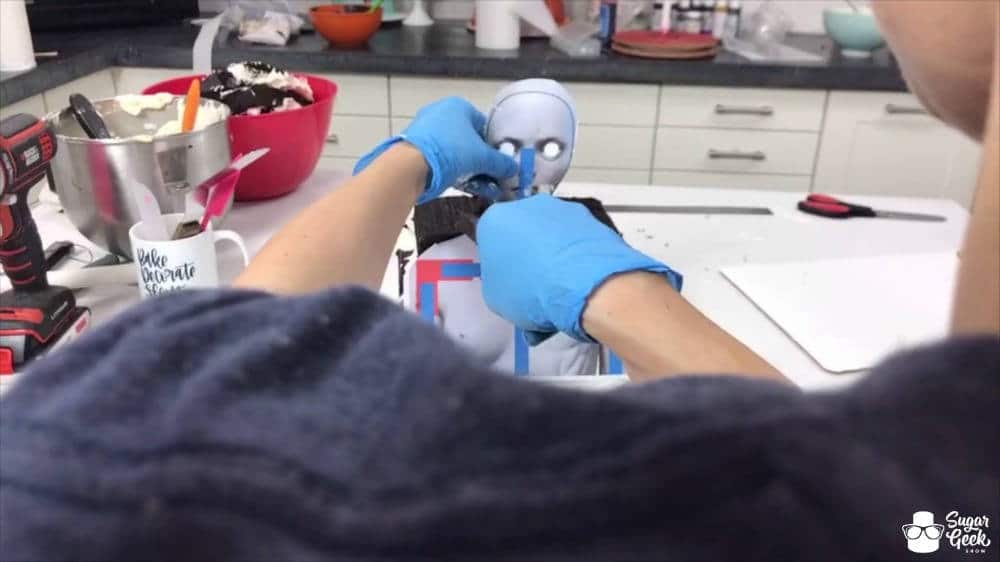
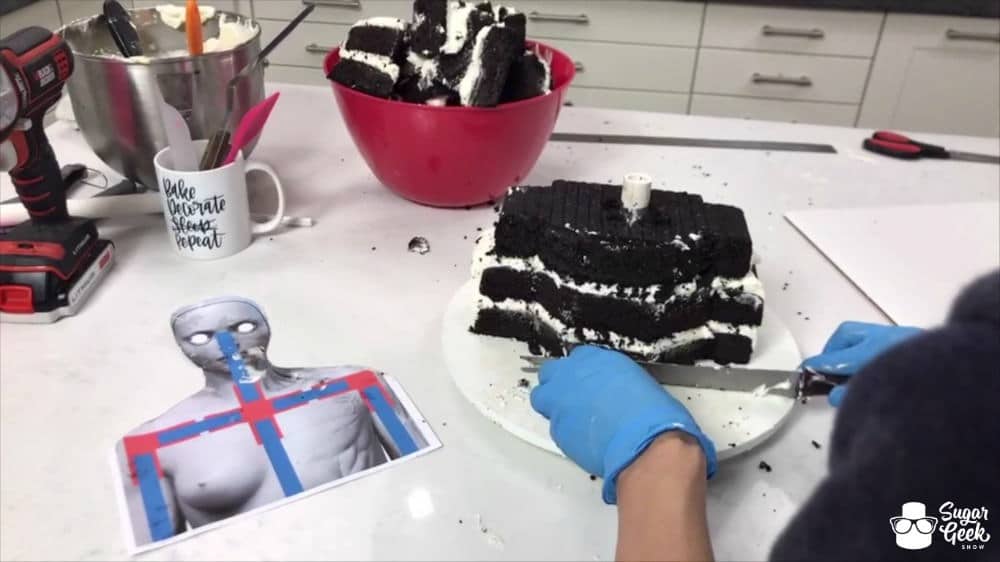
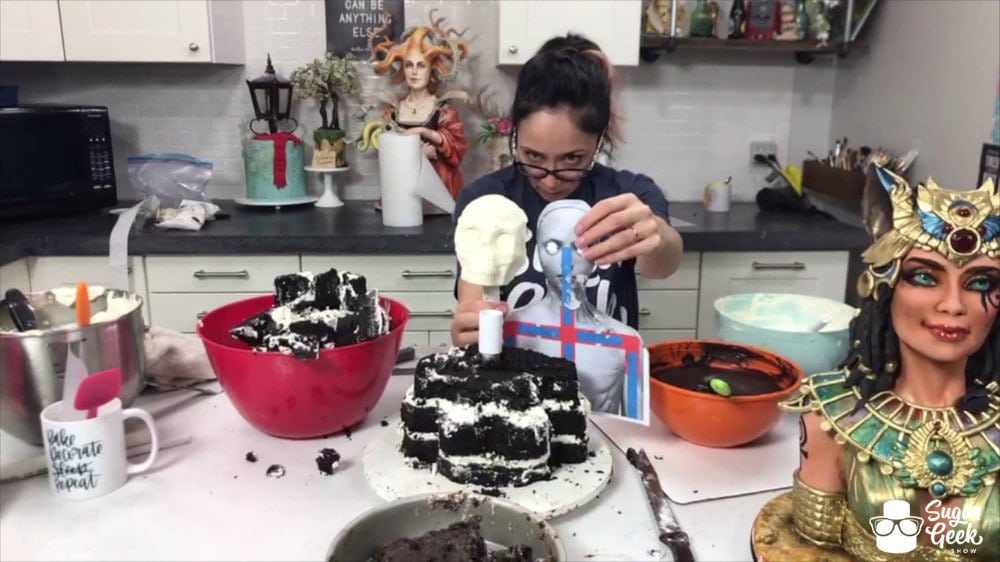
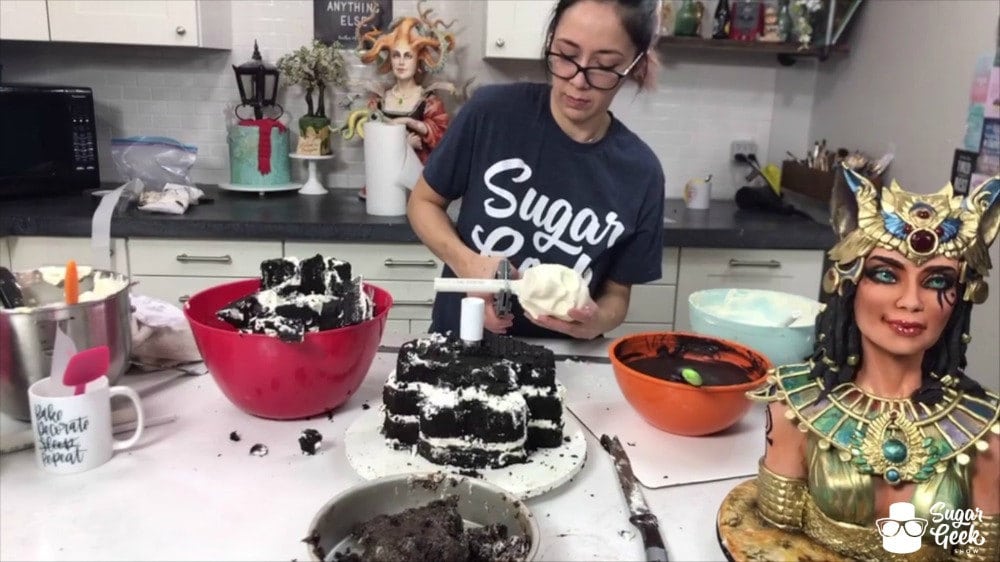
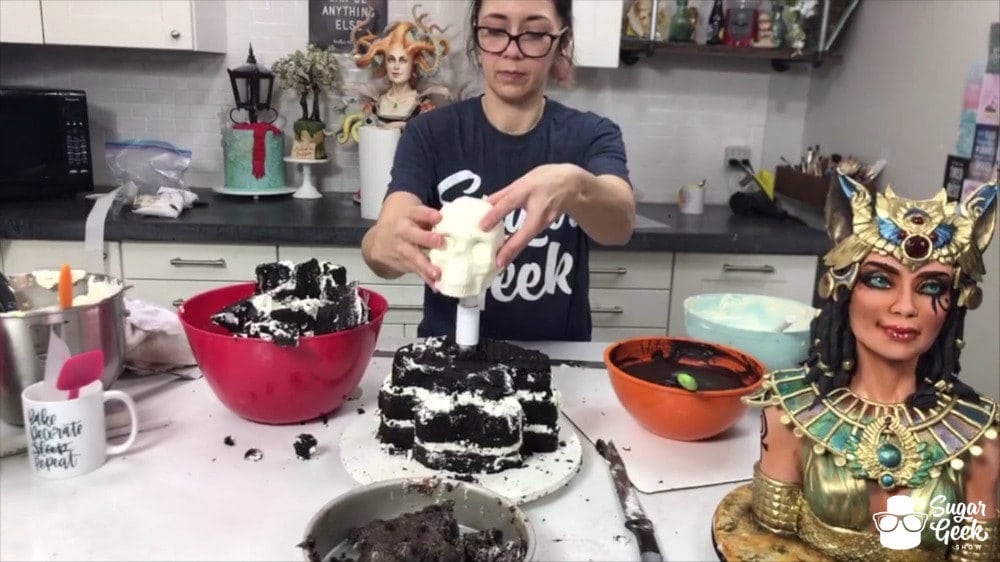
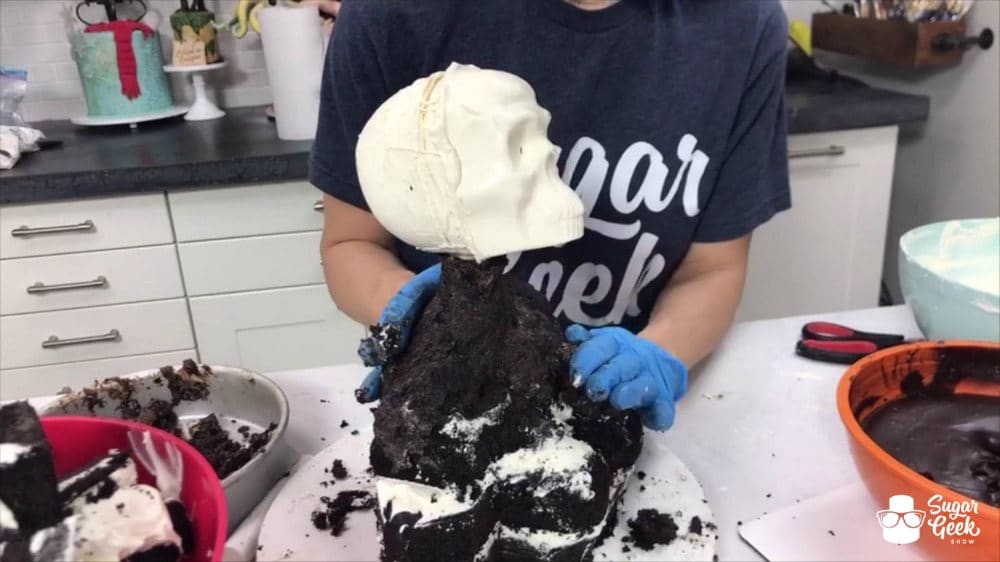
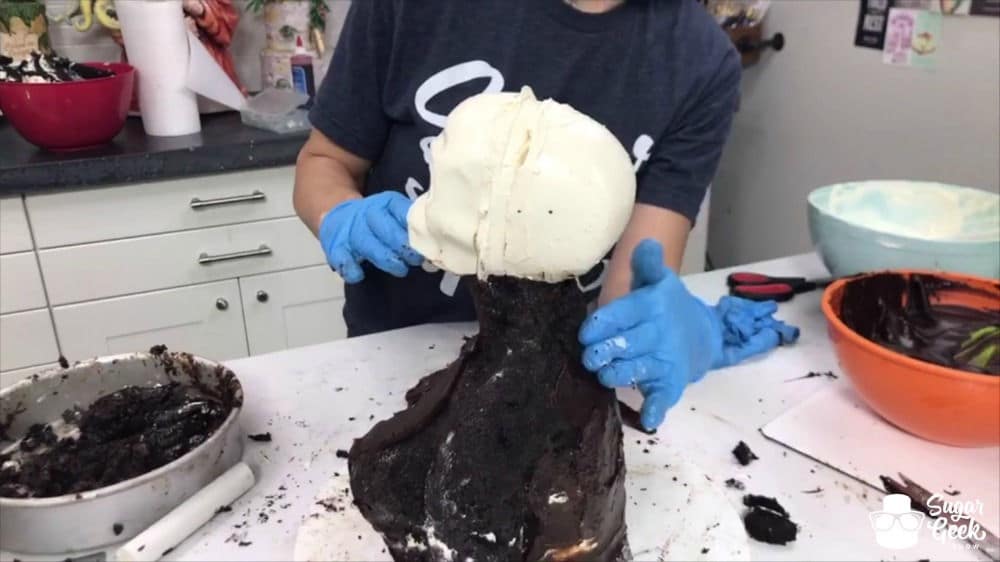
At this point you can add your (normally finished) head. Last week I posted a How to Use a Chocolate Skull Mold Tutorial for this purpose. Check out that post for step by step photos and instructions and the information is also shown in the video above!
Measure the height with your template and cut it to the correct length. Then just stick it in there!
Now you can begin using your cake clay to create your neck. Build up the neck from the bottom of the skull to the body and add in some trapezoid muscles and shoulders.
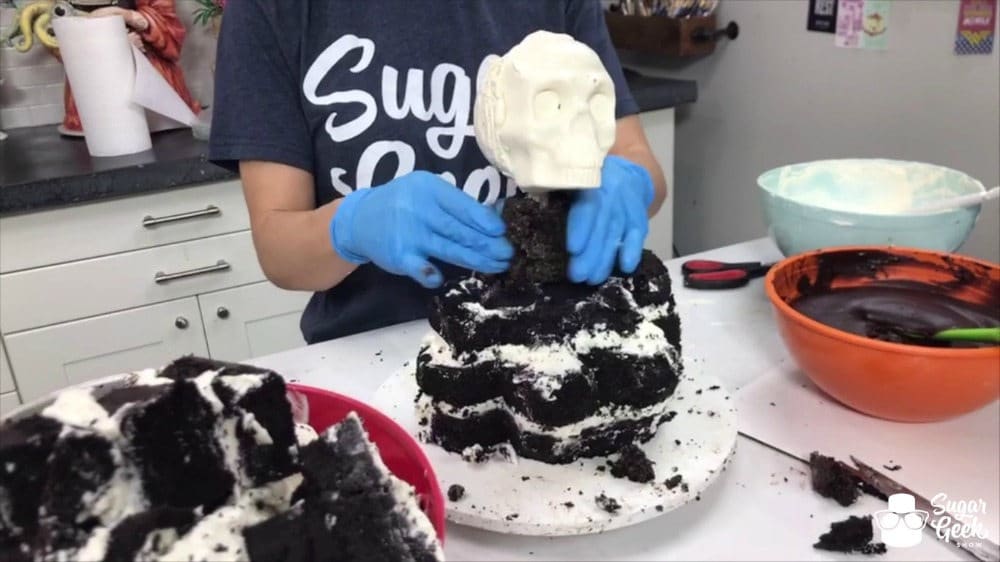
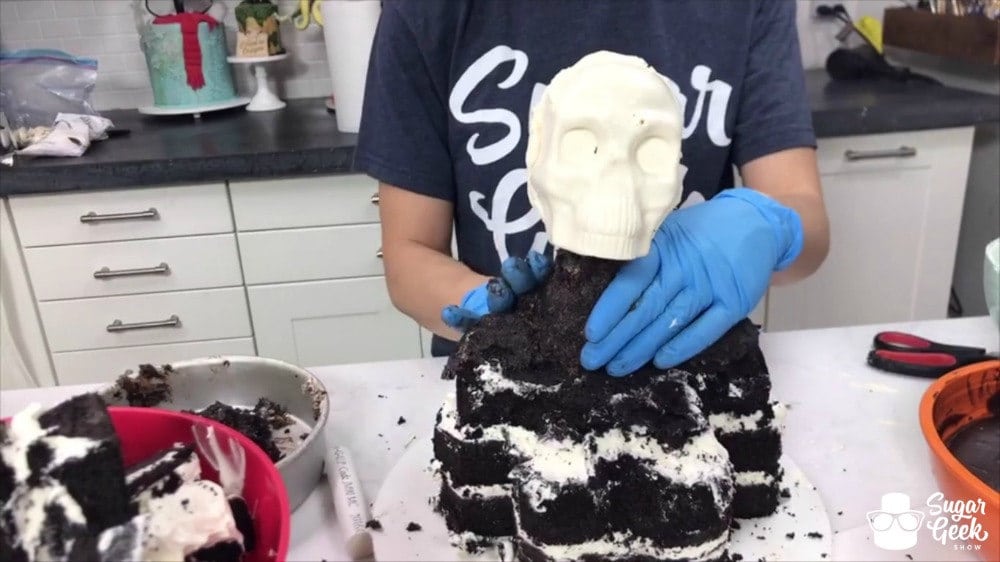
Continue adding your cake clay anywhere that needs built up or the shape perfected and rounded to the correct proportions.
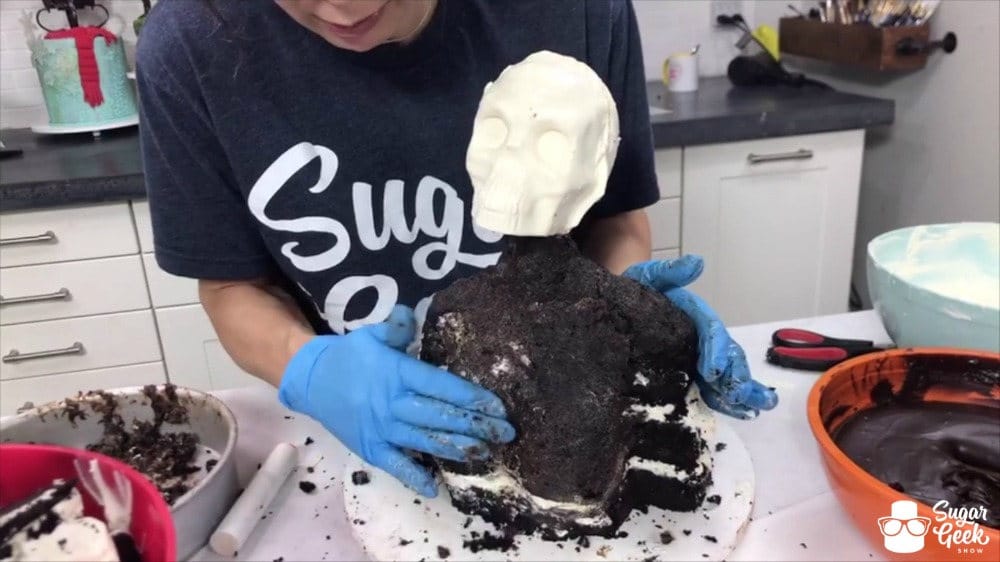
Don't forget to connect the neck to the bottom of the jaw with a slope.
Add some definition to the collar bone. 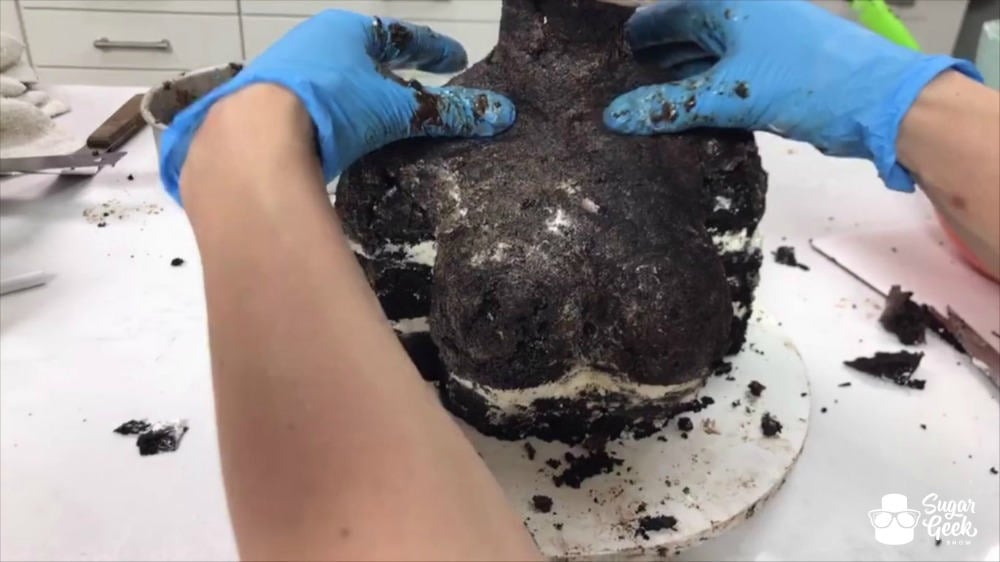
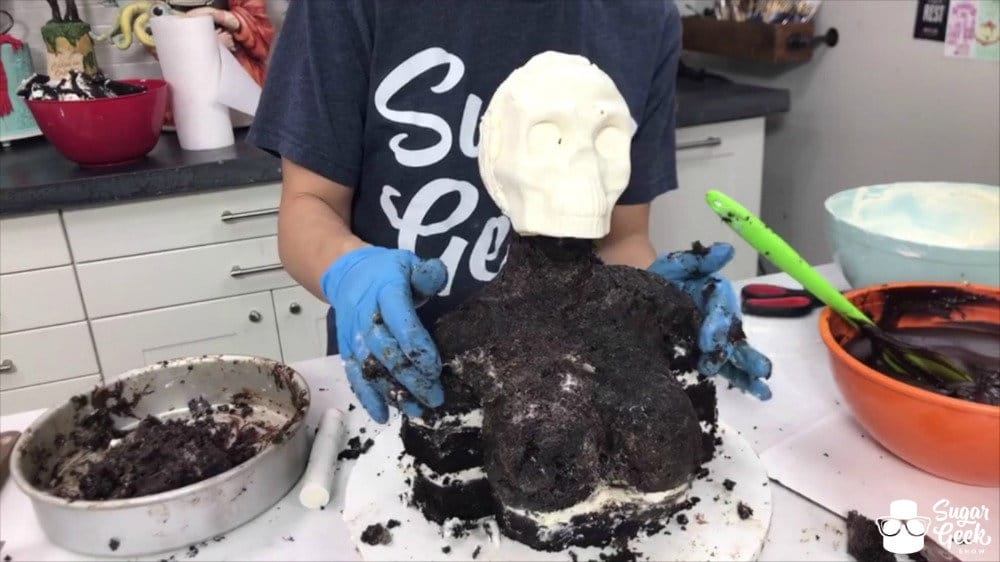
Cut some small notches where the arms meet the back to add some more dimension to your bust.
Do the same to the front.
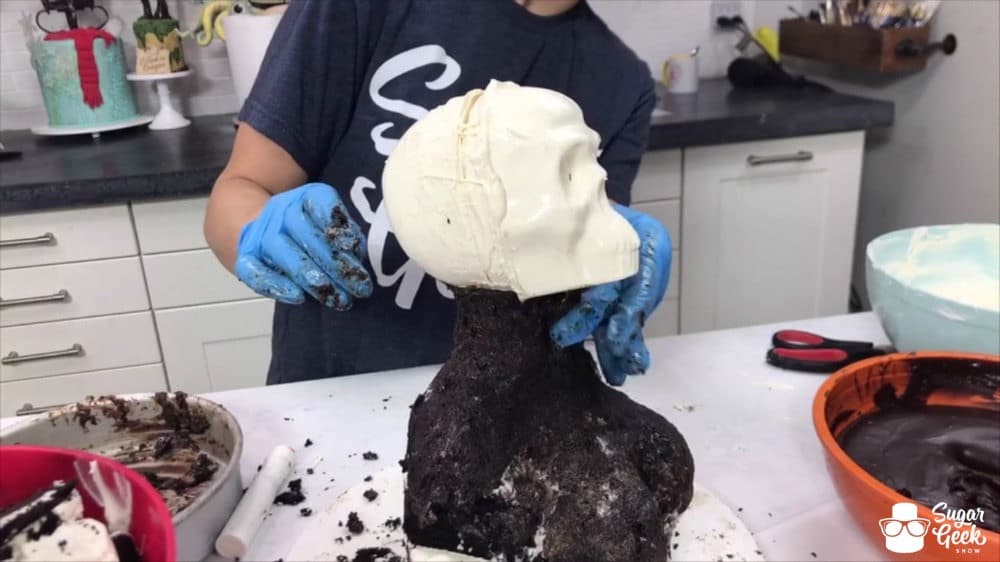
Be sure to connect the back of the skull to the spine with the same angle you did for the front of the neck so it looks natural.
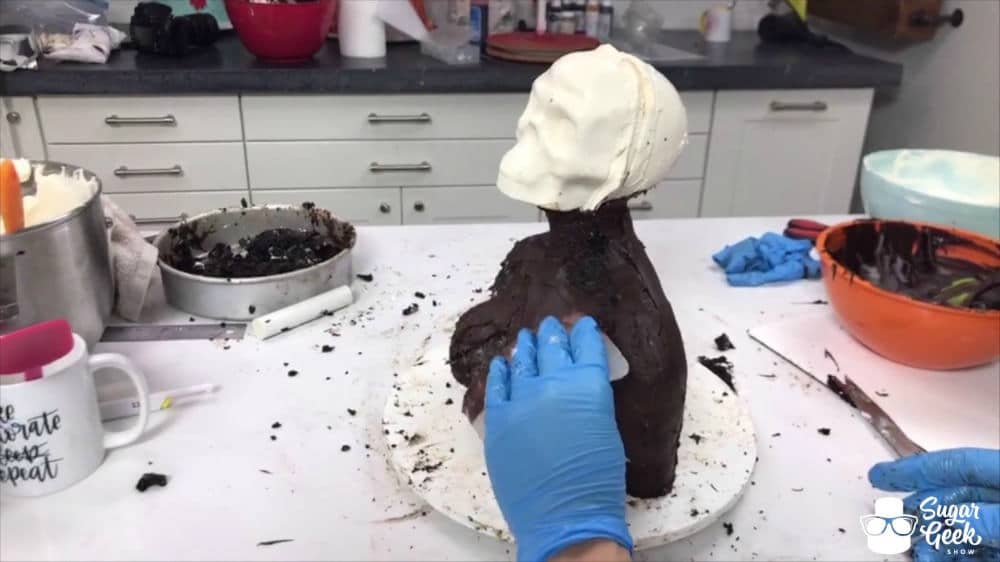
Once you are happy with your overall shape you can cover the entire bust in a layer of chocolate ganache. Chocolate ganache is recommended for coating sculpted cakes because of it's extra stability.
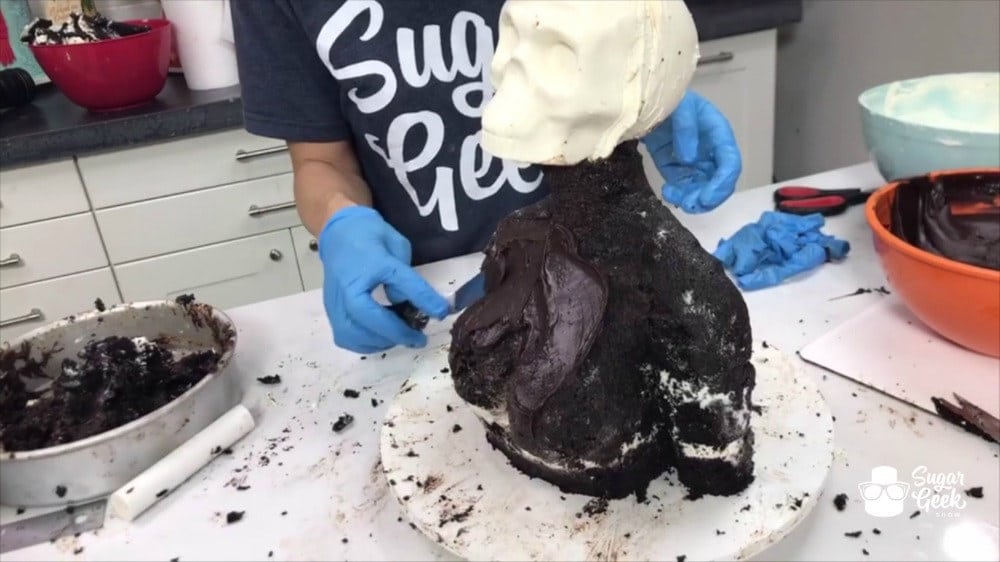
Use an acetate smoother like those from Innovative Sugarworks to smooth out your coat of ganache. After adding your crumb coat of ganache you would chill your cake for about 20 minutes in the fridge and add a final coat the same way smoothing it really well with your hands and a little bit of warm water if needed.
And there you have it! The basics to sculpting a female bust out of cake. For more in depth bust sculpting tutorials become a member today and check out the several we have to offer!
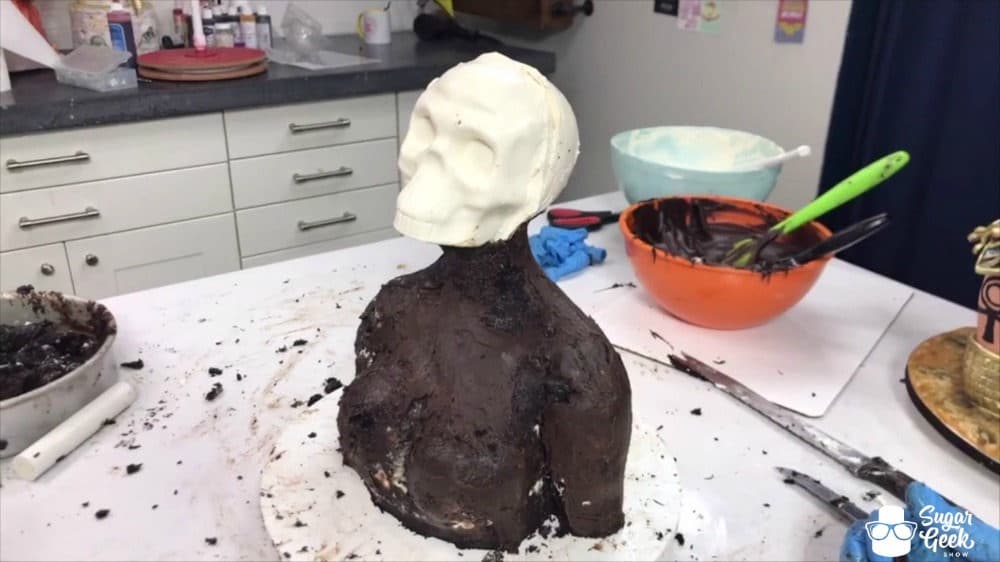
I realize it may seem like magic now but we know you can do it! Use our Chocolate Skull Mold and give it a shot, I bet you will surprise yourself! As always, we love to see your pictures so share them with us if you give a sculpted bust cake a go!