• Skip to primary navigation
  • Skip to main content
  • Skip to primary sidebar
  • Halloween
  • Recipes
  • Free Tutorials
  • Cake Classes
  • Cake Commissions
  • About Liz

Sugar Geek Show logo

menu icon
go to homepage
  • Halloween
  • Recipes
  • Free Tutorials
  • Cake Classes
  • Cake Commissions
  • About Liz
subscribe
search icon
Homepage link
  • Halloween
  • Recipes
  • Free Tutorials
  • Cake Classes
  • Cake Commissions
  • About Liz
×
Home

Blog

July 15, 2016 Paid Video

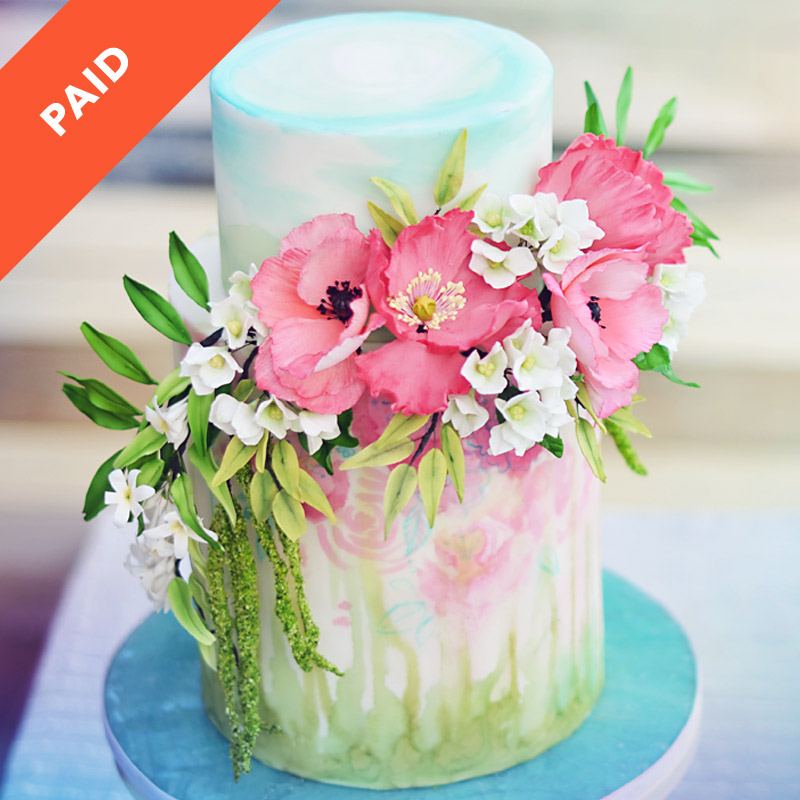
Gingham Spring Cake

Skill Level: Intermediate
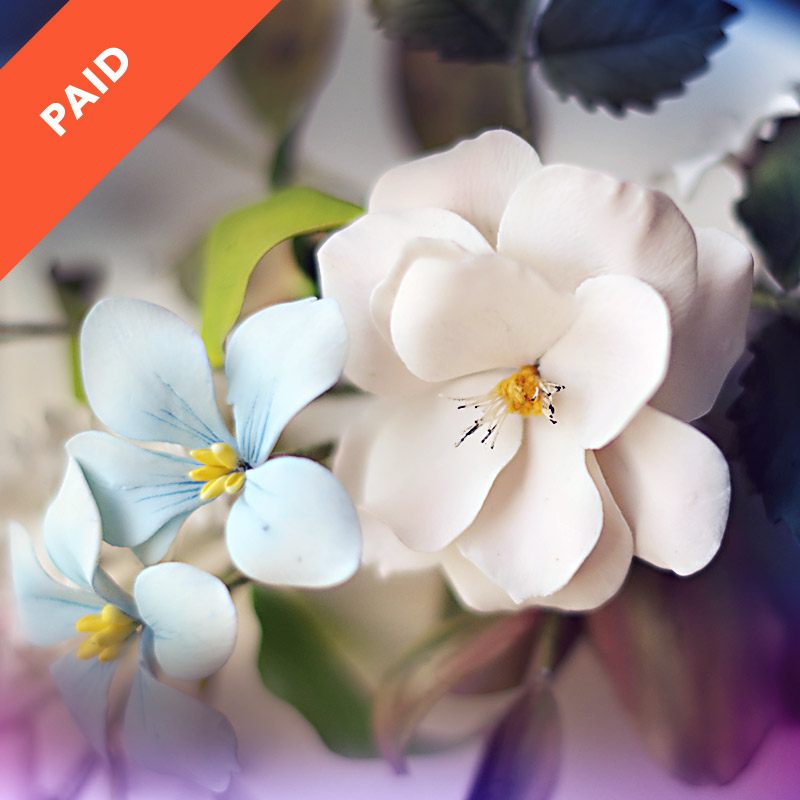
Spring has already sprung but it is never too late to create this one of a kind watercolor creation completed with a floral arrangement and a top tier that has a surprise gingham center.First begin by baking, trimming, and cutting the gingham cakes before assembling the cut pieces to form the layers as shown by Liz in this tutorial. Next, stack and frost each layer with a thin layer of ganache. Then, cover the cake in a final coat of ganache and chill overnight. After that you will learn how to create and assemble perfectly pink poppies, delicate jasmine flowers, realistic amaranth flowers, and gorgeous hydrangeas using cutters, veiners, and other simple techniques designed to make this amazing floral arrangement come to life. Moving on, learn how to cover the cake board with marbled fondant and then use isomalt to create the crackle effect inspired by Choux Cake Studio's Crackle Tutorial.

You will then be shown how to finish the cakes by covering them in fondant and paint each tier using edible watercolors before stacking them onto the cake board. Lastly, Liz will show you how to arrange the sugar flowers onto the cake before dusting them with water or steam to lock in their colors. You will then be able to take the tools and techniques learned in this tutorial and apply them to any and all future cake orders!

Run Time

1:01:55

Techniques Used

  1. Isomalt
  2. Fondant
  3. Watercolors
  4. Sugar Flowers

Tutorial Chapters

  • 0:47: Assembling the Gingham Cake Layers
  • 7:34: Making the Pink Poppies
  • 13:30: Assembling the Poppy Flowers
  • 17:56: Making the Jasmine Leaves
  • 20:00: Assembling the Jasmine Leaves
  • 22:10: Creating the Amaranth
  • 28:55: Assembling the Amaranth
  • 30:13: Making the Hydrangeas
  • 32:24: Assembling the Hydrangeas
  • 33:36: Dusting the Leaves
  • 38:41: Glazing the Leaves
  • 45:47: Assembling the Leaves
  • 46:45: Making the Leaves
  • 48:38: Dusting the Leaves
  • 56:28: Glazing the Leaves
Downloads

Materials List
Gingham Pattern Template
Assembly Instructions
Vanilla Bean Strawberry Cake Recipe

Baby Pegasus Cake

July 9, 2016 Blog

Forget the Pony, I want a Pegasus!

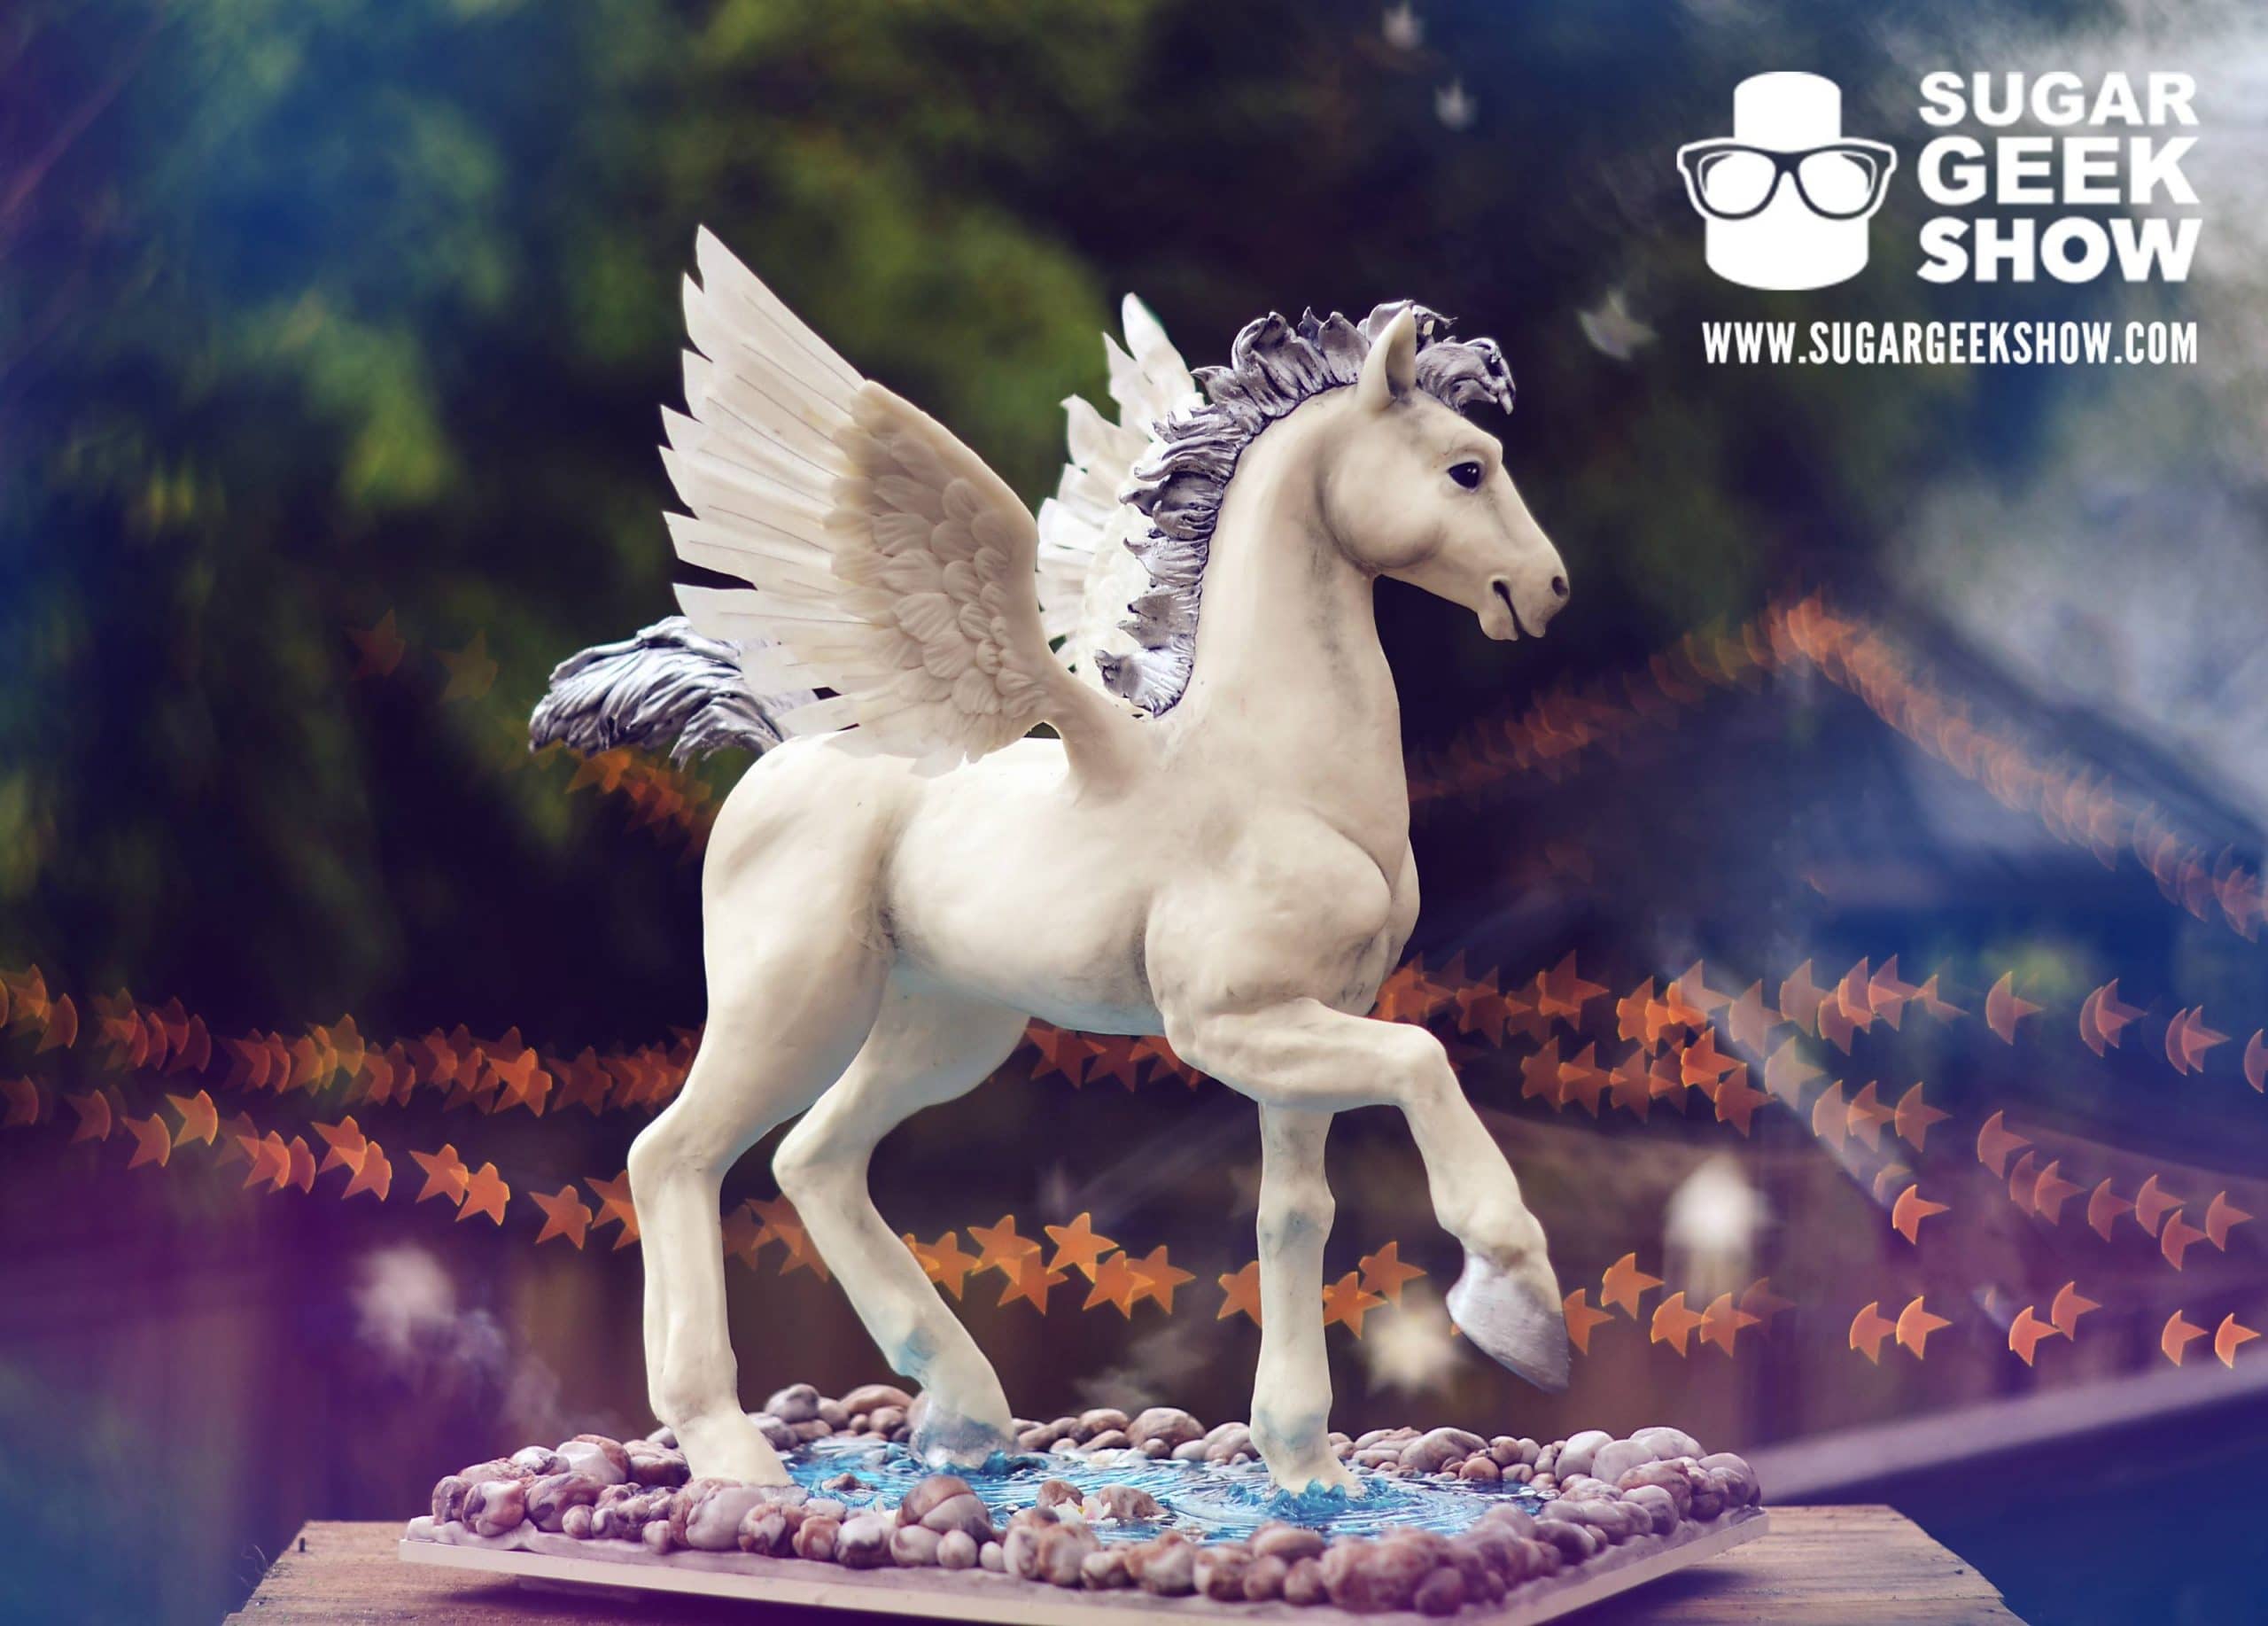
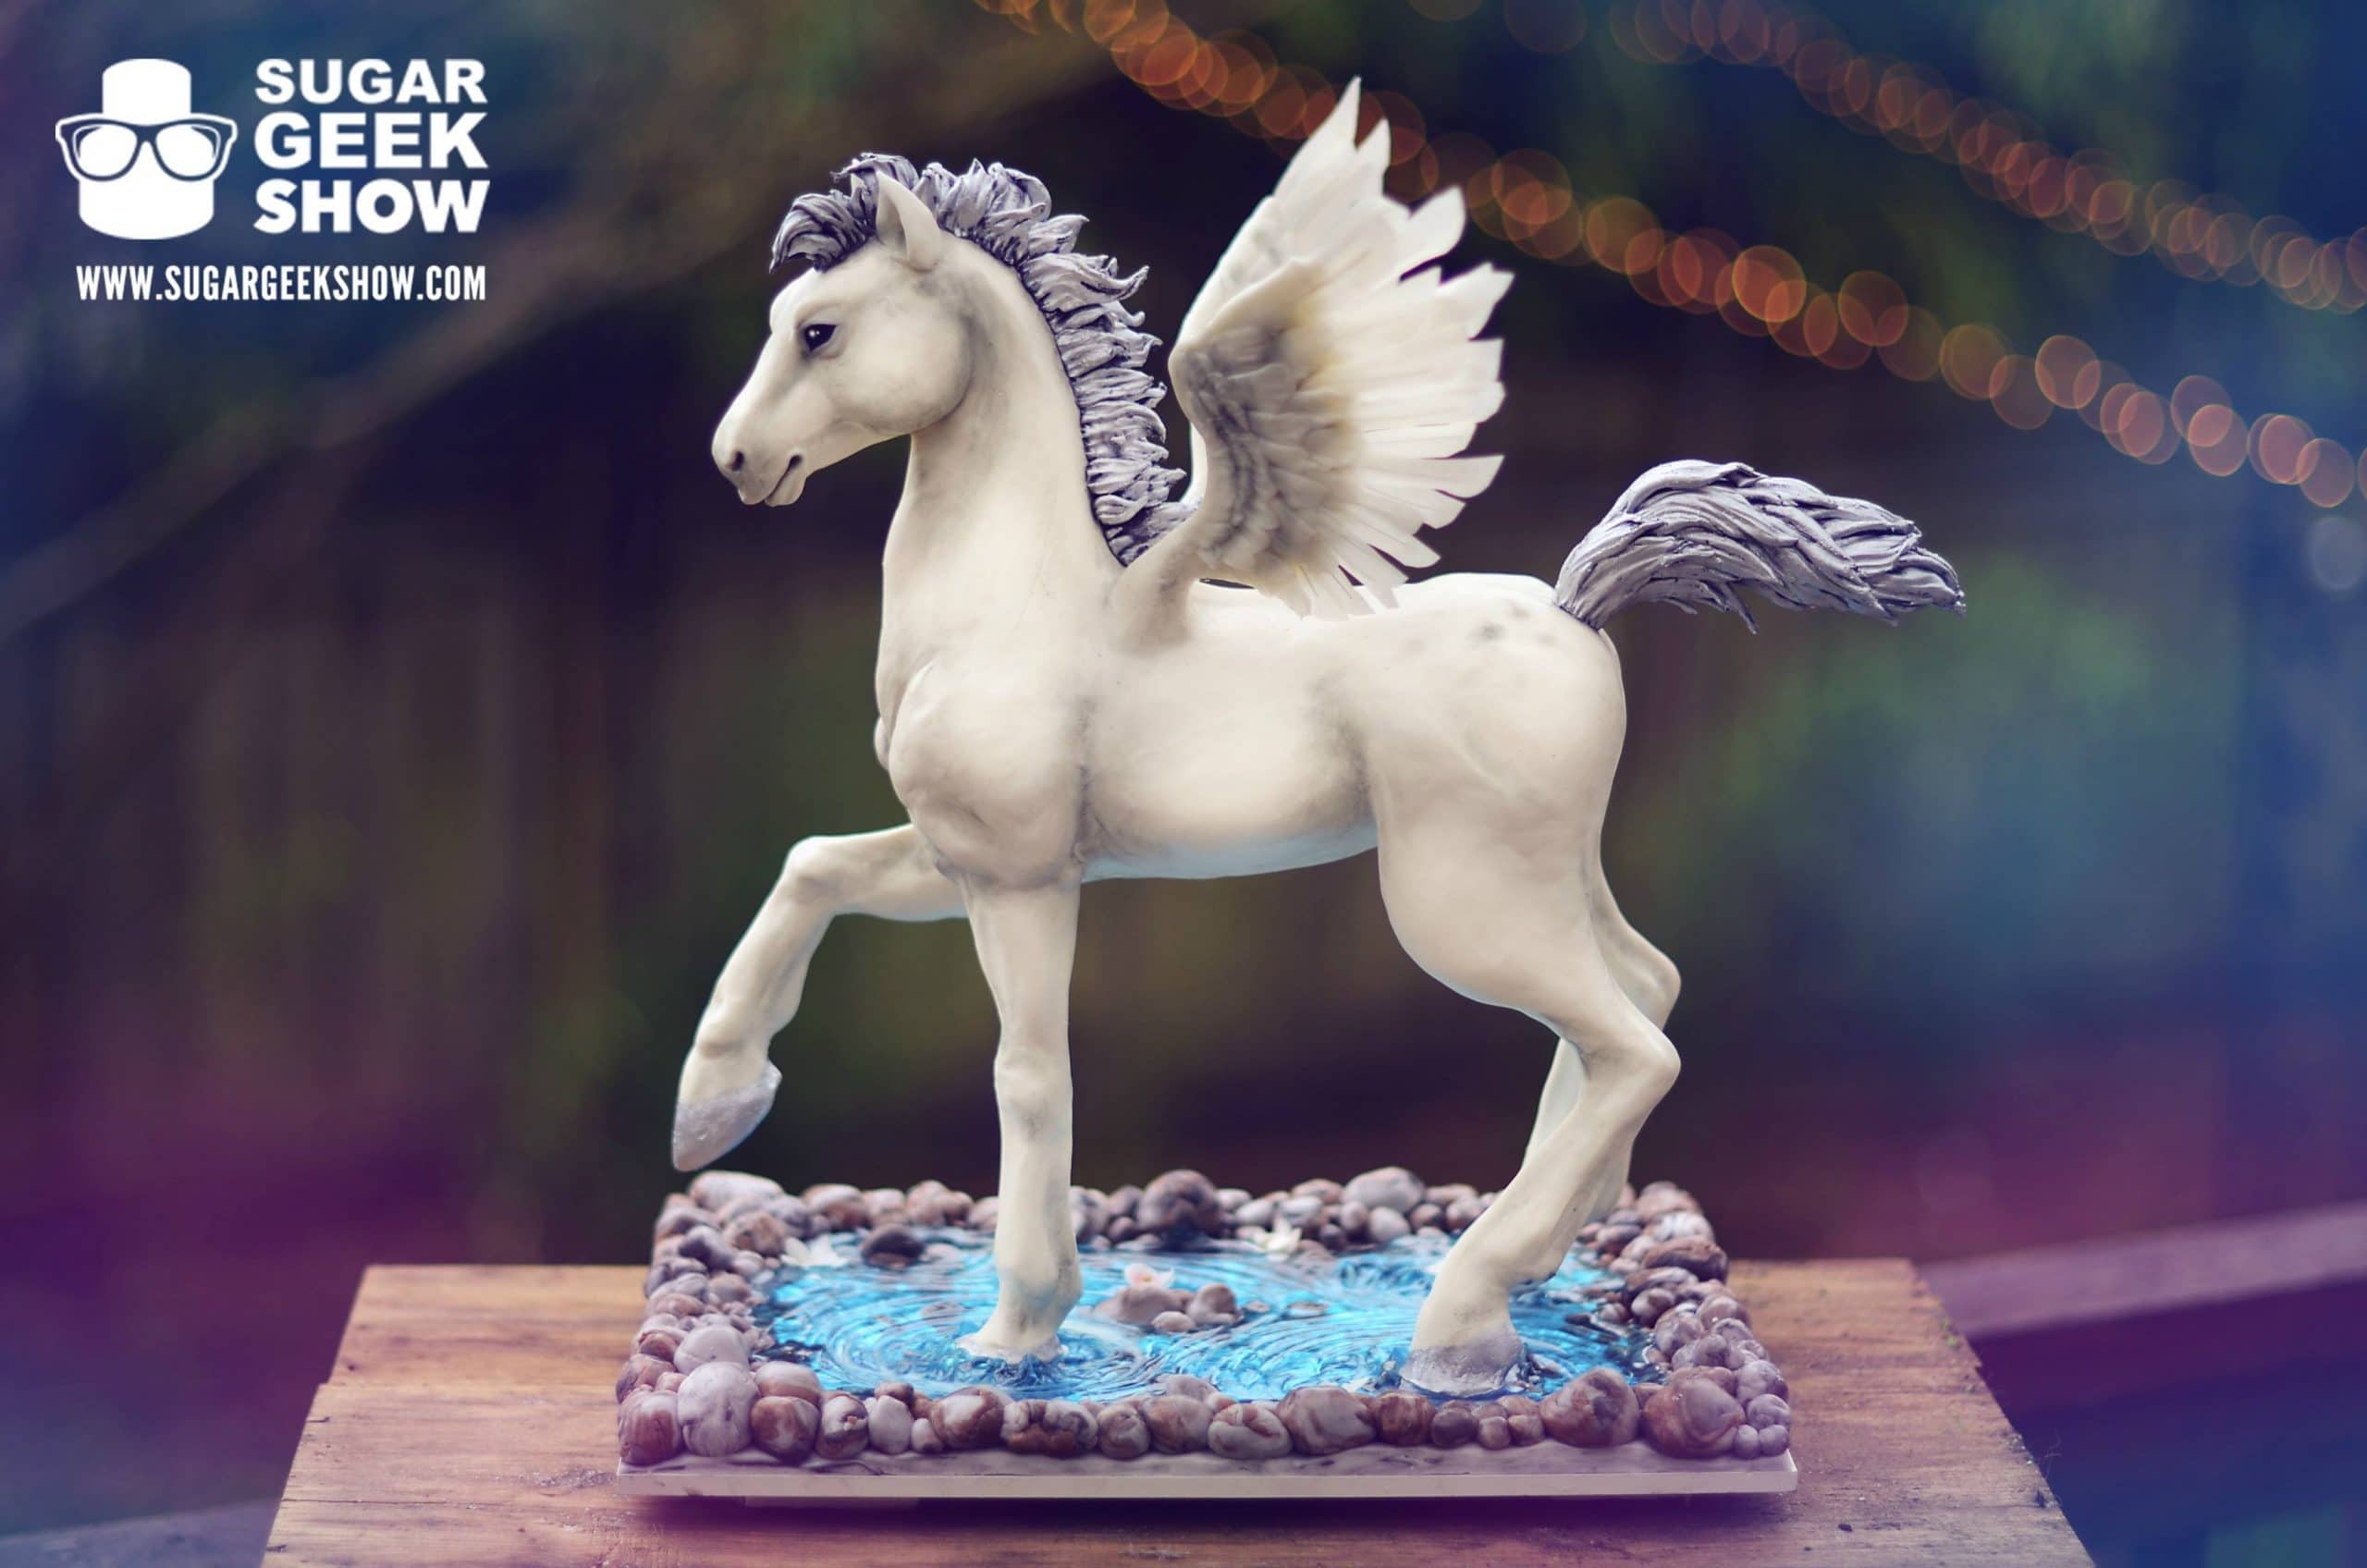
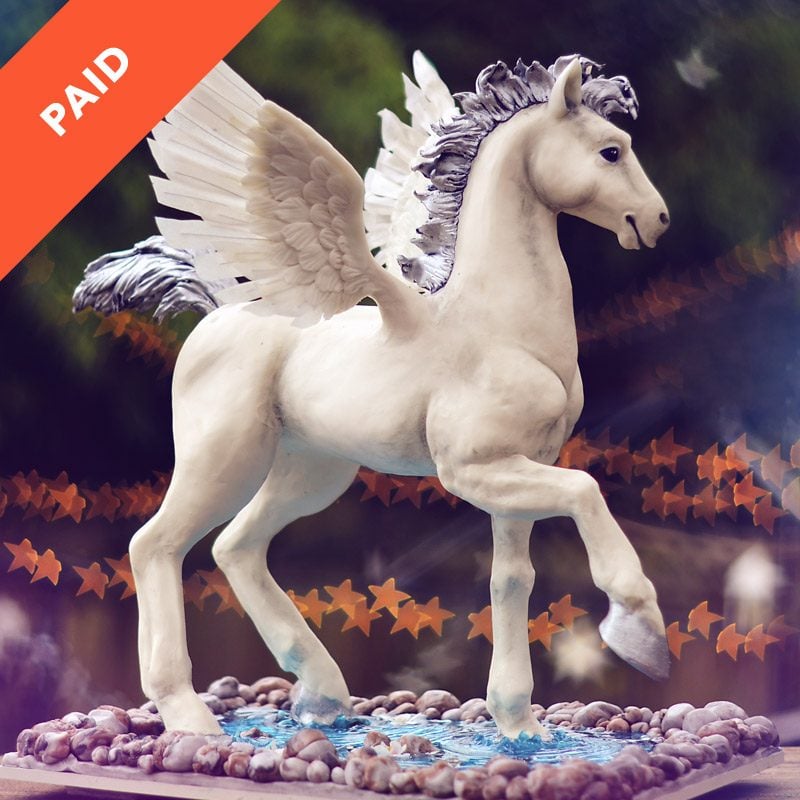
If the idea of a baby Pegasus cake doesn't excite you to the very core then you may be too deeply rooted in reality and I don't think a friendship between us would ever work out. I could get lost in the idea of magical lands with fairies and flying Pegasus, goblins and spells, strange creatures and forces of evil needing to be destroyed and very easily never come back if I didn't have to. Learn to create this magical cake from the basic structure and wafer paper wings to the color detailing and beautiful isomalt water. Personalize it to your heart's content, maybe your Pegasus has a pink main and silver wings, the sky is the limit.

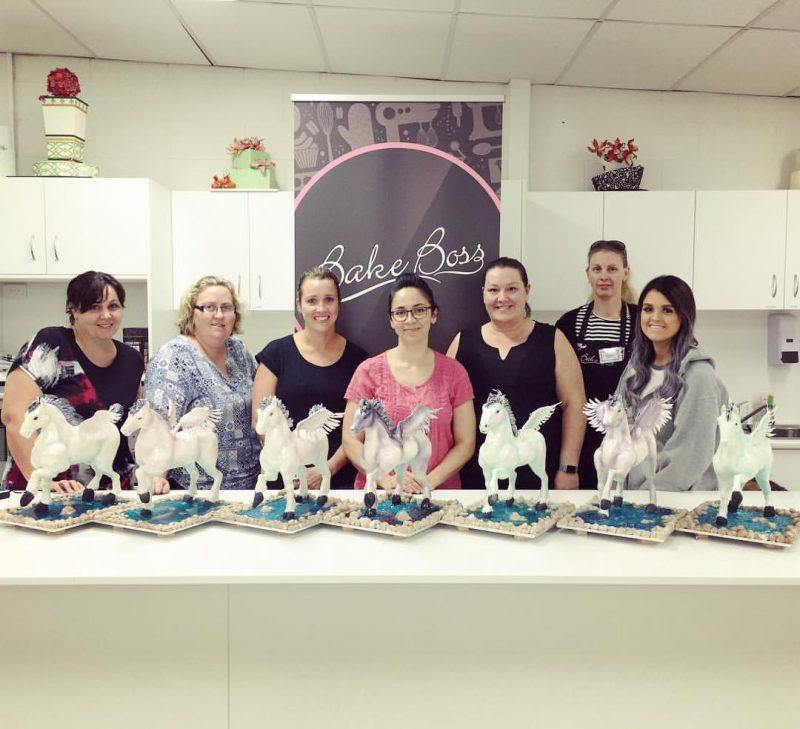
This genius cake idea started out on the Bake Boss Tour 2016 in Australia as an in person class but Lizzo loves her Sugar Geeks so much she decided to offer it to those of us who couldn't make it to the land down under to learn it in person. Sign up as a Premium or Elite Sugar Geek today if you haven't already to get access to this amazing in depth class.

Australia Bake Boss Tour


Check out this preview for the class from our brand new Sugar Geek Show YouTube Channel! Subscribe today for awesome free tips and tuts as well as future previews for Sugar Geek Show Classes.

This may very well be one of the most magical cake tutorials you'll ever watch. You're welcome.

Baby Pegasus Cake Tutorial with Feather Wings Purple Mane and Reflective Isomalt Water with Rocks

June 30, 2016 Course Preview

Baby Pegasus Cake

Skill level: Advanced

In this tutorial, you will be shown how to use build up the Pegasus' back and neck. Then how to build up the body, head, and legs using modeling chocolate keeping in mind the anatomy of a horse by referencing photos, figurines, etc. of horses. Next, learn an easy technique used to create the flexique feathers. Next you will be taught how to add the facial features, once again, making sure you are being anatomically correct to make the face look as realistic as possible.

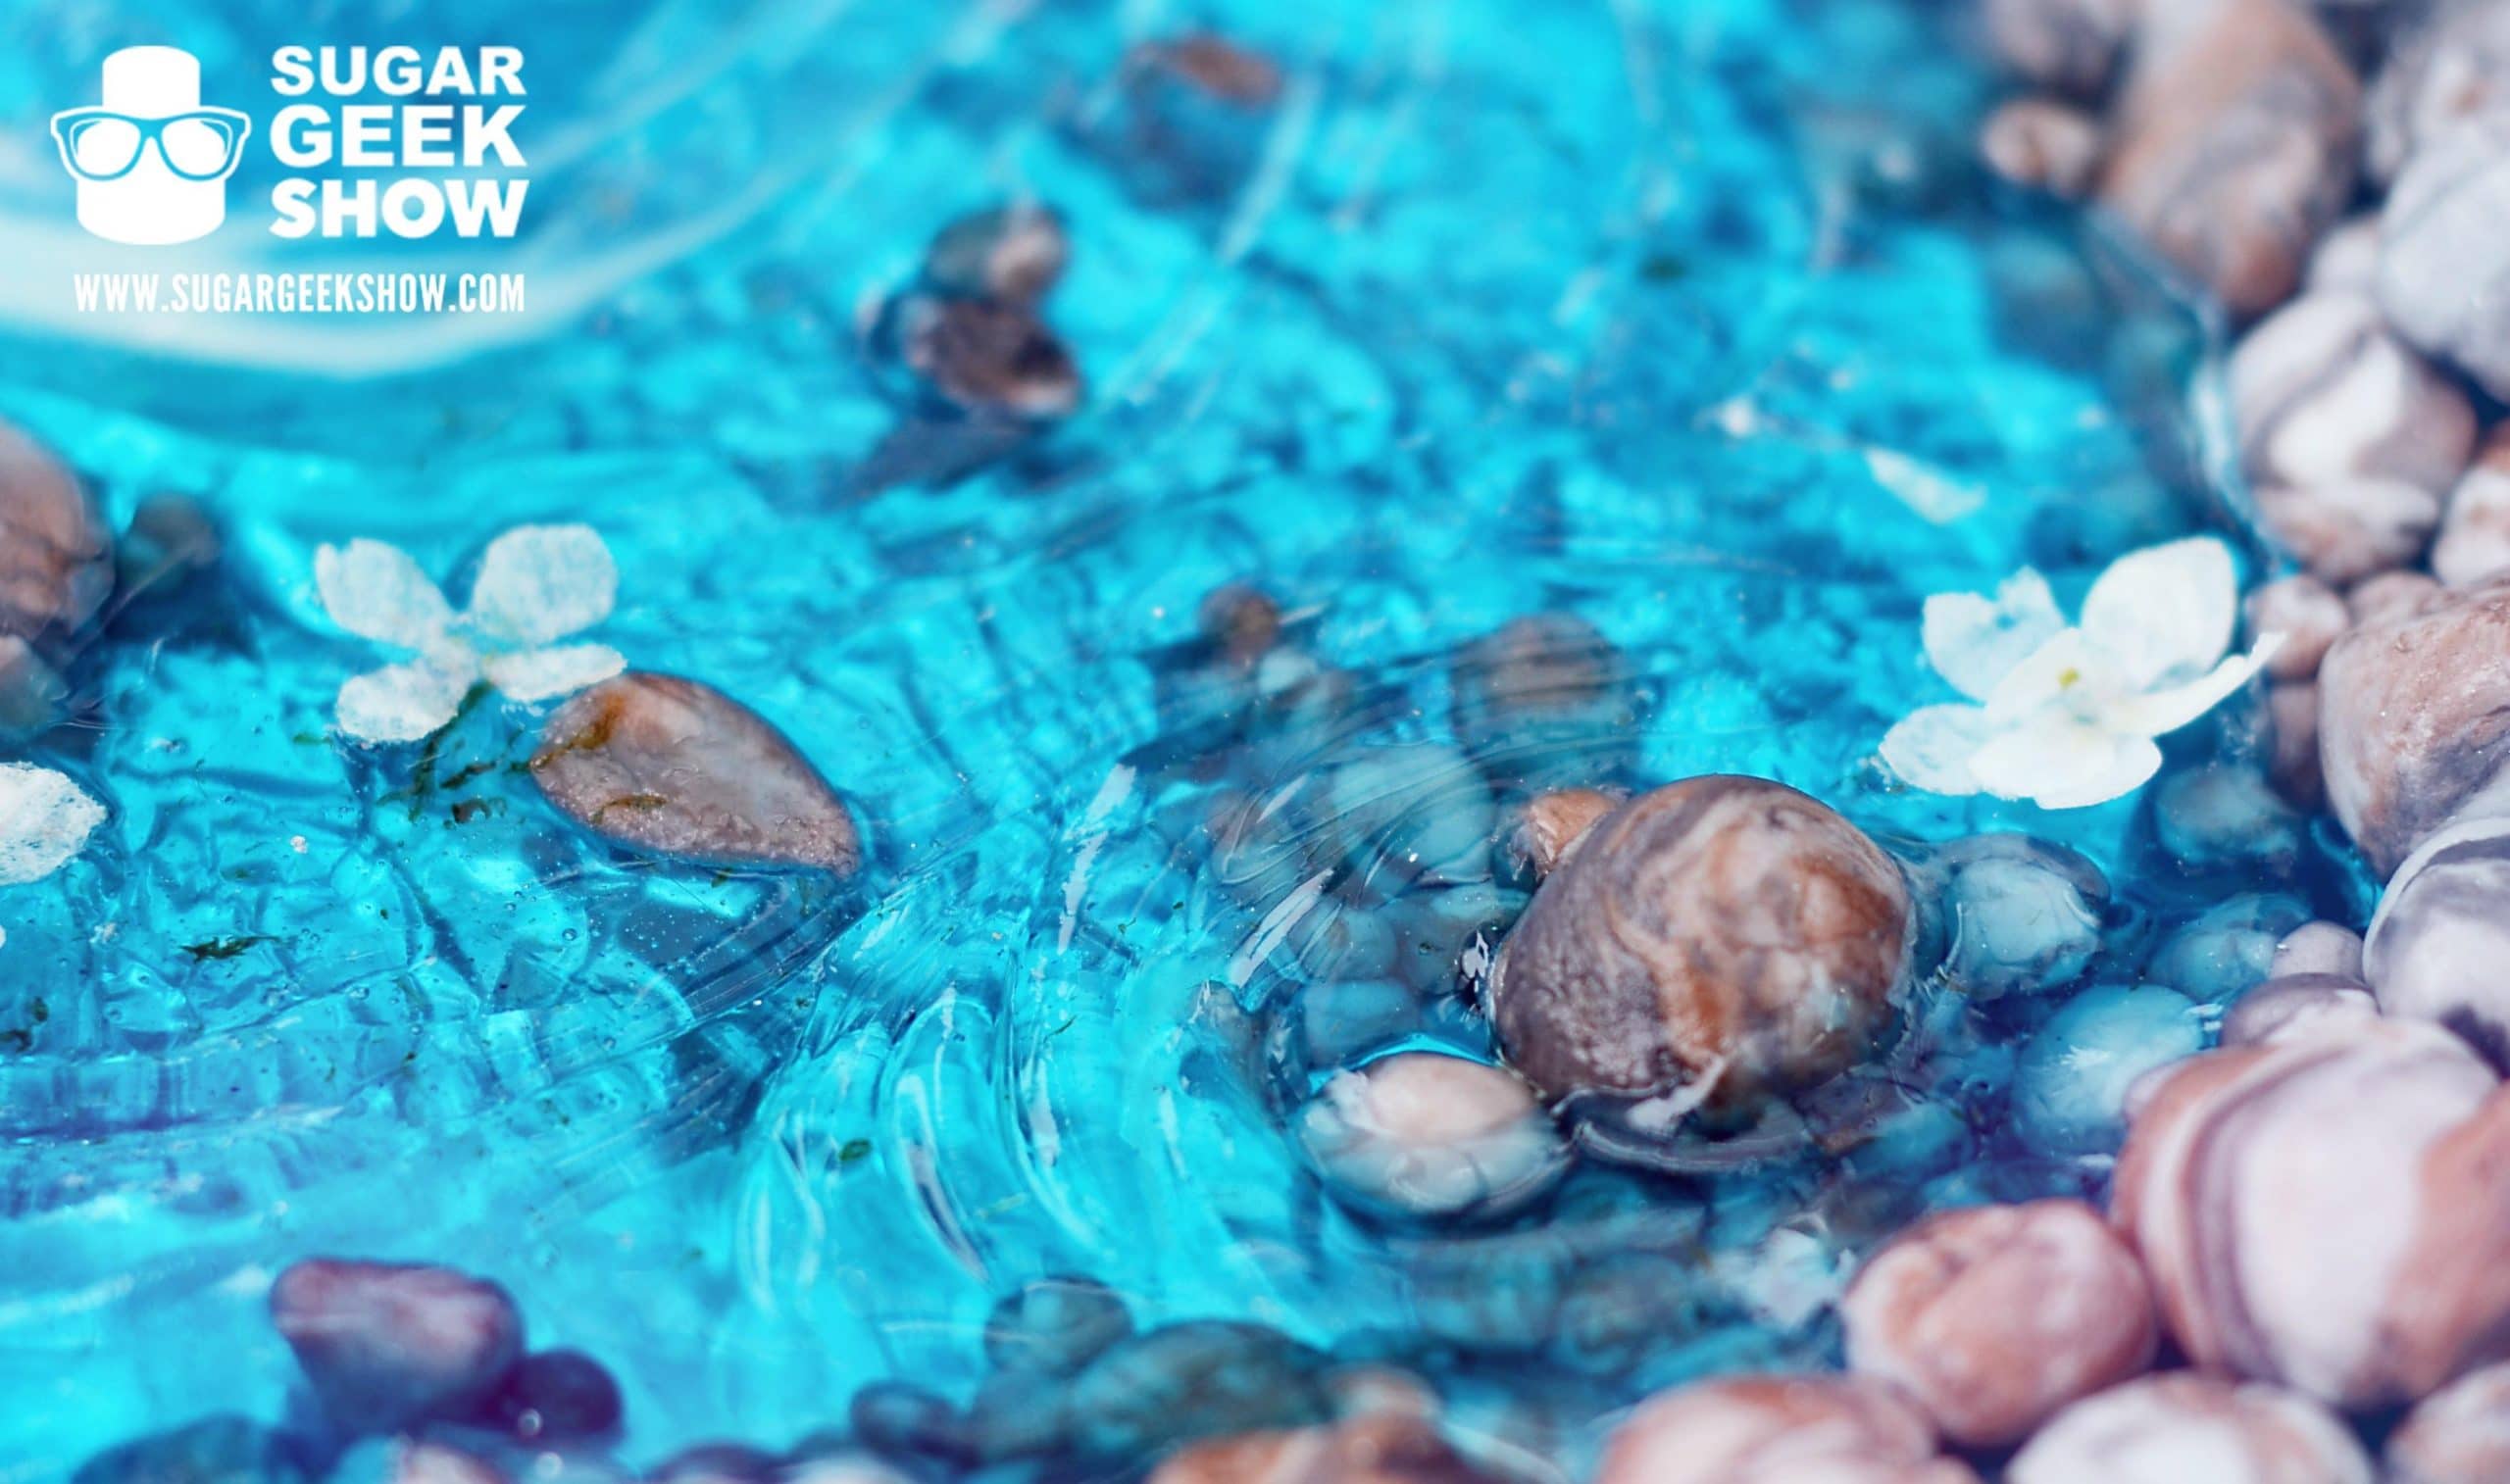
You will also learn how to create the reflective water cake board by following some simply amazing techniques before adding fondant around the edge of the board and creating rocks to place on top of the fondant. After that is finished, you will be shown how to create the reflective water before moving onto making and assembling the wings and then adding the mane and tail using small pieces of fondant. Finally, you will be taught how to attach the flexique feathers to the wings and when all is said and done you too will have a special little Pegasus to share with others!

49:48 Minutes of Instruction

What You Will Learn

  • How to make a horse structure for cake
  • An easy technique to make the detailed pegasus wings
  • How to make the water pond effect below the pegasus

Downloads

Materials List

Body Template

Feather Construction Template

Pegasus Feather Template

Wing Construction Template

Baby Pegasus Cake Tutorial with Feather Wings Purple Mane and Reflective Isomalt Water with Rocks

June 30, 2016 Paid Video

Baby Pegasus Cake

Related Video
First complete your Pegasus structure by watching the related video below.
Skill Level: Advanced
In this tutorial, you will be shown how to use rice crispy treats to build up the Pegasus' back and neck. Then, watch as Liz teaches you how to build up the body, head, and legs using modeling chocolate keeping in mind the anatomy of a horse by referencing photos, figurines, etc. of horses. Next, learn an easy technique used to create the flexique feathers. Next you will be taught how to add the facial features, once again, making sure you are being anatomically correct to make the face look as realistic as possible.

You will also learn how to create the reflective water cake board by following some simply amazing techniques before adding fondant around the edge of the board and creating rocks to place on top of the fondant. After that is finished, you will be shown how to pour colored isomalt onto the board to create the reflective water before moving onto making and assembling the wings and then adding the mane and tail using small pieces of fondant. Finally, you will be taught how to attach the flexique feathers to the wings and when all is said and done you too will have a special little Pegasus to share with others!

Downloads

Materials List
Body Template
Feather Construction Template
Pegasus Feather Template
Wing Construction Template

June 24, 2016 Blog

Life is Short so Stop and Eat the Roses

Time for another blog on what's new in the world of red hot cake trends! The name of the game is buttercream flowers. I am here to show you five awesome FREE tutorials on how to make beautiful buttercream flowers, from the ultra popular wreaths to an amazing arrangement of succulents! Yes BUTTERCREAM succulents! Let's dive in shall we?

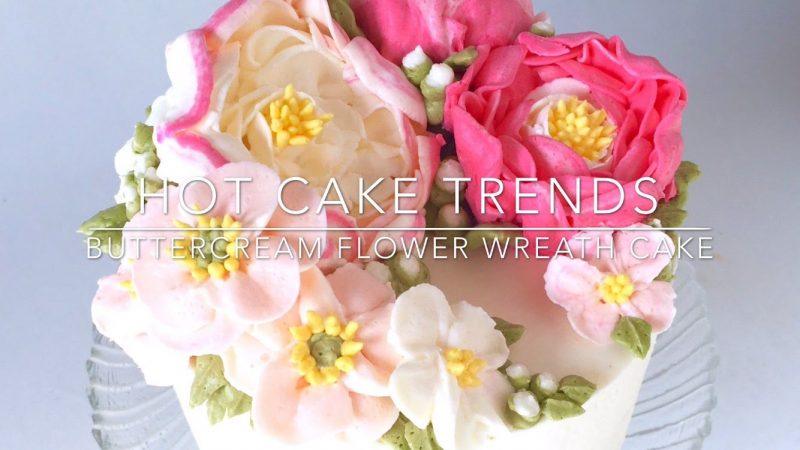
First up we have this gorgeous Buttercream Flower Wreath Cake Tutorial from Olga Zaytseva complete with super trendy peonies, poppies and blossoms! I love the fact that this wreath is not completely symmetrical all the way around. The larger flowers on one side cascading around to the smaller flowers on the other side adds a ton of interest!

Buttercream Flower Wreath


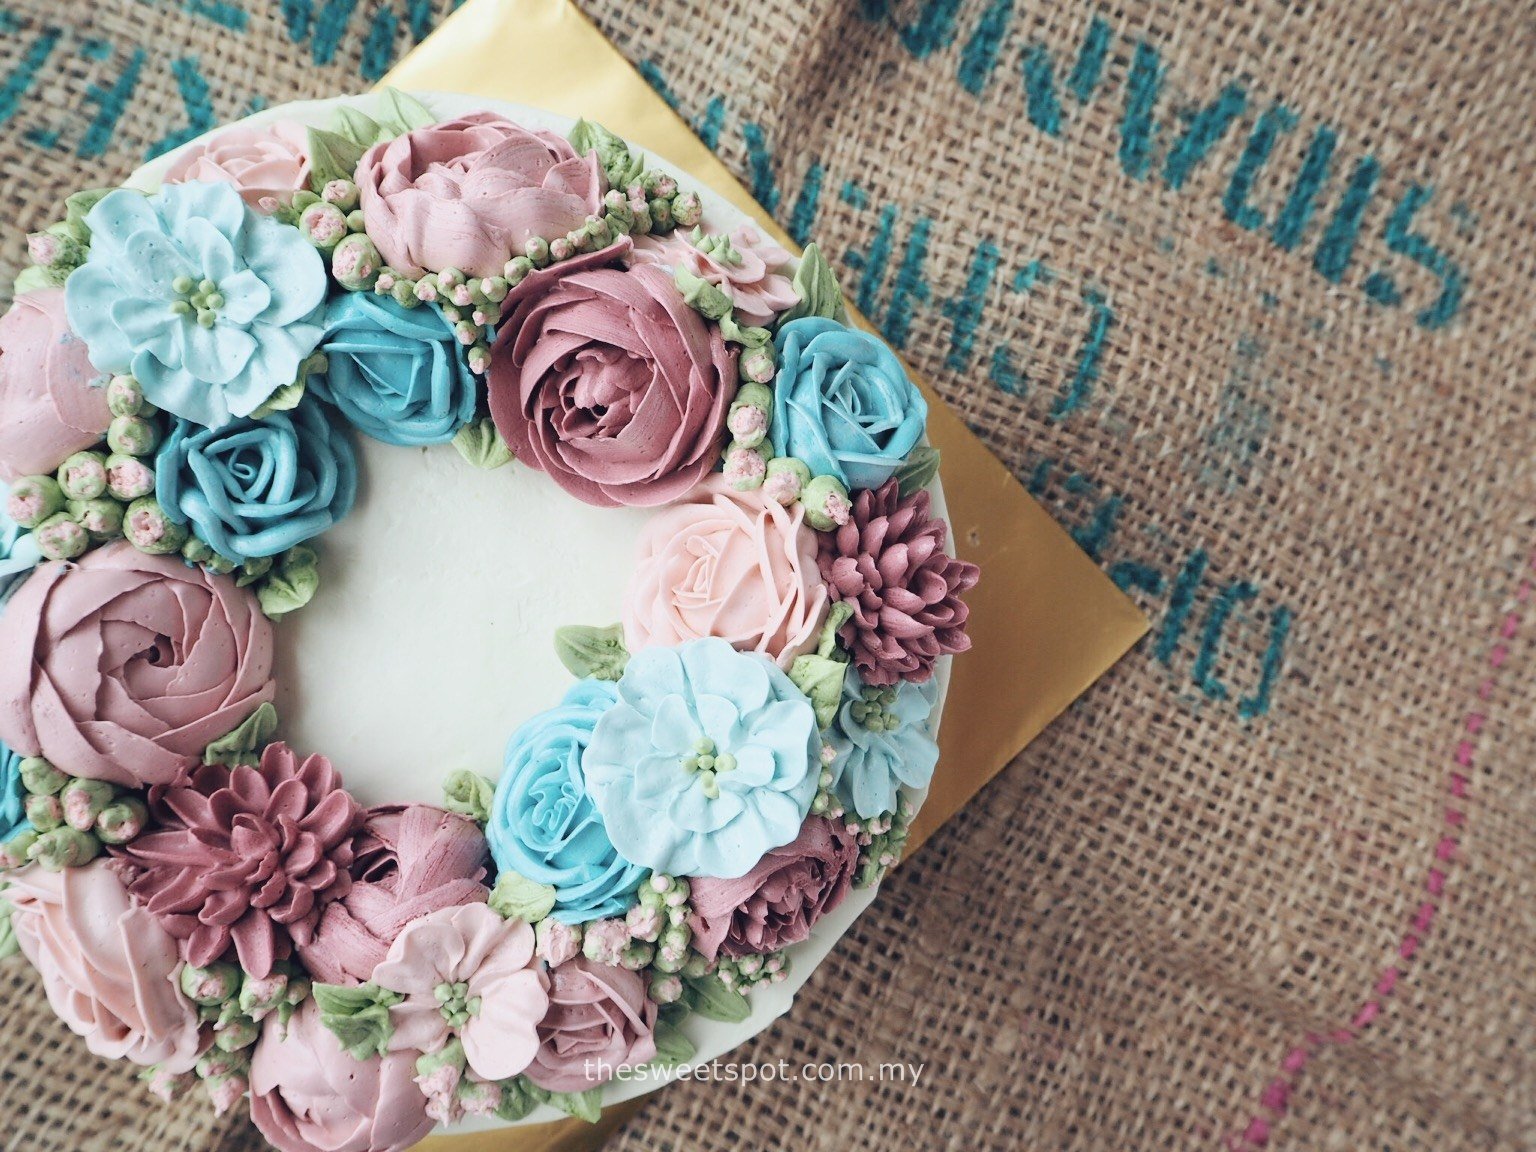
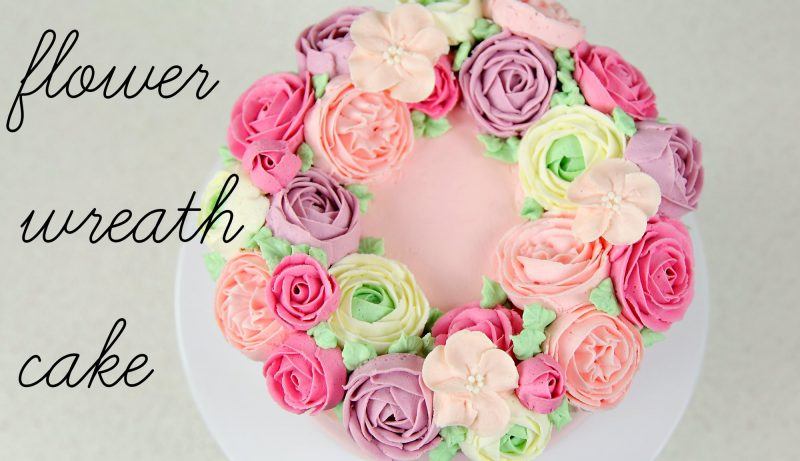
Of course I also appreciate the classic beauty of this Buttercream Flower Wreath as well!  Here Cake Style shows us how to put together this lovely cake topped with three different styles of roses as well as a ranunculus and adorable filler blossoms.

Buttercream Wreath Cake

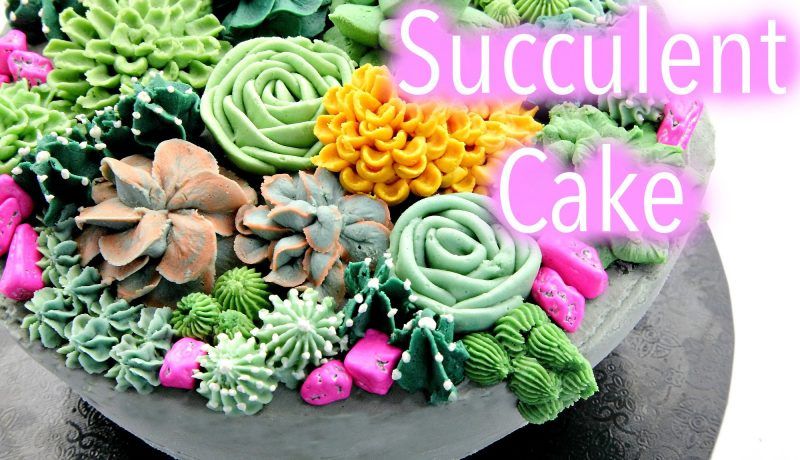
Here we have another tutorial from the awesome Cake Style demonstrating how to create this full blown arrangement of succulents in a concrete pot! In her Buttercream Succulent Cake Tutorial she shows how to do several varieties of traditional succulents as well as fillers. I am not a buttercream girl by nature but her tutorials really make me want to "give it a go". (I also love listening to her Australian accent).

Buttercream Succulent Cake

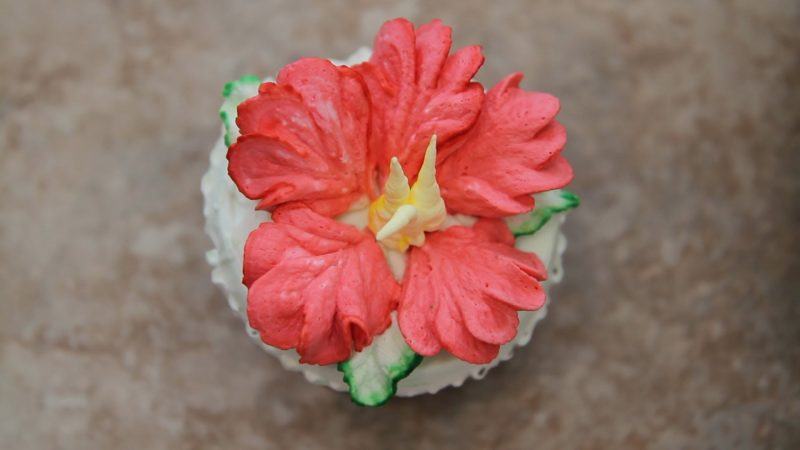
Next up is a super unique tutorial for a Buttercream Hibiscus Flower from Liz Larson. This gorgeous Hibiscus could easily be piped onto a large flower nail topped with parchment, chilled and added to any other arrangement of buttercream flowers! Pretty much in love with this one.

Buttercream Hibiscus Flower

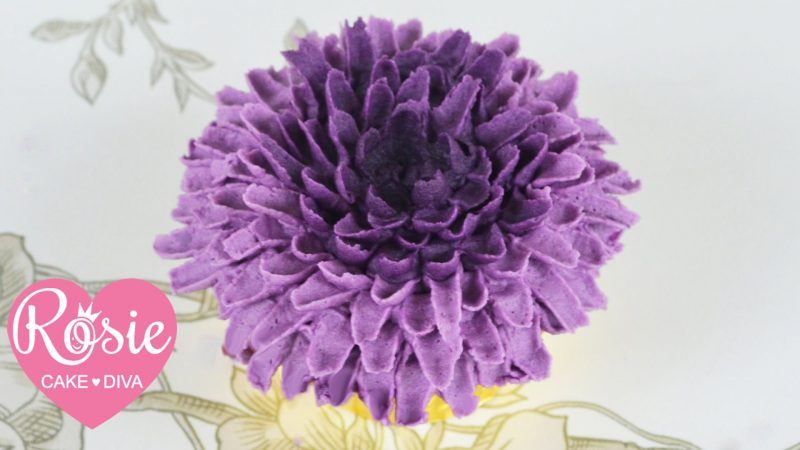
Rosie Cake-Diva is nothing short of fantabulous and here she shows us how to make a stunning Buttercream Chrysanthemum Cupcake. Buttercream flower cupcakes have been popular for some time now and again, this could also be piped onto parchment, chilled and used in another arrangement to really give it a wow factor!

Buttercream Chrysanthemum

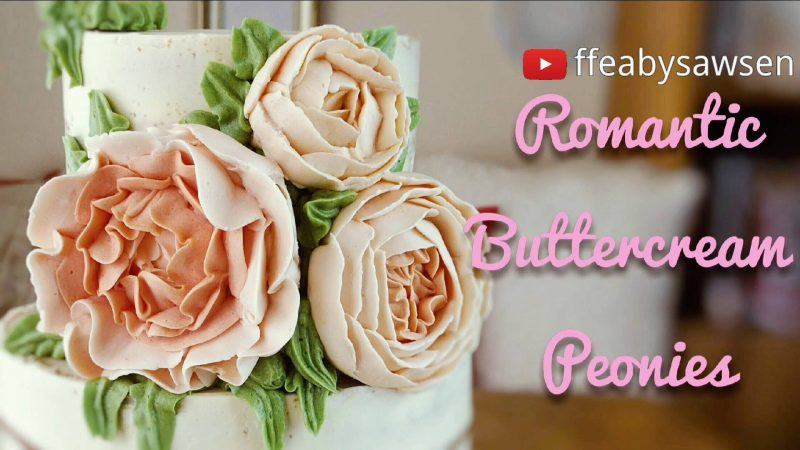
Did I say five free tutorials? Ah well, here is one more 🙂 I swooned over this beautiful cake by Fancy Favours & Edible Art adorned with Large, Ruffly Romantic Buttercream Roses and Peonies in pale natural shades. This screams modern buttercream wedding cake to me!

Large Buttercream Flowers

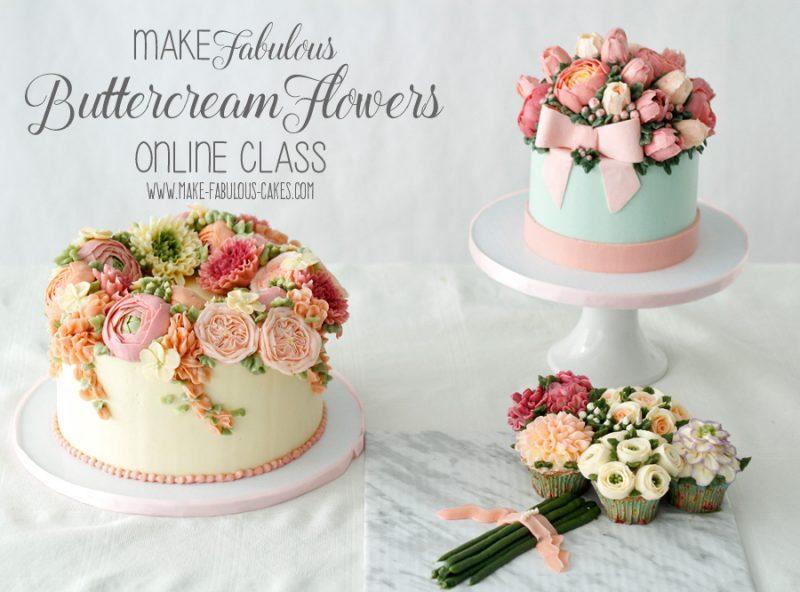
Everyone loves free tutorials, I mean, my entire cake decorating career launched from the knowledge gained from free tutorials! There is something to be said though for also learning from paid tutorials. I happened upon this amazing Buttercream Flowers Class offered by Make Fabulous Cakes and knew I had to share this for anyone interested in taking their buttercream flower game to the next level! I mean look, just LOOK at these breathtaking, detailed, flawless buttercream flowers!! I hate when people say this but these really are ALMOST too pretty to eat.

Buttercream Flower Class

These peeps make all this buttercream work look so easy it makes me want to dust off my piping tips and flower nails, take some fish oil and get to piping! How about you?? Share your buttercream flower beauties with us on our FB Page when you do, and afterward be sure to take time to stop and eat the roses.

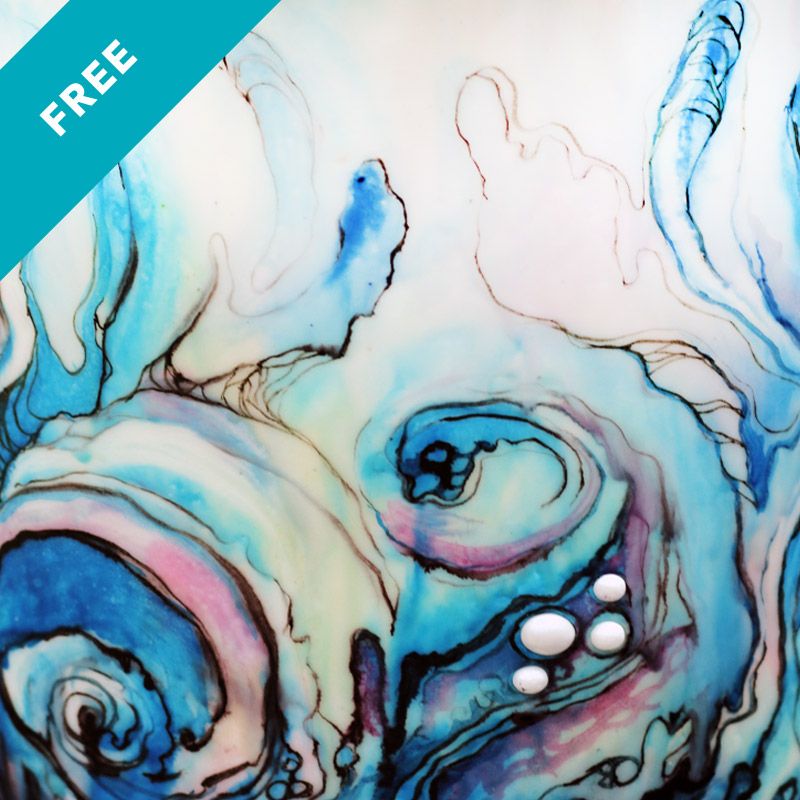
Edible Watercolor

June 20, 2016 Blog

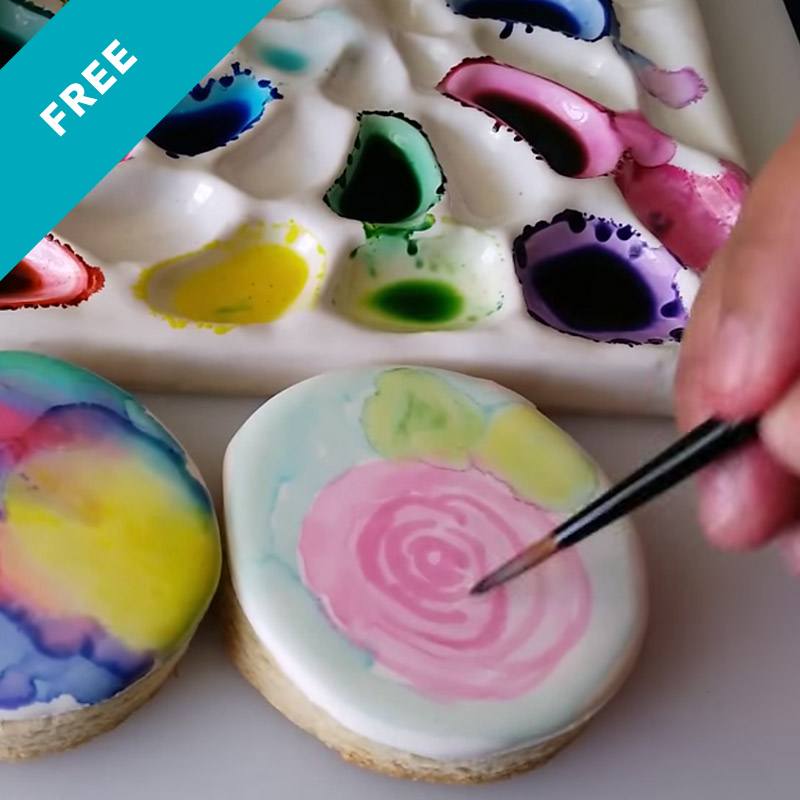
Edible Watercolor

Skill Level: Newb
Guest Instructor Angela Nino shows how to make edible watercolor washes.

June 17, 2016 Blog

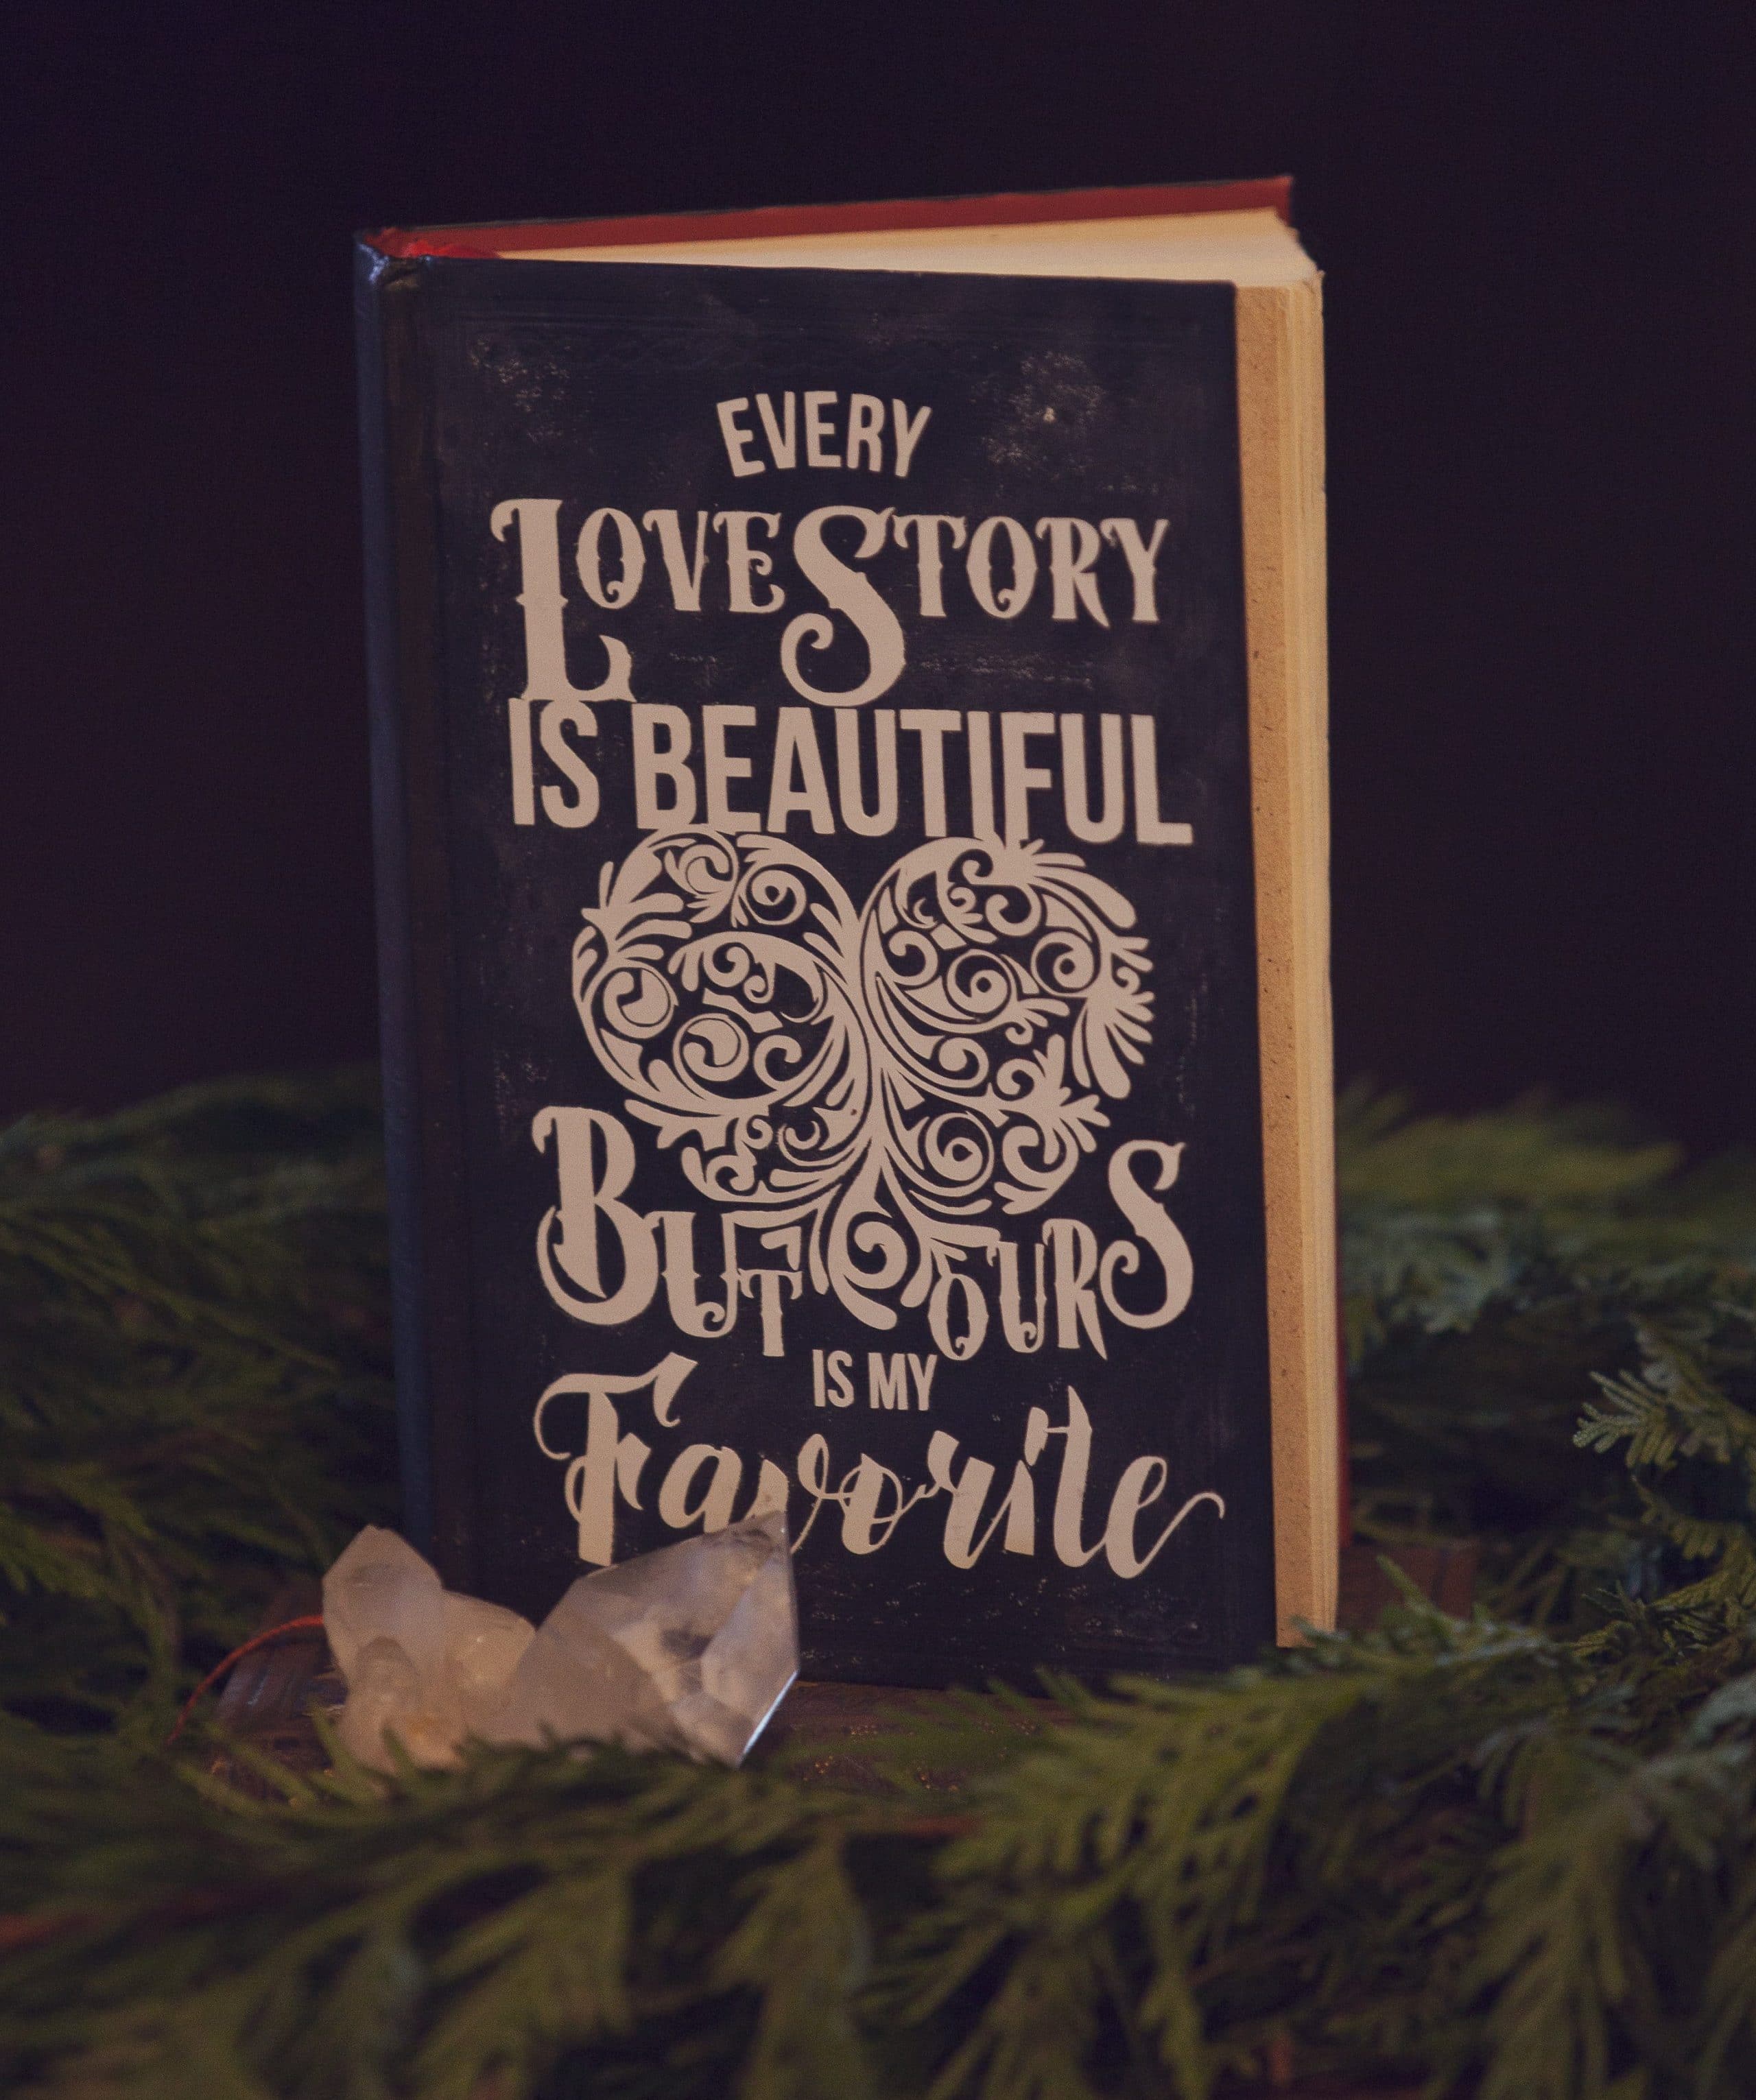
Every Love Story is Beautiful

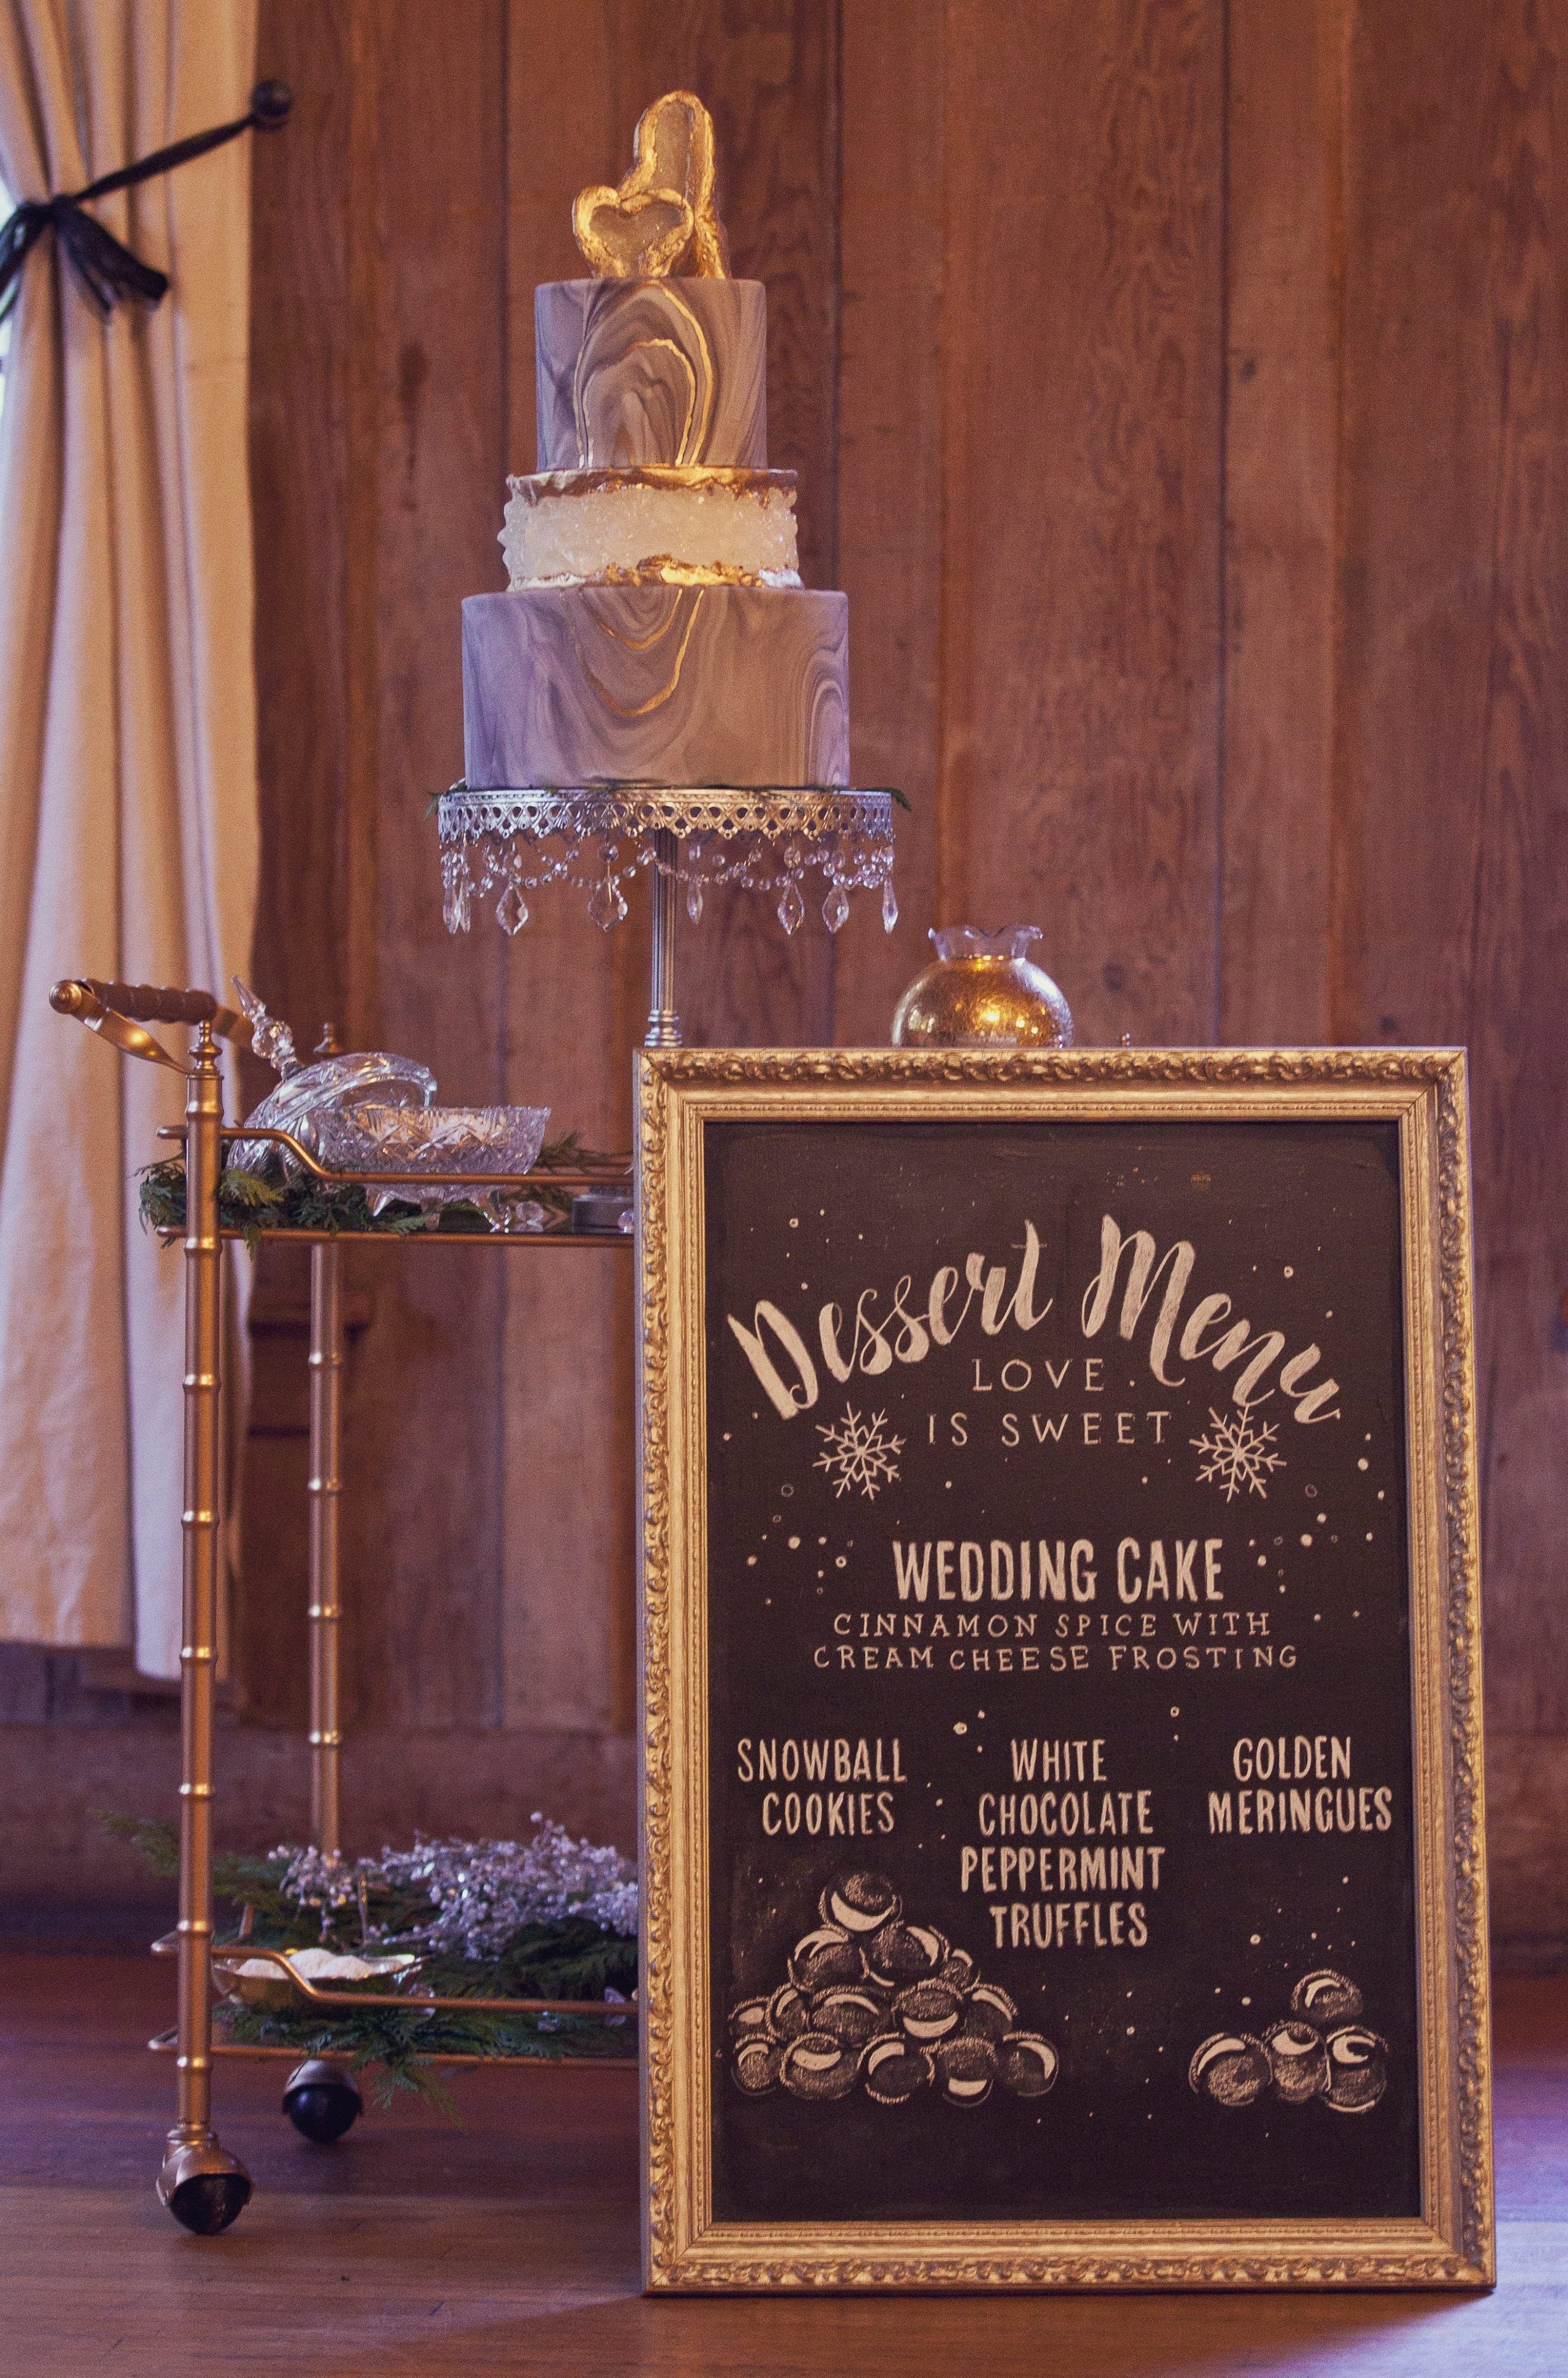
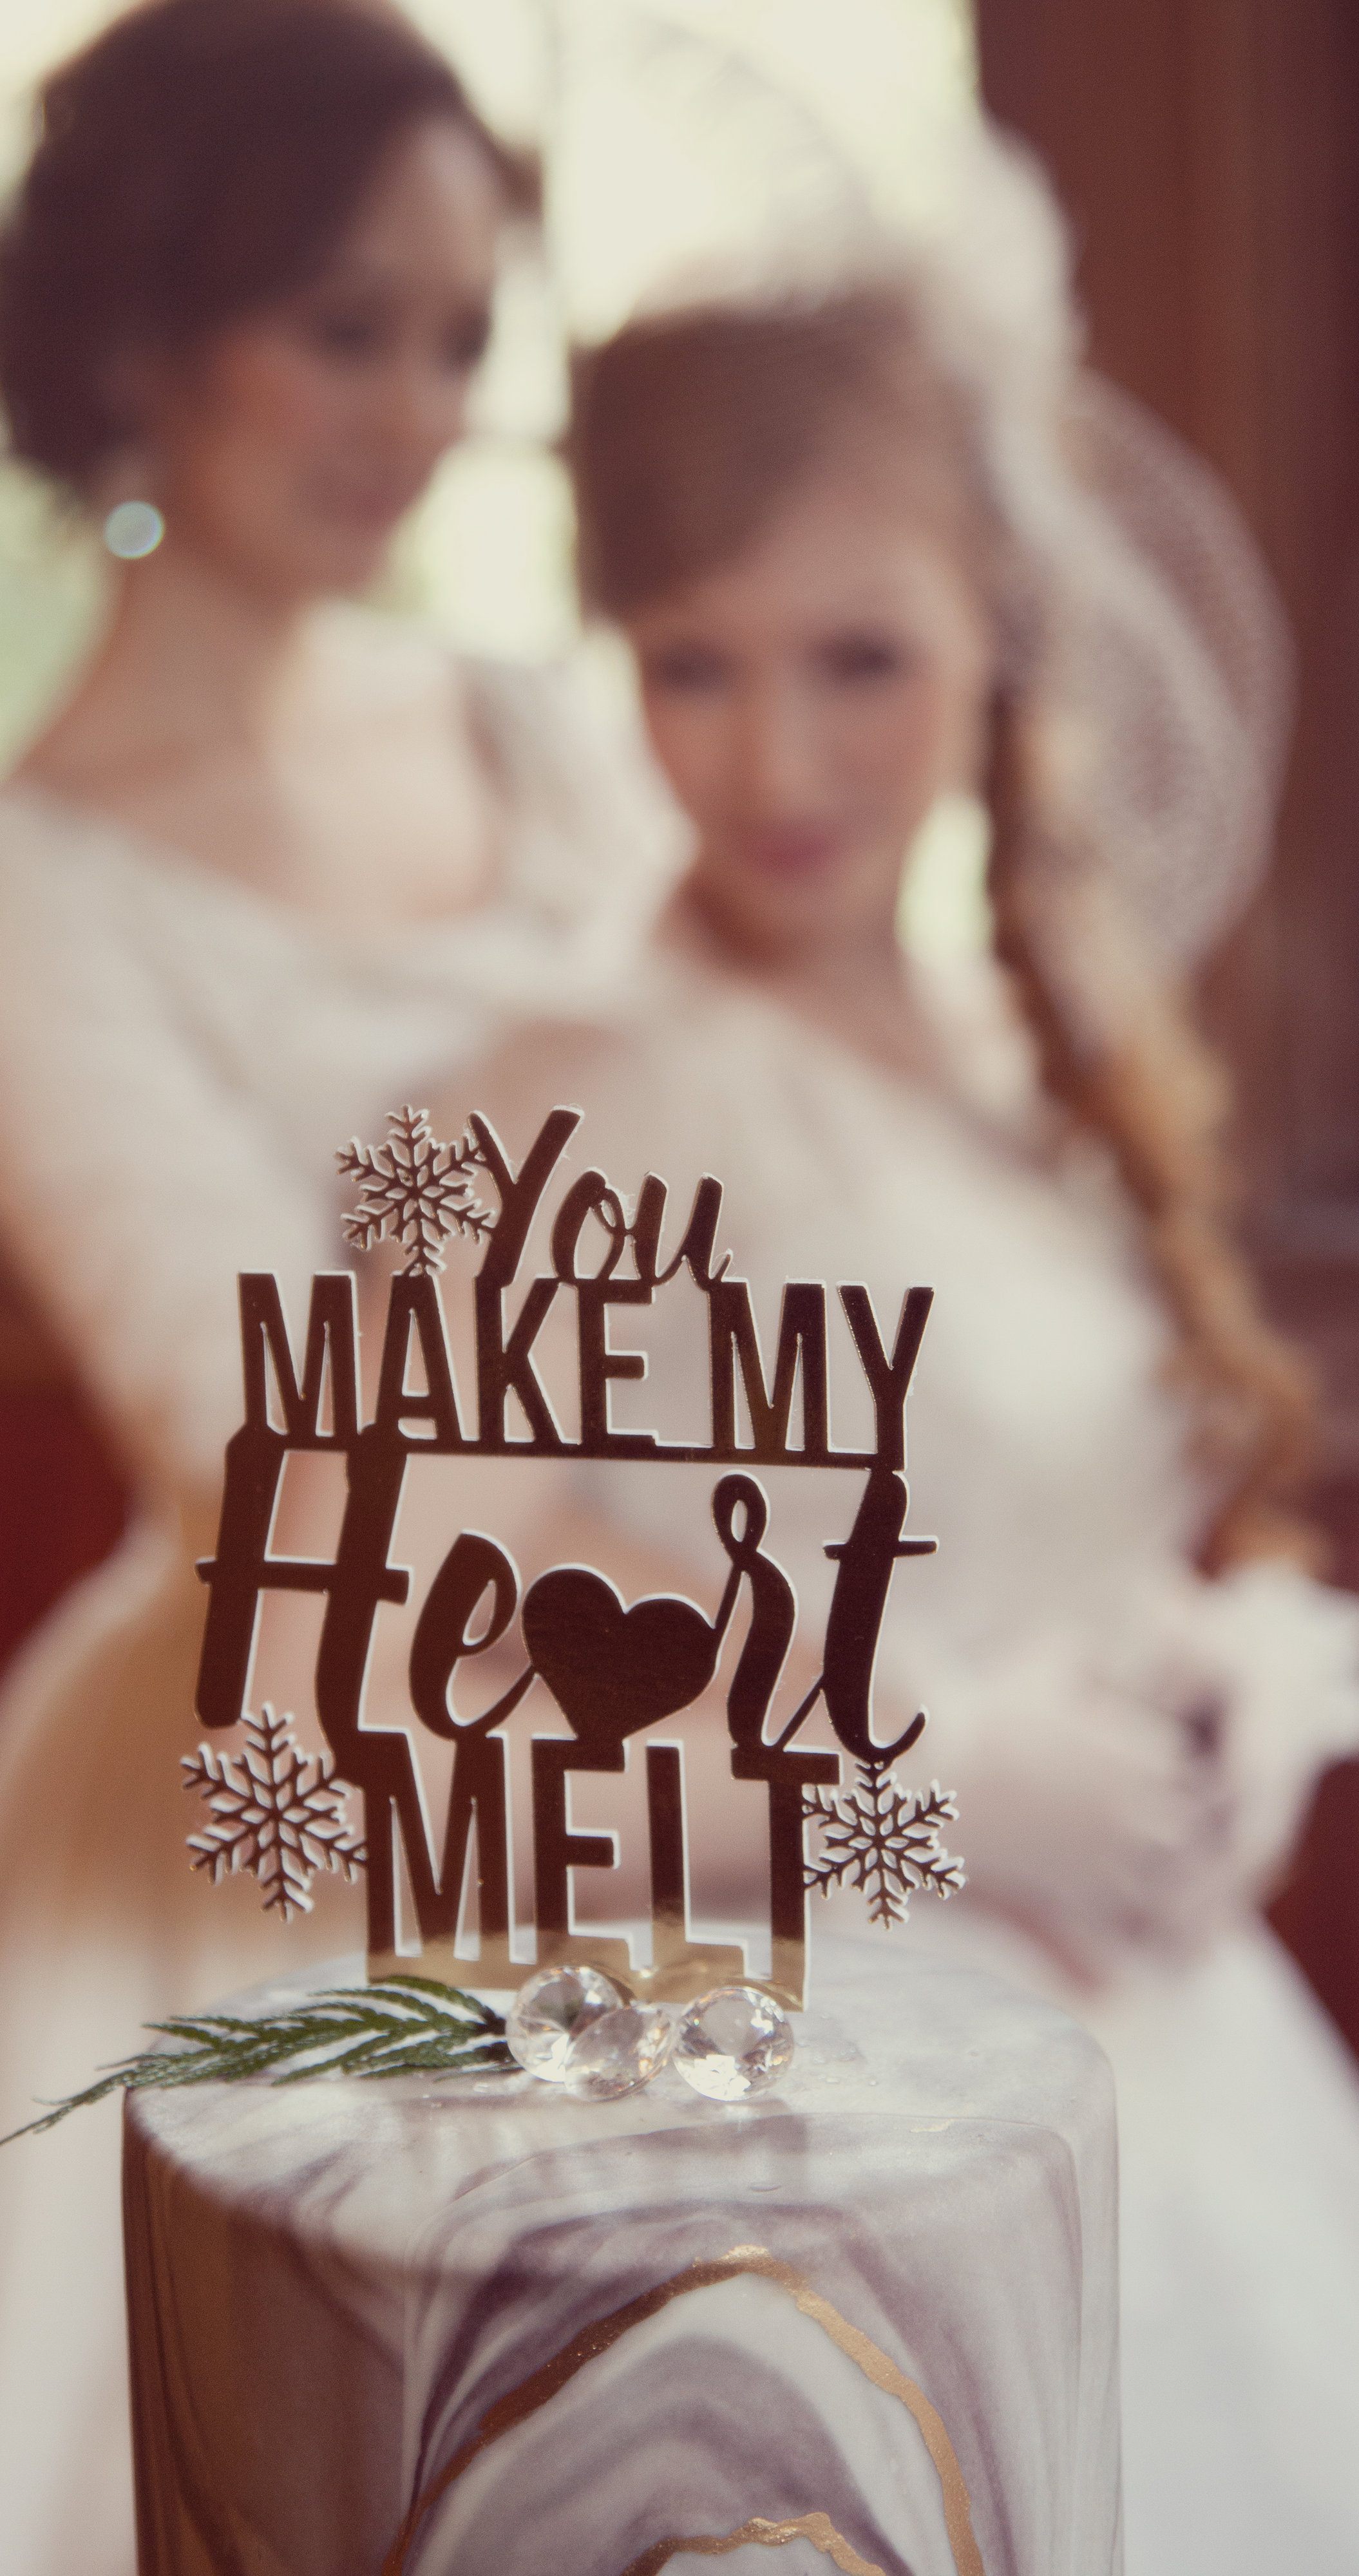
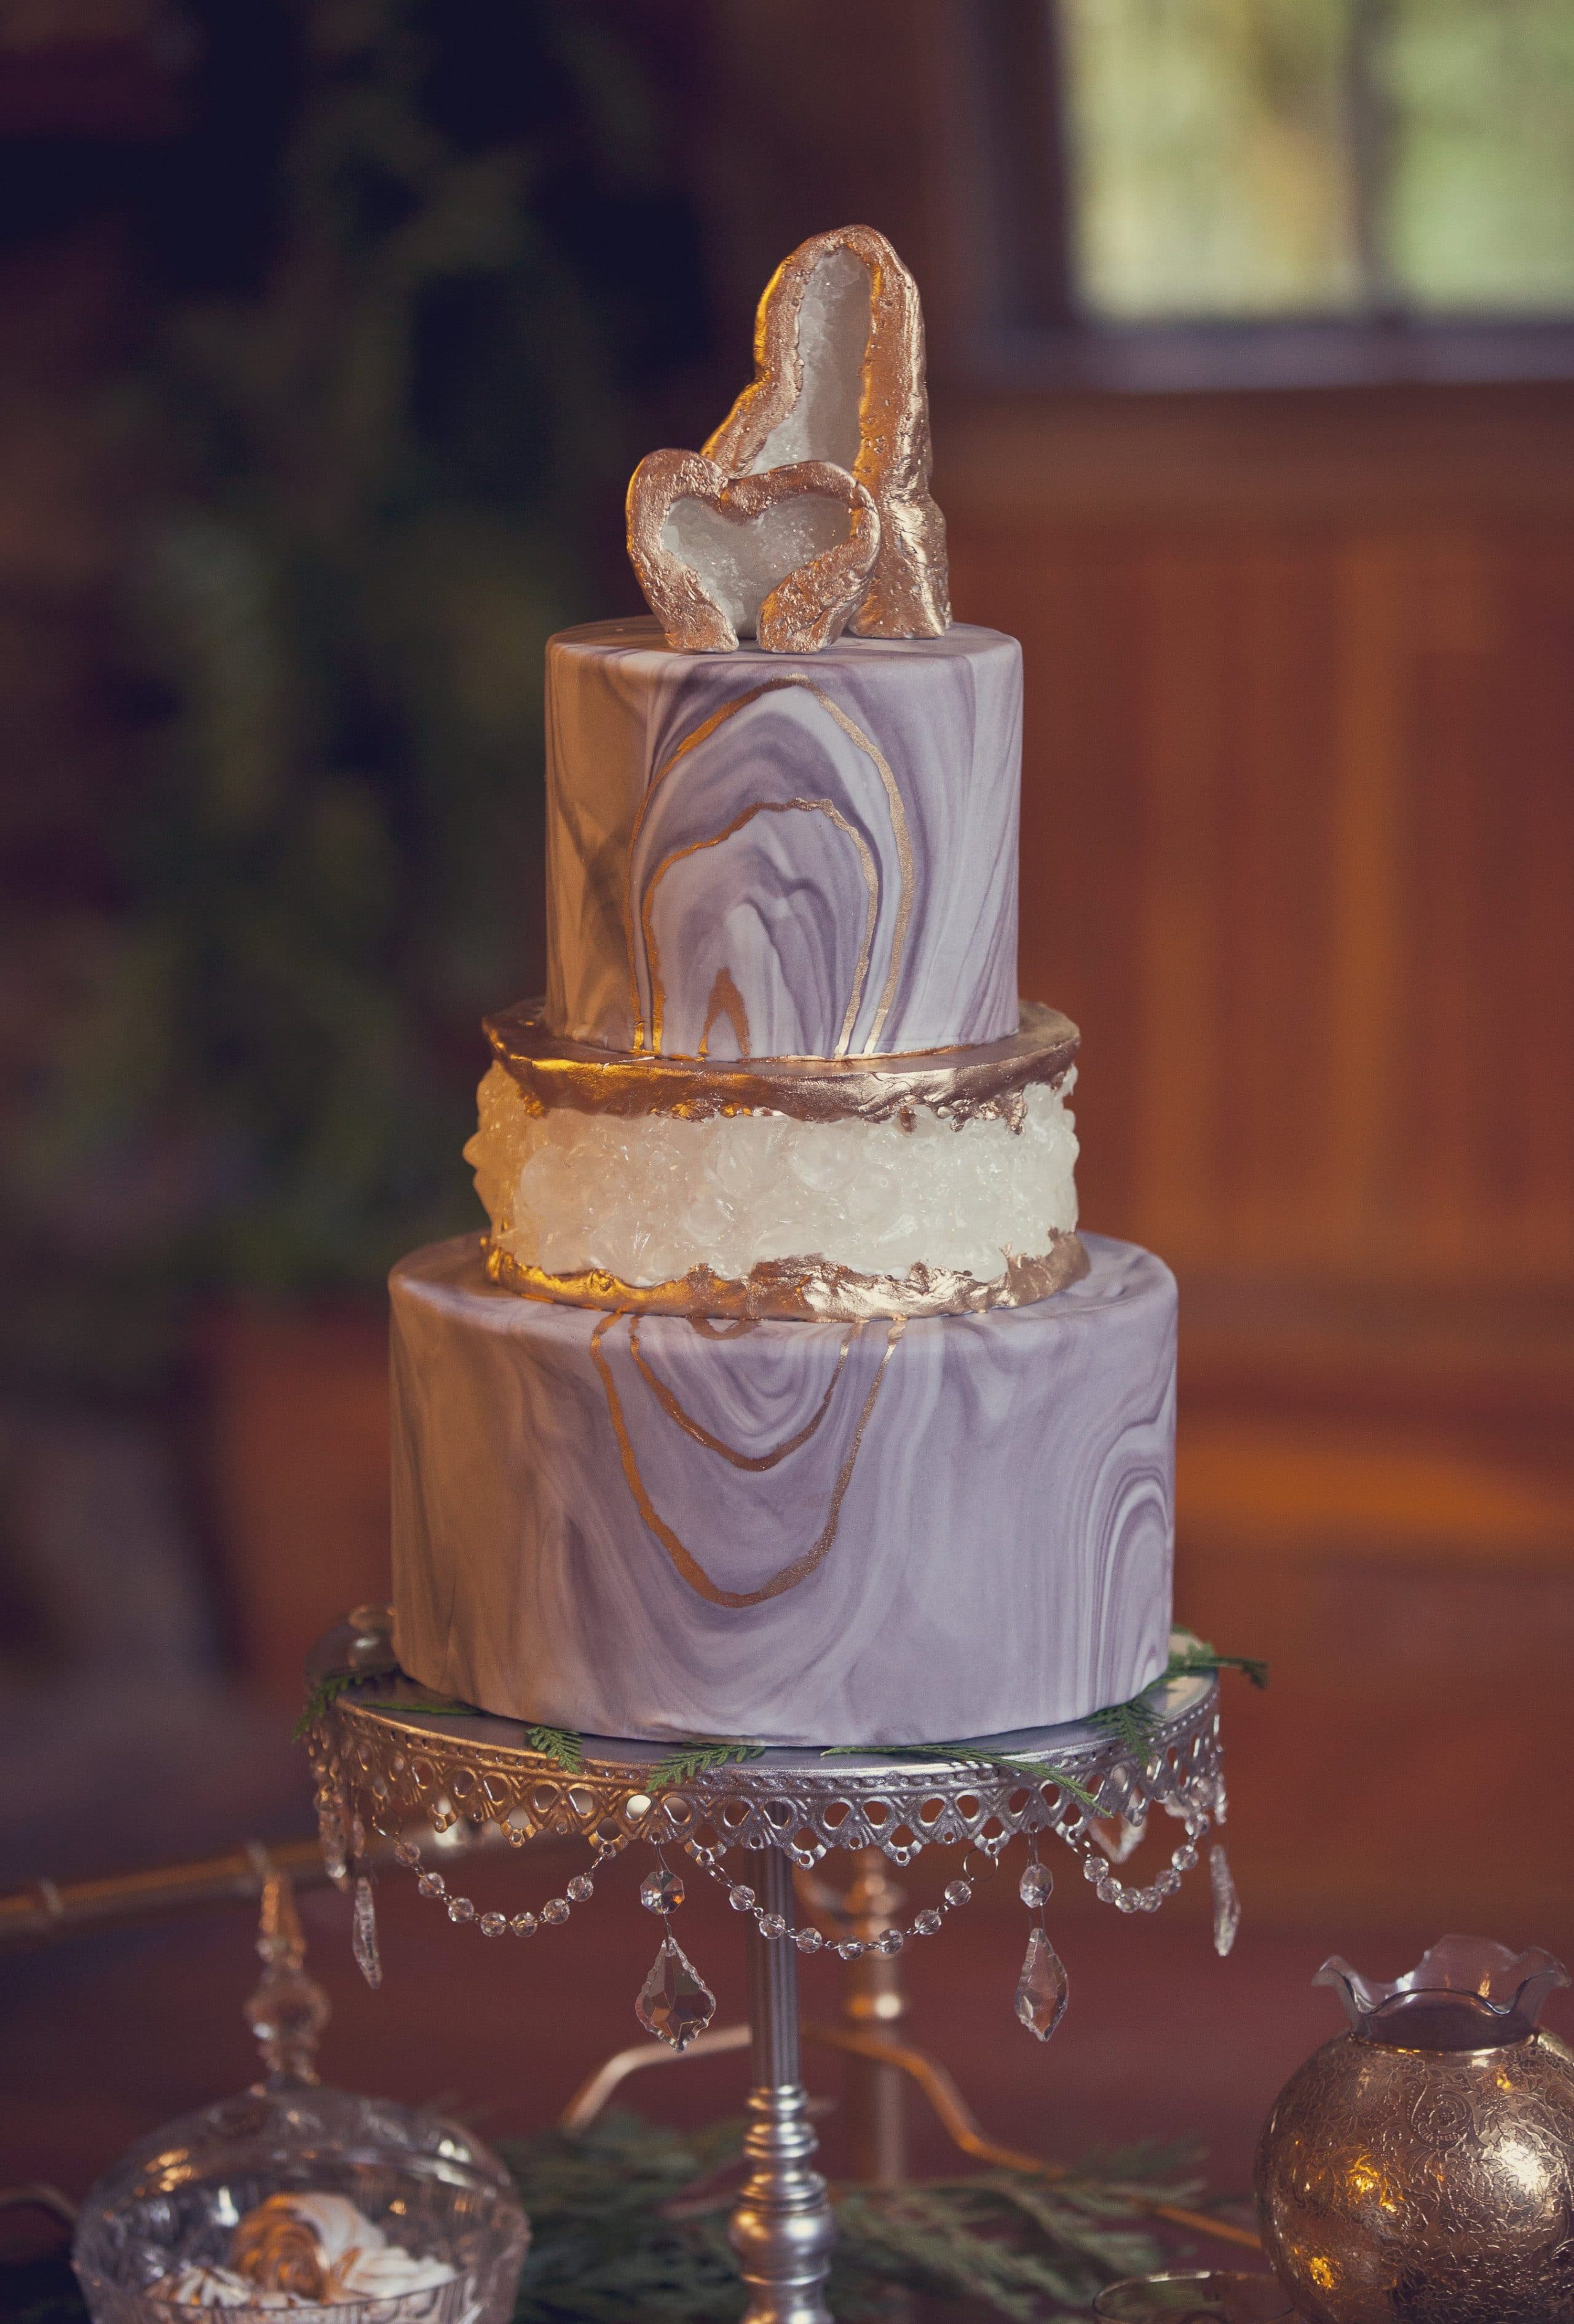
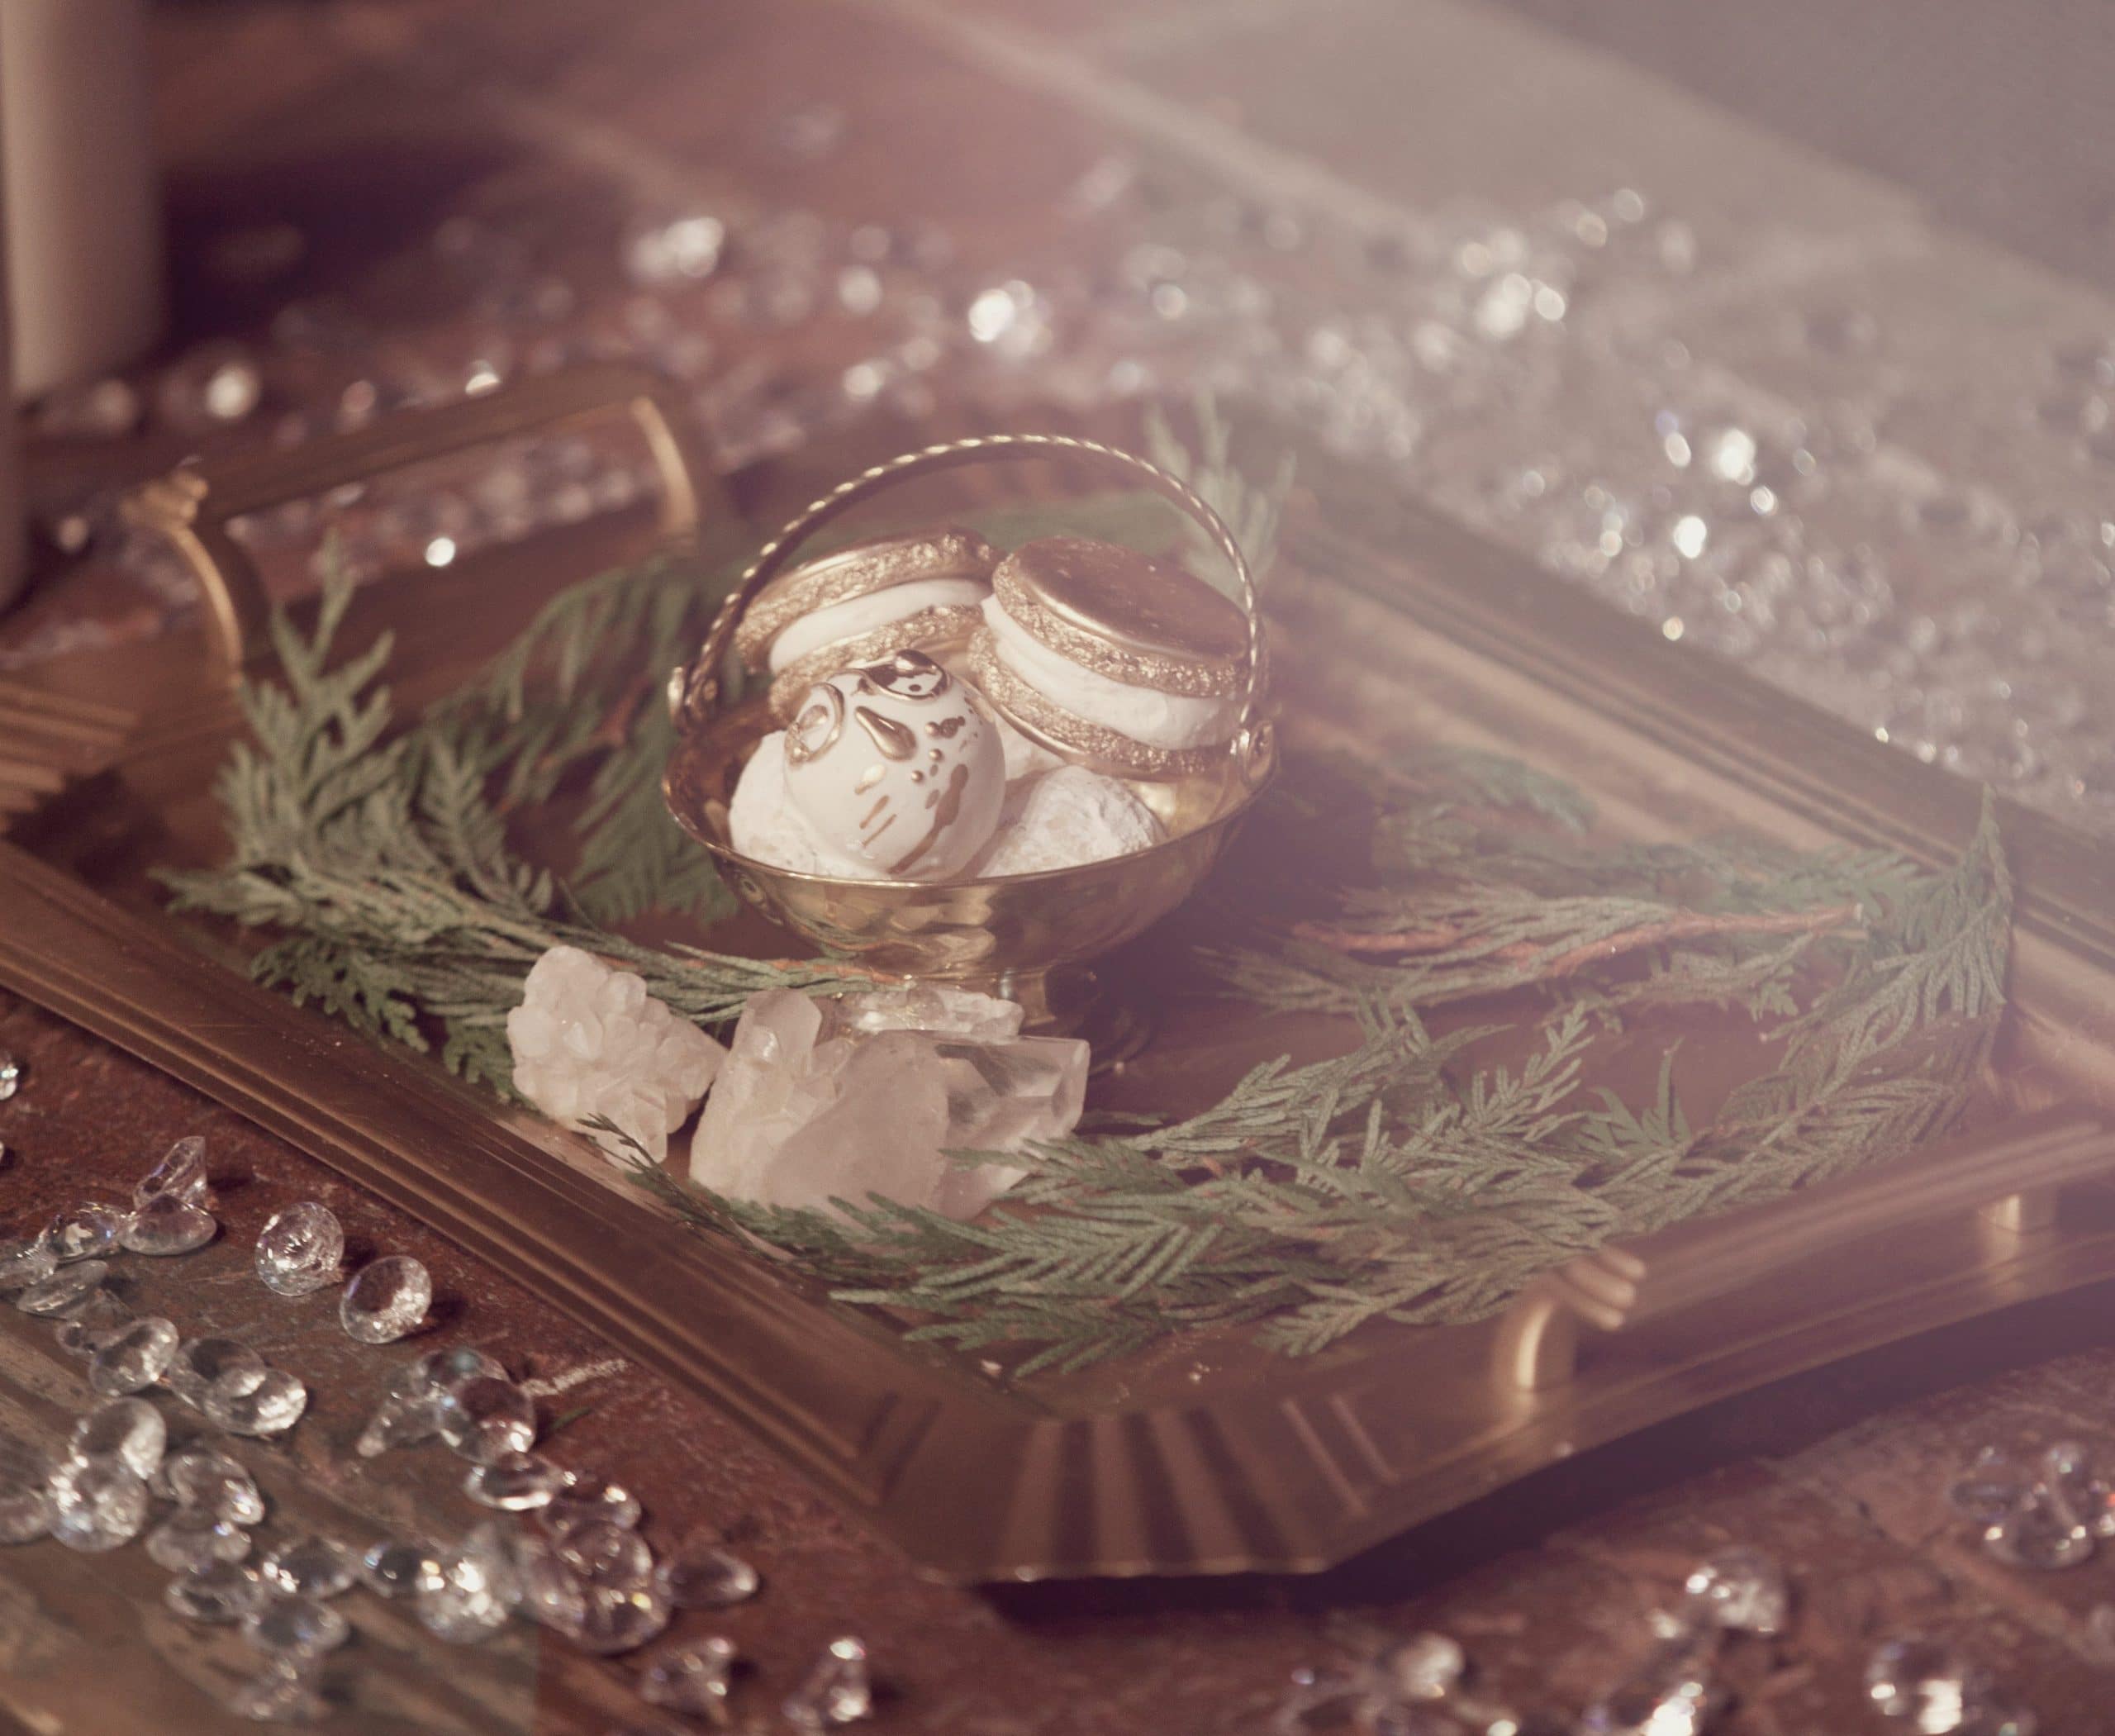
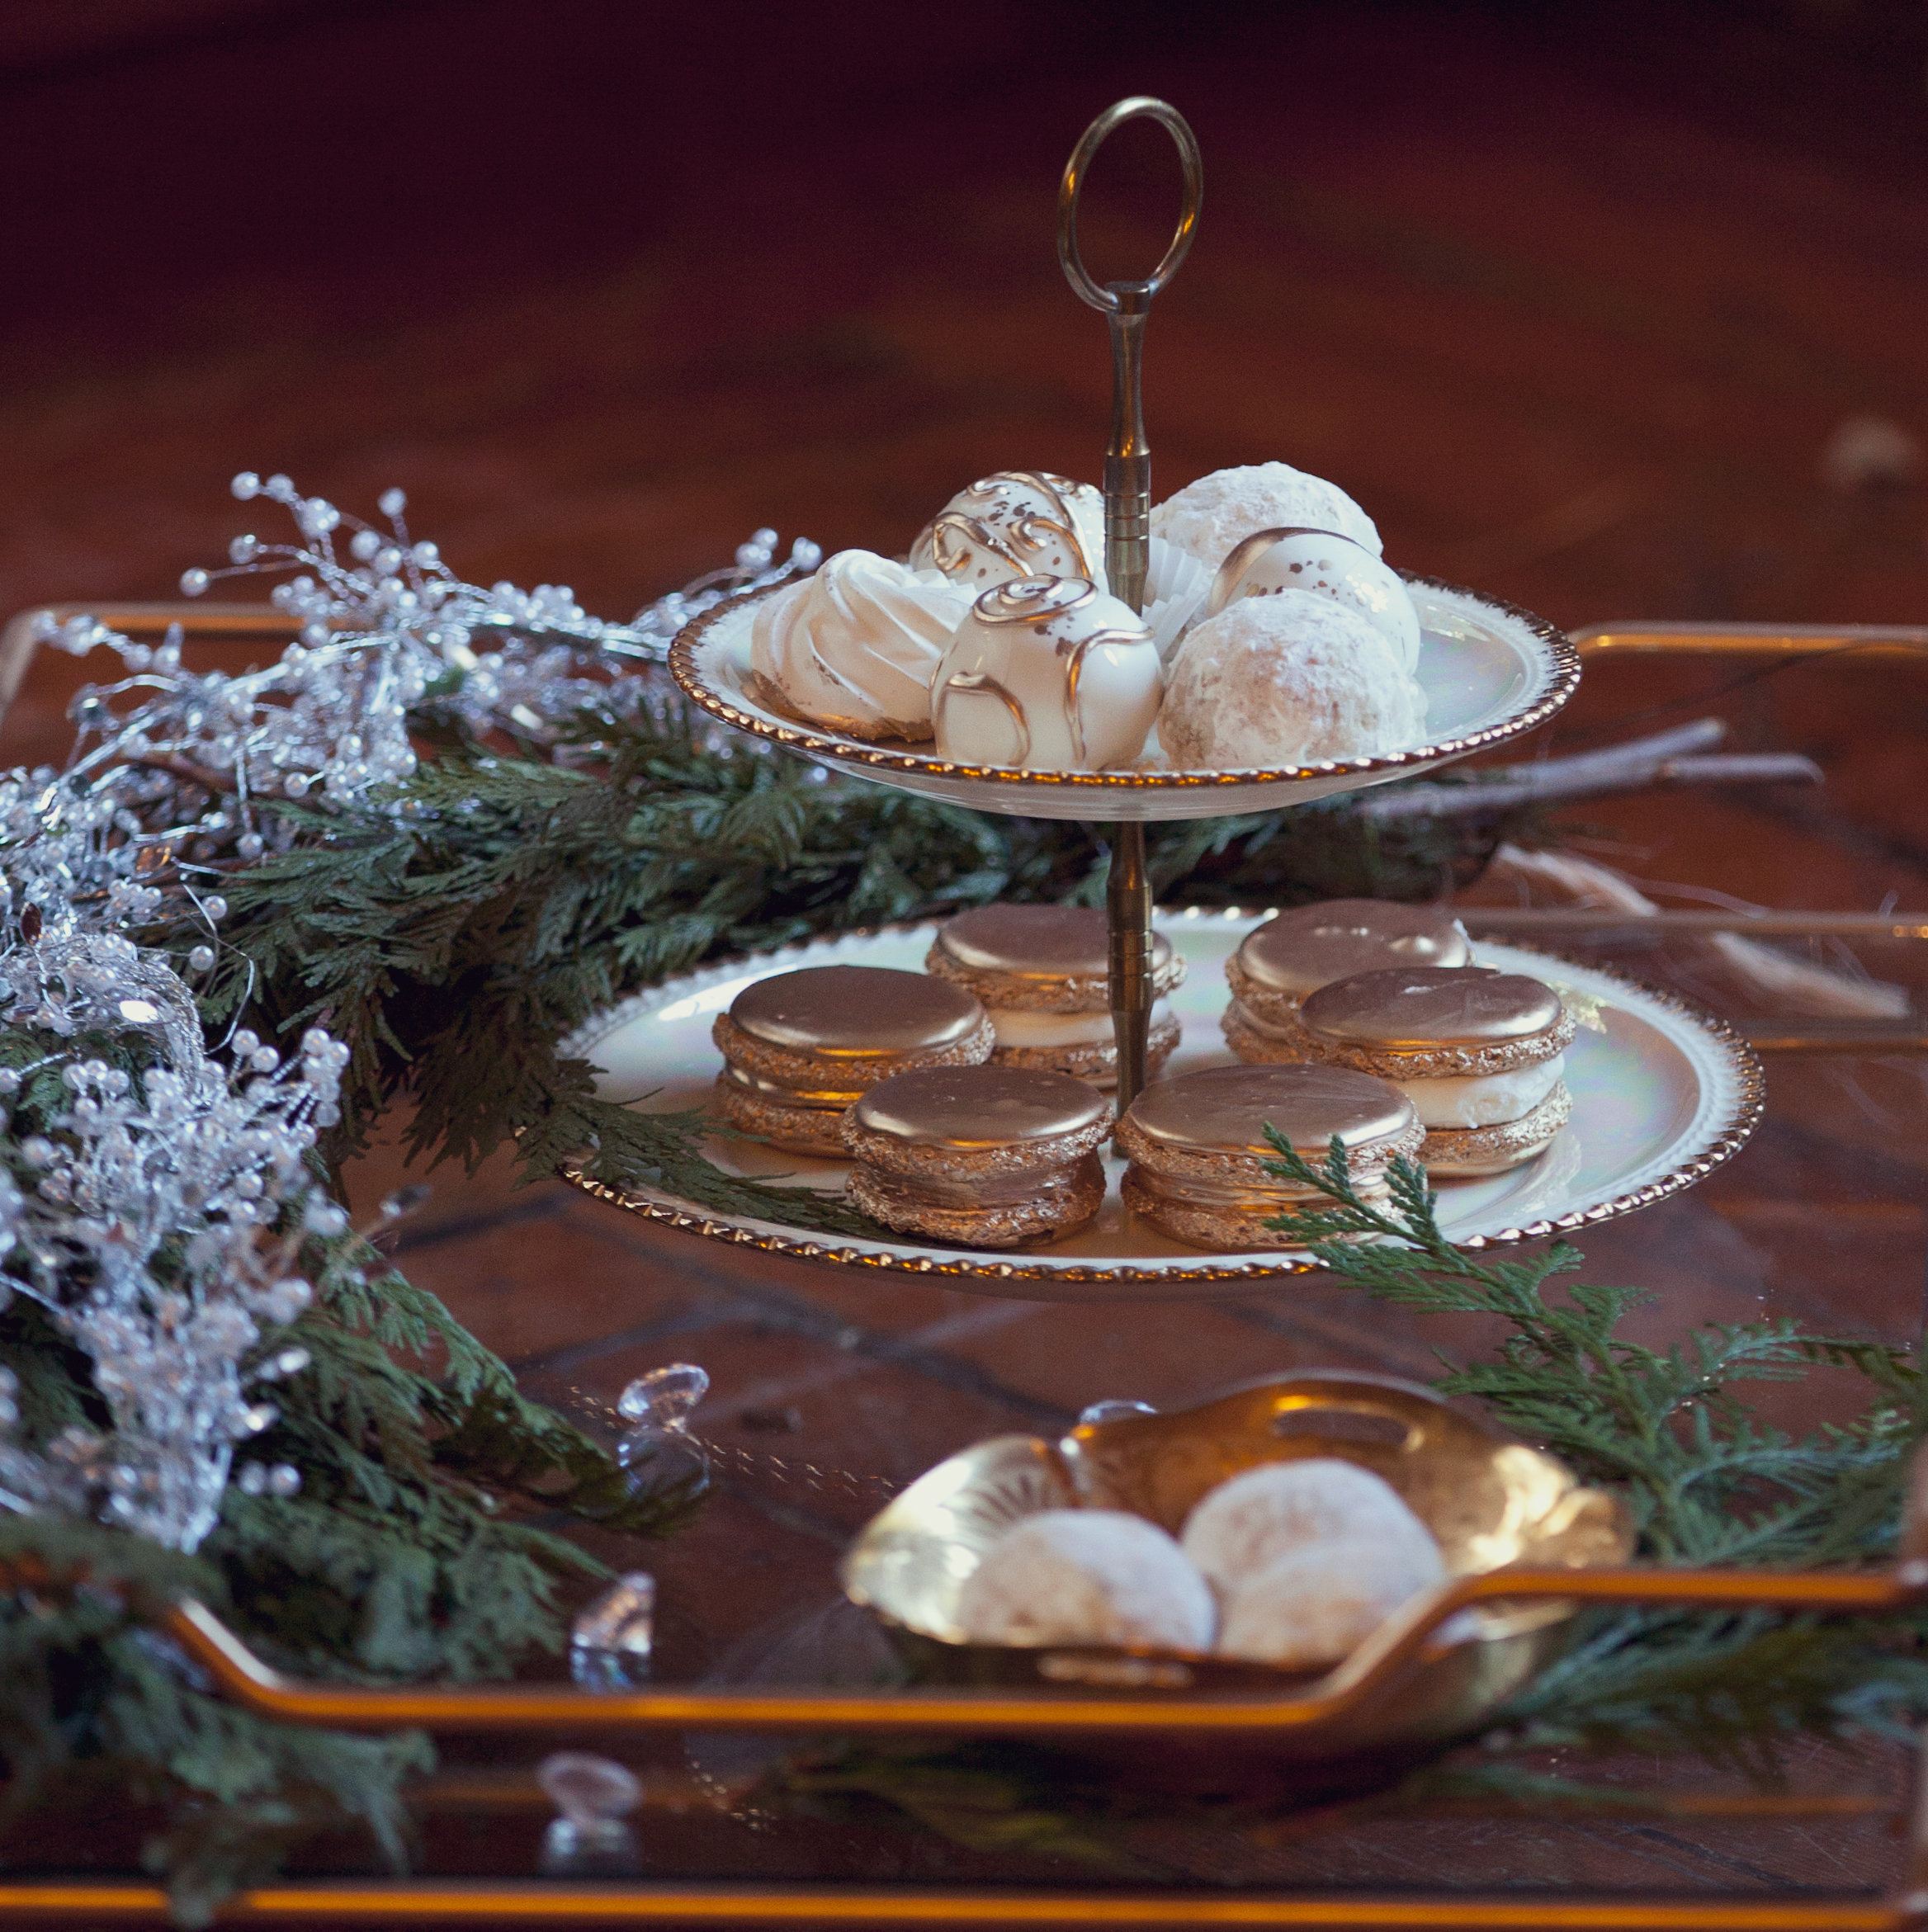
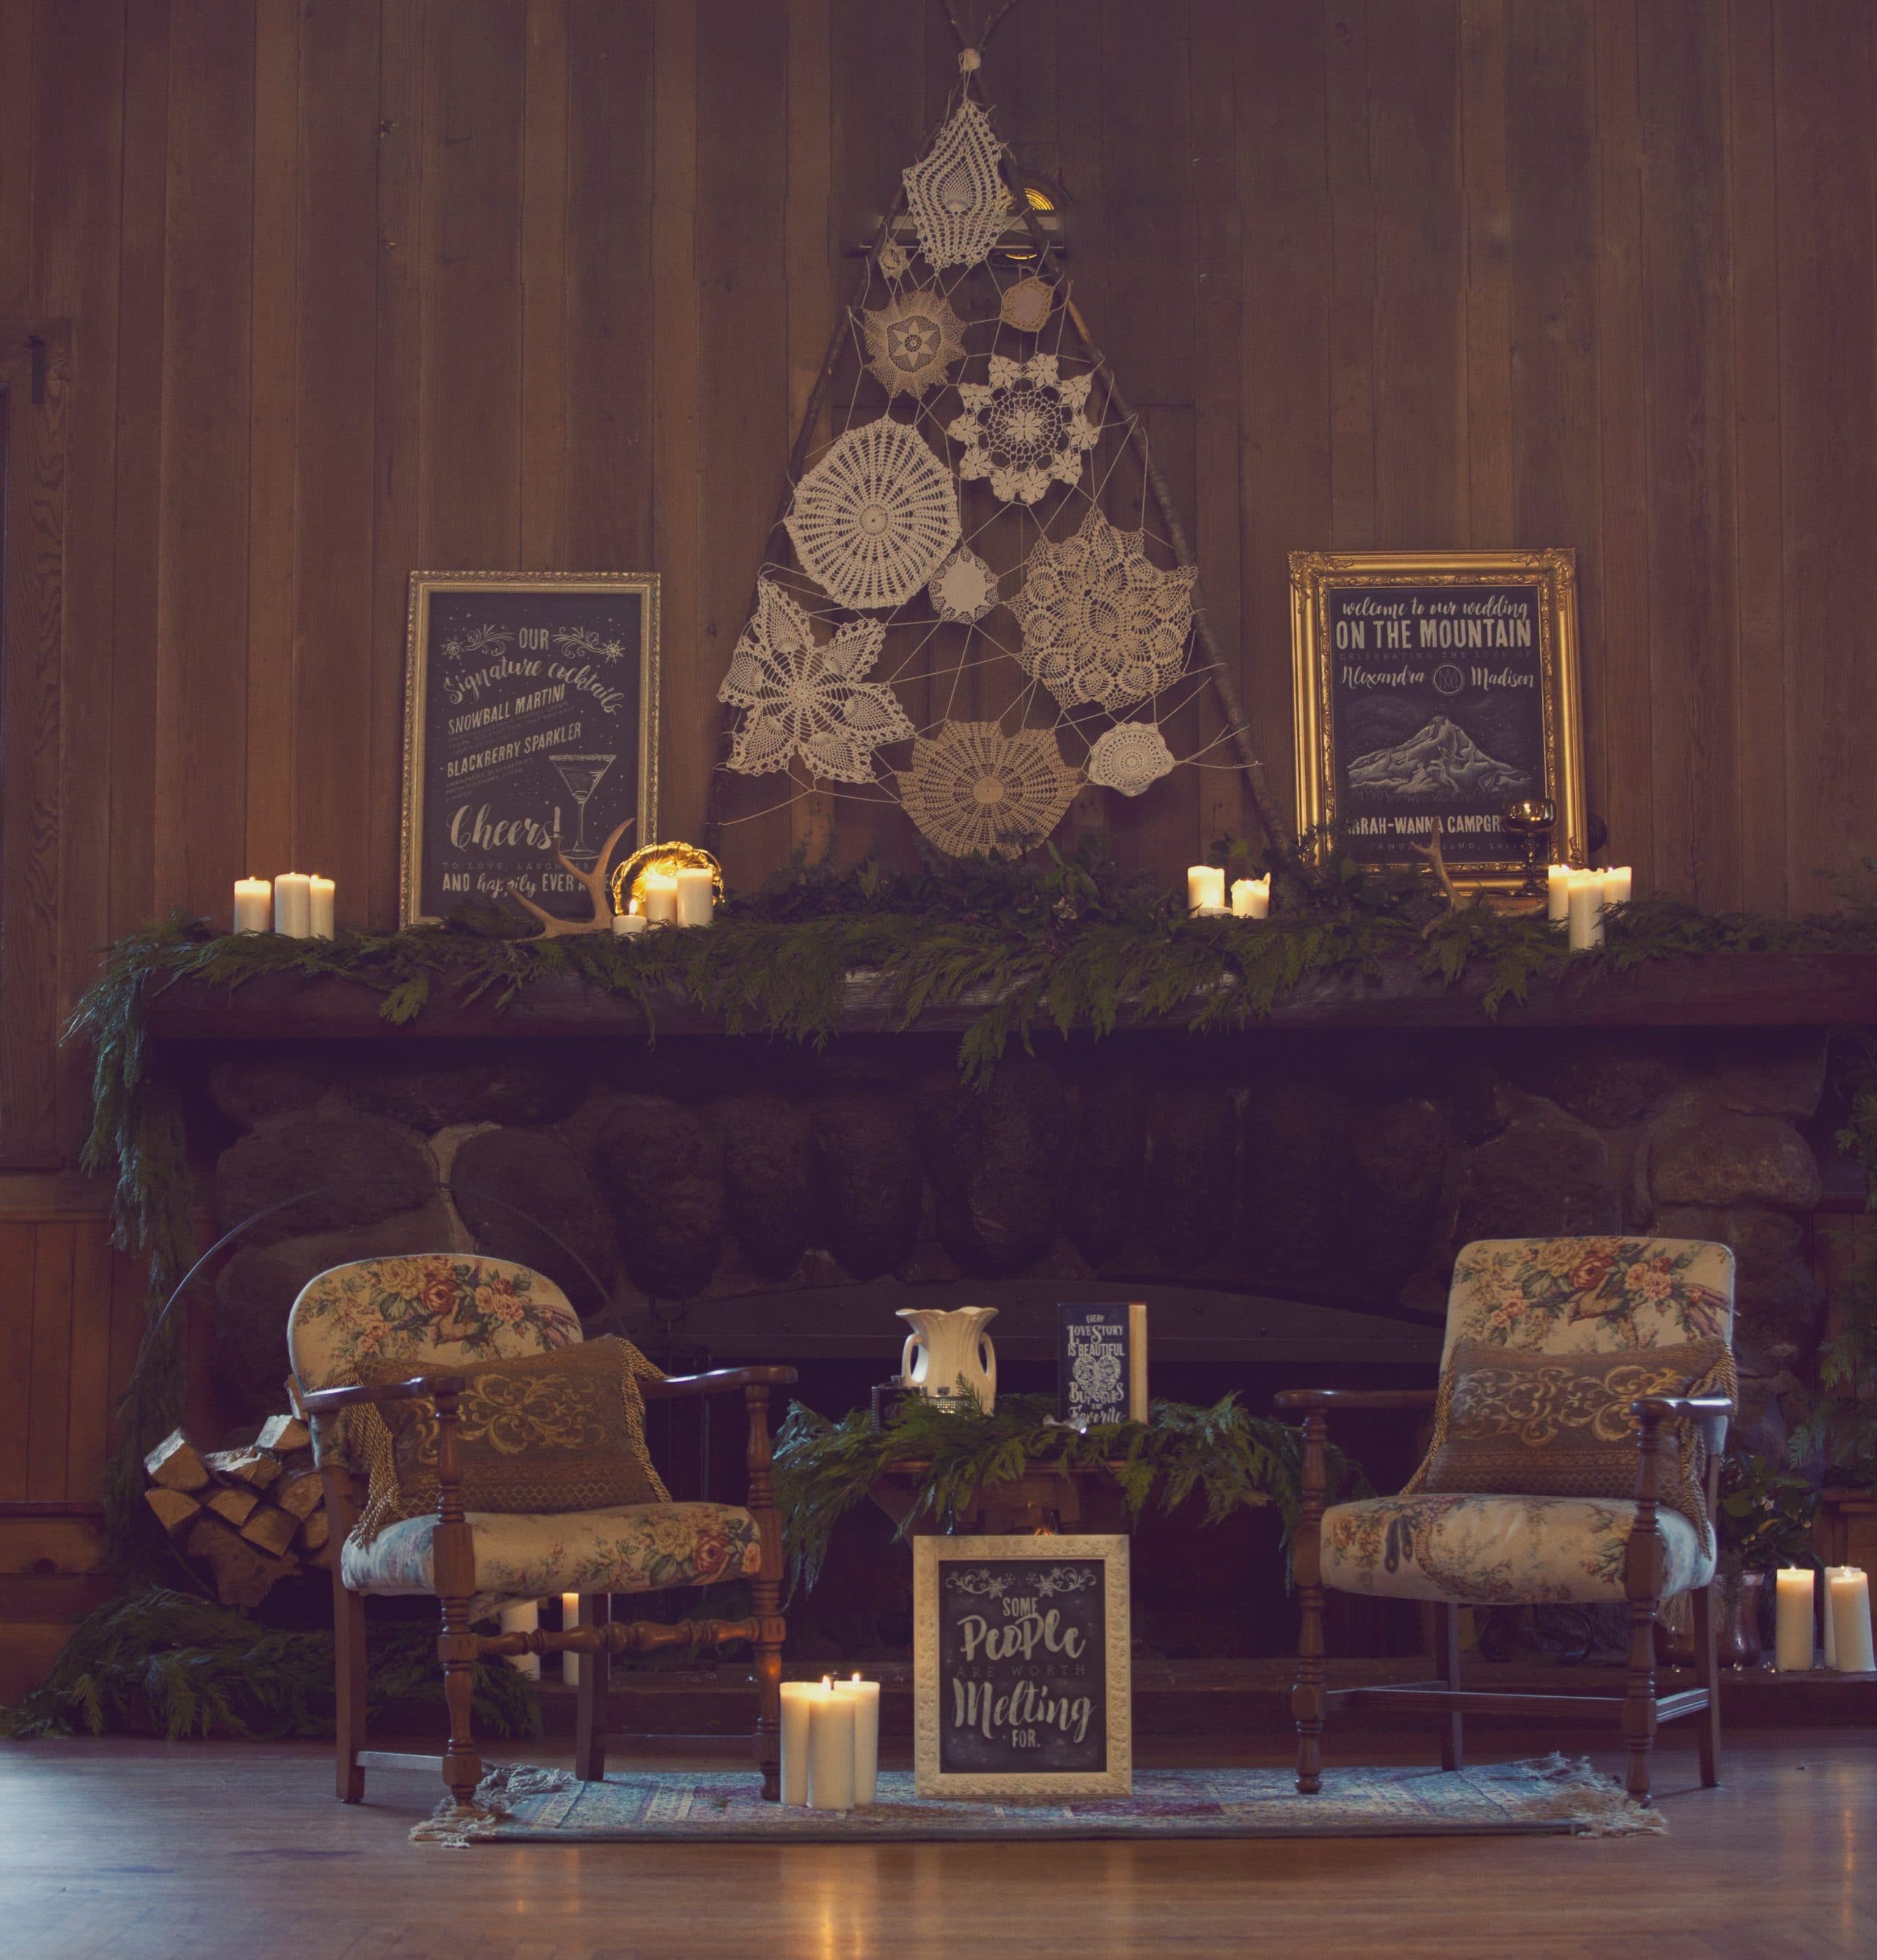
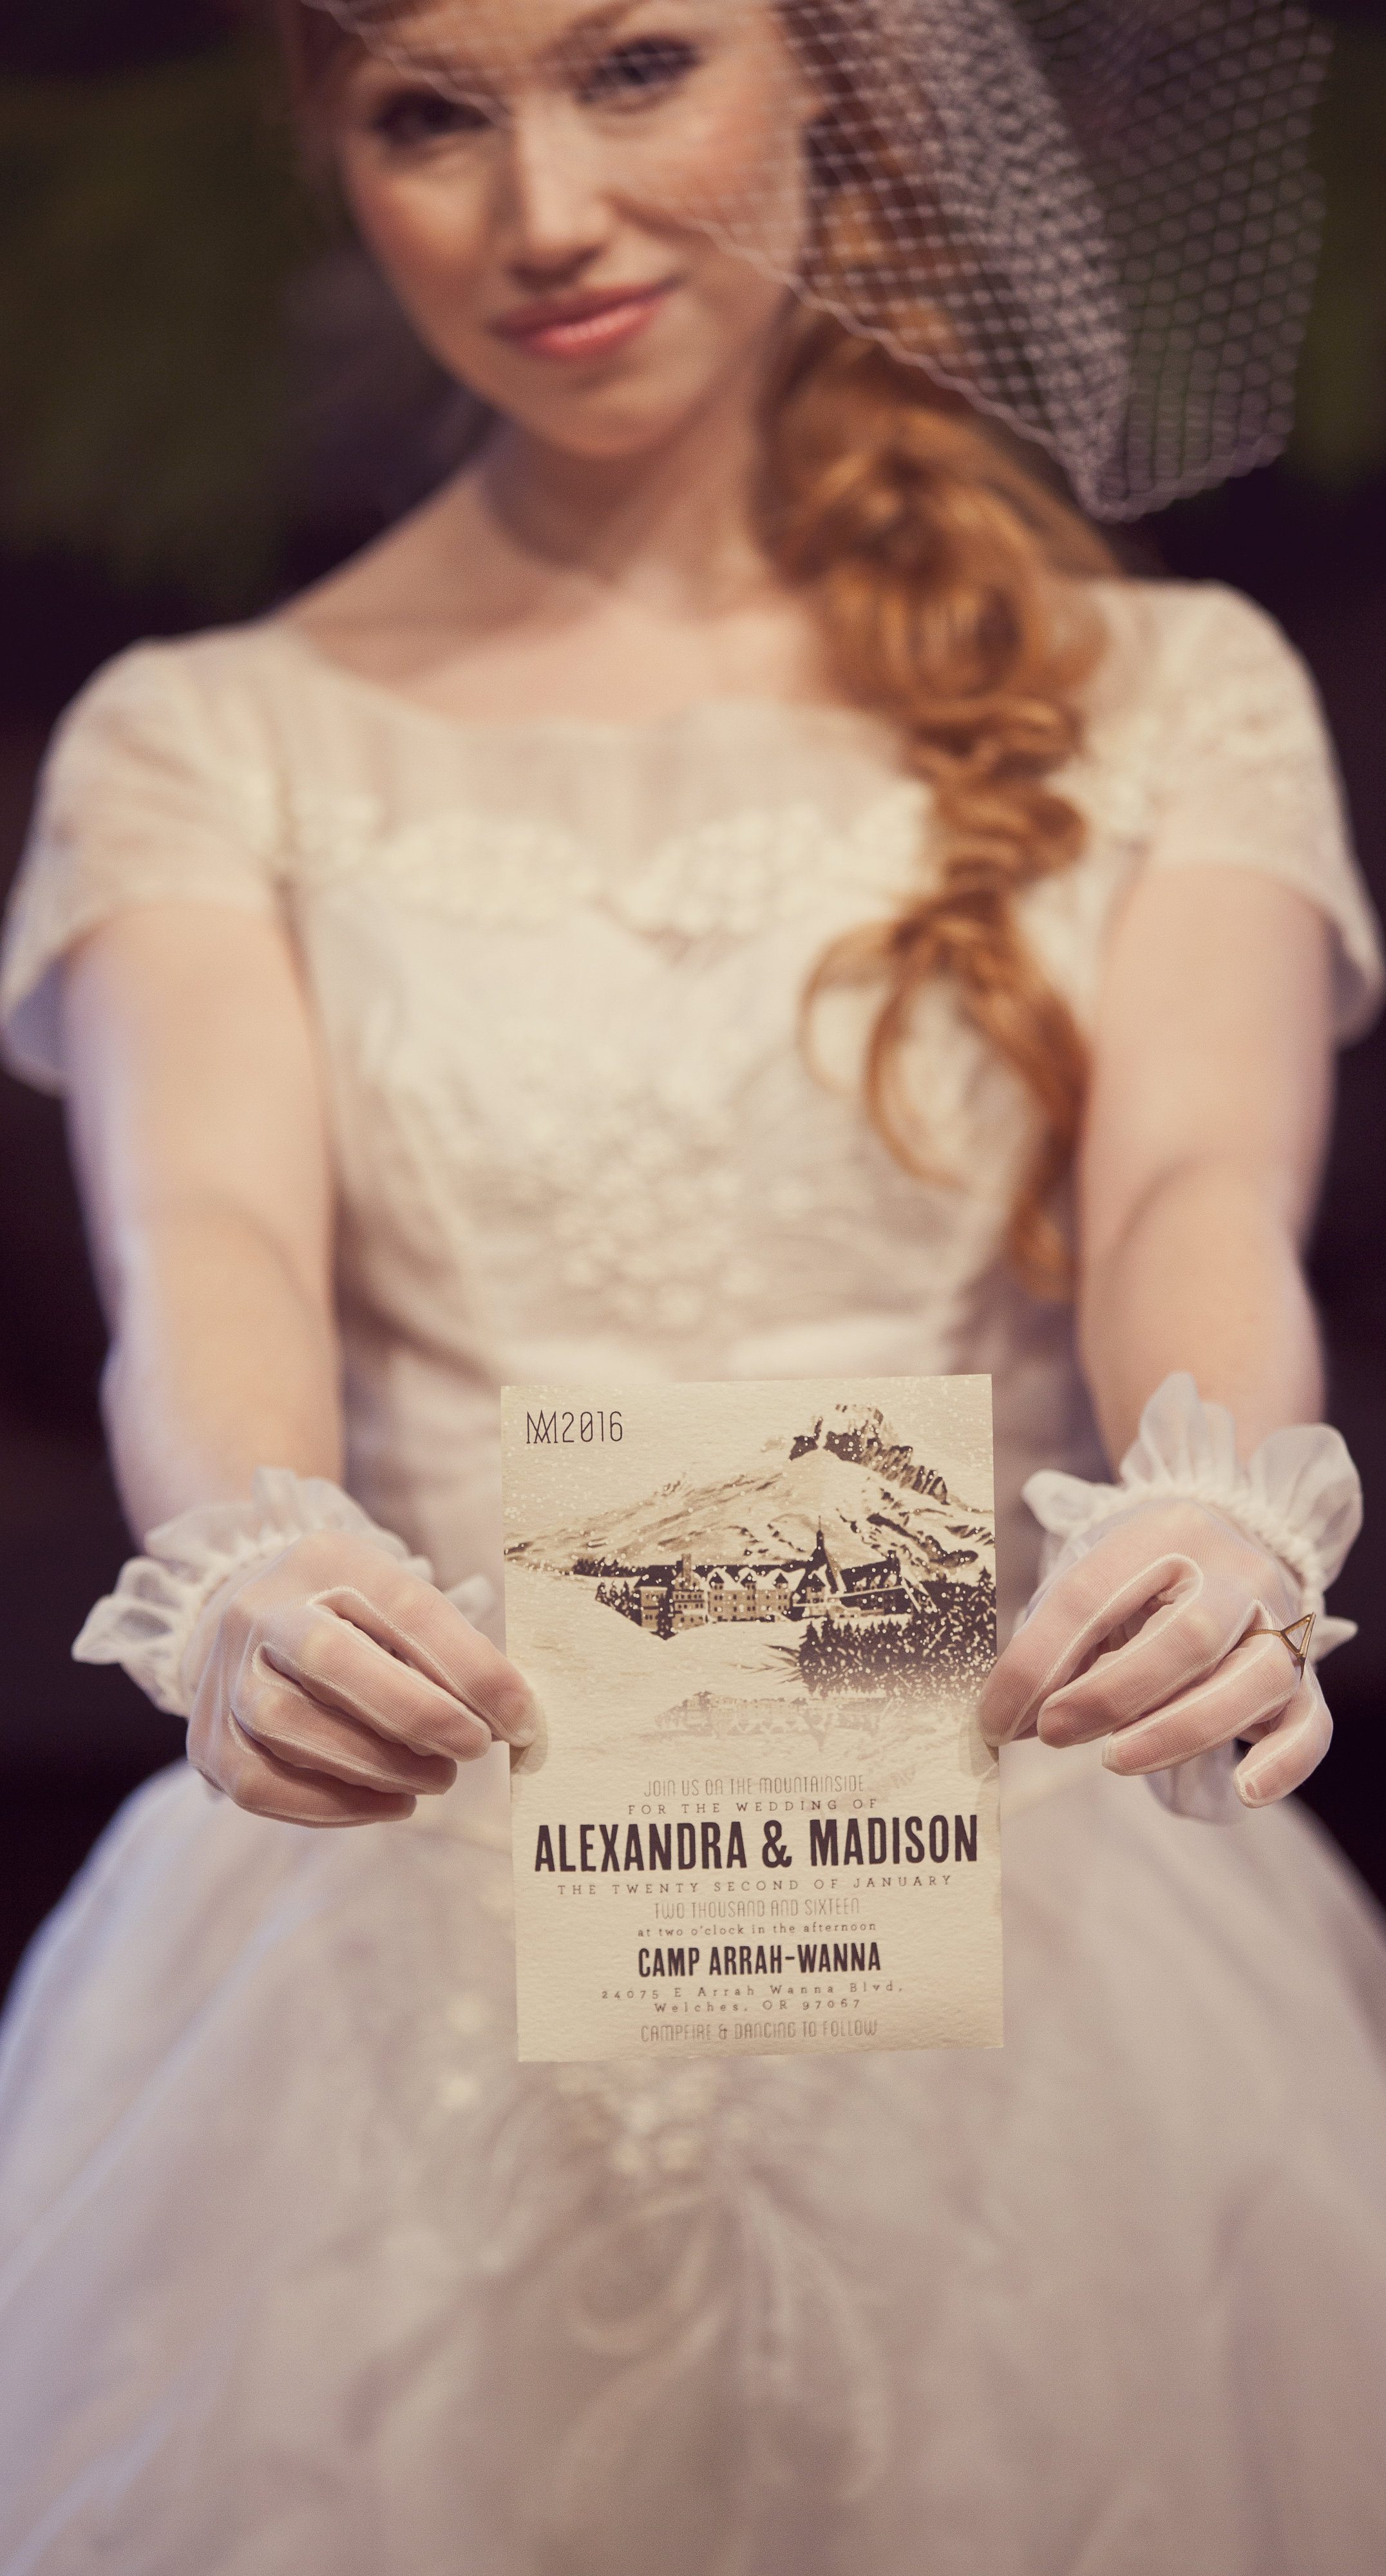
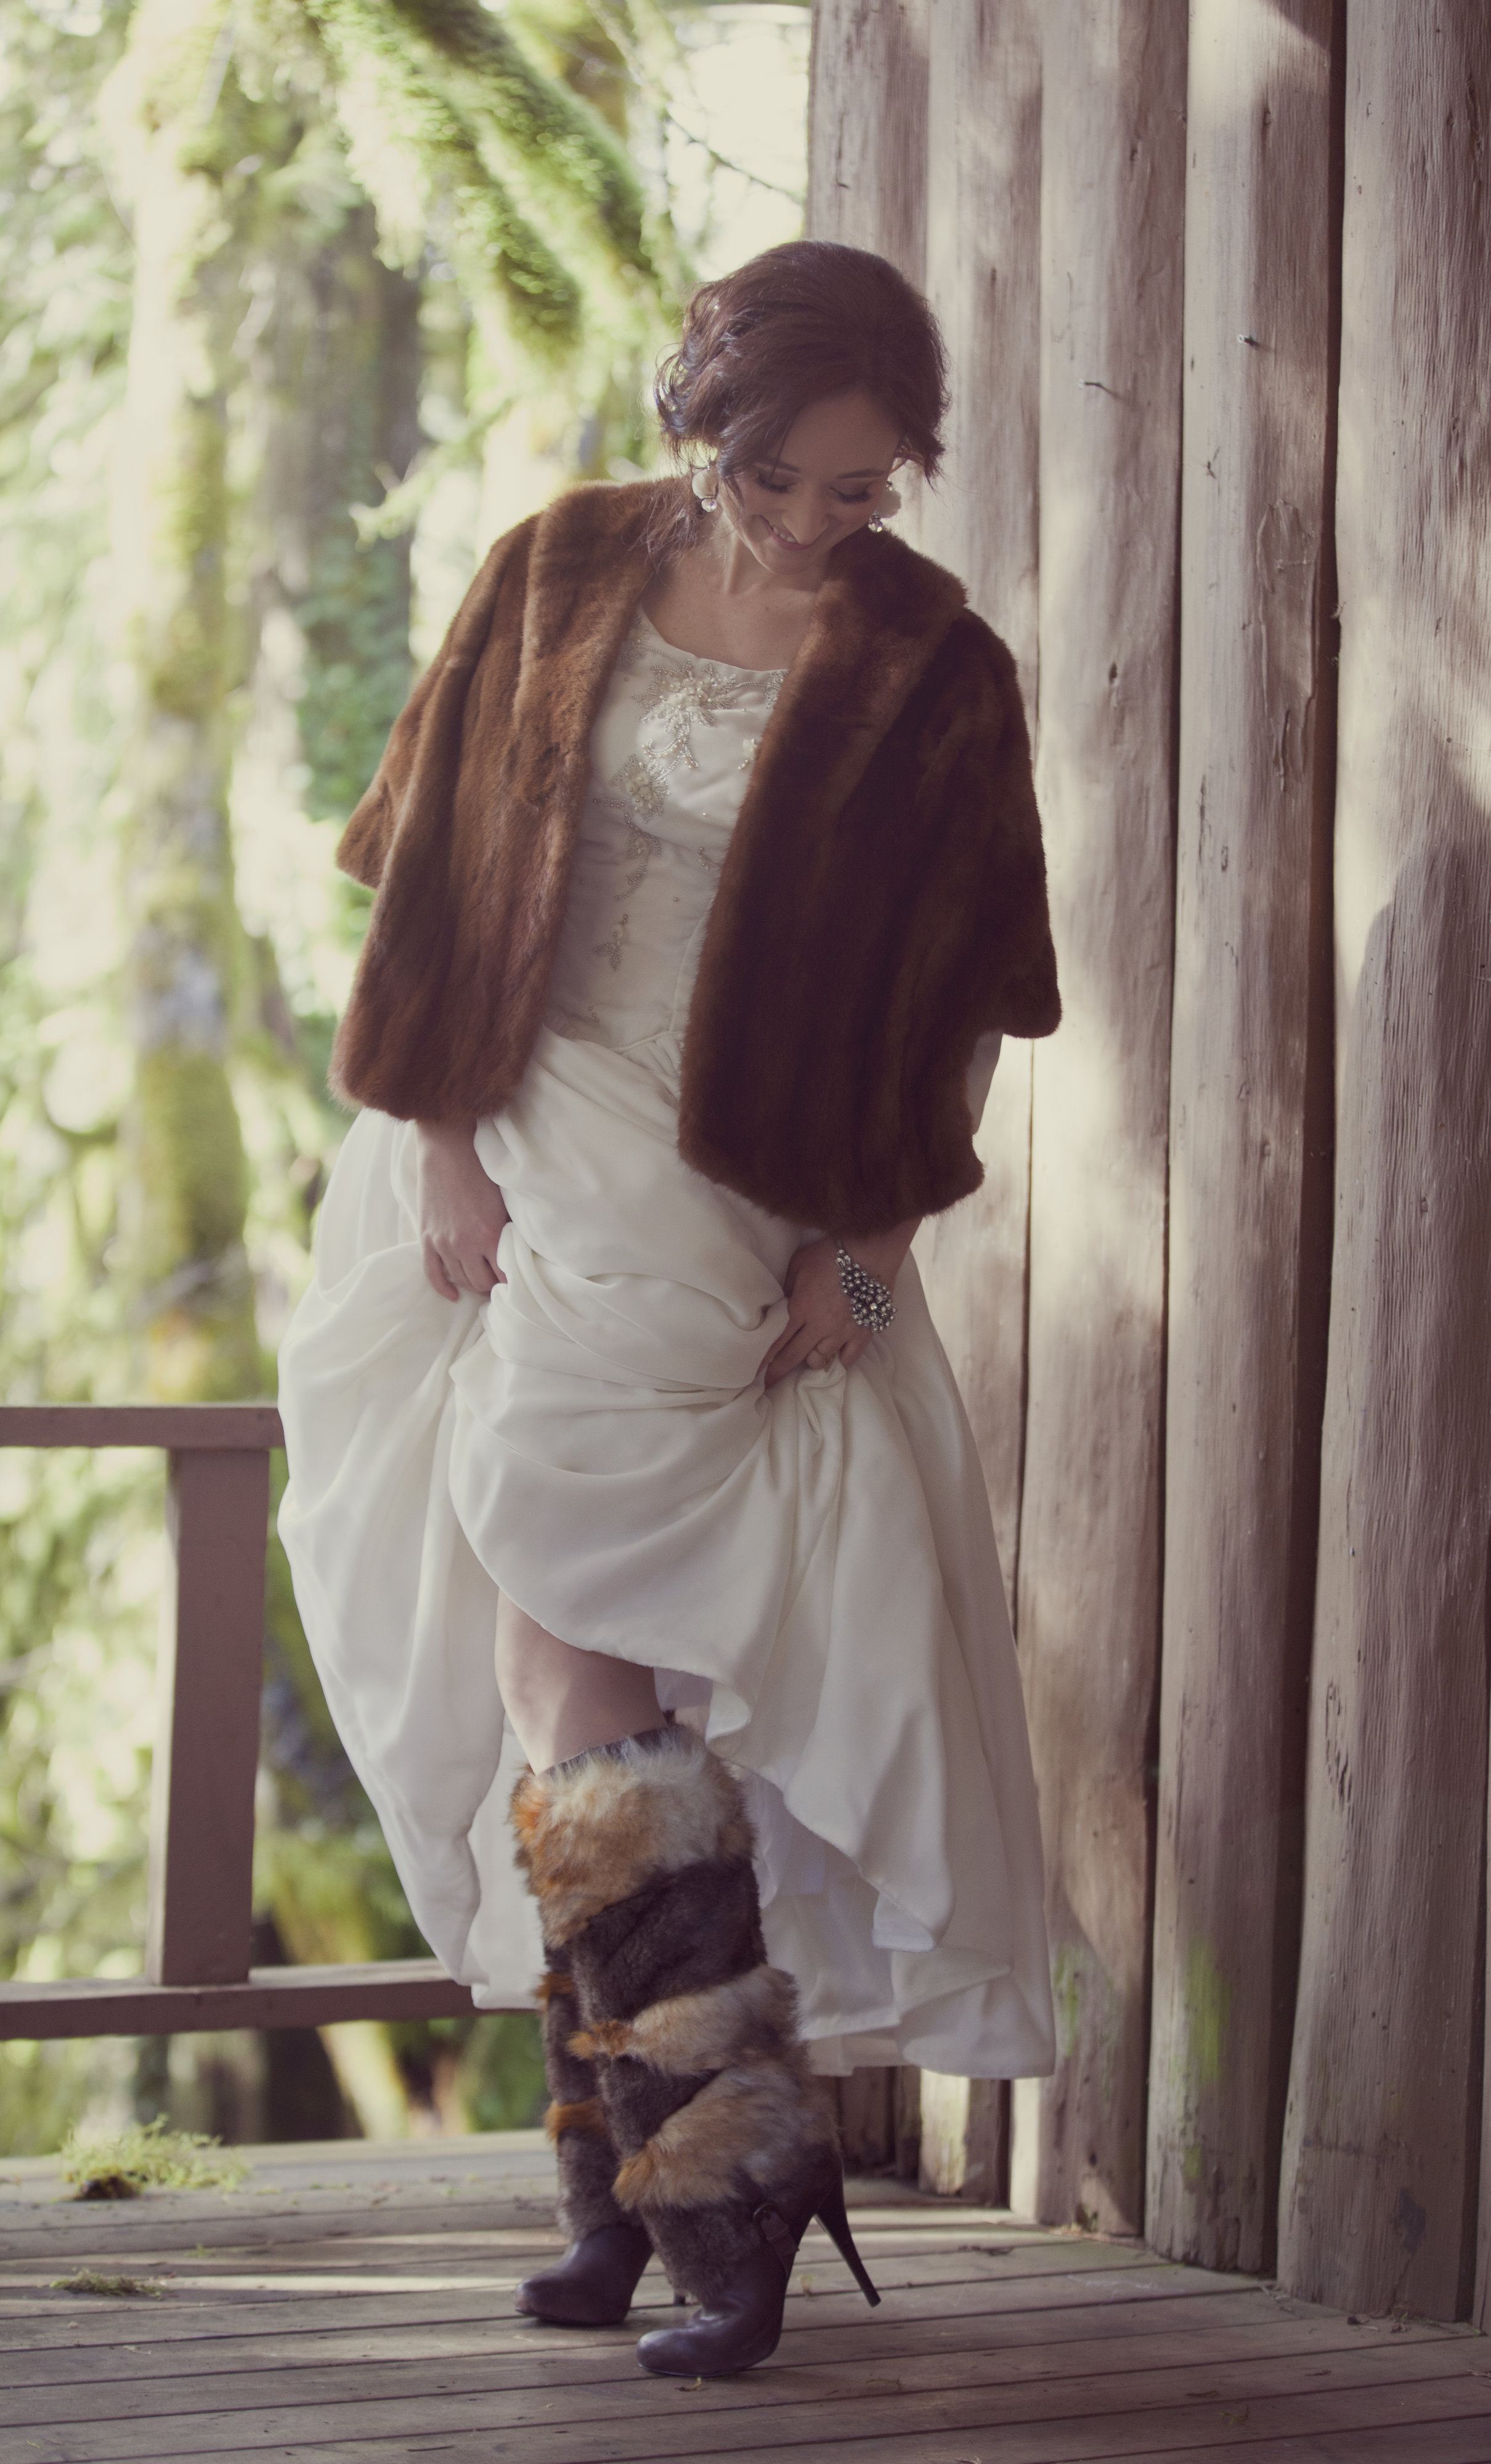
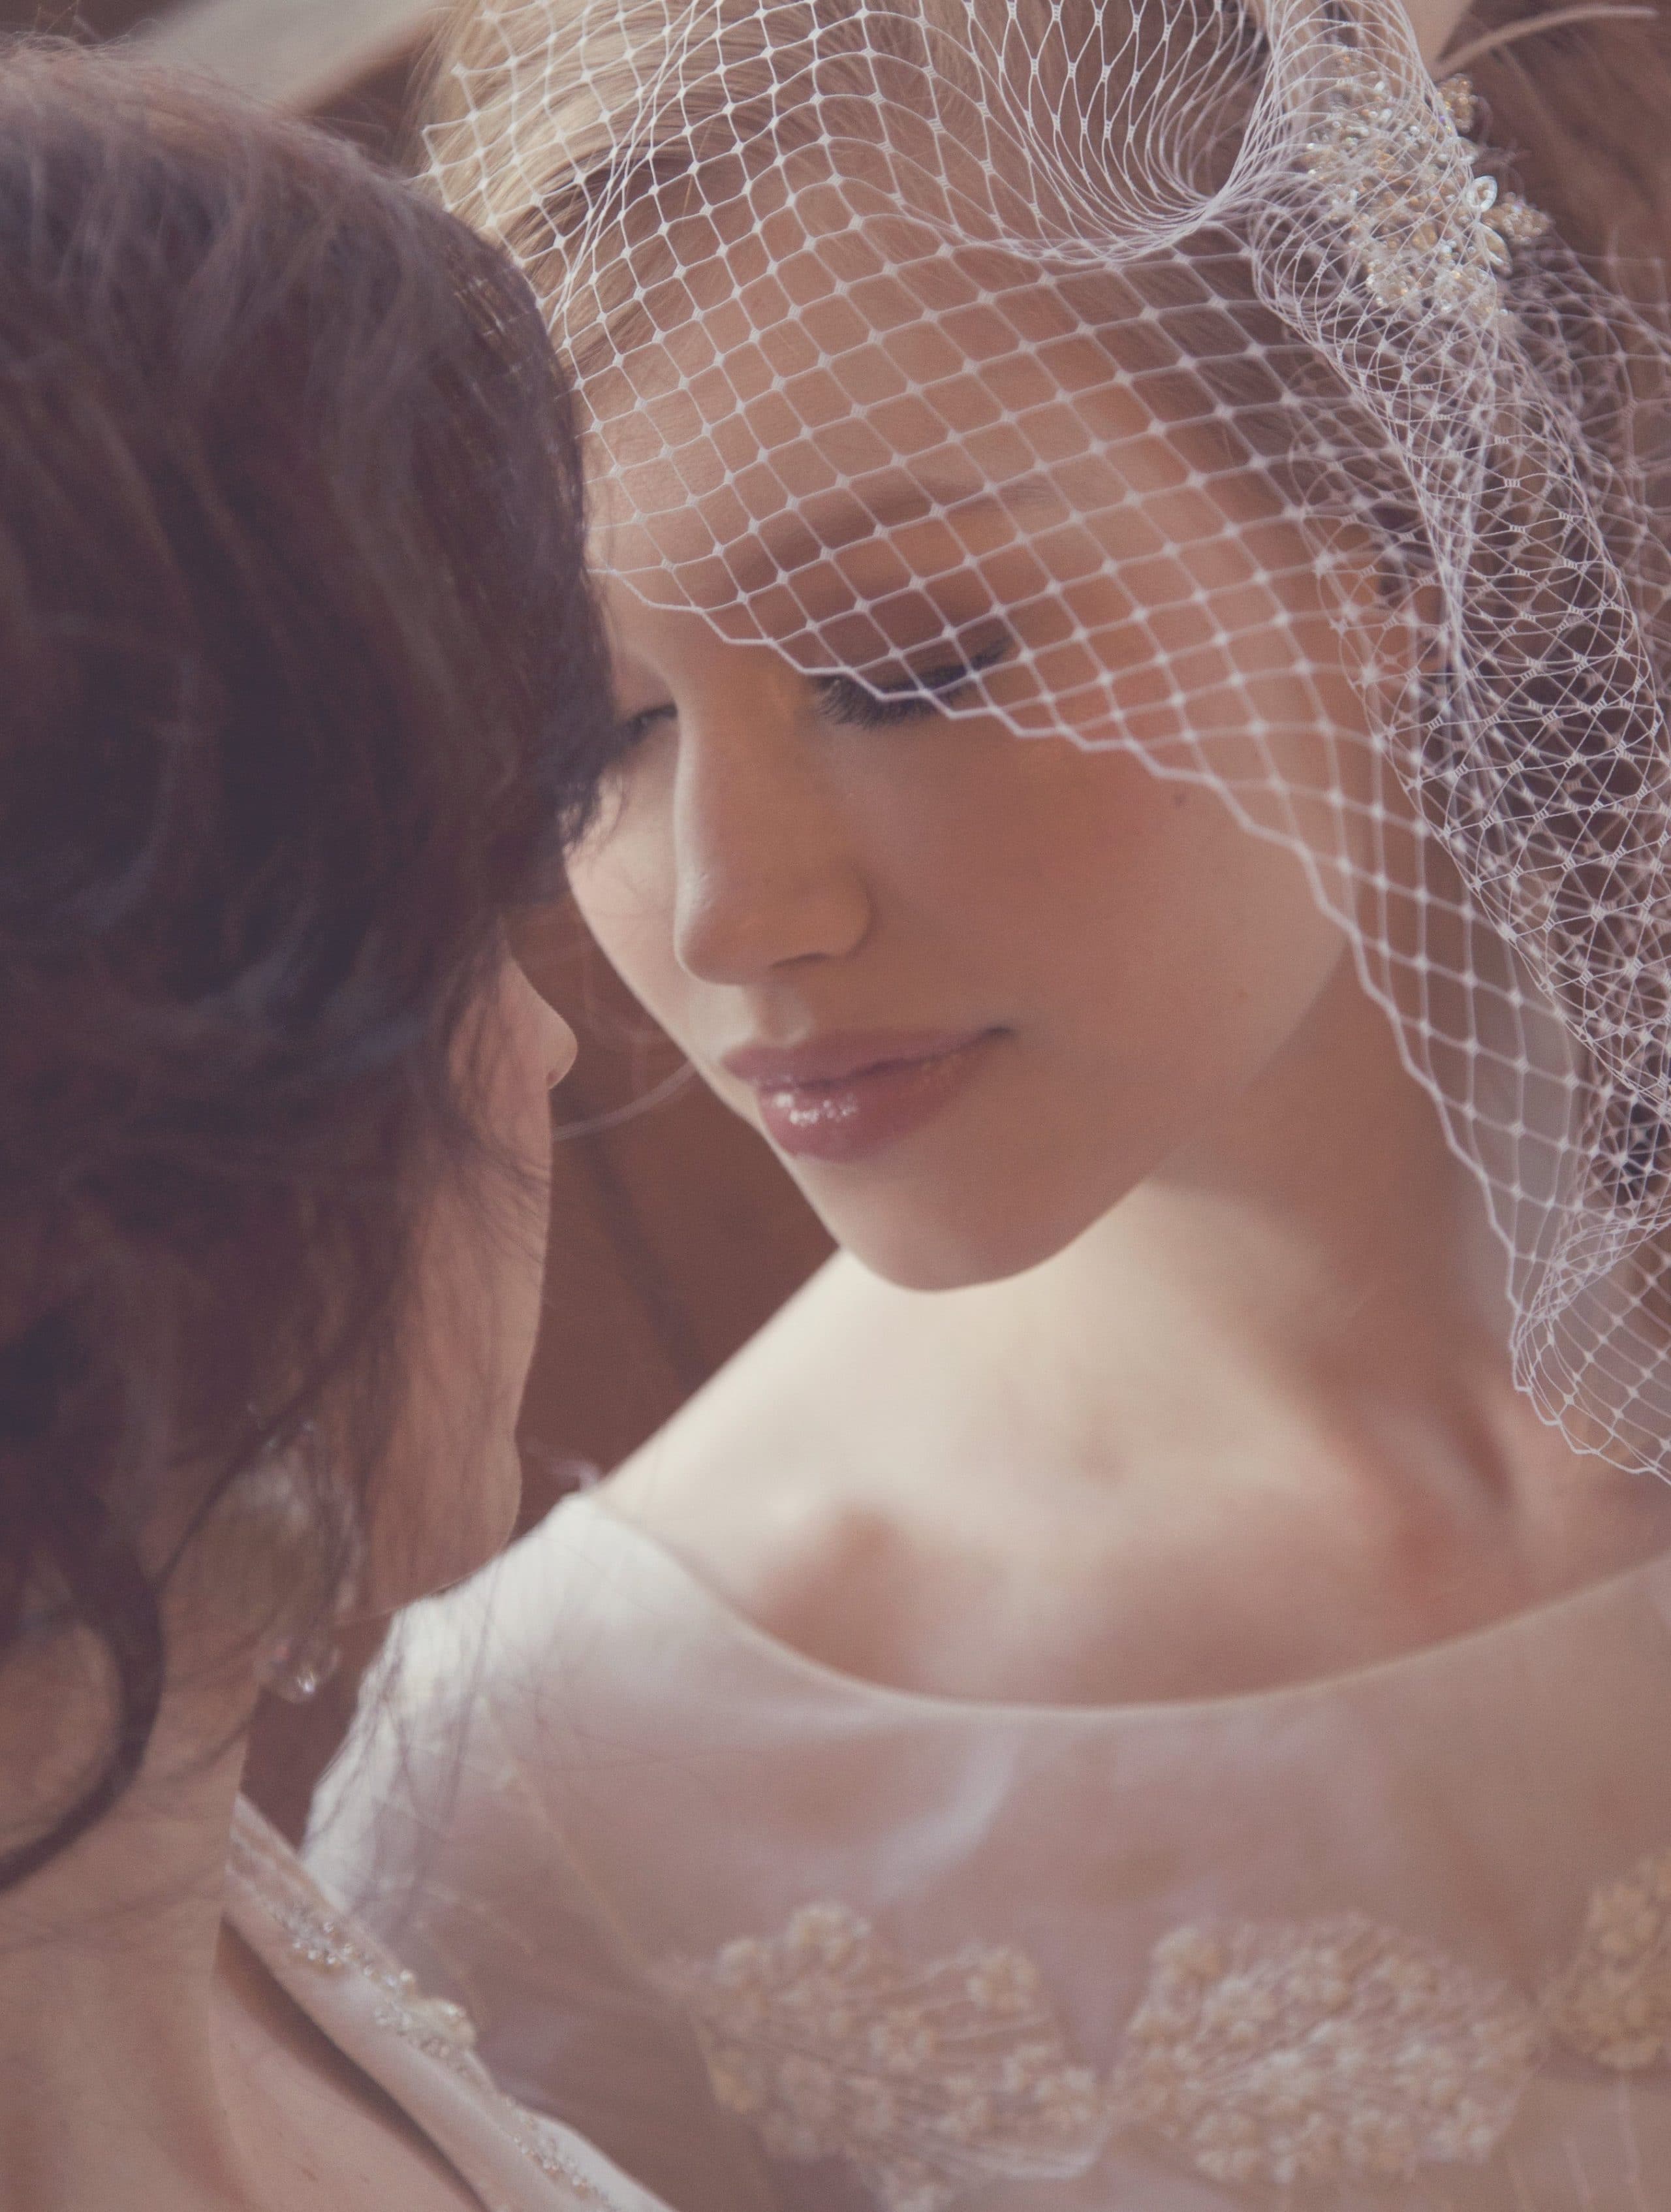
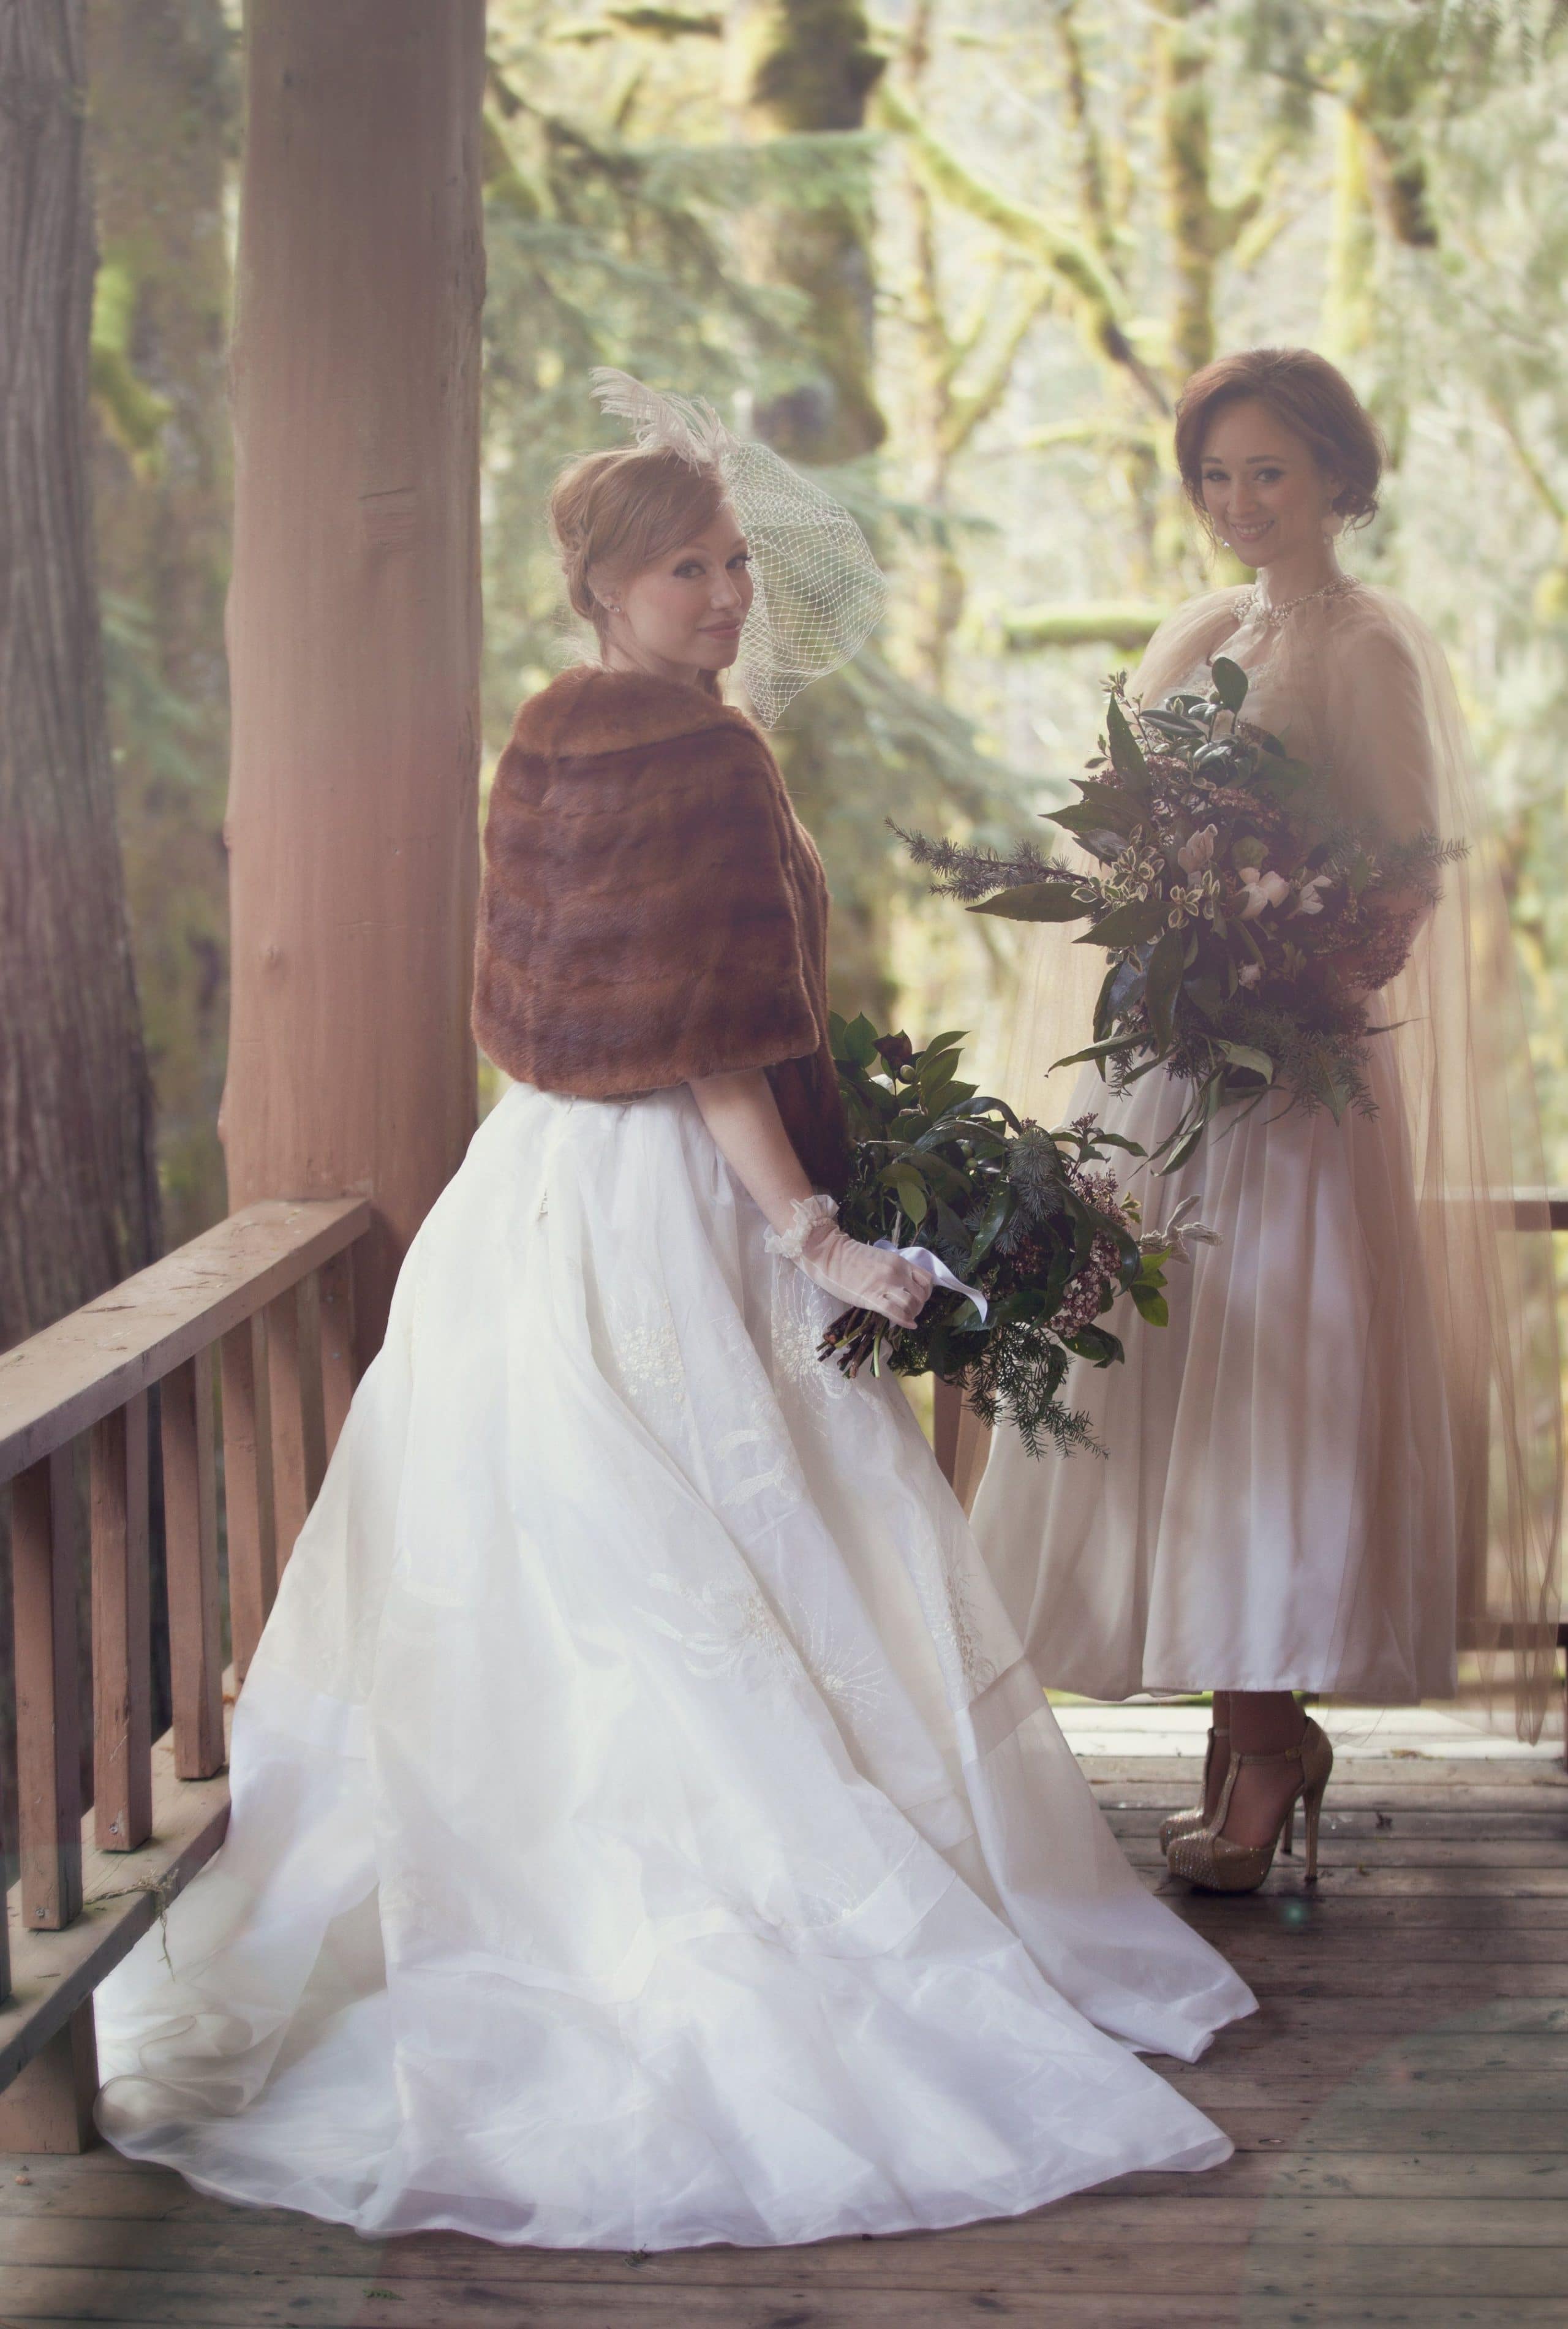
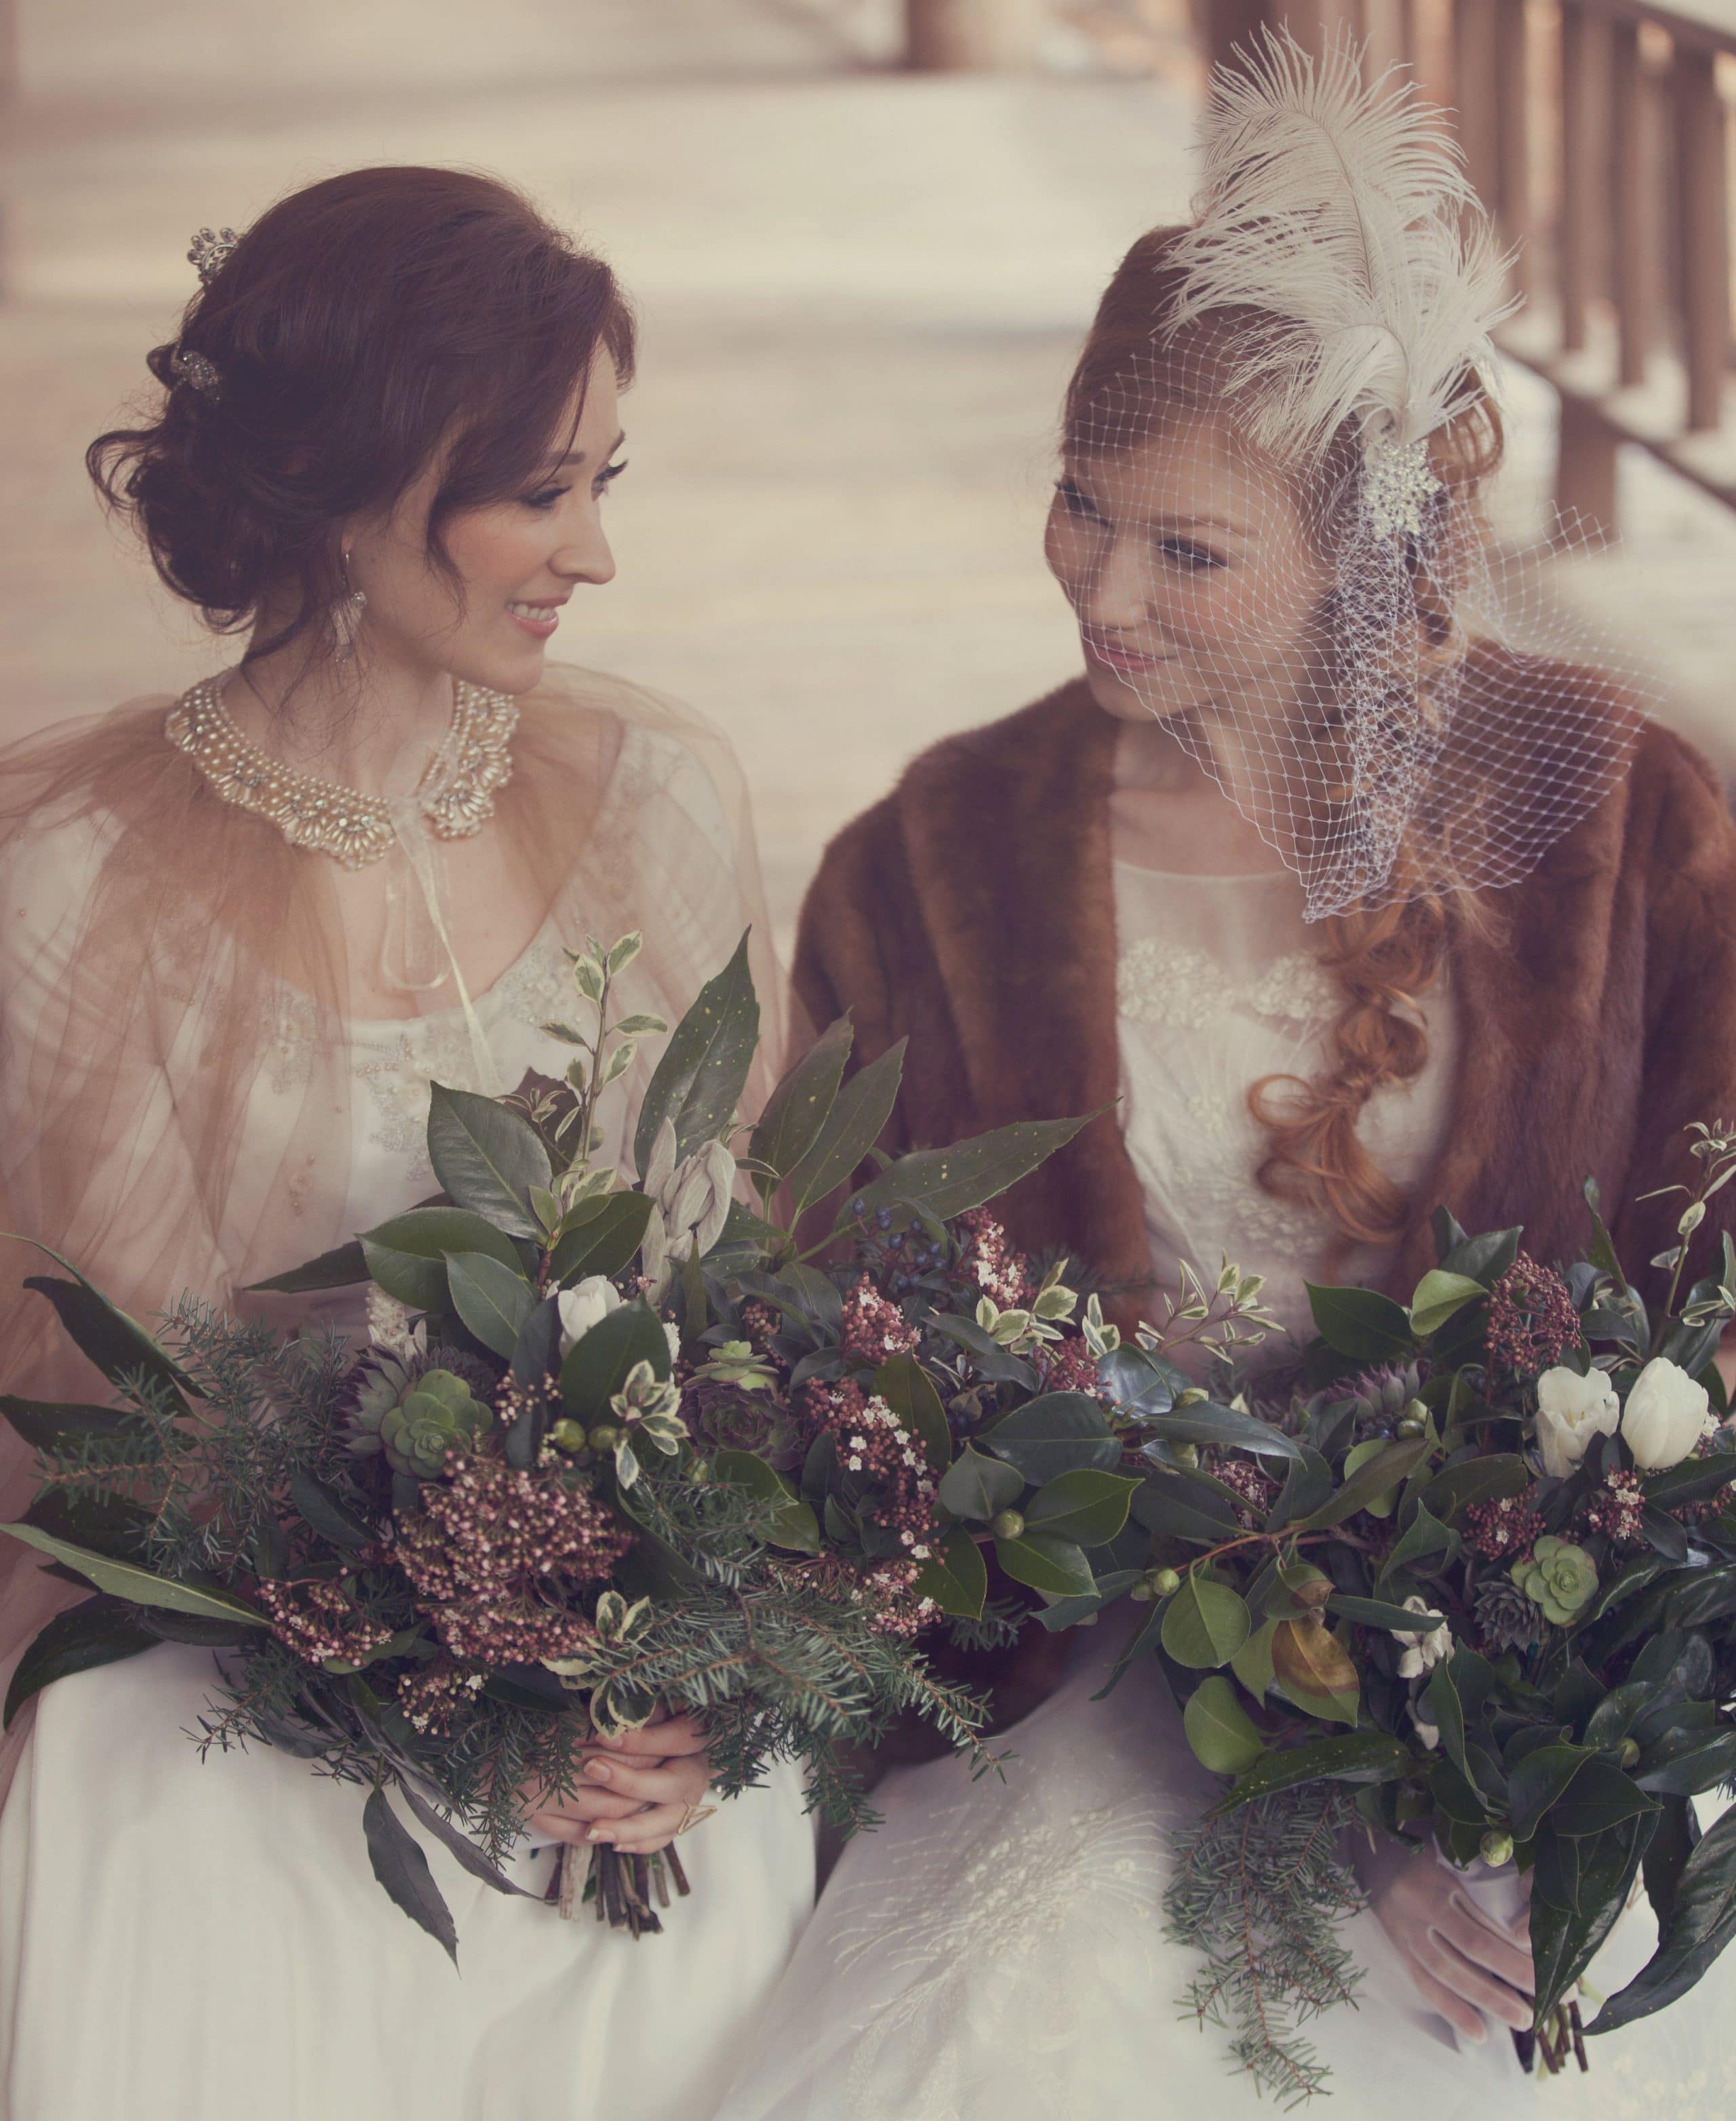
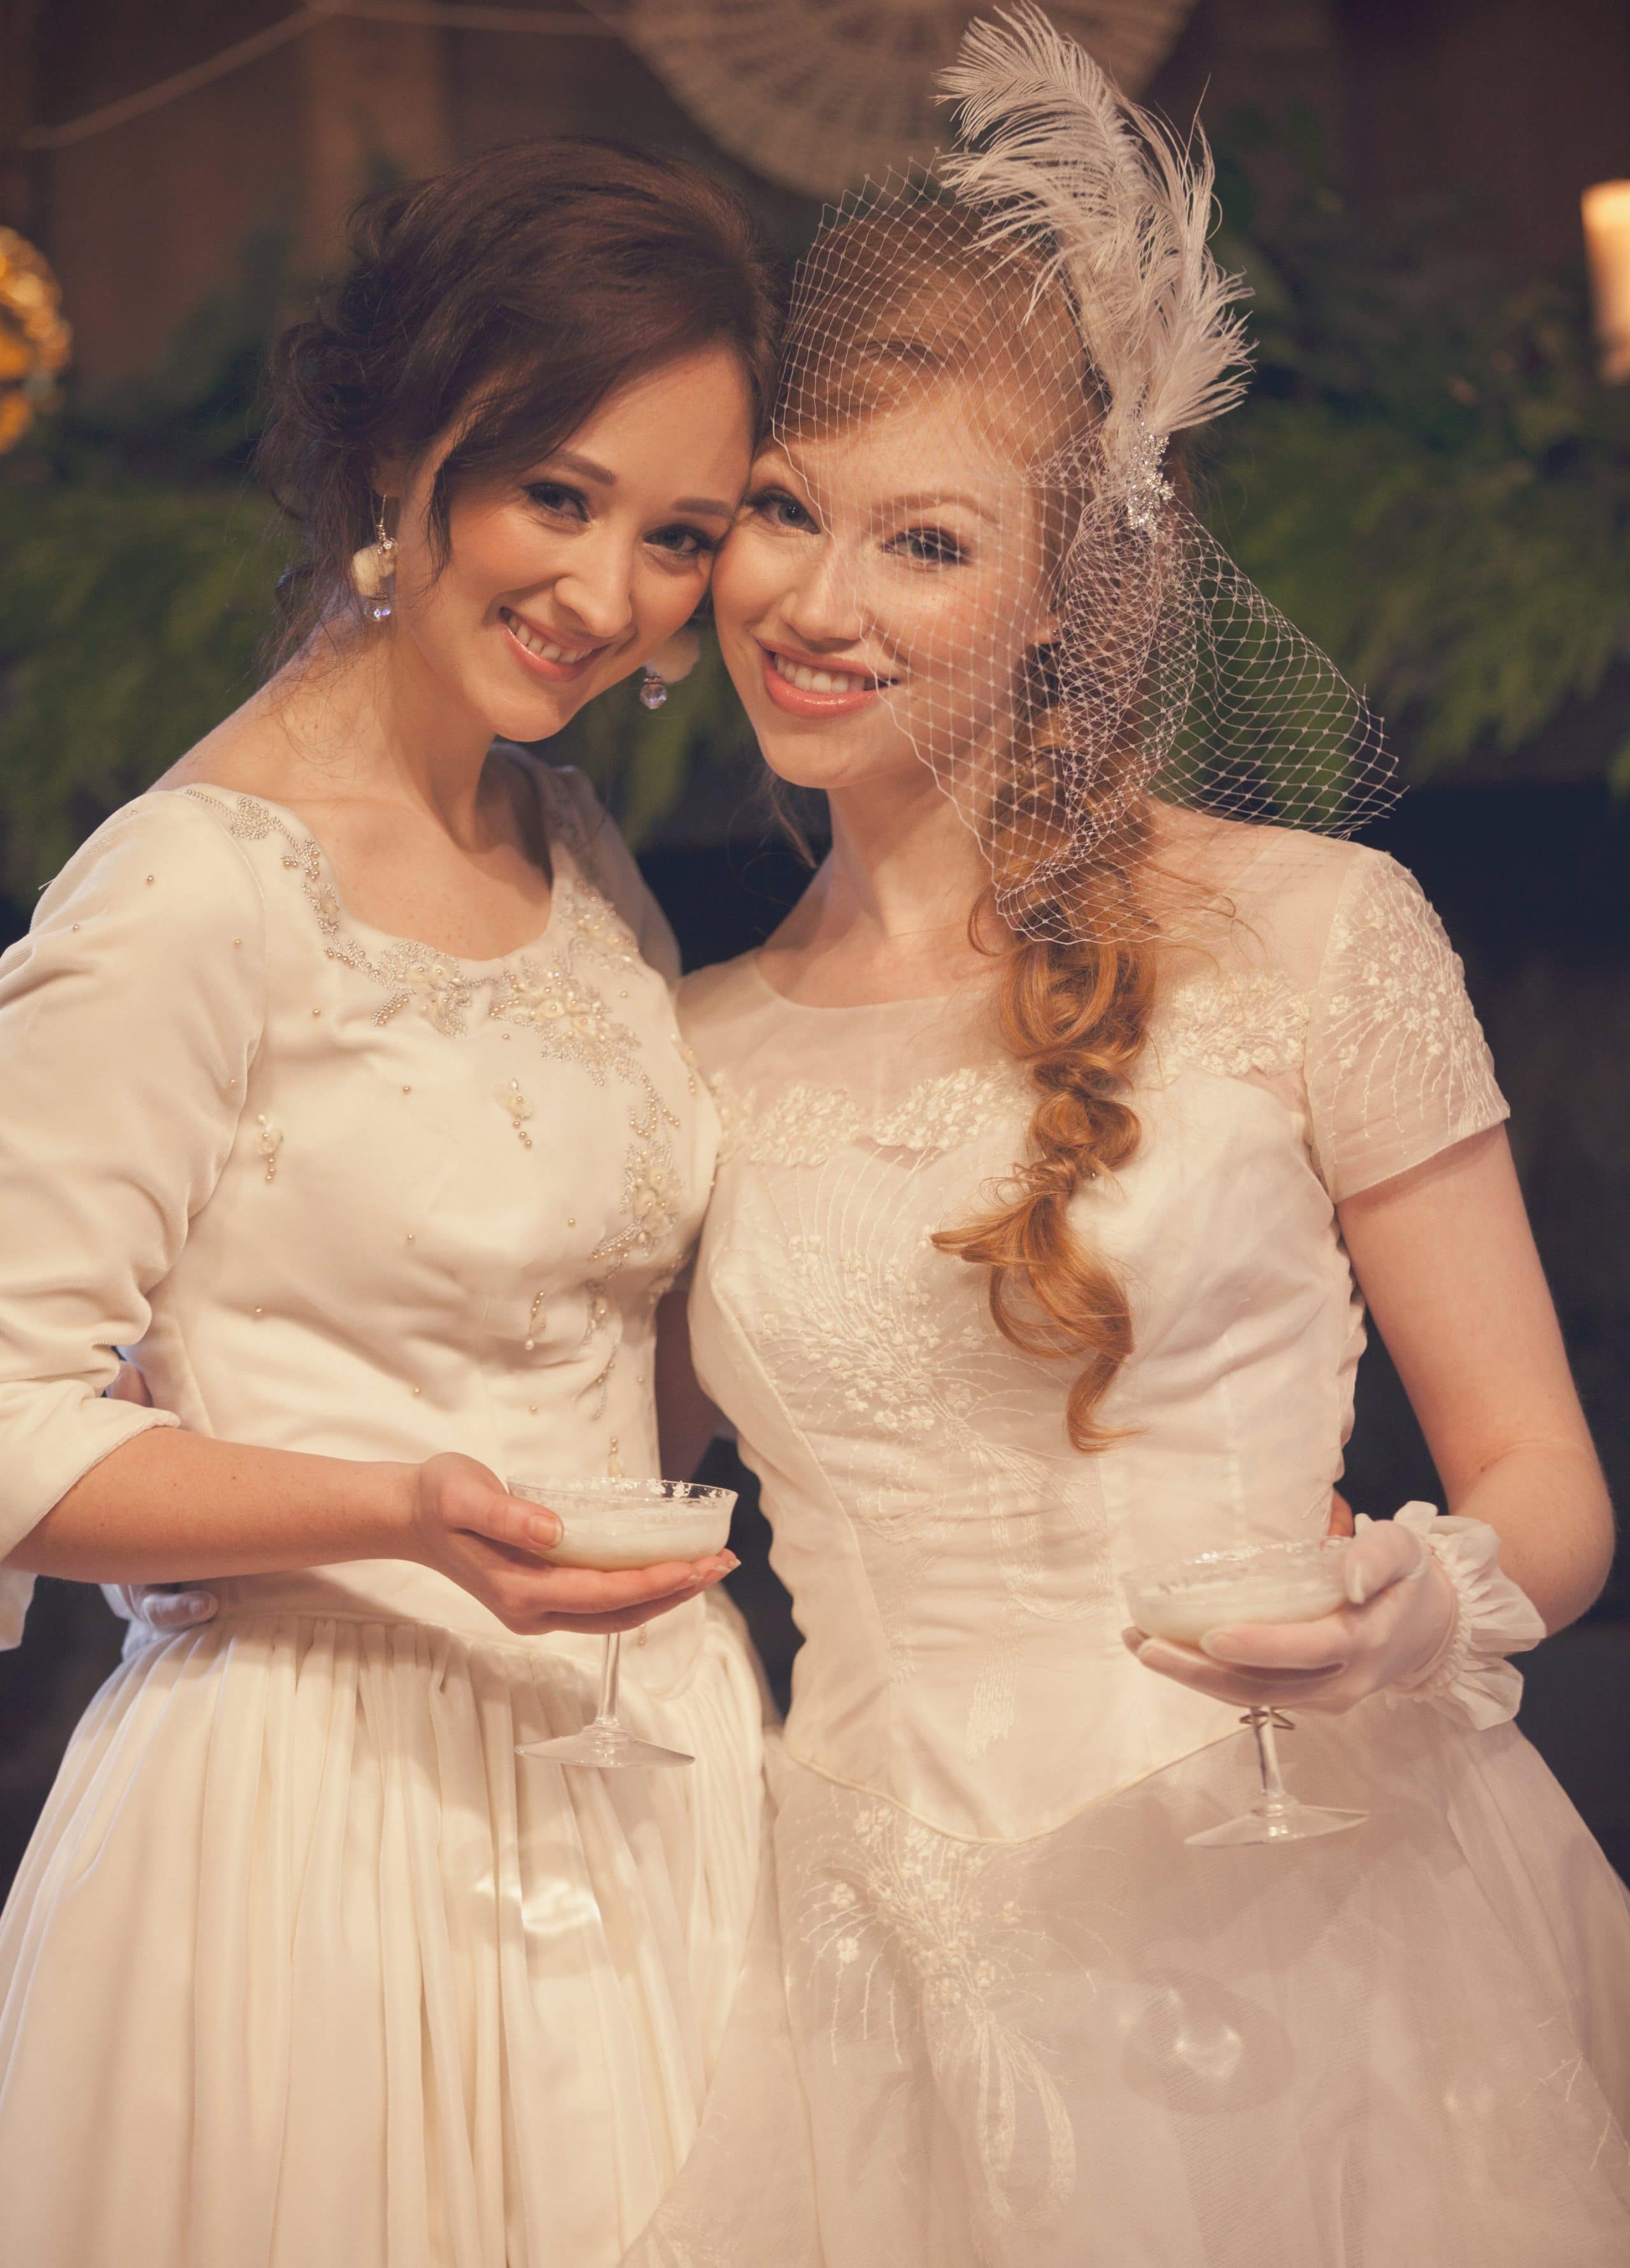
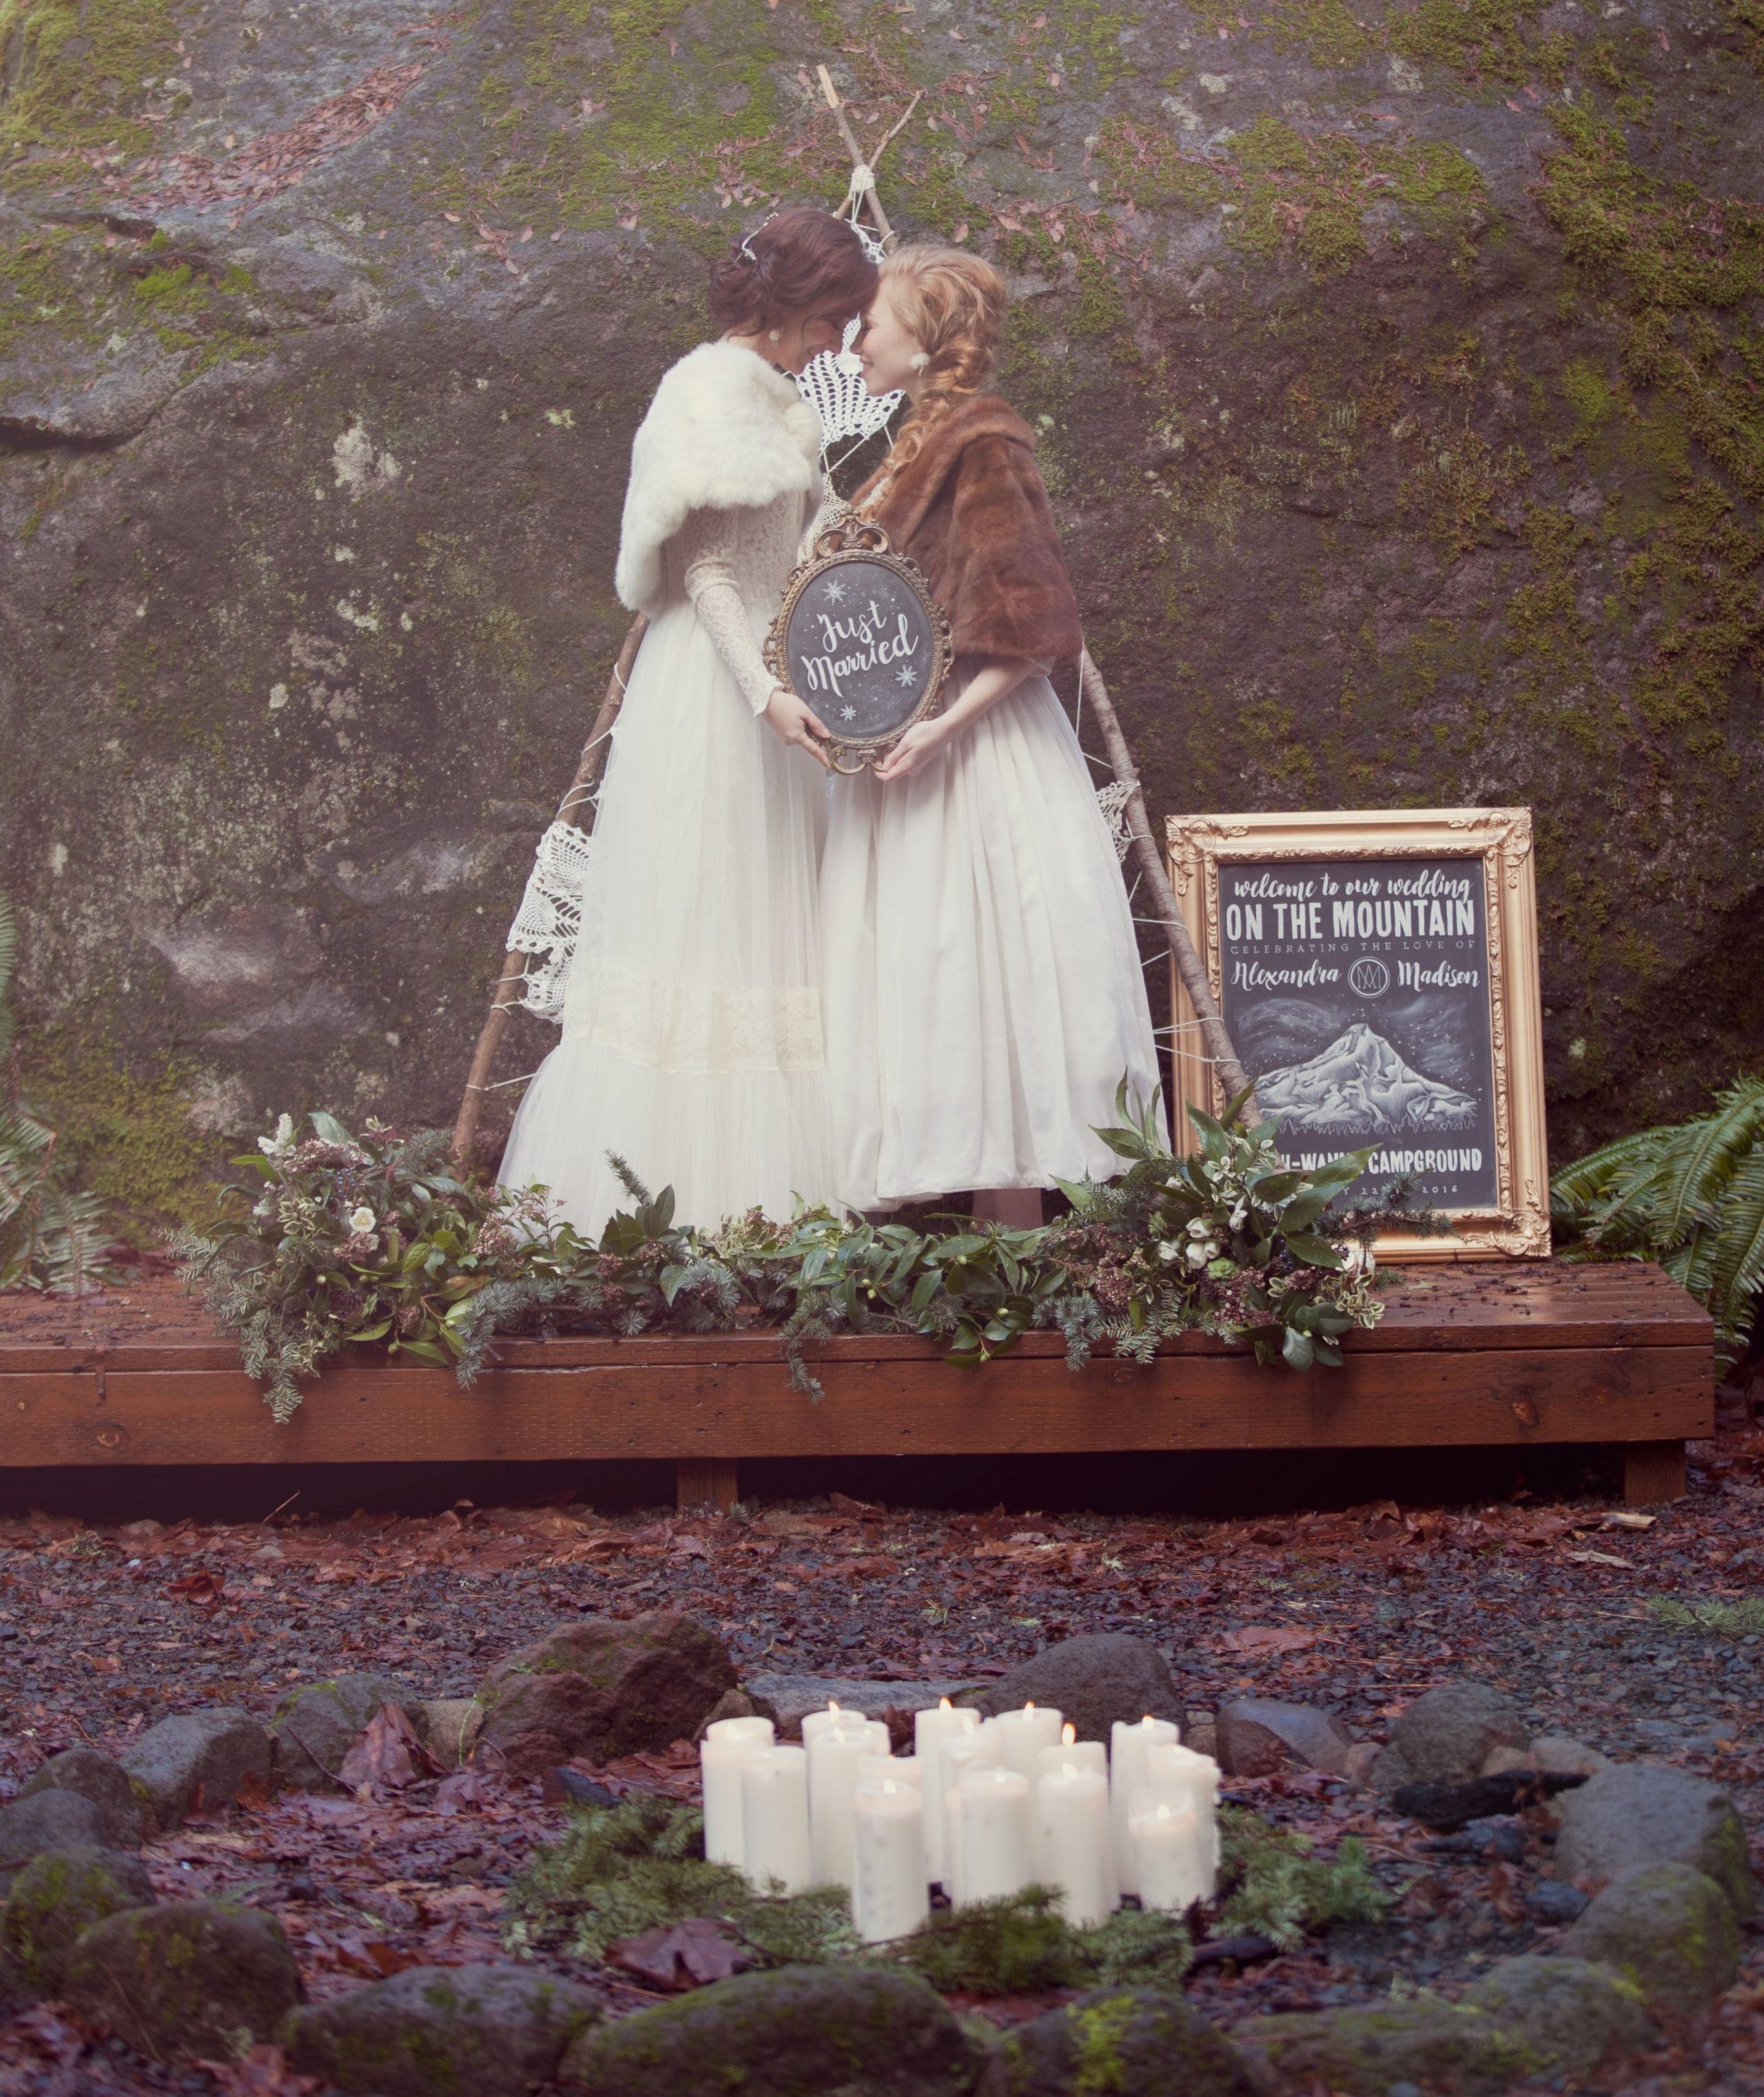
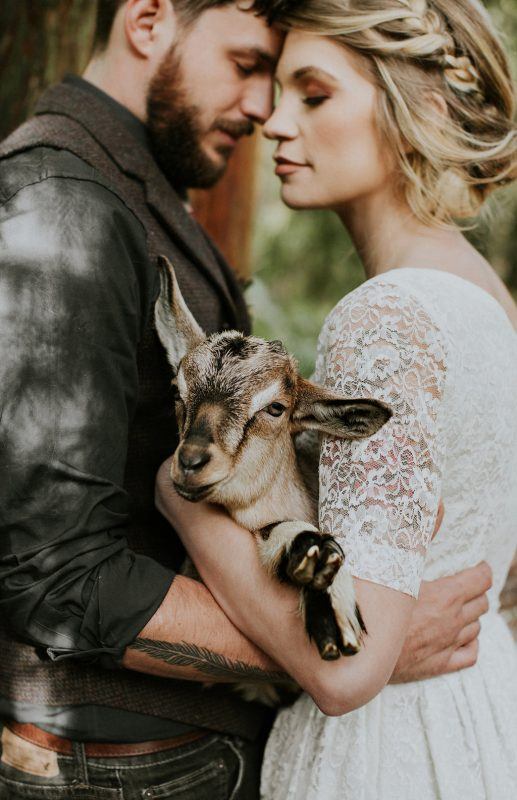
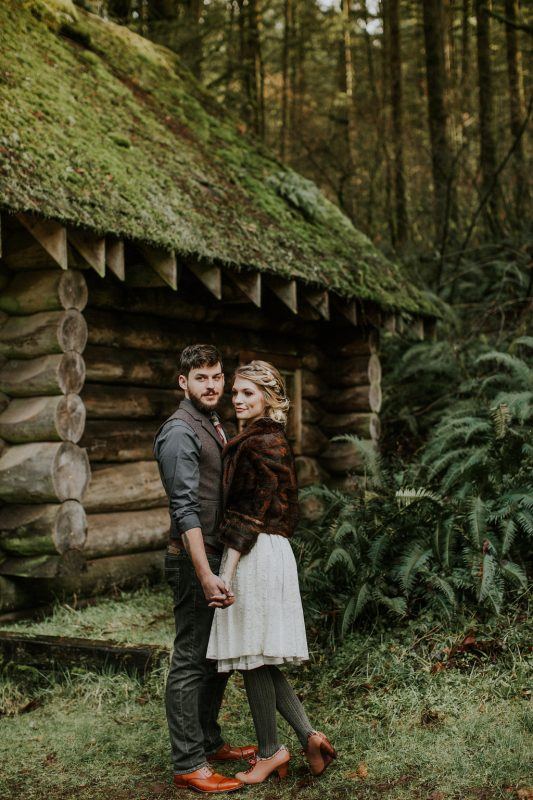
We have talked about it before, geode's are super trendy and popular right now in the world of cakes. Geode's are beautiful no matter what shape, color or type you see, they are beautiful. Nature's work at it's finest. Geode's are a lot like love. There are many different types of love, each beautiful in it's own way. Liz's Geode Love Cake was used in a beautiful, love inspired shoot with a breathtaking vintage mountain theme. You can find more photos and information about this gorgeous shoot over on the blog by Rustic Wedding Chic.

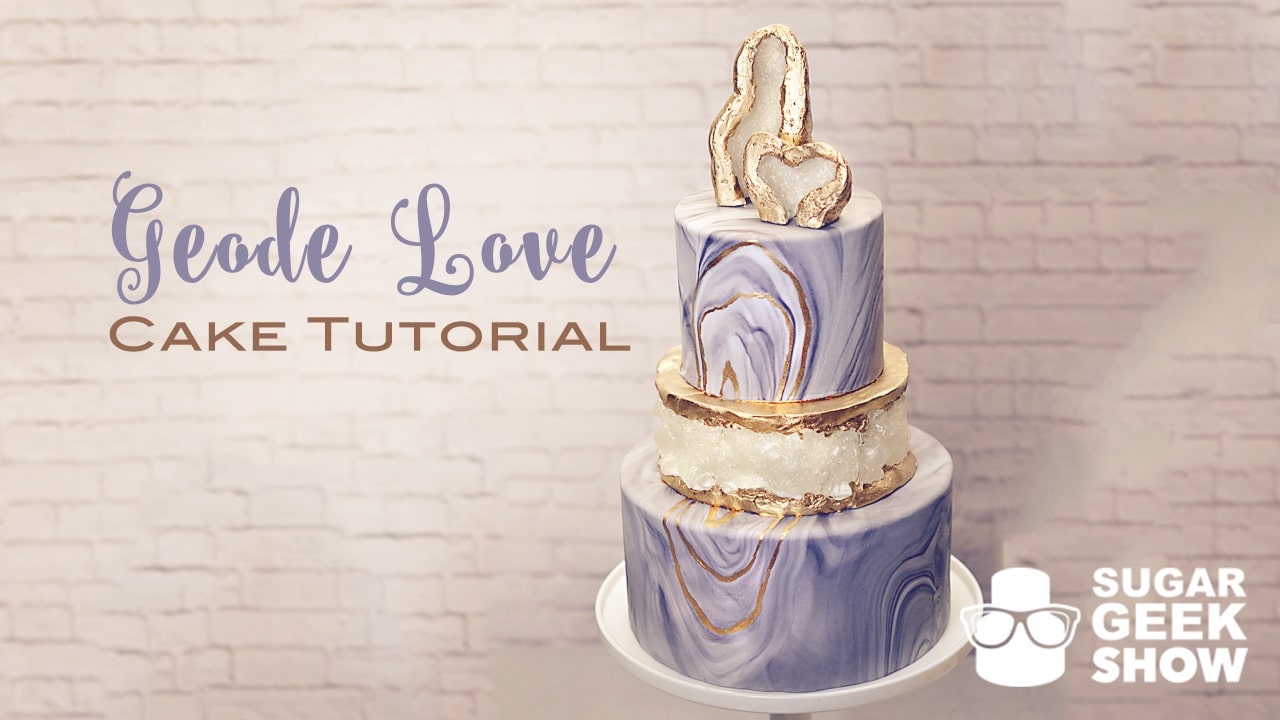
The Geode Love Cake Tutorial not only teaches you how to make a beautiful version of edible geodes and a crystal spacer between tiers but also how to get that unique marbling that is also crazy in right now. In fact, the marbling, which emulates the pattern found in agate, another beautiful rock found in nature, is almost always paired with the geode look on cakes. The two compliment each other really well. Needless to say the tutorial is full of info every cake decorator needs right now and can undoubtedly use in many applications.

The entire shoot is filled with beautiful details and gorgeous glimpses of the lovely couple who are dressed to perfection. You can't help but find yourself mesmerized in the beauty of this shoot and theme.

Love is a beautiful thing. No matter what form it comes in, it is beautiful. It is something meant to be cherished and appreciated, not criticized and belittled. Our thoughts and prayers go out to the victims in Orlando. <3

Sources - photography: Steena Photography / venue: Camp Arrah Wanna, an Oregon Wedding Venue / dresses & accessories: CRBoggs Designs / event specialists & coordinator: Pearl and Roses Wedding Planning / invitations, chalkboard artist: BHDesigns / cake: Artisan Cake Company / desserts: Sugar Mommas bake shop / beauty: Portland Makeup and Hair / florals: Portland Bloem / models: Alexandra Hagel, Brittany Hampton

June 1, 2016 Course Preview

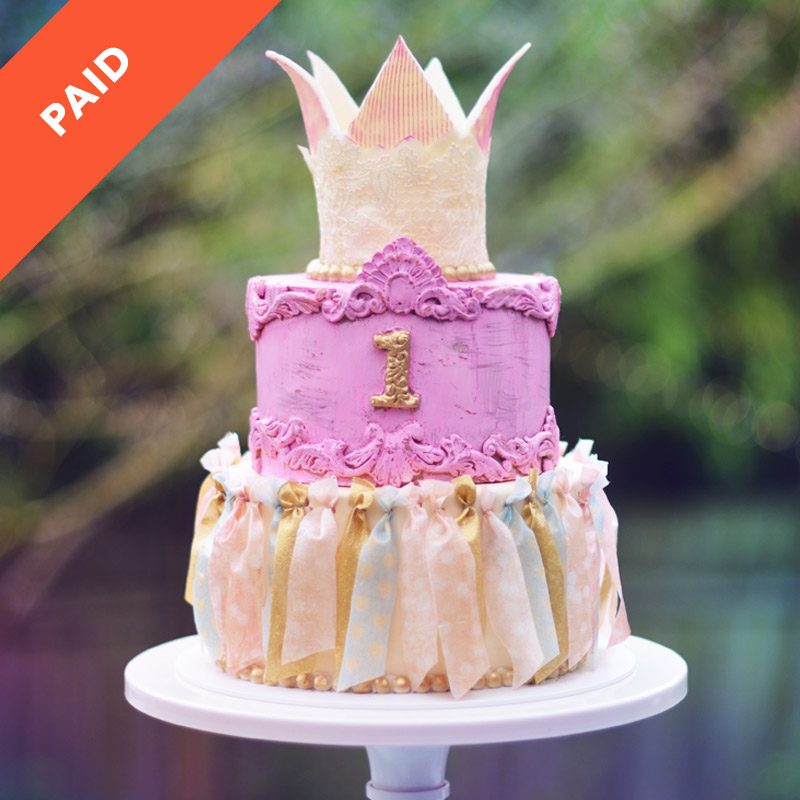
Vintage Birthday Cake

Skill level: Intermediate

Would you like to create a one of a kind cake, full of character? If you are an old soul or know someone who is then this vintage birthday cake tutorial is perfect for you!

In this tutorial you will find out how to make edible lace using a wonderful new product from Flexique called Flexique Lace. With Liz as your guide, you will learn how to apply this gorgeous lace to a piece of modeling chocolate to create a beautifully unique chocolate crown.

Learn how to create adorable Flexique ruffles by brushing the Flexique onto printed wafer paper of your choice before cutting the wafer paper into strips and preparing them to be placed into the bottom tier. Liz will show you how to panel a 6" dummy cake with modeling chocolate and how to use molds around the top and bottom borders giving the tier more of an old-style charm. Watch as you are creatively taught how to make a pink paint color that you will then use to paint the 6" tier before learning how to create a shabby chic appearance by distressing the tier with foil. You will then be shown how to place the Flexique ruffles onto the bottom tier using toothpicks and how to properly assemble the entire cake. Lastly, learn how little details such as adding gold painted pearls for borders and a touch of pink paint to the chocolate crown aid in tying all of the tiers together creating a flowing piece of art. This tutorial is filled with many new techniques that will leave your guests wondering just how you did it!

25:44 Minutes of Instruction

What You Will Learn

  • Learn how to make realistic edible fabric ruffles out of Flexique
  • How to create an awesome shabby chic tier and crown details
  • Create edible lace and learn how to create rustic detailed scrollwork

Tutorial Chapters

  1. Making the Edible Lace 0:28
  2. Creating a Chocolate Crown 3:18
  3. Making Edible Fabric 5:29
  4. Making the Flexique Ruffles 6:37
  5. Paneling the Top Tier 8:01
  6. Adding Details to Top Tier 13:18
  7. Making Pink Paint Color 17:00
  8. Brushing Pink Paint onto the Crown 19:46
  9. Assembling the Lower Tier 20:07
  10. Distressing the Paint on Top Tier 23:37
  11. Creating the Support for the Top Tier 24:32
  12. Placing Pearl Border on the Top Tier 24:57

Downloads

Materials List

June 1, 2016 Course Preview

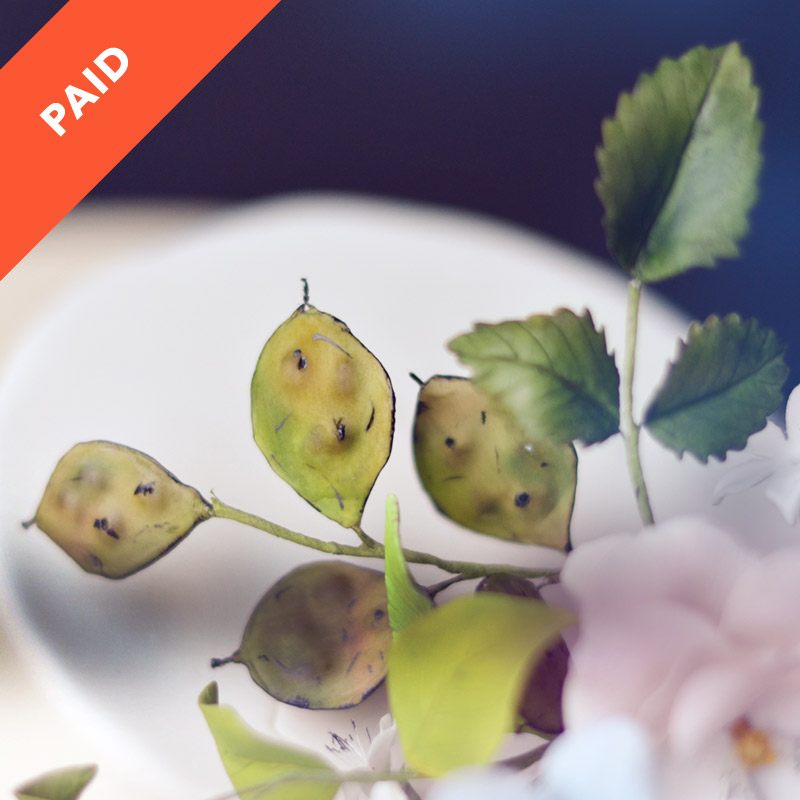
Pods and Leaves Sugar Flower Tutorial

Skill Level: Intermediate
Discover how to create life like seed pods, variegated leaves, and berries alongside guest instructor, Shaile Socher.You'll begin this tutorial with Shaile giving an overview on what you will be learning in this tutorial. Then you will be shown how to use different size leaf cutters to cut out the leaves before learning how to wire and shape each leaf. Next you will create a wire cage and use tear drop cutters to form realistic seed pods before creating very simple, true-to- nature berries. Moving on, Shaile will then demonstrate how adding just the right colors and details to the leaves, seed pods, and berries brings life and naturalism to each piece. Lastly, learn the very basic steps in putting together a prepossessing floral spray and how to delicately place your floral spray onto your cake, making it a captivating show stopper for all to enjoy!

Run Time

1:03:44

Techniques Used

  1. Gumpaste
  2. Using Cutters & Veiners
  3. Wire Cage for Pods

Tutorial Chapters

1. Variegated Leaves

  • 1:00: Making the Leaves
  • 26:10: Dusting the Leaves
  • 46:04: Glazing the Leaves
  • 52:31: Assembling the Leaves

2. Seed Pods

  • 7:29: Making the Pods
  • 32:10: Dusting the Pods
  • 47:27: Glazing the Pods
  • 54:10: Assembling the Pods

3. Simple Berries

  • 18:31: Making the Berries
  • 41:19: Dusting the Berries
  • 49:03: Glazing the Berries

4. Placing Floral Spray on the Cake

Downloads

Materials List

June 1, 2016 Paid Video

Vintage Birthday Cake

Skill Level: Intermediate
Would you like to create a one of a kind cake, full of character? If you are an old soul or know someone who is then this vintage birthday cake tutorial is perfect for you!In this tutorial you will find out how to make edible lace using a wonderful new product from Flexique called Flexique Lace. With Liz as your guide, you will learn how to apply this gorgeous lace to a piece of modeling chocolate to create a beautifully unique chocolate crown.

Learn how to create adorable Flexique ruffles by brushing the Flexique onto printed wafer paper of your choice before cutting the wafer paper into strips and preparing them to be placed into the bottom tier. Liz will show you how to panel a 6" dummy cake with modeling chocolate and how to use molds around the top and bottom borders giving the tier more of an old-style charm. Watch as you are creatively taught how to make a pink paint color that you will then use to paint the 6" tier before learning how to create a shabby chic appearance by distressing the tier with foil. You will then be shown how to place the Flexique ruffles onto the bottom tier using toothpicks and how to properly assemble the entire cake. Lastly, learn how little details such as adding gold painted pearls for borders and a touch of pink paint to the chocolate crown aid in tying all of the tiers together creating a flowing piece of art. This tutorial is filled with many new techniques that will leave your guests wondering just how you did it!

Run Time

25:44

Techniques Used

  1. Flexique Ruffles
  2. Vintage/ Shabby Chic Tier
  3. Chocolate Crown
  4. Edible Lace

Tutorial Chapters

  • 0:28: Making the Edible Lace
  • 3:18: Creating a Chocolate Crown
  • 5:29: Making Edible Fabric
  • 6:37: Making the Flexique Ruffles
  • 8:01: Paneling the Top Tier
  • 13:18: Adding Details to Top Tier
  • 17:00: Making Pink Paint Color
  • 19:46: Brushing Pink Paint onto the Crown
  • 20:07: Assembling the Lower Tier
  • 23:37: Distressing the Paint on Top Tier
  • 24:32: Creating the Support for the Top Tier
  • 24:57: Placing Pearl Border on the Top Tier

Downloads

Materials List

Related Videos

June 1, 2016 Paid Video

Pods and Leaves Sugar Flower Tutorial

Skill Level: Intermediate
Discover how to create life like seed pods, variegated leaves, and berries alongside guest instructor, Shaile Socher.You'll begin this tutorial with Shaile giving an overview on what you will be learning in this tutorial. Then you will be shown how to use different size leaf cutters to cut out the leaves before learning how to wire and shape each leaf. Next you will create a wire cage and use tear drop cutters to form realistic seed pods before creating very simple, true-to- nature berries. Moving on, Shaile will then demonstrate how adding just the right colors and details to the leaves, seed pods, and berries brings life and naturalism to each piece. Lastly, learn the very basic steps in putting together a prepossessing floral spray and how to delicately place your floral spray onto your cake, making it a captivating show stopper for all to enjoy!

Run Time

1:03:44

Techniques Used

  1. Gumpaste
  2. Using Cutters & Veiners
  3. Wire Cage for Pods

Tutorial Chapters

1. Variegated Leaves

  • 1:00: Making the Leaves
  • 26:10: Dusting the Leaves
  • 46:04: Glazing the Leaves
  • 52:31: Assembling the Leaves
2. Seed Pods

  • 7:29: Making the Pods
  • 32:10: Dusting the Pods
  • 47:27: Glazing the Pods
  • 54:10: Assembling the Pods

3. Simple Berries

  • 18:31: Making the Berries
  • 41:19: Dusting the Berries
  • 49:03: Glazing the Berries

4. Placing Floral Spray on the Cake

Downloads

Materials List

May 28, 2016 Blog

Caution: This Post May Be Distracting

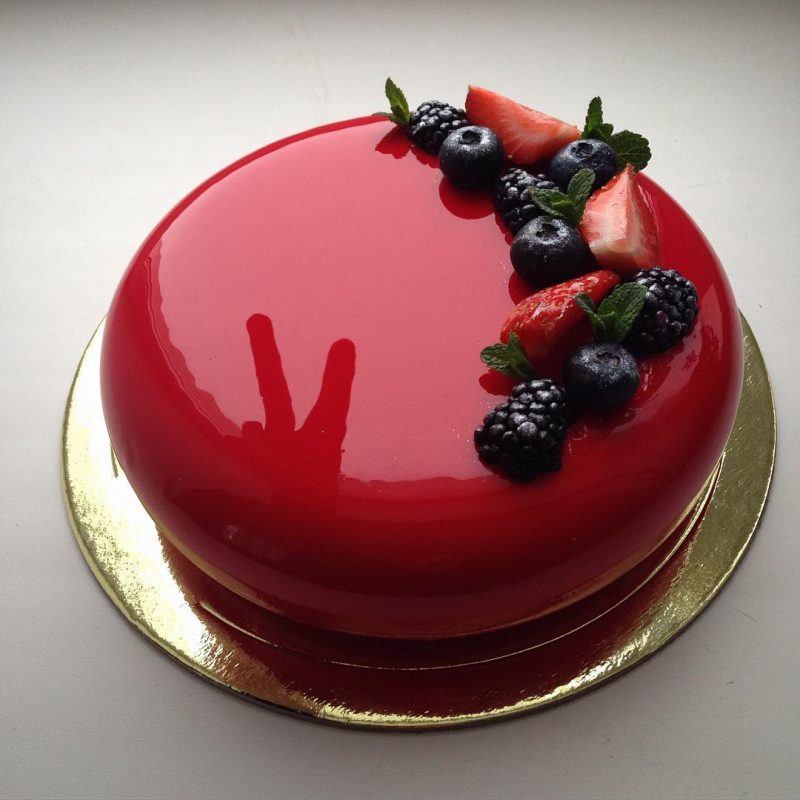
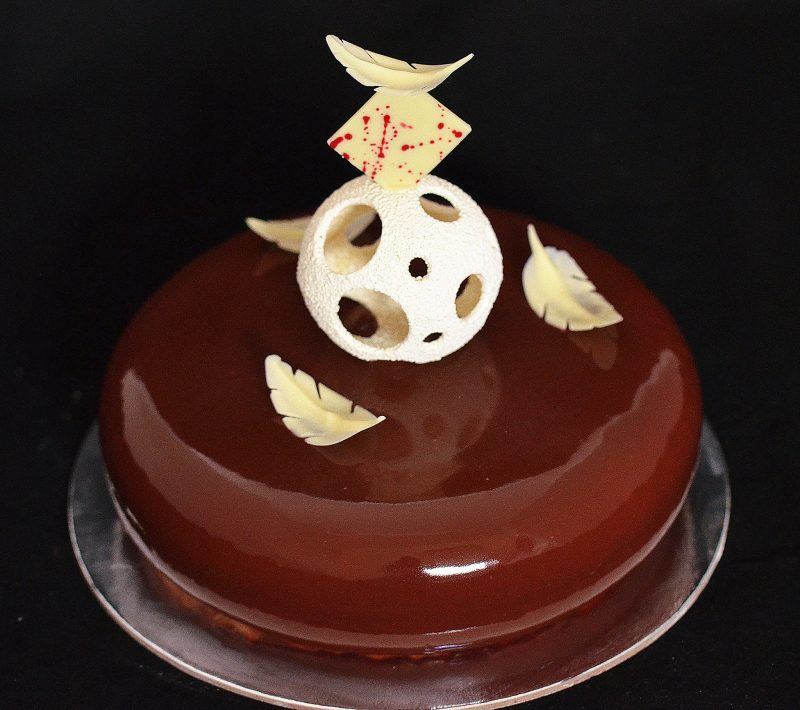
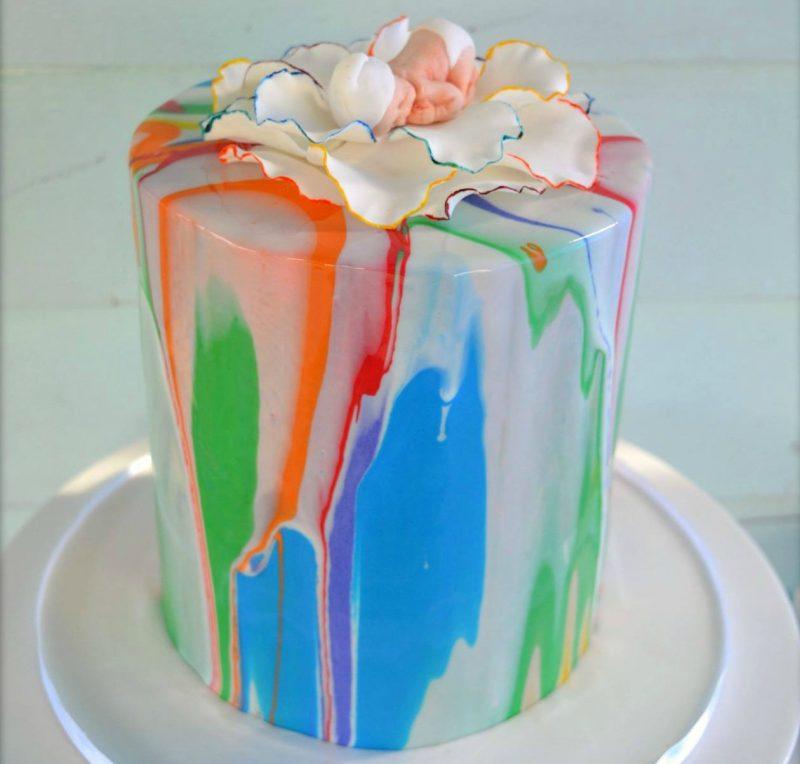
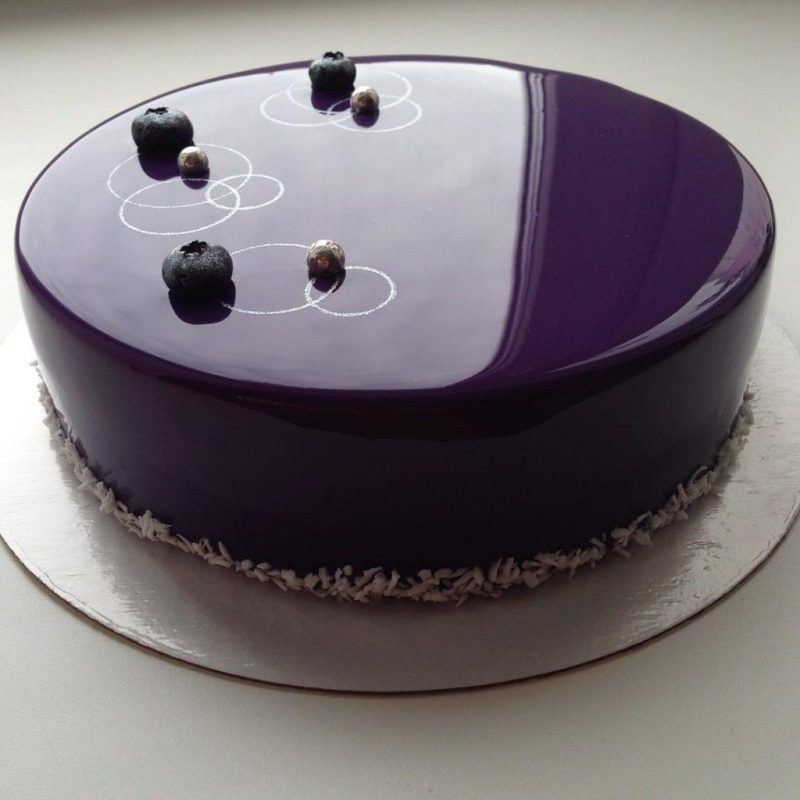
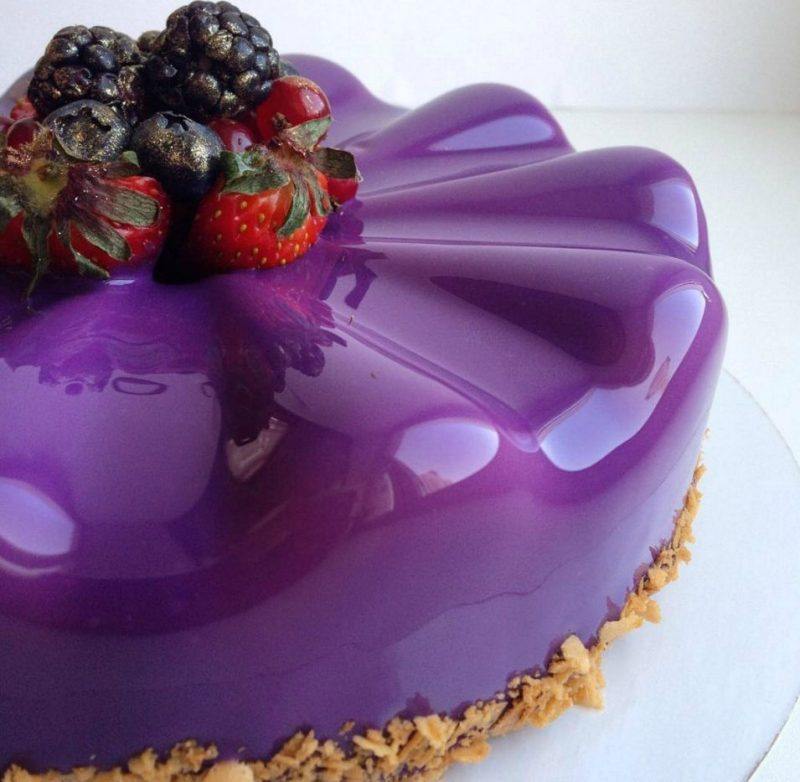
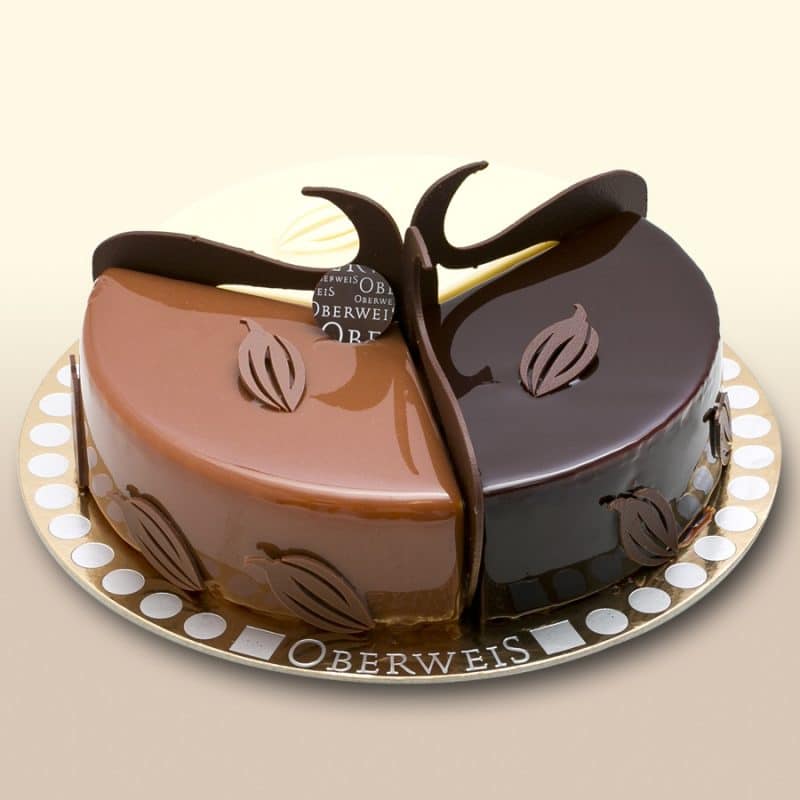
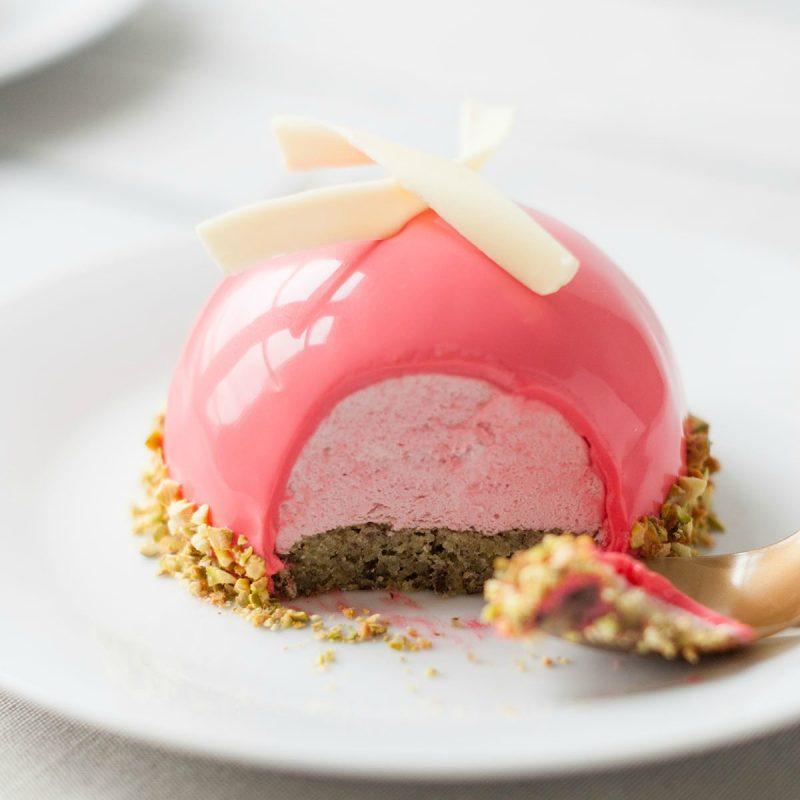
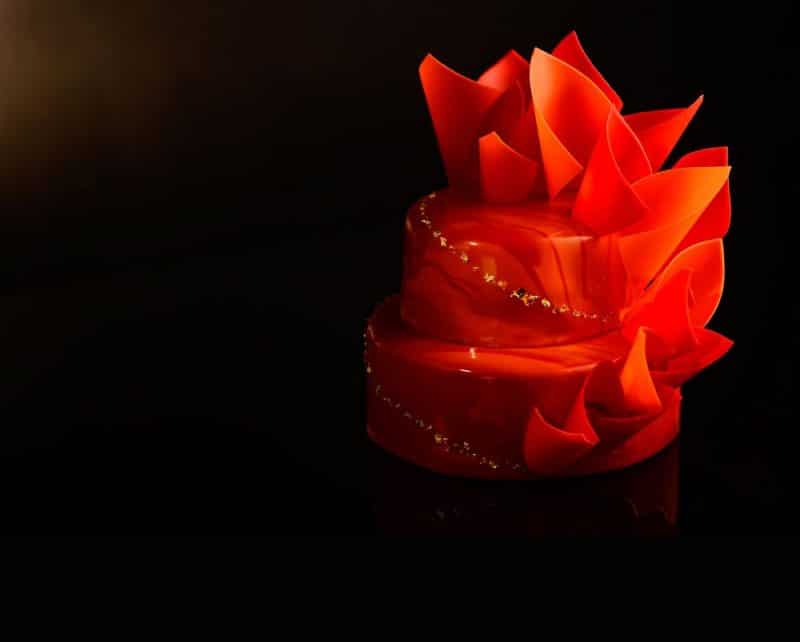
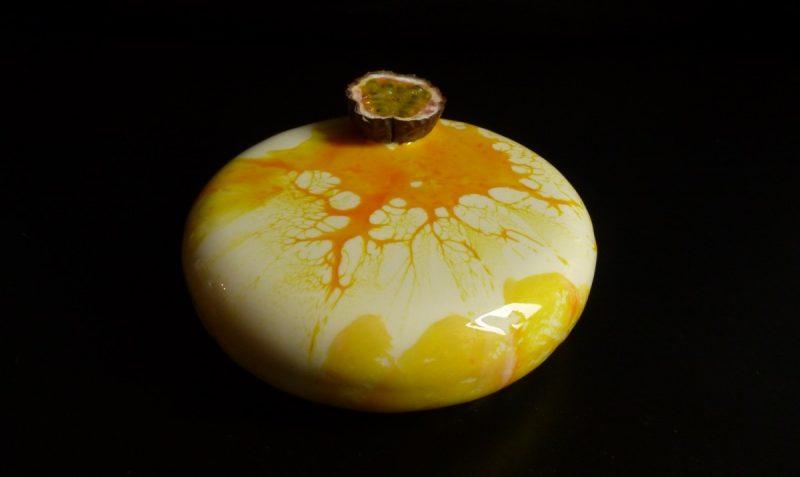
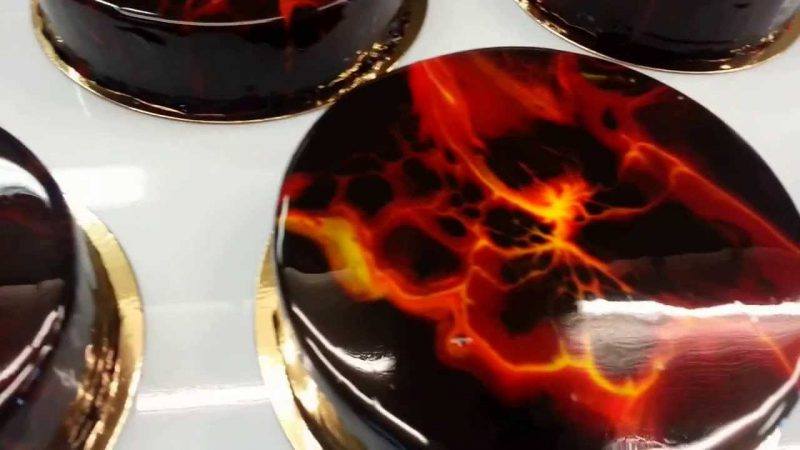
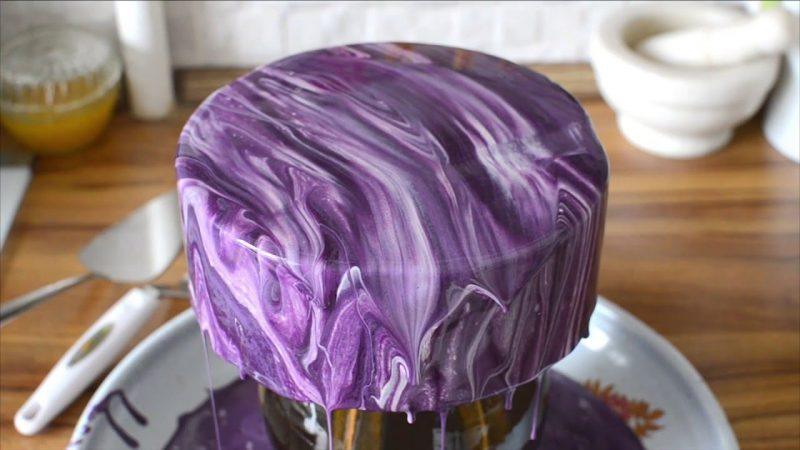
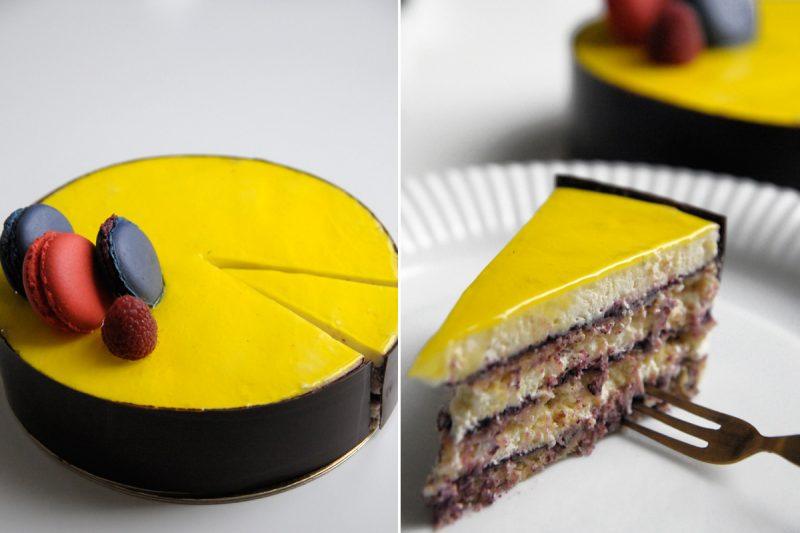
Entremets, En-tre-mets. What an ugly word for such a beautiful cake! I'm kidding, only if  you pronounce it incorrectly like I did the first several times I said it. If you pronounce it correctly then it is quite beautiful. Ahn-truh-meyz, of course it is French, they make those of us who can't speak their language look stupid and everything else look  beautiful, and these cakes are no exception. Have you seen these gorgeous pieces of edible art?! Fan-freakin-tastic. I could stare at one for hours. Don't ask me how I know.

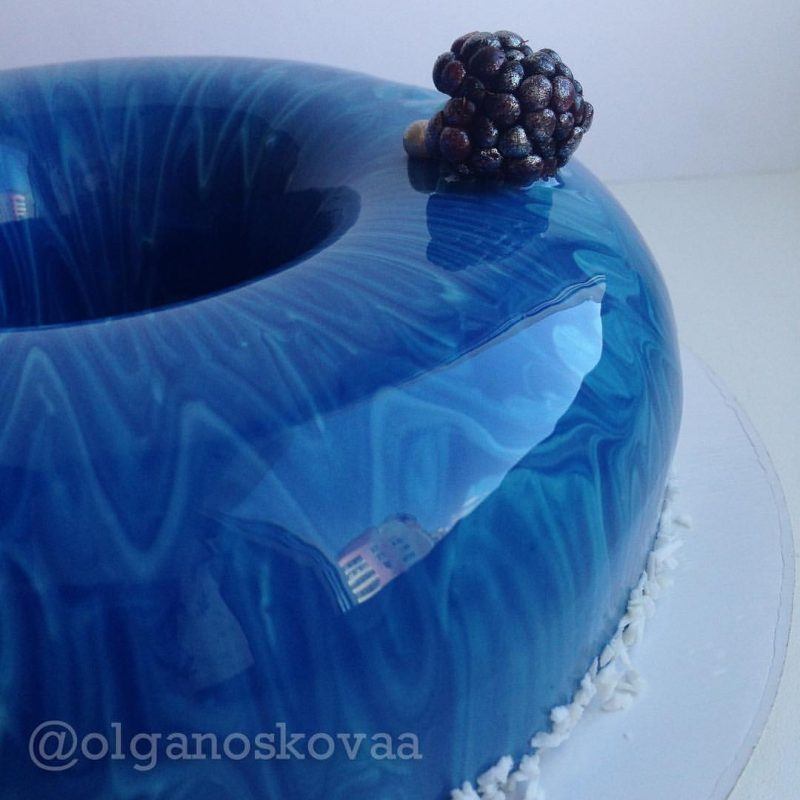
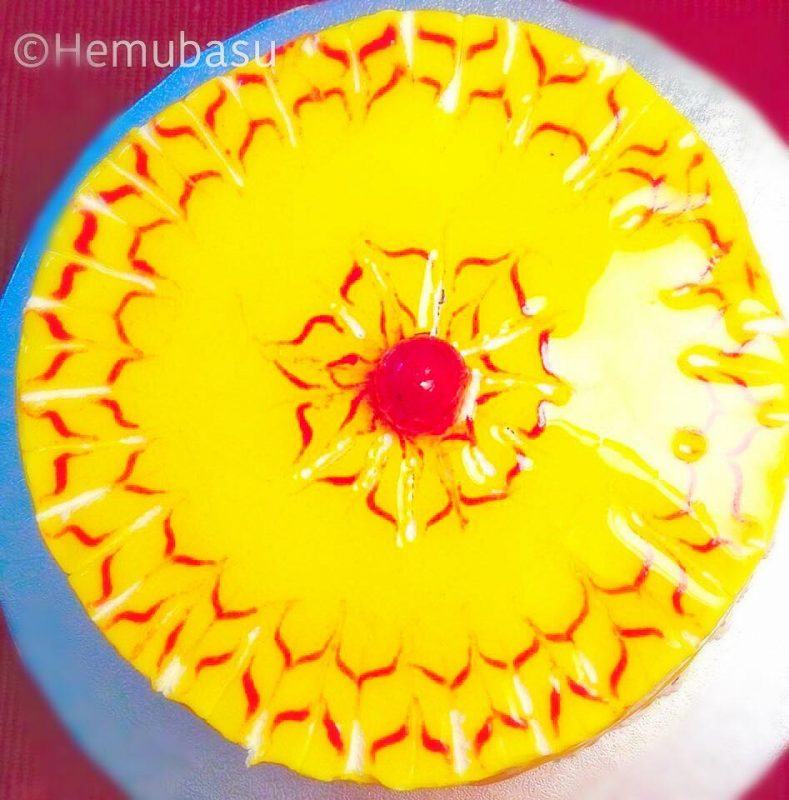
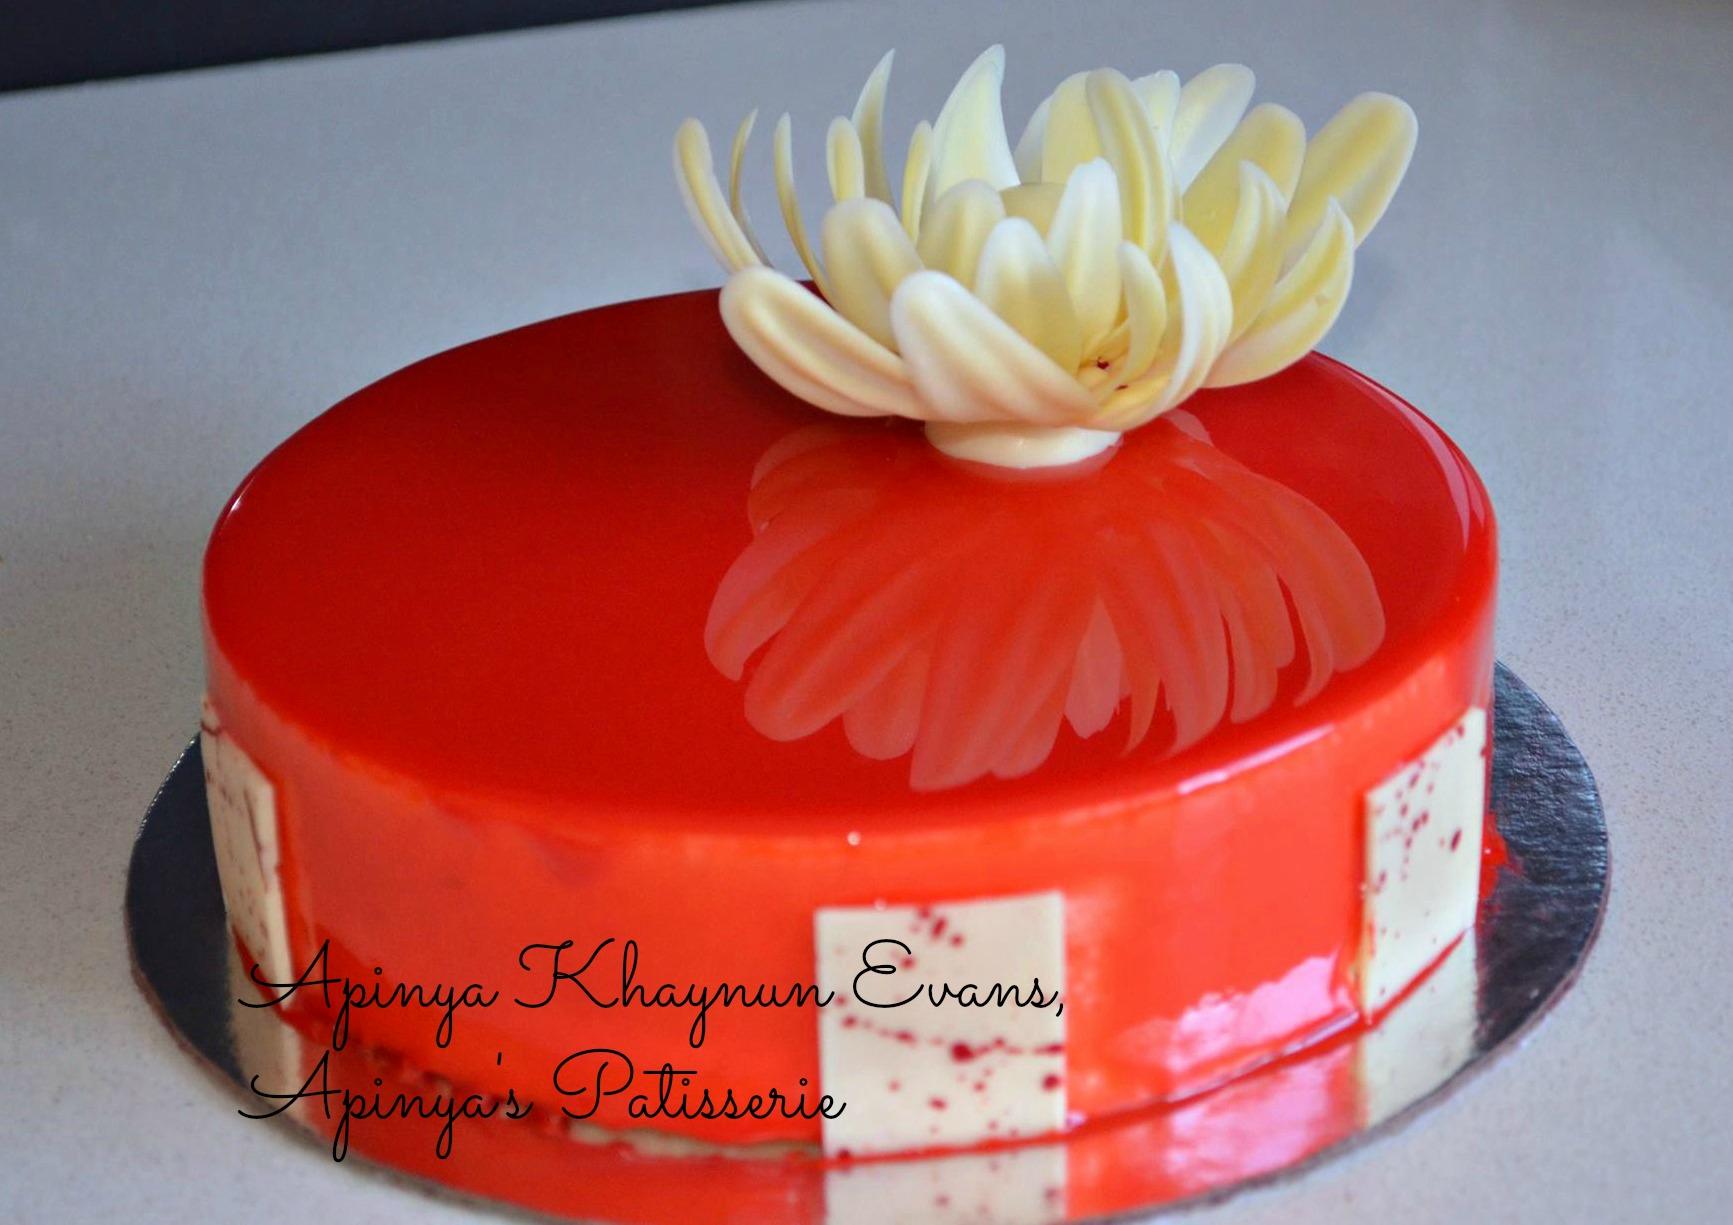
This look is created with mirror glaze. It's made from gelatin and is usually poured over a chilled mousse. Here are 25 of our favorite shiny cakes aka Entremets.

#1-Totally mesmerizing, is that a building we can see in that glass like reflection?!

Olga Noskova

#2-Such gorgeous, vivid colors! Almost need a pair of sunglasses it's so shiny and bright.

Hemu Basu, The Sweet Sensation

#3-Normally this would be considered a photo bomb, but in this case it's just impressive that you can see it.

Olga Noskova

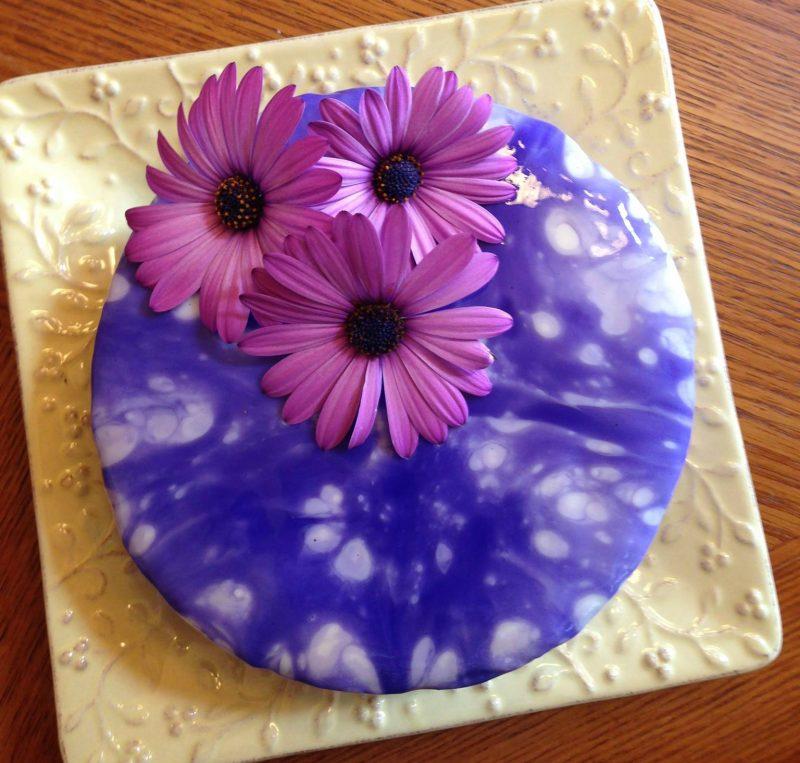
#4-This one is captivating. A cross between marble and tie dye. Pure eye candy.

Entremet Cake
Lori L. LaFever Limberhand

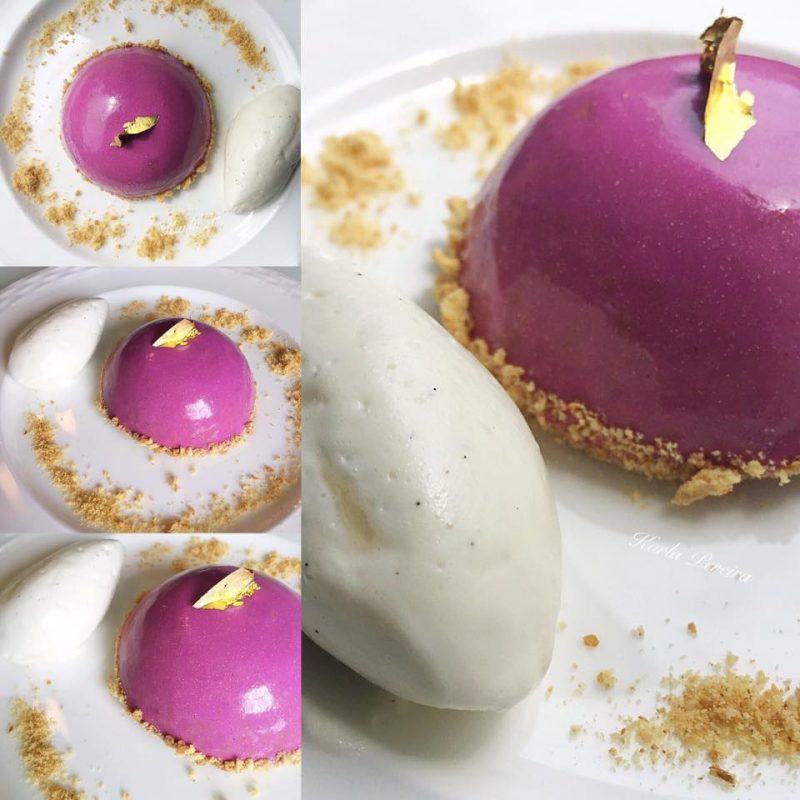
#5-Love the simple perfection here, really makes you want to see what's inside!

Entremet Cake
Karla Pereira, Karla's Cakes

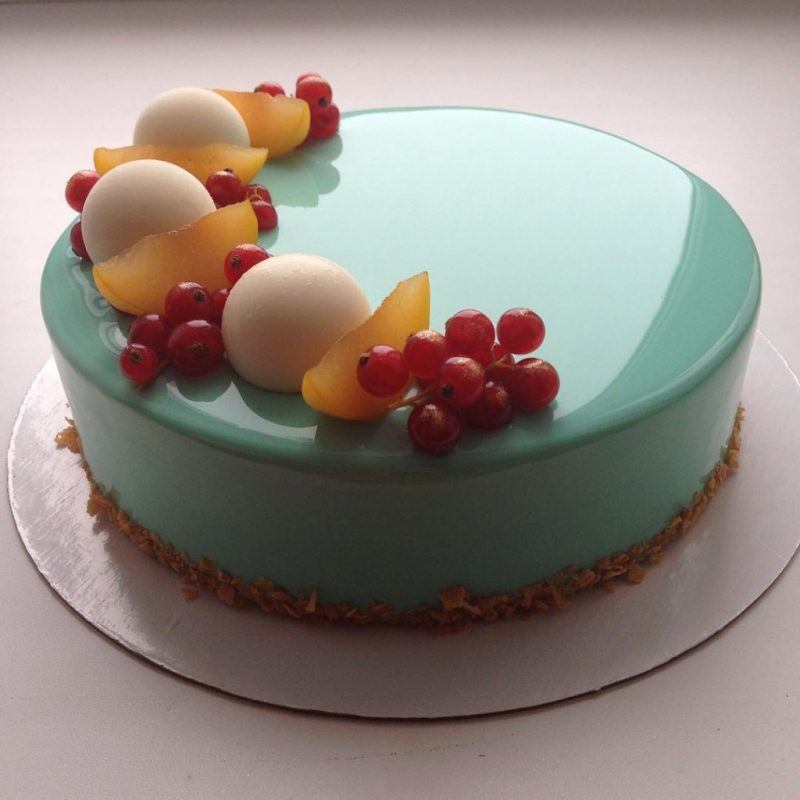
#6- This mint green is fabulous with the pop of color from the fruit, looks so pristine and refreshing!

Entremet Cake
Olga Noskova

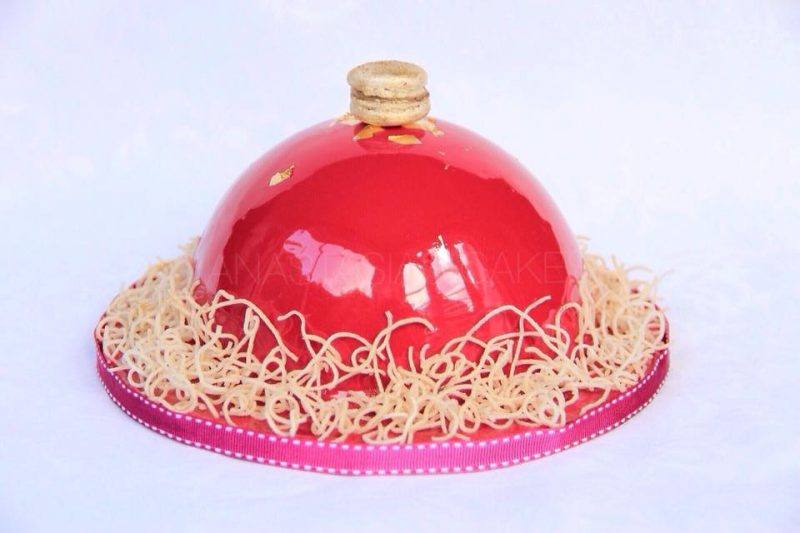
#7- So much interest here, like a sweet interpretation of spaghetti and a meatball.

Entremet Cake
Anastasia Kaliazin, Anastasia's Cakes

#8- If that isn't enticing, I don't know what is. You naughty thing you.

Entremet Cake
Lisa Schmitz, Kuchenfee

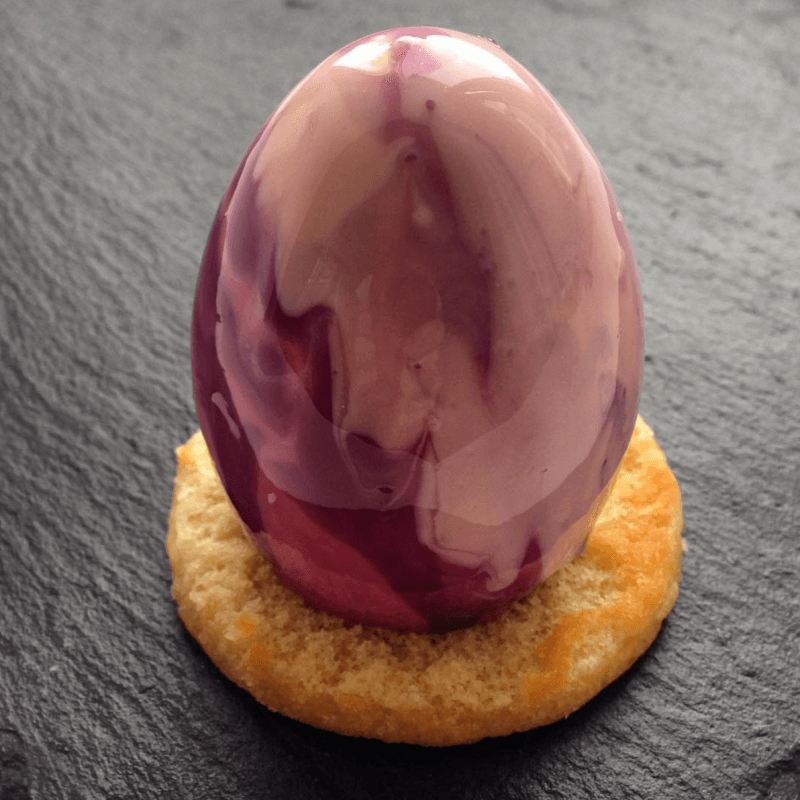
#9- Faberge Egg or delectable dessert?

Entremet Cake
Olga Noskova

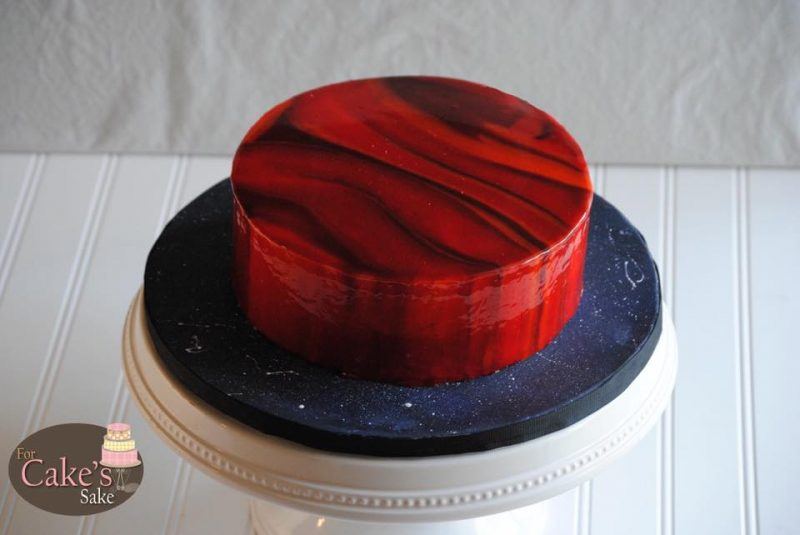
#10-Crazy cool Mars interpretation with a sweet galaxy board to call home.

Stephanie Lineberry Morris, For Cake's Sake

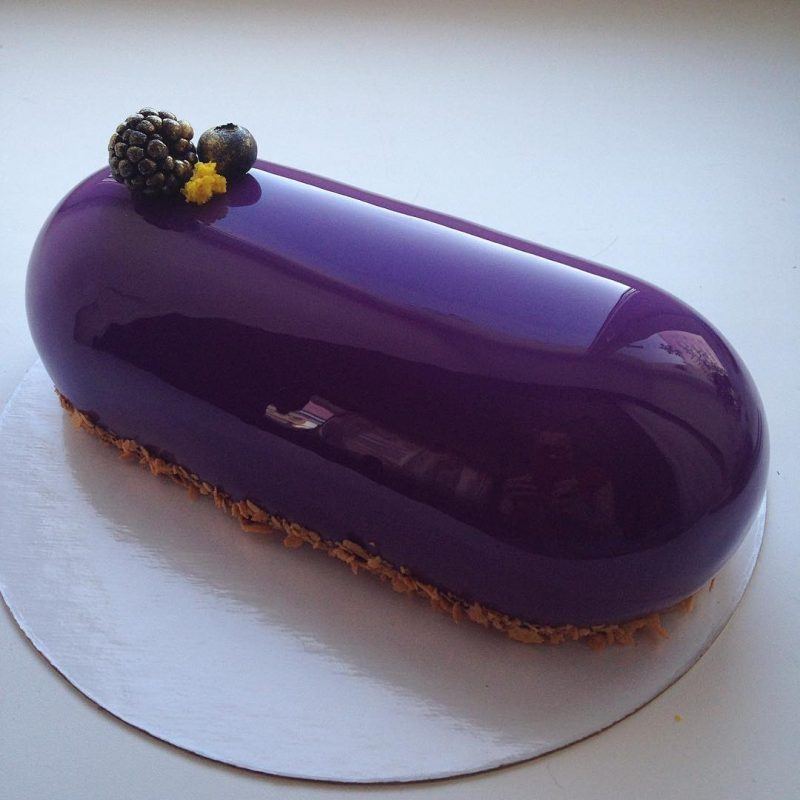
#11-Love the shape of this one, it's like a giant pill but one you actually want to take, all at once.

Entremet Cake
Olga Noskova

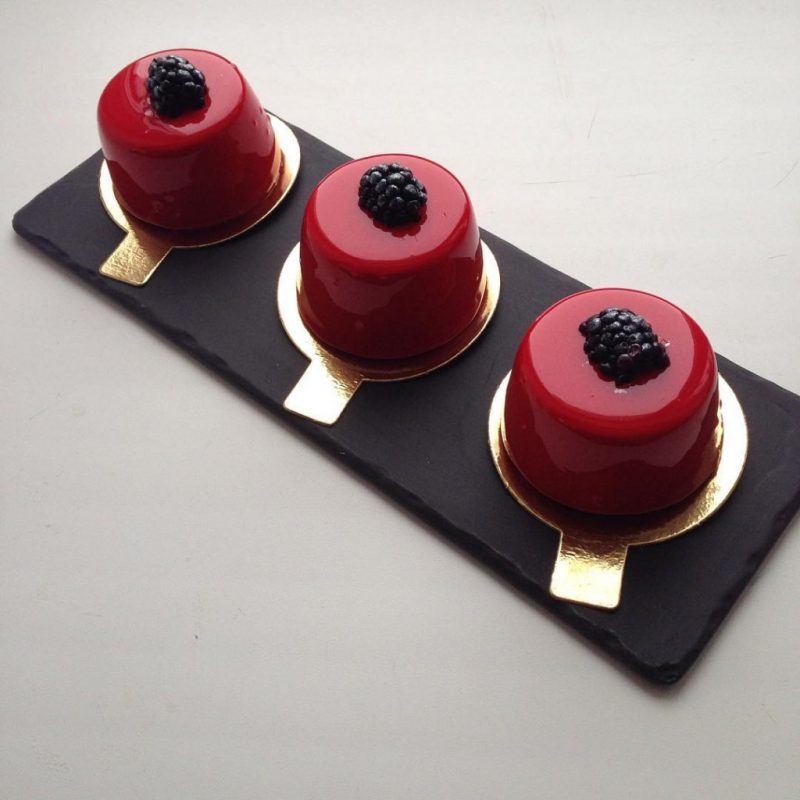
#12- A trio of adorable shiny desserts. I'll take 9.

Olga Noskova

#13- This is true modern art. I want to freeze this one and put it in my living room.

Entremet Cake
Chloé “Chloé Délice” Finet

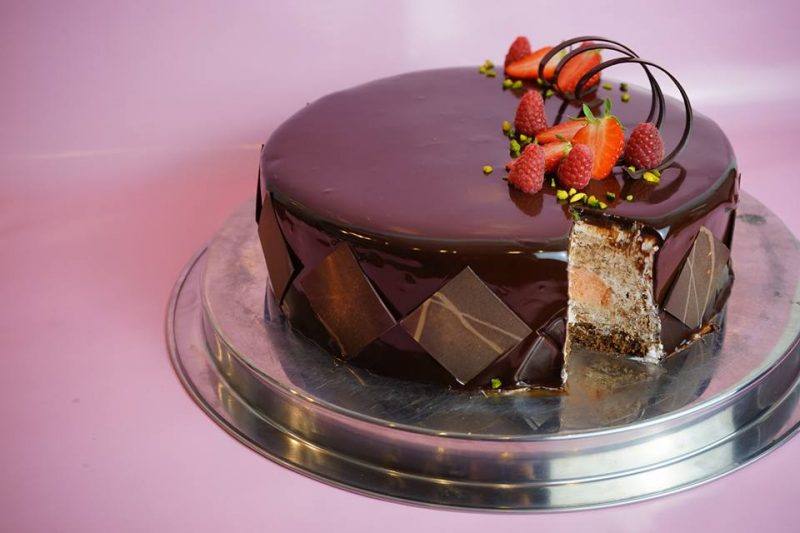
#14- The creativity here is incredible! The contrast of the shiny Entremet on the inside and the matte chocolate on the outside really catch your eye.

Entremet Cake
Michael Bartocetti

#15- A gravity defying masterpiece with a shiny platform.

Entremet Cake
Apinya Khaynun Evans, Apinya's Patisserie

#16- LOVE the rainbow colors! This one just screams fun!

Entremet Cake
Aimee Revell, Amazing Cakes by Aimee

#17- The pristine surface and circle designs make me think of ripples in water.

Olga Noskova

#18- Another seriously interesting shape to show off that amazing shine.

Olga Noskova

#19- Mouthwatering deliciousness. I really need to eat this, like NOW.

Oberweis

#20-Pretty pink palette. I reeaally want to find out what one of these tastes like. I bet they are so soft and fluffy in your mouth.

Lilie Bakery

#21- I see symbolism of a dragon, commanding and beautiful.

Thomas Trillion, Patisserie with Passion

#22- A super interesting pattern with every hue of yellow.

Chef Simon

#23- Like the paint job on a sexy motorcycle.

Ismail Patiss

#24- Entremet in action. Love the marbling here!

Caker School

#25- Simple yet bold. And look at that inside. Oh Em Gee. (Drools)

Bruno Montcoudiol

How long did it take you to finish looking at them? I told you you'd be distracted, they are just too shiny, you can't say I didn't warn you.

I feel like my first introduction to eating one needs to be from someone who knows what they're doing. Then maybe I will attempt to make one myself, that way I will know what I am striving for and that I royally screwed it up.

Here is a recipe for the mirror glaze if you would like to try it yourself!

Chocolate Mirror Glaze:

This recipe came from Ленивая кухня here. Though she uses glucose, you can use corn syrup.

Ingredient                             Amount

Powdered Gelatin                     3 packets (Knox)/20 grams

Water  (cold)                             120 grams

Corn Syrup                                300 grams

White Sugar                              300 grams

Water                                          150 grams

Condensed Milk                        200 grams

White Chocolate                       300 grams


Instructions

  1. Bloom gelatin in 120 grams of water for 15 minutes.
  2. In a separate bowl, combine the white chocolate, condensed milk and bloomed gelatin.
  3. In a medium sauce pot, boil 150 grams of water with the sugar and corn syrup until it reaches 103*C / 217*F.
  4. Pour the boiled mixture over the chocolate/milk/gelatin mixture and allow to melt.
  5. Using a hand blender blend until smooth avoiding air bubbles.
  6. Add white food color to balance the yellowish color. Add any additional color you want to make it.

If you give these beauties a try, post your pics on The Sugar Geek Show Facebook Page, we'd love to see 'em! Because you know we have more time to sit around staring at shiny cakes.

Mermaid water hand painted tutorial with edible watercolor

May 4, 2016 Blog

Mermaid Wash Hand Painted Cake

Skill Level: Newb
Learn some simple techniques on how to recreate this lovely water-themed hand-painted tier using edible watercolors.
Face Sculpting on a Chocolate Skull Tutorial for Premium and Elite Members Only

May 4, 2016 Course Preview

Face Sculpting with a Chocolate Skull

Skill level: Intermediate

In this tutorial, you will learn basic facial anatomy that is sure to bring life to your sculpture, creating lasting impressions on all who see!

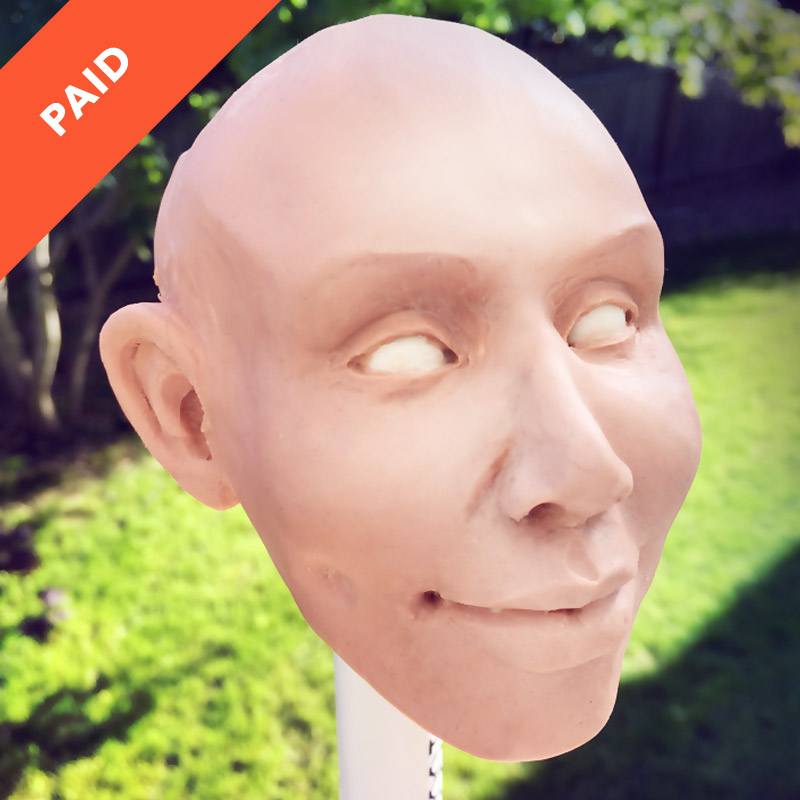
With step by step instructions from Liz, you will learn how to sculpt a face starting with the making of a delicious chocolate skull using Liz's silicone skull mold. This skull is a quicker platform for making realistic sculpted faces. Using modeling chocolate you will be taught how to create the eyes, build up the mouth and define the lips. You will also learn how to build up the nose and create the nostrils with the greatest of ease. Next, you will be shown how forming the cheeks will give definition and depth to the face. Then, follow Liz as she teaches you how paint realistic life like eyes before creating the lower and upper eyelids around the eyeballs. And then, you will be shown you how to cover the forehead and define the brow lines before moving on to a brief explanation on how to create the tear ducts and cover the chin and neck with modeling chocolate. Lastly, discover Liz's simple steps on the proper placement of the ears as well as the minimal details on sculpting the ears. With all the amazing steps in this tutorial, you will be ready to sculpt realistic faces quicker and better than ever before!

47:04 Minutes of Instruction

What You Will Learn

  • How to create a realistic face using a chocolate skull as a base
  • Tips on how to place the facial anatomy
  • How to create realistic eyes
  • Liz Marek's tips on how to achieve a face sculpt full of life

Tutorial Chapters

  1. Making the skull mold 0:32
  2. Adding the eyes 2:37
  3. Building up the mouth 3:26
  4. Adding the nose 7:49
  5. Adding the cheeks 12:50
  6. Painting the eyes 23:01
  7. Building the eyelids 23:14
  8. Covering the foreheads 30:20
  9. Building up the eyebrows 31:26
  10. Creating the tearducts 36:41
  11. Covering the chin and neck 38:17
  12. Making the ears 39:28

Related Videos


Realistic Painted Eyes

Garden Flowers and Jasmine Sugar Flower Tutorial

May 4, 2016 Course Preview

Garden Flowers and Jasmine Sugar Flower

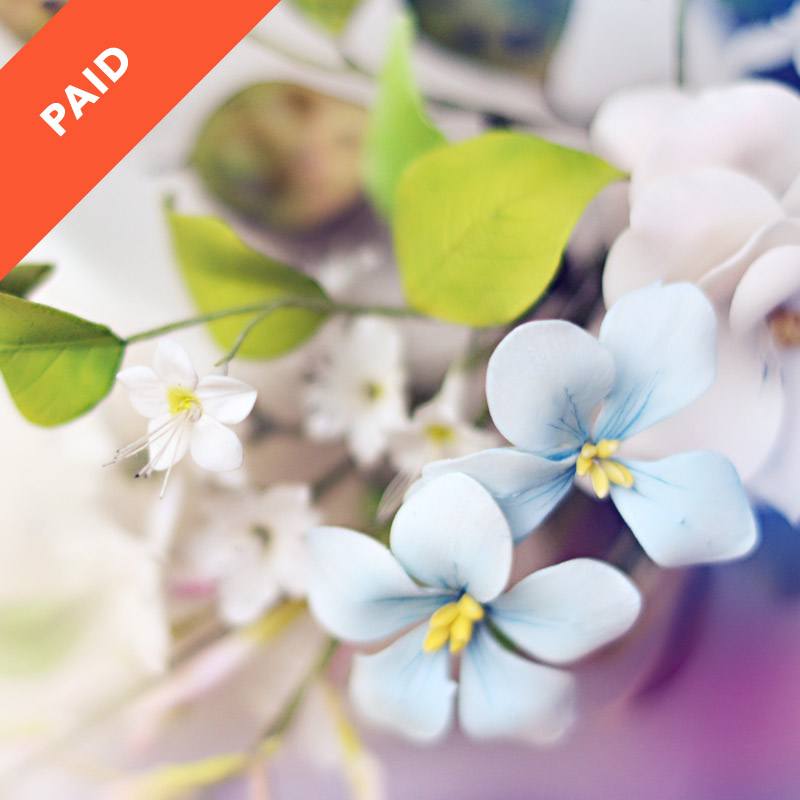
Garden Flowers and Jasmine made out of sugar and gumpaste with guest instructor Shaile Socher tutorialSkill Level: Intermediate
Learn to make beautiful garden flowers and a Jasmine sugar flower in this tutorial

May 3, 2016 Blog

Lumberjack is the New Rustic

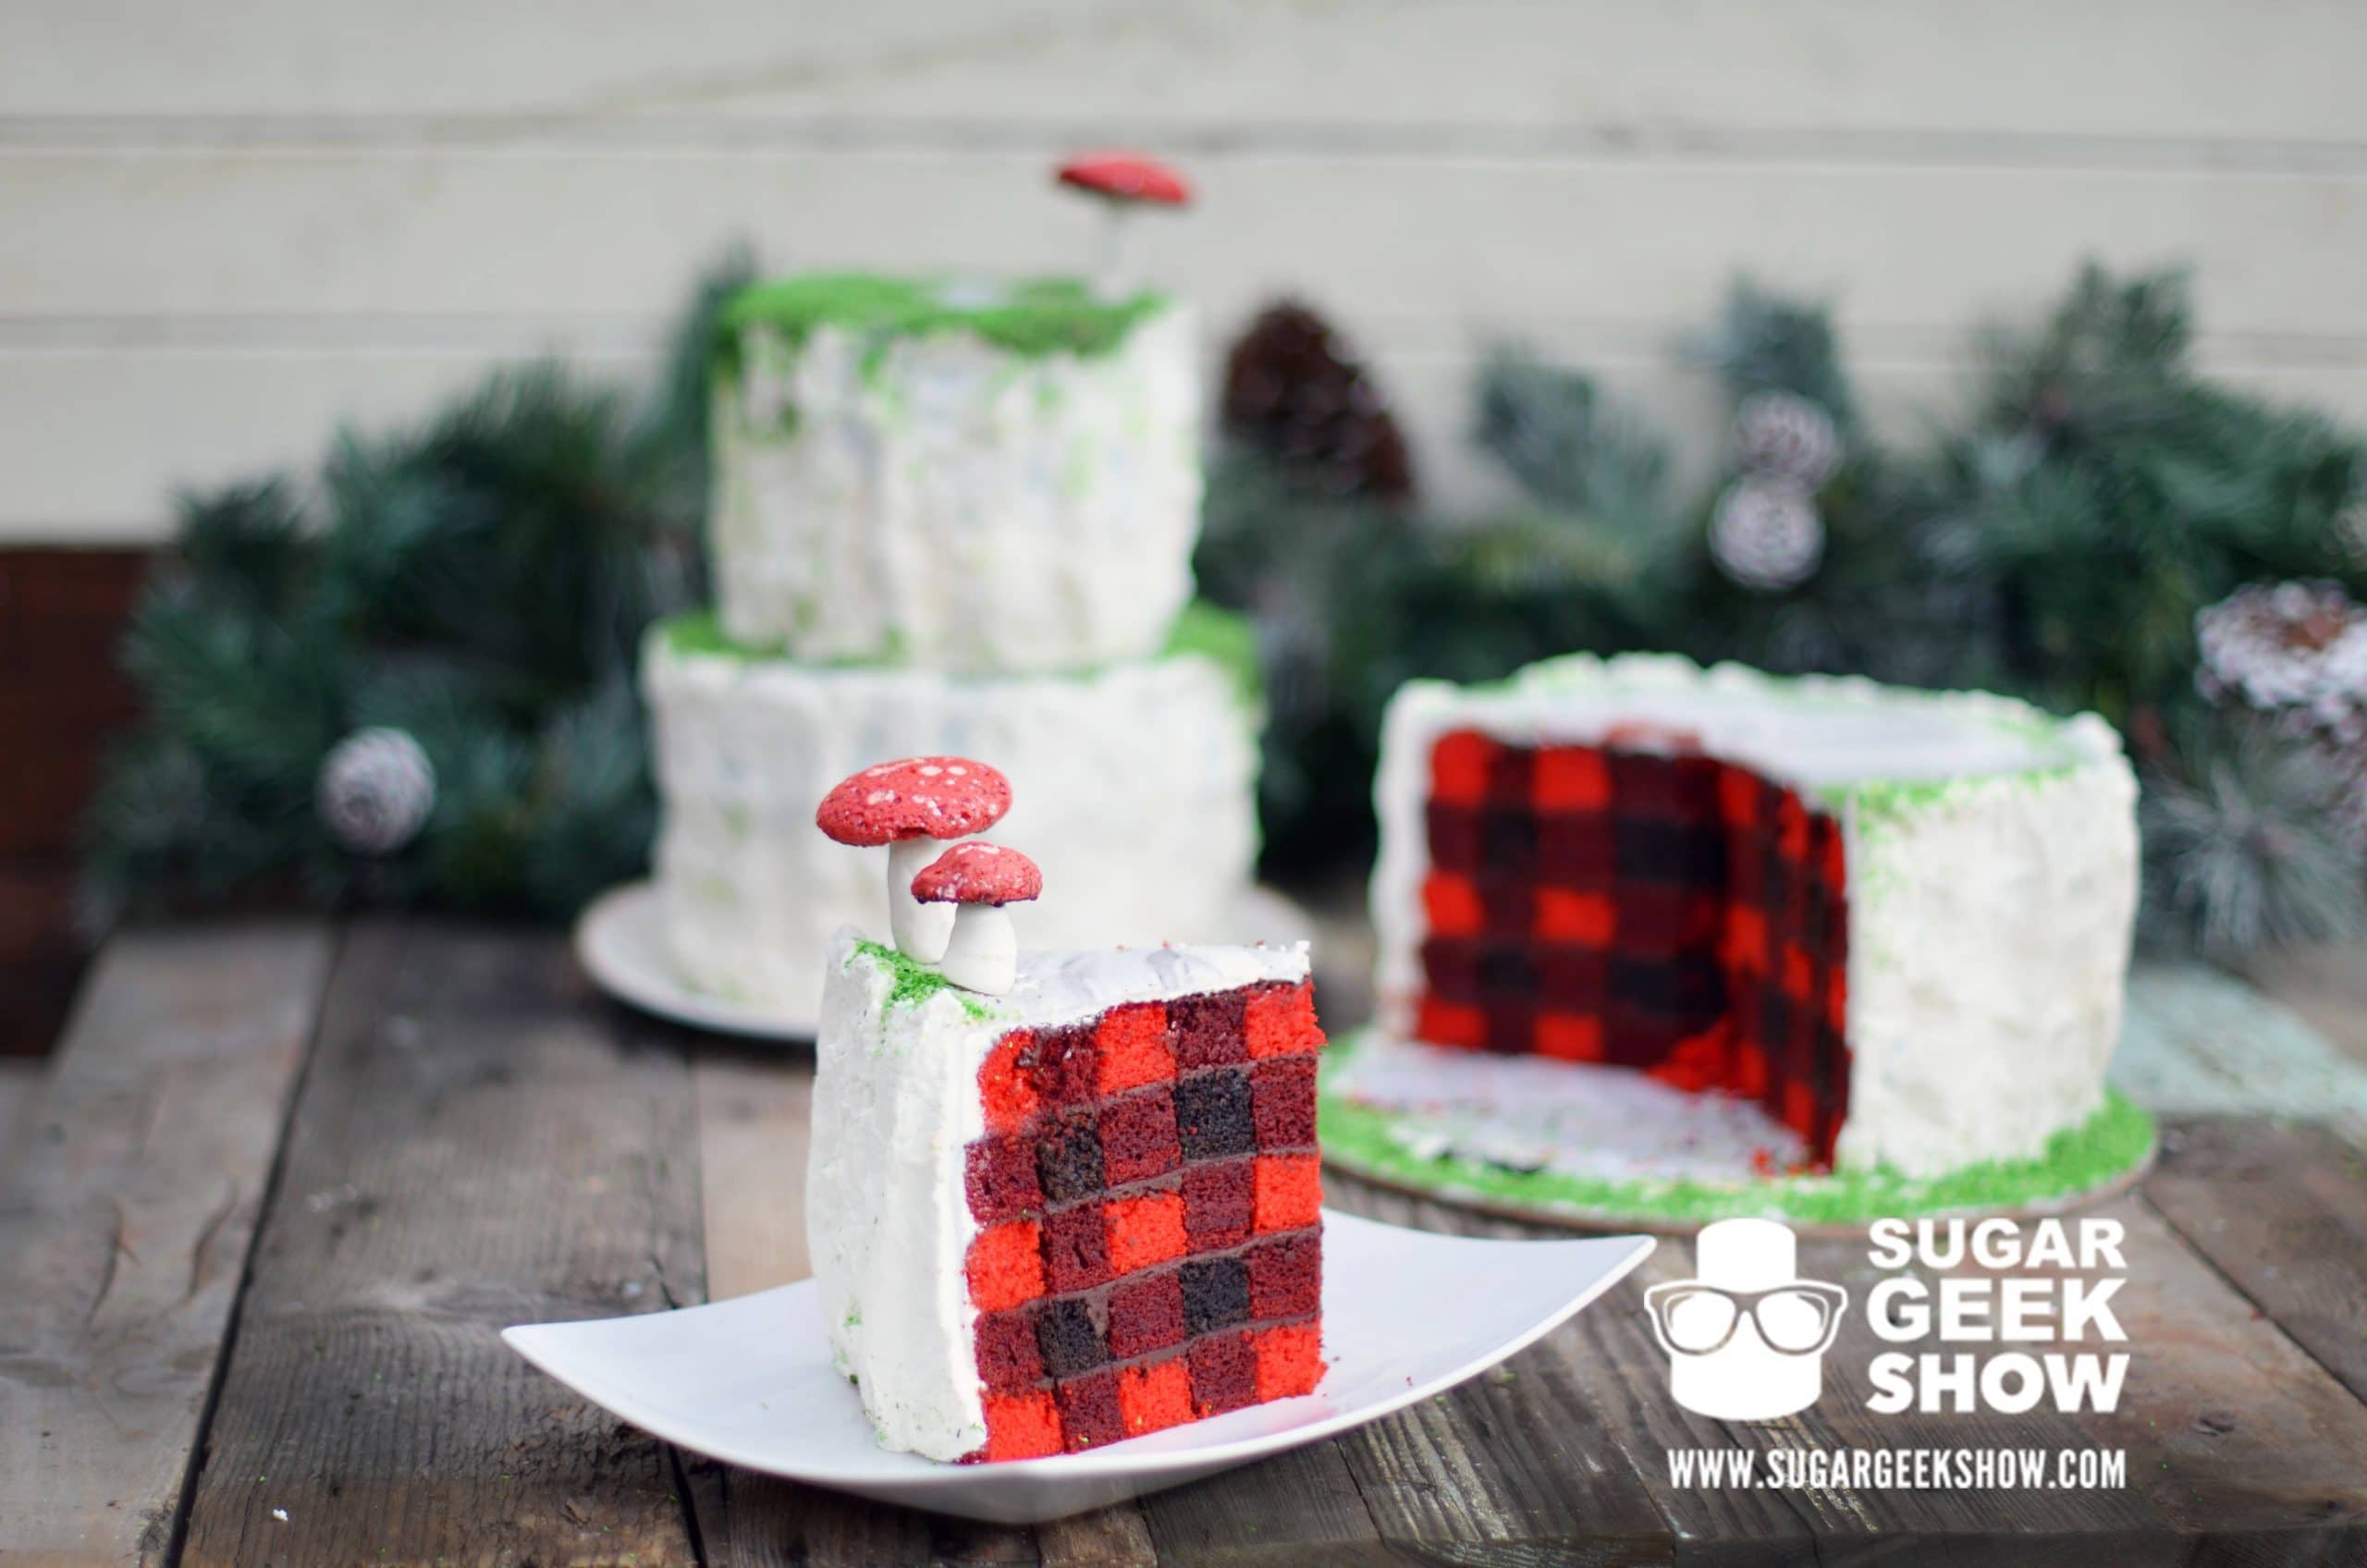
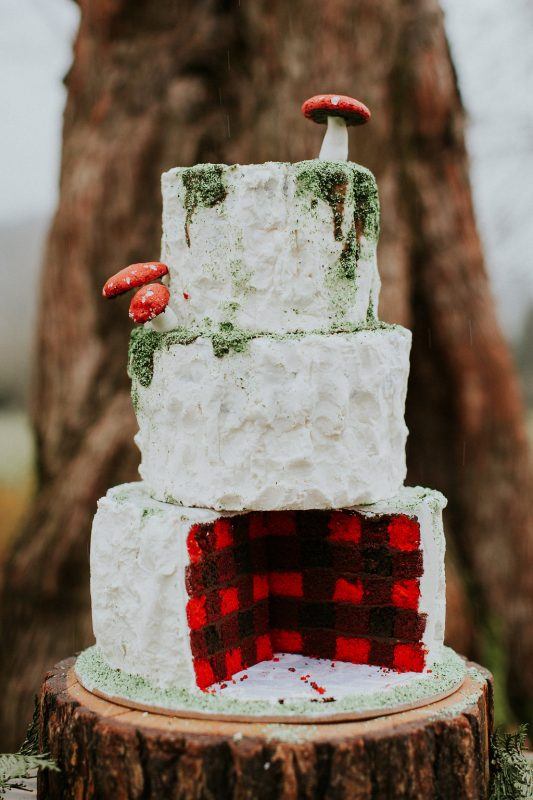
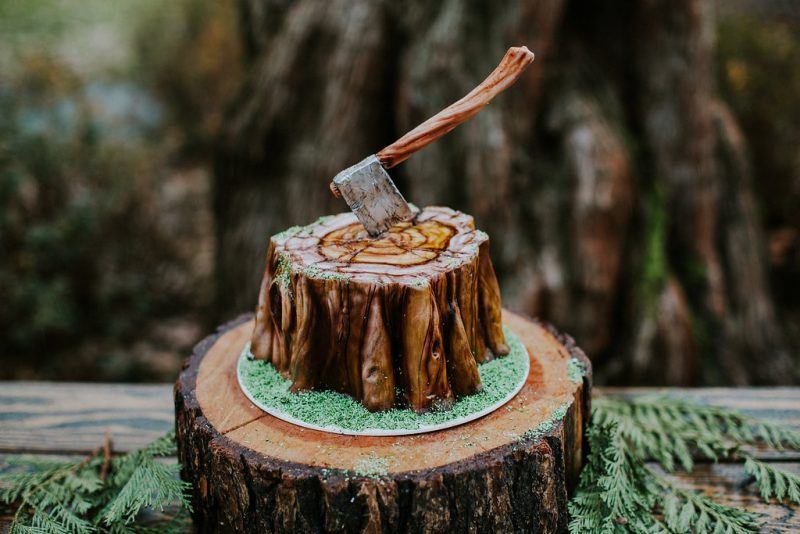
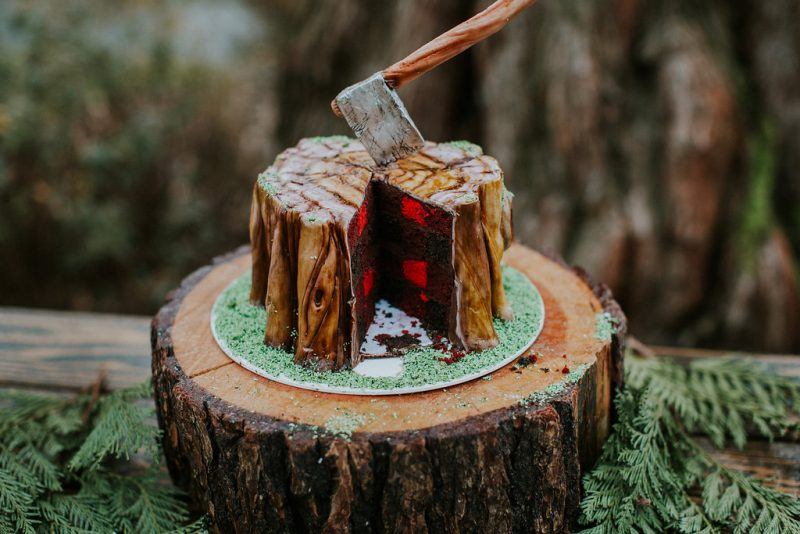
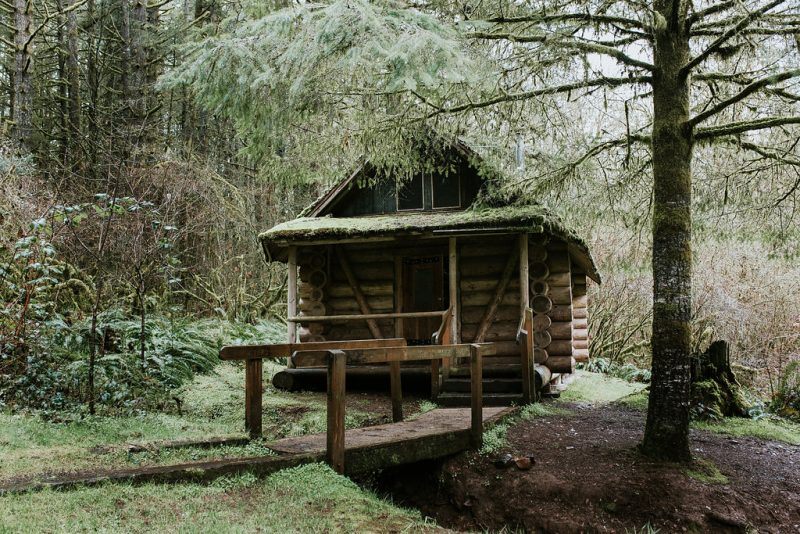
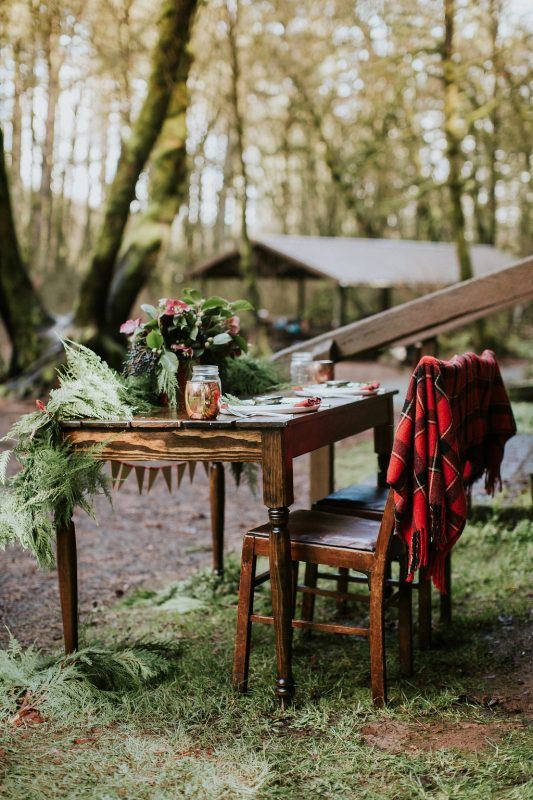
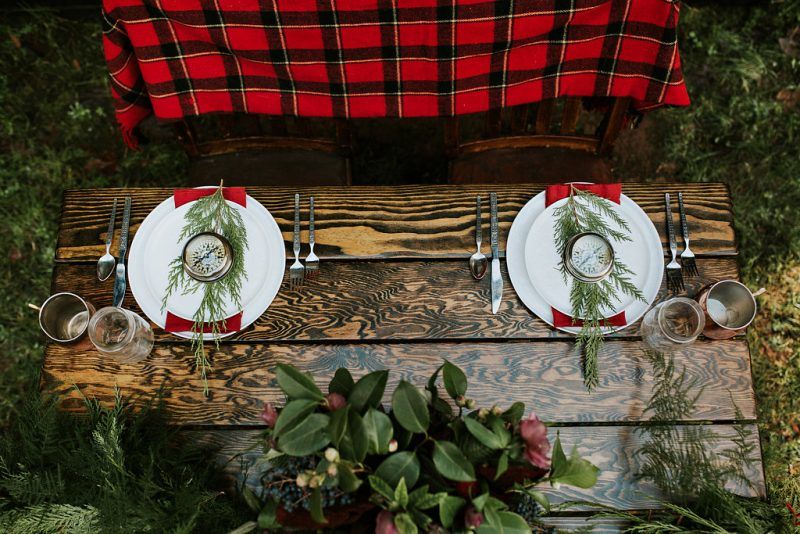
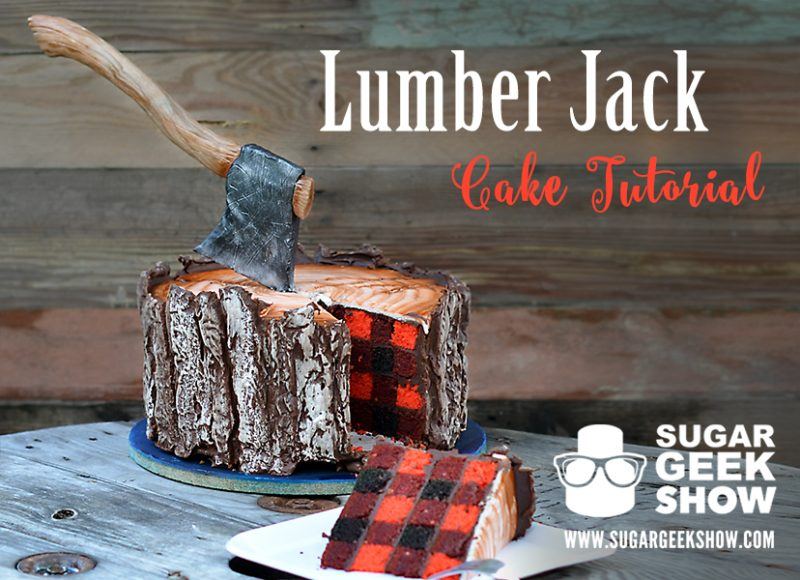
"Rustic" has been a popular theme among weddings for some time now and it looks like there's a new kid in town. The lumberjack theme is popping up everywhere from birthdays and baby showers to yes, even weddings. Plaid is the trademark lumberjack print and is a fun addition to the world of rustic themes. What cooler way to incorporate plaid then on the INSIDE of your cake? The answer is, there really is no cooler way. Anyone can go buy a plaid shirt but with Liz's Lumberjack Cake Tutorial you could bring something new and impressive to the lumberjack game.

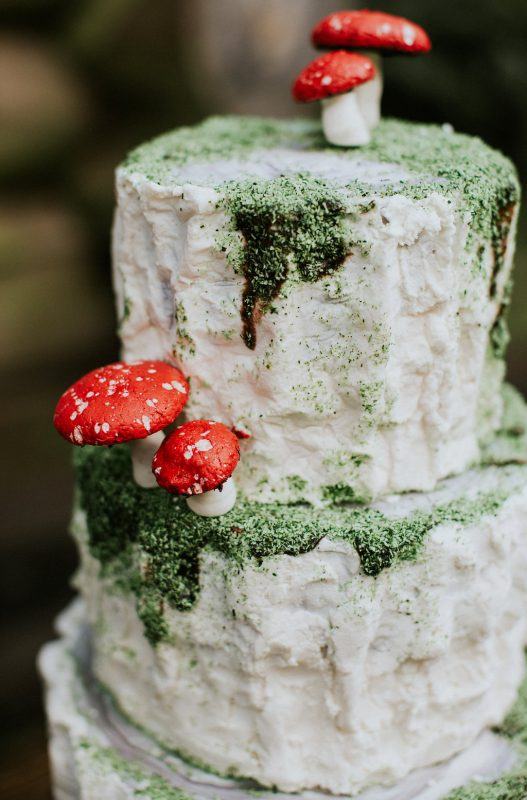
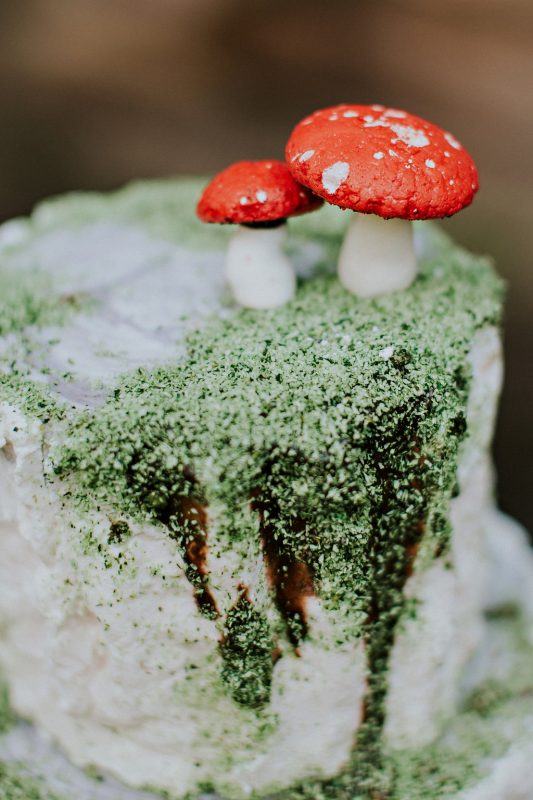
Chances are you saw the Plaid Lumberjack cake that went totally viral (take that all you tree stump cake naysayers!) but you may not have seen the gorgeous styled shoot that took place shortly after. Beautiful, whimsical wedding cake with a bold surprise on the inside, how fun is that? Not to mention the adorable meringue mushrooms and crazy realistic moss.

Plaid Lumberjack Wedding Cake

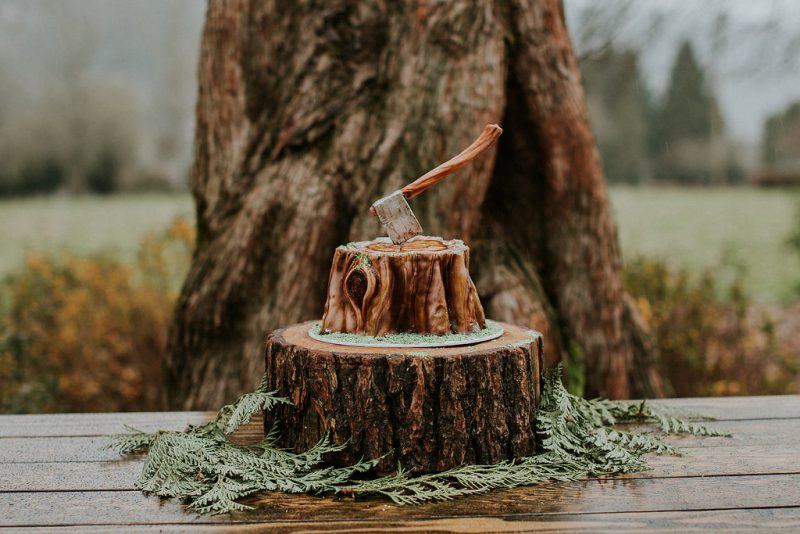
A lumberjack wedding calls for a tree stump groom's cake complete with an axe, I mean really, an Xbox cake would just look weird.

That stump fits right in out there because it looks so real. It looks more real than the real slab it's sitting on. No offense wooden slab, it's not your fault.

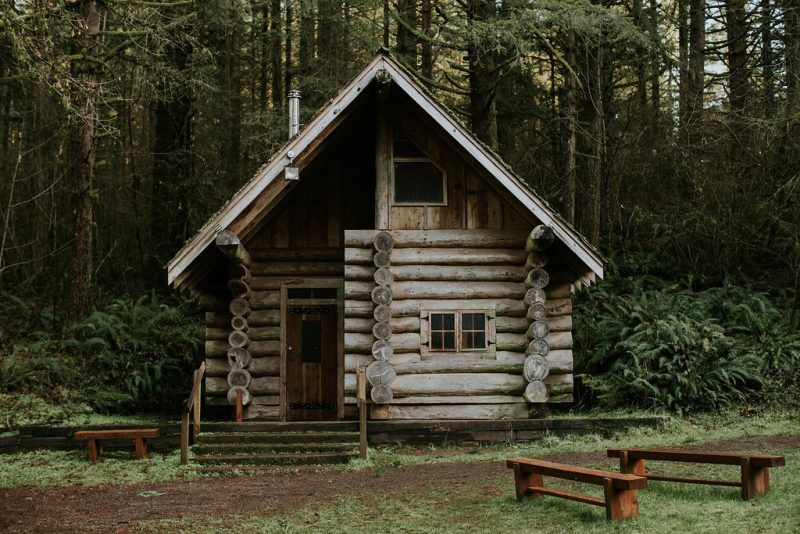
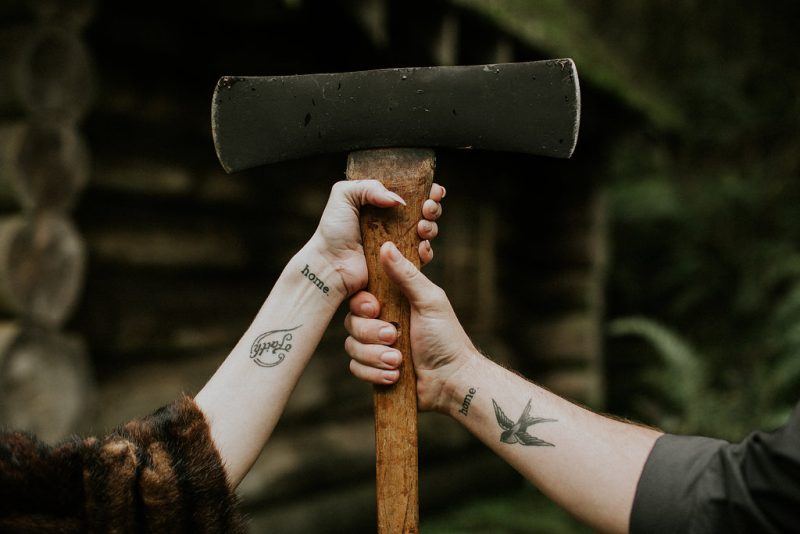
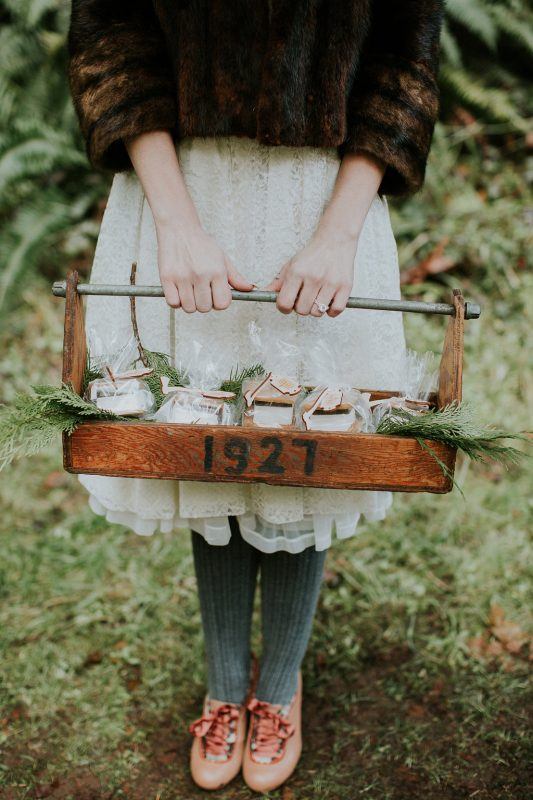
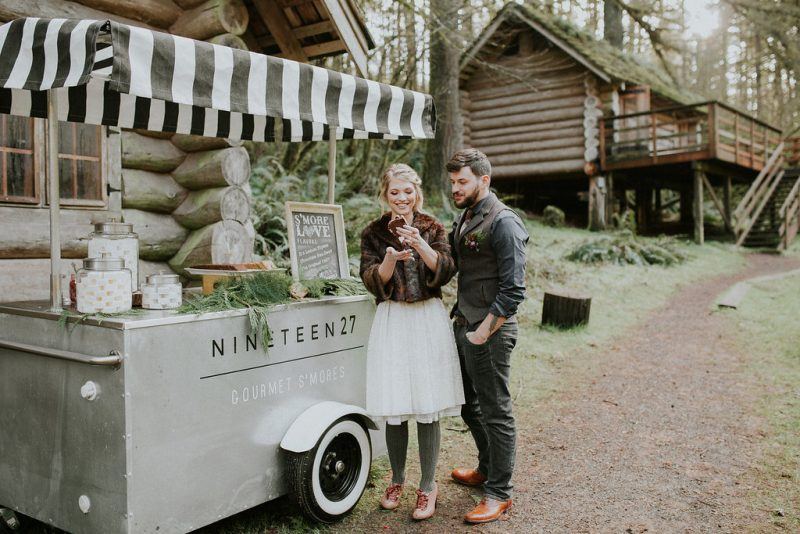
The rest of the styled shoot gives you a real feel for the lumberjack theme. Once again the gorgeous photos were taken by Hazelwood Photo out of Portland and are absolutely breathtaking. So many incredible vendors took part in the shoot including a gourmet s'more company! Clearly I have been sorely deprived. Gaze upon the amazing details and I highly recommend you head over and see more of the jaw-dropping pictures of the Lumberjack Styled Shoot.

And last but not least, the famous Lumberjack Cake seen 'round the world. Click the link above to learn all the amazing techniques needed to create this incredible cake. Realistic bark, axe and of course the plaid baby. Gotta love the plaid.

Vendor Credits:

Cake(s): Artisan Cake Company // Styling + Rentals: Something Borrowed Vintage Rentals  //  Collaborating Photographer: Aniko Productions  //  Hair + Makeup: Jein King

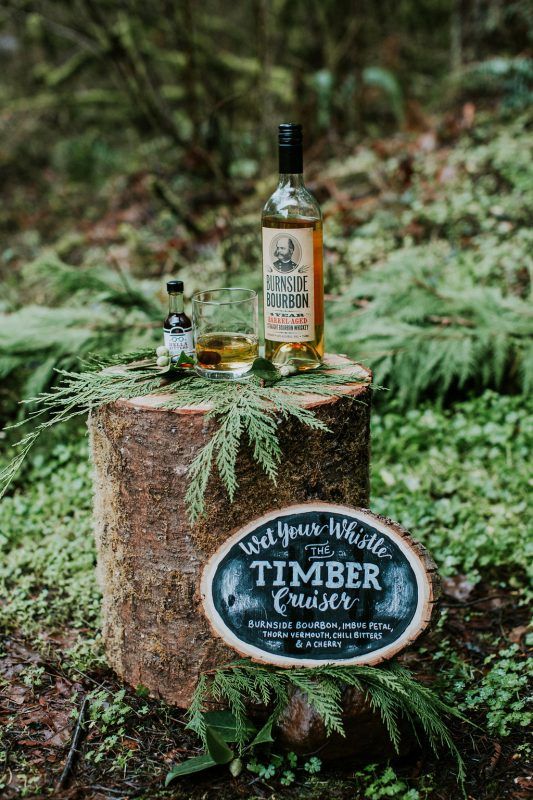
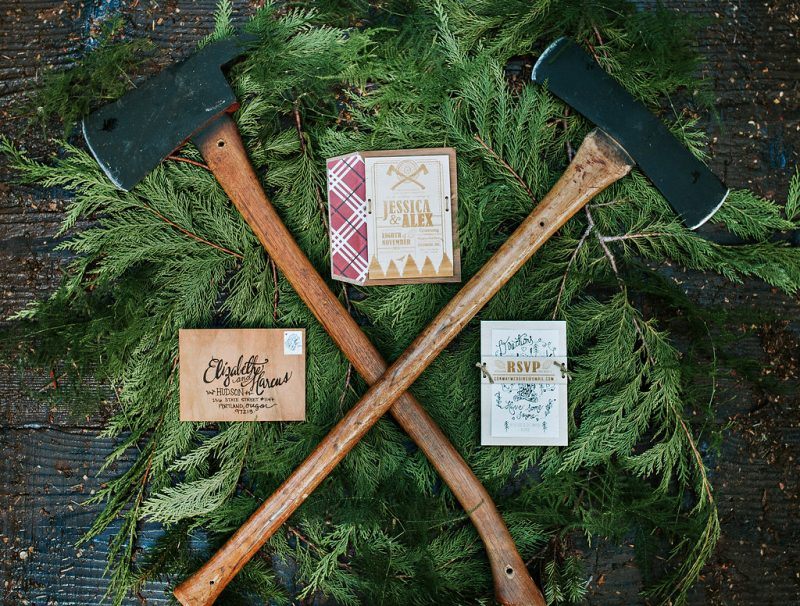
Florals: Swoon Floral Design //  Invitations + Lazercuts: Nimbi Creative  //  Chalkboard Signage: BH Design  //  Gourmet S'mores: Nineteen 27 S'mores  //  Cocktails: Mint + Mirth

Men's Attire: Duchess Clothier  //  Women's Vintage Attire: Hattie's Vintage  //  Venue: Magness Tree Farm

Face Sculpting on a Chocolate Skull Tutorial for Premium and Elite Members Only

May 1, 2016 Paid Video

Face Sculpting with a Chocolate Skull

Skill Level: Intermediate
In this tutorial, you will learn basic facial anatomy that is sure to bring life to your sculpture, creating lasting impressions on all who see!With step by step instructions from Liz, you will learn how to sculpt a face starting with the making of a delicious chocolate skull using Liz's silicone skull mold. This skull is a quicker platform for making realistic sculpted faces. Using modeling chocolate you will be taught how to create the eyes, build up the mouth and define the lips. You will also learn how to build up the nose and create the nostrils with the greatest of ease. Next, you will be shown how forming the cheeks will give definition and depth to the face. Then, follow Liz as she teaches you how paint realistic life like eyes before creating the lower and upper eyelids around the eyeballs. And then, you will be shown you how to cover the forehead and define the brow lines before moving on to a brief explanation on how to create the tear ducts and cover the chin and neck with modeling chocolate. Lastly, discover Liz's simple steps on the proper placement of the ears as well as the minimal details on sculpting the ears. With all the amazing steps in this tutorial, you will be ready to sculpt realistic faces quicker and better than ever before!

Run Time

47:03

Techniques Used

  1. Sculpting on a Chocolate Skull
  2. Facial Details
  3. Modeling Chocolate (2lbs of ivory: regular from www.sweetastic.com or for hothands, www.hothandsmc.com)

Tutorial Chapters

  • 0:32: Making the Skull Mold
  • 2:37: Adding the Eyes
  • 3:26: Building up the Mouth
  • 7:49: Adding the Nose
  • 12:50: Adding the Cheeks
  • 23:01: Painting the Eyes
  • 23:14: Building the Eyelids
  • 30:20: Covering the Forehead
  • 31:26: Building up the Eyebrows
  • 36:41: Creating the Tearducts
  • 38:17: Covering the Chin and Neck
  • 39:28: Making the Ears

Related Videos

Garden Flowers and Jasmine Sugar Flower Tutorial

May 1, 2016 Paid Video

Garden Flowers and Jasmine Sugar Flower

Skill Level: Intermediate
Learn to make beautiful garden flowers and a Jasmine sugar flower in this tutorial

April 26, 2016 Blog

Get Your Glamour On

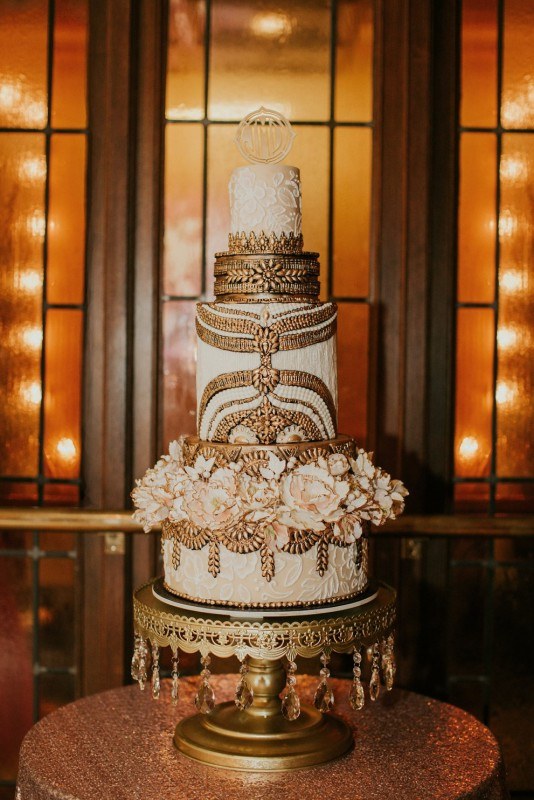
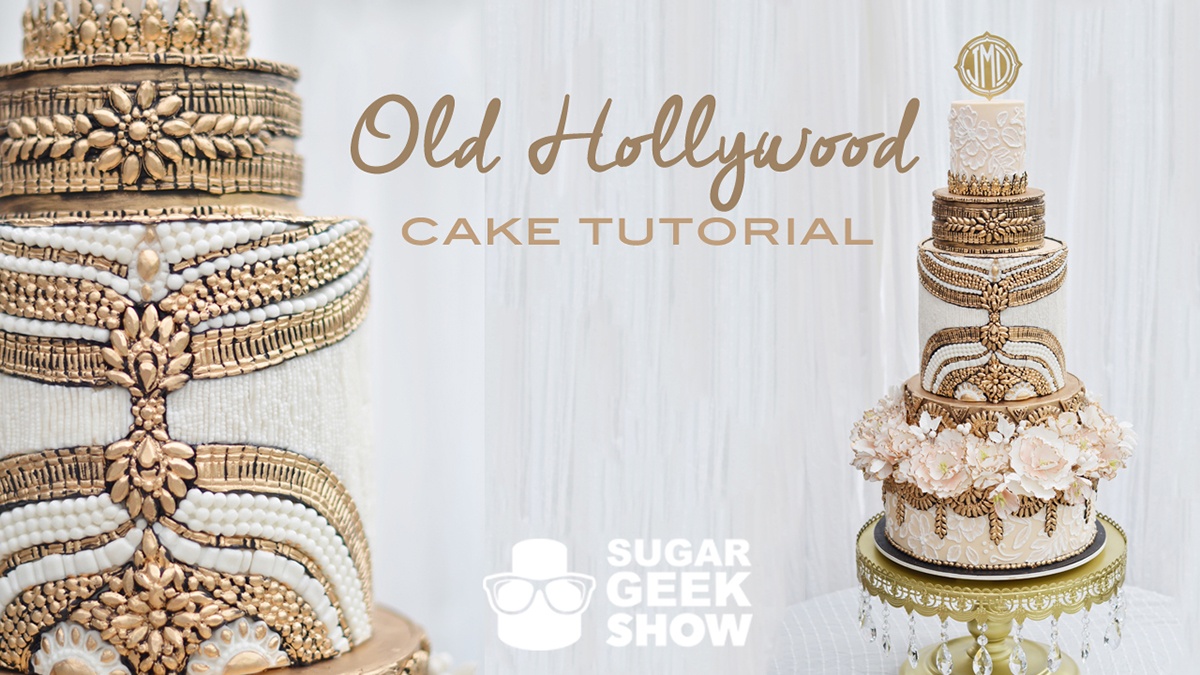
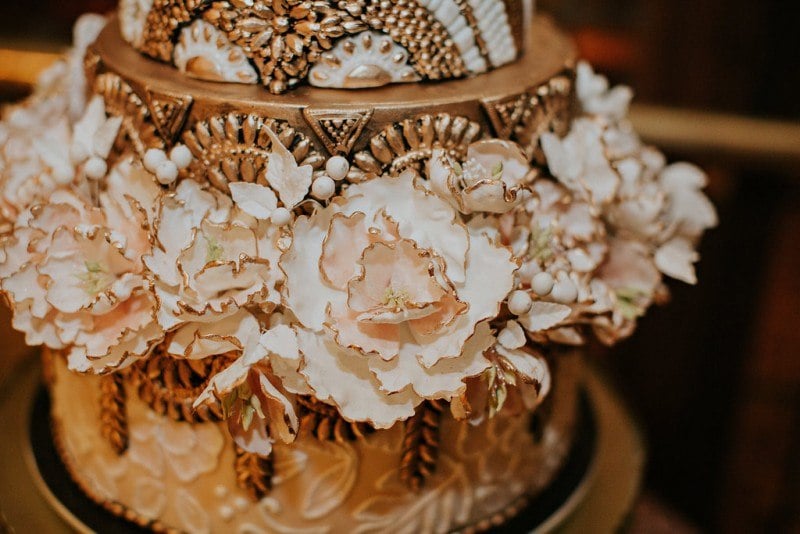
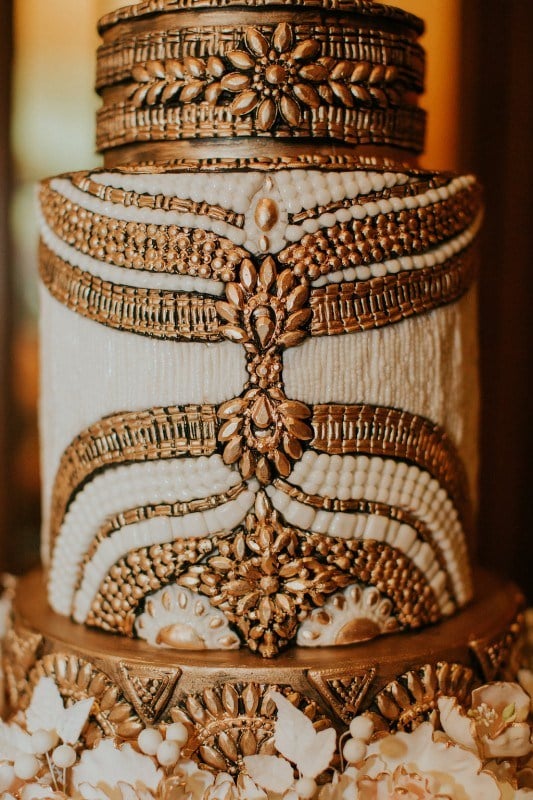
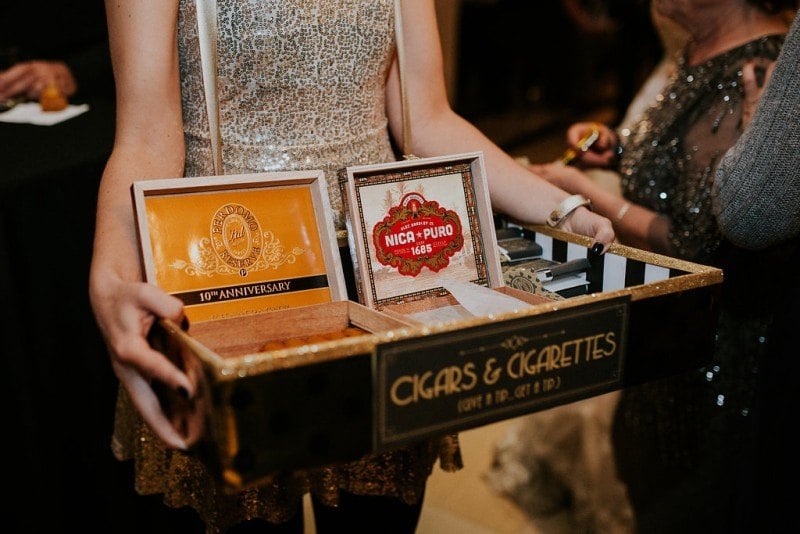
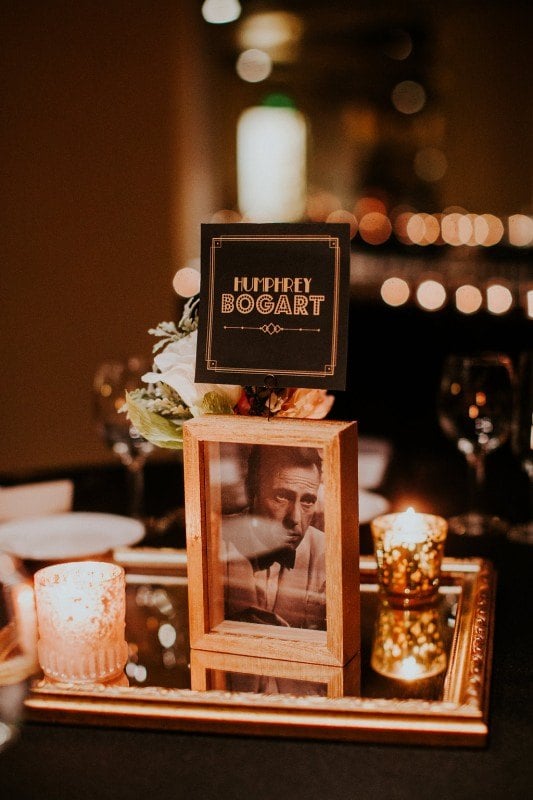
Glitz, Glamour and Style. What more could you want from a wedding cake? Ok, flavor is important too but you get the idea. This Old Hollywood Wedding Cake has all of that and more, plus take a peek into the amazingly coordinated and beautifully decorated wedding. The Great Gatsby is a popular theme among weddings these days and this one's done right.

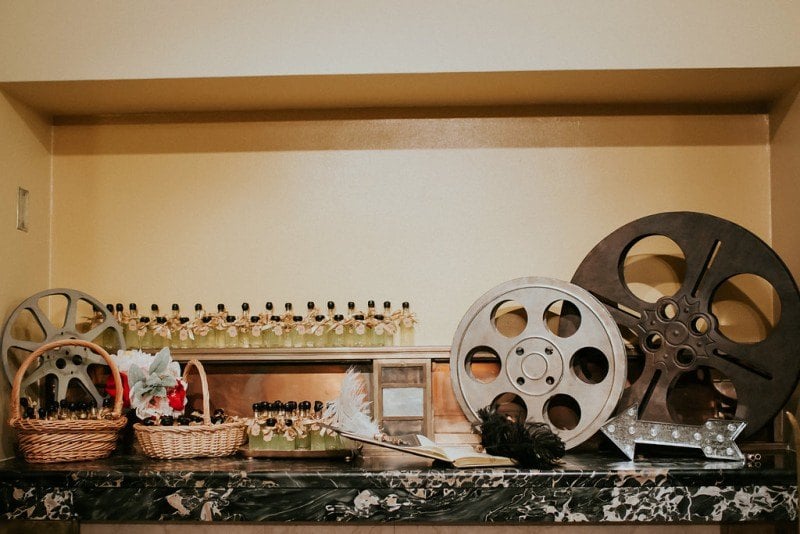
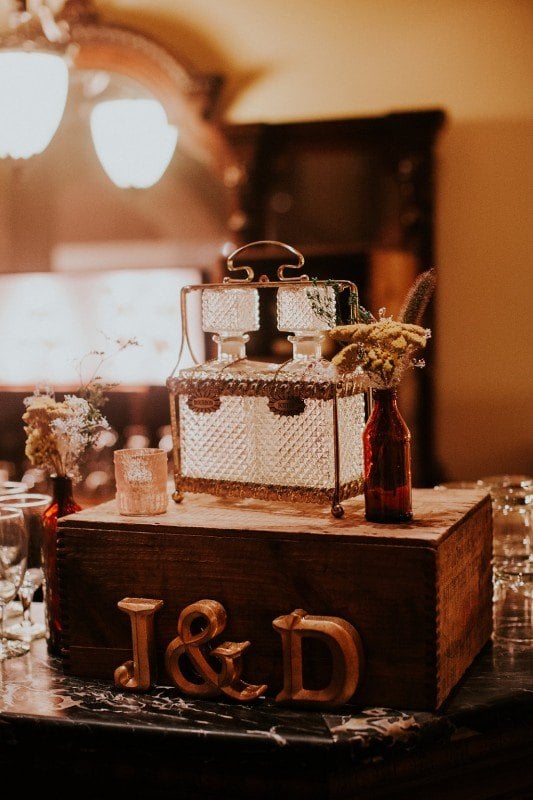
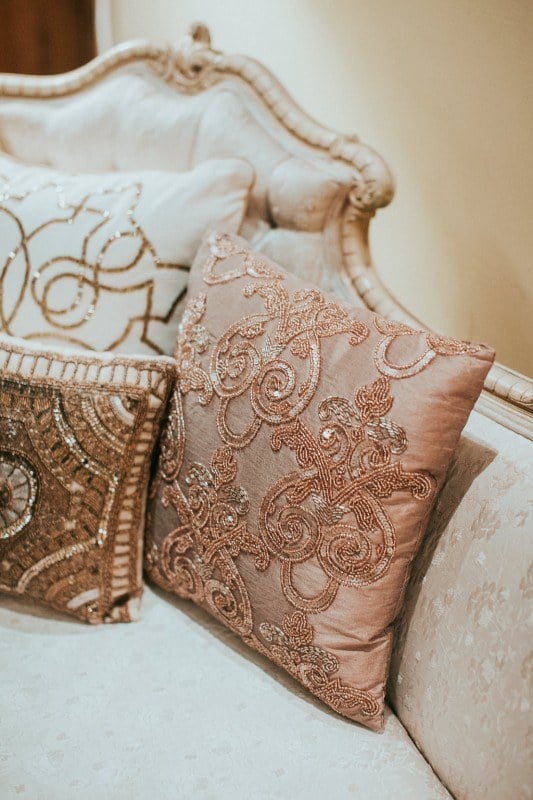
Details024aDetails023aDetails029a

Old Hollywood Cake

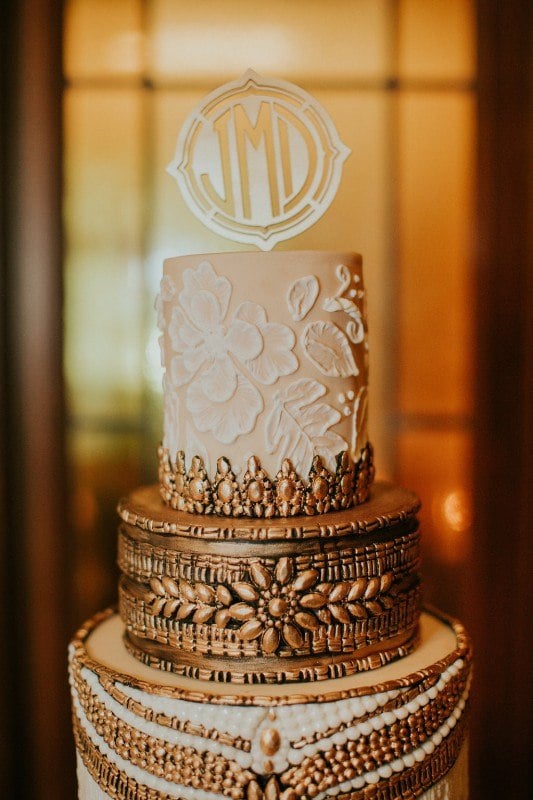
Are you seeing this cake? I will give you a moment to catch your breath 😉 it really is one of those breathtaking cakes that leaves you in awe and wonderment. How did she do that? It must've taken forever! Would you believe me if I told you it look a whole lot less time then it looks like it did? Like less than half the time it looks like it did? Well believe it because with Liz's tips and shortcuts it really is something anyone with a bit of cake experience can do without having to block out an entire week to do it. The way she achieves maximum detail will blow your mind.
Learn the classic brush embroidery technique and how to make the perfect royal icing for it as well as adding all of the details in a way that is cohesive and pleasing to the eye. In a separate paid tutorial Liz teaches how to make the gorgeous gumpaste peony that can of course be used for a huge array of cakes and applications. For some of the details you'll want to check out the free Mold Making Tutorial.

The cake certainly stands alone as a rare beauty but it was inspired from the theme of the wedding and it melds beautifully into the decor. Perhaps Liz had a little extra love and inspiration for this cake it being for her best friend 🙂

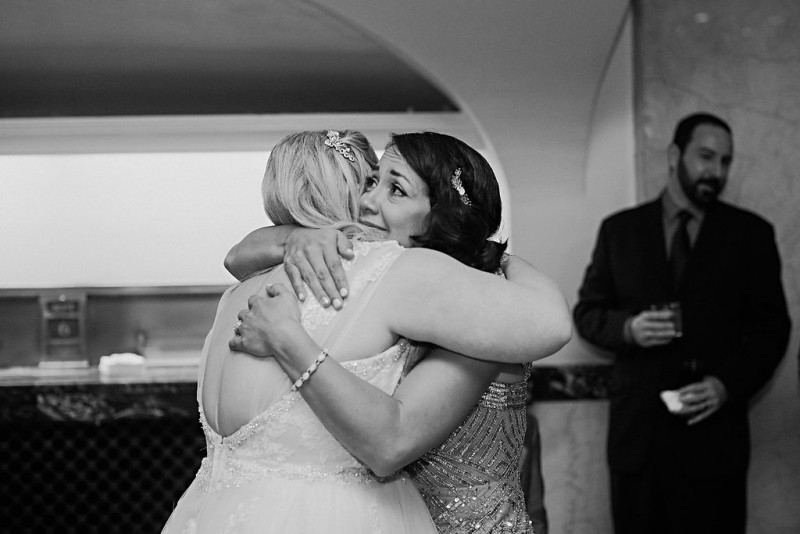
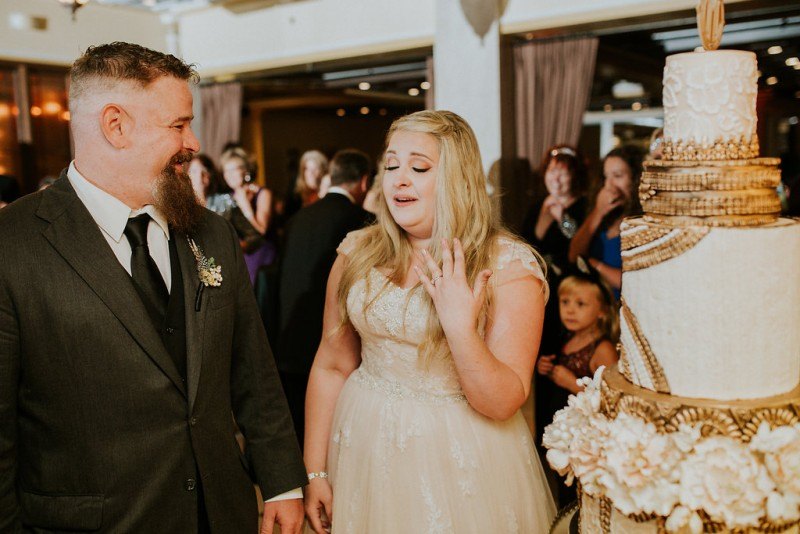
Devan McCabe, owner of Nimbi Creative Design is the beautiful bride and lucky recipient of this beautiful gift. Here is her understandable reaction when she first saw the cake.

Reception015

Aww makes me feel all sorts of warm and gooshy.

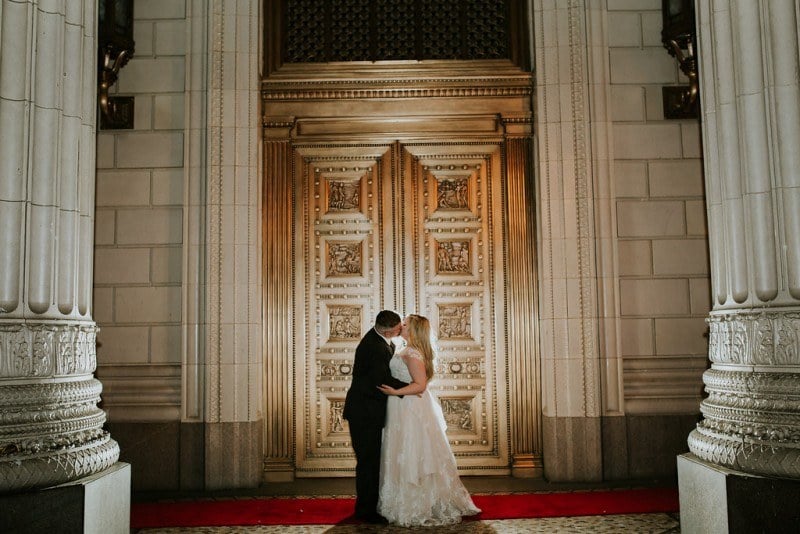
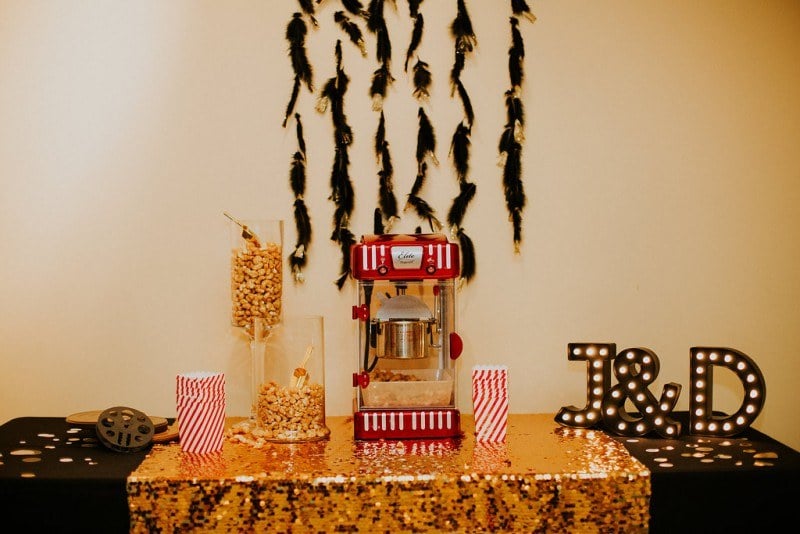
Devan herself put a crazy amount of work and design into the wedding being that's what she does and is crazy good at it. Seriously, check out her work, GAWGEOUS.  Here's a glimpse of the rest of the Old Hollywood Wedding. Coolest. Theme. Ever.

Reception002 Reception234 Details040 Details090 Details113 Details111 Reception035 Details066 Details077

The AMAZING photos were taken by Hazelwood Photo and another blog post was written about this incredible wedding over at 100Layer Cake if you'd like to check it out and swoon over the many more photos and incredibly touching video available there.

Additional Vendors:

Videographer: Moving Picture Weddings / Ceremony Venue: Crystal Springs Rhododendron Garden / Reception Venue: Treasury Ballroom / Planner: Bridal Bliss / Floral: Bramble Floral / Hair & Makeup: Jein King / Paper Goods, Décor: Bride, (Nimbi Creative) / Music: John Ross Music / Cake: Artisan Cake Company / Catering: Food In Bloom / Rentals: Something Borrowed PDX / Photo Booth: HappyMatic / Officiant: Dee Richardson / Bride's Dress: Casablanca from Anna's Bridal / Shoes: ModCloth / Ring: Kasab Jewelers / Suit: Custom from Este's / Shoes: DSW

diversifying your cake income

April 12, 2016 Blog

Diversifying Your Cake Income

Like money? Of course you do. That's an absurd question really. I know the mysterious "they" say money doesn't bring happiness but it certainly takes a whole lot of stress off when we have more of it, am I right? Less stress=More happiness. "They" also say money doesn't grow on trees but I refuse to have my dreams crushed by a pessimistic group whom I've never met and am not totally convinced exists. I mean, where do they congregate to come up with all of these silly "truths" anyway?

If you're part of the 100% of people who like money and would like to know of ways to diversify your income than this class is for you! Liz shows you how to effectively use social media, something completely foreign to most (the effectively part), to bring you more exposure and business! This information is helpful to anyone running any kind of business. You'll also learn how you can take what you've already been doing and BOOM make it bring in revenue in other ways you've probably never thought of or have been too afraid to try. How cool is that?! Liz breaks it all down to make it less overwhelming from what and when to post to websites and resources. You definitely want in on this. Check out the preview video below and Sign up to be a Premium or Elite Member of the Sugar Geek Show to get this along with hundreds of hours of other awesome info!

You can also check out the extra free advice Liz gives about Getting Better Clients, Cake Pricing, and How to Make a Great Cake Website all to help make you more money! These are live Periscope broadcasts that have been recorded and are very lax compared to a formal tutorial or class but that just makes it more fun. Like these easy-going advice packed sessions? Visit Liz's YouTube Channel for more! So go on, get out there and start making more money!

Wonder Woman Topper

April 1, 2016 Blog

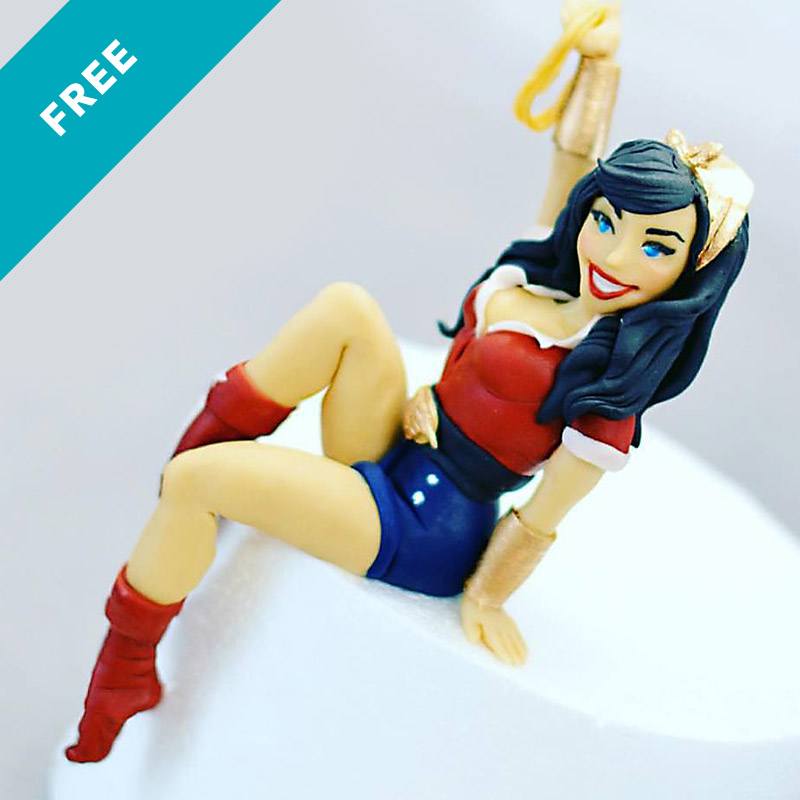
Wonder Woman Cake Topper

Skill Level: Newb
Learn how to make a cute little pin-up style wonder woman cake topper using fondant and minimal supports! Change up the design and features to make any type of sitting cake topper!

Video Content

  1. Creating the structure
  2. Sculpting the body
  3. Sculpting the head
  4. Finishing details
How to Pack and Ship a Cake Topper

April 1, 2016 Blog

How to Package a Topper and Ship it

Skill Level: Newb
How to pack toppers so you can ship them anywhere!

Video Content

  1. Tips for making a successful topper to ship
  2. Preparing your topper for shipping
  3. Shipping your topper safely
diversifying your cake income live business seminar

April 1, 2016 Paid Video

Diversifying Your Cake Income

Skill Level: Intermediate
Making a profit with your cake business can be a real challenge. In this video, Liz walks you through them most popular social medial platforms for your business and how you can utilize them to make additional income with minimal work.

Video Content

  1. Learn how to leverage social media and what users on social media want
  2. Youtube: how to film tutorials and make passive income
  3. Etsy/Ecwid: how to use online stores to promote your non-cake work
  4. Instagram: why you should be using it and how it helps you get clients
  5. Facebook: how to get the most out of posting, when to post, what to post and how often
Open Rose Gumpaste Sugar Flower Tutorial

April 1, 2016 Course Preview

Open Rose Sugar Flower

Skill Level: Intermediate
Sugar flowers can seem very scary to beginners and experienced cake decorators alike but Shaile Socher teaches you some very simple techniques for a beautiful open rose. Complete with matching leaves. This flower can be customized in colors to suit your cake design and is an easier version of the traditional rose.

Video Content

  1. Creating gumpaste petals
  2. Making your own centers
  3. Making gumpaste leaves
  4. Dusting
  5. Assembly

Downloads

Materials List

diversifying your cake income live business seminar

April 1, 2016 Course Preview

Diversifying Your Cake Income

Skill Level: Intermediate
Making a profit with your cake business can be a real challenge. In this video, Liz walks you through them most popular social medial platforms for your business and how you can utilize them to make additional income with minimal work.

Video Content

  1. Learn how to leverage social media and what users on social media want
  2. Youtube: how to film tutorials and make passive income
  3. Etsy/Ecwid: how to use online stores to promote your non-cake work
  4. Instagram: why you should be using it and how it helps you get clients
  5. Facebook: how to get the most out of posting, when to post, what to post and how often
Open Rose Gumpaste Sugar Flower Tutorial

April 1, 2016 Paid Video

Open Rose Sugar Flower

Skill Level: Intermediate
Sugar flowers can seem very scary to beginners and experienced cake decorators alike but Shaile Socher teaches you some very simple techniques for a beautiful open rose. Complete with matching leaves. This flower can be customized in colors to suit your cake design and is an easier version of the traditional rose.

Video Content

  1. Creating gumpaste petals
  2. Making your own centers
  3. Making gumpaste leaves
  4. Dusting
  5. Assembly

Downloads

Materials List

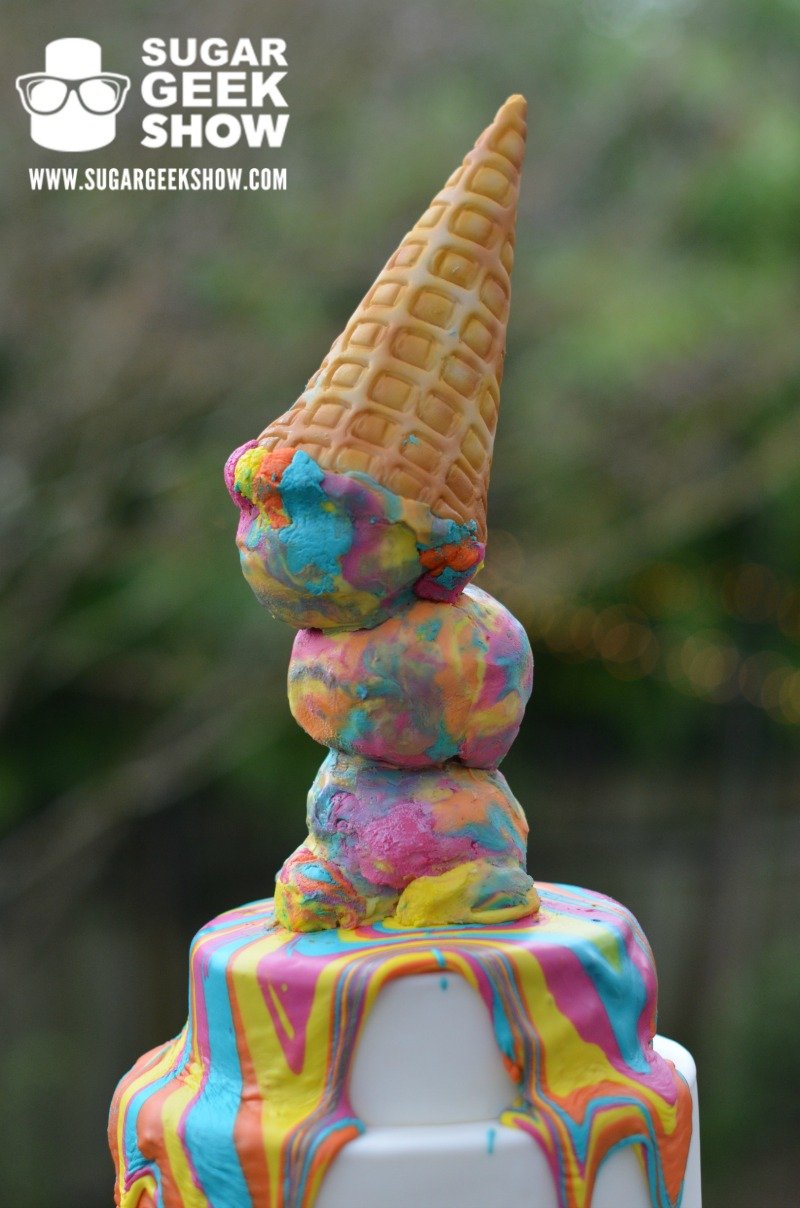
Melting Ice Cream Cake

March 29, 2016 Blog

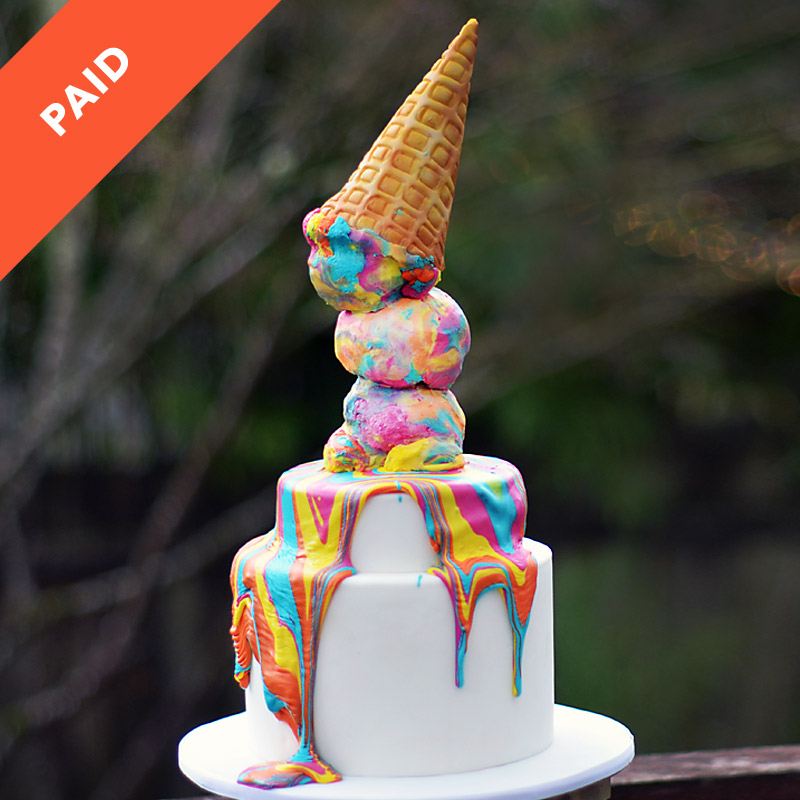
A Melting Ice Cream Cake Never Looked So Fun

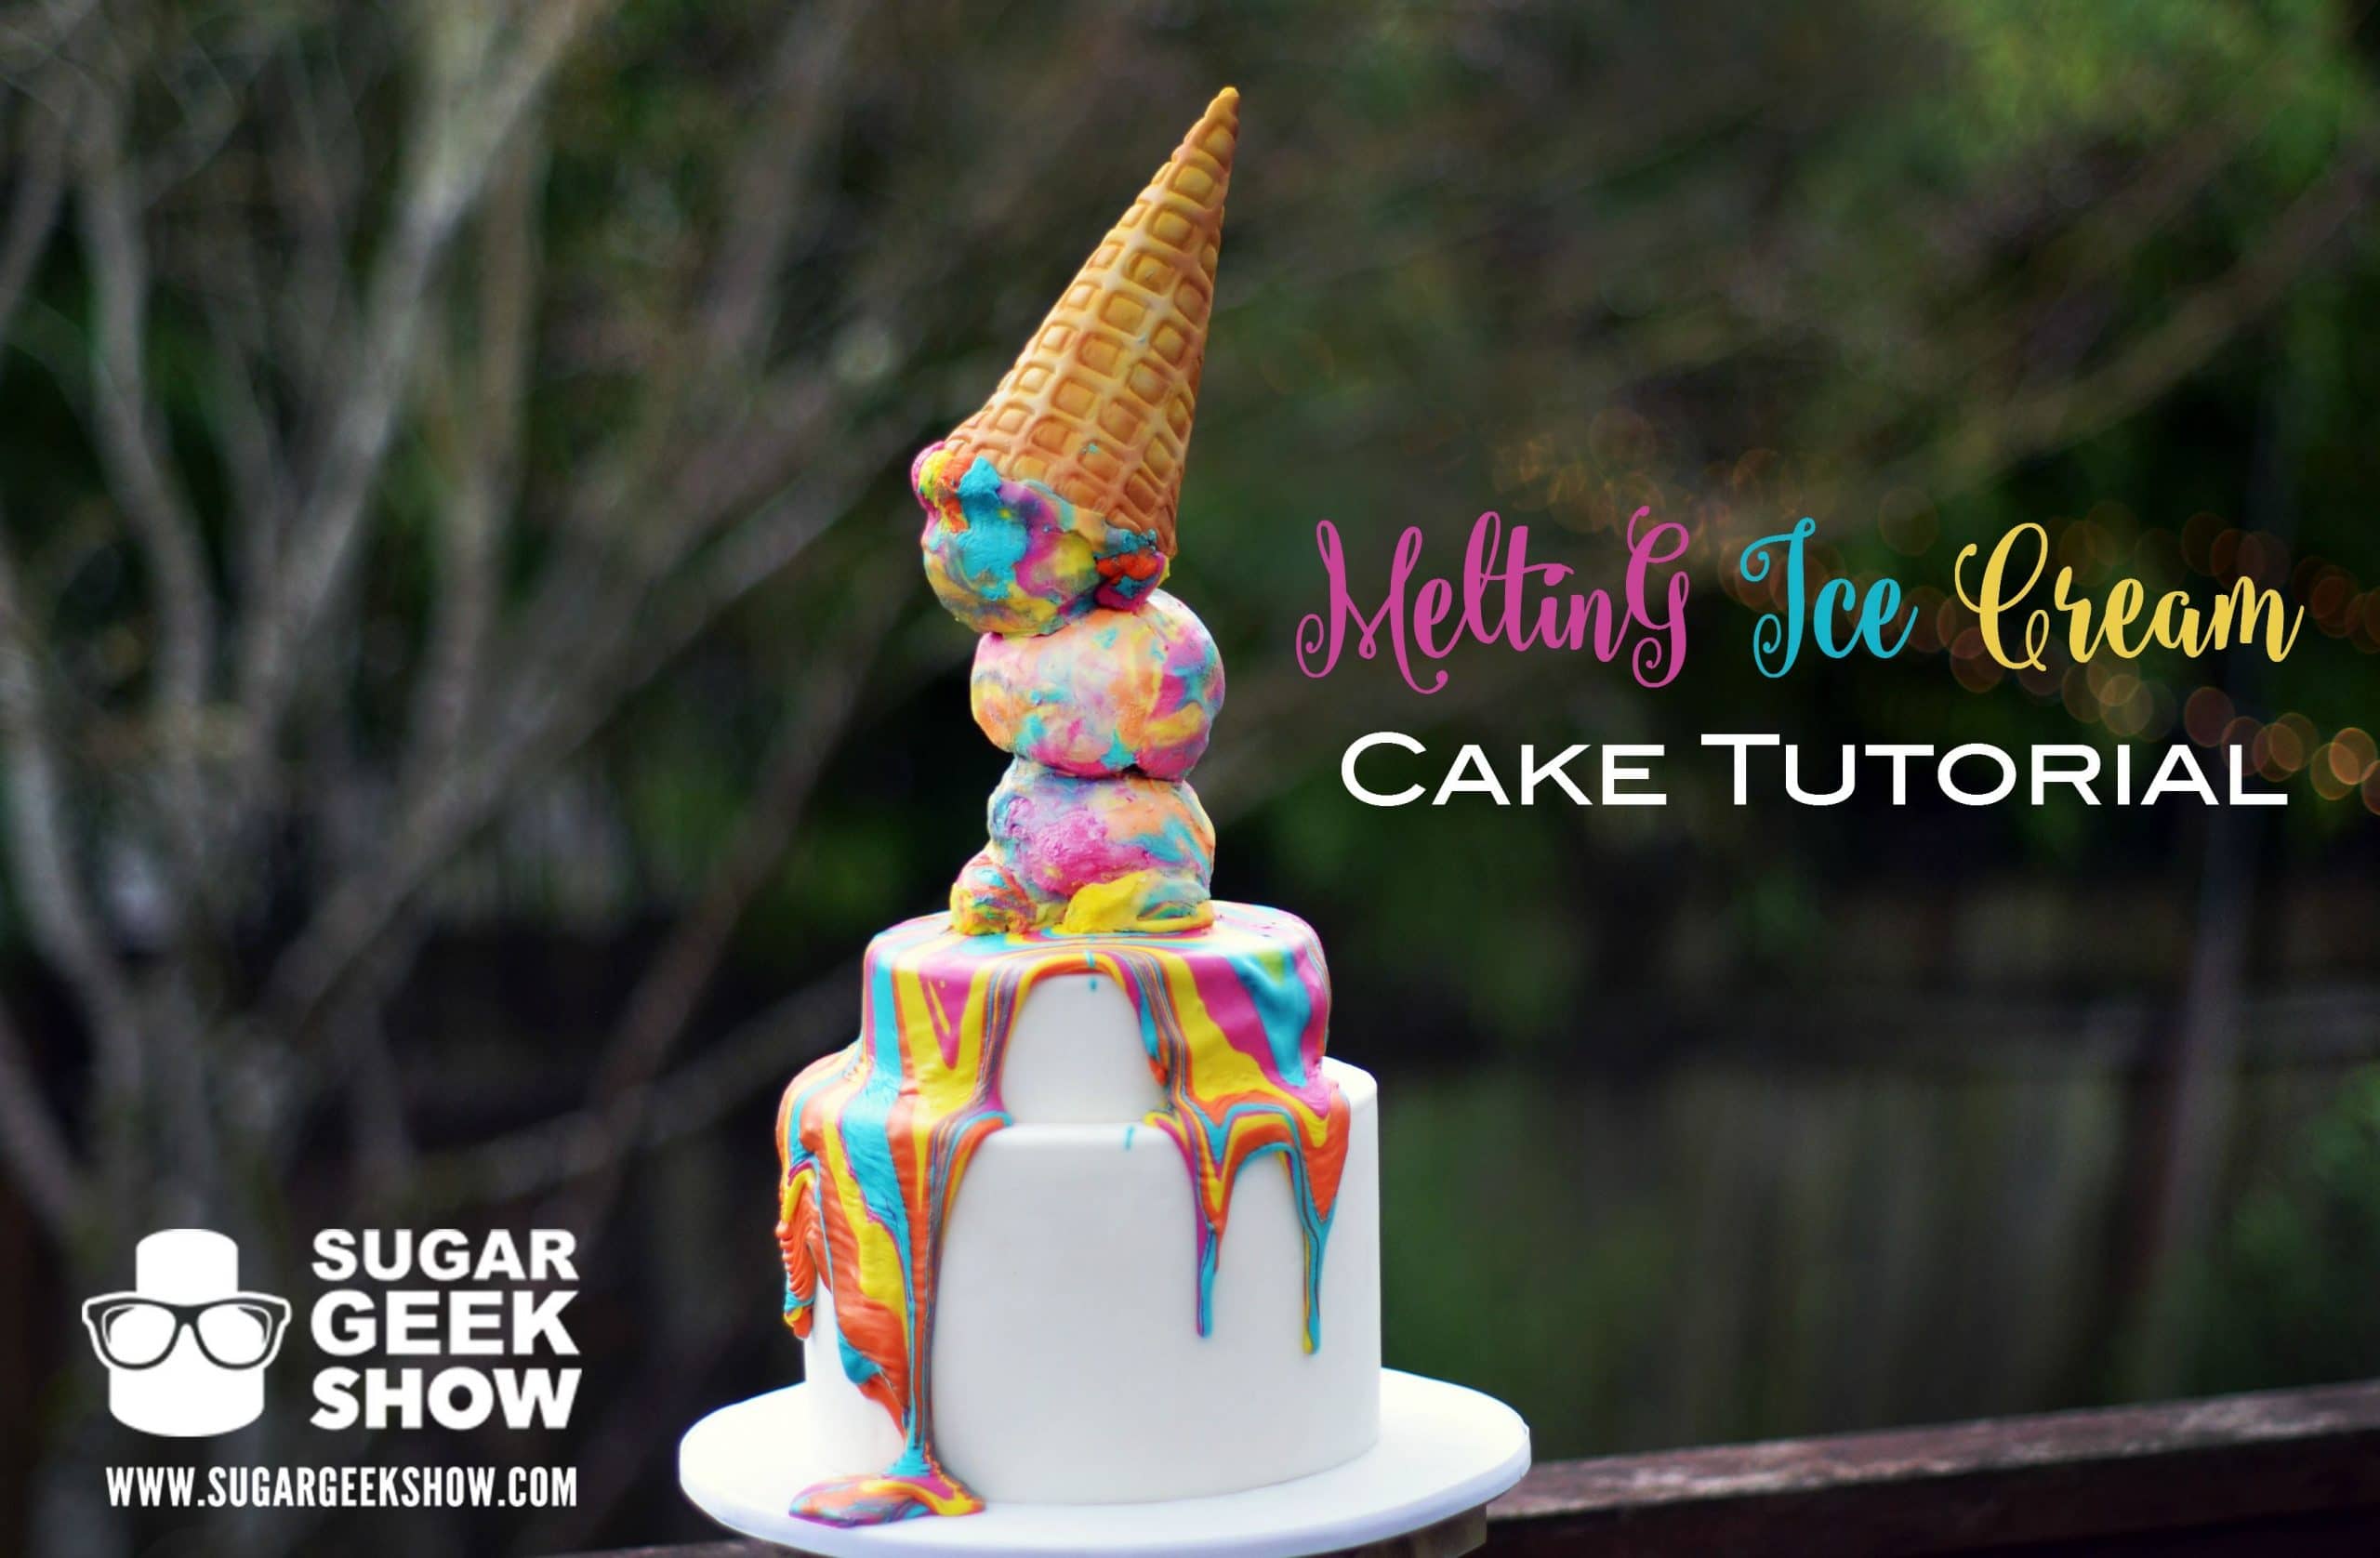
So drip cakes are super popular right now and a giant melting ice cream cake with an amazing gravity-defying waffle cone is an awesome excuse to use the drip technique in a fun way! The only thing more fun than a bright, colorful birthday cake would be ice cream to go with the cake. So we created a cake tutorial that puts the ice cream on top of the cake. Although it looks melted, it will hold up and keep it's cool design far longer than real ice cream.
New Ways to Use Drip Cake Technique

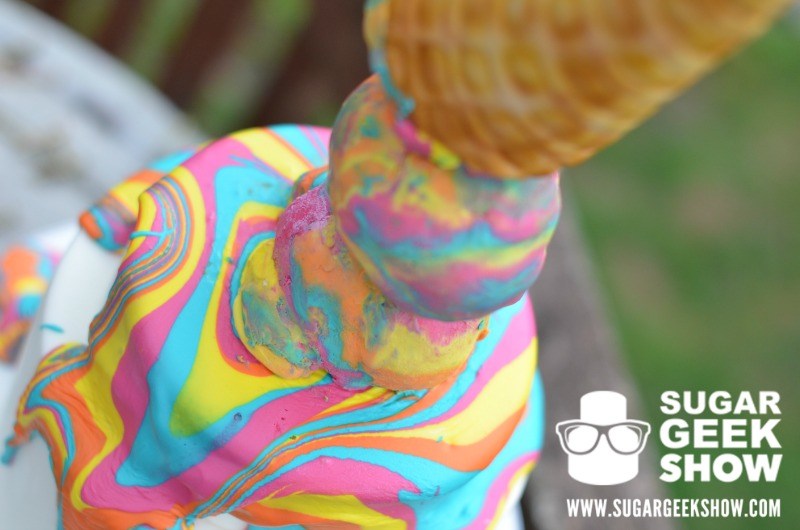
This cake looks like a giant ice cream cone flipped itself over onto the cake and is melting into a rainbow of deliciousness. It doesn't get much more fun than that and this technique is easy to pull off!

Also, the best part is you don't even have to clean up the mess or listen to any heartbroken crying children.

You can mix up the colors and even add extras to customize the look to your theme. Ombre maybe? Let's not forget that this design is also gravity-defying which is another awesome factor that can be used in many different cake designs.

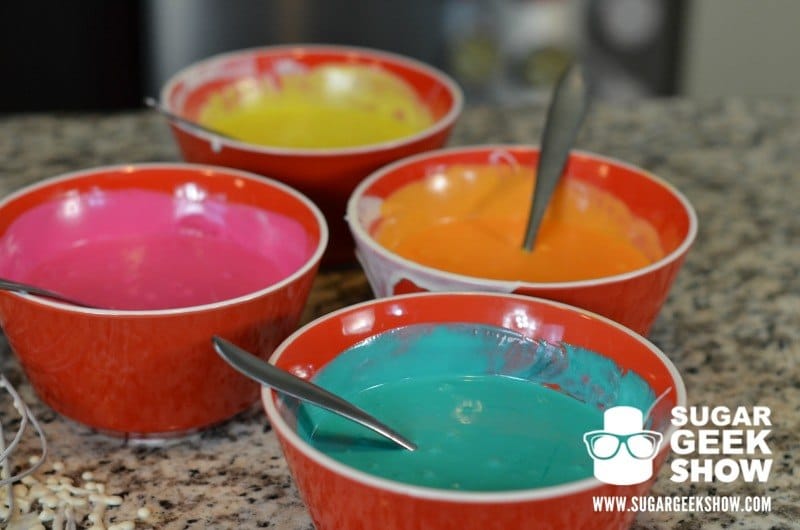
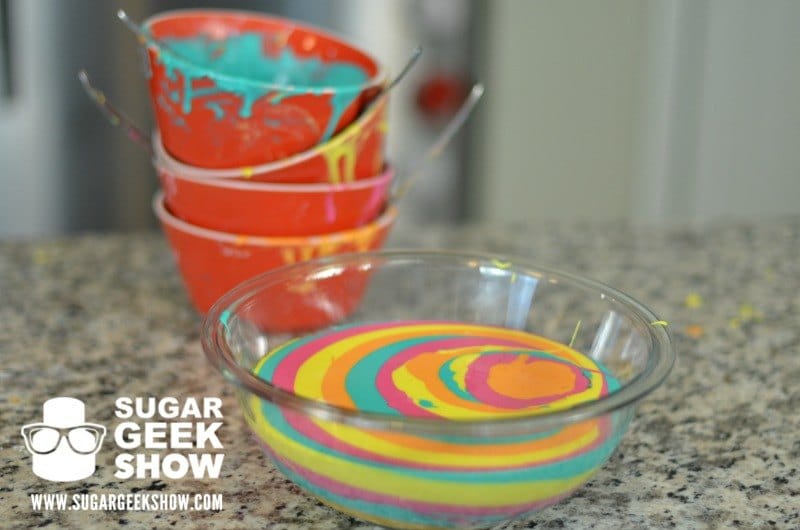
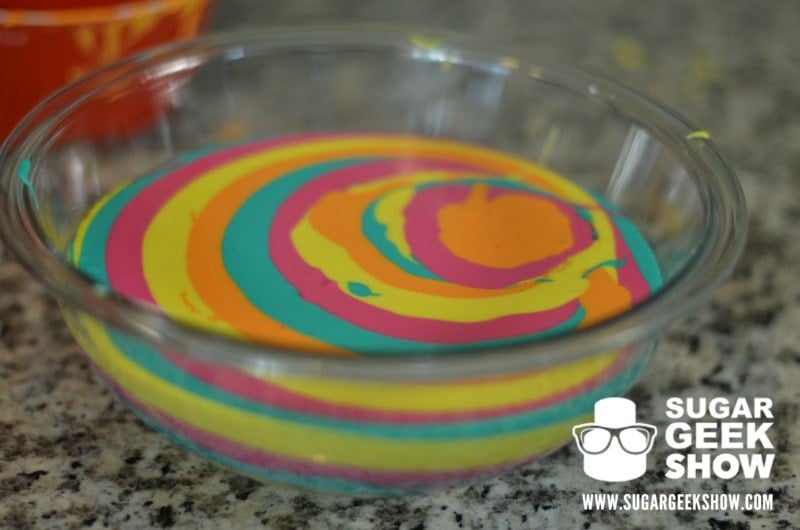
Bowls of Rainbow Ganache
Rainbow Chocolate Ganache

Any time you can use vibrant colors, you should! Bright colors add so much interest to a cake design and really make it pop. Just check out that eye candy. Makes you want to ride a unicorn through a rainbow while eating ice cream and who wouldn't want that?

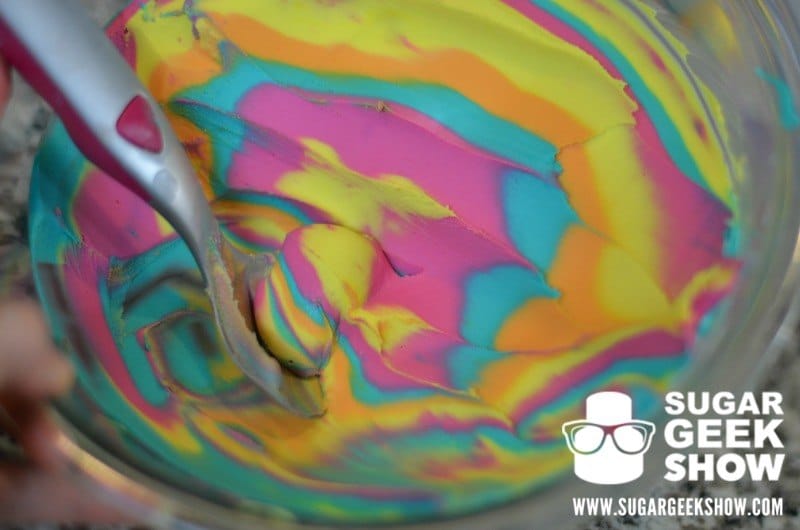
Rainbow Ganache

Because the ratio we use to make the ganache for the scoops is just right and is a perfect consistency to mimic scoopable ice cream. The consistency of the second ganache allows for the awesome melted drip effect and looks amazing.

Melting Ice Cream Cone Drip Cake Technique

Make Your Own Waffle Cones at Any Size

You could just use a real waffle cone but why be restricted to the standard size? ice cream cake class will teach you how to make your own realistic cone at any size.

Re-creating food cakes is so much fun because it doesn't have to be perfect because food isn't perfect! In fact, almost nothing in life is so those little added textures, color differences and variations actually add to the realism. Embrace them and have fun with it!

Melting Ice Cream Cone

Ice Cream Cake Tutorial Available to Sugar Geeks

This Ice Cream Cone Drip Cake Tutorial is available for paid members of The Sugar Geek Show, sign up here for this and many other amazing tutorials!

Want a freebie? Check out this fun and easy Drip Cake Tutorial for free. You'll learn the basics of how to pull off this technique, and it's very easy for beginners. A simple cake with the drip technique will wow your friends and family.

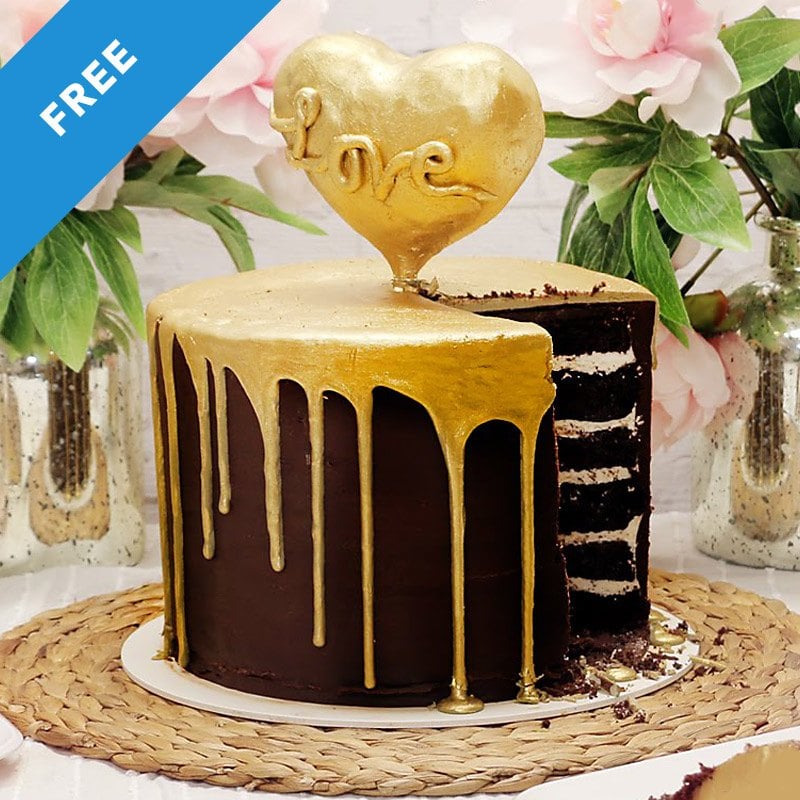
Heart of Gold Drip Cake

March 2, 2016 Course Preview

Heart of Gold Drip Cake

Skill level: Newb
Make your Valentine's heart melt with this golden drip cake! Create yummy salted caramel filling, decadent chocolate cake and delicious ganache all topped by a dazzling drizzle of gold. Anyone can make this cake!

Video Content

  1. Preparing ganache drizzle
  2. Stacking and Icing the Cake
  3. Making the Heart
  4. Painting and finishing details
Geode Love Cake Tutorial

March 2, 2016 Course Preview

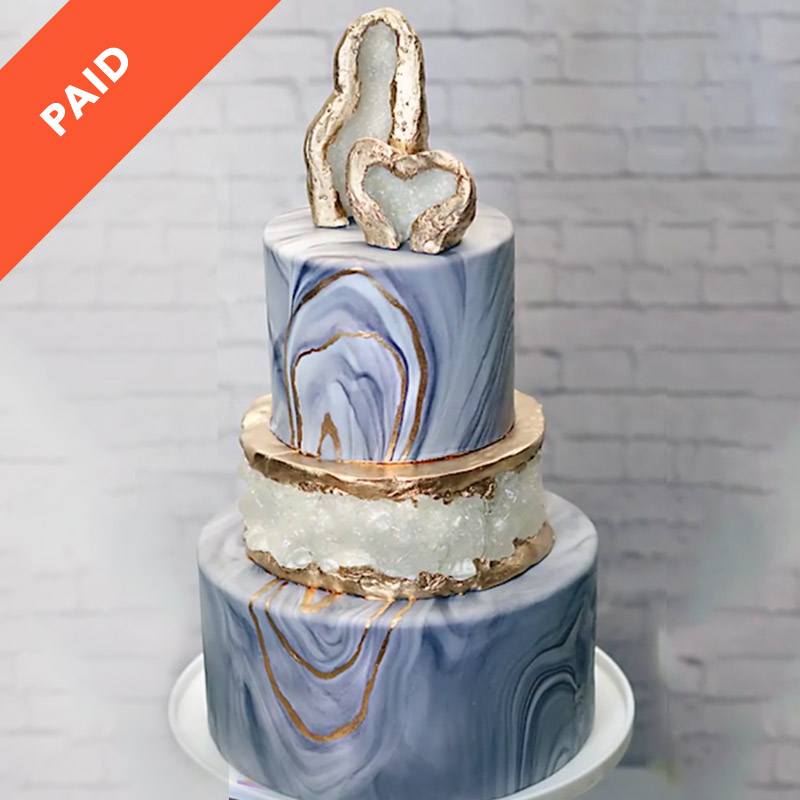
Geode Love Cake Tutorial

Skill level: Intermediate

Geode cakes are so trendy right now! Learn the tricks to making a spectacular geode cake with stunning details and a crystal center spacer. This cake is sure to elevate your work and get clients interested in this amazing trend in the cake community.

Liz Marek's unique take on this growing trend incorporates a geode running horizontally through the middle of the cake as well as some hand-made geode toppers, one in the shape of a heart!

24:32 Minutes of Instruction

What You Will Learn

  • How to create the crystal geode topper this trend is known for
  • How to create a realistic center geode spacer
  • A cool technique to create a marbled fondant that looks like a realistic geode design

Tutorial Chapters

  1. Making the marbled top tier 0:38
  2. Working on the bottom tier 4:18
  3. Making the gem mold 9:53
  4. The geode topper 13:54
  5. Stacking the cake tiers 30:34
  6. Painting the gold onto the cake 21:28

Downloads

Materials List

Related Videos


Geode Cake Topper


Mold Making Tutorial

Baseball Glove Cake Tutorial by Sara Myers

March 2, 2016 Course Preview

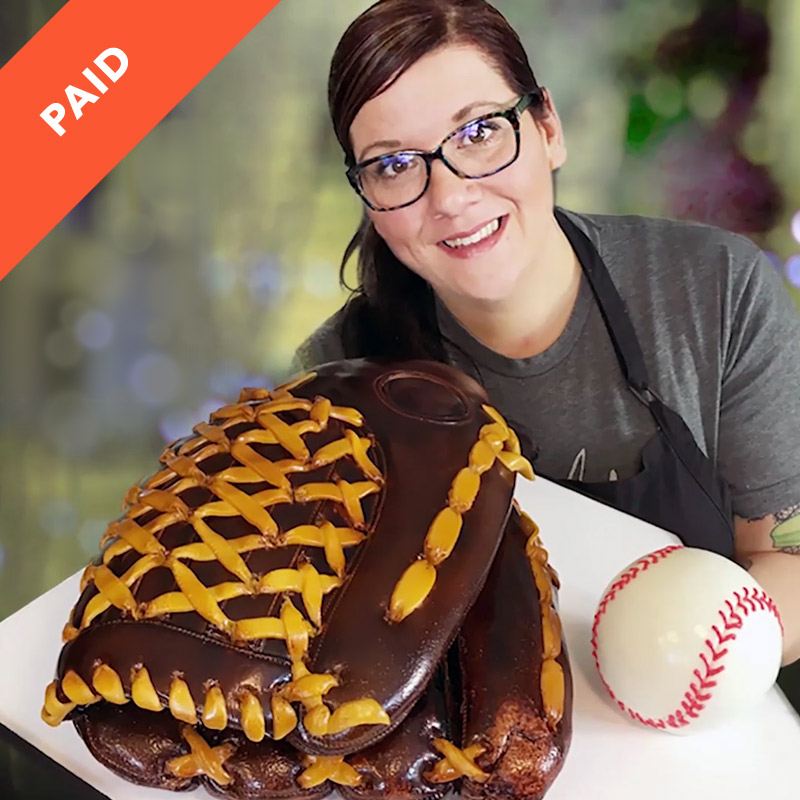
Baseball Glove Cake

Skill Level: Intermediate

Let's PLAY BALL! Learn to make this 100% cake baseball glove complete with cake baseball. Sarah Myers of High Five Cakes shows you how to make this super realistic and super delicious cake!

Video Content

  1. Sculpting your cake
  2. Applying buttercream to odd shaped cakes and applying fondant
  3. Making the ball
  4. Airbrushing and final details

Downloads

Materials List
Baseball Glove Template

Baseball Glove Cake Tutorial by Sara Myers

March 1, 2016 Paid Video

Baseball Glove Cake

Skill Level: Intermediate
Let's PLAY BALL! Learn to make this 100% cake baseball glove complete with cake baseball. Sarah Myers of High Five Cakes shows you how to make this super realistic and super delicious cake!

Video Content

  1. Sculpting your cake
  2. Applying buttercream to odd shaped cakes and applying fondant
  3. Making the ball
  4. Airbrushing and final details

Downloads

Materials List
Baseball Glove Template

Geode Love Cake Tutorial

March 1, 2016 Paid Video

Geode Love Cake Tutorial

Skill level: Intermediate

Geode cakes are so trendy right now! Learn the tricks to making a spectacular geode cake with stunning details and a crystal center spacer. This cake is sure to elevate your work and get clients interested in this amazing trend in the cake community.

Liz Marek's unique take on this growing trend incorporates a geode running horizontally through the middle of the cake as well as some hand-made geode toppers, one in the shape of a heart!

24:32 Minutes of Instruction

What You Will Learn

  • How to create the crystal geode topper this trend is known for
  • How to create a realistic center geode spacer
  • A cool technique to create a marbled fondant that looks like a realistic geode design

Tutorial Chapters

  1. Making the marbled top tier 0:38
  2. Working on the bottom tier 4:18
  3. Making the gem mold 9:53
  4. The geode topper 13:54
  5. Stacking the cake tiers 30:34
  6. Painting the gold onto the cake 21:28

Downloads

Materials List

Related Videos


Geode Cake Topper


Mold Making Tutorial

Heart of Gold Drip Cake

February 28, 2016 Free Video

Heart of Gold Drip Cake

Skill level: Newb
Make your Valentine's heart melt with this golden drip cake! Create yummy salted caramel filling, decadent chocolate cake and delicious ganache all topped by a dazzling drizzle of gold. Anyone can make this cake!

Video Content

  1. Preparing ganache drizzle
  2. Stacking and Icing the Cake
  3. Making the Heart
  4. Painting and finishing details
Bubble Cake Tutorial

February 1, 2016 Course Preview

Blowing Bubbles Cake

Skill Level: Intermediate
Learn the secrets on how to create this gorgeous bubble cake that has gone viral multiple times! Sarah Myers teaches you all her tips and tricks for 100% success!

Special Guest Instructor

Sarah Myers

Video Content

  1. Preparing bubbles
  2. How to customize your silhouette
  3. Assembling bubbles
  4. Finishing touches

Downloadables

Silhouette Templates

Bubble Cake Tutorial

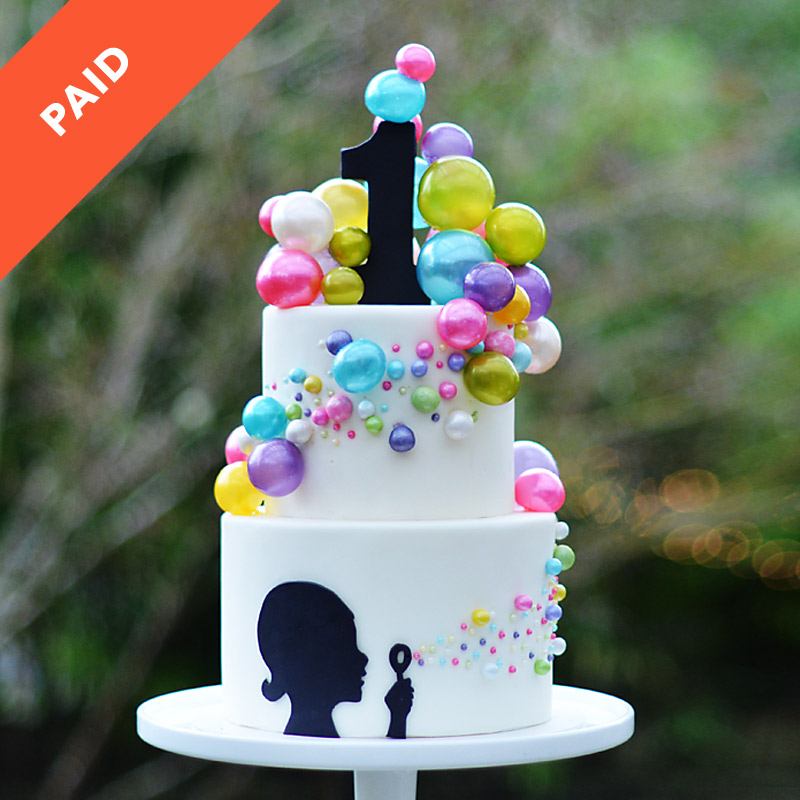
February 1, 2016 Paid Video

Blowing Bubbles Cake

Skill Level: Intermediate
Learn the secrets on how to create this gorgeous bubble cake that has gone viral multiple times! Sarah Myers teaches you all her tips and tricks for 100% success!

Special Guest Instructor

Sarah Myers

Video Content

  1. Preparing bubbles
  2. How to customize your silhouette
  3. Assembling bubbles
  4. Finishing touches

Downloads

Silhouette Templates

melting rainbow cake tutorial

February 1, 2016 Course Preview

Melting Ice Cream Cake

Skill level: Intermediate
Love the look of those drip cakes but want to make something even more unique? Why not a melting ice cream cone cake. Mix up the colors and customize it to your theme!

Video Content

  1. Preparing the Ice Cream Ganache
  2. Preparing the Drip Ganache
  3. Making the cone
  4. Assembling and finishing details

Downloads

Materials List

Melting Ice Cream Cake

February 1, 2016 Paid Video

Melting Ice Cream Cake

Skill level: Intermediate
Love the look of those drip cakes but want to make something even more unique? Why not a melting ice cream cone cake. Mix up the colors and customize it to your theme!

Video Content

  1. Preparing the Ice Cream Ganache
  2. Preparing the Drip Ganache
  3. Making the cone
  4. Assembling and finishing details

Downloads

Cone Template
Materials List

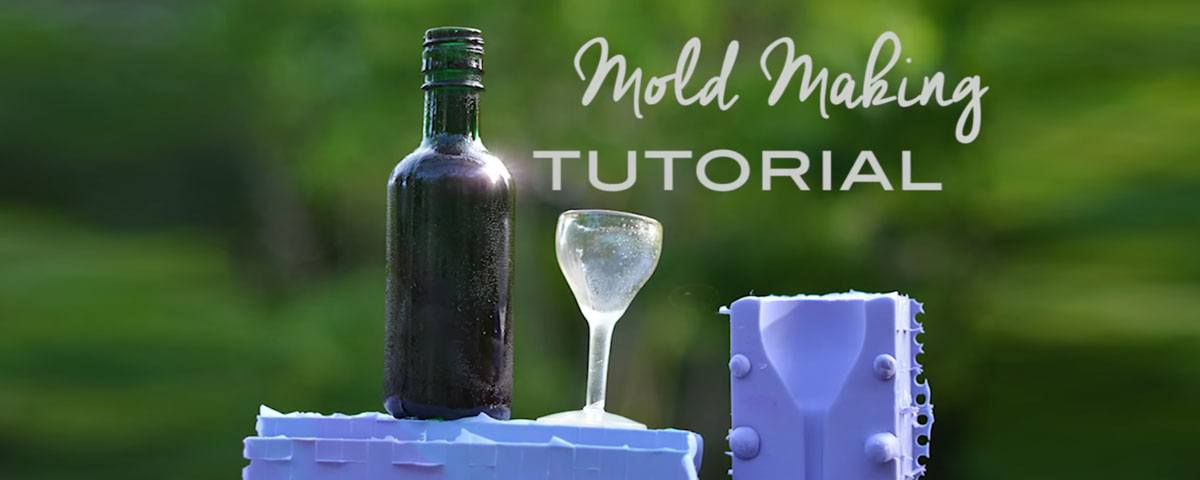
Wine Themed Mold Making Tutorial

January 6, 2016 Course Preview

Wine Themed Mold Making Tutorial

Wine-themed mold making tutorial for making edible wine glasses out of isomalt and sugar

Skill level: Intermediate
Learn how to make your own wine bottle and wine glass molds using legos!
Wine Themed Mold Making Tutorial

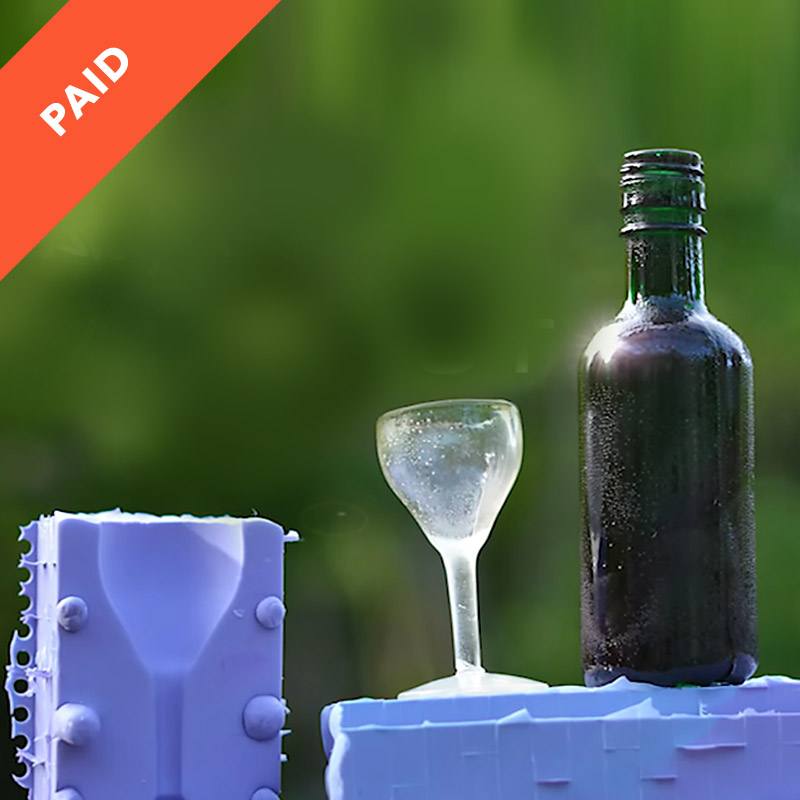
January 6, 2016 Paid Video

Wine Themed Mold Making Tutorial

Skill level: Intermediate
Learn how to make your own wine bottle and wine glass molds using legos!

Downloads

Materials List

T-Rex Dinosaur Walkman Cake

January 1, 2016 Course Preview

Tyrannosaurus Walkman Cake Tutorial

Skill level: Advanced
At some point in every person's life, they want a dinosaur as a pet. Well now you can have the next best thing, dino cake! Learn to make this awesome tyrannosaurus-rex cake that is all cake from top to tail!

Video Content

  1. Creating the structure
  2. Stacking and sculpting cake
  3. Covering with fondant and adding details
  4. Airbrushing and hand-painting

Downloads

Dino Templates

« Previous Page
Next Page »

Primary Sidebar

Hi, I'm Liz! I'm a cake artist and recipe developer, and I won Netflix's Is It Cake? Holiday 2 with a hyperrealistic Santa. I write foolproof recipes that explain why things work, not just how.

I also teach full-length cake tutorials, including sculpted cakes, at Sugar Geek University.

More about me →

Our Cake Greatest Hits

Check out our best cake recipes

Celebrate Halloween 🎃
  • black and white striped cake with pink drip, gummy eyeball with ice cream cone on top
    Gummy Eyeball Cake
    Cook Time1 Hours 30 Minutes
  • close up of a slice of black velvet cake
    Black Velvet Cake
    Cook Time50 Minutes
  • monster mash cheesecake brownies cut into squares on a white background. Sprinkles, pumpkins and plates around the brownies
    Monster Mash Cheesecake Brownies
  • close up of candy apples
    The Best Candy Apple Recipe
  • pumpkin pie recipe
    Pumpkin Pie Recipe
    Cook Time2 Hours
  • close up of pumpkin cheesecake bars on a plate
    Pumpkin Cheesecake Bars
    Cook Time4 Hours

Popular Recipes

  • close up of ganache drizzling into a bowl
    The Best Chocolate Ganache Recipe
    Cook Time20 Minutes
  • Piping easy buttercream rosettes onto a cake using a 1M star piping tip
    Easy Buttercream Frosting
    Cook Time25 Minutes
  • close up slice of marble cake
    Moist and Fluffy Marble Cake Recipe
    Cook Time40 Minutes
  • Slice of red velvet cake with cream cheese frosting on a white plate.
    Red Velvet Cake Recipe
    Cook Time1 Hours 40 Minutes

Footer

↑ back to top

About

  • Privacy Policy
  • Terms of Service

Newsletter

  • Sign Up! for emails and updates

Contact

  • Contact
  • About Us

Copyright © 2024 Sugar Geek Show, Inc. All Rights Reserved.