
Why You Should Teach Online
Today, more and more people are learning how to do things online from the comfort of their own home. I mean, it makes sense. It can be really expensive to learn in-person. You have to take time off from work, buy a plane ticket, hotel, pay for the event, food, supplies and of course, the fee for the class. And many times, people are limited by their geography.
And what about the teacher? It can often times be very costly to travel to teach. It's a risk to host a class, buy the supplies, find a venue, block out the time and then hope that the class gets filled. Sometimes classes will even be canceled because not enough students were in that geographical location to fill a class.
Because of this limitation and expense, many creators are taking advantage of teaching online. The advantage to teaching online is that your students can reach you from anywhere. They can learn on their own terms, time limits, pace and of course, the cost is much lower for everyone. The disadvantage for most is that it's a new platform that is unfamiliar and can seem very intimidating.
Don't worry!
I'm here to tell you if you truly feel passionate about the subject you want to teach, understand it inside and out, LOVE to teach and have a camera (either phone, handycame, DSLR, webcam, etc.) then you can make videos online and extend your reach far beyond geographical or financial limitations.
Example of What We're Looking for
Most instructors think that we want this polished, super-finished and organized file. That's not the case at all. Believe it or not, my videos are very boring unedited. I say "um" a lot, I accidentally go off camera. I make mistakes and I have to re-do them. This is all completely normal. Videos consist of many, many video clips that we then edit together. All you have to do is organize your thoughts.
Here is an example of a simple video tutorial from one of our guest instructors, Danette Short
Breaking it Down Into Parts
If you study this video, you will see it is broken down into parts.
- Introduction - Who you are, what your business name is, what you're going to teach (project name) the main things the viewer will learn in the tutorial (making buttercream, sharp edges with acrylics, making buttercream hydrangeas, etc.) Don't be afraid to take breaks between sentences, say it as many times as you need to until it sounds natural and fluid. Pretend that you're talking to a friend. You don't have to be too formal.
- Preparation - Make sure you write down a game plan. List out all the steps of your tutorial and have it nearby so that you keep yourself on track. Please get this list approved before you start filming just in case there is a question or we need you to add something. Email to liz@sugargeekshow.com
- Presentation - Make sure you look professional. By no means do you need to wear a chefs coat. No one enjoys working in those. Just keep in mind that students want to see a clean environment, clean nails/hands, clean professional clothing. T-shirts with your logo are great or aprons. Remember to keep your hands clean as you work and wear gloves for really messy parts or if your hands are going to be touching cake/food/filling. Don't worry about using gloves for making flowers, handling fondant etc. List example:
Step 1: Supplies
Step 2: Making our structure
Step 3: Preparing fondant, buttercream, gumpaste
Step 4: Stacking and carving
Step 5: Crumb coat and final coat of buttercream
Step 6: Covering the cake
Step 7: Making details (you can break these steps down even further if there are many details)
Step 8: Cake assembly
Step 9: Introduction (I usually film my intro and talk about the cake after the cake is finished so you can have it sitting nearby)
Step 10: Outtro: Thank the viewers for watching "Okay, that's everything you need to know about making ______ I hope you enjoyed learning this tutorial. I'm (insert name) and I'll see you guys next time.
Step 11: Final shots of the project - Work flow: Remember, each thing you teach should be contained. You might jump from making buttercream to making toppers in real life but in a tutorial, everything needs to relate to each other. And for editing purposes, it will take a lot longer to figure out what goes where if you are all over the place.
1. Getting our supplies together - "Okay, so first of all we need to get our supplies together. For this tutorial you will need..." Go on to explain the different materials and tools we will be using. Make sure you also write this list down and separate it out into 3 categories: Edible materials, General Tools, Structure (if applicable) Please include any special recipes that you refer to as well. Send these in a PDF or Word Doc along with your video files.
2. Begin your series of tutorials. Make sure that your camera is close enough to your hand that the viewer can see what you are doing. If you are making a big project like assembling structure, make sure that your background is clean and tidy. Continue filming, step 2, step 3 etc until you finish your project.
3. Stop the camera when you're done showing that step. Don't be afraid to move your camera for different steps. Sometimes you might need to be far away, sometimes you might need to come in close. Always be aware of the camera and whether or not the viewer can see what you're doing.
4. Please make sure to take some video clips of the finished project when you take your finished photos. We use these clips to promote your project! Include a simple pan of the project from top to bottom. Then a video that is 10 seconds long that features each technique that the student will learn. Example: Hand painting - film areas of the cake that feature hand-painting. You don't really have to move the camera unless you want to.
5. Make sure the action and content happens on camera in the top ⅔ of the screen. We need room in the bottom ⅓ of the screen to add text to point viewers to helpful recipe links, tutorial chapter markers and references to websites. It's okay to have the camera up close with the cake fully filling the screen, just try to not have something super busy like a cooling rack or mesh netting in the bottom ⅓, because putting text over the top of that looks very messy and is hard to read.
Example of "promo video clips"
6. Don't feel like you have to talk all the time: If you're doing something repetitive that does not require talking, don't talk. I will speed up these parts. Do not make additional comments unless it's vital information. The reason for this is during the editing process, I can see the audio file. If it's blank, I know the next portion is for speeding up. If I see a little blip, I know you said something important and to stop the speeding at that point to include the tip. I hope that makes sense.
As you can see we will also take some clips of the making of the project which is why it's also important to keep your workspace clean so if we need to use that area of the video for a promo, it looks nice and presentable.
Equipment overview
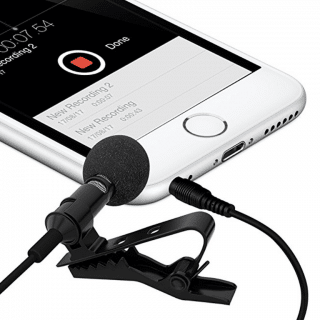
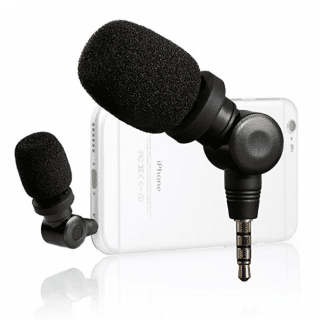
- Audio: Make sure that whatever audio you're using is working correctly. The sound is SUPER important. Make sure your voice is clear and you are talking clearly when explaining parts of the tutorial. If you feel like hearing you might be an issue on your phone, please get an phone lavelier or a microphone that clips into your phone. The brand of your phone will determine what you will get. If you need help finding something let me know.Make sure that you turn off any loud fans, heaters or other devices that create loud hums, beeps or other things that will make external noise. I know it can be hard to film in a quiet environment with families and life around us so just do the best you can.

- Holder: Make sure you have a stand for whatever camera you are using. For a phone I recommend using the ARKON pro stand. If you use the code "sugargeek" on checkout you can get 20% off. I Also recommend not placing this stand on your countertop while you are doing heavy work like rolling out fondant or using a mixer because it will cause the camera to shake. Place it on an end table nearby.For DSLR or handy-cam, a simple tripod is usually all you will need
- Lighting. Natural light is best but if you must film at night, please please make sure your space is well lit. You can use cowboy light kits with soft boxes, or LED light panels. Please do not use fluorescent lights or it will be very hard to edit the video or unusable. Natural light next to a window but not in direct sunlight is best, easiest and least expensive. If you need help with lighting let me know and I can make recommendations.
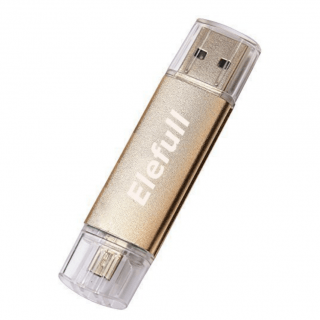
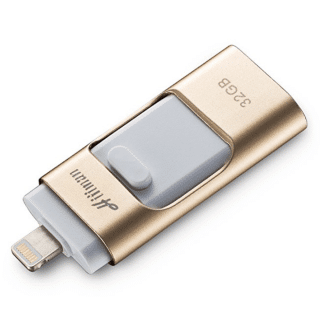
- When you're done filming, make sure you remove all the files and place onto a portable USB stick. Do not re-name them please. Include any recipes, templates or other files I need on the disk. You can get them pretty inexpensive on amazon.If you're using a phone, then you can download the files from your phone directly onto a USB and send that to me or you can transfer them to your computer then a portable USB and mail to me. Please mail USB disks in a padded envelope to prevent damage to
Sugar Geek Show
1086 SW Tobias Way
Beaverton, OR 97003
Search "phone flash drive" on amazon to find one that fits your phone
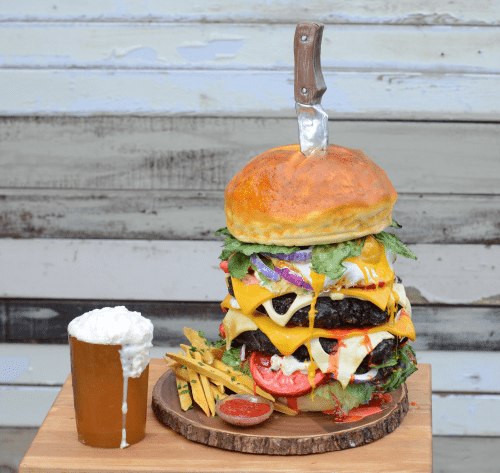
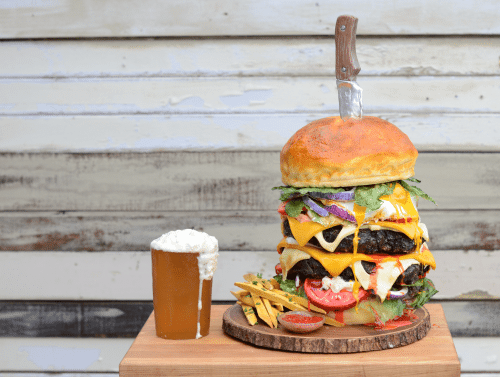
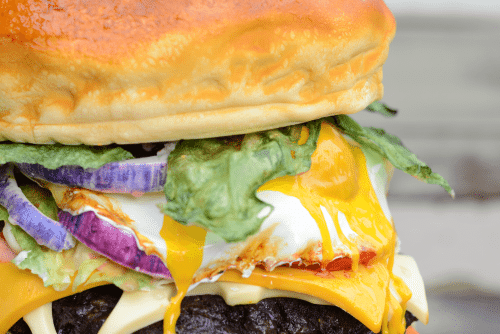
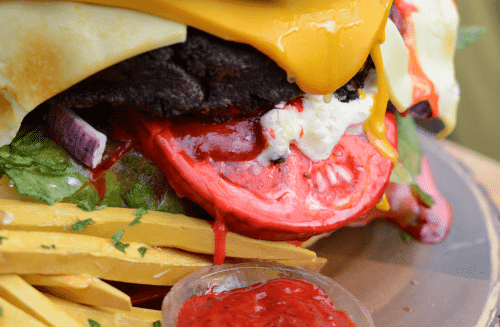
5. Don't forget the photos! For every tutorial we need a few photos of the finished product. One main photo of the project on a blank background. Ideally there is a little space to the left or right for words. One photo of the project with a little space above it. One photo of the project that is centered that can work for the instagram post and 2-3 photos of detail shots for the blog post. Let me know if you have questions and make sure you include these images with your video files.
If you're not comfortable taking photos, consider having a professional take the photos for you. Remember, these photos are going to get people to want to make your project! The better they are, the more people will want to make them.
Photo examples:


Now what?
After you send us your files, we will work on editing them. We'll let you know when we will publish the video so we can cross-promote the videos and tag you on social media!
Make sure we have your
- Headshot
- Bio
- Social medial links and website
- logo
Payment: Please send invoice for payment to kelsey@sugargeekshow.com and make sure it's "from" your company name and made out to "sugar geek show" for tax purposes. Let us know if you prefer payment by check or PayPal.
That's it! We're looking forward to working with you here at Sugar Geek Show and we're always looking for new instructors! Let us know if you need anything at all, we're here to help you through this process.
Sincerely,
Liz & Dan