

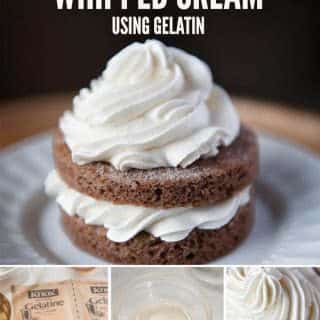
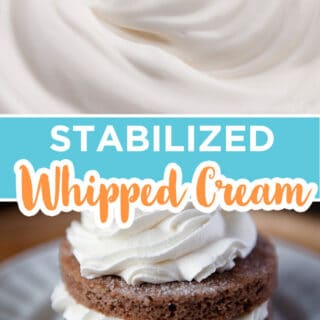
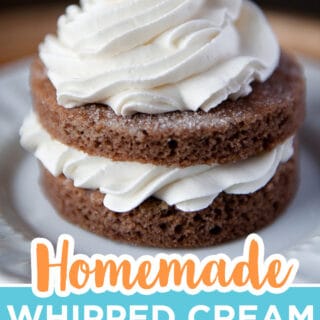
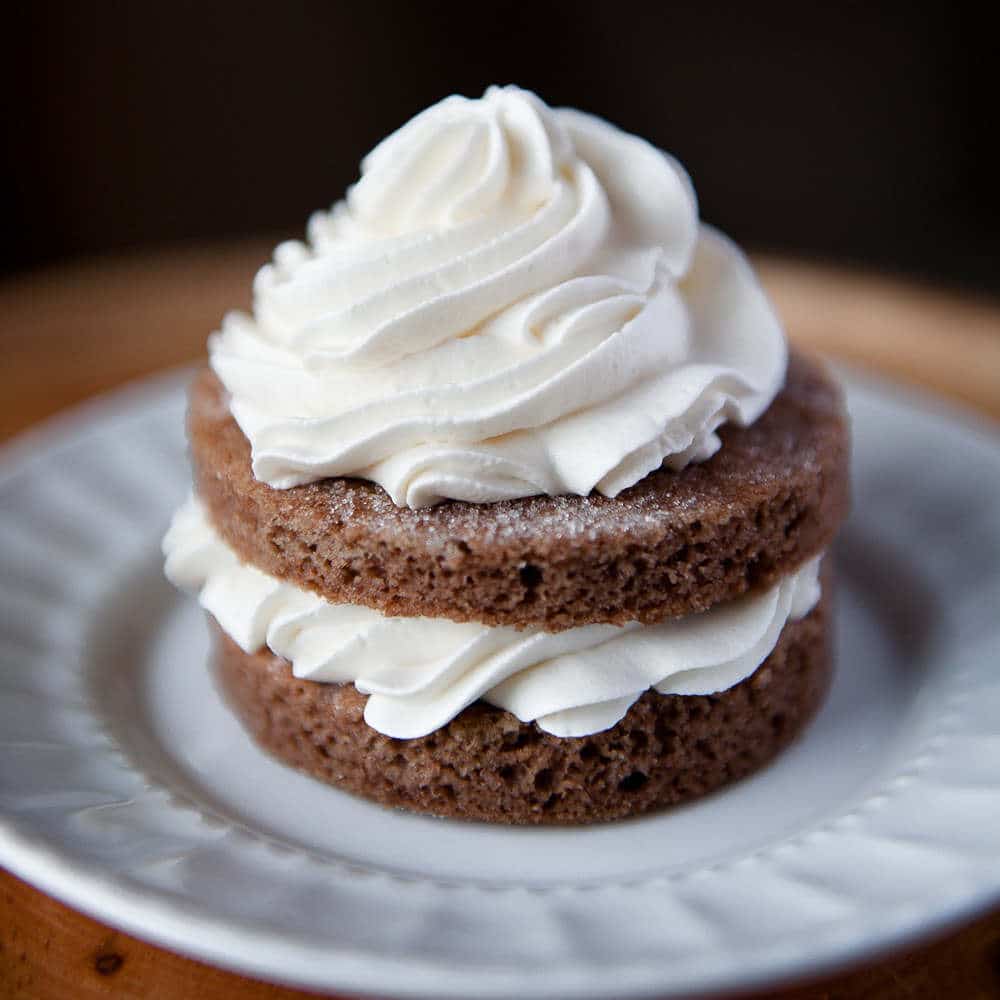
Stabilized whipped cream frosting is lightly sweetened, fluffy, and pipe-able, holding firm peaks for days without weeping or losing shape. It comes together in just 5 minutes and works as a lighter, less sweet alternative to buttercream for frosting cakes, cupcakes, pies, and tarts. It's also what I pipe onto my mini pavlovas with berry chantilly cream and any other dessert that's begging for a fresh whipped finish.
Quick Glance: Stabilized Whipped Cream Frosting
- Recipe Name: Stabilized Whipped Cream Frosting
- Why You'll Love It: Pipes and frosts as cleanly as buttercream but tastes lighter and less sweet. Holds firm peaks for up to three days without sweating, melting, or losing shape.
- Time and Difficulty: 5 minutes total. Beginner-friendly.
- Main Ingredients: Heavy whipping cream, powdered sugar, gelatin, water, vanilla.
- Method: Bloom and melt gelatin in water and cream, whip cold heavy cream with powdered sugar to soft peaks, drizzle in melted gelatin, and whip to firm peaks.
- Texture and Flavor: Light, creamy, and silky with a clean vanilla flavor. Holds firm peaks without turning into butter.
- Quick Tip: Add a touch of cream to the water when you bloom the gelatin so it whips into the cream without clumping.
Jump to:
- Quick Glance: Stabilized Whipped Cream Frosting
- Why This Stabilized Whipped Cream Frosting Recipe Works
- Stabilized Whipped Cream Frosting Ingredients
- How To Make Stabilized Whipped Cream Frosting Step-By-Step
- Cake Batter and Frosting Calculator
- Cake Batter and Frosting Calculator
- Cups of Batter Needed
- Cups of Frosting Needed
- Other Ways To Stabilize Whipped Cream
- Common Stabilized Whipped Cream Problems To Avoid
- Final Thoughts
- Stabilized Whipped Cream Frosting FAQs
- More Whipped Recipes To Try
- Leave Me A Review⭐️⭐️⭐️⭐️⭐️
- Recipe
Why This Stabilized Whipped Cream Frosting Recipe Works
Regular whipped cream is kind of a mess. It weeps, it melts, and it loses its shape within an hour, which is why you can't just dollop it onto a cake and call it frosting. So I went down a rabbit hole testing every stabilizer I'd ever heard of side by side. Gelatin, instant pudding mix, cornstarch, cream of tartar, powdered milk. I made all five, piped identical rosettes onto the same cake, and watched what happened over three days.
Gelatin won by a mile, and it's not even close. Cream of tartar softened by the next morning. Powdered milk held shape but couldn't pipe a clean detail. Cornstarch left this faint grittiness that I hated. Pudding mix is honestly fine and tastes great folded into fillings, but it's not as smooth as gelatin for a really clean piped border.
The gelatin version holds firm peaks for THREE DAYS in the fridge. It doesn't sweat. It doesn't melt unless your kitchen is over 90°F or the cake sits out for more than two hours. We literally used this exact recipe in pastry school for the fruit tarts on the dessert menu because they'd still look perfect the next day for service. Now it's what I reach for any time buttercream feels too heavy or too sweet. Pumpkin pies, fresh fruit tarts, ice cream cakes, fruit-forward layer cakes, and cupcakes that need to look photo-ready hours after you frost them (try it on my vanilla cupcake recipe). Think of it as the lighter, fresher cousin of my easy buttercream frosting.
Two things matter more than the ingredients: technique and temperature. The gelatin HAS to be bloomed properly. Sprinkle it over cold water with a teaspoon of cream stirred in (the cream is what keeps the gelatin from clumping when it meets the rest of the whipping cream later) and let it sit for 5 minutes. After it blooms, melt it in the microwave for 5 seconds (yes, just 5) until it's smooth and pourable (it won't look clear because of the cream), then drizzle it into the cream on low speed once you're at soft peaks. Add it too soon and the cream isn't ready. Add it too late and the gelatin sets in chunks. The window is small but it's not hard once you've done it once.
Then there's the temperature thing. EVERYTHING has to be cold. The bowl, the whisk attachment, the cream itself. Cold cream whips up to about double its volume because the fat globules can hold onto air. Warm cream just stays loose and never gets there, no matter how long you let the mixer run. Pop your bowl in the freezer for 10 minutes if you forgot to chill it.
Once the gelatin is in and the cream is at firm peaks, the frosting pipes through any tip you'd use for buttercream (1M, French star, plain round) and holds clean borders, rosettes, ruffles, and writing as long as the cake lives. Frosted cakes hold up to three days in the fridge but only two hours at room temp because of the dairy. Make sure your cake is cold or at room temperature when you frost (not warm out of the oven), or the cream melts right off. If you're new to layer cakes, my cake decorating tutorial for beginners walks through how to crumb-coat and finish a clean buttercream-free cake.
Stabilized Whipped Cream Frosting Ingredients
The base recipe is short. The variations at the bottom of the post use different stabilizers, but everything else stays the same.
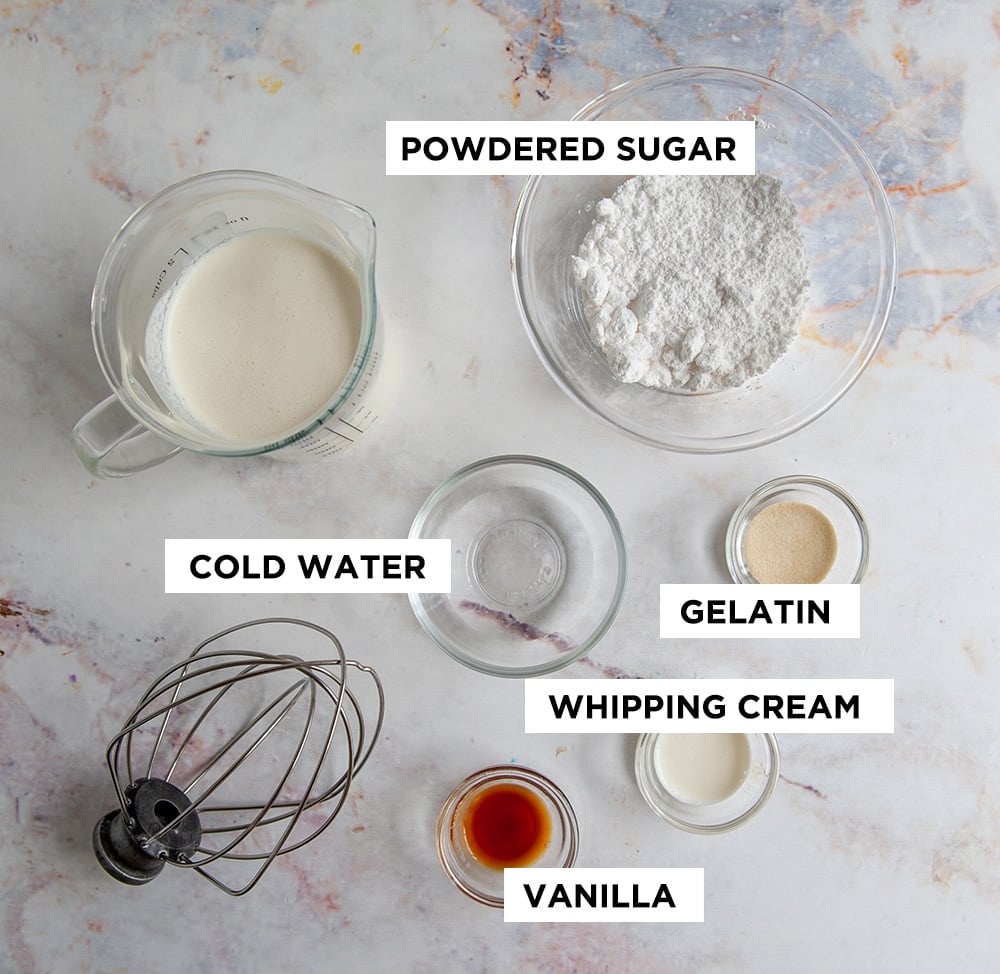
- Heavy whipping cream. Has to be cold and has to be at least 35 percent fat (look for "heavy whipping cream" or "heavy cream" on the label). Lower-fat cream like "whipping cream" or half-and-half won't hold air the same way and won't pipe properly. It's also added to the cold water at the bloom step. This small amount of cream is what keeps the gelatin from clumping when it later hits the cold whipping cream.
- Powdered sugar. Sweetens and adds body. The cornstarch in powdered sugar also gives a small bonus stabilizing effect. Don't substitute granulated sugar; the texture will be gritty.
- Unflavored gelatin. I use Knox brand, which comes in small packets. One packet equals about 2 teaspoons. The recipe only needs 1 teaspoon. Sheet gelatin also works if you're used to it; use one and a half sheets for the same strength.
- Cold water. For blooming the gelatin. Cold (not warm) water lets the gelatin absorb evenly without clumping.
- Vanilla extract. Use real vanilla extract or vanilla bean paste. Imitation vanilla tastes flat in something this delicate.
How To Make Stabilized Whipped Cream Frosting Step-By-Step
Refer to the recipe card for exact weights and timing plus my video tutorial and other ways to stabilize whipped cream.
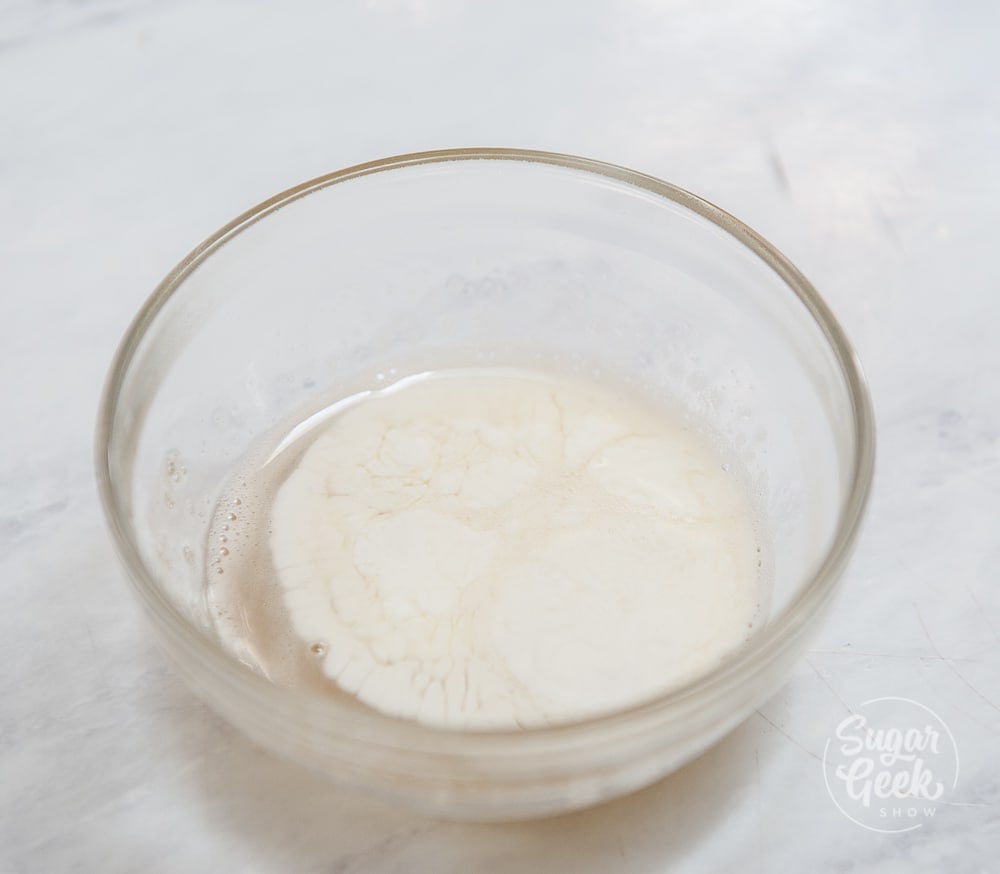
- Bloom the gelatin. In a small bowl, mix the cold water with 1 teaspoon of heavy cream, then sprinkle the gelatin over the top and let it sit for 5 minutes. The granules will absorb the liquid and turn into a soft gel. The teaspoon of cream is what keeps the gelatin from clumping when it later hits the cold whipping cream. Skipping the bloom altogether will give you grainy lumps in the finished cream.
- Melt the gelatin. Microwave the bloomed gelatin for 5 seconds. It melts almost instantly. If you still see granules, microwave another 3 seconds. Don't overheat. It won't look clear because of the added cream, but it should be smooth, pourable, and free of any unmelted granules.
- Whip the cream to soft peaks. In a cold mixing bowl, whip the 12 oz of heavy cream on medium until foamy. Add the powdered sugar and vanilla and continue whipping until you see soft lines forming. Stop here. Don't whip past soft peaks yet.
- Drizzle in the gelatin. With the mixer running on low, slowly drizzle the gelatin mixture into the cream.
PRO TIP: Watch the video in the recipe card below to see how to avoid over-whipping your stabilized whipped cream frosting.
- Continue whipping on medium until the peaks are firm enough to hold their shape but the cream is still smooth. Don't over-mix! This happens fast once the gelatin goes in. Don't walk away.
- Use immediately. Once the gelatin is in, the cream sets within minutes. Pipe it onto your cake or dessert right away, like the top of my pink velvet cake or fresh fruit tarts. Once piped and chilled, it holds for up to three days in the fridge or up to two hours at room temperature.
Cake Batter and Frosting Calculator
This recipe makes approximately 3 cups of stabilized whipped cream frosting, which is enough to cover a 2-layer 8" or 9" cake or generously frost 12 cupcakes.
Cake Batter and Frosting Calculator
Select an option below to calculate how much batter or frosting you need. Adjust the servings slider on the recipe card to change the amounts the recipe makes.
Choose a pan type
Choose a cake pan size
(based on 2" tall cake pan)
Choose a cake pan size
(based on 2" tall cake pan)
Cupcake Tin Size
Choose number of pans
Cups of Batter Needed
8 cups
Cups of Frosting Needed
5 cups
Note: measurements are estimated based off the vanilla cake recipe using standard US cake pans and sizes. Measurements used are for 2" tall cake pans only. Your results may vary. Do not overfill cake pans above manufacturer's recommended guidelines.
Other Ways To Stabilize Whipped Cream
If you don't have gelatin or just want to try something different, here are four other methods. Each works, with slightly different texture and flavor results.
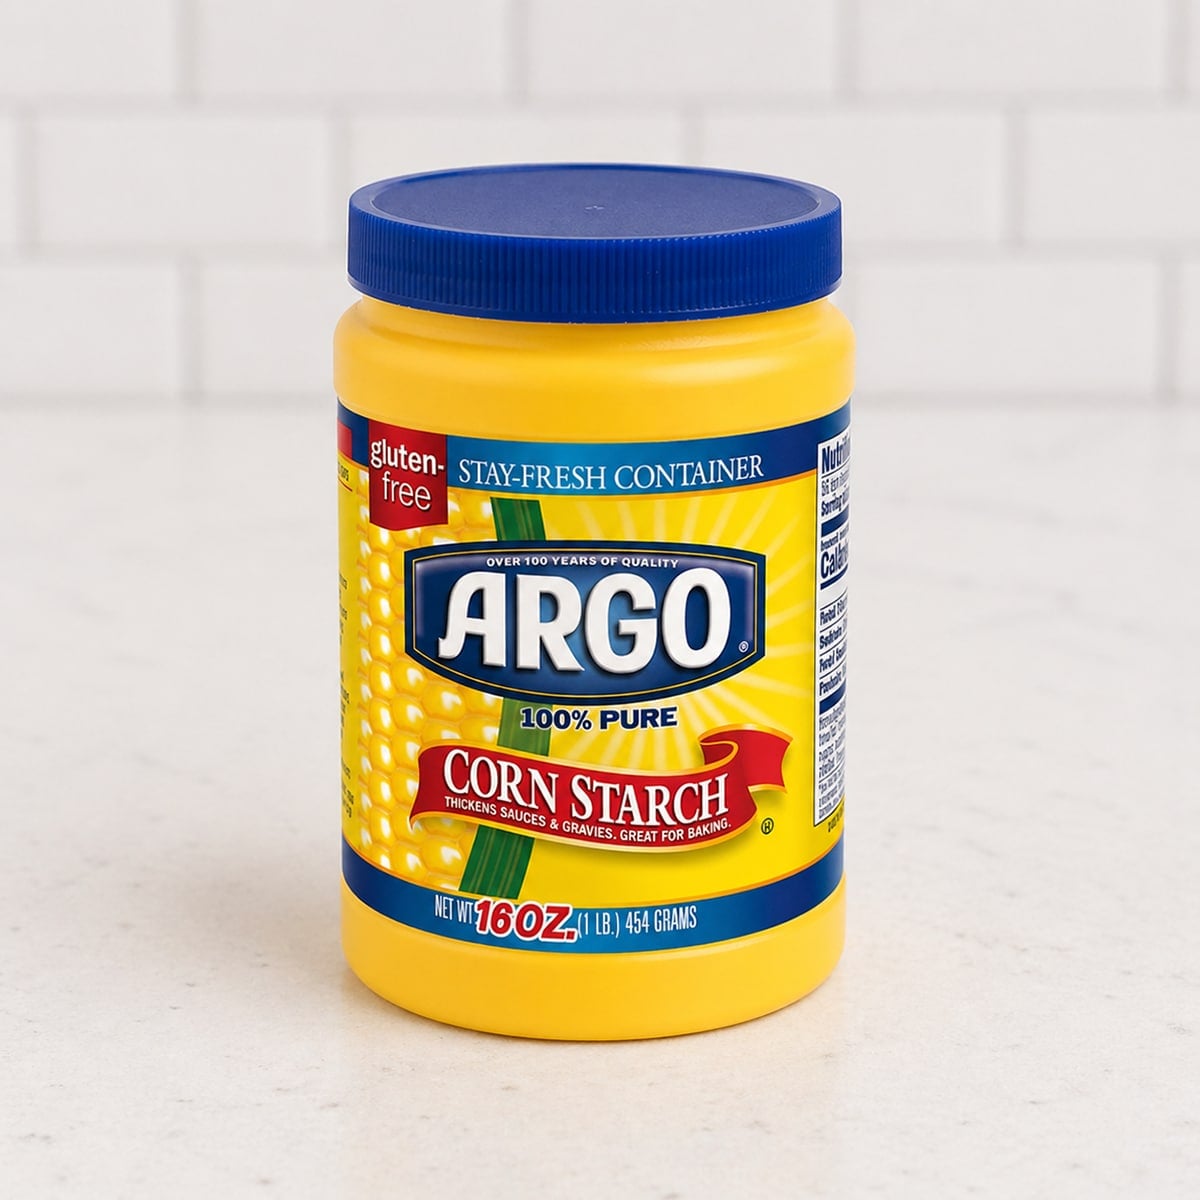
Cornstarch
The most pantry-friendly option. Cornstarch thickens the cream just enough to hold shape, but the texture can be slightly gritty if you're not careful with the amount.
- 1 cup heavy whipping cream
- 1 tablespoon powdered sugar
- 1 teaspoon cornstarch
- 1 teaspoon vanilla extract
Whip the cream to soft peaks, then add the cornstarch with the sugar and vanilla and continue whipping to firm peaks. This works well as a topping for layered desserts like trifles or my chocolate mousse where the texture isn't as noticeable.
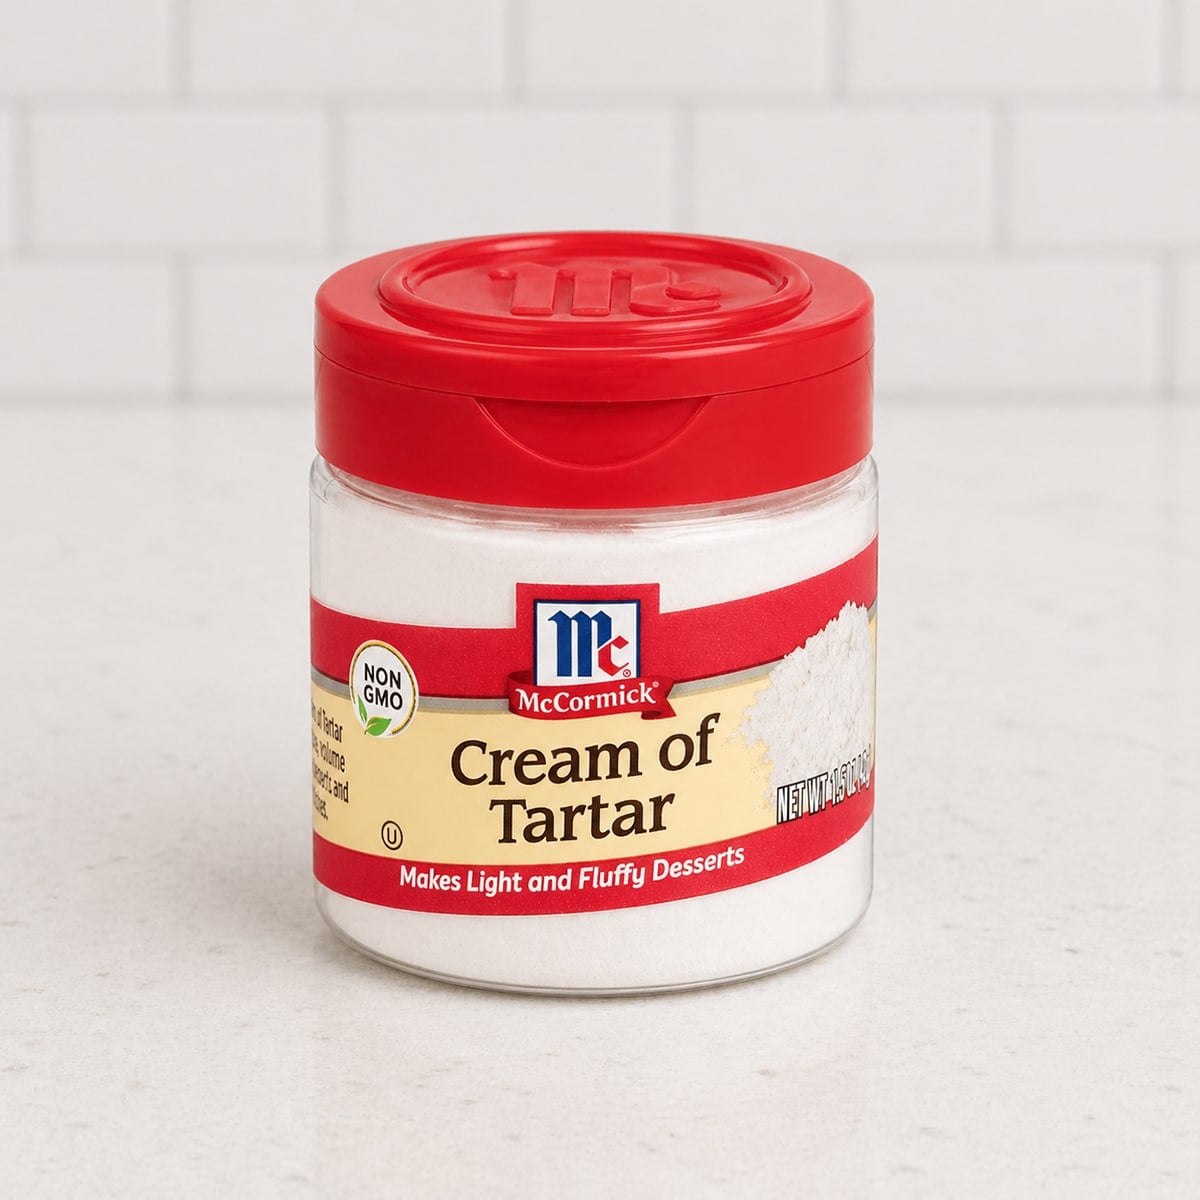
Cream of Tartar
A cleaner taste than cornstarch and won't leave any grit. Less stabilizing power than gelatin, so this works best for short-term use (a few hours, not days).
- 1 cup heavy whipping cream
- 1 tablespoon powdered sugar
- ¼ teaspoon cream of tartar
- 1 teaspoon vanilla extract
Combine the sugar and cream of tartar. Whip the cream to soft peaks, then add the sugar mixture and vanilla. Continue whipping to firm peaks.
Instant Pudding Mix
Adds the most flavor of the alternatives. The vanilla pudding mix adds a creamy depth that pairs beautifully with fruit. Slightly less smooth than gelatin but much easier.
- 1 cup heavy whipping cream
- 1 tablespoon powdered sugar
- 1 teaspoon vanilla extract
- 1 tablespoon instant vanilla pudding mix
Whip the cream to soft peaks, then add the pudding mix, sugar, and vanilla. Continue whipping to firm peaks but stop before it gets crumbly. Fold a cup of this into pastry cream for a diplomat cream that's perfect for my cream tart recipe.
Powdered Milk
A surprisingly effective shortcut if you have powdered milk on hand. Adds body without changing the flavor or texture noticeably.
- 1 cup heavy whipping cream
- 2 teaspoons powdered milk
- 1 tablespoon powdered sugar
- 1 teaspoon vanilla extract
Whisk the powdered milk into the cream before whipping. Whip to soft peaks, add the sugar and vanilla, then continue to firm peaks. Works beautifully as a topping or filling for my strawberry shortcake layer cake.
Common Stabilized Whipped Cream Problems To Avoid
- Trying to re-whip leftover whipped cream. Once the gelatin sets, you can't reheat or re-whip the cream. Use it within the first hour or two of making it for piping; after that the texture is fixed.
- Using room-temperature cream or a warm bowl. Cream needs to be cold (straight from the fridge) and ideally the bowl and whisk attachment should be cold too. Warm cream won't whip to full volume because the fat globules can't trap air properly.
- Skipping the bloom step. Sprinkle the gelatin over the cold water (mixed with a teaspoon of cream) and wait 5 minutes before melting. Skipping the bloom gives you grainy lumps throughout the finished whipped cream.
- Overheating the gelatin. 5 seconds in the microwave is usually enough; never go past 10. Overheated gelatin loses its setting power and the cream won't hold its shape.
- Adding gelatin to cream that's already at firm peaks. The window for adding the gelatin is at soft peaks, just as lines start forming. Adding it too late traps lumps of gelatin in already-set cream.
- Over-whipping after the gelatin goes in. This is the fastest way to ruin the cream. Once gelatin is in, watch the bowl constantly. Whipping past firm peaks turns the cream into butter in seconds.
- Using low-fat cream. Heavy whipping cream needs to be at least 35 percent fat. "Whipping cream" or half-and-half doesn't have enough fat to hold air or set properly.
Final Thoughts
This is one of the most useful recipes I've ever published. I use it every time I want a lighter alternative to buttercream, every time I'm topping a fruit tart, and every time I need a frosting that won't sweat in summer weather. It's what I reach for on top of pink velvet cakes, inside the layers of fruit-forward birthday cakes, and as a finishing layer on classic French pastries like my mille feuille or strawberry shortcake. The gelatin method is what gets used the most in my kitchen, but the pudding-mix and powdered-milk shortcuts have saved me more than once when I didn't have gelatin on hand.
The biggest thing I want to leave you with: pay attention during the last 30 seconds of mixing. The window between "perfect firm peaks" and "you just made butter" is shorter than people expect, especially after the gelatin goes in. If you're new to whipped cream, finish the last few seconds by hand with a whisk. You'll feel exactly when it's ready.
Stabilized Whipped Cream Frosting FAQs
Yes, and stabilized whipped cream (sometimes called stable whipped cream) is the right choice when you do. Regular whipped cream weeps water and loses its shape within an hour, but stabilized whipped cream holds firm peaks for up to three days in the fridge. It's a lighter, less sweet alternative to buttercream and pairs especially well with fruit-forward cakes, naked cake styles, and even classic pastries like cream puffs.
In the fridge, up to three days once piped onto a cake or dessert. At room temperature, no more than two hours because of the dairy. The whipped cream itself stays piped and pretty for the full three days; the limiting factor is food safety, not texture.
Yes. Add a few drops of gel food coloring along with the powdered sugar and vanilla in step 4 (before the gelatin goes in). Whip to combine evenly, then proceed with the gelatin step. Avoid liquid food coloring because the extra water can throw off the texture.
Yes. For chocolate, add 2 tablespoons of cocoa powder along with the powdered sugar (no need to adjust anything else). For fruit, fold a small amount (¼ cup or less) of strawberry reduction, lemon curd, or fruit puree into the finished whipped cream right before serving. Larger amounts of fruit puree can destabilize the cream, so start small and add more if it holds.
The cream itself sets quickly after the gelatin goes in, so it's not great for making the bowl ahead and using later. But once it's piped onto a cake or dessert, it holds for up to three days refrigerated. The trick is to mix and pipe in one session, then chill the finished dessert.
Gelatin is the most reliable stabilizer for whipped cream because it holds firm peaks the longest and gives the smoothest piped texture. Instant pudding mix adds the most flavor and works beautifully for fillings. Cornstarch is the most pantry-friendly option. Cream of tartar works well for short-term use. Powdered milk is the most subtle stabilizer of the bunch. For a fancy piped frosting, use gelatin; for folding into a filling or tart, pudding mix is excellent.
Yes. Use a whisk and a chilled bowl. It takes longer (about 10 minutes of consistent whisking) and you'll need to keep your wrist loose, but the result is identical. Some bakers actually prefer hand-whipping because it's harder to over-whip.
More Whipped Recipes To Try
Leave Me A Review
⭐️⭐️⭐️⭐️⭐️
If you tried this Stabilized Whipped Cream Frosting or any other recipe on my blog, please leave a 🌟 star rating and let me know how it goes in the comments. I love hearing from you!
Recipe
Equipment
- Stand mixer with whisk attachment
Ingredients
Stabilized Whipped Cream
- 12 oz heavy whipping cream cold
- 2 ounces powdered sugar
- 1 teaspoon vanilla
- 1 ½ tablespoon cold water
- 1 teaspoon heavy whipping cream
- 1 teaspoon gelatin I use KNOX brand
Instructions
- Bloom the gelatin. In a small bowl, mix the 1½ tablespoons of cold water with 1 teaspoon of heavy cream. Sprinkle the gelatin over the top and let bloom for 5 minutes.
- Melt the gelatin. Microwave the bloomed gelatin for 5 seconds. If granules remain, microwave another 3 seconds. It won't look clear because of the added cream, but it should be smooth, pourable, and free of granules.
- Whip the cream to soft peaks. In a cold mixing bowl, whip the 12 oz of cold heavy cream on medium speed for about 15 seconds, until foamy. Add the powdered sugar and vanilla and continue whipping on medium until you reach very soft peaks (the cream barely holds its shape).
- Drizzle in the gelatin. With the mixer running on low, drizzle in the gelatin mixture. Continue whipping on medium until the peaks are firm and hold their shape. Don't over-mix; firm peaks come quickly once the gelatin is in.
- Use immediately. Pipe it onto your cake or dessert right away. Once piped and chilled, it holds for up to three days in the fridge or up to two hours at room temperature.
Video
Notes
- Whipped cream whips better if your bowl, whisk attachment, and cream are all cold. Pop the bowl in the freezer for 10 minutes if needed.
- Don't over-mix once the gelatin goes in. The window between firm peaks and butter is short. Finishing by hand with a whisk gives you the most control.
- Use immediately after the gelatin is added. The cream sets within minutes and can't be re-whipped or made ahead.
- Once piped onto a cake or dessert, holds for up to 3 days refrigerated or 2 hours at room temperature (under 90°F).
- You can stabilize whipped cream by hand with a whisk if you don't have a stand mixer. Takes about 10 minutes of consistent whisking.
- Don't use low-fat cream. Heavy whipping cream needs to be at least 35 percent fat.
- Don't skip blooming the gelatin. Pour the gelatin onto cold water first, wait 5 minutes, then melt.
- Don't add gelatin to cream that's already at firm peaks. The window is at soft peaks, just as lines form.
- Don't try to re-whip or save leftover stabilized whipped cream. Use it within the hour.
Nutrition


Comfort says
Please after piping in room temperature, how long can it stay without melting.
Sugar Geek Show says
If it's hot outside and left in direct sunlight, it will melt in about 30 minutes. It can stay out at room temperature for a maximum of 2 hours as long as your room isn't too hot, then it needs to be refrigerated.
Filipa says
Would this be good for a strawberry shortcake cake ?
Sugar Geek Show says
absolutely! I have a strawberry shortcake cake recipe coming out soon too 😀
Beck says
Not sure if my question went through.
Does combining stabilized whip cream with pastry cream make something similar to Bavarian cream? Having never had Bavarian cream it is difficult to know what the texture and firmness it should be. I have an order for Bavarian cream filling in a 3 tier cake. Thank you!
Elizabeth Marek says
yes that is what bavarian cream is. 1 cup of whipped cream (already whipped) folded into pastry cream. Bavarian cream should be given at least 24 hours to set in the fridge once its in the cake to give the gelatin a chance to stabilize
lk says
hi liz,
so you said in the video that after mixing the gelatin the whipped cream is not pipable and can be in the refrigerator ... then that whipped cream is used for which purpose ??? can i still use it to decorate the cakes ??
Elizabeth Marek says
What I mean is after the whipped cream has been sitting overnight, it's not pipeable anymore. So you need to use the whipped cream right after you make it.
Johanna says
Hi Liz! Can this do well with cream cheese +your stabilized whipped cream frosting?
Sugar Geek Show says
Try my crusting cream cheese recipe! https://sugargeekshow.com/cream-cheese-frosting/
Vicki says
Hi! This recipe is perfect! I used the vanilla instant pudding since I didn’t have gelatin. But everyone loved it! I’m going to try the gelatin this time and see how it goes. Thanks so much for all your recipes and videos! It makes it so much better for me not to be scared to make a cake for someone!
Amrita says
Hi Liz! Tried this recipe today and it turned out so well. Thank you so much for such fabulous recipes and tutorials. They’re so helpful for novices like me.
Mtngrl84 says
This recipe is fantastic! Very easy to follow clear directions and for the first time I was able to make stabilized whip cream to pipe on top of a cheesecake. Turned out perfectly. Thank you for taking the time to perfect this recipe
Kimberly Marsh says
Hi this recipe seems great.Is it sturdy enough to use between layers?
Sugar Geek Show says
Thank you! Yes, I've used it to fill cakes before. It's not as stable as buttercream, though so I wouldn't recommend it for stacking multiple-tiered cakes.
Donna says
Thank you 😊
Donna says
I find myself here more and more. I love your recipes and videos! I've never had one fail me yet. If I want to add lemon juice and zest, when should I do it?
Thank you!
Elizabeth Marek says
I wouldn't add any juice because it doesn't have much flavor and will just water down the whipped cream but you can add lemon extract and zest instead of vanilla
Sowjanya says
Hi Liz! I want to go with vanilla pudding mix recipe instead of gelatin. So my question is after piping the whipped cream on cake, can I store the cake in the fridge? If yes, how many hours before I should keep the cake outside before cutting the cake? Thank you!
Sugar Geek Show says
Hi! This recipe should be used immediately after making it, it will set up once you pipe it. So it can't be stored for later use.
Azusena Marcial says
Hi Liz!! Once done can I mix in fruit? Like can peaches? Or would you do layer ok cream and layer of peaches...I guess my question is would the canned peaches (drained) would it cause it to go runny?
Elizabeth Marek says
Yes you can add fruit, definitely drain off the liquids
Thm says
Will this recipe work for stenciling? I want to make a tropical cake with guava and haupia filling so I'd like to use whipped cream instead of buttercream, but would like to do some stencil design, If I freeze the coated cake first, will I be able to stencil a second batch without problems?
Elizabeth Marek says
You can definitely stencil on top of whipped cream if it's frozen first
Holly says
Can I make this a day or two before I pipe it?
Sugar Geek Show says
No, this stabilized whipped cream needs to be piped immediately after its made or it will set up.