
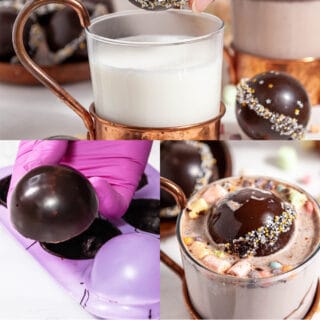

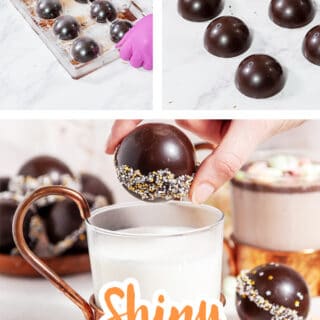
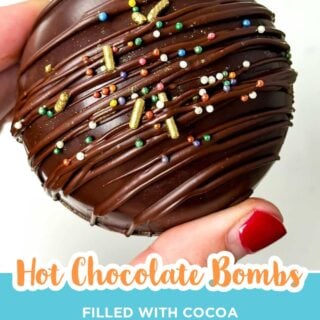

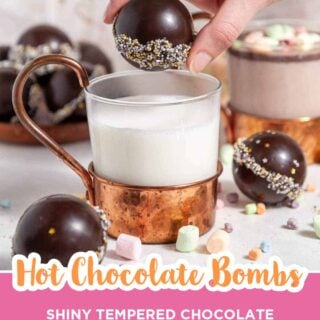
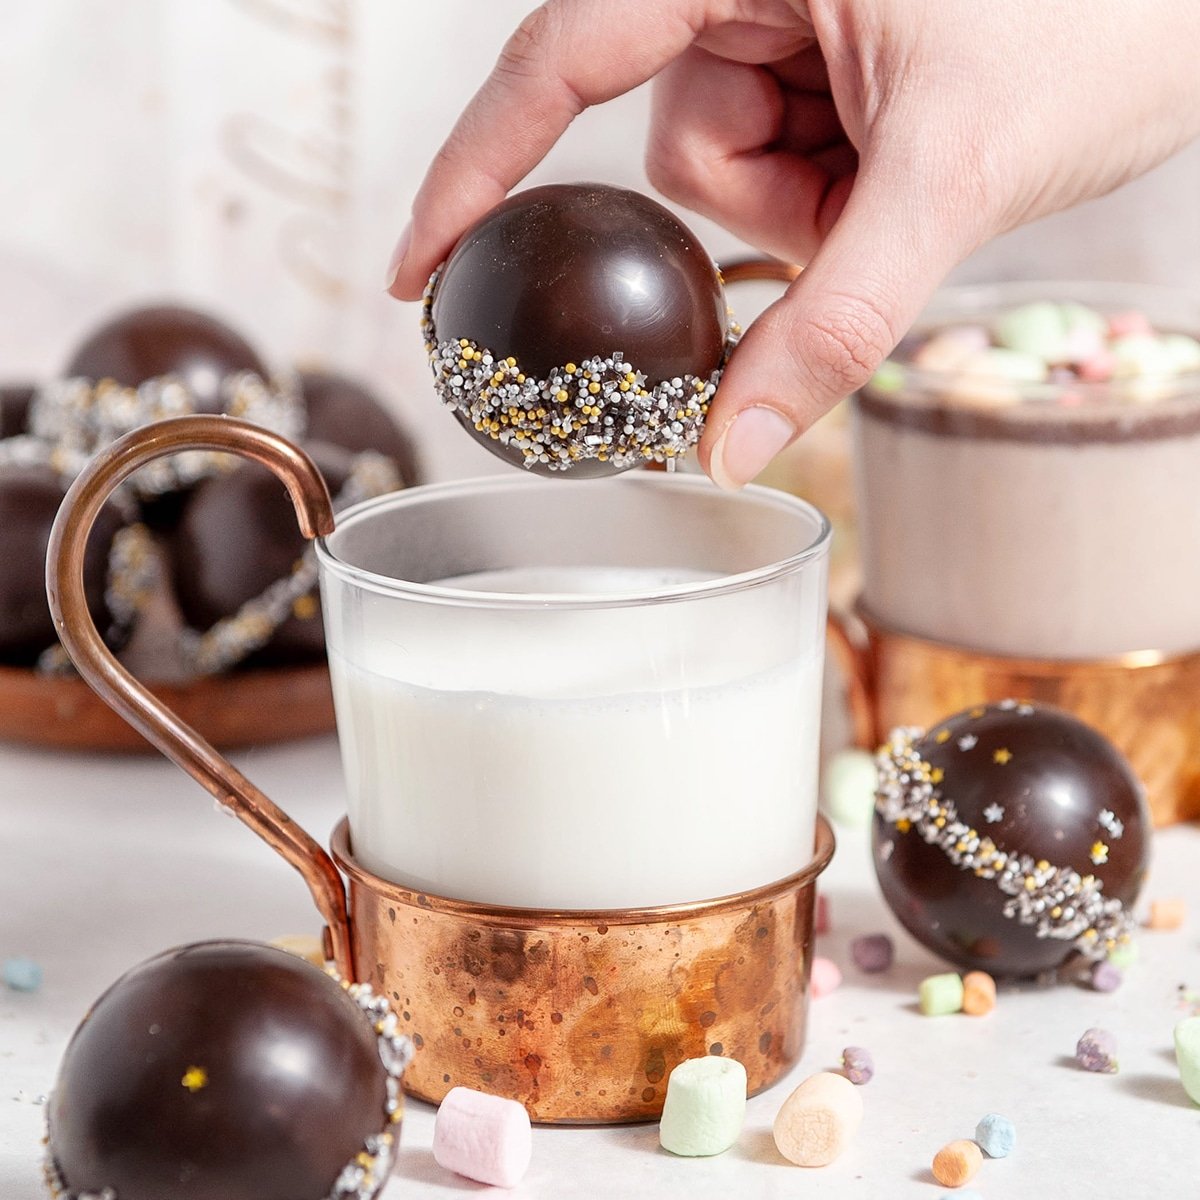
Hot chocolate bombs are chocolate spheres filled with hot chocolate mix and lots of marshmallows! Pour steaming hot milk over the top and watch the chocolate melt away and release those marshmallows into your milk. So much fun and makes a great gift!
I created this recipe back in 2019 when hot chocolate bombs were just beginning to be a thing. Originally posted by Eric Torres Garcia, who now has a cocoa bomb company! The idea went mega viral and soon everyone wanted to make cocoa bombs.
I noticed a lot of people making them were using low-quality chocolate or fake chocolate to make their bombs and having lots of problems. This recipe shows you how to make the most perfect hot chocolate bombs from high-quality, tempered chocolate that actually tastes delicious!
Quick Glance at the Recipe: Hot Chocolate Bombs
- Recipe Name: Shiny Hot Chocolate Bombs With Marshmallows
- Why You'll Love It: Real, tempered chocolate shells with a glossy shine and a snap, filled with hot cocoa mix and marshmallows that spill out when you pour in hot milk.
- Time and Difficulty: Beginner friendly with a little practice. About 25 minutes: 10 minutes prep, 5 minutes melting, and 10 minutes to set.
- Main Ingredients: Semi-sweet chocolate, hot chocolate mix, mini marshmallows, and sprinkles.
- Method: Temper chocolate in the microwave, mold it into shells, fill with cocoa mix and marshmallows, seal, drizzle, and decorate.
- Texture and Flavor: A shiny, snappy chocolate shell that melts into hot milk for rich hot cocoa full of marshmallows.
- Quick Tip: Chop your chocolate finely so it melts before it has a chance to get too hot.
Jump to:
- Quick Glance at the Recipe: Hot Chocolate Bombs
- What Makes This Hot Chocolate Bomb Recipe Different⭐⭐⭐⭐⭐
- Hot Chocolate Bomb Ingredients and Tools
- How to Make Hot Chocolate Bombs Step-By-Step
- How to Use Hot Chocolate Bombs
- Hot Chocolate Bomb Flavor Variations
- Common Hot Chocolate Bomb Problems To Avoid
- Final Thoughts
- Hot Chocolate Bomb FAQs
- More Chocolate Recipes To Try
- Leave Me A Review⭐️⭐️⭐️⭐️⭐️
- Recipe
What Makes This Hot Chocolate Bomb Recipe Different
⭐⭐⭐⭐⭐
The difference between a hot chocolate bomb that looks store-bought and one that looks homemade comes down to properly tempered chocolate.
- Real, tempered chocolate. Tempered chocolate gives you a shell with a glossy shine and a snap instead of a soft, dull shell that can get white spots.
- Tempered in the microwave. No fancy equipment or seeding method needed. It only takes about 5 minutes with chocolate, a thermometer, and a little patience.
- Clean, flat seams. Leveling the shell edges on a warm plate makes the halves line up so your bombs look professional.
- Great for gifting. They keep at room temperature and look amazing in a mug with a bow on top.
Hot Chocolate Bomb Ingredients and Tools
Making hot cocoa bombs isn't too complicated, but there are a few tools and ingredients to make hot chocolate bombs you need to have on hand.
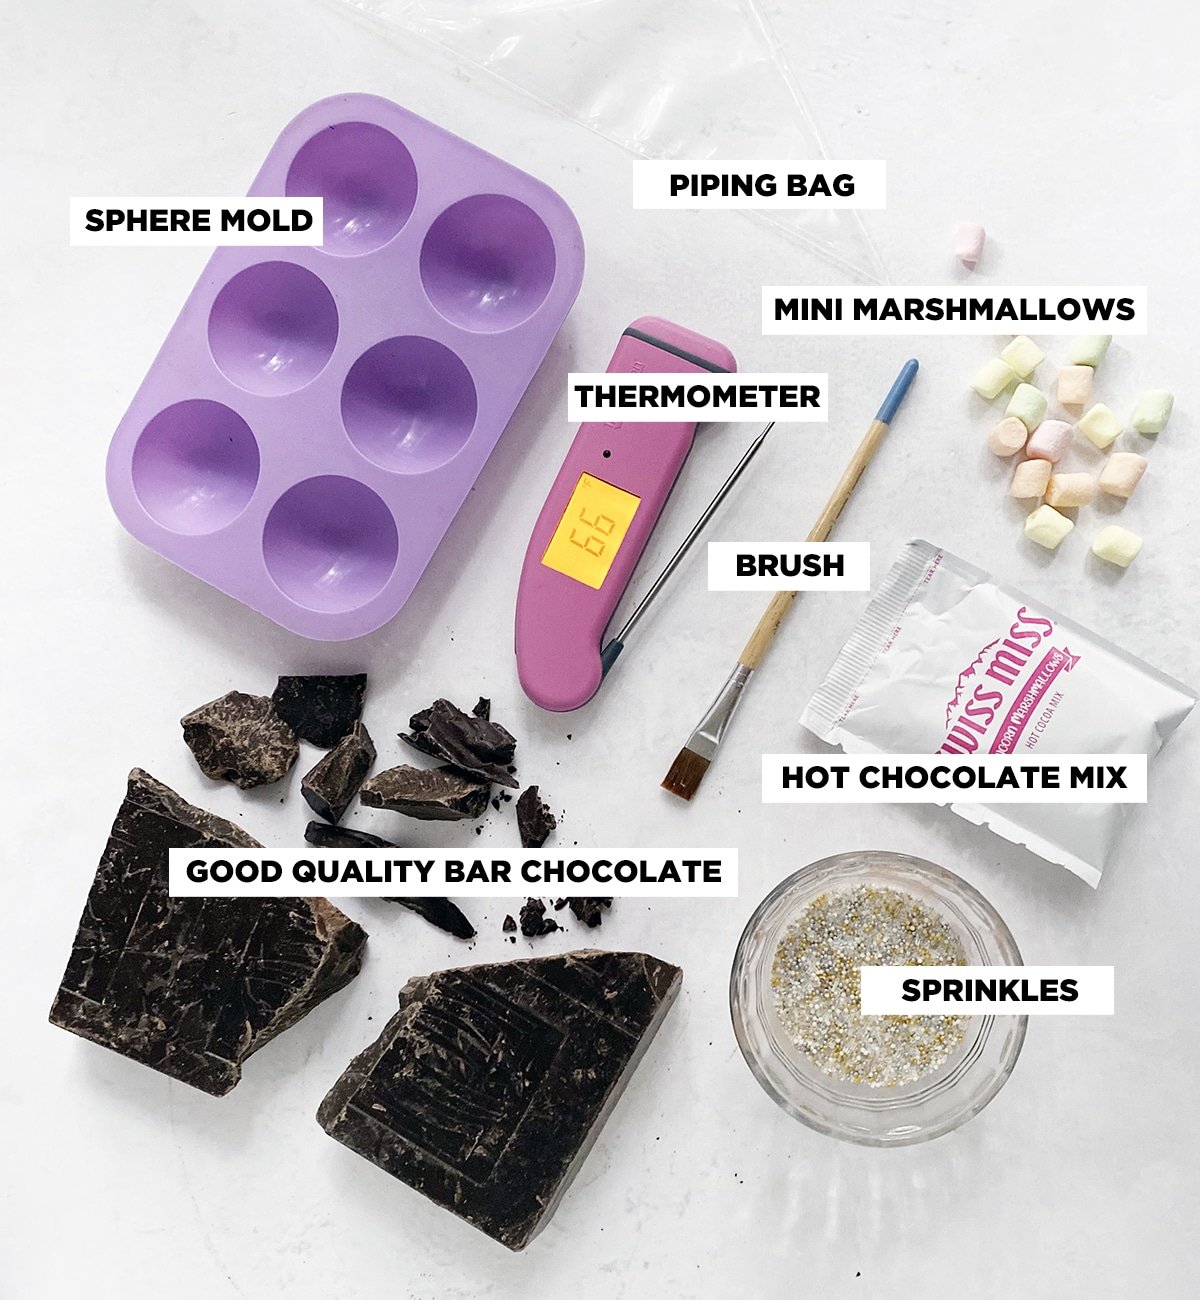
- Good quality chocolate. I like to use Callebaut, but any chocolate will work. Just remember, the better it tastes, the better hot chocolate bomb it will make!
- A thermometer to keep track of the temperature of your chocolate. Absolutely a must. Don't even attempt this without one. I'm using an infrared thermometer because it's a little bit easier to keep clean.
- Silicone sphere mold to make your bombs. I use a 2½" mold. This silicone sphere mold is the easiest to use if you're not familiar with tempering chocolate. I also show you how to use acrylic sphere molds in the recipe card below for you overachievers out there.
- Bench scraper if you are using an acrylic mold. You don't need a bench scraper for silicone molds.
- Spoon for smoothing the chocolate.
- Piping bag for sealing together the spheres and drizzling. I use these piping bags.
- Parchment paper to catch the extra chocolate.
- Hot chocolate mix of your choice. You can use any kind you like but we stick to the classic Swiss Miss flavor.
- Mini marshmallows of your choice. I like these mini marshmallows because you can fit a bunch in one bomb, making them more dramatic!
- Sprinkles to decorate the outside if you want. I like these Wilton sprinkles because they have a nice variety.
- Hot chocolate bomb labels. These hot chocolate bomb labels were made by my friend and they are so cute!
How to Make Hot Chocolate Bombs Step-By-Step
Here's a rundown on how to make hot chocolate bombs! This is such a fun thing to do with a group or with your family. The first thing we need to do is temper our chocolate. Tempering just means we are melting the chocolate at a controlled temperature so that it sets up again. If you've ever melted chocolate and it never set, or it grew weird white spots, you understand why tempering is important.
Don't worry, we're doing this the easy way in the microwave, and it only takes 5 minutes! Keep dark chocolate under 90º F, milk chocolate under 86º F, and white chocolate under 84º F. If you don't have a microwave or if you prefer, you can use the seeding method. Refer to the recipe card for exact amounts and the acrylic mold method.
If you're not comfortable with tempering chocolate, you can use Merckens compound chocolate. It requires no tempering, but it won't melt as easily in hot milk and has a slightly waxy taste.
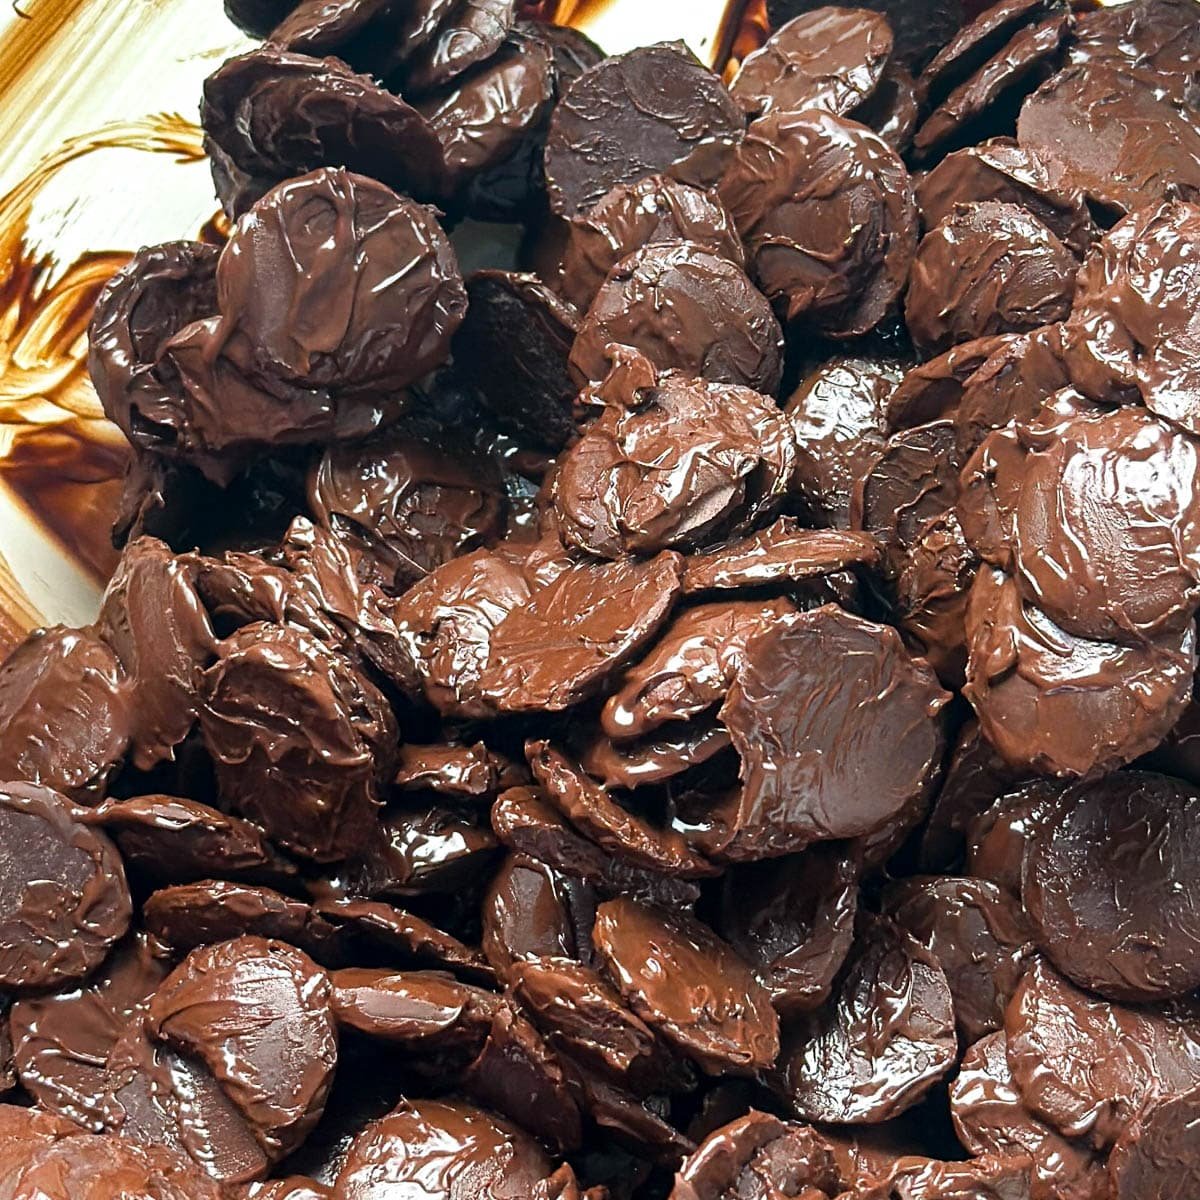
- Chop your chocolate finely. Small, thin pieces melt at a lower temperature, which makes tempering much easier.
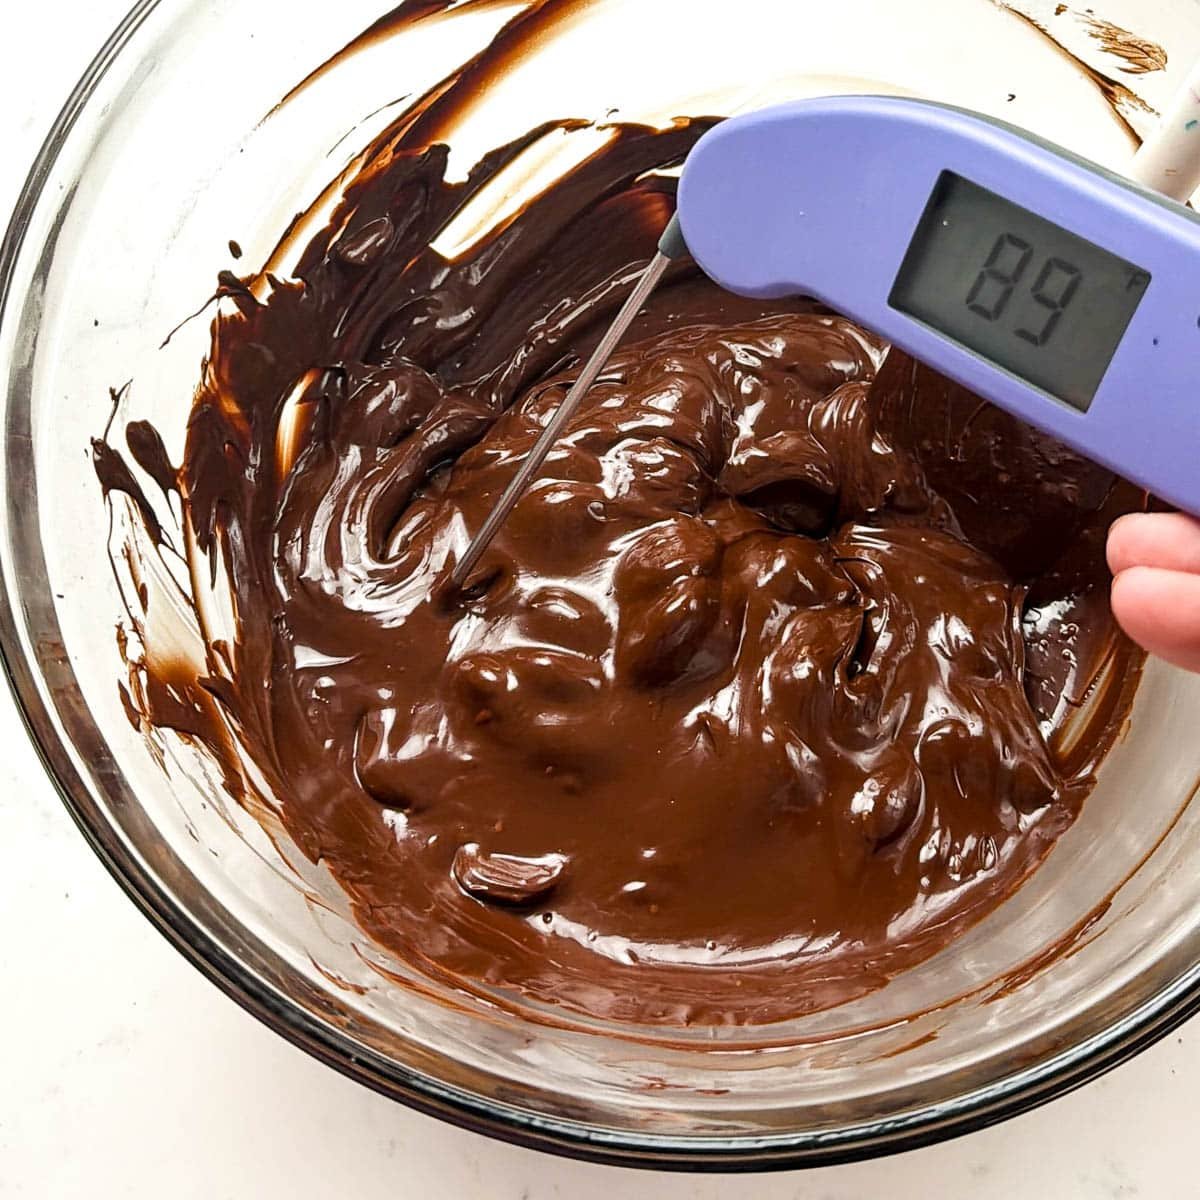
- Melt the chocolate in short bursts. Microwave at 50% power in 15-second bursts, stirring after each one, until it's about 75% melted. Keep your chocolate under 90º F the whole time.
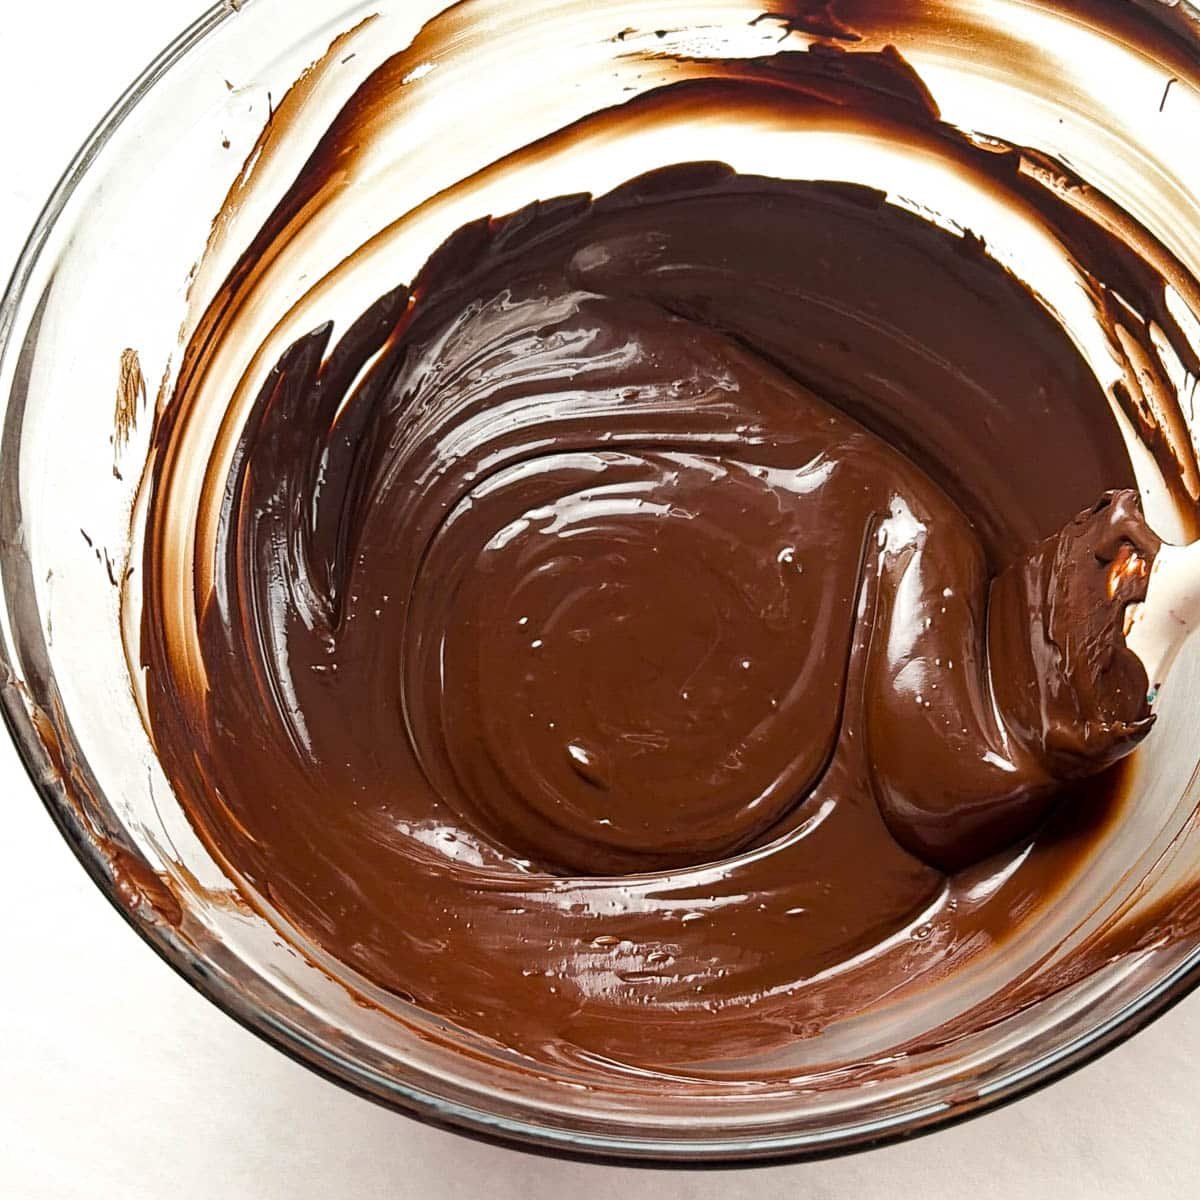
- Stir until smooth. Keep stirring without heating so the warmth of the bowl melts the rest. If you still have lumps, microwave for 10 more seconds and stir until everything is melted.
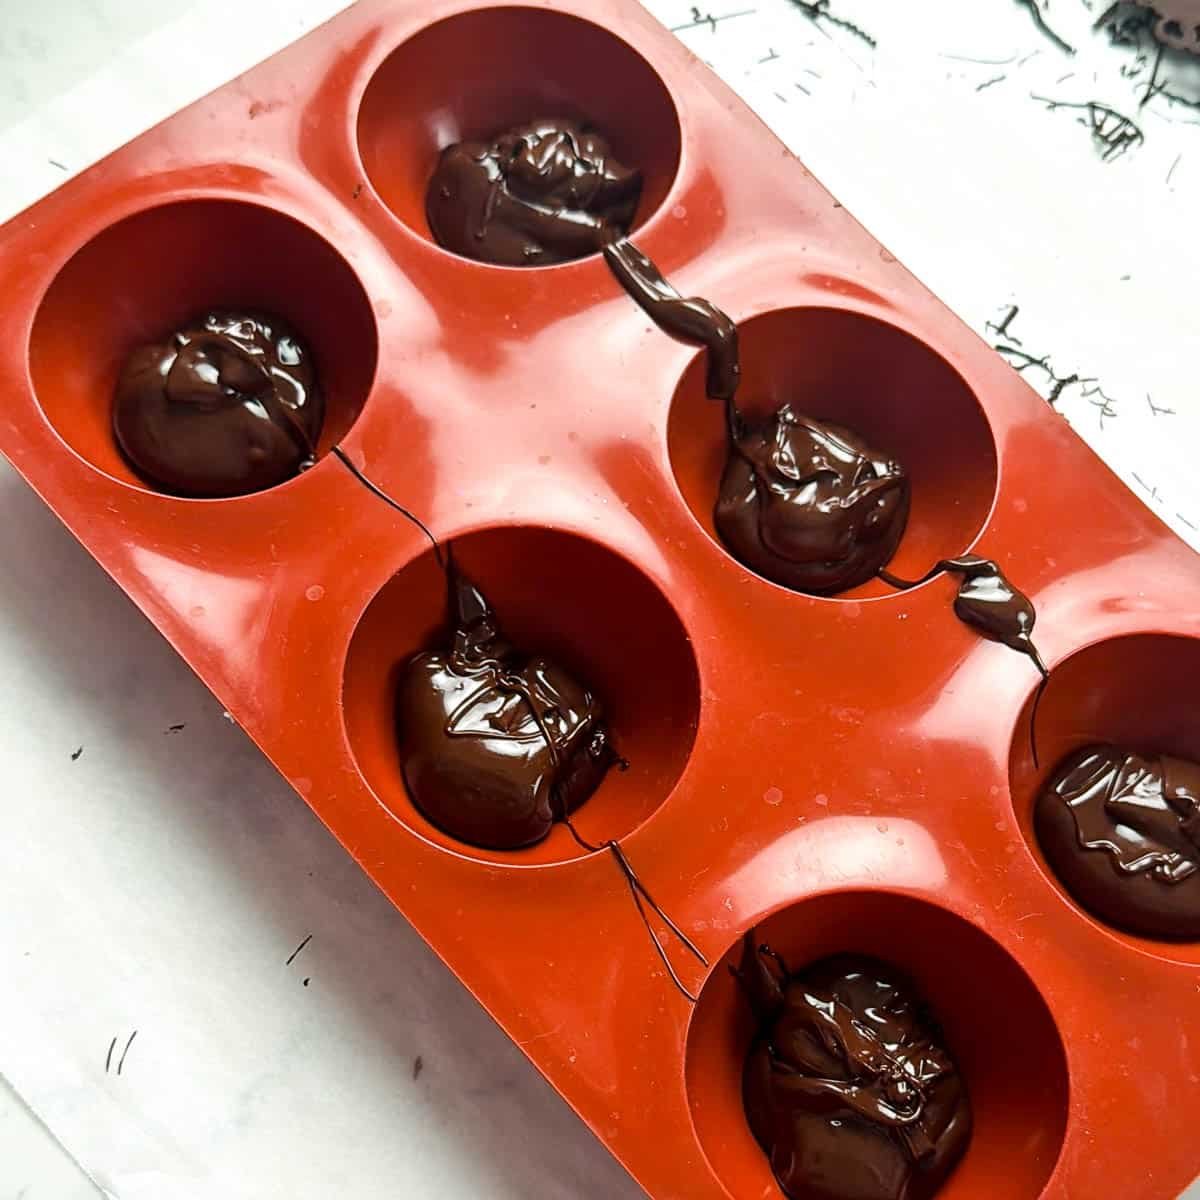
- Fill your mold halfway. Spoon the tempered chocolate into each cavity of your sphere mold until it's about half full.
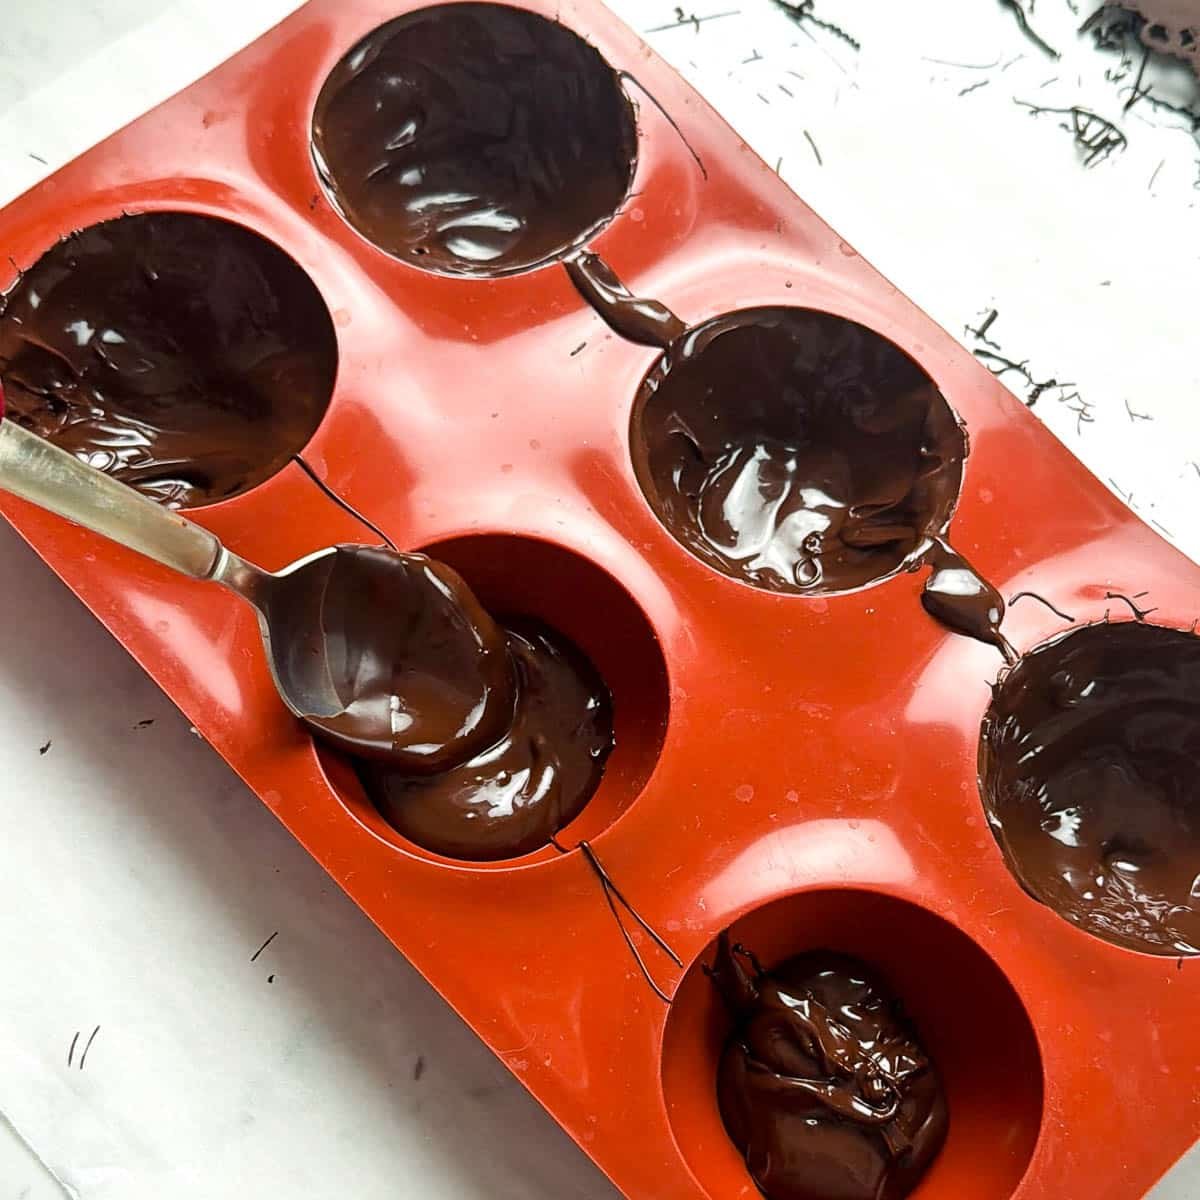
- Coat the mold up to the edges. Use a spoon to gently spread the chocolate all the way up the sides so the walls are evenly coated.
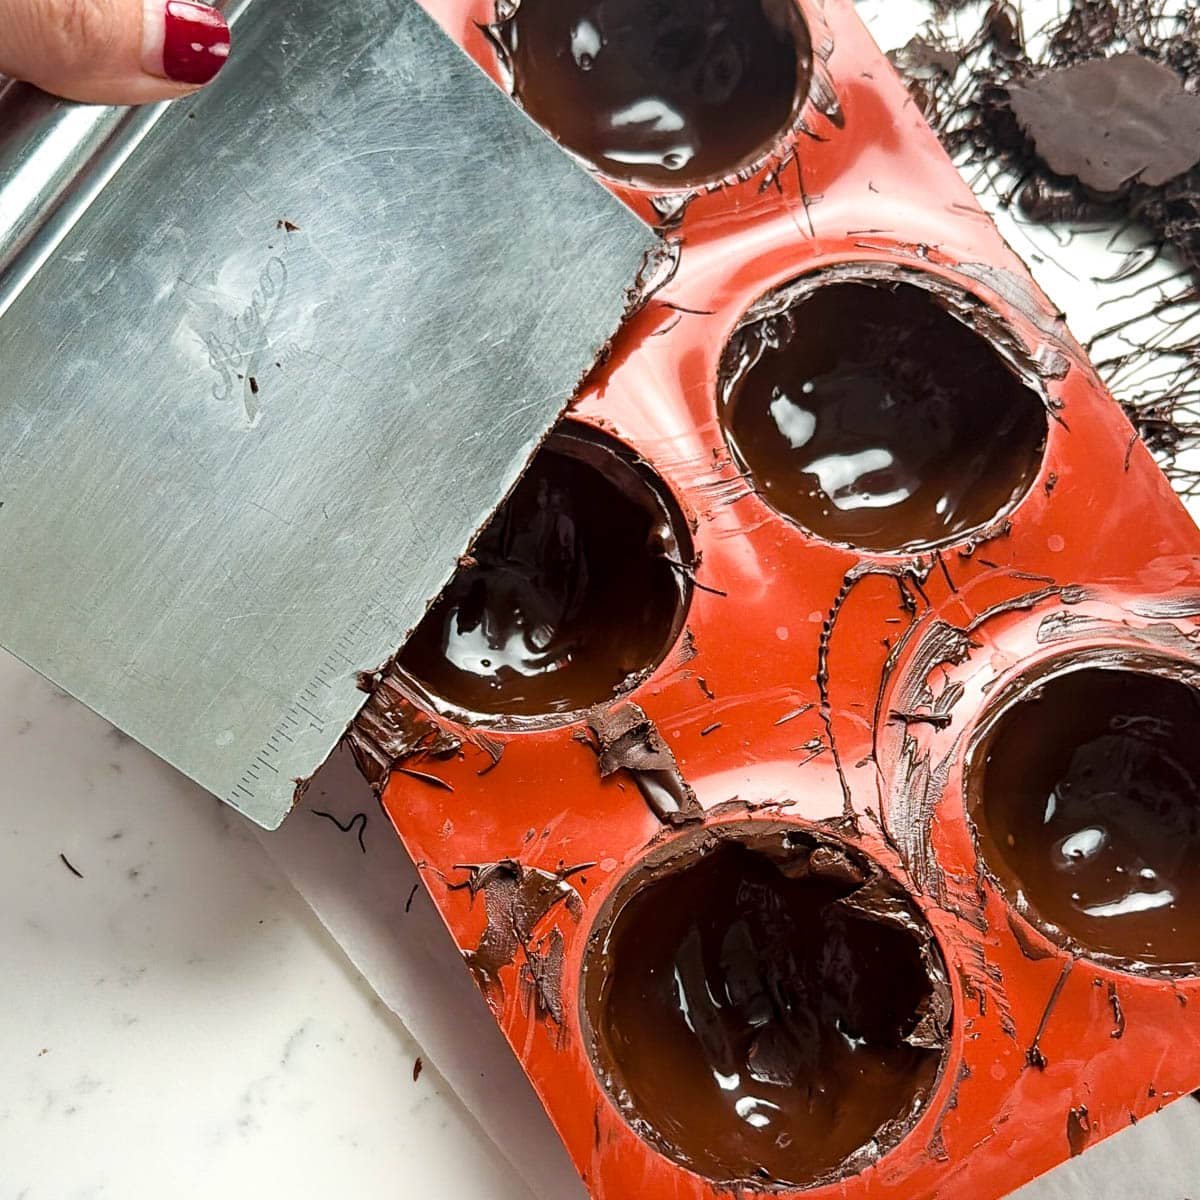
- Flip out and scrape the excess. Turn the mold upside down over parchment paper to empty out the extra chocolate (you can reuse it), then scrape the top clean.
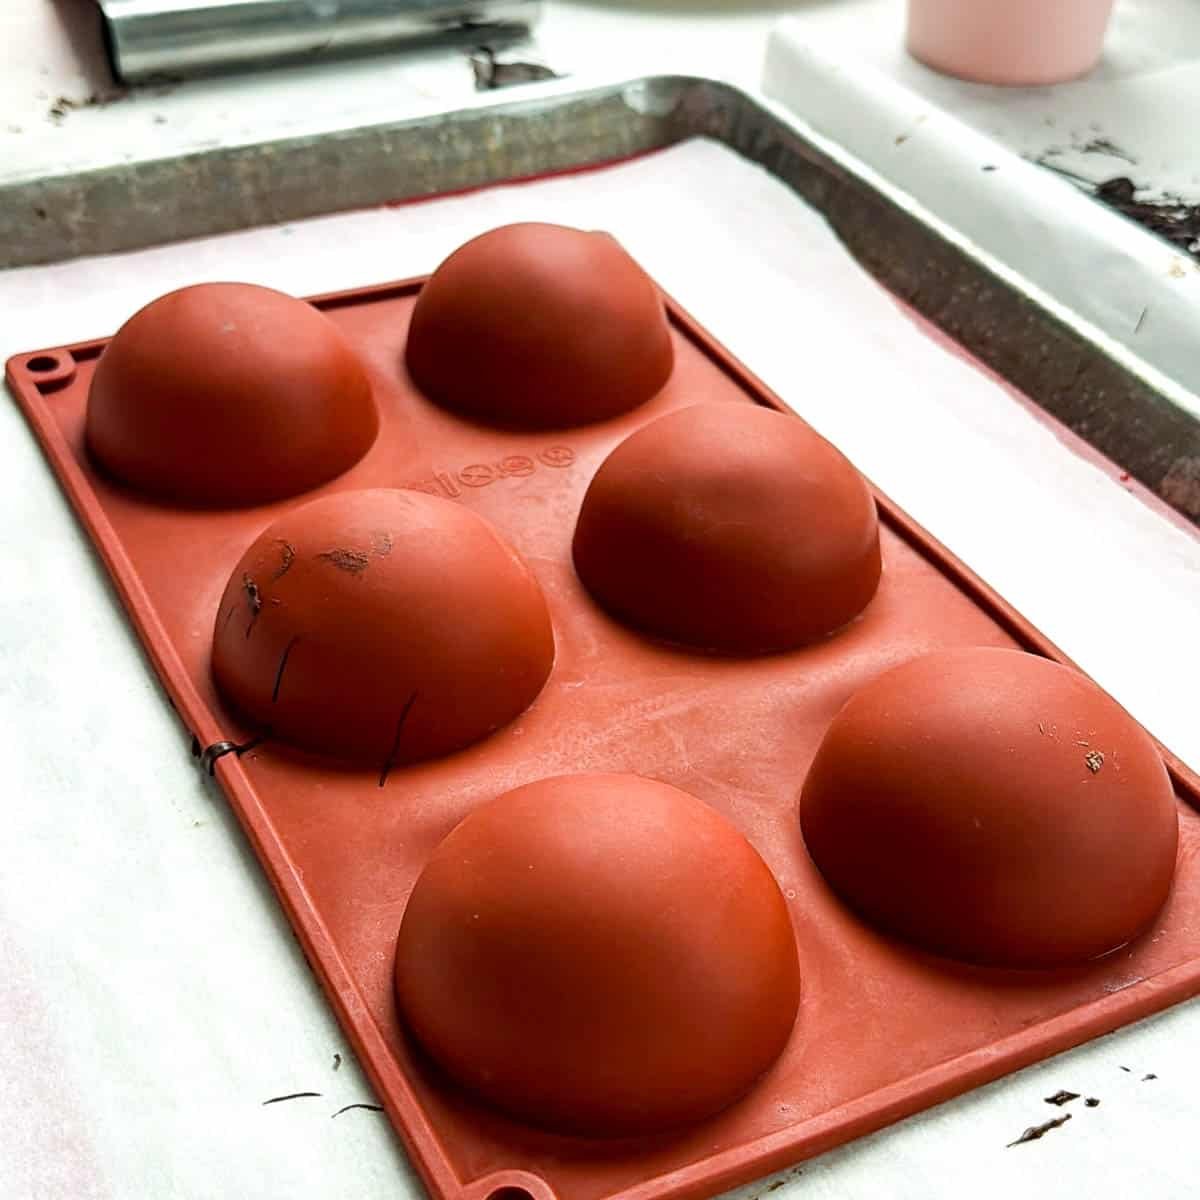
- Let the shells set. Leave the mold upside down on parchment for 5 to 10 minutes. You can pop it in the fridge to speed things up, but it's not necessary.
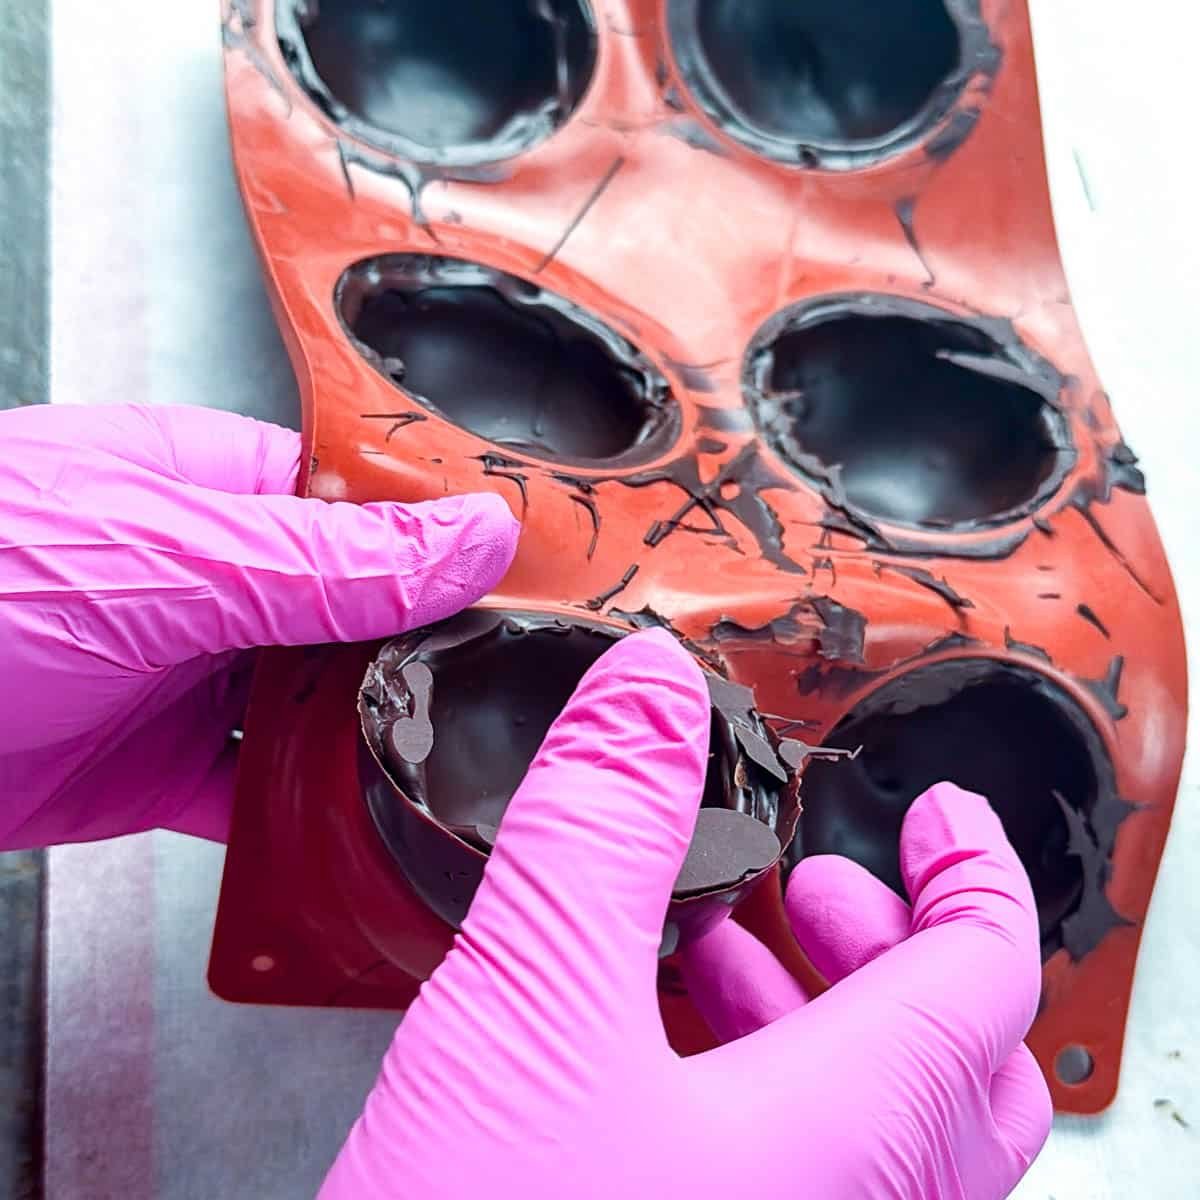
- Release the shells. Press gently from the bottom of the mold to pop each shell out, and set them aside for assembly.
PRO TIP: Put your chocolate piping bag in a drinking glass that's been warmed for 1 minute in hot water or the microwave. It keeps the chocolate melted while you work and keeps your counter clean.
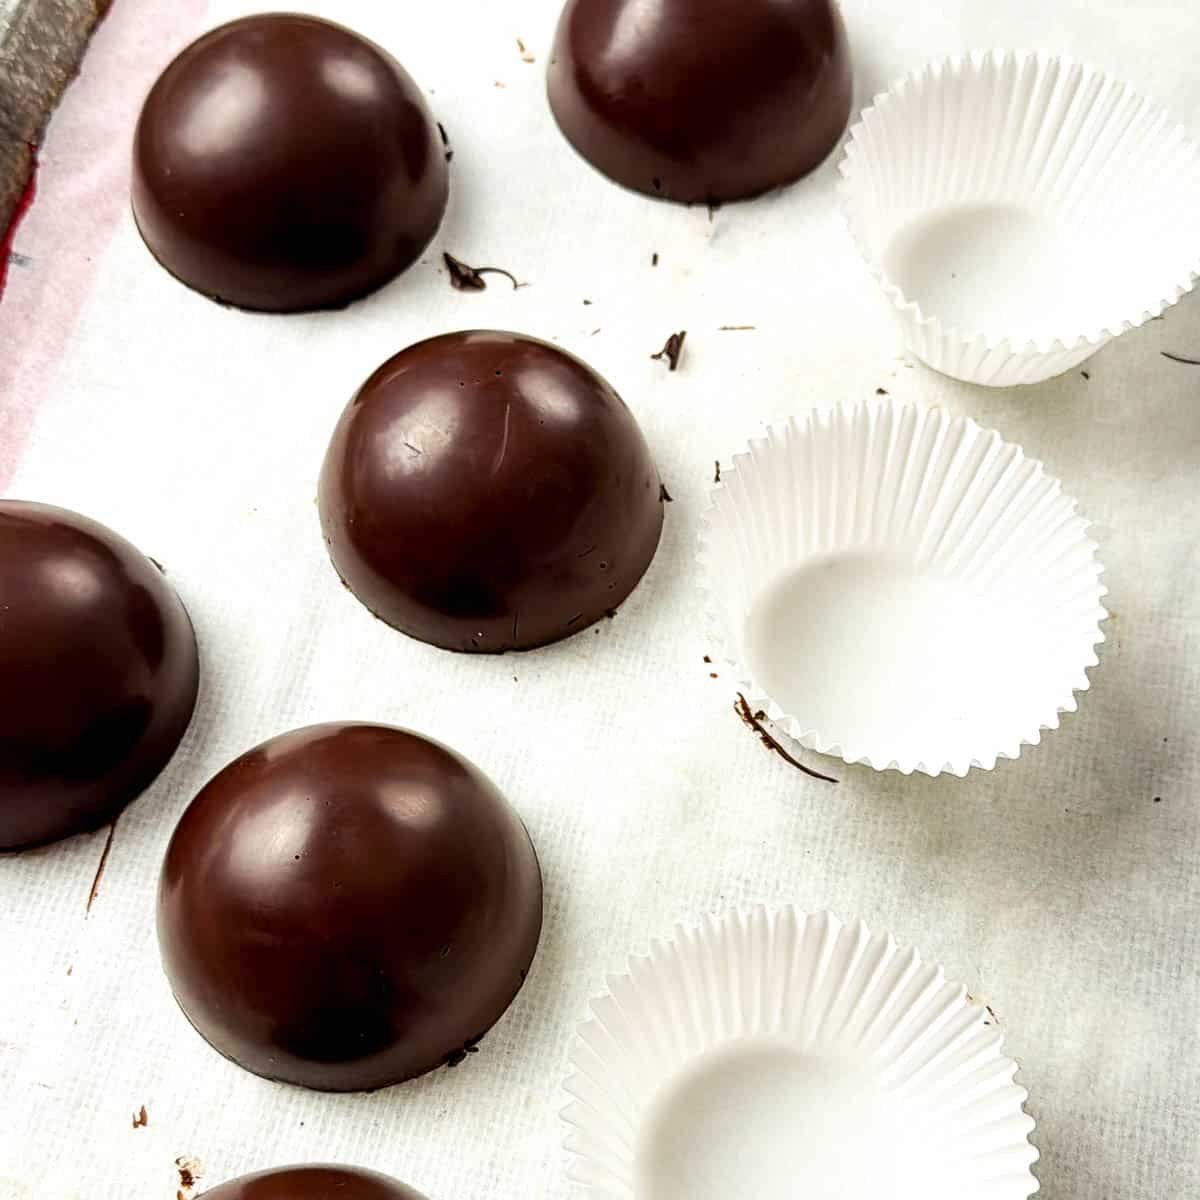
- Level the edges on a warm plate. Warm a ceramic plate in the microwave for a minute or two, then touch the edge of each shell to it to melt it flat and clean. Set the bottom halves in cupcake liners to hold them steady.
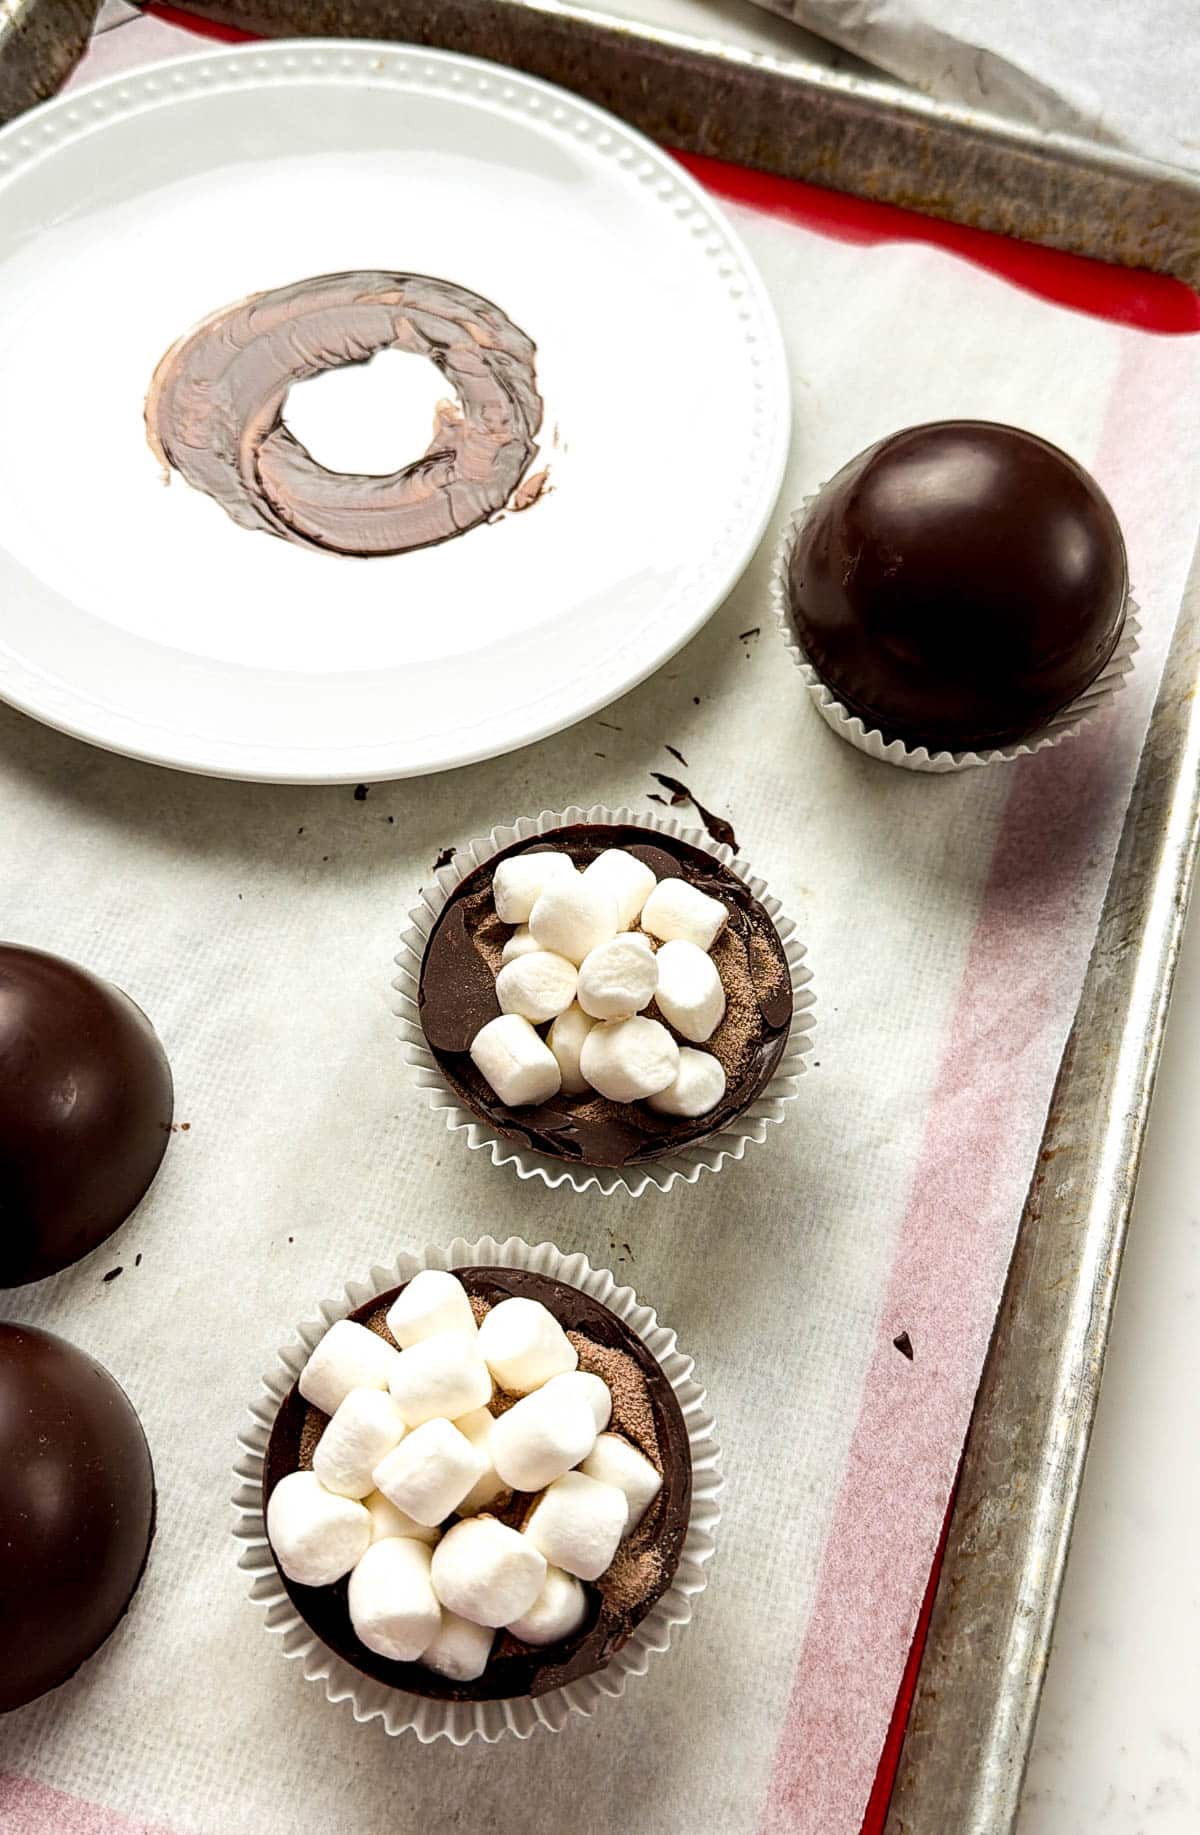
- Fill and seal. Fill the bottom shell with hot cocoa mix and marshmallows. Warm the edge of a top shell on the hot plate, set it on top, and hold for 10 seconds to seal.
PRO TIP: Wear gloves when you assemble. Warm fingers leave prints and melt the chocolate, and gloves give you much cleaner seams. If a seam still looks messy, cover it with your drizzle and sprinkles.
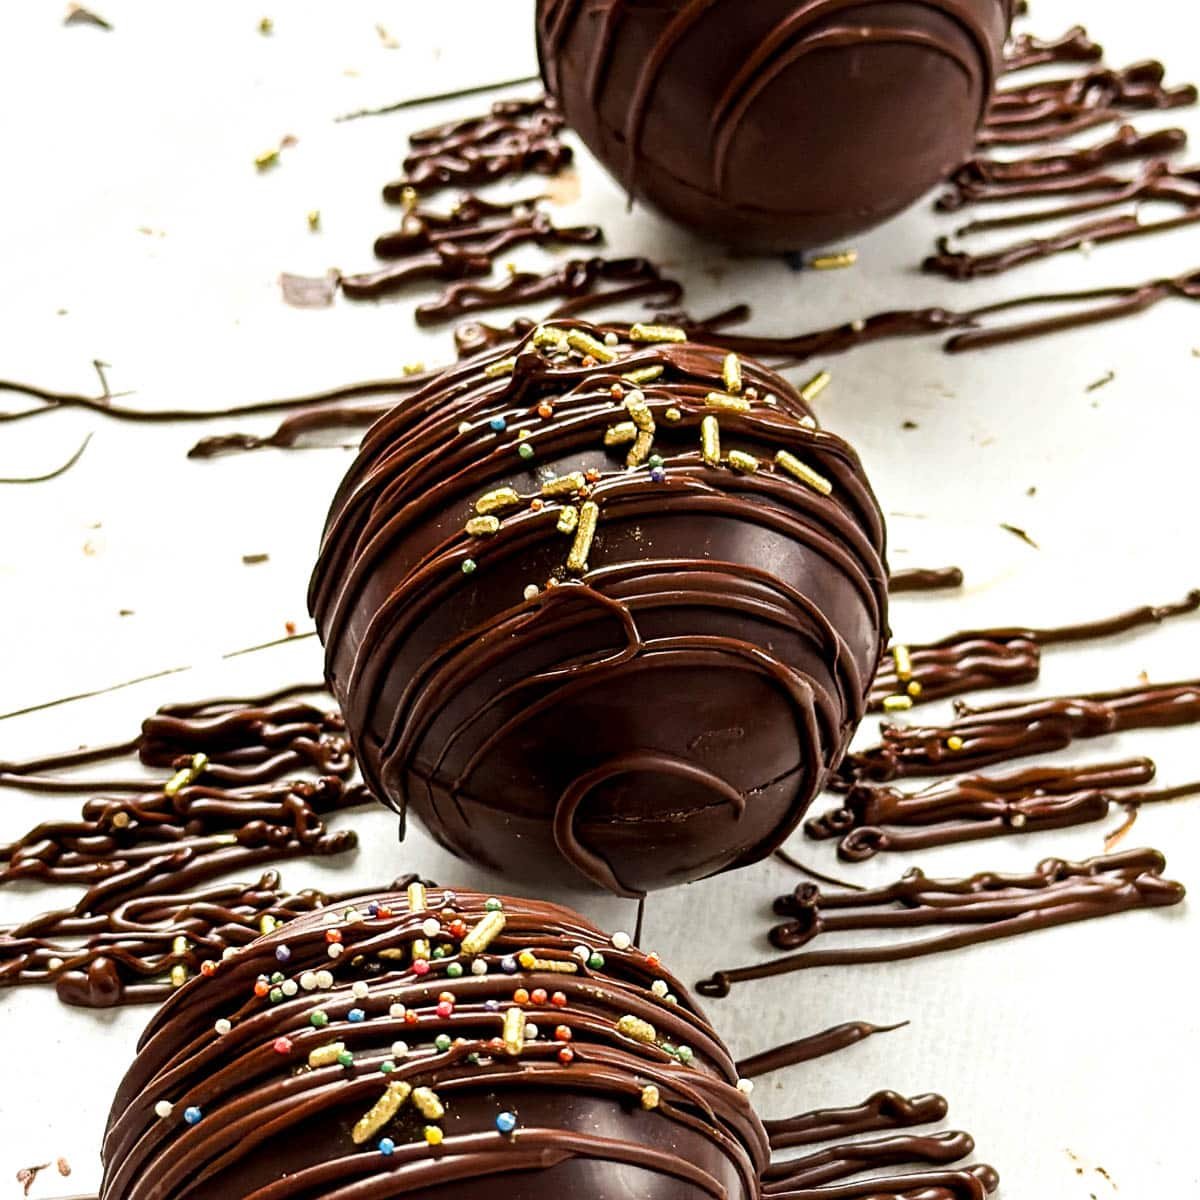
- Drizzle and decorate. Pipe a drizzle of melted chocolate over the bombs, then immediately add your sprinkles so they stick. Rewarm the chocolate for 10 seconds if it gets thick.
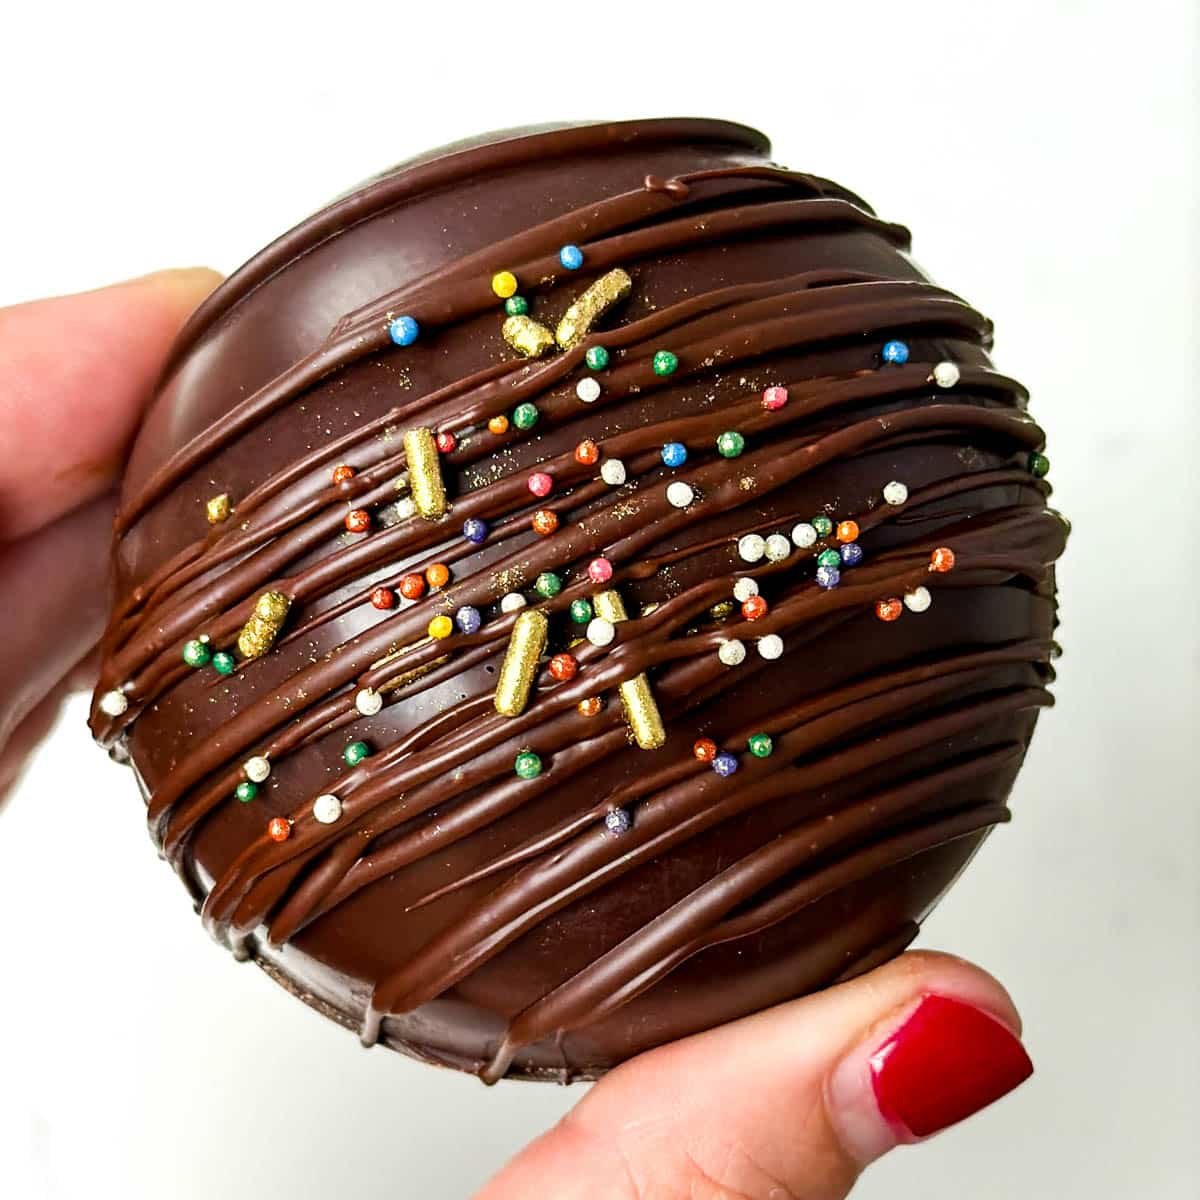
- Let them set and store. Once the drizzle sets, your hot chocolate bombs are ready to use or give away. Store them in an airtight container at room temperature.
How to Use Hot Chocolate Bombs
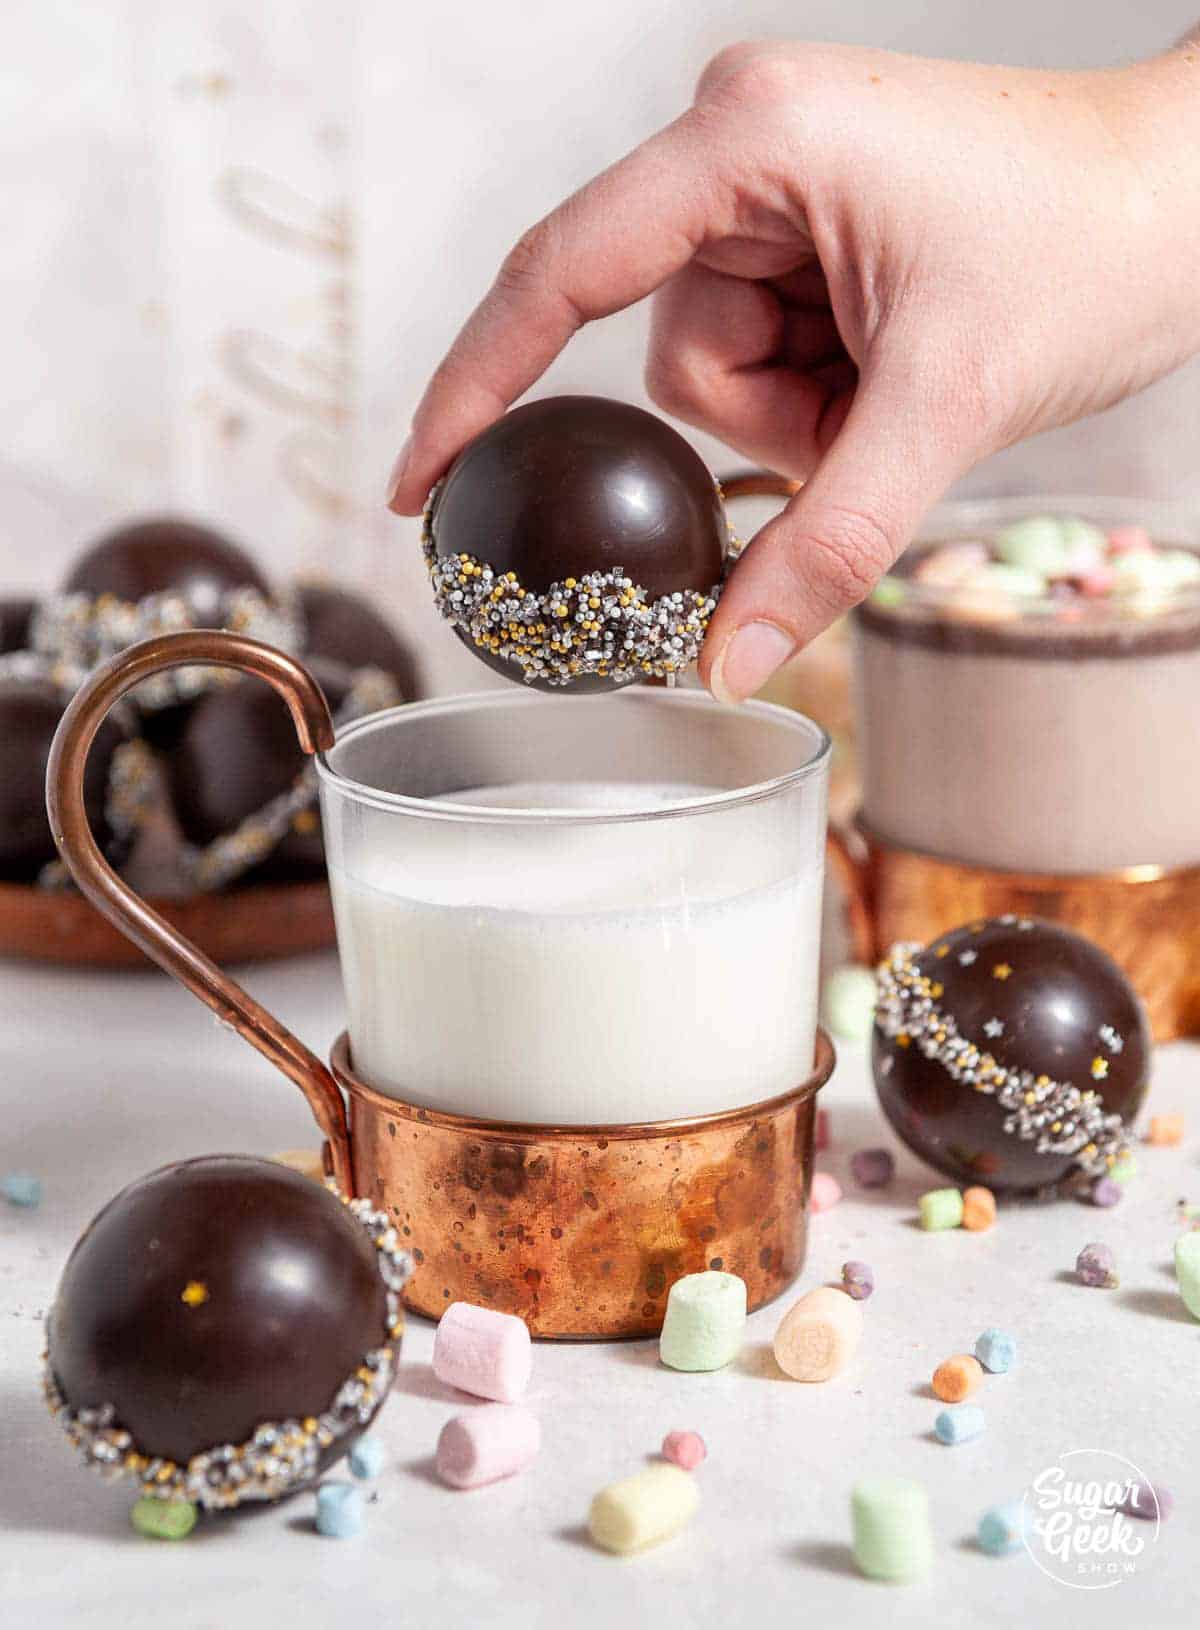
I tested these hot chocolate bombs out in various amounts of milk and found that 14 ounces was about perfect. I heat my milk until it's steaming (not boiling). Place the hot chocolate bomb in the bottom of the mug and pour the hot milk on top. The hot milk opens up the bomb, and all the marshmallows escape! So fun!
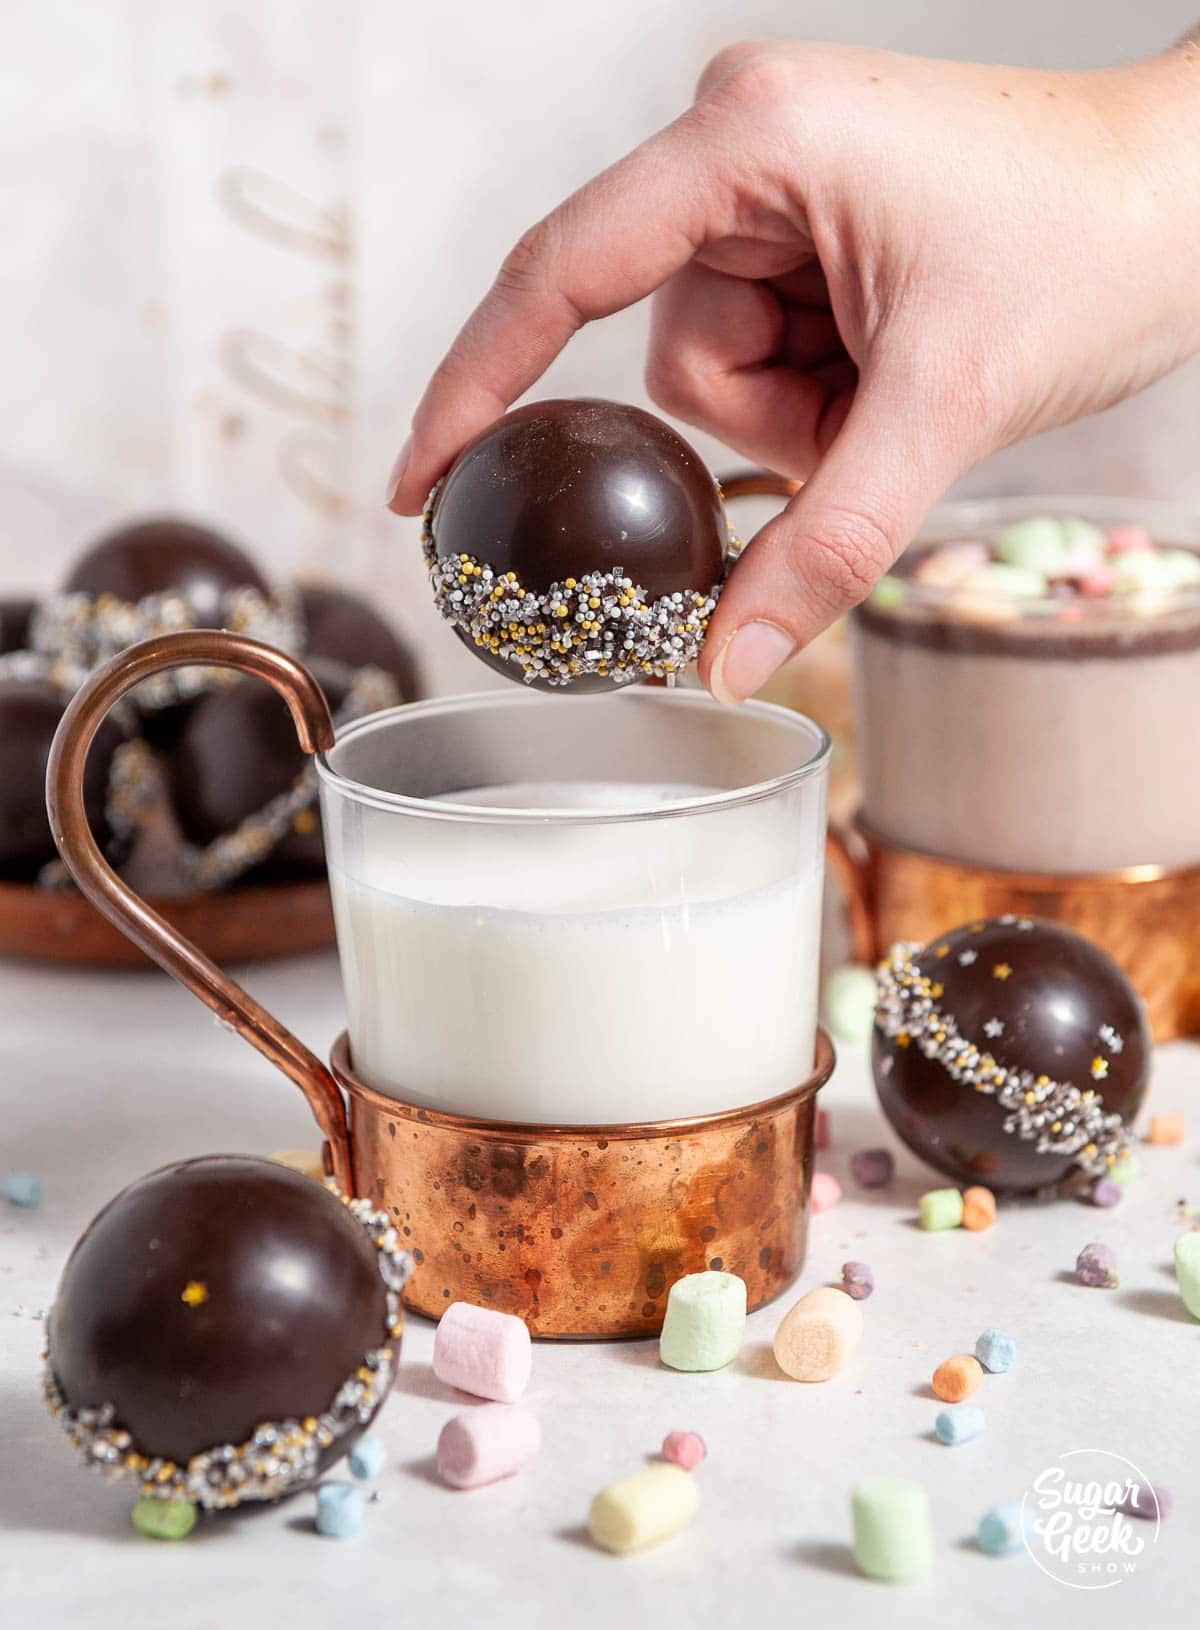
Use a spoon to stir so that the cocoa and chocolate melt into the hot milk.
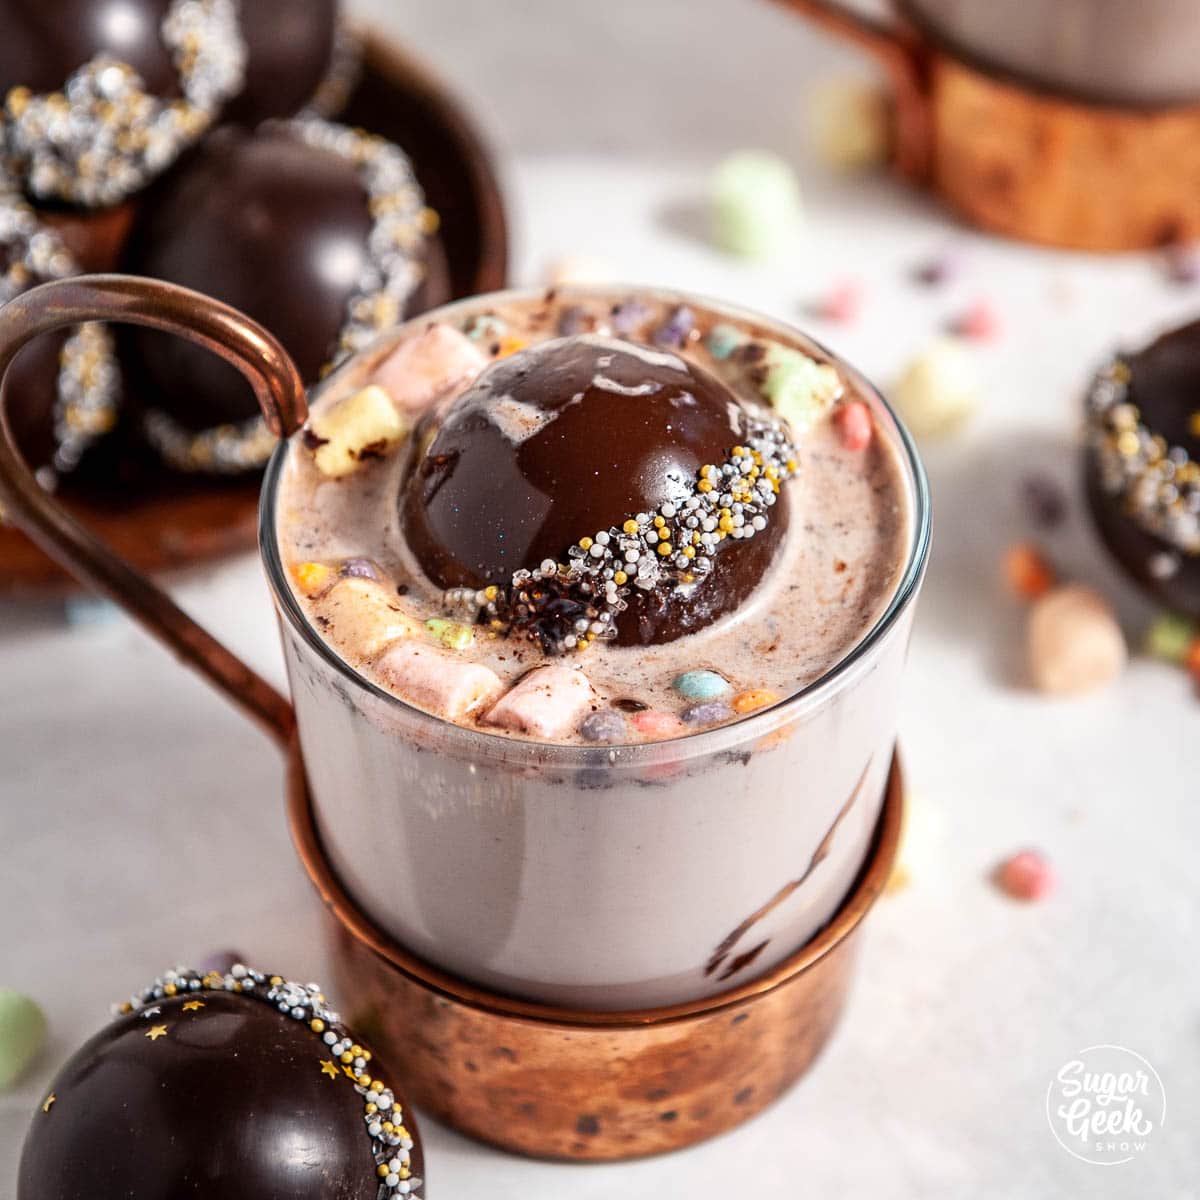
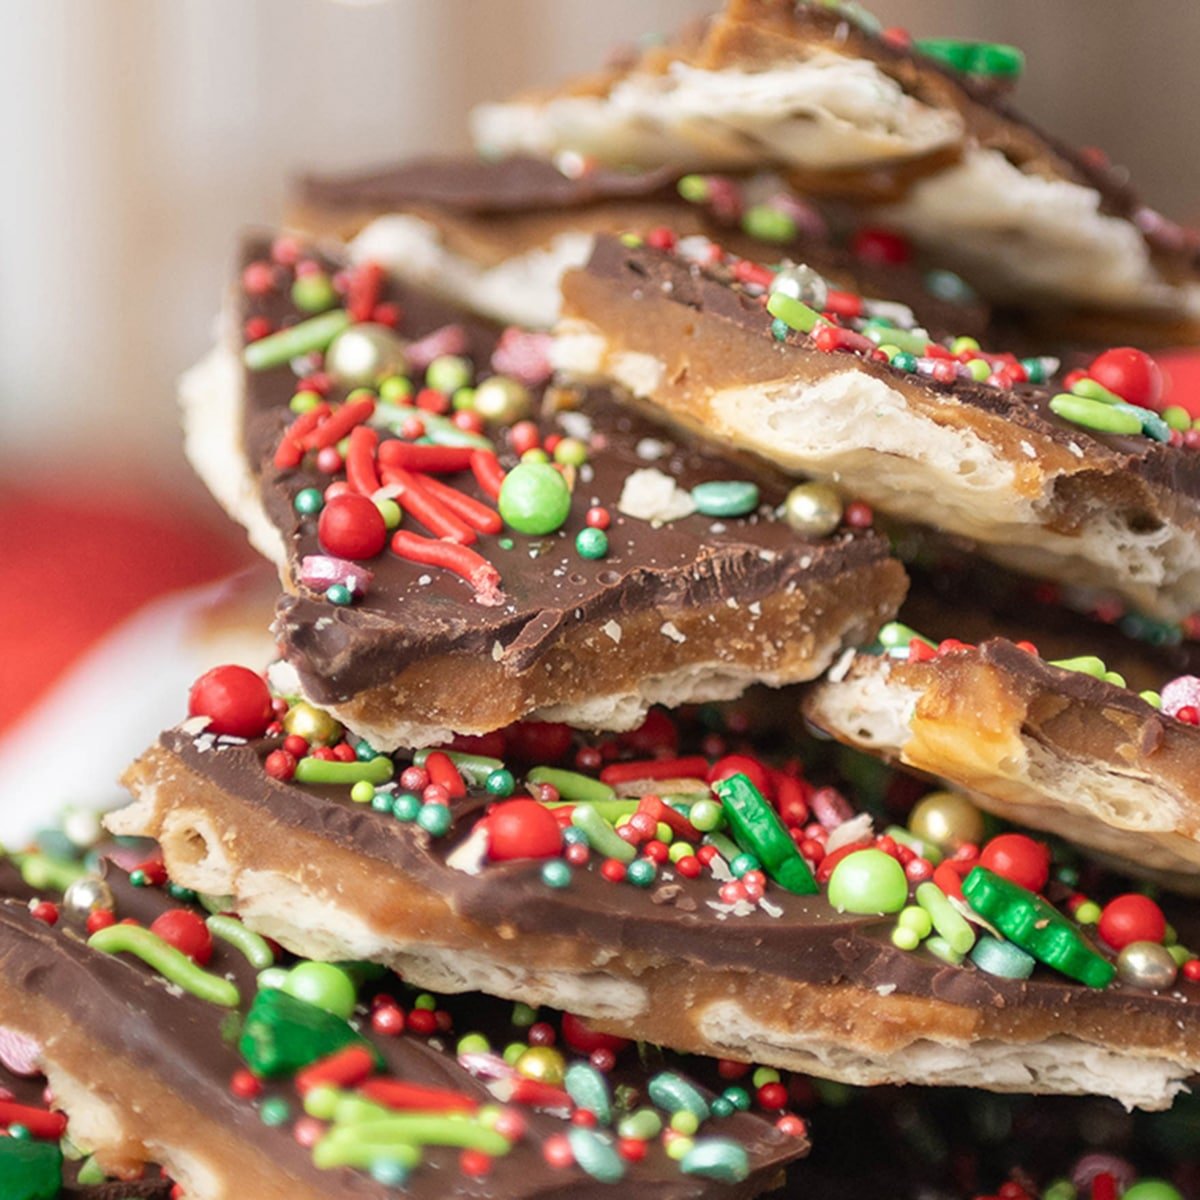
Hot chocolate bombs make a great gift! Wrap them in a plastic bag with a fun tie and some instructions for use. Put it in a mug and give them as gifts for the holidays! Nothing says I love you like hot chocolate! For an even bigger holiday gift, add a bag of my Christmas crack recipe.
Hot Chocolate Bomb Flavor Variations
Hot chocolate bomb variations go beyond classic cocoa. Using flavored chocolate and switching up your sprinkles for crushed candies can change the flavor.
- Peppermint mocha. Add crushed candy canes with the marshmallows inside and to the drizzle on the outside.
- Salted caramel. Use caramel-flavored hot chocolate mix on the inside and crunched up caramel bits on the outside. I like this caramel flavored mix from Swiss Miss.
- Cookies and cream. Make your hot chocolate bomb shells using white chocolate and mix in crunched up Oreo cookies.
- S'mores. Add a few crunched up graham crackers to the drizzle and torch a few marshmallows, and voila! S'mores hot chocolate bombs!
- Mocha. Add a scoop of instant espresso mix into your hot chocolate bombs for an extra caffeine boost!
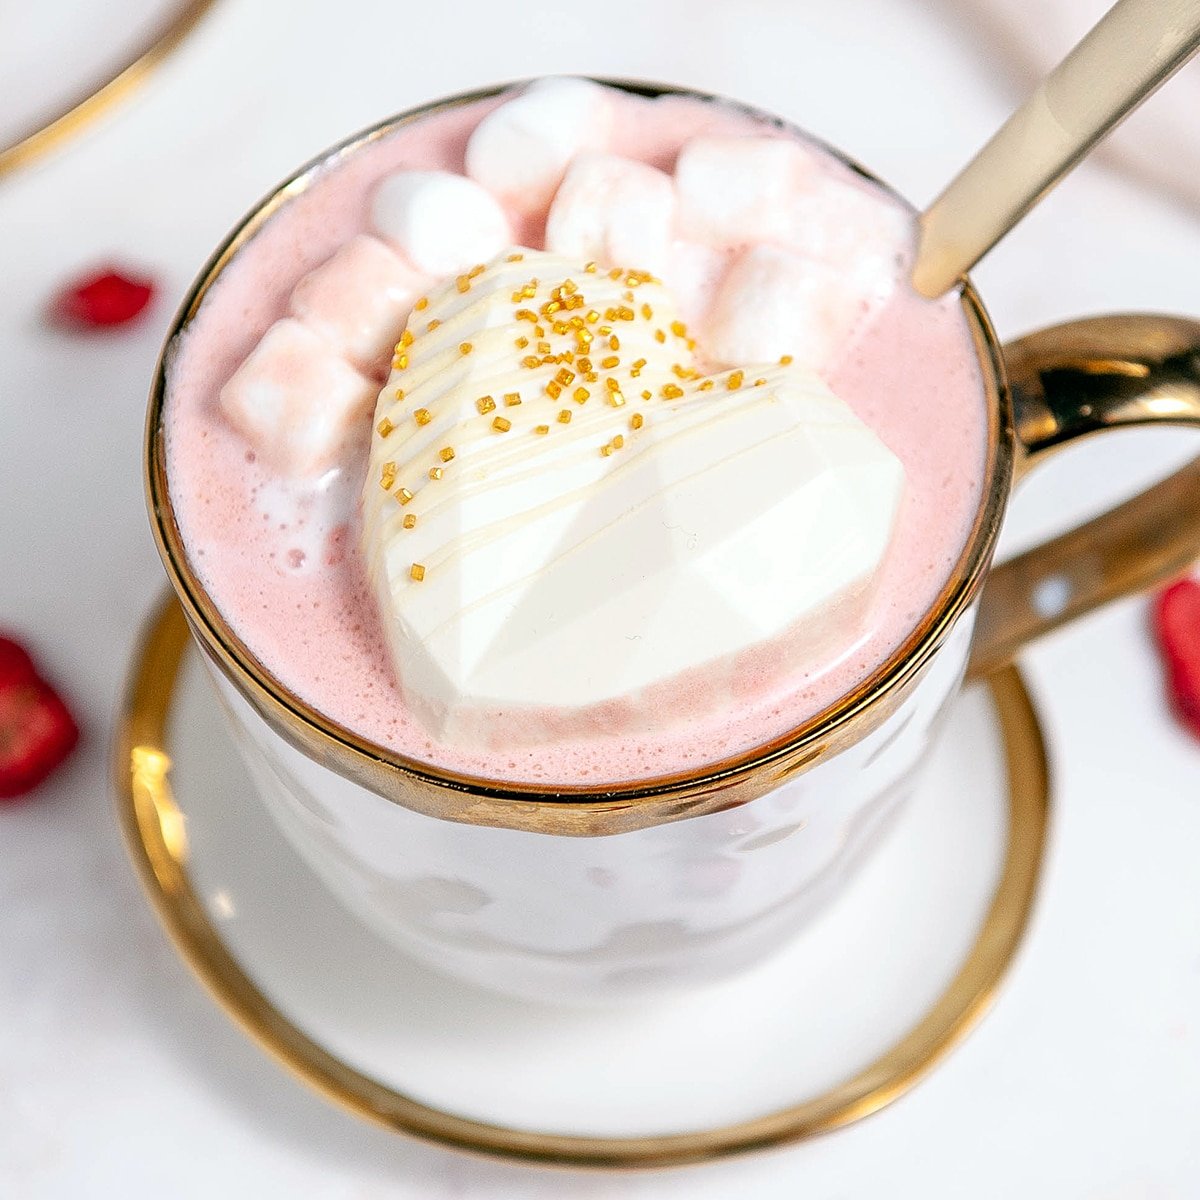
- Heart shaped. For Valentine's Day, try my heart hot chocolate bombs.
Common Hot Chocolate Bomb Problems To Avoid
- Shells won't release from the mold. This usually means the chocolate wasn't tempered. Tempered chocolate shrinks slightly as it sets and slides right out.
- Shells are too thin and break. Do two coats of chocolate so the walls are thicker and sturdier.
- Shells melt when you seal them. They're probably too thin. Make them a little thicker, and only touch the edge to the warm plate for a second.
- Messy seams or fingerprints. Wear gloves while you assemble, and cover any messy seams with your drizzle and sprinkles.
- Dull, streaky shells with white spots. The chocolate went over temper. Keep it under 90º F for dark chocolate, or re-temper it by seeding with more chopped chocolate.
Final Thoughts
I created this recipe back when hot chocolate bombs were just becoming a thing, and they're still one of my favorite holiday projects. They're so much fun to make with a group or with your family, and they make the best gifts. Use real chocolate, keep an eye on your thermometer, and you'll have shiny hot cocoa bombs that taste as good as they look.
Hot Chocolate Bomb FAQs
How long do hot chocolate bombs last and how should I store them?
They don't need to be refrigerated. Store them in an airtight container at room temperature, away from direct sunlight or heat. They'll last as long as the expiration dates on your chocolate, hot chocolate mix, and marshmallows.
Do I need to temper candy melts or almond bark?
No. Candy melts and almond bark don't contain cocoa butter, so you can't temper them. They harden on their own with no tempering, but they won't melt as easily in hot milk and they have a slightly waxy taste.
Can I use chocolate callets instead of a chocolate bar?
Yes, you can use callets. Just melt them in short bursts and keep checking the temperature so the chocolate doesn't get too hot.
Can you ship hot chocolate bombs?
Yes, you can ship them. Package them in tins inside cupcake liners and put shredded paper around them to keep them from breaking.
How much milk do I use for one hot chocolate bomb?
I use about 14 ounces of hot milk in a big 16 ounce mug. If you have a smaller mug, use less milk, but the hot chocolate will be stronger.
More Chocolate Recipes To Try
Leave Me A Review
⭐️⭐️⭐️⭐️⭐️
If you tried these Hot Chocolate Bombs or any other recipe on my blog, please leave a 🌟 star rating and let me know how it goes in the comments. I love hearing from you!
Recipe
Equipment
- Thermometer
- 2 ½" Sphere Mold (silicone or acrylic)
Ingredients
- 24 ounces semi-sweet couverture chocolate I prefer Callebaut, you can also use any high quality bar chocolate. You can use candy melts, if you're using a silicone mold but they don't taste as good.
- 1 cup mini marshmallows
- 6 Tablespoons hot chocolate mix
Instructions
For Silicone Molds
- Place the chocolate into a bowl and heat for 30 seconds (my microwave is 1000 watts)
- Stir the chocolate, moving the chocolate that is on the outside, towards the center.
- Heat again for 15 seconds and stir again.
- Repeat this process until the chocolate is ALMOST melted but not fully melted. Never heating for longer than 15 seconds and never going above 90F. If you go above 90º you will have to temper your chocolate by seeding (see my blog post for more info)
- Stir until fully melted.
- Fill your molds halfway with chocolate and use a spoon to smooth the chocolate up to the edges, taking care to make sure the walls are evenly coated.
- Turn the mold over and shake out the excess chocolate.
- Use a bench scraper to scrape off the excess chocolate.
- Turn the mold upside down onto the parchment paper and allow them to set up in the fridge for 10 minutes.
- Carefully remove the chocolate shells from the mold by gently pushing up from the bottom until the shell releases.
- Heat a ceramic plate and use it to smooth out the edges of the chocolate shells.
- Place the shells in cupcake liners for stability. Fill the shells with hot cocoa mix and marshmallows.
- If needed, warm the edge of the top shell once again on the plate and place it on top of the filled shell. Hold for 10 seconds to seal.
- Fill your piping bag with about ¼ cup of the leftover melted chocolate. Snip the tip off and drizzle chocolate over the hot chocolate bombs. Immediately top with some sprinkles.
For Acrylic Molds
- Chop your chocolate finely with a sharp chefs knife
- Add your chocolate to a bowl and microwave for 30 seconds (my microwave is 1000 watts)
- Stir the chocolate, moving the chocolate that is on the outside, towards the center.
- Heat again for 15 seconds and stir again.
- Repeat this process until the chocolate is ALMOST melted but not fully melted. Never heating for longer than 15 seconds and never going above 90F. If you go above 90º you will have to temper your chocolate by seeding (see my blog post for more info)
- Polish your mold with a paper towel to remove and residue from the inside to prevent the chocolate from sticking.
- Warm the acrylic mold slightly with a hair dryer or heat gun so it doesn't feel cold but not hot either.
- Pour the chocolate (at 90ºF) into the molds and tap on the table a few times to remove bubbles.
- Dump the chocolate back into the bowl, use the edge of your bench scraper to tap out as much of the chocolate as possible. You don't want the chocolates to be too thick.
- Scrape off the excess chocolate from the top of the mold back into the bowl.
- Turn the mold upside down onto some parchment paper to let the chocolate drain further and almost completely set. About 5 minutes. The chocolate should lift away from the parchment paper easily but still be soft.
- Scrape off the excess chocolate again and then place the mold into the freezer for 5 minutes.
- The freezer will cause the chocolate to contract and pull away from the mold. If it's not tempered, it will not contract and there will be no way to get the chocolate out. You can tell if your chocolate is tempered because if you look under the mold, it wont be stuck to the molds anymore. If you have a couple spots where it still is, it will be ok and still release with no problem.
- Quickly turn your mold over onto the table to release the chocolate from the mold. Now they are ready to assemble.
- Add 1 Tablespoon of hot chocolate mix to half the sphere and some marshmallows.
- Pipe some melted chocolate onto the top of the sphere at attach the top piece of the sphere. Pressing gently but firmly.
- Use a gloved hand to wipe away the excess chocolate for a clean look or roll in some sprinkles to finish decorating them!

fwn says
Great, easy technique for tempering chocolate. I had Ghirardelli 60% bar and Ghirardelli dark melting wafers leftover from the holidays, so I just used those, and the 2.5” spheres came out nice and shiny. I did have to work swiftly, because the chocolate set quickly in the silicone molds and on the brush. Unfortunately, the final product was pretty rough looking, some parts were uneven and my warm, gloved hands melted sections and even poked a few holes. Oh well, first attempt and it was fun making (and drinking) them. Once I get the assembly mastered I’ll probably use a higher-end chocolate. Thanks for posting!
Jessica Sue says
This is a great recipe! You were a great teacher in your video tutorial. The instructions and explanations are clear and detailed, probably better than some on Food Network! This was my first time tempering chocolate, and I felt confident doing it! Thanks for your video and recipe!
1 question: I wondered whether the chocolate could be grated rather than shaved?
MLE says
Great recipe and amazing tutorial!! The only thing I did differently and made it a little easier for a novice like me was to put the molded chocolate on a warm pan for a monte before putting these together. It smother out the rough edges and melted the chocolate just enough to make it easy to put together without piping the chocolate on the edge.
I’ve had a blast making these and trying new flavors. You were a big help!!
Jill says
This is the BEST recipe! Thank you for going so into detail, my chocolate bombs were perfect!! Every other recipe out there doesn't show how to temper the chocolate correctly, so this was so great. Thank you thank you!!
Elyse says
This is a reply to my previous Q&A that I have always used the Defrost setting on the microwave to melt chocolate without cooking it & have great results making chocolate lollipops etc. Is there any reason why it is not recommended to Defrost for the Cocoa Bombs? I want to make sure they harden correctly. Thanks!
Elizabeth Marek says
You can heat the chocolate any way you want in the microwave, the only thing you have to be careful of is the temperature. Unless you're using almond bark or some other kind of melt then it doesnt matter but you can only use that type of chocolate in silicone molds
Andrea says
Very helpful! First time doing it. Kinda failed because of what you said about the edges.
Question (sorry if it has been answered)
Why don’t you pour the chocolate in to the silicone mold (why do you paint it on??) ??
You are clear with instructions, love your personality and so digging then geek science❤️
Elizabeth Marek says
If your silicone molds are full of chocolate you cant pour out the chocolate without it getting all over the place. Although I have seen some people cut the mold into pieces and then you can fill and pour.
Patricia Roberts says
Liz, I made mine in a 4 ct 1/34 inch silicone sphere mold for ice balls using only the bottom...so I got 2...they came out perfect...I never tempered before...and I don’t mind doing them in batches as it’s not too time consuming....Ii will just have to figure out my hot milk amount to add to the smaller sphere...thank you so much for your passion and explicit instructions...
Joanne Hamilton says
Just places my order for the molds online and will arrive just before Christmas
Thanks for all the tips can’t wait to do these for my daughter
Shannon Nechamkin says
I made these and they turned out great. Can’t wait to give them as Christmas gifts.
Cherlyn says
For silicone molds, have you tried Trader Joe's "Pound Plus" dark chocolate bar (17.6 oz) - imported from Belgium with 55% minimum dark chocolate cocoa solids and cocoa butter?
Elizabeth Marek says
I haven't tried that but I know some people who love it
Cherlyn says
Can you chop/grate the chocolate in a food processor?
Elizabeth Marek says
I haven't had success doing that
Clarice Armijo says
This is a FANTASTIC idea!! Do you know how well they hold up in the mail if shipped off?
Elizabeth Marek says
Check out my cookie boxing tutorial for how I shipped mine 🙂
Carla says
I love your instructions and this recipe!! I’m so proud that I finally learned how to temper chocolate!! Thank you!! My husband helped me shaving the chocolate and he decided the knife was too labor intensive. He used a vegetable peeler and it went much faster!! I LOVE your blog. Keep the great posts coming!! 😊
Elizabeth Marek says
Thanks for the tip!
Natalie says
Hi! I had a silly question...in the recipe it calls for 24oz of chocolate to make 6 bombs. I know 16oz is 1 pound, so does that mean I need 1.5lbs of chocolate per 6 balls? Seems like alot to me and maybe I am mistaken. Any help is appreciated 🙂
Elizabeth Marek says
Its because you have to fill the molds and then pour out the excess. You do use all the chocolate for each bomb because they are not solid.
Ruth S says
Thank you so much for all the details. I just ordered everything and I can’t wait to make these. This is the first time I’ve found a candy recipe that left me with the confidence to give it a try. Thanks again!