
There’s nothing like warm dinner rolls straight from the oven, and these Sourdough Rolls are my favorite by far. They're soft, airy, and slightly tangy. This recipe combines just a few simple ingredients, and they're easier to make than you think. Once you go homemade, you won't go back!
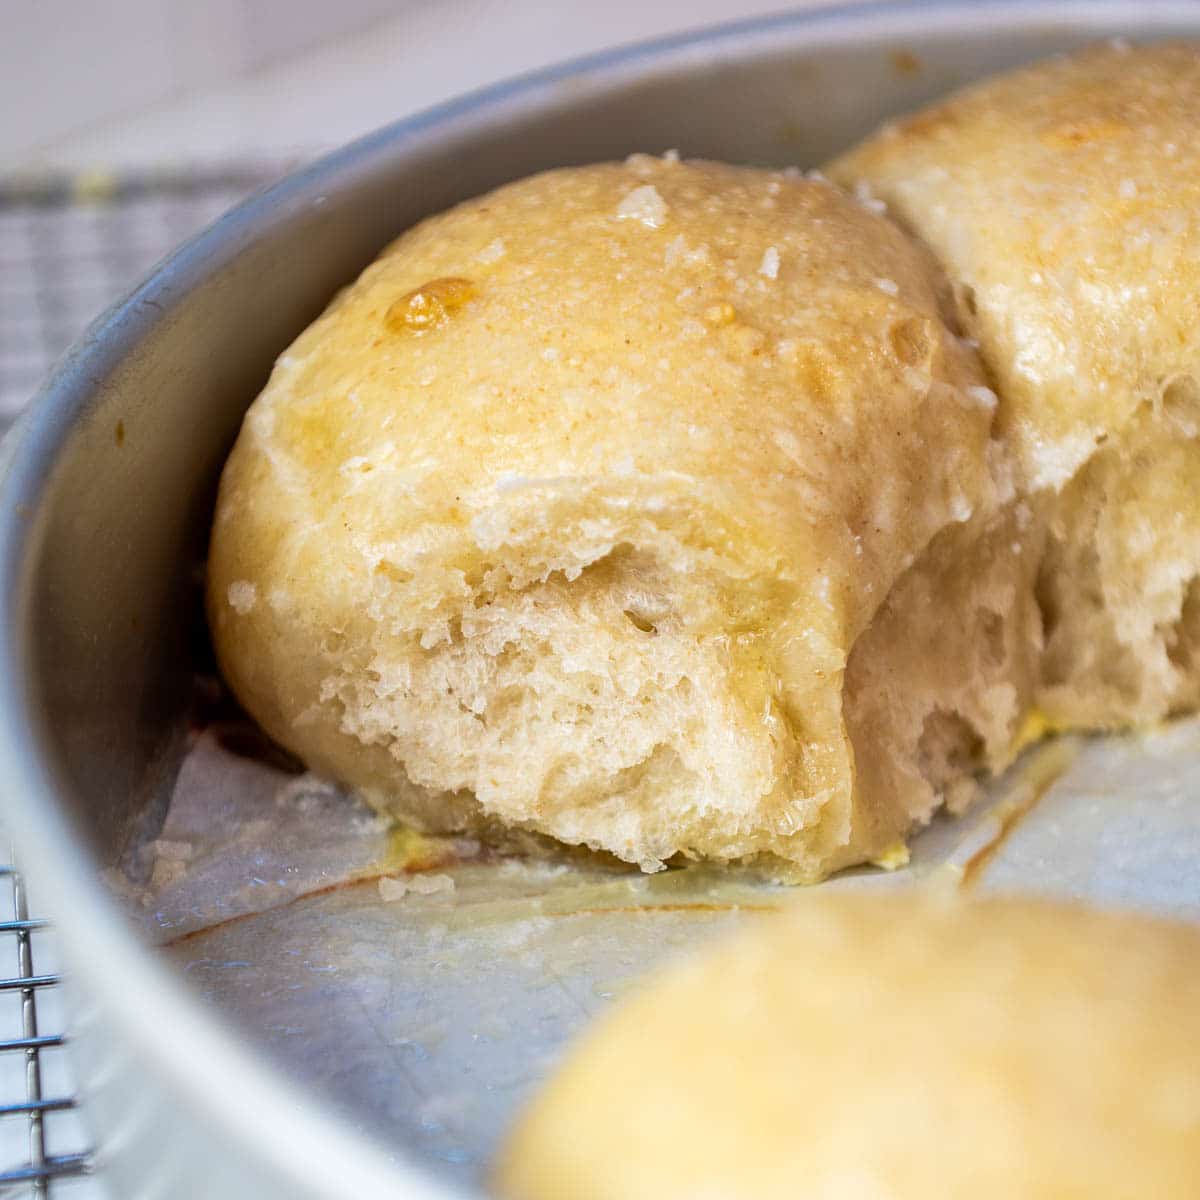
This is hands-down my favorite way to make sourdough. Don’t get me wrong, I love a rustic, crusty sourdough bread as much as anyone, but my kids aren’t always fans of the hard crust. That’s what led me to try making these sourdough rolls. And honestly, I think I love it even more than the traditional version. The little bit of oil and honey in the dough keep the rolls soft and fluffy for days, and the crust bakes up thin and tender instead of crunchy.
What's In This Blog Post?
Ingredients Needed
These easy Sourdough Rolls are made with only six, simple ingredients. Put that sourdough starter to good use!
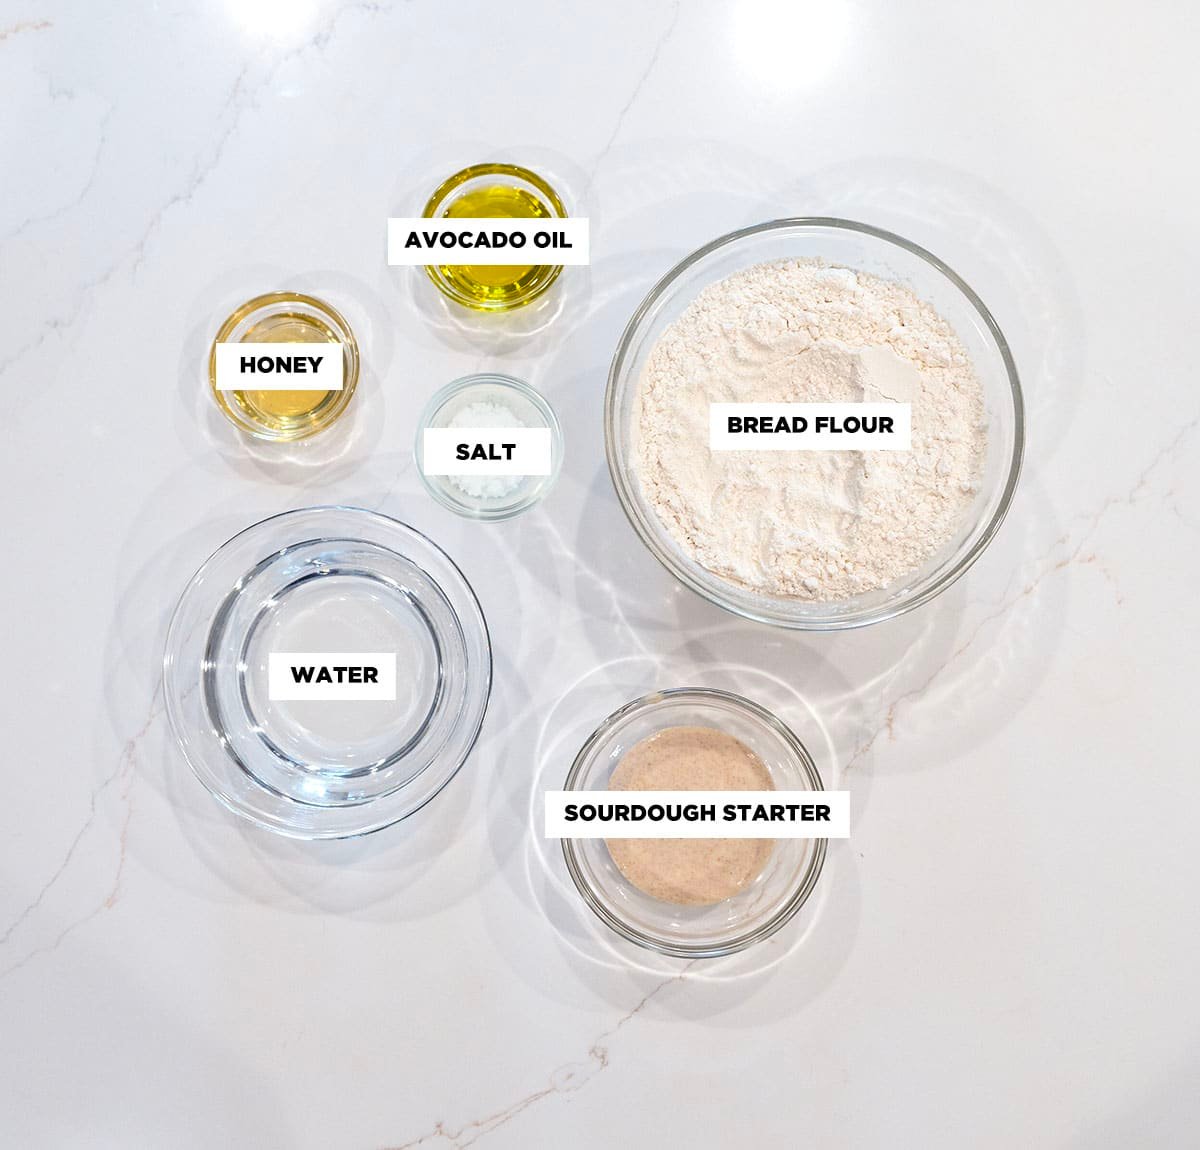
- Active Sourdough Starter – Make sure your active starter is bubbly and at room temperature for the best rise. If you don’t have one, you can use active dry yeast or a no-knead dough as a substitute, though the flavor will be slightly different.
- Warm Water – Lukewarm water helps activate the starter without killing the wild yeast. You can also use warm milk for a richer, softer crumb.
- Avocado Oil – Adds moisture without a strong flavor. Substitute with olive oil, canola oil, or melted butter.
- Honey – Provides subtle sweetness and helps with browning. Substitute with maple syrup, agave, or granulated sugar.
- Unbleached Bread Flour – Gives structure and chewiness. You can replace up to 50% with whole wheat flour for a nuttier flavor.
- Salt – Enhances flavor and strengthens gluten. You can use kosher or sea salt if that’s what you have on hand. And don't forget to finish with a sprinkle of flaky salt!
Equipment Needed
Food Scale – A food scale ensures accuracy when measuring ingredients, which is especially important for baking. It helps you achieve the right dough consistency and balance between flour, water, and starter every time.
Digital Thermometer – Use a digital thermometer to check the internal temperature of your rolls after baking. They’re perfectly done when they reach 205°F, ensuring a soft, fluffy interior without being underbaked.
Sourdough Essentials – If you’re new to sourdough baking, check out my Beginners Sourdough Bread Recipe. The essential tools you will need are a dough scraper, proofing basket, dough whisk, and Weck jars for storing your starter.
Tips and Tricks for Success
- Use an active starter: Your dough will rise best if your starter is bubbly and recently fed.
- Check water temperature: Lukewarm water helps activate the starter without killing it.
- Be gentle with folding: Stretching and folding develops gluten without overworking the dough, giving airy rolls.
- Don’t skip the second rise: Letting the shaped rolls rise ensures they’re soft and not dense or gummy.
- Use a digital thermometer: Rolls are perfectly baked at 205°F. This helps avoid under- or over-baking.
- Grease your pan well: Prevents sticking and helps the bottoms brown evenly.
- Cool before slicing: Letting the rolls cool slightly prevents a gummy texture and keeps the crumb light.
How To Make A Warm Sourdough Environment
Remember, sourdough is completely controlled by heat. If your house cold it can take much longer for the dough to rise. Go by visual que's not just time.
I like to use my Brod and Taylor Sourdough Proofer so that I can get my sourdough to proof no matter how hot or cold it is in my house.
1. Oven with the Light On - Place your covered dough inside the oven (turned off) and switch on the oven light. The light alone usually keeps the inside around 75–85°F, which is ideal for fermentation.
2. Microwave “Proofing Box” - Boil a cup of water in the microwave for 2–3 minutes, then push it to the corner. Place your covered dough inside and close the door. The residual steam and heat create a warm, humid environment. (Reheat the water every few hours if needed.)
3. On Top of a Warm Appliance - Set the dough on top of something that gives off gentle heat, like:
- A refrigerator (often slightly warm on top)
- A cable box, router, or dehydrator
- A turned-off but still-warm oven or stovetop
4. Heating Pad or Electric Blanket - Place a folded towel or baking sheet between the heating pad and your bowl to avoid overheating. Set it on low and monitor the temperature.
5. Warm Water Bath - Place the bowl or proofing container in a larger bowl of warm water (around 80°F). This gently warms the dough from underneath. Keep an eye on it so it doesn’t get too hot.
6. Proofing Box or DIY Cooler Setup - If you have a proofing box, this is the easiest way to keep things steady. If not, you can create one with:
- A small insulated cooler
- A mug of hot water inside to warm the air
- Your covered dough next to it
7. Sunlit Spot or Near a Window - A sunny window ledge can give a nice boost during the day, but make sure it doesn’t get too hot or direct sunlight doesn’t dry the surface of your dough.
8. Inside the Oven with a Bowl of Hot Water - Place your dough on the top rack and a bowl of boiling water on the lower rack. Close the oven door. This creates a warm, steamy chamber that’s excellent for fermentation.
How to Make Sourdough Rolls
Don't let this recipe intimidate you! Follow these simple step-by-step instructions, and you'll have the best homemade Sourdough Rolls. No stand mixer or bread maker required!
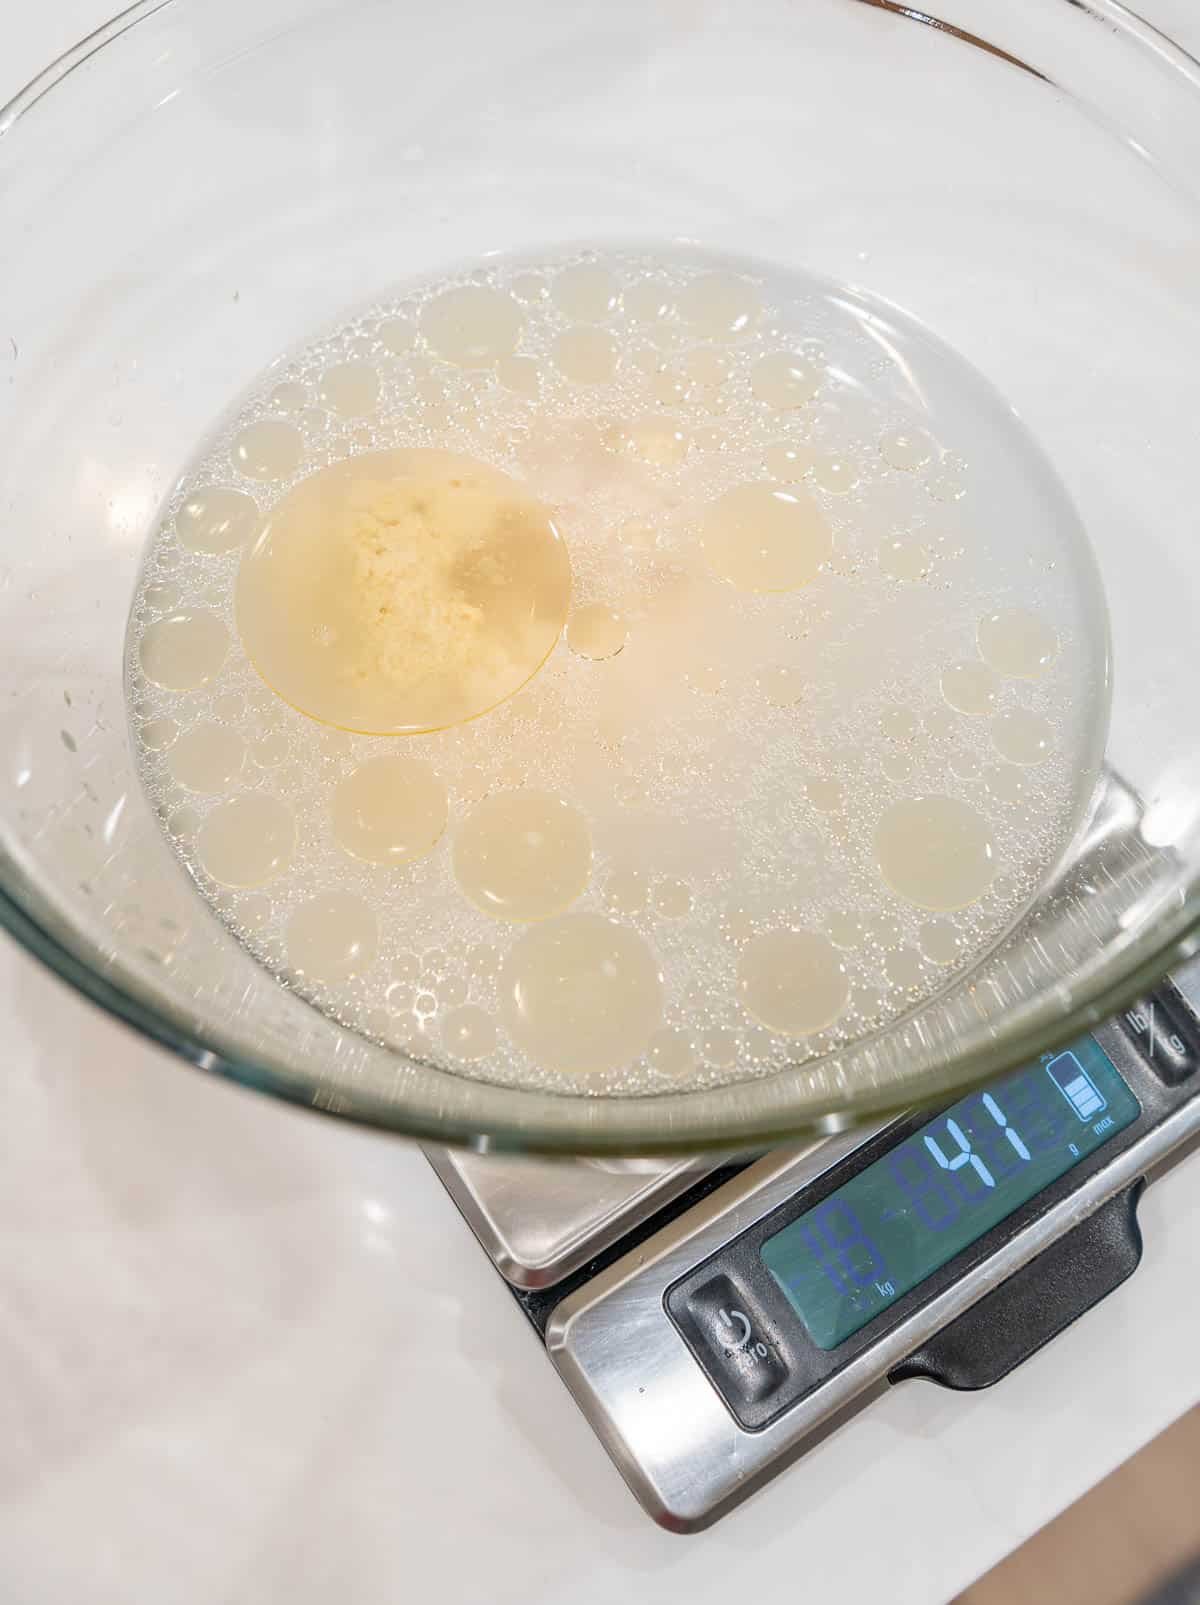
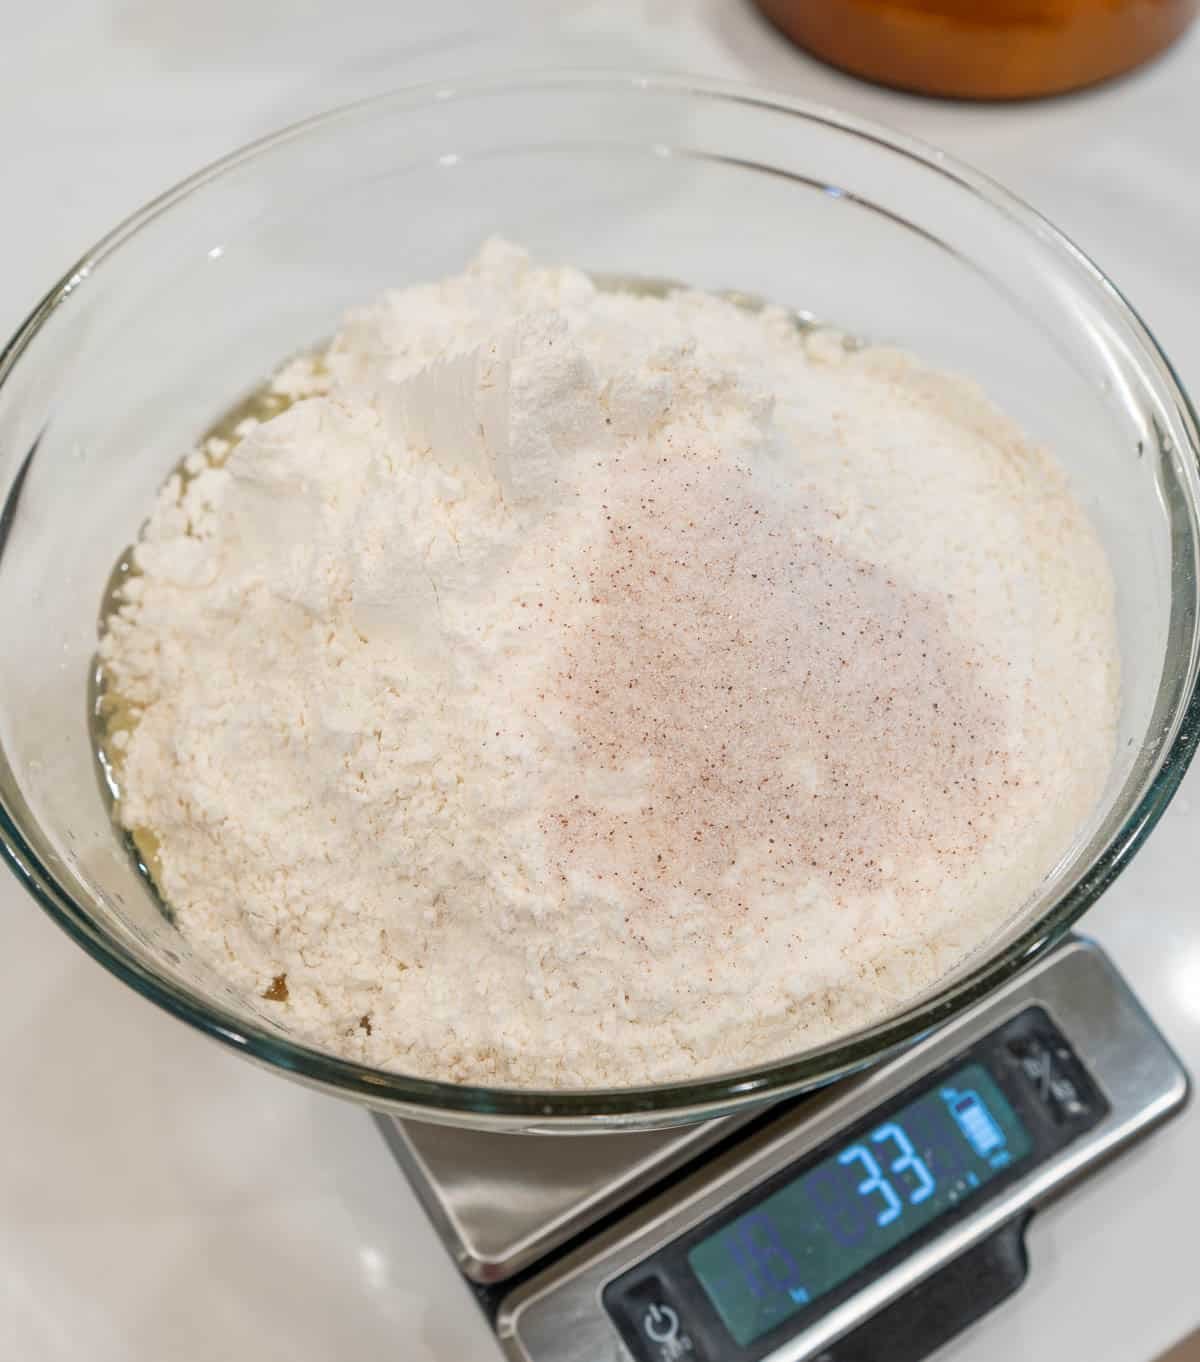
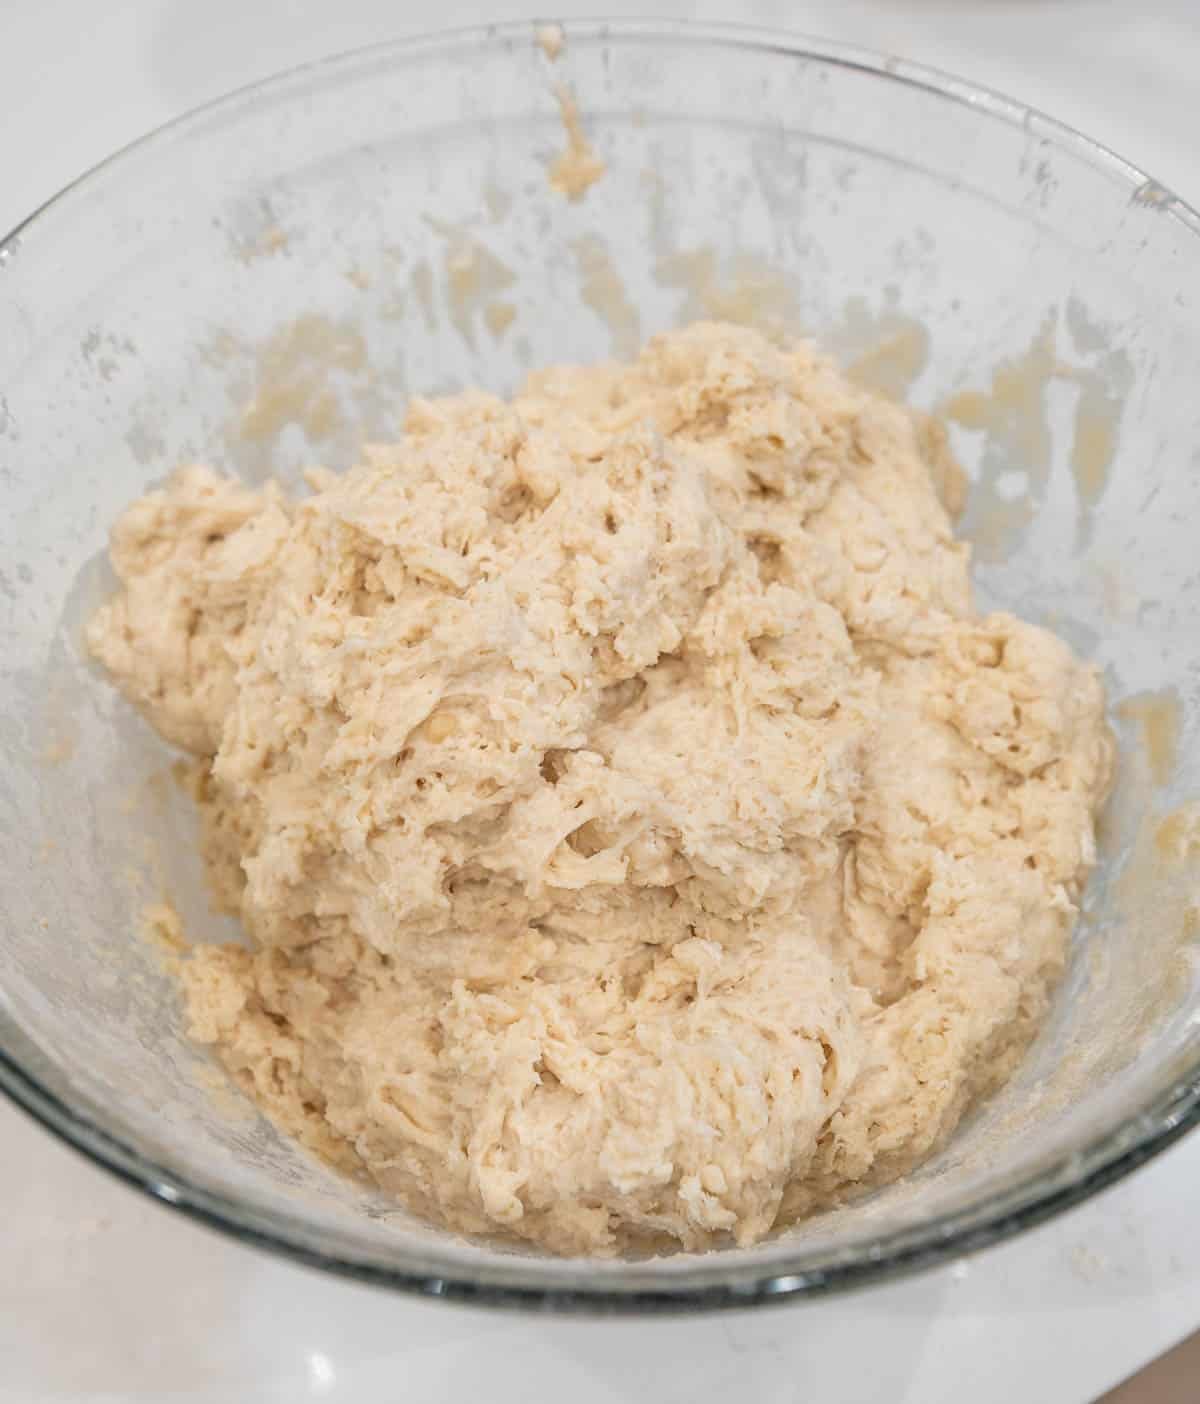
- Combine Ingredients – In a mixing bowl, combine the active sourdough starter, warm water, avocado oil, and honey until smooth. Add the flour and salt, then cover and let it rest for 1 hour.
- Stretch & Fold – Perform 4 sets of stretch-and-folds, 30 minutes apart, to develop gluten and create a smooth dough.
- Bulk Ferment – Cover and let rise 4–8 hours, or overnight for a long fermentation process. The dough is ready when it's doubled, bubbly, and airy.
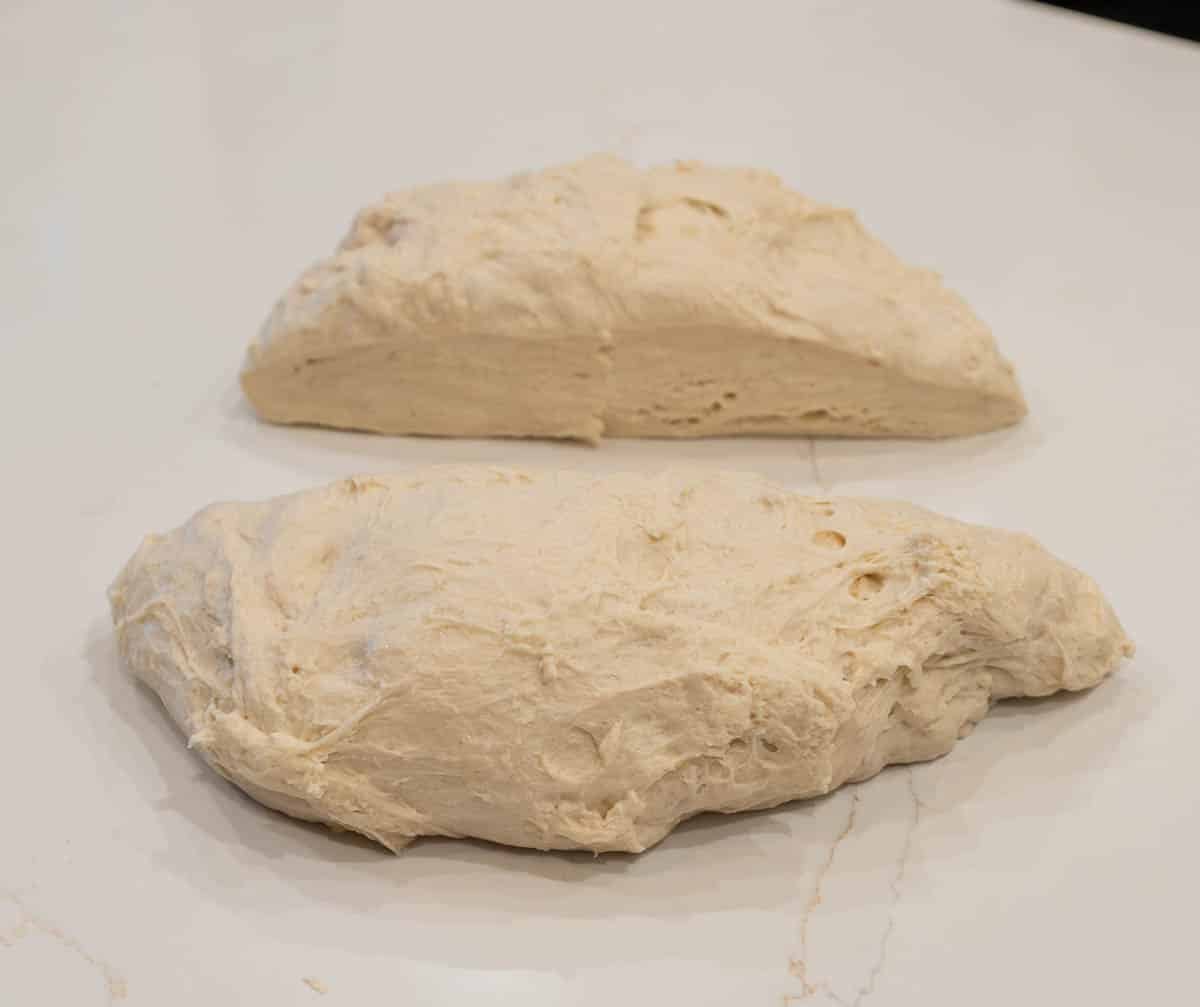
- Divide - This recipe makes enough dough for 16 dinner rolls. For Holiday dinners, I will turn all the dough into rolls, but for a regular day, I'll turn half of it into sourdough sandwich bread.
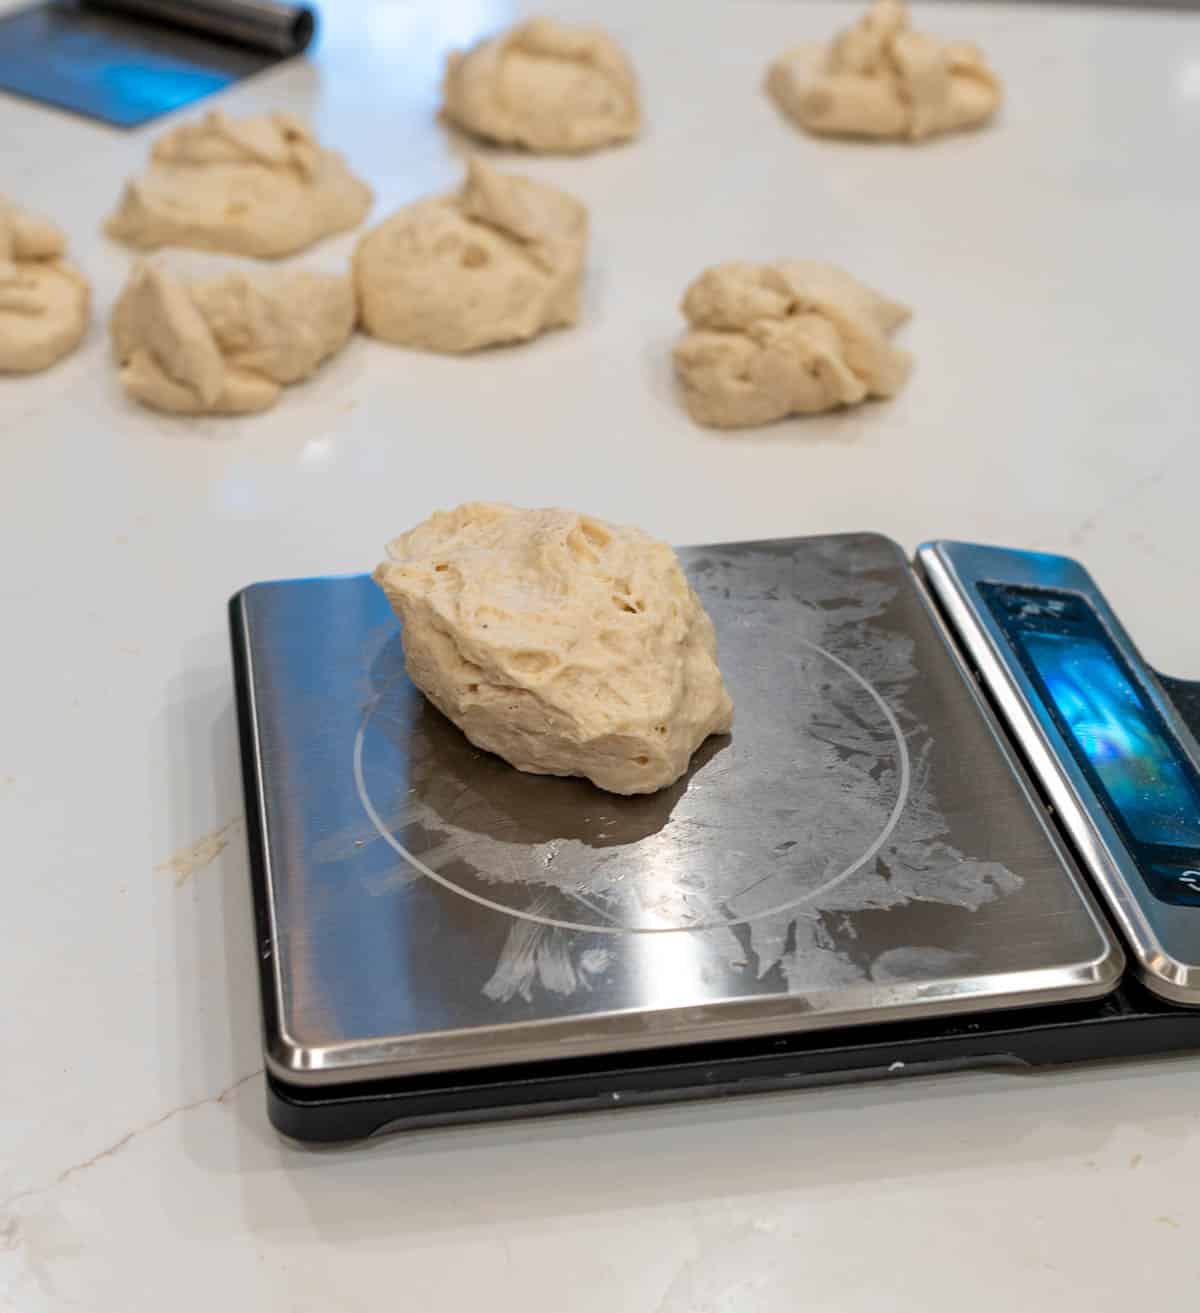
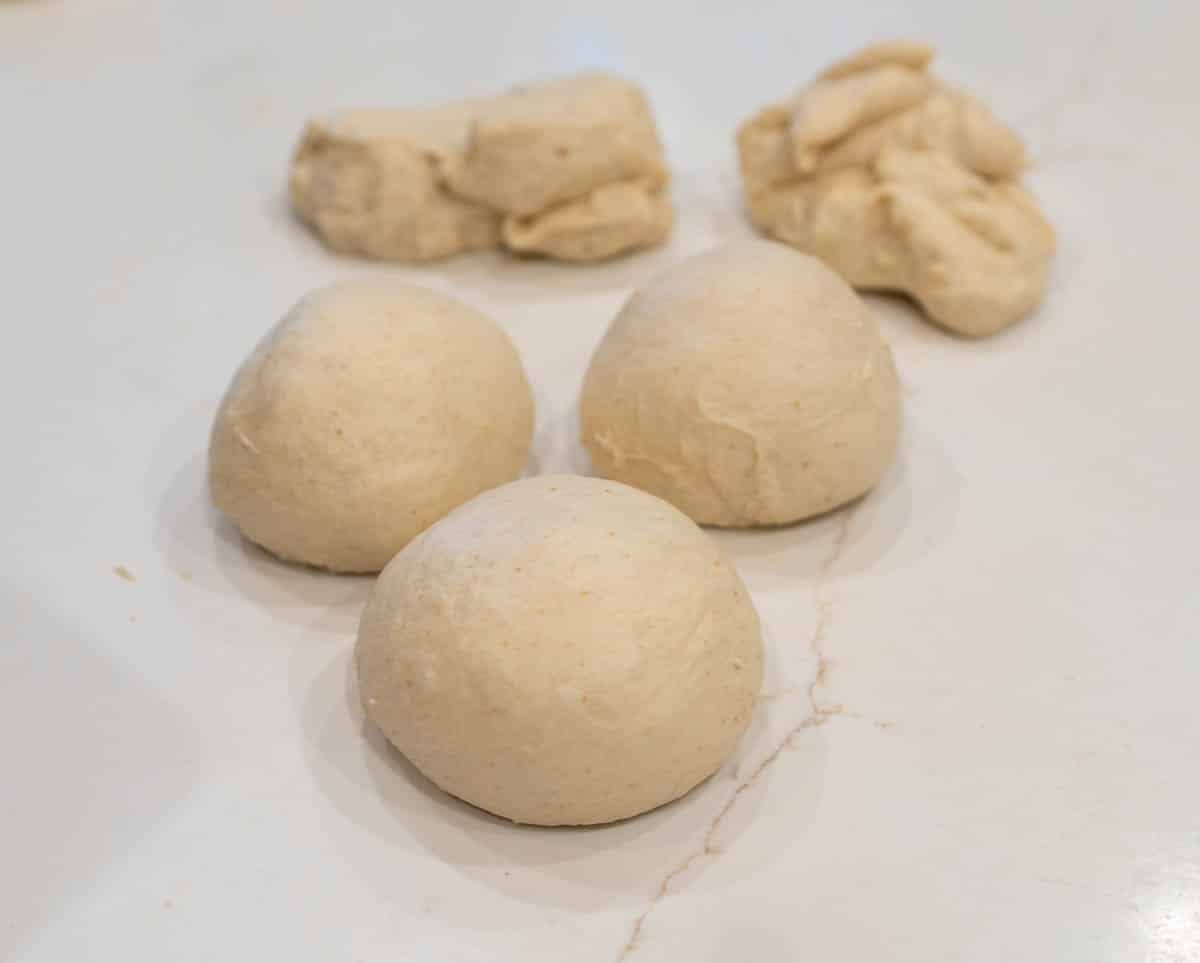
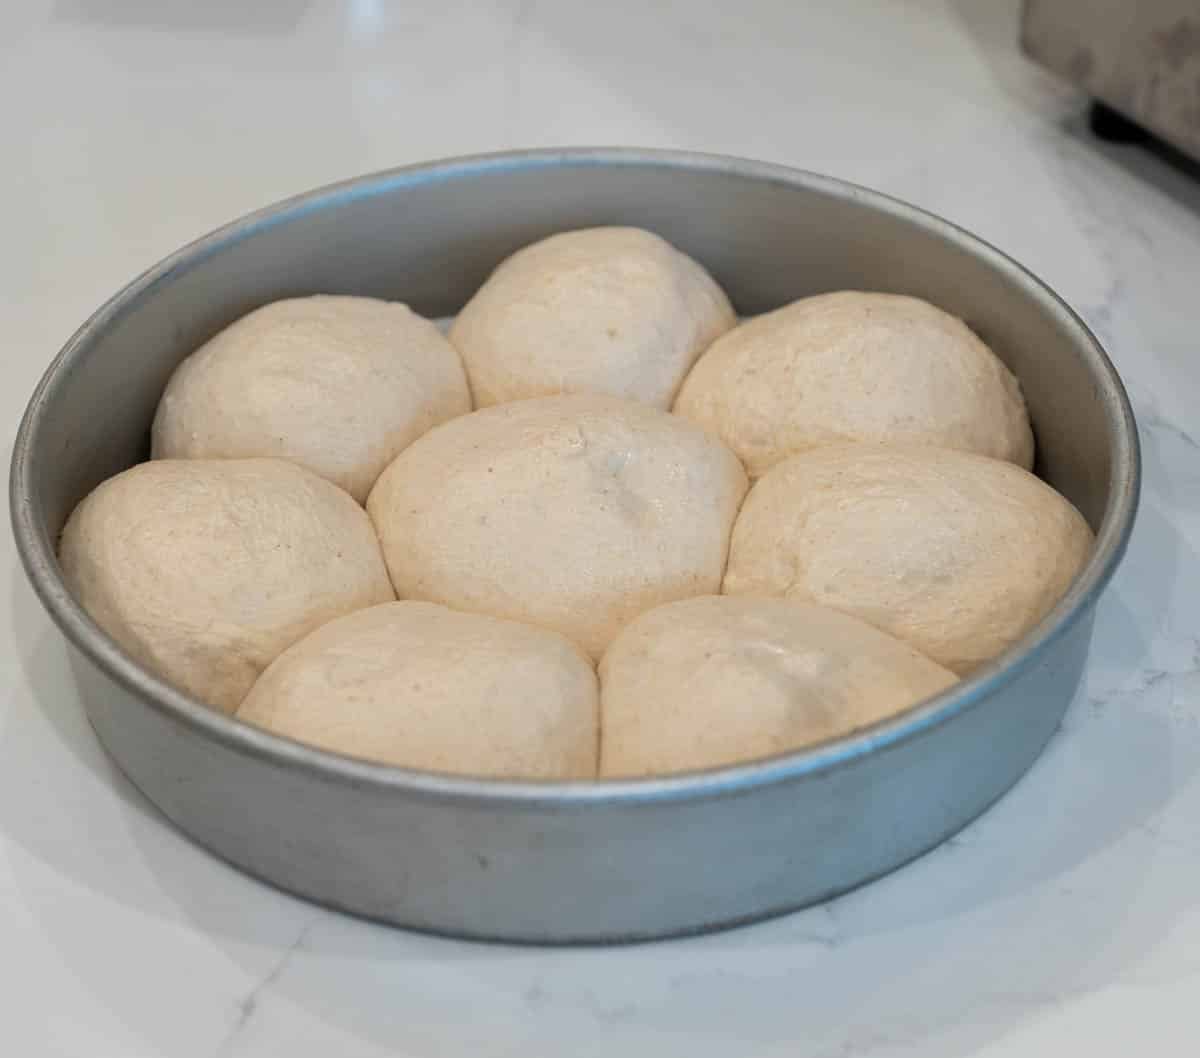
- Portion – Turn the dough onto a lightly floured work surface and divide into 8 equal-sized dough balls.
- Shape each roll using a gentle circular motion to build surface tension and pull the outer layer of dough nice and tight.
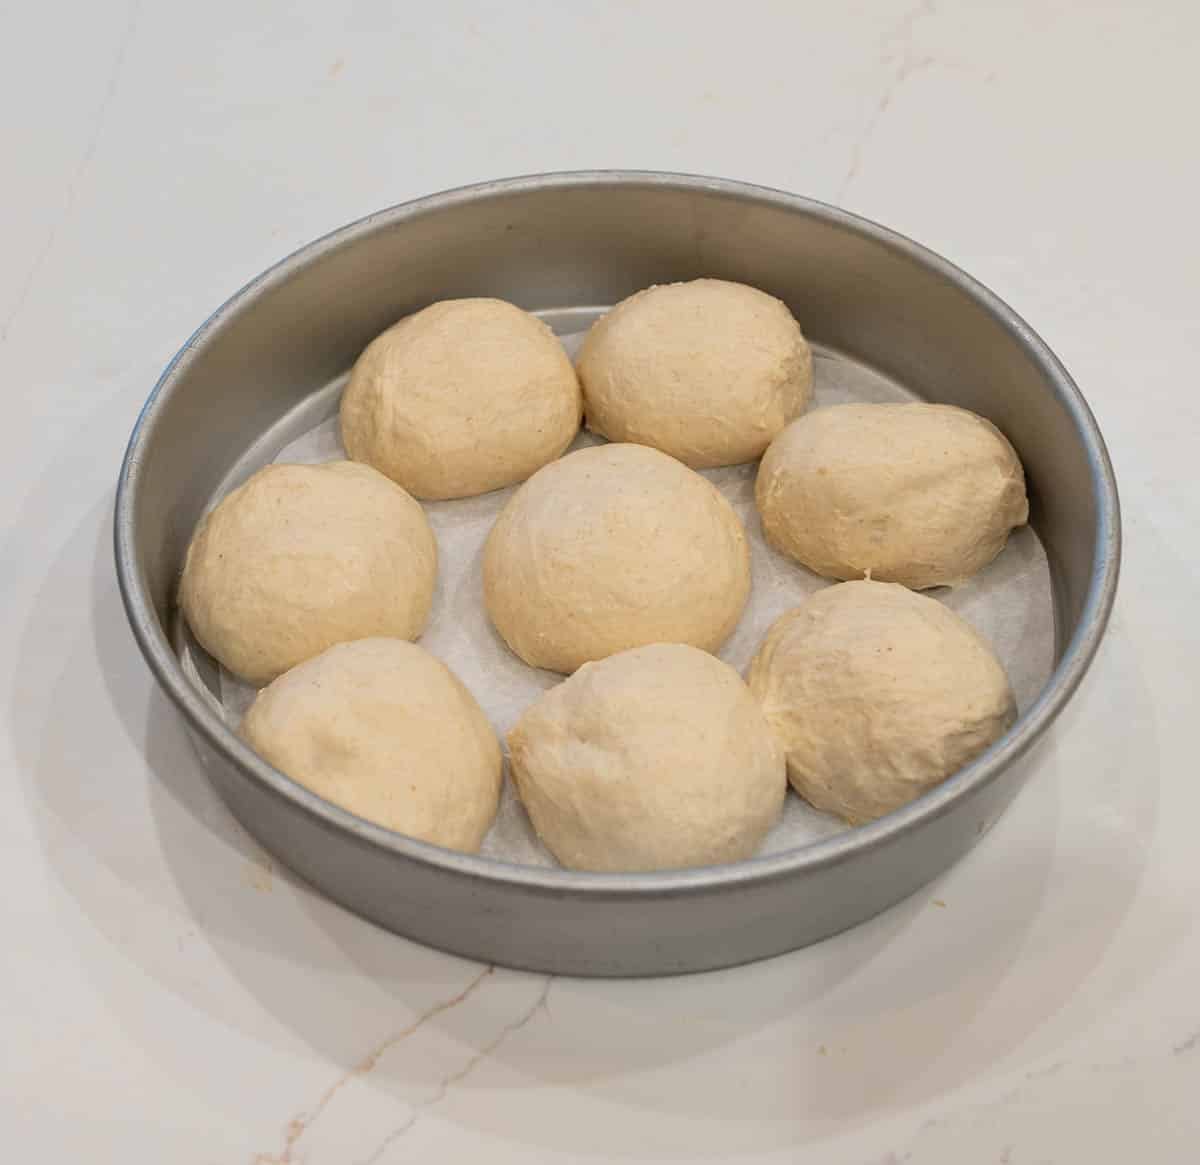
- Place the dough balls into a parchment-lined pan.
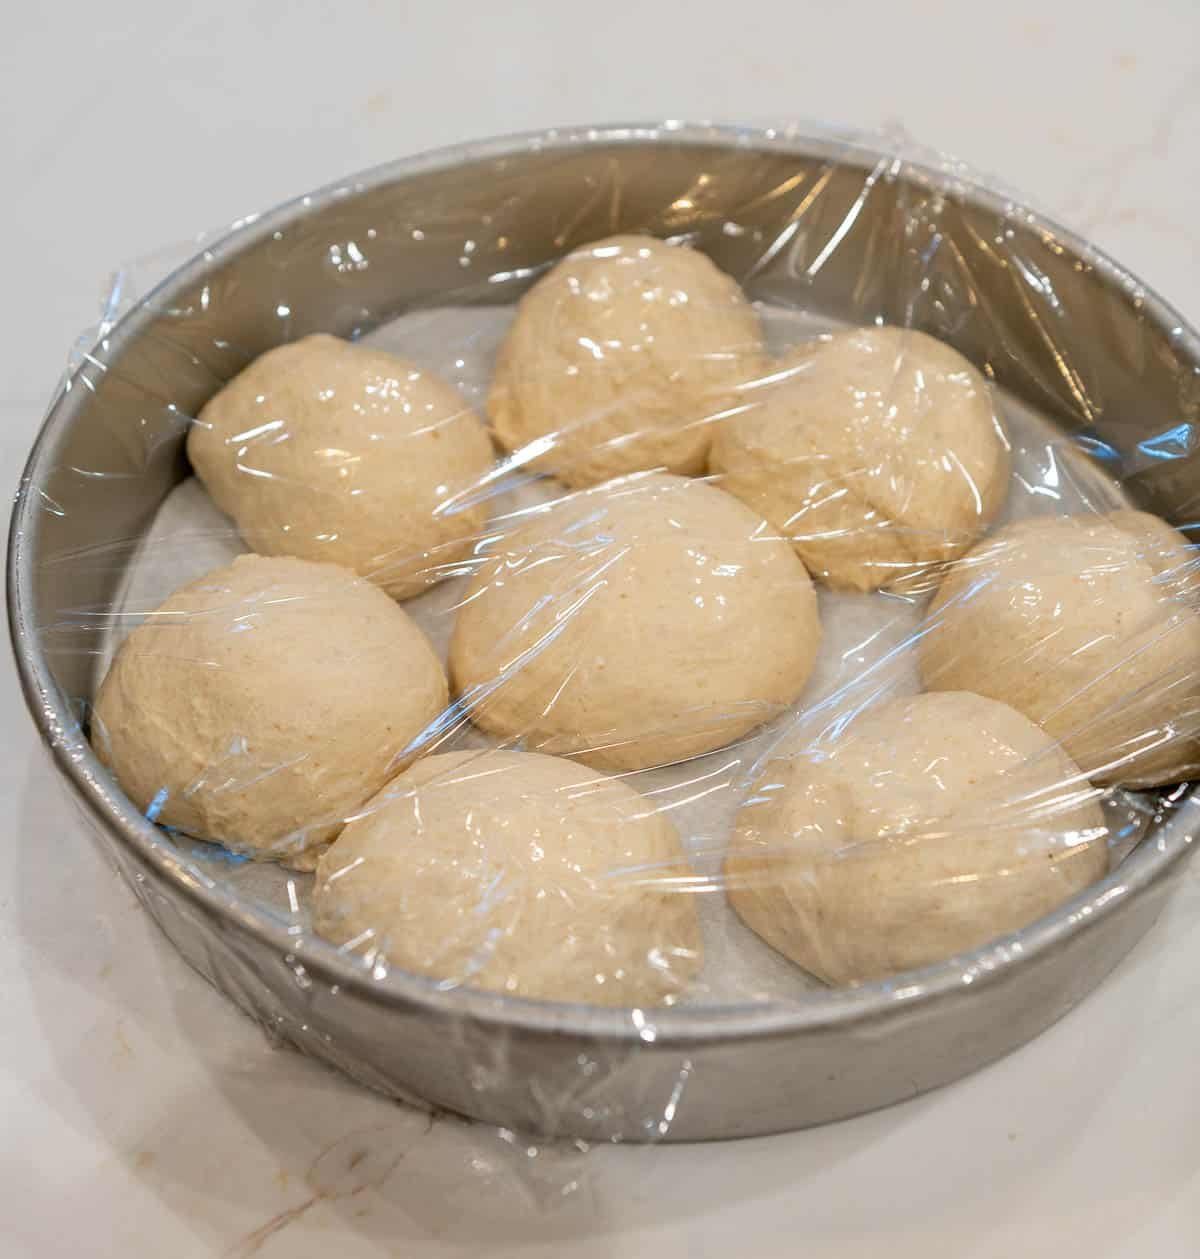
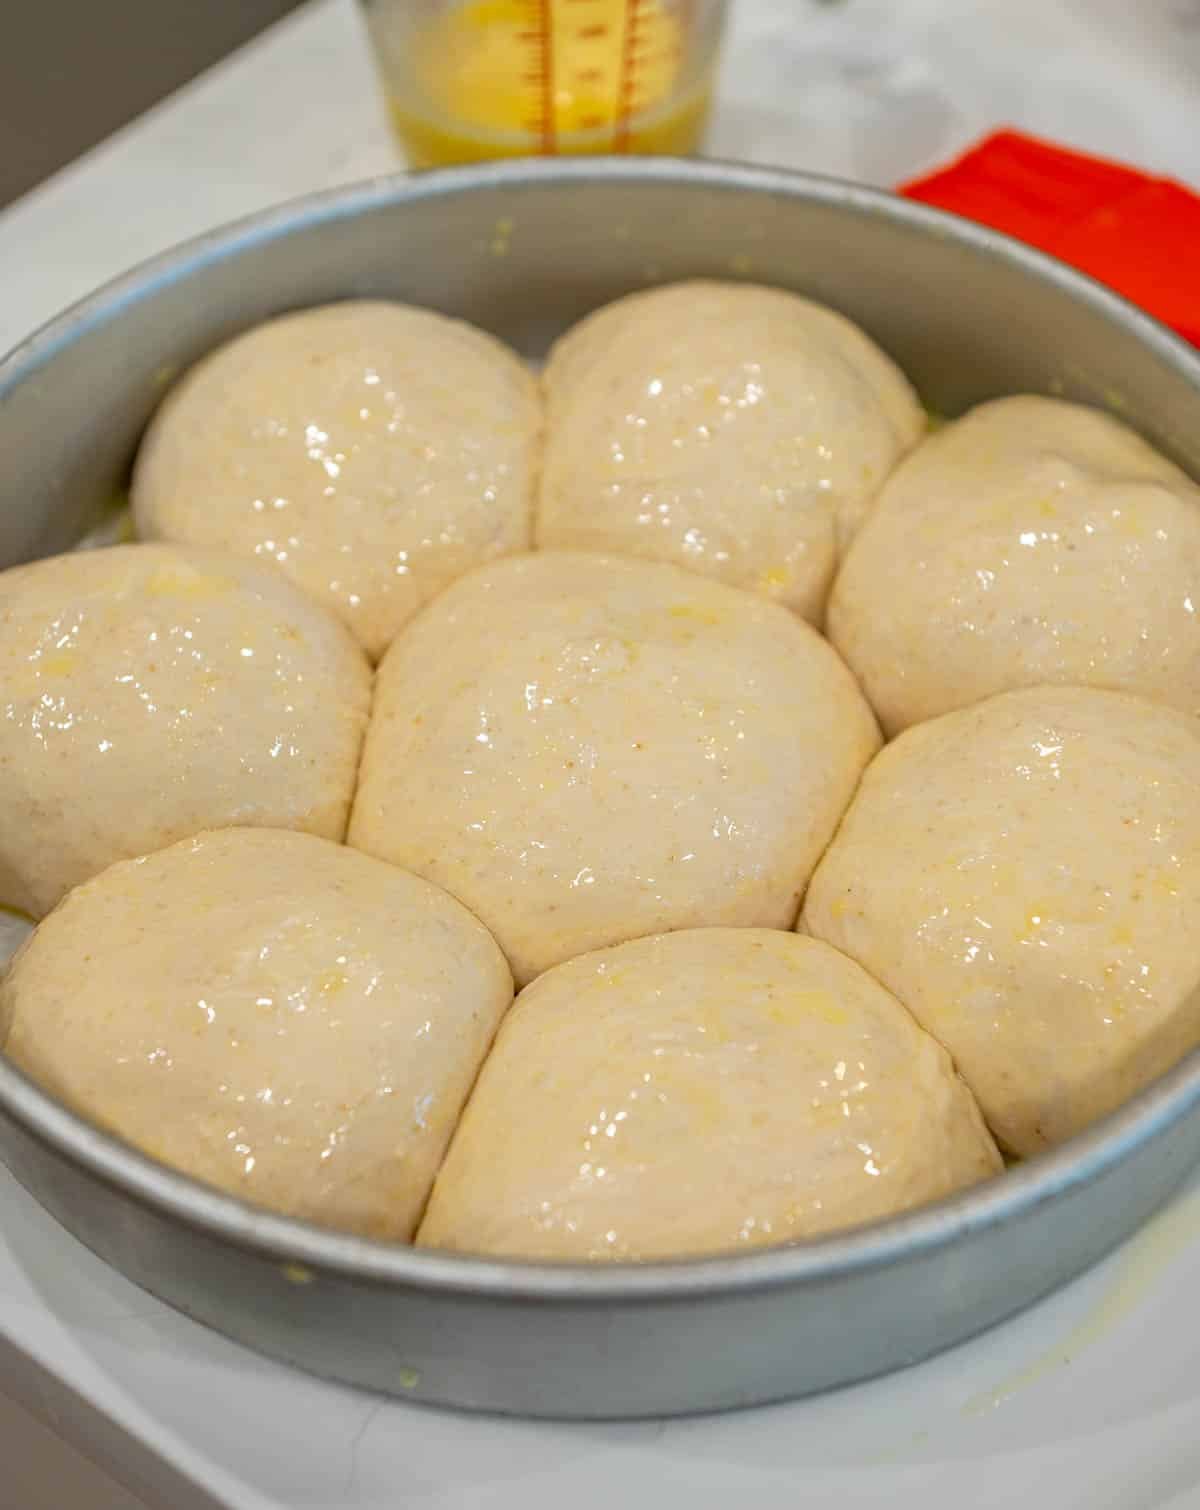
- Second Rise – Allow the shaped rolls to rise about 2 hours in a warm place. This step gives you that soft, fluffy texture.
- Brush with Butter – Before baking, brush the top of the rolls with melted butter using a pastry brush for a tender, golden brown crust.
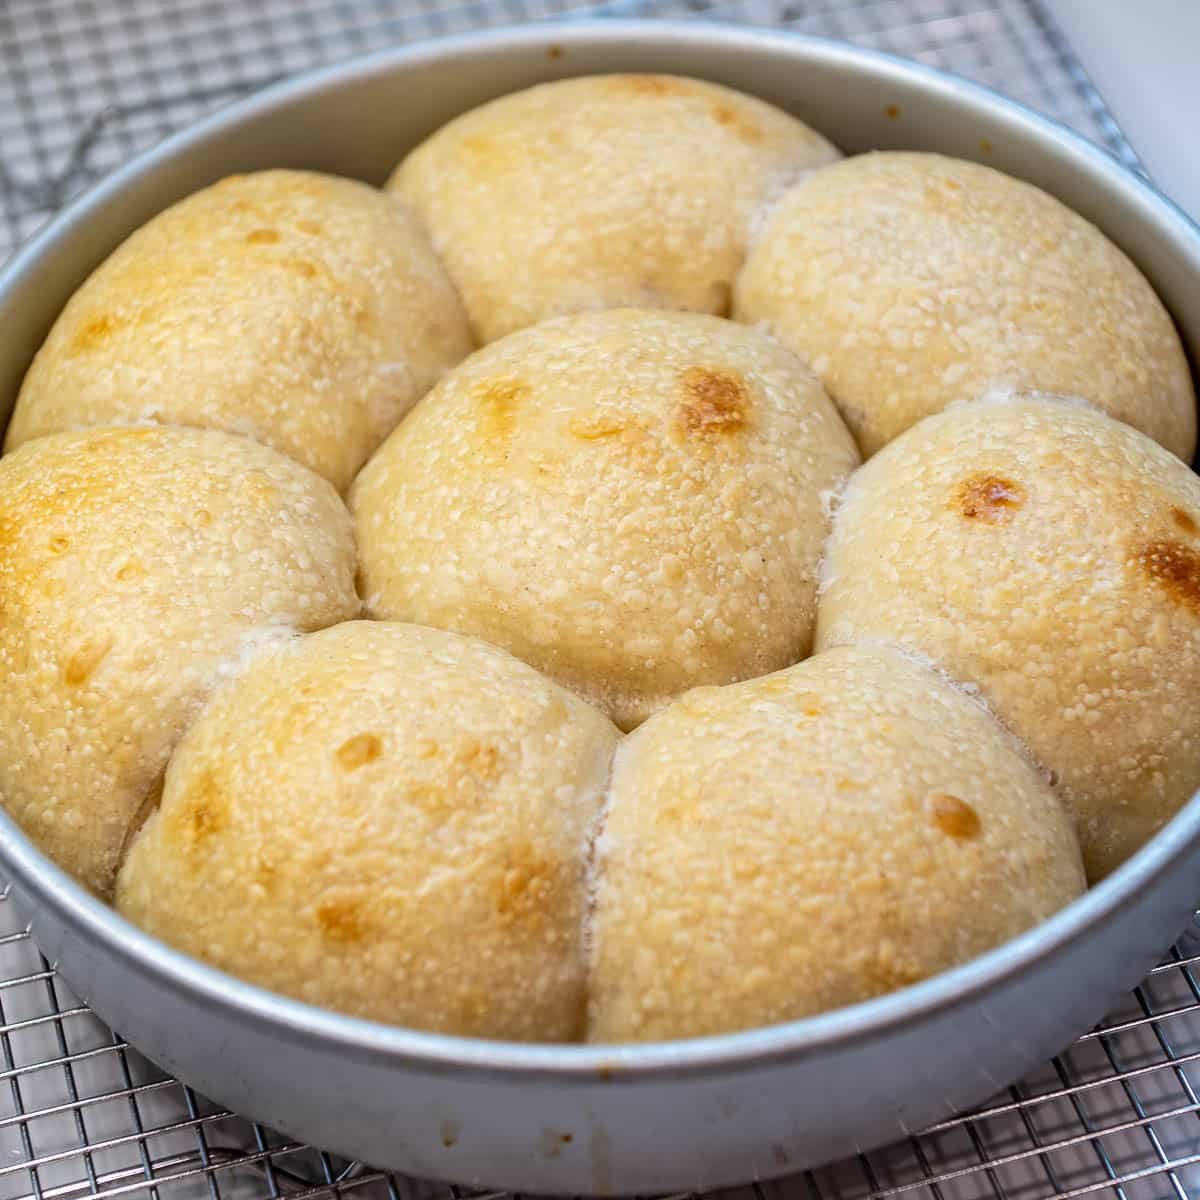
- Bake – Preheat the oven to 400°F. Bake the rolls for 30 minutes, then reduce to 375°F for another 15 minutes, until the internal temperature reaches 205°F.
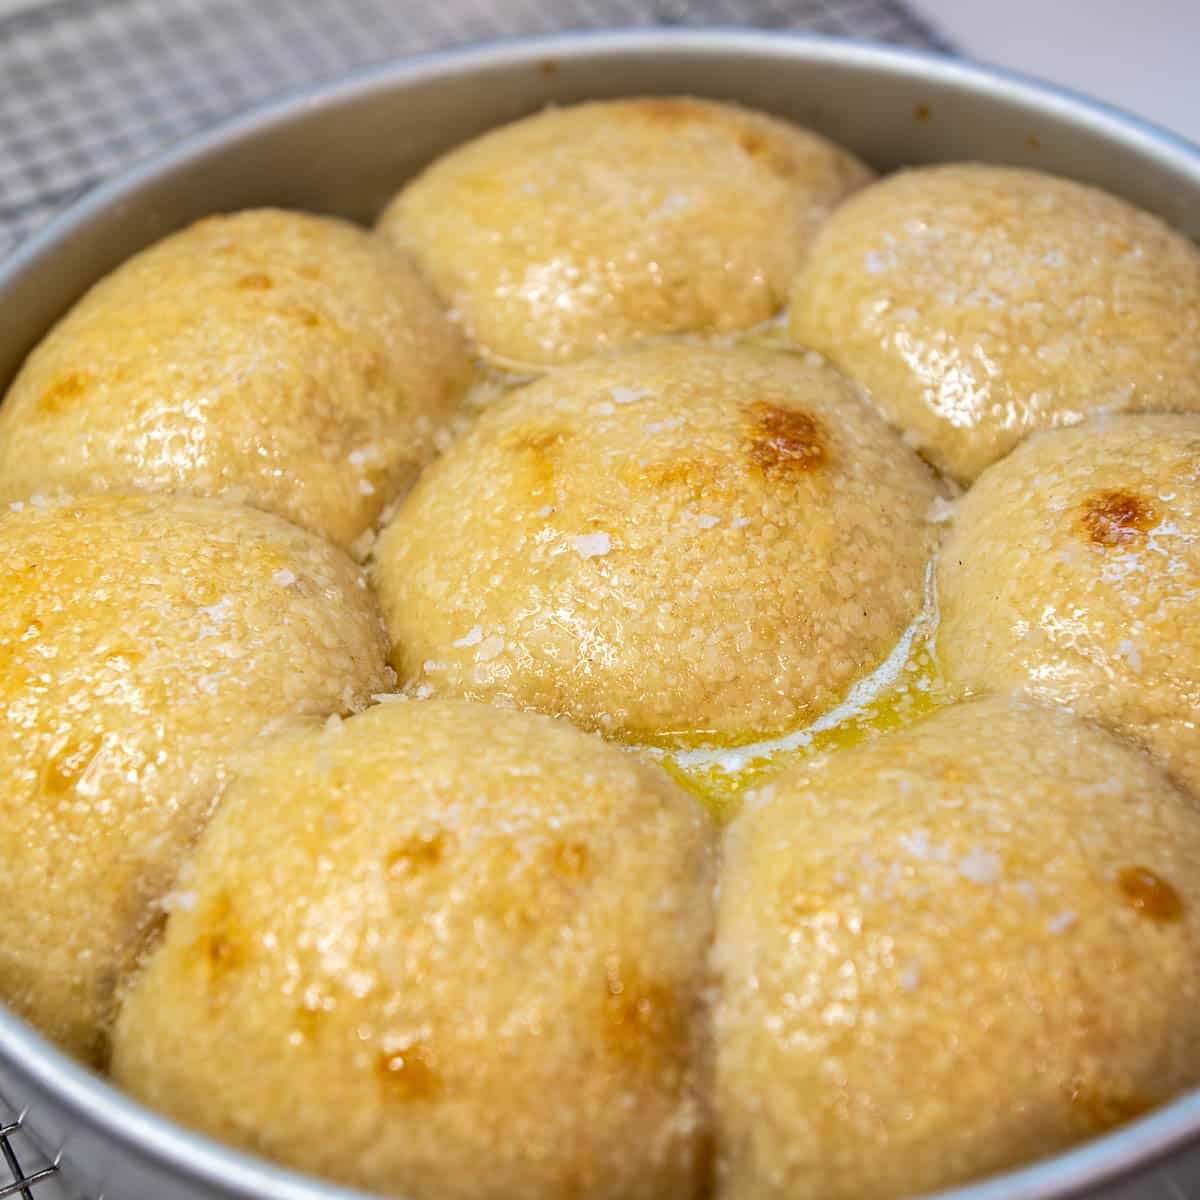
- Cool – Remove the rolls from the baking pan and cool on a wire rack before serving.
Frequently Asked Questions
Yes. Honey adds a subtle sweetness and helps with browning, but you can substitute maple syrup, agave, or even granulated sugar.
Yes! Cool completely, then wrap in aluminum foil and store in an airtight container or freezer bag. Reheat in the oven for a few minutes before serving.
Absolutely! Herbs, garlic, and cheese can be folded into the dough during the stretch-and-fold process for extra flavor.
Yes! All-purpose flour will make the rolls slightly softer and lighter, while bread flour adds more chewiness and structure.
Yes! After the first proof, cover the bowl and refrigerate the dough overnight. Shape and bake the next morning or the following day after a short warm-up.
No, you don’t need a stand mixer or dough hook attachment for this recipe. Everything can be done by hand—just a bowl, dough scraper, and a little patience. The stretch-and-fold method develops gluten naturally without kneading at medium speed.
No, you’ll need an active sourdough starter or active starter that’s bubbly and recently fed. Sourdough discard doesn’t have enough rising power for a good lift, though you can use it in sourdough discard recipes like crackers or pancakes.
Yes! You can bake them in a baking dish, baking tray, or cast iron skillet. Just make sure to line with parchment paper or lightly grease the pan to prevent sticking.
Recipe
Equipment
- 1 Thermometer
- 1 Food Scale
Ingredients
- 150 grams active sourdough starter
- 325 grams warm water
- 20 grams avocado oil
- 30 grams honey
- 500 grams bread flour unbleached
- 20 grams salt
Instructions
- In a mixing bowl, combine the active sourdough starter, warm water, avocado oil, and honey until smooth. Add flour and salt, then cover and let rest for 1 hour.
- Perform 4 sets of stretch-and-folds, 30 minutes apart, to develop gluten and create a smooth dough.
- Cover and let rise 4–8 hours, or overnight for a long fermentation process. The dough is ready when doubled, bubbly, and airy.
- Turn the dough onto a lightly floured work surface and divide into 8 (or 16 if you want more rolls) equal sized dough balls (about 113 grams).
- Use the second portion of dough to make into sandwich bread loaf or more rolls.
- Shape each roll using a gentle circular motion to build surface tension.
- Allow the shaped rolls to rise about 2 hours in a warm place. This step gives you that soft, fluffy texture.
- Before baking, brush the top of the rolls with melted butter using a pastry brush for a tender, golden brown crust.
- Preheat the oven to 400°F. Bake for 30 minutes, then reduce to 375°F for another 15 minutes, until the internal temperature reaches 205°F.
- Remove from the baking pan and cool on a wire rack before serving.
Notes
- Make-Ahead Instructions: After the first proof, cover the bowl and refrigerate the dough overnight. Shape and bake the next morning or the following day after a short warm-up.
- Storage Instructions: Store leftover rolls in an airtight container or tightly wrapped in plastic wrap at room temperature for up to 3 days. For the best texture, warm them in the oven or microwave before serving.
- Freezer Instructions: Cool completely, then wrap in aluminum foil and store in an airtight container or freezer bag. Reheat in the oven for a few minutes before serving.