

These Sourdough English Muffins might just ruin the store-bought ones for you. They’re tender on the inside, crisp and golden brown on the edges, and have that perfect, tangy sourdough flavor. I love using these homemade english muffins for Eggs Benedict, breakfast sandwiches, or as little english muffin pizzas.

When I was a kid, English muffins were kind of a special thing in our house. My dad’s from New Zealand, and they were a staple for him growing up, so every now and then he’d bring home a pack and toast them up for us. I can still remember the smell — warm, buttery, and just a little crisp around the edges. He’d slather on way too much butter (the best kind of amount) so it melted into every nook and cranny, then top it with strawberry jam. Pure heaven.

This homemade sourdough version takes that memory and makes it even better — soft, chewy, freshly baked, and perfectly toasted. It’s everything I loved as a kid, just with that tangy sourdough twist and the added bonus of putting my starter to good use.
What's In This Blog Post?
Ingredients Needed
Here’s everything you’ll need to make these Sourdough English Muffins. This simple recipe turns everyday ingredients into a homemade breakfast favorite.
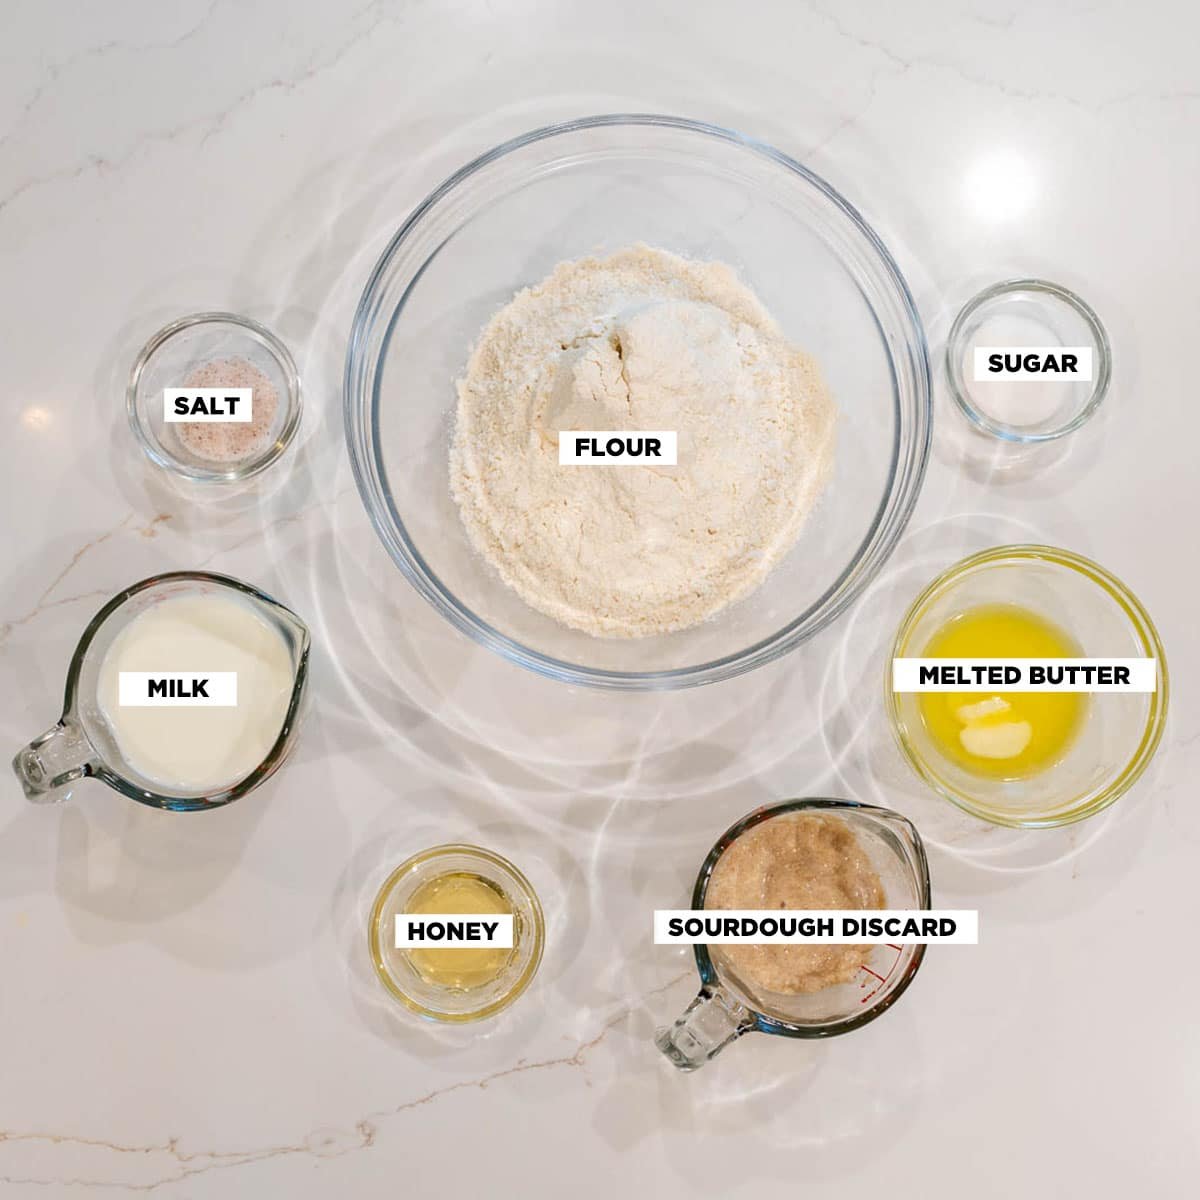
- Milk: Whole milk gives these muffins a rich, tender crumb, but you can use 2% or even non-dairy milk if you prefer. Just make sure it’s warmed to room temperature before mixing.
- Sugar: A little sugar helps feed the starter and adds a touch of sweetness. You can swap it for coconut sugar or skip it if you like a more savory muffin.
- Butter: Melted butter adds flavor and softness. Olive oil, coconut oil, or neutral oils all work.
- Honey or Maple Syrup: Adds sweetness and depth. Sub with brown sugar or agave if desired.
- Active Sourdough Starter: Make sure your active starter is bubbly and ready. This is what gives the muffins their lift and signature flavor.
- Sourdough Discard: Adds flavor, moisture, and that signature sourdough tang. Plus, it’s a great way to use what you’d normally toss.
- All-Purpose Flour: Regular, all-purpose flour works great. You can replace up to 1 cup with whole wheat flour or use bread flour for extra chew.
- Fine Sea Salt: Balances flavor and strengthens the dough.
- Cornmeal: For dusting your baking sheet. It keeps the muffins from sticking and adds that classic texture. You can also use semolina flour instead.
Equipment Needed
Biscuit Cutter - A 3-inch biscuit cutter (or cookie cutter) works perfectly for shaping the muffins into even dough rounds.
Rolling Pin - A good quality rolling pin helps flatten the dough evenly on a lightly floured work surface.
Skillet with Lid - A large skillet with a lid is essential for cooking the muffins low and slow, trapping steam to create a tender, golden crust. We prefer HexClad skillets for their hybrid stainless steel and nonstick surface, which allows for even heat distribution, perfect browning, and easy cleanup. Another great option would be a cast iron skillet.
Tips and Tricks for Success
- Use an active starter: For best results, make sure your sourdough starter is bubbly and recently fed for the best rise and tangy flavor.
- Bulk fermentation: Let your first rise happen in a warm place to help the dough develop flavor.
- Rest the dough: The dough rest period helps relax gluten for a smoother texture.
- Cook low and slow: Cook on medium-low heat and cover with a lid to ensure golden, tender muffins without burning the outside.
- Don’t skip the cornmeal: Make sure to coat your muffins with cornmeal using baking sheet. This prevents sticking and gives texture.
- Split with a fork: Open the muffins with a fork rather than a knife to preserve the airy crumb and those signature nooks and crannies.
How to Make Sourdough English Muffins
Here’s how to make Sourdough English Muffins step by step. From mixing the dough, to cooking them low and slow in a skillet.


- Combine ½ cup (100 g) active sourdough starter with the warm milk, sugar, melted butter, warm honey, and sourdough discard in a large bowl. Whisk until the starter is dissolved.
- Add in the flour and mix until you form a sticky dough.
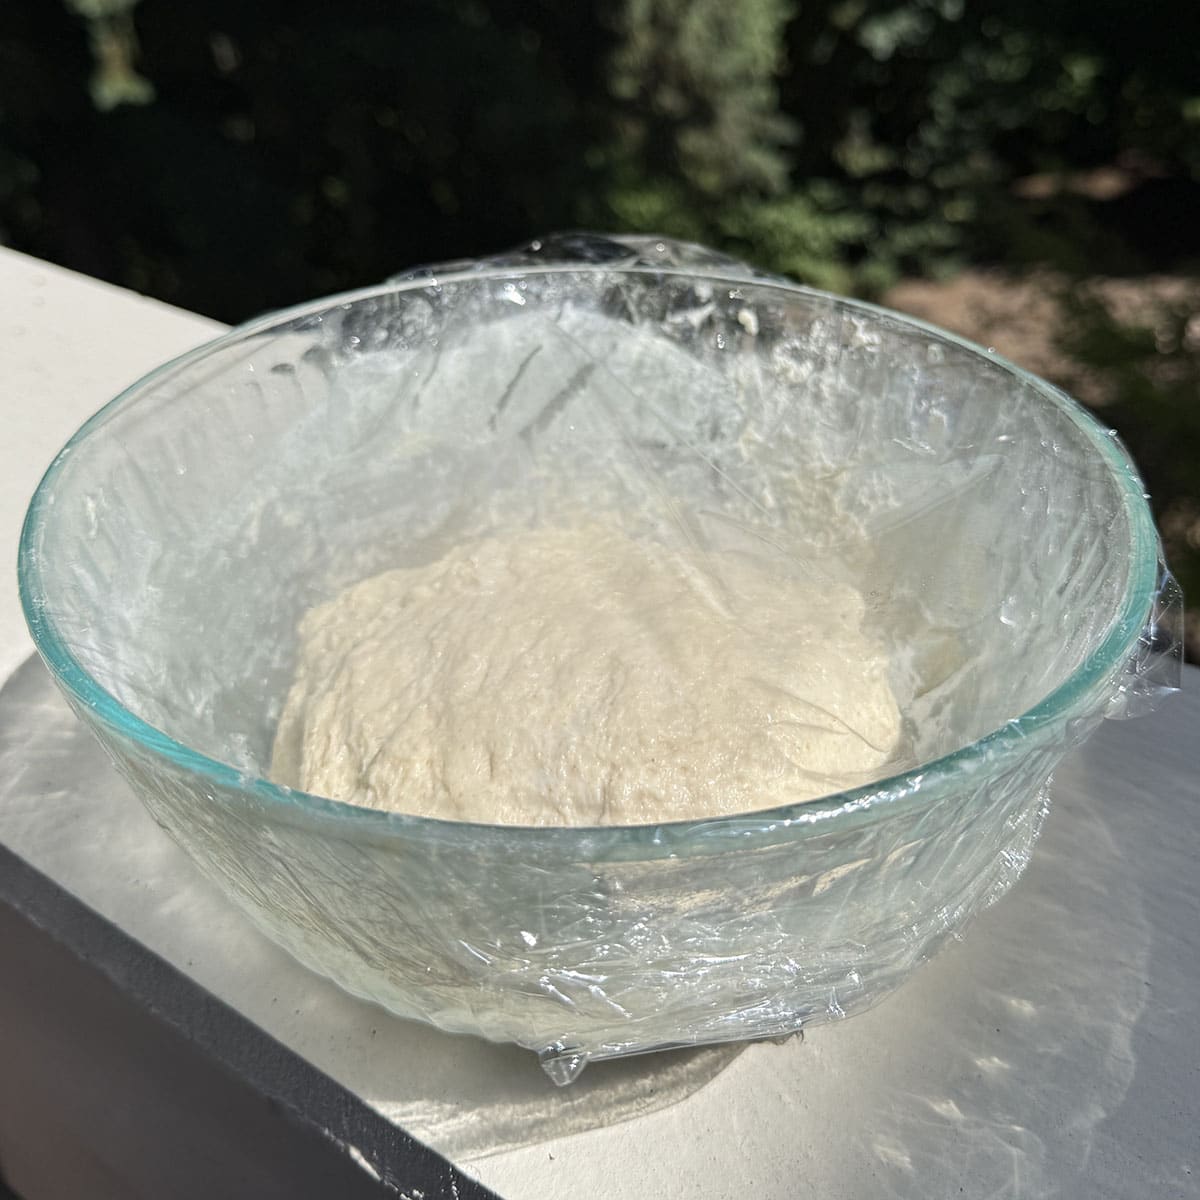
- Cover the bowl with plastic wrap or tea towel and let the dough rest for 30–60 minutes to relax the gluten.
- Add in the salt and mix to combine.
- Turn the dough out onto a floured surface and knead it for about 5 minutes until it feels smooth and elastic.
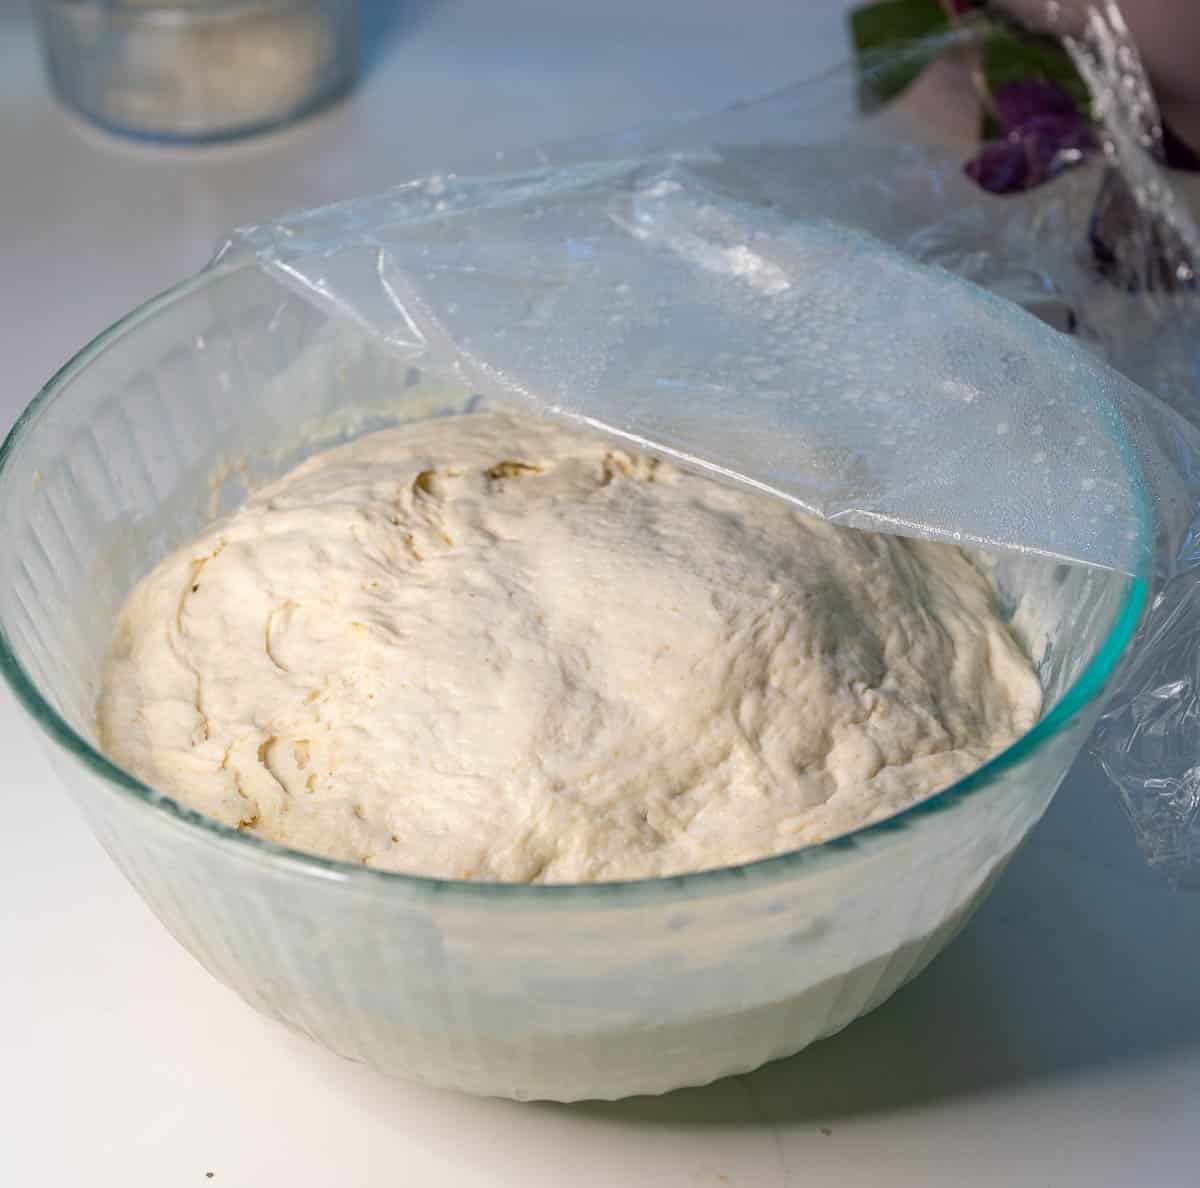
- Cover and let rest in a warm area until it has doubled in size. This is best to do overnight.
- By the next day (or evening, depending on when you started), the dough should be soft, puffy, and slightly domed — that’s perfect.
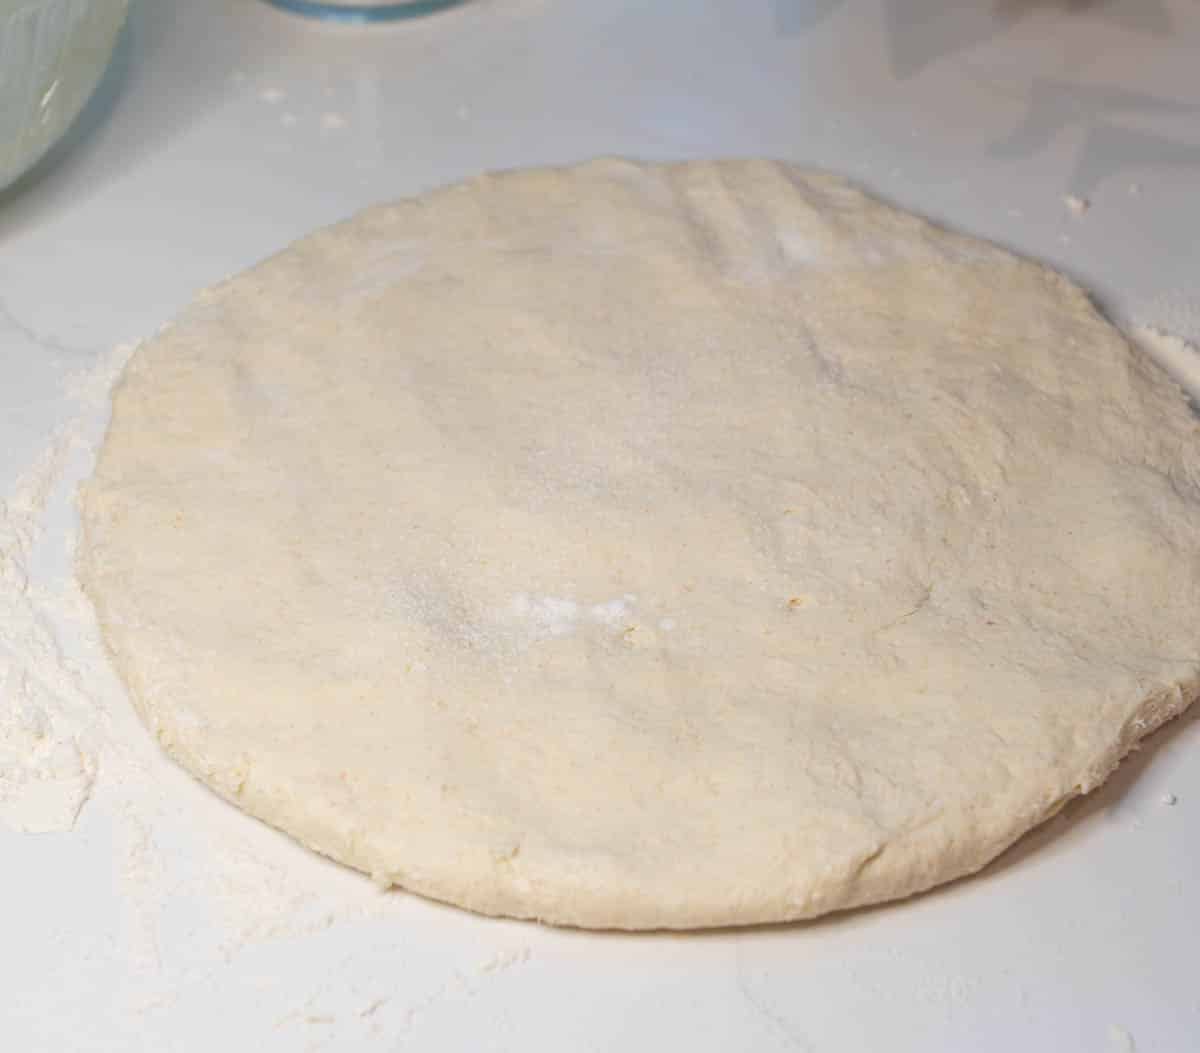
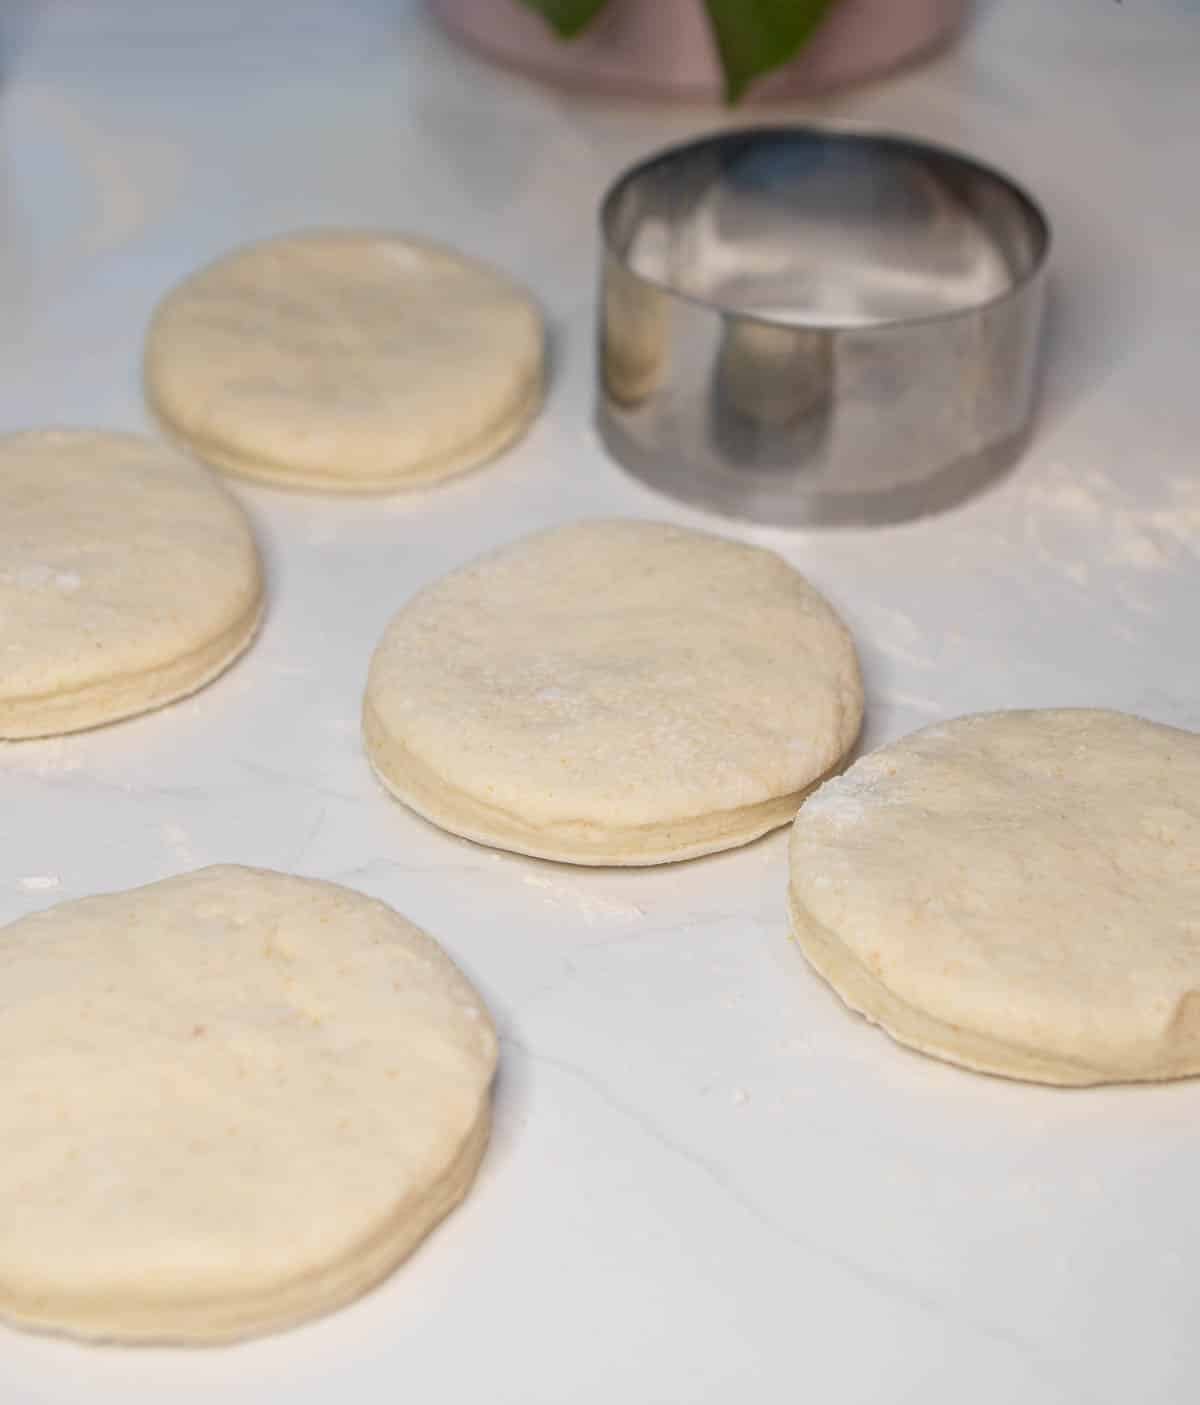
- Gently turn your dough out onto a floured surface and sprinkle a little flour on top. Use your fingertips to press it out until it’s about ½ inch thick.
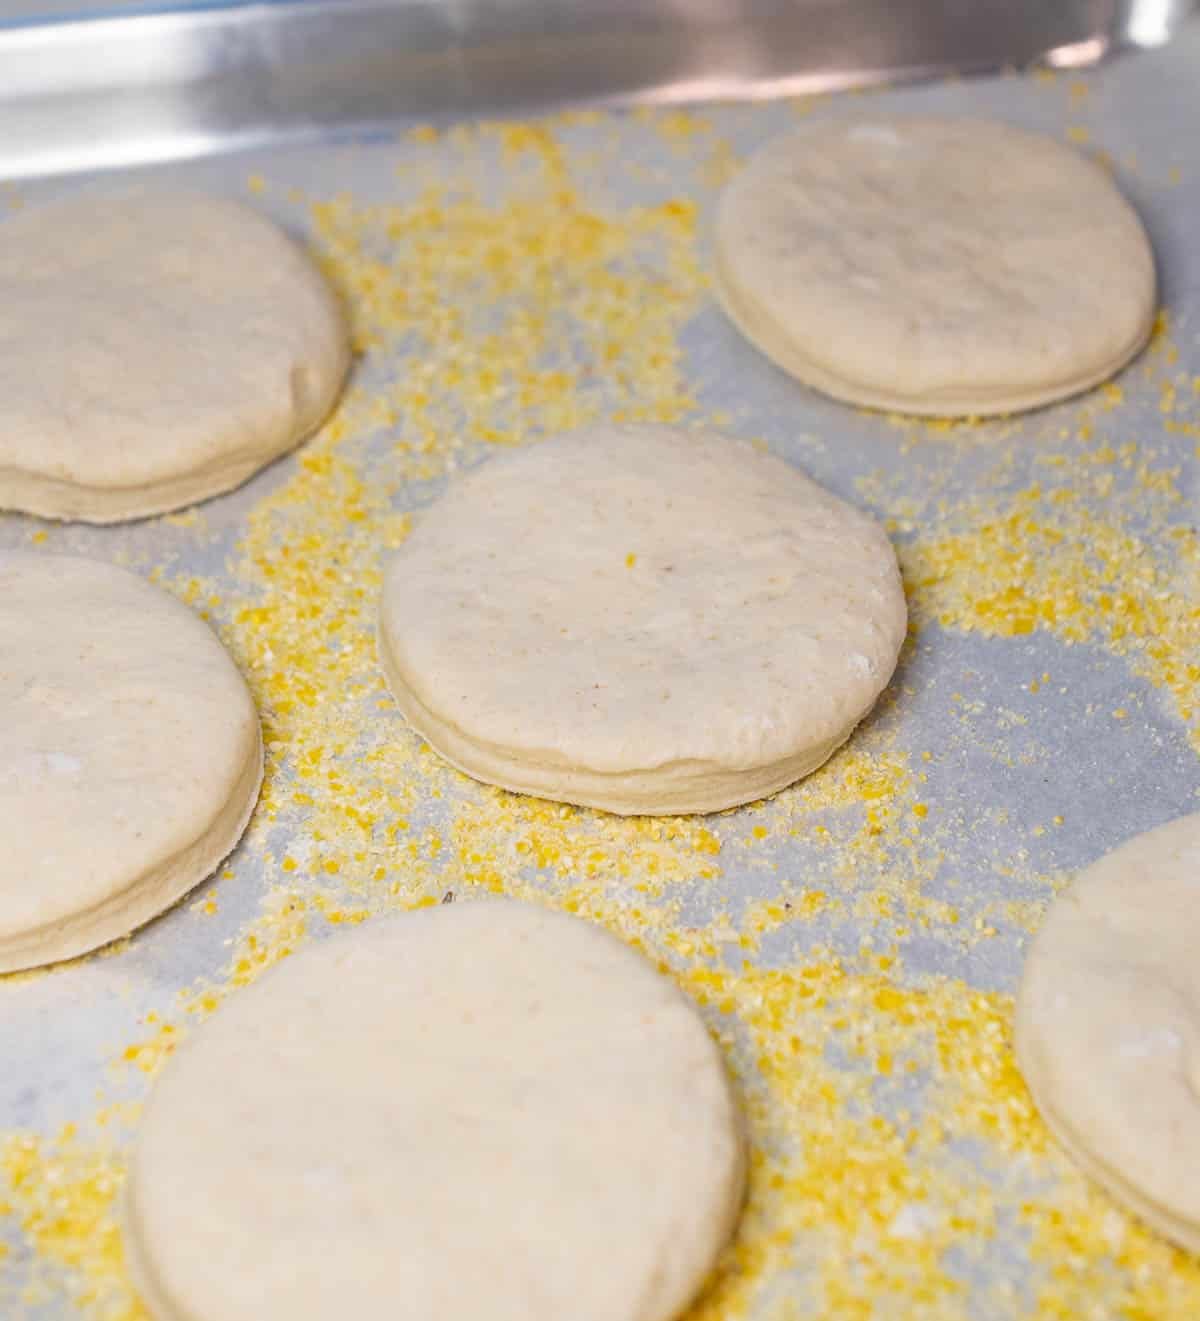
- Grab a 3-inch biscuit cutter and cut out your muffins. Place them on a baking sheet lined with parchment paper that’s been dusted with cornmeal, then sprinkle a little more cornmeal on top. Cover the pan with a tea towel and let the muffins rise for 1 hour at room temperature.
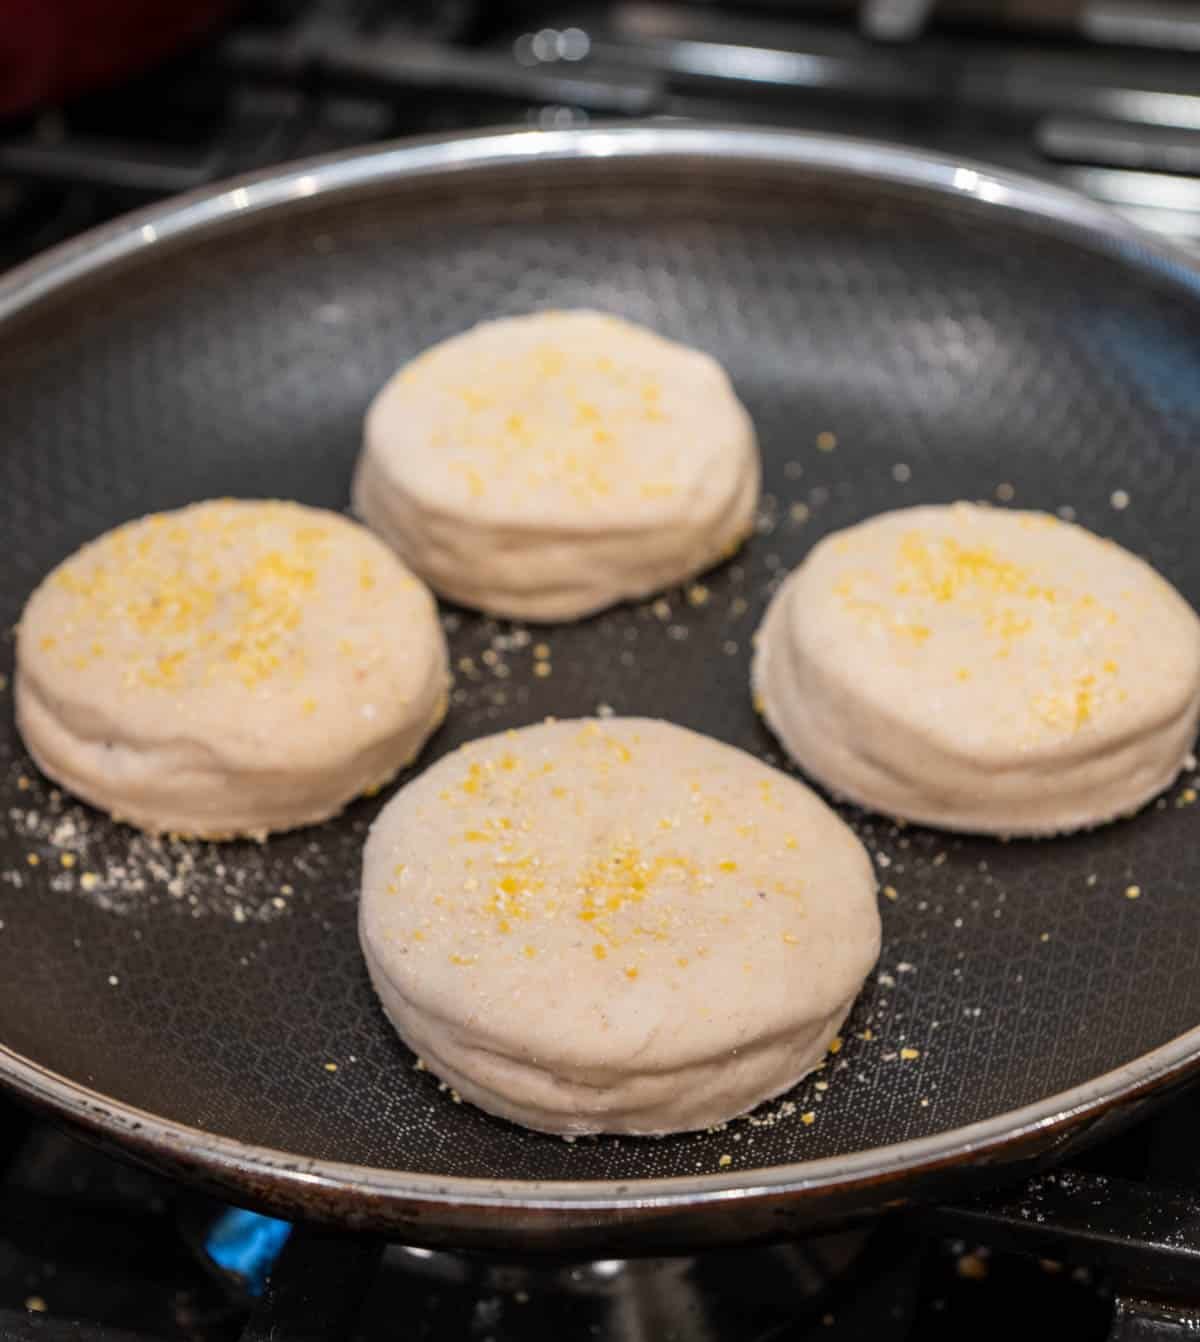
- Preheat a nonstick skillet over low heat. This is key for that signature golden crust without burning the outside.
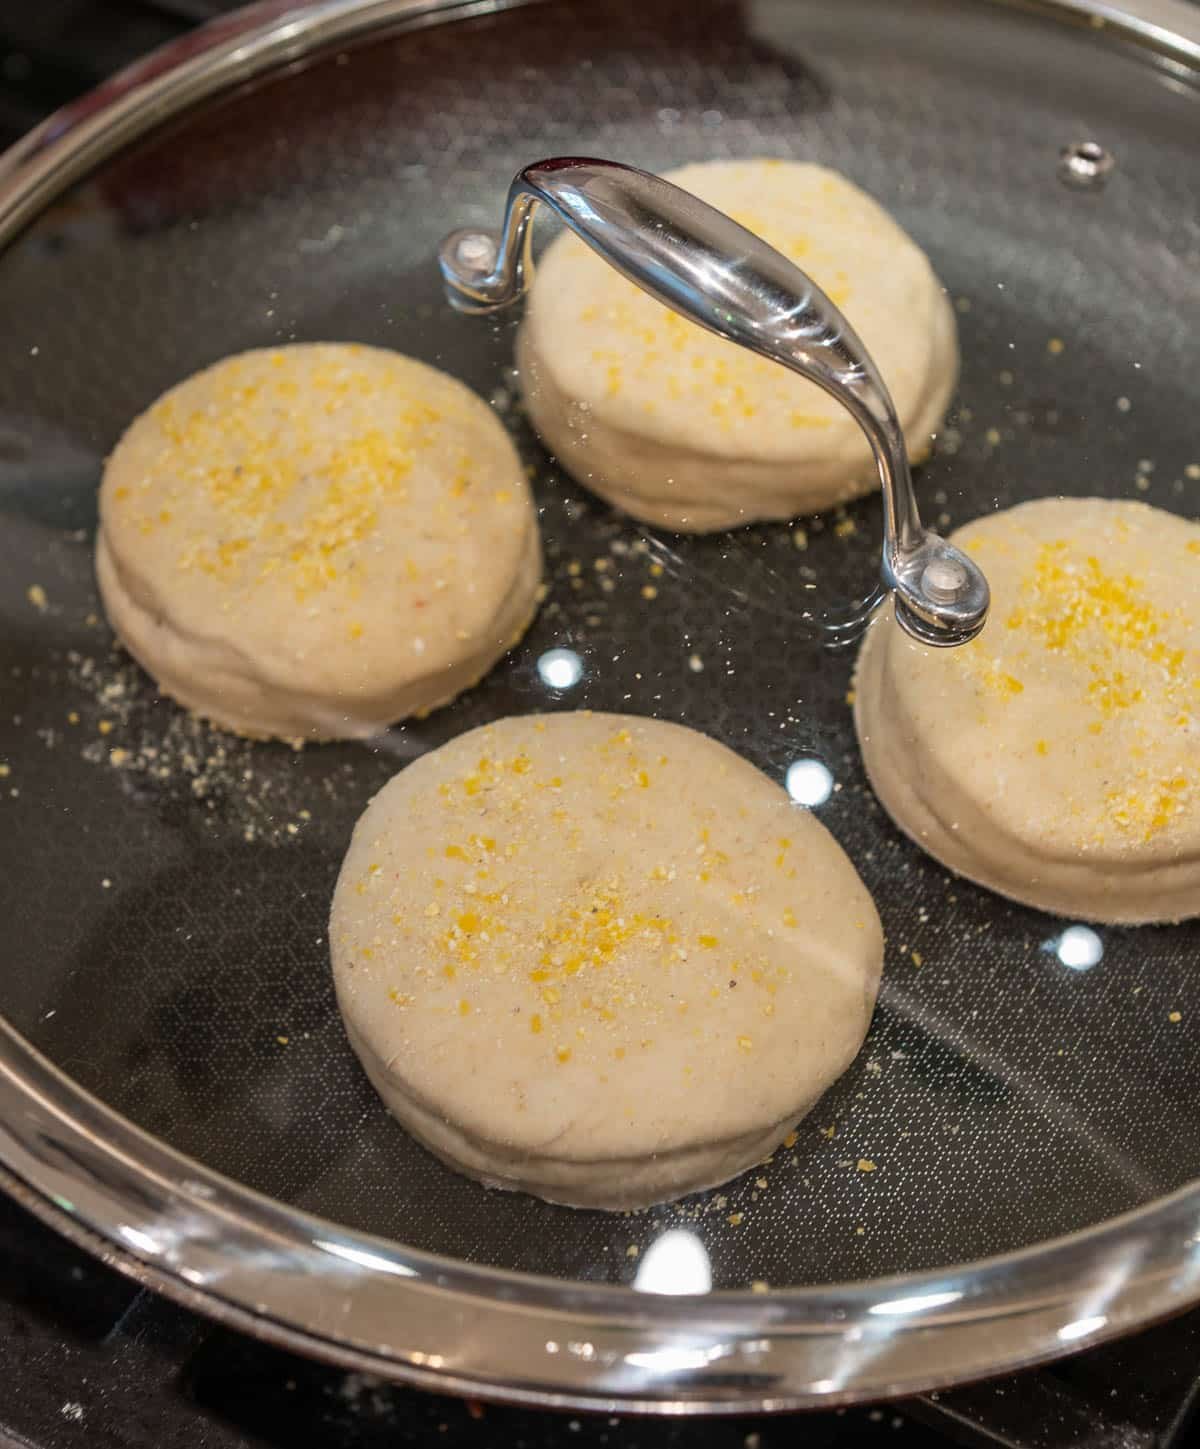
- Place 4 muffins in the pan at a time, spaced about 2 inches apart. Cover and cook for 4 minutes, then flip and cook for another 4 minutes. The centers should reach about 200°F when they’re done.
- Transfer to a rack to cool slightly before splitting. Use a fork to open them up for the perfect nooks and crannies inside. Perfect for butter and jam!
Frequently Asked Questions
While traditional recipes call for cooking on a stovetop skillet, you can bake them in the oven. Preheat your oven to 375°F (190°C) and bake the muffins for about 15-20 minutes, or until they reach an internal temperature of 190°F (88°C). Keep in mind that baking may result in a slightly different texture and flavor compared to the stovetop method.
Once cooled, store your muffins in an airtight container or zip-top bag. They can be kept at room temperature for up to a week. For longer storage, you can freeze them for up to 6 months. Make sure to slice them before freezing.
An active starter is crucial for proper leavening. If your starter isn't bubbly and doubled in size within 4-12 hours after feeding, it may need more time or additional feedings to become fully active. Using an under-active starter can result in dense muffins. For your first time, you can add a pinch of commercial yeast to help.
To get those signature air pockets, handle the dough gently. Avoid overmixing, and after shaping, let the muffins rise until they're puffy. Cooking them slowly on a low heat in a covered skillet helps develop the desired texture.
Yes! To make vegan sourdough English muffins, substitute the dairy milk with a plant-based milk (like almond or oat milk), use a vegan butter alternative, and replace honey with maple syrup or agave nectar. These swaps maintain the muffins' texture and flavor.
Recipe
Equipment
- 1 biscuit cutter
- 1 Rolling Pin
- 1 large skillet with lid
Ingredients
- 1 cup milk
- 1 tablespoon sugar
- 2 tablespoons butter melted
- 1 tablespoon honey
- ½ cup active sourdough starter
- 3 cups all-purpose flour
- 1 teaspoon fine sea salt
- ¼ cup cornmeal
Instructions
- Combine ½ cup (100 g) active sourdough starter with the warm milk, sugar, melted butter, warm honey, and sourdough discard in a large bowl. Whisk until the starter is dissolved.
- Add in the flour and mix until you form a sticky dough.
- Cover the bowl with plastic wrap or tea towel and let the dough rest for 30–60 minutes to relax the gluten.
- Add in the salt and mix to combine.
- Turn the dough out onto a floured surface and knead it for about 5 minutes until it feels smooth and elastic.
- Cover and let rest in a warm area until it has doubled in size. This is best to do overnight.
- By the next day (or evening, depending on when you started), the dough should be soft, puffy, and slightly domed — that’s perfect.
- Gently turn your dough out onto a floured surface and sprinkle a little flour on top. Use your fingertips to press it out until it’s about ½ inch thick.
- Grab a 3-inch biscuit cutter and cut out your muffins. Place them on a baking sheet lined with parchment paper that’s been dusted with cornmeal, then sprinkle a little more cornmeal on top. Cover the pan with a tea towel and let the muffins rise for 1 hour at room temperature.
- Preheat a nonstick skillet over low heat. This is key for that signature golden crust without burning the outside.
- Place 4 muffins in the pan at a time, spaced about 2 inches apart. Cover and cook for 4 minutes, then flip and cook for another 4 minutes. The centers should reach about 200°F when they’re done.
- Transfer to a rack to cool slightly before splitting. Use a fork to open them up for the perfect nooks and crannies inside. Perfect for butter and jam!
Notes
- Storage Instructions: Once cooled, store your muffins in an airtight container or zip-top bag. They can be kept at room temperature for up to a week. For longer storage, you can freeze them for up to 6 months. Make sure to slice them before freezing.
- Vegan Option: To make vegan sourdough English muffins, substitute the dairy milk with a plant-based milk (like almond or oat milk), use a vegan butter alternative, and replace honey with maple syrup or agave nectar. These swaps maintain the muffins' texture and flavor.
- Baking Instructions: While traditional recipes call for cooking on a stovetop skillet, you can bake them in the oven. Preheat your oven to 375°F (190°C) and bake the muffins for about 15-20 minutes, or until they reach an internal temperature of 190°F (88°C). Keep in mind that baking may result in a slightly different texture and flavor compared to the stovetop method.