

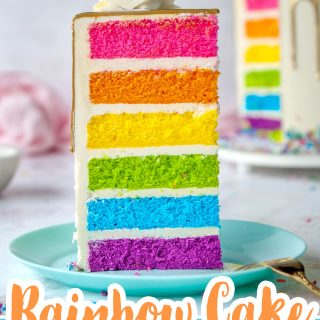
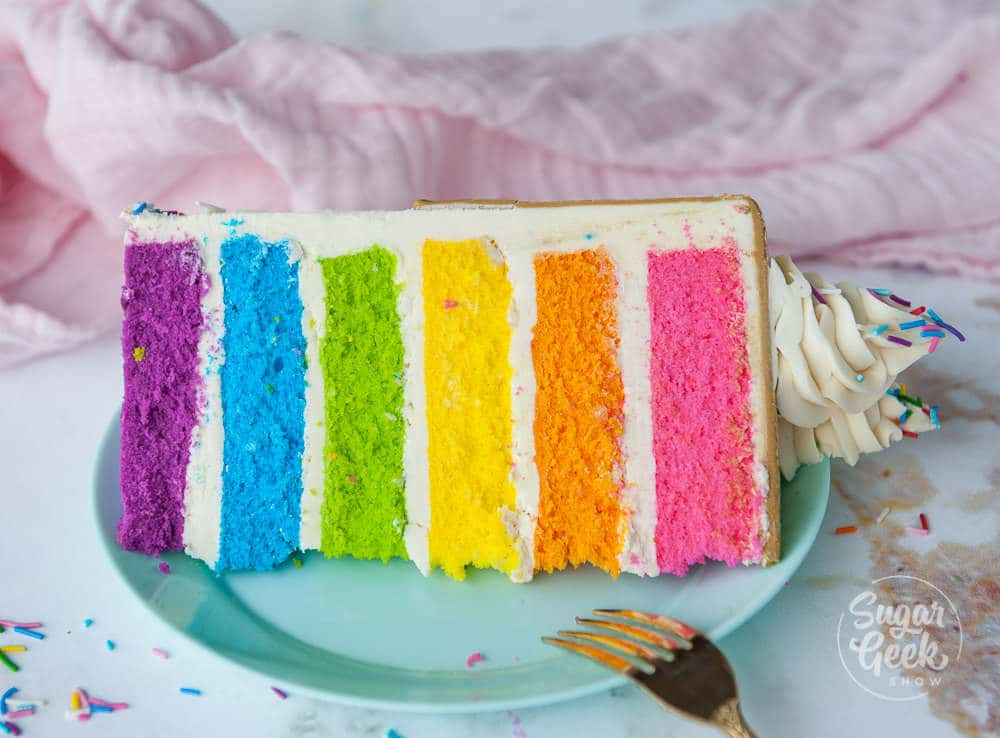
This rainbow cake just makes me feel so happy. I absolutely LOVED slicing into it to see all those gorgeous colorful layers! The best part is, this rainbow cake isn't just for looks, it tastes absolutely amazing. You won't have a crumb leftover.
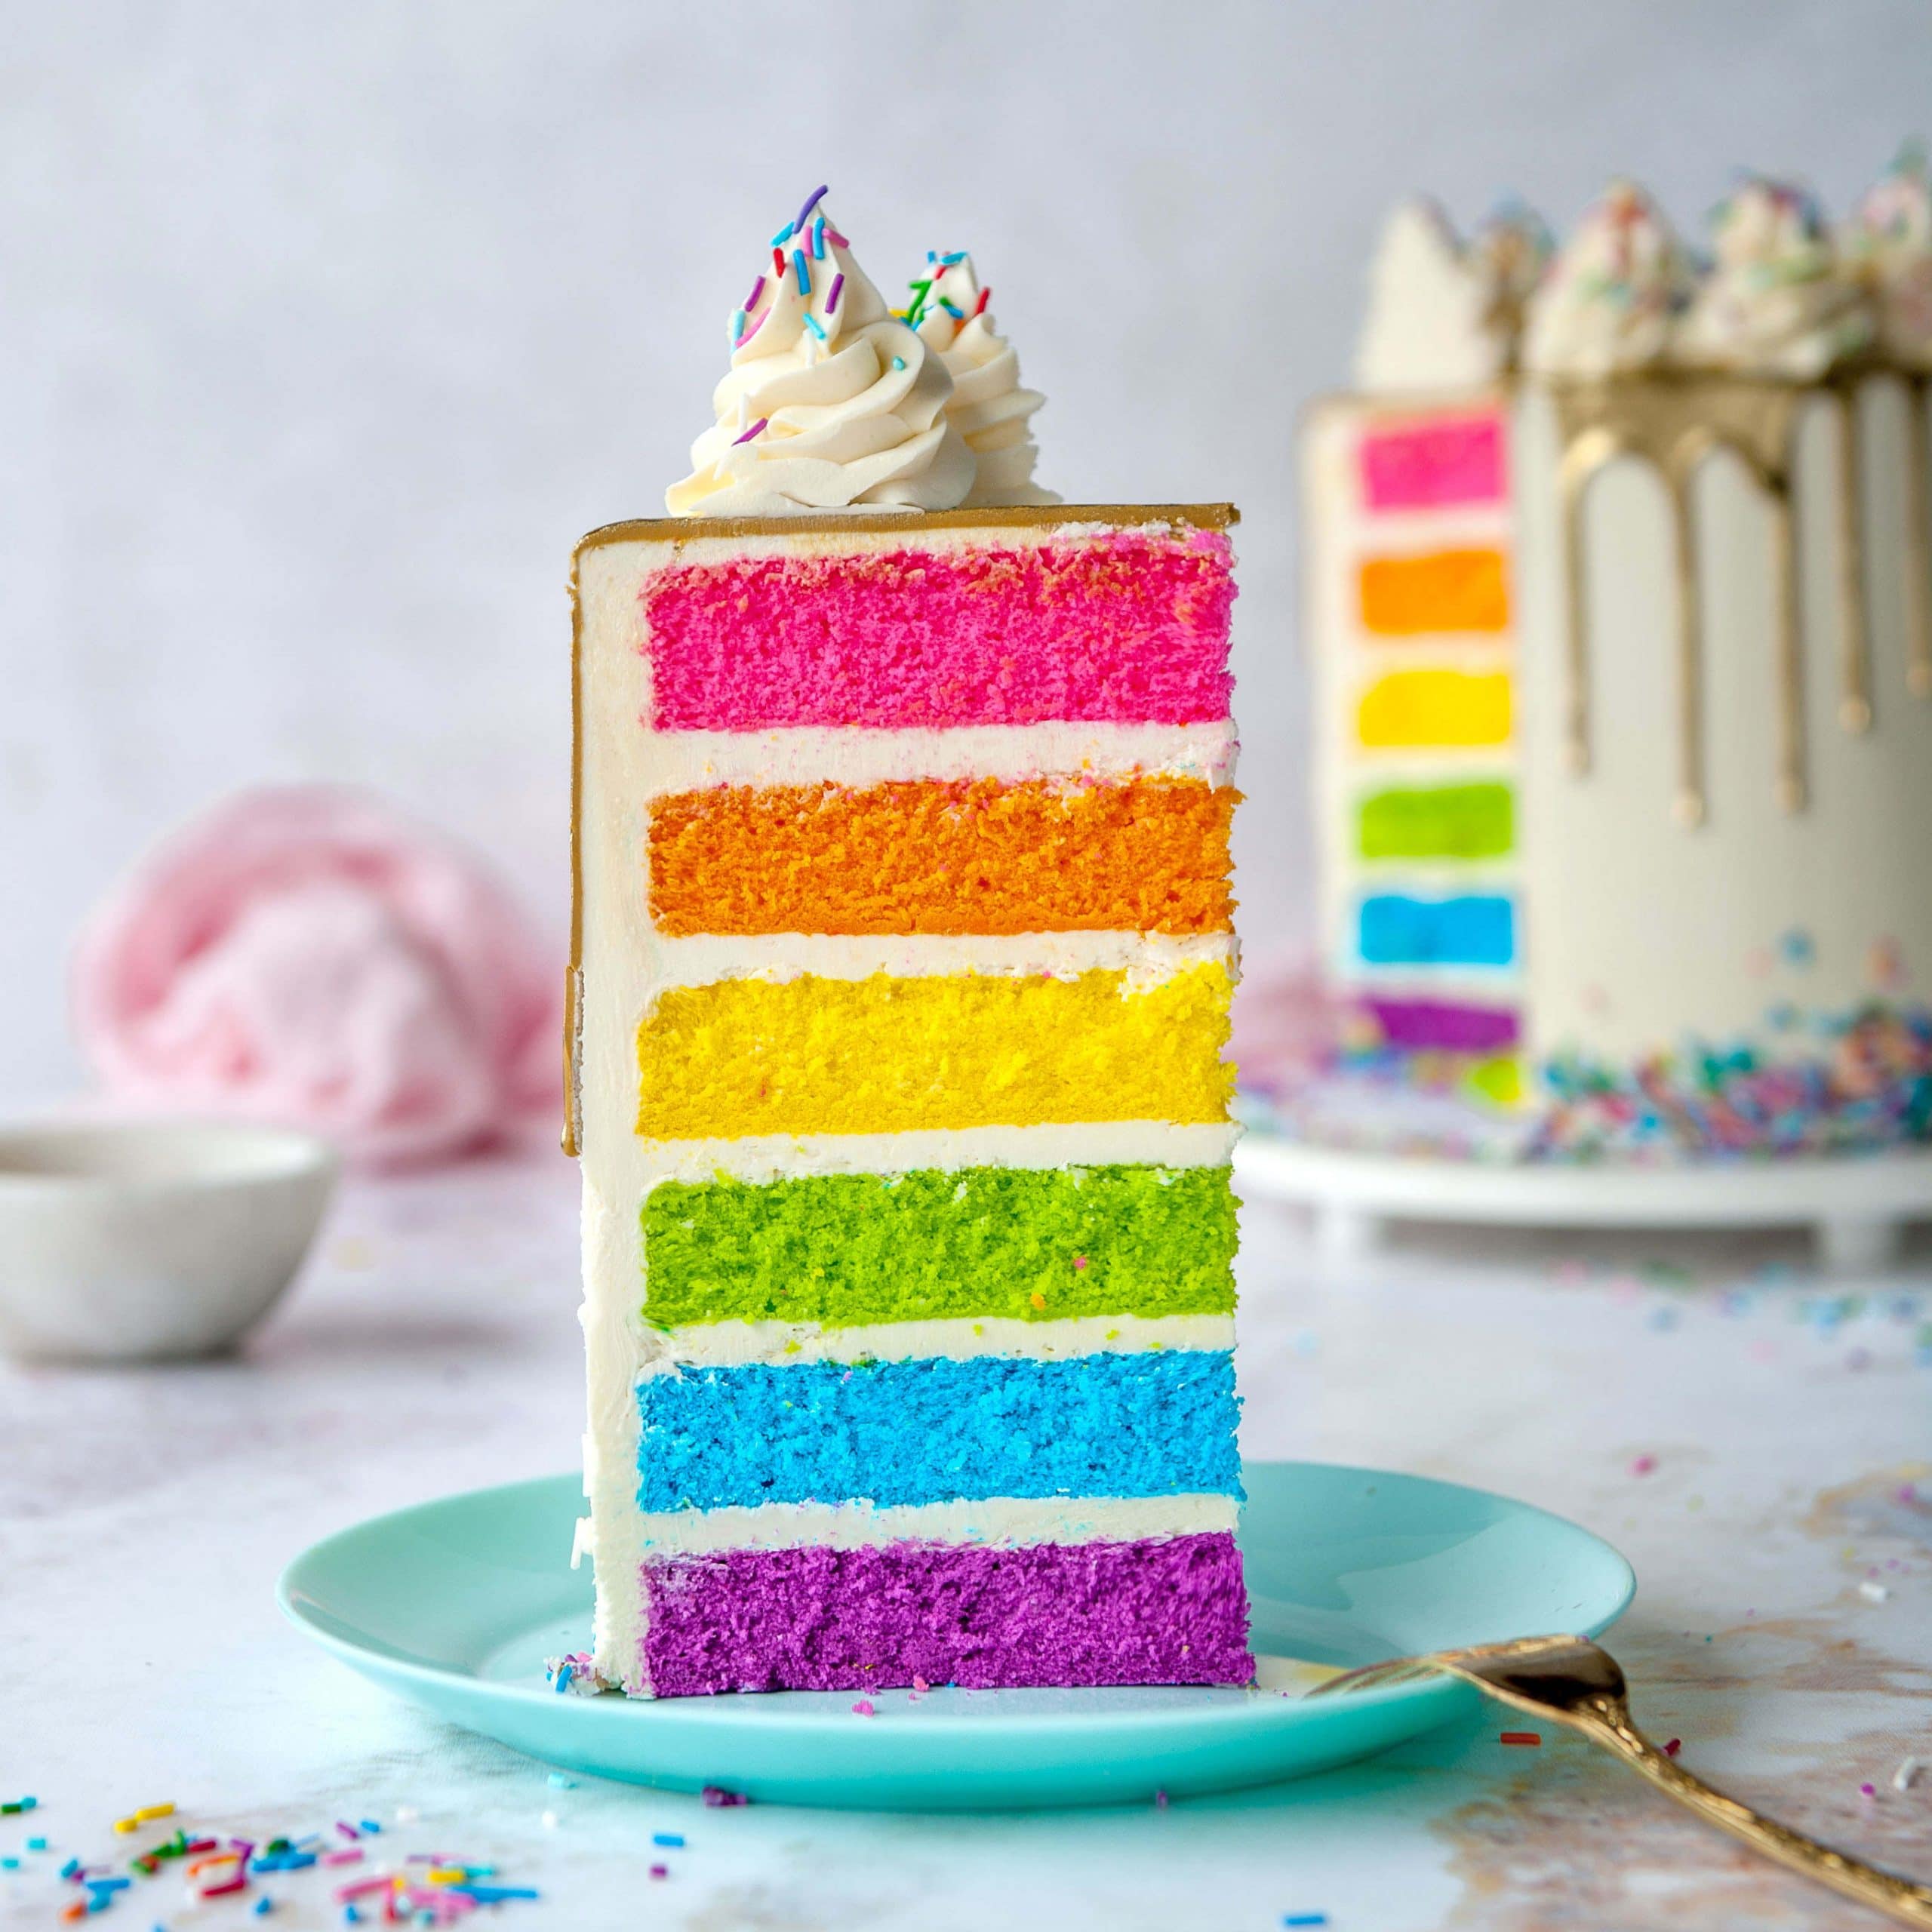
This rainbow cake is very special to me. I've been waiting to make it for a long time. Ever since we found out we were pregnant with our son, Ezra, I knew I wanted to make him a rainbow cake for his half birthday (6 months).
Most people know that my husband and I had to go through a lot of infertility treatments to get our dear Avalon. I'm not ashamed of it. I think we should talk more about infertility and how common it is. So we feel less alone.
We started treatments TWO years ago. Nothing was working. My body was fighting against me. I was not in a good place emotionally or mentally.
It might sound crazy but I had a dream we had a son. I didn't tell anyone but I held onto hope as best I could.
We had honestly almost given up that we would ever have a second child. But I just felt in my soul that we had a second child waiting for us. So we didn't give up.
After all those treatments and all those medications, we ended up with ONE single egg. If you've gone through IVF you. know that the chances of that ONE egg taking are extremely low. I did not get my hopes up.
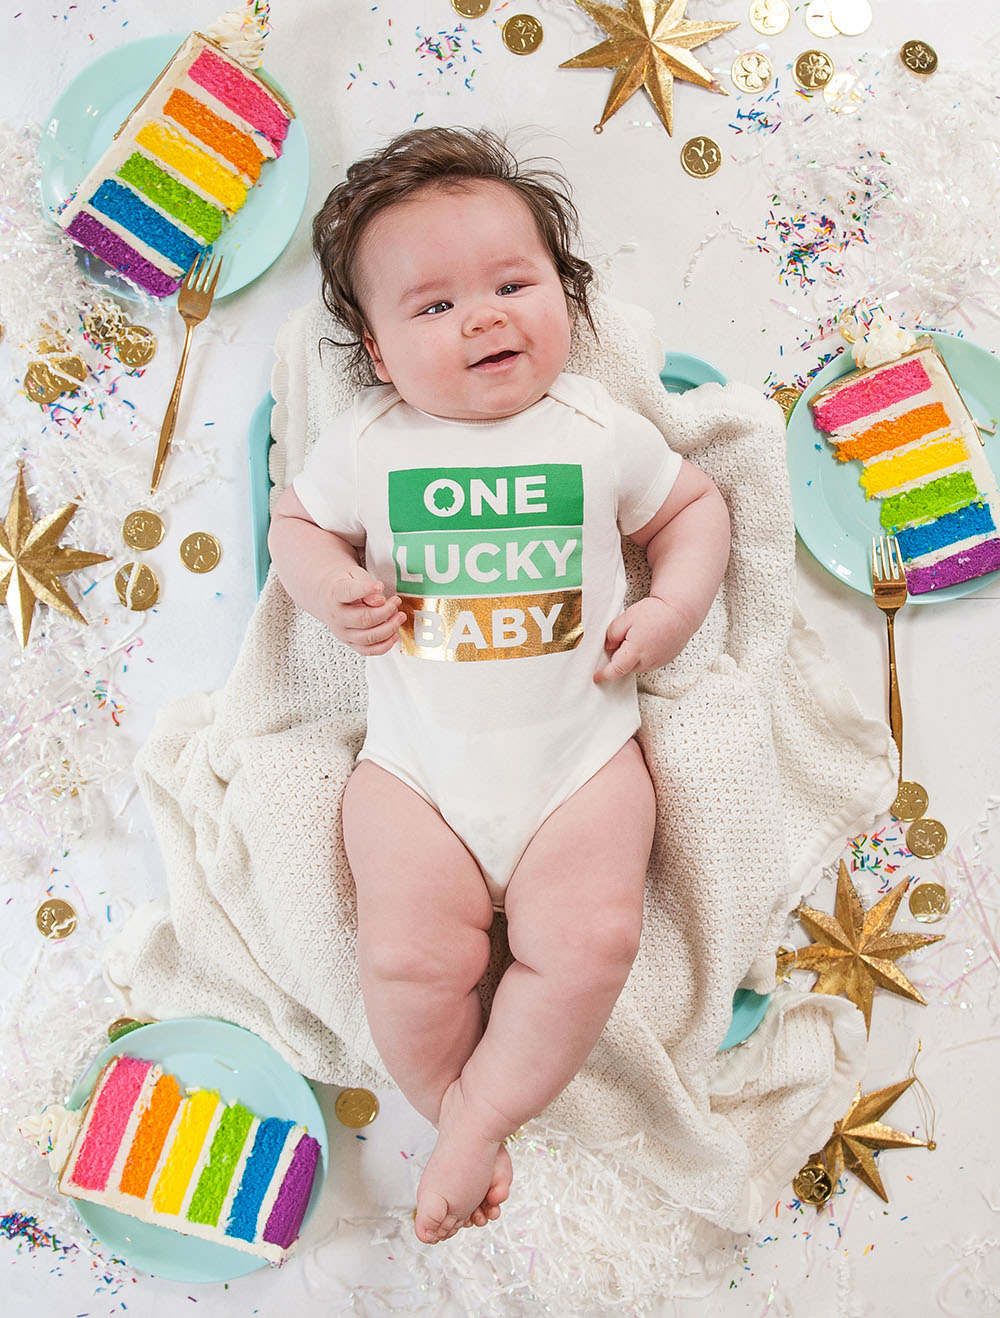
But that one egg did stick. And here we are with our beautiful baby boy. Our rainbow after the storm. Our lucky charm. The completion of our family.
What cake recipe is best for rainbow cake?
So the first thing that we have to do is bake our rainbow layers. This might sound intimidating but it's actually really easy.
We're going to use my favorite cake, white velvet. Not only. is this cake delicious, but it's also very white so it will take the color well.
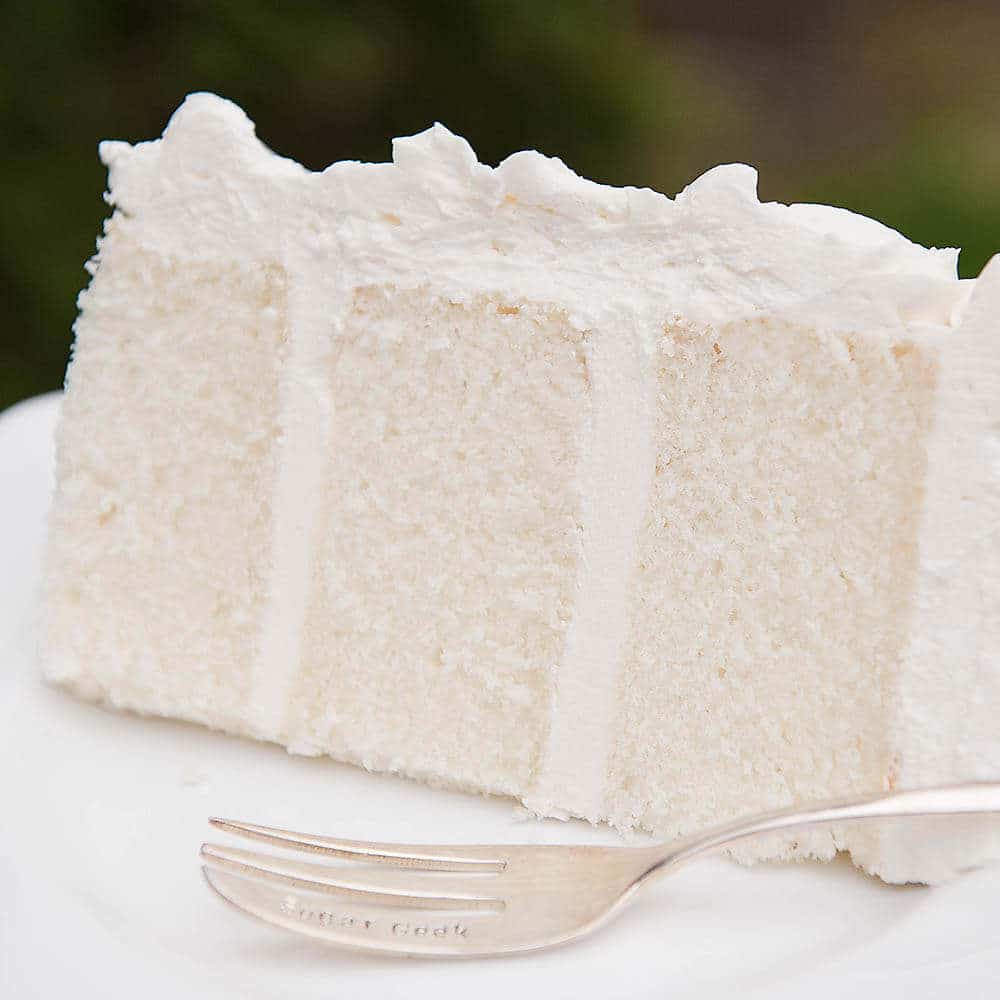
If you try to add color to a vanilla cake that has egg yolks in it, those yolks will distort your colors while baking.
The other reason white velvet is perfect for making a rainbow cake is that it won't get over-mixed when you add the color.
I've added color to white velvet so many times, making everything from pink velvet, green velvet, and even blue velvet. The texture always turns out amazing.
How to make rainbow cake layers
Get your 8"x2" cake pans ready. You might not have 6 cake pans all the same size (I don't) so keep your cake batter in the fridge while your other cakes are baking. They are really thin so they bake up fast.
Coat your cake pan in a layer of cake goop and preheat your oven to 335ºF. I also put a piece of parchment paper in the bottom of my pans so that they were easier to take out of the pan since they would be so thin.
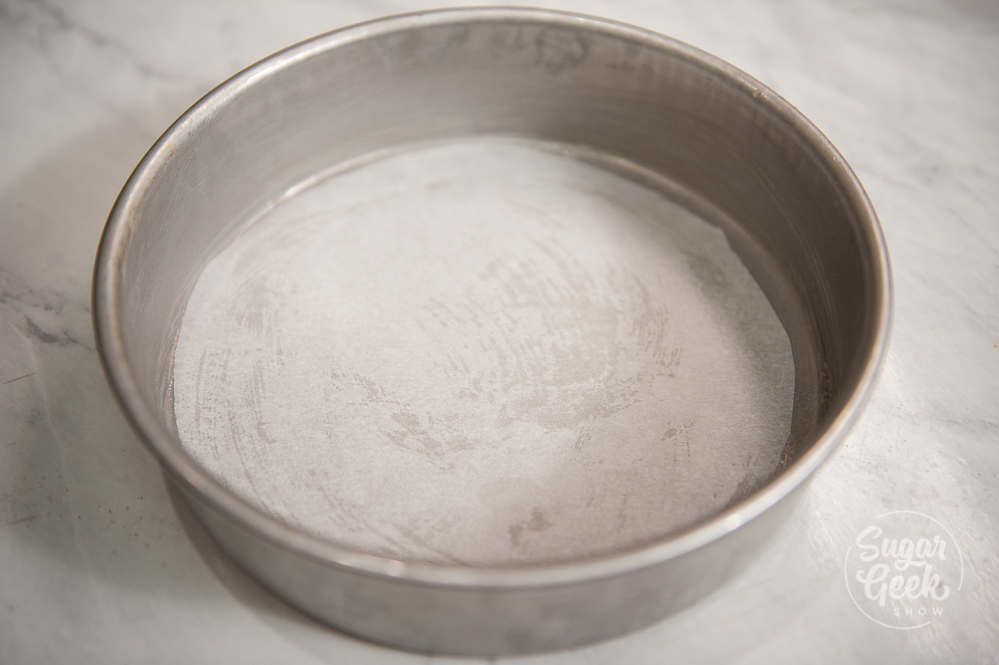
To make our rainbow cake layers, all you have to do is mix up your batter (follow the recipe below) and then divide your batter into 6 bowls evenly.
Each bowl holds 15 ounces of cake batter. I used a kitchen scale to weigh mine out so they would all be equal.
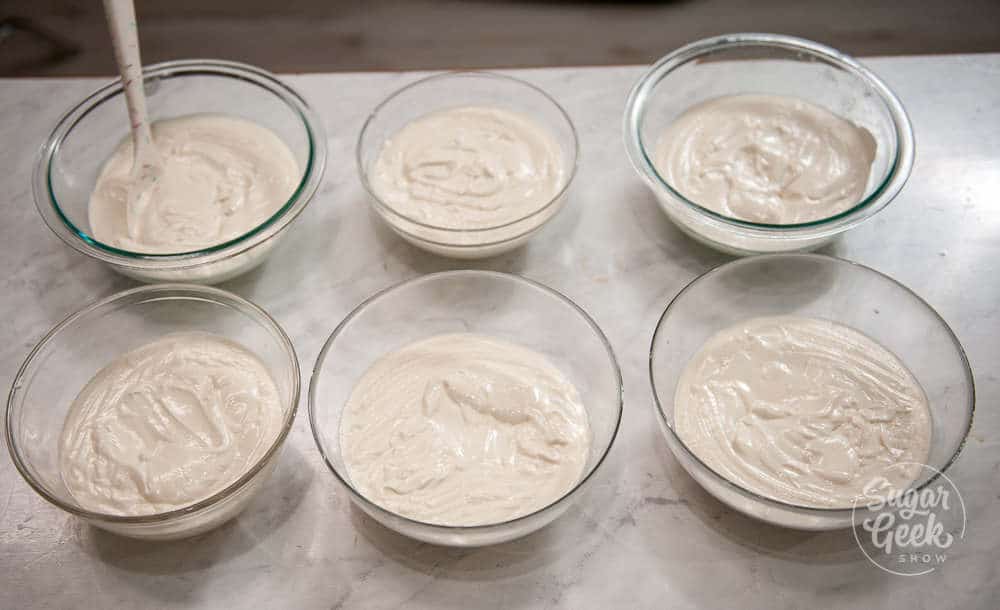
I'm using electric colors from Americolor and I'm not making an EXACT rainbow, this rainbow is more Lisa Frank style. I really like these electric colors because they make super bright neon colors and you don't have to use a lot of food color.
Colors I used
- Electric Purple
- Electric Blue
- Electric Green
- Electric Yellow
- Electric Orange
- Electric Pink
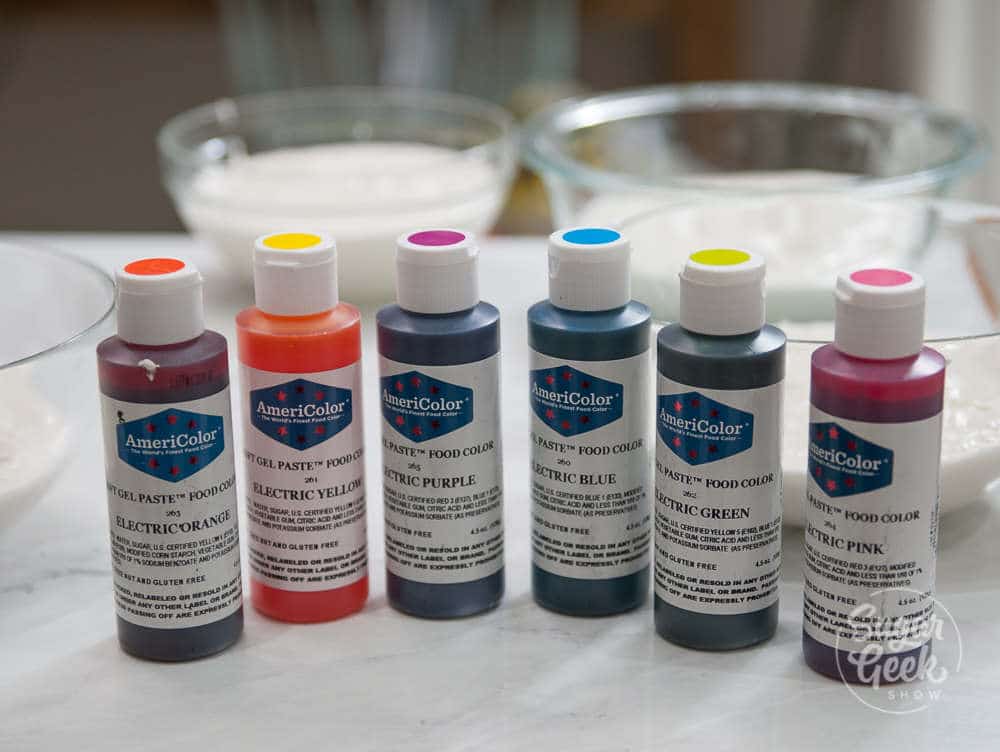
You can totally go classic rainbow and use red instead of pink, violet instead of electric purple and royal blue instead of electric blue.
Add a drop or two of color to each bowl and stir with a spoon until combined. Make sure for the green you use a little yellow and a little green so the green is more vibrant.
For the orange, use a little orange and a little yellow to make the orange more vibrant.
For the purple, add a little pink and purple to make the purple more vibrant.
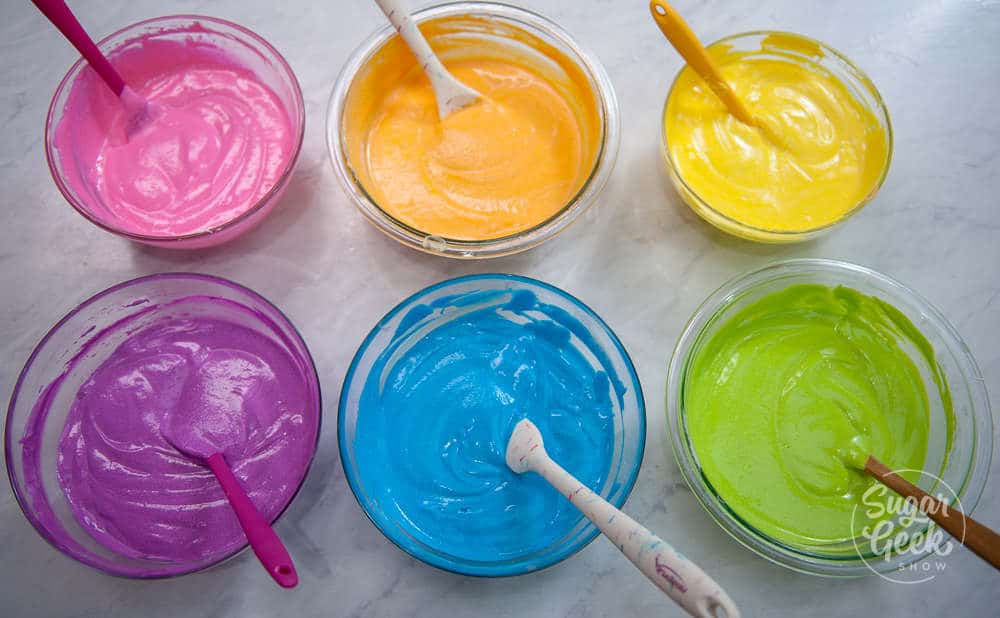
Pour your batter into your cake pans (I baked three at a time and put 15 ounces of batter in each pan).
When they are done baking, they will start to pull a tiny bit from the edges of the pan (that's normal) let them cool a bit in the pan before turning out onto a cooling rack to fully cool down.
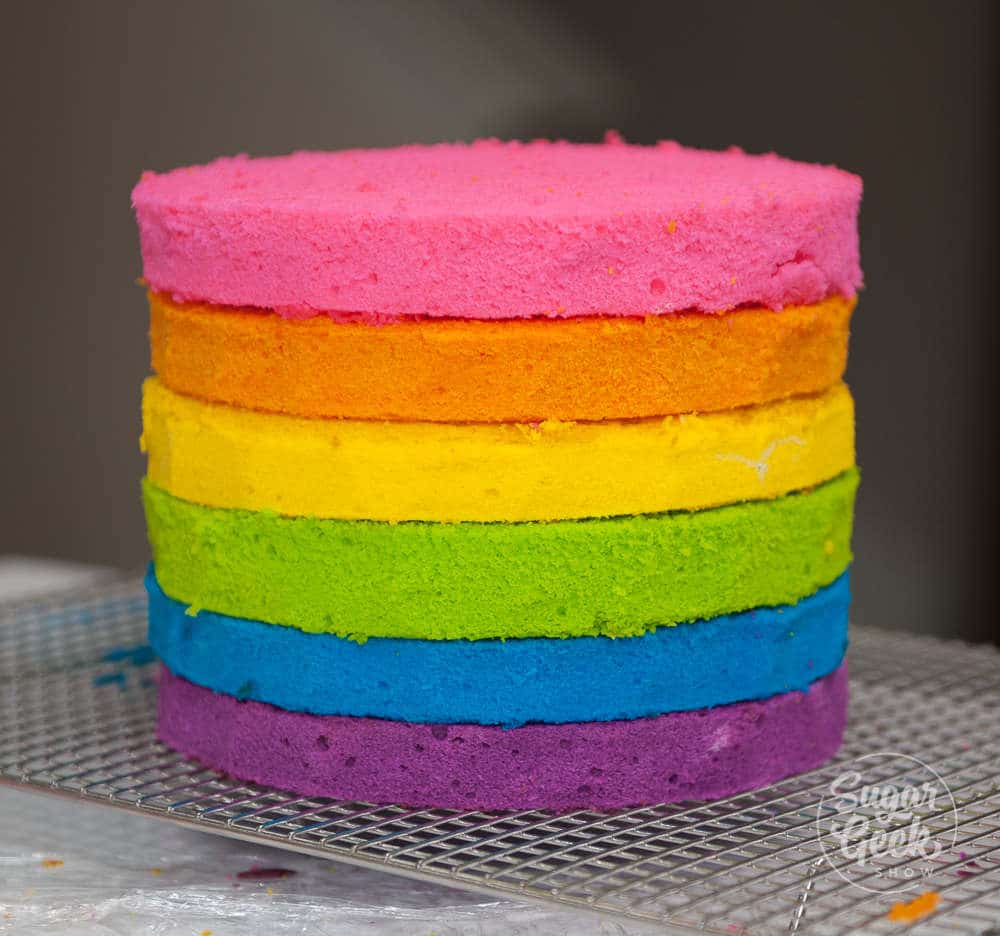
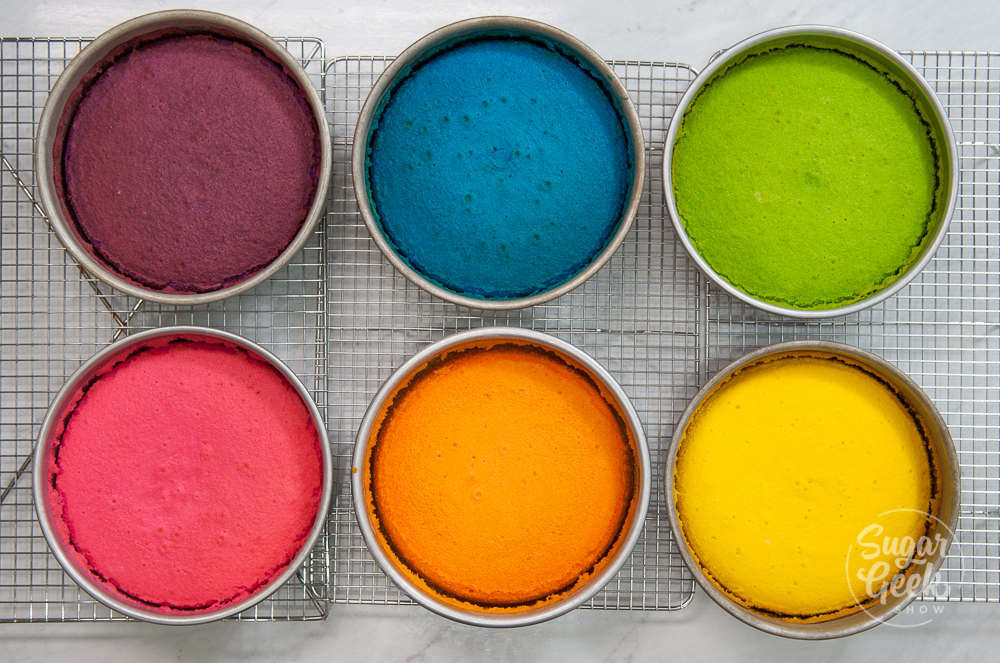 I put my cakes into the freezer for about 30 minutes to firm them up before trimming off the dome, the brown sides, and the brown bottom.
Trimming your cakes just makes the slices extra perfect and beautiful when you slice them.
How to decorate a rainbow cake
Time to decorate our rainbow cake! I'm using my easy buttercream because it comes together so fast. You could use any buttercream though like swiss meringue buttercream, Italian meringue buttercream or even cream cheese frosting.
Place your first layer onto your cake board. I'm working on a turntable to make this whole process easier.
Apply a thin layer of buttercream. Shoot for about ¼" of frosting.
Keep your spatula nice and flat so your buttercream has an even thickness.
I'm starting with the purple because that makes sense to me in my brain but you could start with the pink if you want to go in the opposite direction.
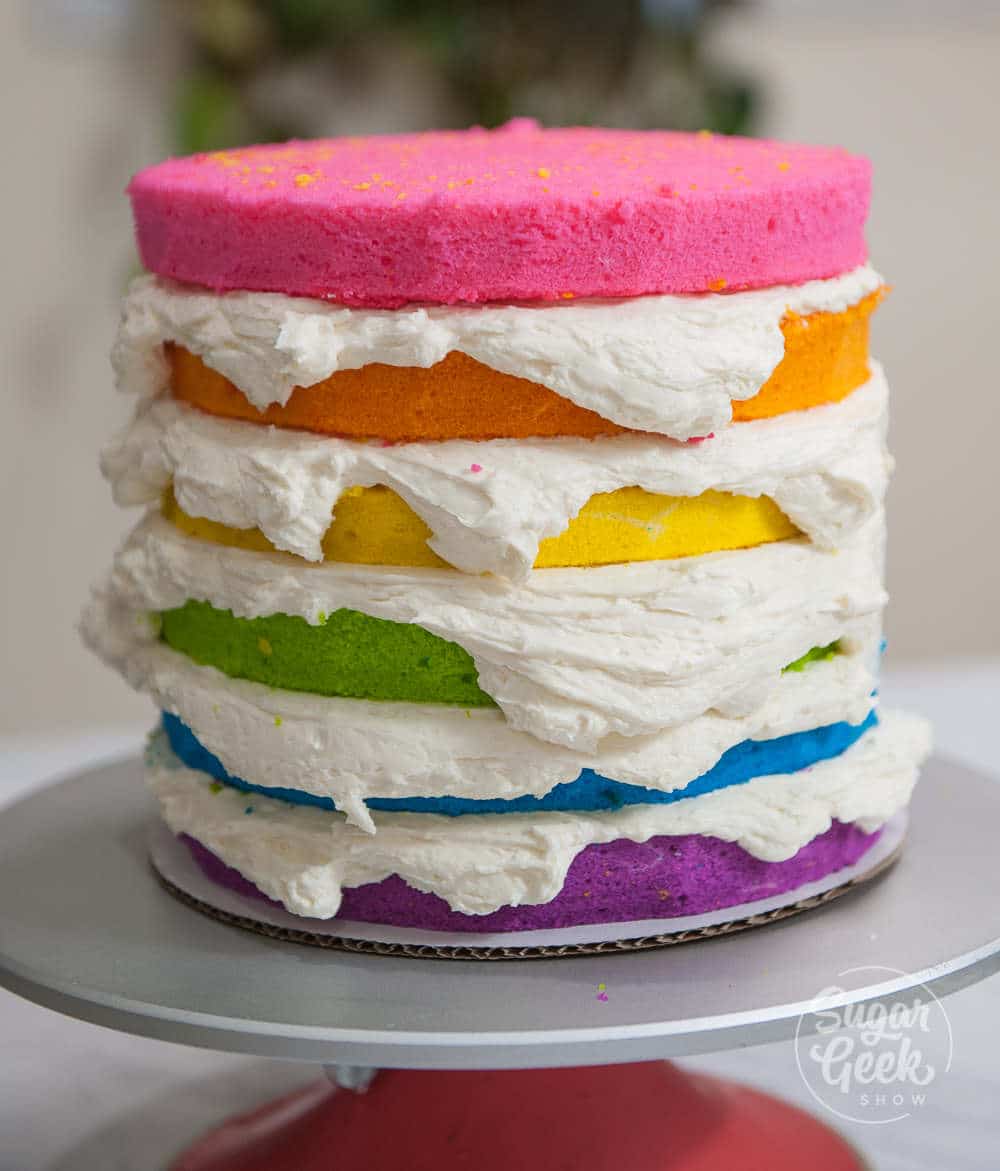
Continue frosting and stacking this way with the rest of the layers and then give the whole cake a nice crumb coat to seal in all those rainbow crumbs.
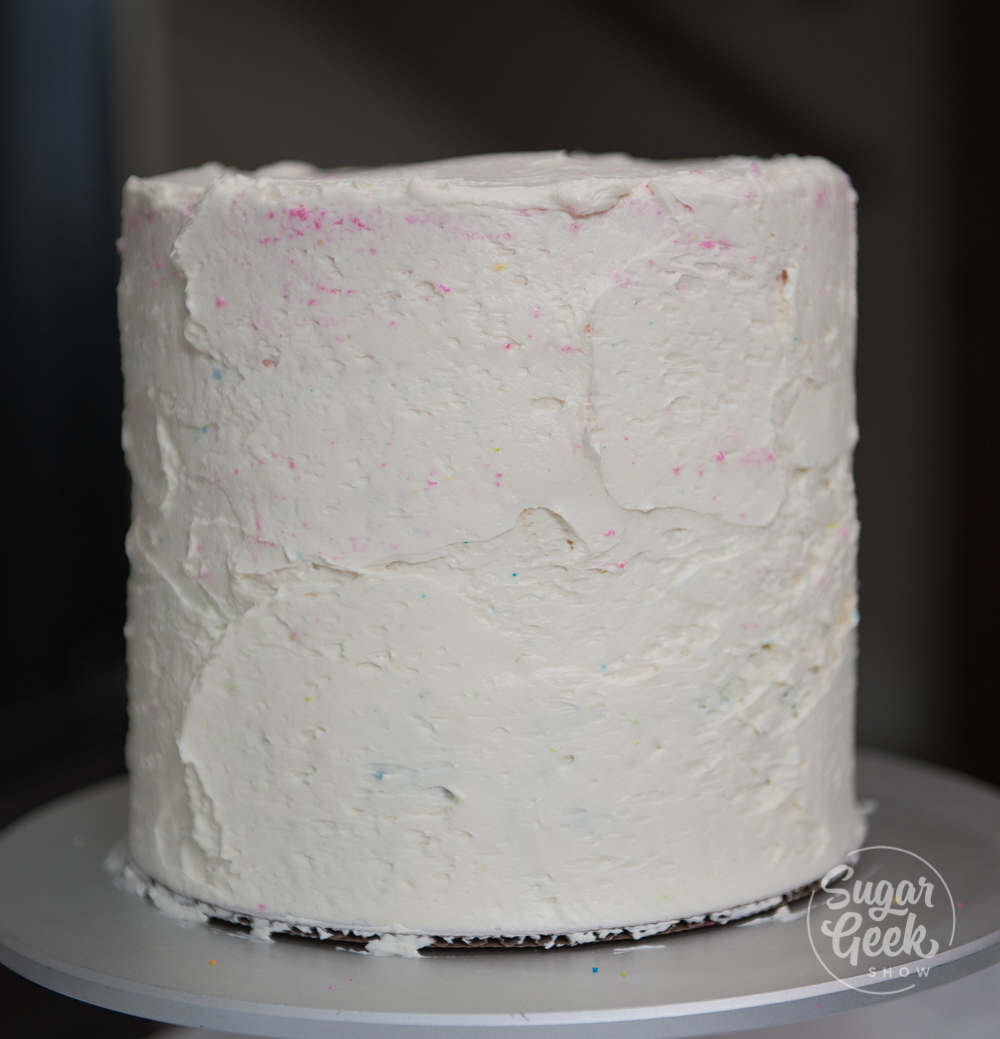
Chill your cake for 15 minutes to firm up that layer of buttercream.
Finish your cake with a final layer of buttercream and smooth it out with your bench scraper and offset spatula.
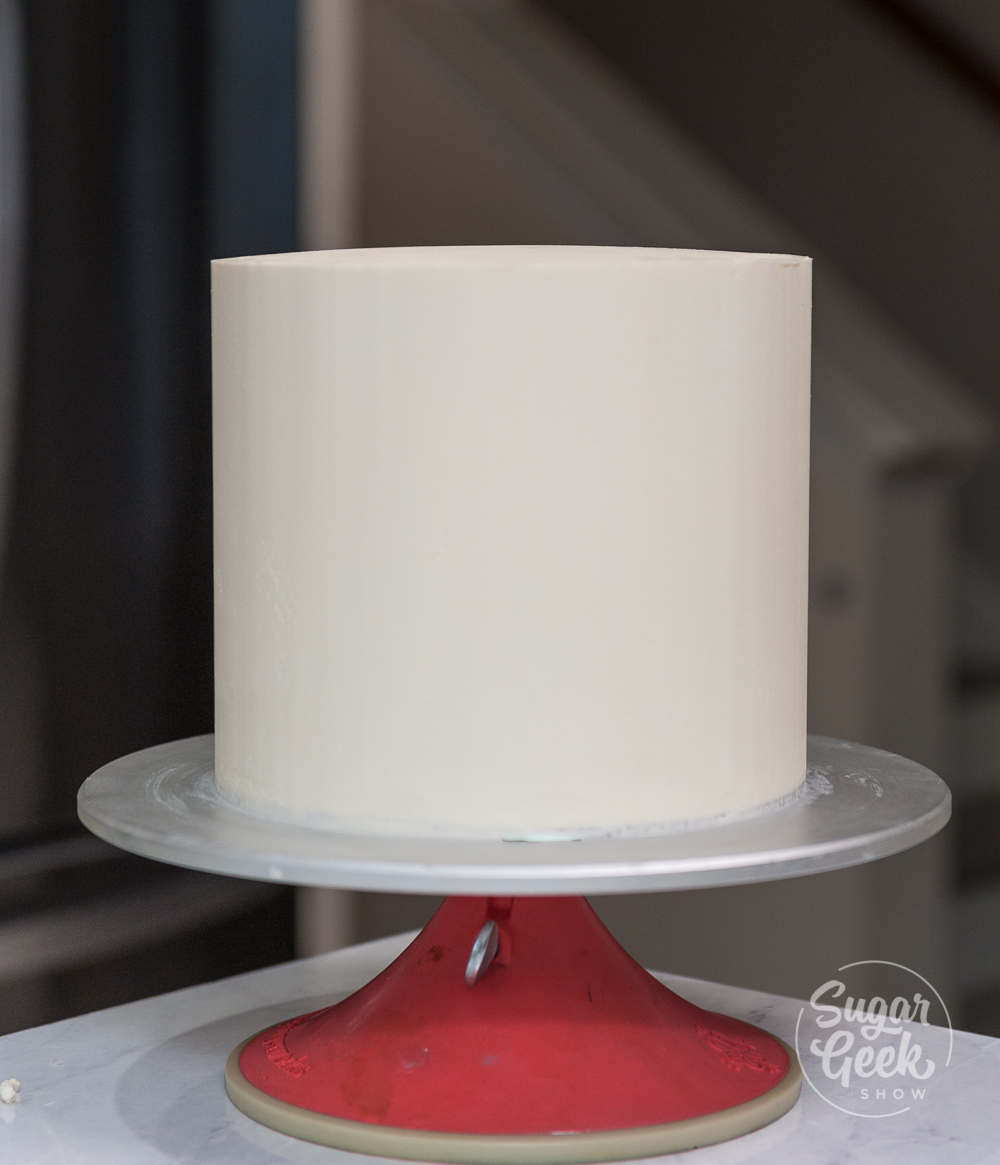
After chilling my cake, I added some fancy sprinkles to the bottom border of the cake, then I transferred my cake to a cake board.
I'm finishing this cake with a water ganache drip. I used 5 ounces of white candy melts, 1 ounce of chocolate candy melts and 6 ounces of water.
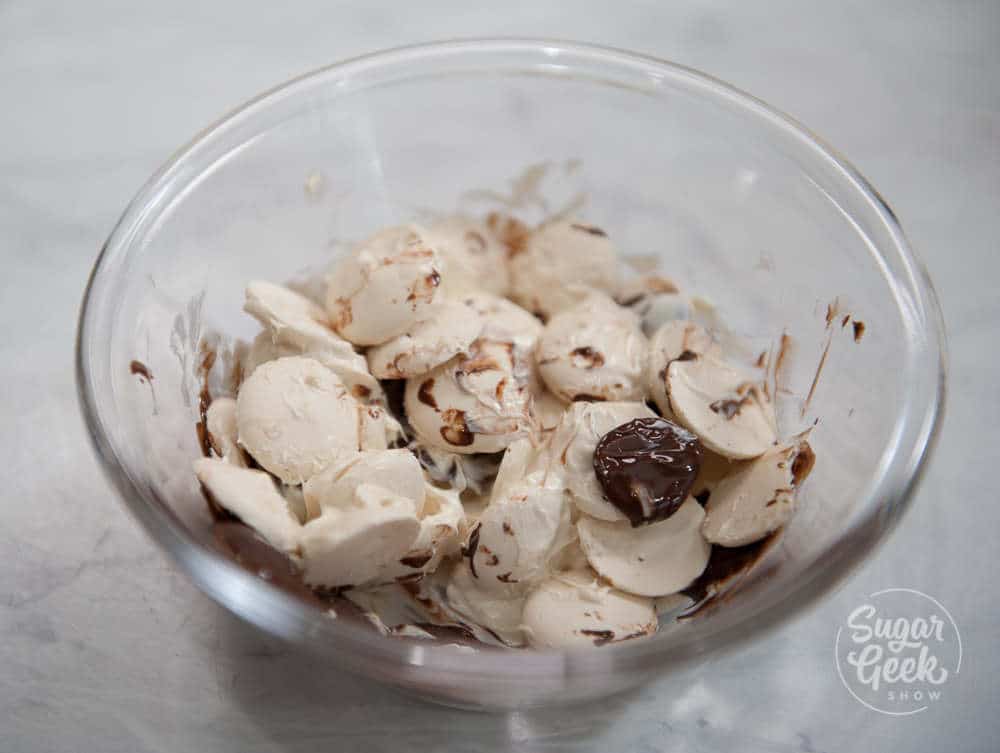
After melting, I added a few drops of electric yellow food coloring to make a gold candy melt color. I dripped this water ganache onto my chilled cake. Then painted gold with some truly mad plastics gold dust and vodka.
Make sure your mixture of dust and vodka is fairly thick, like paint so that you get good coverage.
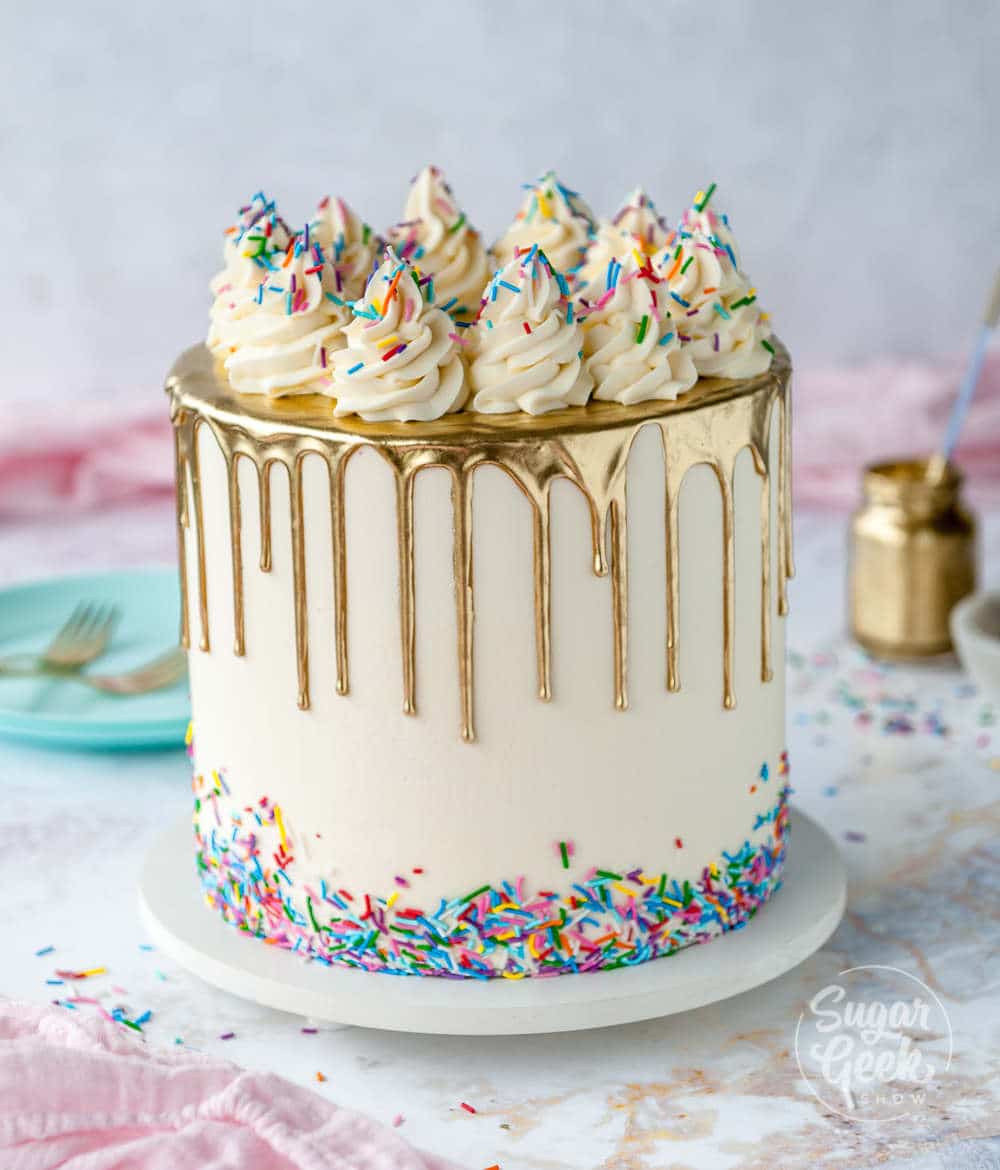
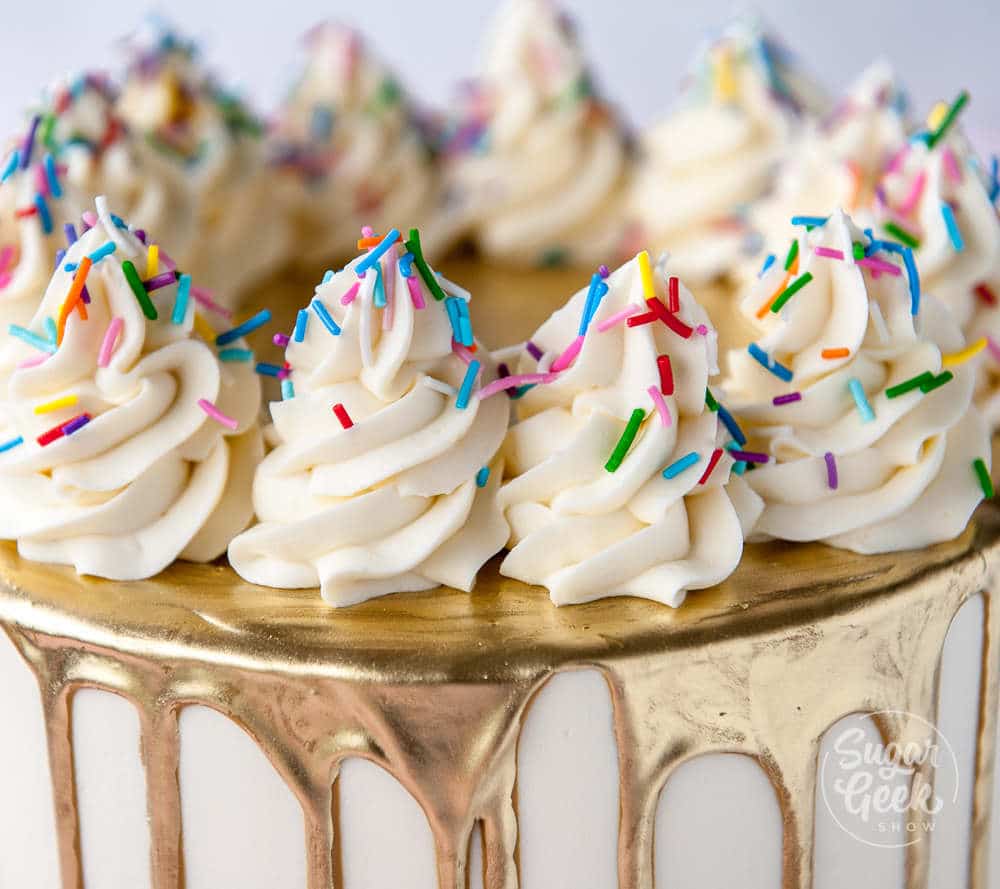
Then I added some little swirls of white frosting on top and added some more sprinkles. I used a 1M piping tip to do the swirls.
And we're done with our rainbow cake! Doesn't it look so pretty! I love how the slices look and they are the perfect accent to this month's Ezra photo.
Be sure to check out my other popular cake recipes for more delicious tried and true cake recipes that never disappoint.
Cake Batter and Frosting Calculator
Select an option below to calculate how much batter or frosting you need. Adjust the servings slider on the recipe card to change the amounts the recipe makes.
Choose a pan type
Choose a cake pan size
(based on 2" tall cake pan)
Choose a cake pan size
(based on 2" tall cake pan)
Cupcake Tin Size
Choose number of pans
Cups of Batter Needed
8 cups
Cups of Frosting Needed
5 cups
Note: measurements are estimated based off the vanilla cake recipe using standard US cake pans and sizes. Measurements used are for 2" tall cake pans only. Your results may vary. Do not overfill cake pans above manufacturer's recommended guidelines.
Recipe
Equipment
- Stand Mixer
- Whisk Attachment
- Paddle Attachment
- Turntable
- Piping Bag
- 1M Piping Tip
Ingredients
Rainbow Cake Ingredients
- 24 oz cake flour
- 24 oz granulated sugar
- 1 teaspoon salt
- 2 tablespoon baking powder
- 1 teaspoon baking soda
- 10 oz egg whites room temperature
- 6 oz vegetable oil
- 18 oz buttermilk room temperature or slightly warm
- 12 oz butter unsalted and softened
- 1 Tablespoon vanilla extract
Easy Buttercream Frosting Ingredients
- 8 oz pasteurized egg whites
- 32 oz powdered sugar
- 32 oz unsalted butter softened but not melted
- 2 teaspoon vanilla extract
- ½ teaspoon salt
- 1 dot purple food coloring to make the buttercream white
Gold Drip
- 5 oz white candy melts
- 1 oz chocolate candy melts
- 1 oz hot water
- 1 teaspoon Truly mad plastics super gold dust
- ¼ teaspoon everclear or vodka or lemon extract
Instructions
- NOTE: It is SUPER IMPORTANT that all the room temperature ingredients listed above are room temperature and measured by weight so that the ingredients mix and incorporate correctly. Heat oven to 335º F/168º C
- Prepare six ( 8"x2") cake pans with cake goop and place a round piece of parchment paper in the bottom of the pan for easy removal of the cake
- Combine 8 oz of the buttermilk and the oil together and set aside.
- Combine the remaining buttermilk, egg whites, and vanilla together, whisk to break up the eggs and set aside.
- Combine flour, sugar, baking powder, baking soda and salt in the bowl of a stand mixer with the paddle attachment. Mix 10 seconds to combine.
- Add your softened butter to the dry ingredients and mix on low until mixture resembles coarse sand (about 30 seconds).
- Add in your milk/oil mixture and let mix until dry ingredients are moistened and then bump up to med (setting 4 on my KitchenAid) and let mix for 2 full minutes to develop the cake's structure. If you don't let your cake mix on this step your cake could collapse.
- Scrape your bowl and then reduce speed to low. Add in your egg white/milk mixture in three batches, letting the batter mix for 15 seconds between additions. Scrape down the sides again to make sure everything has incorporated.
- Divide your batter into 6 bowls. Weigh 15 ounces of batter for each bowl.
- Color each bowl with your Electric food colors. ½ teaspoon for pink for the pink layer, ¼ teaspoon yellow plus ¼ teaspoon orange for orange layer, ½ teaspoon yellow for yellow layer, ¼ teaspoon yellow plus ½ teaspoon green for green layer, ½ teaspoon blue for blue layer, ¼ teaspoon pink and ½ teaspoon purple for the purple layer.
- Bake your layers for 20-24 minutes or until the edges JUST start pulling away from the cake pan. Do not under-bake or the middle of the cake will collapse.
- IMMEDIATELY TAP PAN FIRMLY on countertop once to release the steam from the cake. This stops the cake from shrinking.
- Let cakes cool for 10 minutes inside the pan before flipping them out. The cake will shrink a bit and that is normal. Freeze your cake layers 30-60 minutes before trimming your cakes. Frost and fill with buttercream frosting.
- After your buttercream is smooth, place the cake back into the fridge for 15 minutes before you apply your drip.
- Wait for your drip to set before painting with gold paint. Finish the cake with buttercream rosettes and more sprinkles.
Easy Buttercream Instructions
- Place powdered sugar and pasteurized egg whites in the bowl of your stand mixer with the whisk attachment.
- Mix on low to combine then increase speed to high.
- Add the butter in small chunks while mixing. Continue mixing until all the butter is added in. Then add in your vanilla and salt.
- Mix on high until light and fluffy and no longer tastes like butter. Add a dot of purple food coloring to reduce the yellow appearance of the buttercream (optional).
- Remove the whisk attachment and replace it with the paddle attachment. Mix on low for 10 minutes to remove bubbles from the buttercream.
Gold Drip Instructions
- Melt the chocolate in the microwave in 15-second increments until almost fully melted.
- Add in your hot water and microwave another 15 seconds
- Stir until smooth. Then add in your yellow food coloring. Stir until smooth.
- Place water ganache into a piping bag, snip off the tip and drip the ganache around the edge of your chilled cake. After it sets, you can mix your gold dust and vodka together and paint the drip gold
Video
Notes
Cake flour sources: UK - Shipton Mills Cake & Pastry Flour

Beth Churchill says
Hey Liz,
I'm making this cake for a birthday and the birthday girl requested cream cheese frosting. If I want to add cream cheese, should I just plan to half the butter and replace with cream cheese?
Thank you for all your help teaching me to make and decorate cakes!
Liz Marek says
Cream cheese frosting works great with this cake. I'd make my classic cream cheese frosting instead of changing the easy buttercream. If you have more questions, come ask me in the Sugar Geeks community: https://community.raptive.com/sugargeeks
ANN WALKER says
If I cannot get buttermilk what else can I use?
Liz Marek says
Add 2 Tablespoons of white vinegar to a cup of milk and let it sit for a few minutes to make buttermilk. If you have more questions, come ask me in the Sugar Geeks community: https://community.raptive.com/sugargeeks
Judy says
Hi, I was just wondering if I could make the whole cake with buttercream layers and then freeze the finished cake?
Liz Marek says
Yes, you can freeze the finished cake. Defrost it in the fridge for 24 hours before bringing it to room temperature. If you have more questions, come ask me in the Sugar Geeks community: https://community.raptive.com/sugargeeks
Cameron says
Thank you for this! I'm kind of confused on the number of pans and the calculator thing. I have six 9" cake pans and want to make this recipe for a party. Do I need to change other parts of the recipe?
Liz Marek says
You don't need to increase the batter for 9-inch pans. Just keep an eye on them since they'll bake faster. If you have more questions, come ask me in the Sugar Geeks community: https://community.raptive.com/sugargeeks
Daisy says
Hello from Australia can I please confirm that the baking powder measurement is correct at 2 Tablespoons? Thanking you.
Liz Marek says
Yes, 2 Tablespoons is correct. It's a big batch with 24 ounces of flour. If you have more questions, come ask me in the Sugar Geeks community: https://community.raptive.com/sugargeeks
Andrea says
My sister made this cake and said it was delicious I'm wanting to recreate it for a birthday. I'm wandering if I can make the recipe without the colourful layers. For example, just divide the batter into two cake pans, and slice each cake to create a 4 layer cake?
If so how long would you recommend cooking time for two cakes in 19 × 6.5cm?
Liz Marek says
Yes! You can bake it in two pans and torte each into two layers. Thicker layers take longer to bake, so check with a toothpick. If you have more questions, come ask me in the Sugar Geeks community: https://community.raptive.com/sugargeeks
roses says
Hello, can we freeze this cake for a couple of weeks before assembling?
Liz Marek says
Yes! Wrap the layers well in plastic and freeze them, then thaw before assembling. If you have more questions, come ask me in the Sugar Geeks community: https://community.raptive.com/sugargeeks
Missy Rudolph says
I didn’t catch that you changed units in the recipe from grams to ounces when weighing out the batter for baking. I was very confused at 15 g per bowl. I did some quick math on dry ingredients and adjust to 415g thinking there must be an error on the page.
I now see where my confusion was, change in units. I checked the conversion and 15 ounces coverts to 425 grams, what a lucky day!
The cakes are beautiful and so delicious! I did Encanto themed cakes with gradients of blue to purple instead of the rainbow and they turned out fabulous. The pure white cakes allows the colors to glow.
Thank you for sharing all your hard work and expertise with the rest of us allowing us to produce bakery quality cakes as well. It is much appreciated.
Seana Borgeson says
Can you reccomend a recipe for a chocolate frosting that would be good with this cake?
Thank you so much..
Sugar Geek Show says
I love this easy chocolate buttercream frosting! https://sugargeekshow.com/best-chocolate-buttercream-frosting/
Seana Borgeson says
I noticed above you told someone you wrap them warm and freeze them before decorating. I plan on freezing my layers over night.
When I take the layers out can I put my frosting on right away? Or do I let it thaw a bit first?
Sugar Geek Show says
You can definitely frost your cakes while they're still frozen, just know that your buttercream will set up very quickly on a frozen cake. Sometimes I'll let them sit out of the freezer for 30 minutes before frosting them. Up to you!
Nicole says
Turned out great if you follow exactly what the recipe said! It's a show stopper for sure!!! Easy to transport too if left in the fridge overnight! Making it a second time today!
Jess says
I wish I could post a photo because my cake turned out amazing and it tasted delicious!!!
Amita says
Hello Liz
Can we use pasteurized egg white instead of egg whites as you mentioned in your recipe 10 oz egg whites
Elizabeth Marek says
Yes you can
Candace says
Im very excited to make this cake this weekend for my daughter’s birthday! Could I make the cake a day ahead of time and do the assembly and frosting on the day of the party?
Sugar Geek Show says
Absolutely! I always wrap my cake layers in plastic wrap and freeze them before decorating. Freezing them while they're warm actually helps lock in the moisture 🙂
Rebecca says
Hi, thank you for the lovely recipe.
The recipe mentions egg whites specifically.
Does it mean we don't use the yellow?
Elizabeth Marek says
yes, that's what egg whites are