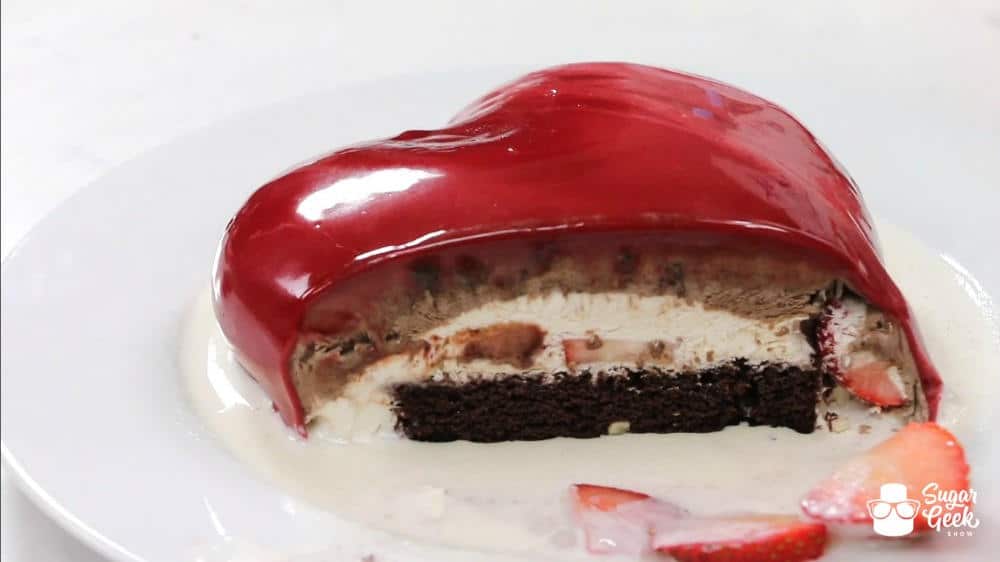
Looking for a simple yet impressive dessert to serve your Valentine this year? Look no further! This Mirror Glaze Heart Cake really is super easy, crazy delicious and sure to impress. Your Valentine will wonder when you had time to secretly attend pastry school when they weren't paying attention. Then they might wonder what else you've been doing when they haven't been paying attention and it could make for an awkward Valentine's Day but hey, you can always show them this tutorial to prove you're not just faithful, you're also resourceful!
Before You Get Started...
You will need a nifty mold like this. This is a special mold for mirror glaze cakes. It ensures an easy, clean release and a super smooth surface for that mirror glaze to really shine! Pick this mold up in the Sugar Geek Shop today! Once you have that, you can pick the rest of the ingredients up from your local store and you're ready to go!
Shop Heart-Shaped Mirror Glaze Mold
Shop Geometric Heart-Shaped Mirror Glaze Mold
Step 1
Make a mousse by simply incorporating some homemade whipped cream into 1 package of chocolate (or other flavored) pudding made from a box mix. The amount of whipped cream really depends on how light you like your mousse, but I'd say Liz added about 2 cups of whipped cream here.
Step 2
Spread a ½" layer of mousse into the bottom of your mold and have an adorable assistant to lick the spatula.
Step 3
Add a thin layer of whipped cream over the top of your mousse.
Step 4
Add a layer of fresh sliced strawberries on top of your whipped cream layer.
Step 5
Spread another thin layer of whipped cream over your strawberries to fill in gaps and make an even layer.
Step 6
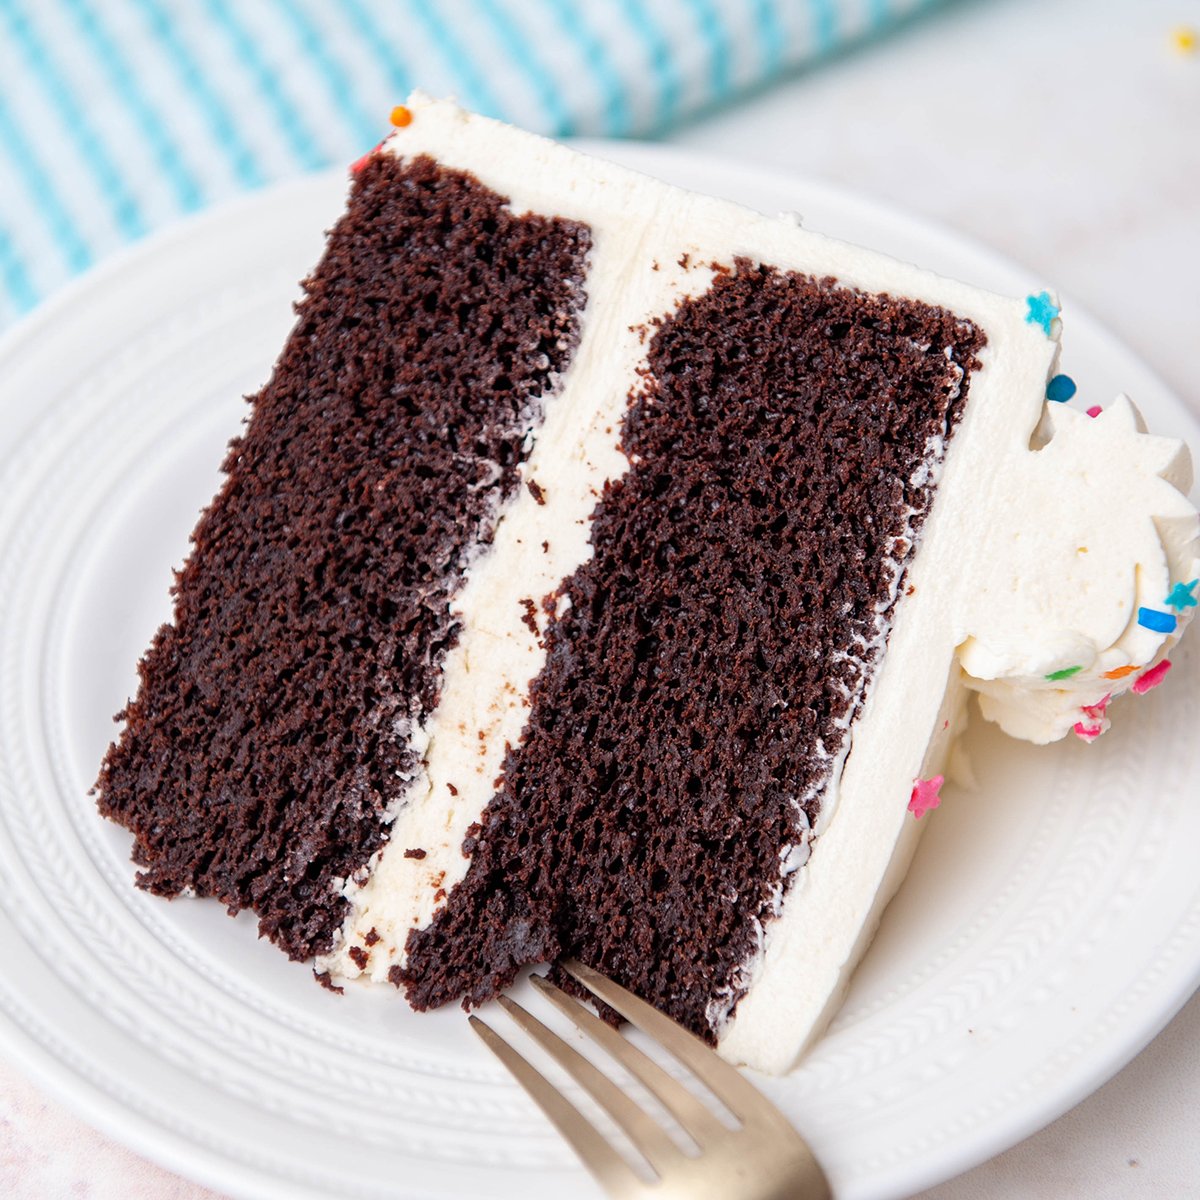
Use a heart cutter the size of your mold to cut out a piece of chocolate cake. Bake your cake into a really thin layer (about ½") using a jelly roll pan. Liz used the Guinness Chocolate Cake Recipe but you can use any chocolate cake you'd like! Add that on top of your strawberries and cream layer.
Step 7
Seal it all in with a final thin layer of your mousse! Place in the freezer overnight to freeze solid.
Step 8
Once your cake is completely frozen you can remove it from the mold. Pull the edges away first to ensure you don't break off any edges and then it should pull away and come out easily!
Step 9
Make up a batch of Mirror Glaze and pour it on! Place your cake on a cooling rack over a pan to catch the excess so that it can be used for another cake! Pour a generous amount to make sure the entire cake gets covered smoothly. Be sure to wait to pour your glaze until it reaches a temp of 90 degrees. To get a deep red color Liz used Artisan Accents Chocolate Chameleon Food Color which is highly concentrated and fabulous for coloring both chocolate and buttercream!
Step 10
Liz reserved some glaze aside and added some non-toxic glitter to it for some contrast decoration but you could use any color you'd like! Gives it a little extra somethin' somethin' to make it fancy.
Step 11
Once your glaze has set for a few minutes and has become quite thick you can cut away the excess drippage with a hot knife you've dipped in hot water or heated with a creme brule torch. At this point you'll want to place it in the fridge for a few hours to raise the temperature so you aren't trying to eat a frozen cake.
Step 12
Put that baby on a plate with some melted ice cream and strawberry garnish and it's ready to be cut and devoured!
I mean if your mouth isn't watering looking at that you might want to get yourself checked out. Just sayin'.
So what do you think? You can do that right? Of course you can! Pretty sure this is what I will be making for Valentine's Day and I am pretty sure you should too.


