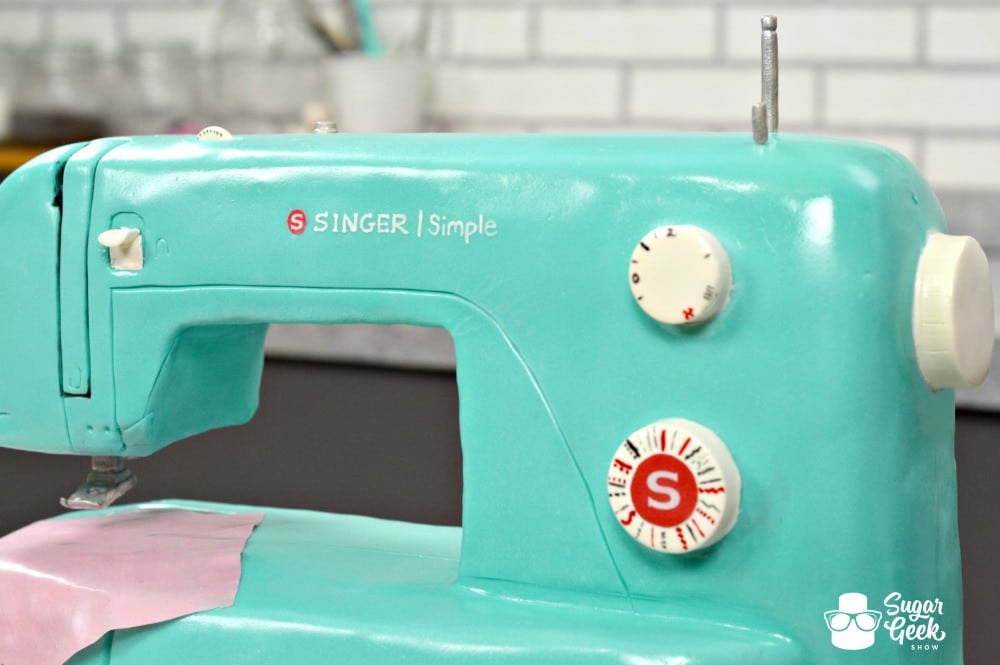
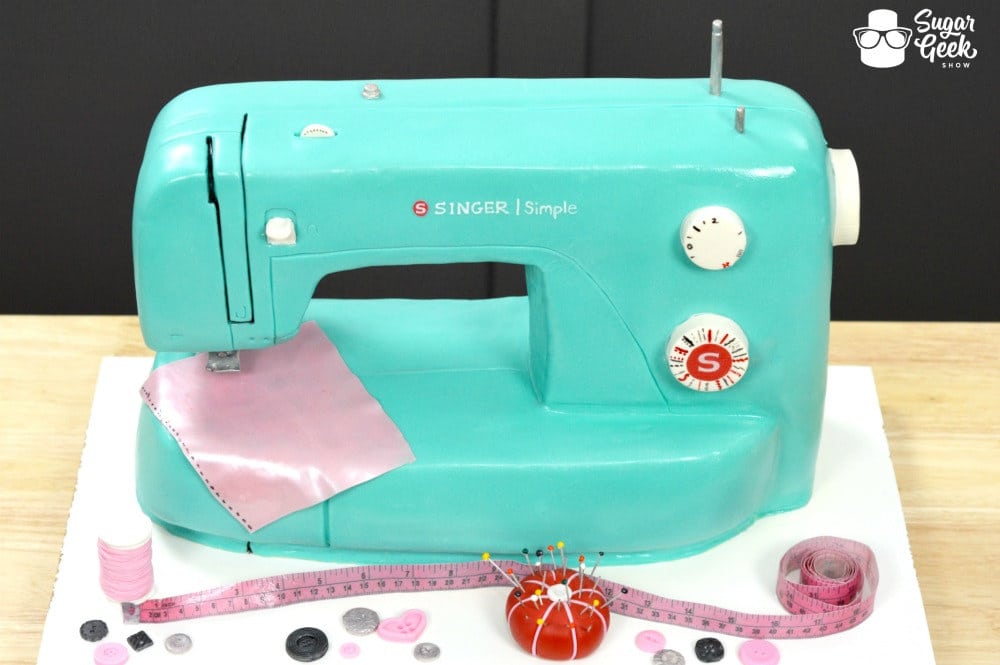
An intermediate sewing machine cake tutorial full of techniques including a gravity defying structure, realistic details, hand painting and more!
Sewing machine cake pictures can be found all over the web and I think everyone can agree, they're impressive! A cake that looks so much like an everyday object catches people's attention. Just about everyone knows someone who loves to sew and would absolutely love a sewing machine cake!
As usual I like to be different so instead of the vintage Singer sewing machine cakes you typically see, you know the ones, black with the wooden base and filigree, I thought I would make a retro sewing machine cake!
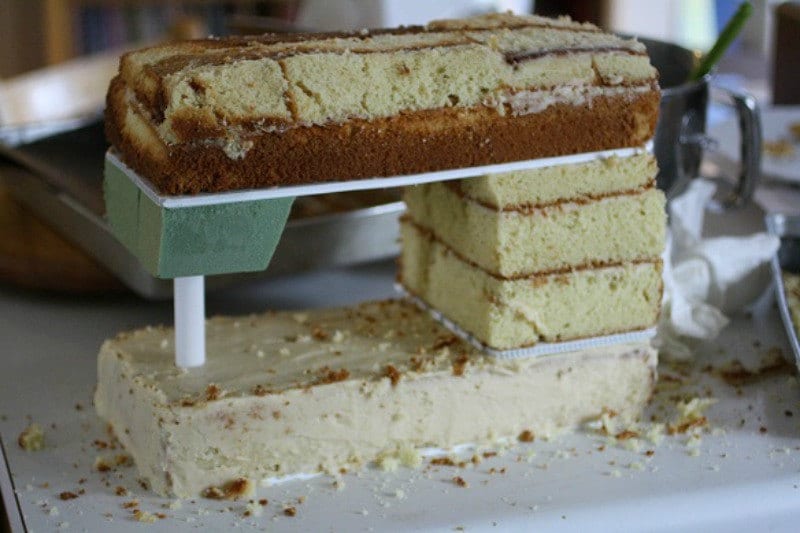
On top of that, Liz gave me the added challenge of making it gravity defying so you could actually pass some fabric under the presser foot like a real sewing machine! Most cakes you see have the needle down acting as some of the support.
Singer Sewing Machine Cake Tutorial
The biggest feature of the sewing machine cake is the structure and the carving that ultimately make it look like a sewing machine! Another big feature of this cake is the hand painted details that make the logo and dials look realistic.
Edible Sewing Themed Cake Decorations
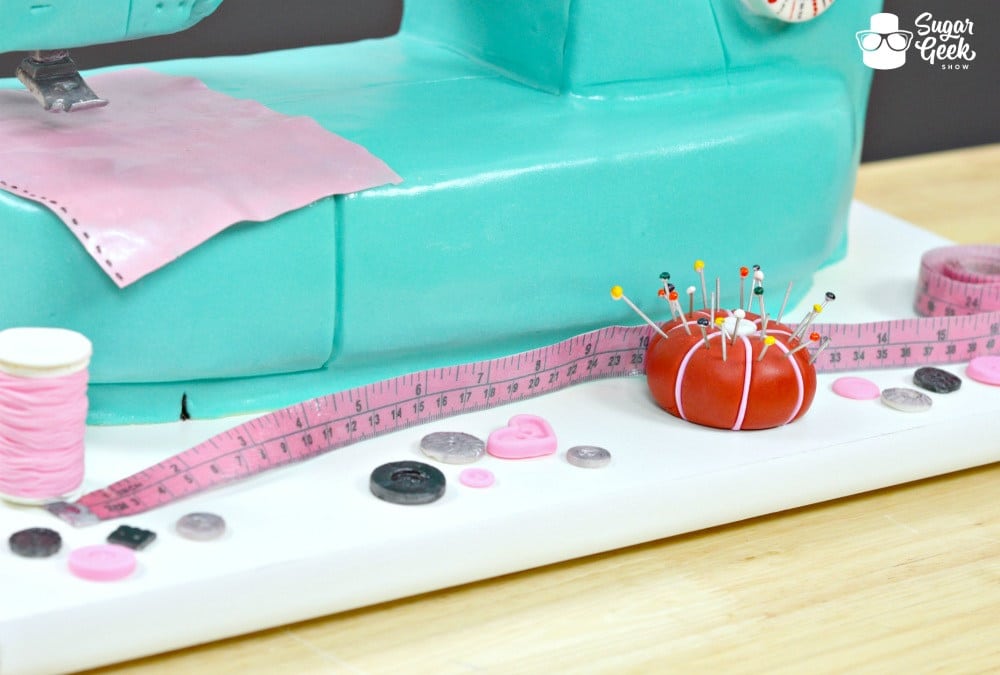
Along with the sewing machine cake, you will learn how to make some super fun and unbelievably realistic details to go along with it! No sewer feels complete without some essential tools such as a pin cushion and a measuring tape. In this tutorial I show you how to get the most realistic details possible and they are completely edible!
Here is a short tutorial from my personal YouTube Channel The Sweet Spot showing how to use Flexique Edible Fabric. I used it to create the super realistic measuring tape and of course the edible fabric from this sewing machine cake tutorial!
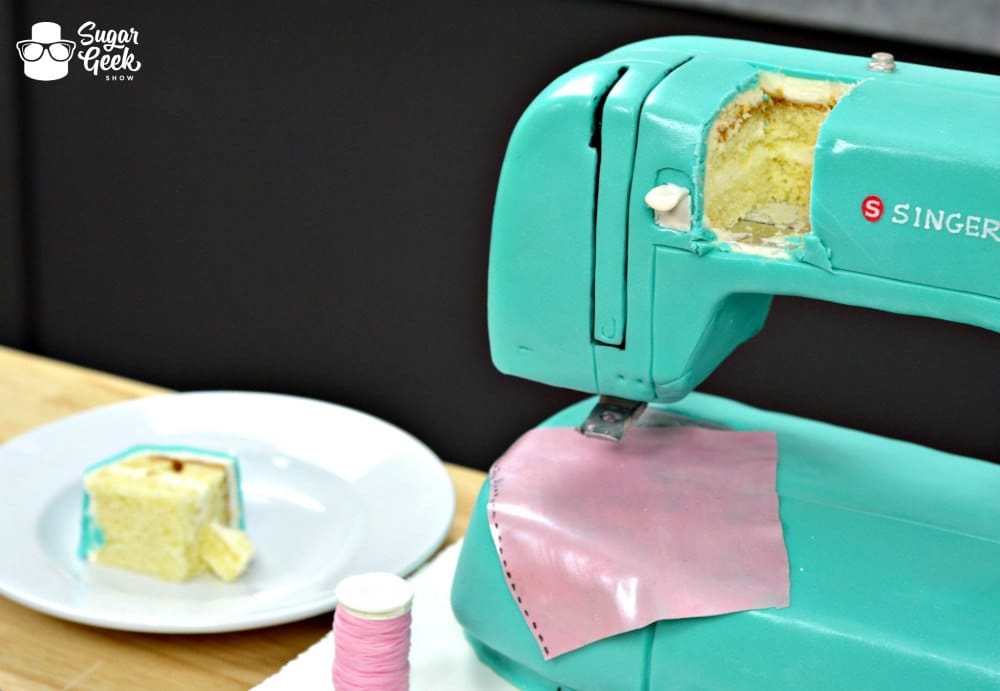
Just in case, here is proof that it is indeed a cake! And it is ALL cake. No rice krispie treat supplements this time.
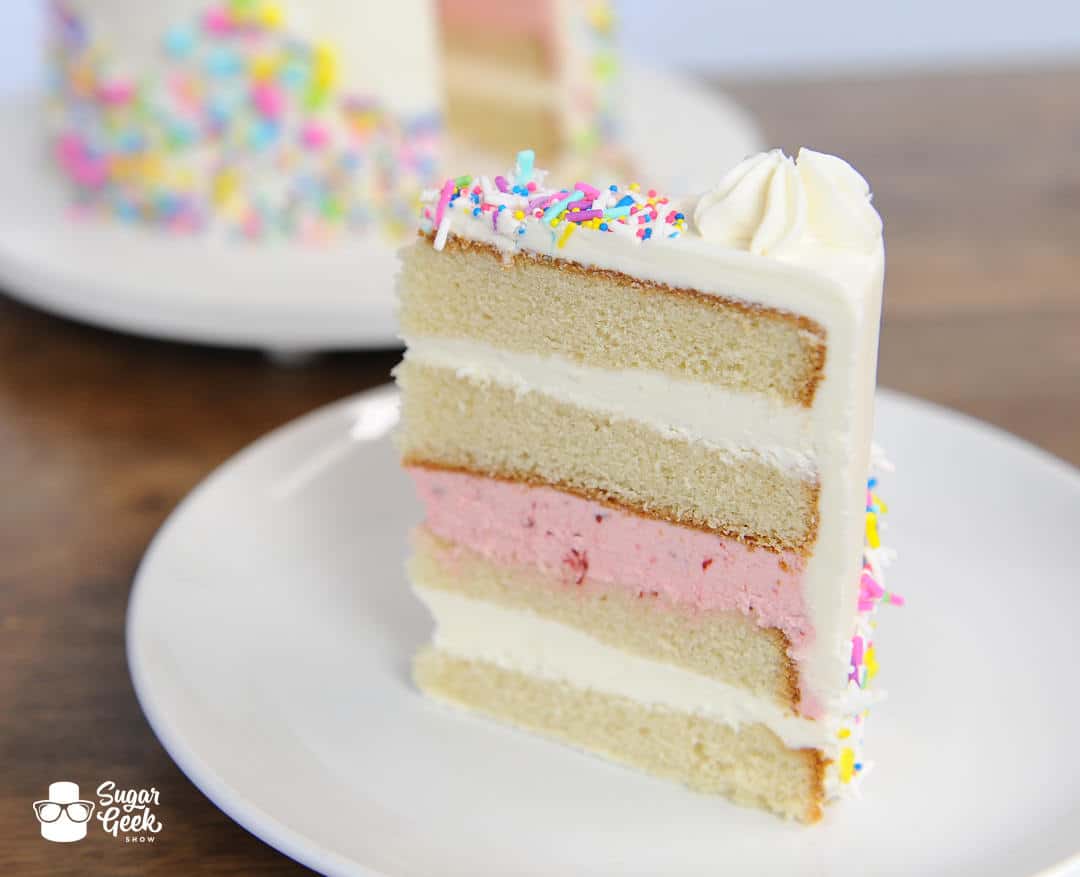
Our birthday cake recipe is a great recipe to use for this cake design or really any sculpted cake design as it is nice and sturdy! It uses both butter and all purpose flour giving it extra stability. It's a fabulous base cake that can be altered to many different flavors depending on what you want!
Recipe
Ingredients
- 12 oz AP Flour I like king arthur brand
- 2 ½ teaspoon baking powder
- ½ teaspoon salt
- 8 oz unsalted butter room temp
- 12 oz granulated sugar I like superfine
- 1 tablespoon vanilla extract
- 4 large eggs room temp
- 8 oz milk room temp
- 2 oz oil
Instructions
- Preheat oven to 350F and prepare two 8" rounds with cake goop or preferred pan spray.
- Whisk together flour, baking powder and salt and set aside
- In the bowl of a stand mixer with paddle attachment, cream the butter for 20 seconds until smooth
- Sprinkle in the sugar and whip on med-high until light in color and fluffy. About 8-10 minutes. Scrape the bowl halfway through mixing
- Bring back to low mixing, add in eggs one at a time. Let mix in fully for one minute fore adding the next egg. Mixture should look smooth, not broken or lumpy. If it is, your eggs might have been too cold.
- Add your vanilla and oil to your milk
- Add flour to mixture in four parts, alternating with the milk. Start with flour, mix until just incorporated, then add ⅓ of the milk. Repeat in alternating steps beginning and ending with flour. Let mix for 10 more seconds then stop
- Bake for 25-30 minutes or until toothpick comes out clean. Do not over-bake or your cake will shrink and your sides will not be straight.
Nutrition
How to Construct a Sewing Machine Cake
If you're looking for a traditional sewing machine cake structure, there are lots to be found around the internet! A Cake to Remember has a fabulous free tutorial with step by step photos on how to do it! It uses PVC Pipe and foam and is a simple design to start with. As you can see, it has the PVC pipe coming straight down from where the presser foot goes. That area will need to be covered up which is why my tutorial is extra unique!
Sewing Machine Cake Topper
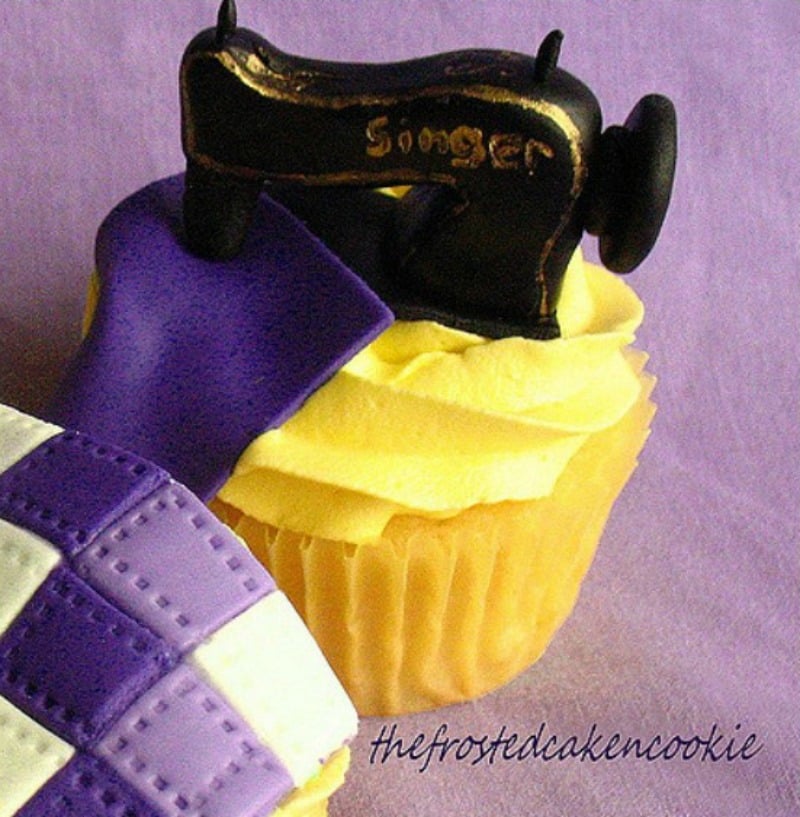
If you're wanting to start small, The Frosted Cake N Cookie has a super adorable step by step sewing machine cupcake topper tutorial you might just love! It's itty bitty and oh so cute! Make it on a larger scale and you've got yourself a cake topper. Making it larger would give you room to add a few more details too. Want it large enough to need a little more structure to it? You could also try forming the shape out of rice krispie treat and then covering it in fondant.
Sewing Machine Cake Photos
I've found a few other sewing machine cakes I absolutely love and wanted to share with you. Perhaps they will give you ideas for your own sewing machine cakes!
The whimsical design and molded details on this vintage Singer sewing machine cake really caught my eye.
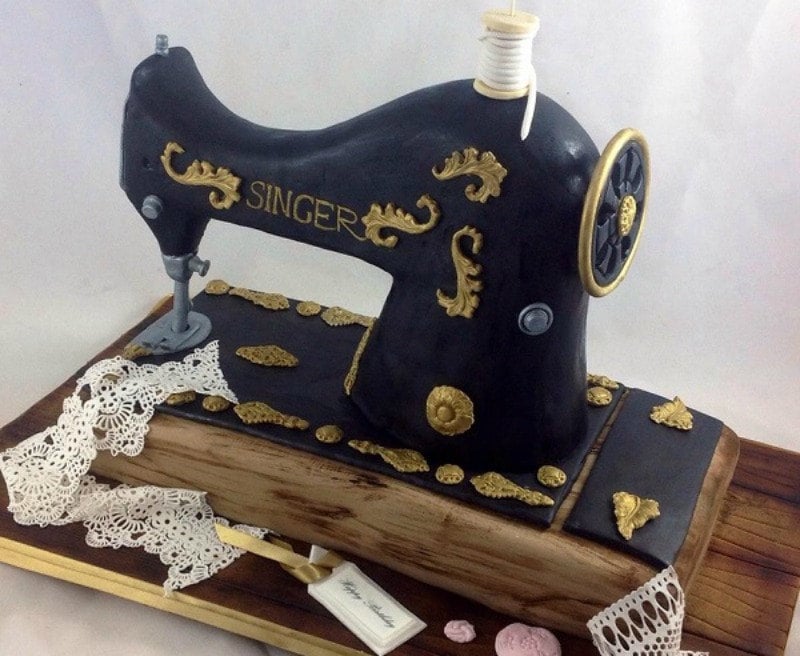
This cake has a unique design and some really fun details up top to emulate the specific sewing machine model. The use of silver metallic dust gives it an extra realistic element that stands out! I also like that they have a nice thin needle.

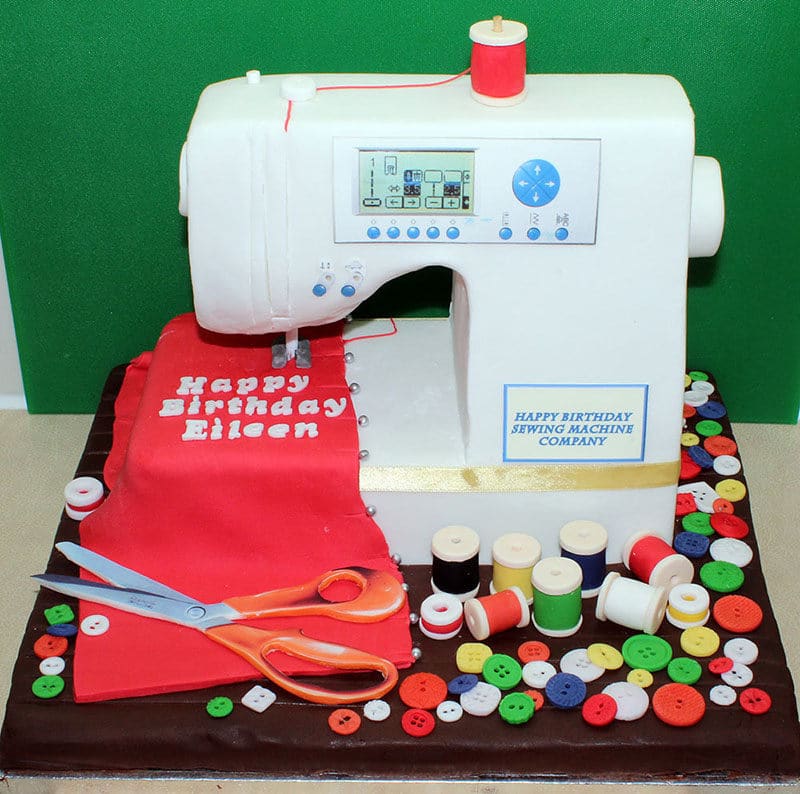
The modern style and clean lines of this cake are really what caught my eye. Clean, straight lines are key with a sewing machine cake in order for it to look realistic. The clever use of edible images for the display and even the scissors are also a great touch!
There, now you're all up to date on everything sewing machine cake related! My full retro sewing machine cake tutorial is available for Premium and Elite Sugar Geek Show Members. If you're not already a member, sign up today! You will instantly gain access to this tutorial along with hundreds of others.


