This week I thought I'd add a little something extra to the blog and start doing a few simple pictorials! I just happened to have an order that needed some cute little fondant cow toppers and I thought, "Hey, why not turn it into a tutorial while I am at it? I mean, people like cows right? Someone will have a need for cow toppers?" Well let's hope so. It seems like there is a pictorial for just about everything so why not cows?!
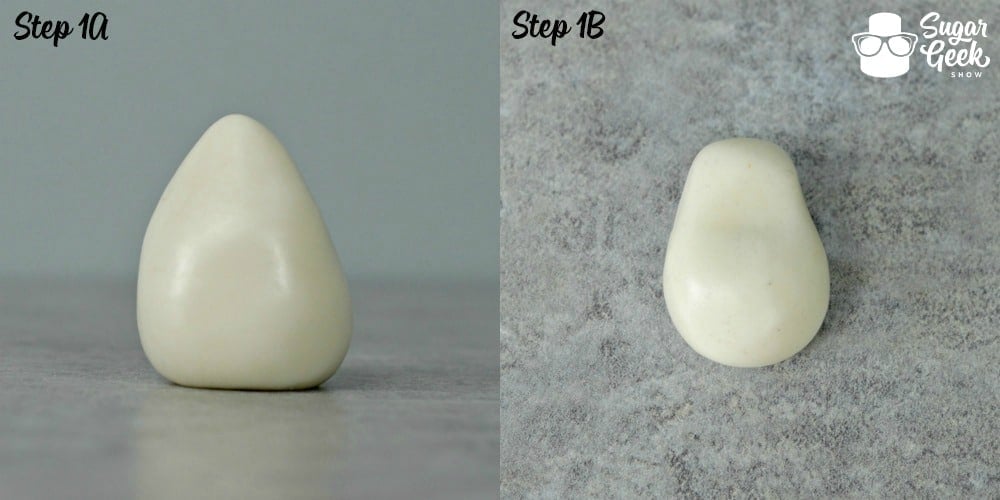
Step 1A: Form a 1.5 oz chunk of white fondant into a wobbly egg shape for the body.
Step 1B: Form a .75 oz chunk of white fondant into an almost tear drop (without a pointy top). Make it wider at the bottom and a slight indention a third of the way up for the top part of the face.
Still with me? Cool.
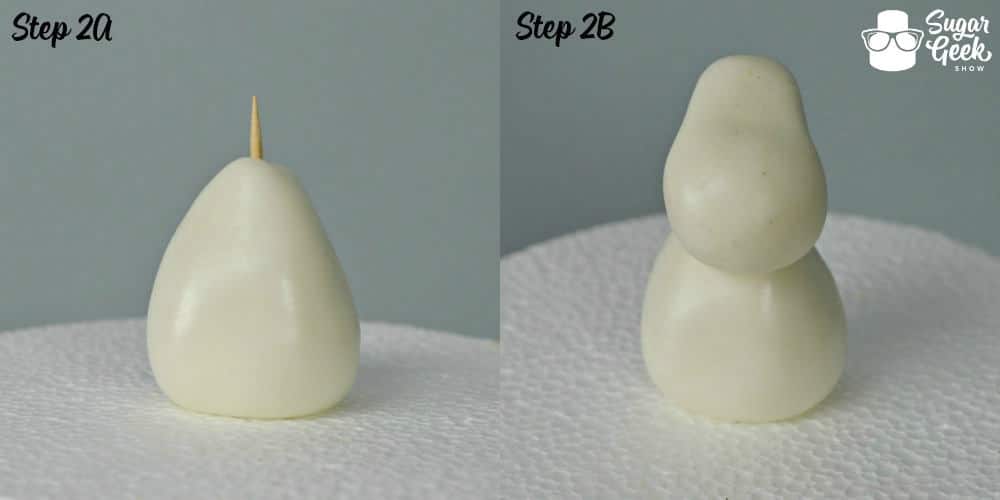
Step 2A: Place body on a piece of foam and impale it with a toothpick. This will give the head something to hold on to and give you a little something to stick in the cake as well. If you are really wanting to avoid a toothpick for kids you can do it without but it will be trickier. I just make sure to tell my customer about the toothpicks.
Step 2B: Attach the head to the body with a little water or gum glue.
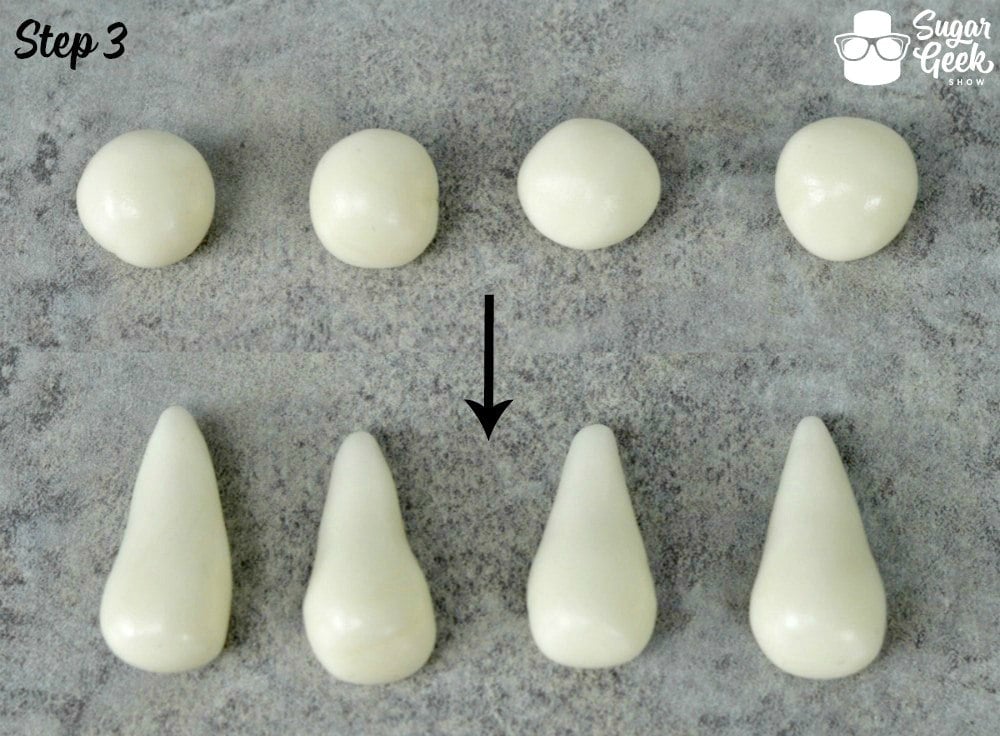
Step 3: Get four similar sized pieces of fondant for the arms and legs and roll them into balls. Mine were about ⅛th of an oz which I found is a pretty big range of sizes on my cheap scale so just use your wise judgement. Next, roll those balls into tear drop shapes with a flattish bottom.
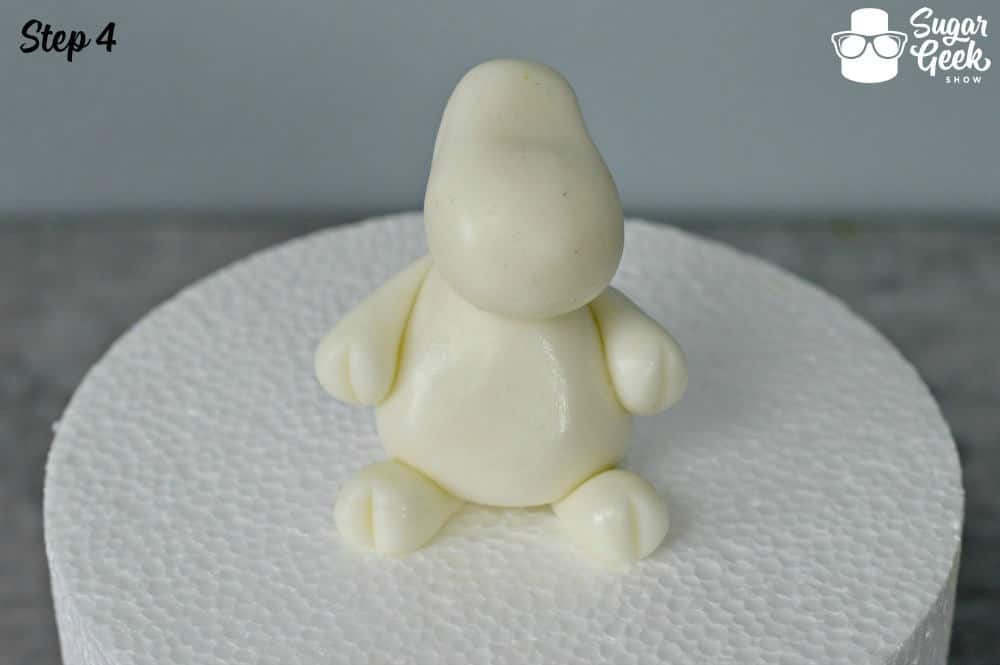
Step 4: Attach those babies to the body with a little water or gum glue. For the legs you'll have to pick up the body and set it down on top of your legs. Press everything on good! I also used a blade tool to add some almost hoof indentions to the fronts of the arms and legs.
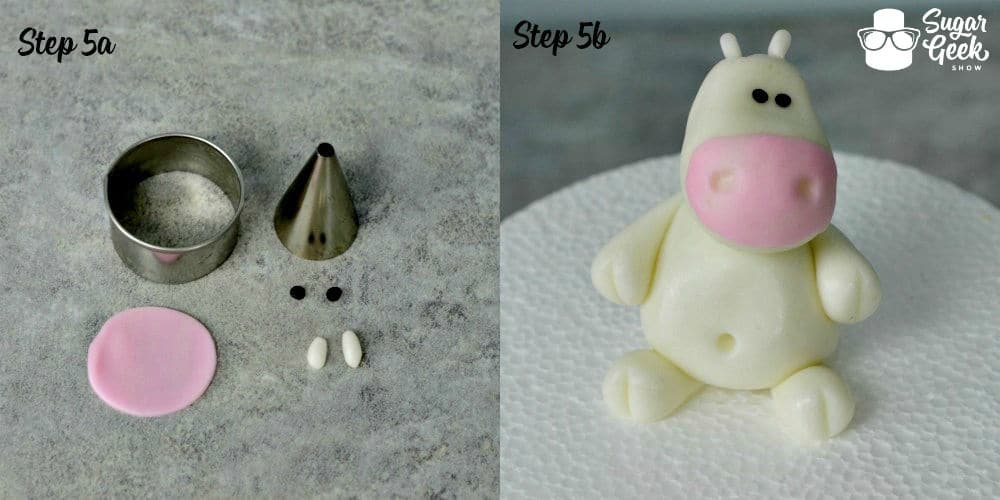
Step 5A: Using about a 1" circle cutter, cut out a pink circle. Use a #5 piping tip cut out two small black circles, and form a couple little fat pieces of rice for the cows nubs. Yeah, that's the technical term.
Step 5B: Attach all that stuff to the cow in the appropriate places and once again use a little something to help them stick. Although, I did just press the eyes on. Put them close together, they are cuter that way. Too far apart and your cow will start to look a little demented. No demented cows. For the nubs I actually folded a little bit of the bottom and squished it to the head using a toothpick. I apparently also used a small ball tool in this step to add the nostrils and a belly button. Fondant cows have belly buttons.
Step 6: For the ears, make two more small white balls and attach an even tinier ball of pink to the center. Using a small ball tool make an indention and elongate the ball. Give it a little pinch at the end.

Step 7: Attach the ears to the head outside of the nubs and in the same way as the nubs. Squish a little piece of the bottom of the ear to the head with a toothpick.
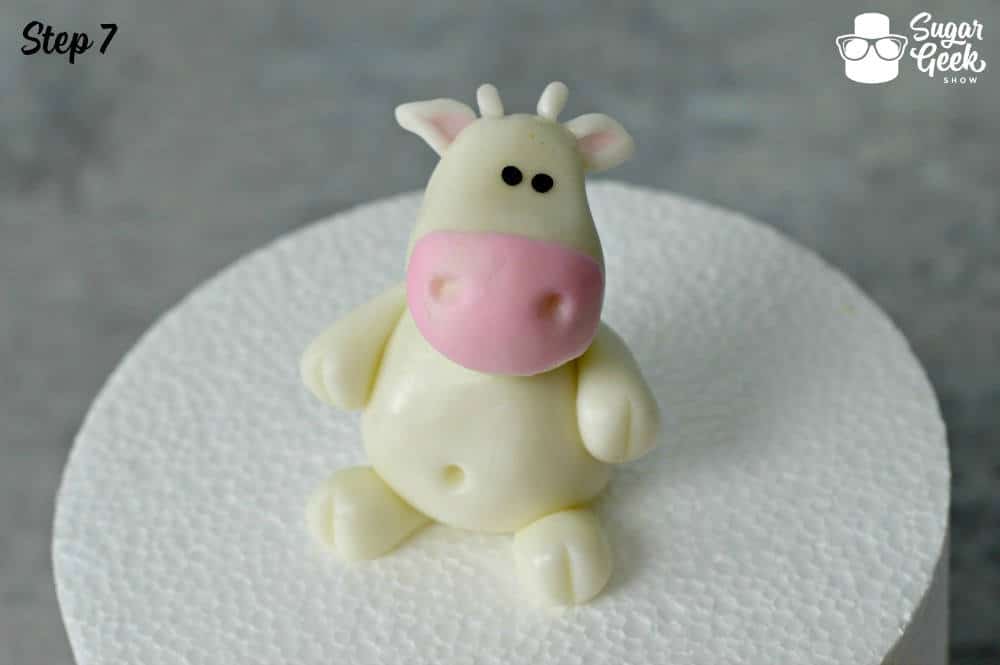
We're almost there I swear.
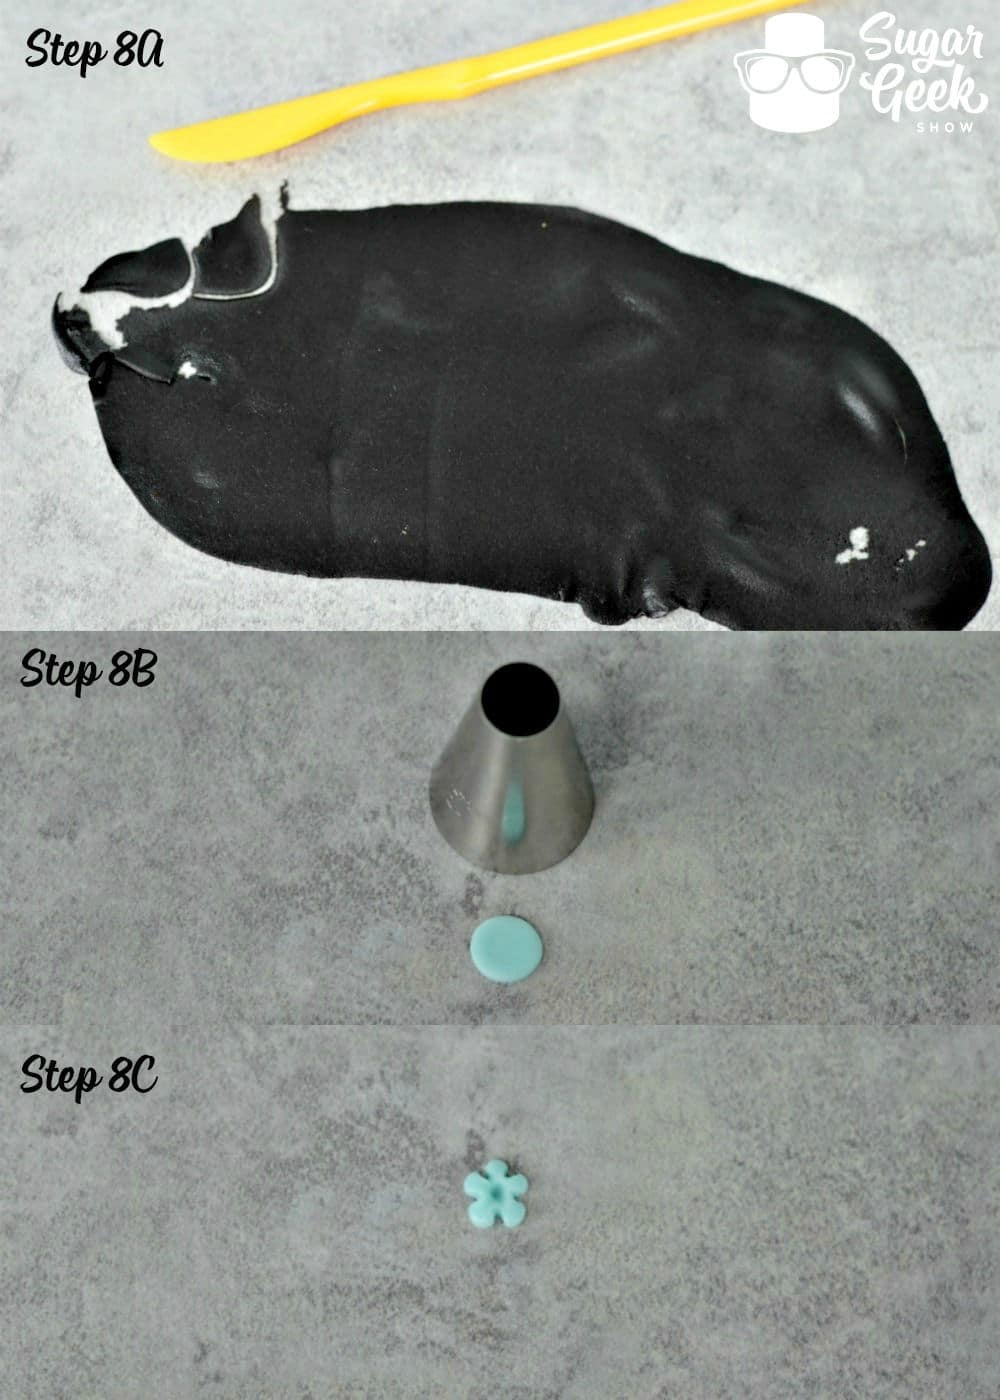
Step 8A: Roll out some black fondant very very thin. I'm talking paper. Use a blade like tool to cut out cow spot shapes. Cow spots are irregular, not perfectly round, and seeing how the rest of this cow is so realistic, we'd better get it right. A little tearing adds to the realism too.
Step 8B: Would you like to add a little flower but don't have one of those tiny little punch cutters? No problem! Use a Wilton 1A piping tip to cut out a blue circle or whatever color tickles your fancy.
Step 8C: Using a toothpick make five indentions to create little petals and a small ball tool to make an impression in the center.
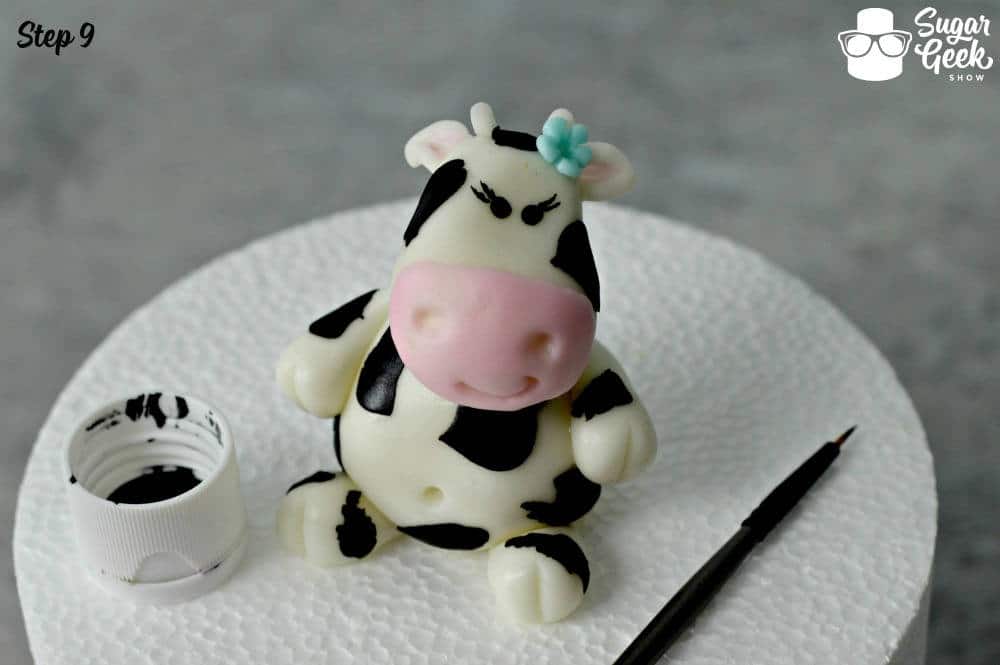
Step 9: Attach your spots and flower to the cow. I didn't need anything to help my spots stick, just smooth them on with your fingers or a tool. Using a very fine paintbrush and some straight black gel food color paint on a couple eyelashes. Use your blade tool to add a cute smile. Of course the flower and eyelashes are optional, leave them off if you're making a boy cow. Geez, even girl cows are higher maintenance then boy cows.
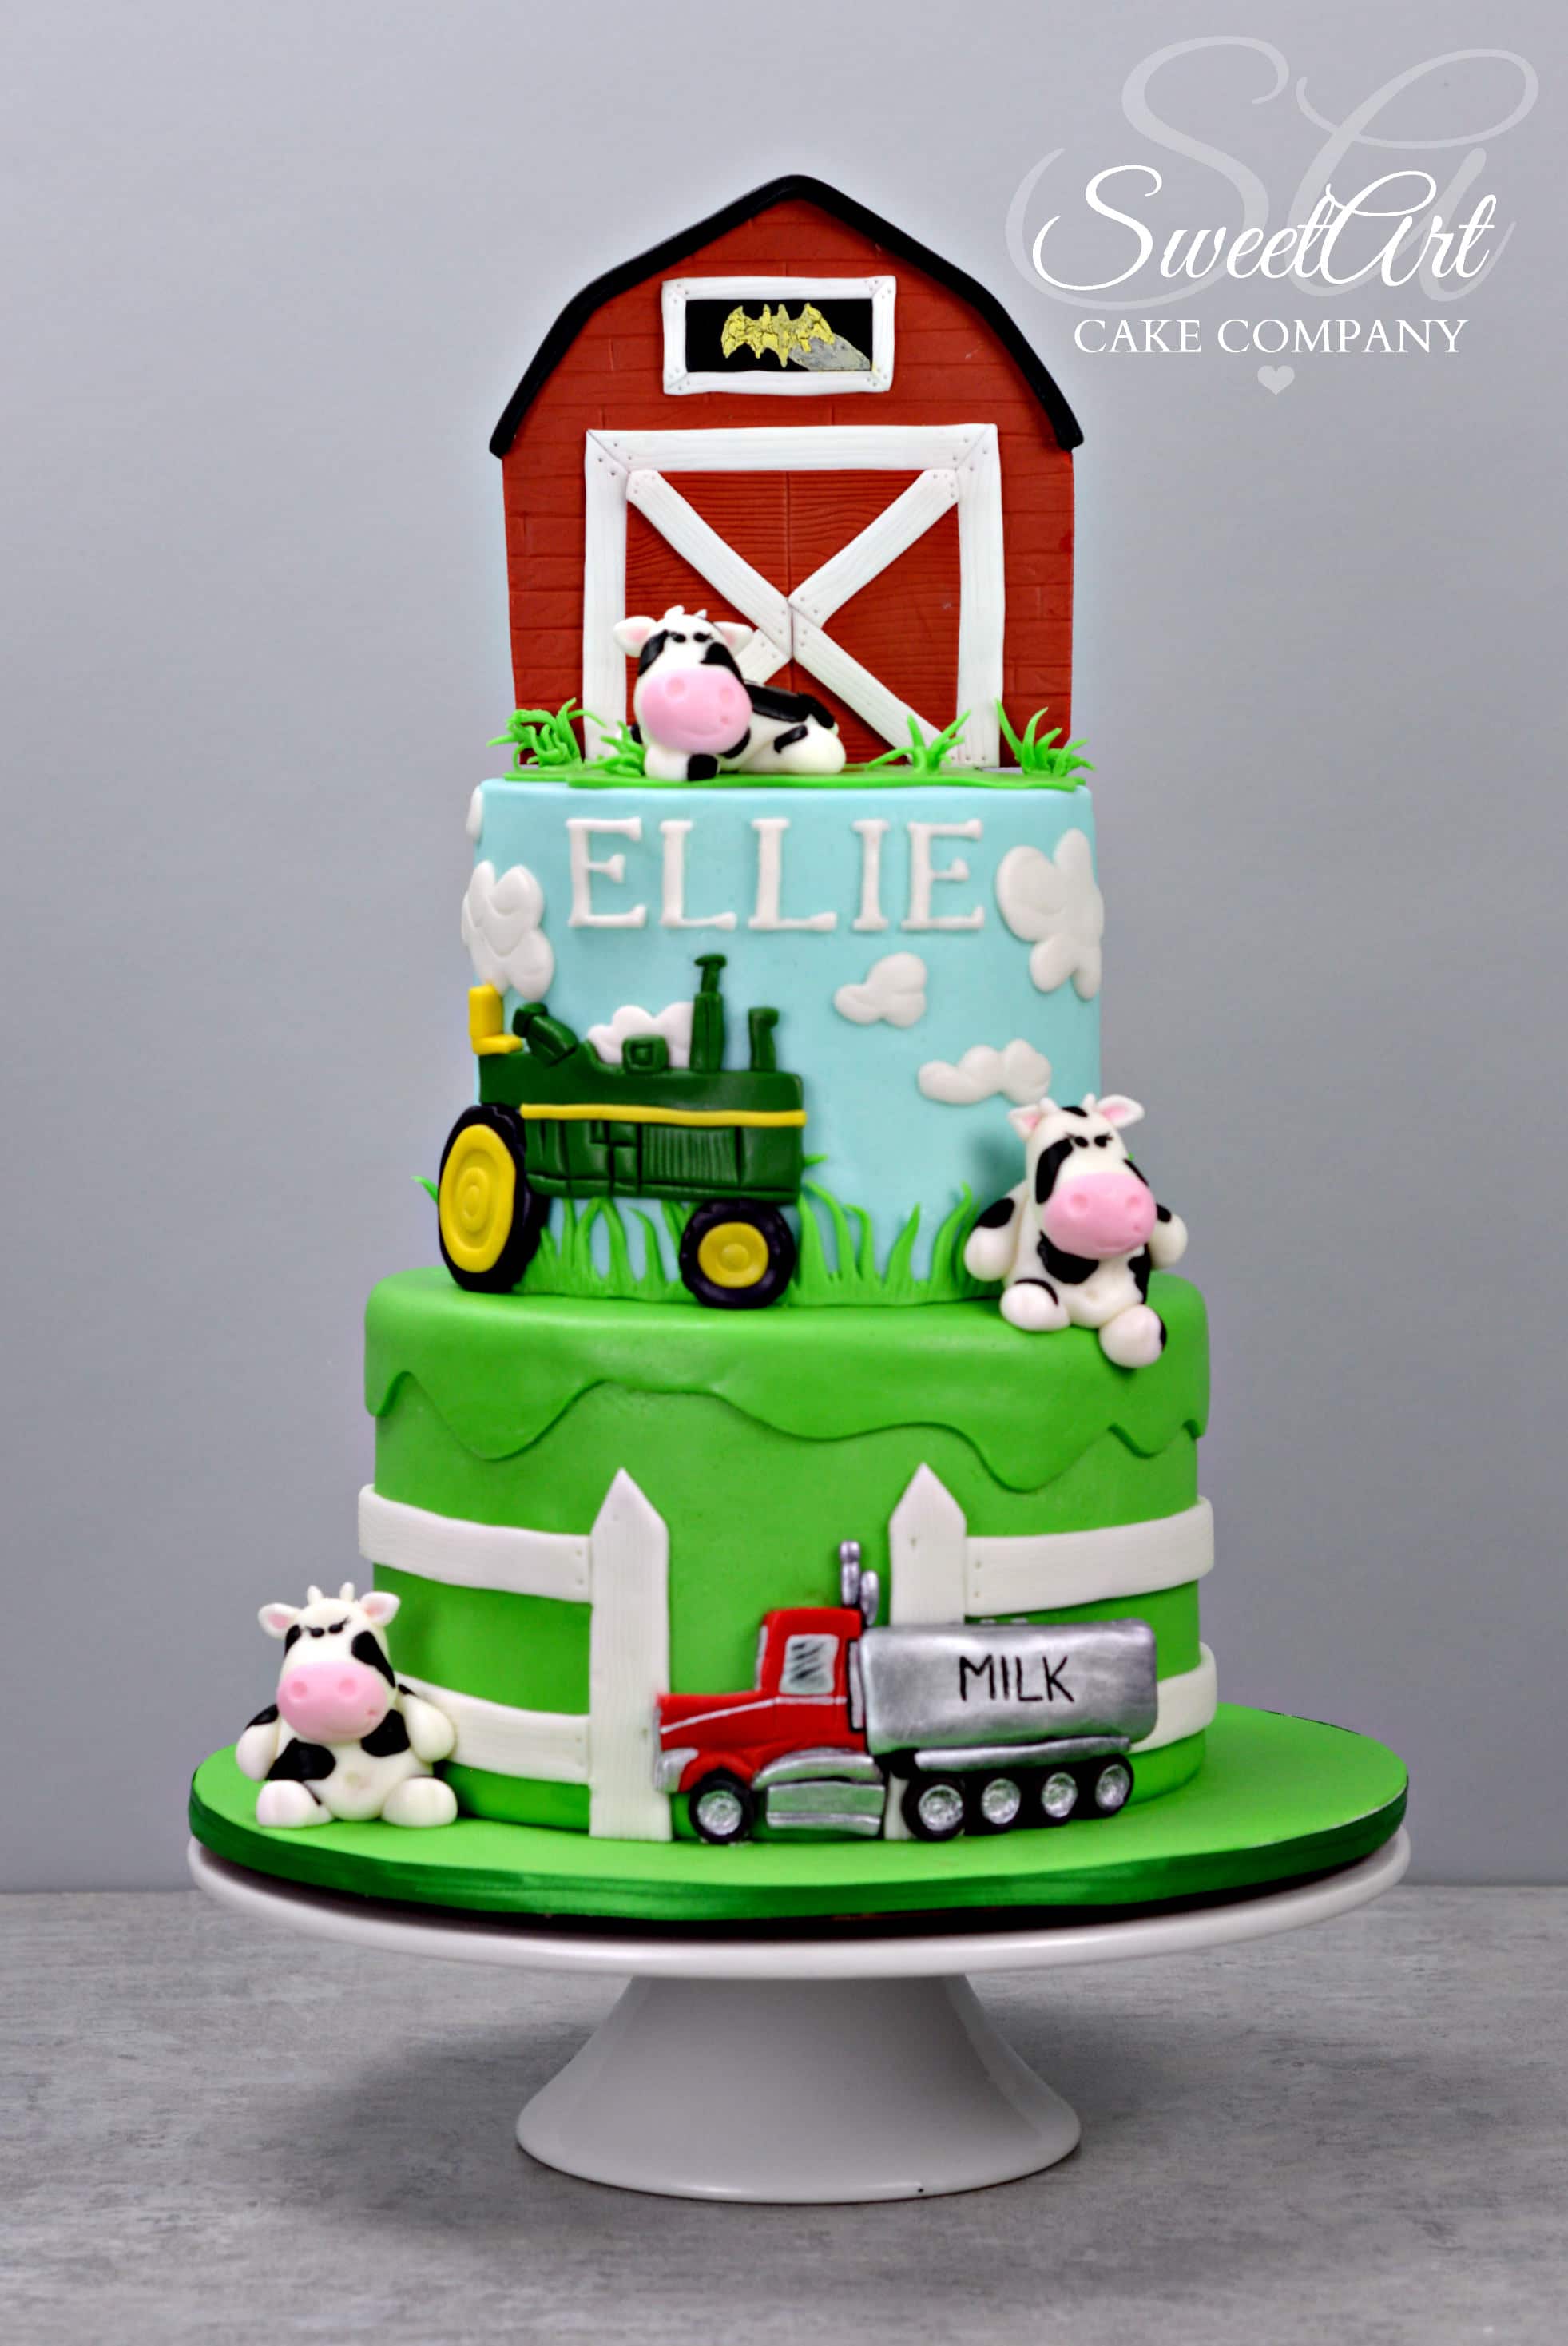
And voila! You've made a super cute little fondant cow to put on any farm/cowboy/cow lovers cake. If you'd like to make it a cupcake topper just make everything a bit smaller. Here's the cake I made to put these cute little buggers on. Living in Wyoming you make a LOT of farm cakes.
Let me know what you guys think of my first SGS pictorial! If you have ideas for future pictorials shoot them my way. Pin this one for later, you know you're gonna need a cow.