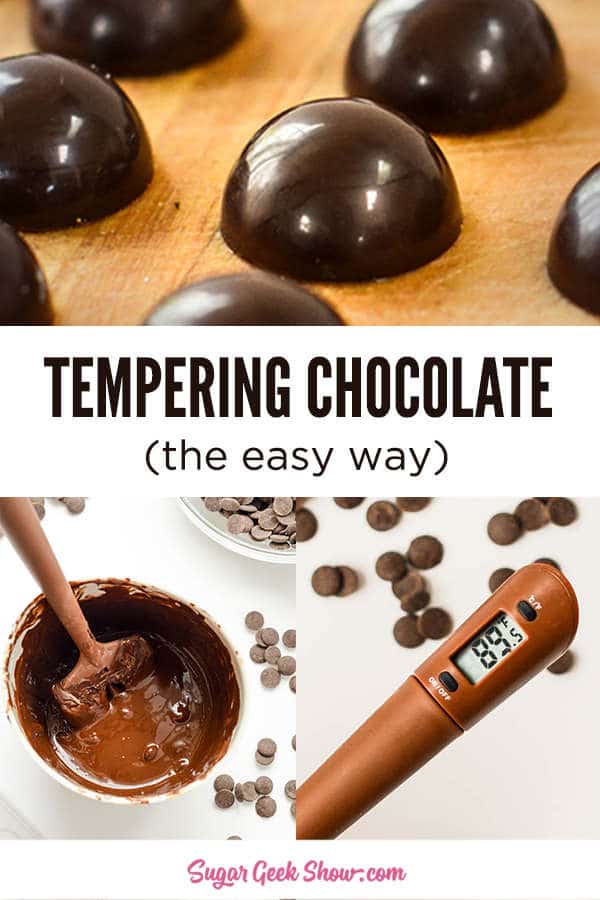
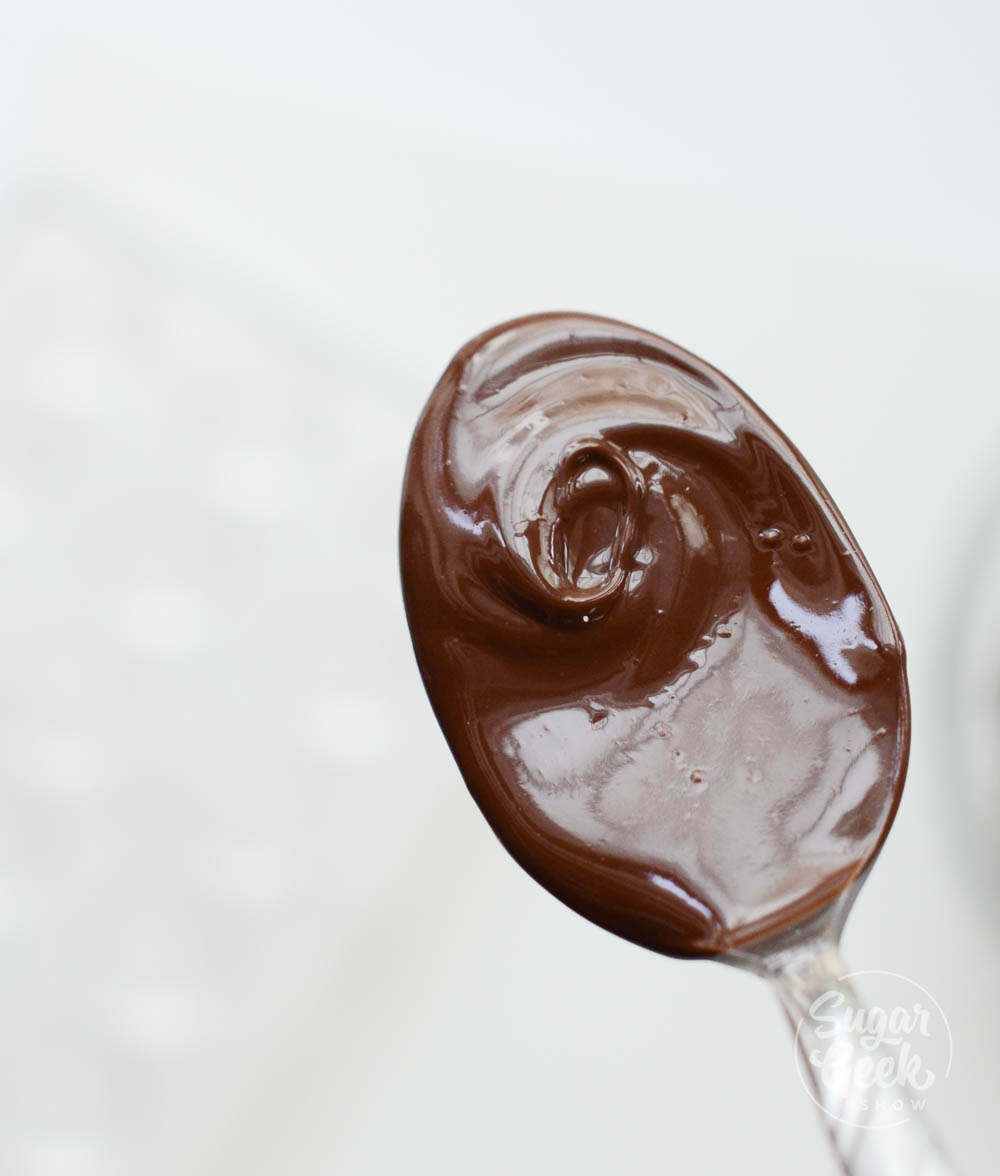
Tempering chocolate in the microwave is so easy and results in a glossy, shiny tempered chocolate!
Tempering chocolate doesn't have to be hard! I used to temper my chocolate by the seeding method but once I learned how to do it in the microwave, I'll never do it another way again!
What does tempering chocolate mean?
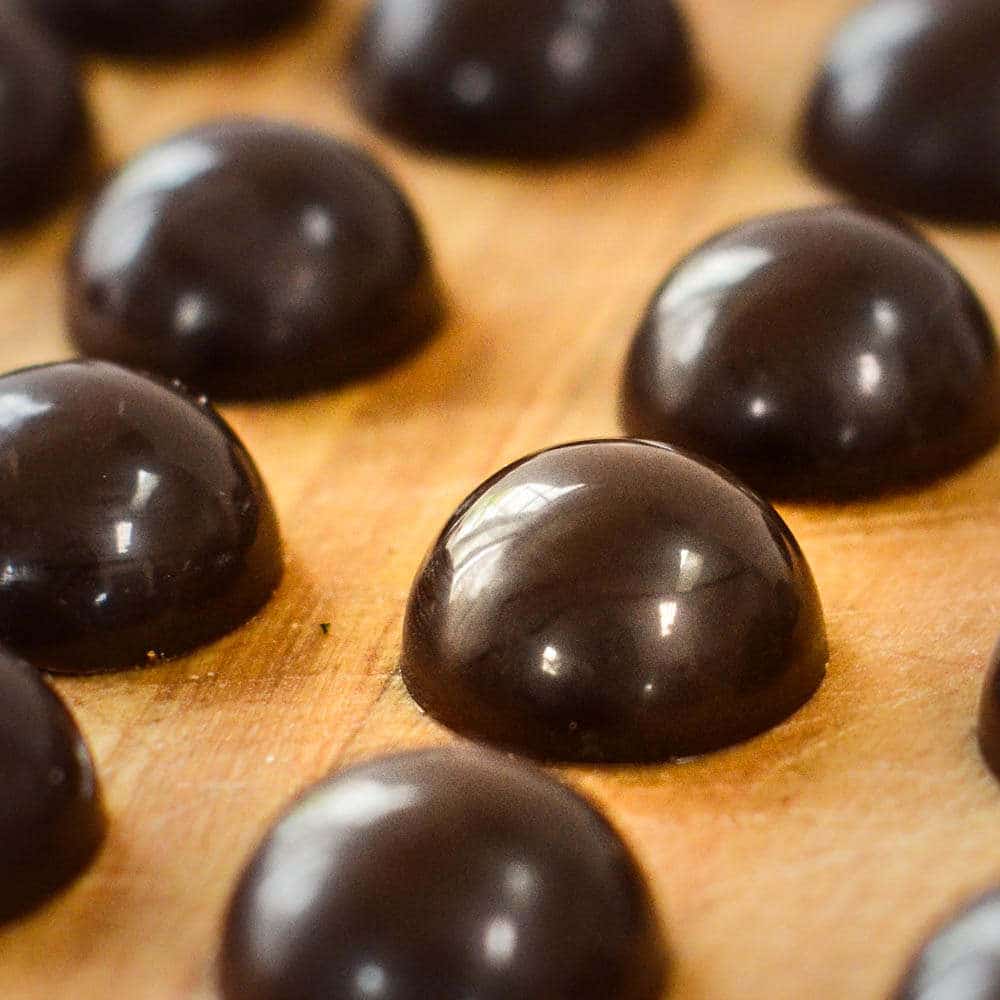
When you temper chocolate, you are heating and cooling the chocolate in a specific way. When you correctly temper, the crystals in the cocoa butter arrange themselves in a specific order when they chocolate cools. Properly tempered chocolate is shiny, set's firm at room temperature and has a sharp SNAP when you bite into it.
What happens if I don't temper my chocolate?
When you melt chocolate and the temperature goes above 95ºF, your chocolate will be out of temper. If you try to use this chocolate it will be dull, soft in your hands and will not set.
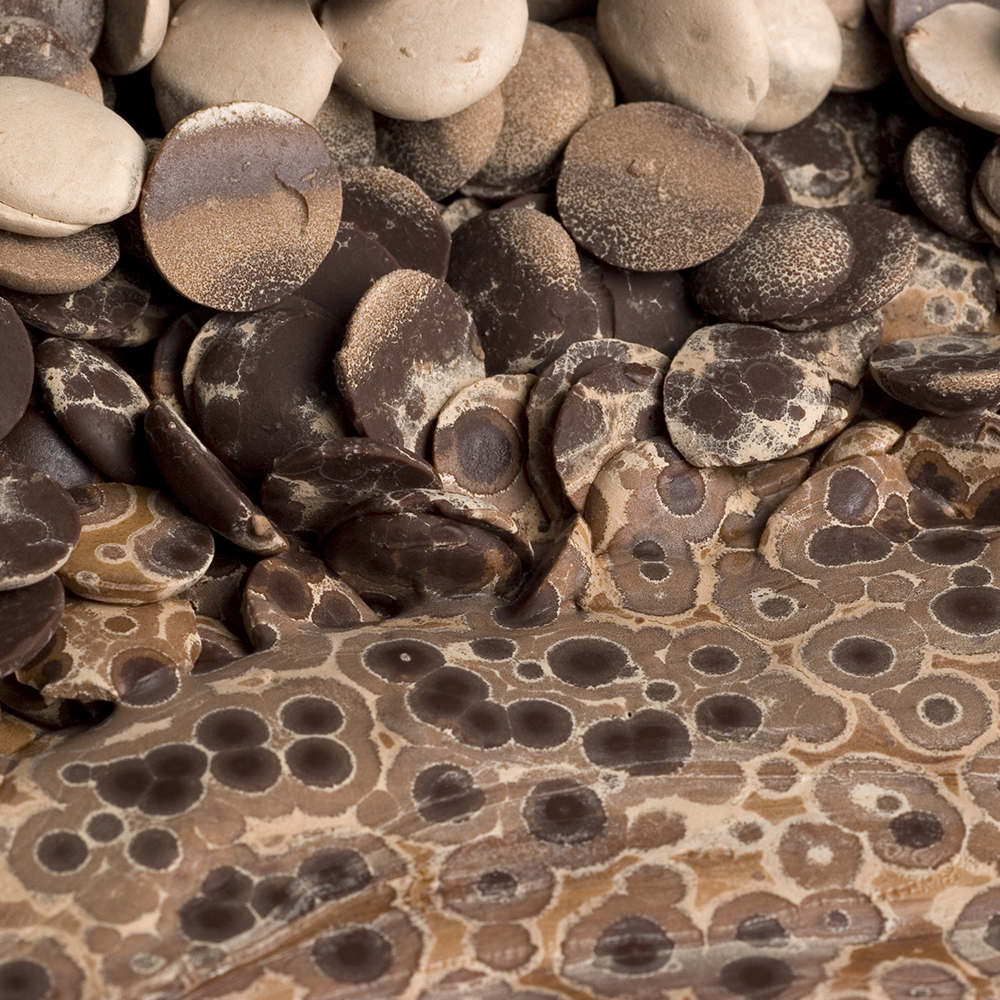
If you're baking, you don't need to worry about tempering chocolate but if you're making candies or dipping strawberries, the chocolate must be tempered. Same thing with making molded chocolates. Chocolate has to be tempered otherwise it will not release from a chocolate mold.
What tools do I need for tempering chocolate in the microwave?
The great thing about tempering in the microwave is it's extremely simple. You only need a few tools to successfully temper chocolate in the microwave. *this list contains affiliate links*
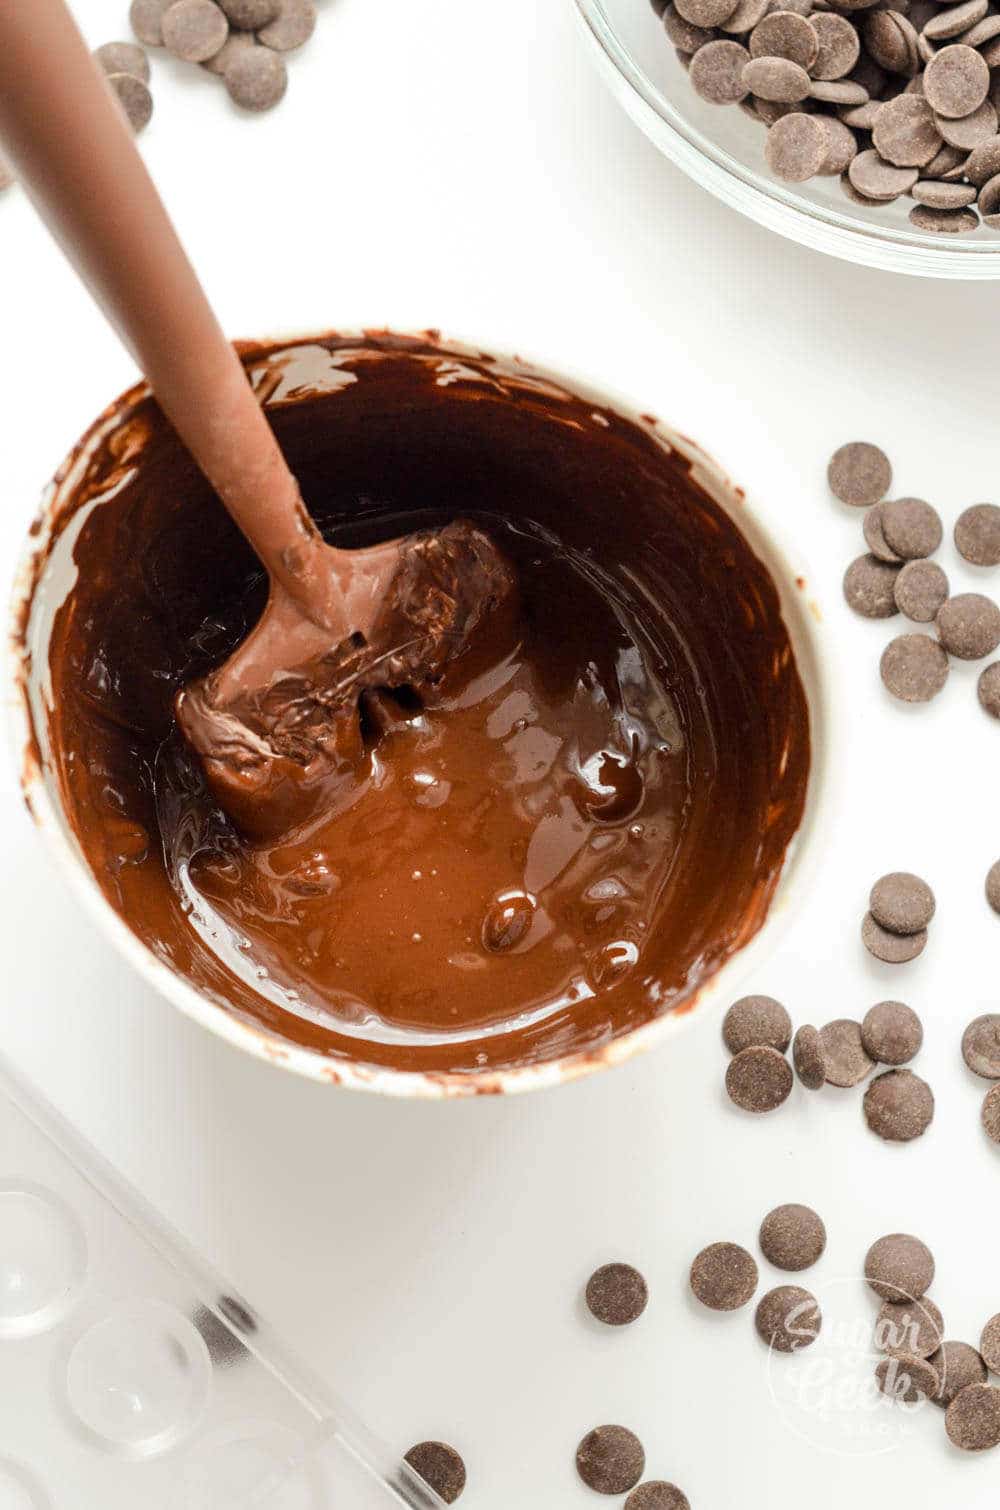
- Silicone or plastic bowl for melting chocolate in the microwave.
- Glass or metal bowl for the seeding method
- Pot for simmering water for seeding method
- Thermometer spatula
- Bench scraper
- Parchment paper
What kind of chocolate should I use for tempering?
There are two kinds of chocolate. Real chocolate and fake (compound) chocolate. The only way to tell the difference is to read the ingredients. If the ingredients say cocoa butter, then it's real chocolate. You need real chocolate if you're going to temper.
You can use compound chocolate for flexible silicone or plastic molds or for dipping chocolates but it doesn't have that SNAP that real chocolate has. It also won't release from a polycarbonate mold.
Compound chocolate also melts at a much higher temperature than real chocolate. Real chocolate melts at body temperature so it dissolves on the tongue when you bite into it. Compound chocolate has to be chewed.
I like to use Callebaut semi-sweet callets. It's pretty standard chocolate and not too expensive. This is a 54% cocoa solids and 36% cocoa butter. The higher the cocoa solids %, the thicker the chocolate will be. Milk chocolate and white chocolate will also contain sugar and dairy.
Ok let's get to tempering our chocolate! Choose the method that works best for you but I highly recommend you give tempering chocolate in the microwave a try!
How to temper chocolate in the microwave
To keep your chocolate in temper you MUST pay attention to the temperature of the chocolate. Semi-sweet chocolate should never go above 88F-90F. Milk chocolate should never go above 84F-86F. White or colored chocolate should never go above 82F-84F. The chocolate must contain cocoa butter for this to work.
- Place 12 oz of semi-sweet chocolate into your plastic or silicone bowl and microwave for 30 seconds on high, then stir.
- Microwave one more time for 30 seconds, then 15 seconds, then 10 seconds. Stirring in between each heating. DO NOT RUSH THIS!
- Always check your thermometer to make sure your temperature is not going above 90ºF.
- Once your chocolate is melted, it's ready to use!
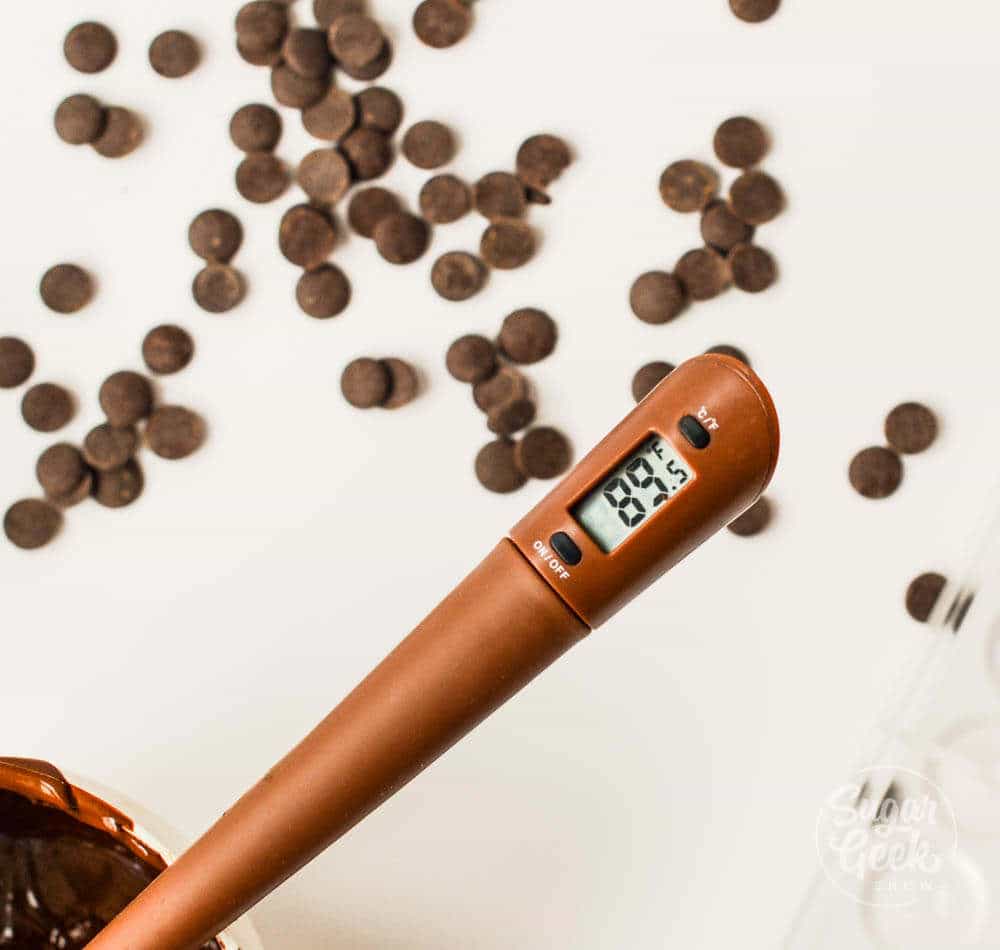
The secret to this way of tempering chocolate is controlling the temperature. As long as it doesn't go above the proper temperature then the crystals inside the cocoa butter remain intact and the chocolate stays in temper. This is a great way to temper small amounts of chocolate.
If you're melting a big chocolate bar, make sure you chop it into small bits before melting to avoid over-heating and accidentally getting your chocolate out of temper.
What happens if my chocolate gets too hot?
If you do happen to get your chocolate too hot don't worry, you can still temper it using the seeding method. Transfer your chocolate to another bowl and add a little unmelted chocolate to the melted chocolate and stir until it cools to 97ºF.
How to temper chocolate using the seeding method
- Melt ⅔ of the chocolate that you need over a double boiler until it reaches 115ºF. Stir constantly to prevent hot spots. Make sure the bowl fits firmly over your simmering water to prevent steam or drops of water from getting in your chocolate
- Remove chocolate from the heat. Add ½ of your remaining un-melted chocolate back into the bowl. Stir to melt. This cools down the chocolate. Transfer melted chocolate to another bowl to speed up the cooling process. Continue stirring until the chocolate reaches 100ºF
- Finely chop your remaining chocolate. At 96-98ºF, add in your chopped tempered chocolate and stir it into your warm chocolate. 95ºF is were the crystals in the cocoa butter start blooming so adding tempered chocolate in right before you reach this temperature ensures the proper crystals will grow and temper the rest of the untempered chocolate.
- Continue stirring the chocolate every 5 minutes until it cools to 79ºF
- Warm chocolate VERY carefully over the double boiler for 5 seconds until chocolate reaches 86ºF-90ºF which is a good working temperature for using in molds or making candies.
How to temper chocolate using cocoa butter beta crystals
Another way to temper chocolate is to use tempered cocoa butter crystals called beta crystals. This is a little bit more expensive but pretty much full-proof when it comes to tempering.
- Melt ⅔ of your chocolate until it reaches 115ºF
- Add your remaining ⅓ of chocolate back into the melted chocolate to cool it down
- At 96ºF, add in 1% beta crystals (45g per 16oz of chocolate) Stir well
- Cool chocolate to 79ºF then warm to 86-90ºF for workability
How to use tempered chocolate
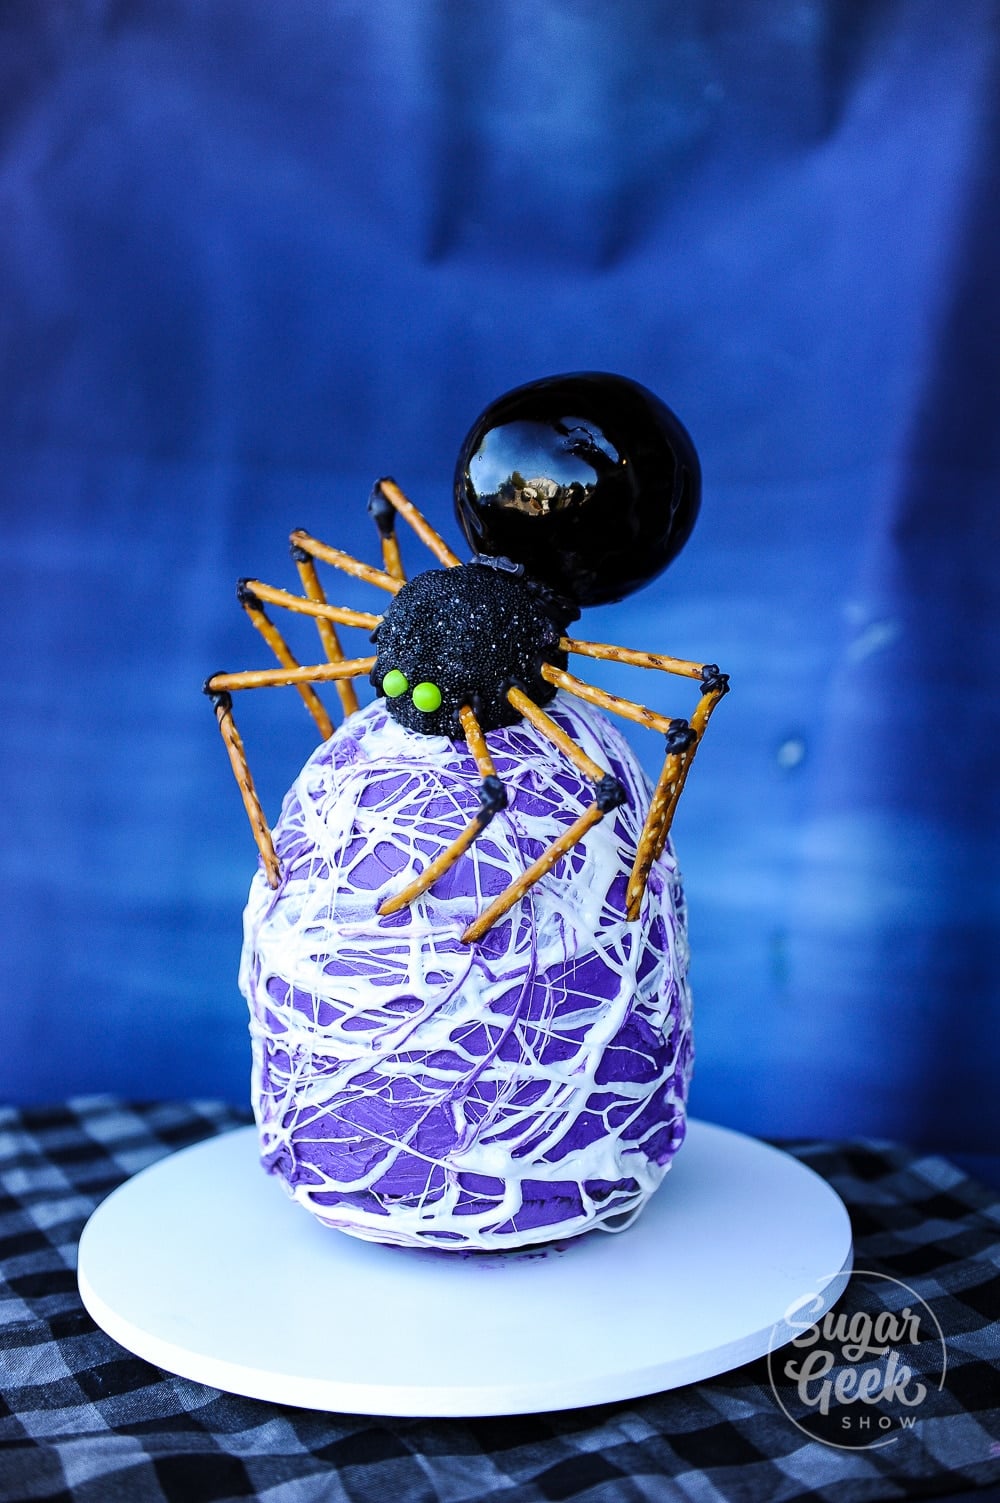
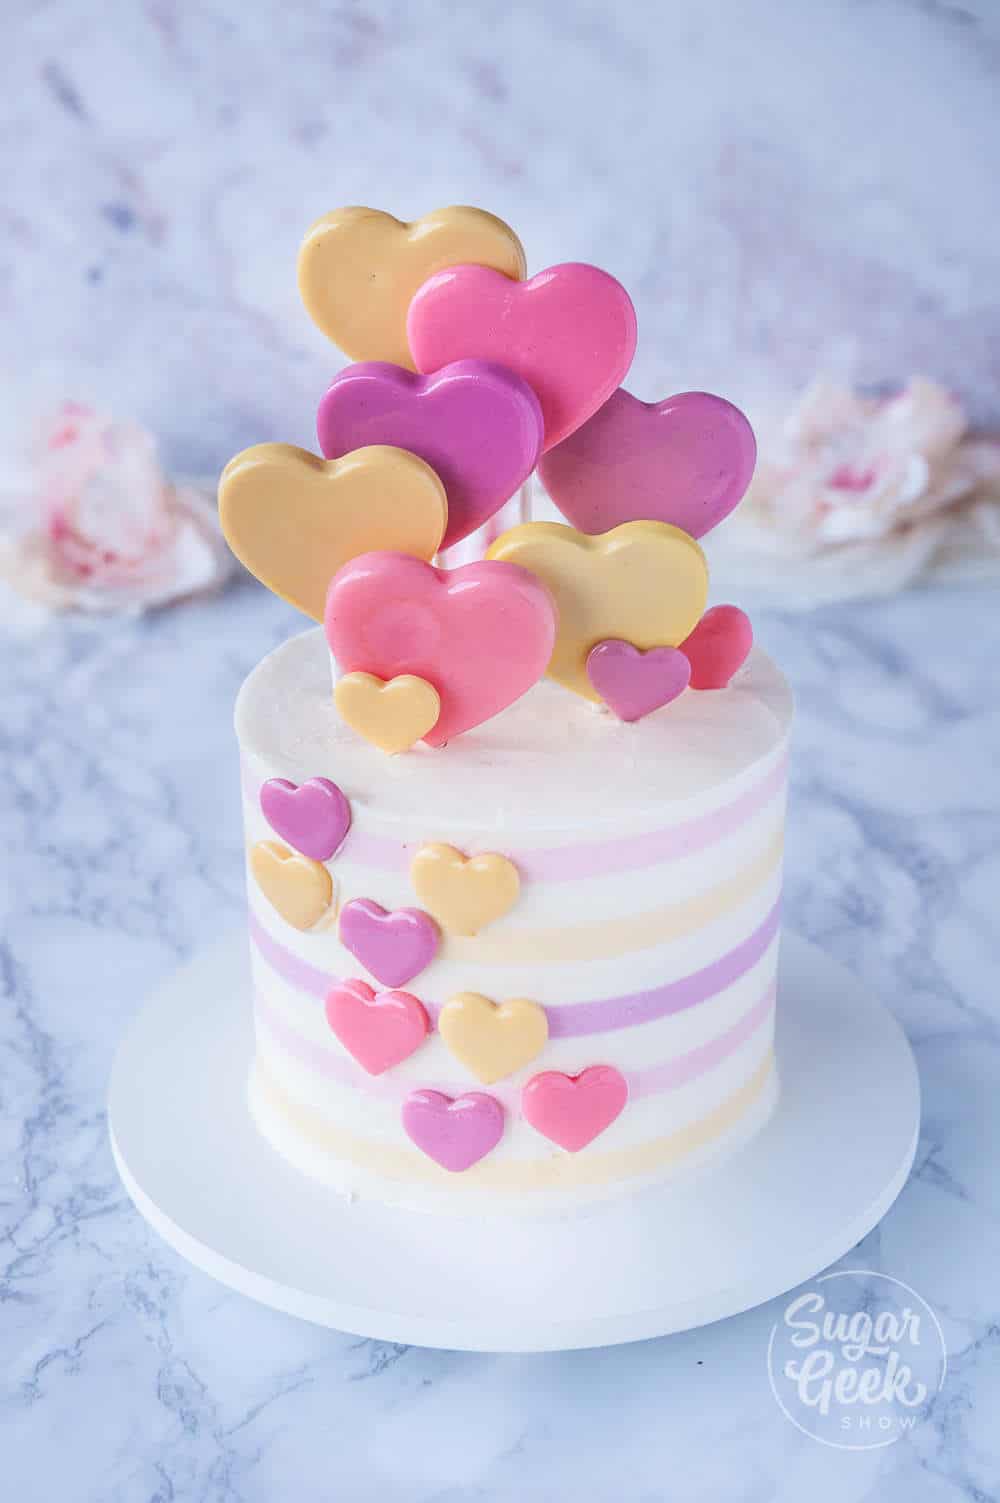
Now that your chocolate is tempered you can use it to make chocolate spheres using a chocolate sphere mold, piped chocolate decorations and lots of other fun things! Tempering chocolate is a great skill to have and once you know how you'll be surprised how much more you'll use chocolate in your decorating.
Recipe

Equipment
- 1 Thermometer
Ingredients
- 12 oz chocolate
Instructions
Tempering Chocolate Instructions
- Place your chocolate in a plastic or silicone bowl in the microwave and heat on high for 30 seconds. Then stir
- Heat again for another 30 seconds, stir, then 15 seconds, stir, then 10 seconds, stir. Make sure your temperature never goes above 90ºF for dark chocolate. 86F for milk chocolate and 84F for white chocolate. DO NOT RUSH THIS
- If your chocolate is not fully melted then only do another 5 seconds until it is melted
- Now your chocolate is in temper and ready to use!
- Check out the video or blog post for ideas on decorating
Video
Notes
Nutrition