
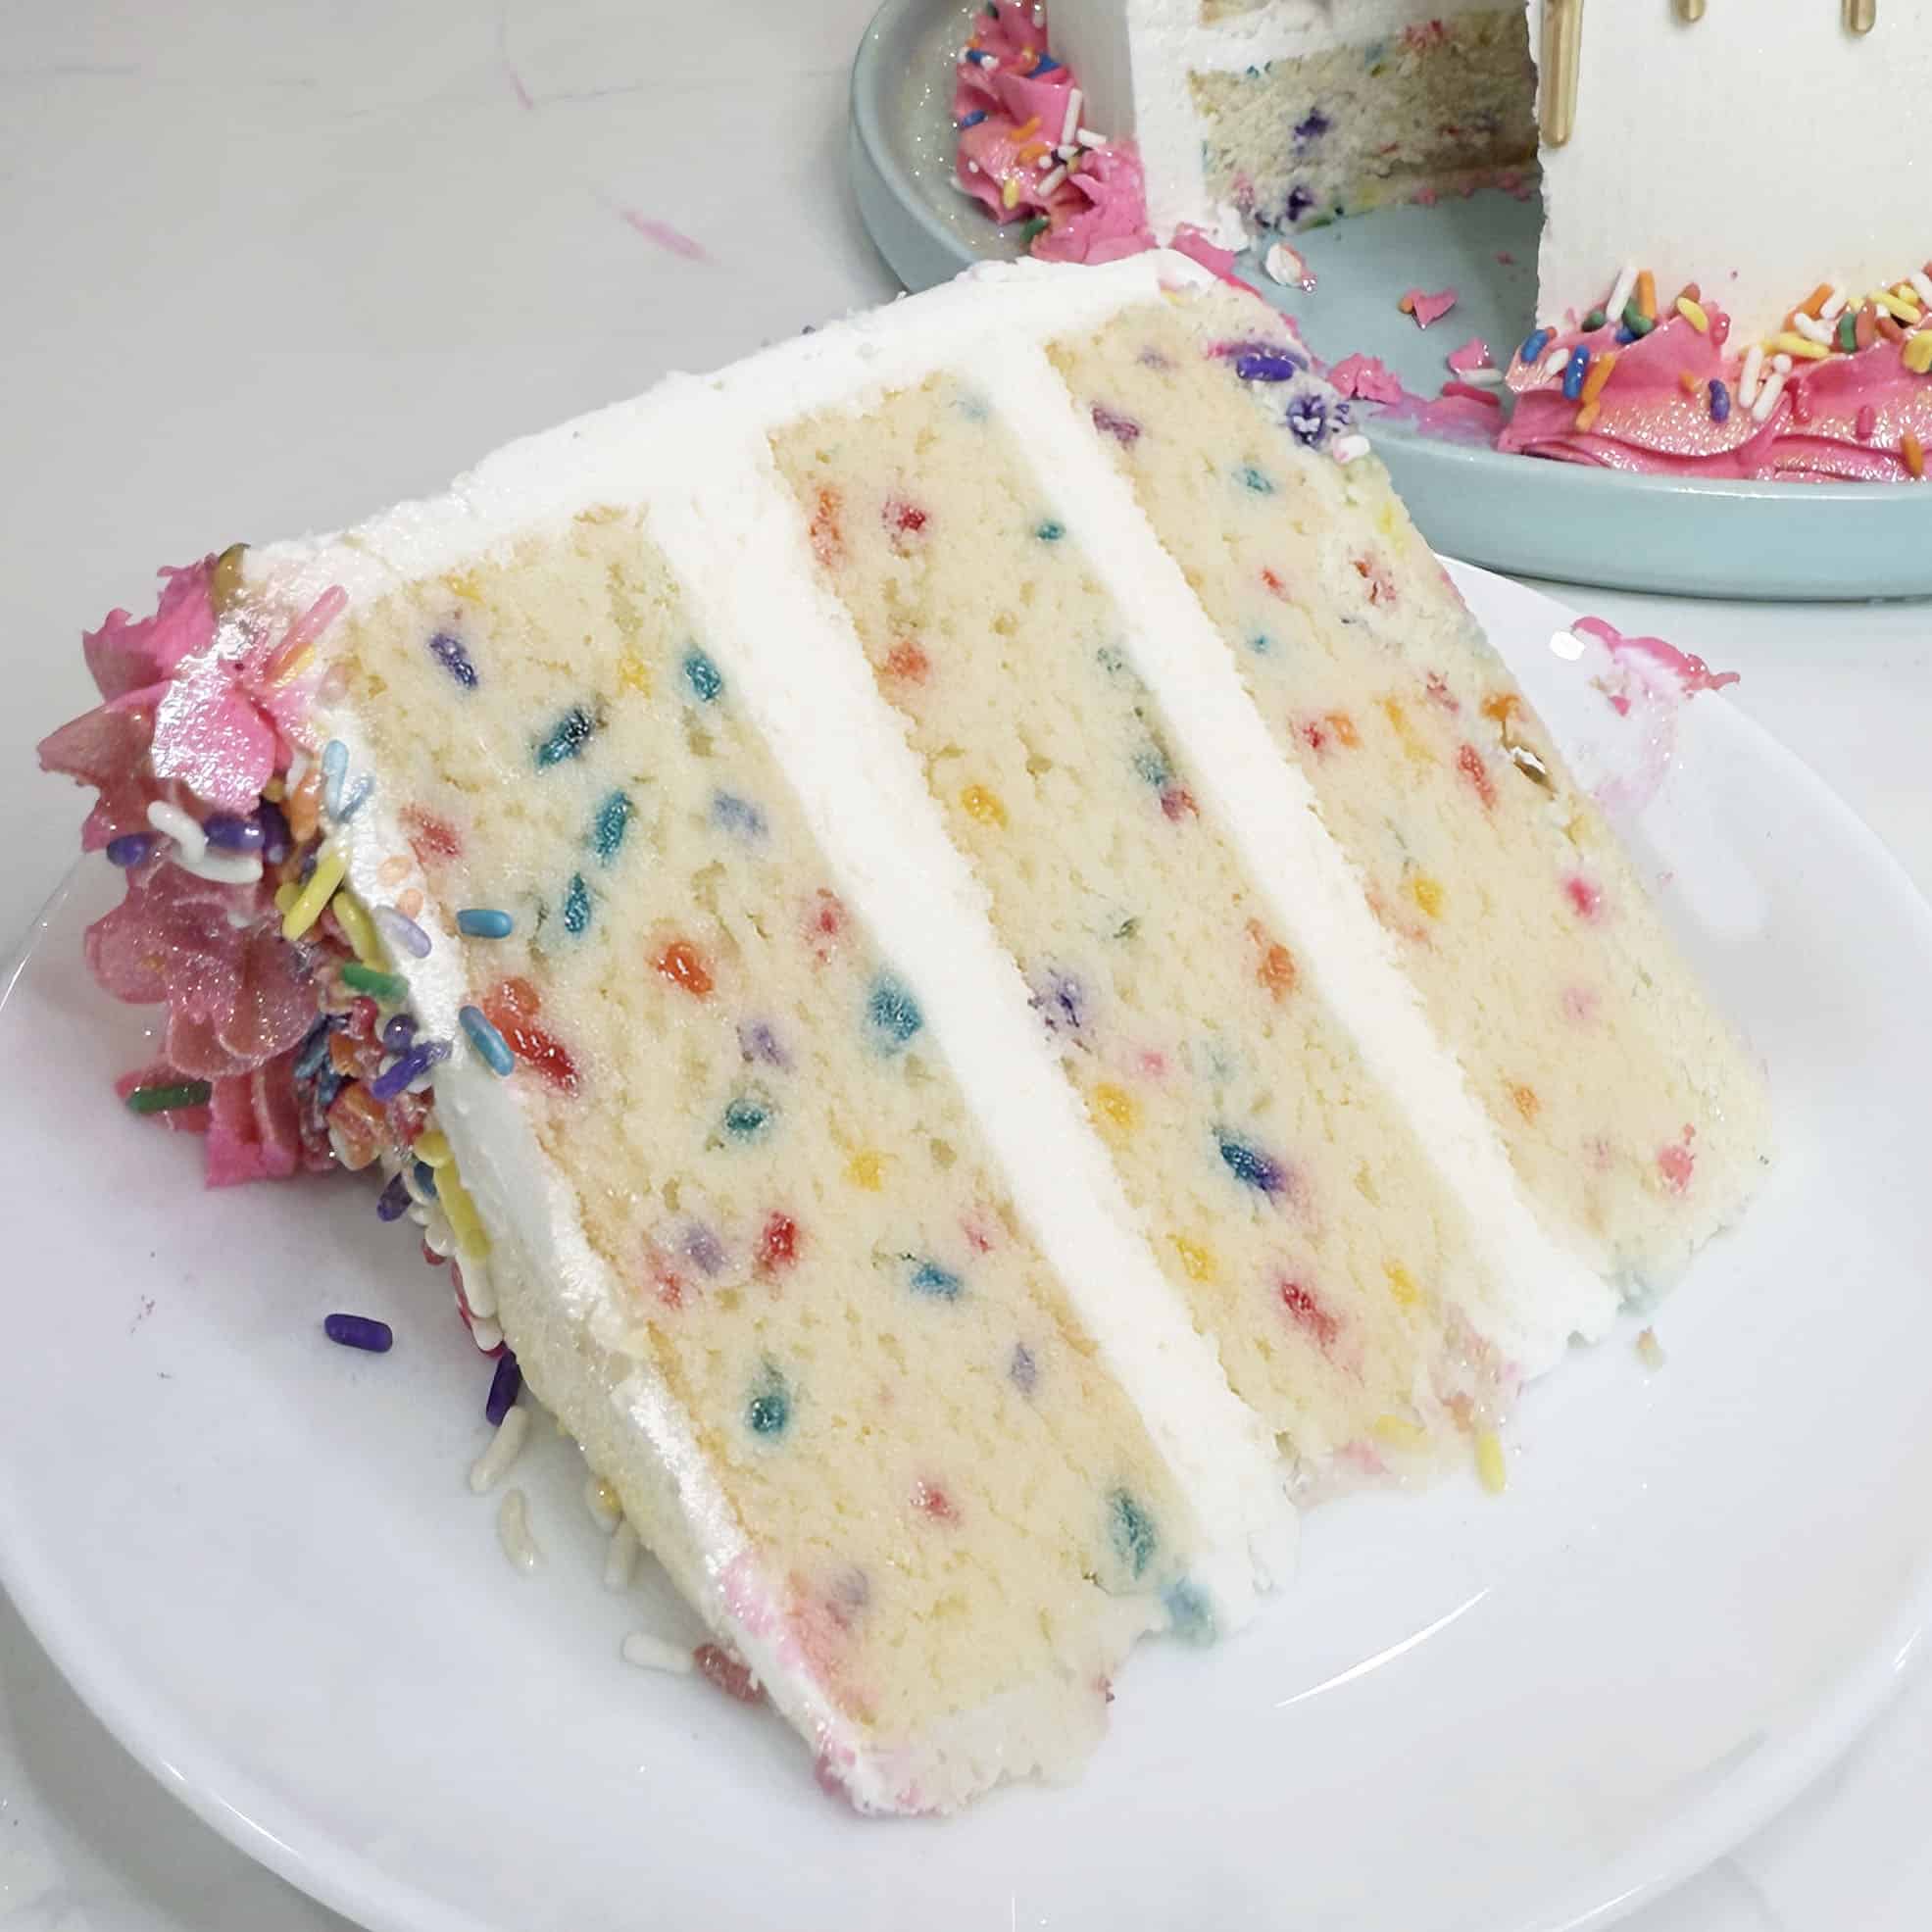
Funfetti cake recipe (also called confetti cake) is a soft, delicious vanilla cake layers with brightly colored rainbow sprinkles mixed in and frosted with a sweet vanilla American buttercream frosting.
I have spent nearly 10 years perfecting this recipe! Tweaking it and updating it every time I make a change. The last time I developed this recipe, my daughter Avalon was only four years old! Now my she is almost 11 and my son is 5 and this funfetti recipe is still one of our favorites to make with a couple of changes.
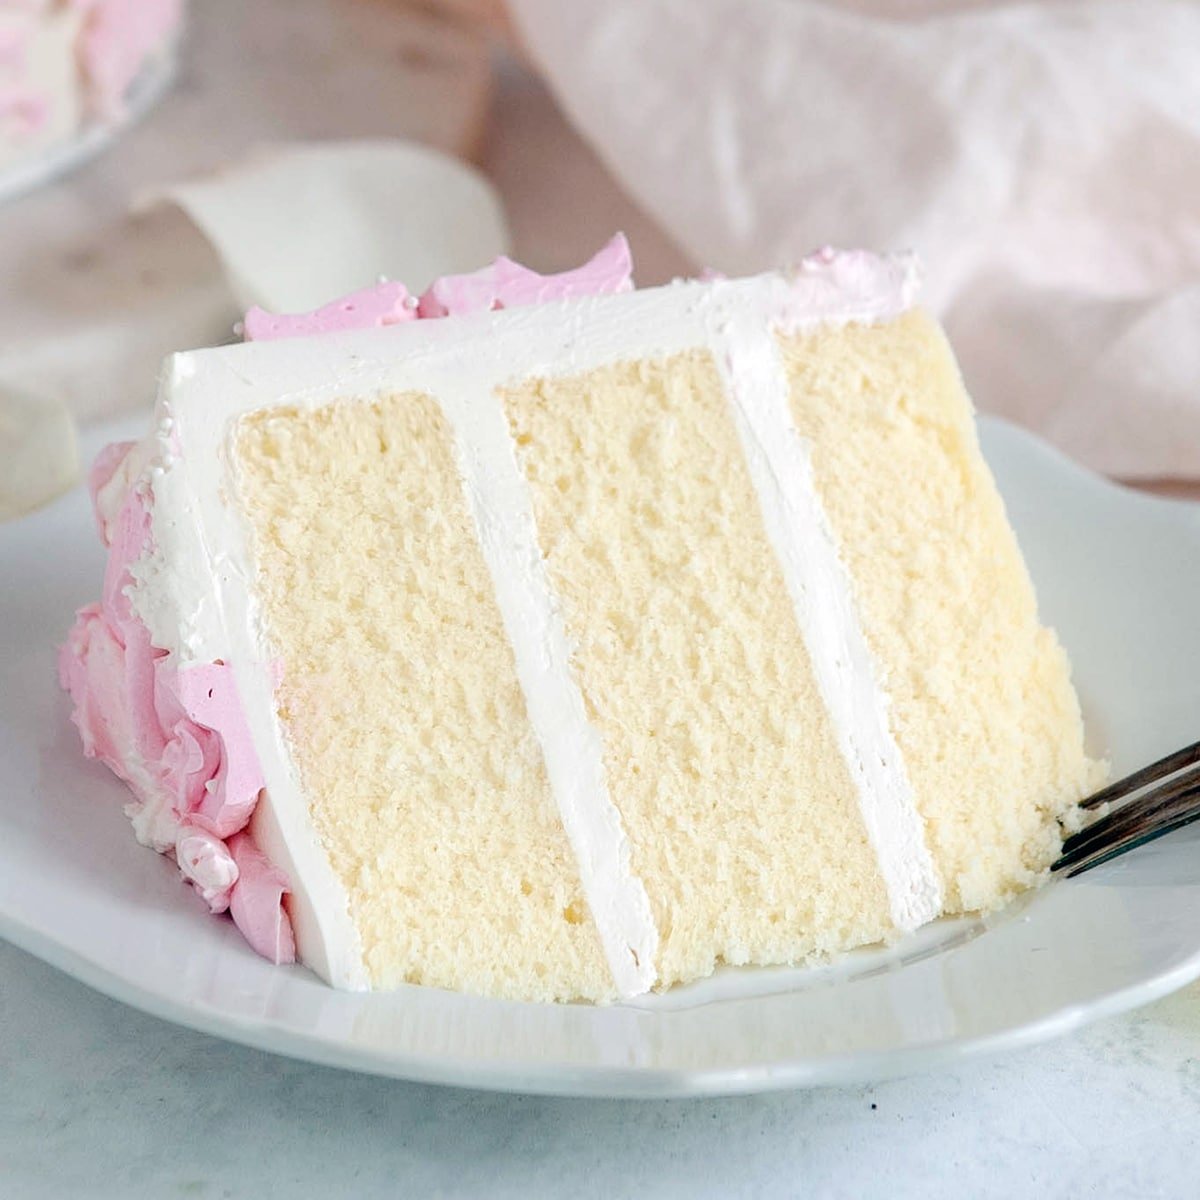
I truly believe that buttermilk and clear vanilla extract make all the difference and recreates that perfect nostalgic funfetti flavor from a box but 100% from scratch.
The other secret to moist funfetti cake is a small amount of corn syrup. This invert sugar is hygroscopic and absorbs moisture from the air, keeping this cake SUPER moist.
Funfetti is really just my classic white cake with a handful of sprinkles folded into the batter.
Pro-tip: You can add 1 ounce of corn syrup to your cake recipes to make them super moist.
Be sure to watch the video in the recipe card for a full visual example on how to create this cake from start to finish including how to bake the funfetti cake layers, how to make the buttercream frosting, color frosting pink, how to make a gold drip and how to decorate it all together.

What's In This Blog Post
You won't need any fancy tools or ingredients for this cake but let's go over everything so we can set ourselves up for success.
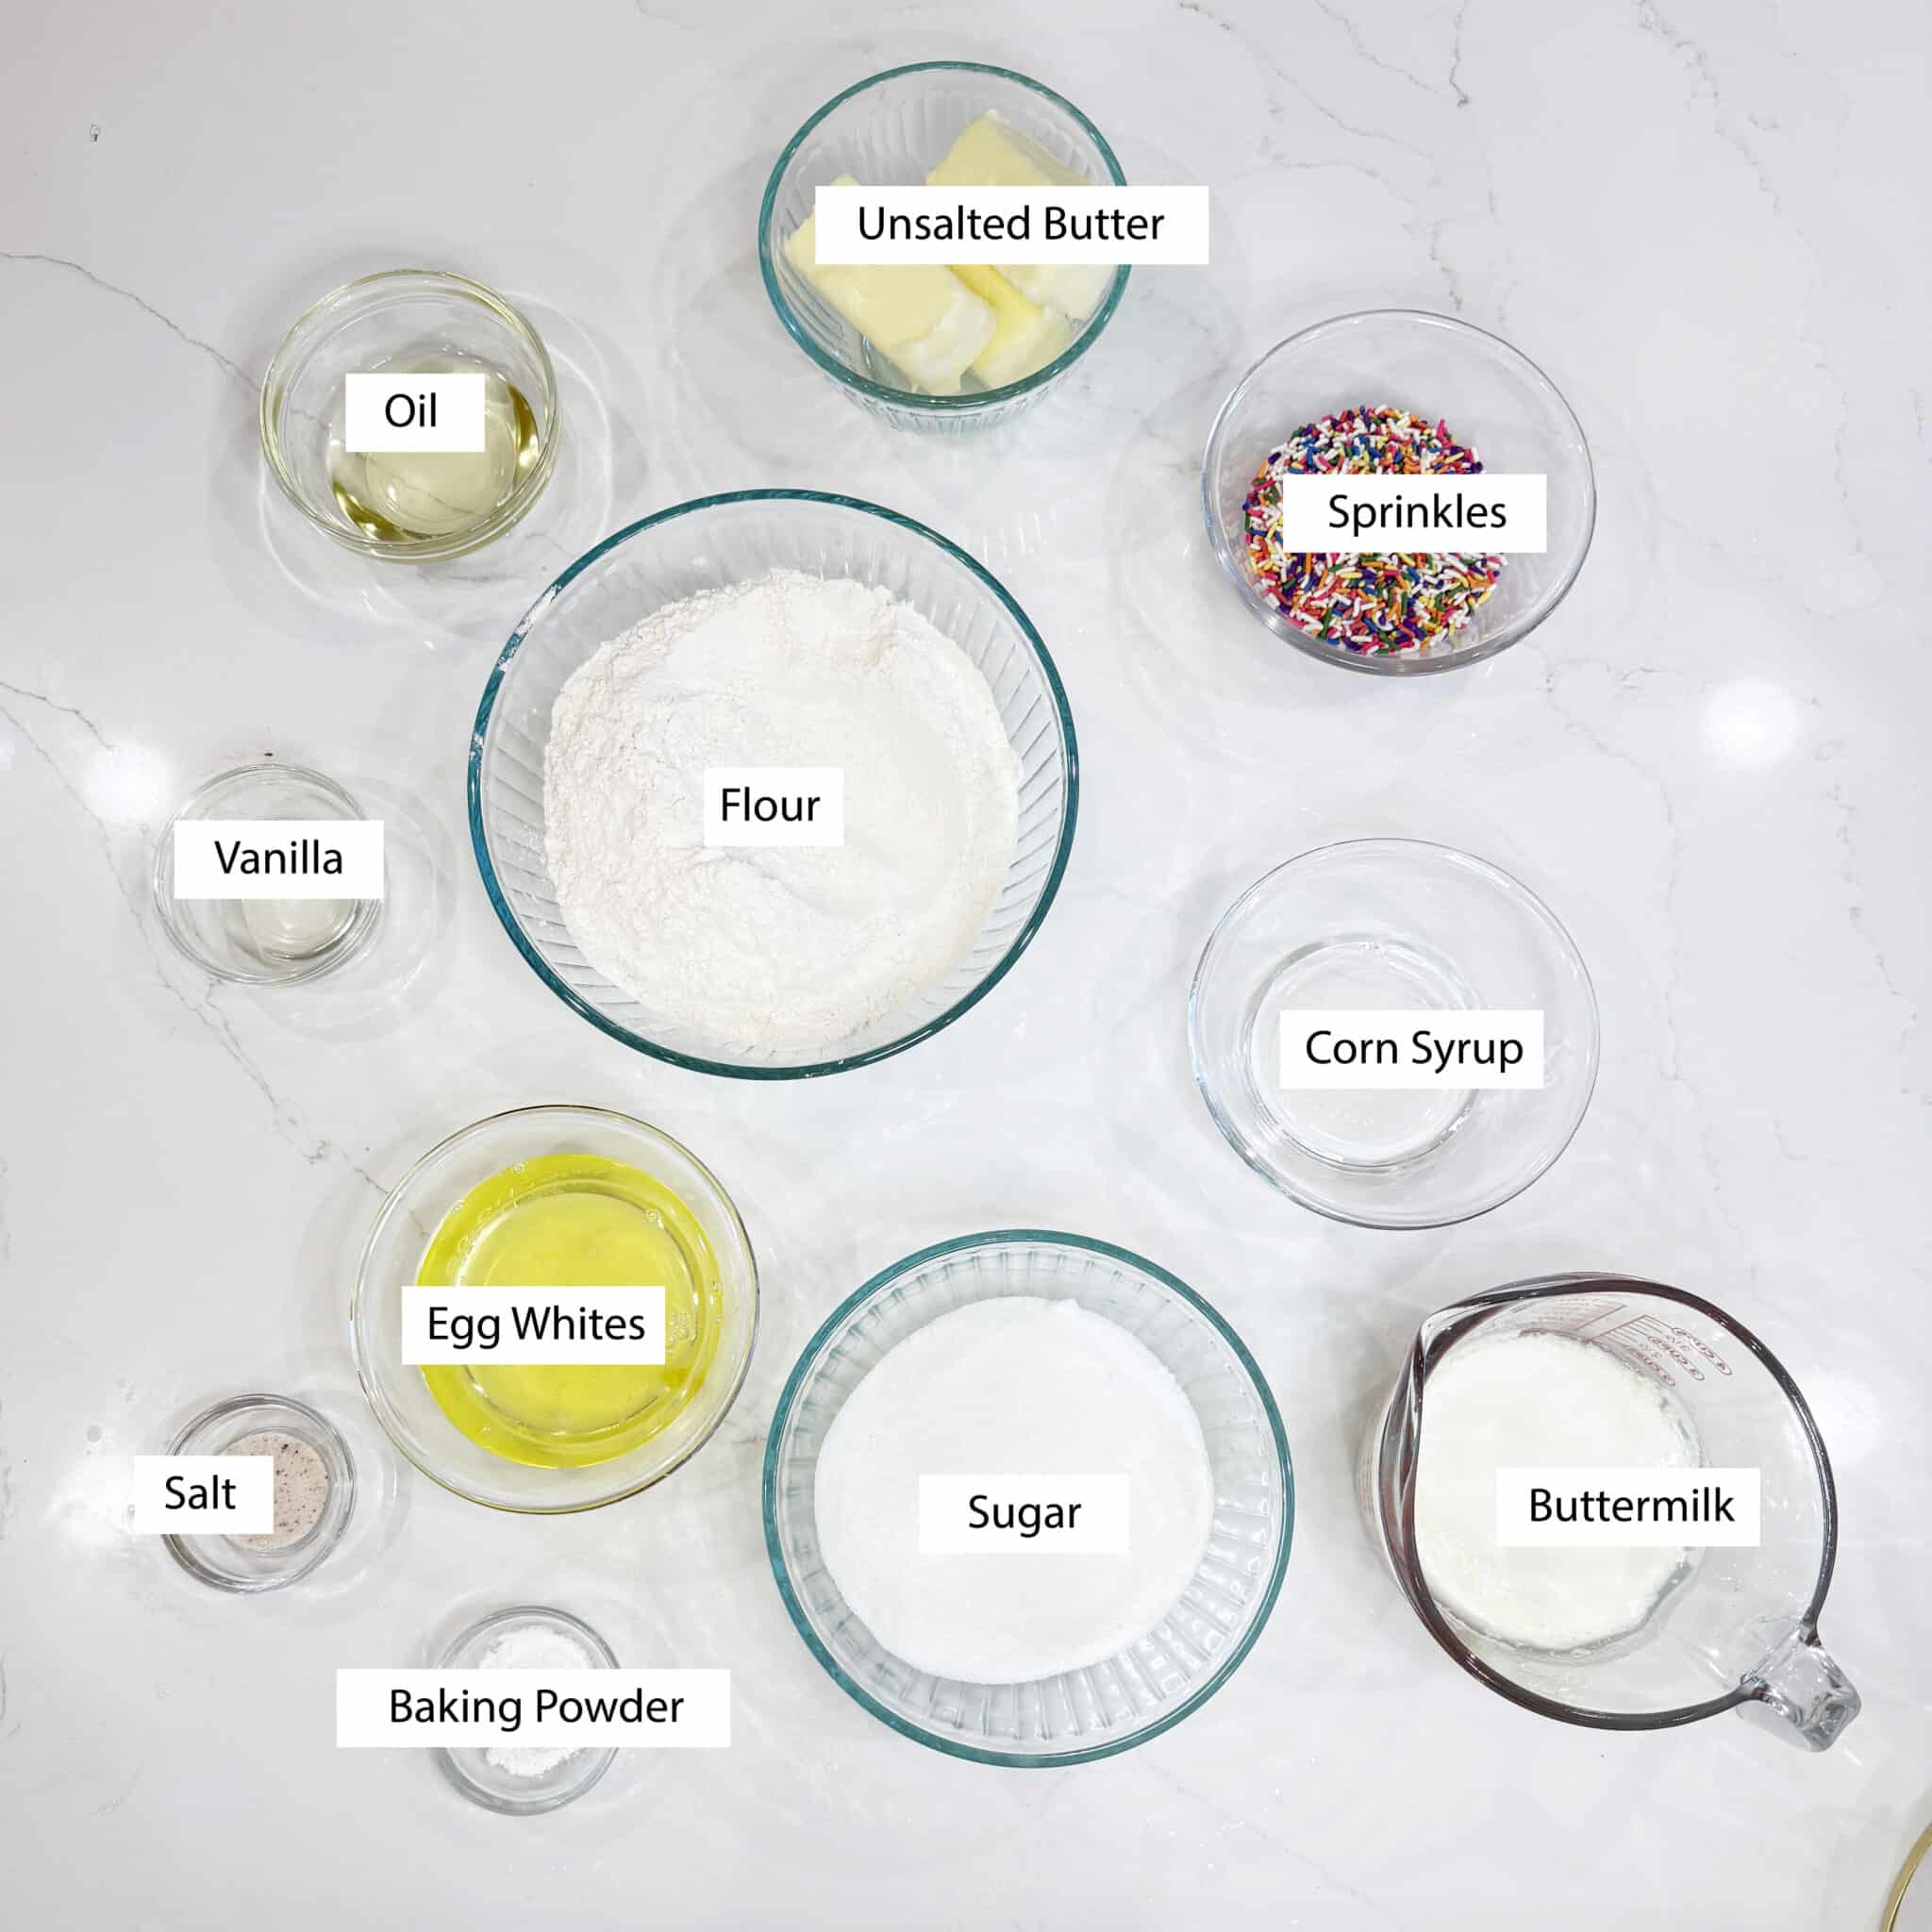
Ingredients
Pro-tip: Always bring your cold ingredients (egg whites, buttermilk, butter, etc) to room temperature (roughly 70ºF). Baking is a science and essentially an emulsion of water and oil-based ingredients. If everything is not the same temperature, your cake batter will split and not rise properly.
Buttermilk is a magical ingredient when it comes to baking. The acid breaks down the gluten that develops while mixing, making this funfetti cake EXTRA tender and moist. If you don't have buttermilk on hand, don't worry, you can easily make your own or even use sour cream or yogurt instead. This recipe is very forgiving.
All-purpose flour is needed for this recipe. Usually, I use cake flour for my cake recipes and the reverse creaming method, but I have noticed that this cake needs a little more structure to suspend those sprinkles properly.
Unsalted butter is used in this recipe and most baking recipes because salted butter can taste TOO salty. If all you have is salted butter on hand, just leave the salt out in this recipe.
Egg whites are used in this cake recipe instead of whole eggs so that the cake batter is nice and white. You can use fresh or boxed egg whites. If you use egg yolks, save them for the next time you want to make some yummy lemon curd.
Clear vanilla extract (imitation vanilla) is used because of its distinct flavor profile. If all you have is pure vanilla extract, no worries! Your cake will still be delicious.
Gold powder is used to do this gold drip. I like a very bright gold. You can use any gold powder you like or you can omit this step completely. You can find gold powder online or at most cake decorating stores.
Corn Syrup is used in this recipe to keep the cake ultra moist. Because corn syrup is an invert sugar and is hygroscopic (attracts moisture) this cake stays super moist just like the boxed mix version. You can replace corn syrup with honey or agave syrup if you want or leave it out completely.
How To Make Funfetti Cake
- Preheat your oven to 350ºF. (176ºC).
- Coat your three cake pans with cake goop or your preferred brand of pan release.
- Combine your flour, baking powder, and salt in a medium bowl and set it aside for now.
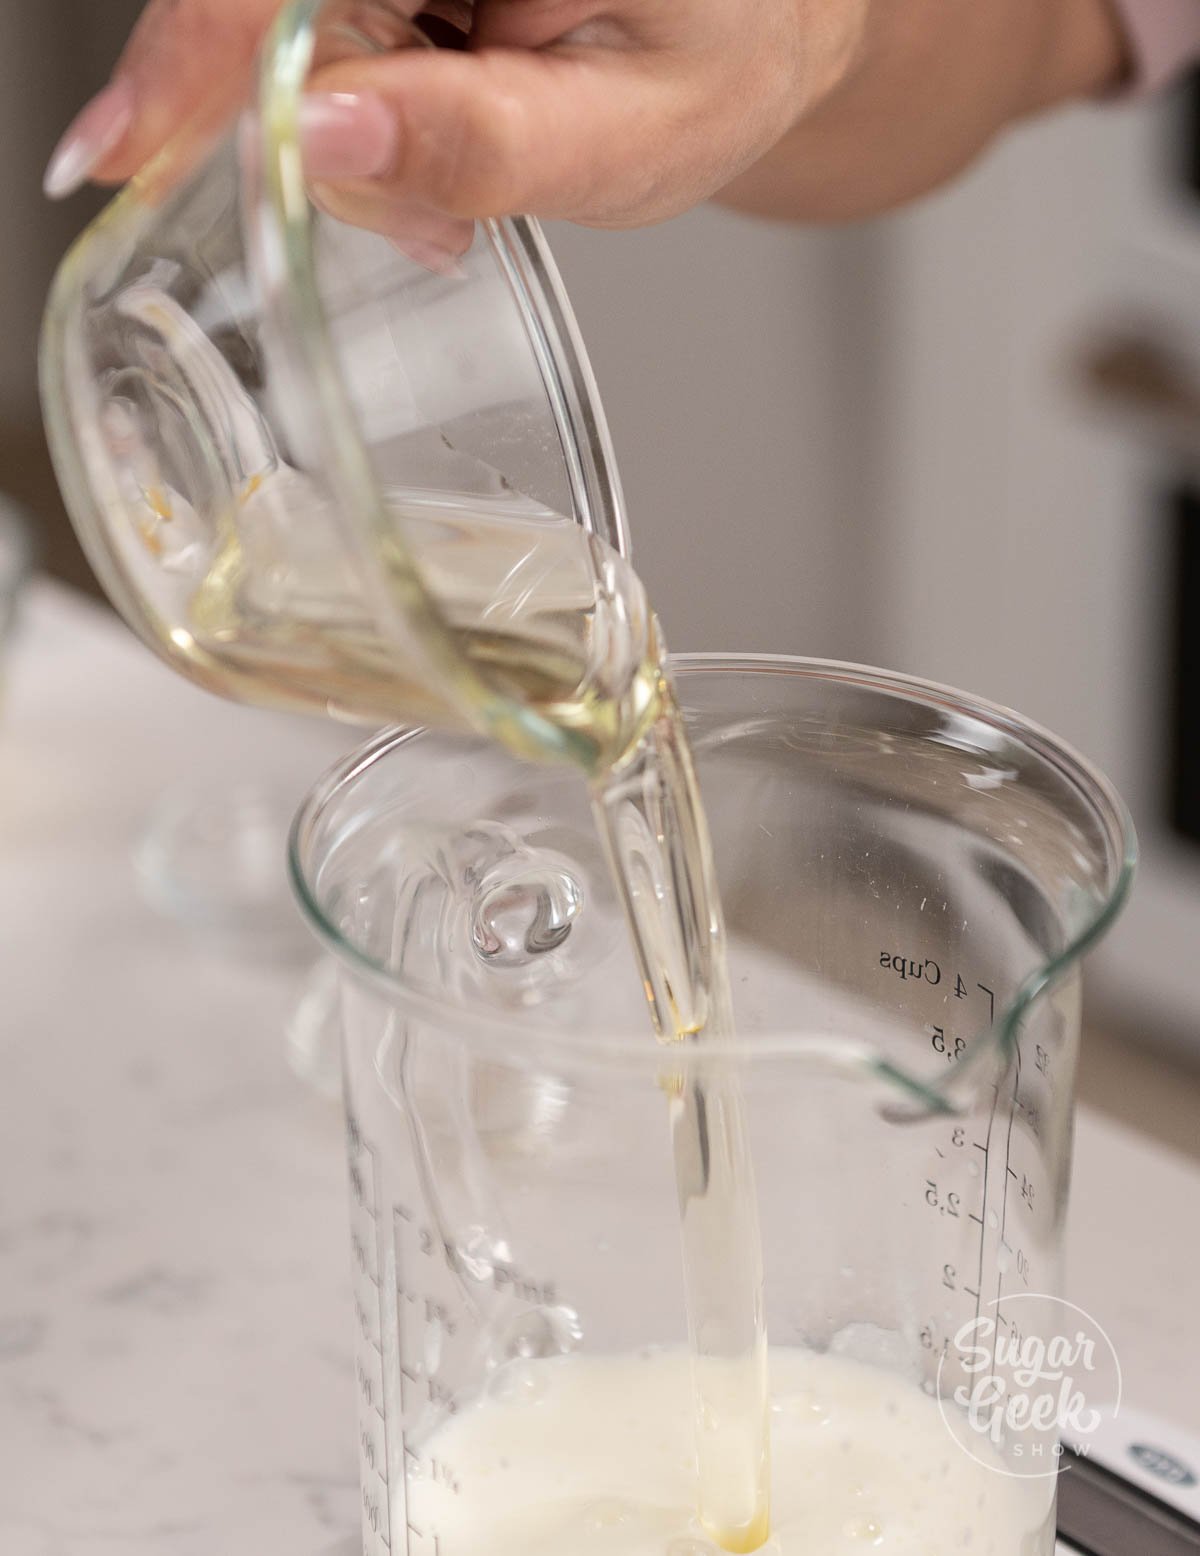
- Combine your warmed buttermilk, oil, and vanilla extract together and set aside.
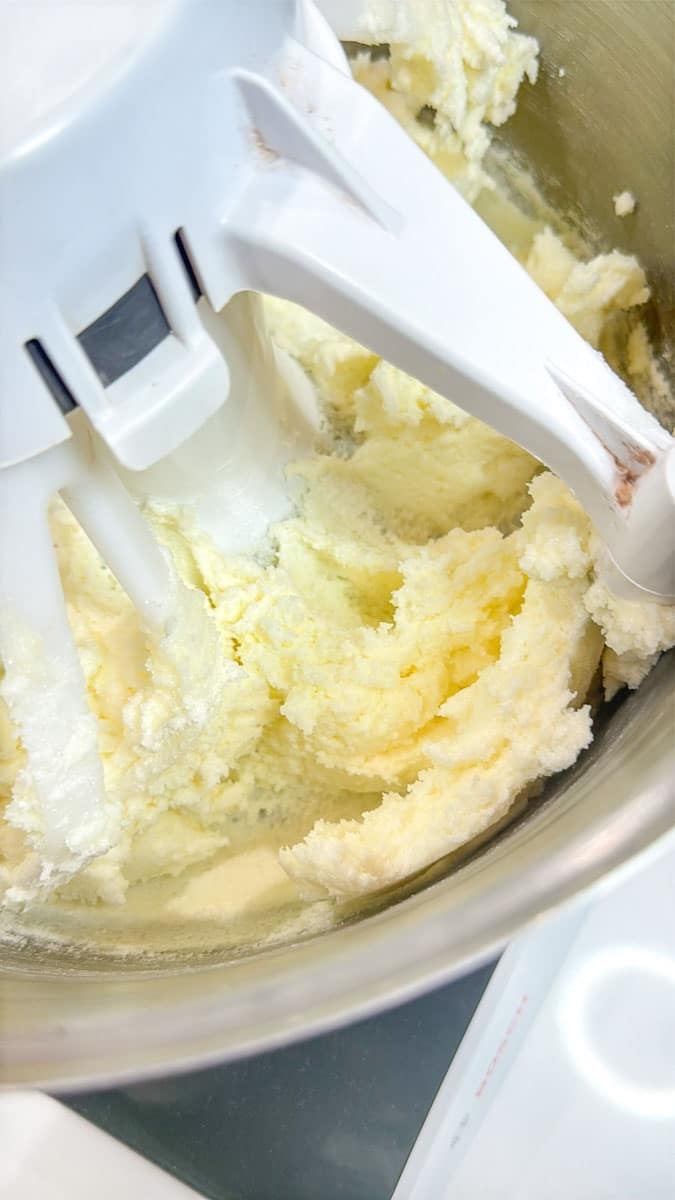
- Place the softened butter into the bowl of a stand mixer with the paddle attachment attached and cream it on medium speed until smooth its smooth.
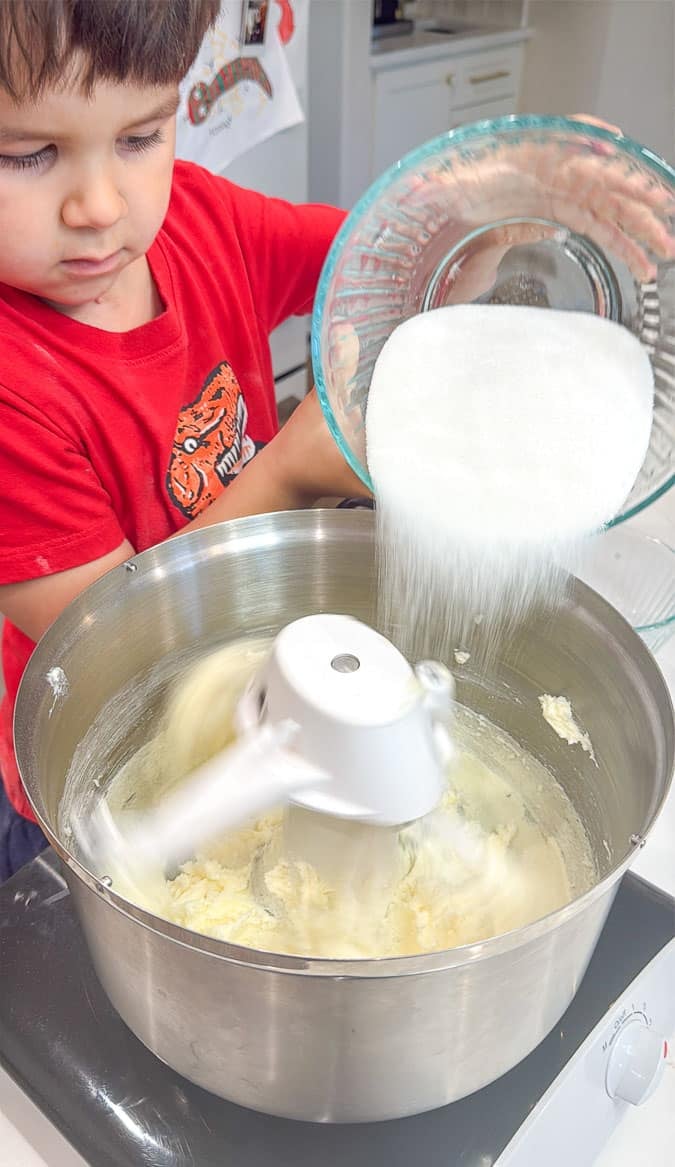
- While mixing on low speed, sprinkle your sugar into the butter and then bump the speed up to medium. Allow the butter and sugar to mix until it has lightened in color and looks fluffy.
- Next, add in the room temperature egg whites one at a time (roughly), letting them fully combine into the butter mixture before adding the next egg white. The final mixture will be light and airy.
- While mixing on low, add in ⅓ of your flour mixture to the butter and egg mixture and mix until combined.
- Add in ½ of your milk mixture to the bowl of the stand mixer (still mixing on low) and mix until combined.
- Repeat this process again. Flour mixture, milk mixture, then flour mixture.
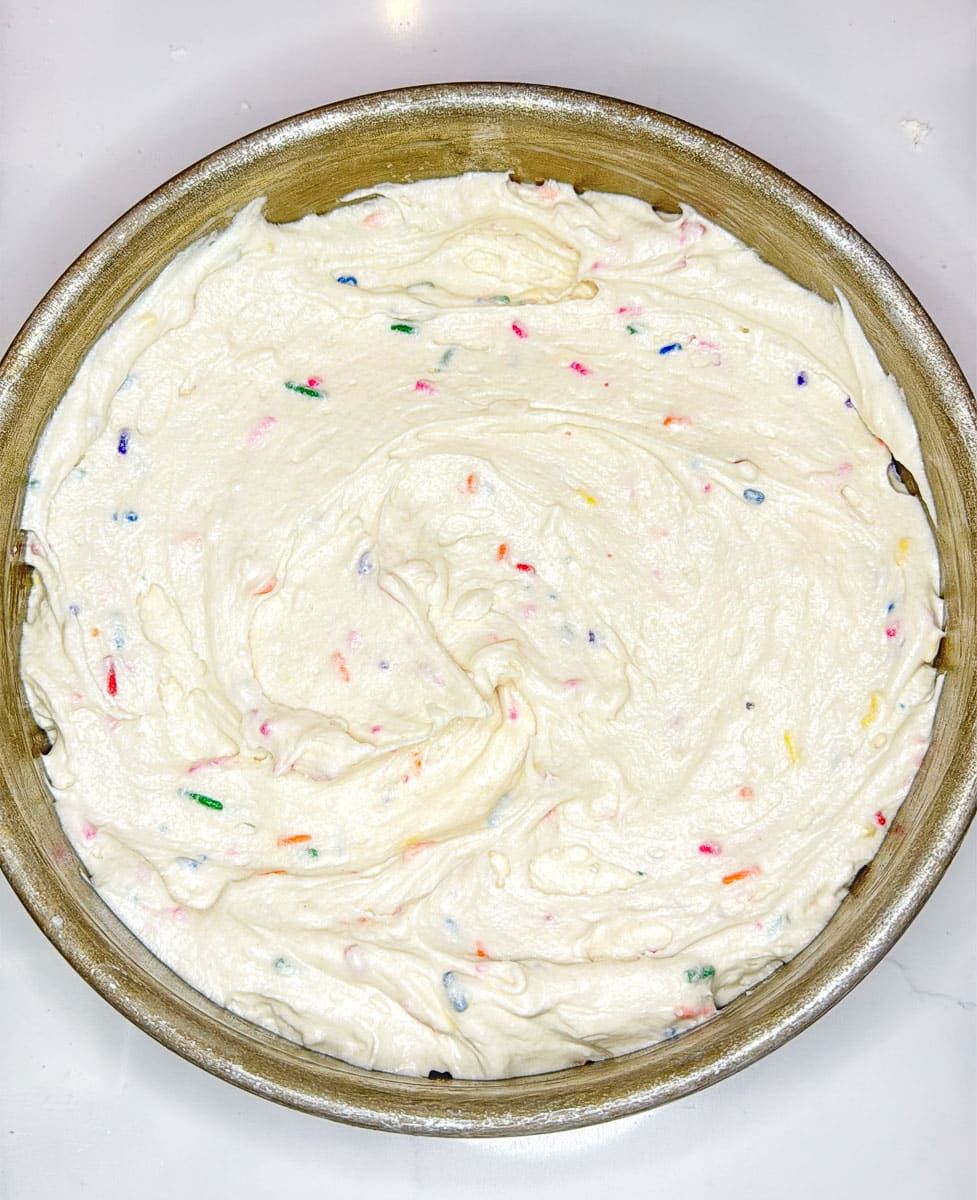
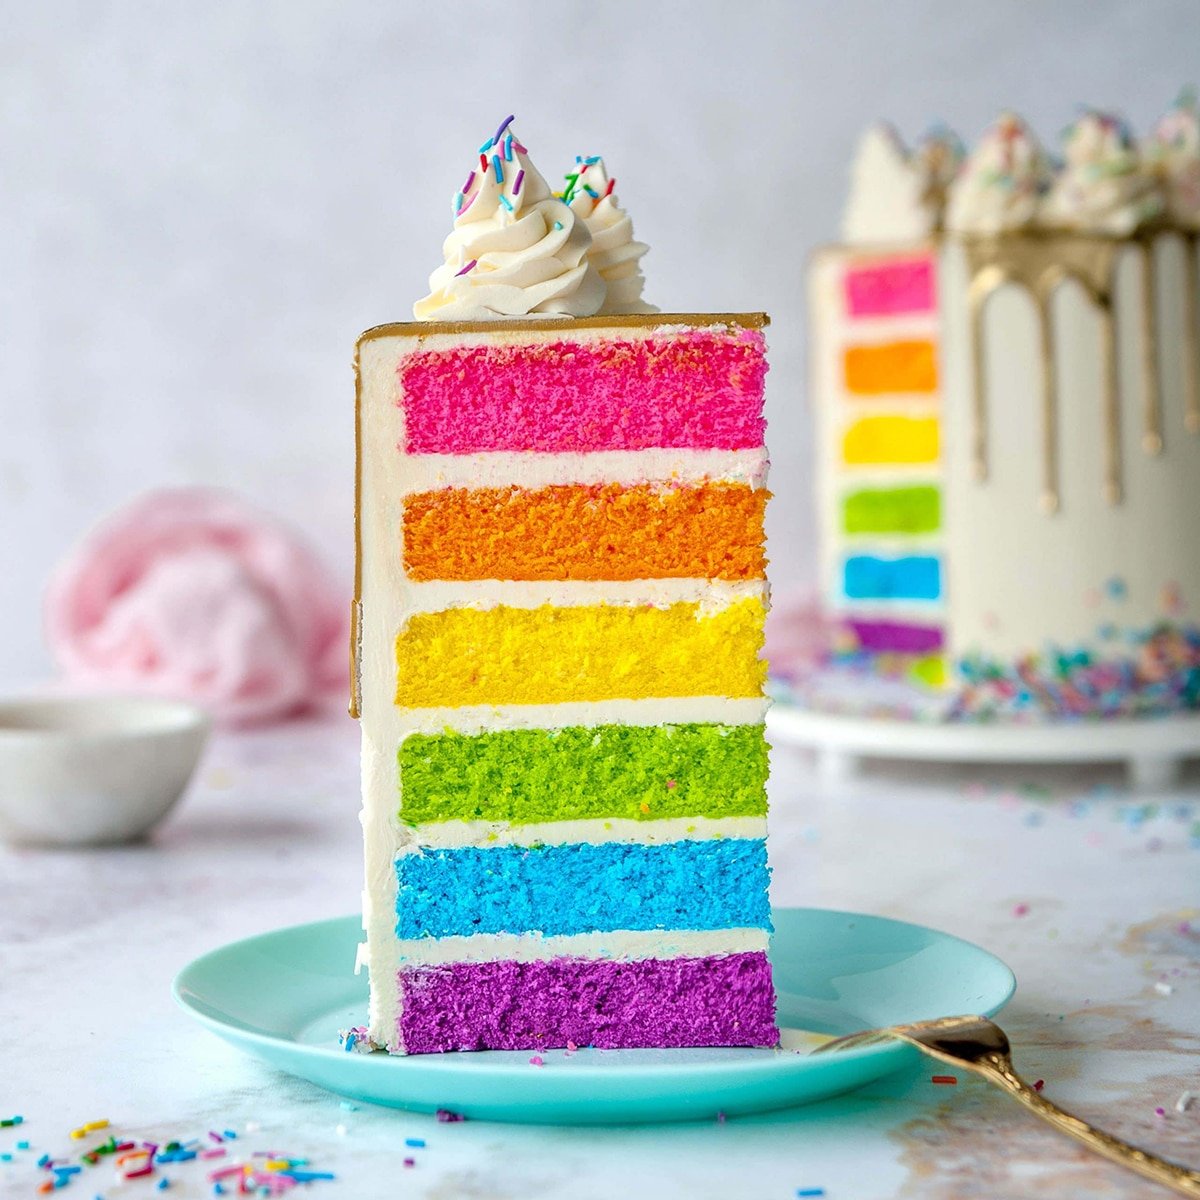
- Fold in your rainbow sprinkles by hand just until everything is combined together.

- Divide your cake batter evenly between your three prepared pans.
- Bake your cakes for 30-35 minutes or until a toothpick comes out clean when poked in the center.
- Let the cake layers cool on a wire rack for 15-20 minutes, then flip them out of the cake pans onto the wire rack.
- Wrap the cake layers while they are still warm and place into the freezer to freeze for an hour. This rapid cooling locks in the moisture.
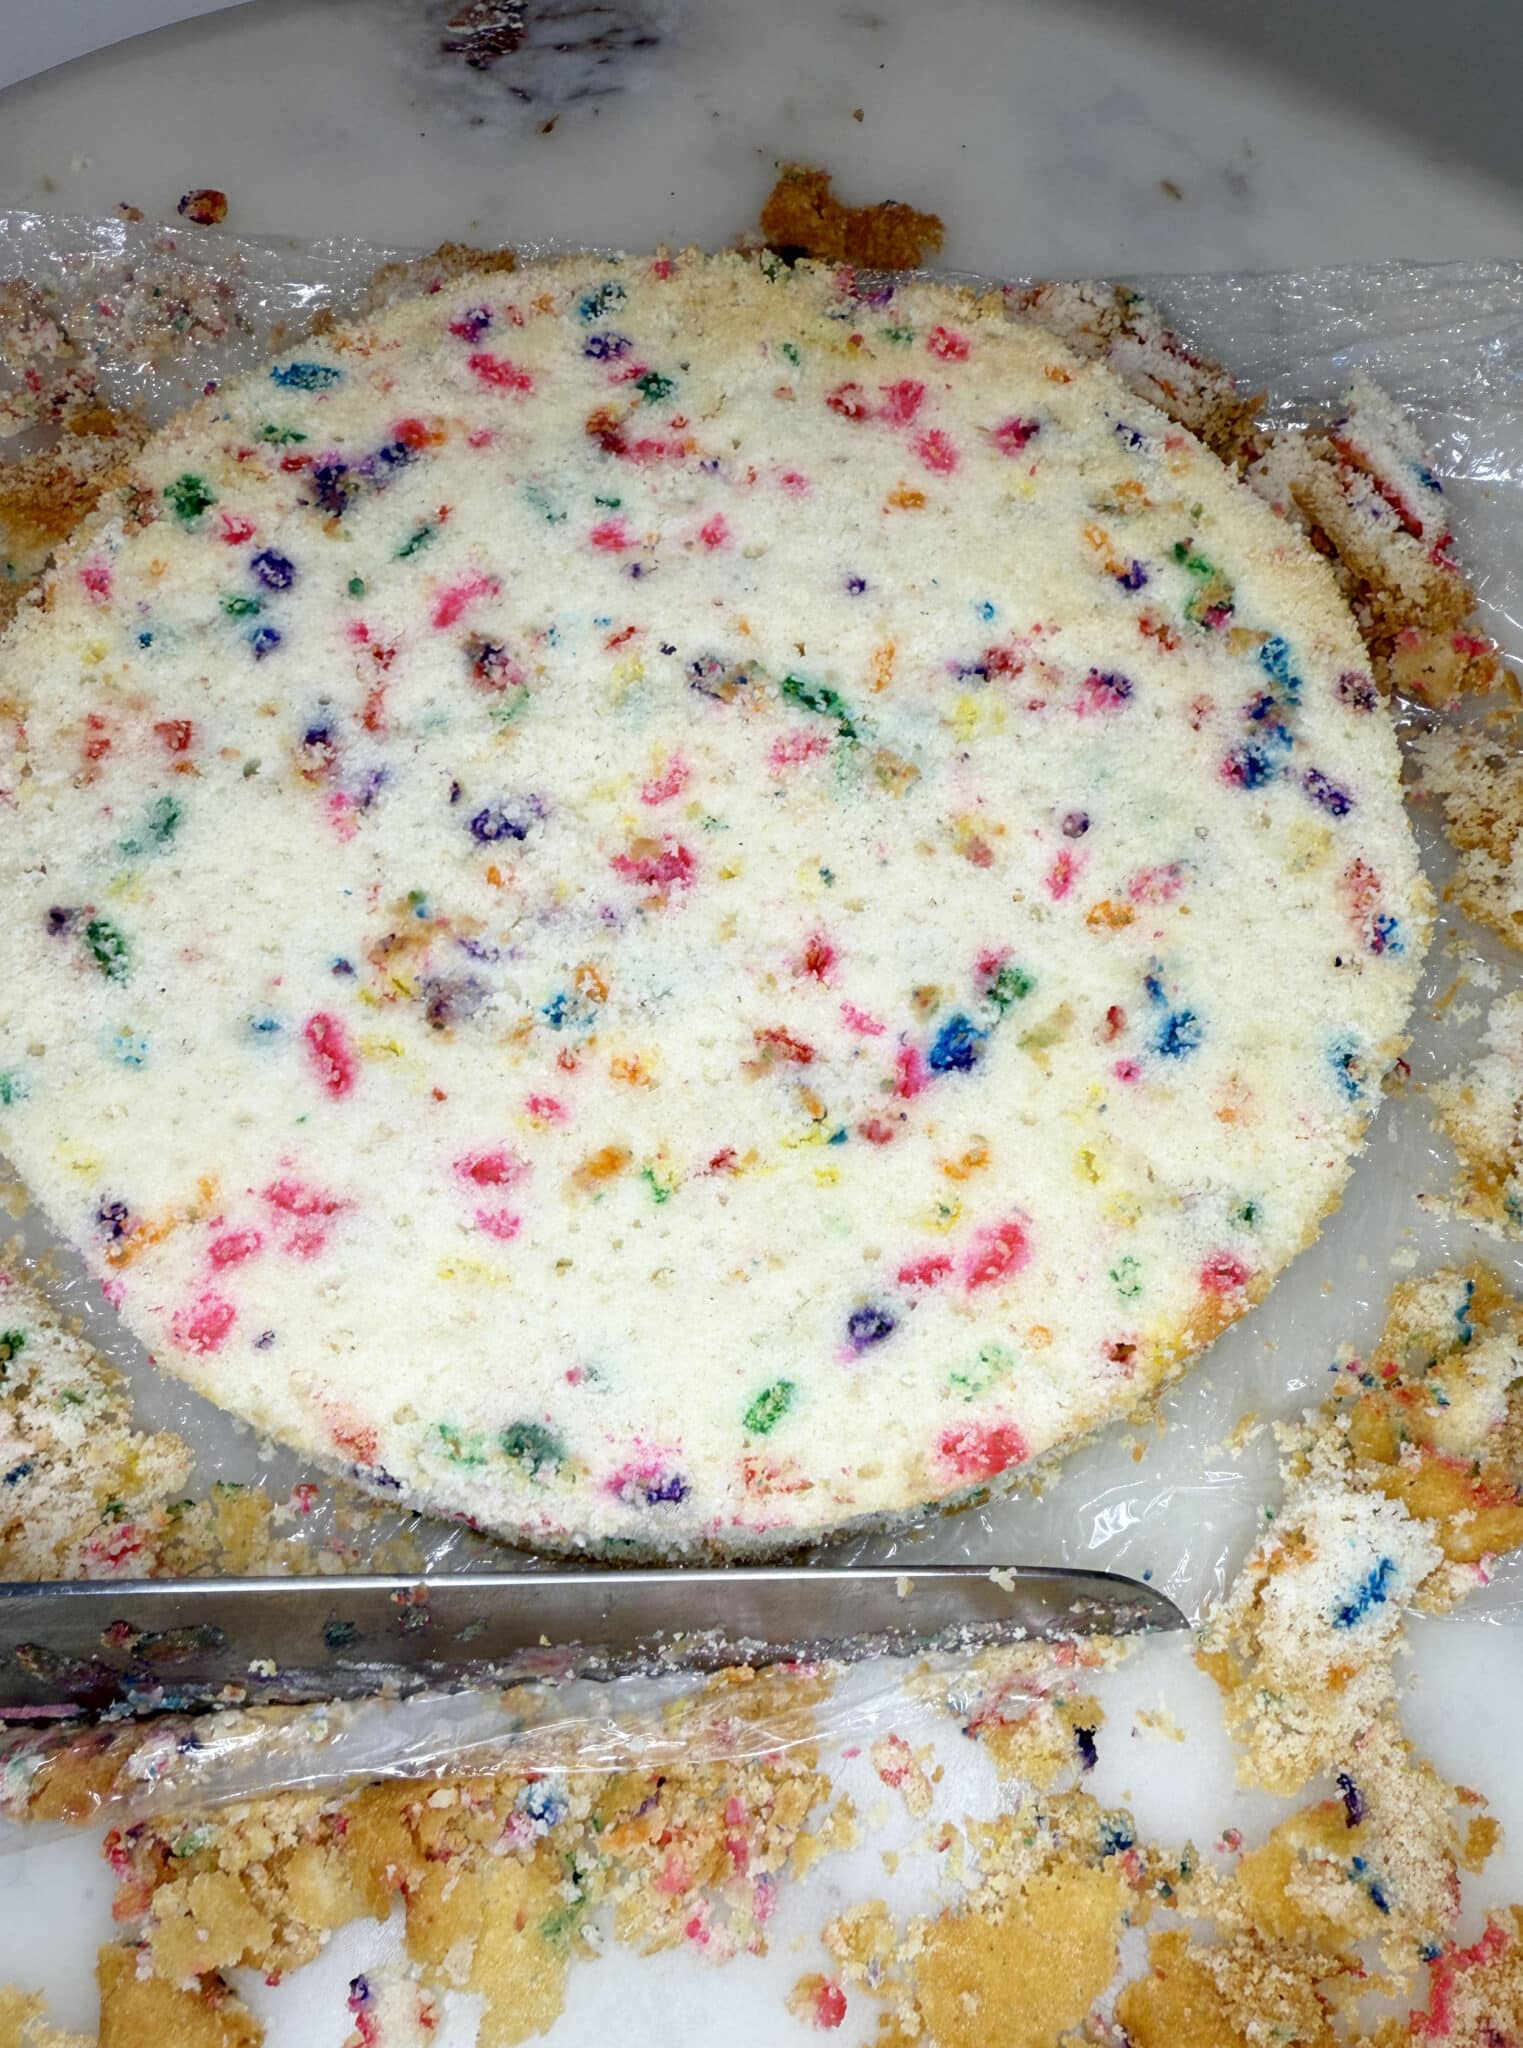
- Once the cake layers are cool but not frozen, you can then trim off the brown edges of your cakes and frost them as desired. See more instructions in the video tutorial.
How To Make The Buttercream Frosting
- Next, let's make the vanilla buttercream frosting.
- On low speed, whip your softened unsalted butter until it's smooth and lump-free with the whisk attachment.

- Add in the clear vanilla extract and the salt and mix until combined.
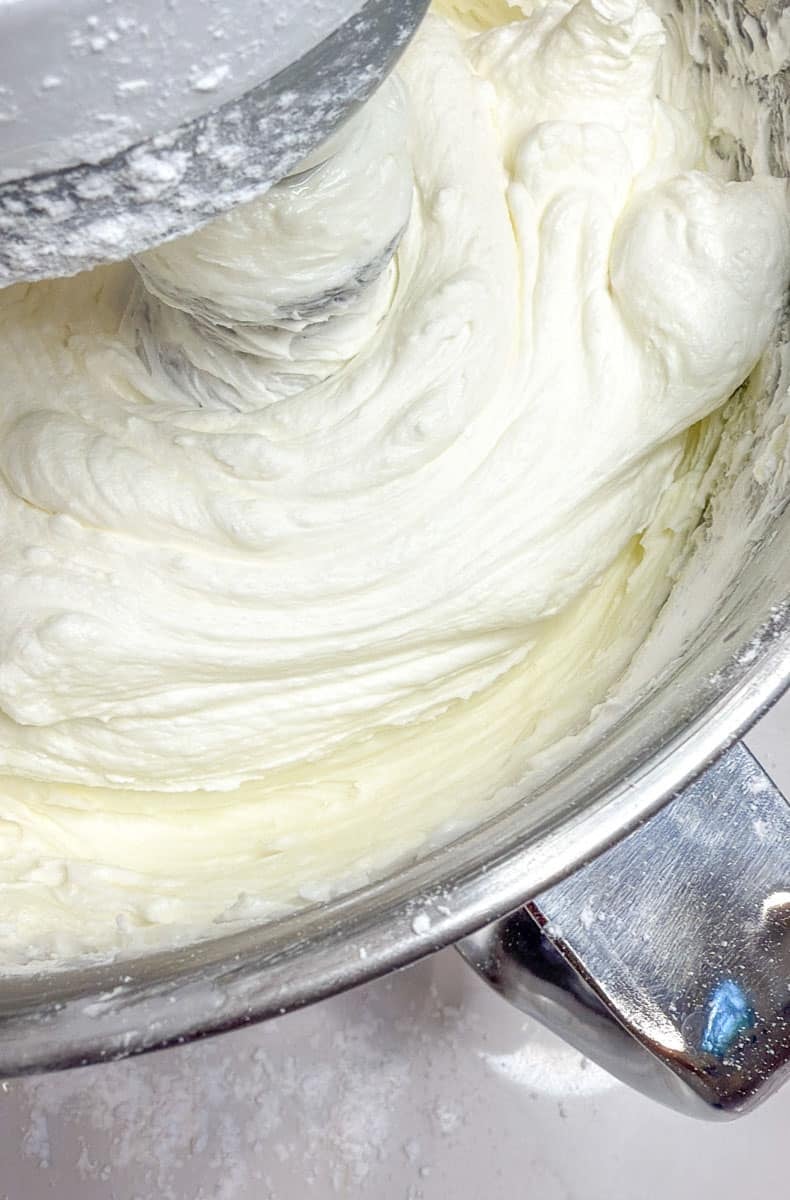
- While mixing on low, add in your sifted powdered sugar. Stop to scrape the bowl with a rubber spatula as needed to make sure everything mixes properly.
- Add in the heavy cream and mix until super smooth. Don't over-mix.
Cake Assembly & Decorating
Watch this video on how to decorate your first cake if you want more details.

- Trim the brown sides and bottom from your cake layers with a serrated knife. You can also level the cake so it's flat by trimming off the dome if needed (makes a great snack!)
- Place your first cake layer onto the cake plate.
- Spread an even layer of the frosting onto the top of the cake layer using your offset spatula.
- Repeat the process with the other two cake layers.
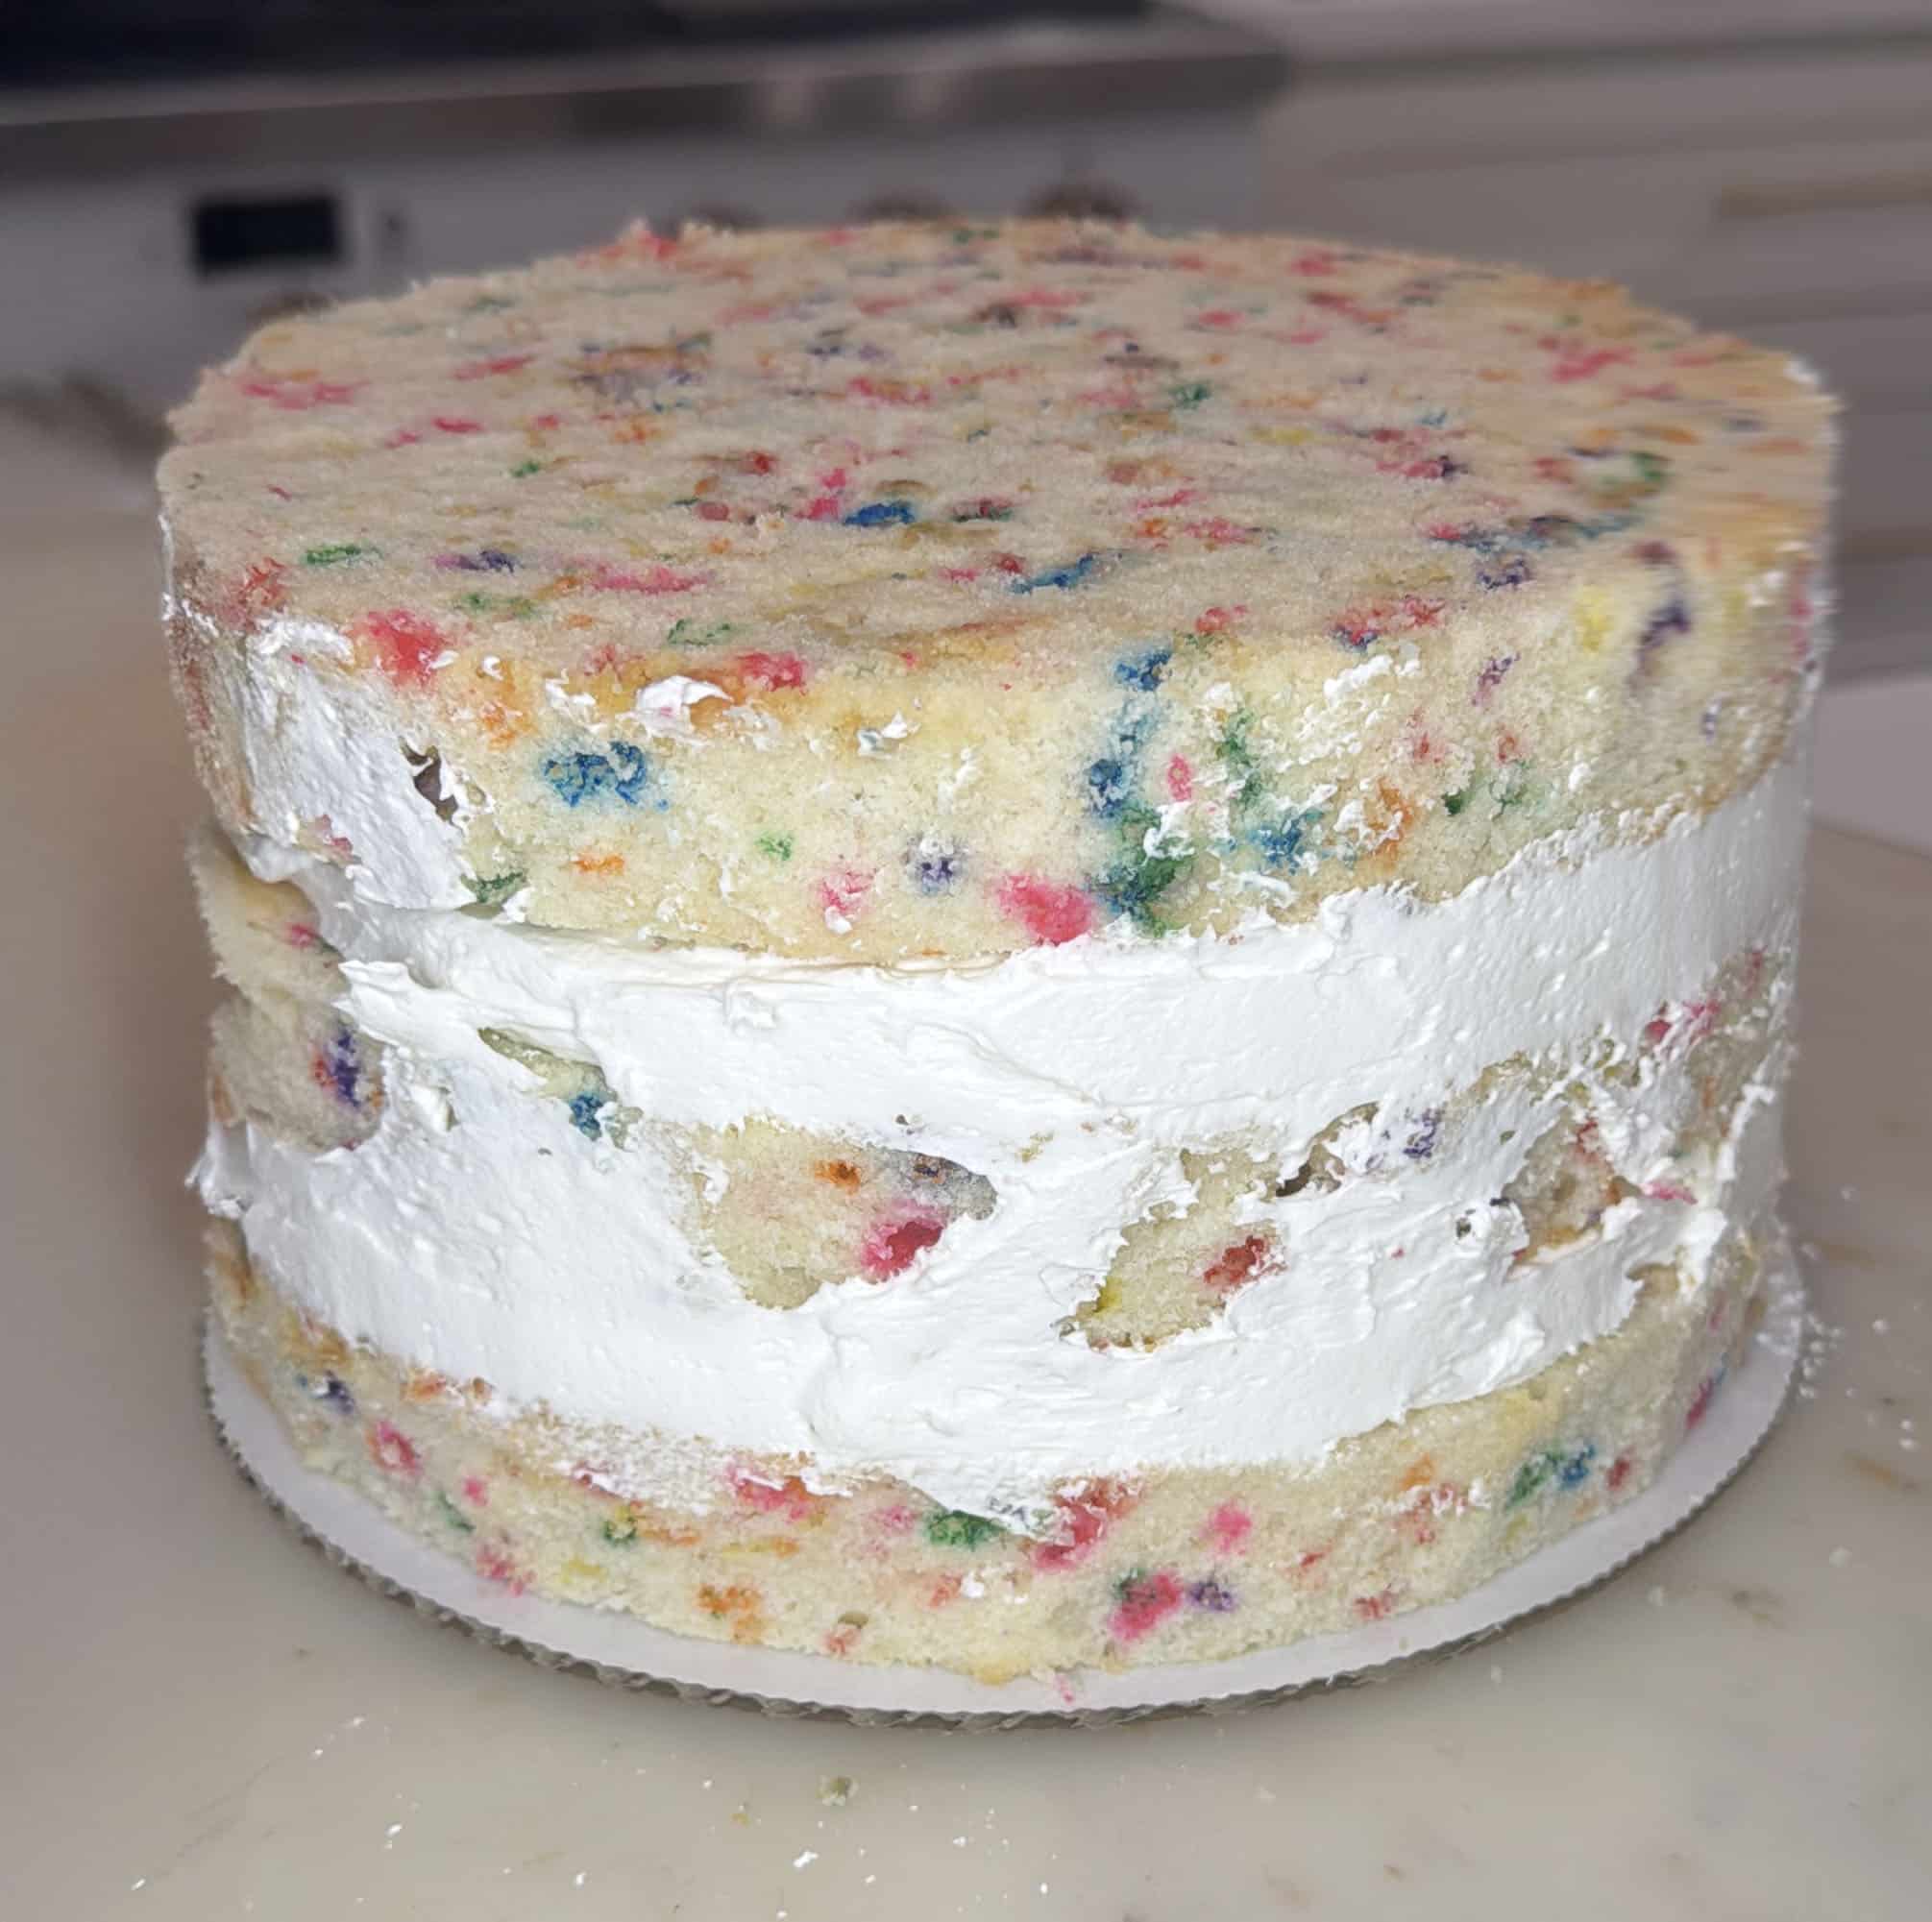
- Cover the top and the sides of the cake with a thin layer of frosting. This is called a crumb coat and helps lock in all the crumbs so the final layer of frosting is beautiful and pristine.
- Place the cake into the fridge fo 20 minutes or until the frosting feels firm to the touch.
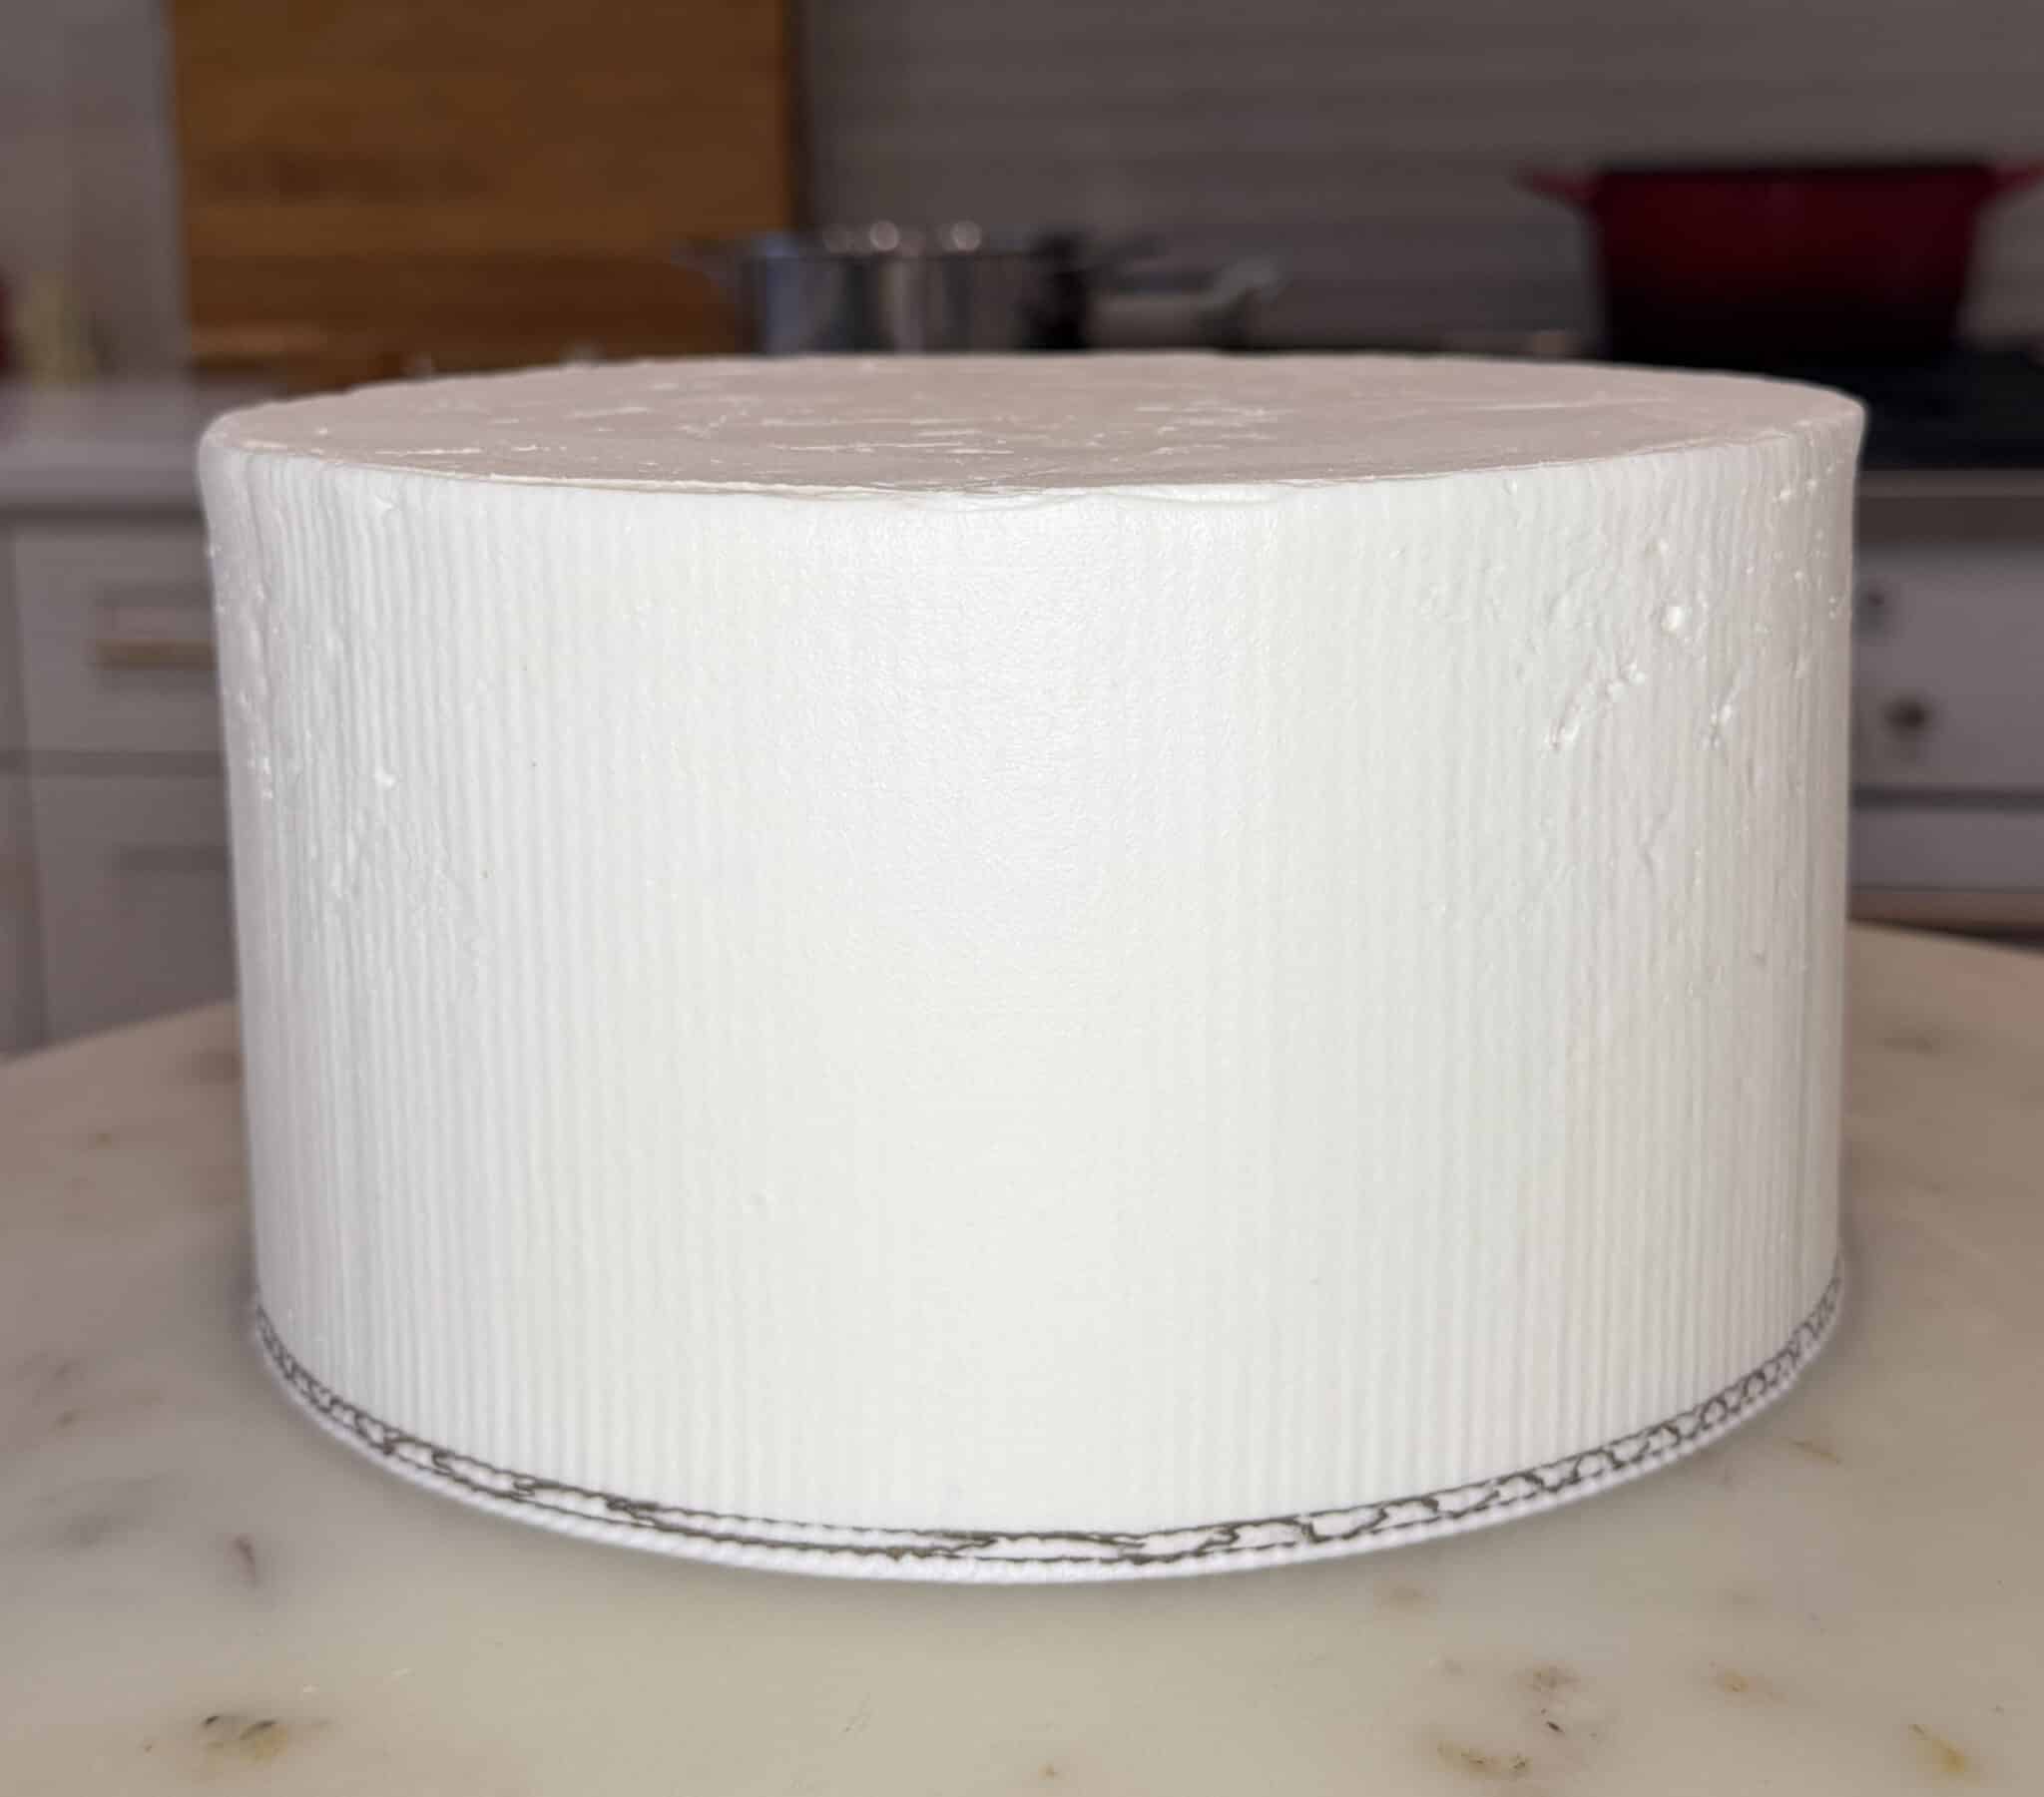
- Apply another layer of frosting to the entire cake in an even layer. Use a bench scraper to make the sides straight and even.
- Place the cake into the fridge to chill while you make the gold drip (optional).
Making The Gold Drip
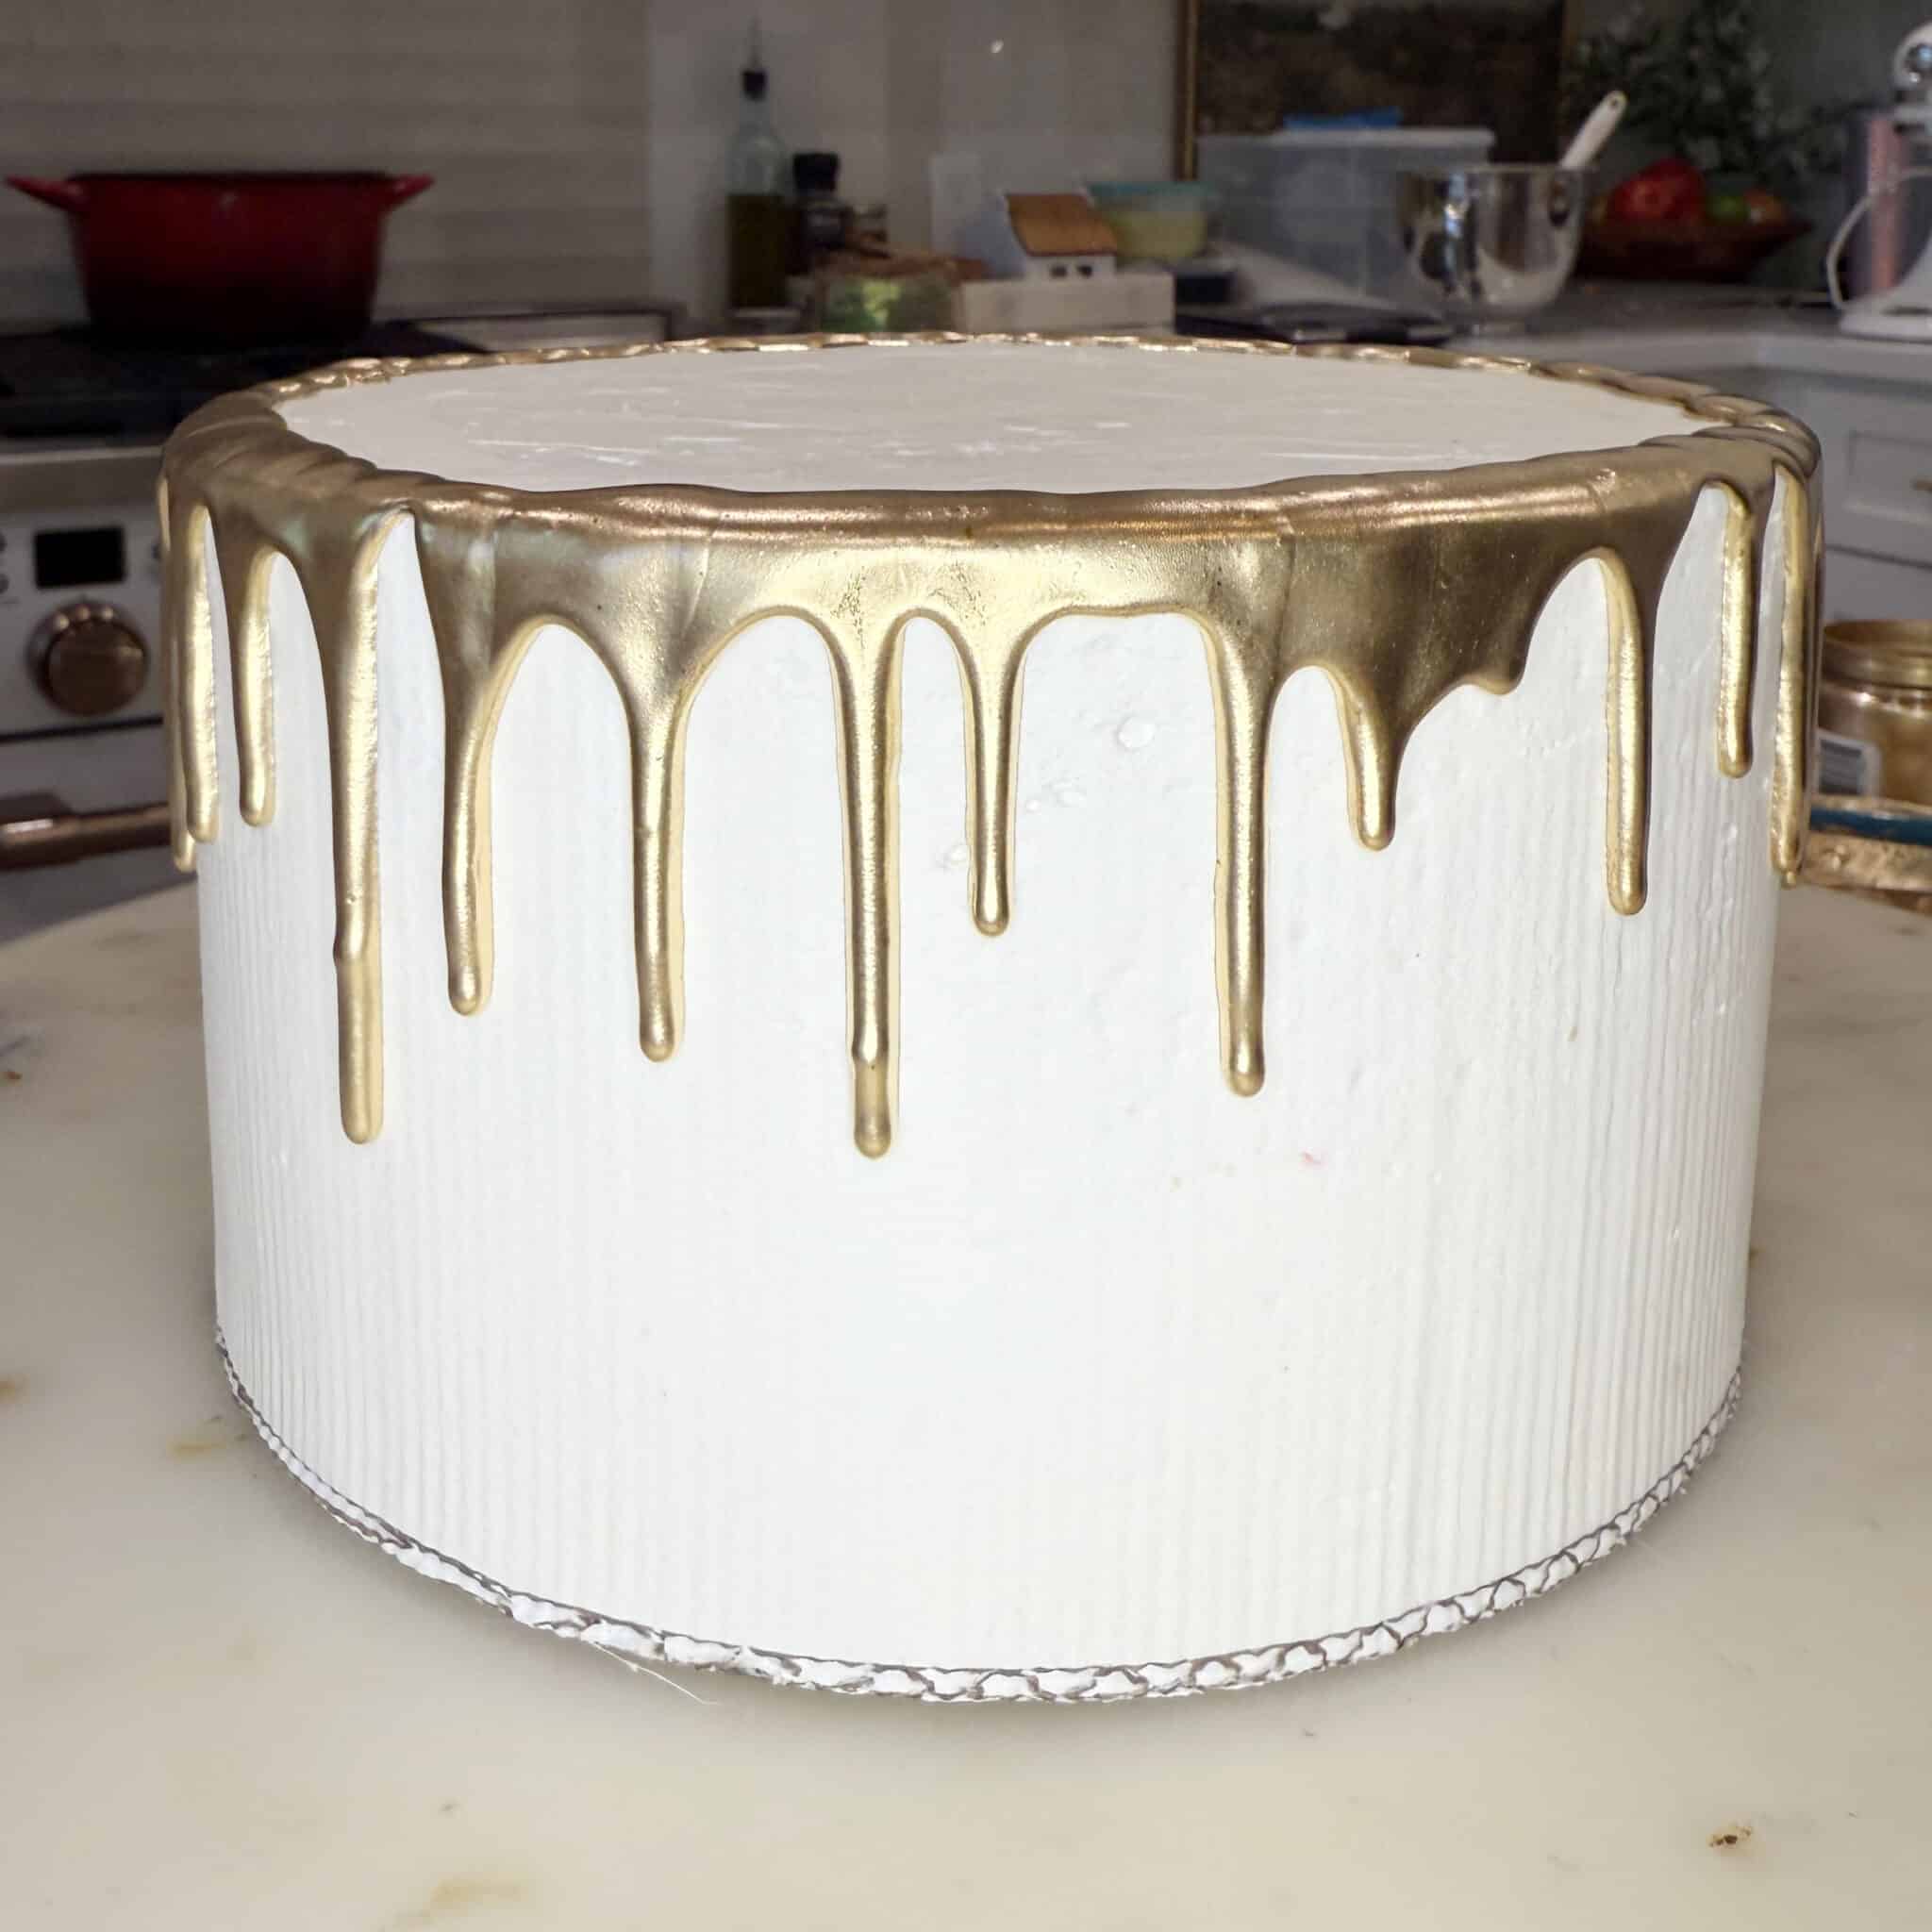
- This is totally optional but I LOVE a gold drip and think it looks so pretty on this cake. All you need is to melt 6 ounces of candy melts with 1 ounce of hot water in the microwave. The color of the candy melts doesn't really matter. You won't see the color.
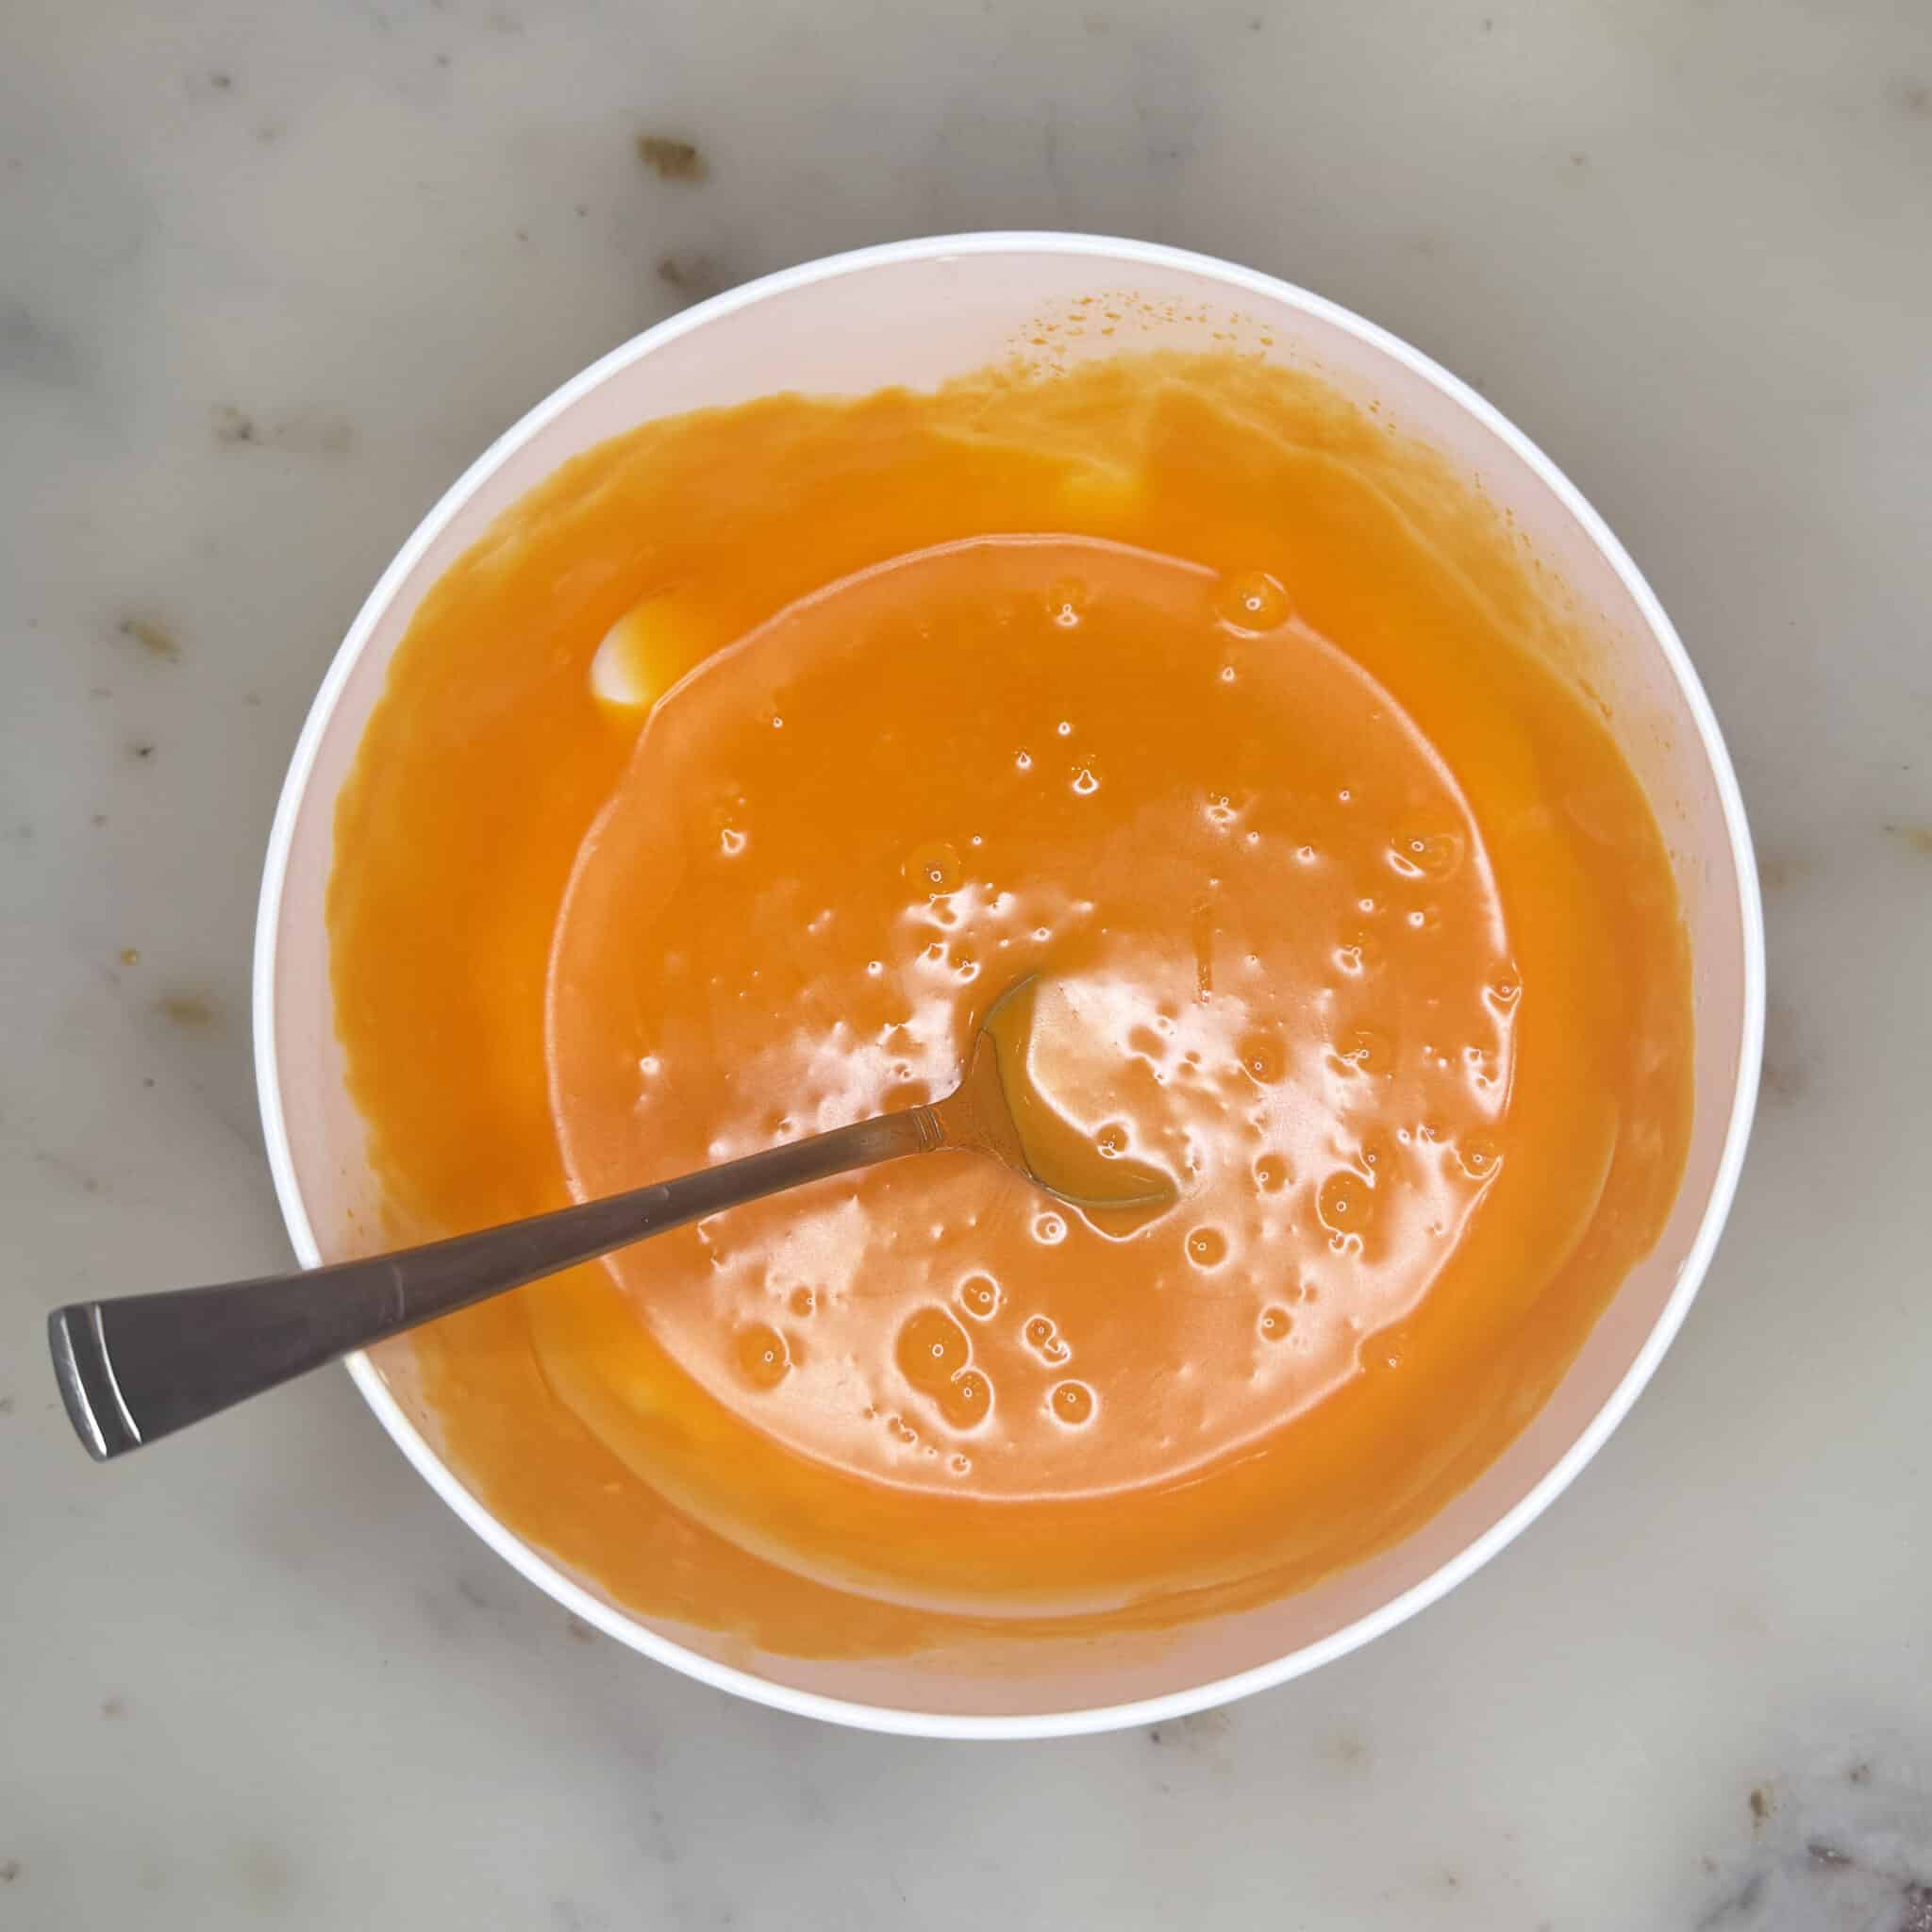
- Combine your gold dust and oil together to make a thick paste (see recipe video).
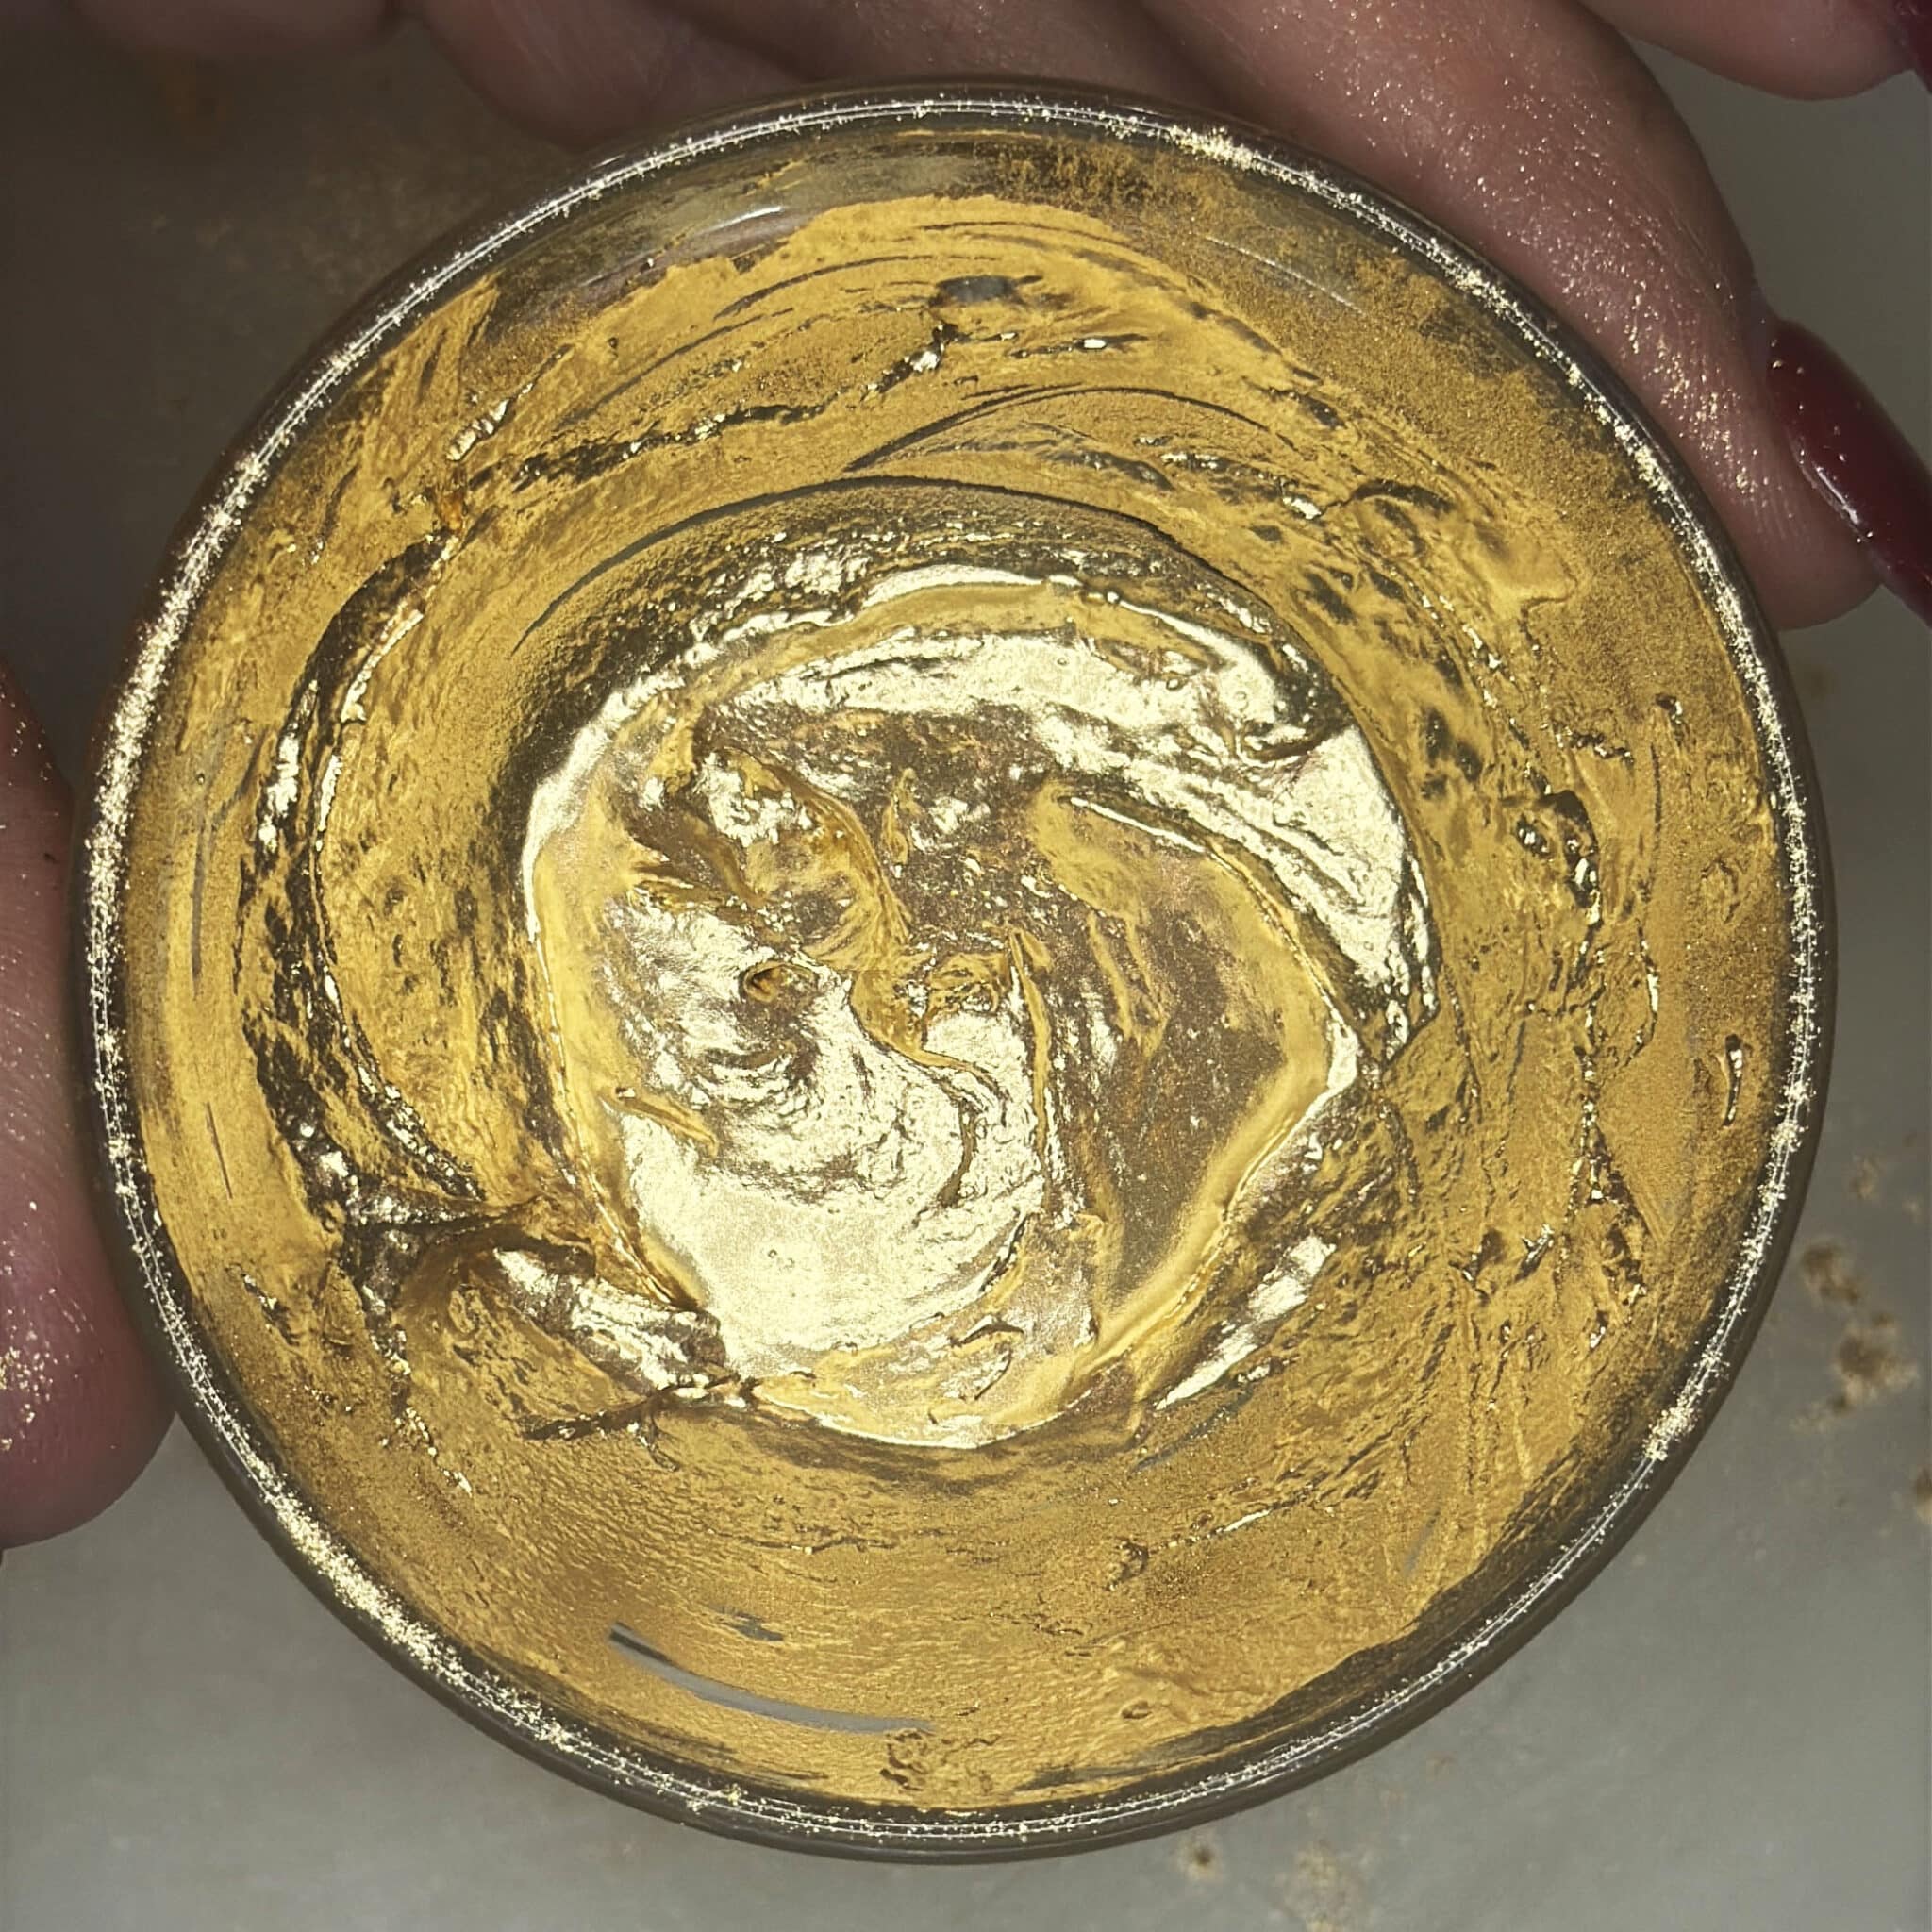
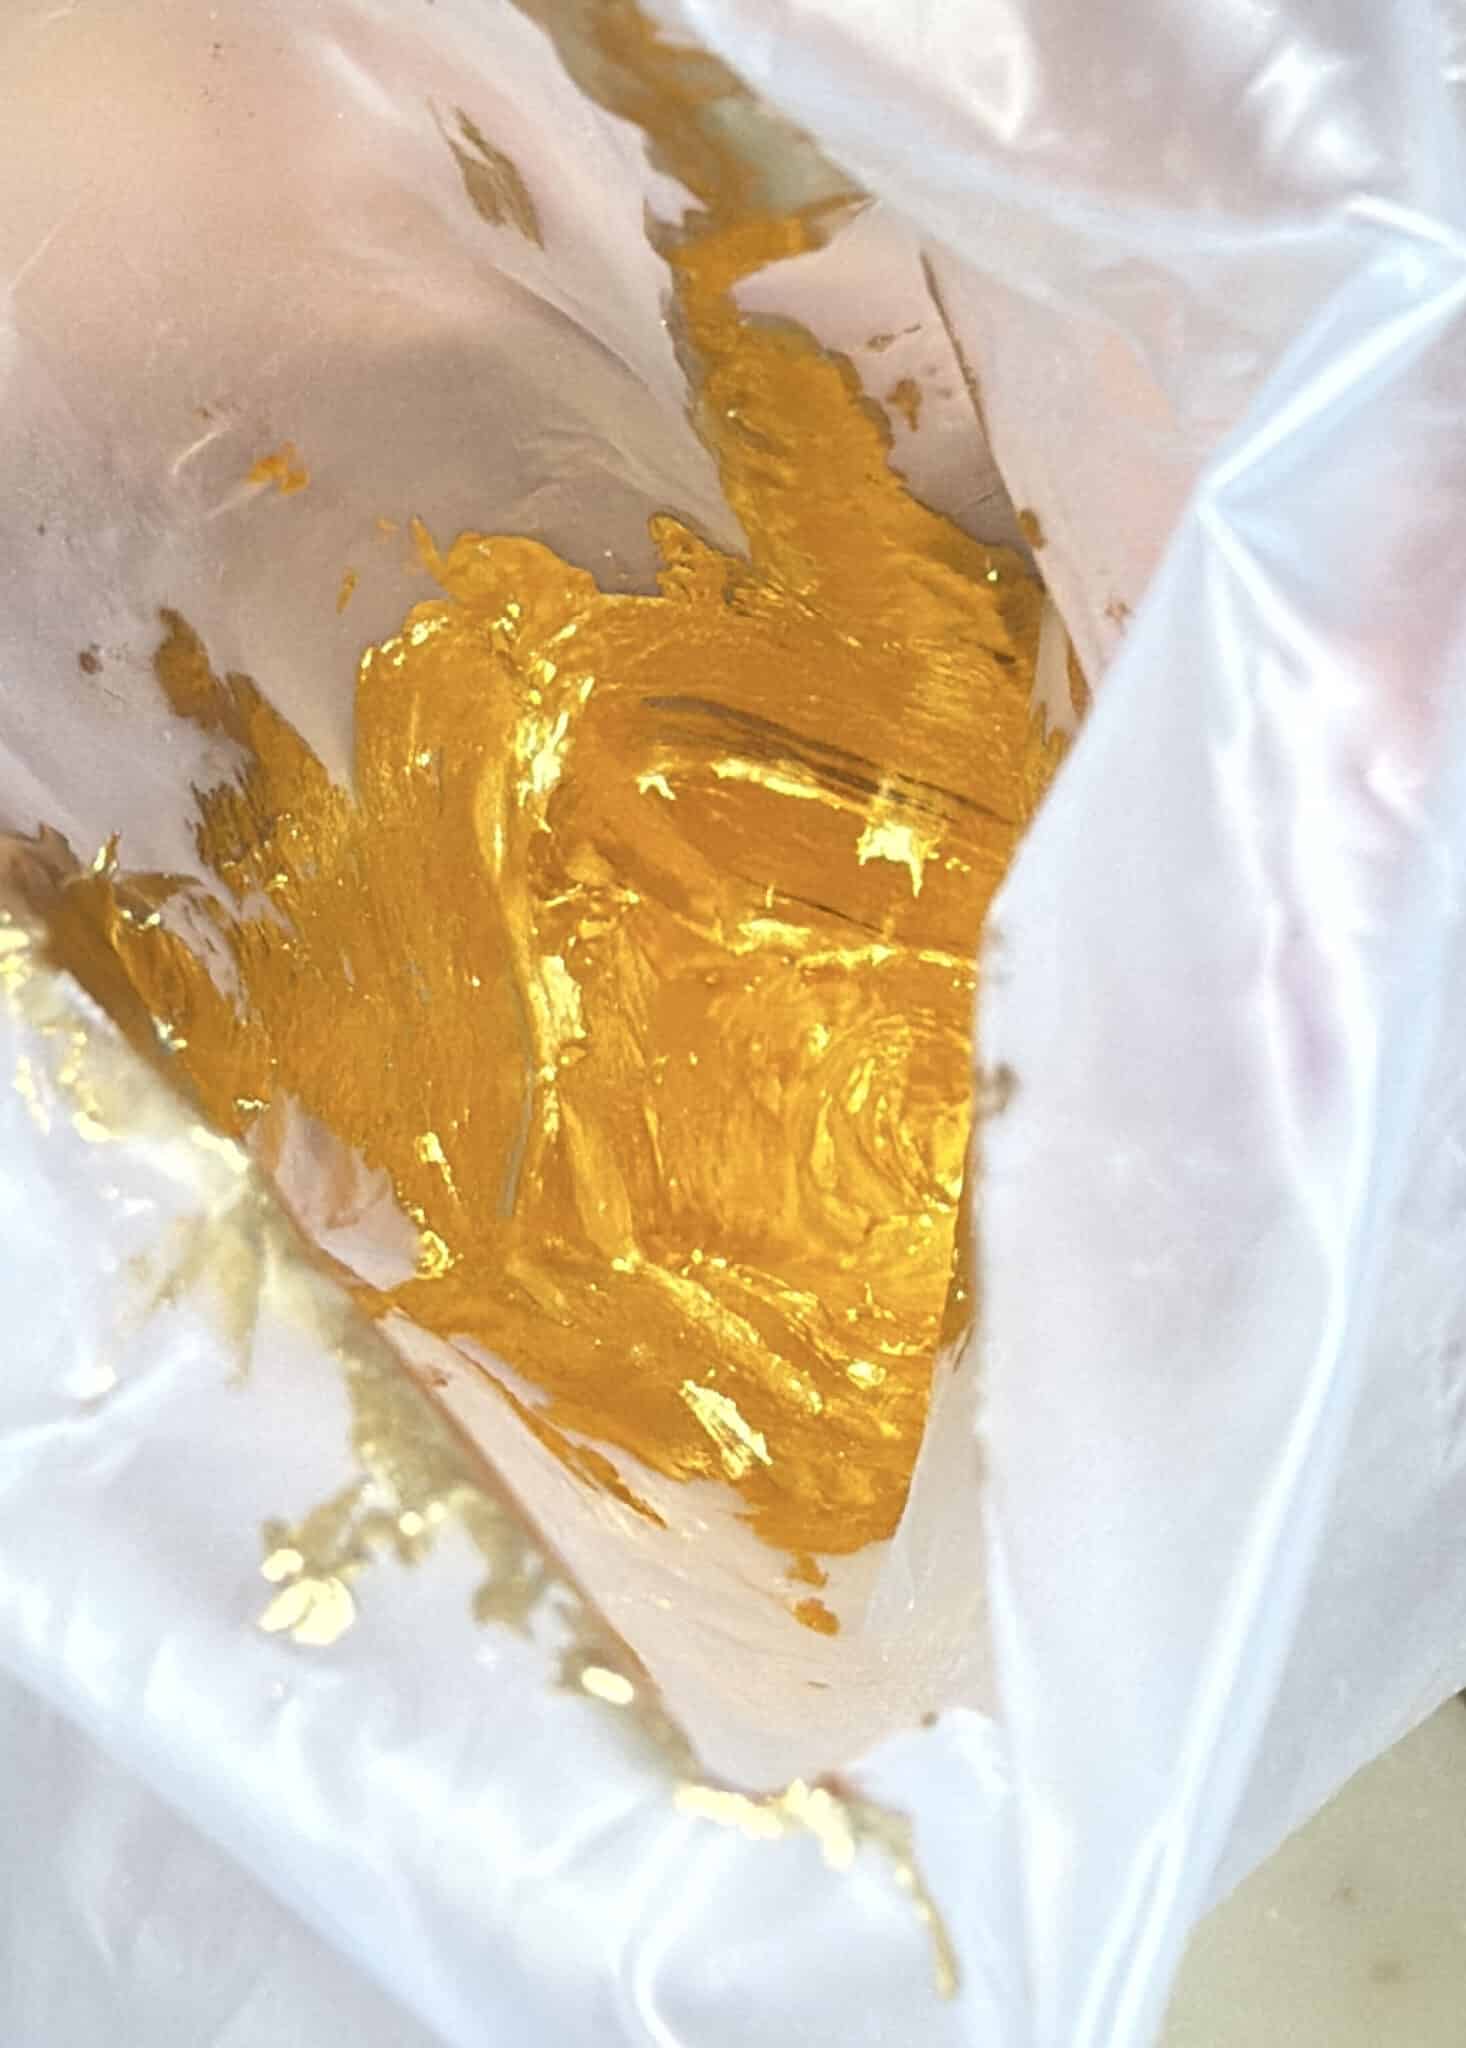
- Paint the inside of your piping bag with the gold dust mixture.
- Allow the drip mixture to cool to about 90ºF before filling your piping bag.
- Pipe the drip around the edge of the cake.
Finishing The Cake
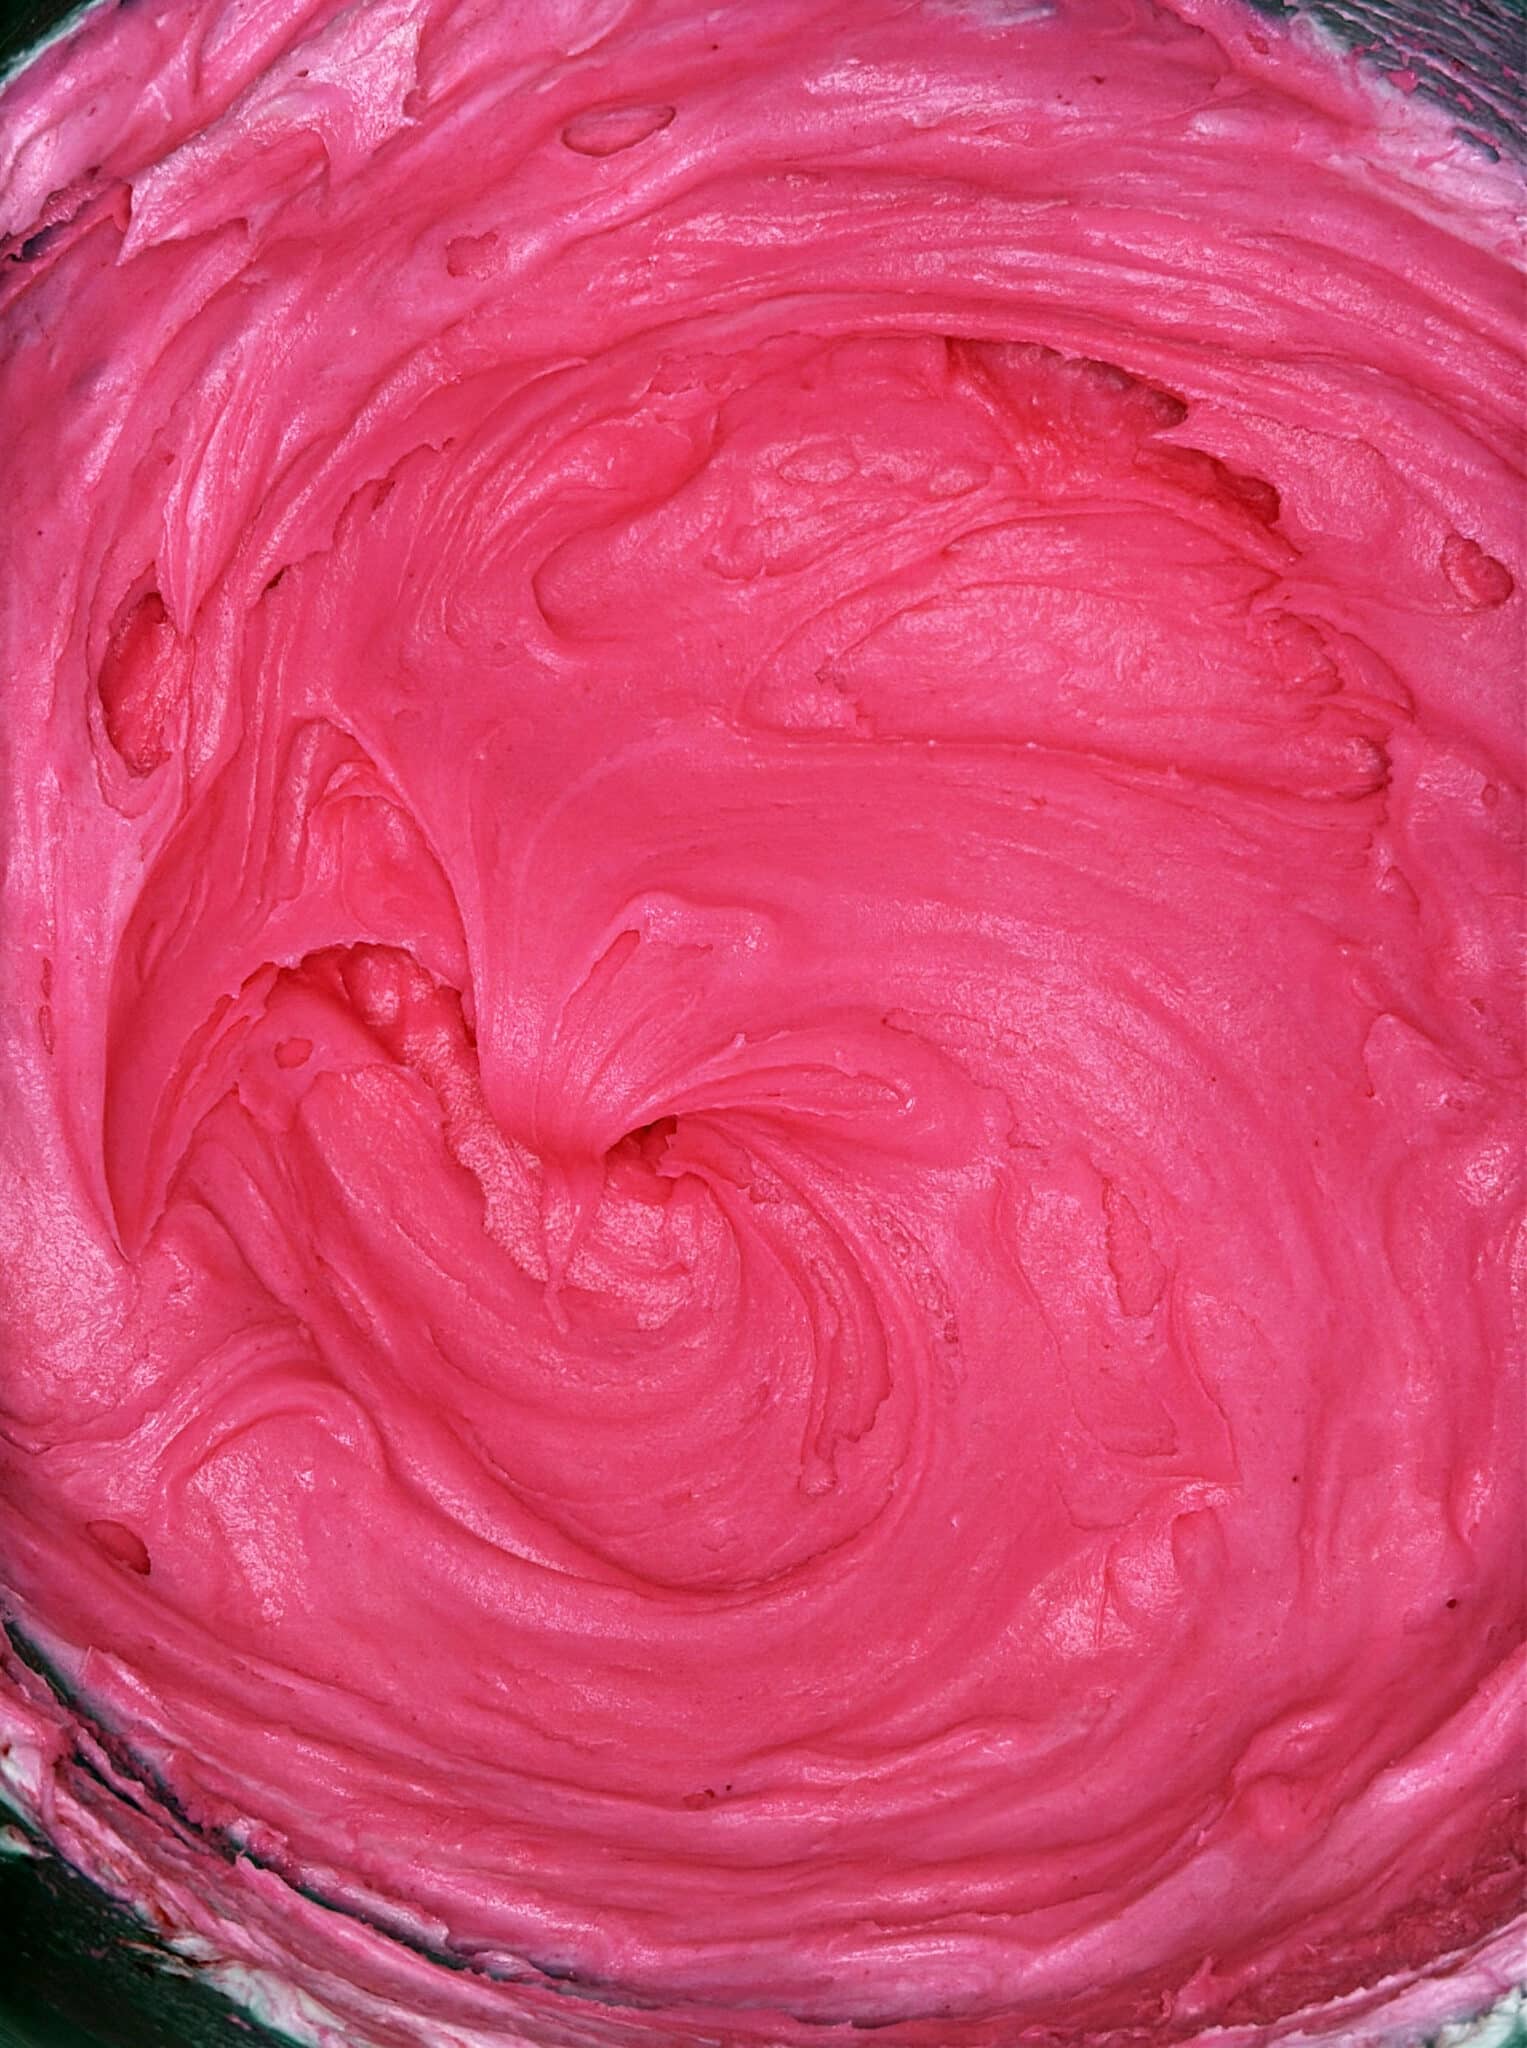
- Color your leftover buttercream with some food coloring. I used electric pink from americolor. Protip: Mix your buttercream with an immersion blender to get a bright and vivid color.
- Place the buttercream into the piping bag with a 1M star piping tip.
- Pipe a border around the base of your cake.
- Add some sprinkles on top of the border.
- Add another border around the top of the cake and some more sprinkles.
- Your funfetti cake is now complete!
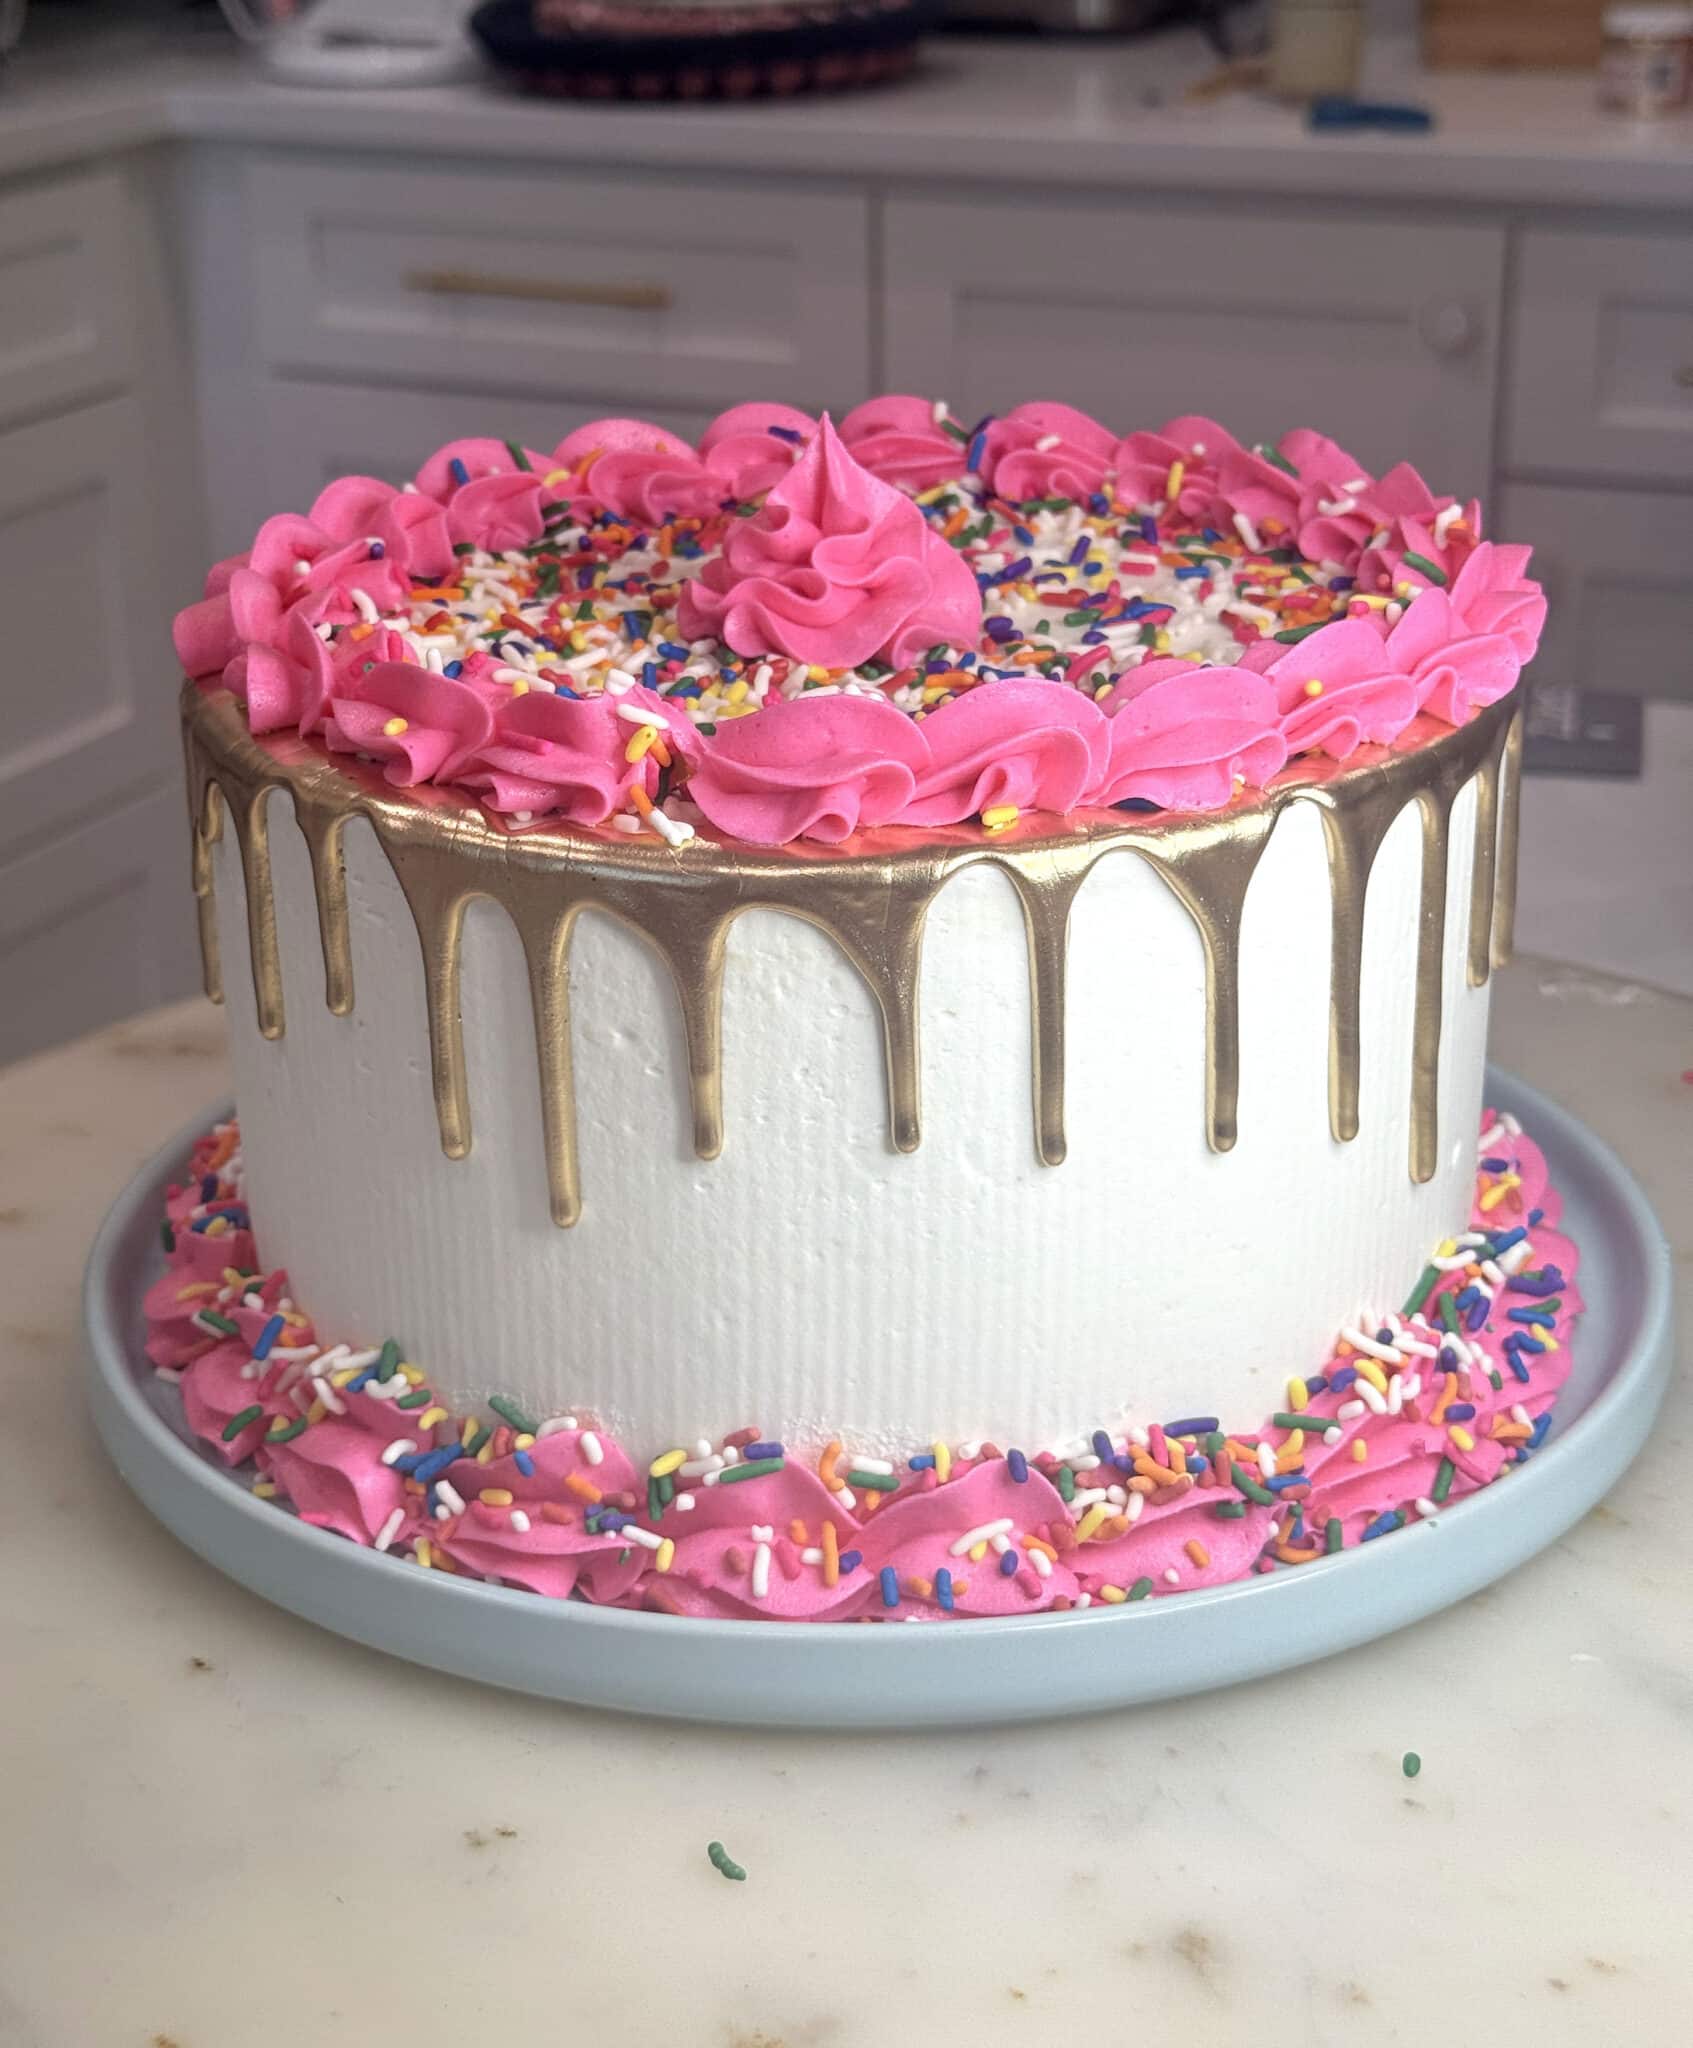
This really is the ULTIMATE birthday cake! Soft, fluffy, moist, and delicious! You'll never need another funfetti cake recipe.
If you loved this recipe don't forget to leave me a review and check out some of my other popular cake flavors!
FAQ
Yes funfetti cake is a moist vanilla cake with rainbow sprinkles mixed in.
What Is Funfetti? Funfetti cake is just another name for a confetti cake. In fact, the only difference is that ``Funfetti'' is a name trademarked by Pillsbury. Confetti cake is traditionally a white or vanilla cake filled with rainbow sprinkles that look a lot like a shower of confetti.
Rainbow jimmies are the best sprinkles to use in funfetti cake because they don't dissolve into nothing like nonperils do.
Yes this funfetti cake makes great cupcakes! I baked mine for 18 minutes.
Recipe
Equipment
- 3 8" round cake pans
- 1 Piping Bag
- 1 1M Piping Tip
Ingredients
Cake Ingredients
- 20 ounces All Purpose Flour
- 4 teaspoon baking powder
- 1 teaspoon salt
- 12 ounces unsalted butter room temp
- 16 ounces sugar
- 1 Tablespoon clear vanilla extract
- 8 ounces egg whites
- 1 ounce corn syrup or honey
- 14 ounces buttermilk room temp
- 2 ounces vegetable oil
- 6 ounces rainbow sprinkles
Gold Drip (optional)
- 6 oz white chocolate or candy melts
- 1 oz warm water
- 2 teaspoon gold dust see notes
- 3 drops oil
Buttercream Frosting
- 12 ounces unsalted butter room temp
- 28 ounces powdered sugar
- 1 Tablespoon vanilla extract
- 4 ounces heavy whipping cream
Instructions
Cake Instructions
- Preheat your oven to 350ºF. (176ºC).Coat your three cake pans with cake goop or your preferred brand of pan release.
- Combine your flour, baking powder, and salt in a medium bowl and set it aside for now.
- Combine your warmed buttermilk, oil, corn syrup, and vanilla extract together and set aside.
- Place the softened butter into the bowl of a stand mixer with the paddle attachment attached and cream it on medium speed until smooth its smooth.
- While mixing on low speed, sprinkle your sugar into the butter and then bump the speed up to medium. Allow the butter and sugar to mix until it has lightened in color and looks fluffy.
- Next, add in the room temperature egg whites one at a time (roughly), letting them fully combine into the butter mixture before adding the next egg white.
- While mixing on low, add in ⅓ of your flour mixture to the butter and egg mixture and mix until combined.
- Add in ½ of your milk mixture to the bowl of the stand mixer (still mixing on low) and mix until combined.
- Repeat this process again. Flour mixture, milk mixture, then flour mixture.
- Fold in your rainbow sprinkles by hand just until everything is combined together.
- Divide your cake batter evenly between your three prepared pans.
- Bake your cakes for 30-35 minutes or until a toothpick comes out clean when poked in the center.
- Let the cake layers cool on a wire rack for 15-20 minutes, then flip them out of the cake pans onto the wire rack.
- Wrap warm and place into the freezer to freeze for an hour. This rapid cooling locks in the moisture. Once the cake layers are cool but not frozen, you can then trim off the brown edges of your cakes and frost them as desired. See more instructions in the video tutorial.
Gold Drip Instructions
- Melt the chocolate in microwave or in a glass bowl over a pot of simmering water (bane marie) and add in the water. Whisk until combined and smooth.
- Combine the gold powder and oil into a thick paste.
- Paint the bottom 2" of the inside of your piping bag with the gold mixture.
- Add in the chocolate drip mixture, and now it's ready to pipe.
Vanilla Buttercream
- On low speed, whip your softened unsalted butter until it's smooth and lump-free with the whisk attachment.
- Add in the clear vanilla extract and the salt and mix until combined.
- While mixing on low, add in your sifted powdered sugar. Stop to scrape the bowl with a rubber spatula as needed to make sure everything mixes properly.
- Add in the heavy cream and mix until smooth. Don't over-mix.
Cake Assembly & Decorating
- Trim the brown sides and bottom from your cake layers with a serrated knife. You can also level the cake so it's flat by trimming off the dome if needed (makes a great snack!)
- Place your first cake layer onto the cake plate.
- Spread an even layer of the frosting onto the top of the cake layer using your offset spatula.
- Repeat the process with the other two cake layers.
- Cover the top and the sides of the cake with a thin layer of frosting. This is called a crumb coat and helps lock in all the crumbs so the final layer of frosting is beautiful and pristine.
- Place the cake into the fridge fo 20 minutes or until the frosting feels firm to the touch.
- Apply another layer of frosting to the entire cake in an even layer. Use a bench scraper to make the sides straight and even.
- Add some sprinkles to the outside of the cake using your hands.
- I colored the remaining frosting pink and piped some borders around the base of the cake and added some dollops on top.
- Place the cake into the fridge to chill while you make the gold drip (optional).
- Pipe the drip around the edge of the cake.
- Decorate the cake with the remaining pink buttercream as desired!
Video
Notes
- Make sure all your ingredients are room temperature. Remember, baking is a science and temperature of your ingredients is one of the most important things you can do to make a successful cake.
- Using a kitchen scale to measure your ingredients is very important for a successful cake. All ingredients (dry and liquid) are measured the same. No measuring cups!
- I use this brand of edible gold powder for a very shiny gold drip.


Brooke says
How many cups would 8oz be? Thanks
The Sugar Geek Show says
Please use a scale for measuring or the recipe may not turn out and all those ingredients wasted 🙂 A scale can be purchased at most grocery stores for less than $20
Renee L says
Great Recipe! Love it.
Simone says
Can I use confetti sprinkles? I’m making this cake this weekend?
Jennifer says
Hi, Liz! What would be your thoughts on using the reverse creaming method for this cake?
The Sugar Geek Show says
I only use the reverse creaming method for certain cake recipes that are formulated for it already, it's not something interchangeable with any recipe
Marsha says
Will this make a 3 layer 6 inch cake?
The Sugar Geek Show says
yes
Shasta Franklin says
I just made this cake for my son’s birthday party and it was a huge hit! Thank you! Can’t wait to try another recipe.
The Sugar Geek Show says
Yay I am so glad to hear that!
Kelley says
Hello!
In your description you stated you can use either jimmies or nonpareils, but I just saw in your comments you stated not to use nonpareils. I have a huge bag of nonpareils I was hoping to use for this cake, but now I’m not sure they will work. I have not had luck with funfetti cakes. The sprinkles always sink to the bottom.
Thank you so much!
Kelley
The Sugar Geek Show says
Oops that is my mistake, I have used nonparils but they tend to kind of dissolve. I mix in the jimmies at the end and then sprinkle a few on top of the batter as well. I hope that helps
Vanessa H says
Hi Liz can you tell me the brand of rainbow jimmies u use? I live in Saudi Arabia and the ones I find here jus desintegrate in the cake leaving no color. If you tell me I can order from amazon or buy them where ever u tell me. Thank u in advance. Kisses from de desert ?
The Sugar Geek Show says
Make sure they are the jimmies (long and skinny) and not the pariels (round) https://www.amazon.com/Chefs-Select-Decorative-Rainbow-Sprinkles/dp/B0164DFK6A/ref=sr_1_3_a_it?ie=UTF8&qid=1531626417&sr=8-3&keywords=rainbow%2Bjimmies&th=1
Diem says
Hi Liz! Just wondering if I should use cake flour or AP flour cause I’m video you used cake flour but written recipe says AP flour. Thanks.
The Sugar Geek Show says
Sorry about that, the written recipe is correct
Darlene hutson says
Delicious and perfect crumb.
Amy P says
This is one of my favorite cakes, so fun and delicious!!?
Brenda J7armusz says
One of my grandsons very favorite cakes.
The Sugar Geek Show says
Thanks brenda!
Daniella says
Such a fun cake to make! Made it with my daughter. She had fun with the sprinkles!!
Andrea says
Fantastic yummy and darling
Stephanie says
I LOOOOVE this recipe!!!