




Show some love with these heart-shaped cookies and make the perfect treats for valentine's day! The dough is one of the most simple recipes that I love to use for almost every holiday. The dough comes together quickly and the decorating is so simple. These are fun cookies to make with your kids too!
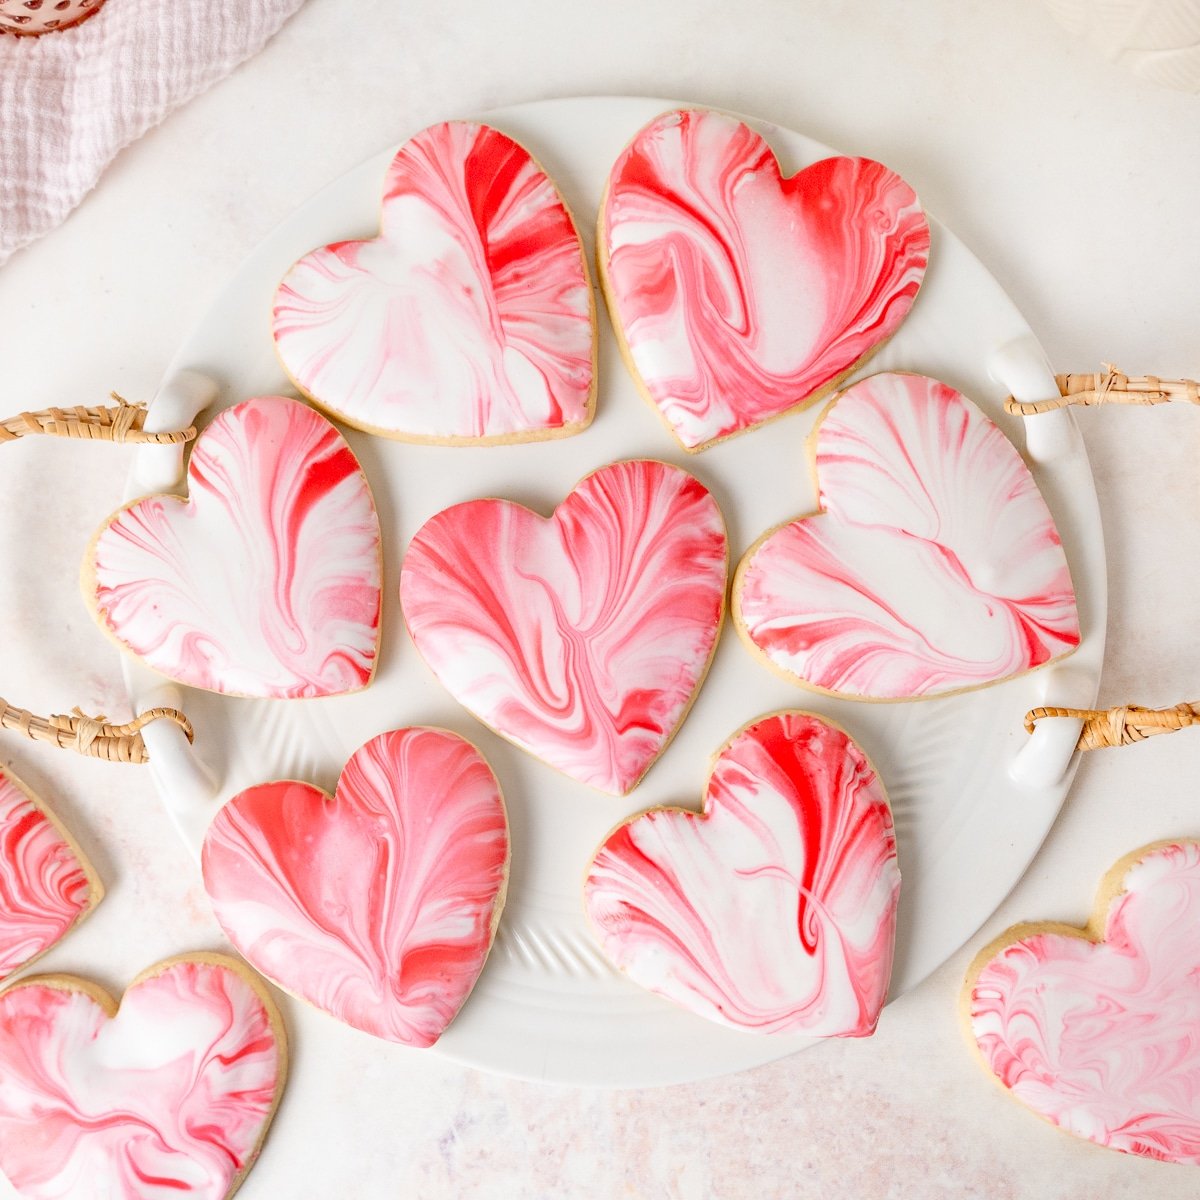
This sugar cookie recipe is so good and so easy! If you've never used a piping bag or made your own royal icing, the idea of making beautiful, decorated cookies can be complicated. We created a cookie design that even beginner decorators and kids could do easily. These simple marbled heart cookies are a great introduction to cookie decorating, they don't require any special supplies or equipment (no pastry bag necessary) and require very little time.
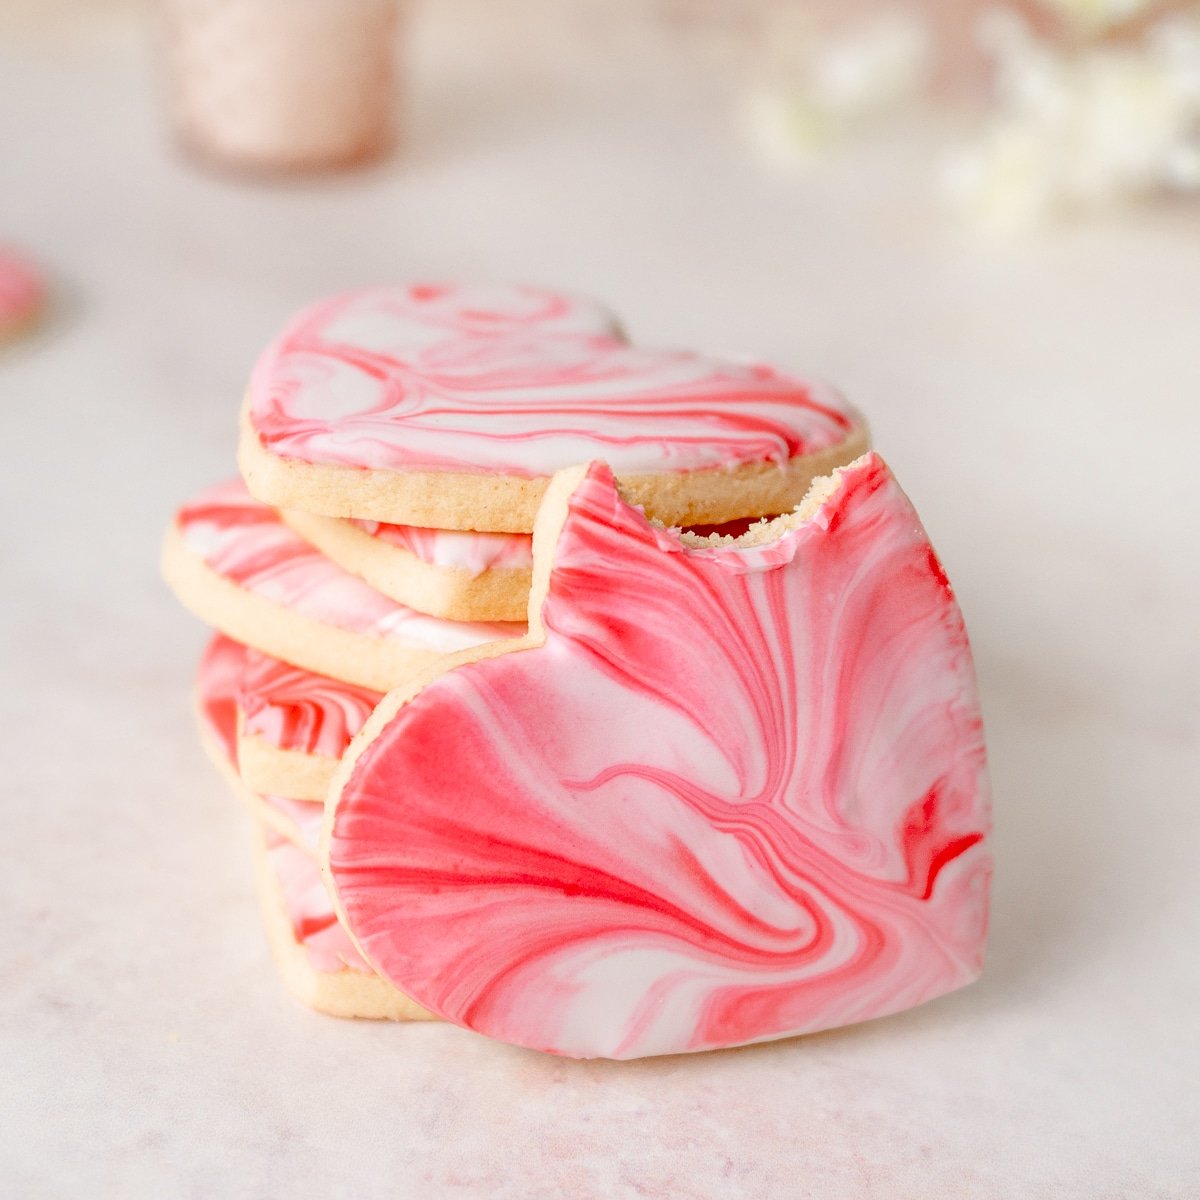
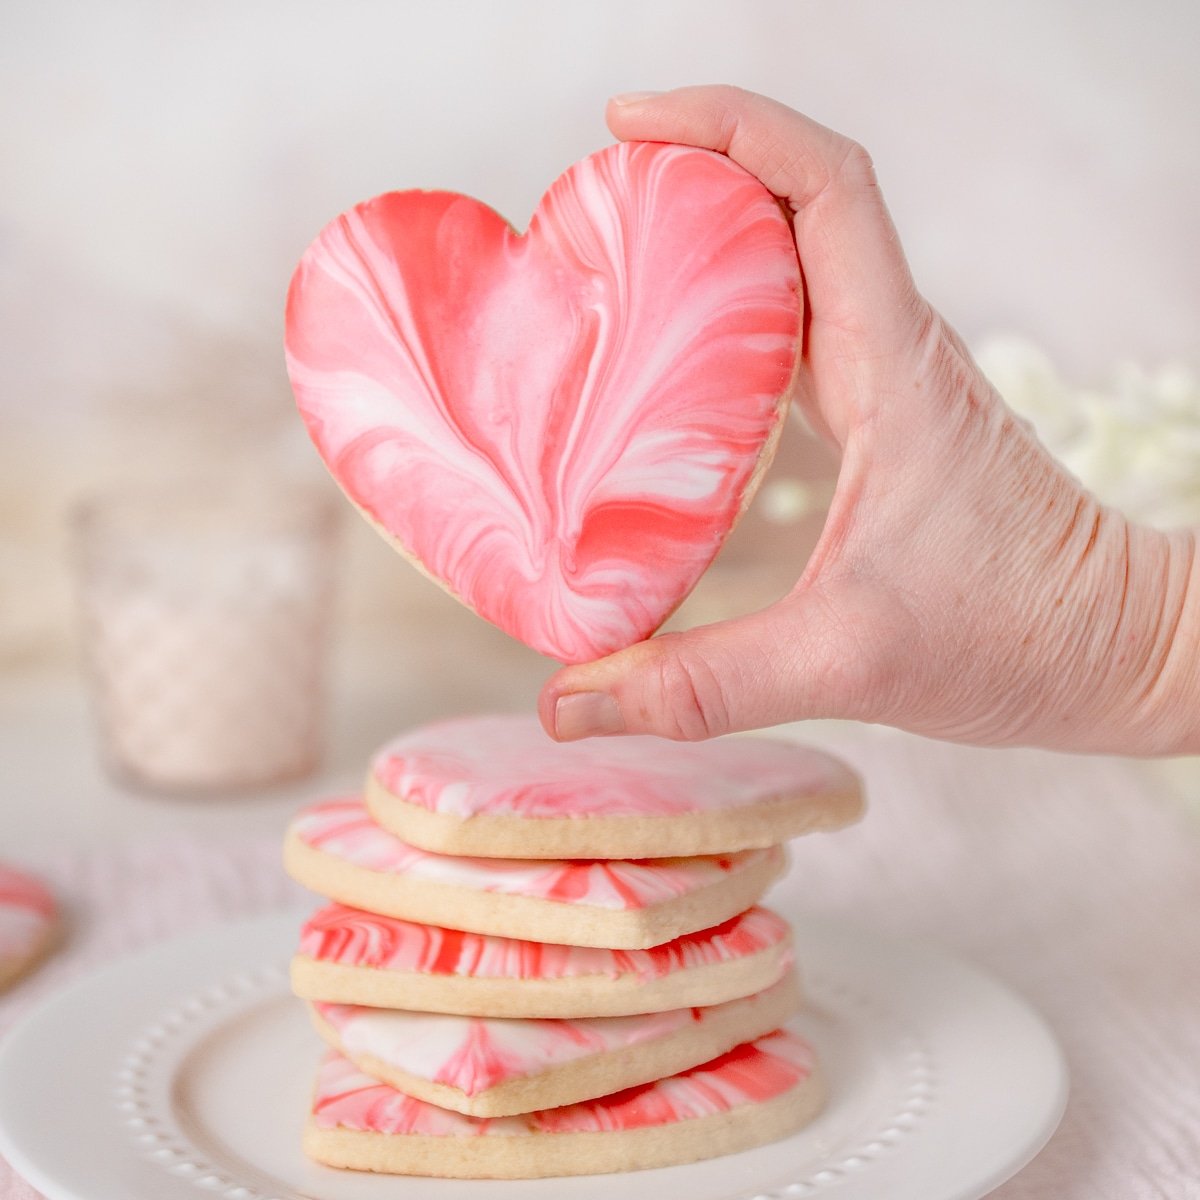
I love using it for these heart sugar cookies, which can be decorated in so many ways. We made 2 colors of pink although you can color the dough or add festive sprinkles, but I am in love with the marbled look of the royal icing. You can use any combination of colors you'd like, or even cut the cookies into a completely different shape. We love this heart-shaped cookie cutter, but with this simple technique, you can make orange marbled pumpkins for Halloween or green marbled clovers for St. Patrick's Day. These are fun festive treats all year. The best part is, it doesn't take a lot of practice or skill to make an impressive professional looking cookie, and they taste so much better than anything you will buy in a clamshell at the store!
What's In This Blog Post?
Ingredients
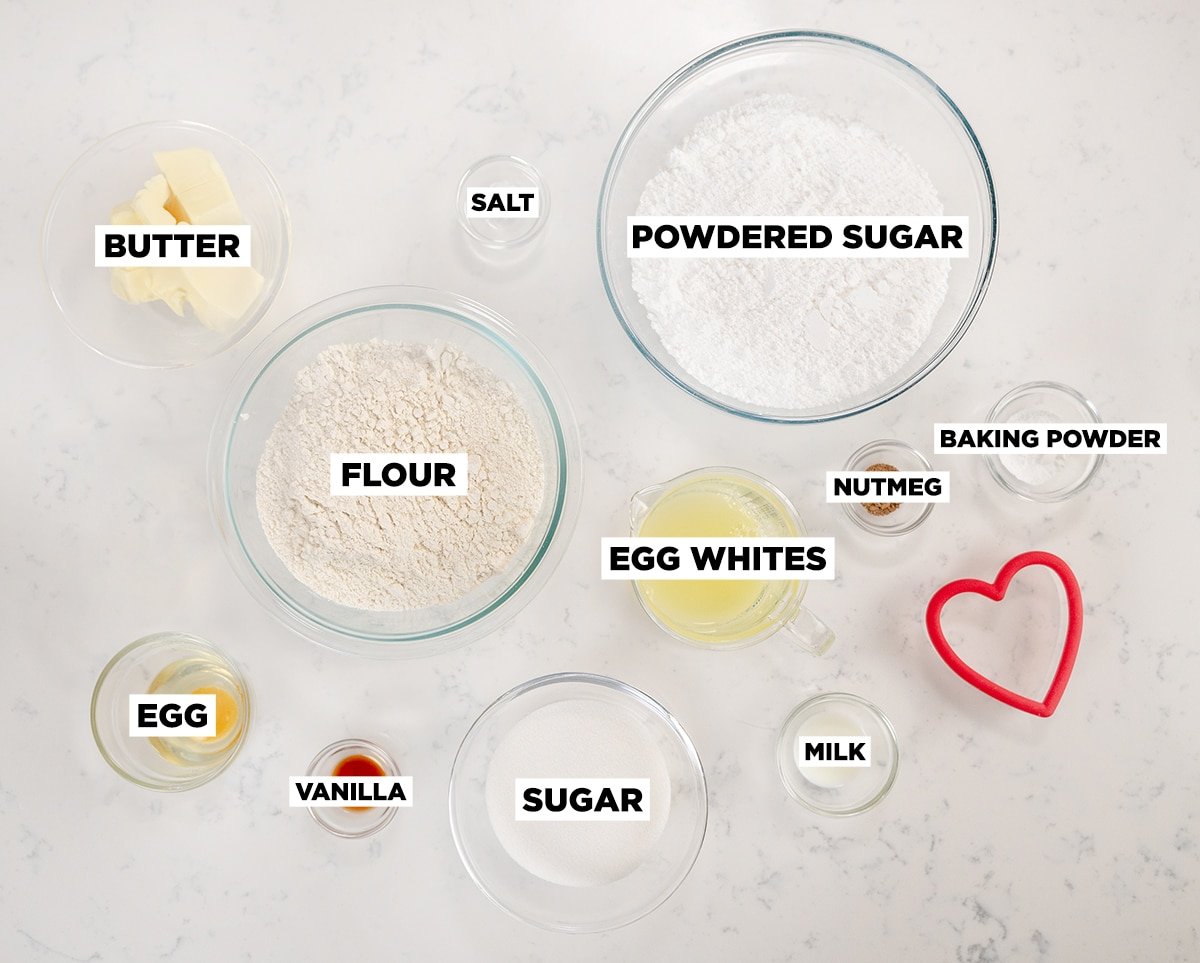
Making the Sugar Cookies Step-By-Step
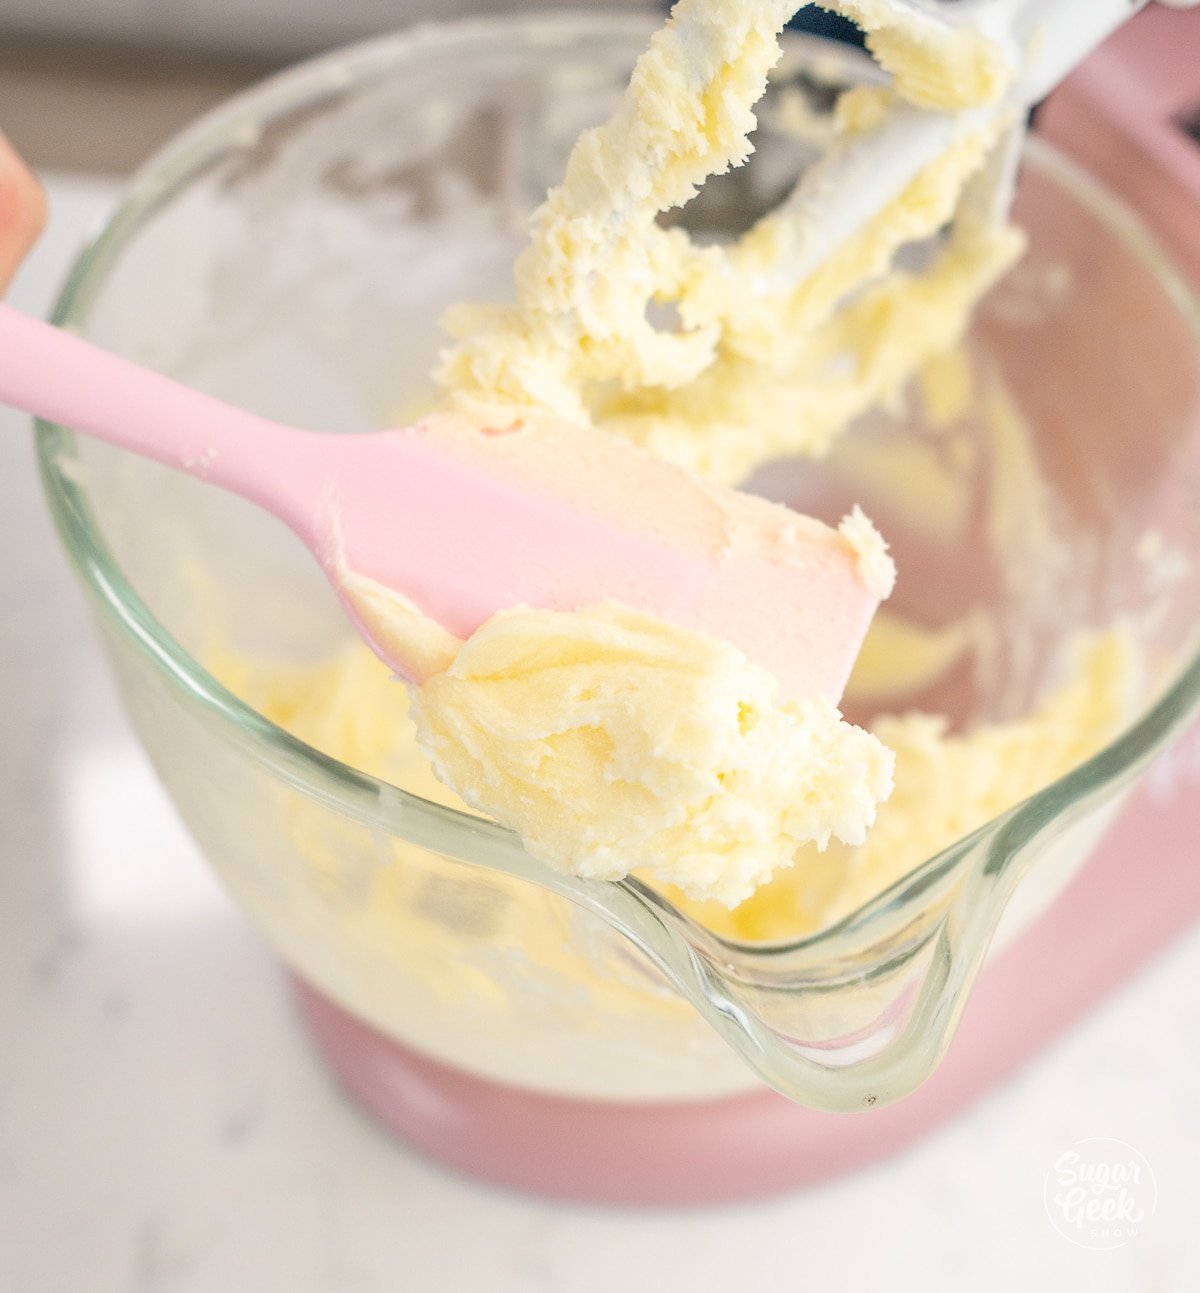
- Place room-temperature butter and granulated sugar in the bowl of your mixer with the paddle attachment and mix on low until smooth. The creamed butter should be fluffy and pale yellow in color. Make sure to scrape the bottom of the bowl.

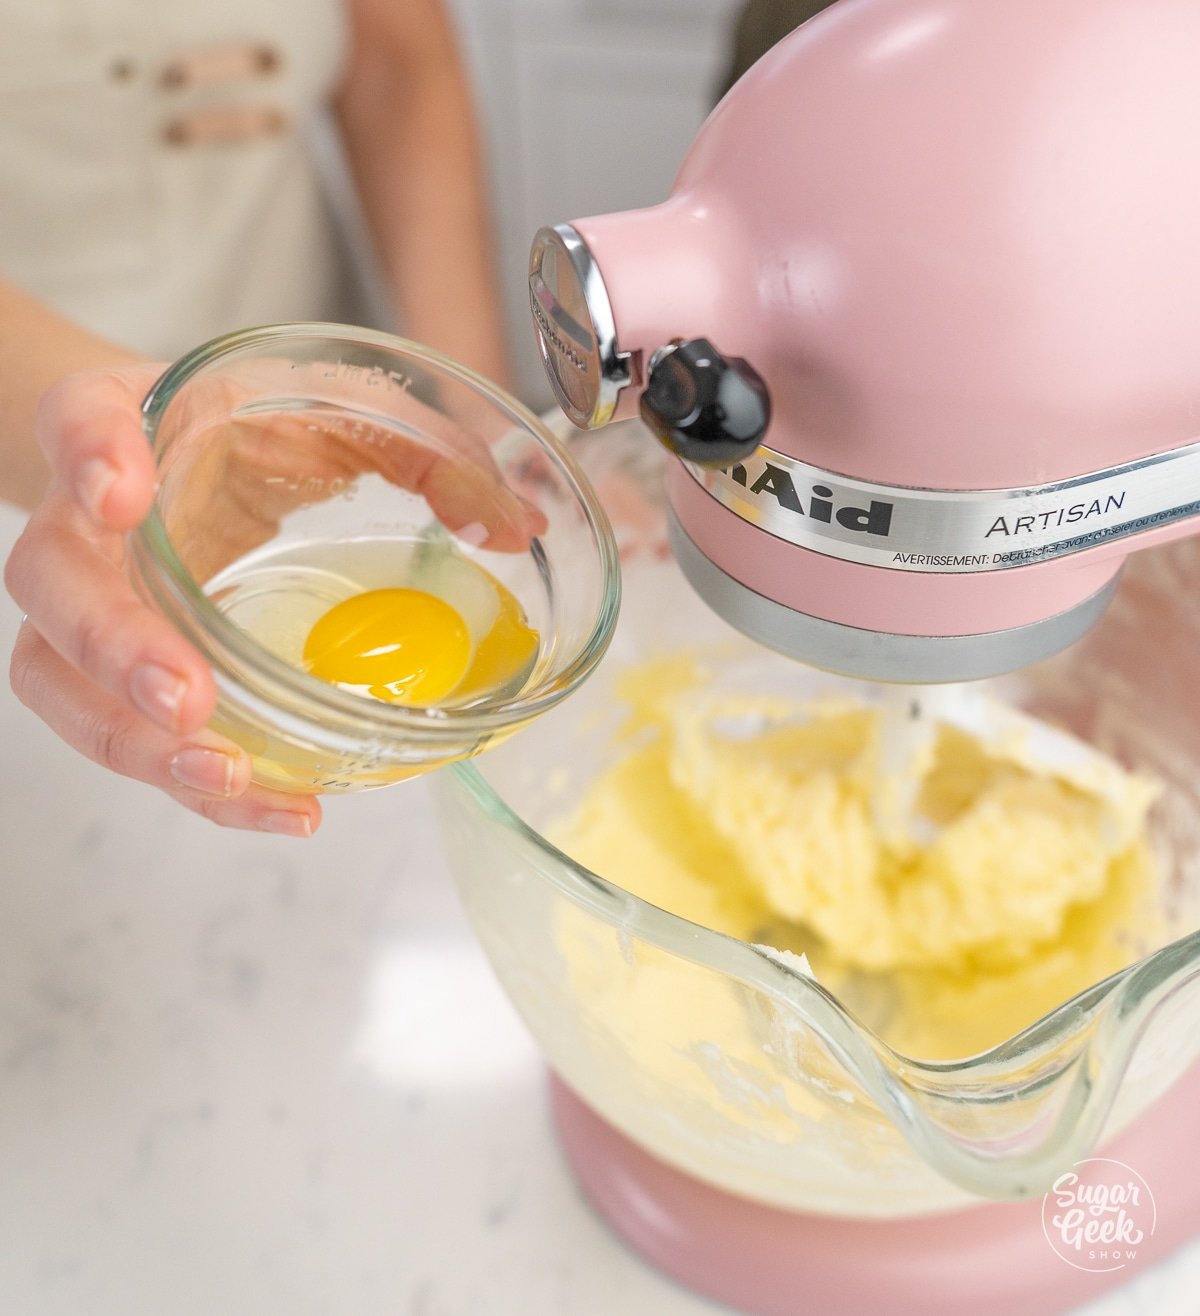
- Add the egg and mix on medium (4 on Kitchenaid mixer) in a stand mixer until fully incorporated. Scrape the bowl when necessary to make sure the egg incorporates.

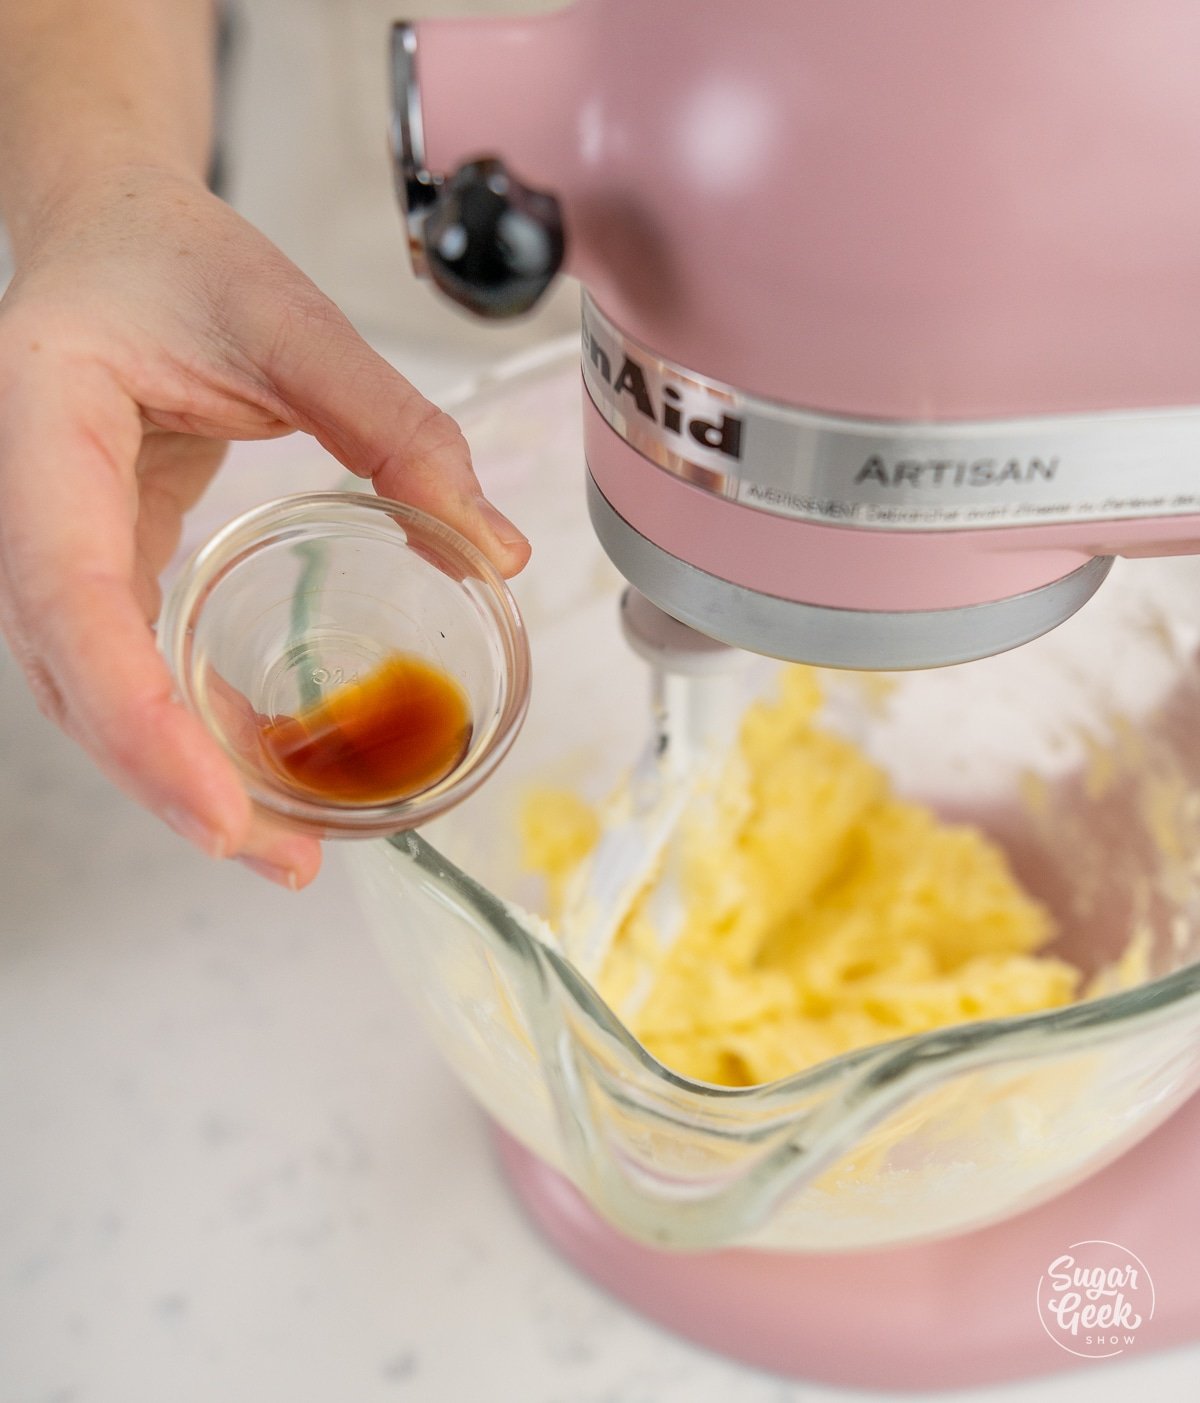
- Add the vanilla extract. Mix until just incorporated.

- In a separate large bowl, whisk the flour, salt, baking powder, and spice together.
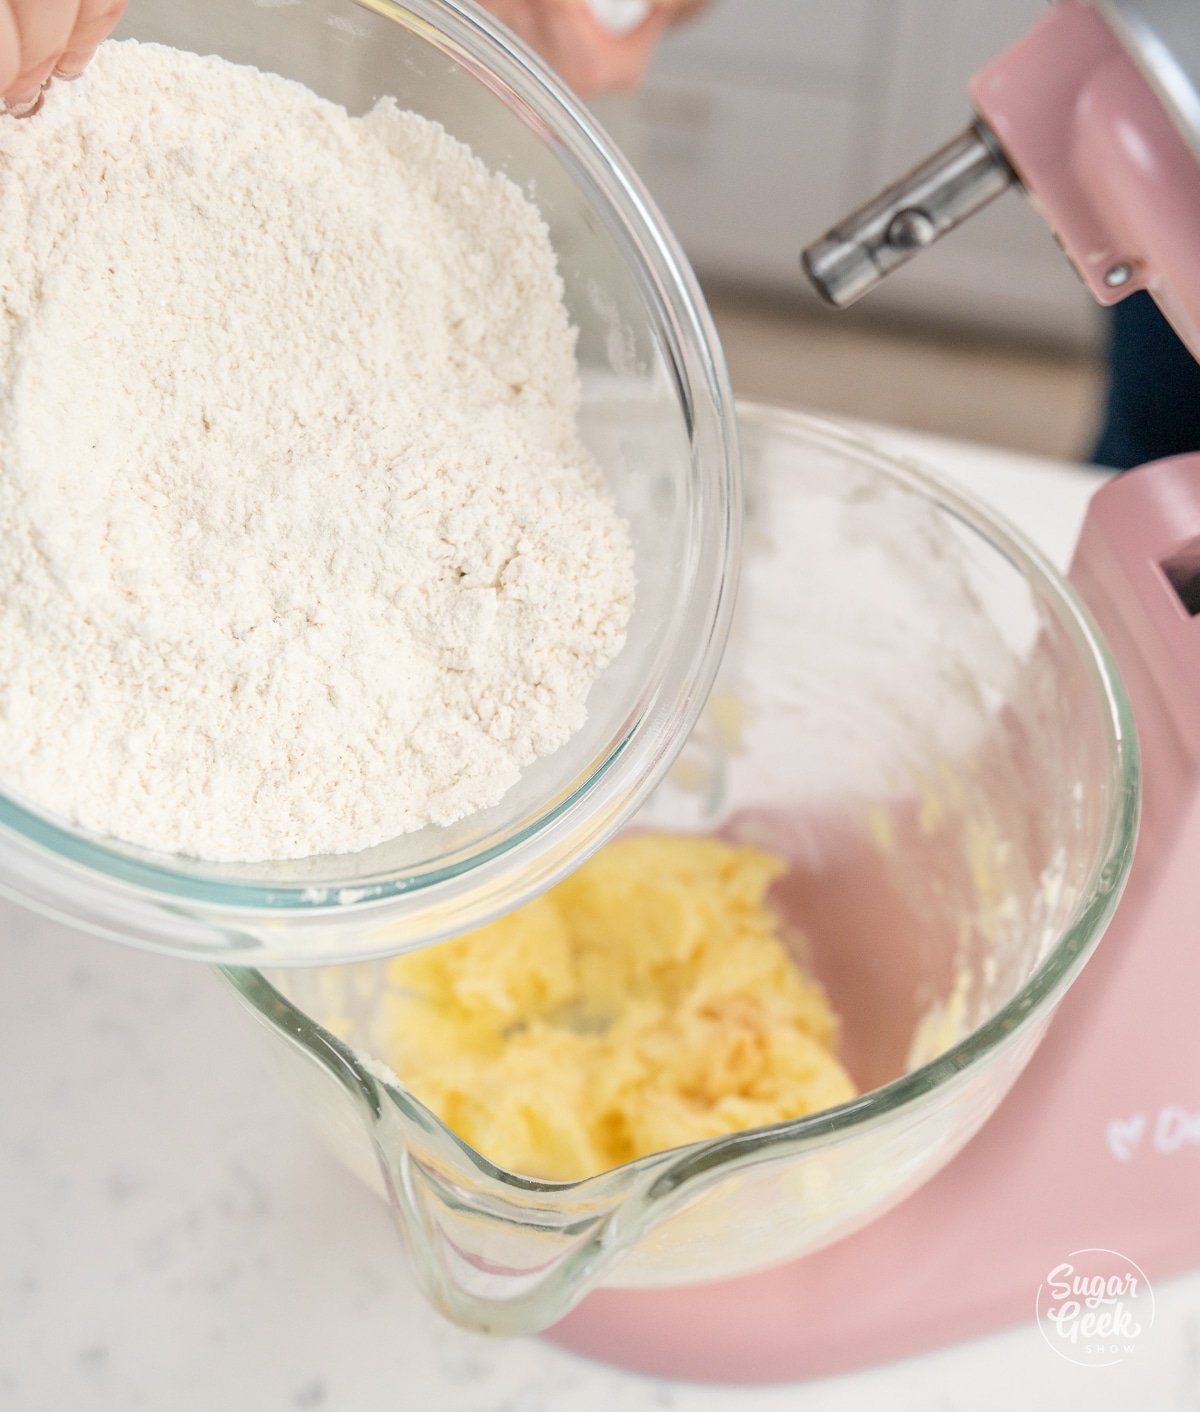
- Add the flour mixture into the dough with a scoop (about ⅓ of the total dry ingredients at a time) and mix until fully incorporated. Start the mixer on low until flour starts to incorporate, then turn it up to medium. Scrape the bowl as needed to fully incorporate.

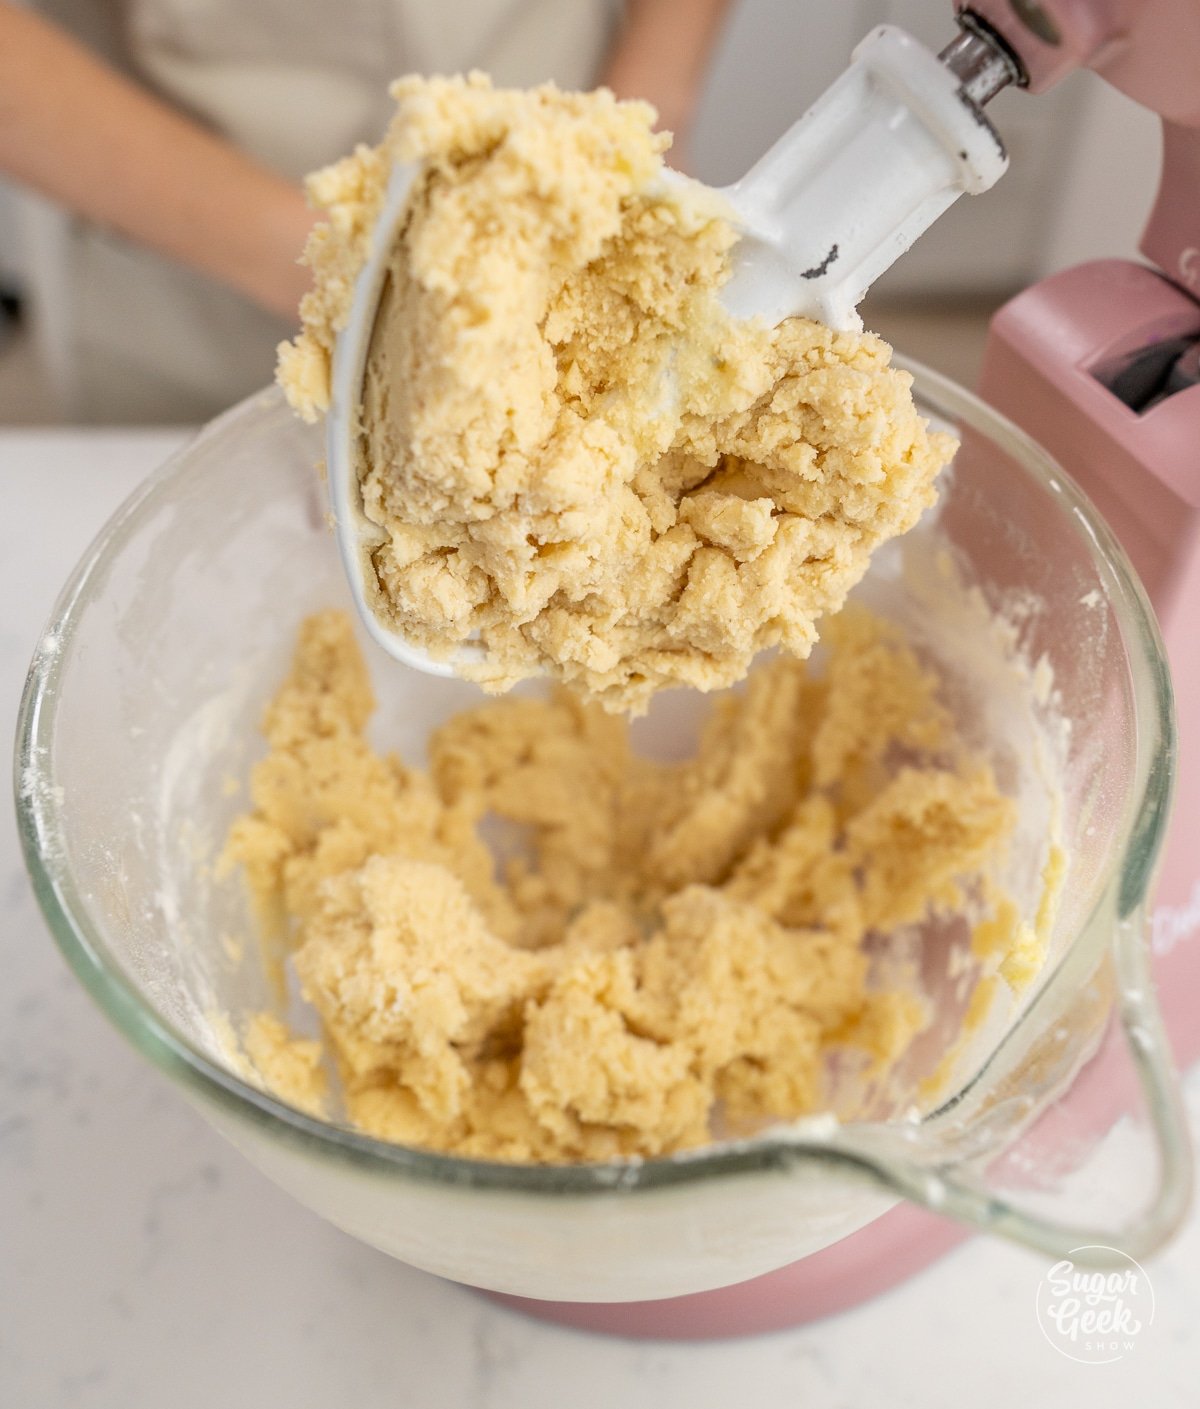
- Add the milk once the dry ingredients are fully incorporated. Continue to mix on low until the dough becomes a solid mass.

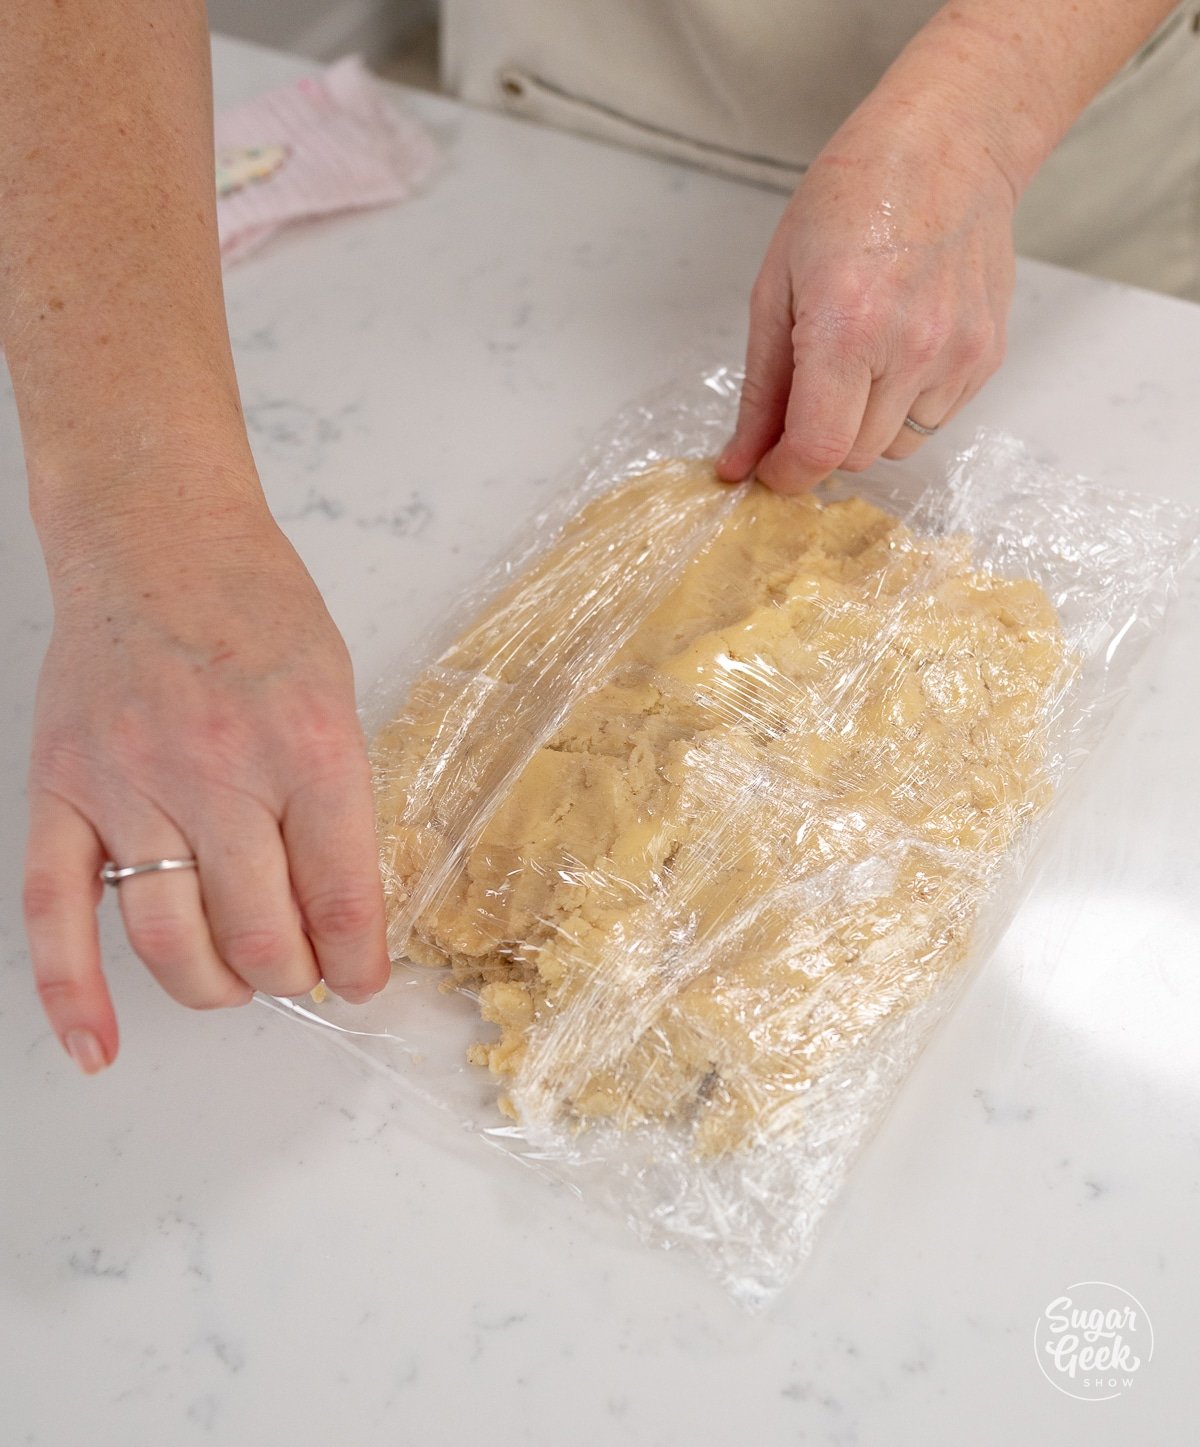
- Scrape out the mixer bowl and wrap up the sugar cookie dough in plastic wrap.

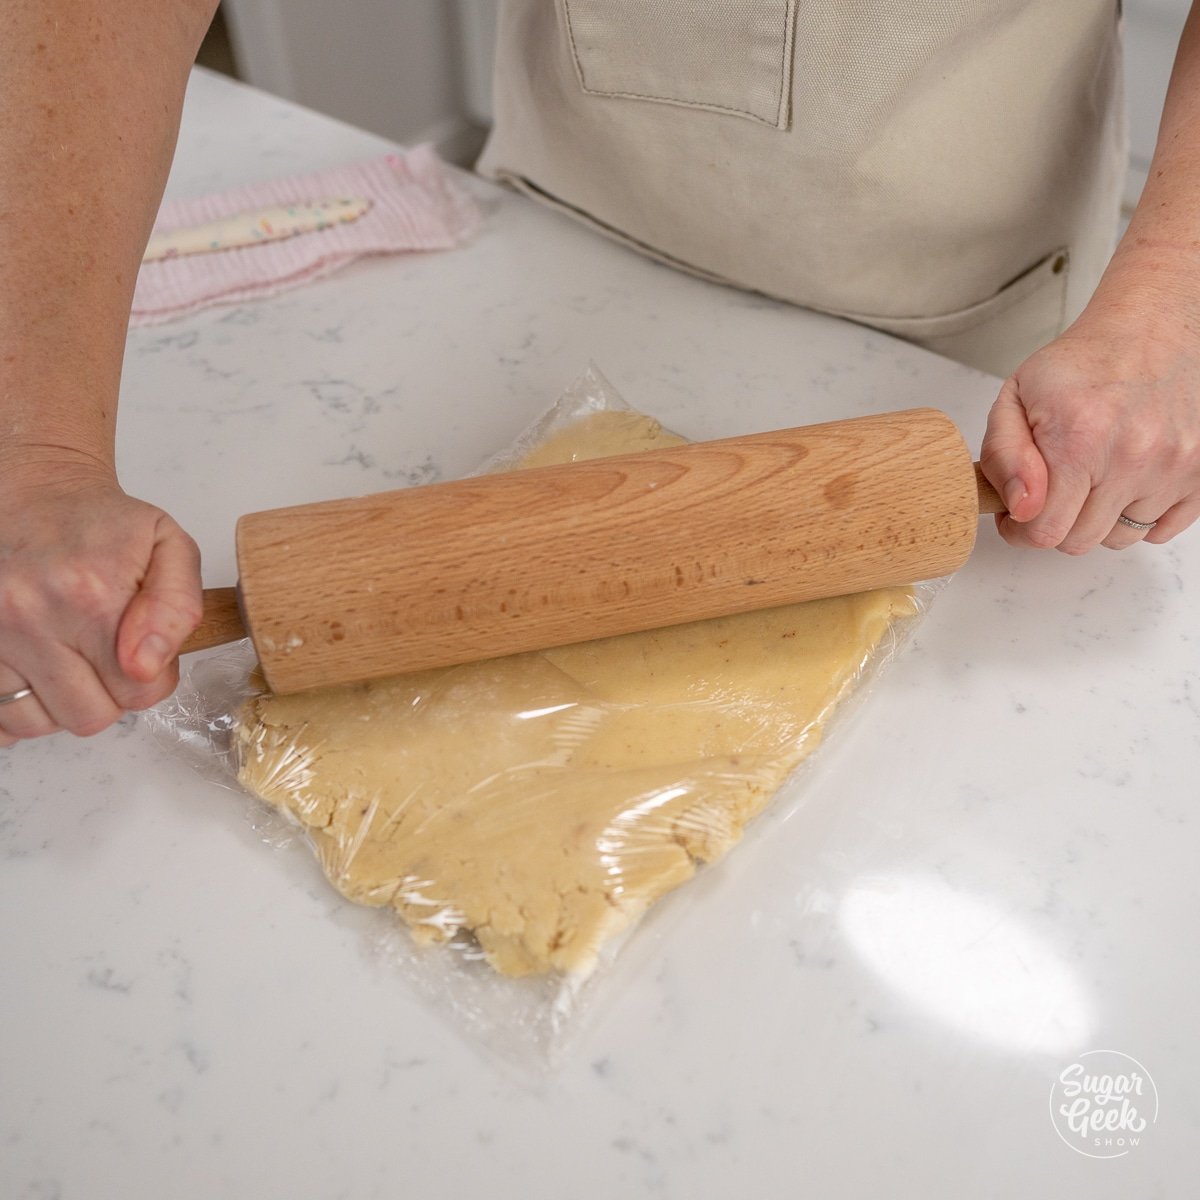
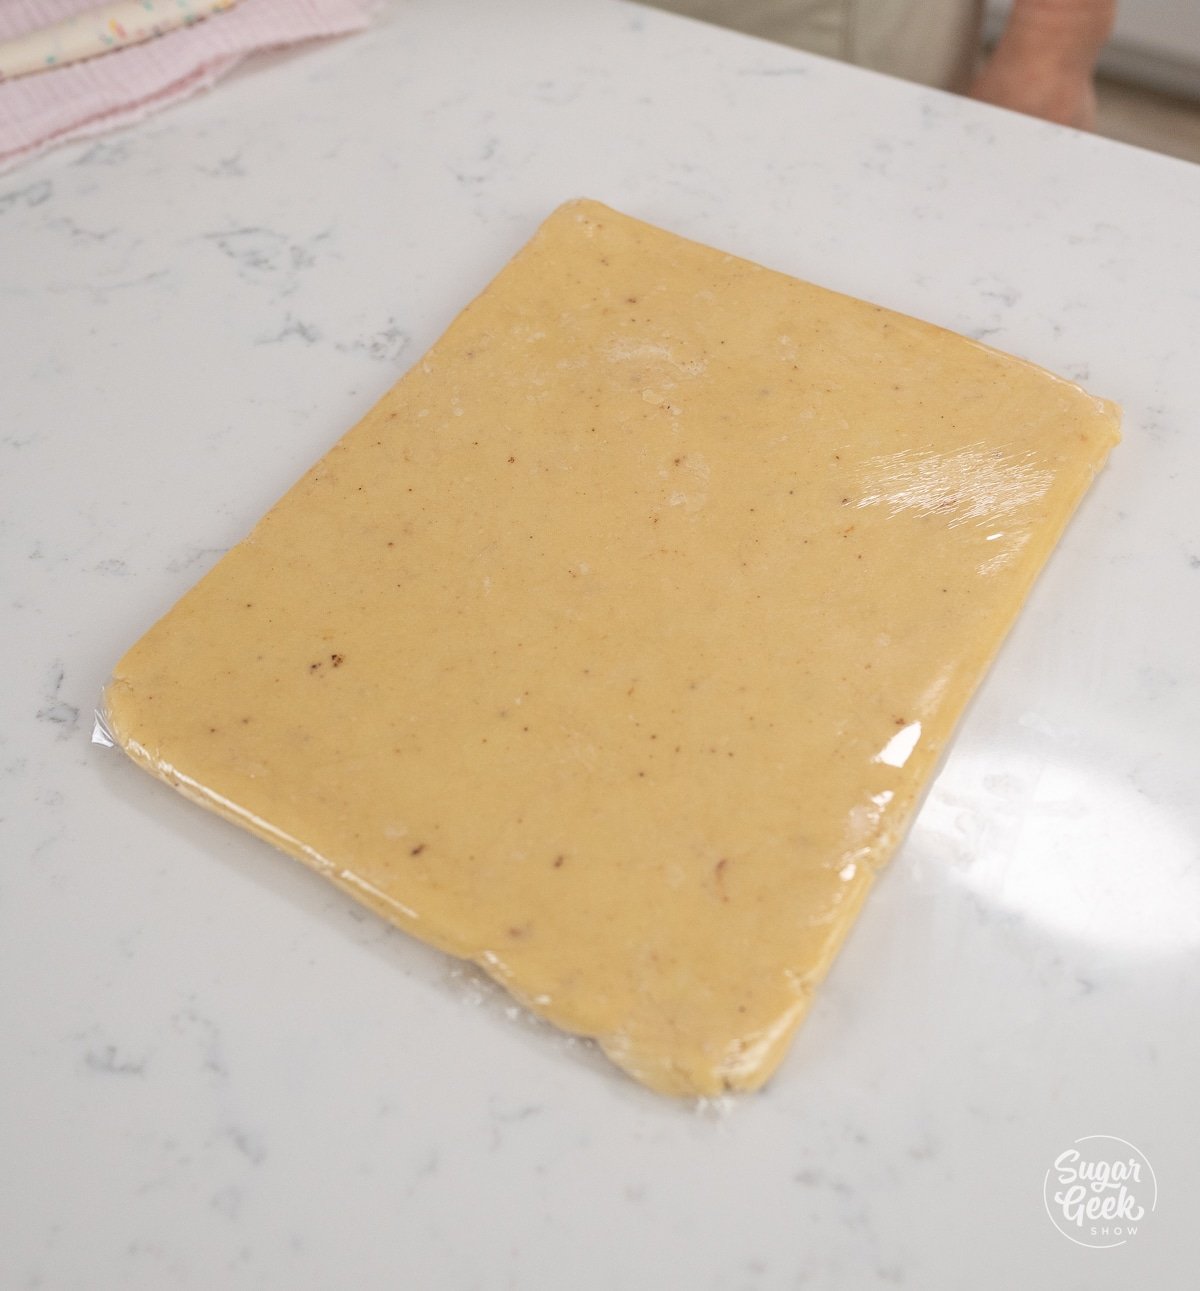
- Once the dough is wrapped in plastic, Take a rolling pin and roll the dough into a flat square. ( This helps the dough chill faster and more evenly).

- Place your dough in the fridge for about 20 minutes or until the dough is firm to the touch.

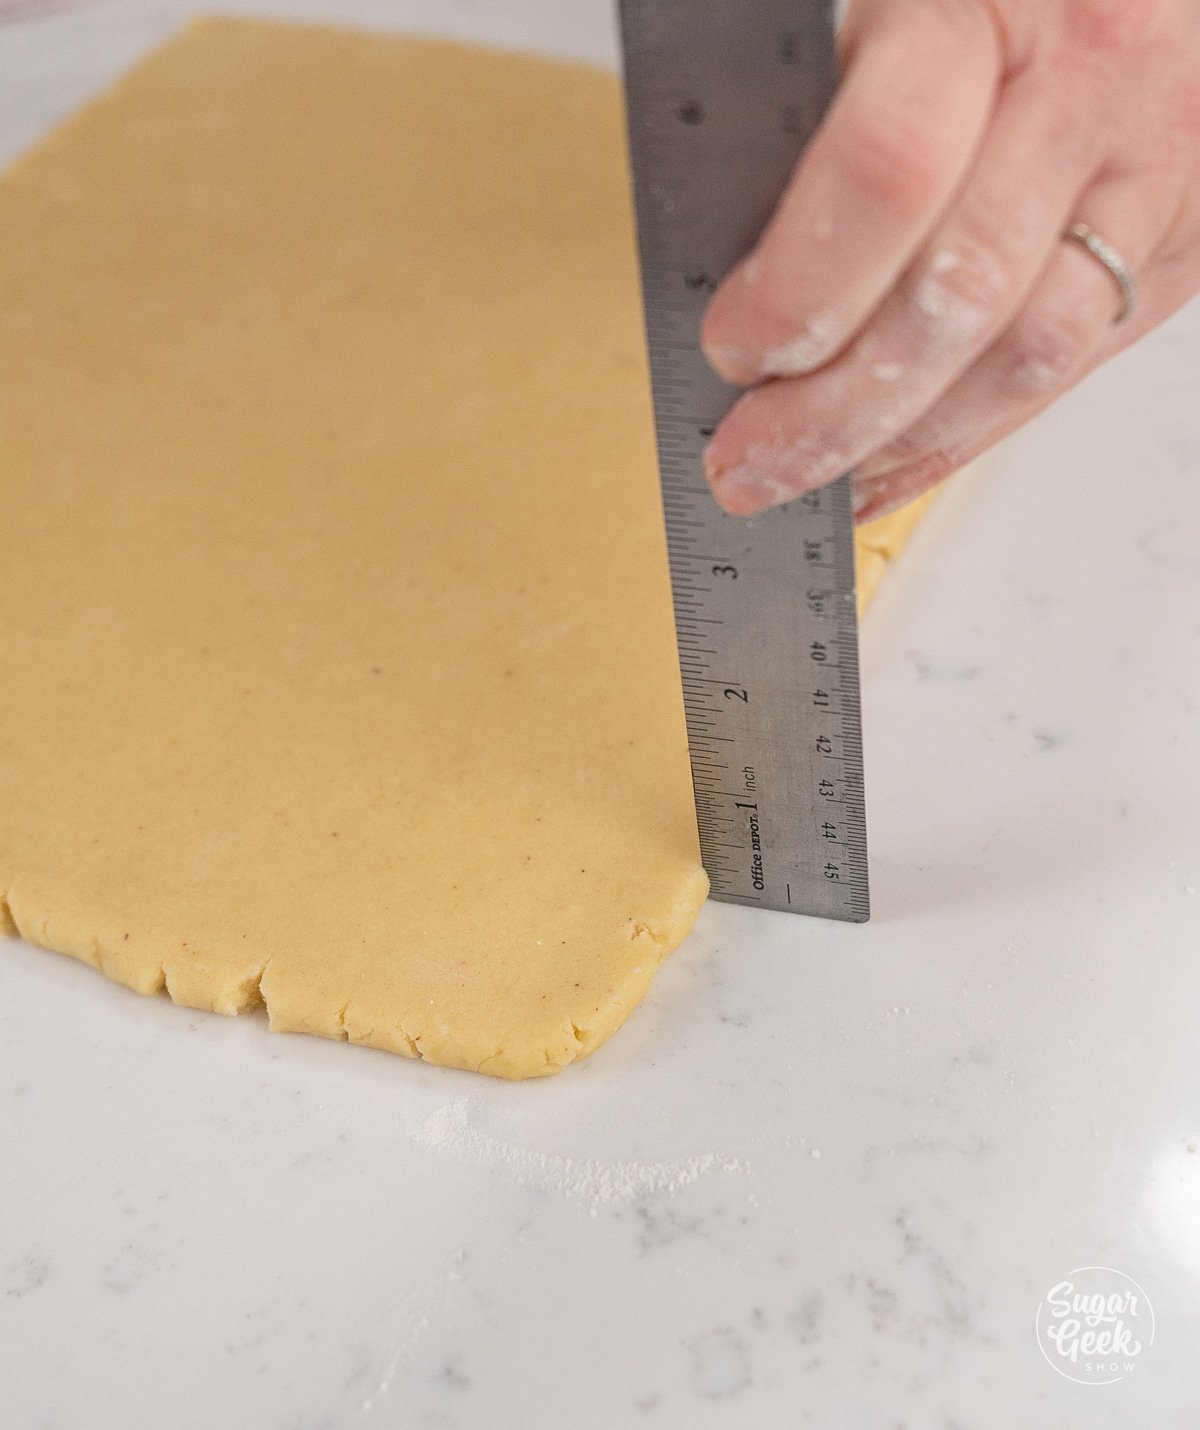
- Once the dough has chilled, knead the dough slightly and roll it out with a large rolling pin on a lightly floured surface, about ¼ inch thick.

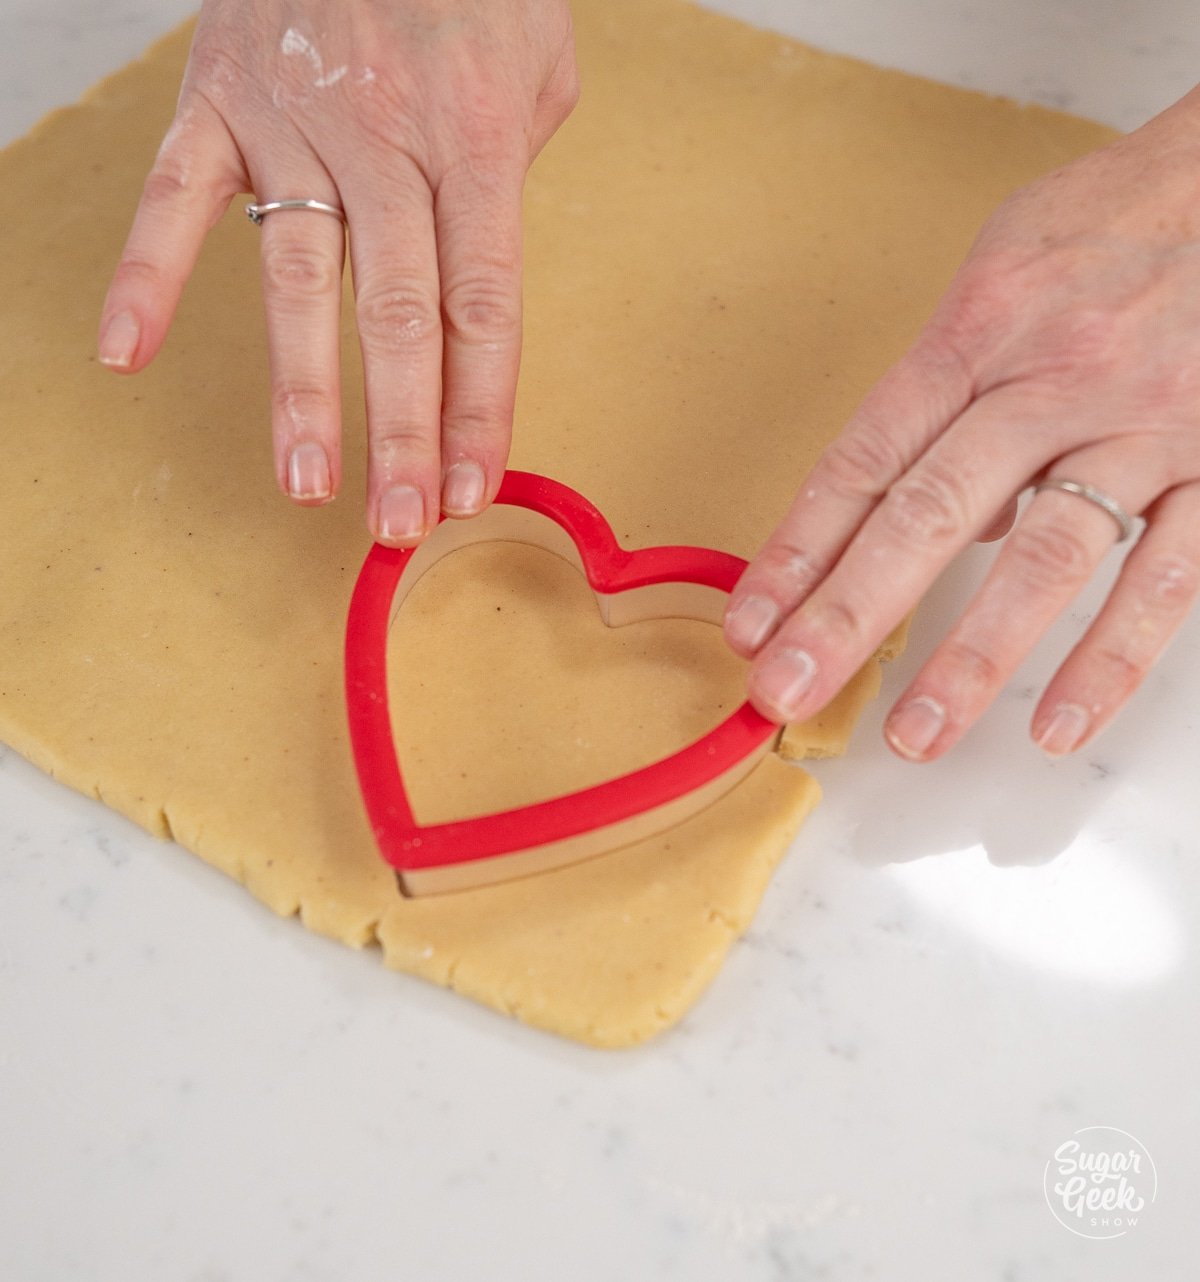
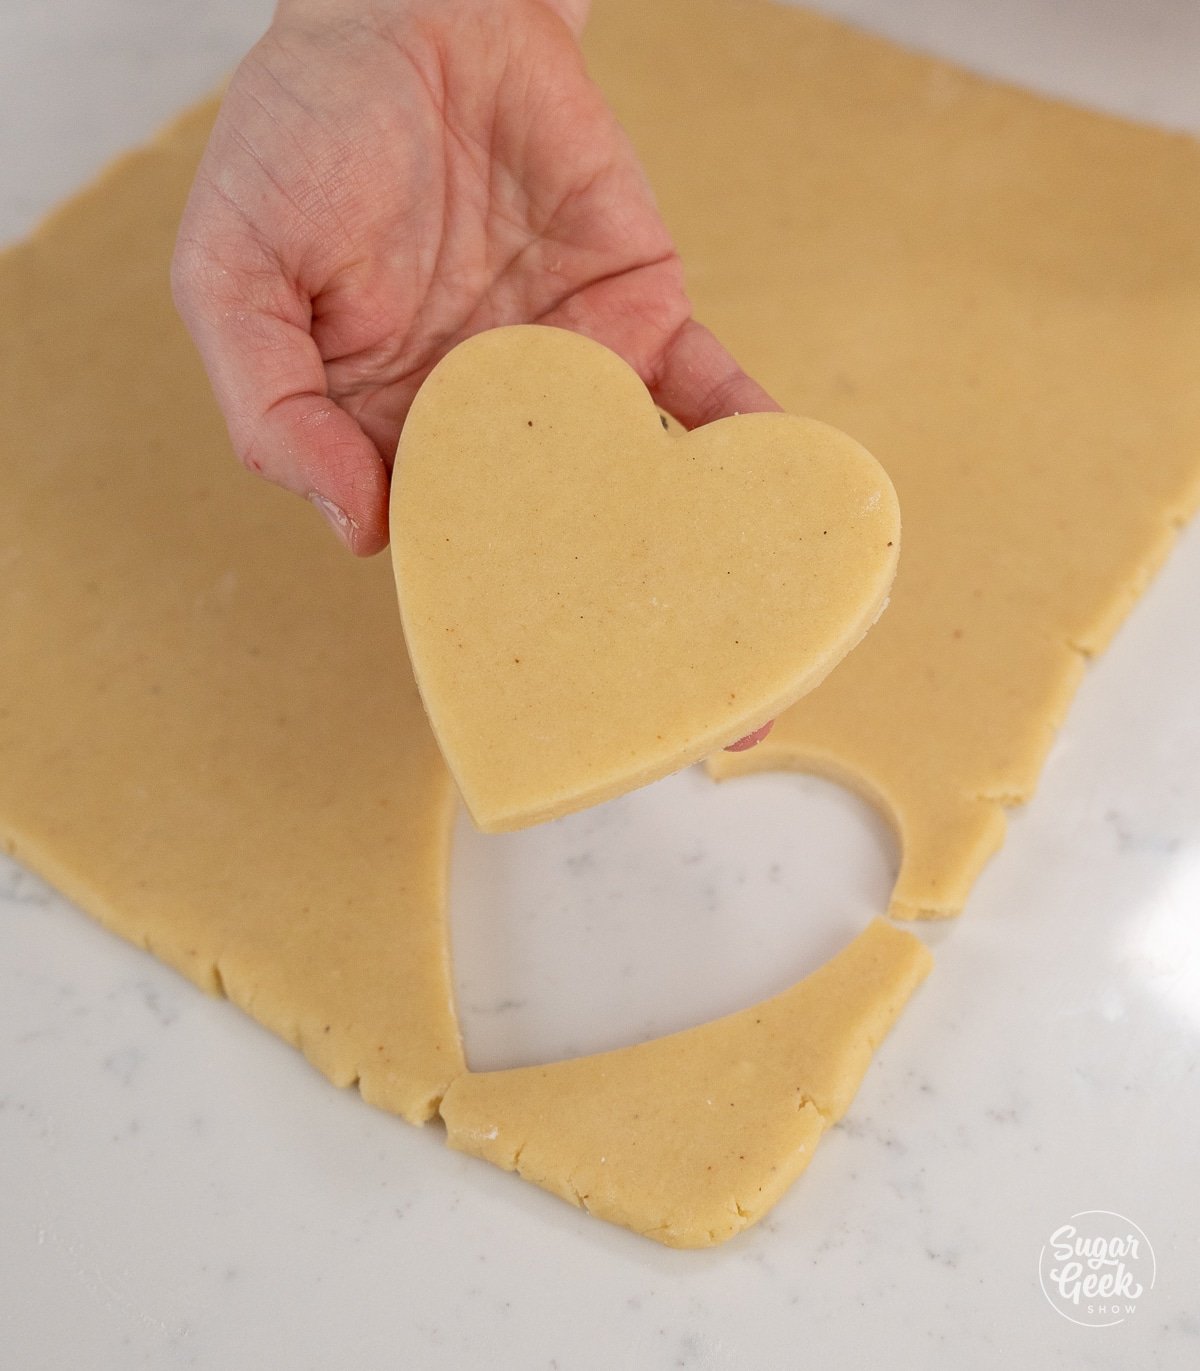
- Use heart cookie cutters to cut out uniform heart shapes. Keep the rolled dough chilled if you are not cutting and baking right away. The dough will be more challenging to work with the warmer it is.


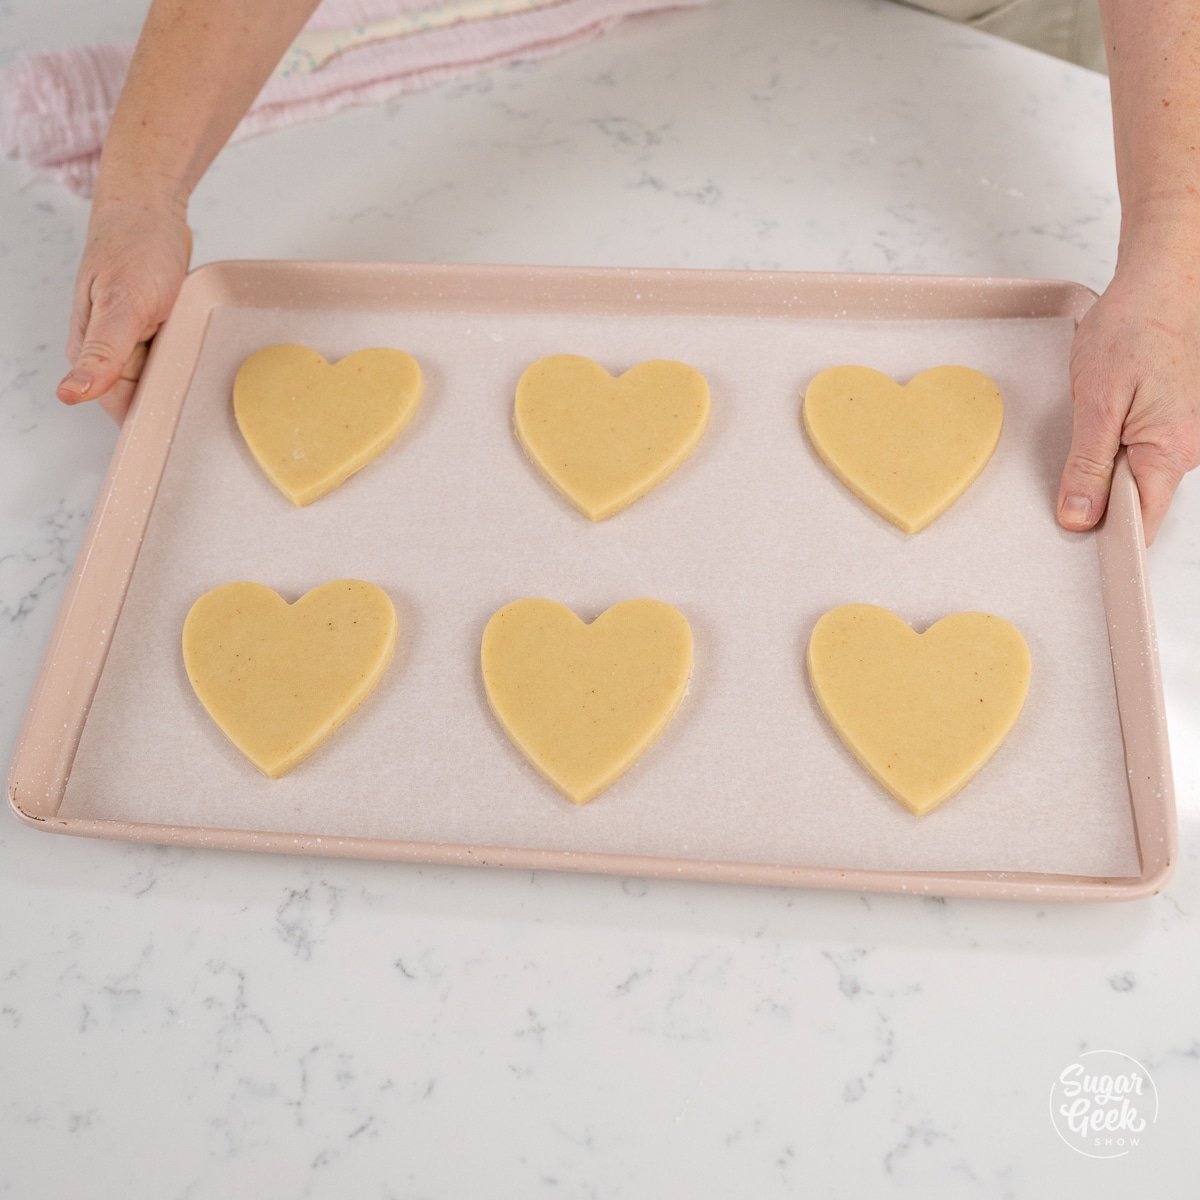
- Place the cookies on a baking sheet lined with a piece of parchment paper. Put the cookie sheet back in the refrigerator for 10-15 minutes to chill again. This will help them avoid spreading.
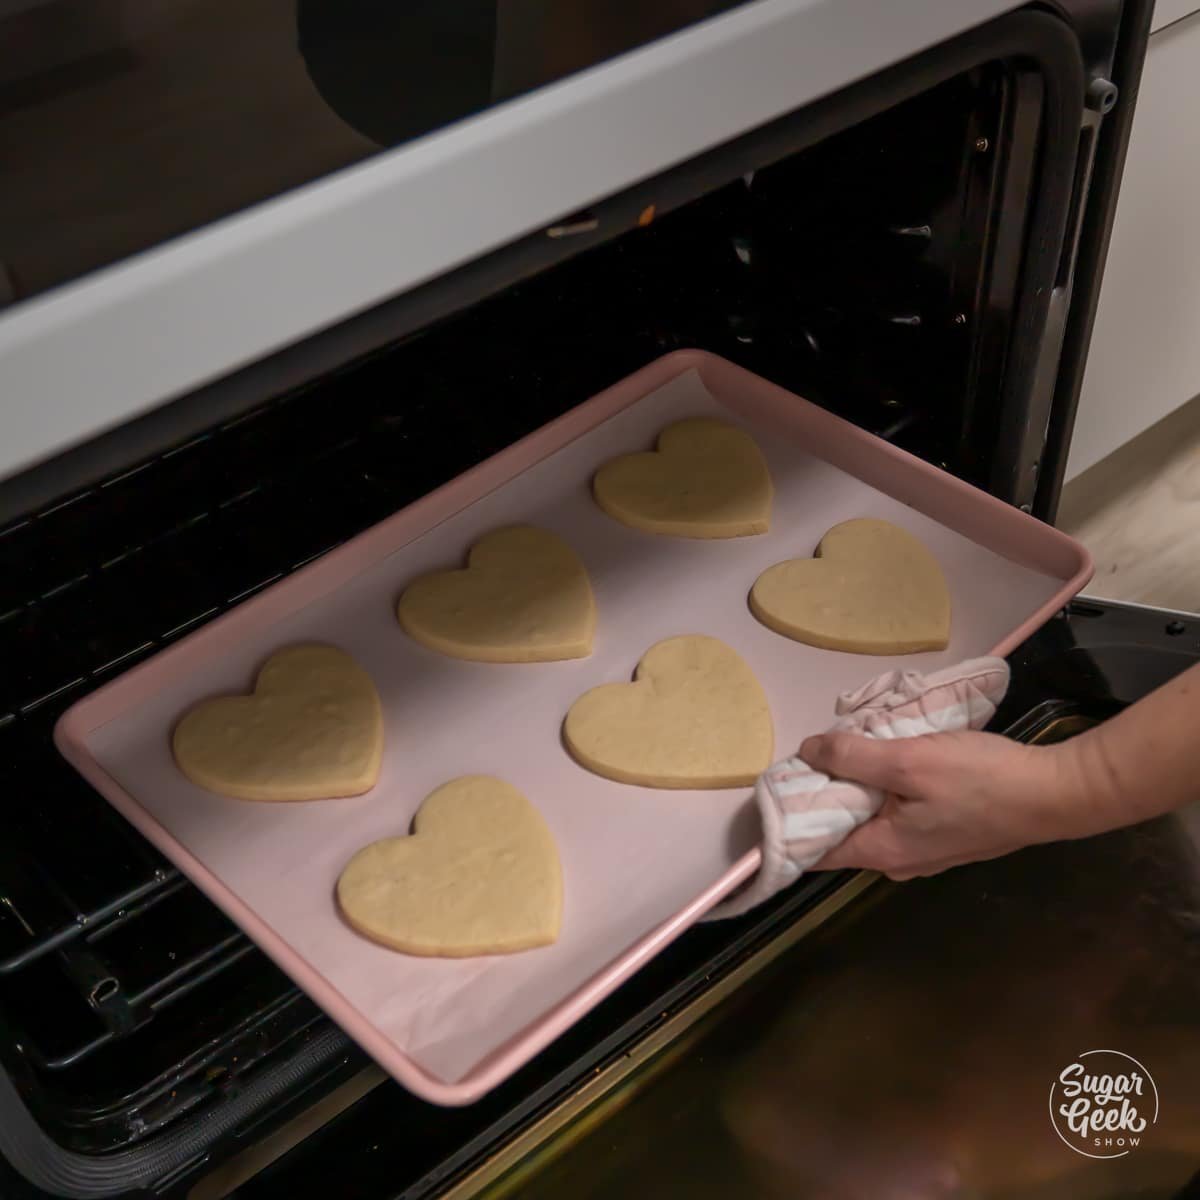
- Bake cookies at 350ºF for 10-14 minutes, the bake time is dependent on the size of the cookie. The heart shaped cookies will be slightly golden brown on the edge, but look done in the center.
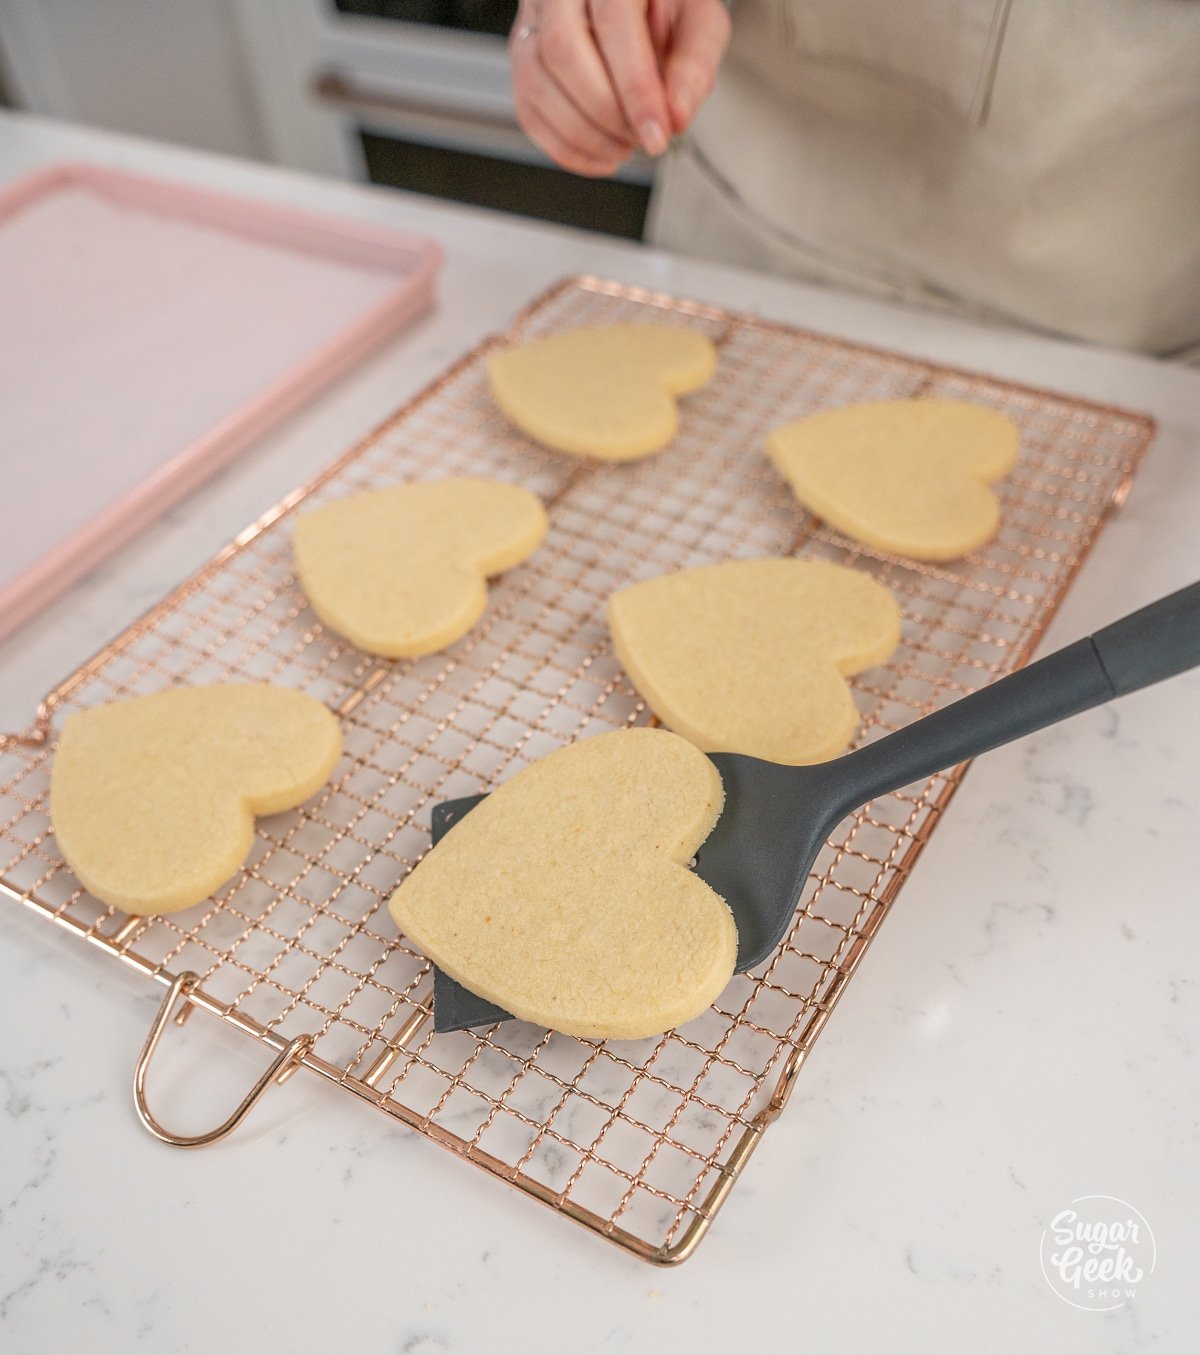
- Place the baked cookies on a cooling rack to fully cool before dipping them in the icing.

Making the Marbled Icing Step-By-Step
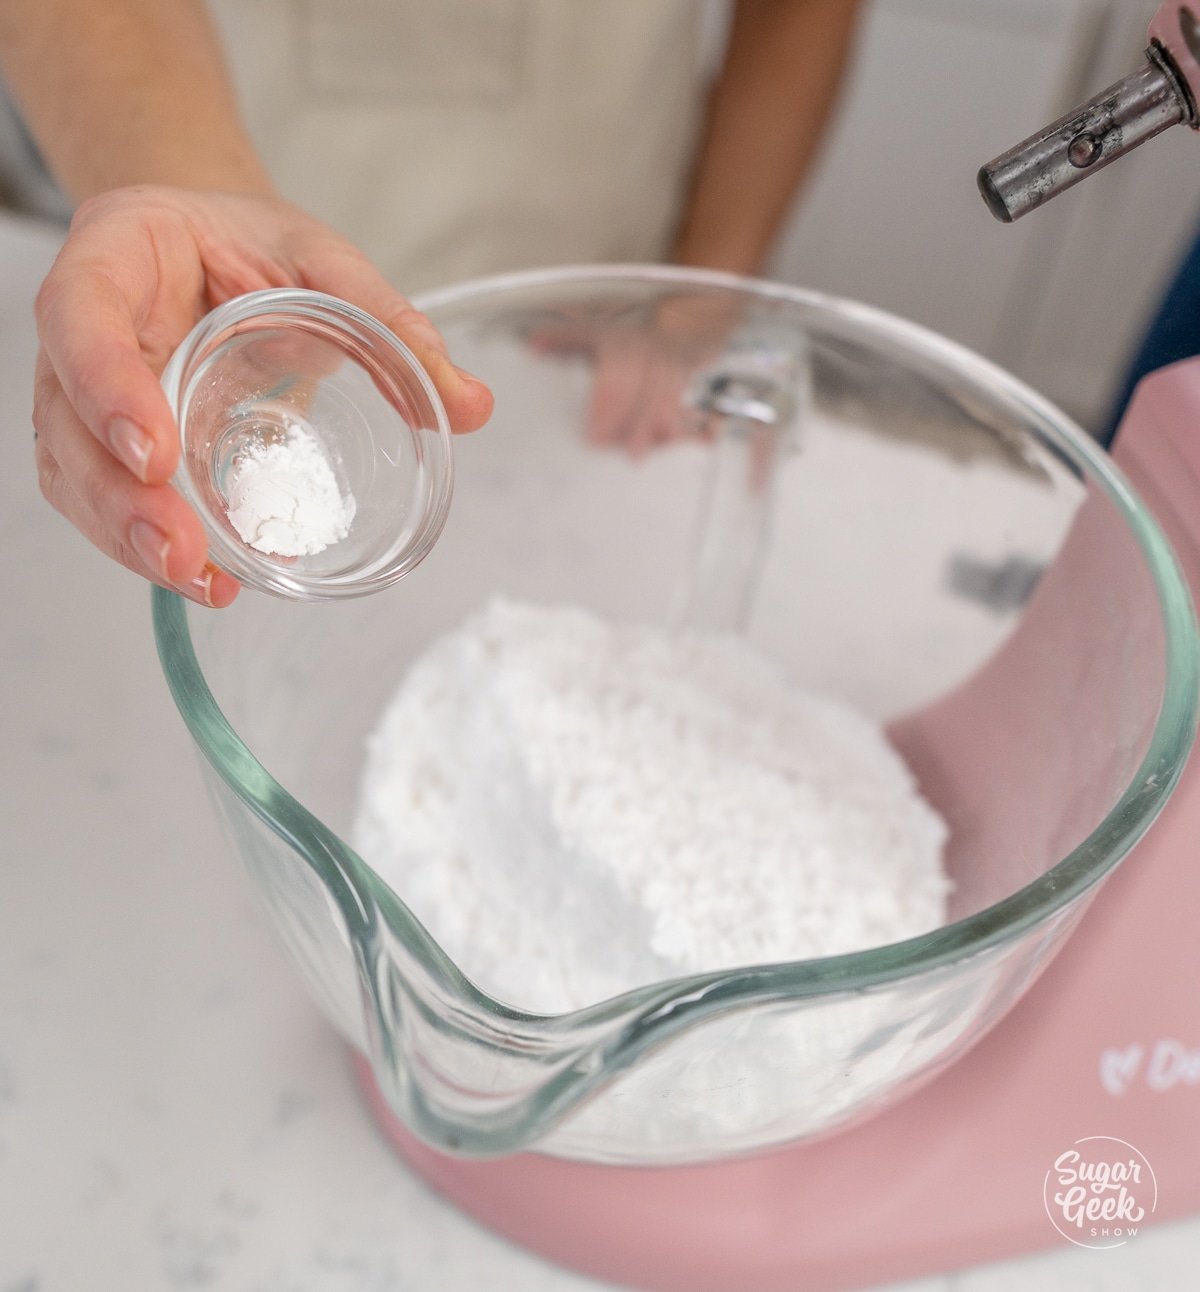
- Combine the egg whites, powdered sugar, and cream of tartar in the bowl of your stand mixer with the whisk attachment.

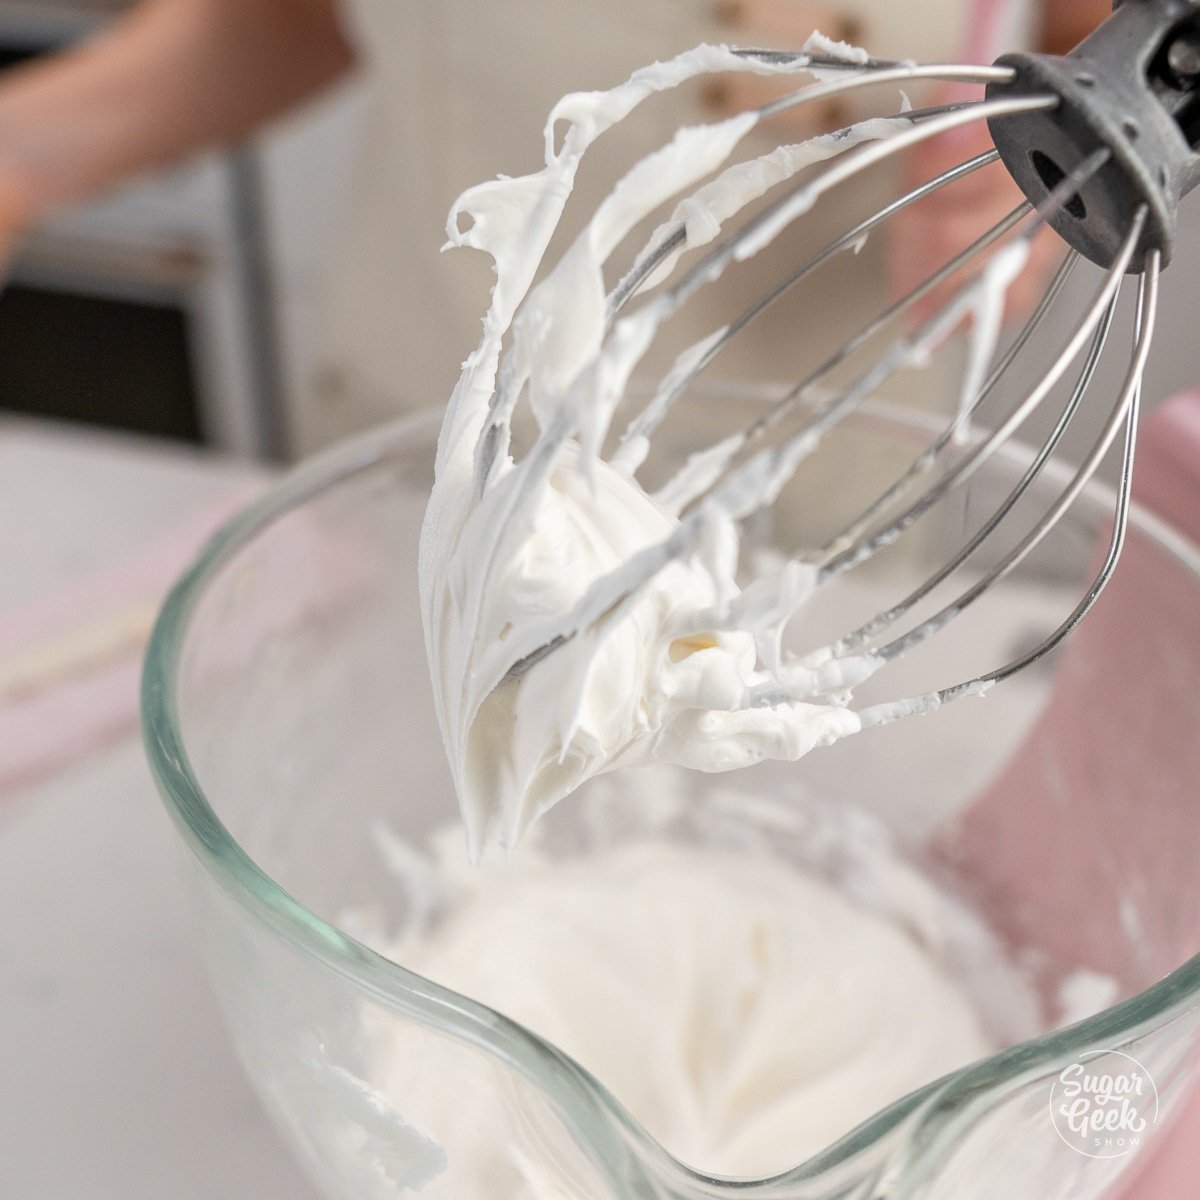
- Mix on low to get the ingredients combined then bump it up to high for 1-2 minutes. Add in the vanilla extract and whip until it's white. No need to mix for longer than 5 minutes.
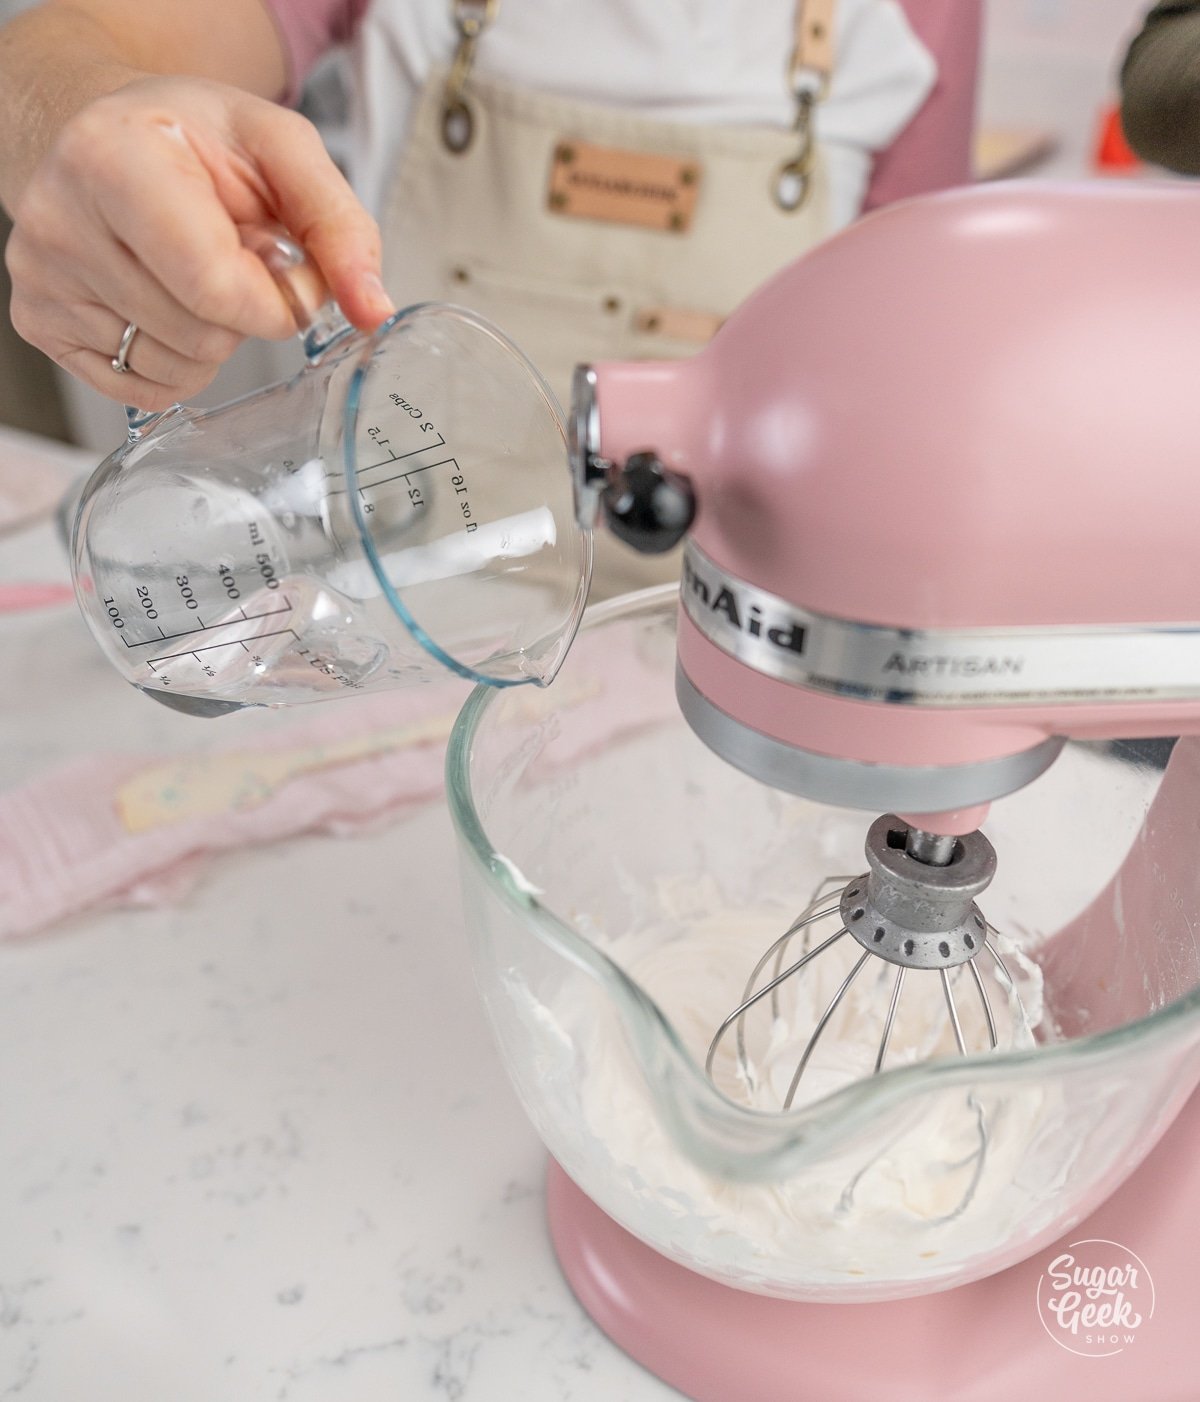
- The icing is pretty thick at this stage so we want to thin it down by adding water and mixing on low speed until we get our desired consistency.

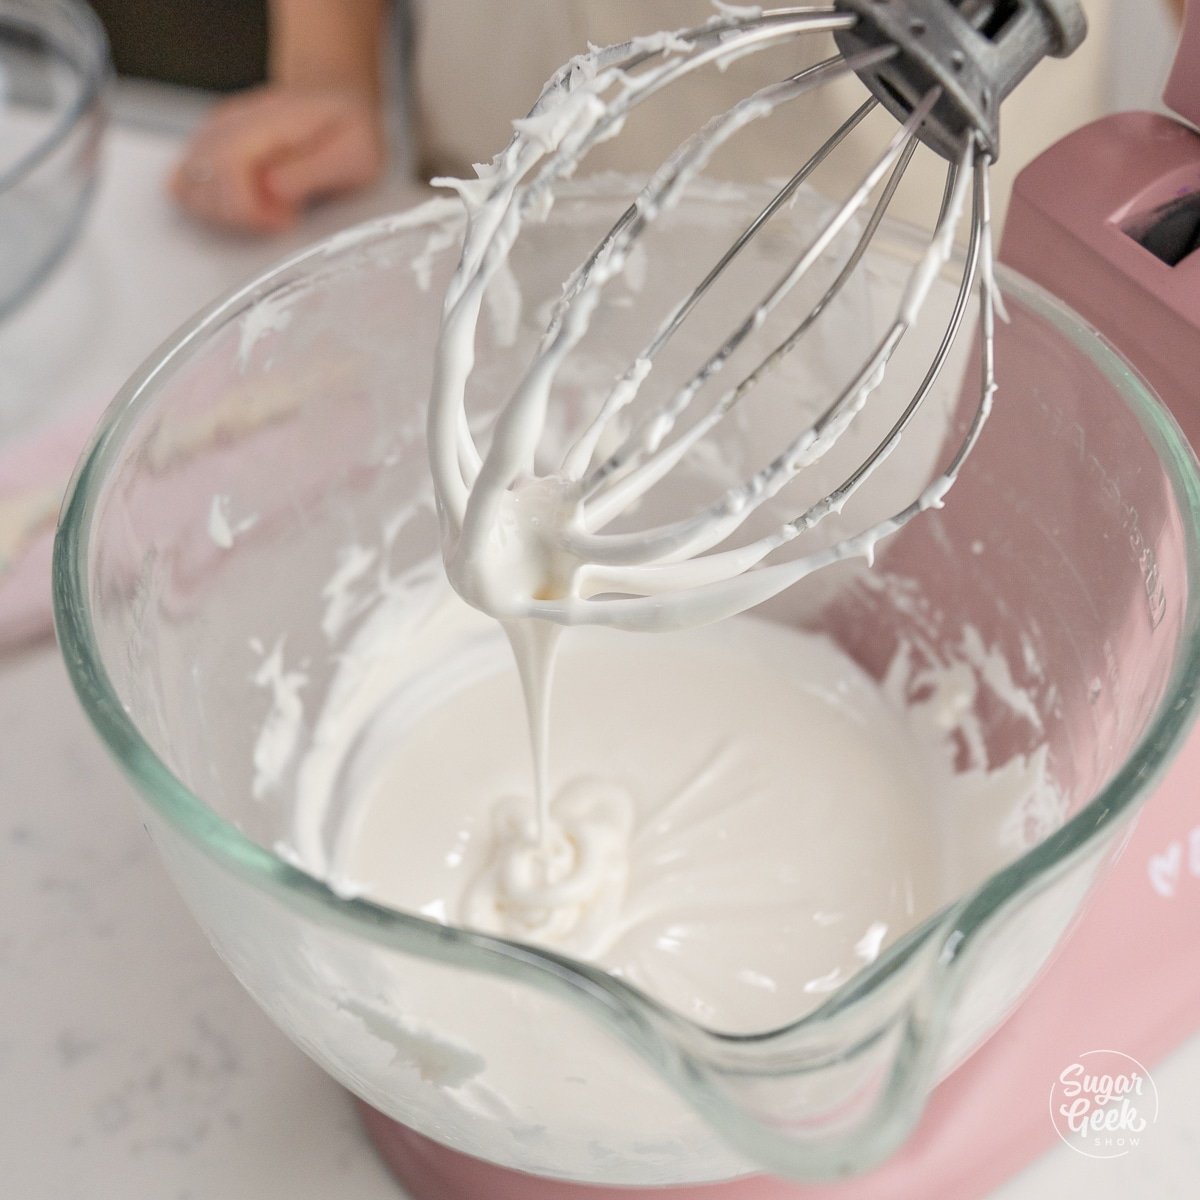
- Add water 1 teaspoon at a time until a ribbon of royal icing goes flat in 15 seconds. This is a good consistency for dipping cookies, but not too thin to have it run off the cookies.
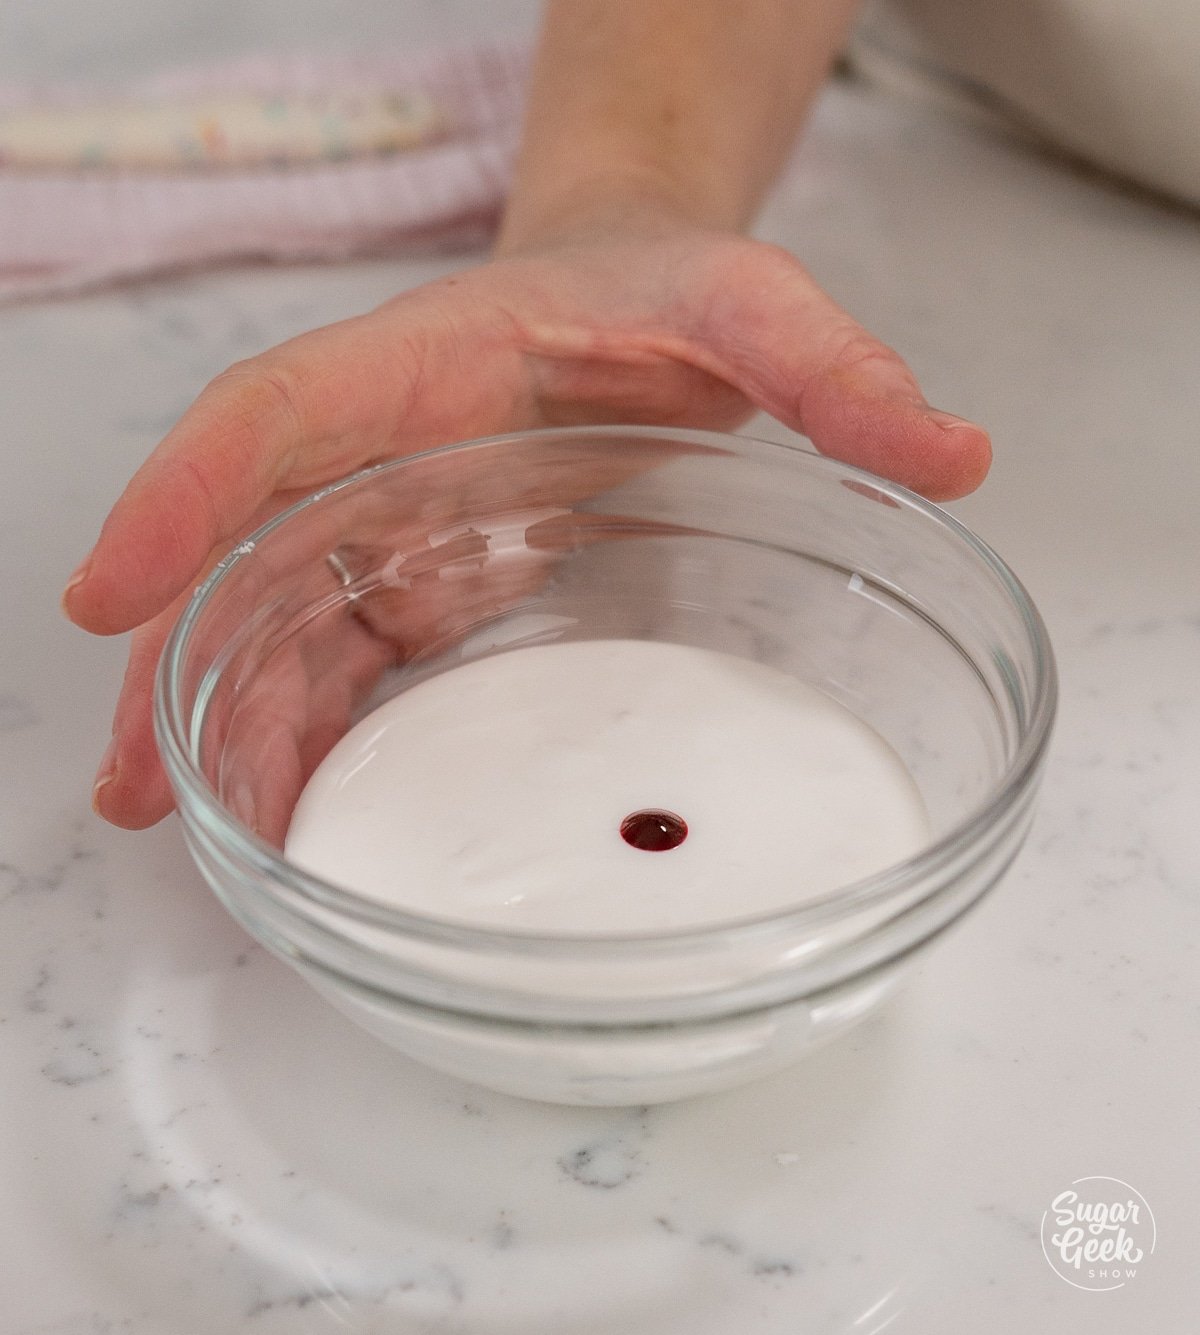
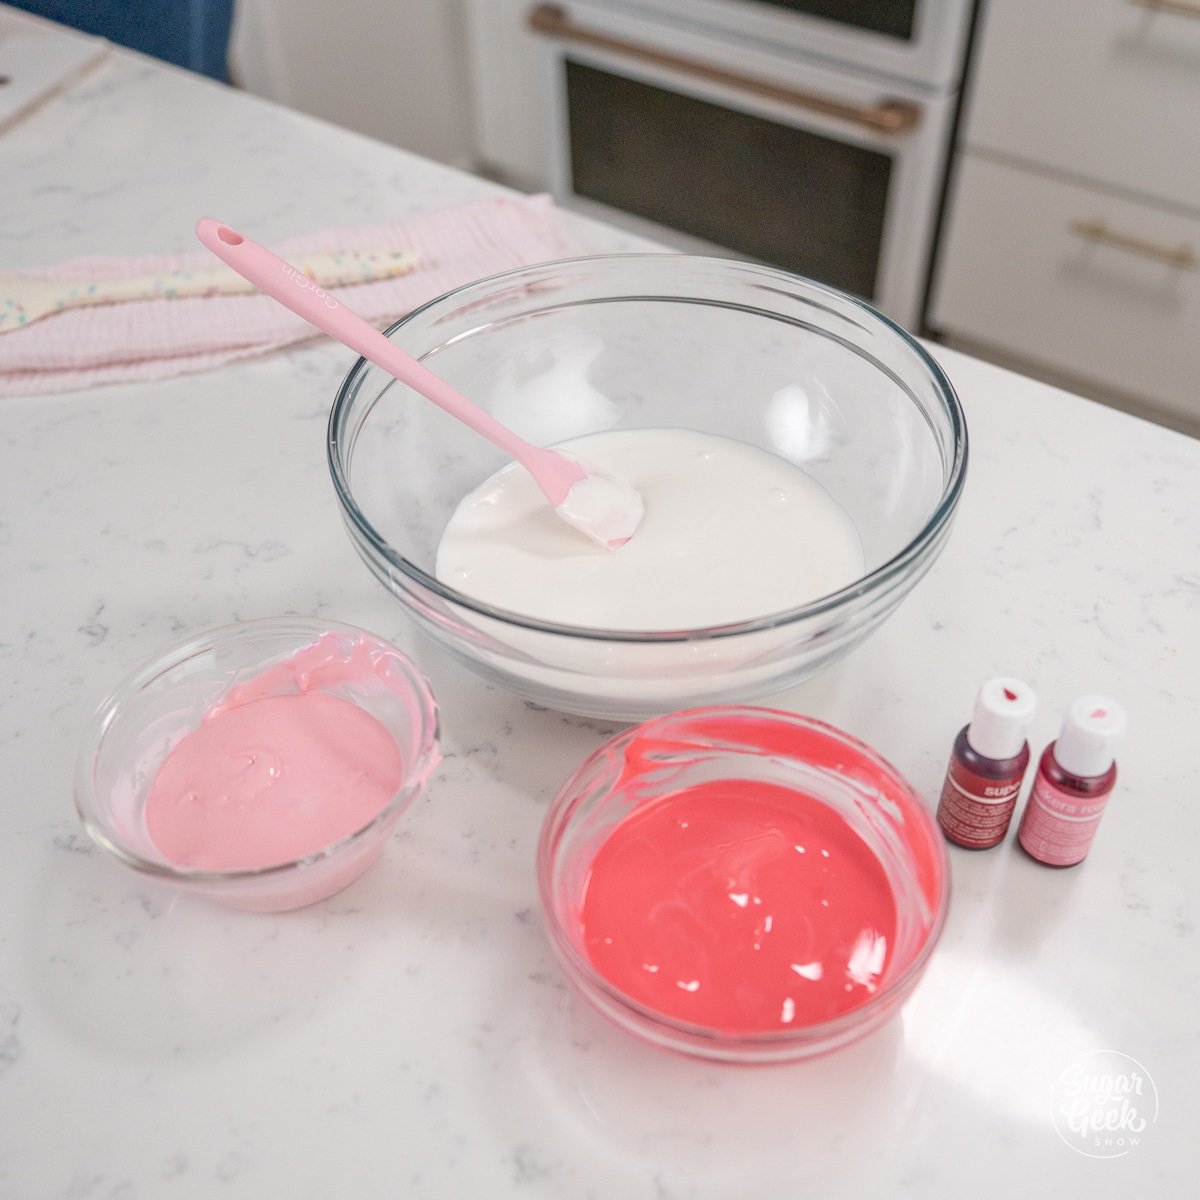
- In a small bowl, color ⅓ of your royal icing hot pink and light pink or as many colors as you desire.

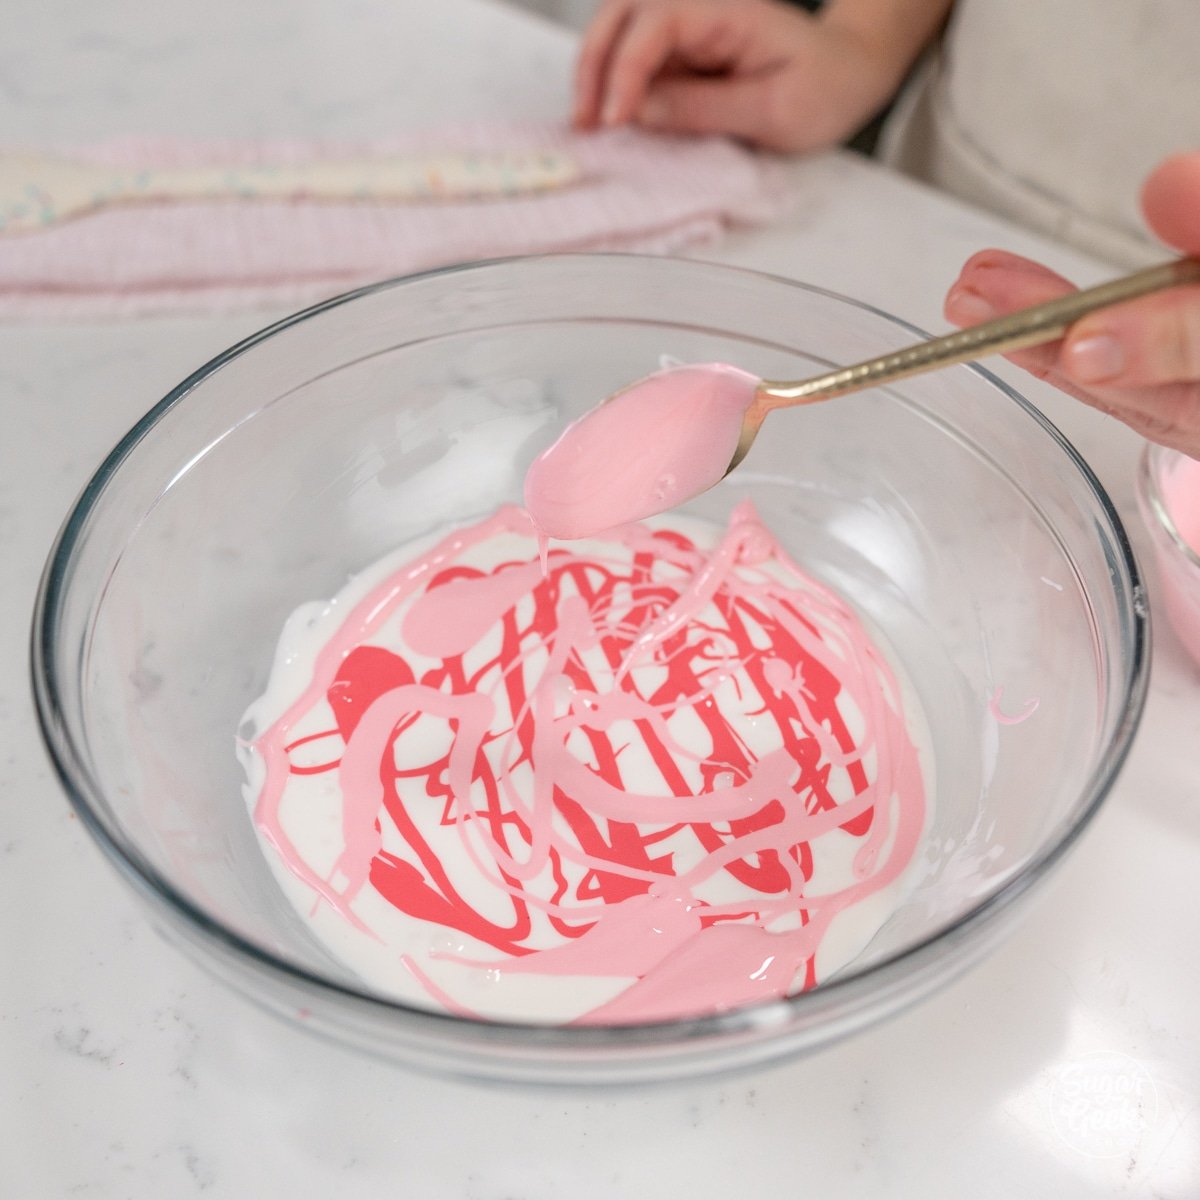
- Drizzle the pink and red icing over the top of the white icing.
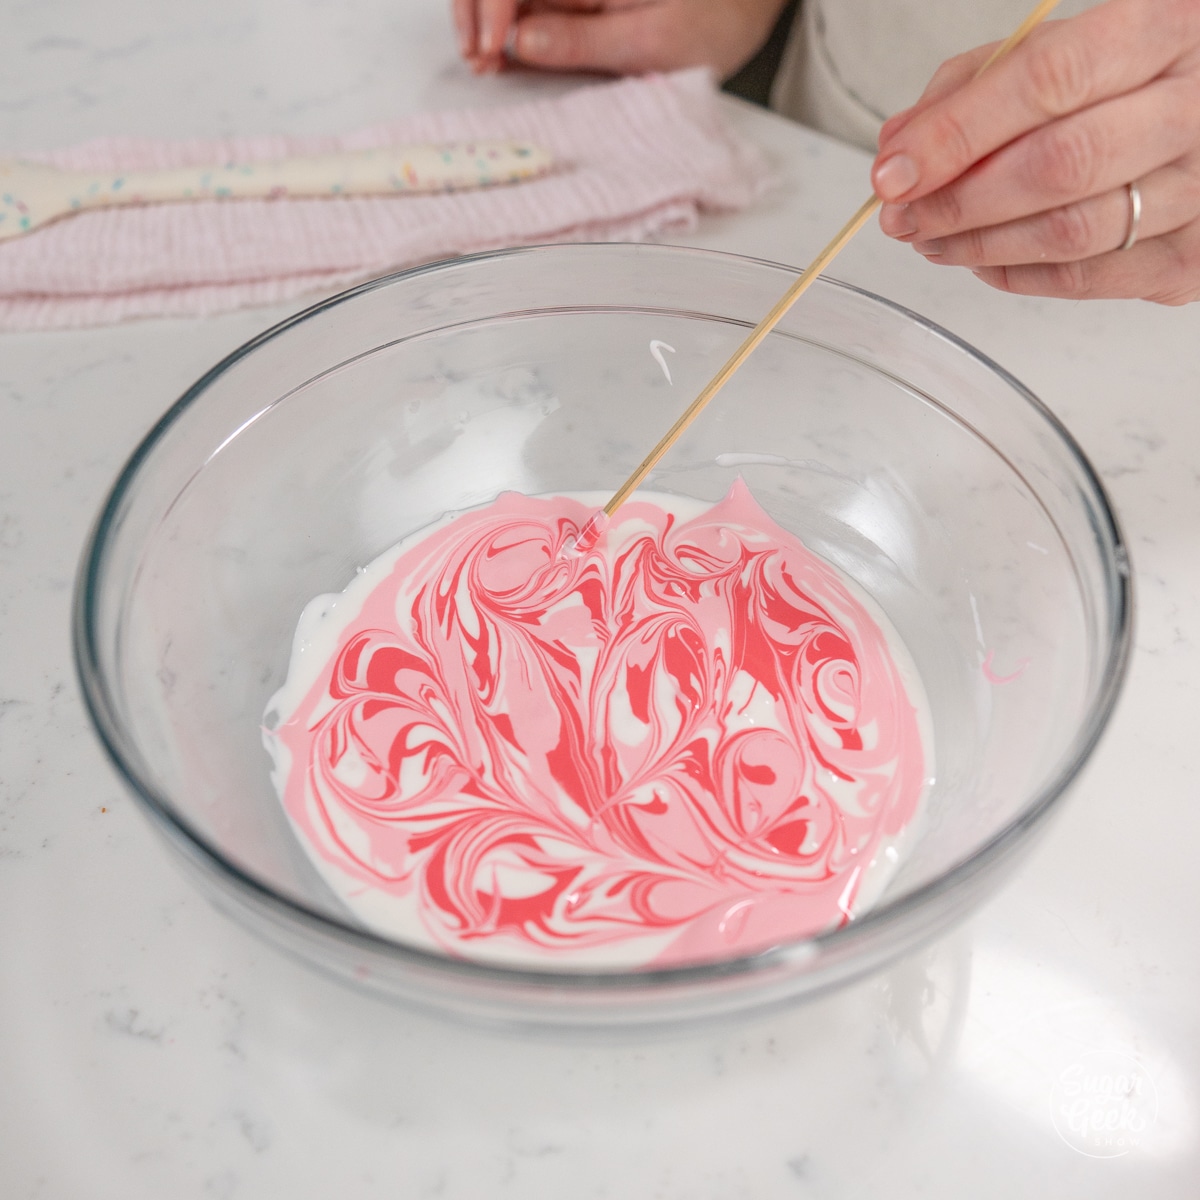
- Use a toothpick or skewer and drag up and down the icing creating a marbled effect.
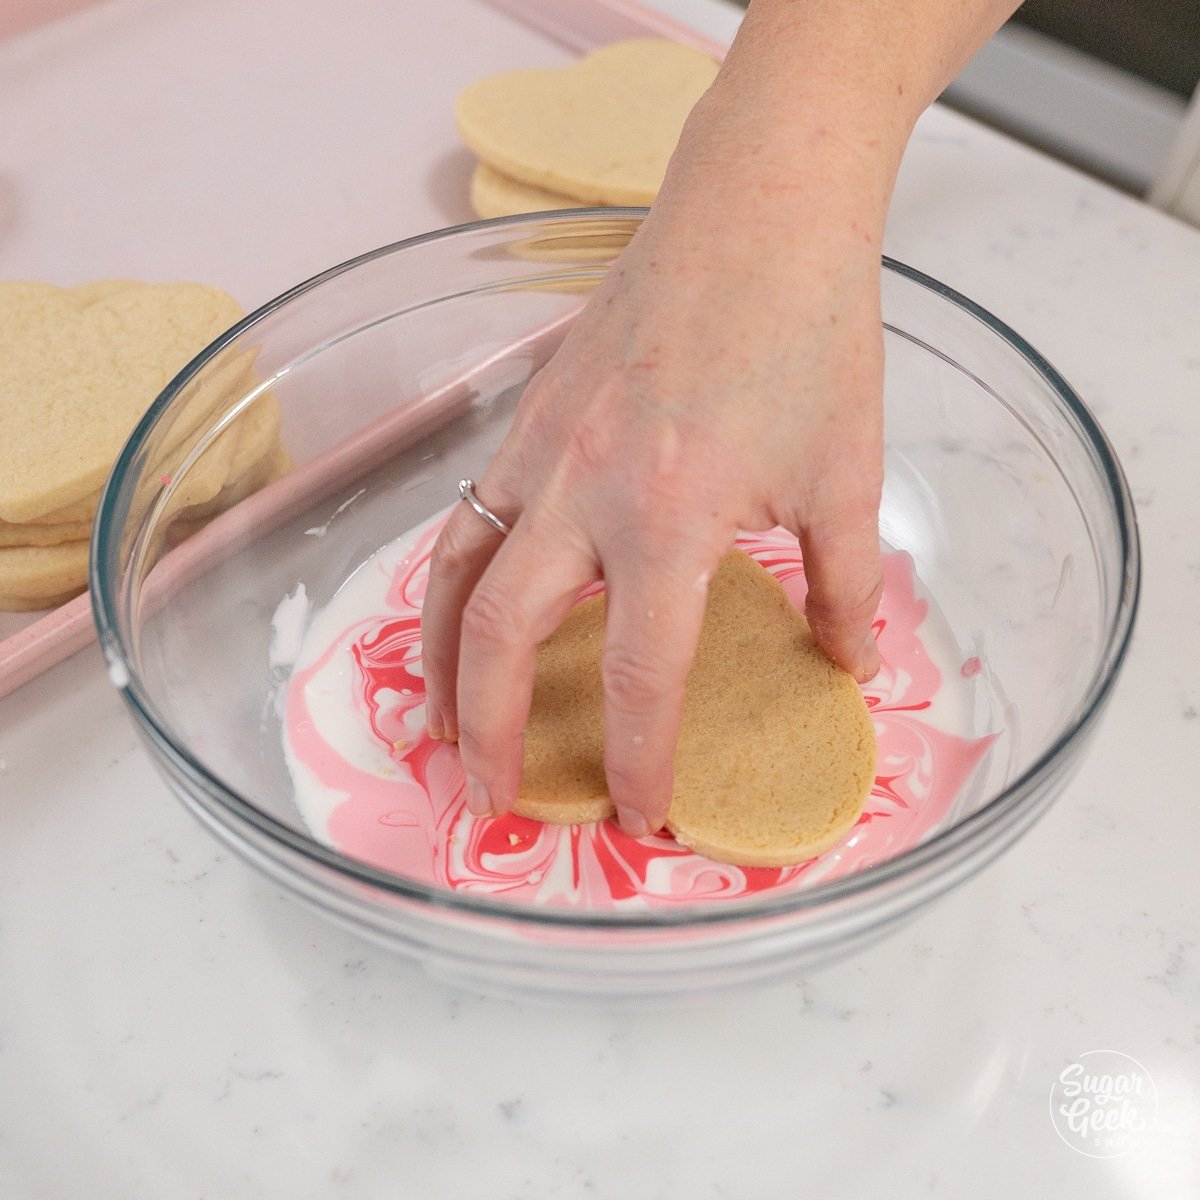
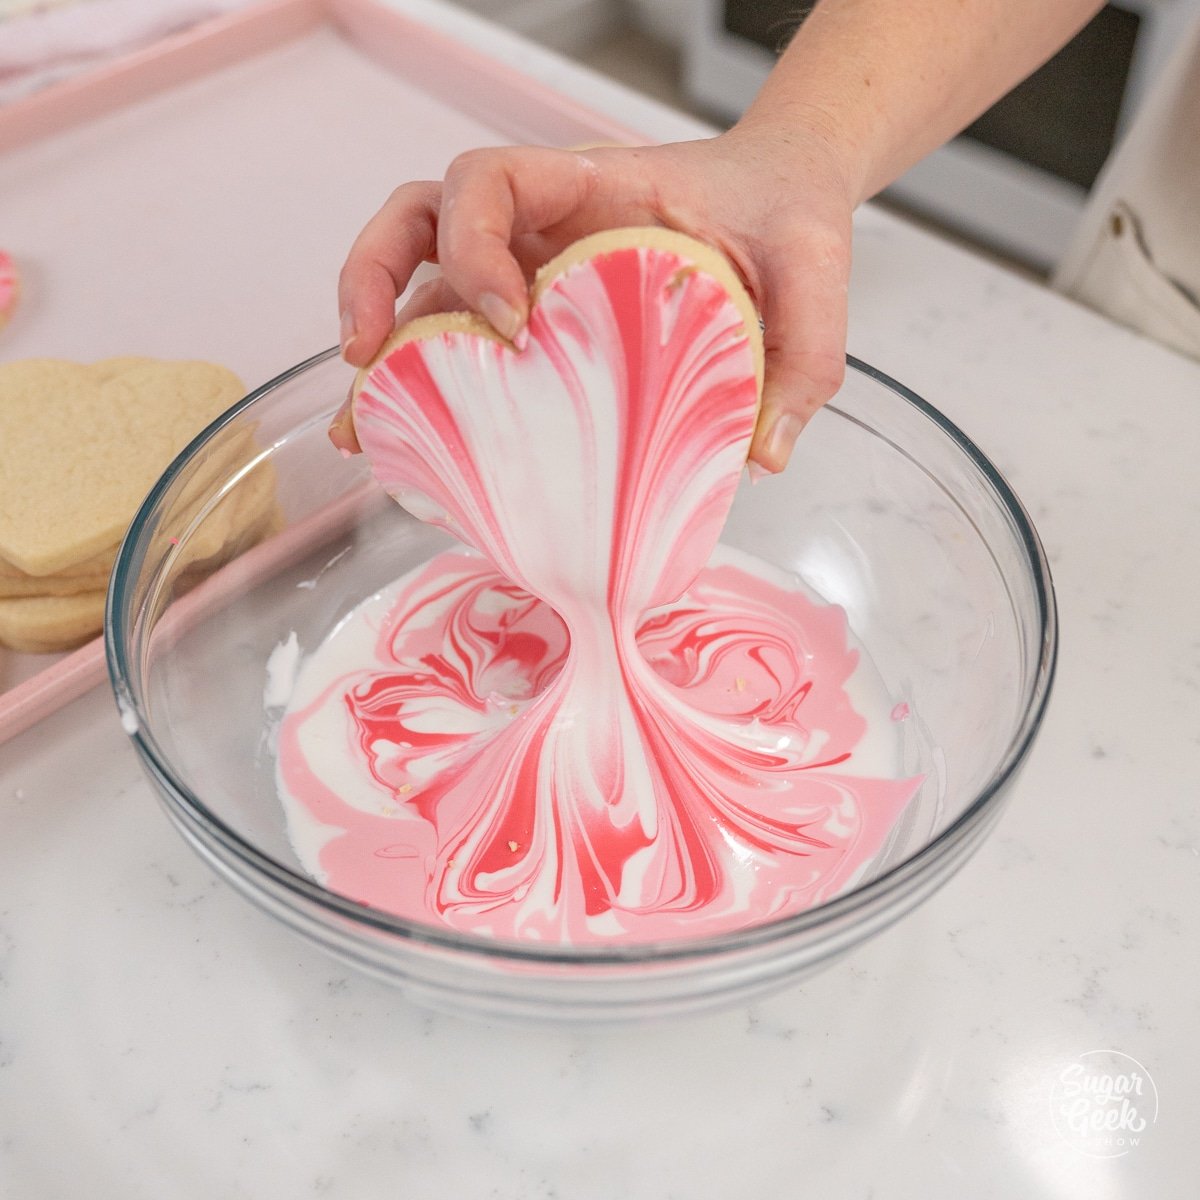
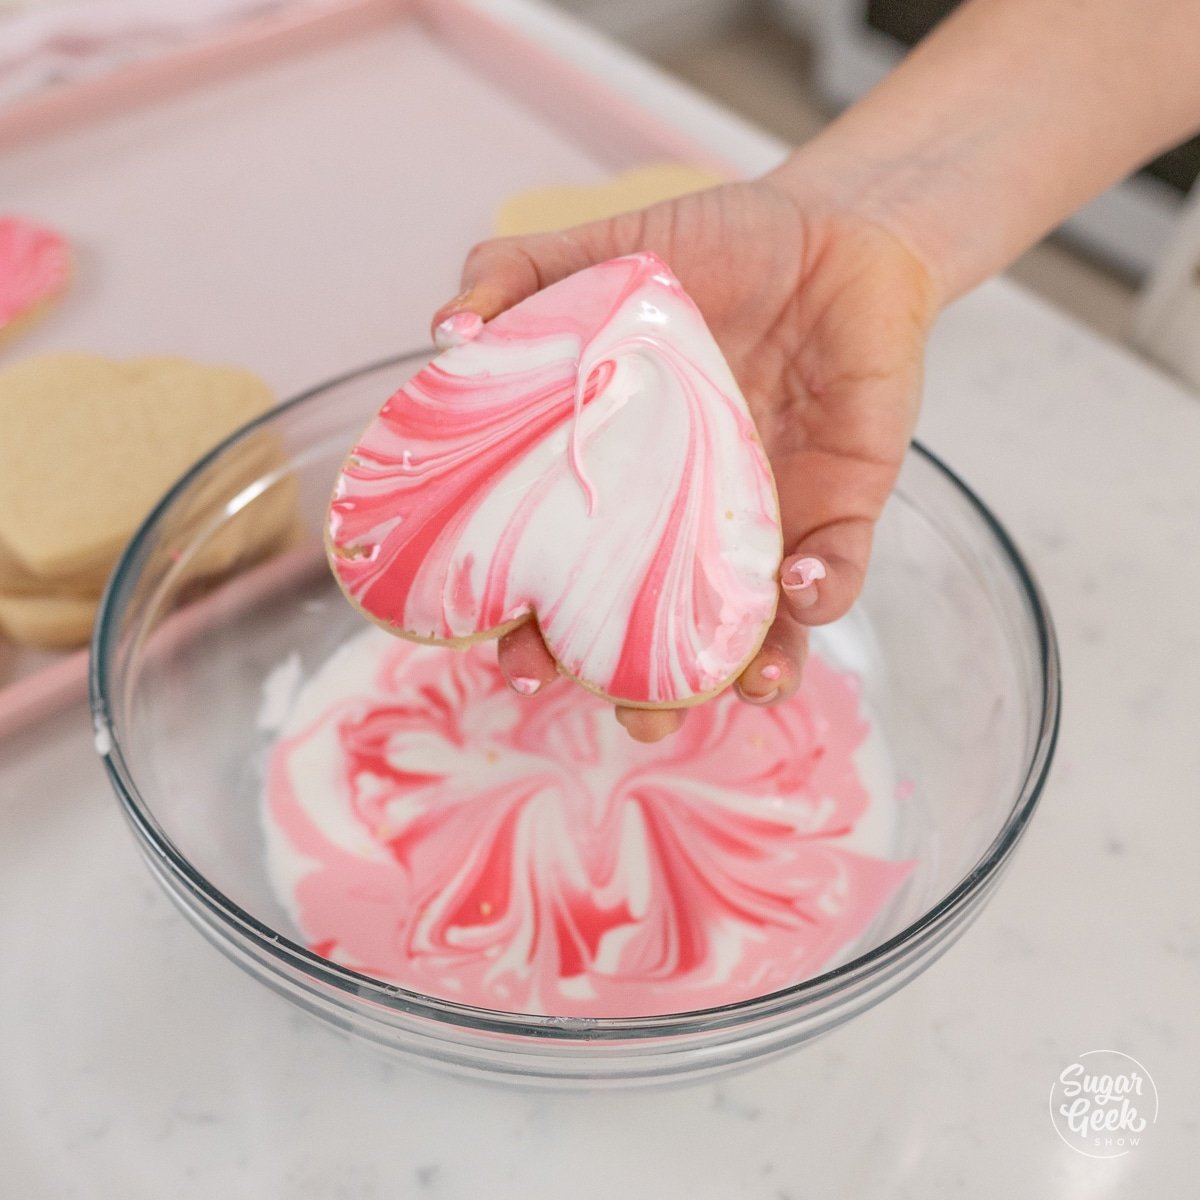
- Dip your cooled sugar cookies onto the surface, making sure to get the edges of your cookie dipped evenly. Pull straight up and tap off any excess icing. Pro Tip: I like to let it drip for a second and then twist it to catch the tail of the icing, keeping the edge of my cookie clean.
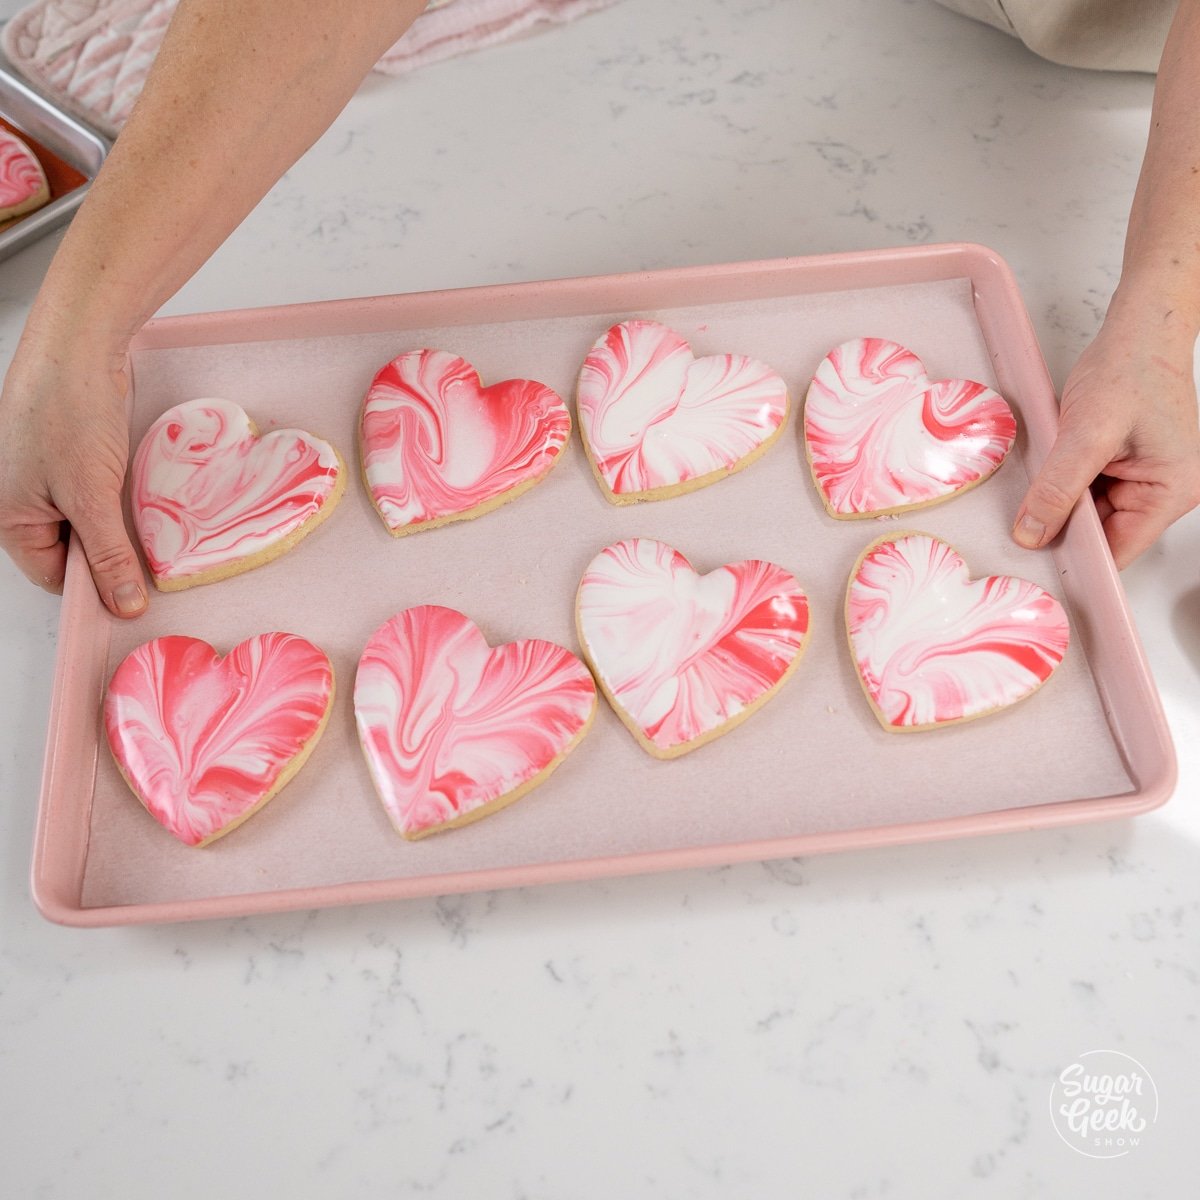
- Wipe the cookie edges clean if any icing dripped over the edge. Place the frosted cookie on a wire rack or tray with parchment paper to dry, and watch for drips of royal icing.
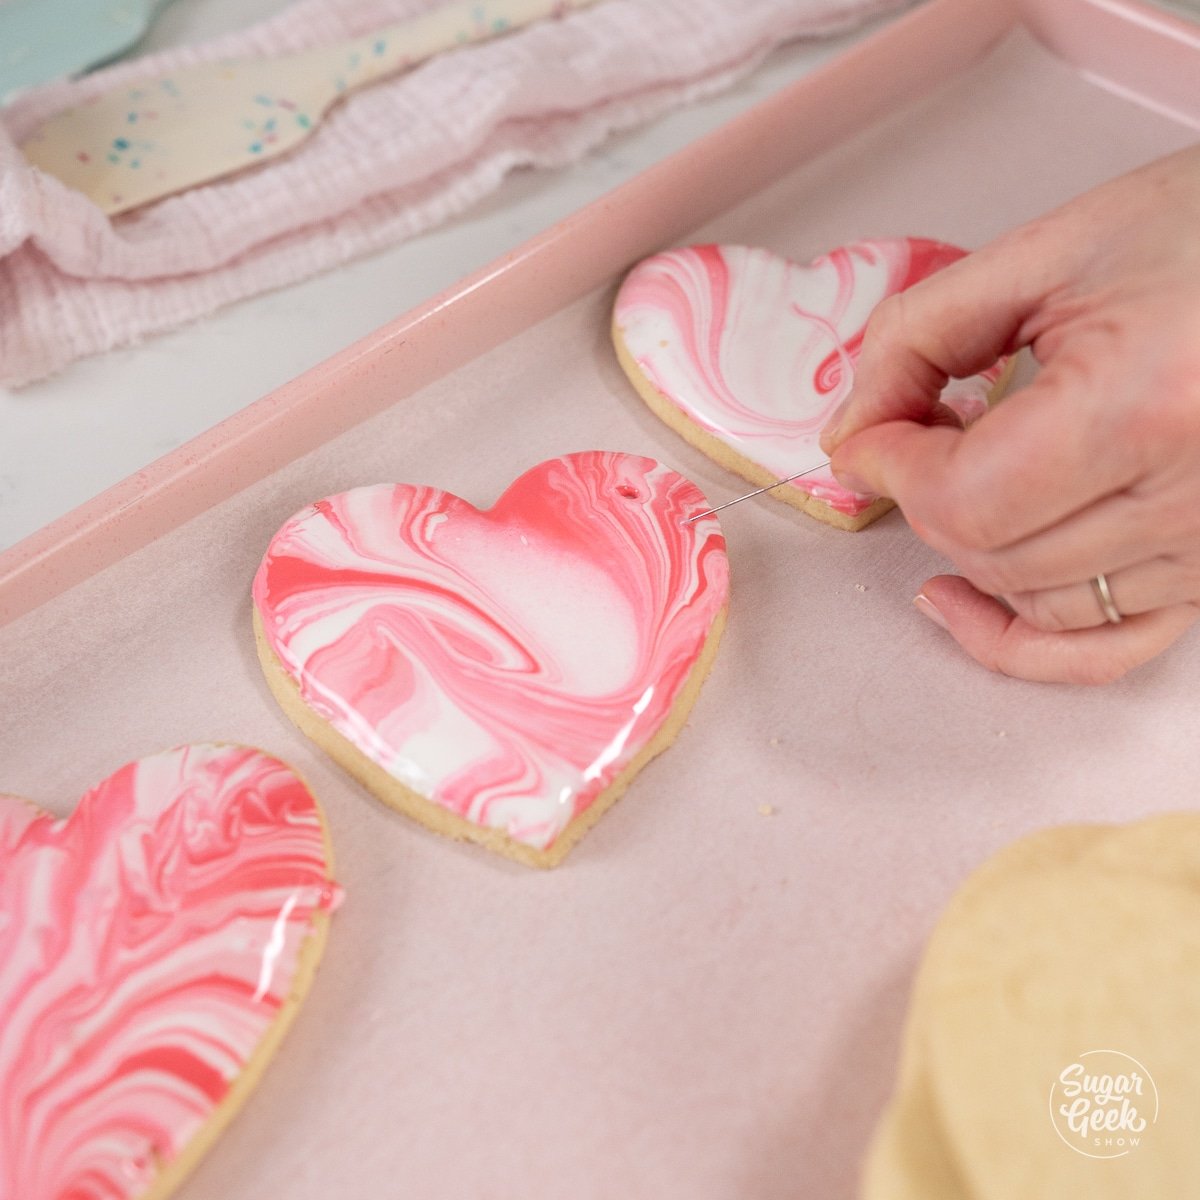
- There may be bubbles in the royal icing, use a straight pin or scribe to gently pop the bubbles. Then give the cookie a gentle shake to even out the frosting.
- For the best results let your heart shaped cookies dry completely before packaging. This could take up to 16-24 hours for the icing to dry, depending on your environment. The top dries quickly but under the top shell it will still be runny and it can crack if you touch the cookies too soon. Pro-tip: Place the tray of freshly dipped cookies back in the warm (not on) oven with the door open. The warm air from the cooling oven will dry the top of the cookies faster to avoid smudging the royal icing.
- These heart shaped cookies are shelf stable and will stay fresh if they are stored in an airtight container. If you have any remaining dough, wrap the rest of the dough well in plastic wrap and store in the freezer until you are ready to use it.
FAQ
The sugar cookie dough stores great in the freezer and thaws pretty quickly. If it is wrapped well it can last up to 3 months in the freezer. Think of all the holidays you can make cookies for in 3 months!
Yes, keep it refrigerated in an airtight container for up to a week. You will need to mix it again and possibly fix the consistency before using it again.
Just add more of the darker colors on top of the lighter icing. The fun part of this recipe is that every cookie will be a little different. If you are worried about consistency in the design, reserve some of the icing colors and the white so that you can make a fresh dip for the 2nd half of your cookies. You don't have to dip them all in one session.
You can use meringue powder, just follow the instructions on the side of the container for reconstituting the egg whites.
More Recipes You'll Love
Chewy double chocolate chip cookies
Kate Spade inspired Cookies
Recipe
Equipment
- 1 heart shaped cookie cutter
- 1 Rolling Pin
Ingredients
Sugar Cookie Dough
- 8 ounces Unsalted butter (1 cup)
- 7 ounces Granulated Sugar (1 cup)
- 1 large Egg Room Temperature
- 1 teaspoon Vanilla Extract
- 15 ounces All Purpose Flour (3 cups)
- 1 ½ teaspoon Baking Powder
- ½ teaspoon Salt
- ½ teaspoon Nutmeg
- 1 teaspoon Milk
Royal Icing
- 16 ounces Powdered Sugar (3 ½ cups)
- 2.5 ounces Pasteurized Egg Whites (¼ cup)
- ¼ teaspoon Cream of Tartar
- ½ teaspoon Vanilla Extract any flavor of choice will work
- 1 teaspoon Water (if needed) add 1 teaspoon of water at a time to get the desired consistency
Instructions
Making the Sugar Cookie Dough
- Place room temperature butter and granulated sugar in the bowl of your mixer with the paddle attachment and mix on low until smooth. The creamed butter should be fluffy and pale yellow in color. Make sure to scrape the bottom of the bowl.
- Add the egg and mix on medium (4 on a Kitchenaid mixer) until fully incorporated. Scrape the bowl as needed.
- Add the vanilla extract and mix until just incorporated.
- In a separate large bowl, whisk the flour, salt, baking powder, and nutmeg together.
- Add the flour mixture into the dough in batches (about ⅓ of the total dry ingredients at a time) and mix until fully incorporated. Start on low until the flour begins to incorporate, then turn up to medium. Scrape the bowl as needed.
- Add the milk once the dry ingredients are fully incorporated. Continue mixing on low until the dough becomes a solid mass.
- Scrape out the mixer bowl and wrap the dough in plastic wrap.
- Roll the wrapped dough into a flat square with a rolling pin, this helps it chill faster and more evenly.
- Refrigerate the dough for about 20 minutes, or until firm to the touch.
- Once chilled, knead the dough slightly and roll it out on a lightly floured surface to about ¼ inch thick.
- Use a heart cookie cutter to cut out uniform hearts. Keep the rolled dough chilled if you're not cutting and baking right away, it gets harder to work with the warmer it gets.
- Place the cookies on a parchment-lined baking sheet. Put the sheet back in the refrigerator for 10 to 15 minutes to chill again, this helps them avoid spreading.
- Bake at 350º F for 10 to 14 minutes, depending on the size of your cookie. The cookies should be slightly golden brown at the edges but look done in the center.
- Transfer the baked cookies to a cooling rack to cool completely before dipping them in the icing.
Making the Marbled Icing
- Combine the egg whites, powdered sugar, and cream of tartar in the bowl of your stand mixer with the whisk attachment.
- Mix on low until combined, then increase to high for 1 to 2 minutes. Add the vanilla extract and whip until bright white. No need to mix longer than 5 minutes.
- Thin the icing by adding water and mixing on low speed until you reach your desired consistency.
- Add water 1 teaspoon at a time until a ribbon of icing goes flat in about 15 seconds. This is a good dipping consistency, thin enough to flow but not so thin it runs off the cookies.
- In a small bowl, color about ⅓ of your icing with your chosen color, or split it into multiple colors.
- Drizzle the tinted icing over the top of the white icing.
- Use a toothpick or skewer to drag up and down through the icing, creating a marbled effect.
- Dip each cooled cookie into the icing, covering the edges evenly. Pull straight up and tap off any excess, letting it drip for a second, then twist to catch the tail and keep the edge clean.
- Wipe the cookie edges clean if any icing dripped over the side. Place the frosted cookie on a wire rack or parchment-lined tray to dry, watching for drips.
- Pop any bubbles in the icing with a straight pin or scribe, then give the cookie a gentle shake to even out the surface.
- Let the cookies dry completely before packaging, this can take 16 to 24 hours depending on your environment. The top dries quickly, but underneath it can still be runny and will crack if touched too soon. For faster surface drying, place the tray in a warm (turned off) oven with the door open, the residual warmth helps the tops set faster without smudging.
- Once fully dry, store the cookies in an airtight container at room temperature. Wrap any leftover dough well in plastic and freeze until ready to use.
Notes
- Ingredient notes: Weigh your ingredients to avoid cookie failures, a digital kitchen scale makes this quick and gives consistent results every time. Practice mise en place (everything in its place), measure out your ingredients ahead of time and have them ready before you start mixing to reduce the chances of accidentally leaving something out. Pan options: No heart-shaped cutter on hand? Any cutter shape works with this dough and icing technique, just adjust your bake time slightly for larger or smaller cutouts. Make-ahead and storage: Dough freezes well, wrapped tightly, for up to 3 months. Undipped baked cookies keep at room temperature in an airtight container for about a week. Leftover royal icing keeps refrigerated in an airtight container for up to a week, remix and adjust the consistency before reusing it. Substitutions: Any extract flavor works in the icing in place of vanilla. Use whatever gel food coloring brand and color combination you like for the marbling, the technique works the same no matter the color. Critical do-nots: Don't skip chilling the dough before rolling, it will be too soft to cut clean shapes and the cookies will spread and warp in the oven. Don't rush the icing consistency, too thin and your colors will bleed together instead of staying marbled. Don't touch or stack the cookies until the icing is fully dry, or you risk cracking the shell.





Anna says
This recipe is absolutely amazing! I have used it over 5 times and the cookies always turn out the exact same as the ones on the picture.
Sandy K. says
I've tried a gazillion recipes for sugar cookies, and this is absolutely the best I've used.