

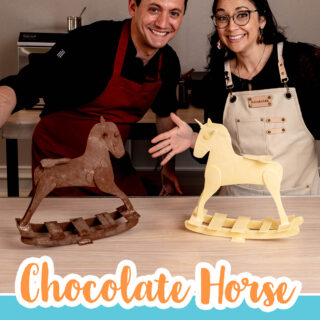
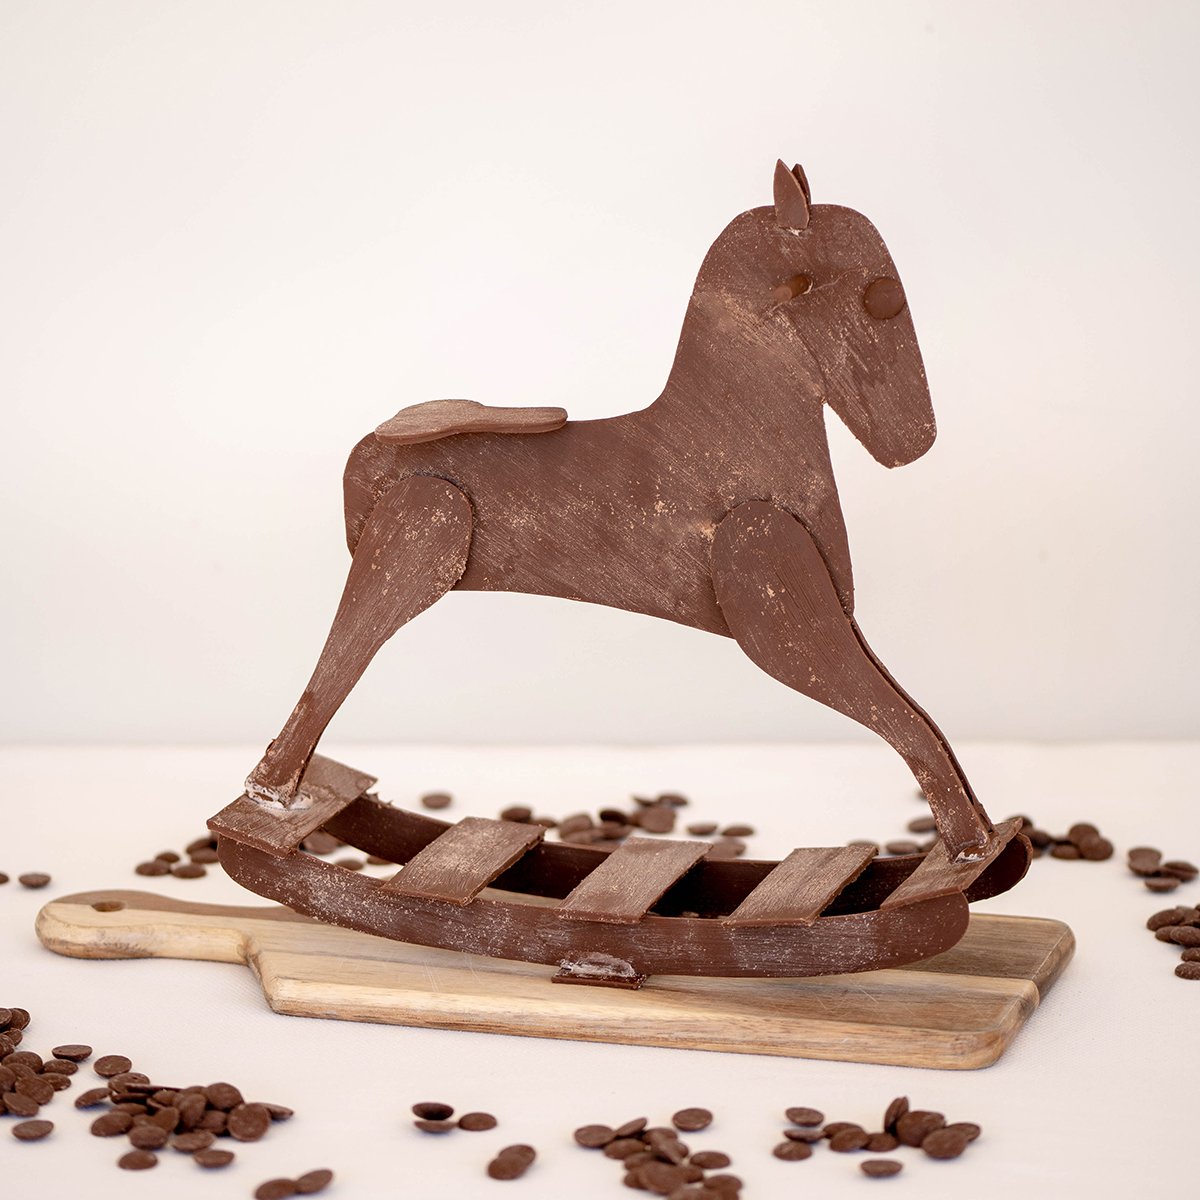
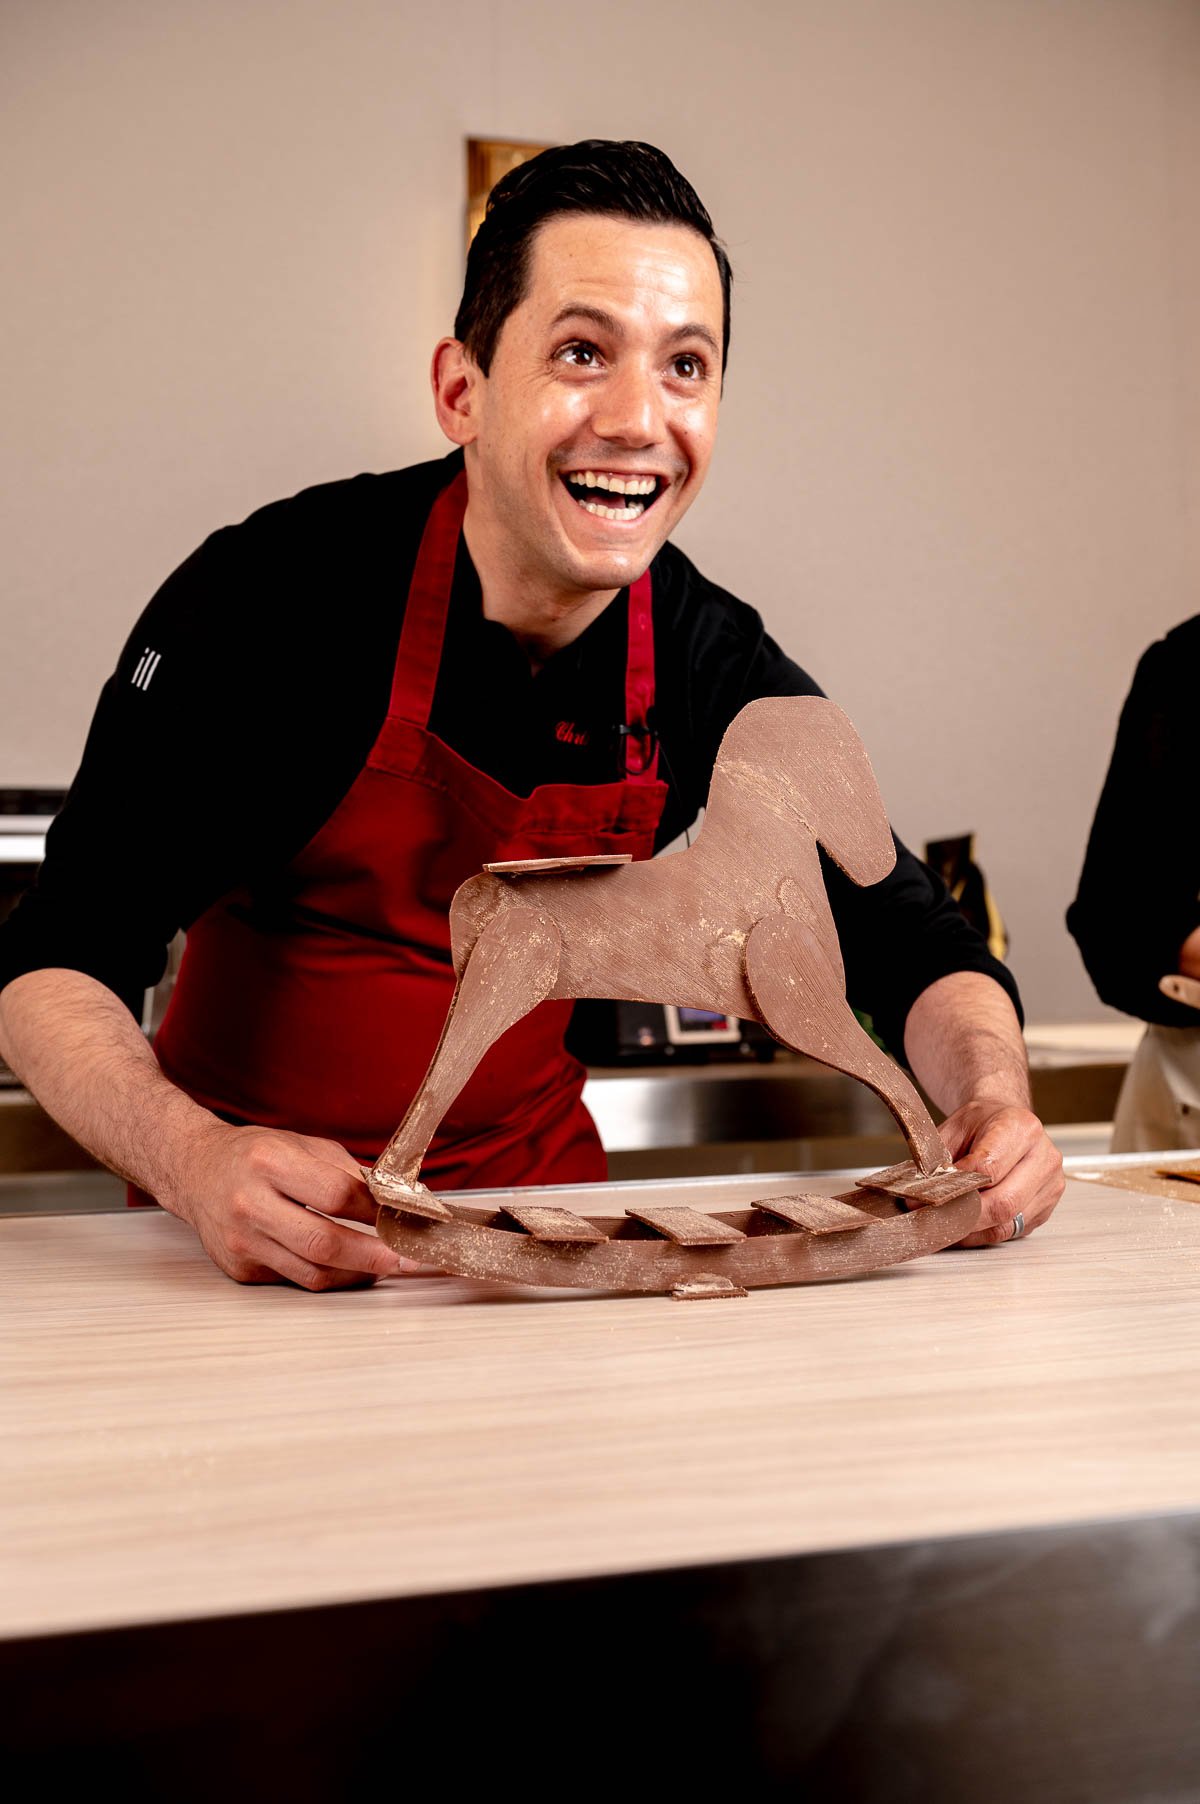
Chef Christophe Rull shows us how to transform tempered chocolate into a 3D rocking horse showpiece! These are some of the techniques that a pastry chef needs to create strong and stable chocolate sculptures!
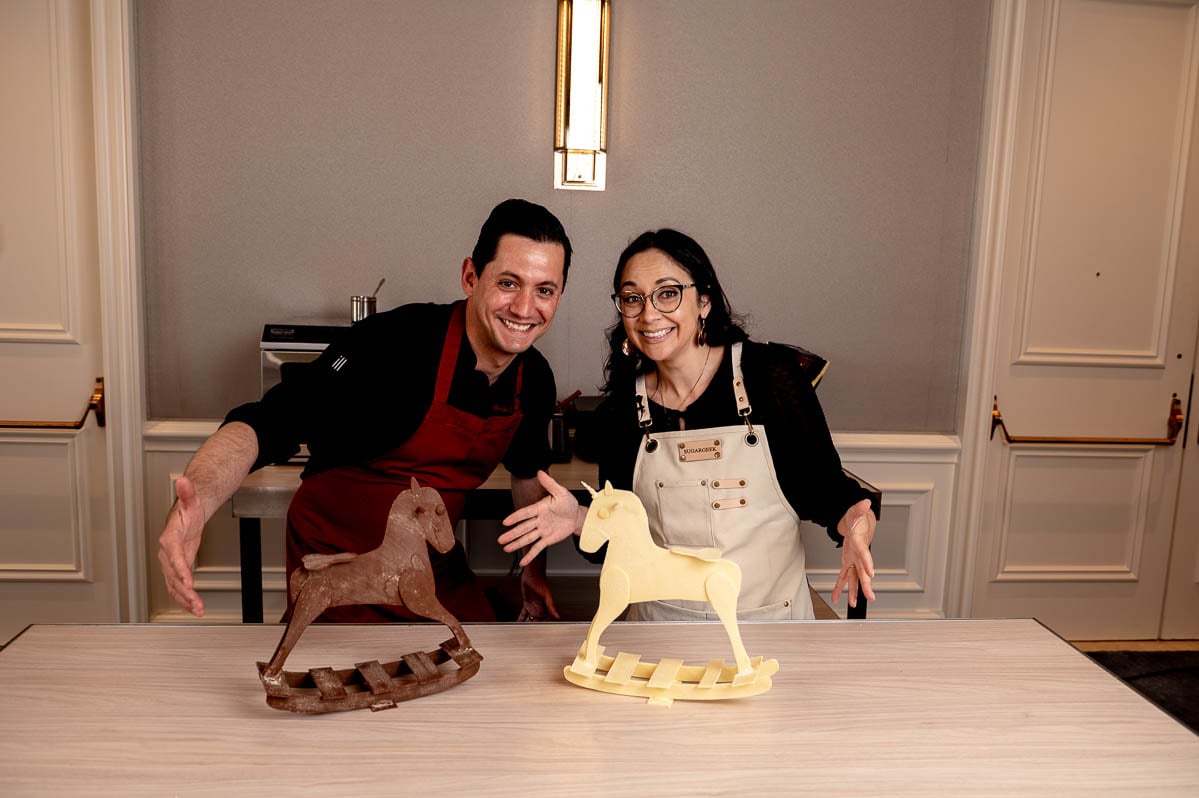
I was so excited to see how Christophe made this showpiece, I tried to make one of my own alongside his demonstration but I made mine into a rocking unicorn haha!
What's In This Blog Post
Chocolate Rocking Horse Ingredients
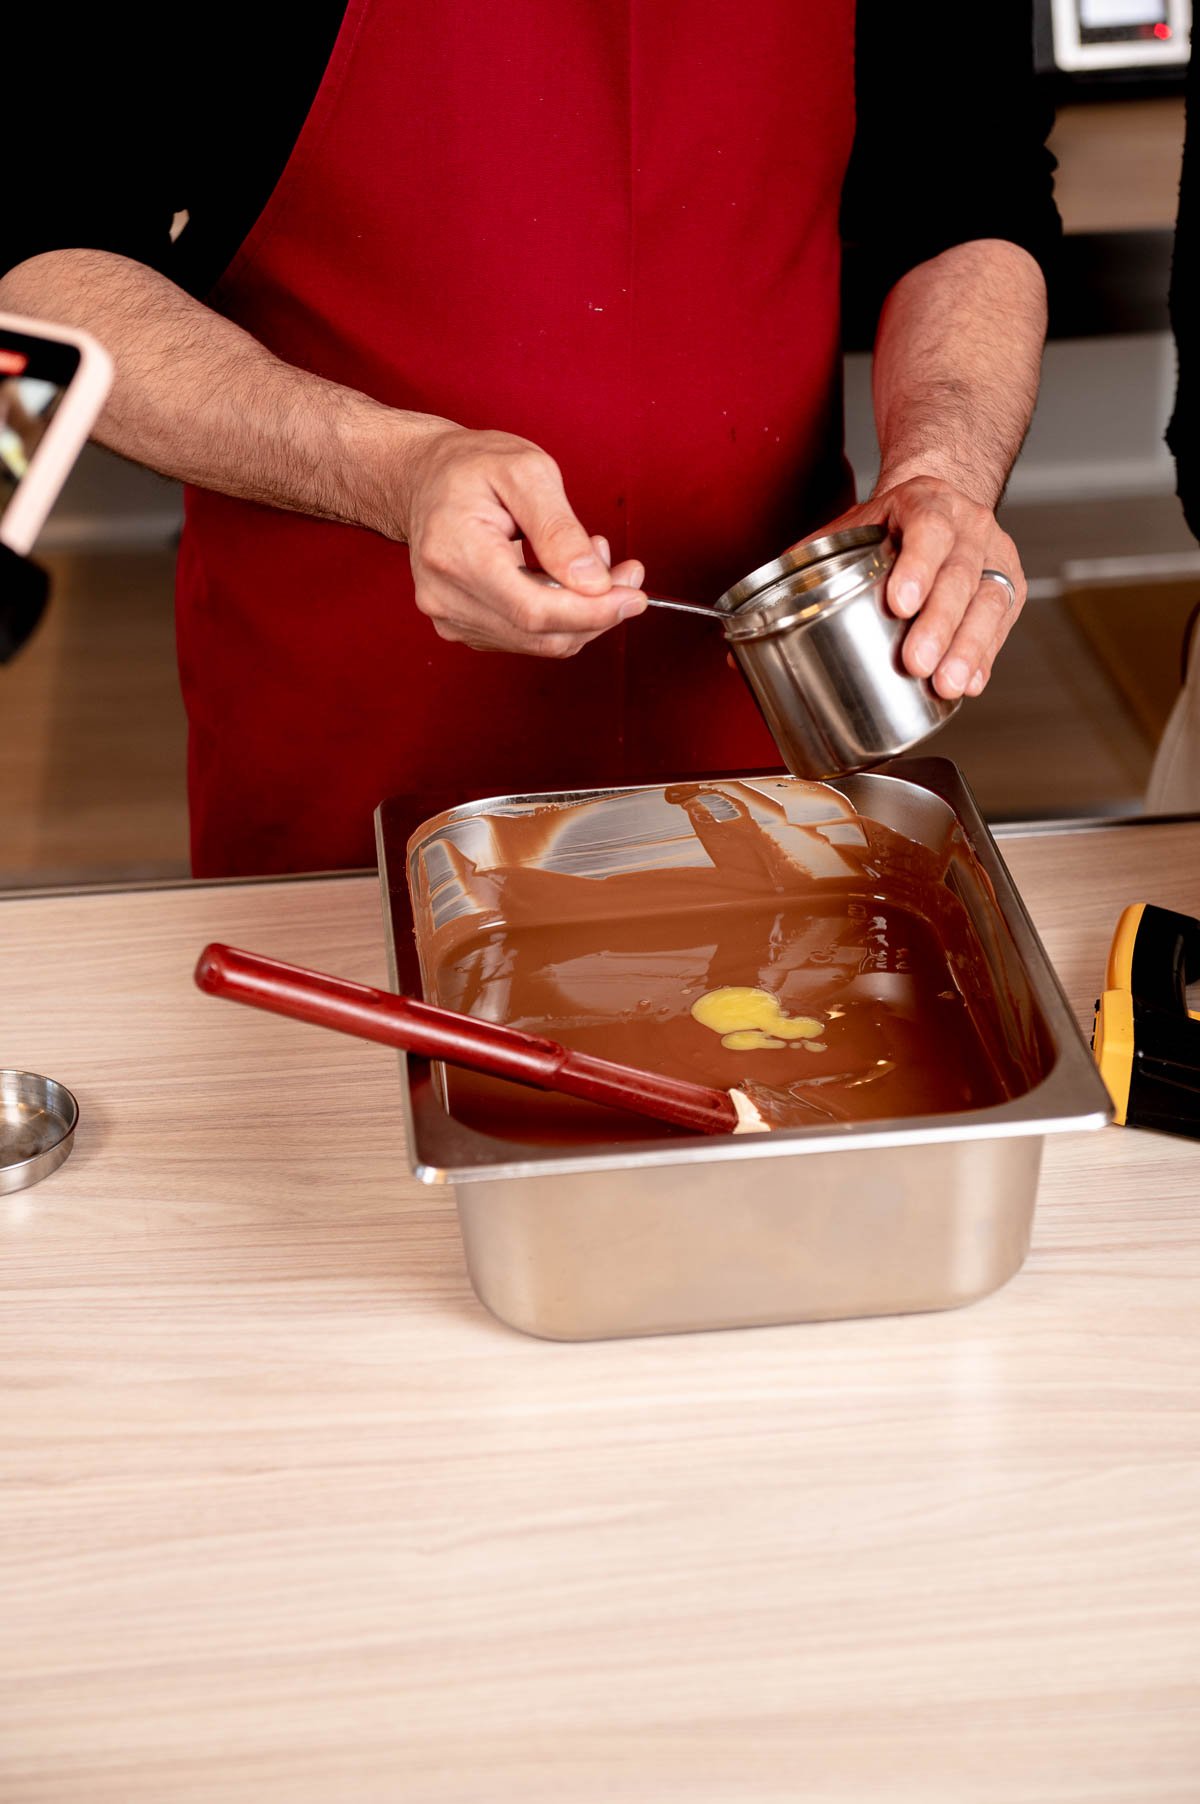
You want to start with tempered chocolate! This is super important for a strong and stable showpiece. So if you don't know how to temper chocolate, make sure you watch Christophe's tutorial on how to temper chocolate with cocoa butter or you can temper your own chocolate using a traditional seeding method or in a microwave.
Tools & Equipment
You can download your free horse template here.
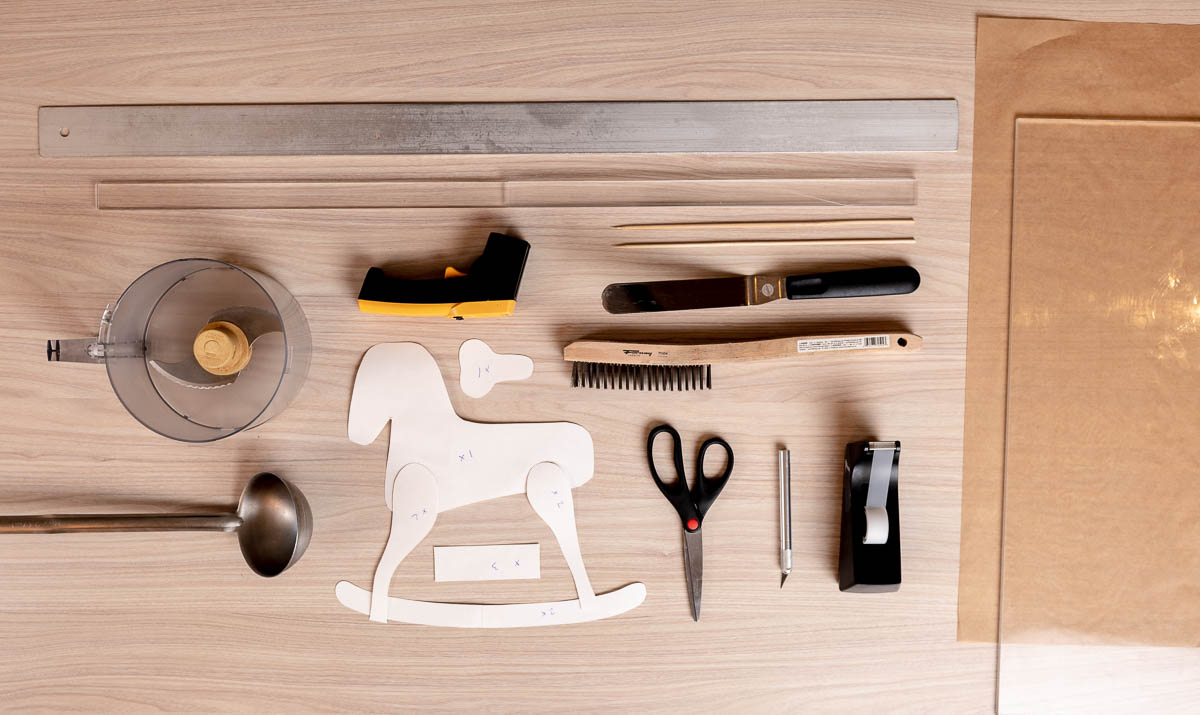
Making The Chocolate Pieces
- Lay your newsprint down onto the table and then place your large sheet of acetate over the top.
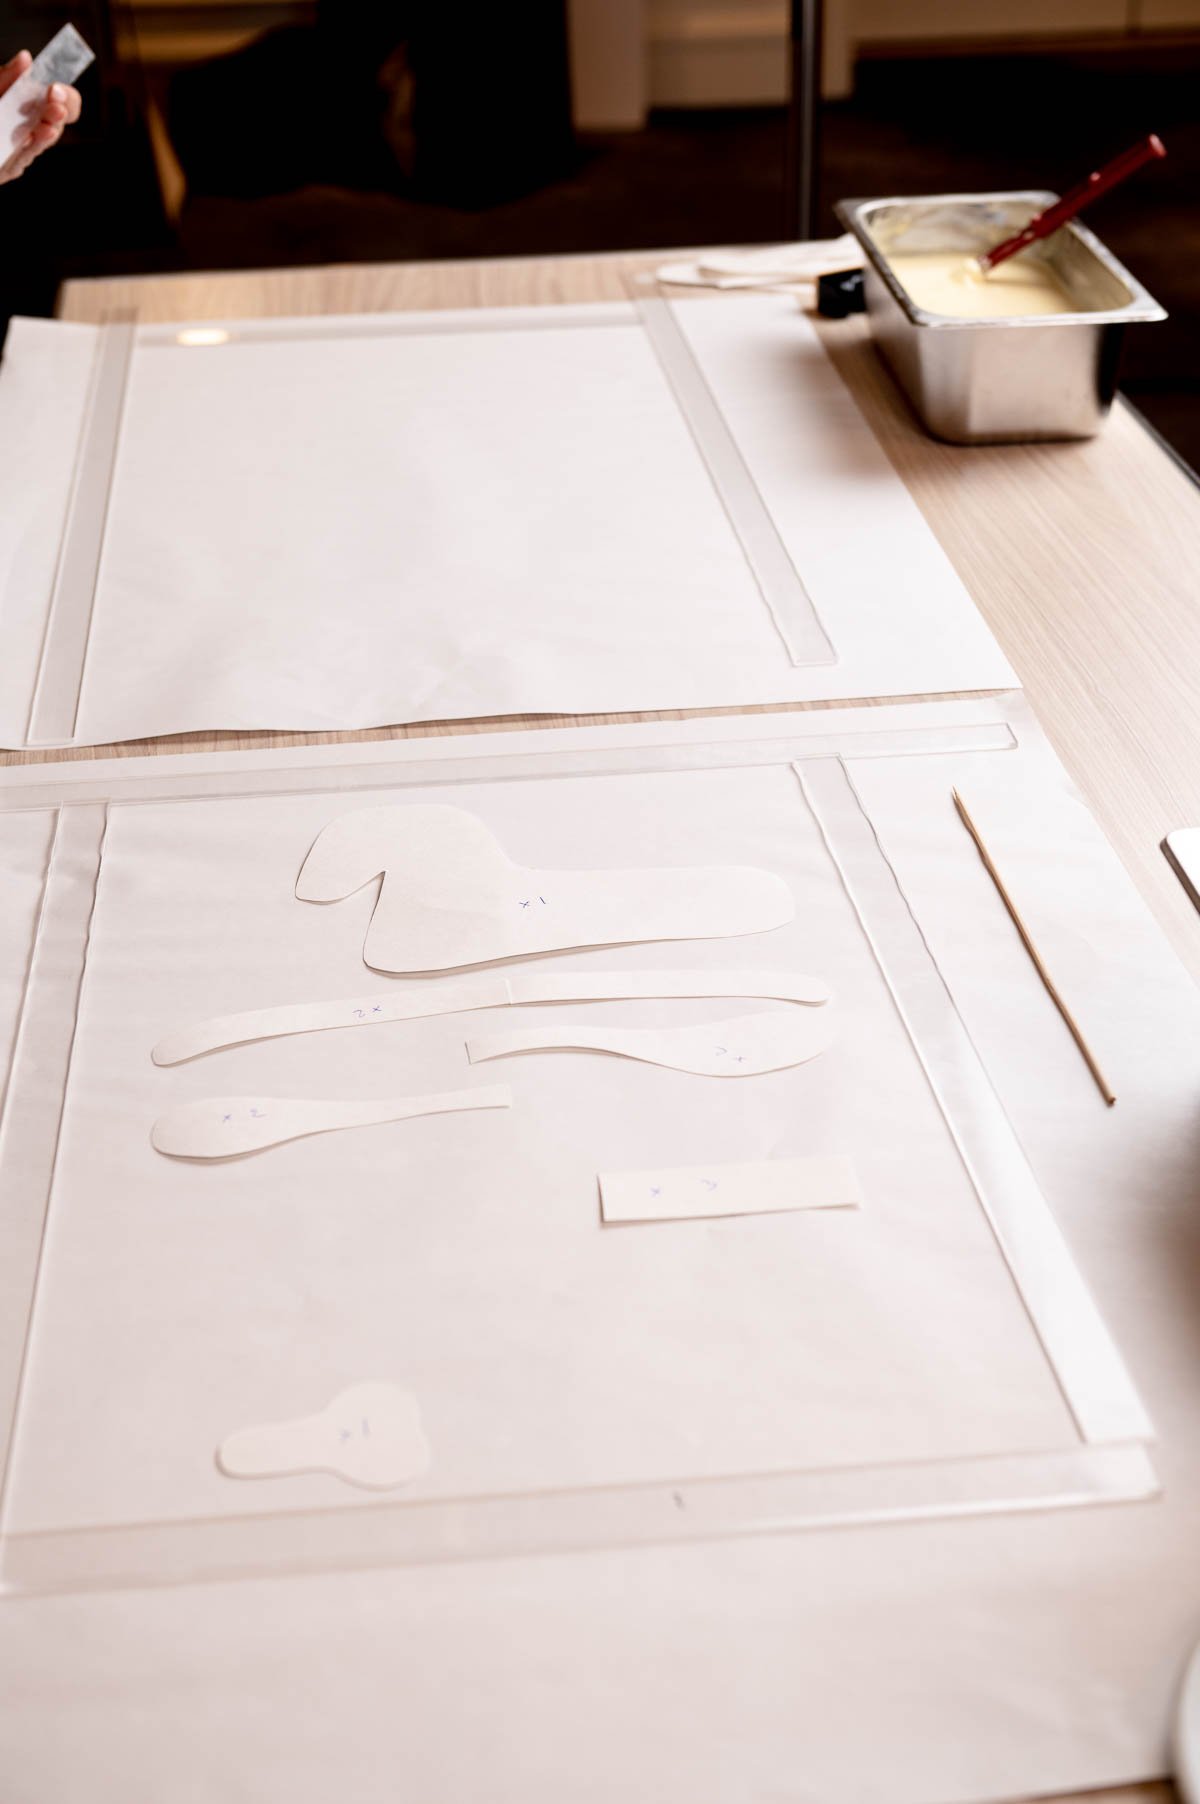
- Arrange all your templates on top of the acetate to make sure you have enough space for all the pieces.

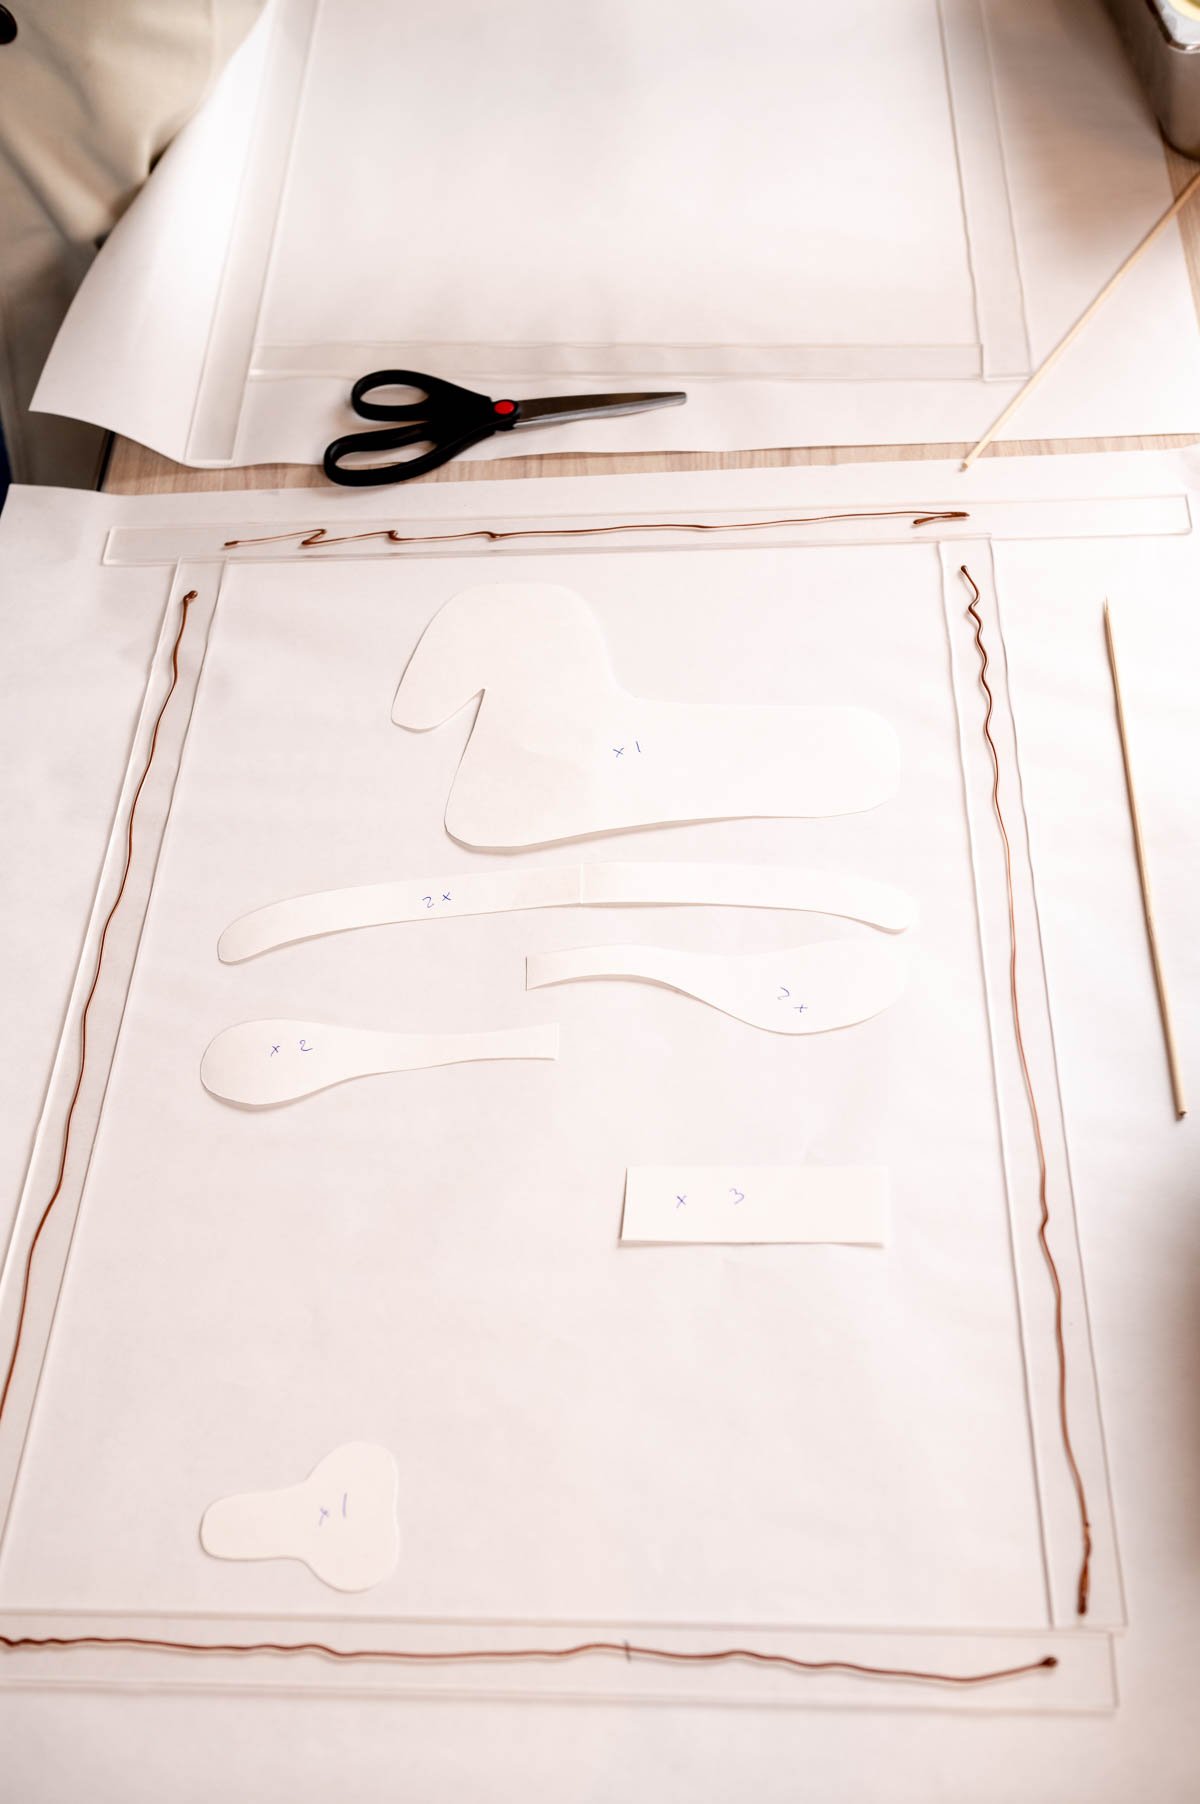
- Make a border with your ¼" plexiglass spacers around the templates. Remove the templates and set them aside for now.
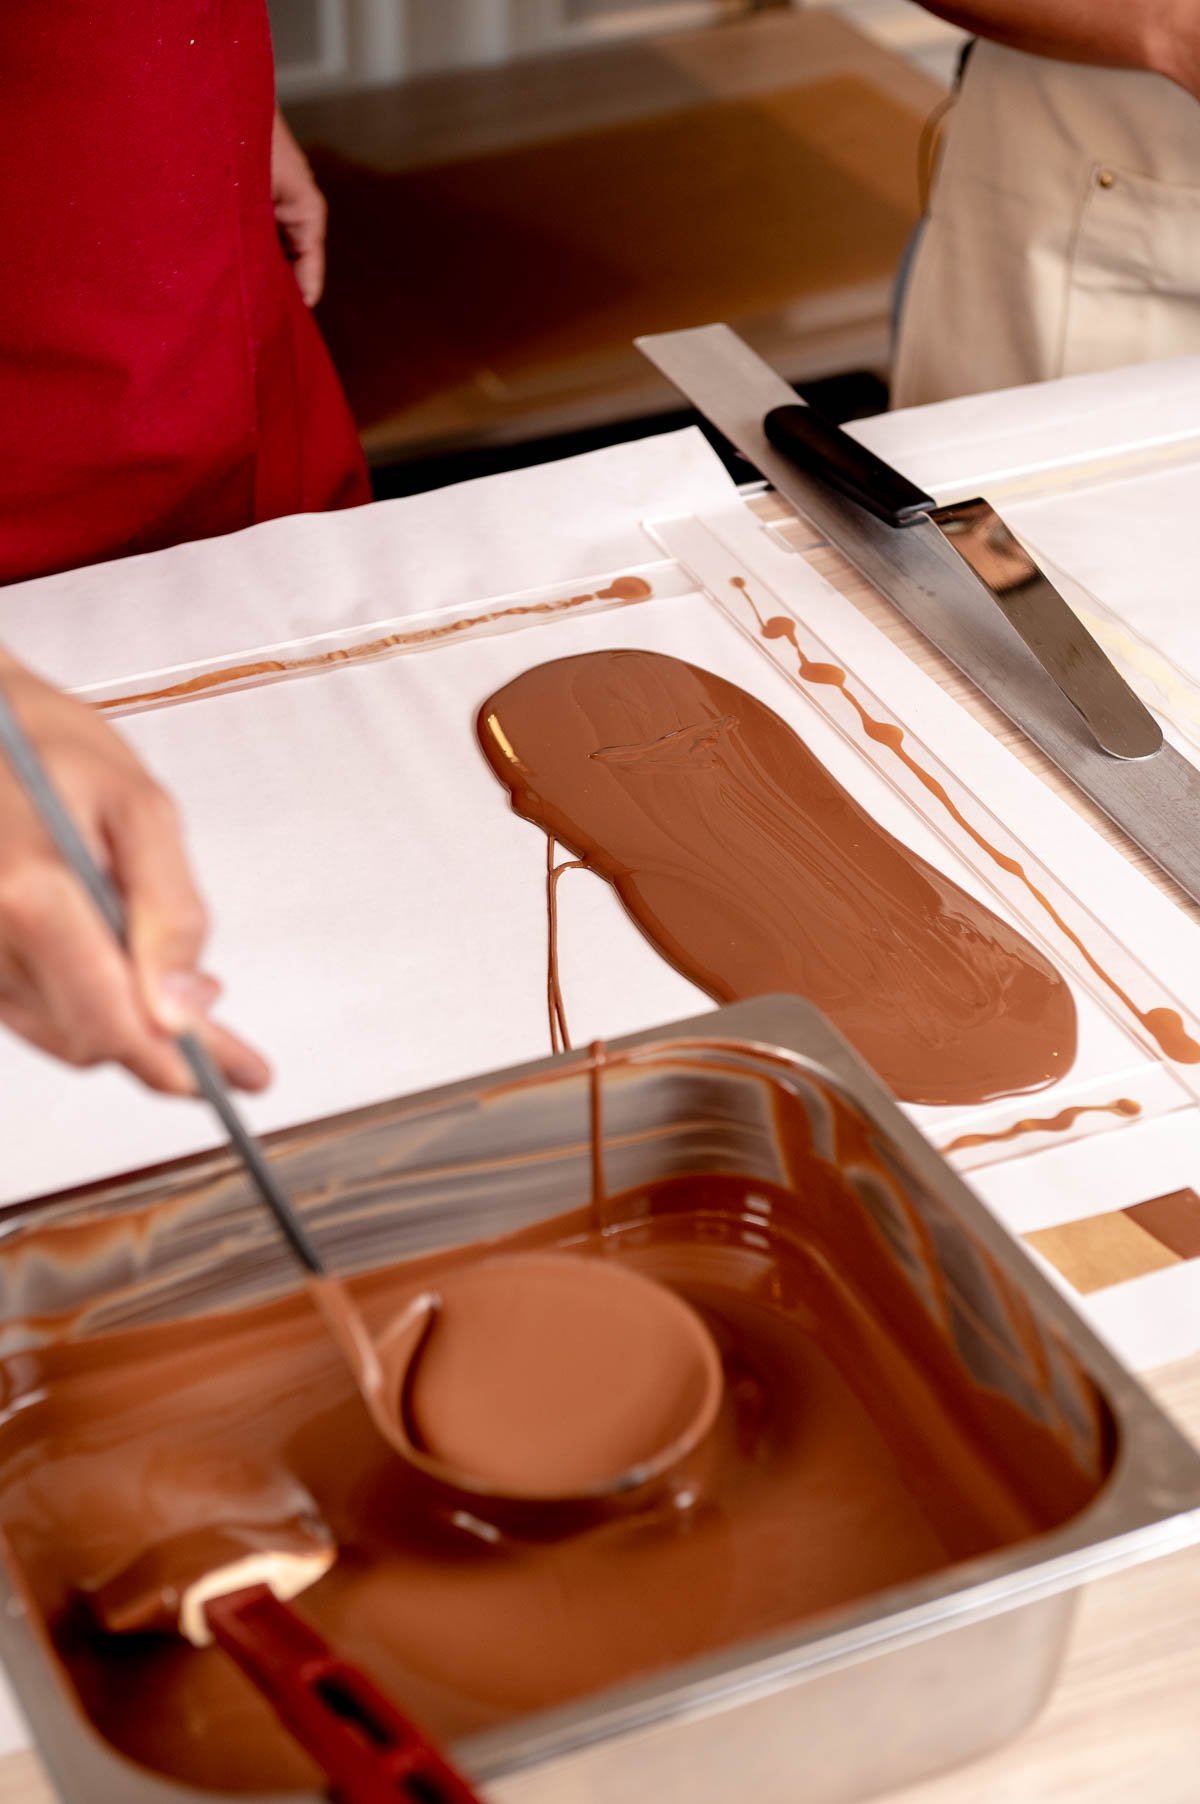
- Fill your pastry bag with the tempered chocolate and glue the spacers down.
- Fill the center of the square with tempered chocolate.
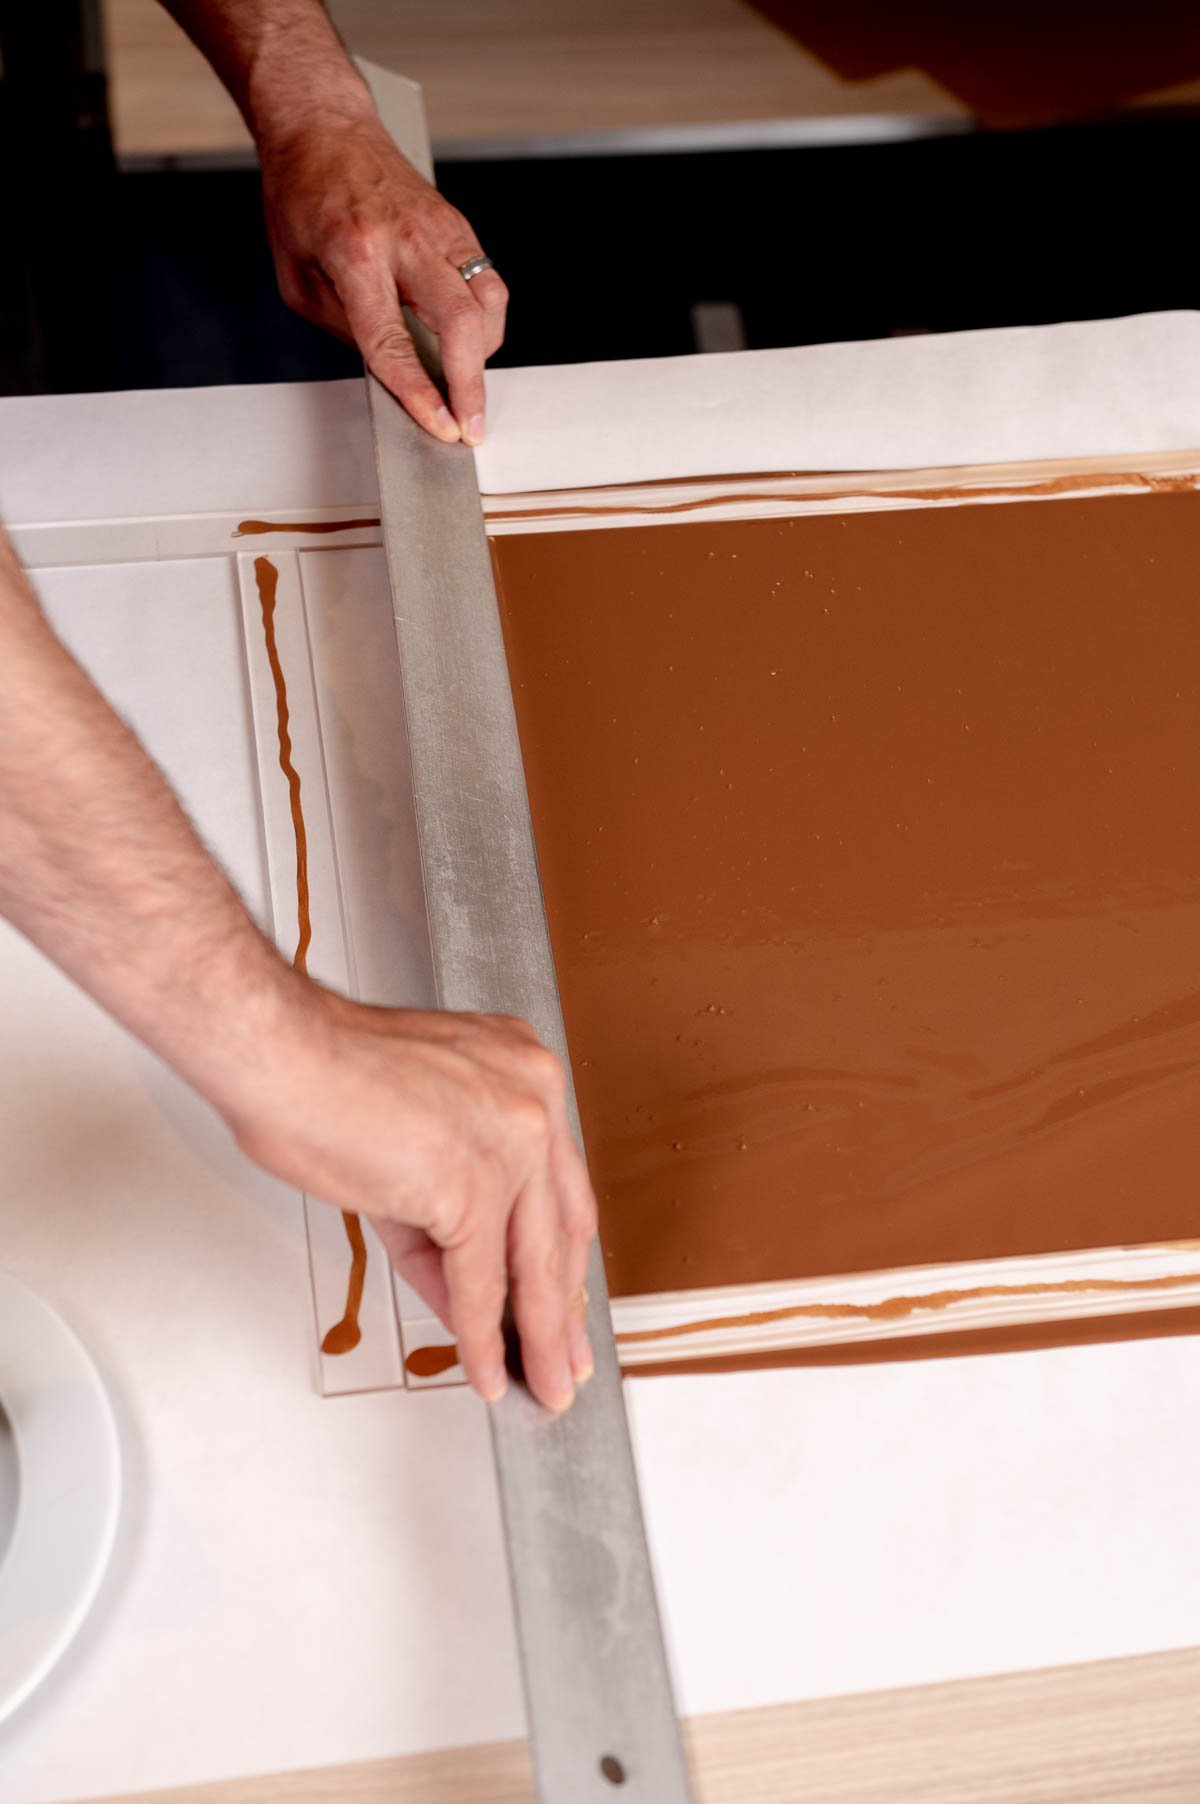
- Use a ruler or straight edge to make the chocolate flat and even.
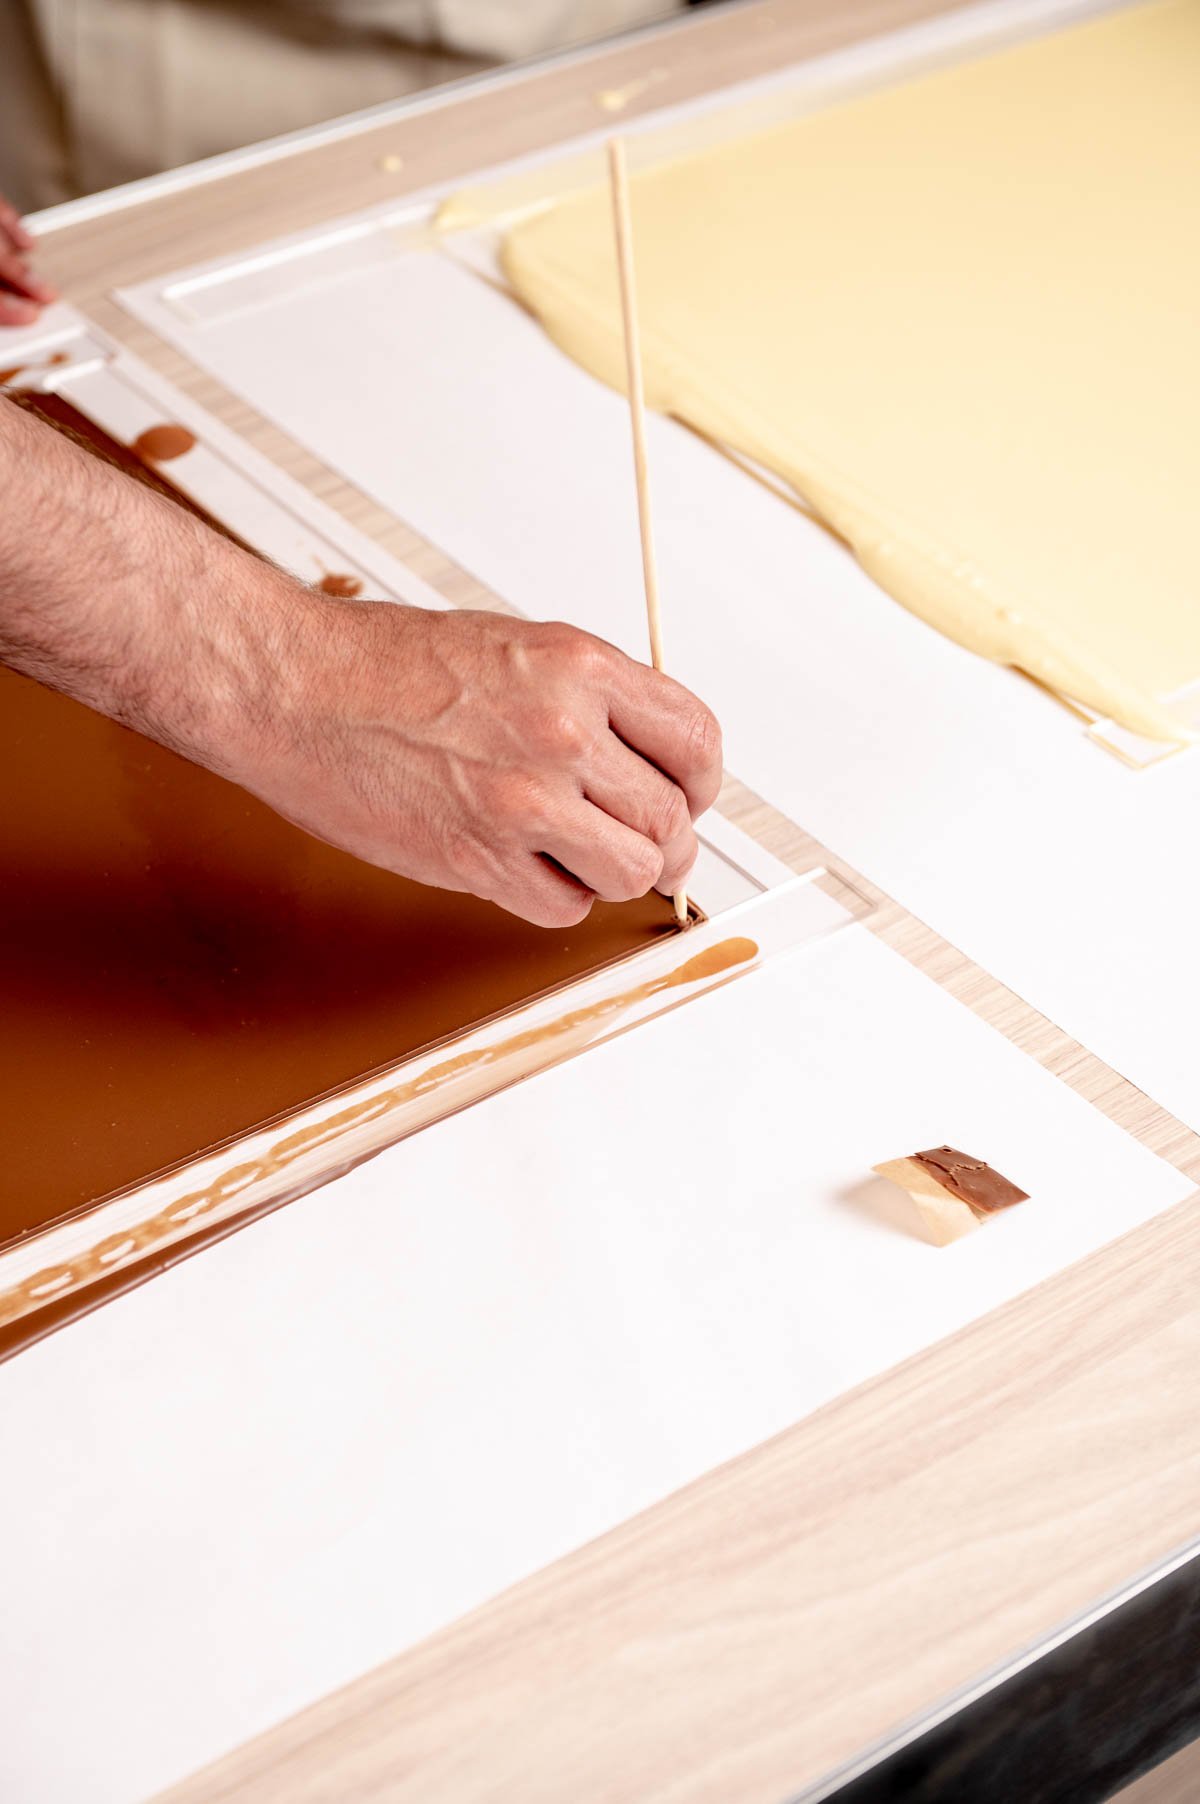
- Once the chocolate starts to look slightly matte (after about 5 minutes) trace between the chocolate and the plexiglass border and remove the border.
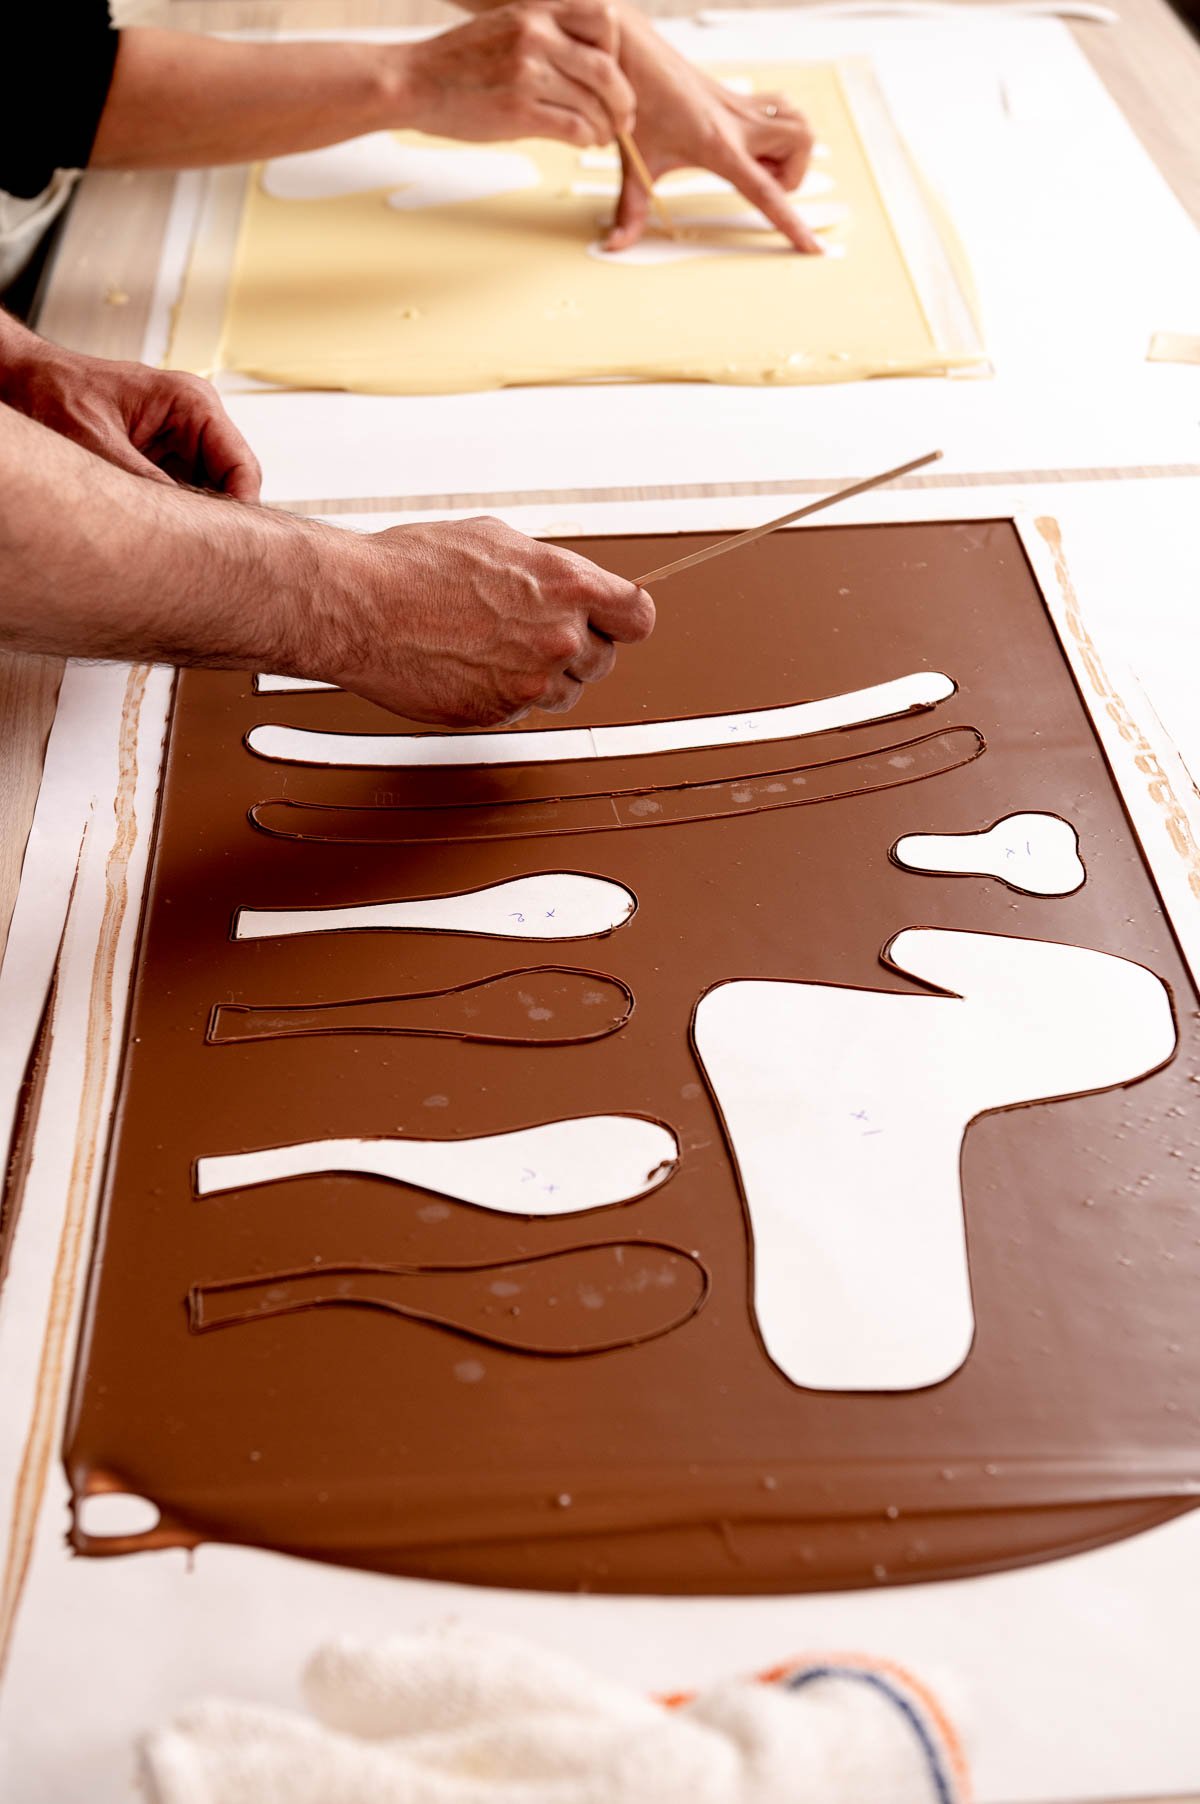
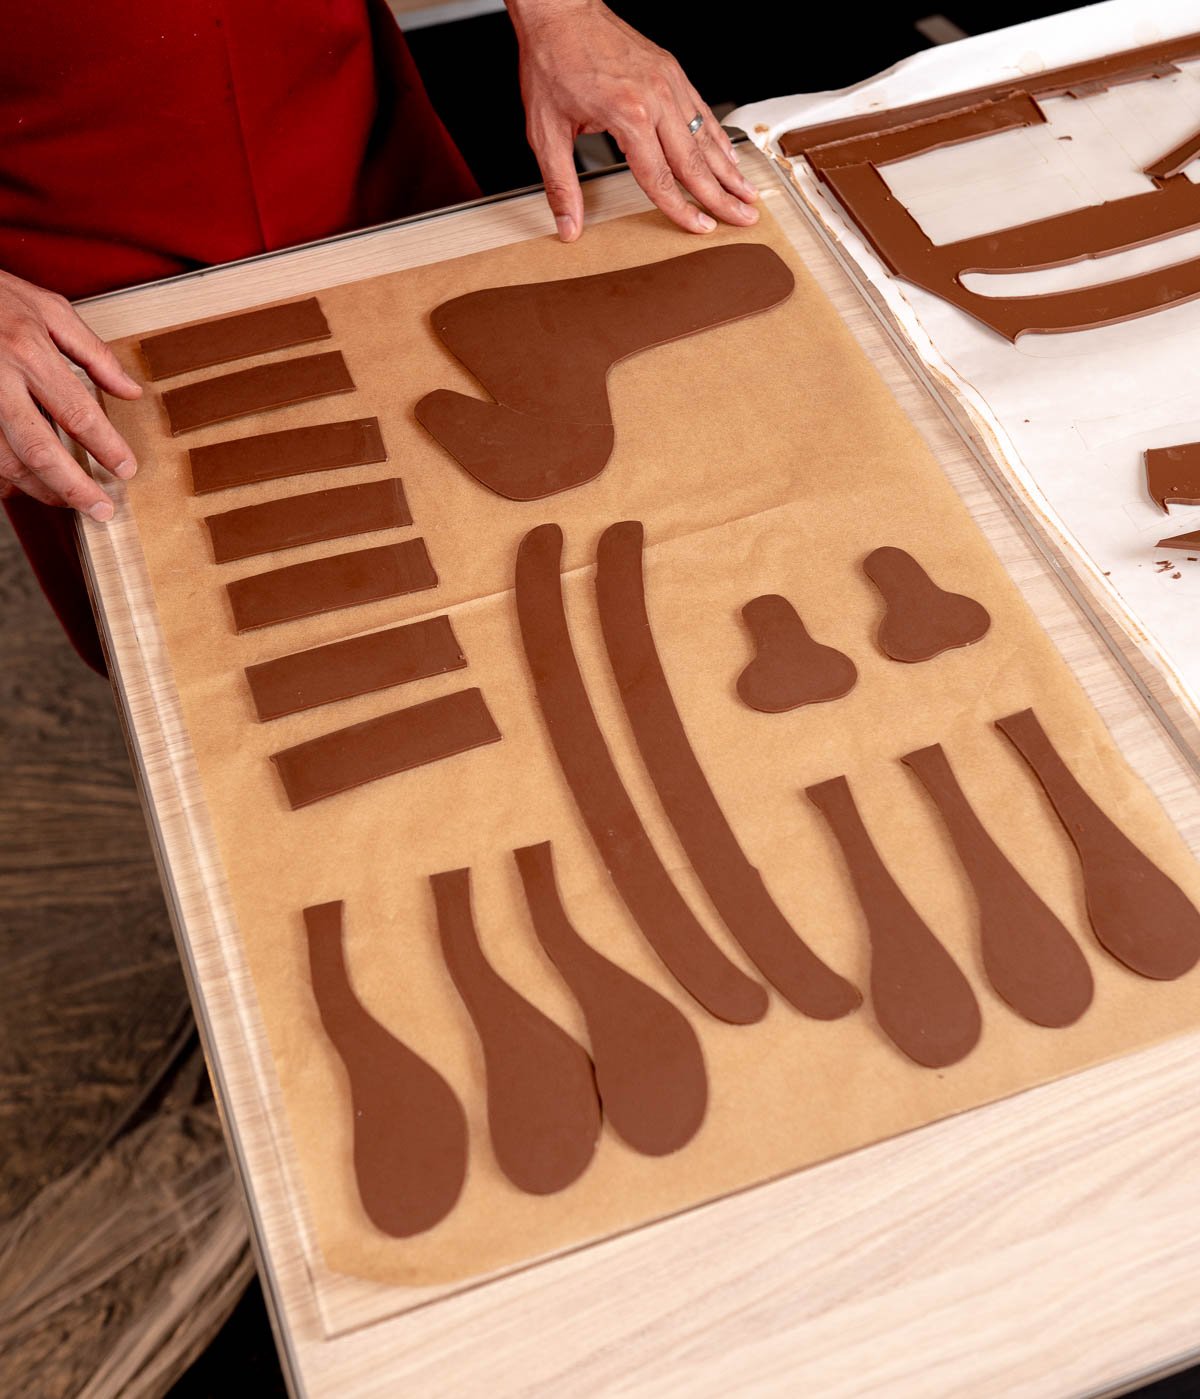
- Place the template on top of the chocolate and trace around it with your skewer to cut out the shapes. Work quickly before the chocolate fully sets.
- You can make extra pieces just in case of breakage.
- Remove the templates and discard them.
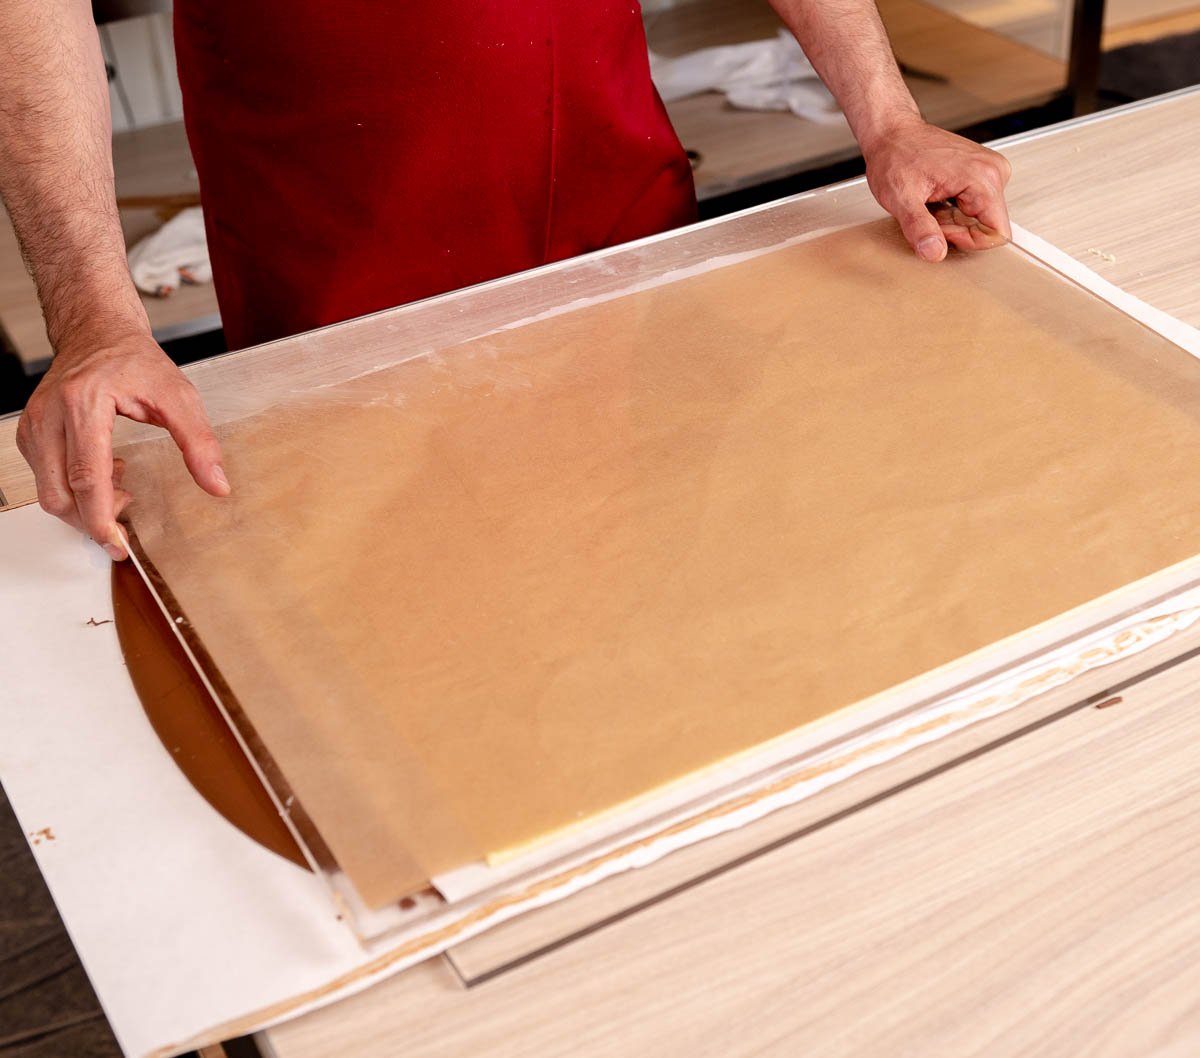
- Place the chocolate pieces on top of a large sheet pan or plexiglass with parchment paper underneath. Put some parchment on top of the chocolate. Place a large piece of plexiglass or heavy sheet pan on top so as the chocolate sets in the cooler, it does not curl.

- After 10 minutes you can take the chocolate out of the cooler.
- Remove the chocolate pieces from the surrounding chocolate. If you have any cracked pieces watch the video to watch how Christophe fixes broken pieces.

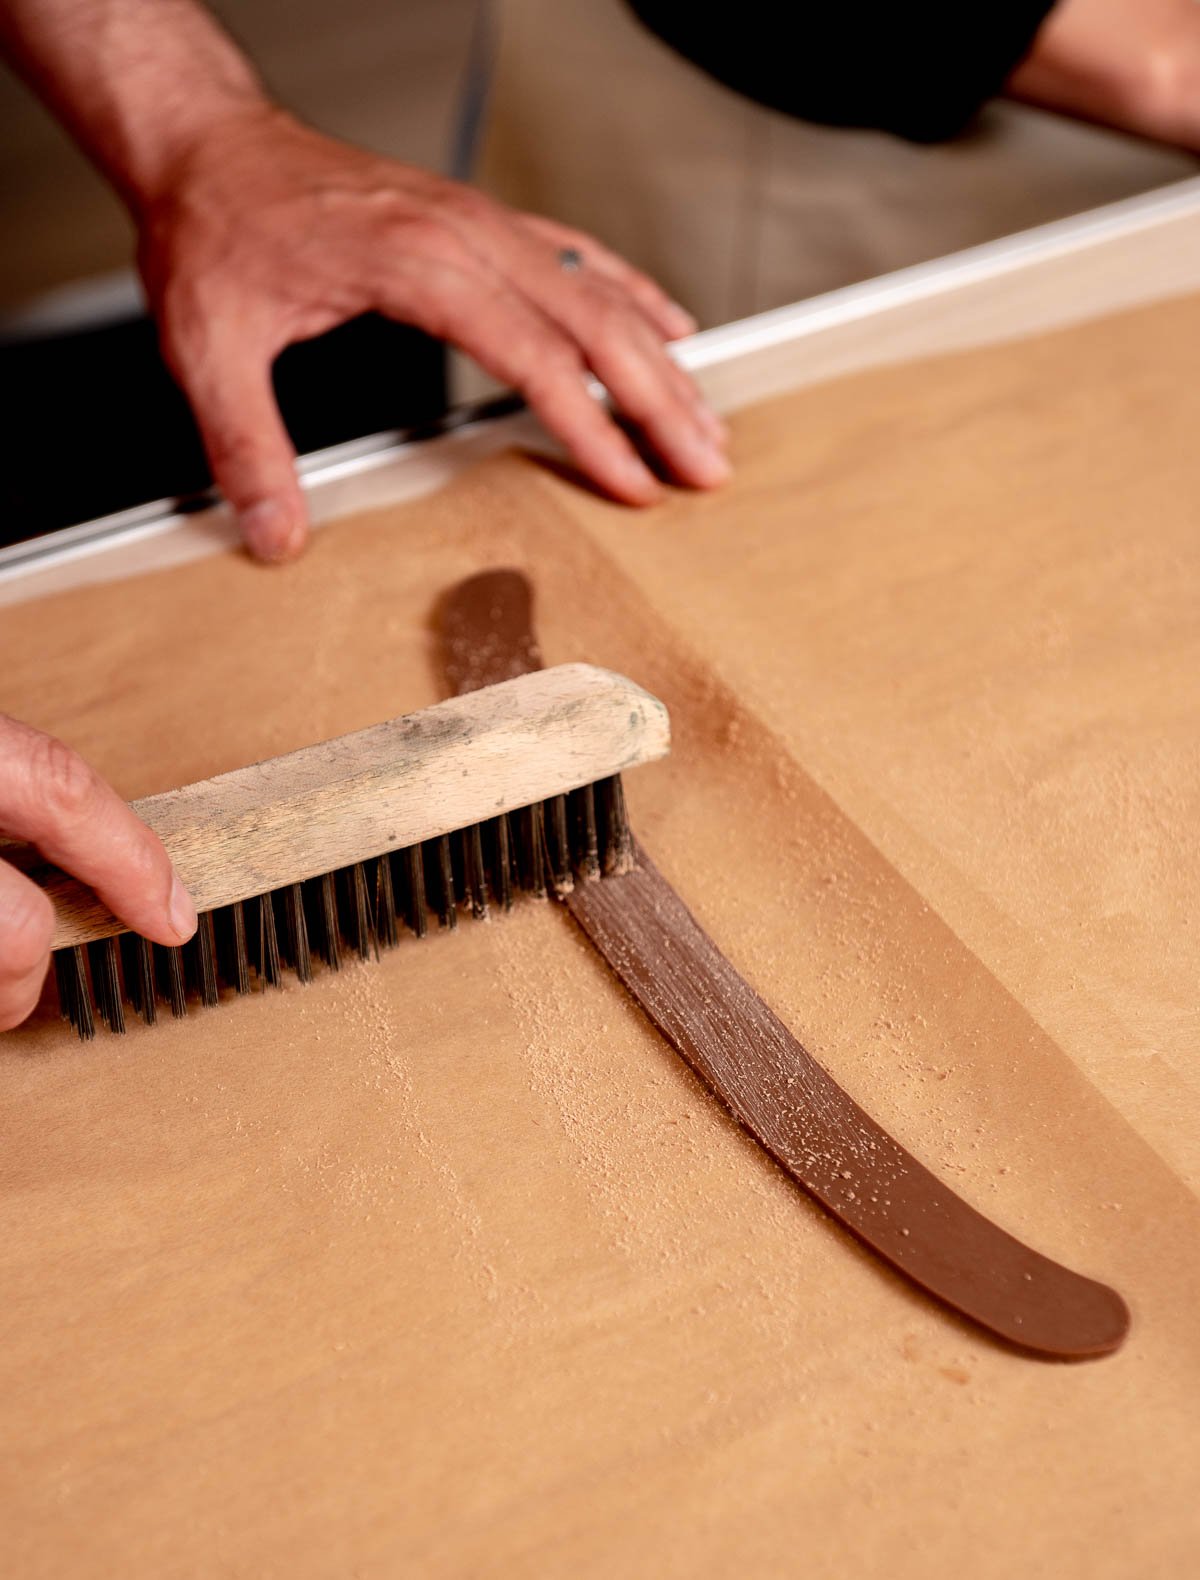
- Brush the chocolate pieces with a wire brush to create a wooden texture. Brush off the excess chocolate dust with a pastry brush.

Assembling The Chocolate Horse
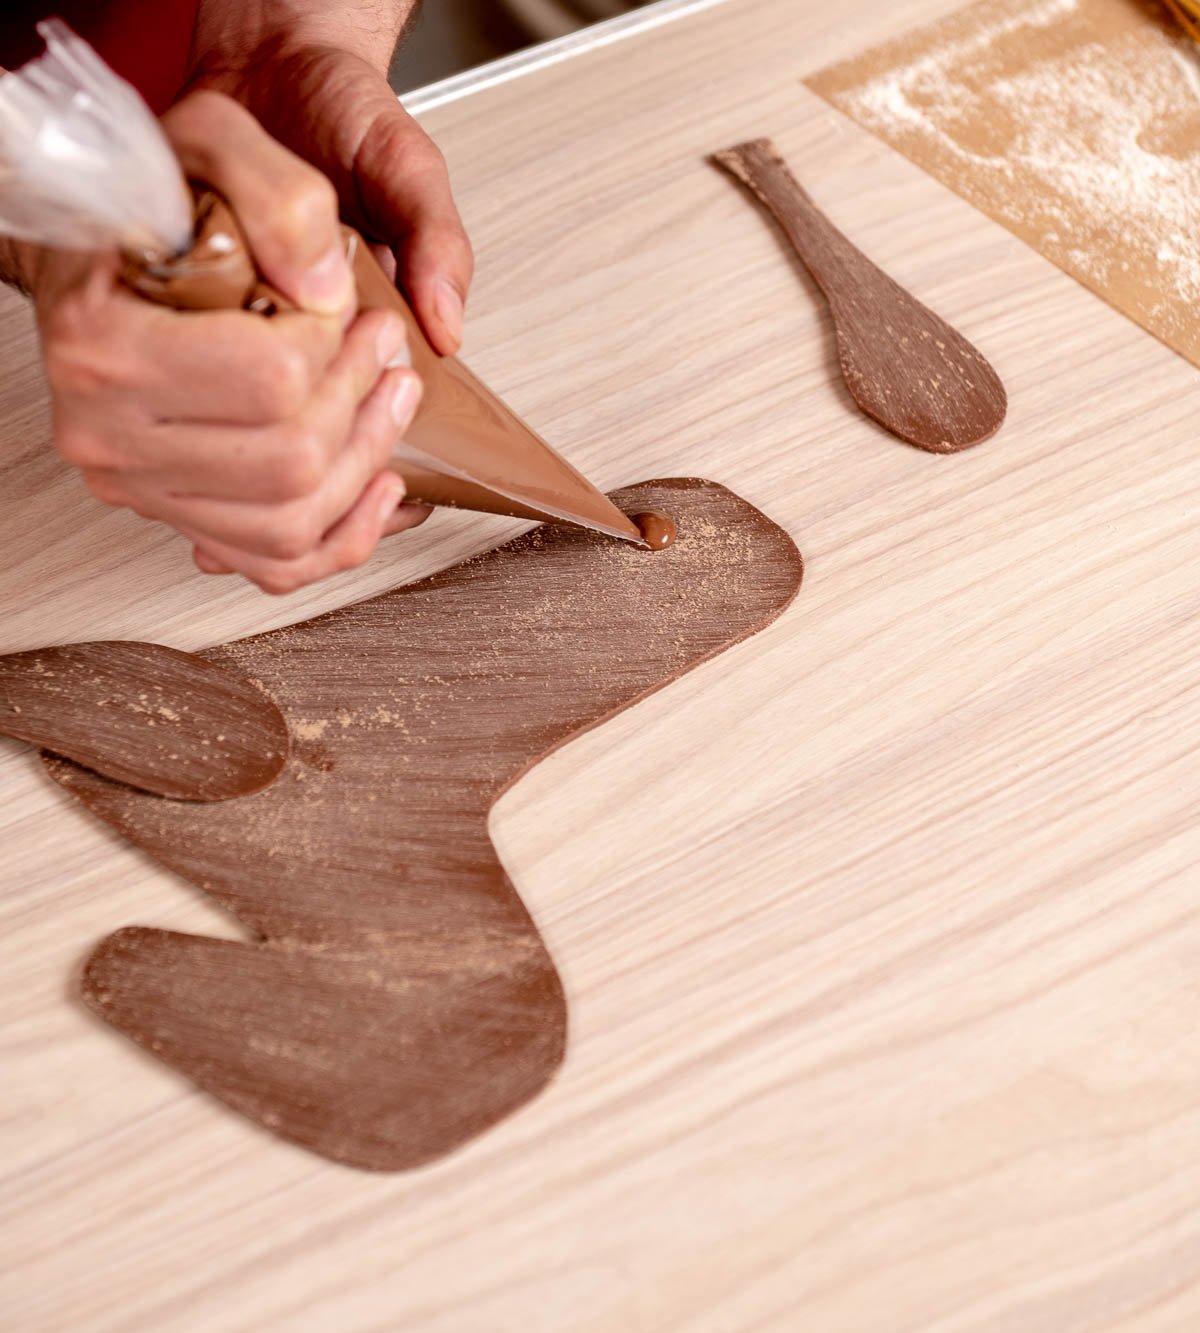
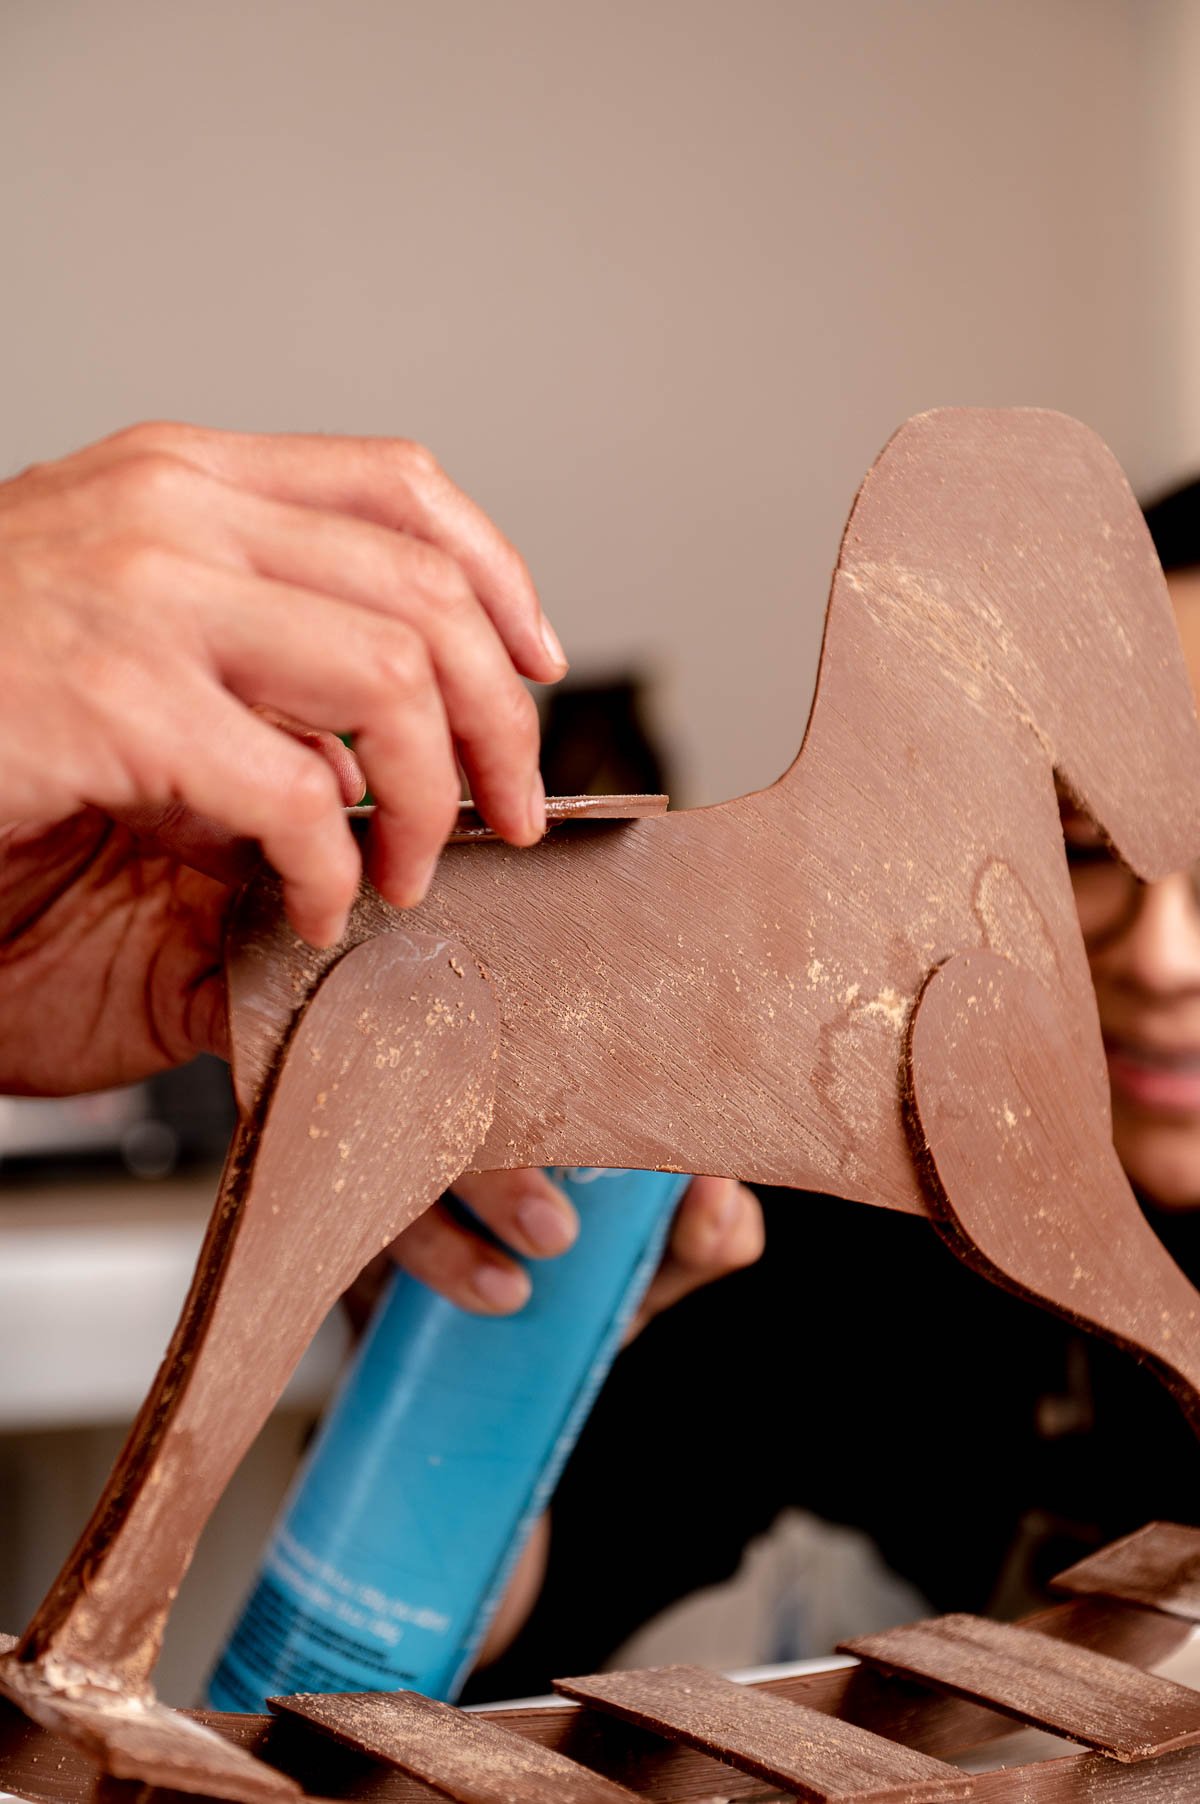
- Begin attaching the legs with tempered chocolate and set the pieces with cold spray. Pay close attention to making sure your pieces are straight. Turn the horse over and attach the legs to the other side.

- Wipe off any excess chocolate with your fingers to keep the structure clean looking.
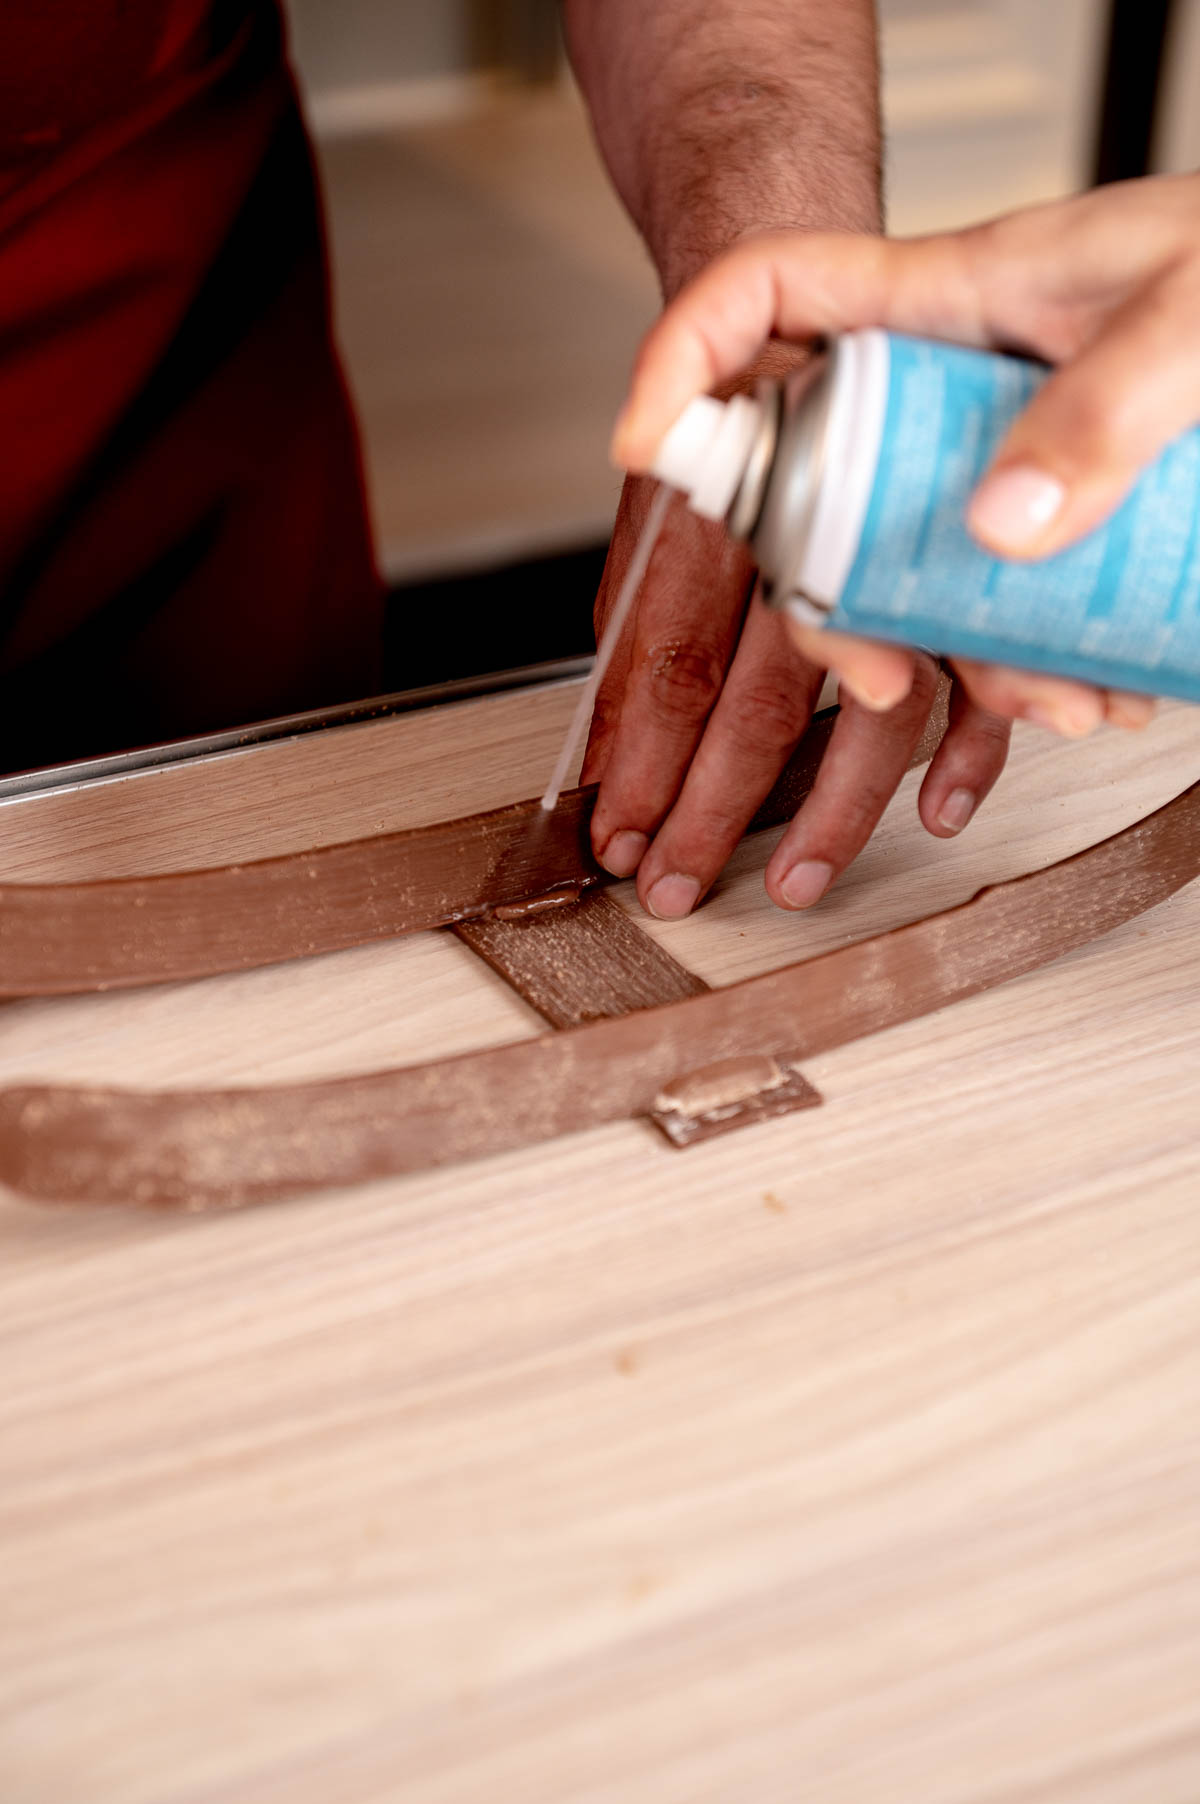
- Attach the curved pieces of chocolate to the base with tempered chocolate and set with cold spray.
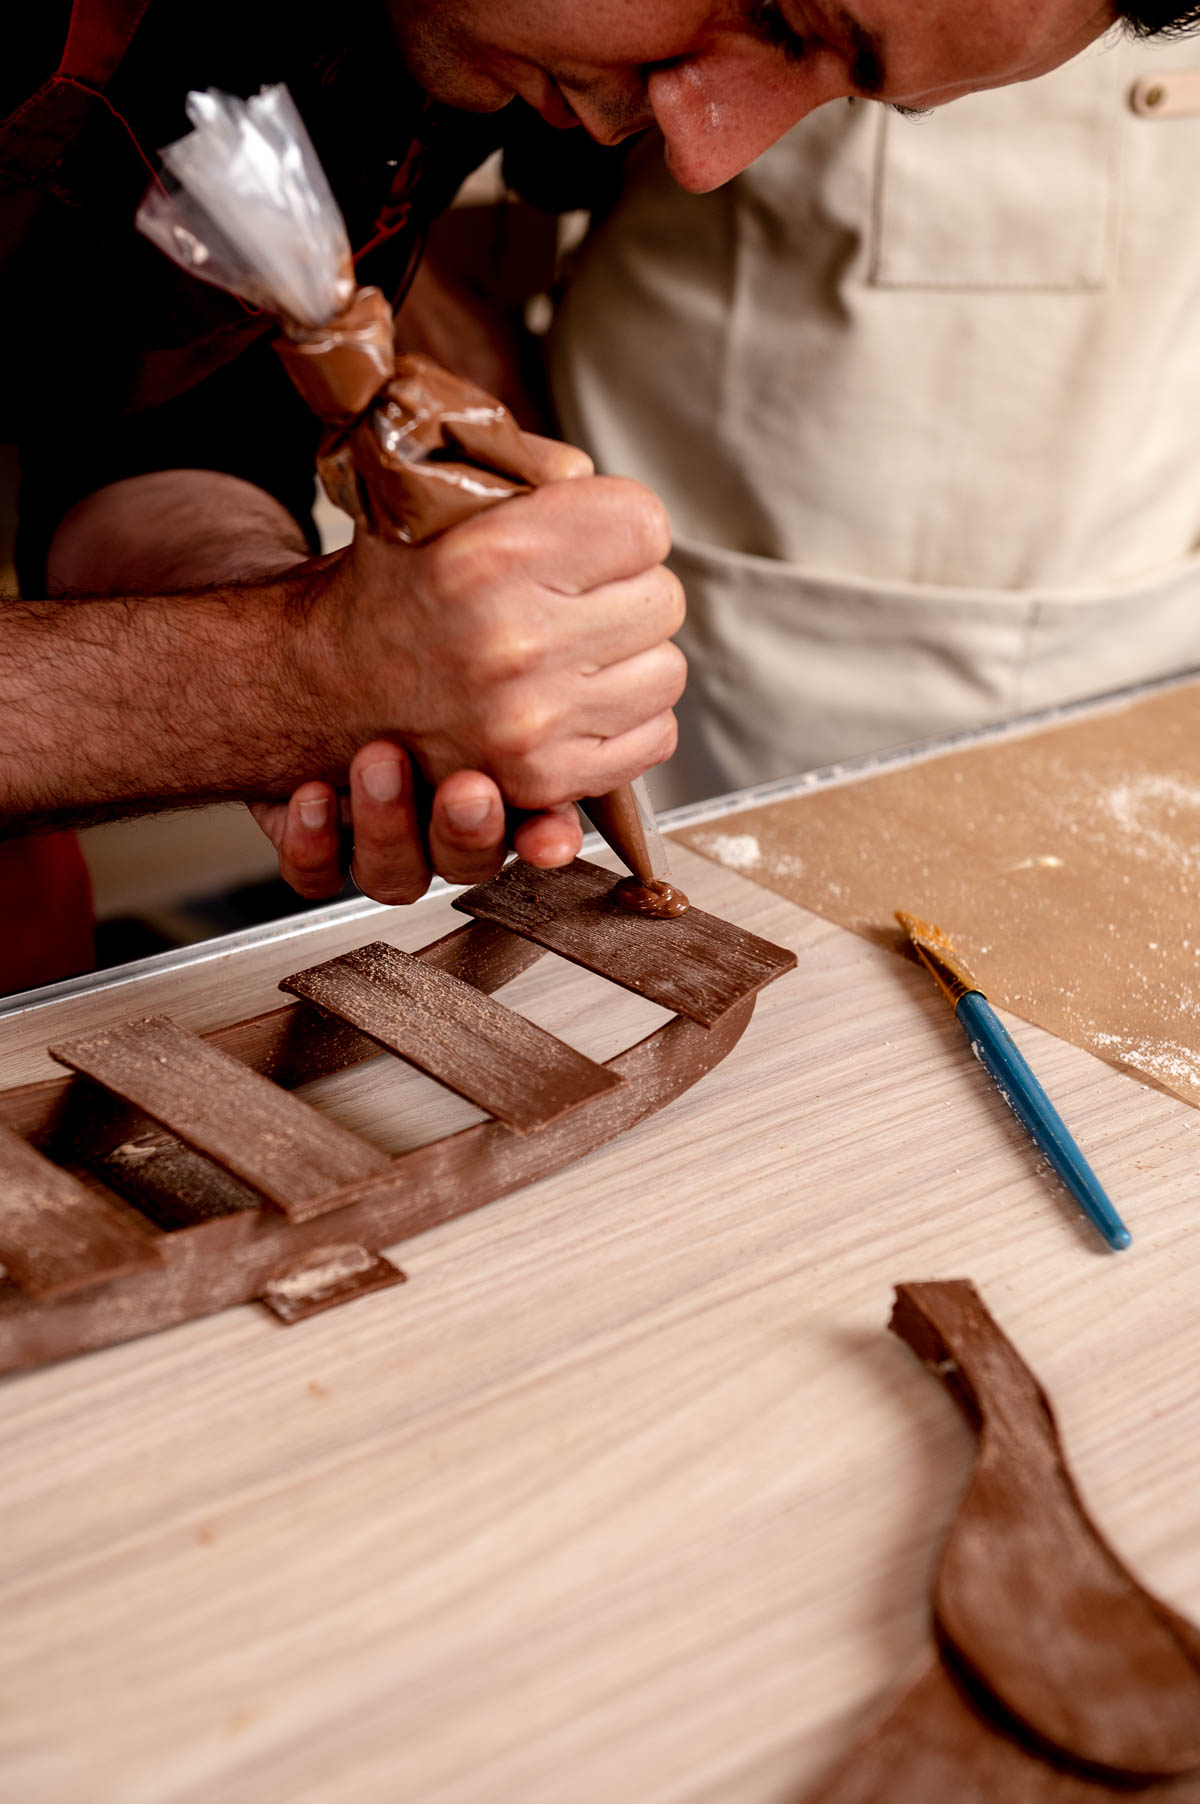
- Attach all the cross pieces with tempered chocolate and set with cold spray.
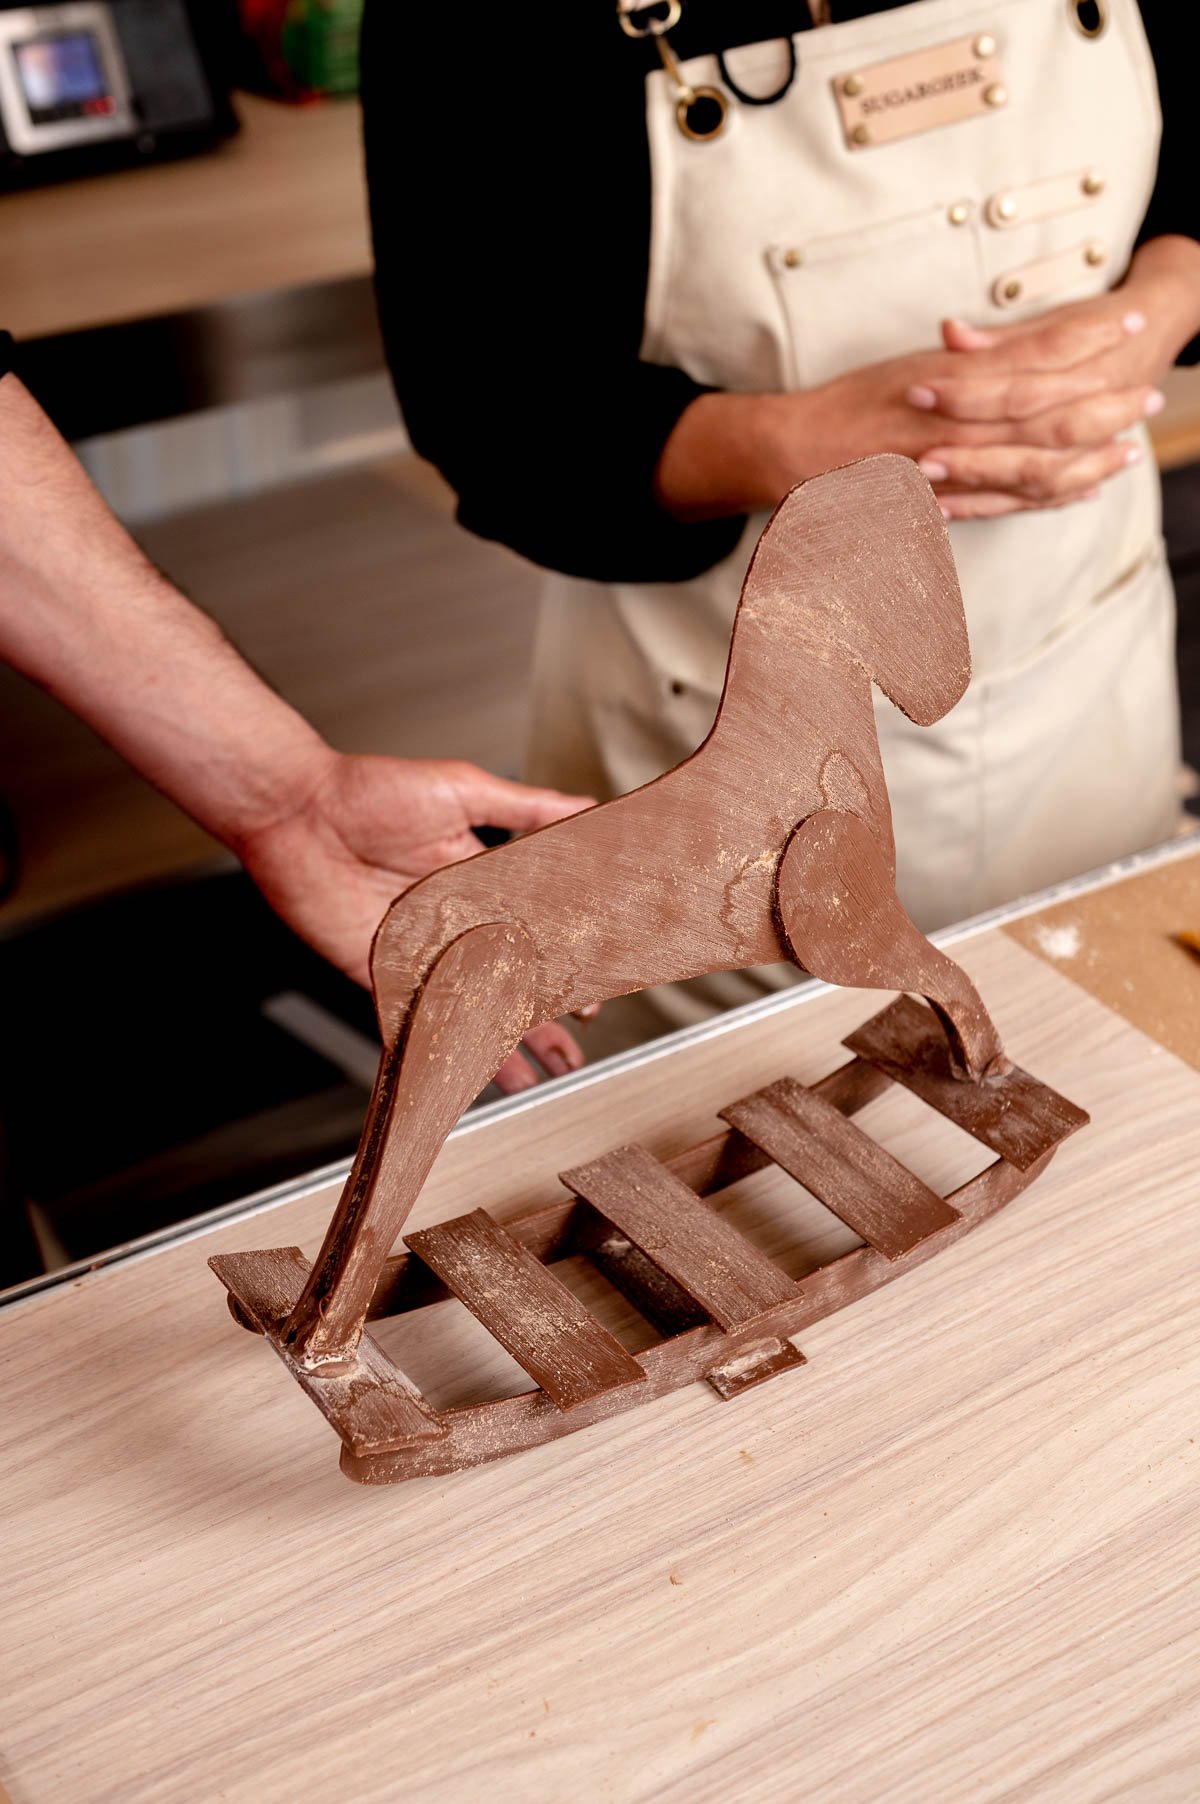
- Attach the horse to the base with tempered chocolate and cold spray, making sure the horse is straight up and down.
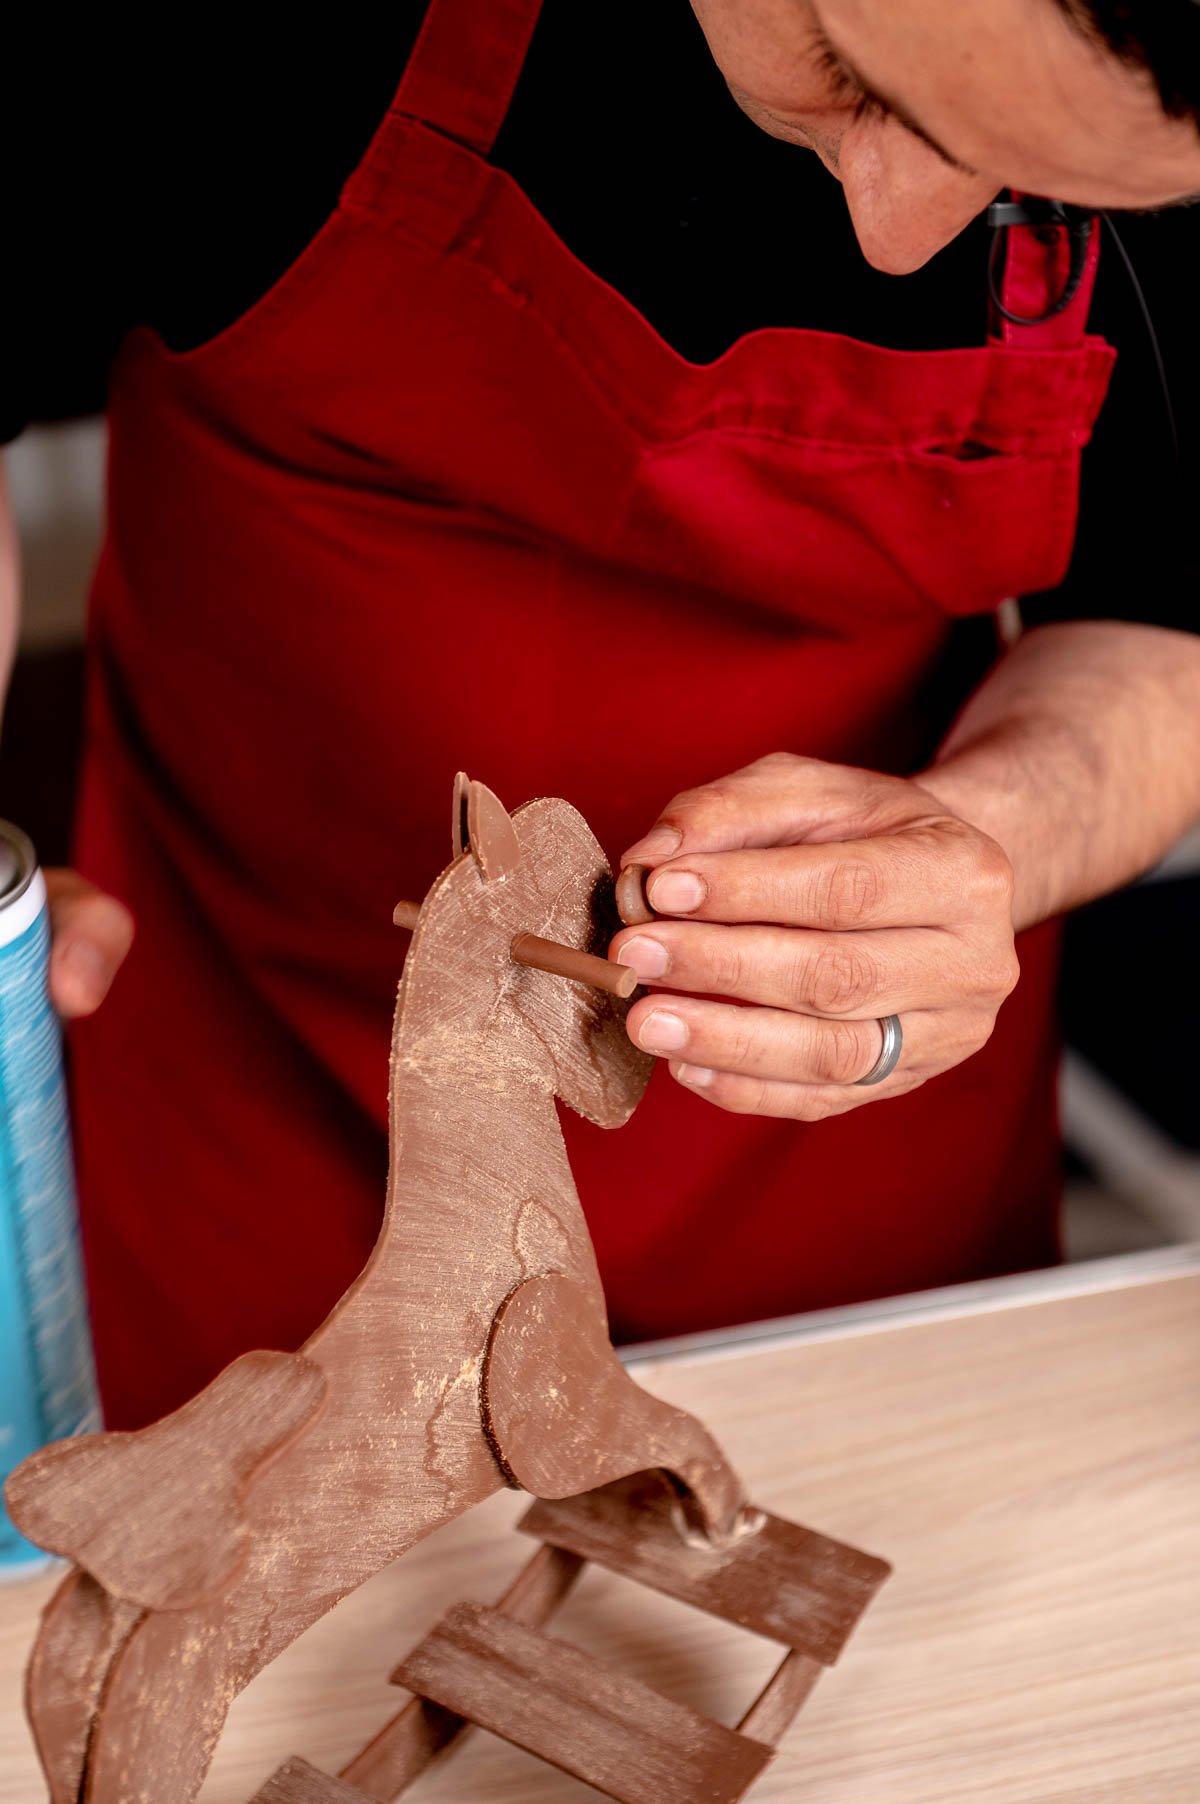
- Attach the seat, rocking horse handles and tail and you're done! We used a food processor to blend the chocolate and form it into the handles, check out Christophe's chocolate flower for more information.
More Chocolate Recipes & Tutorials
How To Temper Chocolate In The Microwave
Recipe
Equipment
- Newsprint
- Large and Small Acetate Sheets
- ¼" thick acrylic strips
- Horse Template
- Wire Brush
- EZ Temper Machine (optional)
- Cold Spray
Ingredients
For the tempered chocolate
- 1000 grams couverture chocolate
- 10 grams tempered cocoa butter paste (optional)
Instructions
Making the Chocolate Pieces
- Lay your newsprint down onto the table and then place your large sheet of acetate over the top.
- Arrange all your templates on top of the acetate to make sure you have enough space for all the pieces.
- Make a border with your ¼" plexiglass spacers around the templates. Remove the templates and set them aside for now.
- Fill your pastry bag with the tempered chocolate and glue the spacers down.
- Fill the center of the square with tempered chocolate.
- Use a ruler or straight edge to make the chocolate flat and even.
- Once the chocolate starts to look slightly matte (after about 5 minutes) and is slightly tacky but not fully set. You may need to start tracing in areas where it is set. The chocolate doesn't always set at the same time.
- Trace between the chocolate and the plexiglass border and remove the border.
- Place the template on top of the chocolate and trace around it with your skewer to cut out the shapes. Work quickly before the chocolate fully sets.
- You can make extra pieces just in case of breakage.
- Remove the templates and discard them.
- Place the chocolate pieces on top of a large sheet pan or plexiglass with parchment paper underneath. Put some parchment on top of the chocolate. Place a large piece of plexiglass or heavy sheet pan on top so as the chocolate sets in the cooler, it does not curl.
- After 10 minutes you can take the chocolate out of the cooler.
- Remove the chocolate pieces from the surrounding chocolate. If you have any cracked pieces watch the video to watch how Christophe fixes broken pieces.
- Brush the chocolate pieces with a wire brush to create a wooden texture. Brush off the excess chocolate dust with a pastry brush.
Assembling the Chocolate Horse
- Begin attaching the legs with tempered chocolate and set the pieces with cold spray. Pay close attention to making sure your pieces are straight.
- Wipe off any excess chocolate with your fingers to keep the structure clean looking.
- Attach the curved pieces of chocolate to the base with tempered chocolate and set with cold spray.
- Attach all the cross pieces with tempered chocolate and set with cold spray.
- Attach the horse to the base with tempered chocolate and cold spray, making sure the horse is straight up and down.
- Finally, attach the seat to the top of the horse.
- You can add more details like eyes, ears, handles or other decorations and details if you want.

Leave a Reply