How to make airless buttercream that is smooth and creamy and has zero bubbles
Do you struggle with having too much air in your buttercream making it hard to get a smooth finish or possibly causing air bubbles under your fondant? Well fret no more! Learning how to make airless space buttercream is the second installment in our basics series! Here we show you just how to solve that issue with this super simple American Buttercream Recipe.
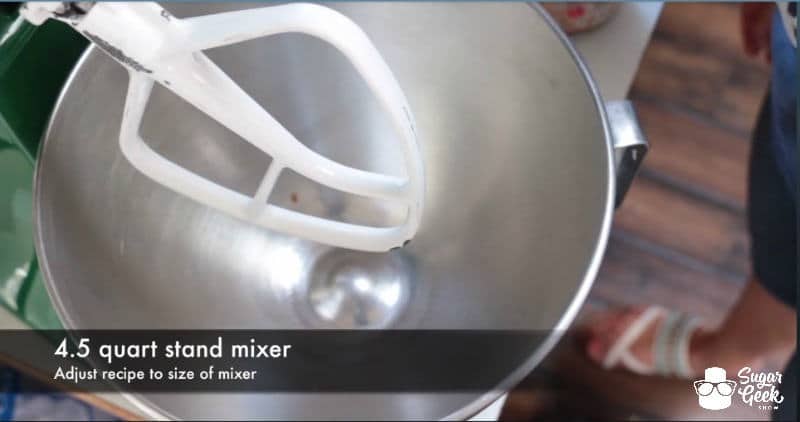
Step 1:
The amounts we are using in this recipe are perfect for a 4.5 quart mixer. If you have a different size mixer you will need to adjust the amounts accordingly. This is very important as it is the main trick to airless buttercream. Don't worry, you'll see why later!
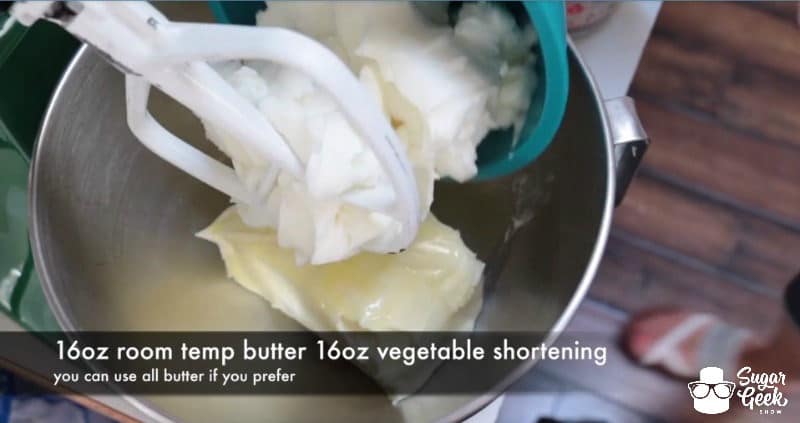
Step 2:
You will need equal amounts of softened room temp butter and vegetable shortening, in our case for the 4.5 quart mixer, 16 oz of each. The shortening adds extra stability in hot weather but if that's not an issue and you'd rather use all butter, go for it!
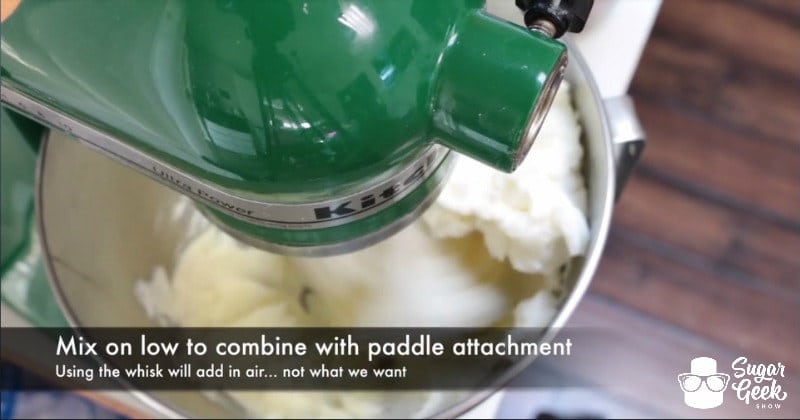
Step 3:
Being sure to use the paddle attachment, mix these two ingredients on low to combine. This recipe does not use a whisk to prevent lots of air from being incorporated in the first place.
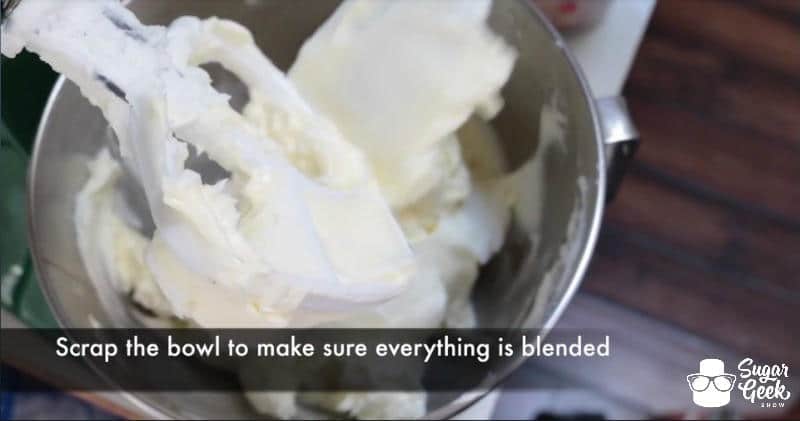
Step 4:
Scrape your bowl with a rubber spatula to ensure it's all mixed up well!
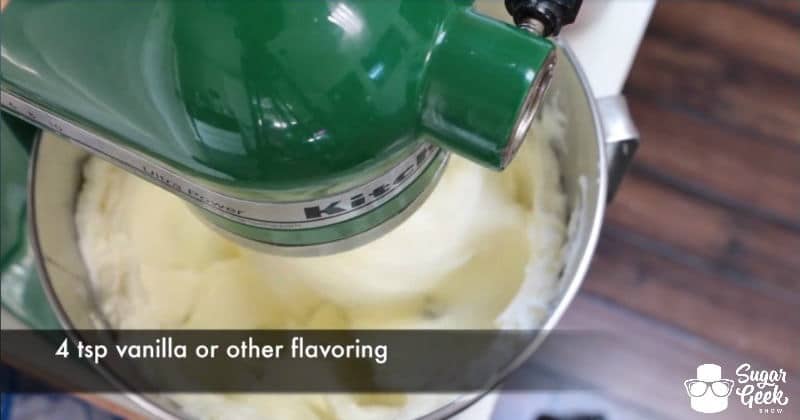
Step 5:
Add in 4 teaspoon of vanilla or any other flavoring of your choice.
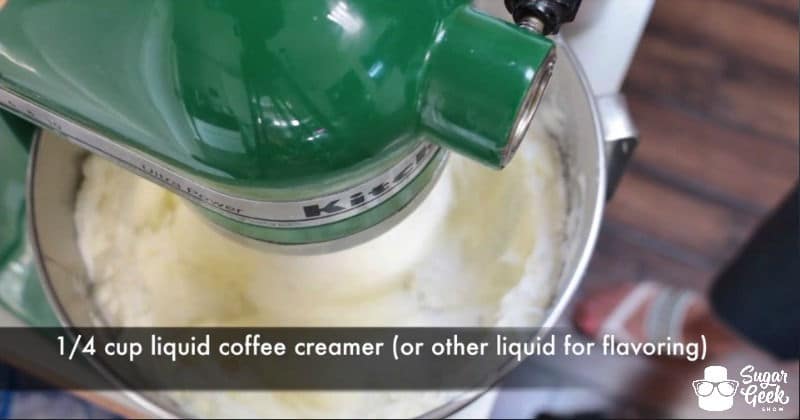
Step 6:
Next add in ¼ of liquid coffee creamer or additional liquid for flavoring.
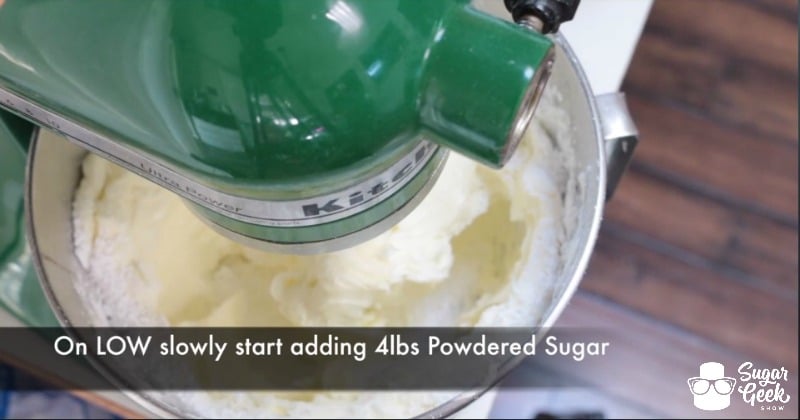
Step 7:
Add in 4 lbs of powdered sugar while your mixer is on the LOW setting. I repeat, THE LOWEST SETTING. It's not a pretty site if you try to put it in when it's on a higher speed. Yes, I do know.
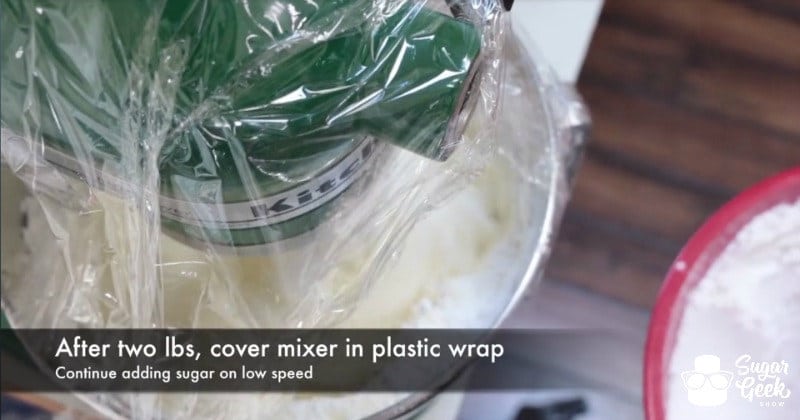
Step 8:
Once you've added in half your sugar, 2 lbs for this recipe, cover your mixer in plastic wrap to keep the sugar dust from coating your entire kitchen.
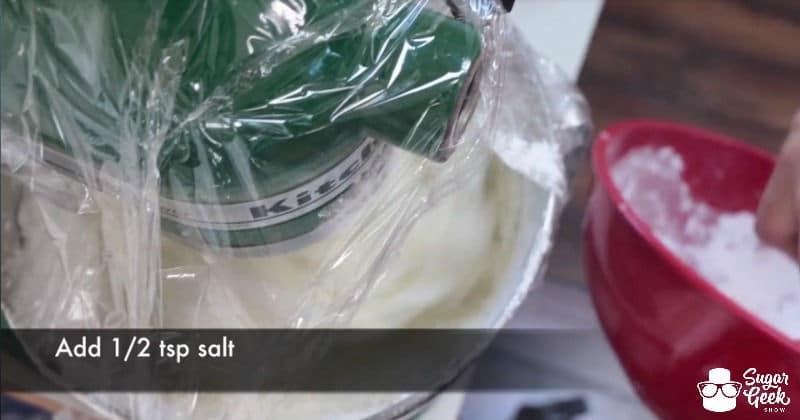
Step 9:
Add in your salt, ½ teaspoon.
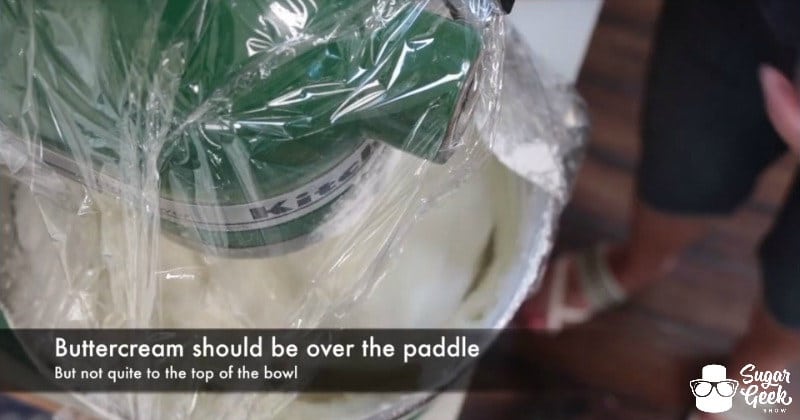
Step 10:
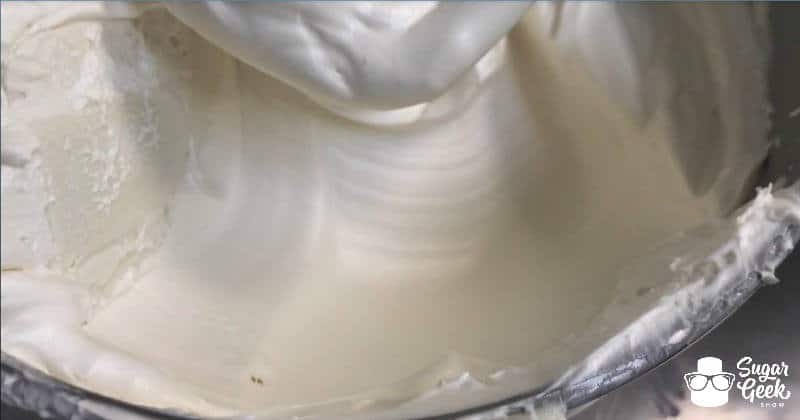
With all of your ingredients in the bowl, the buttercream should be coming up just over the entire paddle but not so high that it's to the edge of the bowl. This is why having the proper amount of ingredients is important! With the buttercream at this level, the paddle attachment is able to completely rid the buttercream of air.
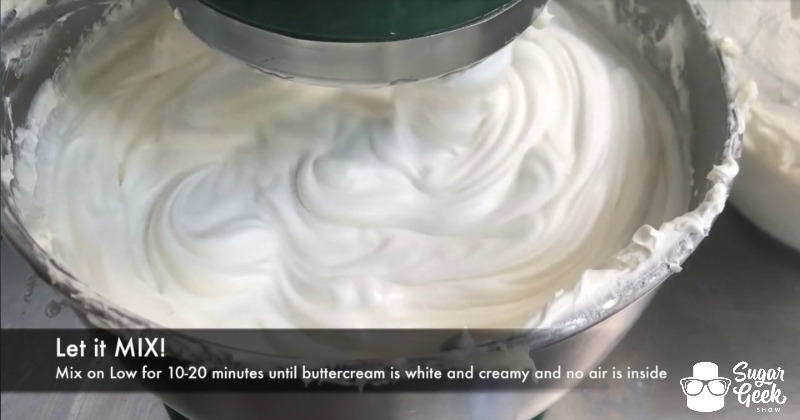
Step 11:
Now just let it mix! On low for 10-20 minutes. Yes, you heard that right. Until it looks creamy and no air is inside.
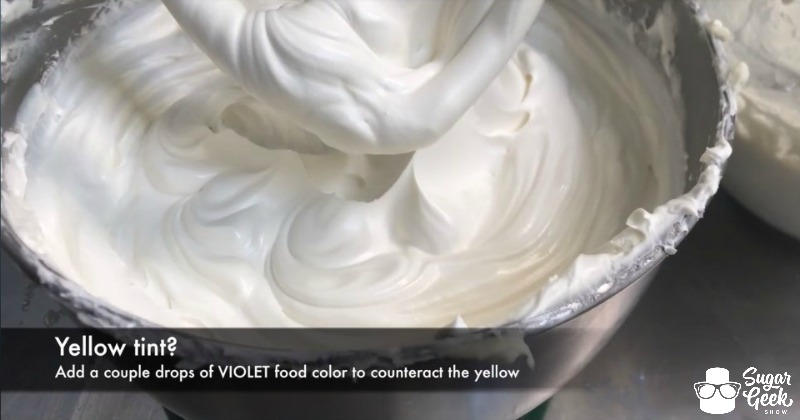
Tip:
Adding just a touch of violet food coloring to your buttercream will counter act the yellow tint it may have from butter or extracts. Purple and yellow are opposites on the color wheel so they cancel each other out.
Voila!
You have gorgeous, smooth buttercream without any air to ruin your day of caking.
Have your own buttercream recipe you love? You can also rid the air from any recipe by making sure the correct amount of buttercream is in your bowl and mixing on low with the paddle attachment until all the air is gone. Now you have a superb medium to create your edible masterpieces with. You're welcome.
Going over the basics? Check out these!
Cake Decorating Basics: Must Have Tools
Cake Decorating Basics: Leveling and Torting
Cake Decorating Basics: Filling and Crumb Coating
Cake Decorating Basics: Avoiding Cake Blowouts
Cake Decorating Basics: Smooth Final Coat of Buttercream
Cake Decorating Basics: The Upside Down Method
Cake Decorating Basics: The Secret to Small Cakes
Cake Decorating Basics: Covering a Cake in Fondant
Cake Decorating Basics: How to get Sharp Edges
Cake Decorating Basics: Easy Double Barrel
Cake Decorating Basics: How to Panel
Cake Decorating Basics: Stacking Cakes