

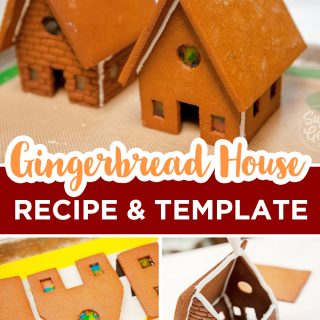
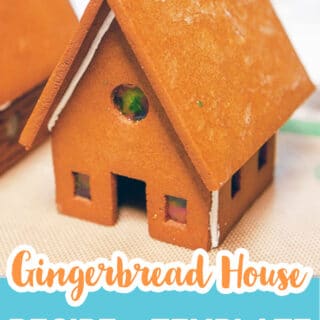

This gingerbread house recipe is the real deal. Not the kit from the grocery store that collapses before you finish frosting it, not a regular gingerbread cookie recipe dressed up as a house. This is actual construction-grade gingerbread, the same recipe I got from my friend Christophe Rull, the head pastry chef at the Park Hyatt Aviara in San Diego, that we used to build a gingerbread house over TWELVE FEET TALL. Pair it with my royal icing recipe and you have everything you need to build a house that stands all season. I've been making this recipe ever since. It doesn't spread. It dries rock solid. And one batch makes three individual houses, which is perfect for a decorating party, a Friendsgiving centerpiece, or just because more houses are more fun.
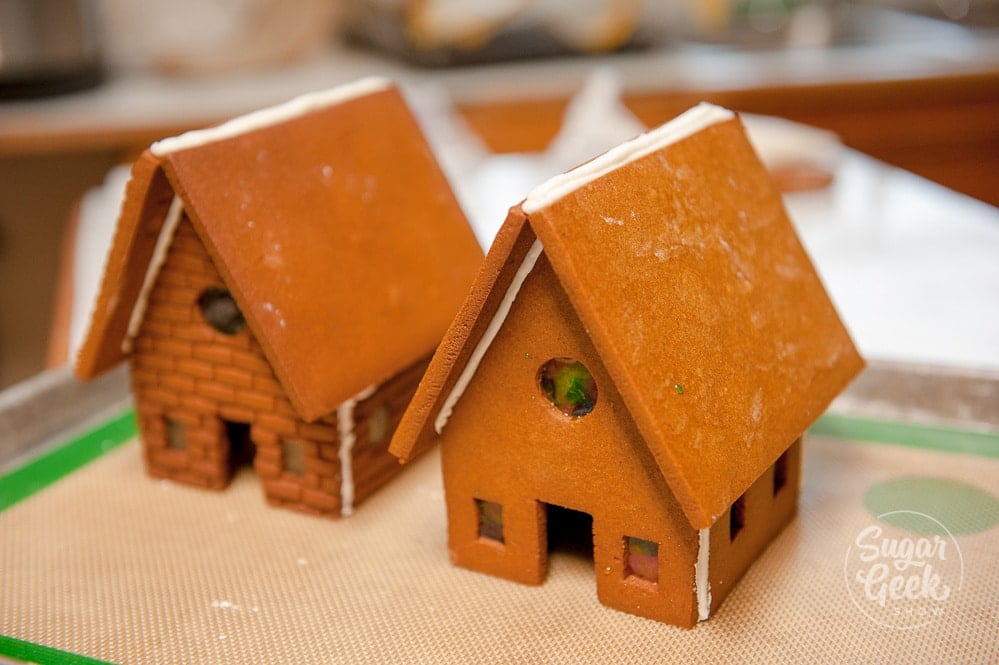
I'll let you in on a little secret: not all gingerbread is created equal. The gingerbread you make for gingerbread men cookies is meant to be soft and delicious. Construction gingerbread is a different animal entirely. It's denser, dries harder, and is built to hold up under the weight of royal icing, candy, and a good month of display on your mantle. If you try to use regular gingerbread cookie dough for a house, you're going to have a bad time. Trust me. I've seen it happen.

The other thing I want you to know before you start? This project does not have to happen in one day. In fact, it SHOULDN'T. Spread it across two or three days and you'll actually enjoy it instead of losing your mind. See the make-ahead schedule below before you start.
Quick Glance at the Recipe
- Recipe Name: Construction Grade Gingerbread House Recipe
- Why You'll Love It: Professional-strength gingerbread that doesn't spread, dries rock solid, and can hold up for weeks of display. One batch makes three individual houses.
- Time and Difficulty: Intermediate. About 1 hour 15 minutes active time, but best spread across 2 to 3 days for stress-free results.
- Main Ingredients: All-purpose flour, vegetable shortening, molasses, sugar, egg, spices. Royal icing: powdered sugar, egg whites, cream of tartar, vanilla.
- Method: Mix dough, roll to ¼ inch thick, freeze 20 minutes, cut pieces from template, bake low and slow at 300º F until rock hard, cool fully, assemble with thick royal icing, decorate.
- Texture and Flavor: Dense, very firm, dark, warmly spiced. Built for construction, not for eating, though the spice scent is absolutely incredible.
- Quick Tip: Don't try to do everything in one day. Make the dough and bake on day one. Assemble on day two after the pieces have fully cooled and dried. Decorate on day three once the assembly has set overnight.
Jump to:
- Quick Glance at the Recipe
- Make-Ahead Schedule (Do NOT Skip This Section)
- What Makes This Gingerbread House Recipe Different
- Gingerbread House Base Options
- Gingerbread House Ingredients
- For the Royal Icing:
- For the Windows (Optional):
- Gingerbread House Pattern
- How to Make a Gingerbread House Step-By-Step
- How to Add Stained Glass Windows
- How to Assemble a Gingerbread House
- How to Decorate a Gingerbread House
- How to Keep a Gingerbread House From Falling Apart
- How Long Does a Gingerbread House Last?
- Common Gingerbread House Problems
- Final Thoughts
- Gingerbread House Recipe FAQs
- More Holiday Recipes to Try
- Leave Me a Review⭐️⭐️⭐️⭐️⭐️
- Recipe
Make-Ahead Schedule (Do NOT Skip This Section)
This is the thing nobody tells you and then you try to do it all in one day and your house falls apart. Here's the timeline that actually works:
Day 1: Bake Make your dough and bake all your pieces. Let them cool completely on the pan, then leave them out at room temperature uncovered overnight. The pieces will firm up and dry out even more as they sit, which makes assembly easier.
Day 2: Assemble Build your house walls and roof using thick royal icing. Support the walls with tin cans (more on that in the assembly section) while they dry. Let the assembled structure sit overnight before touching it again. The icing needs a MINIMUM of 4 to 6 hours to set, and overnight is even better.
Day 3: Decorate Now the fun part. Pipe your decorations, add your candy, do your windows. Once you've decorated, let everything dry before moving the house.
How far in advance can I do all this? The baked pieces can be made up to a week in advance and stored at room temperature in an airtight container, or frozen for up to 3 months. Just thaw at room temperature before assembling. The dough itself can be made 2 to 3 days ahead and kept wrapped in plastic in the fridge. Take it out 20 to 30 minutes before you want to roll it.
What Makes This Gingerbread House Recipe Different
Construction gingerbread is a completely different thing from gingerbread cookies. Regular gingerbread is designed to be soft, spiced, and delicious. Construction gingerbread is designed to be STRONG. Like, build-a-twelve-foot-display-house strong.
The key difference is shortening instead of butter. Butter adds flavor and tenderness, which is exactly what you want in a cookie and exactly what you DON'T want in a house that has to hold up for weeks. Shortening produces a drier, denser, structurally stronger piece that holds its shape precisely in the oven (no spreading!) and dries rock hard once baked.
The long, low bake at 300º F is the other piece. Most gingerbread cookies bake at 350 to 375º F for 10 to 12 minutes. This recipe bakes for 30 to 50 minutes at 300º F. You're not trying to develop flavor. You're drying out the moisture and building structural integrity. The longer and lower, the stronger the finished piece.
This is also why one recipe can make three full gingerbread houses. Regular gingerbread would be spread all over your pans by now.
Gingerbread House Base Options
Before you start building anything, you need a stable base for your house to sit on. Here are your options, from easiest to most impressive:
- Cardboard cake board. My go-to. Cheap, flat, and easy to transfer. Wrap it in foil for a snow effect. If you go the foil route, GLUE the foil to the cardboard before you start. Seriously. One year I skipped this step and the weight of the house ripped the foil and the whole thing slid off. Lesson learned.
- Large wooden cutting board. Beautiful for display. Heavy and stable.
- Cookie sheet or sheet pan. Flat, oven-safe (useful if you're warming the icing), and easy to move with handles.
- Cake stand or platter. Elevated and pretty for centerpieces. The raised edge can actually help keep everything stable.
- Thick cardboard. In a pinch, stack two or three pieces of cardboard and tape them together. Wrap in foil or parchment.
Whatever you use, pipe a ring of royal icing on the base and press the bottom edges of your front and back wall pieces into it before building up the sides. Cementing the house to the base makes the whole structure significantly more stable.
Gingerbread House Ingredients
This recipe uses pantry ingredients with one specialty item you might need to grab: molasses. Check your pantry because it's one of those things that goes missing. You'll need quite a bit of it and it's what gives construction gingerbread that deep dark color and warm scent. I always recommend weighing your ingredients with a digital kitchen scale for the most accurate results.
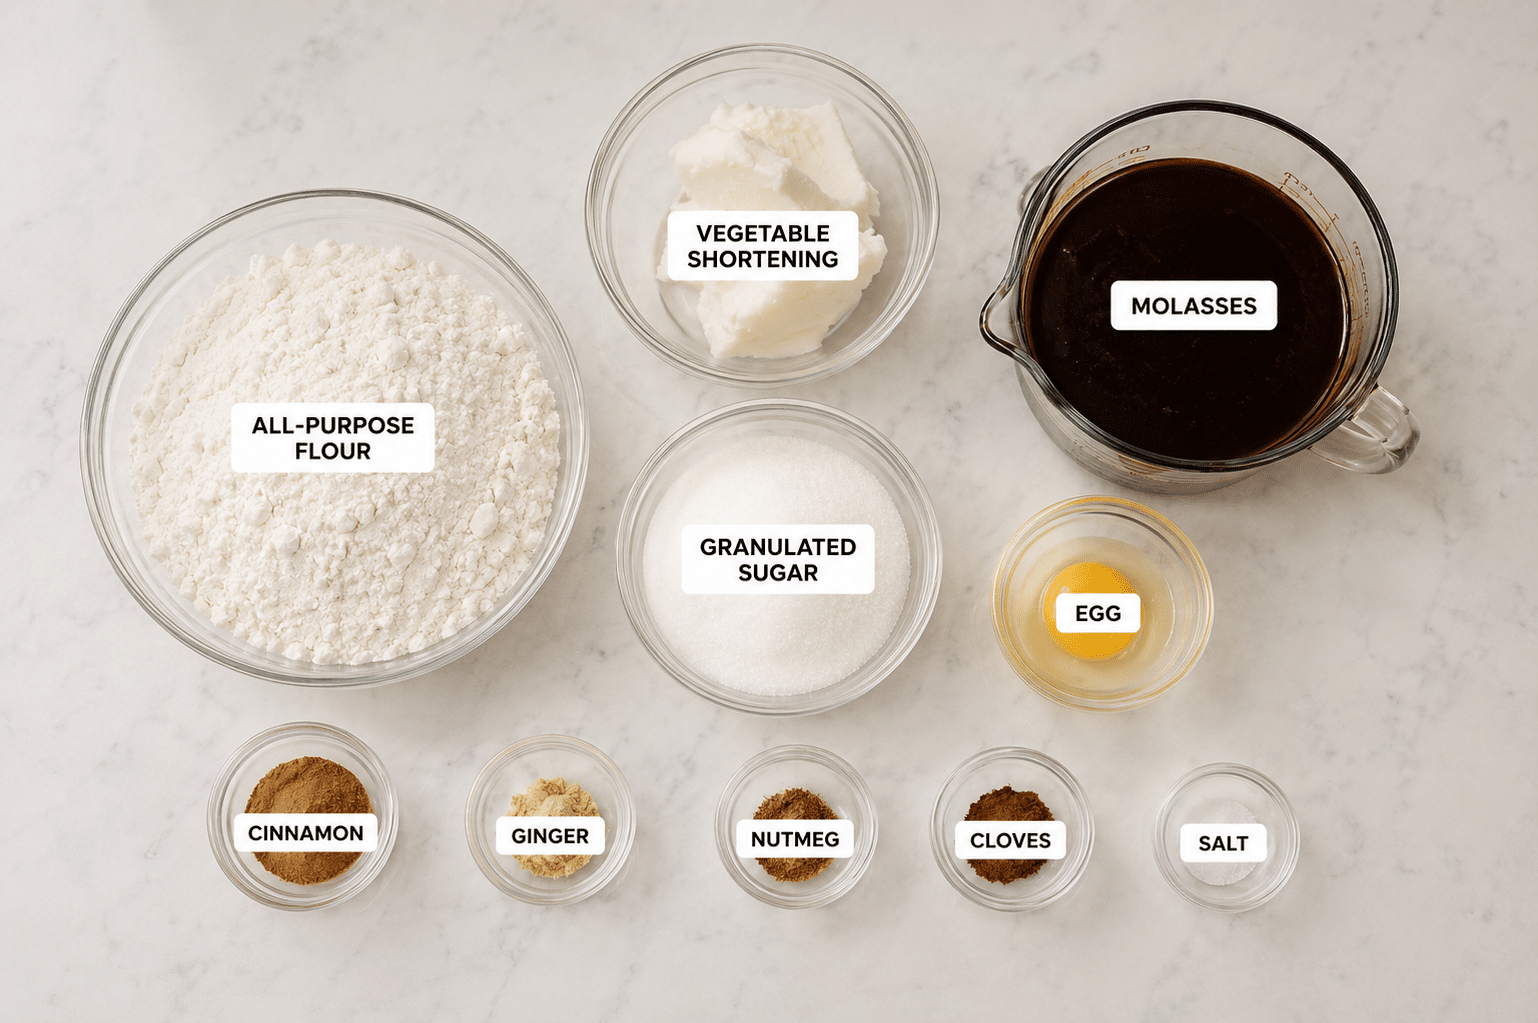
- All-purpose flour. 28 ounces. The high flour ratio is what makes this dough so dense and structural compared to eating gingerbread. Don't substitute cake flour here.
- Vegetable shortening. 7 ounces, melted. This is intentional. Shortening (not butter) gives you a drier, harder, structurally stronger piece. Since we're not eating this house, taste isn't the priority. If you want to use butter because you DO want to eat your house, that's fine, just know the pieces may be slightly softer and may not last as long on display.
- Molasses. 16 ounces. This is the bulk of the liquid in the recipe. Use regular unsulphured molasses, not blackstrap (which tastes intensely bitter). If you ran out of molasses (it happens!), you can substitute an equal weight of dark corn syrup, honey, maple syrup, or even packed brown sugar dissolved in a little warm water. Use the same weight, not the same volume. The color and flavor of your gingerbread will be lighter and slightly different, but it will still work structurally.
- Granulated sugar. 6 ounces. Sweetens the dough and helps with browning and structure.
- Egg. 1 large. Provides binding and a little structure.
- Cinnamon, ginger, nutmeg, cloves. Classic warm gingerbread spice blend. You could technically skip these since we're not eating the house, but they smell SO GOOD during baking and give the finished pieces that classic dark spiced color.
- Salt. Balances the sweetness and sharpens the spice.
For the Royal Icing:
- Powdered sugar. 16 ounces, sifted. The base of the icing. Sifting prevents lumps.
- Pasteurized egg whites. 2 ounces. Gives the icing structure and that hard, cement-like set. Make sure your bowl is completely grease-free before you start, because any fat will prevent the icing from whipping up properly.
- Cream of tartar. Stabilizes the egg whites and helps the icing set harder.
- Vanilla extract. For flavor. You can skip it if you're only using the icing as construction glue and not for decorating.
For the Windows (Optional):
Hard candies (Jolly Ranchers or similar). These can be crushed and used for colorful windows. They will cloud over time. Clear, sugar-free candy is made with isomalt, which stays clearer than regular sugar when melted. Alternatively, you can use pre-cooked isomalt for the clearest possible windows.
Gingerbread House Pattern
I have a free printable gingerbread house template you can use. It seems small when you print it, but once assembled it's a perfect individual-sized house for decorating. One batch of this recipe makes three of these houses, which is ideal for a gingerbread house party where everyone gets their own house to decorate.

Once you've printed and cut out the template, trace it onto thin cardboard (empty cereal boxes work perfectly) to make sturdier reusable templates. Paper templates are floppy and hard to cut around precisely. Cardboard templates you can press down firmly and cut right against the edge.
How to Make a Gingerbread House Step-By-Step
Read through the full make-ahead schedule before you start. Have all your ingredients measured, your pans lined, and your templates cut out and ready before you mix a thing. Once this dough is rolled out, you want to move efficiently. Refer to the recipe card for exact weights and timing.
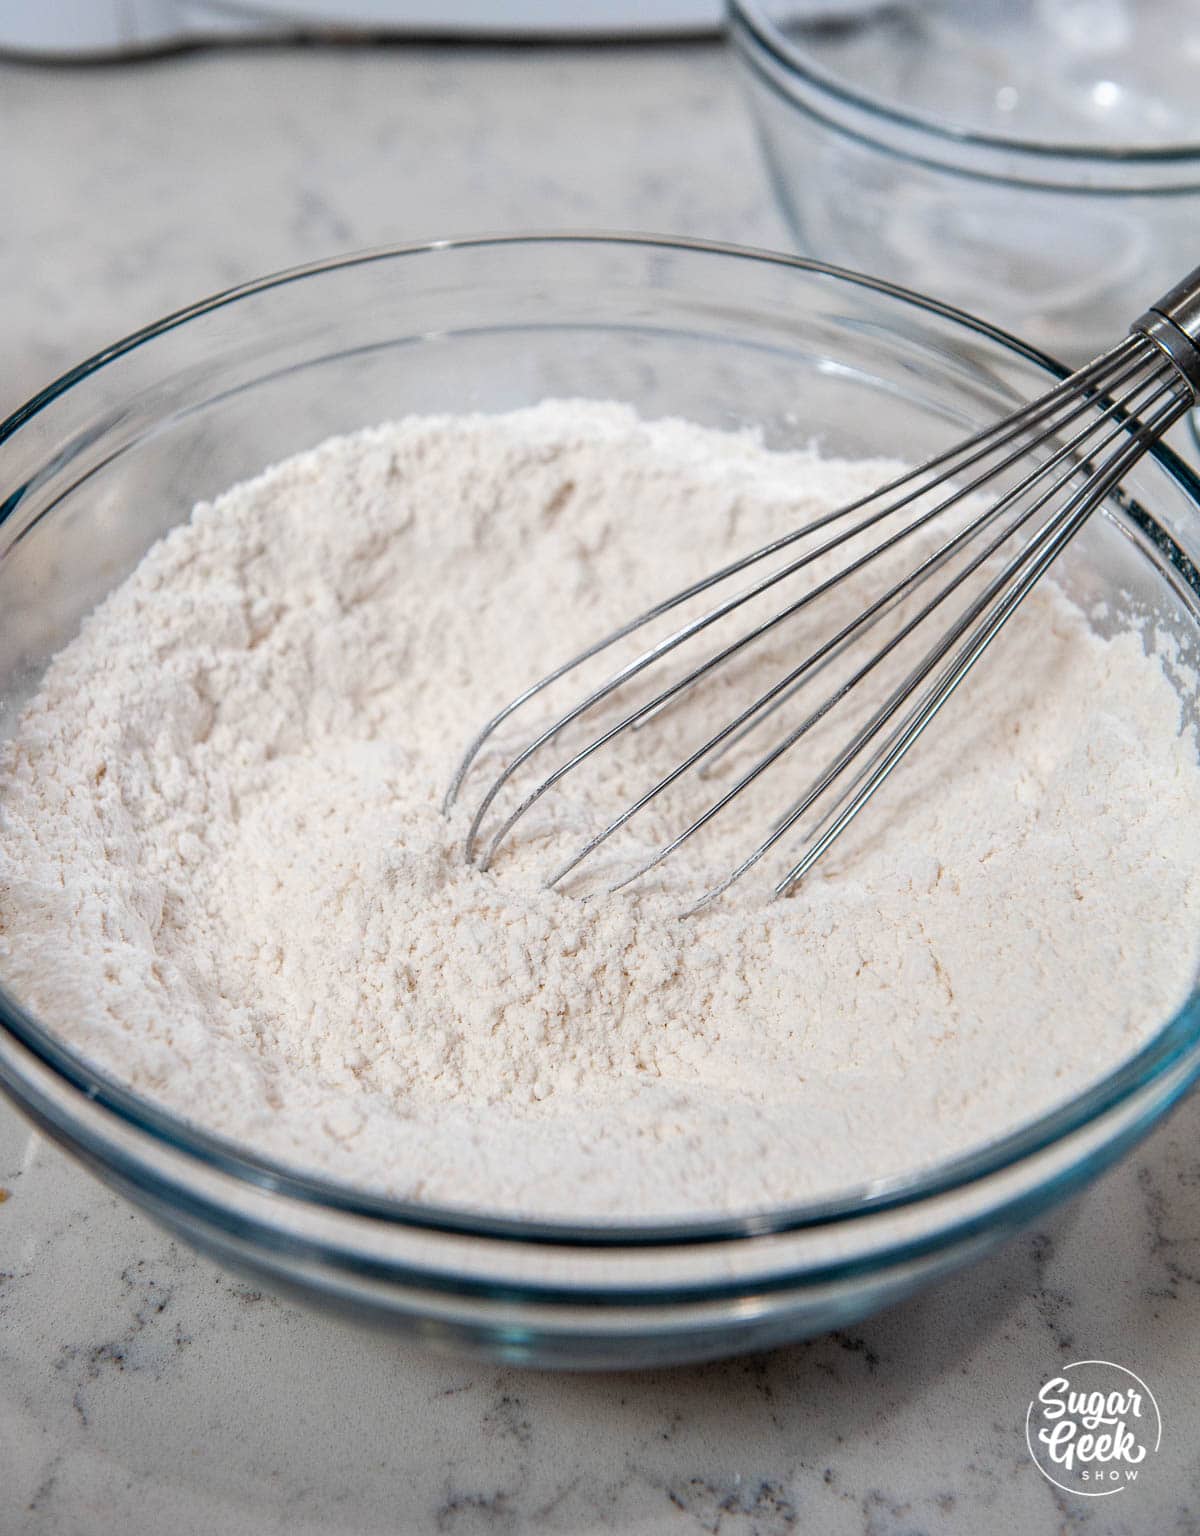
- Mix the dry ingredients. Sift together the flour, cinnamon, ginger, nutmeg, cloves, and salt. Set aside.
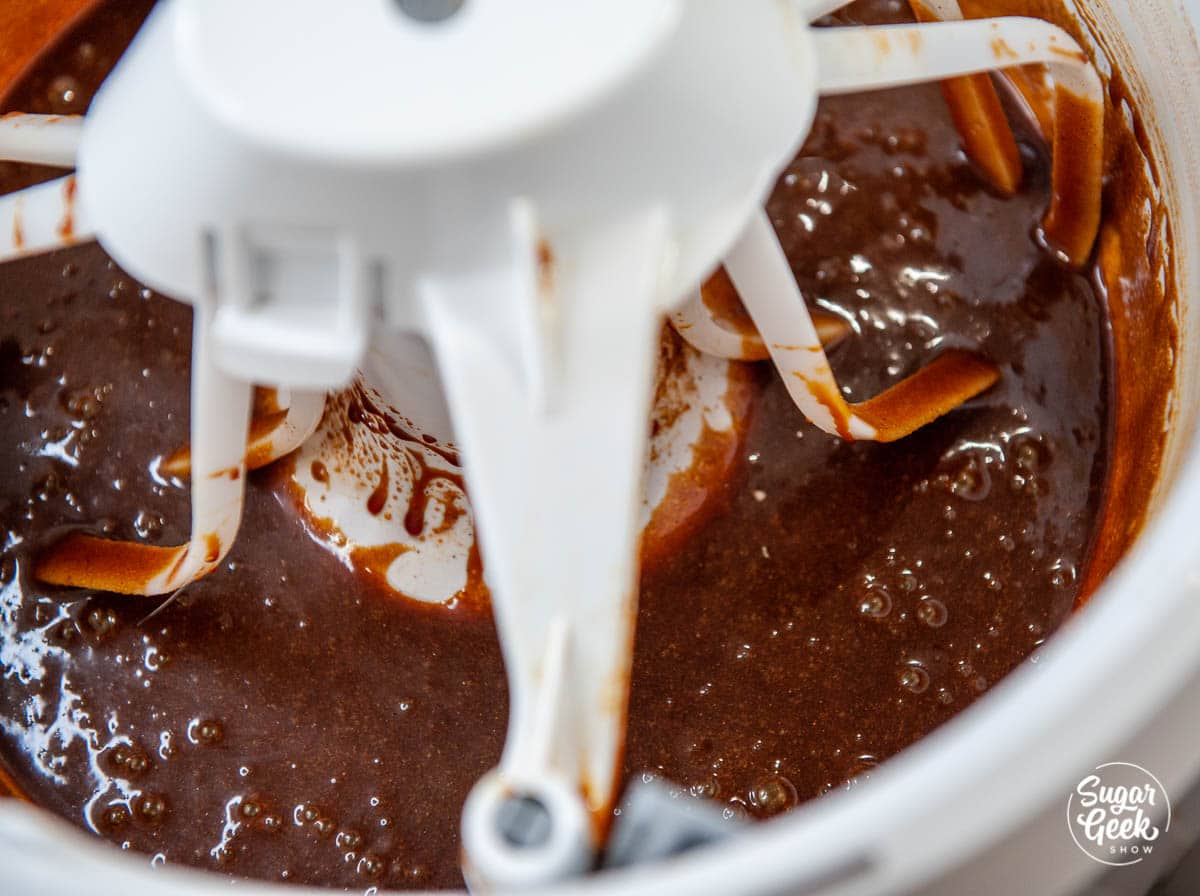
- Mix the wet ingredients. Melt the vegetable shortening until just liquid (not hot). In your stand mixer, combine the melted shortening, sugar, and molasses and mix until smooth. Add the egg and mix to combine.
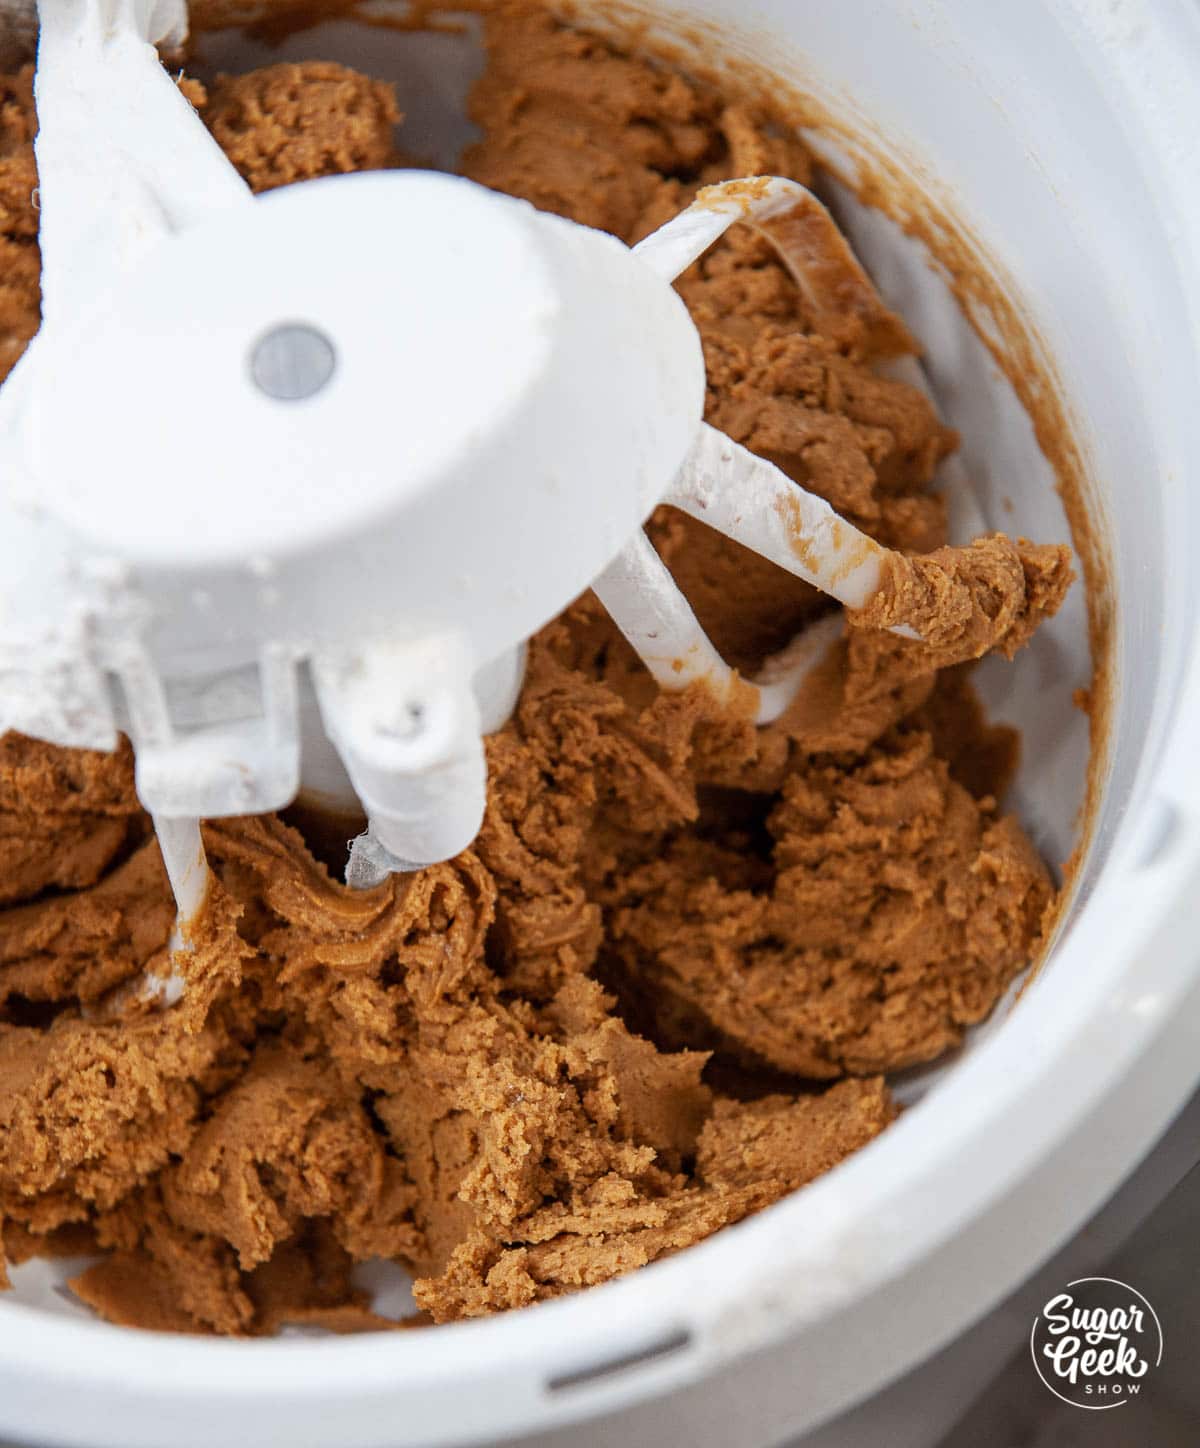
- Form the dough. Switch to the paddle attachment, add your dry ingredients, and mix on medium-low until a smooth, firm dough forms. Do not overmix.
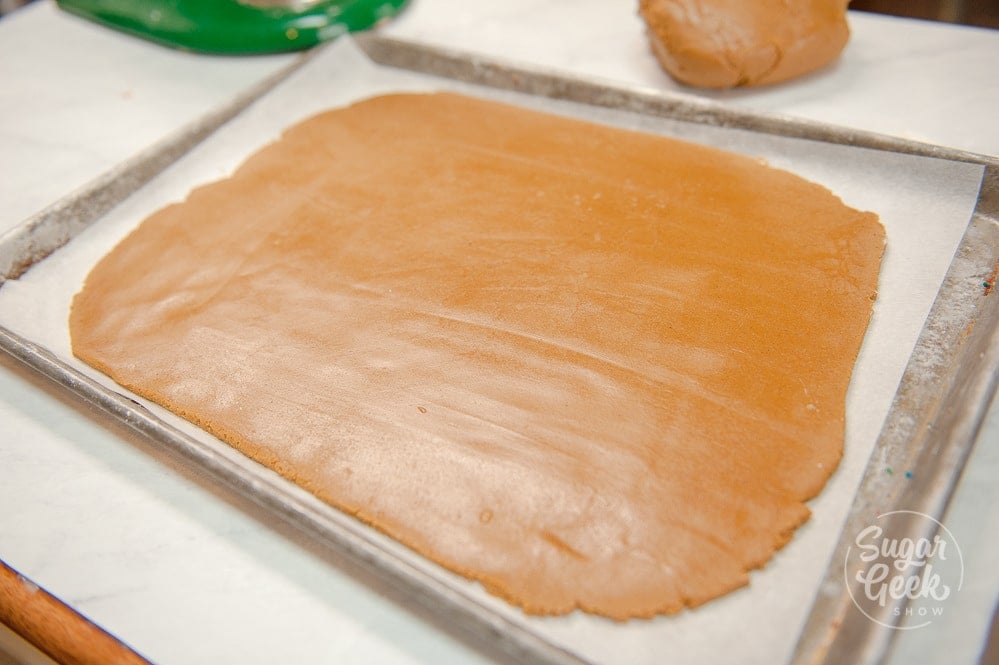
- Roll and freeze. Divide the dough in half and roll each half out to ¼ inch thick directly onto a silicone baking mat (this is important if you're doing sugar windows later). Try to keep the thickness as even as possible for even baking. Pop the rolled dough in the freezer for 20 minutes. This makes it much easier to cut cleanly.
PRO TIP: Roll the dough on the mat rather than transferring it. Once you cut your pieces, you can slide the whole mat onto your baking sheet without distorting the shapes. This is especially important for larger pieces that are hard to transfer without warping.
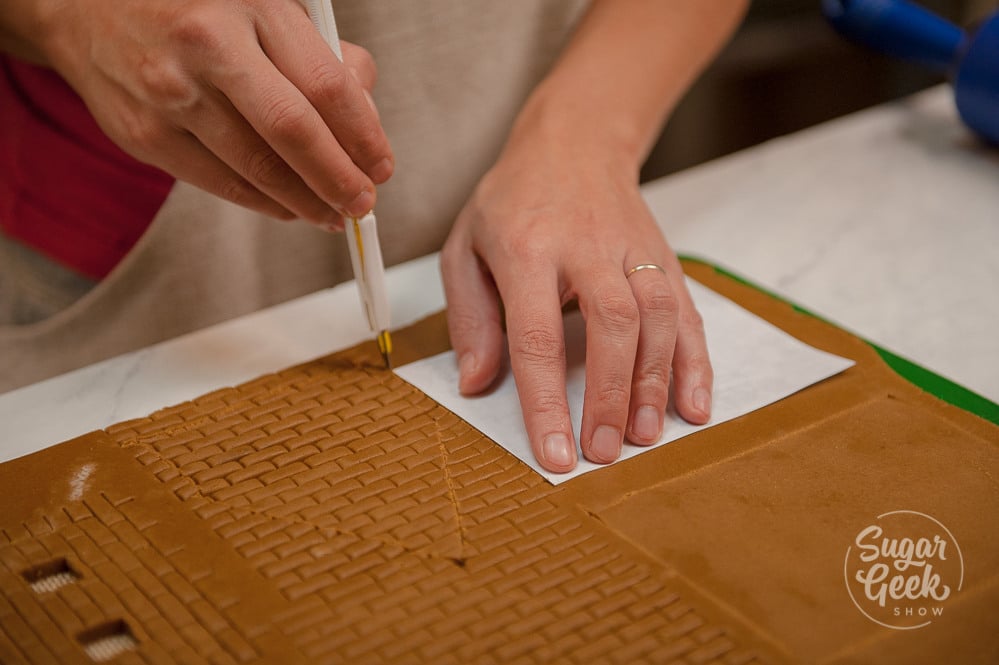
- Cut your pieces. Place your templates on the chilled dough and cut around them. An X-Acto knife works great for clean edges, but any small sharp knife will do. Just be careful not to cut through your silicone mat. Peel away the excess dough and save it to re-roll for more houses.
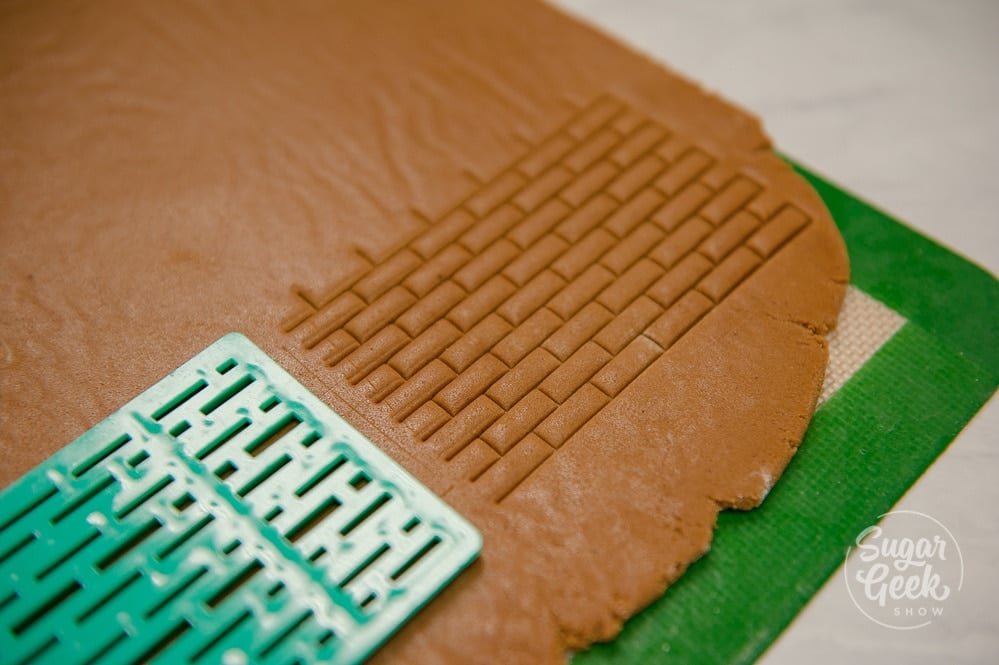
- Add texture if desired. NOW is the time to add a brick texture, a roof shingle pattern, or any other embossing BEFORE you bake. Press your impression tool firmly into the raw dough. A spoon can make scalloped roof tiles. The blunt side of a butter knife makes great brick lines.
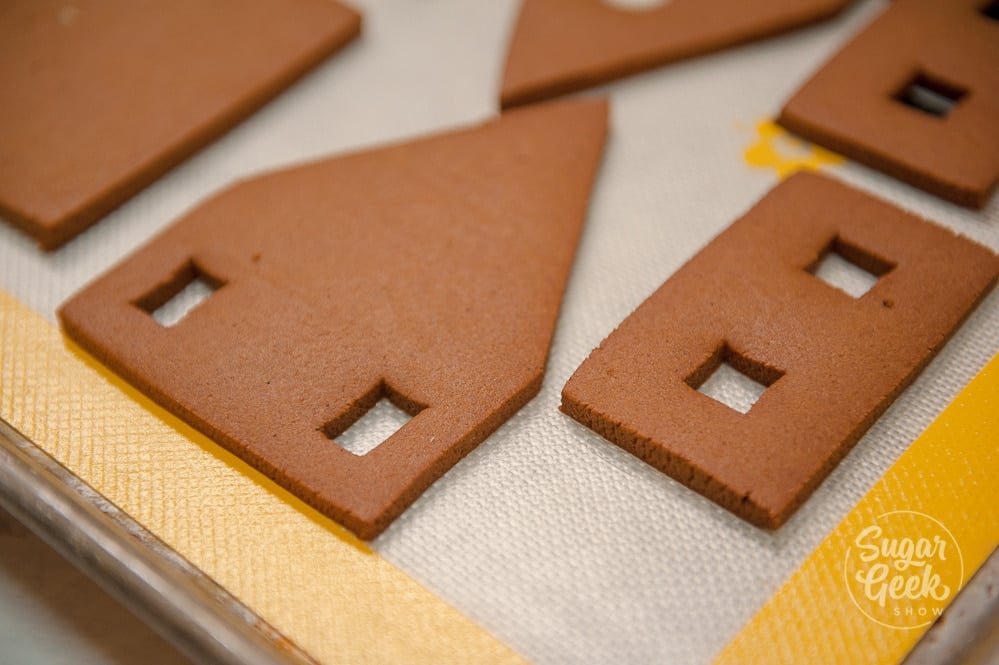
- Bake low and slow. Bake at 300º F for 30 to 50 minutes. You're looking for very firm, dried-out pieces that have darkened slightly. If they feel even a tiny bit soft or bendy, keep baking. Under-baked pieces will flex and crack during assembly. Keep an eye on the color, especially on smaller pieces like chimneys which bake faster.
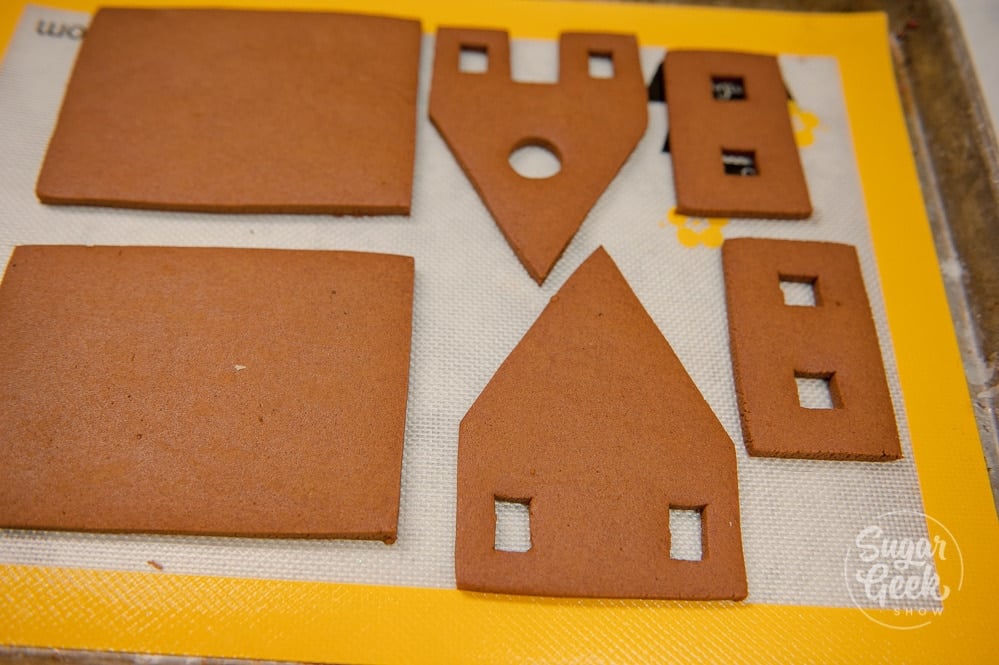
- Cool completely before moving. Let the pieces cool fully on the mat or pan before you touch them. Once cool, set them aside uncovered overnight to dry out further. The drier they are, the stronger your assembly will be.
PRO TIP: Decorate your wall pieces BEFORE assembling the house if you want intricate piped designs. It is SO much easier to pipe icing onto a flat piece lying on the table than it is to pipe vertically on an assembled house. Add all your piped decorations, let them dry completely, and THEN build the house around the pre-decorated walls. I learned this the hard way.
How to Add Stained Glass Windows
You definitely don't HAVE to do windows, but if you want them, here's how. And honestly once you see how easy it is you're going to want to do them on every house.
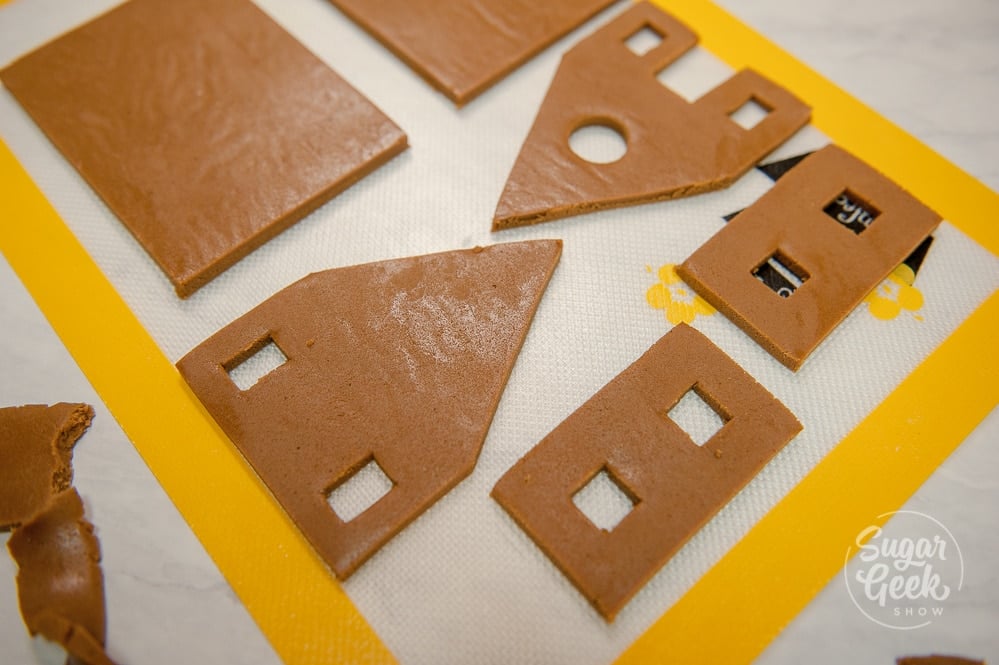
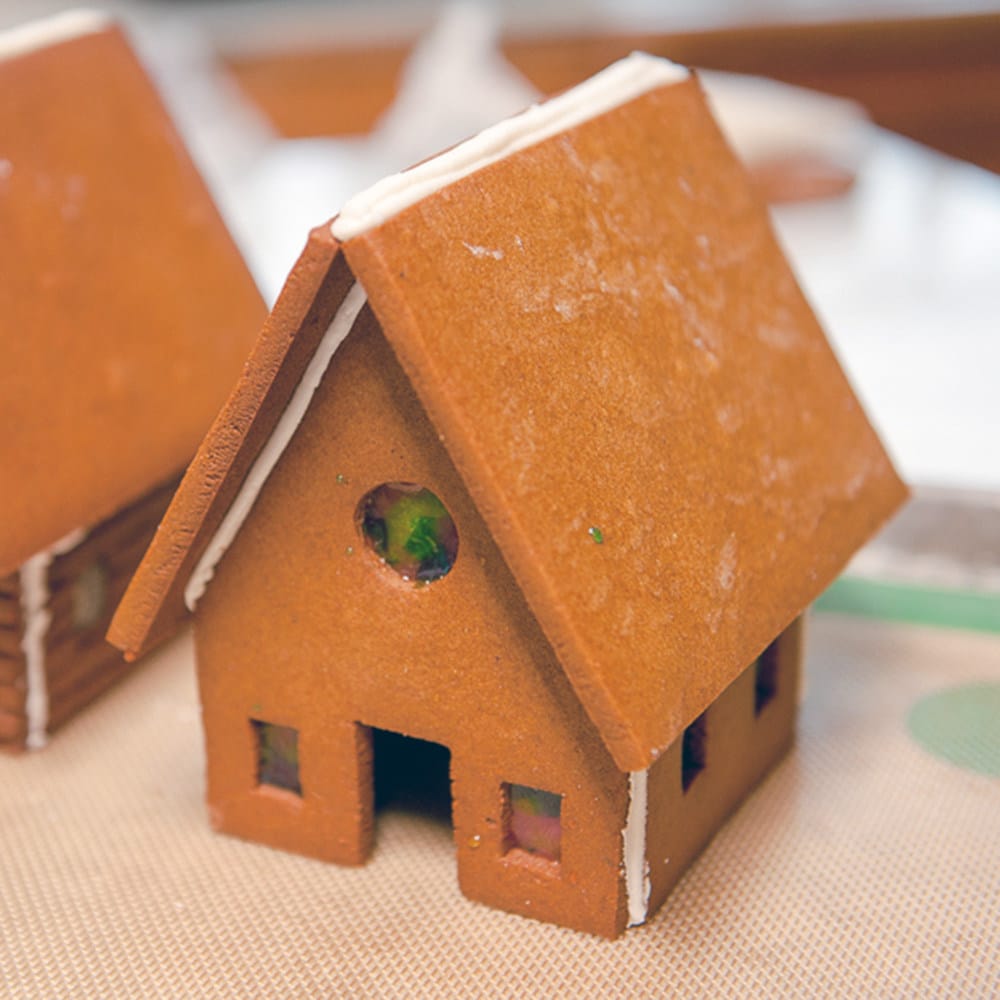
- Cut window openings into the raw dough before baking.
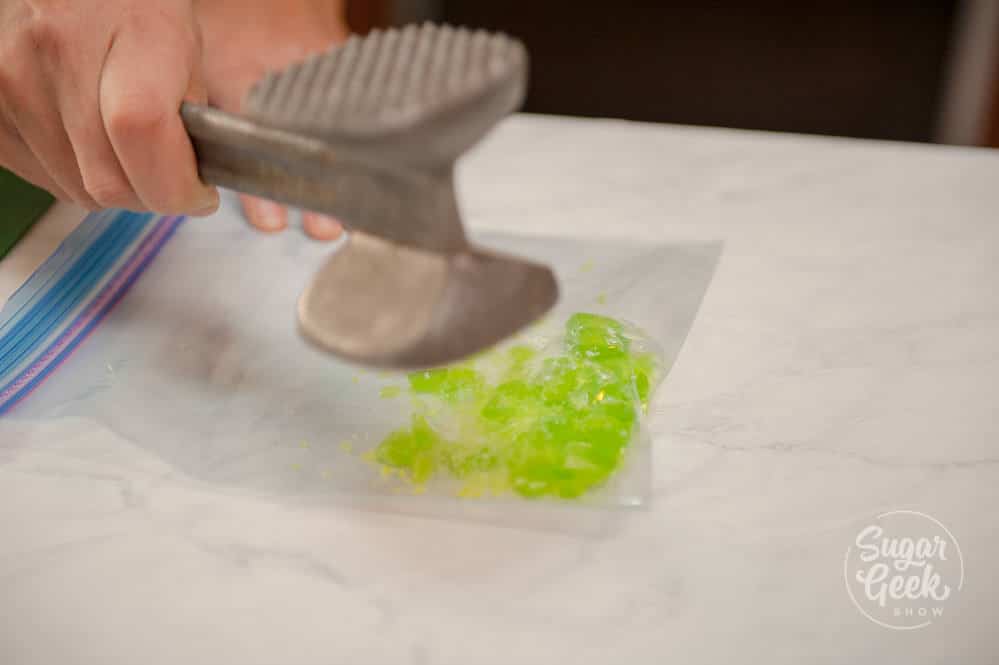
- Then crush your hard candies inside a zip-top bag with a mallet.
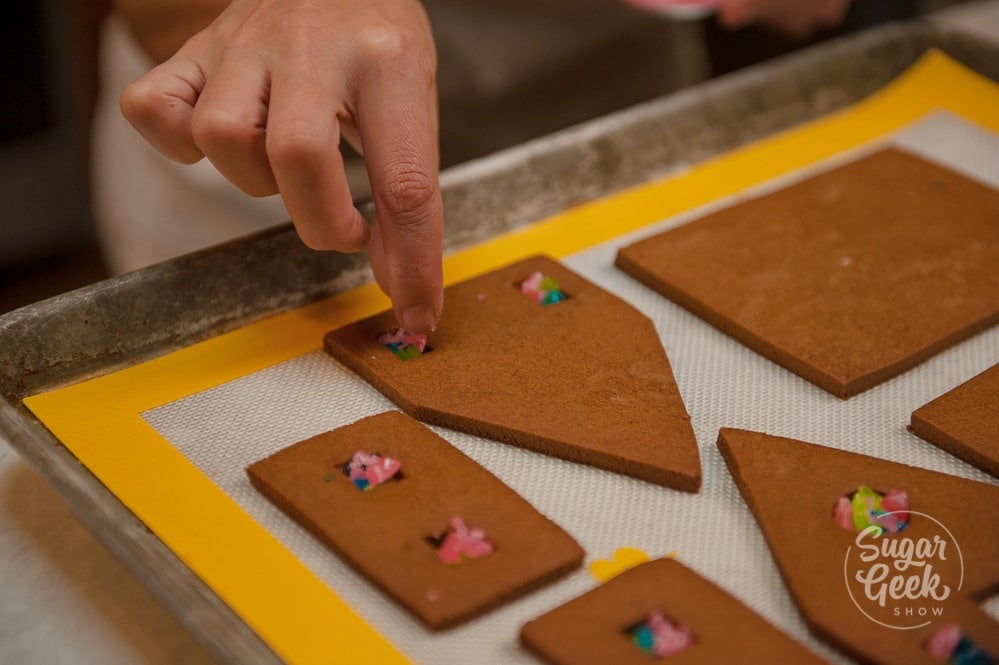
- During the LAST 5 minutes of baking your gingerbread, scatter a few pieces of crushed candy into each window cutout. Don't be stingy with the candy as it thins out dramatically when it melts.
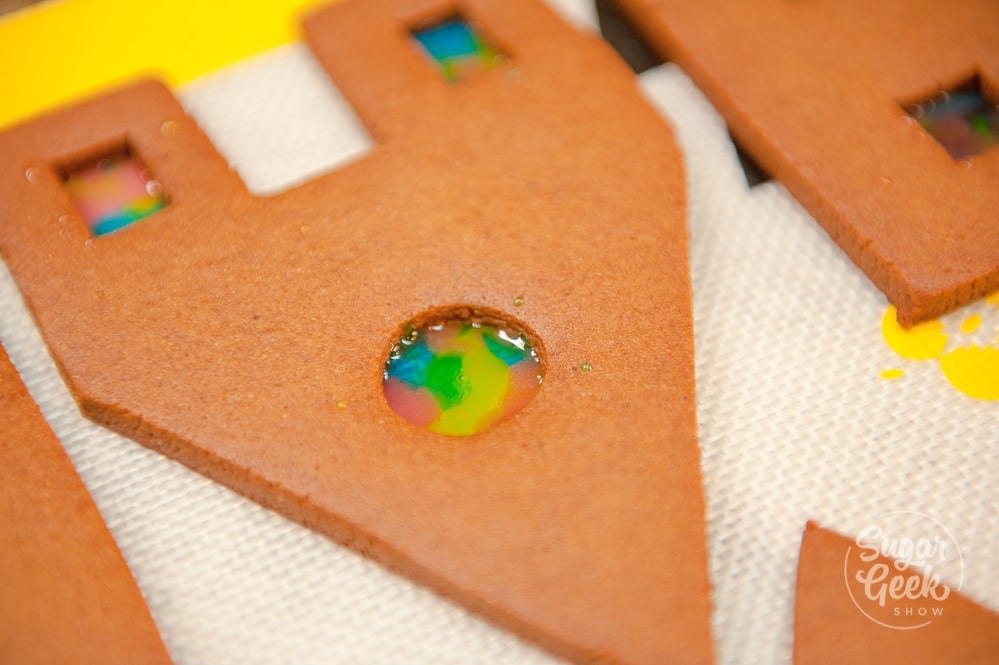
- Finish baking, then let the pieces cool COMPLETELY on the mat before peeling the mat away. The candy will peel off with the mat if it's not fully hardened.
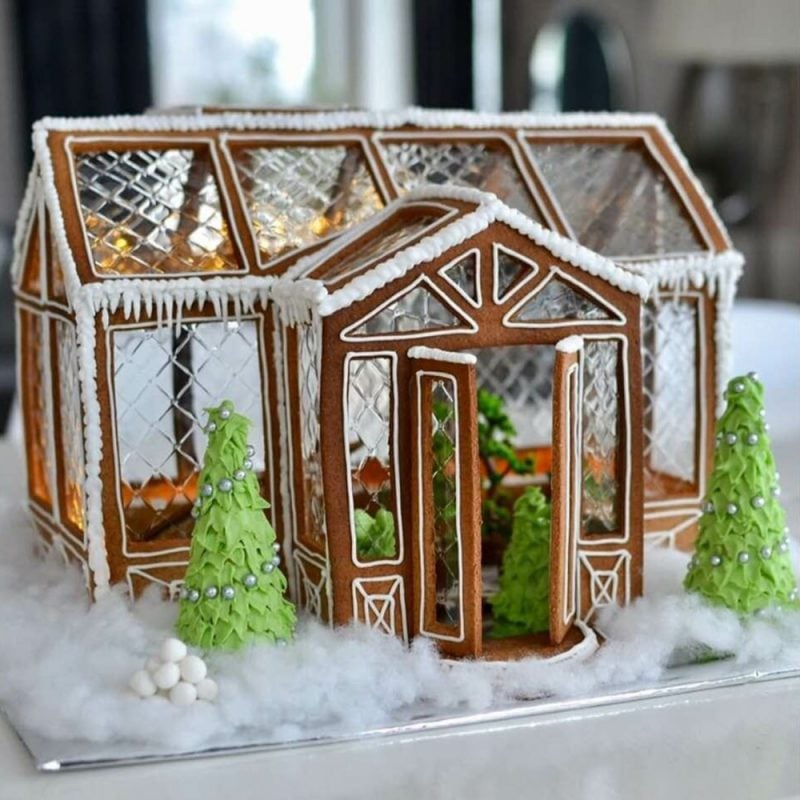
Once cooled, the candy windows will be smooth, glossy, and almost stained-glass looking. Use sugar-free candies for the clearest result. Regular sugar candies work but tend to cloud as they cool.
For completely clear windows, use isomalt instead of candy. I like to buy mine pre-cooked and ready to melt from Simi Cakes, or you can make your own with my isomalt recipe.
How to Assemble a Gingerbread House
Assembly is where most gingerbread house disasters happen, and almost all of them come down to one thing: moving the house before the royal icing has fully set. Be patient. This is where your tin cans come in.
PRO TIP: Gather 4 to 6 clean tin cans before you start assembly. They're the best tool for holding walls in place while the royal icing dries. Taller cans for the walls, shorter ones for the roof. You're basically building scaffolding. Once the icing sets, the cans come away and the house stands on its own.
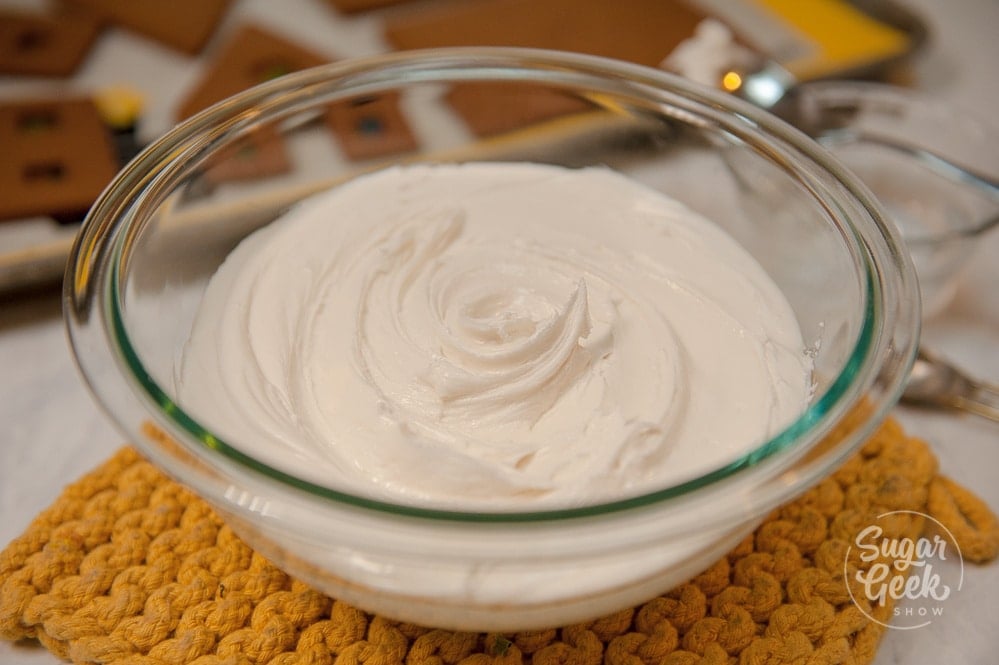
- Make thick royal icing. Make a batch of royal icing on the stiff side. It should hold a peak and not drip or flow. Too thin and it won't hold the walls up while it sets.
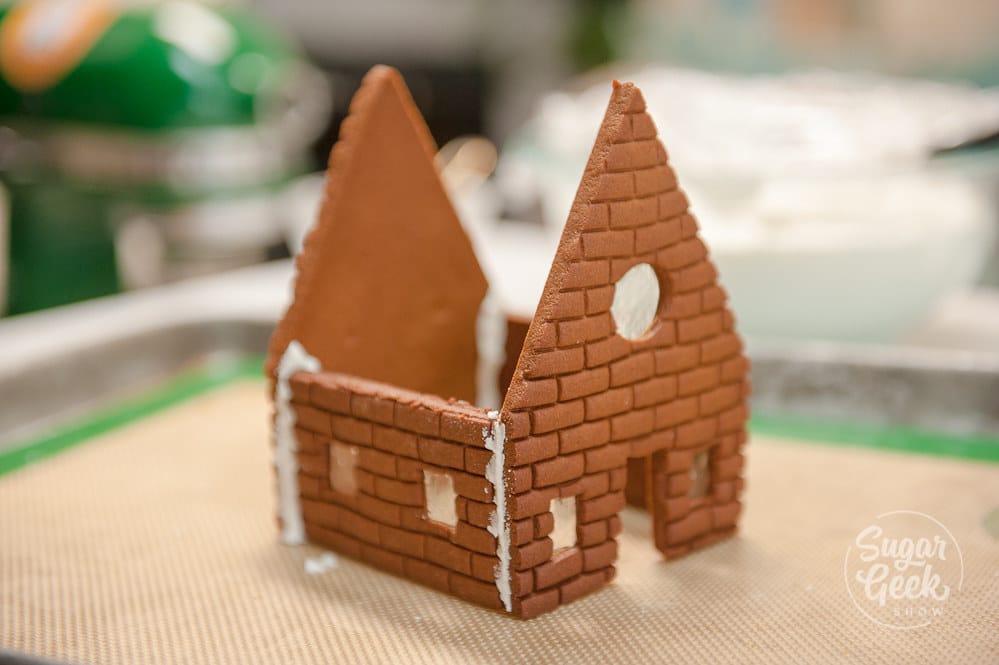
- Pipe, press, and support. Pipe a generous line of royal icing along the edges of your front piece. Press it firmly against a side wall piece and hold for 30 to 60 seconds until it grabs. Lean tin cans against both pieces to hold them in position. Repeat with the other side wall and the back piece.
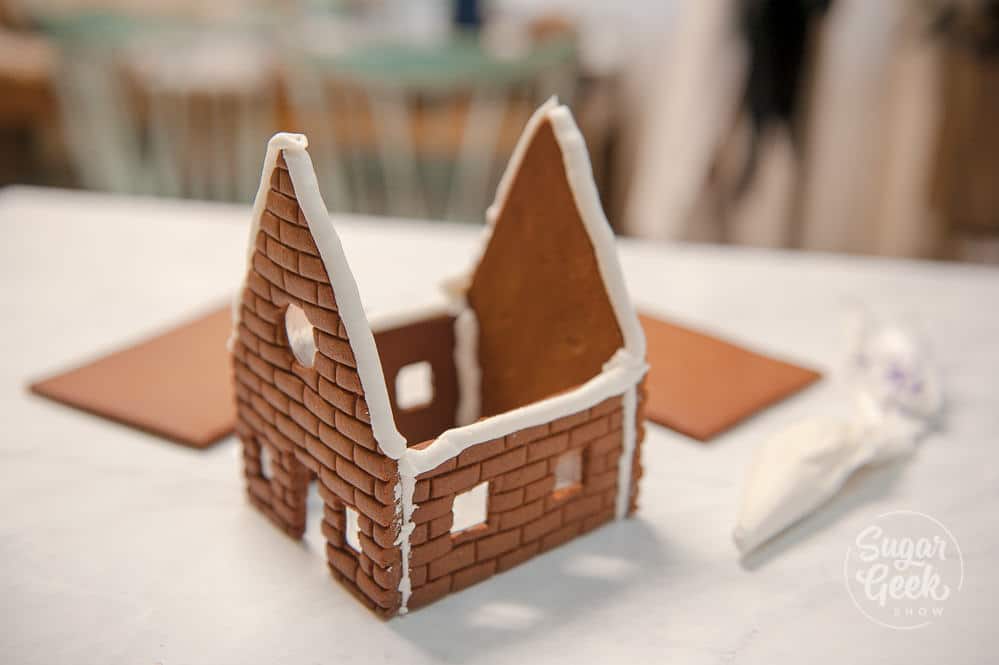
- Let the walls set. Do not rush this. Let the four walls sit supported by the cans for at least an hour, ideally longer, before adding the roof.
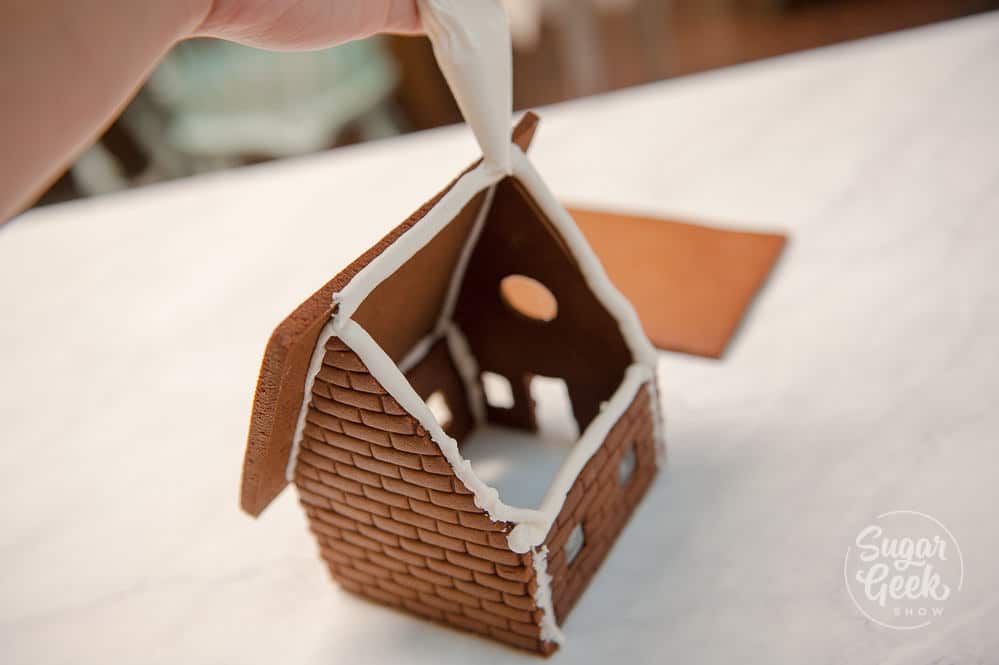
- Add the roof. Pipe royal icing along the top edges of the walls and along one long edge of one roof piece. Press the roof piece into place and hold. Pipe the second roof piece and press it to meet the first at the ridge. Support with cans as needed. Let the roof set for another hour minimum.
- Let the whole structure dry overnight. Before you add any candy or piped decorations, let the fully assembled house sit overnight. I know. It's hard to wait. But the icing needs this time to cure to full hardness, and if you start piling on candy before it's set you risk the whole thing shifting or collapsing.
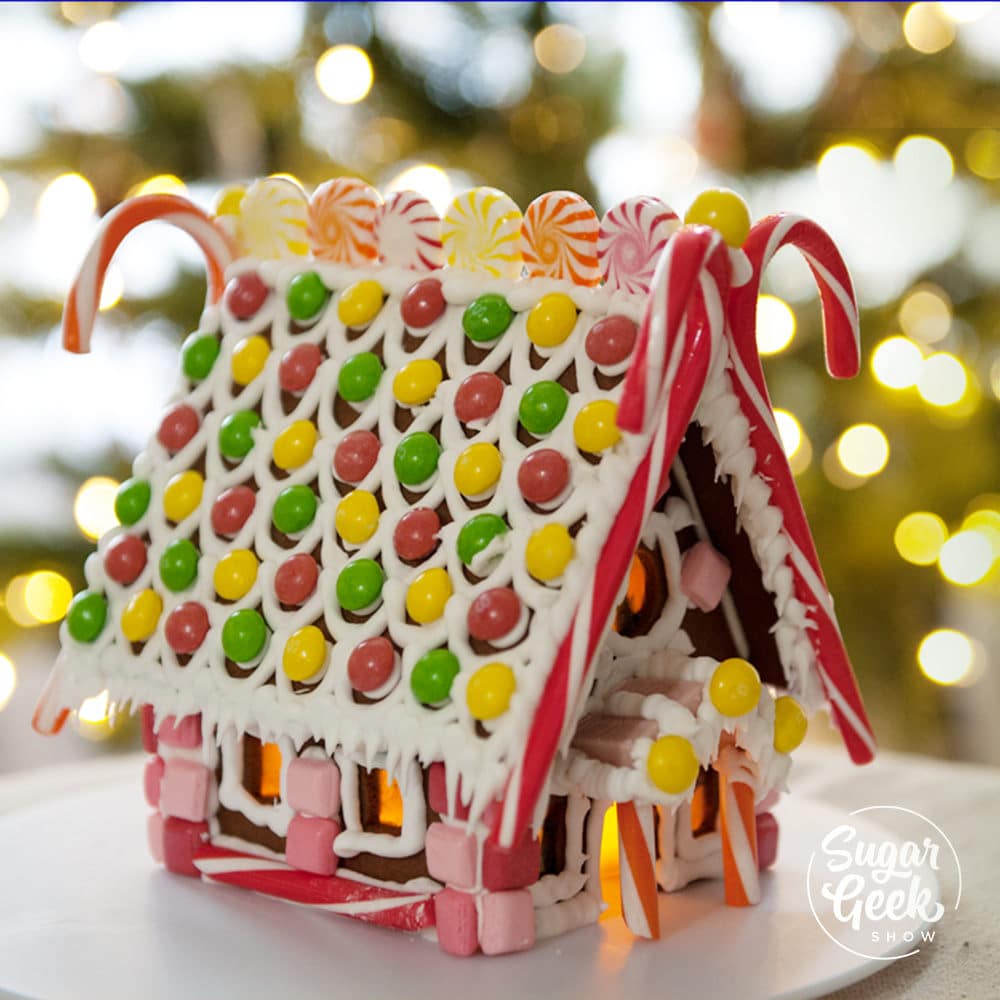
- Decorate! Once your house is rock solid, go to town with candy, more royal icing, powdered sugar snow, battery tea lights inside, whatever you want. Check out my gingerbread house ideas post for decoration inspiration.
How to Decorate a Gingerbread House
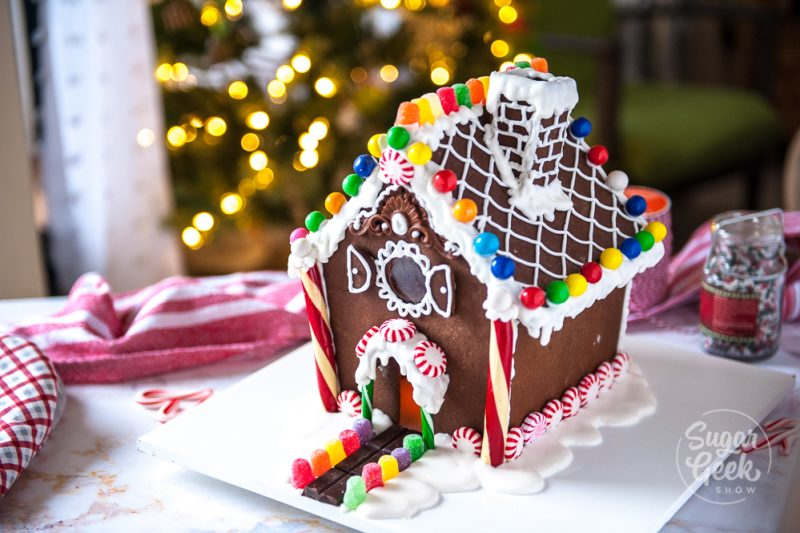
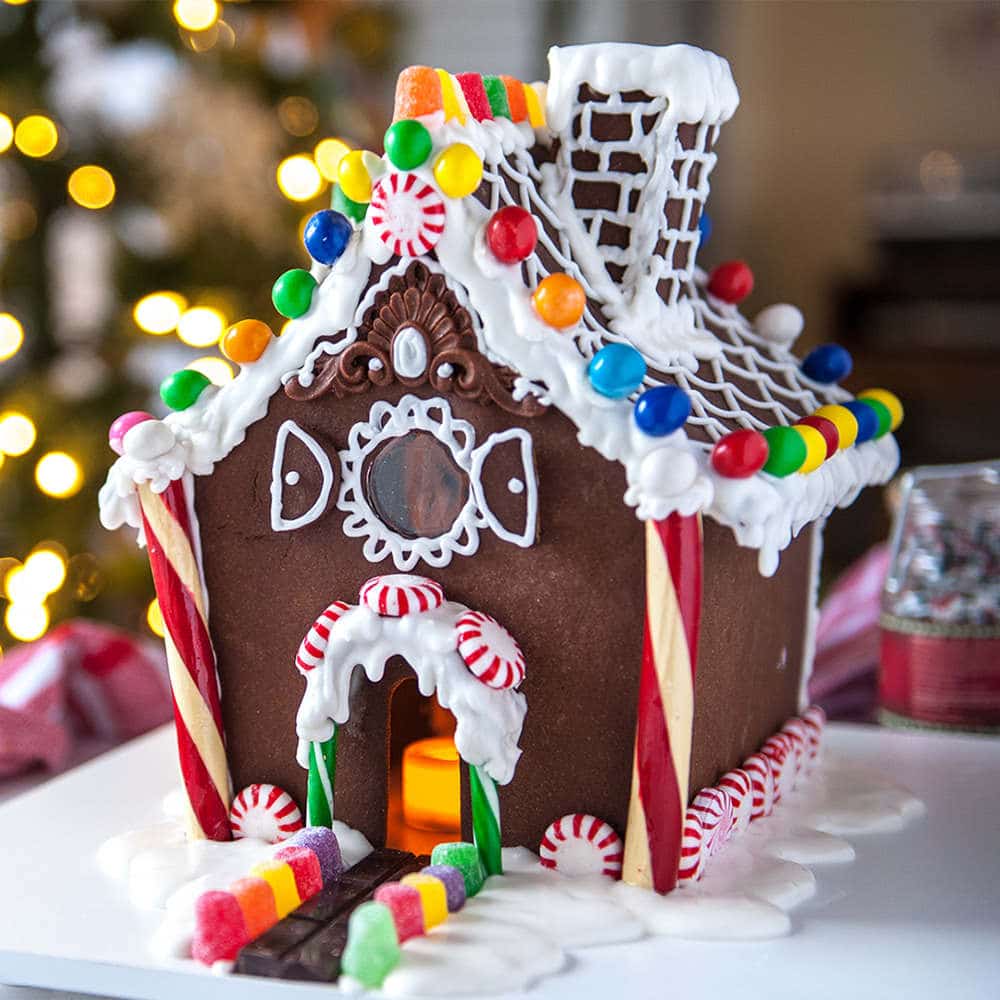
The decorating is the most fun part and there is genuinely no wrong way to do it. I used a combination of M&Ms, hard candies, candy canes, mini Starburst, and chocolate bars. Mix and match whatever you have. Whatever candies your kids love are the right candies.
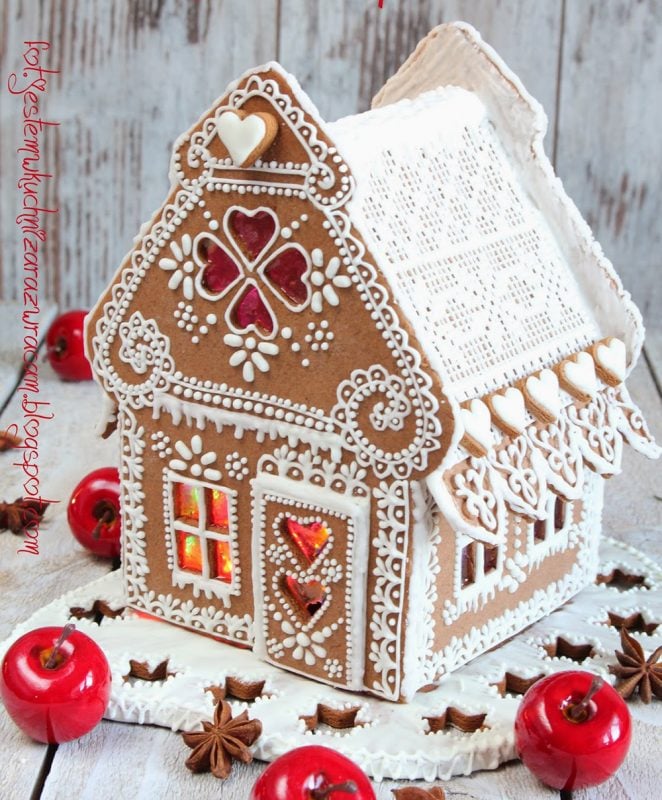
Use your thick royal icing to attach everything, and let sections dry before moving on so things don't slide around. Piped icing in different colors can do a lot: snow drifts on the roof, icicles on the edges, a front path, little window frames. If you want more decorating ideas, my 25 best gingerbread house ideas post has you covered.
One thing I love is putting battery-operated tea lights INSIDE the finished house so it glows. The whole bottom is open, so you just lift the house and slide a few tea lights underneath. On a dark shelf or mantle it looks absolutely magical.
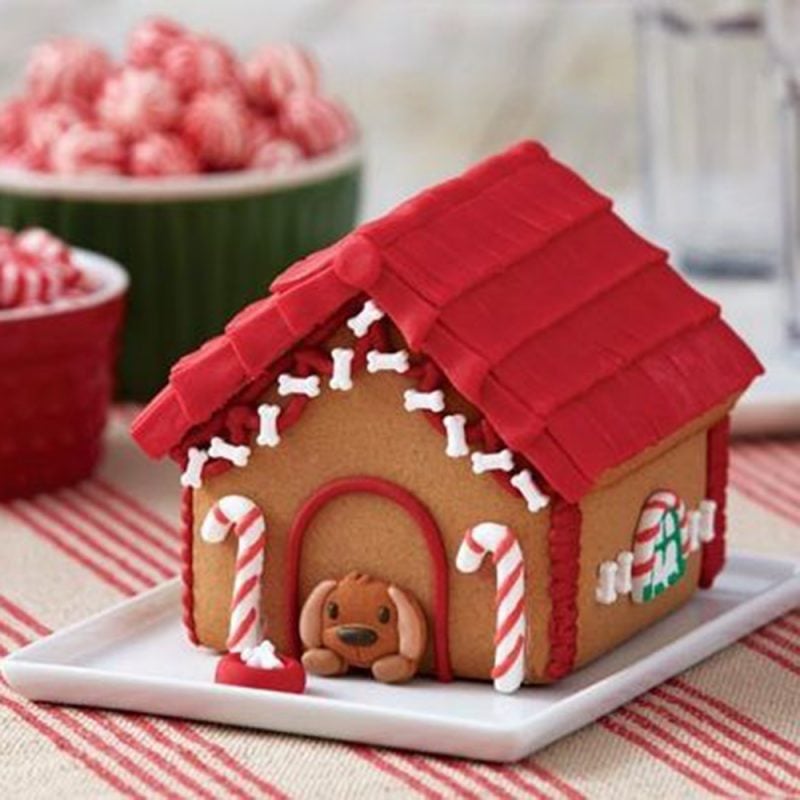
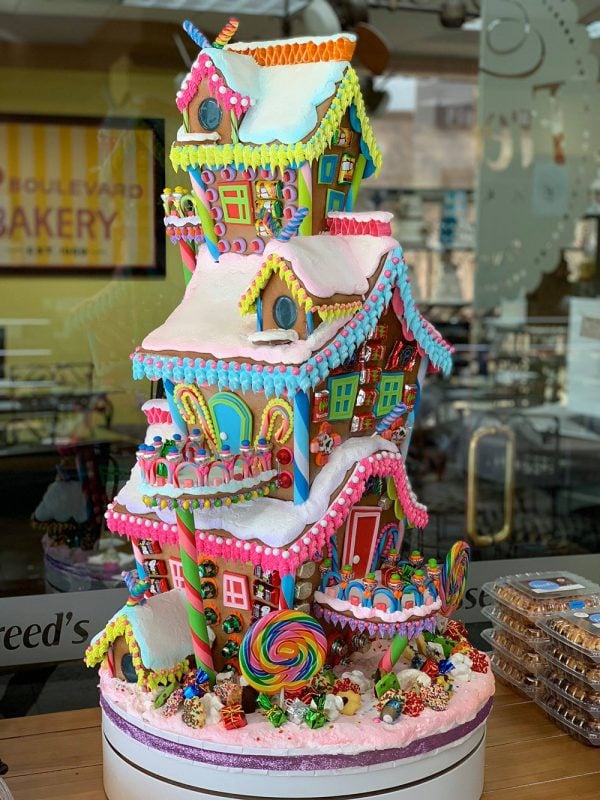
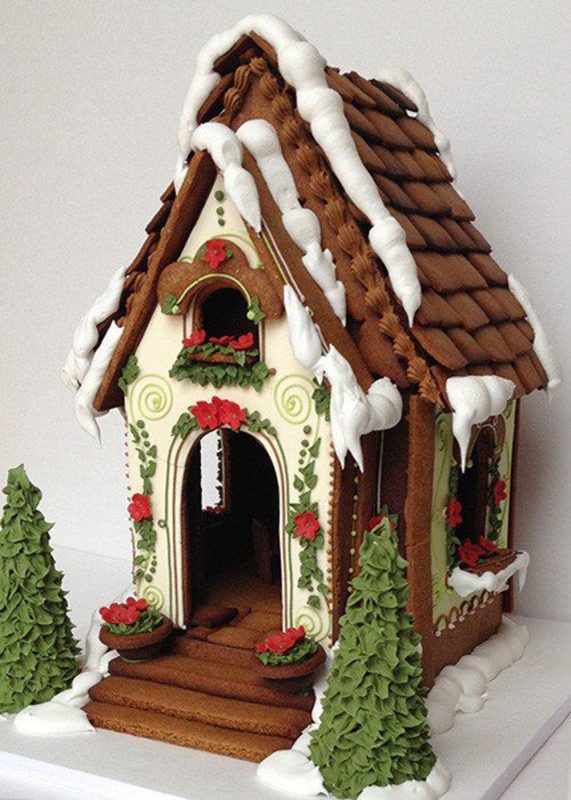
How to Keep a Gingerbread House From Falling Apart
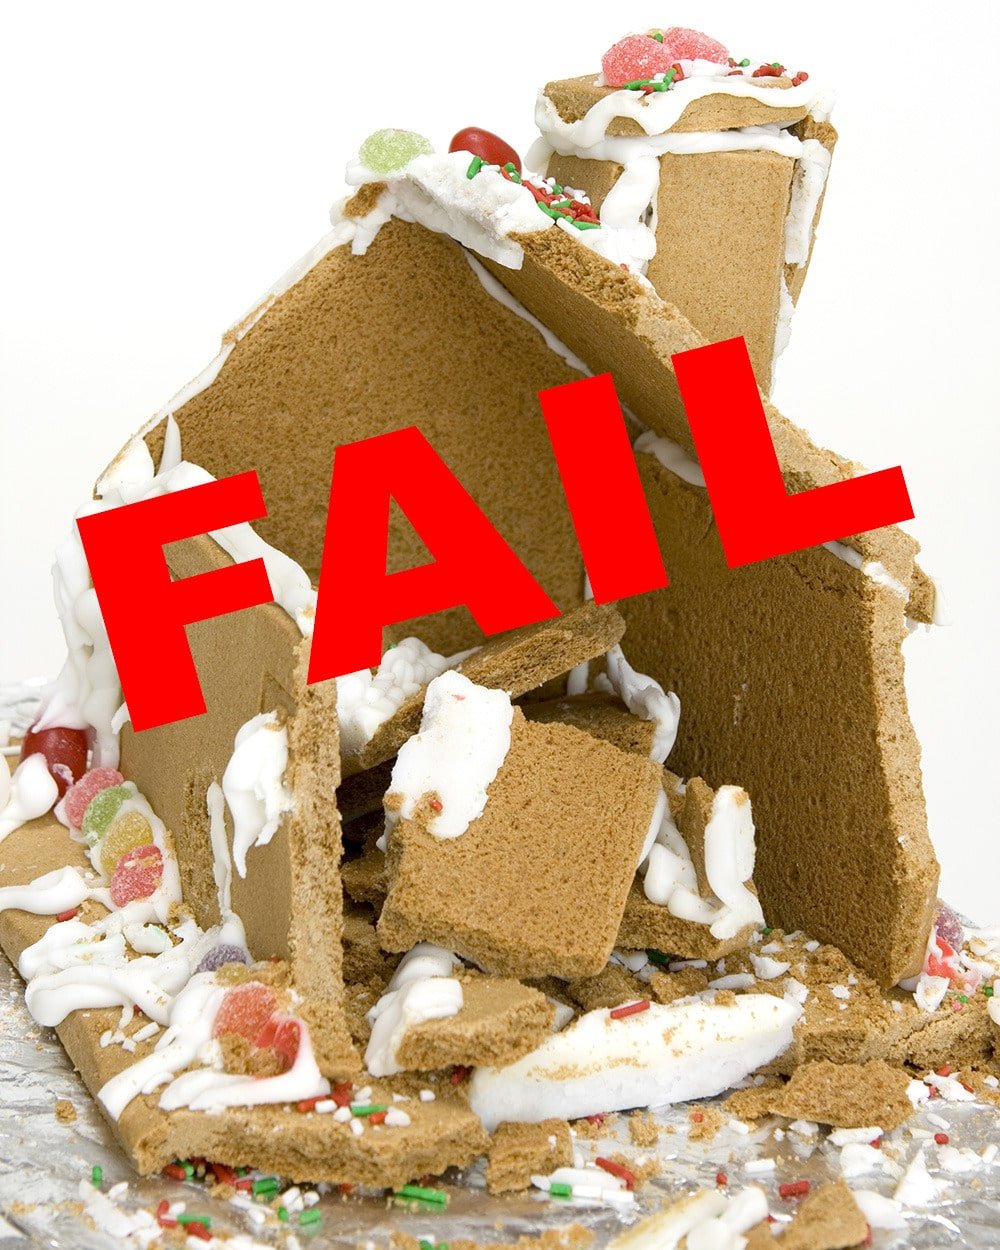
- Use THICK royal icing for assembly. Thin royal icing won't set hard enough to hold the weight of the walls and roof. If your icing slides or drips, it's too thin. Add more powdered sugar.
- Support walls with tin cans while the icing sets. Do not try to hold pieces in place by hand. The icing takes at least 30 to 60 minutes to grab properly. Cans hold the positions precisely while you walk away.
- Cement the house to the base. Pipe a ring of icing on your base and press the bottom edges of the walls into it. This is basically your foundation and makes the whole structure dramatically more stable.
- Don't add the roof until the walls have set. Add the walls, wait at least an hour, THEN add the roof. Otherwise the weight of the roof pieces will push the walls outward before the icing is firm enough to hold them.
- Let the whole structure set overnight before decorating. Piling on candy before the icing has cured fully is the number one reason assembled houses collapse. Wait overnight. It's worth it.
How Long Does a Gingerbread House Last?
Here's one of the best things about construction gingerbread that doesn't get talked about enough: because this recipe uses vegetable shortening instead of butter, it lasts significantly longer than edible gingerbread. Butter-based gingerbread goes rancid and soft over time. Shortening-based construction gingerbread can last for months or even years in a dry environment.
In a cool, dry spot away from direct sunlight, your gingerbread house can stay on display for the entire holiday season without any structural issues. If you live somewhere humid, the royal icing may soften over time as it absorbs moisture from the air. A light dusting of cornstarch on any candy or royal icing that starts to feel tacky can help.
If you want to keep your house year after year as a decoration (I've seen people do this!), store it carefully in a box packed with tissue paper in a cool, dry place. It can genuinely last for years if it doesn't get bumped or exposed to moisture.
Common Gingerbread House Problems
- My walls collapsed during assembly. Royal icing was too thin, or you didn't wait long enough before adding the next piece or the roof. Use thick icing and support everything with tin cans while it sets.
- My gingerbread pieces have bubbles. This is from trapped air in the dough. Make sure you press the dough into a firm, smooth ball before rolling, working out any air pockets. If you see bubbles right out of the oven, pierce each one with a toothpick while still hot and press flat with the back of a spoon immediately.
- My pieces spread or puffed unevenly. The dough wasn't chilled enough before cutting, or the pieces weren't of even thickness. Freeze the rolled dough for 20 minutes before cutting, and roll as evenly as possible.
- My windows clouded over. You used regular sugar candy instead of sugar-free. Sugar-free candy contains isomalt, which stays much clearer than melted sugar when it cools. Switch to sugar-free next time.
- My gingerbread is soft or bendy after baking. It's underbaked. Return to the 300º F oven and bake longer. Construction gingerbread should feel completely firm and dry when done, not springy or soft. It hardens more as it cools, but if it's bendy coming out of the oven, it needs more time.
- My royal icing won't set hard. There was grease in your bowl, whisk, or piping bag. Any fat at all will prevent royal icing from setting properly. Wash everything in hot soapy water and wipe dry before making a fresh batch.
- My house looks wonky and the walls don't line up. The pieces were cut from templates that weren't quite the same size, or the pieces warped slightly in the oven. Use a microplane grater or a serrated knife to shave any uneven edges flat before assembling. Even tiny adjustments make assembly much cleaner.
Final Thoughts
I will be honest with you: the first time I made gingerbread houses from scratch, I was a little intimidated. I had this recipe from a professional pastry chef and it felt like a lot of pressure. But the thing about construction gingerbread is that once you understand what you're doing and WHY (you're building something structural, not baking a cookie), everything clicks. The long low bake makes sense. The shortening makes sense. The thick icing and the tin cans and the overnight dry time all make sense.
Now I look forward to this every year. The smell of gingerbread baking for 45 minutes at low heat fills the whole house. Setting up the houses for a decorating party where everyone goes completely unhinged with candy is one of my favorite things. And watching them glow on the shelf with little tea lights inside while it's dark and cold outside is just the best.
If you end up with leftover gingerbread scraps, those are yours. Dip them in milk. They're dense and spiced and honestly pretty good.
Gingerbread House Recipe FAQs
You can bake the gingerbread pieces up to a week in advance and store them at room temperature in an airtight container, or freeze them for up to 3 months. The dough can be made 2 to 3 days ahead and kept wrapped tightly in the fridge. The assembled (but undecorated) house can be built a day in advance and left to set overnight before decorating.
Technically yes, but it's not meant to be eaten and it won't taste like gingerbread cookies. It's very dense, quite firm, and not sweet enough to be enjoyable on its own. If you want something that's both structural AND delicious, you can swap the shortening for butter, but know the pieces will be slightly softer and won't last as long on display.
Thick royal icing is the standard for edible houses. It dries rock hard and holds for weeks. You can also use melted isomalt or caramelized sugar (be extremely careful with hot sugar), which sets even faster but can be dangerous to work with. If you don't plan on eating your house, hot glue from a glue gun is actually a valid option. It sets in seconds and holds extremely well. Just cover any visible glue with royal icing afterward.
The two biggest factors are thick royal icing and patience. Pipe a generous amount of icing on every joint, press the pieces together, and immediately prop them with tin cans while the icing sets. Don't add the roof until the walls have been set for at least an hour. And don't add candy or decorations until the whole assembled structure has dried overnight.





Leave Me a Review
⭐️⭐️⭐️⭐️⭐️
If you tried this Gingerbread House Recipe or any other recipe on my blog, please leave a 🌟 star rating and let me know how it goes in the comments. I love seeing your houses, especially the extra chaotic candy ones!
Recipe
Equipment
- Stand Mixer with paddle and whisk attachment
- Candy thermometer (if making isomalt windows)
- Piping bag and tips
- silicone mat
Ingredients
Gingerbread House Recipe
- 28 oz AP Flour
- ¾ tsp cinnamon
- ¼ teaspoon ginger
- ½ teaspoon nutmeg
- ¼ teaspoon cloves
- ¾ teaspoon salt
- 7 oz vegetable shortening
- 6 oz sugar
- 16 oz molasses
- 1 Large egg
- 5 crushed jolly ranchers or isomalt for the windows
Royal Icing Recipe
- 16 ounces powdered sugar sifted
- 2 ounces pasteurized egg whites
- ¼ teaspoon cream of tartar
- 1 teaspoon vanilla extract
Instructions
For the Gingerbread House
- Sift together the flour, cinnamon, ginger, nutmeg, cloves, and salt. Set aside.
- Melt the vegetable shortening until just liquid (not hot). In your stand mixer, combine the melted shortening, sugar, and molasses and mix until smooth. Add the egg and mix to combine.
- Switch to the paddle attachment, add your dry ingredients, and mix on medium-low until a smooth, firm dough forms. Do not overmix.
- Divide the dough in half and roll each half out to ¼ inch thick directly onto a silicone baking mat (this is important if you're doing sugar windows later). Try to keep the thickness as even as possible for even baking. Pop the rolled dough in the freezer for 20 minutes. This makes it much easier to cut cleanly.
- Place your templates on the chilled dough and cut around them. An X-Acto knife works great for clean edges, but any small sharp knife will do. Just be careful not to cut through your silicone mat. Peel away the excess dough and save it to re-roll for more houses.
- NOW is the time to add a brick texture, a roof shingle pattern, or any other embossing BEFORE you bake. Press your impression tool firmly into the raw dough. A spoon can make scalloped roof tiles. The blunt side of a butter knife makes great brick lines.
- Bake at 300º F for 30 to 50 minutes. You're looking for very firm, dried-out pieces that have darkened slightly. If they feel even a tiny bit soft or bendy, keep baking. Under-baked pieces will flex and crack during assembly. Keep an eye on the color, especially on smaller pieces like chimneys which bake faster.
- Let the pieces cool fully on the mat or pan before you touch them. Once cool, set them aside uncovered overnight to dry out further. The drier they are, the stronger your assembly will be.
For the Royal Icing
- Make sure your mixer bowl, whisk, and all tools are completely grease-free.
- Combine sifted powdered sugar, egg whites, and cream of tartar in the mixer bowl. Mix on low to combine, then increase to high and whip until bright white and stiff, 1 to 2 minutes. Add vanilla and mix briefly.
- Keep covered with plastic wrap pressed to the surface or a damp towel at all times to prevent crusting.
For Assembly
- Choose and prepare your base. Pipe a ring of royal icing on the base where the house will sit.
- Pipe a generous line of thick royal icing along the edges of your front piece. Press a side wall into place, hold for 30 to 60 seconds, then support with tin cans. Repeat with remaining walls.
- Let walls set for at least 1 hour with tin can support before adding the roof.
- Pipe icing along the top edges of the walls. Press roof pieces into place and support with cans. Let the fully assembled house set overnight before decorating.
- Decorate with colored royal icing and assorted candies. Let everything dry fully before moving.





Gina says
THANK YOU! What's odd is if you pour an 12 oz bottle of molasses into your food scale it's 16 ounces. I know it's fluid ounces but is this recipe done with pouring out the molasses and weighing it? So confused!!!
Elizabeth Marek says
That is so annoying! That is why I weigh everything! If you take butter out of the wrapper its not 8 ounces either!
C says
Please forgive the dumb questions but I’m still learning a lot about baking and the basics. I get the measuring by weight - I have a scale and have realized how off my flour can be especially on a doubled+ recipe. But when it comes to liquids I wanted some confirmation... the molasses says 16 oz. is that fluid ounces like 2 cups? I remember watching one of those cooking shows and a judge commented that someone used the dry measuring cup for wet ingredients (or vice versa) and really blew my mind.
So I know this is basic stuff but if you could clarify the molasses and shortening measuring so I can make sure I’m doing it correctly with the correct tools. Thanks so much for your time and this awesome recipe. My gingerbread houses are going to be on point this year!
Elizabeth Marek says
Everything is by weight, liquids too. Makes it very easy. I don't use volume (cups) measurements at all because of how inaccurate they can be even with liquids. Oil is heavier than water, but not as much as sour cream. So I just weigh everything.
Dana Van Clieaf says
Good morning! I just need to make a small house for the top of a 6” cake; can this recipe be halved?
Also, did you use cooking molasses or fancy molasses in the recipe?
Elizabeth Marek says
Yes you can half the recipe if you want. I don't know specifically, it doesn't say on the bottle. It was just grandmas unsulphered molassas.
Beckie Dunning says
how do u print out the templete.
Elizabeth Marek says
Just click on the gingerbread house template link (text) in the blog post and it brings up the image to print
Brittany says
I’m excited to try this recipe! How far in advance can you make the dough? We are trying to make a larger house this year and I want to make some ahead of time. Thanks!
Elizabeth Marek says
You can make it as far in advance as you need to <3
Maja says
Hi. I'm wondering if you have any measurements for the template? I know I can print it, but would'nt the size be the size of the piece of paper?
Elizabeth Marek says
The size the gingerbread prints at is the size of the gingerbread house I made
Kaylee says
Hello! I also sent a message on Insta. I subbed dark brown sugar for the molasses, and after combining dry ingredients to the wet it’s looking so dry and crumbly and not coming together as a dough. Help! What should I do? Add a little water? Thanks!
Elizabeth Marek says
I would add some corn syrup to make up for the loss of liquid
Natalie says
Ok can’t wait to try this! I’m making my first gingerbread house and have decided to do a replica of the church I live in. Ambitious I know. Would attaching the pieces using caramel provide more stability? Also can I use caster instead of granulated sugar???
Thanks
Xxx
Elizabeth Marek says
Yes you can do that and yes, you can use caster
Antonia says
In my country, baking gingerbread houses isn't rly common, but I want to give it a try.
Can you pls give me some tips to get started?
Elizabeth Marek says
I give lots of tips in the blog post 🙂
Farida says
Fantastic recipe! I had to make a huge house so i tripled the recipe and it worked so beautifully! It was so Easy to roll, cut, bake and assemble, this was my first gingerbread house from scratch and it turned out so great!! Thank you!
Jessica says
Hi thanks for sharing all those amazing recipes. Can i use 8 or 10 oz of molasses for example to qet a lighter cookie color, or how can i get a beautiful classic gingerbread color. Thanks again. Merry christmas.?
The Sugar Geek Show says
This a standard gingerbread recipe, if you feel it's too dark you could bake for a little less time but the cookie may not be as strong.
Maida Cz says
Thank you for sharing your recipe! So I made three houses with your recipe. However they baked really dark @ 300 for 55 minutes. I’m not sure if it because of how dark the molasses I used is or if they’re actually burnt! Such hard work to go to the garbage haha. May I ask what brand of molasses you use? Thanks a bunch for your tips & guidance.
The Sugar Geek Show says
Oh I'm so sorry you threw it away. It should be dark and we are not eating this recipe. It is meant to be dark and hard so that it stays strong all month and does not collapse.
Nuria says
Why wouldn't you eat it? Reads like a nice cookie recipe. Everything in there is edible.
BTW, what can I use instead of molasses? I cannot get them around here. What about honey/agave syrup/glucose/corn syrup? (listed from easier and cheaper to get to rarest and most expensive)
The Sugar Geek Show says
You can definitely eat it but it's very hard/crunchy so I don't recommend to eat it. The point of the house is to be a decoration mainly. You can replace molasses with dark corn syrup. If you use honey or glucose the color will be very light.
Nuri says
Just finished baking! I used light corn syrup bc I didn't want it too dark, came out quite nice! And the windows so pretty! (to anyone reading: do use a lot of crushed candy, It disappears!). I prepared the dough, rolled it out on the parchment paper in the baking trays and kept it in the fridge till next day, then took the trays out of the fridge one by one, cut the shapes and bake.
It took less then the time stated here, and my oven is not very powerful, maybe mine was thinner? I baked 40 minutes total (35+5 for the windows). I tasted one defective piece and it's really crunchy but nothing a good dunk in coffee can't fix XD
I have a good quantity of dough left that I don't think I'll be needing, what do you think I could add to it to make it less crunchy and turn it into cookies? More fat? (I used butter) Extra egg? I'll definitely up the cinnammon :p
The Sugar Geek Show says
This recipe is for a sturdy gingerbread house, if you make the dough softer it could potentially collapse 🙂 The crunchy texture is normal.
sabriena says
This is my first time attempting to make my own gingerbread house. We usually just buy a kit from the grocery store and every single time I get annoyed at it falling apart. So far I've only cooked the pieces of the house but I definitely got 3 houses out of it and it has all baked up nicely. Tomorrow I'll do the assembly and then the next day we're going to decorate. Thank you so much for the gingerbread recipe!
The Sugar Geek Show says
Yay!! Good for you! Making your own royal icing is the best
Robin says
This looks fantastic! What are the rough measurements of the pieces of your template? I have another pattern I am going to use and I am trying to figure out how many times I need to multiply the recipe (I am making 14 houses!). Thank you!
The Sugar Geek Show says
I don't know the measurements off the top of my head but you can print the house template if you like 🙂
Kathryn Arbez says
Can I use lard instead of vegetable shortening.
The Sugar Geek Show says
I have not tested this with lard but I think it would be ok 🙂