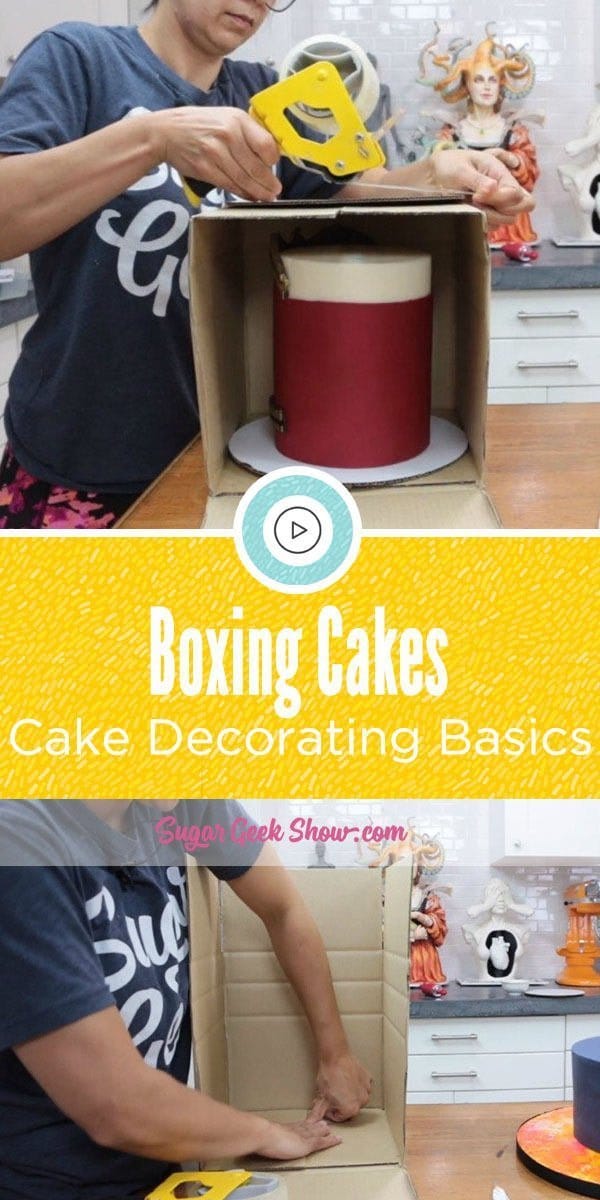
Today we will show you how to easily make your own delivery box for your cakes. "Wait, I need to do that?" Yes, yes you do.
There are several reasons you should transport your cake/cake tiers in a box. It keeps the cake more safe and stable, much less likely to tip over and slide around. It keeps your cake cold. It keeps your cake clean. It's easier to carry cakes in a box. It looks more professional.
Actual cake delivery boxes you can buy from cake supply stores can be pretty spendy. Then you turn into that irritating penny pincher and you feel like you have to frantically get your cake box back after every delivery. Making your own is much more practical, and while they are reusable, if you don't get one back it's no biggie because it should've only cost a couple dollars at the most depending on the size of the box.
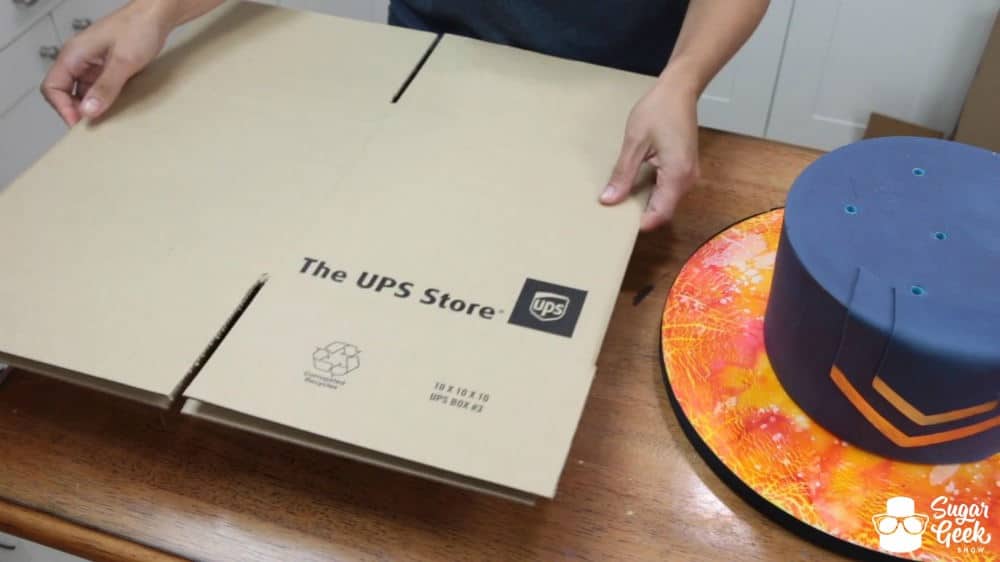
Start with an unfolded box that matches the size of the cake board your cake/tier is sitting on. You can buy these at shipping stores or even online at Amazon in bulk which is what I do.
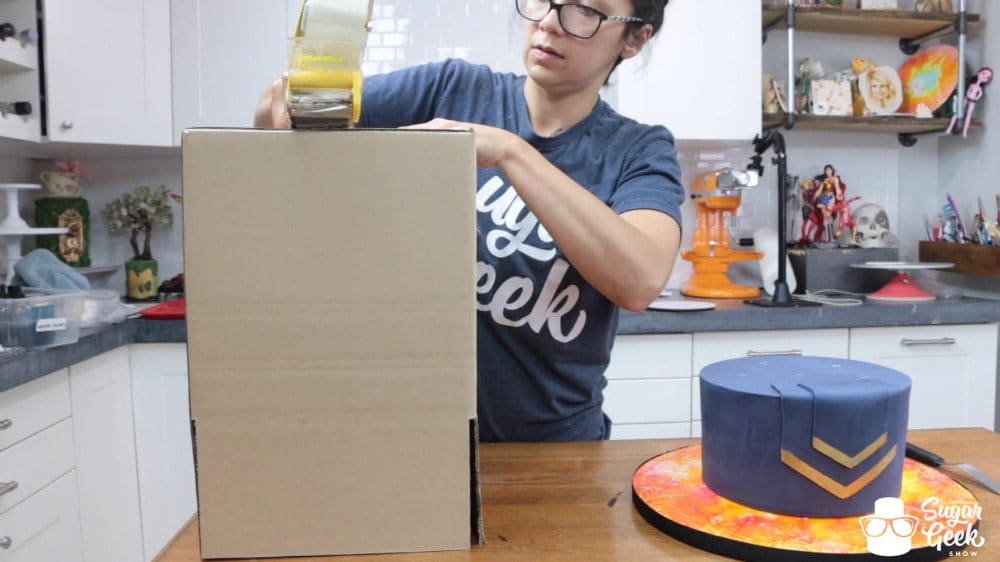
Next, fold one end of the flaps in and tape them securely with packaging tape. Don't try scotchin' that business. You may even want to tape the side seams for extra security.
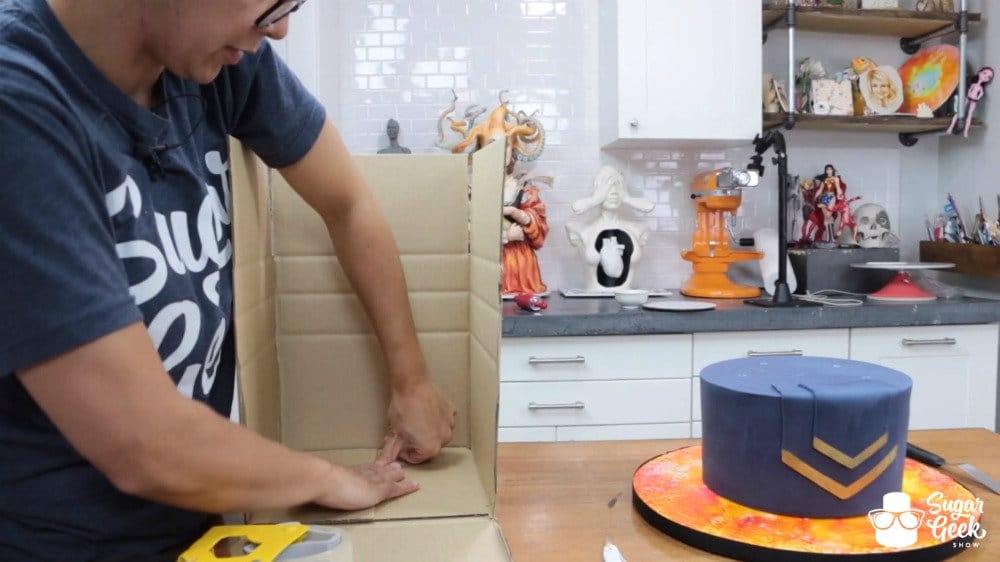
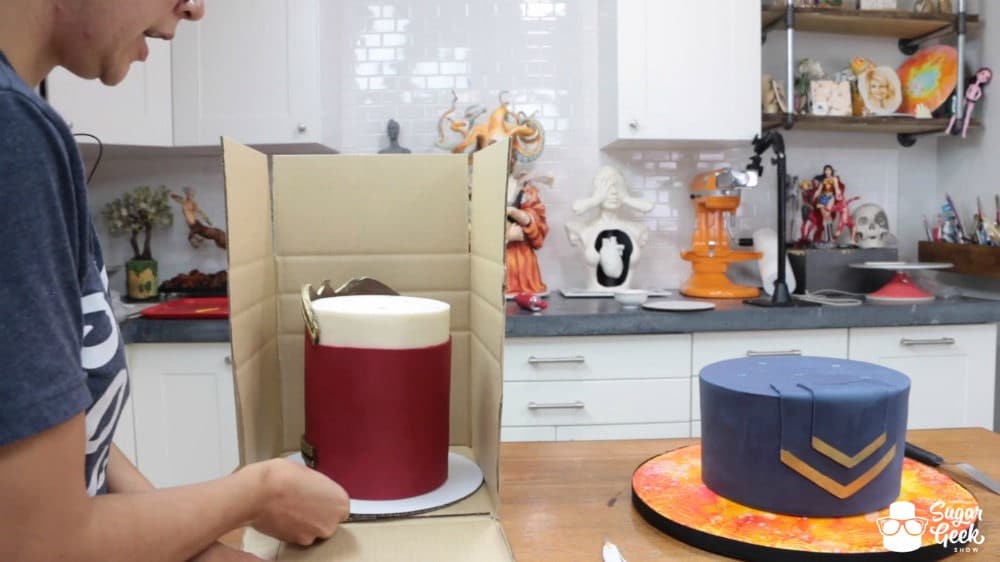
Using an exacto blade, cut the the two front seams of your box so that the flap can fall open.

Tape that inner seam down so it isn't loose.
Slide your cake into the box. Once again make sure to use a box that's width matches the size board your cake is sitting on so that it is nice and secure. You of course will also want to make sure the box is tall enough for your cake.
Tape down the top three flaps.
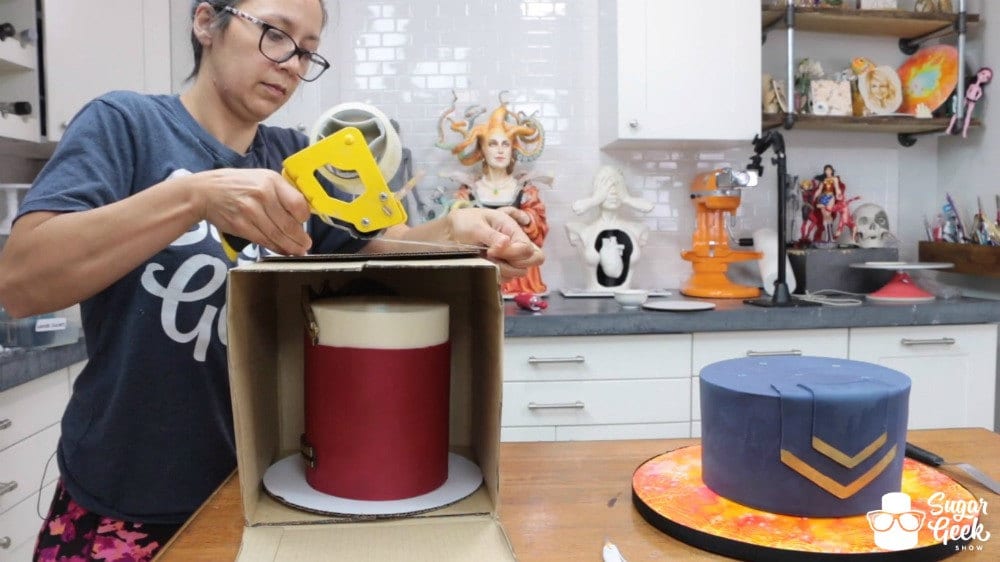
Then you can just easily tuck the front flap in to close your box. That's it! You've made your own cake delivery box.
A few tips from me to you...
-If I am traveling a long distance with my cake I tape the front of the box up good sealing in the cold air for longer.
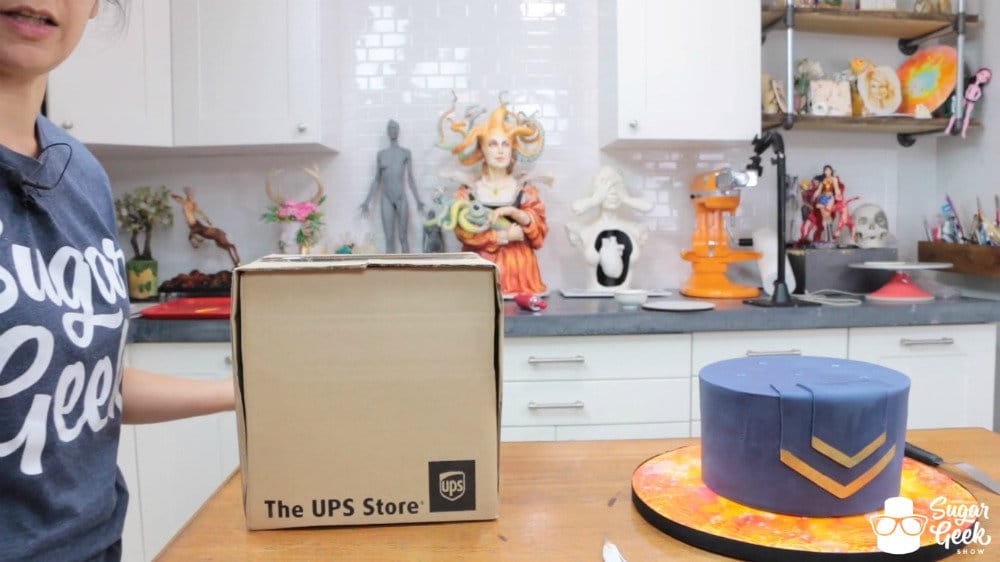
-I found white boxes on Amazon that look a bit nicer and I print my own business logo sticker and put it on the box for an extra professional look.
-If you can't find the width of box you need, you can use a box whose end dimensions are the correct size and just tip it on it's side. Then you would be taping the back and front of the cake box with no need to cut with an exacto knife. I ordered a bunch of boxes on Amazon like this. Using the box this way makes them them tall and skinny so I can box two and even three tier cakes. Here's a link to a 12x12x18 box that you would tip on it's end. Then it fits a 12" cake board with a cake up to 18" tall. I use that size and this 10x10x14 box for nearly every delivery. The cost is a couple dollars each for these boxes but you have to buy 25 at a time. I love having them on hand all the time and they last me a long time with reuse.
-If your cake board is smaller than your box, roll some packaging tape into a bubble and tape your cake board down so it can't slide around.
You never knew there was a whole course you needed to take on boxes did you? I hope you find all of this information helpful and it furthers you on your professional cake decorating journey!
Going over the basics? Check out these!
Cake Decorating Basics: Must Have Tool Review
Cake Decorating Basics: Airless Space Buttercream
Cake Decorating Basics: Leveling and Torting
Cake Decorating Basics: Filling and Crumb Coating
Cake Decorating Basics: Avoiding Cake Blowouts
Cake Decorating Basics: Smooth Final Coat of Buttercream
Cake Decorating Basics: The Upside Down Method
Cake Decorating Basics: The Secret to Small Cakes
Cake Decorating Basics: Covering a Cake in Fondant
Cake Decorating Basics: Easy Double Barrel
Cake Decorating Basics: How to Panel
Cake Decorating Basics: Stacking Cakes