

How to cover your buttercream cakes in a gorgeous marbled fondant
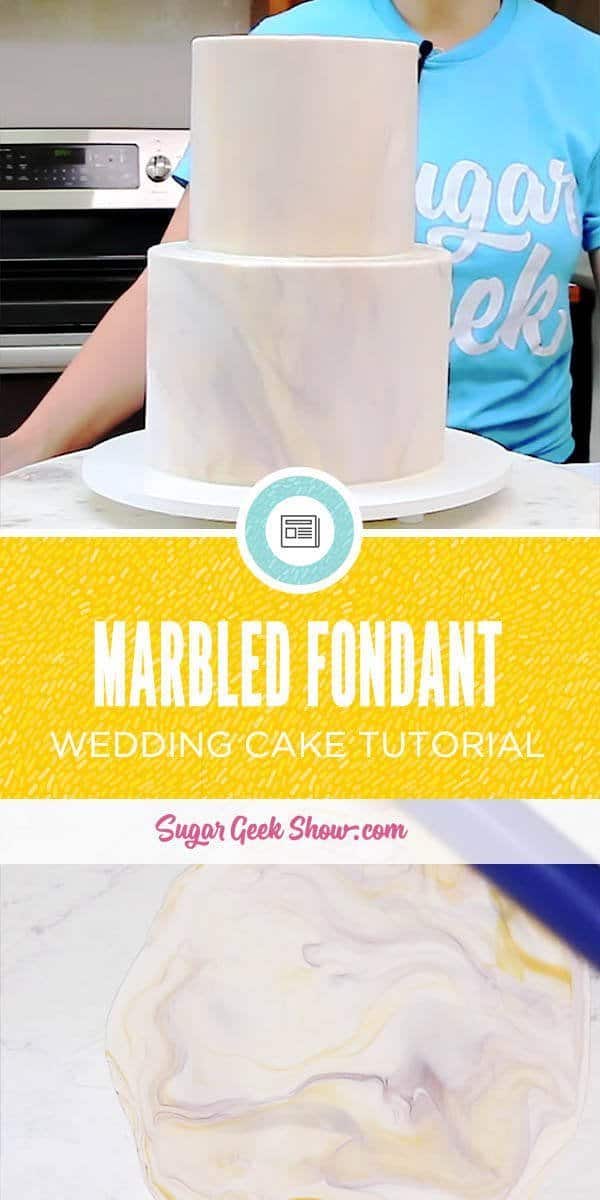
I'm obsessed with marbled fondant. If you watched last weeks video on how to get super sharp edges on your buttercream cake, you're going to love this next tutorial on how to cover your cake in a gorgeous marble fondant. This marbled fondant look was inspired by one of my favorite marble turn tables and I just love how it turned out.
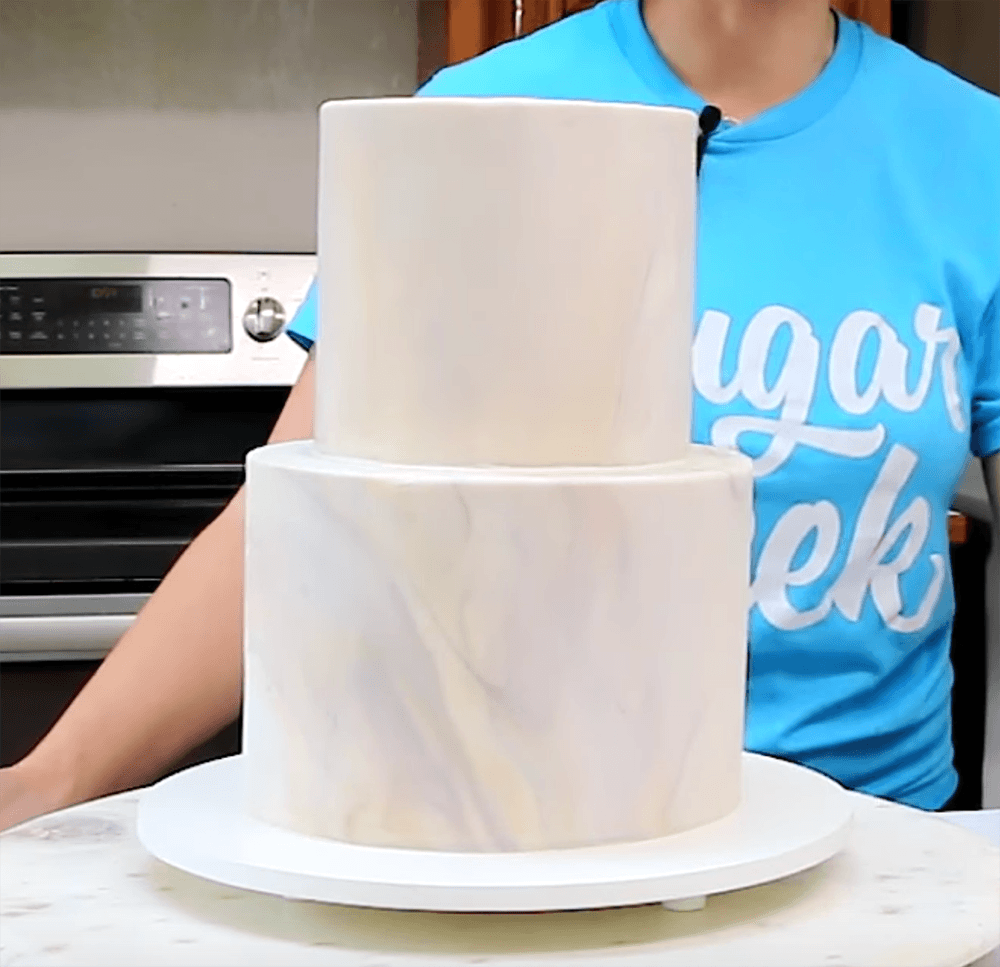
How to make marbled fondant
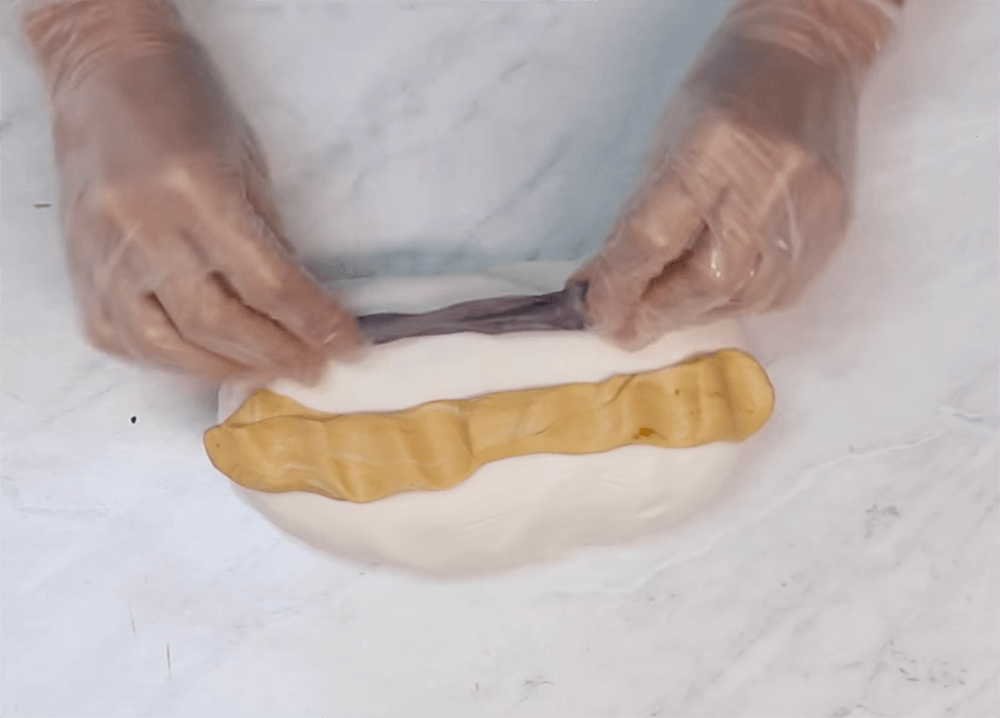
To make the perfect marbled fondant, you start out with white fondant. I take out a couple of tablespoons of the white and color it ivory. Then I do the same with some and make some grey. Now comes the easy part. Just layer on top of each other and pull the fondant a couple of times to start mixing in the ivory and grey. But don't mix it too much. You want to keep those interesting lines and patterns.
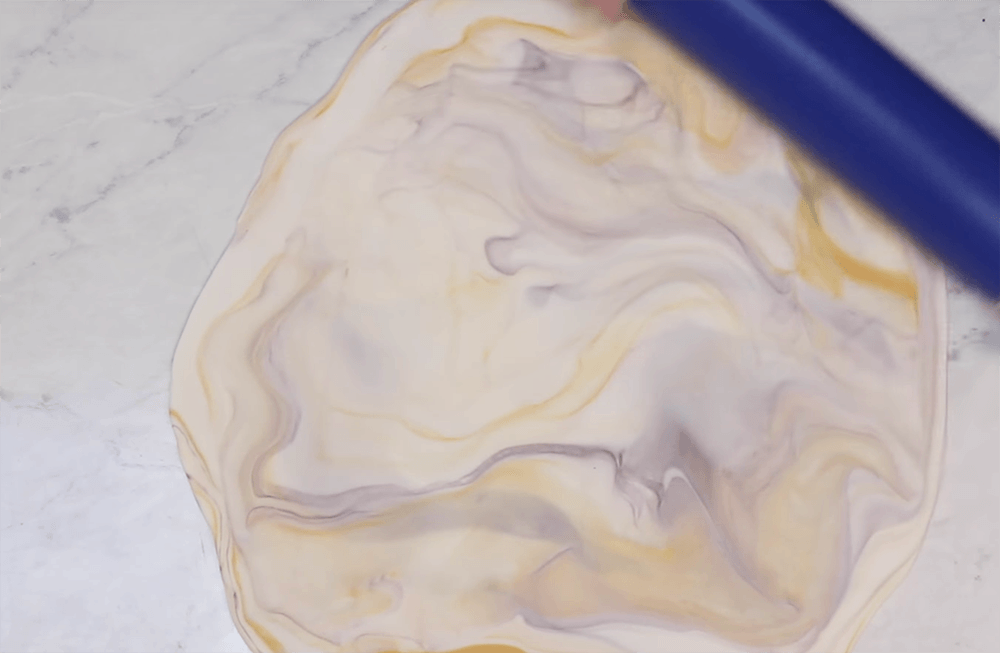
Next I roll out the marbled fondant using some cornstarch. Make sure you keep moving the fondant around every couple of rolls so that it doesn't stick to the table. Try flipping it over and seeing which side of the fondant you like better. I roll my fondant out to about 1/16 of an inch. Thin fondant results in sharper edges on your cake, plus who likes to eat thick fondant?
How to cover your cake in marbled fondant
Now it's time to cover our cake in our marbled fondant. I roll my fondant up onto my rolling pin and unroll it onto the well-chilled buttercream cake. Use your fondant smoother to work out any air that might be trapped under the top right away. Then you can start slowly pressing the fondant against the cake to work out the ruffles. Try not to pull the fondant down, just open up the folds of fondant and press gently against the cake.
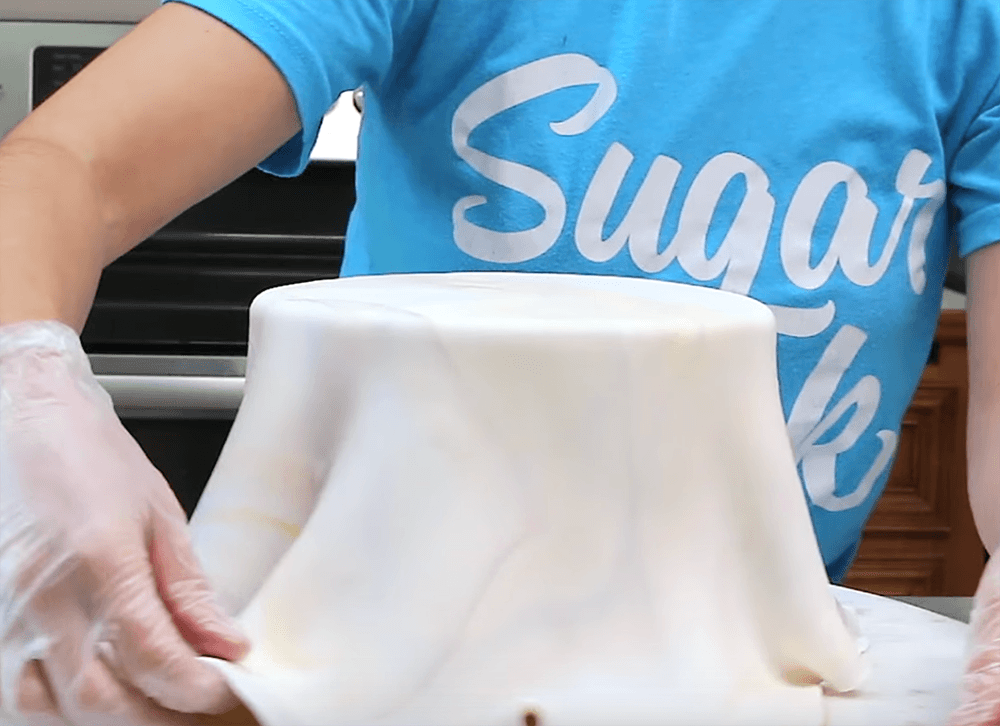
Once your cake is covered, cut off the excess around the cake about 2" away from the board. Gently flip your cake upside down and use your fondant smoothers to smooth the fondant upwards all the way around the cardboard. Use an x-acto blade to cut off the fondant around the top of the board. This makes a really seamless look to your fondant cake.
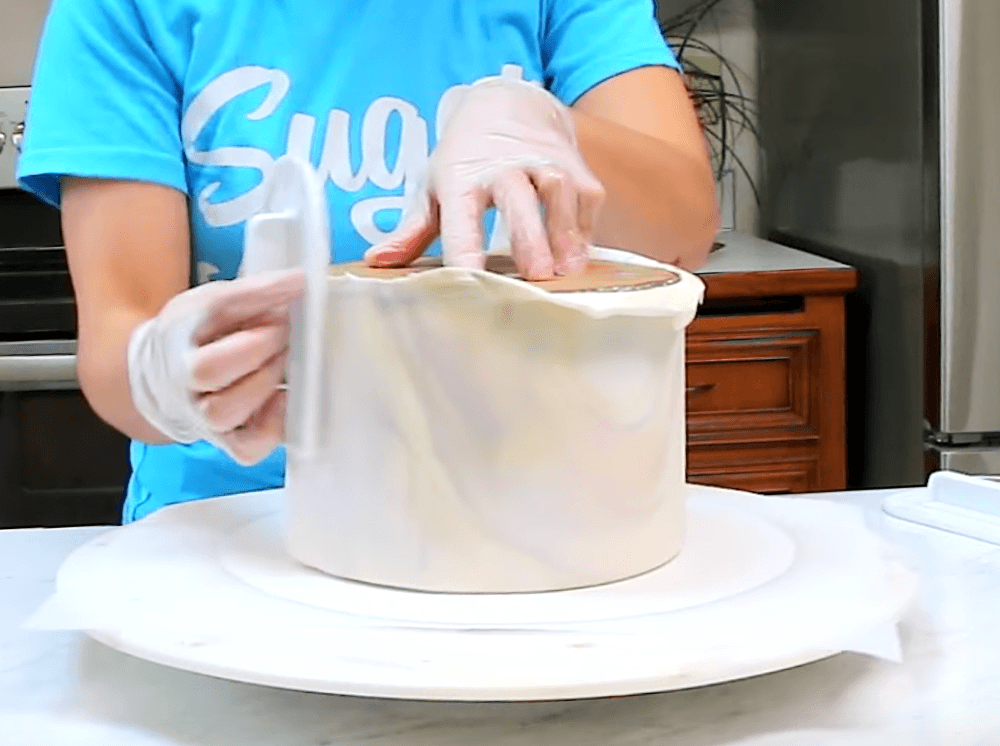
Lastly I use my fondant smoother to sharpen up the edges of the fondant. This can be a bit time consuming but I love how the super sharp edges on the fondant look.
Once you're done with your fondant, carefully turn the cake right side up and place back into the fridge to keep it chilled until you're ready to stack your cakes.
How to stack your fondant cakes
Once you have your cakes all covered in fondant, all that's left is to stack them. I like to use milkshake straws because they are strong, easy to cut and not expensive to buy. Make sure you're always cutting your straws evenly and inserting them straight up and down. Download my straw guide to understand how many straws you need to use for the best stability. After your straws are inserted you can stack your cakes.
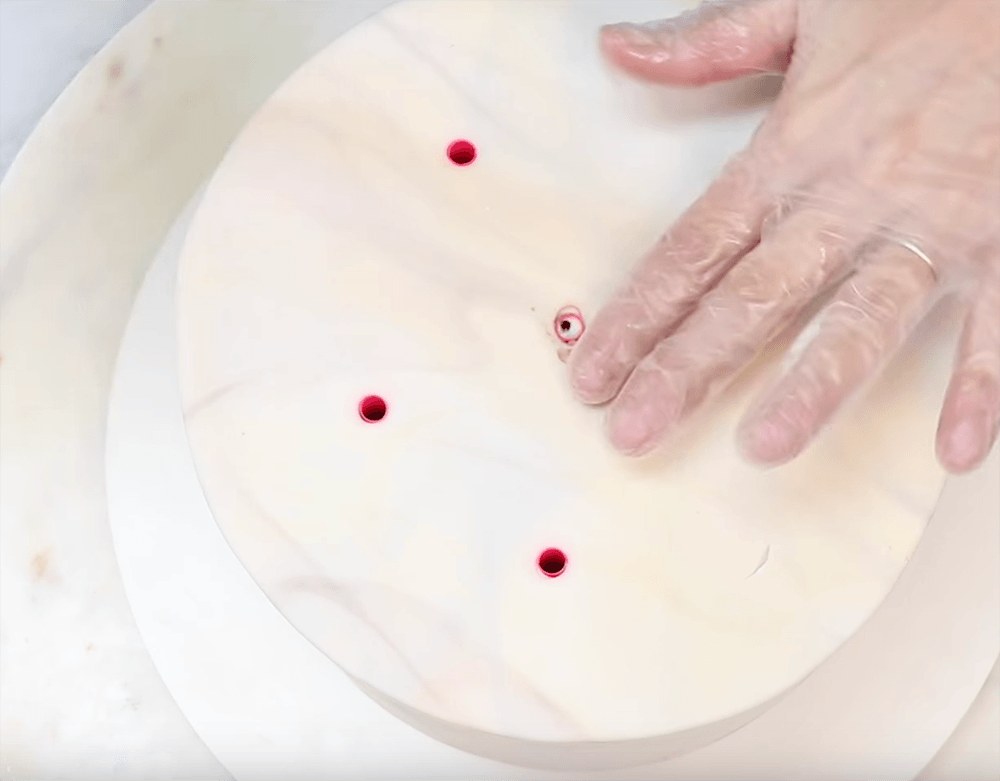
For a two tier cake, you can definitely stack your cake at home and then deliver the cake already stacked. It will be very stable. If you have a three tier cake you might consider traveling with the top tier separately and then adding it on top when you arrive. Bring some extra buttercream to fix any gaps.
When your cakes are nicely chilled, it should be very easy to pick your cakes up. Place the first cake onto your cake board and secure with some melted chocolate to keep it from sliding around. Make sure it's centered.
Then take your second tier and place it on top, making sure it's centered. I use a small amount of buttercream to fill in the gap between the layers and my finger to smooth it out for a seamless look.

That's it! That's all there is to making a simple marble fondant cake. Make sure you watch the full video tutorial on how to cover your cakes in marbled fondant for step-by-step instructions.
If you have any questions feel free to leave them for me in the comments.



Lai says
What brand of food coloring did you use?
Elizabeth Marek says
I mostly use Americolor food coloring
Dina says
Hi liz, i was wondering can SMBC be used under fondant or will it just melt and become a mess?
The Sugar Geek Show says
It can definitely be used under fondant 🙂
Janet Hook says
Hi thanks for the tutorial...Ive not worked with fondant before...my mom was always a buttercream fan...I really want a marble wadding cake...can I do these ahead and freeze them?
The Sugar Geek Show says
You can freeze cakes and then defrost them in the fridge for 24 hours. If you take them out and put them straight on the counter, they will melt
Kim O says
HI Liz, I saw that you don’t wet the cake at all before placing the fondant on. How does it stick to the cold buttercream?
Kim O says
HI Liz, I noticed that you don’t wet the cake at all before placing the fondant on. How does it stick to the cold buttercream?
Gloria B says
I'm not sure if I heard you right....Cake Boards of Air? Can't find that on the internet. Thanks.
The Sugar Geek Show says
Cake boards avare, I buy mine from http://www.fondantsource.com
Christin Perdue says
I struggle with condensation between the crumb coat and putting on the fondant. I also, struggle with my buttercream being too soft and when I try to put my fondant on it tends to crack. I know I'm a major rookie but what do you recommend I do to solve these mistakes? Can you add flavor to your buttercream recipe, like cocoa or salted caramel?
The Sugar Geek Show says
Check out my free training on making your first cake https://sugargeekshow.com/how-to-make-a-cake/
Linda says
Liz... you’re amazing! I love all your work! Can you do a tutorial on the best wat to color a large amount of fondant to get it all the same? 5 tiers Thanks!!!xoxo Linda
The Sugar Geek Show says
I would do it the exact same way but then divide the marbled fondant into pieces, one for each tier
Margie says
when I purchased Renshaw fondant I found it to be so soft. Maybe because I live in South Florida? Anyway to remedy that?
The Sugar Geek Show says
It could be, I do like a softer fondant so it might be your personal preference. You can always knead in a little more powdered sugar 🙂
Sara says
HI Liz,
I've noticed you're using Renshaw fondant more than your own. Is this a personal preference or sponsored? Just curious. Thanks
The Sugar Geek Show says
Personal preference, I buy the Renshaw fondant.