
Learn how to decorate a cake for the first time with this beginner-friendly step-by-step guide! These tips are one of the first skills I teach beginners in my cake decorating classes because it gives you the foundational techniques you need to make your first cake look amazing. In this guide I'll walk you through everything you need to know, from choosing the right cake recipes and frostings to finishing your cake with professional-looking decorations.
Quick Glance: How To Decorate A Cake
- Name: How To Decorate A Cake (Beginners Guide)
- Why You'll Love It: Step-by-step instructions from baking, stacking, frosting, and easy ways to decorate a cake.
- Time and Difficulty: Varies
- Main Ingredients: Cake, buttercream
- Method: Bake, cool, level, fill, frost, decorate!
- Texture and Flavor: Moist and delicious!
- Quick Tip: Always work with cakes that are completely cool.
Jump to:
- Quick Glance: How To Decorate A Cake
- Cake Decorating Tools For Beginners
- Choose Your Cake Recipe
- Choose Your Frosting
- How To Decorate A Cake Step-By-Step
- How To Decorate A Cake Video Tutorial
- Cake Decorating Ideas For Beginners
- Common Mistakes To Avoid
- Final Thoughts
- Top FAQs For Decorating A Cake
- More Cake Tutorials To Try
- Ready To Master Cake Decorating?
If you've ever been tasked to make a birthday cake, a wedding cake, or just want to challenge yourself with making your first decorated cake, this blog post will tell you everything you need to know.
I was inspired to make this post because my daughter's teacher approached me one day, asking if I had any tips on how to decorate a cake for the first time. It was her Mother's birthday, and she had never baked or decorated a cake but had her heart set on making one.
So here is my complete guide on how to make a cake for the very first time from start to finish! Even if you've never made a cake before, this will clear it all up for you. I recommend you read through this entire post first before you start baking so you can be sure to have all your tools and ingredients ready to go.
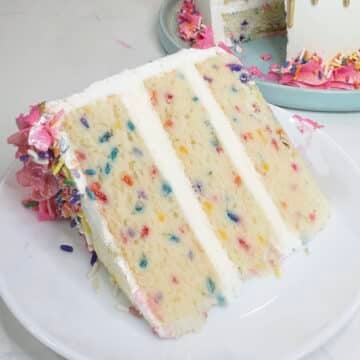
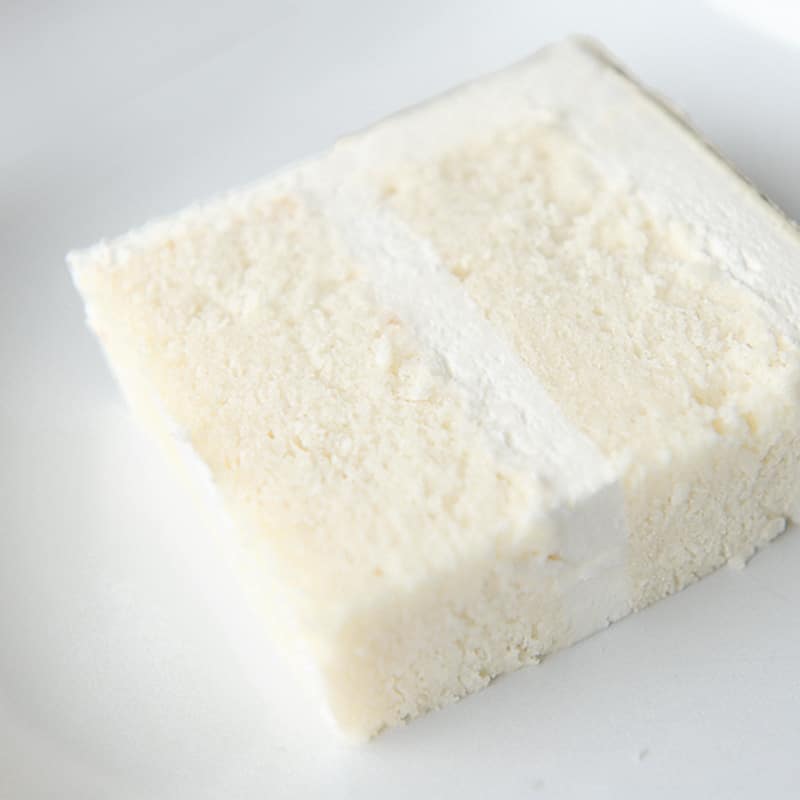
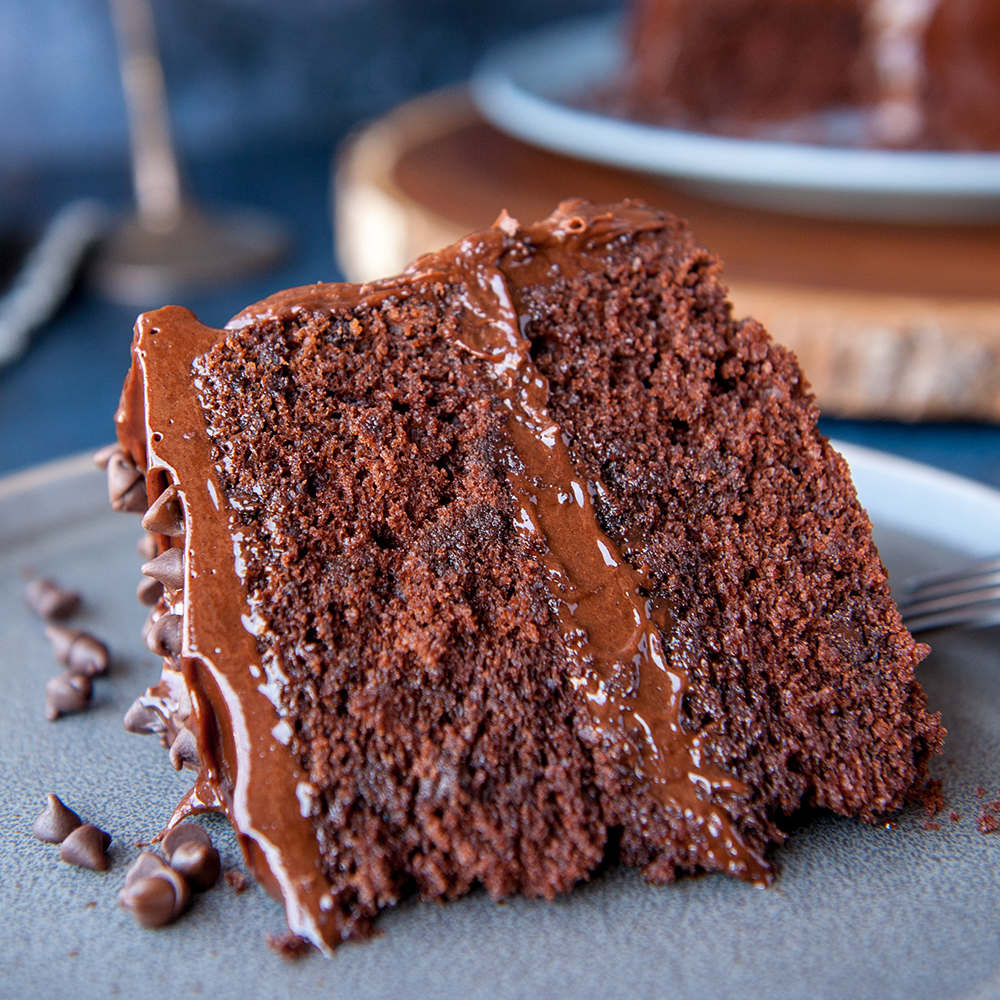
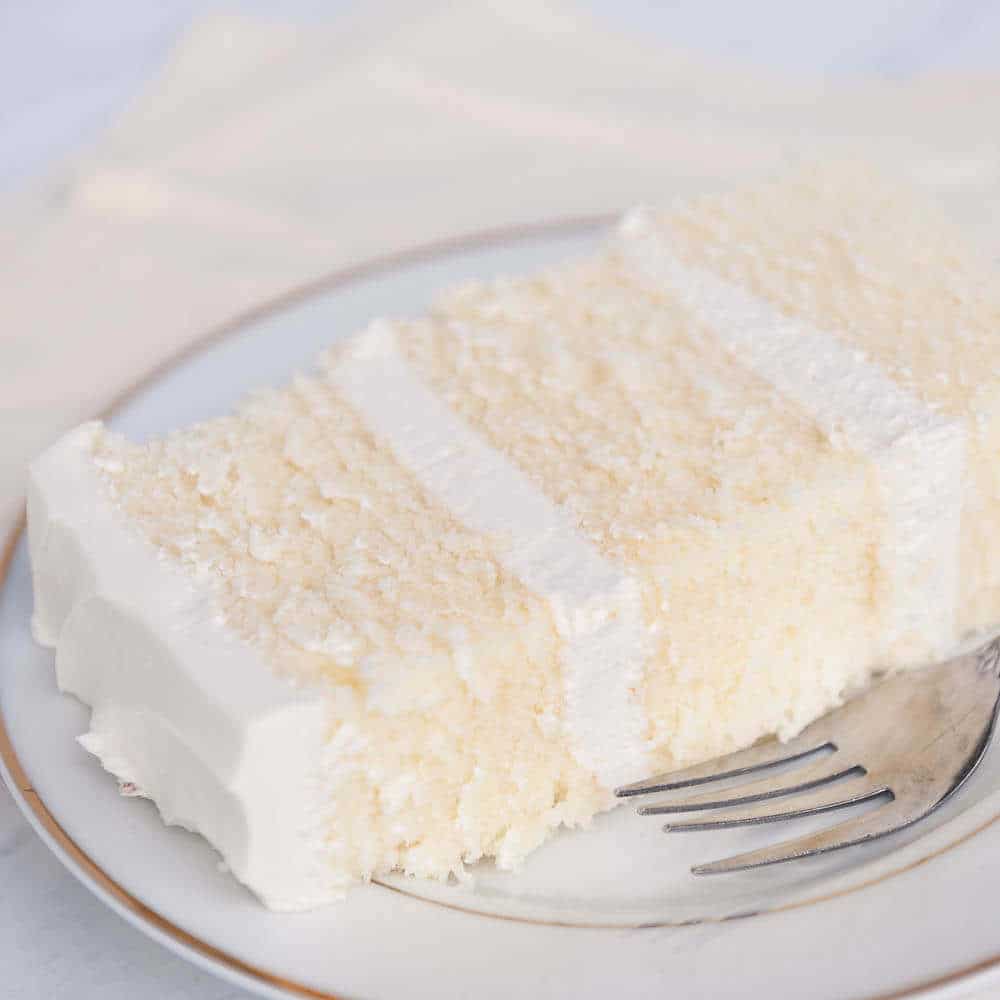
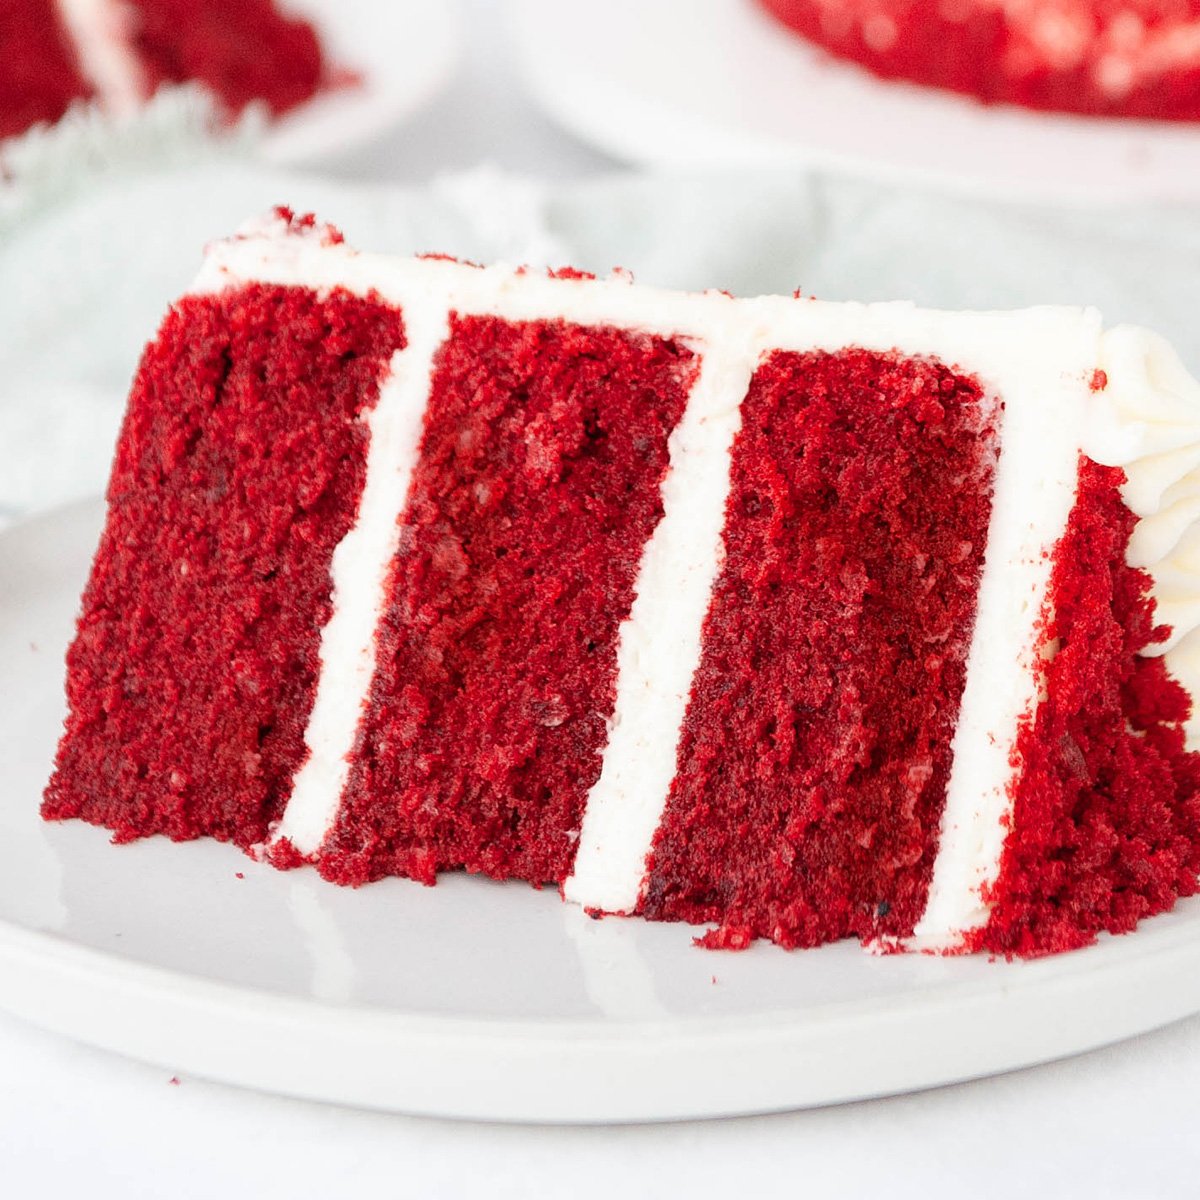
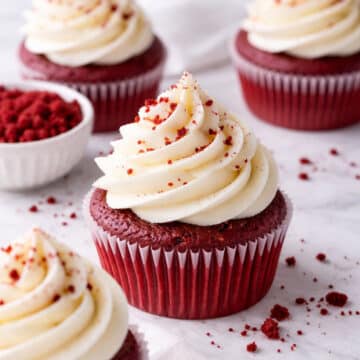
Pair this technique with a sturdy, easy-to-stack cake like my vanilla cake, chocolate cake, or red velvet cake while you practice your buttercream skills.
Cake Decorating Tools For Beginners
If you're just getting started, these are my favorite cake decorating tools for beginners that make decorating much easier. You don't need everything on this list, but if you get serious, it's a good list to follow. Below are the absolute MUSTS to have before you decorate your first cake, and where to get them.
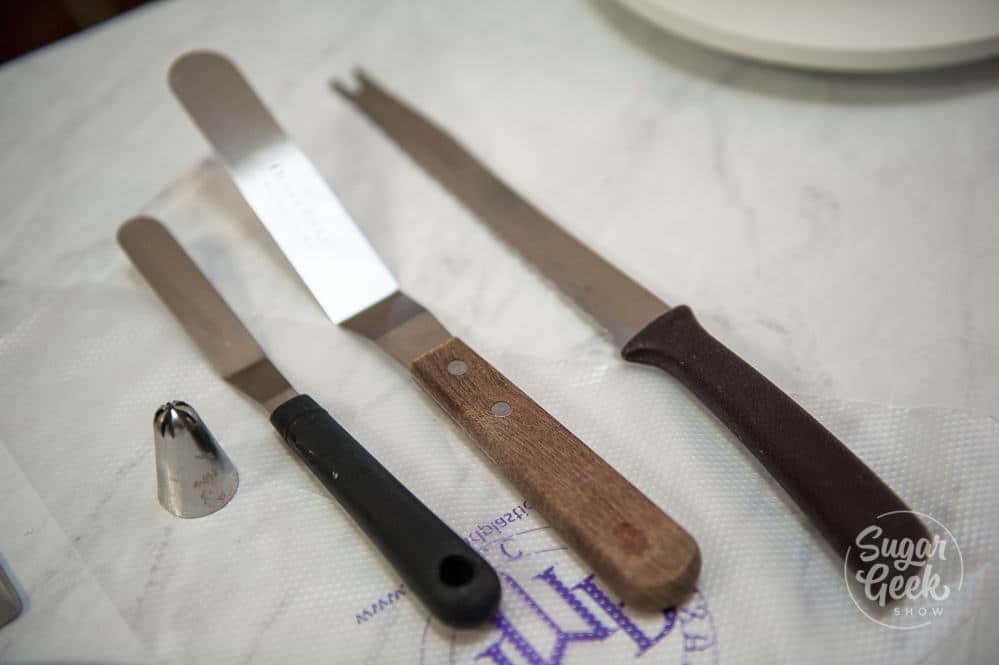
- Offset spatula - You don't need two sizes, you could get away with just the small one really but I do use both sizes on every cake. The offset spatula is a must so that you don't actually get your fingers in the buttercream as you're smoothing out your layers of buttercream. You can buy them at most grocery or even online.
- Serrated knife - A serrated knife is also known as a bread knife. As long as it has those little teeth, it will work just fine for cutting the tops off your cakes to make them nice and flat. You probably already have this knife in your kitchen. If you're nervous to level your cakes yourself, you can also use a cake leveler.
- Turn Table - You're definitely going to want a turntable. It just makes frosting the cake so so much easier. My first turntable was the little plastic one from Michaels, and I used my 40% off coupon to buy it. You can also use a lazy susan if you have one with a flat top.
- Piping Bag - I love me some disposable piping bags. If you don't have any or can't find any, you can use a ziplock bag in a pinch with the tip cut off.
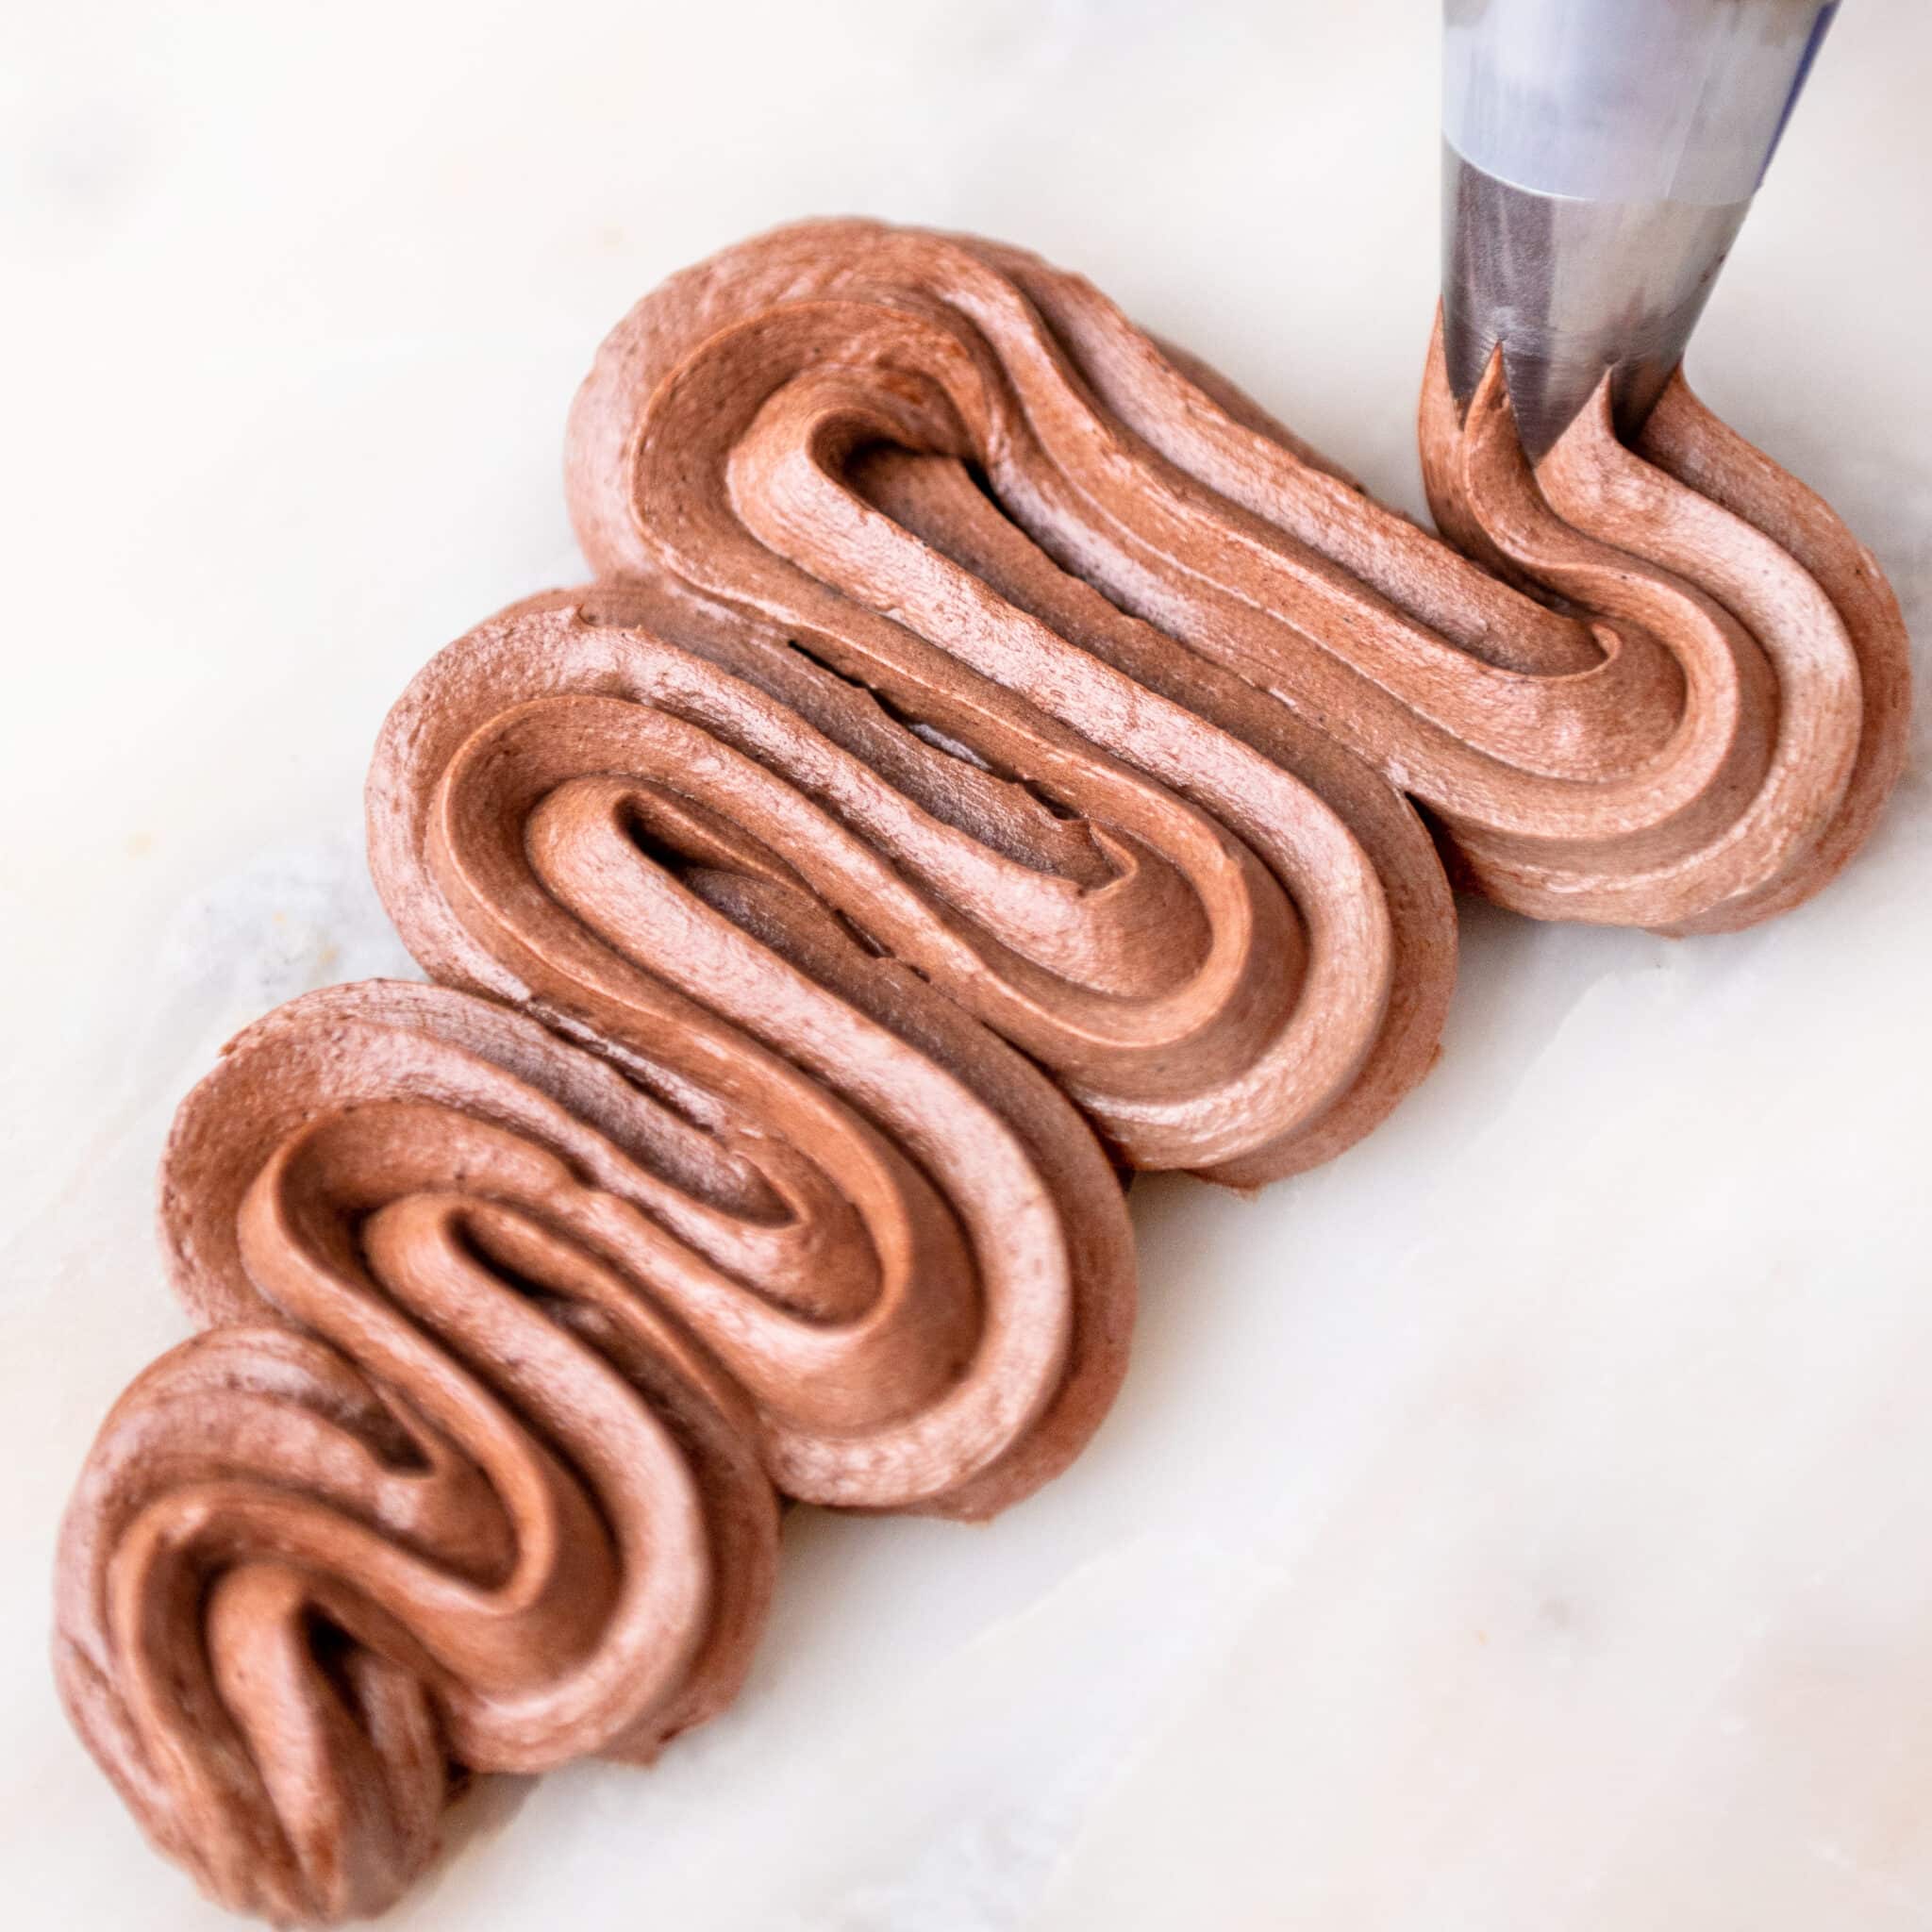
- Piping Tip - Don't forget a piping tip if you want to pipe some pretty rosettes on the top of the cake! My favorite tip is a 2F, but any star tip will do, like a Wilton 1M.
You can find my full list of recommended cake decorating tools here.
BONUS TIP: Bake your cakes a day in advance so they are completely cool by the time you decorate your cake. Cool cakes are much easier to handle than warm cakes.
Choose Your Cake Recipe
There are a lot of cake recipes you could choose from, but if you're intimidated by baking, I would recommend one of the following recipes. They are easy to mix and bake up beautifully. I also highly recommend a good cake pan with straight edges if you don't have one. Most of my cake recipes are made to make three 8" cake layers. Three layers generally look better than two layers, but it's not necessary!

If you only have two cake pans (which a lot of us do), then no worries. Just bake your cake layers and then leave your cake batter in the fridge until you're ready to bake it.
Choose Your Frosting
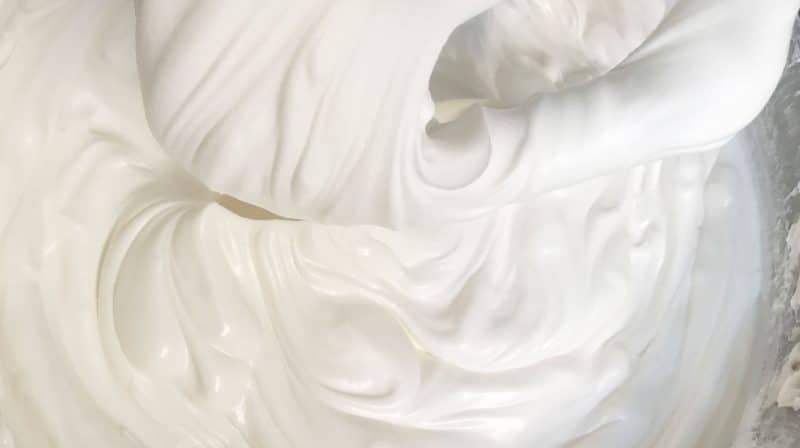
You can use frosting for filling and for going on the outside of your cake. My favorite frosting to use is my easy buttercream recipe. It's smooth, easy to make, and easy to use. Of course, you can use any kind of frosting you want, but just keep in mind some frostings, like whipped cream maybe be more difficult to use as a beginner.

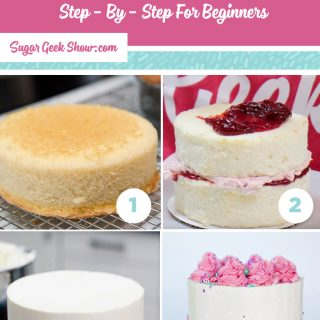
How To Decorate A Cake Step-By-Step
After you bake your cakes and let them cool, it's time to start stacking and preparing to decorate! Watch my video on how to decorate a cake for beginners if you learn better by watching.
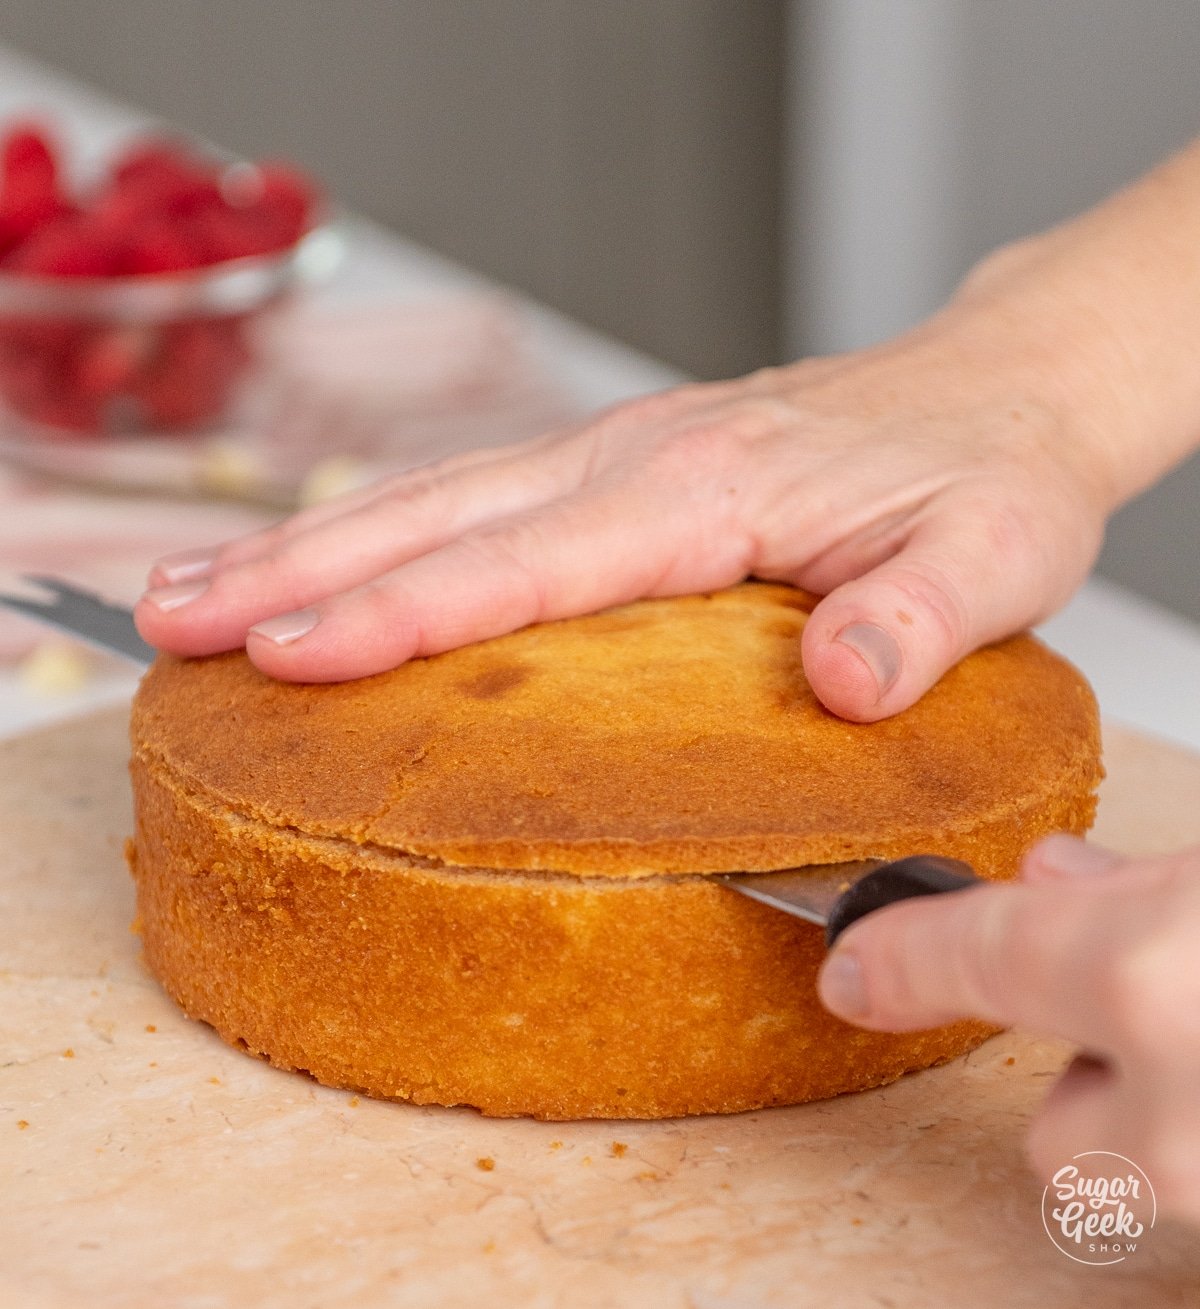
- If your cake layer has a dome (some do, some don't) then you will want to trim that off so that your cake layers stack up nice and flat. You can use your serrated knife or you can use a cake leveler. I also like to trim the brown edges off the sides and bottom but it's not necessary!
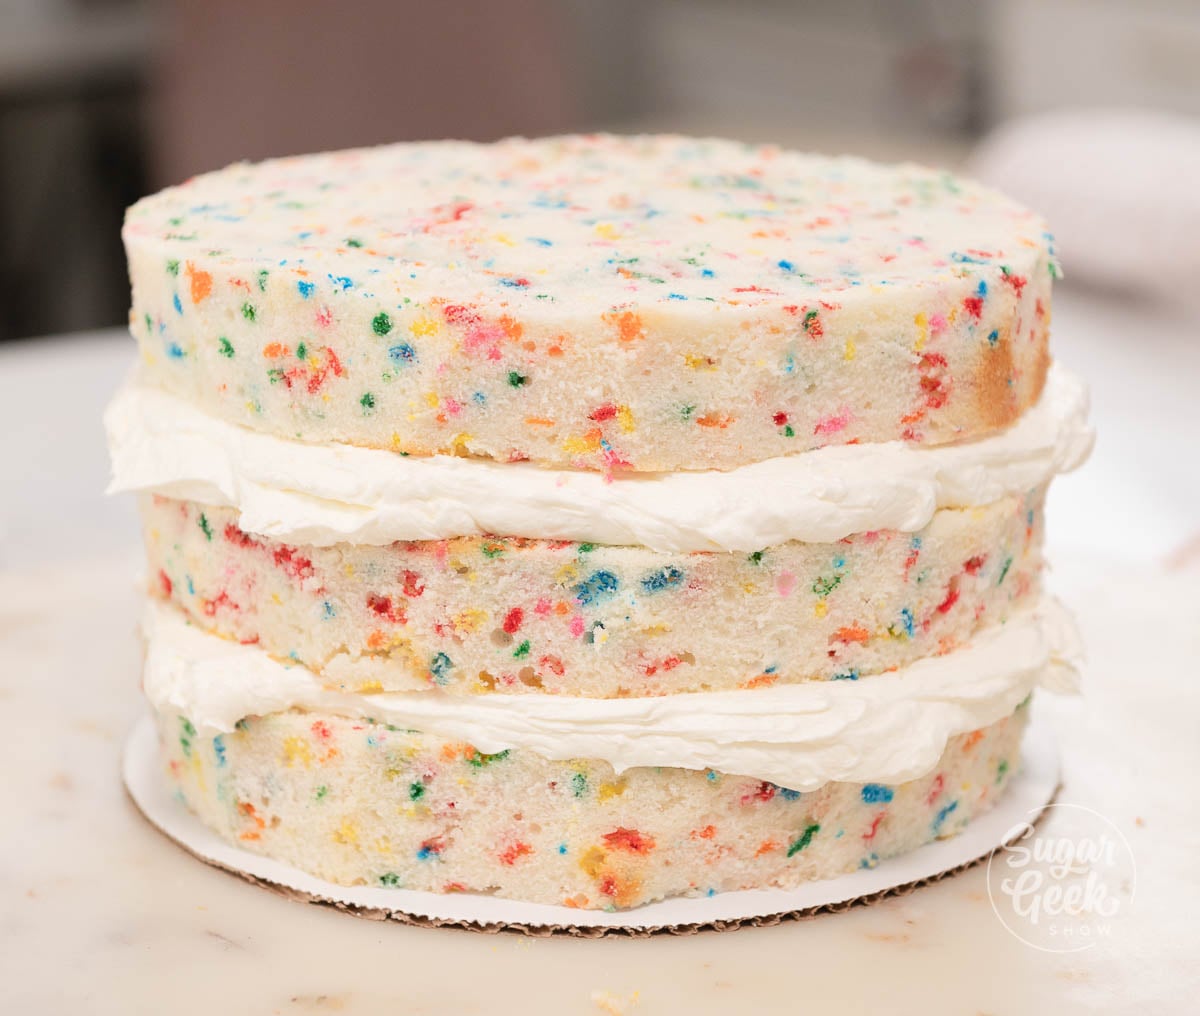
- Place your first leveled cake layer onto your cake board or your cake platter. Add some frosting on top and spread it flat with your offset spatula. Repeat this process with the second layer of cake, and finally put the final layer of cake on top.
If you're making a taller cake, you may want to learn how to stack cakes safely so your layers stay stable.
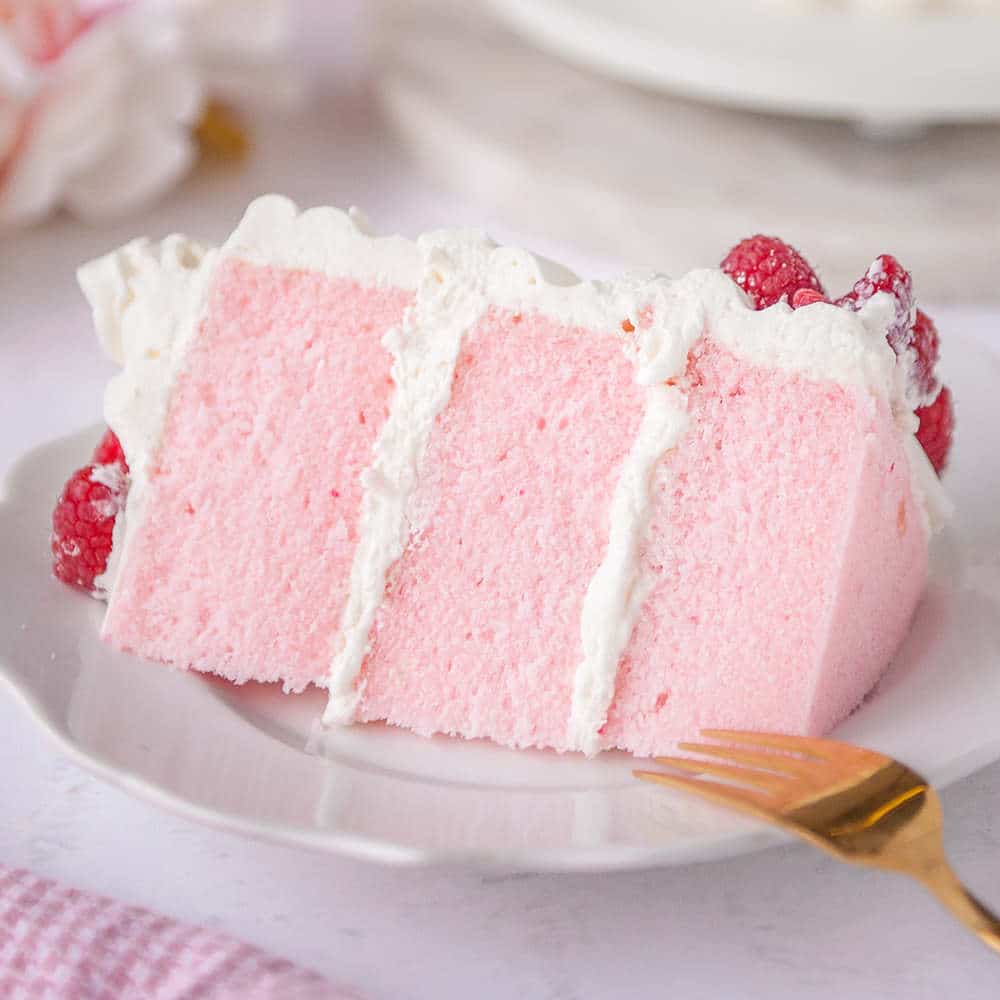
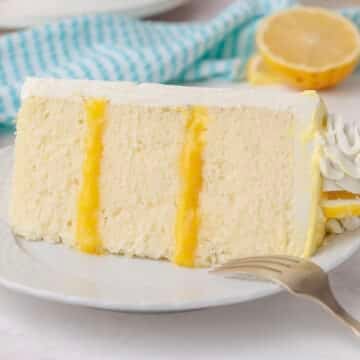
BONUS TIP: If you want to add a filling like lemon curd, strawberry reduction filling, or raspberry filling, you will have to make a dam of buttercream first in between the layers so the filling doesn't ooze out. Remember not to make the filling too thick.
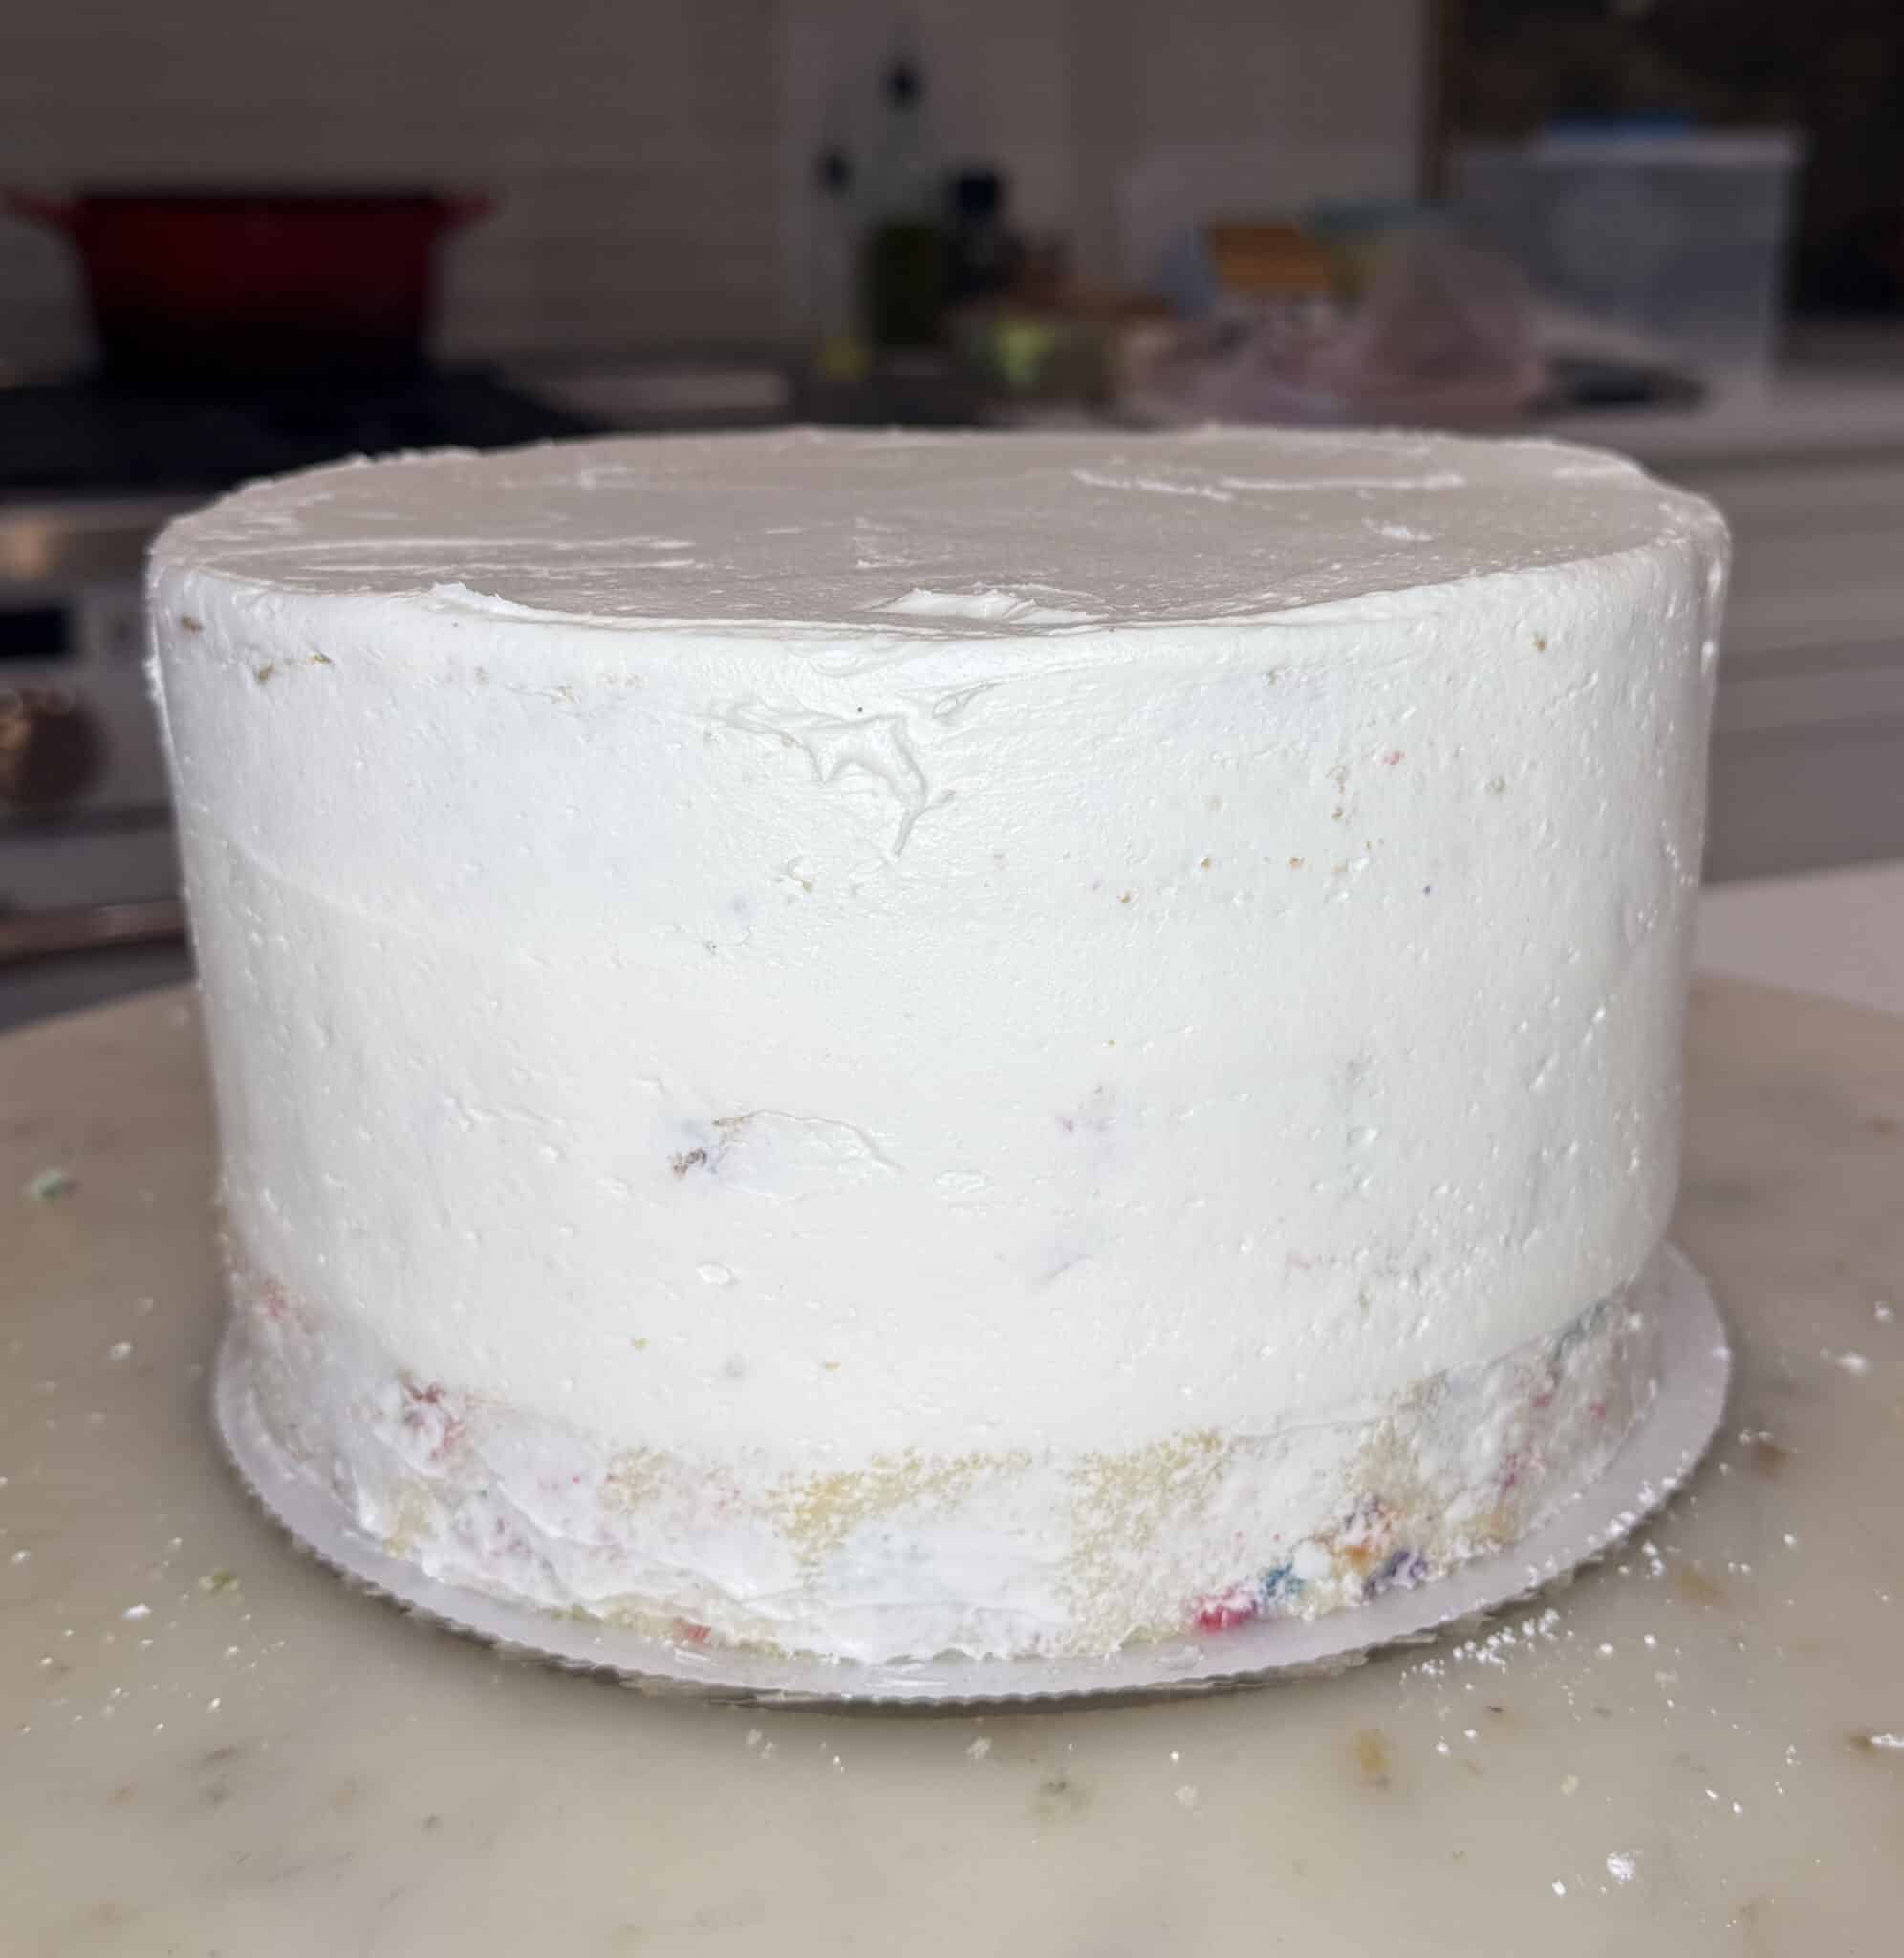
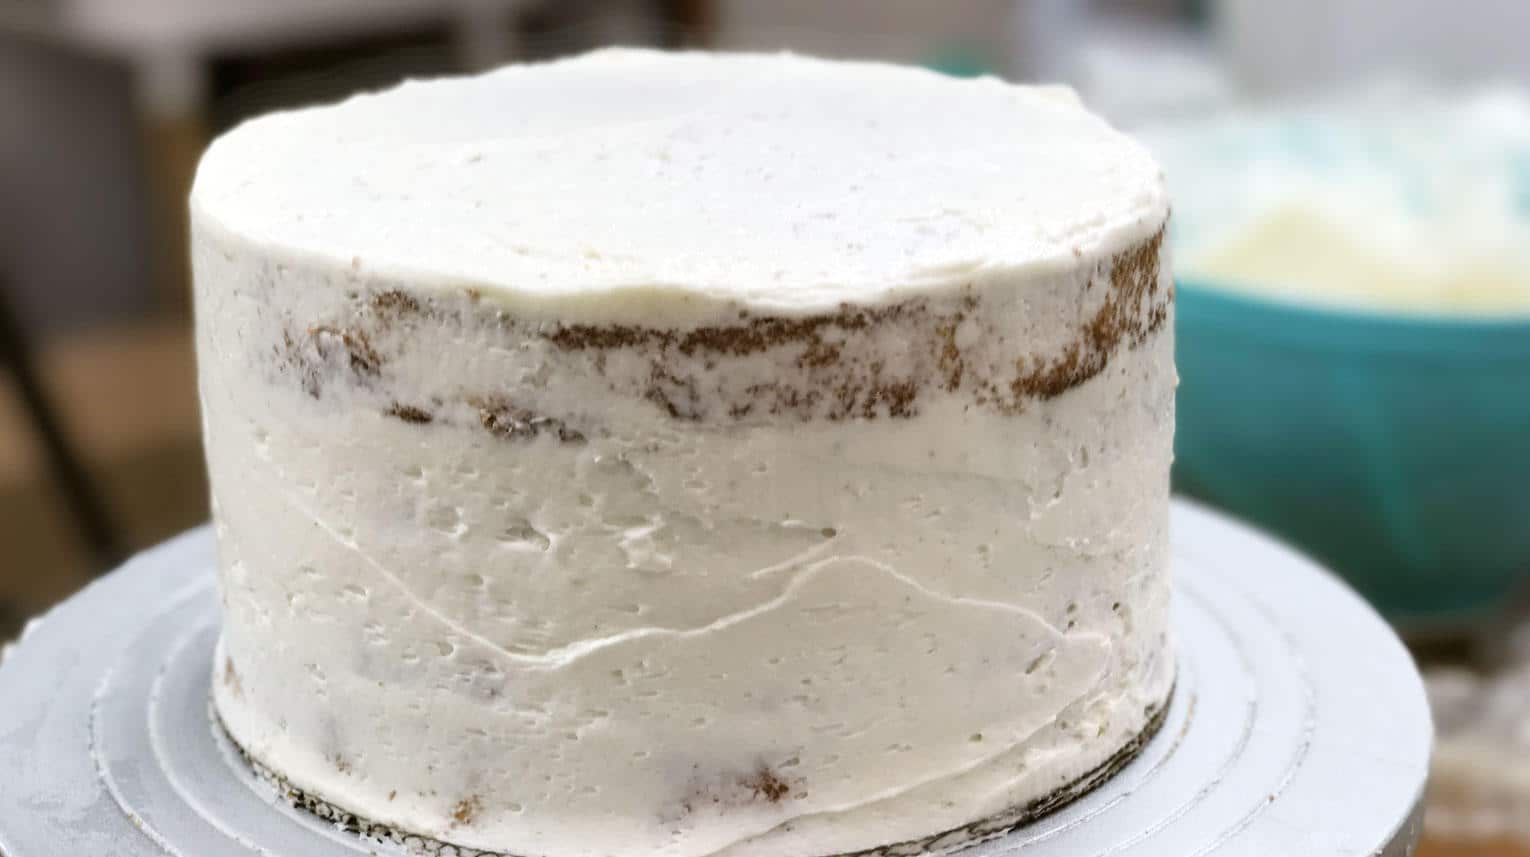
- Add a thin layer of buttercream all over the cake. This is called the crumbcoat because it seals in all the loose crumbs. This should be thin and it does not have to be neat and tidy. The final layer of buttercream will be the pretty one. Then place the crumb-coated cake into the fridge for at least 15 minutes or until the frosting feels firm.
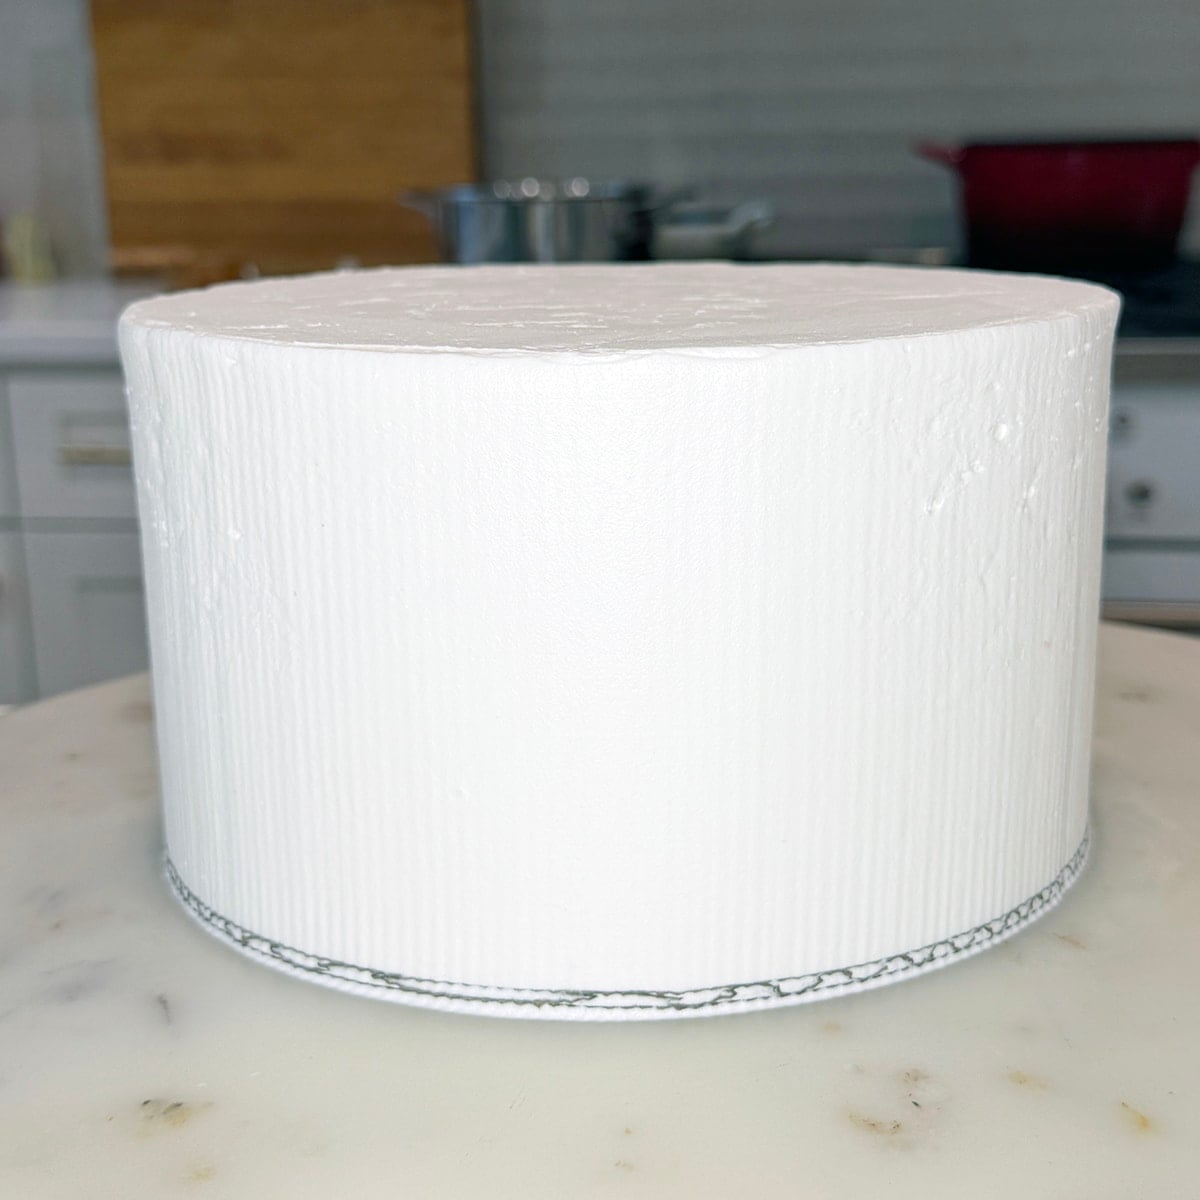
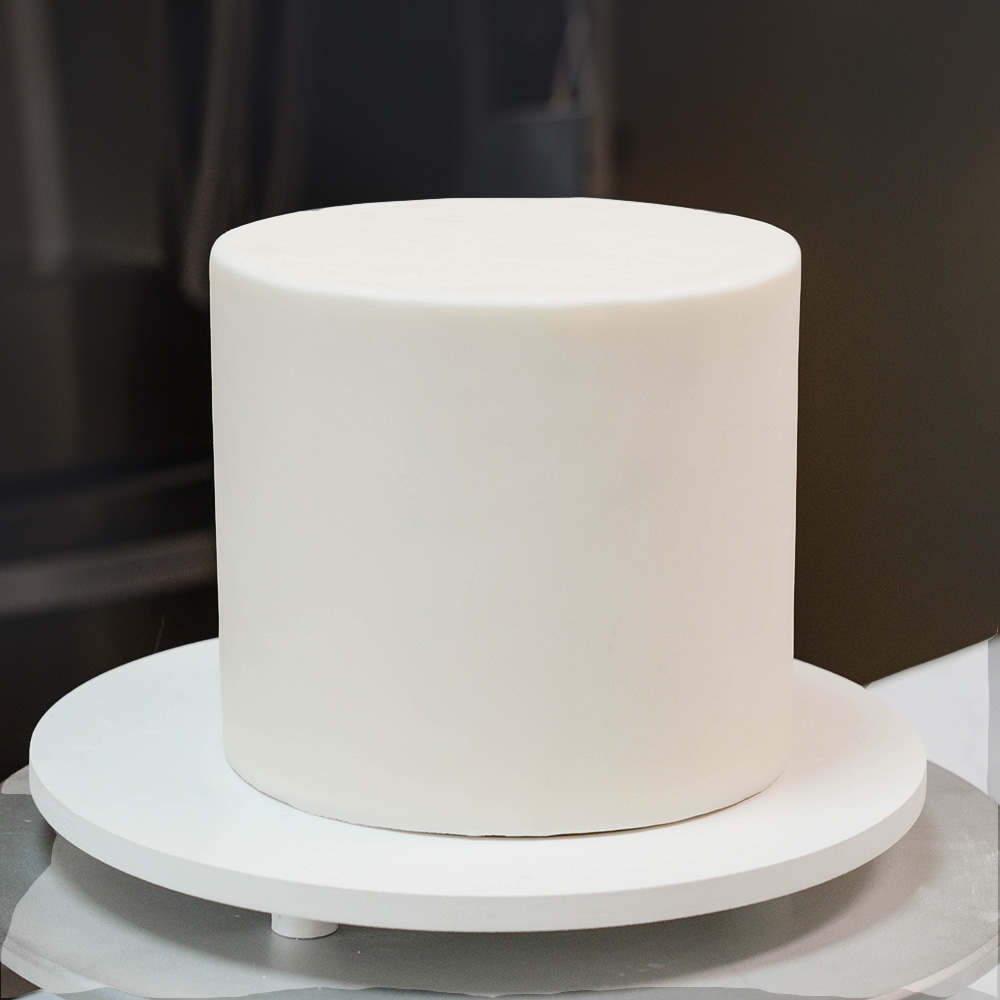
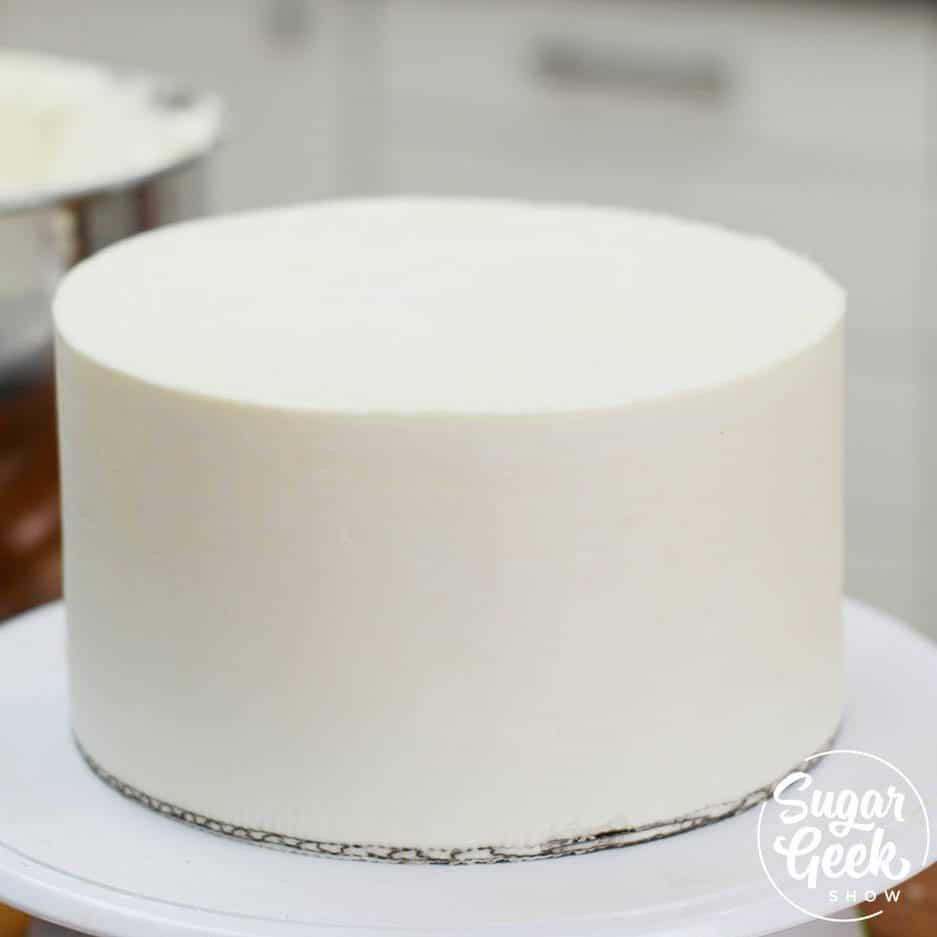
- Now it's time for the final coat of buttercream. Add another layer of frosting and use the bench scraper and the offset spatula (see the video) to get everything nice and smooth.
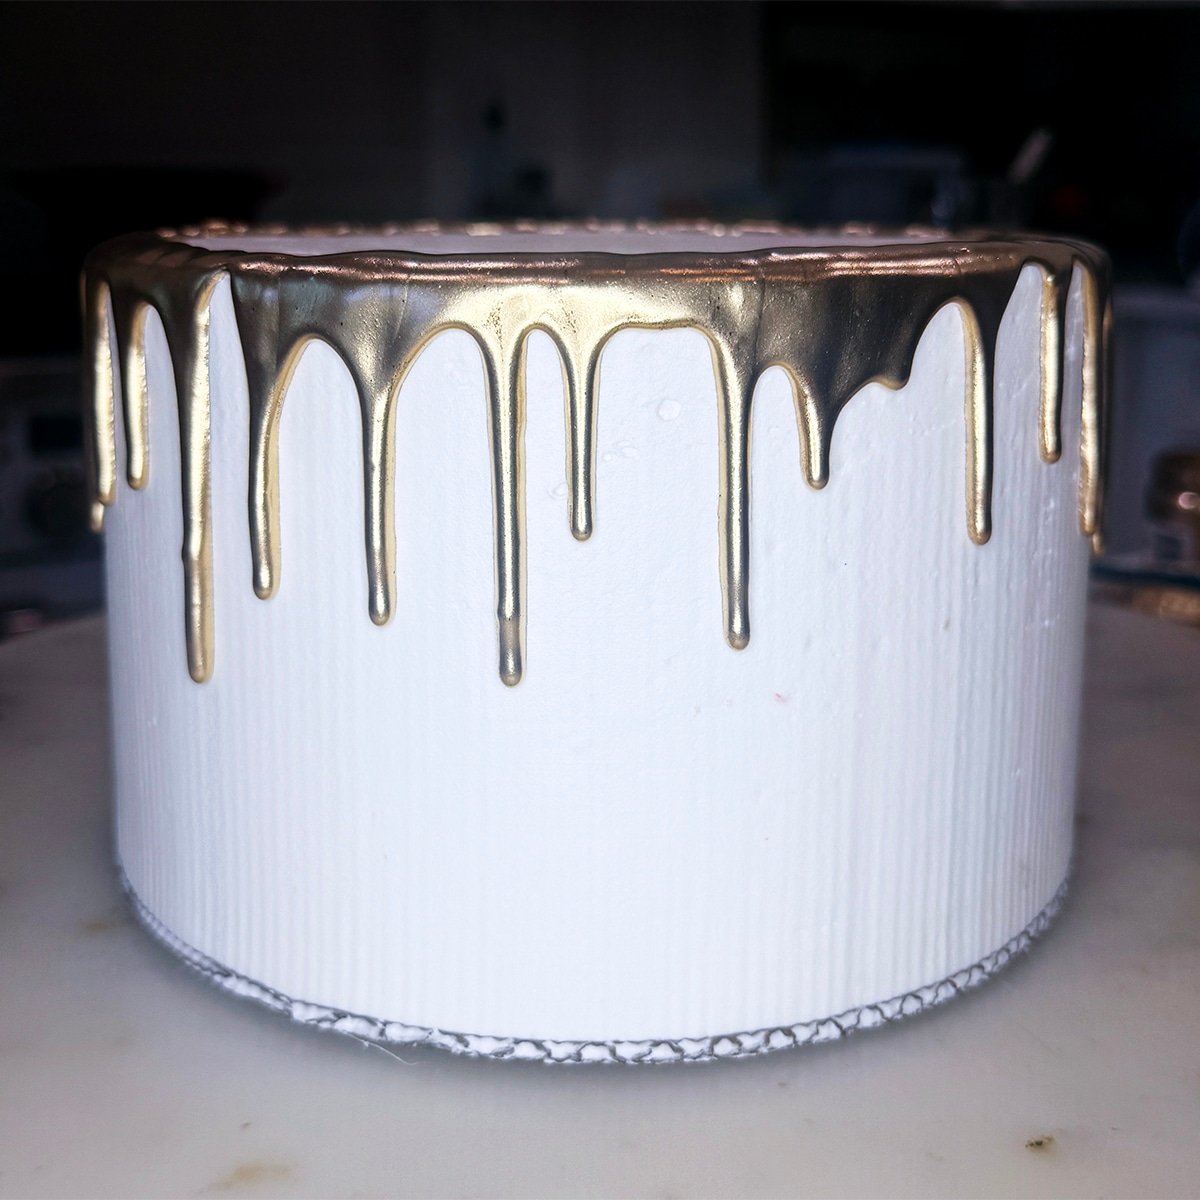
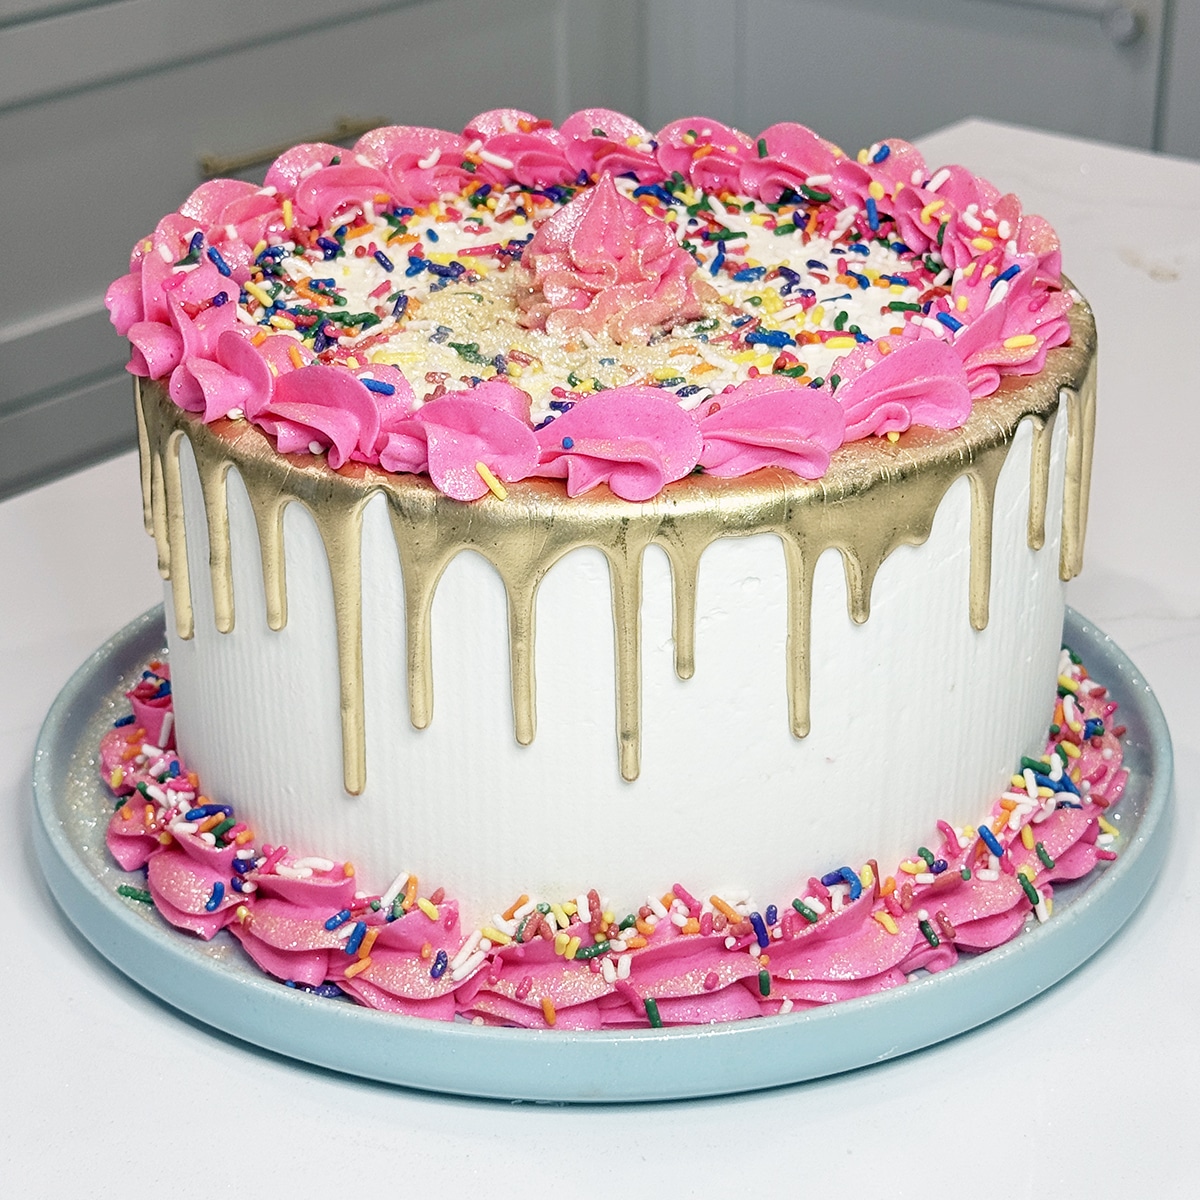
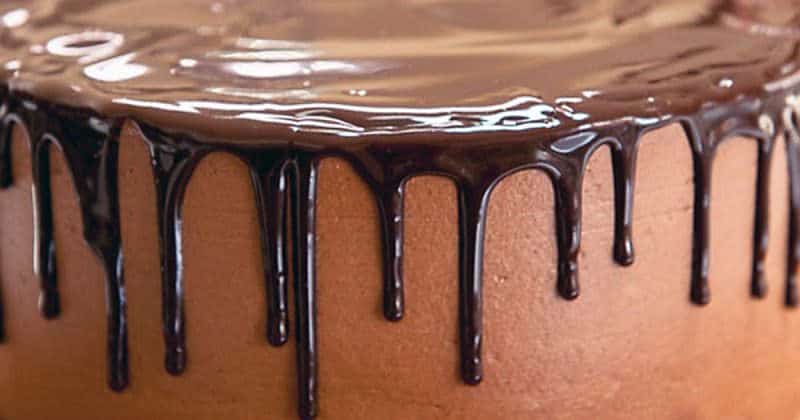
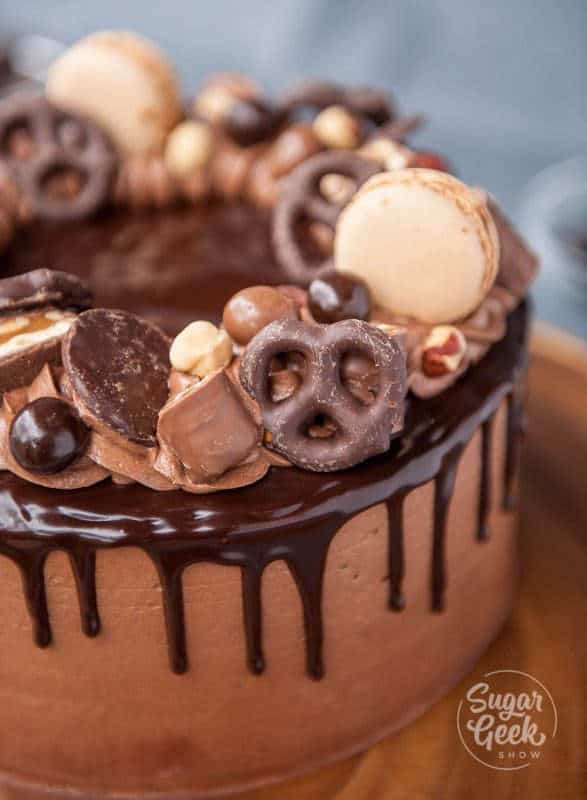
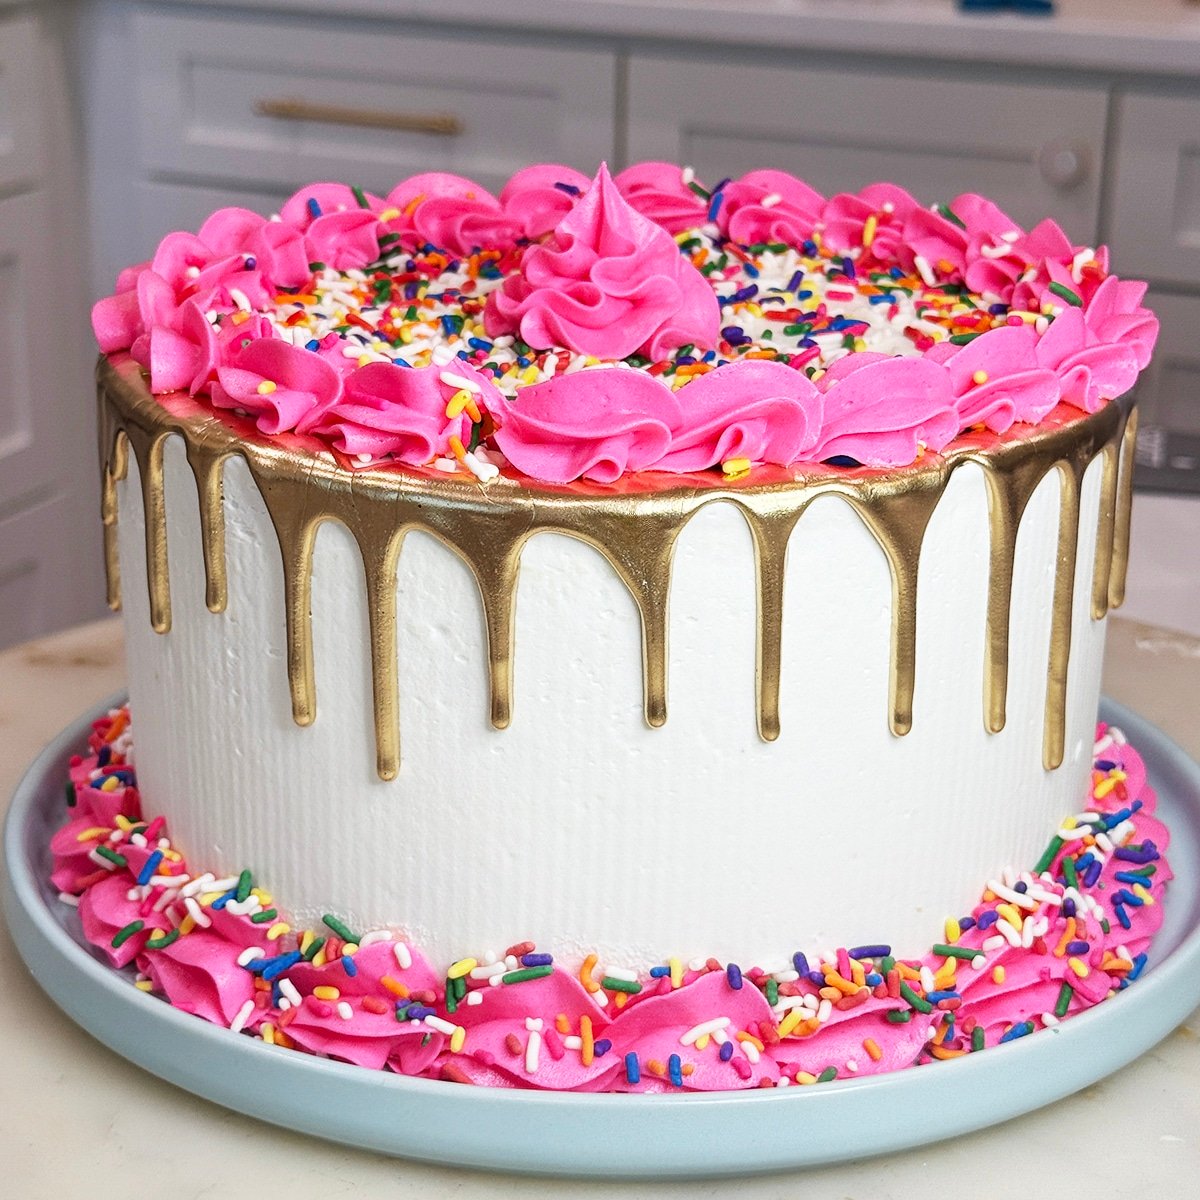
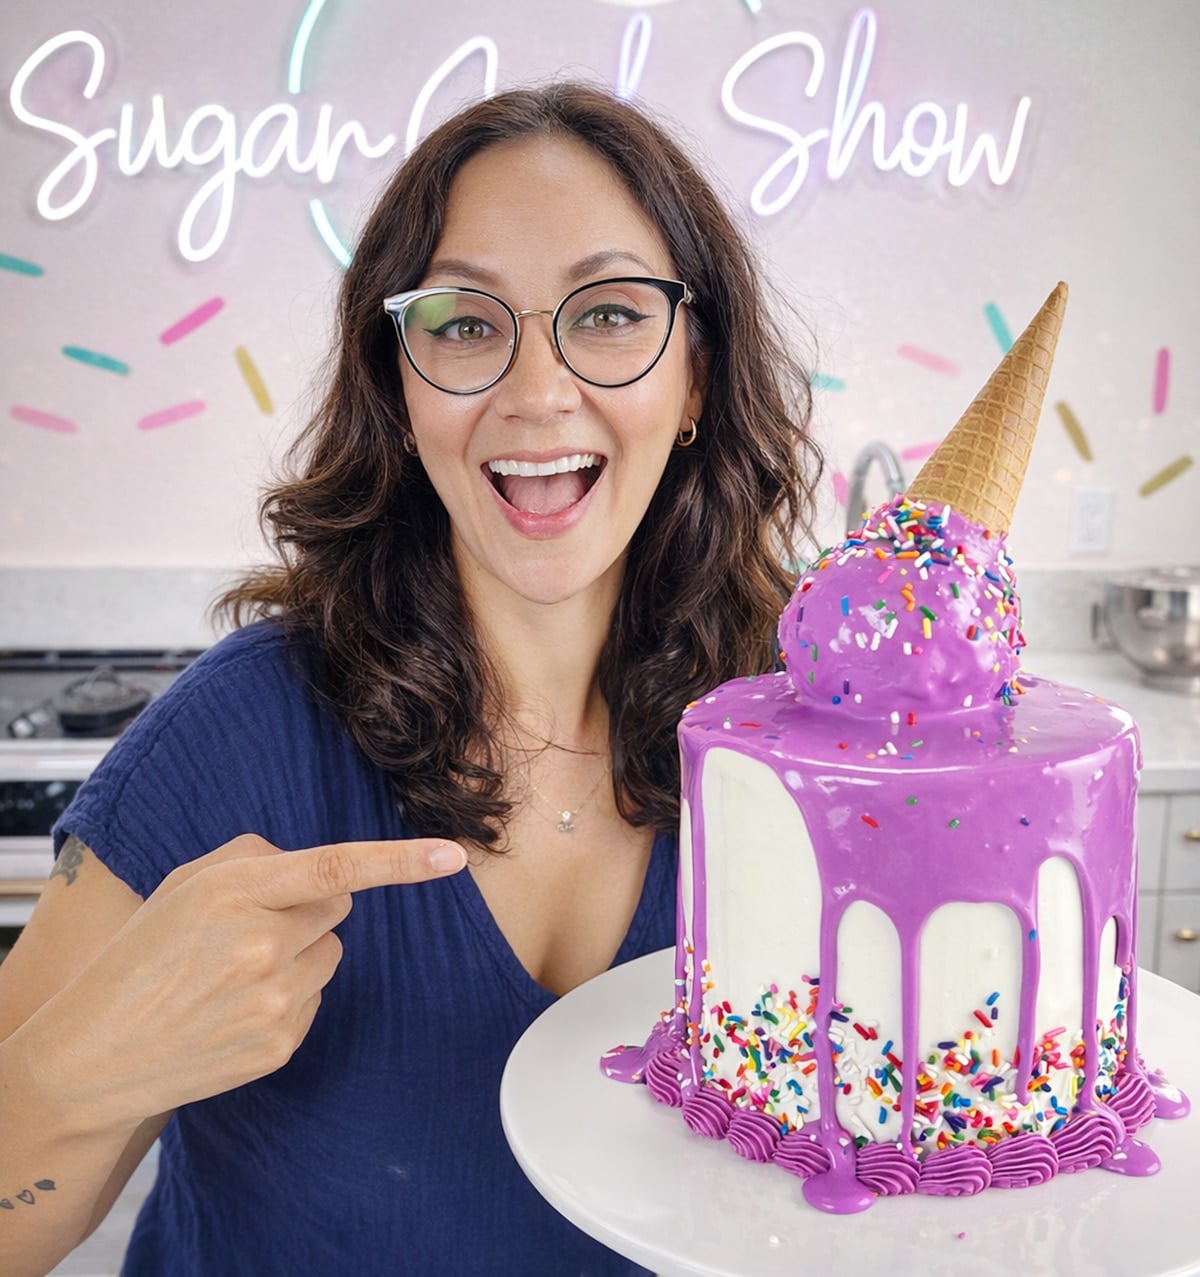
- Add a drip cake finish for instant celebration vibes.
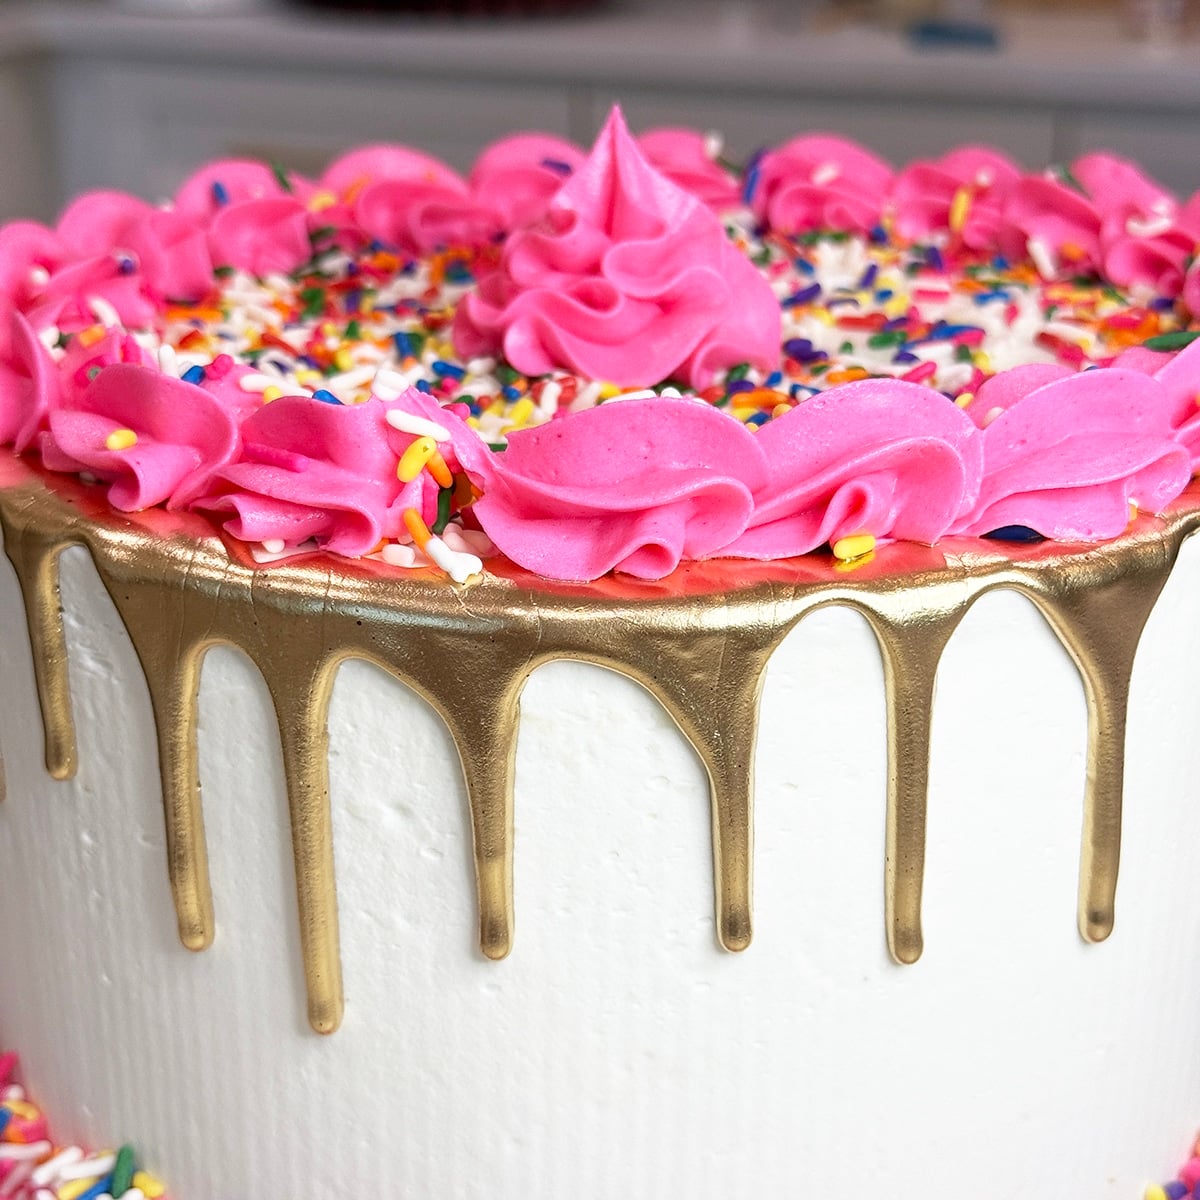
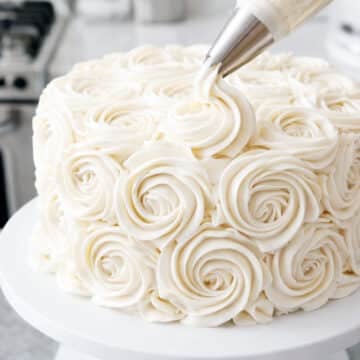
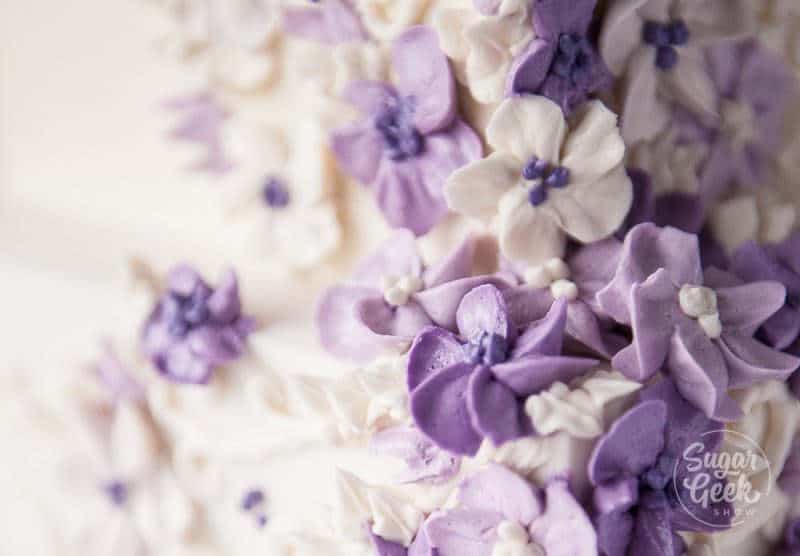
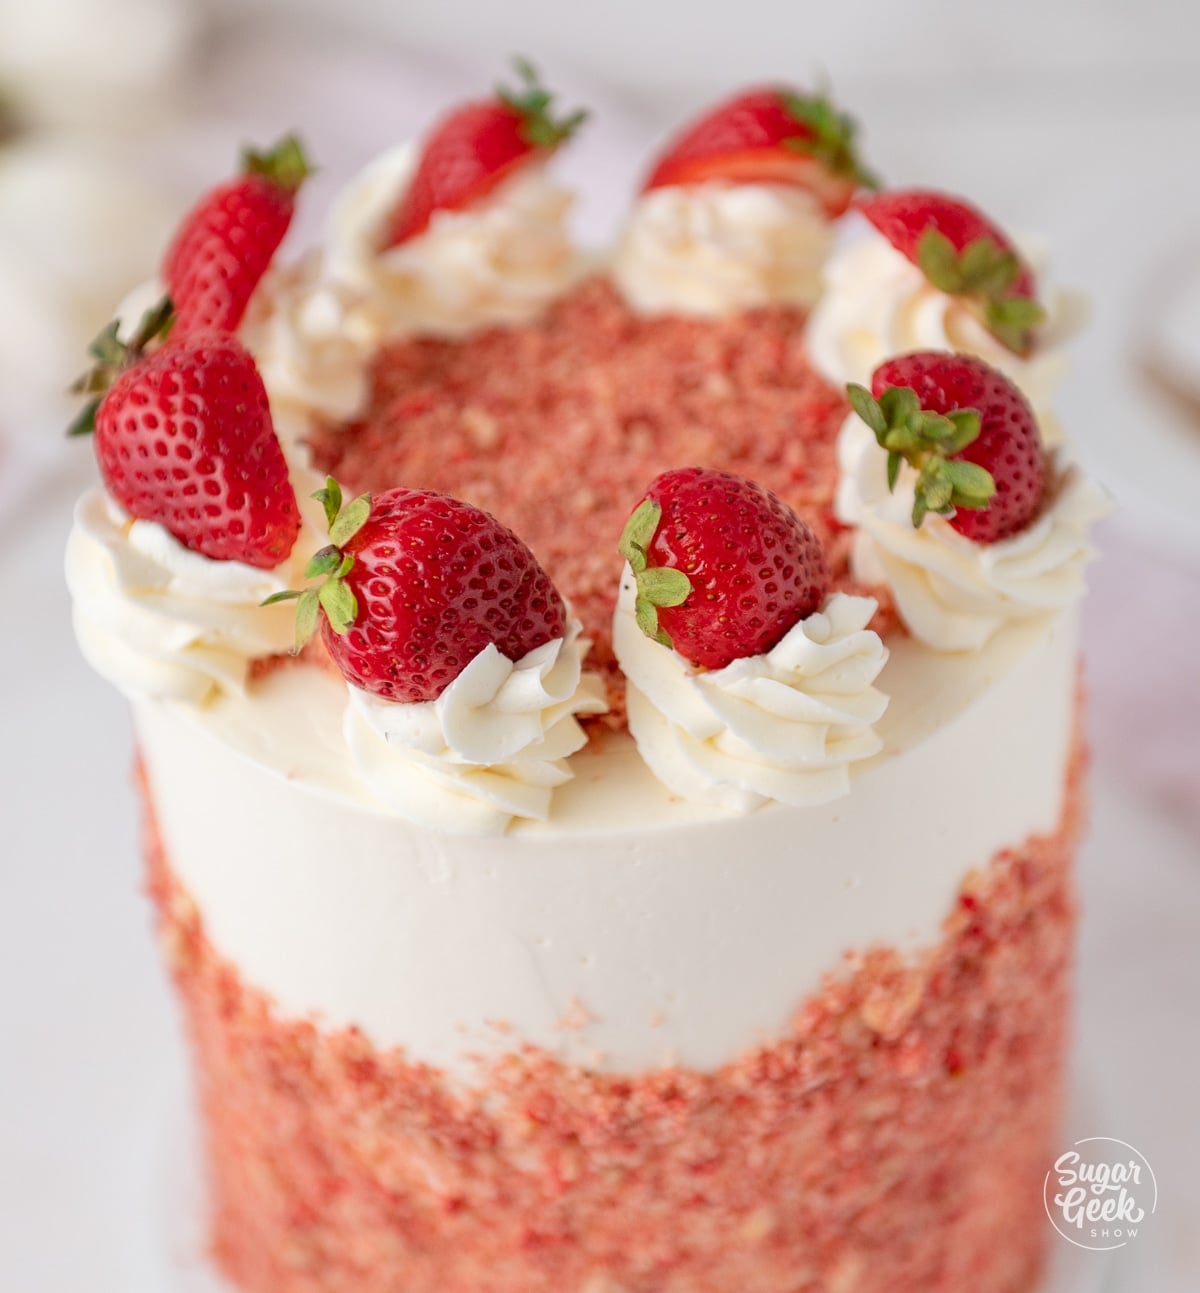
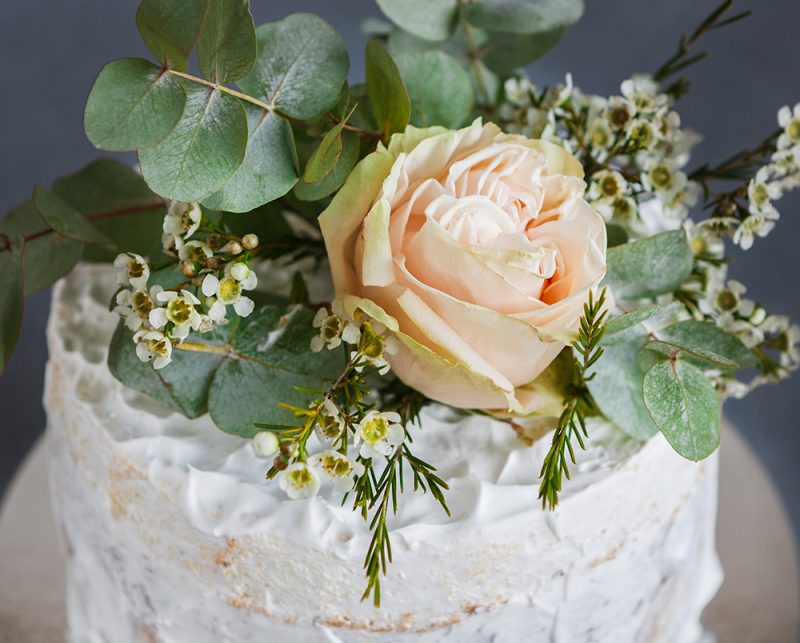
- Adding some swirls of buttercream using your piping tips and adding some sprinkles to the side of the cake is a great way to finish off your cake! Other easy ways to decorate a cake are to add fresh flowers to the cake.
How To Decorate A Cake Video Tutorial
Cake Decorating Ideas For Beginners
Here are a few beginner-friendly cake decorating ideas:
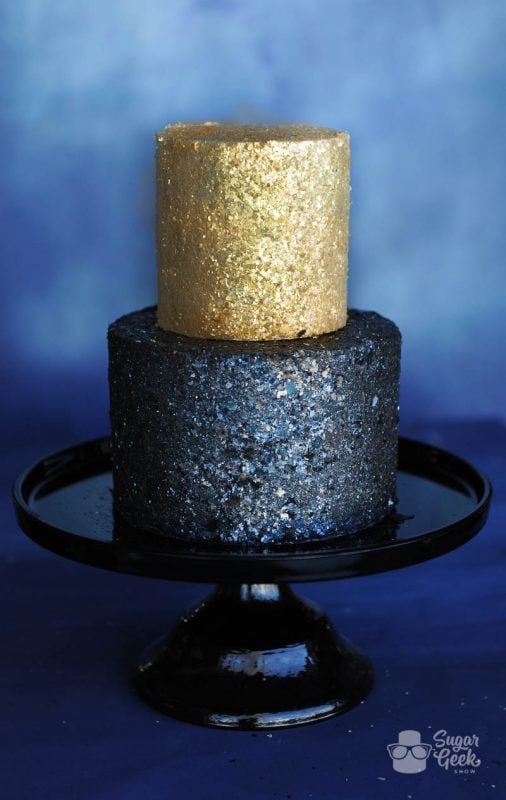
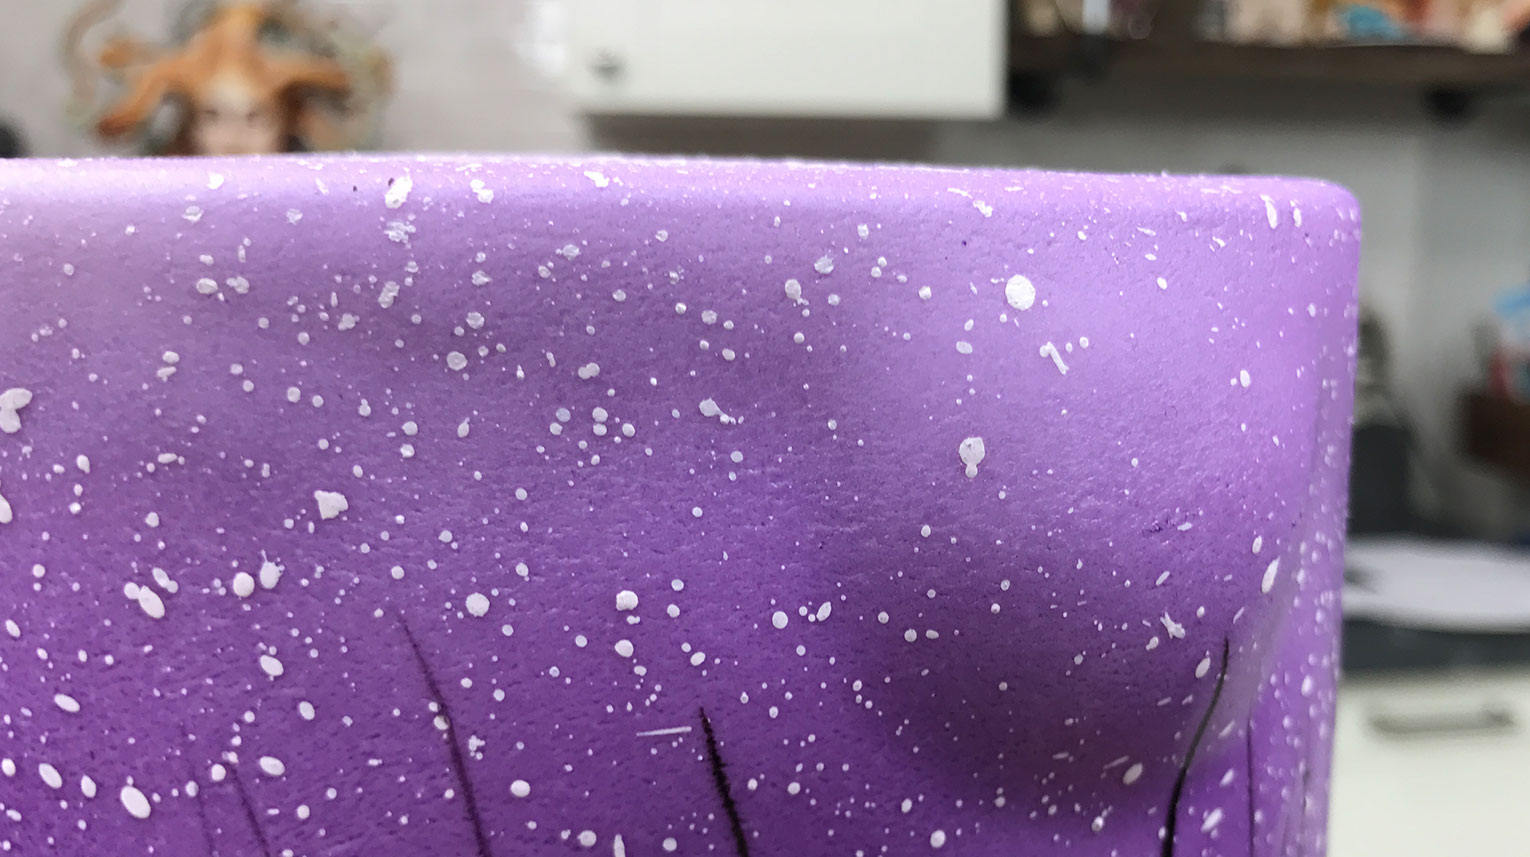
• Edible Glitter
• Pressed Flowers
• Fresh fruit decorations
• Buttercream textures
• Naked Wedding Cake
• Dried Pineapple Flowers
• Simple buttercream borders
Each of these techniques can transform a simple frosted cake into a beautiful centerpiece. If you want to add more advanced decorations, learn how to pipe buttercream flowers or how to pipe buttercream decorations for a vintage cake.
BONUS TIP: Oftentimes, people will complain that a cake was dry when really it was just cold. Before slicing up your pretty cake to serve, make sure you leave it at room temperature for at least a few hours so the butter in the buttercream has time to soften.
Common Mistakes To Avoid
When learning how to decorate a cake, beginners often run into a few common problems.
• Decorating a warm cake
• Using buttercream that is too soft
• Skipping the crumb coat
• Not leveling cake layers
• Trying complicated designs too early
Avoiding these mistakes will make decorating much easier.
Final Thoughts
Learning how to decorate a cake may seem intimidating at first, but once you understand the basics of stacking, frosting, and simple decorations, it becomes much easier. Start with simple designs and practice your smoothing and piping techniques. Before long, you'll be decorating cakes that look just as good as they taste.
Top FAQs For Decorating A Cake
Mix it on low speed with a paddle attachment for 5-10 minutes, or manually stir it vigorously against the side of the bowl with a spatula. Other effective methods include microwaving a small portion of the icing for 5-10 seconds, mixing it back in. You can also use an immersion blender.
Transport a decorated cake safely by chilling it until firm, placing it on a flat, non-slip surface (like the floorboard or a rubber mat) in a cool car, and using a properly sized, snug box. Keep the car air conditioning on high, and drive slowly to avoid sudden stops.
To fix soft or runny buttercream, chill it in the refrigerator for 10-20 minutes to firm up the butter, then re-whip it to restore a fluffy texture.
It depends on the buttercream. If it's an egg white and butter-based buttercream like my easy buttercream, it's probably too cold. Remove about 1 cup of the buttercream and microwave it until it's barely melted. Add it back in and mix until soft, smooth, and fluffy.
If it's a powdered sugar and butter-based buttercream like my American buttercream, then add in 1-2 Tablespoons of heavy whipping cream, milk, or boiling water, and continue mixing until it's nice and soft.
The best way to color buttercream is to add gel food coloring to the buttercream and then mix it in. Avoid using liquid food coloring unless you plan on making very light colors. For darker colors, you can use an immersion blender, which will help darken the colors. The color will also deepen overnight.
There are many ways to make buttercream flowers, but this is an easy tutorial on how to make buttercream flowers for beginners.
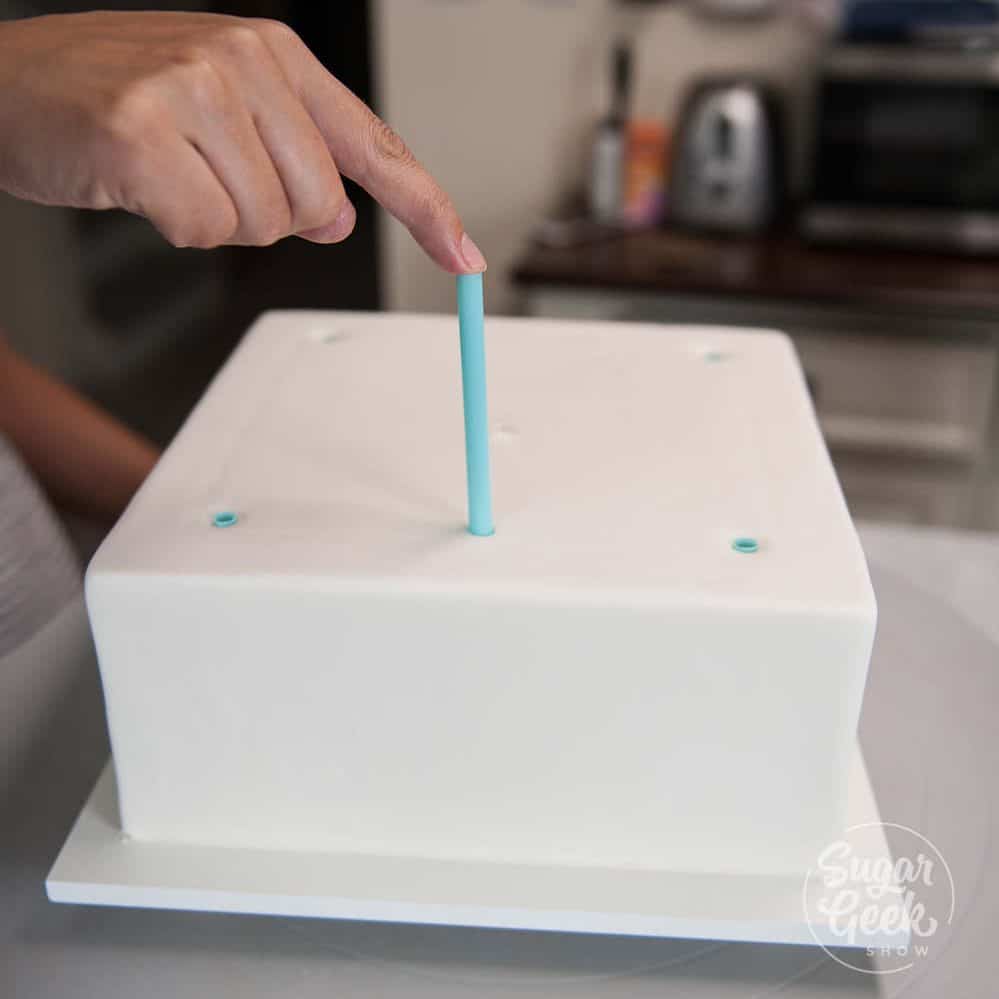
Stacking a cake requires cake boards and cake supports like wooden dowels or plastic straws so that the top tier doesn't collapse into the bottom tier. Here is a tutorial on how to stack cakes safely.
More Cake Tutorials To Try
- Cake Decorating Tips
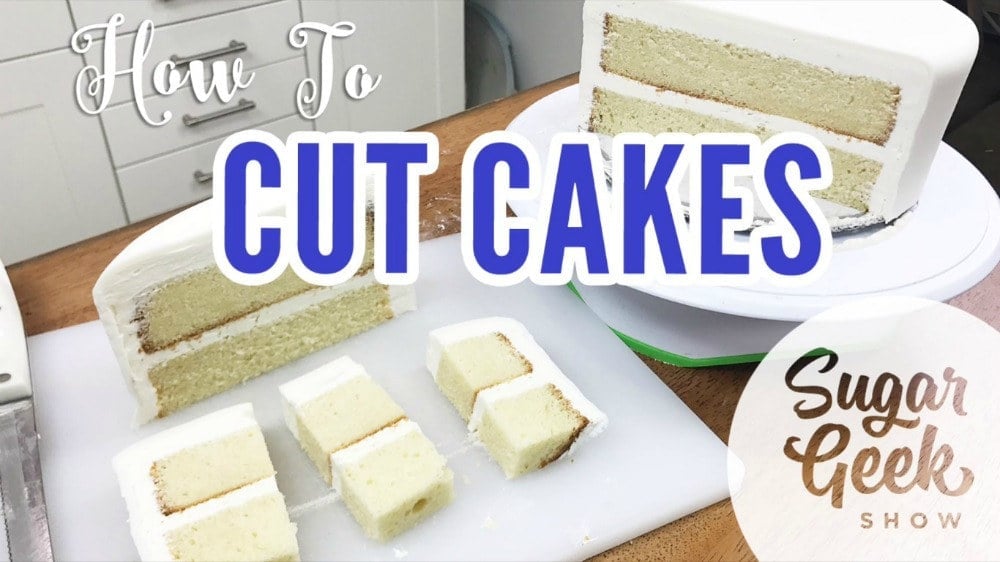
- Cake Decorating Basics: How to Cut Cakes
- Cake Decorating Basics: Stacking Cakes With Straws
- Cake Decorating Basics: Covering a Cake in Fondant
- Cake Decorating Basics: Smooth Final Coat of Buttercream
- Cake Decorating Basics: Avoiding Cake Blowouts
- Cake Decorating Basics: Filling and Crumb Coating
- Cake Decorating Basics: Airless Space Buttercream
Ready To Master Cake Decorating?
Join Sugar Geek University and learn professional techniques through detailed cake decorating courses, tutorials, and real kitchen demonstrations by
award-winning cake decorator, Liz Marek.
Mary says
If you are not stacking the cake, do you remove the 6 inch cake board underneath before placing it on a larger cake board for display? Or how do you cover the edges of the cake board underneath your decorated cake so you don't see the cardboard edges? Especially if you want a clean line on say, a semi naked cake, versus placing a buttercream boarder at the bottom.
The Sugar Geek Show says
You would pipe a bead of buttercream around the bottom once the cake was on the cake platter and smooth it out with your finger or a bench scraper. I go over this technique in this video at around the 13 minute mark https://sugargeekshow.com/how-to-make-a-wedding-cake-2/
Rachel says
Thank you for this information! For a week now, I have been trying to wrap my head around what I need, step-by-step, to successfully make/decorate a beautiful stacked cake. I had completed my first cake before seeing your post. Turns out, I had actually implemented a good chunk of your info already! There are just some staple steps that I missed. I am so excited to make my next cake and use what I have learned for your post. Thank you!
Meredith says
This frosting did not work for me AT ALL. I don't have a stand mixer, so I made the buttercream with a hand mixer. Maybe that's the problem? I don't know. I cut the recipe in half, so 8oz sifted powdered sugar, 8oz room temp butter, 1/2c pasteurized egg whites, 1/4t. salt, and 1/2t. vanilla (I assumed it's a typo where the recipe calls for a full tablespoon of vanilla). I've whipped this stuff for at least 15min on high. It's just a soupy mess.
The Sugar Geek Show says
Sorry the recipe didn't work out for you. The vanilla isn't a typo btw. I like my frosting to have a good vanilla flavor. Even with a stand mixer, you have to whip for a long time so I imagine it would take a very long time with a hand-mixer. I will try it out with a hand-mixer and see if there's anything I can discover to help in the future.
Bev says
1 tablespoon vanilla is my kinda cake ????. Can’t wait to try your recipe!
Amanda says
Hi there! If I wanted to make a three layer cake out of the 8 in cakes, do you think it would hold up ok? Also, do you recommend doing 1.5x or 2x the recipe, or mixing up two batches separately?
*Also, I made your red velvet cake the other day with blue food gel and it turned out amazing! I baked it in a sheet pan to cut out rounds and build mini layer cakes. It was a hit!
The Sugar Geek Show says
What do you mean a three-layer? You want to bake three separate 8" layers? If so then yes, you can bake cake batter into any shape/size pan that you desire. I would make a 1.5 batch for three 8" cakes. No need to mix the batter separately.
Michele Eickenbrock says
In your recipe for the cake you have 1 cup water, is that correct? It also states 4 egg whites, should it be the yolks too? I made this according to your recipe in the 6“ x 2“ fat Daddio pans evenly distributed between three of them and they overflowed after 14 minutes in the oven, thinking the recipe on your website has a mistake .
The Sugar Geek Show says
1 cup water or milk and only the egg whites no yolks.
Judy McDonald says
What size tip did you use and how do you get it that height
The Sugar Geek Show says
Do you mean the size of the piping tip for the rosettes on top?
Laura says
I notice you give nutrition facts. Is that for a slice that is iced? Also how many slices would you get in one cake so I can guestimate how big a slice should be for those figures. Thanks!
The Sugar Geek Show says
Yes it's per slice but it's really loose because what if you make a 3 layer 6" cake? Thats only 12 servings but if you make a 2 layer 8" cake that is 24 servings. SO it just all depends.
Jannica says
Could I use 2 7inch rounds that are 3inch deep pans? I am most curious about the possibility of baking deeper cakes, than portion of batter in this recipe as I bought enough to double the recipe just in case. Should I just fill half way and then watch to see when they are done? What about temp for thinker cakes? Advice please!! Thanks in advance!
The Sugar Geek Show says
Yes you can but be aware the sides of the cake will be darker and the cake will take longer to bake
Nellie says
Hi,
If using packet cake mix do I add all the ingredients that u mentioned in the receipt .
The Sugar Geek Show says
Yes, you use the ingredients in the recipe instead of the ones on the back of the box
Ashley says
Hi there, what is the depth of your 6" cake pans? I'm a newbie and not sure if 2" would be adequate. Thanks!
The Sugar Geek Show says
Yes, all my pans are 2" tall 🙂
Nicole says
Awesome recipe! I was wondering if you could use this recipe for cupcakes? If so is it the same temperature and for how long?
The Sugar Geek Show says
Yes, follow the time/temp on the back of the box
Salina says
My sister wants cinnamon flavored cake for her baby shower (this will be my first cake ?). Can I use Betty Crocker Spice Cake Mix and doctor it the same way as the WASC? I love how you're 'extra', thank you for giving me the confidence and skills to try this❤️
The Sugar Geek Show says
Yes you sure can! Have fun!
Monica says
I know this is a silly question but can we use this cake recipe with a chocolate fudge cake or will it not turn out the same? I’ve used this recipe for my sons birthday cake and it was soooo good. But he wanted white...my daughters party is Saturday and she wants chocolate. Thank you for your time and video!
The Sugar Geek Show says
Do you mean the cake recipe? There is a chocolate version Chocolate WASC in the cake recipes area
Wendy says
Very good recipe! I followed it all step by step and it came out beautiful! I was so happy to share with my family, thank you
The Sugar Geek Show says
Yay that makes me so happy!
Rebecca says
I notice the ingredient to the buttercream is pasteurized egg whites. Do I pasteurize it or do I purchase it pasteurized? If I make it, how do I do this this?
The Sugar Geek Show says
It comes pasteurized in a box at the store.
Kristie says
Can one make the easy buttercream with a hand mixer? Have you tried it before? Is it tested, tried, and true? Thanks so very much. Appreciate This tutorial!
The Sugar Geek Show says
You can absolutely make this with a hand-mixer, it will just take more time to make sure it's light and fluffy
Marcia Lafleur says
I'm new but want to learn how to bake a good cake and decorate