
I want to show you the COOLEST and easiest way to make hot cocoa bombs using a 3 piece mold! It makes it so easy! Just add your chocolate up to the first line, add in the inner liner and then the top piece and chill the chocolate until it sets. Then BOOM! Perfectly flat hot chocolate bomb shells with flat edges. This mold is a lot easier than using the polycarbonate molds and look just as shiny!
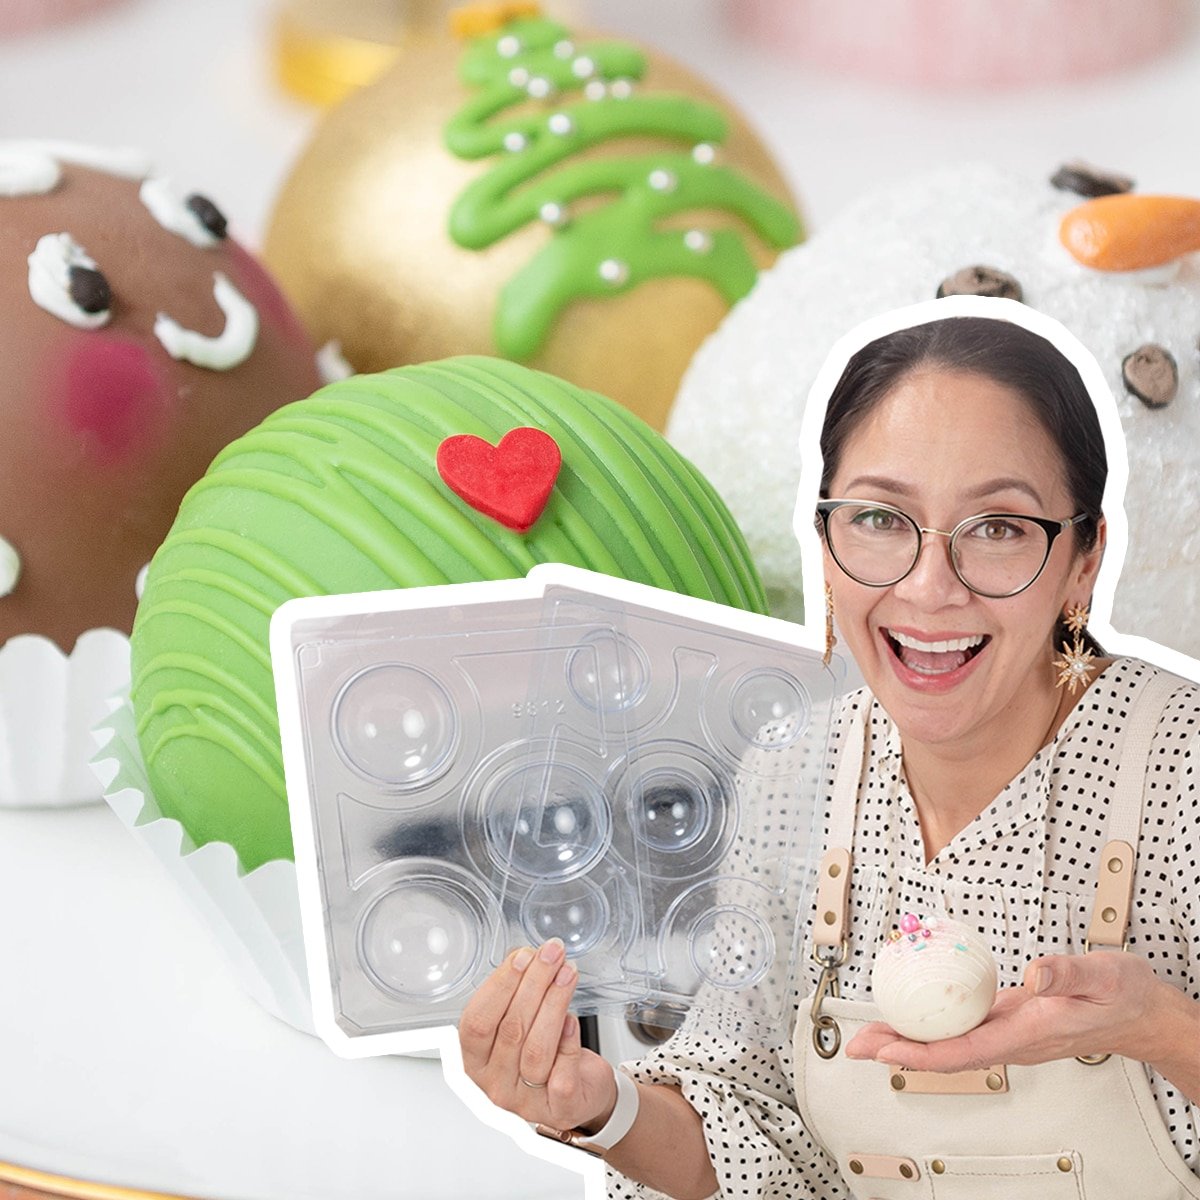
I like the 70mm size but they come in 50mm as well. I also teach you FOUR trendy hot cocoa bomb designs like the grinch, a gingerbread man, a sparkly snowman and a golden Christmas tree! Stick around for the end of the video to see how I rate the "pop" and color of each hot chocolate bomb!
Whats In This Blog Post
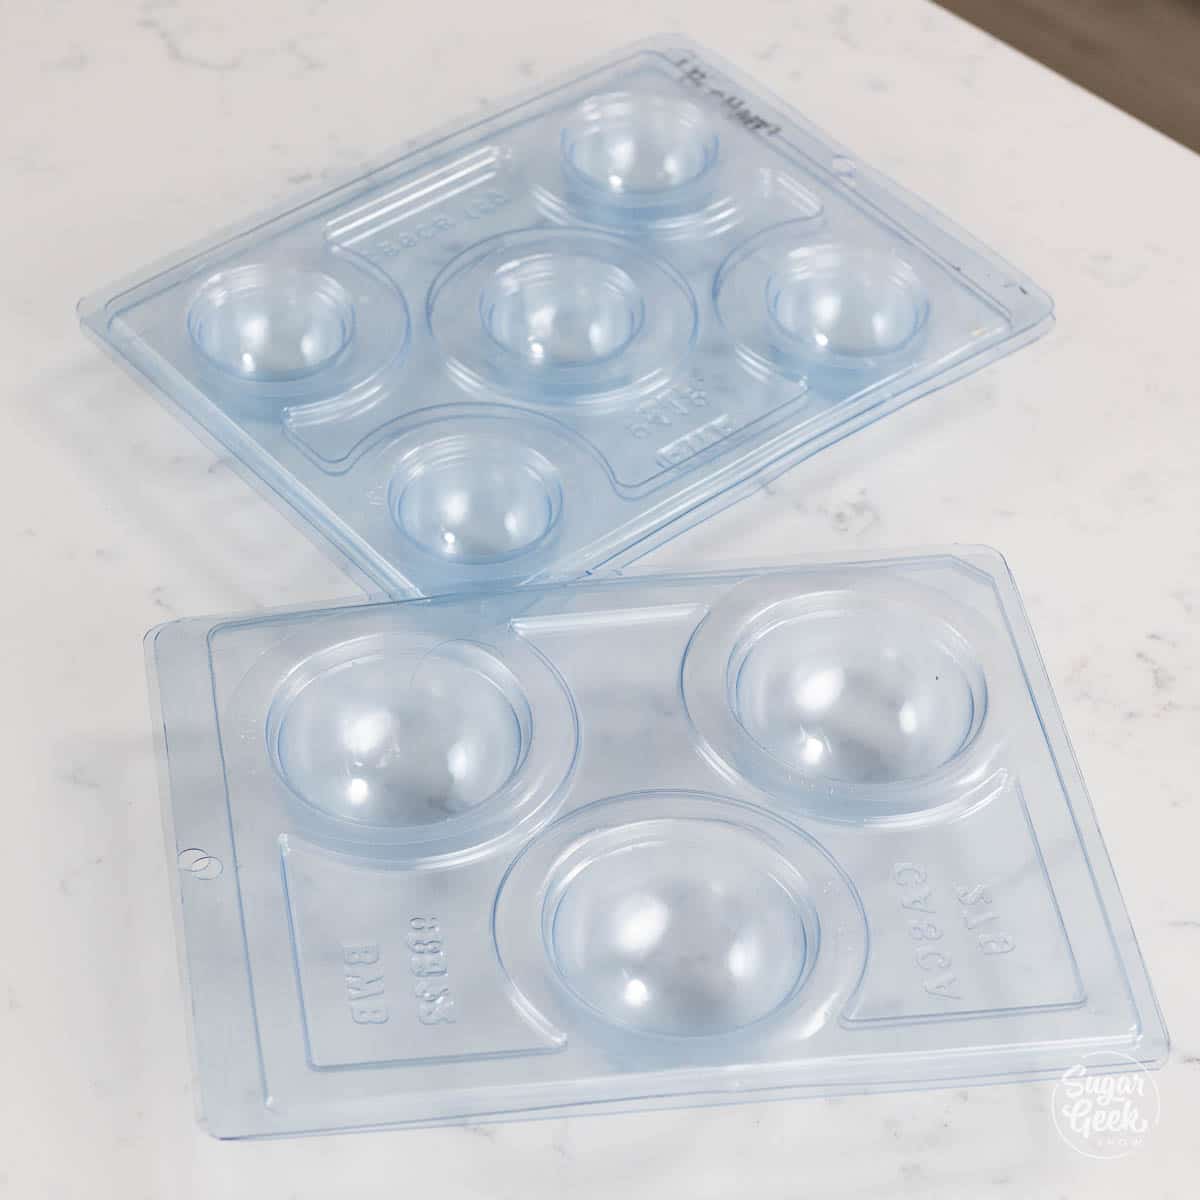
The Three Piece Hot Chocolate Bomb Mold
I got this three-piece mold from this ETSY shop and it comes with six sets but you can also buy them individually online if you search for three-piece mold. You can also find the three-piece mold in other shapes like hearts and eggs.
Ingredients To Make Hot Chocolate Bombs

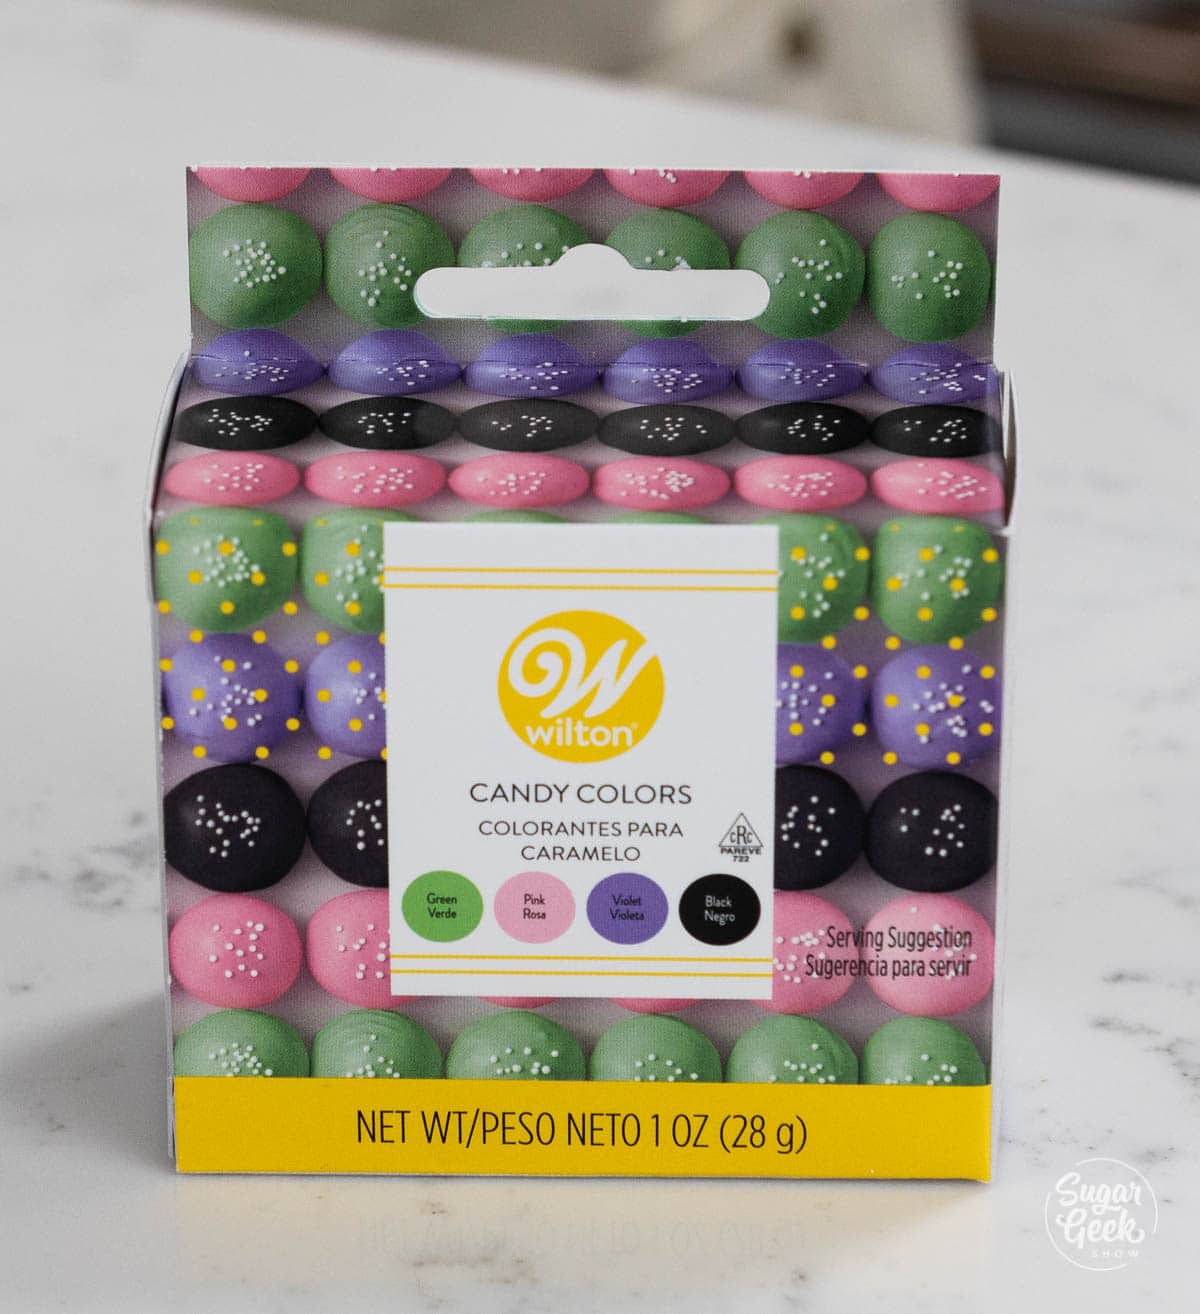
If you are a beginner, I highly recommend you use these meltables from sweet tooth fairy. You can get them at Michaels or Walmart and they are very smooth and tasty! They come in lots of colors and even flavors! Or you can use almond bark which is really inexpensive but the taste suffers so keep that in mind.
If you want to color your meltables make sure you use candy colors not food coloring or it will ruin your chocolate. I usually just buy the color of meltables that I want to use to save time to color my hot chocolate bombs.
I prefer the taste and texture of real chocolate usually but it is a bit more work. I like Cacoa Barry couverture chocolate. If you want to learn to temper your own chocolate you can check out this tutorial. If you don't need a lot of chocolate, you can also use LINDT chocolate bars which is a really nice quality.
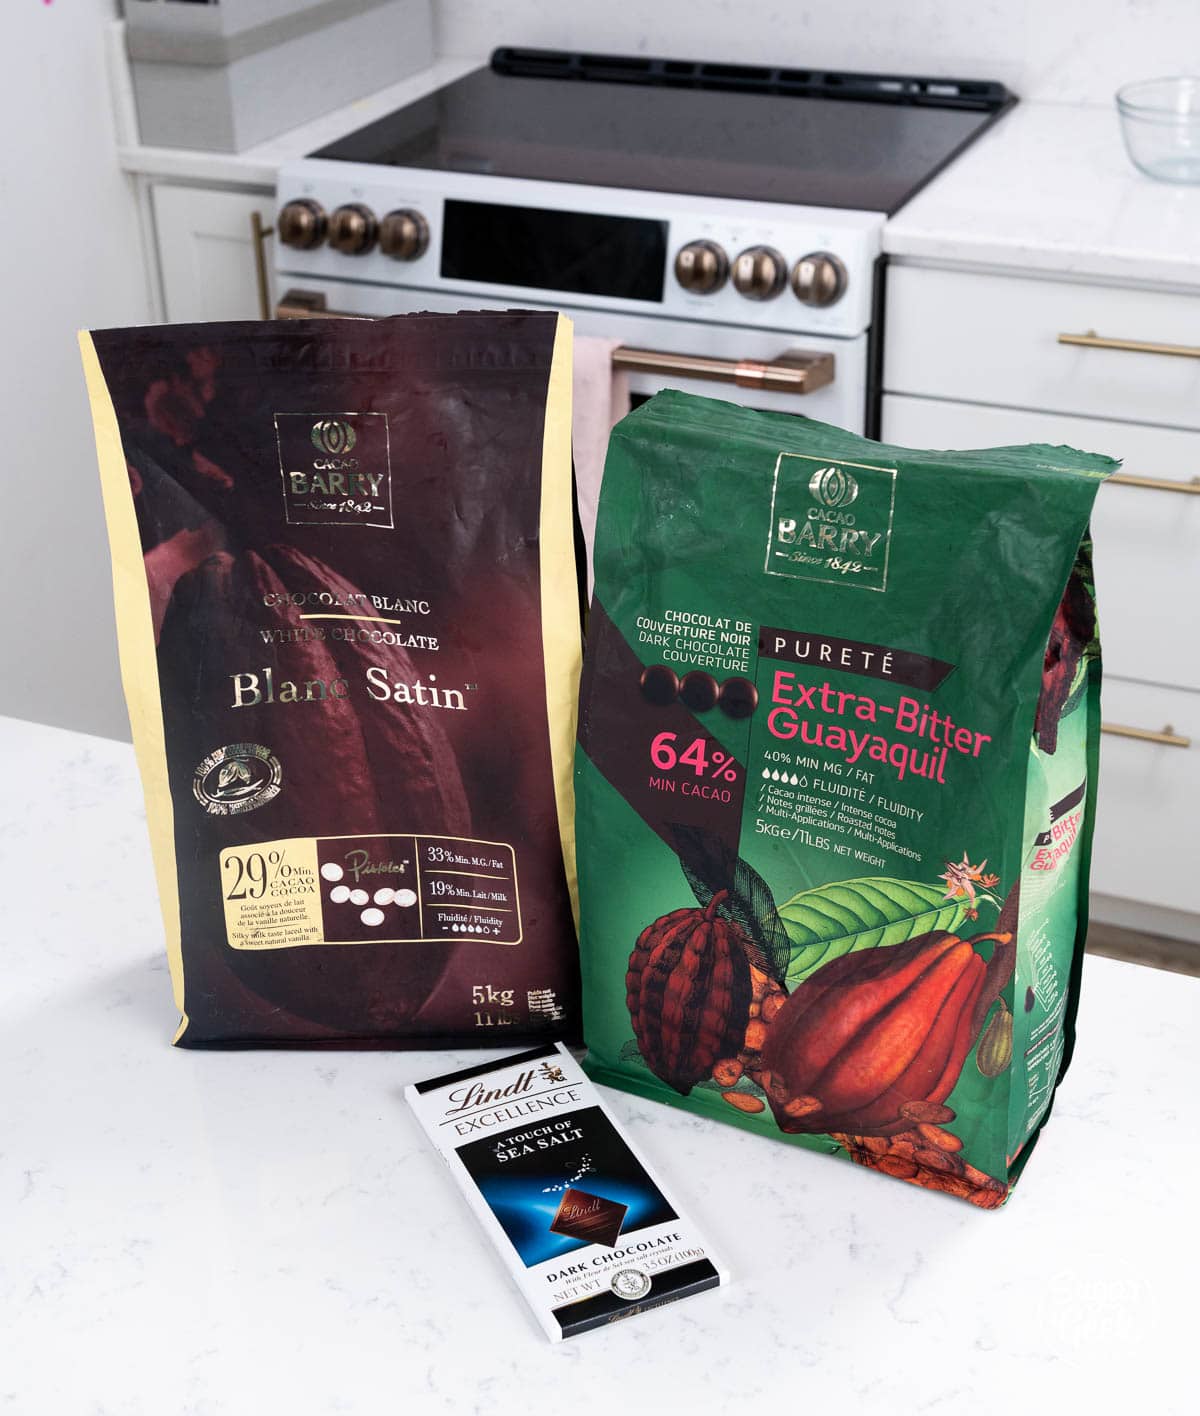
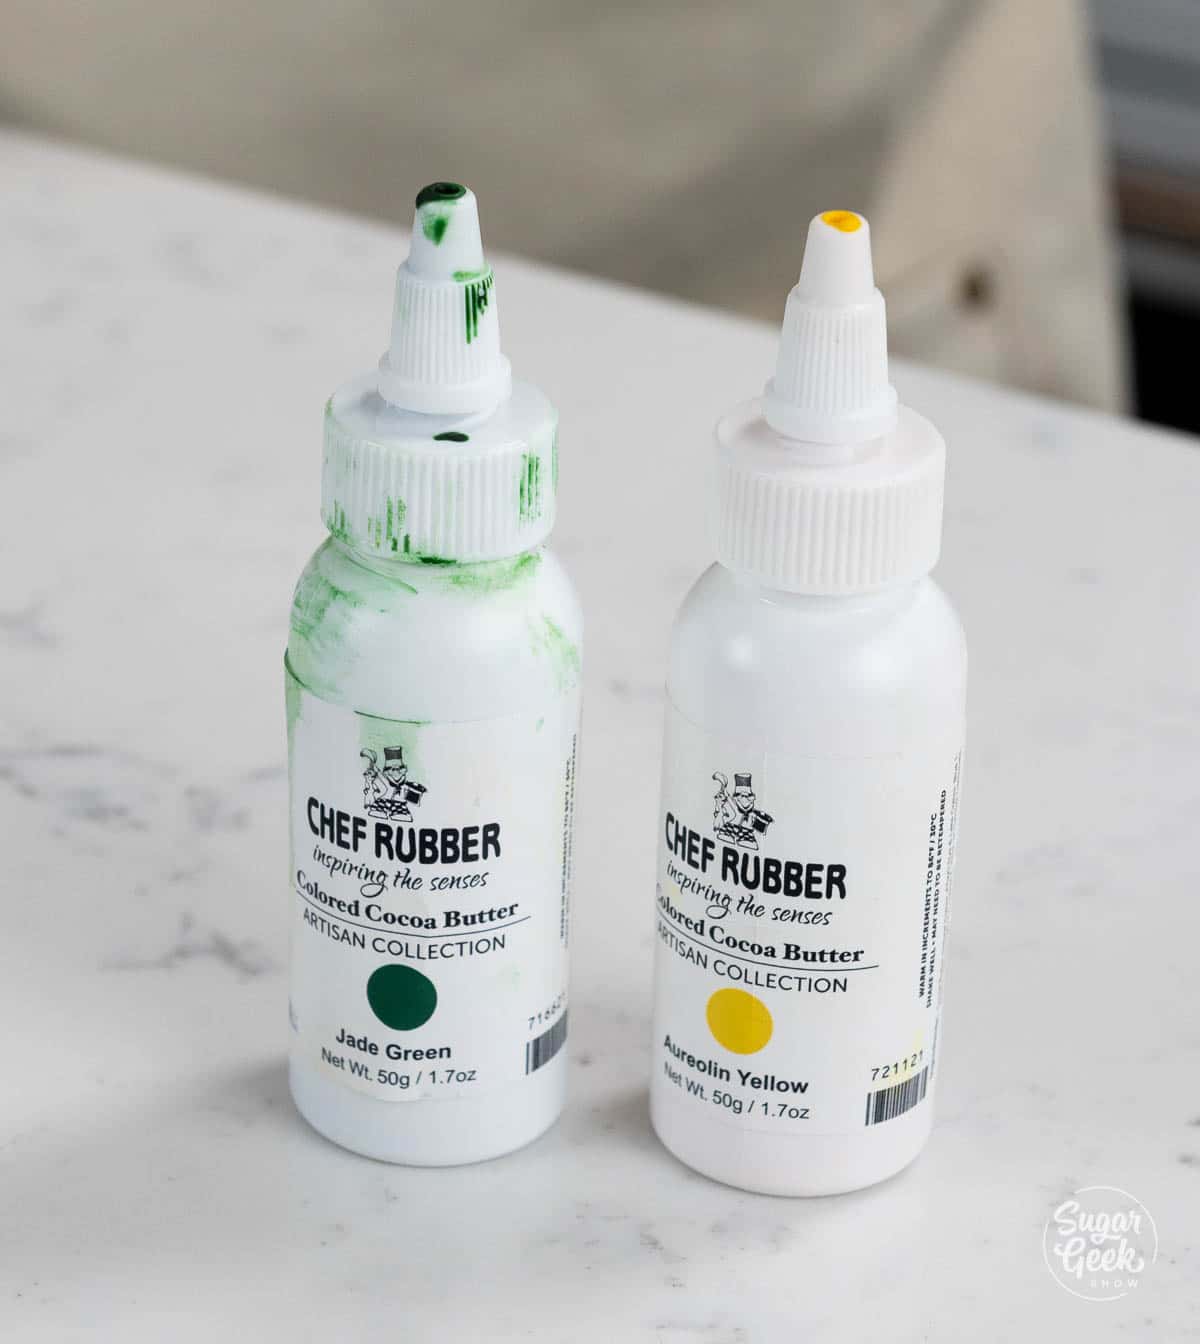
I use cocoa butter colors from Chef Rubber to color my real chocolate. Just melt them down and mix them into tempered chocolate.
Here's a list of all the ingredients I used to decorate my hot chocolate bombs.
Gingerbread Man Bomb
- Pumpkin spice meltables
- White meltables
- Black meltables
- Chocolate meltables
- Pink petal dust for cheeks
- Mini marshmallows
- Freeze-dried mini marshmallows
- 2 Tablespoons Cocoa mix
Grinch Hot Chocolate Bomb
- White couverture chocolate (requires tempering)
- Yellow cocoa butter
- Green cocoa butter
- Red heart sprinkle
- Heart marshmallow
- Mini marshmallows
- Freeze-dried mini marshmallows
- 2 Tablespoons Cocoa mix
Snowman Hot Chocolate Bomb
- White meltables
- Crystal sugar sprinkles
- Flash dust
- Black meltables
- Orange modeling chocolate
- Freeze-dried lucky charm marshmallows
- Strawberry Nesquick
Gold Christmas Tree Bomb

- White couverture chocolate (requires tempering)
- Gold highlighter dust
- Green chocolate (I used the leftover from the grinch bomb)
- Gold star sprinkle
- Silver dragees
- Jimmy sprinkles for the gold powder
How To Use The Three Piece Mold
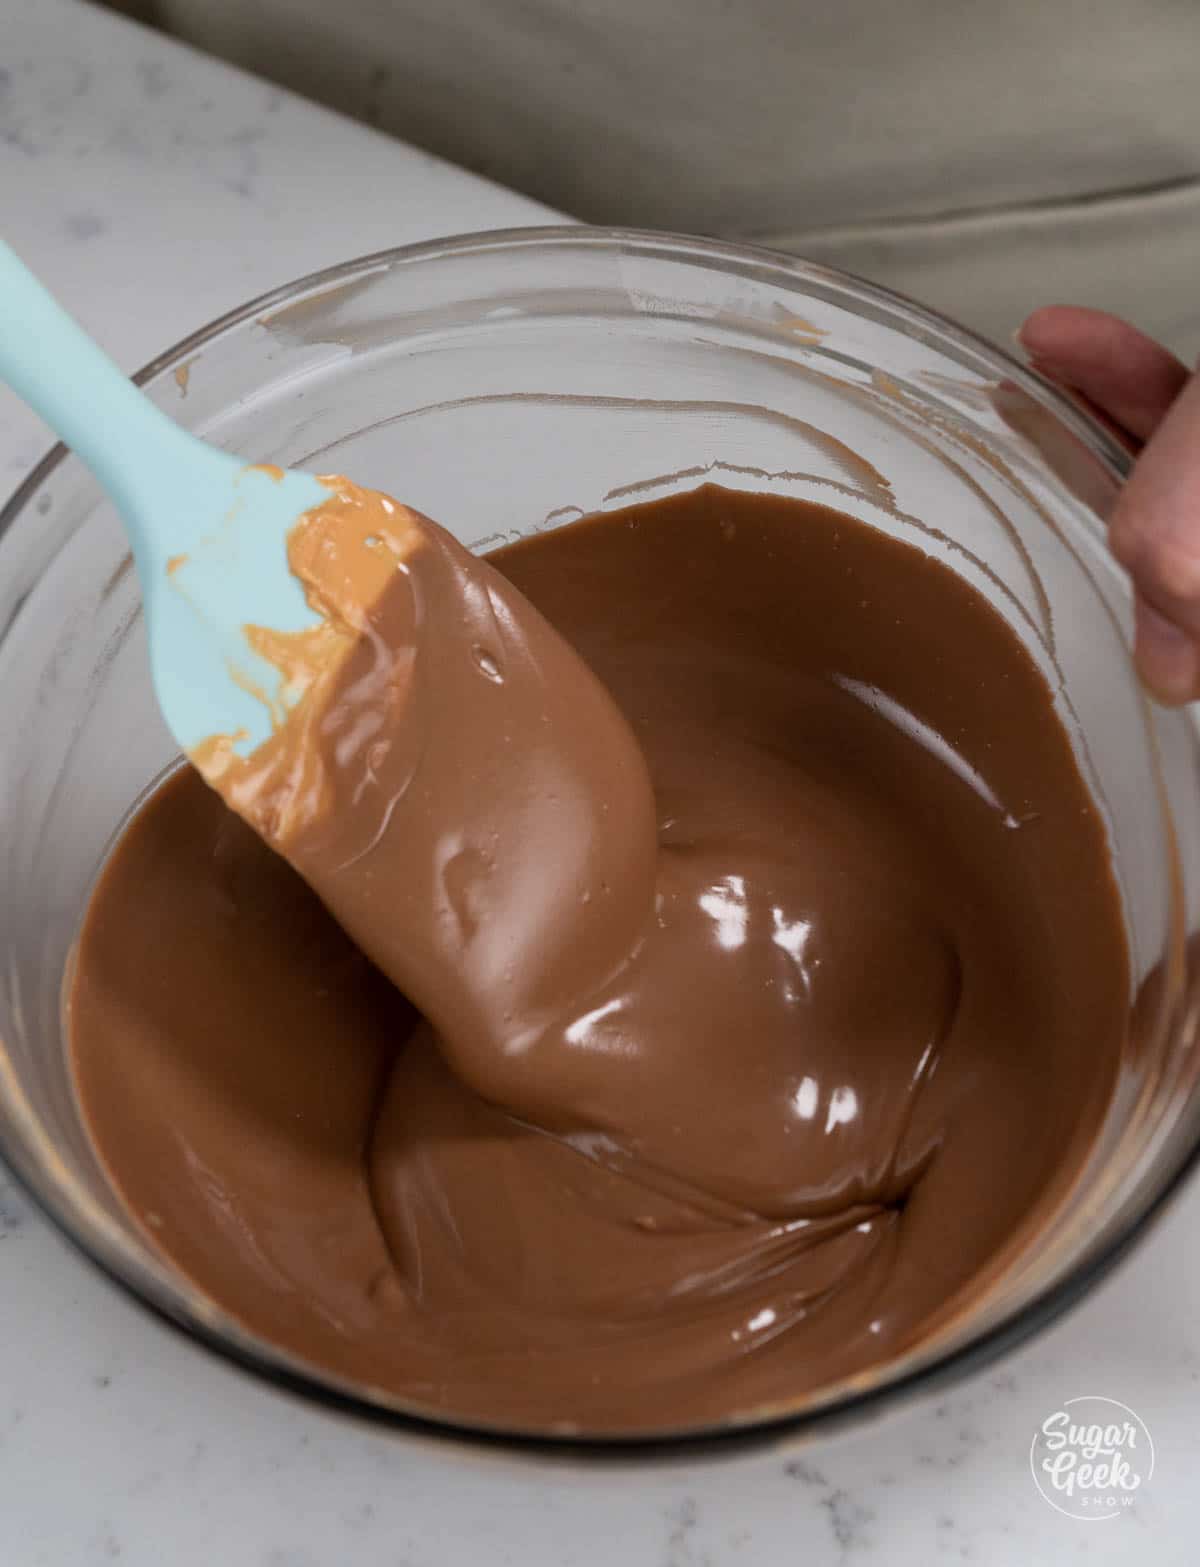
The first thing you want to do is melt down your chocolate. You can use meltables if you don't want to temper your chocolate or you can use real chocolate and follow my chocolate tempering tutorial. If you use real chocolate and don't temper it, it may not come out of the mold and will be very fragile and possibly streaked-looking.
- Make sure your molds are clean but polishing them with a paper towel
- Melt down your meltables or temper your chocoate. It's best to do one color at a time and make all your shells first.

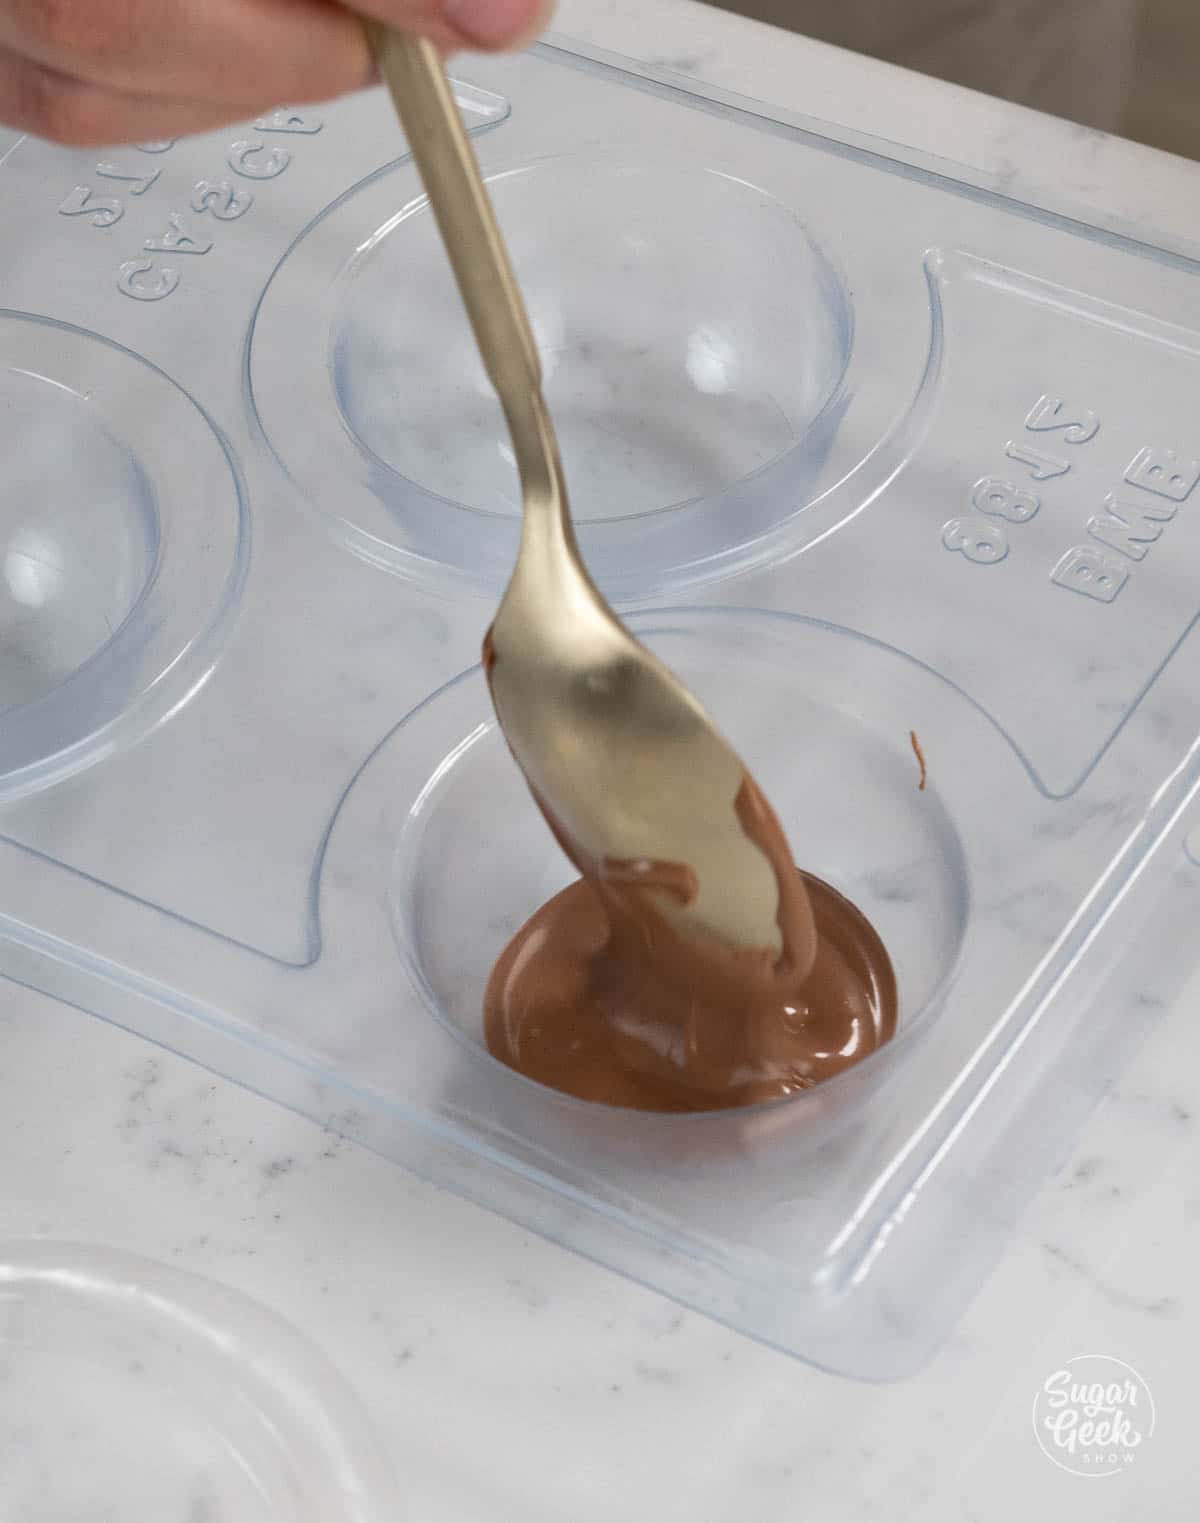
- Pour a couple spoonfuls of melted chocolate into the bottom mold up to the line. Its ok if you overfill a little.

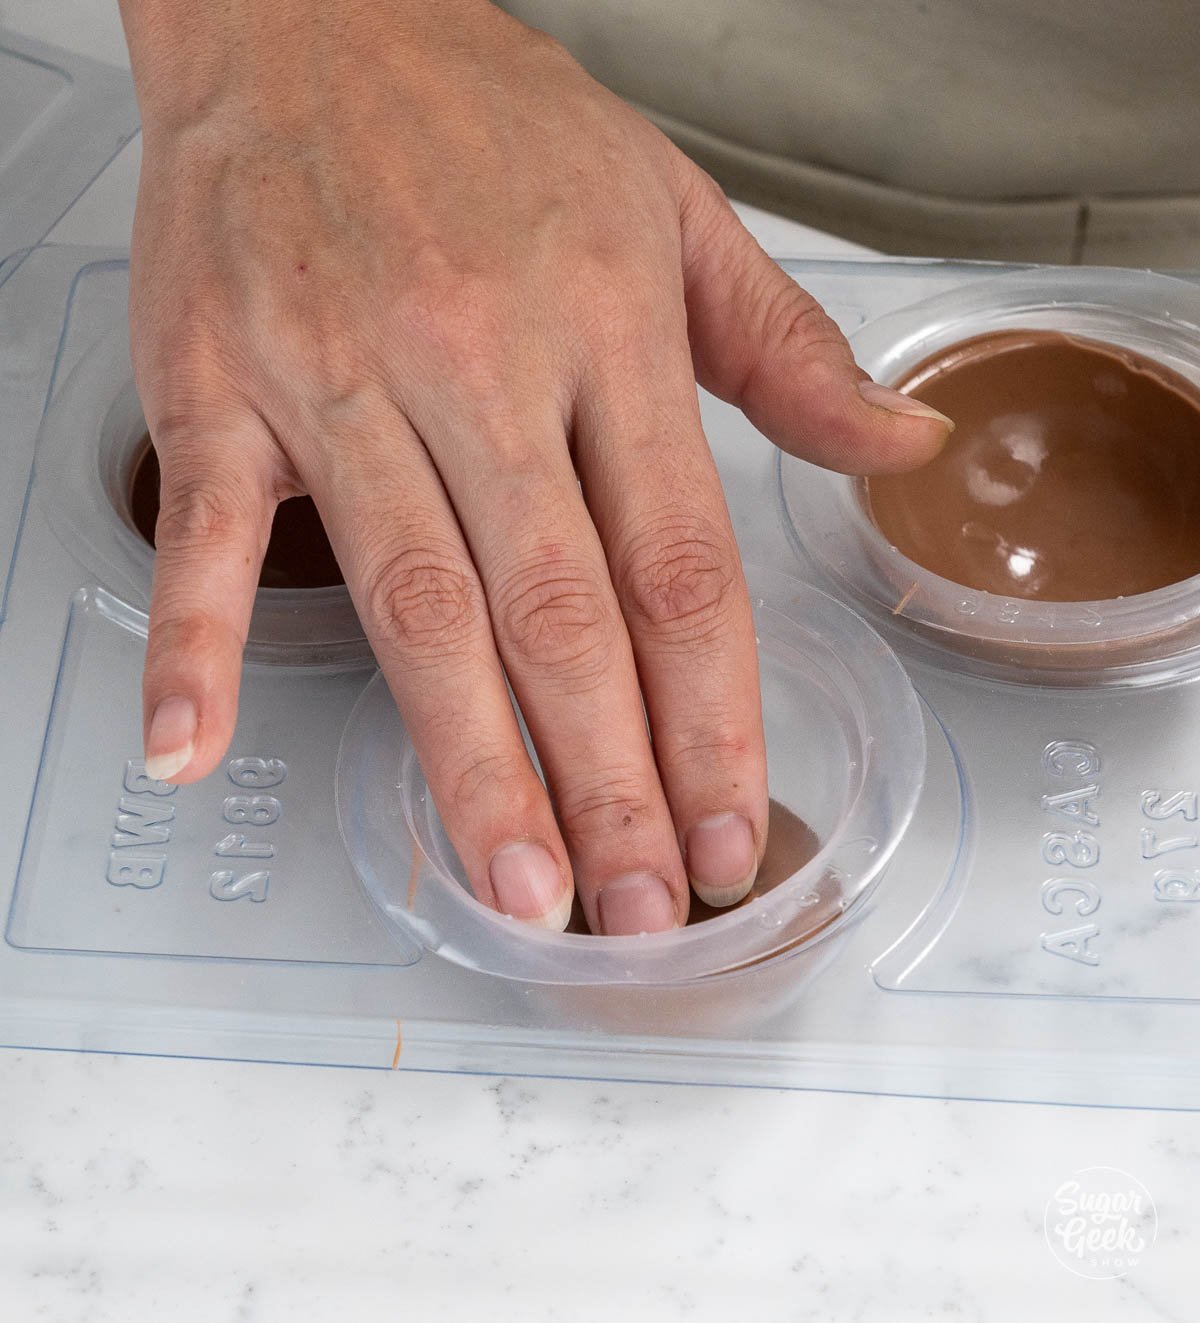
- Press in the inner liners.

- Add the top piece to the three piece mold and press down until the chocolate reaches the top of the sphere.

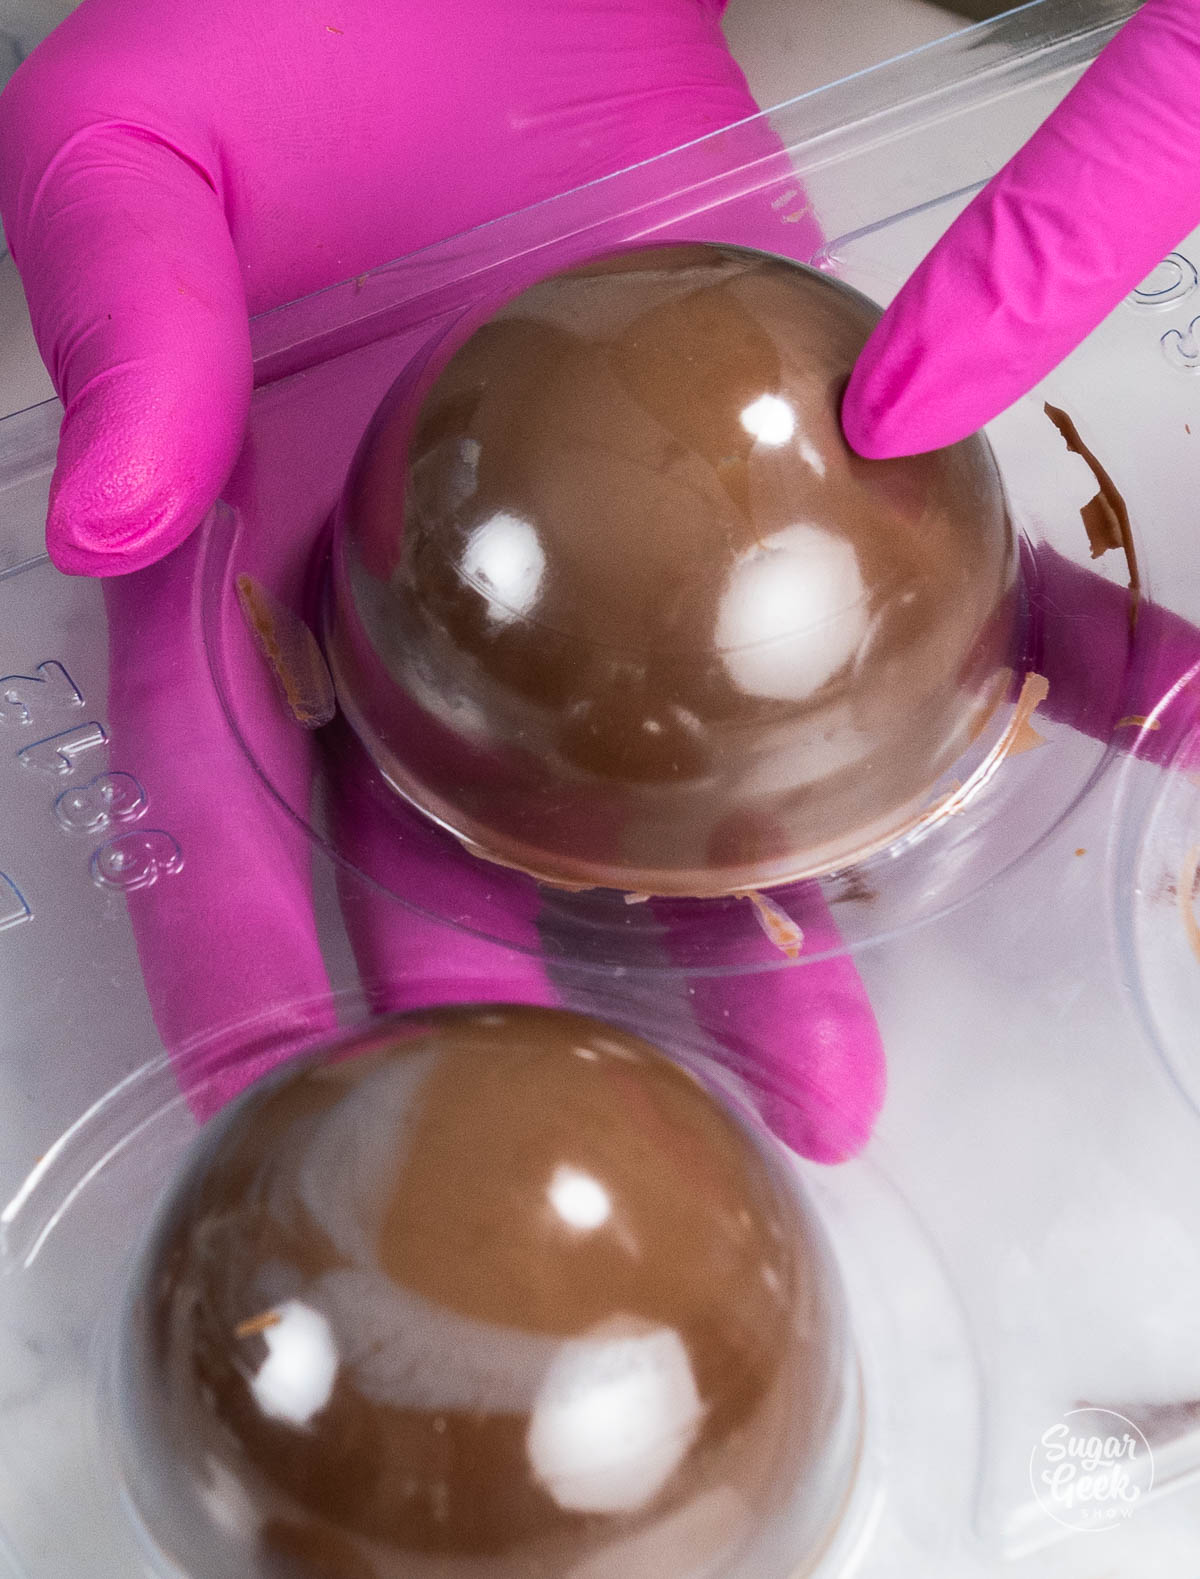
- Place the mold into the fridge for 5-10 minutes or until the chocolate contracts (shrinks) in the mold and it can easily be removed. If you see a spot where the chocolate is still stuck to the mold then put it back in the fridge until it fully releases.

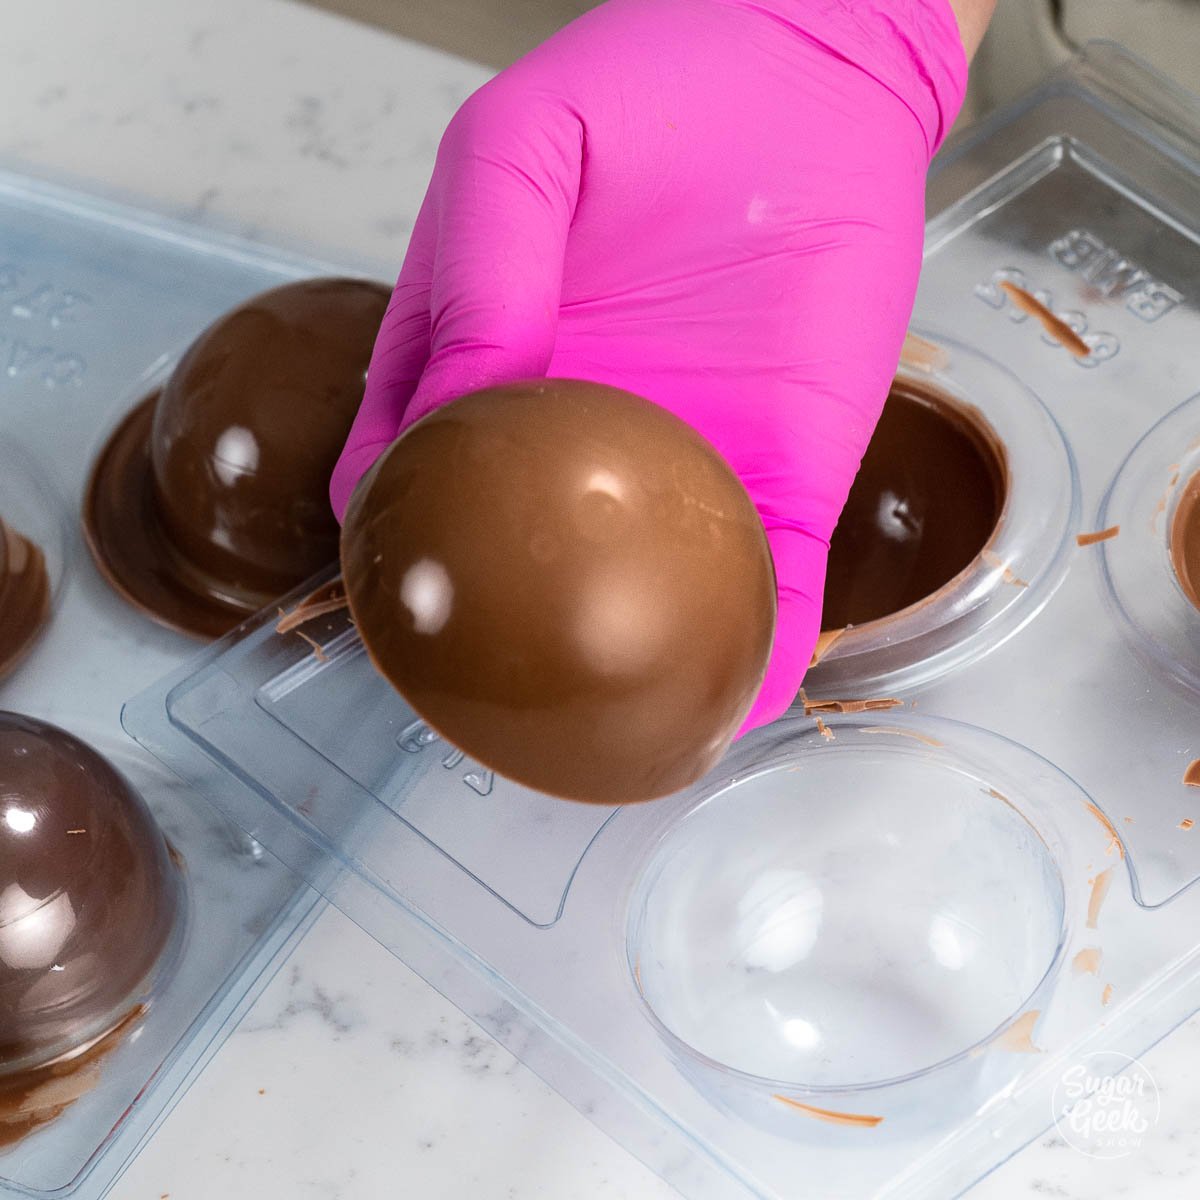
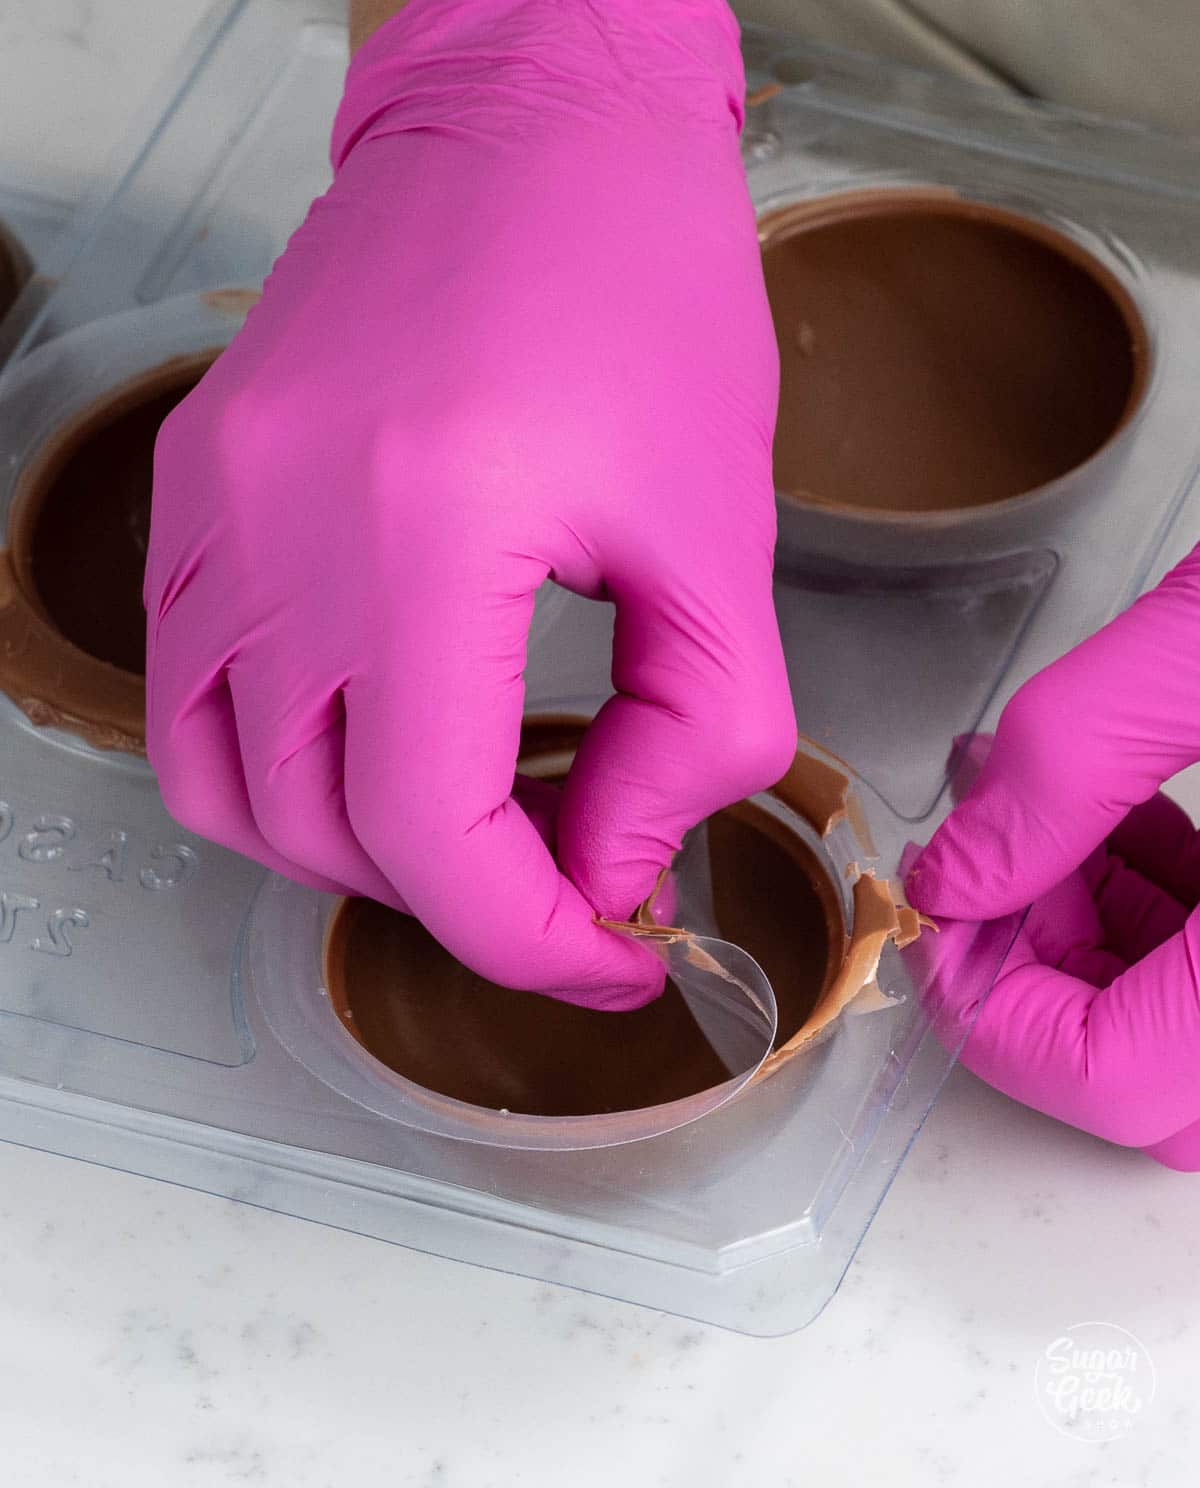
- Take the hot chocolate mold shell out of the mold and remove the inner liner.

- Place your shells aside until you finish all the shells you want. I just put mine on a sheet pan to the side.

To clean your hot chocolate bomb molds, wash them in hot water, then hand dry.
How To Assemble Your Hot Chocolate Bombs
- To avoid getting fingerprints on your shells, I recommend wearing gloves.
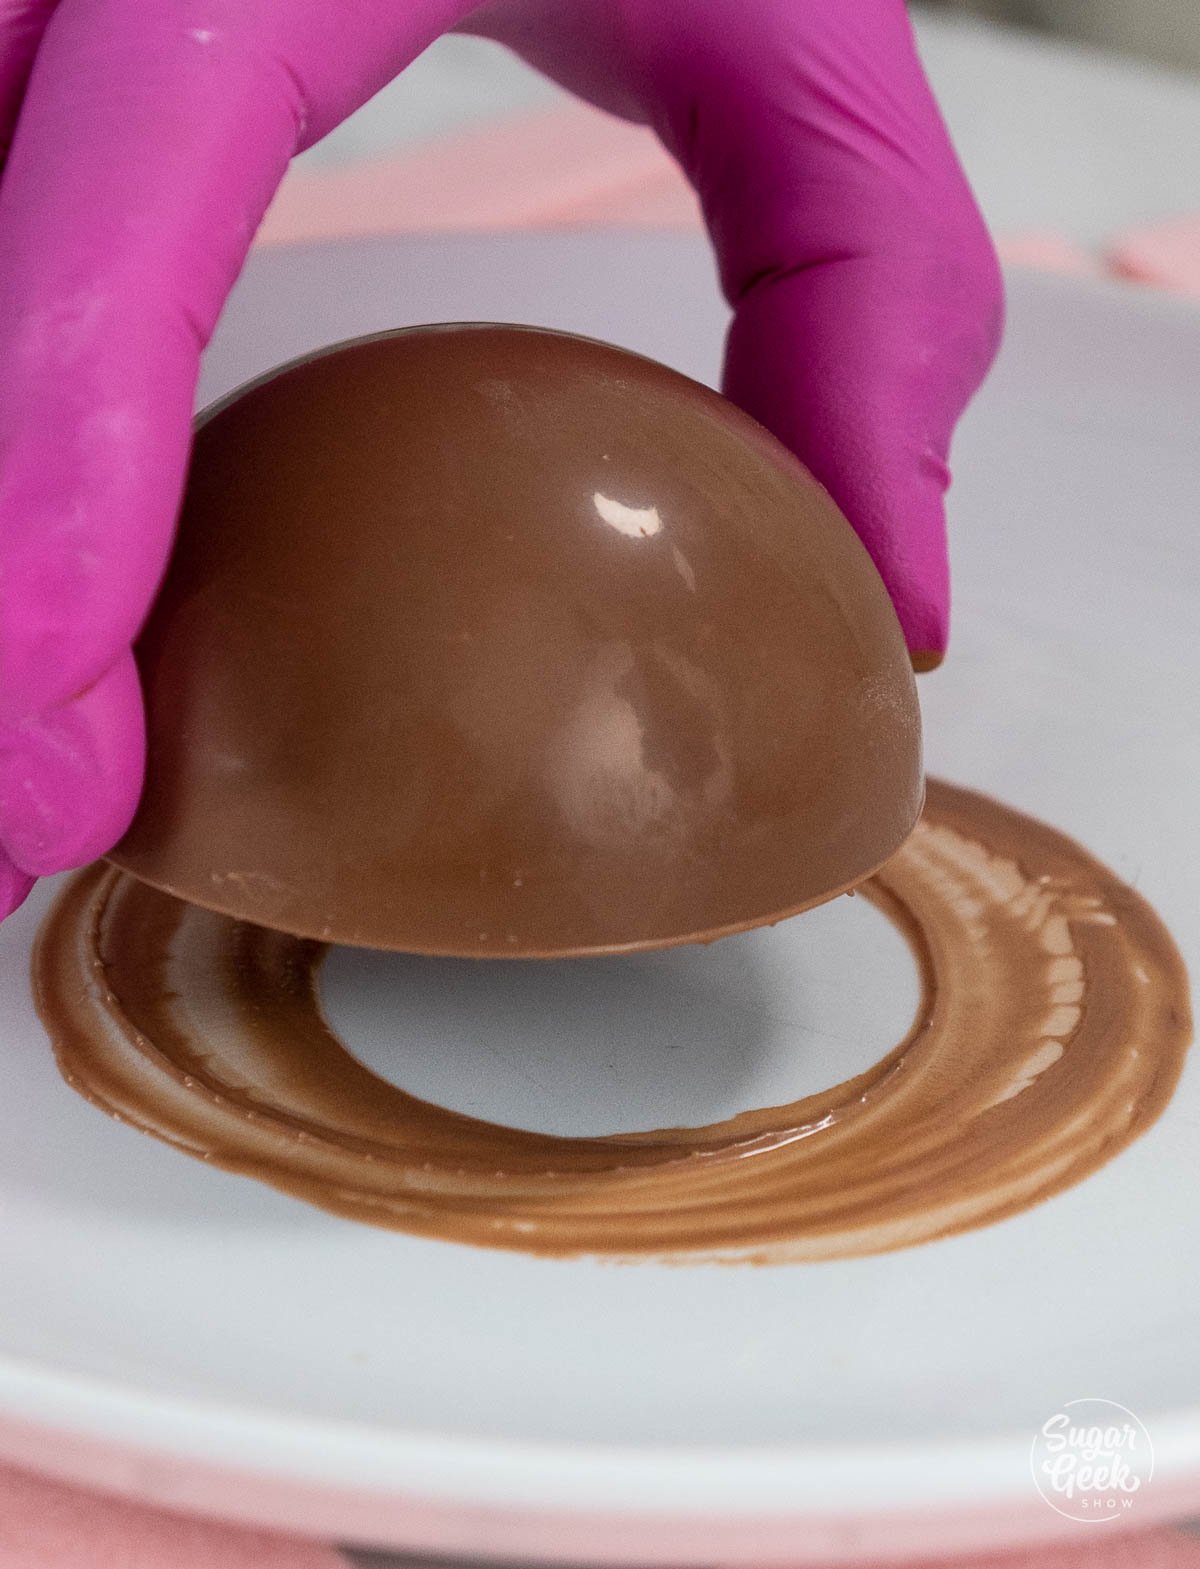
- Warm a plate in the microwave for about 1 minute to make it warm.
- Place one half of the shell onto the plate to slightly melt the edge. Then repeat with the other half of the mold.

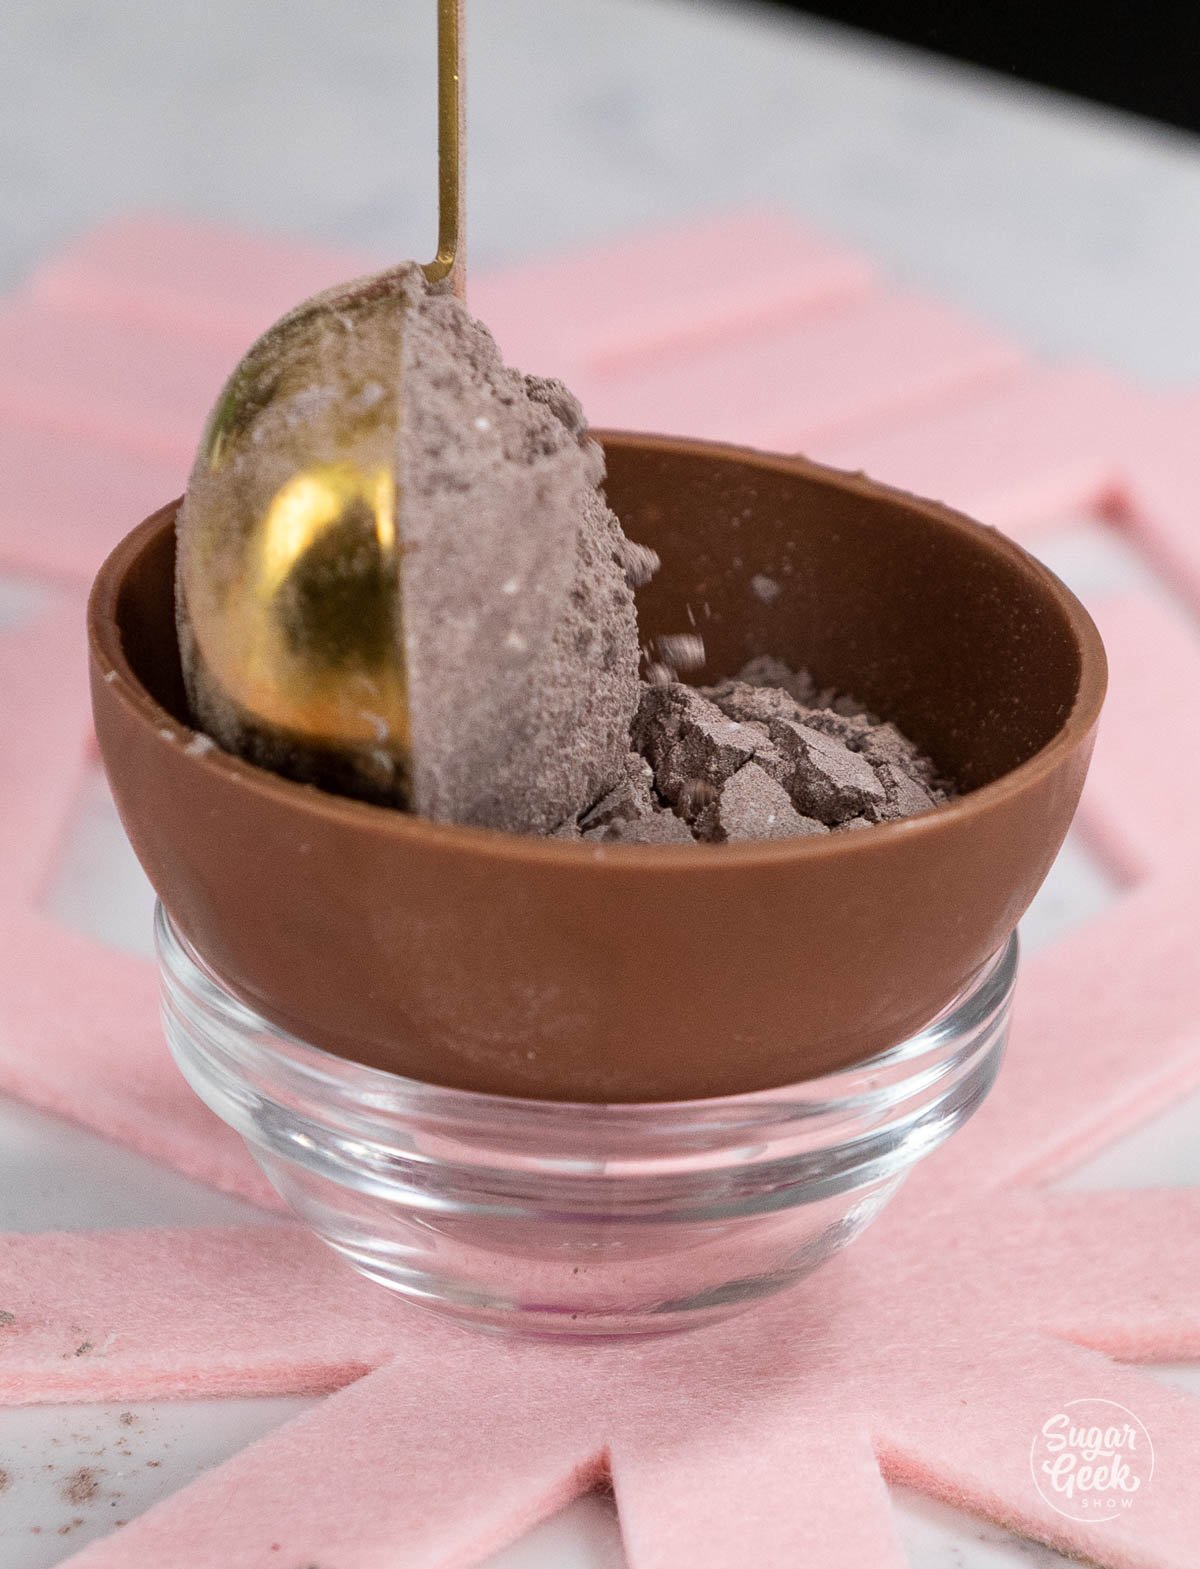
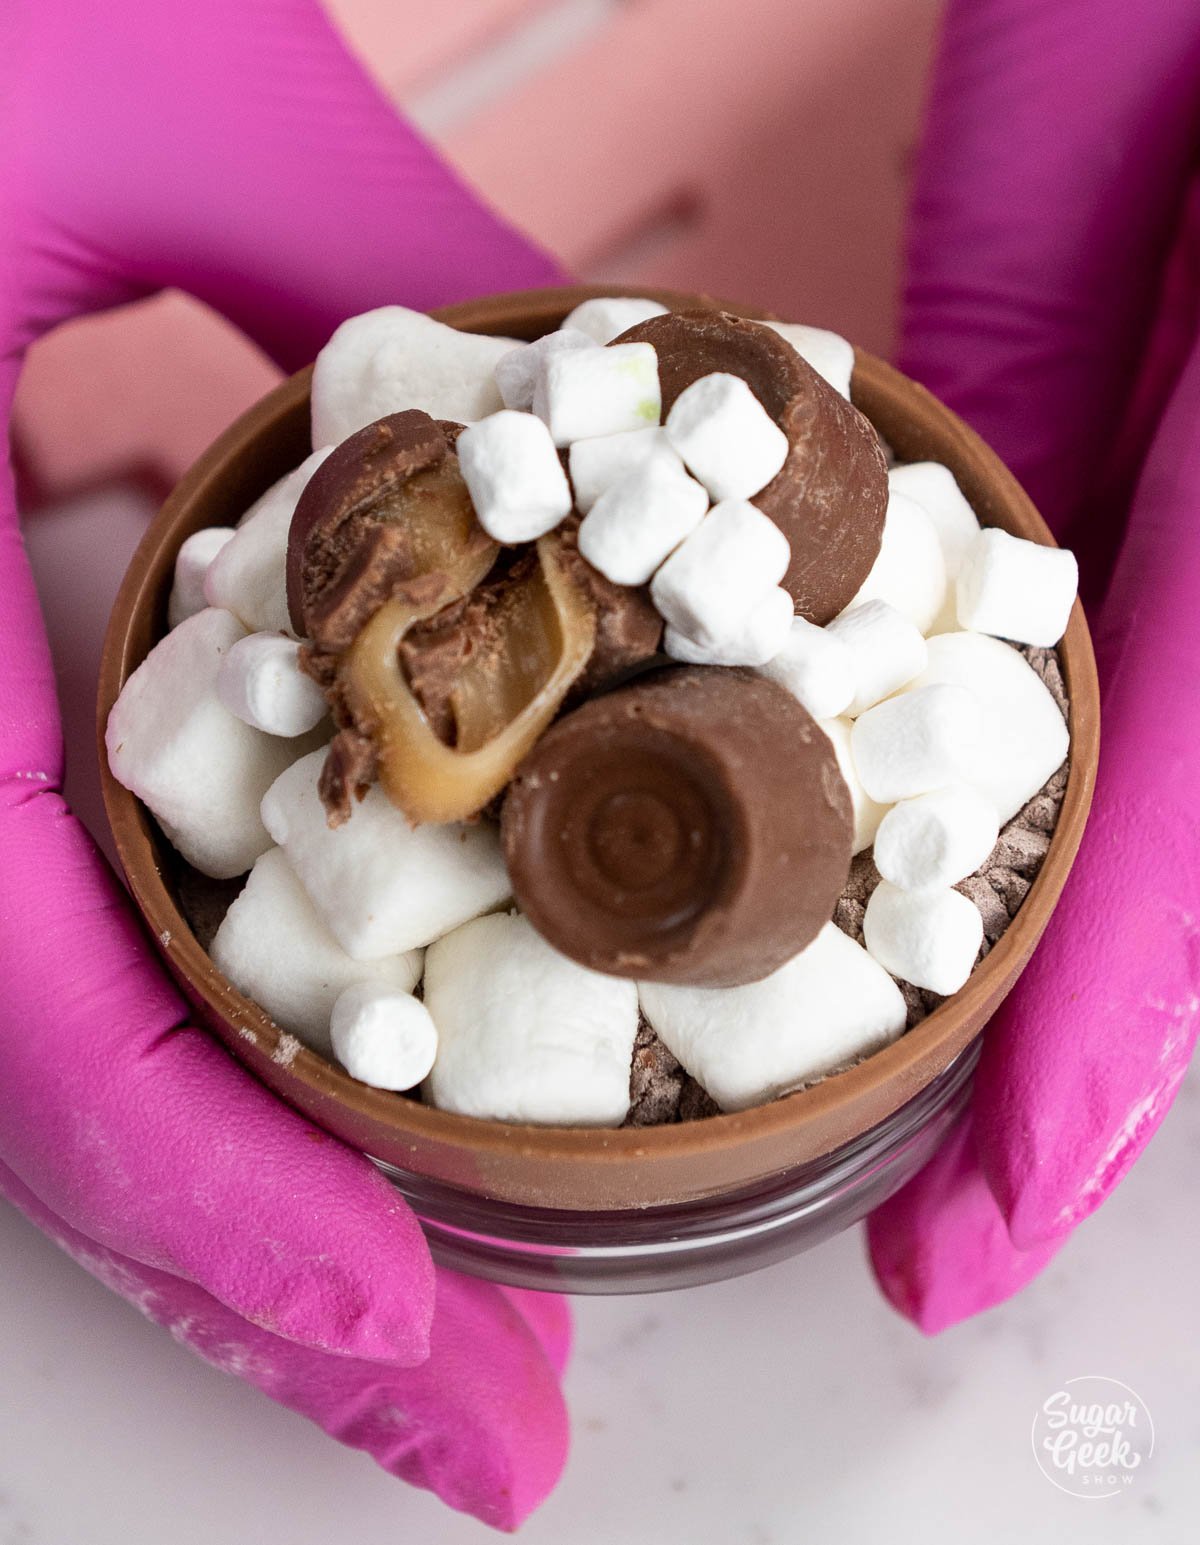
- Place one half of the shell onto a small bowl or a cupcake pan to hold the shell in place.
- Fill the mold with two Tablespoons of hot chocolate mix
- Add in whatever marshmallows, candies or mix-ins that you like

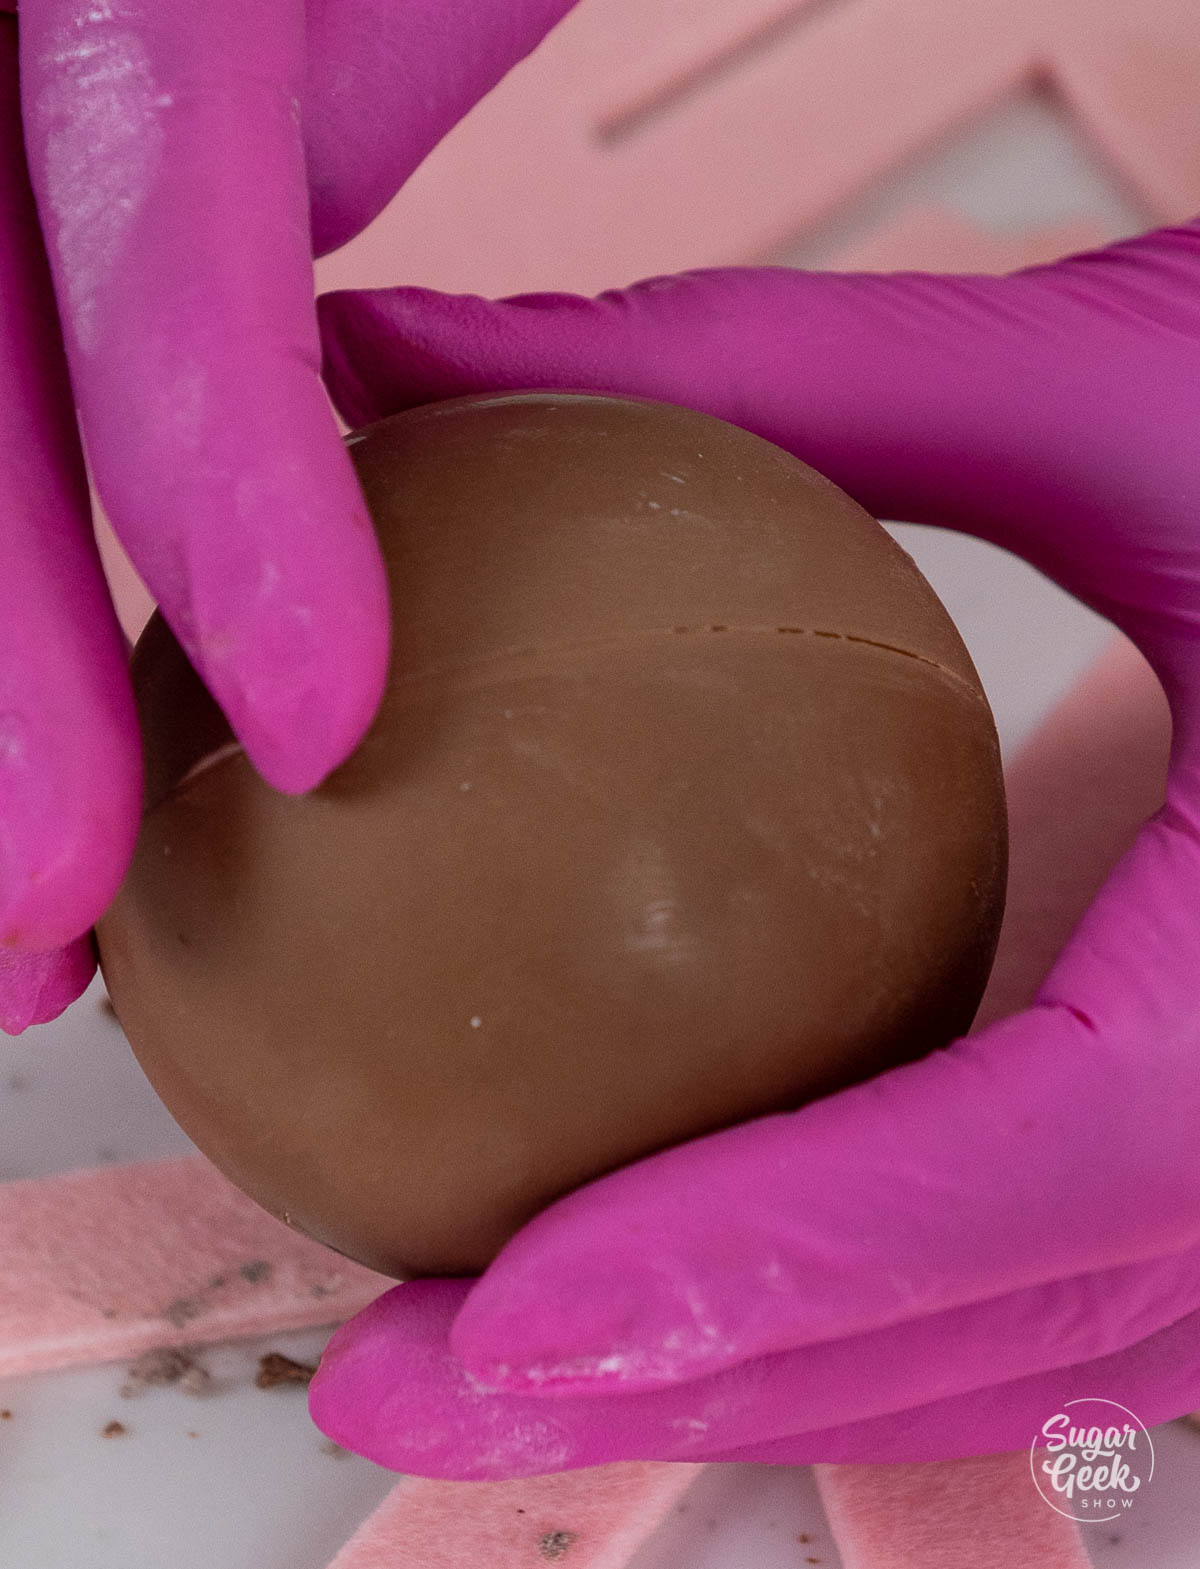
- Place the other shell on top and press with light firm pressure to seal the bomb
- Use your gloved finger to wipe off the excess chocolate
- Continue putting all your bombs together before decorating to speed up the process. I put mine on a cupcake pan to hold them in place.
- Decorate your bombs
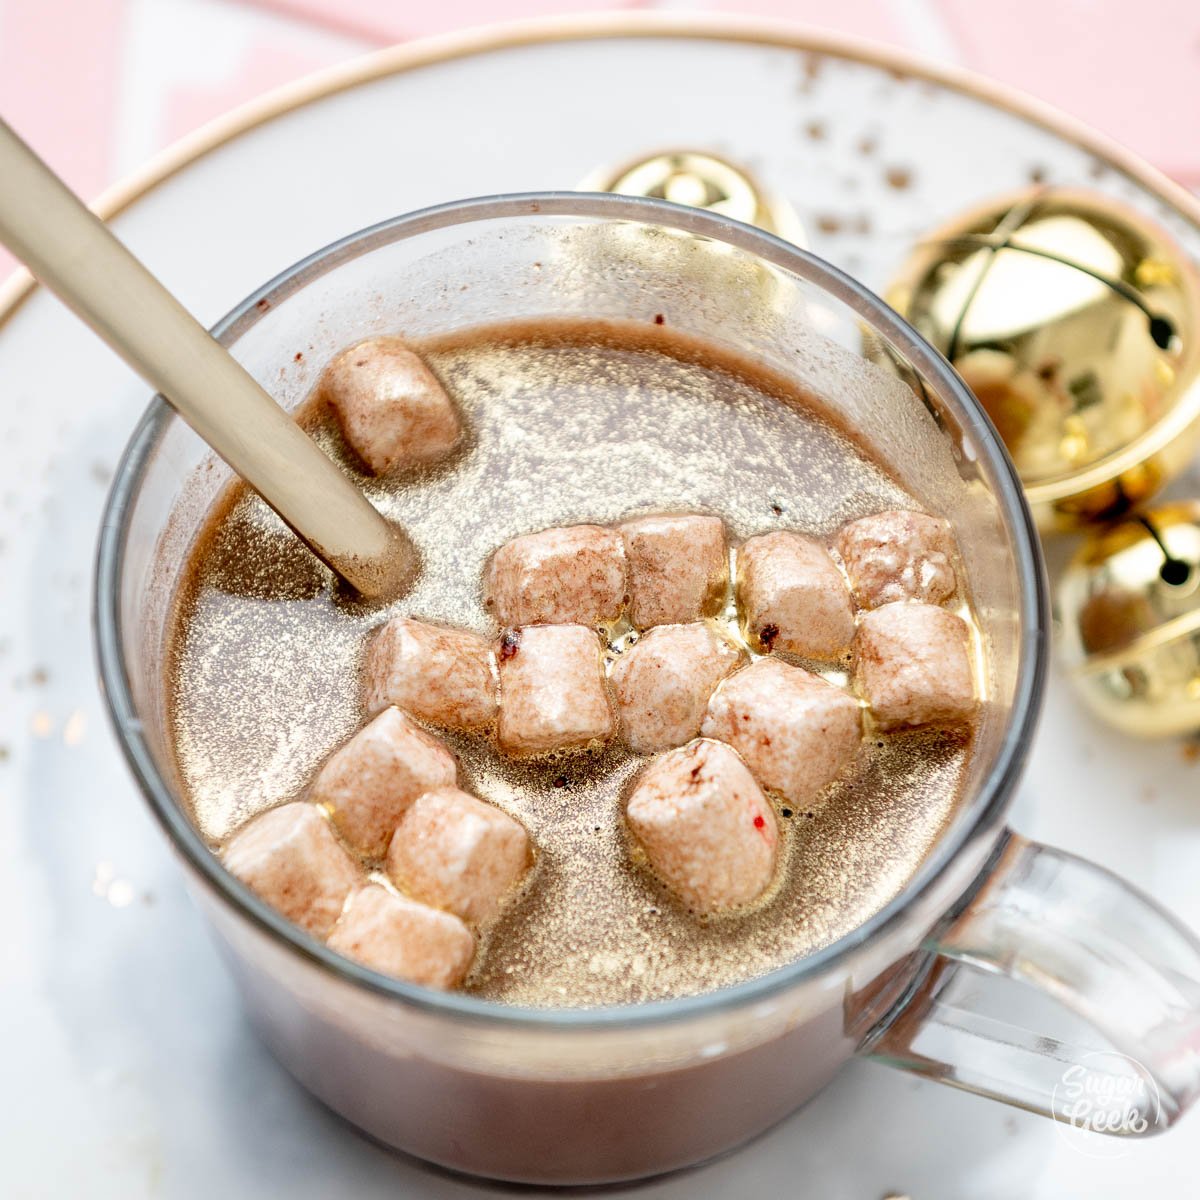
- Pour on one cup of steaming hot milk and watch them pop!


Decorating Your Hot Chocolate Bombs
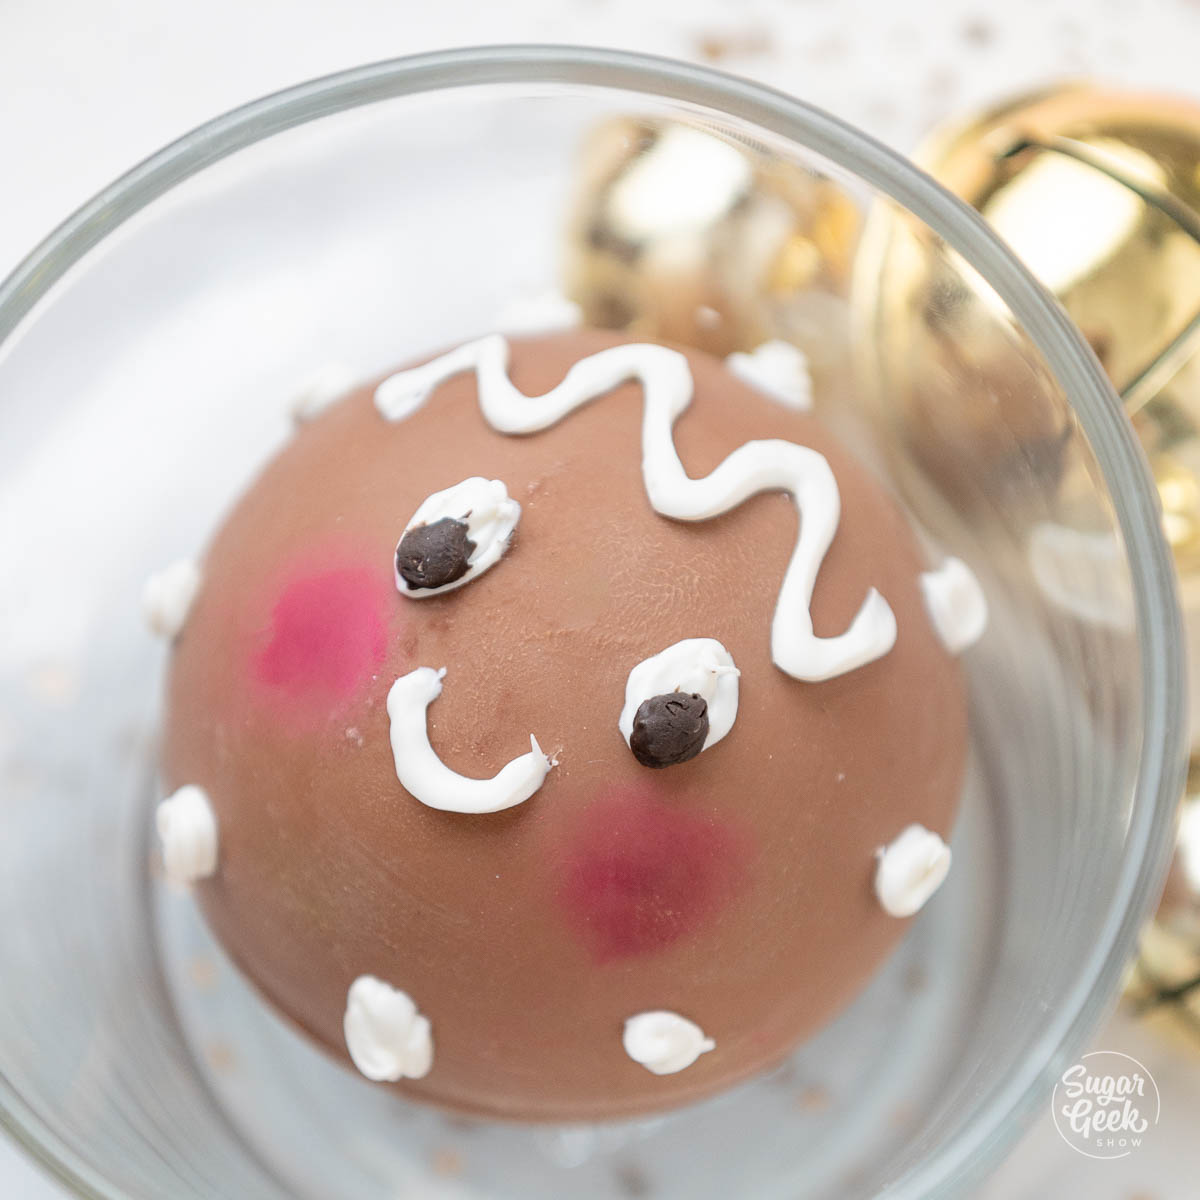
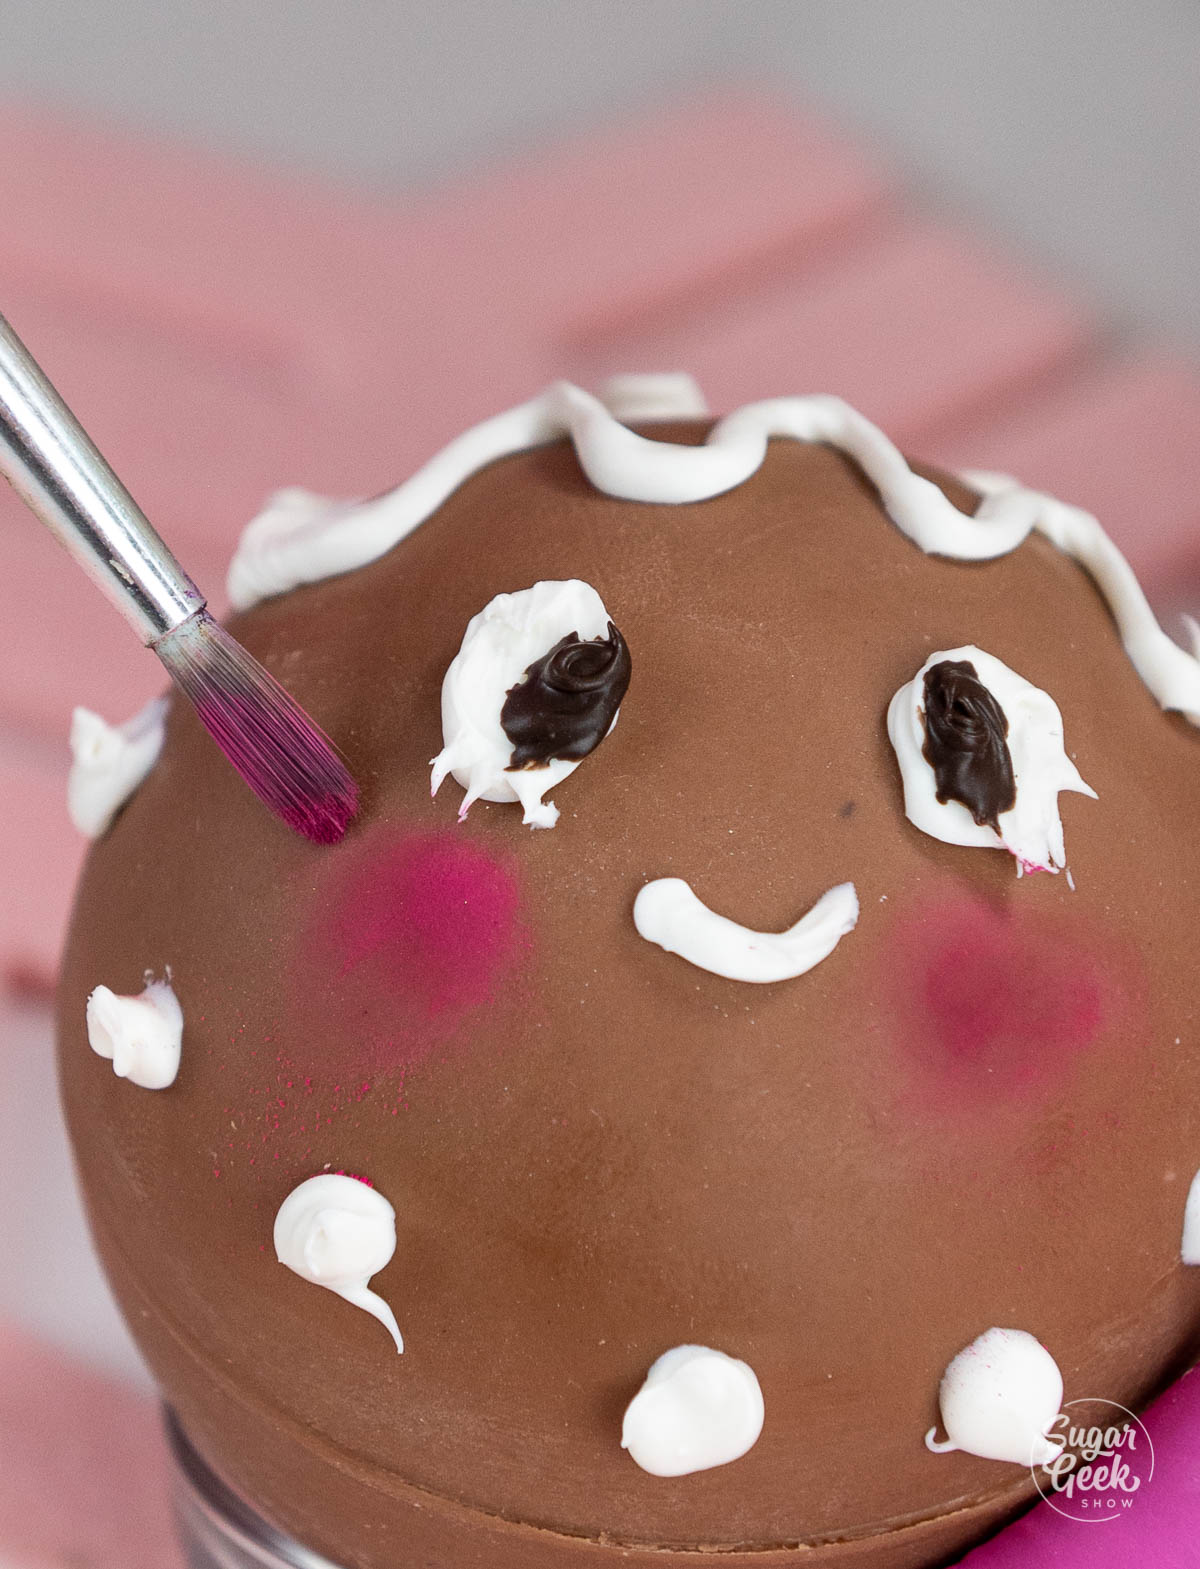
Gingerbread Man
- Place some white chocolate into a piping bag
- Pipe on the dots around the sphere, the ovals for the eyes and the hair
- Add some black chocolate into a piping bag
- Pipe on the dots for the eyes and the mouth
- Use a paintbrush to add some pink dust for the cheeks
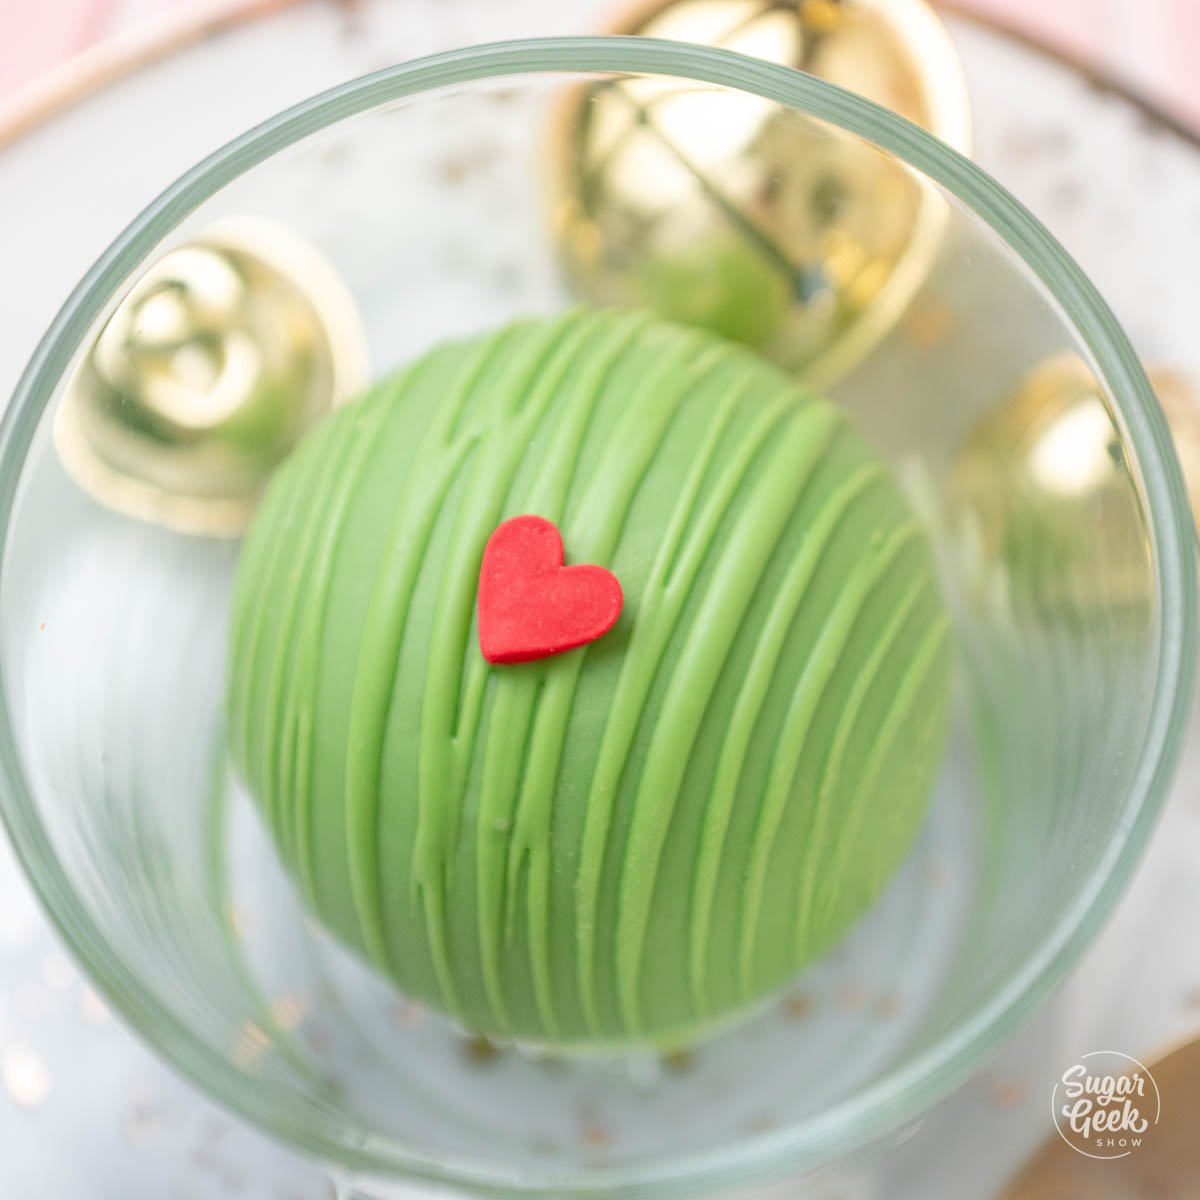
Grinch Bomb
- Place some of the green hot chocolate into a piping bag and snip off the tip. You don't want the opening to be really big.
- Drizzle the chocolate over the top of the bomb in a quick back and forth motion.
- While the chocolate is still wet, add the red heart sprinkle on top.
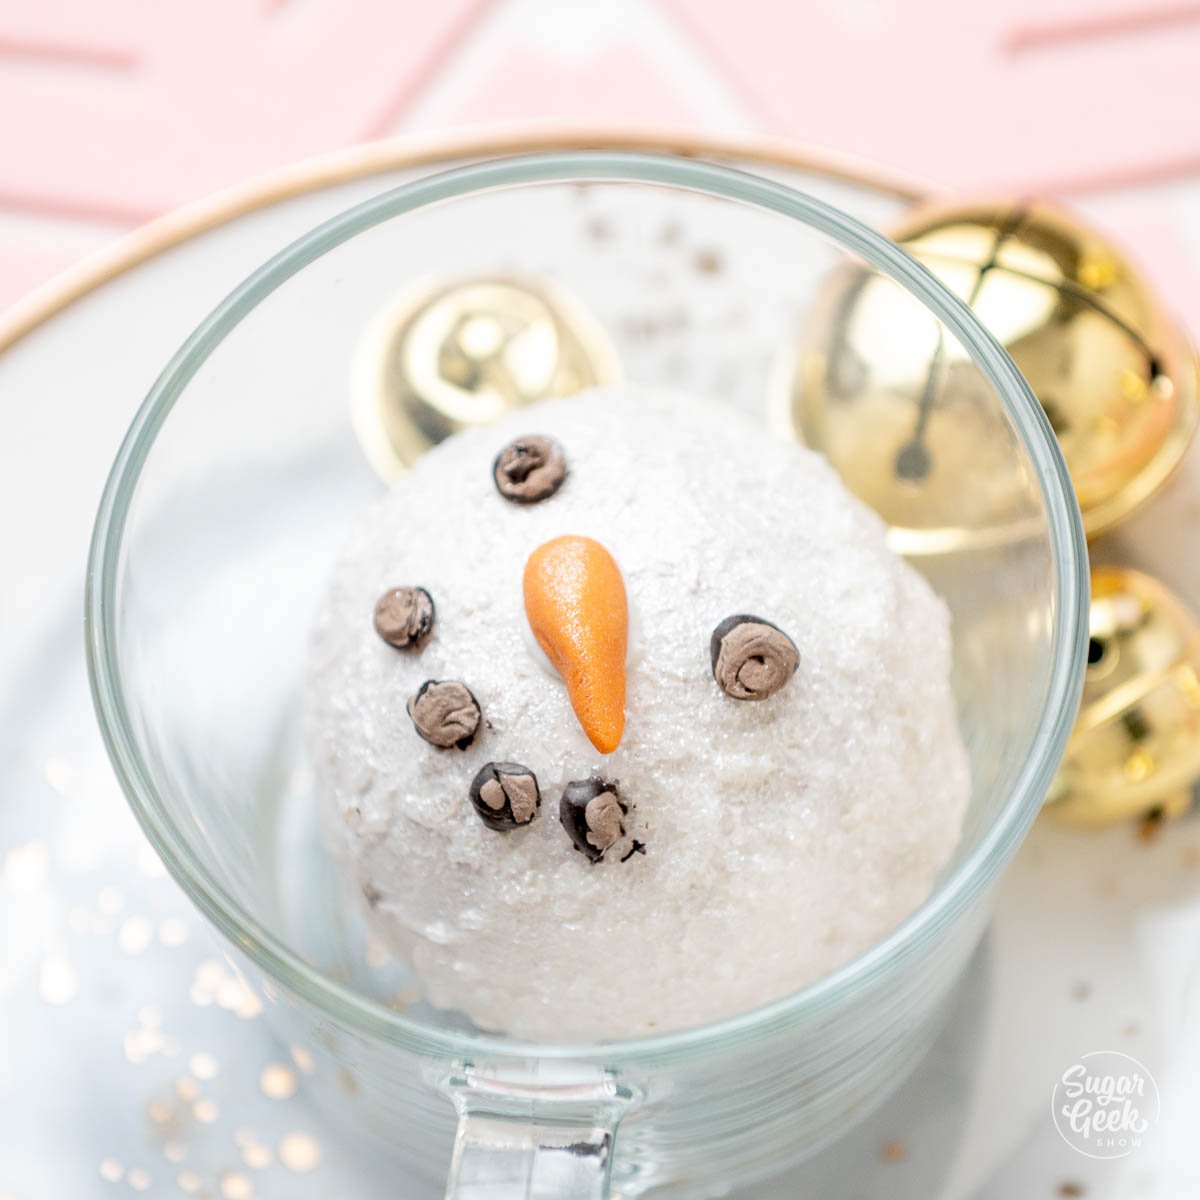
Snowman Bomb
- Place some of the crystal sprinkles into a bowl
- Use your gloved hands to spread some melted white chocolate around the hot chocolate bomb
- Roll the bomb into the sprinkles and coat it well
- Add some flash dust to the bomb to give it sparkle
- Mold a small carrot shaped nose out of the orange modeling chocolate
- Attach the nose to the snowman with a bit of white chocolate
- Add some black melted chocolate into a piping bag and pipe on the eyes and the mouth
Gold Christmas Tree Bomb
- Add some jimmy sprinkles into a bowl
- Add 1-2 teaspoons of gold luster dust and stir
- Roll your hot chocolate bomb in the sprinkles until it's evenly covered
- Pipe a Christmas tree on top of the bomb
- Add a star sprinkle and some silver dragees to finish the Christmas tree
More recipes you'll love!
How to temper chocolate the easy way
How to temper chocolate with EZ temper
How to make chocolate covered strawberries
FAQ
I prefer the 70mm bombs because it's the perfect amount of cocoa for an extra-large coffee mug
If you are using real chocolate that contains cocoa butter, it will not contract when it cools down unless you temper it (see blog post for more info on tempering). Using candy melts like Sweet Tooth Fairy Meltables, almond bark, or tempered chocolate is advised for shiny and stable hot chocolate bombs.
If you are using real chocolate then you will always need to temper it but you can use meltables or real chocolate in the three piece mold and get very shiny shells.
Recipe
Equipment
- Three Piece Hot Chocolate Bomb Mold
Ingredients
Gingerbread Man Hot Chocolate Bombs
- 8 ounces pumpkin spice meltables
- 1 ounce chocolate meltables
- 2 Tablespoons cocoa mix
- 1 Tablespoon freeze dried mini marshmallows
- 2 Tablespoons Mini Marshmallows
- 1 ounce black meltables
- 1 ounce white meltables
- ¼ teaspoon pink petal dust
Grinch Hot Chocolate Bomb
- 8 ounces white couverture chocolate tempered
- ¼ teaspoon yellow cocoa butter
- ¼ teaspoon green cocoa butter
- 2 Tablespoons Cocoa Mix
- 1 Tablespoon mini freeze-dried marshmallows
- 1 Tablesoon mini marshmallows
- 1 heart marshmallow
- 1 red heart sprinkle
Snowman Hot Cocoa Bomb
- 8 ounces white meltables
- ¼ cup clear crystal sprinkles
- ¼ teaspoon flash dust
- 1 ounce black meltables
- 1 teaspoon orange modeling chocolate or fondant
- 1 Tablespoon freeze-dried lucky charms marshmallows
- 1 Tablespoon mini marshmallows
- 2 Tablespoons Strawberry Newsquick
Gold Christmas Tree Bomb
- 8 ounces white couverture chocolate tempered
- 1 teaspoon gold highlighter dust
- 1 Tablespoon green chocolate either meltables or leftover from the grinch
- 1 small gold star sprinkle
- ¼ tespoon silver dragees
- ¼ cup jimmy sprinkles for the gold powder
- 2 Tablespoons cocoa mix
- 1 Tablespoon freeze-dried mini marshmallows
- 1 Tablespoon mini marshmallows
- 1 teaspoon crushed peppermint
Instructions
Hot Chocolate Bomb Assembly
- Pour your desired chocolate into the bottom mold up to the line near the bottom.
- Place your insert inside and press down a little
- Place the top mold on and press down until the chocolate fills the entire sphere
- Put the hot chocolate bomb mold into the fridge to chill for 10-15 minutes or until the chocolate pulls away from the mold
- Remove the shells carefully from the mold and remove the insert from the shell
- Make all your shells at once before assembling your bombs
- Heat a ceramic plate in the microwave and heat on high for 1 minute until hot
- Place your first shell on the hot plate and melt the edge slightly
- Place your shell onto a small pinch bowl or cupcake pan to keep it in place
- Fill the shell with your desired cocoa mix, marshmallows or candies
- Heat the other half of your shell and place it on top of the filled shell
- Press together firmly for 5 seconds then wipe off the excess chocolate with a gloved finger
- Decorate the hot chocolate bomb as desired. See the the video in this blog for ideas!


Leave a Reply