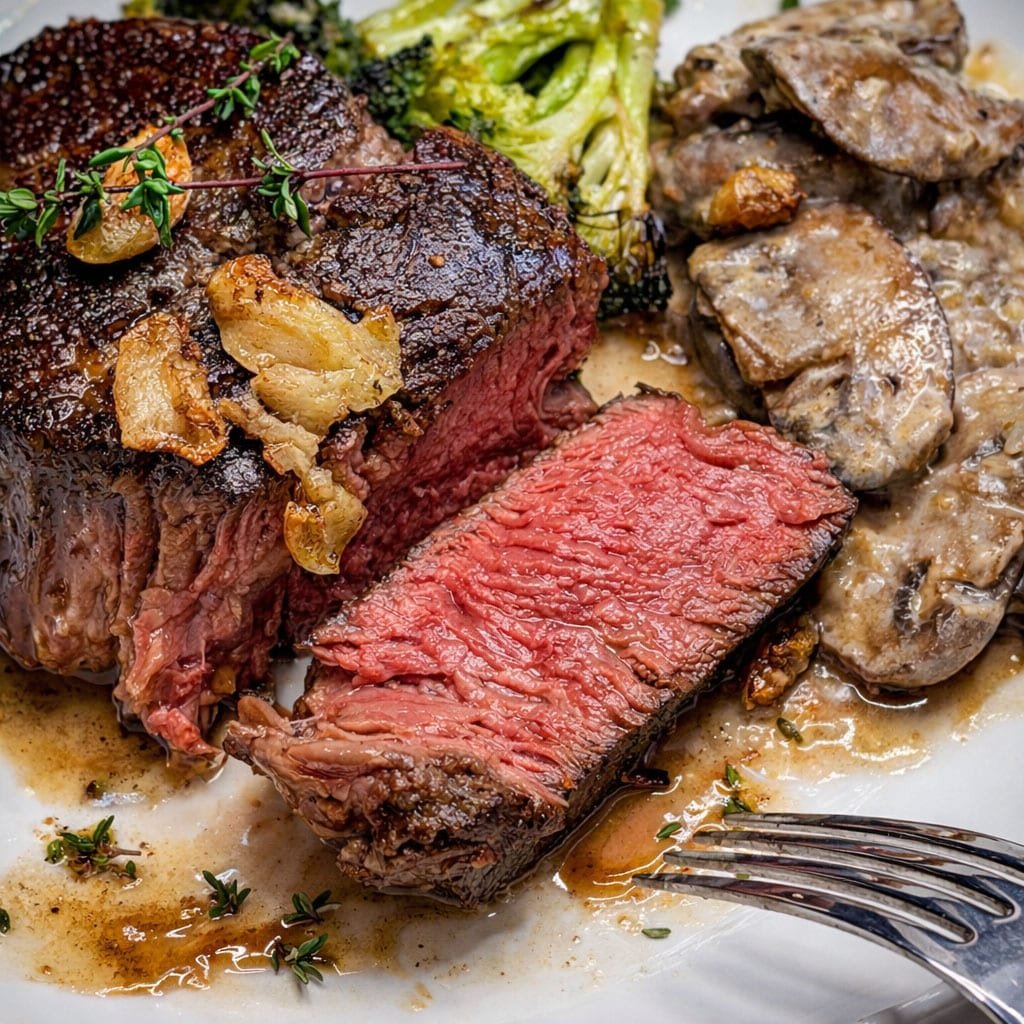
If you want a filet mignon that is buttery, edge-to-edge pink, and melt-in-your-mouth tender without the stress of timing a multi-course meal, the sous vide is your best friend. This is how we achieve restaurant-quality results for our special family Valentine's Day dinner every single year.
What's In This Blog Post
My Inspiration
We are a big steak family, and while ribeyes are our usual go-to, Valentine's Day is all about the Filet Mignon. Every year, we do a full 6-course meal for the kids. We call it "fancy dinner". We invite them in, set the table, and begin serving. Then we join in for the main course.
Trying to pan-sear five steaks to different temperatures while plating appetizers and soup is a recipe for disaster.
This year, I'm going to use my trusty sous vide. I can prep the steaks days in advance, "hold" them at the perfect temperature during the first three courses, and then just sear and serve when the main event arrives. It's high-end dining with zero "chef stress."
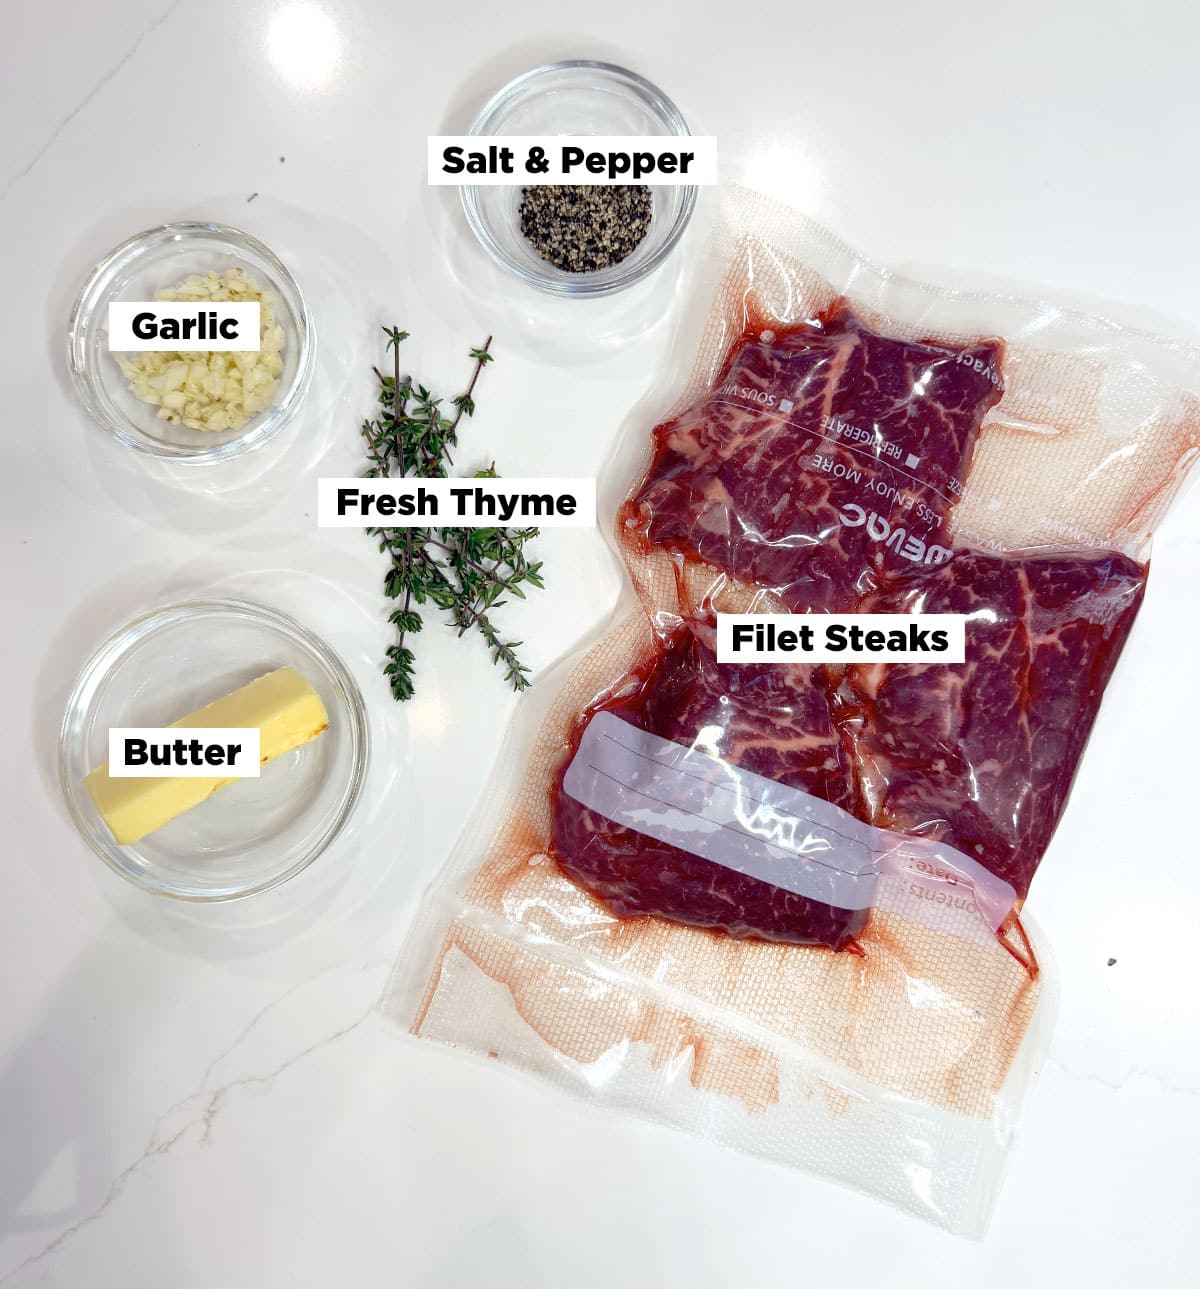
Ingredient Breakdown
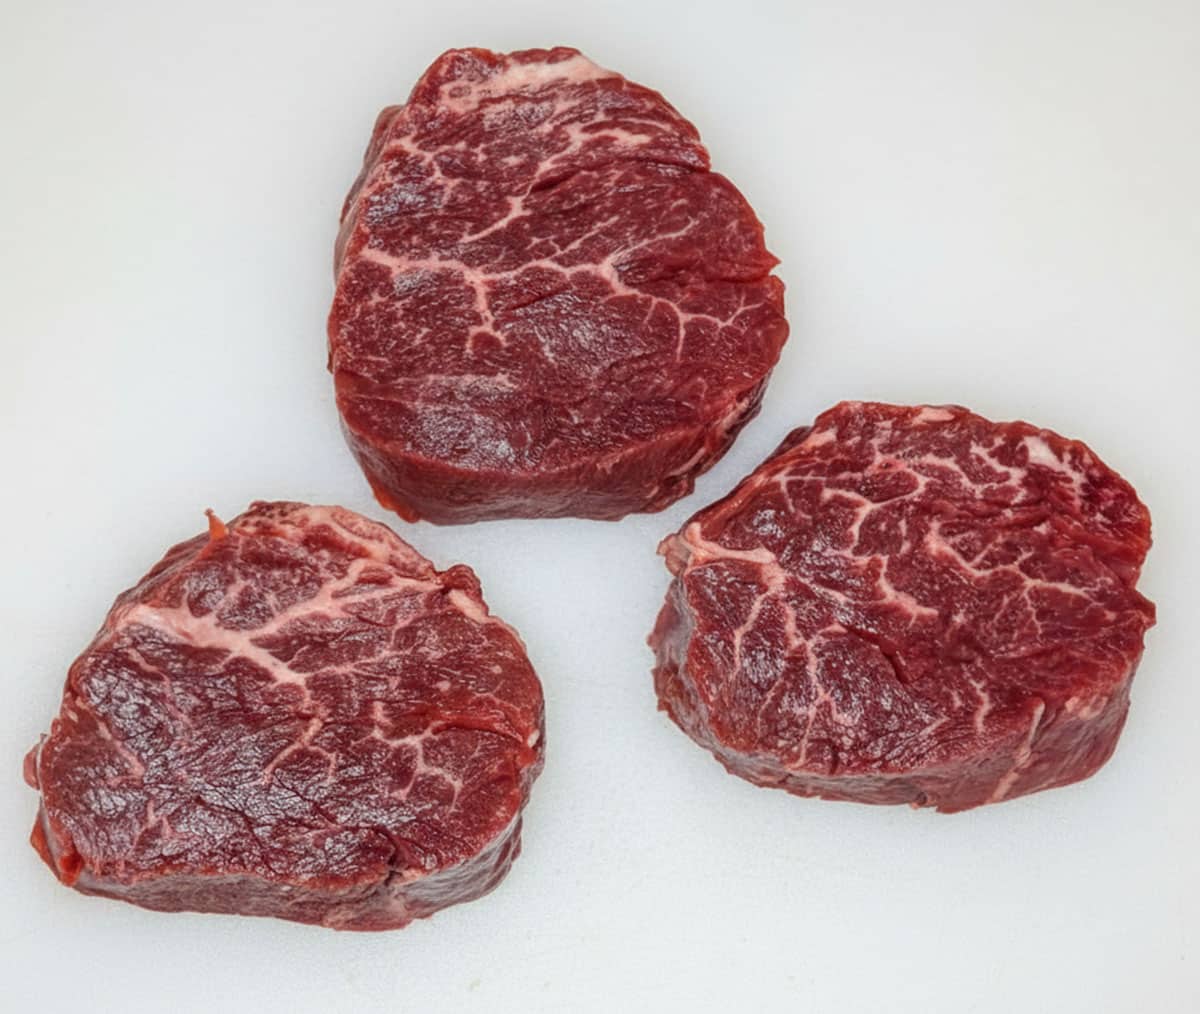
The main ingredient here is of course, the filet mignon, which is cut from the center of a beef tenderloin. It's an expensive cut of meat, so make sure you pick a cut that is fresh, has flecks of fat marbling, has a bright red color, and is trimmed of all fat and silverskin.
- Filet Mignon (Beef Tenderloin): Since this is the leanest muscle on the cow, we aren't looking for heavy fat rendering like a ribeye; we are looking for texture and tenderness.
- Kosher Salt: Crucial for denaturing proteins (more on that below) and adding flavor.
- High-Smoke-Point Oil: You need a "hard sear" fast, so you don't cook the interior you worked so hard to perfect. Avocado oil is my MVP here.
- Unsalted Butter & Aromatics: Fresh thyme, smashed garlic, and butter. The butter carries these flavors into every crack and crevice of your finished filet.
How To Pick A Good Filet Mignon
Selecting a high-quality filet mignon is a bit different from choosing a ribeye. While you're still looking for quality markers, the focus shifts from heavy fat to thickness and uniformity. Here are the key things to look for at the butcher counter:
- Prioritize Thickness (1.5" to 2") - Because the tenderloin is a smaller, cylindrical muscle, thickness is your best friend. A steak that is at least 1.5 to 2 inches thick allows you to get a high-heat sear on the outside without overcooking the center. Thinner filets tend to turn grey and overcook before you can develop a proper crust.
- Look for the "Center Cut" - The tenderloin has a tapered shape. You want the center-cut (sometimes called the barrel or Chateaubriand cut). These are perfectly round and uniform in diameter, ensuring every part of the steak cooks at the exact same rate. Avoid "tail" pieces, which are thin and cook unevenly.
- Check for Freshness and Color - Bright Red Color: The meat should be a vibrant, cherry red. Avoid any steaks that look dull, brownish, or grey around the edges, as this indicates aging or poor handling.
- Dry Surface: The steak should look moist but not "wet" or slimy. Excess liquid in the tray often means the meat was previously frozen or is losing its internal juices.
- Firm Texture: When you press the meat (if packaged), it should feel firm and springy, not mushy or soft.
- USDA Prime: This is the gold standard, representing the top 2% of beef with the most marbling for a buttery flavor. While filets are naturally lean, you still want fine white flecks of intramuscular fat.
- USDA Choice: An excellent middle ground that is still very tender but may have slightly less marbling than Prime.
- No Silver Skin: Ensure the white, iridescent connective tissue has been fully trimmed off. It is tough and won't break down during a quick sear. Inspect for trim and gristle. A good filet should be "clean."
- No Heavy Fat Caps: Unlike ribeye, you aren't paying for external fat here. You want a fully trimmed steak where you are only paying for the premium meat.
Step-by-Step Instructions
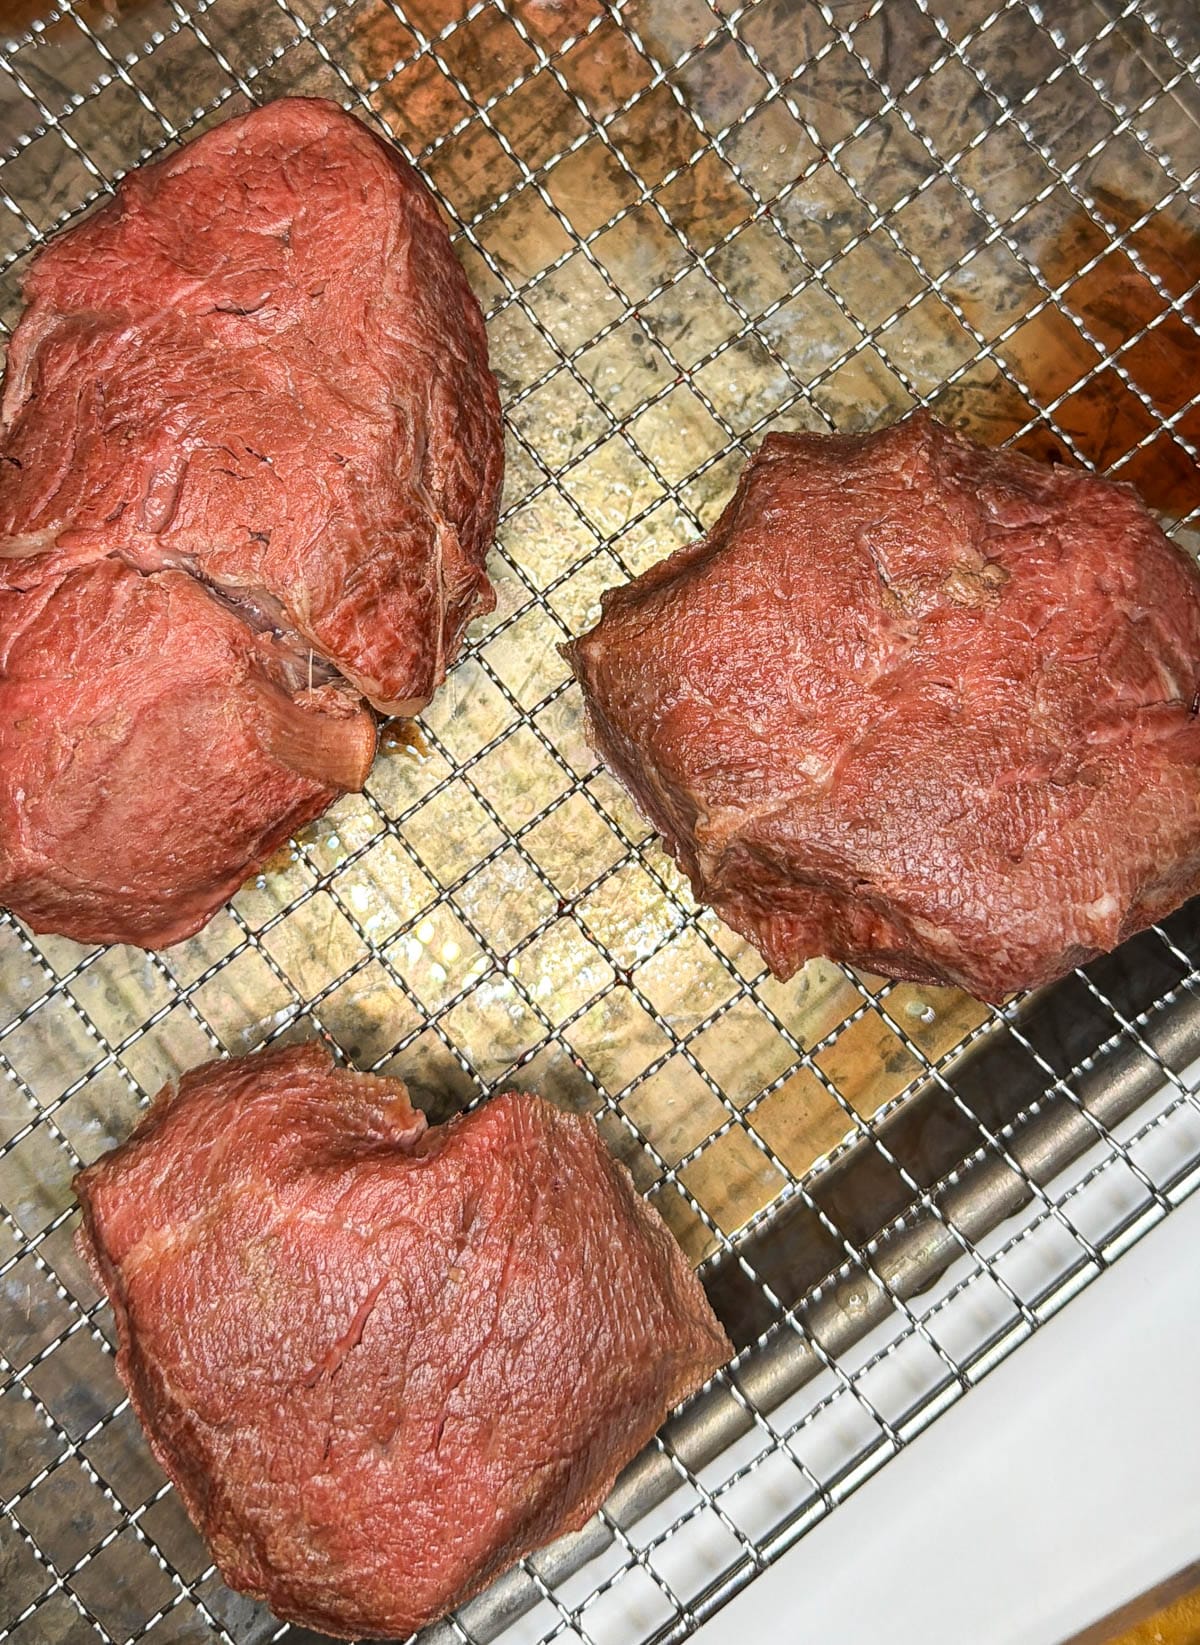
Once your filets are finished in the sous vide, all that's left to do is sear and serve! Couldn't be easier!
- Season your steaks generously with salt and pepper.
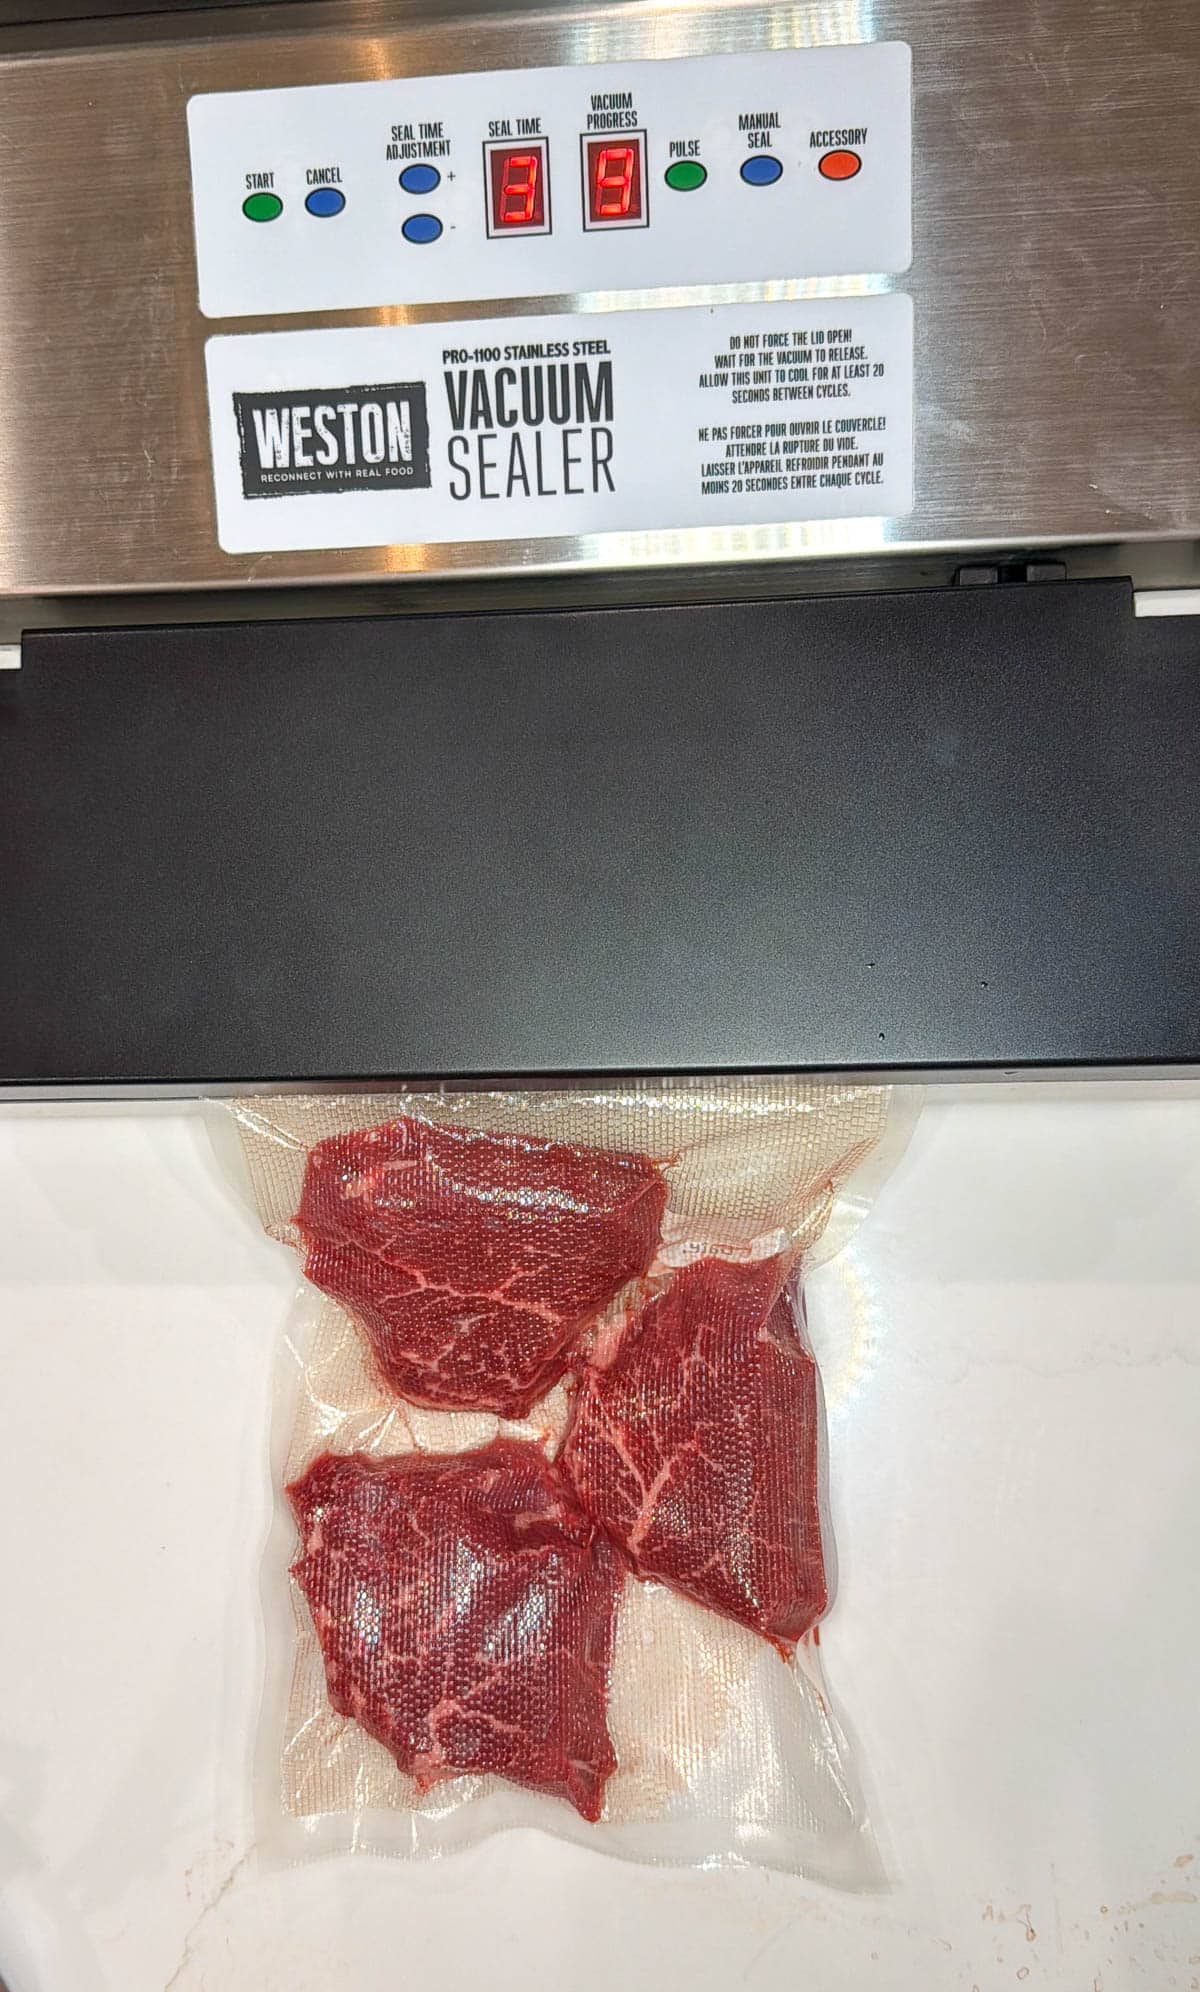
Why: Salt does more than flavor; it triggers osmosis. Initially, it draws moisture out, but given time, that salty brine re-enters the meat and breaks down myosin (a muscle protein). This results in a much more tender bite. - Sealing (The Science of Pressure) - Place the steak in a vacuum bag with your herbs.
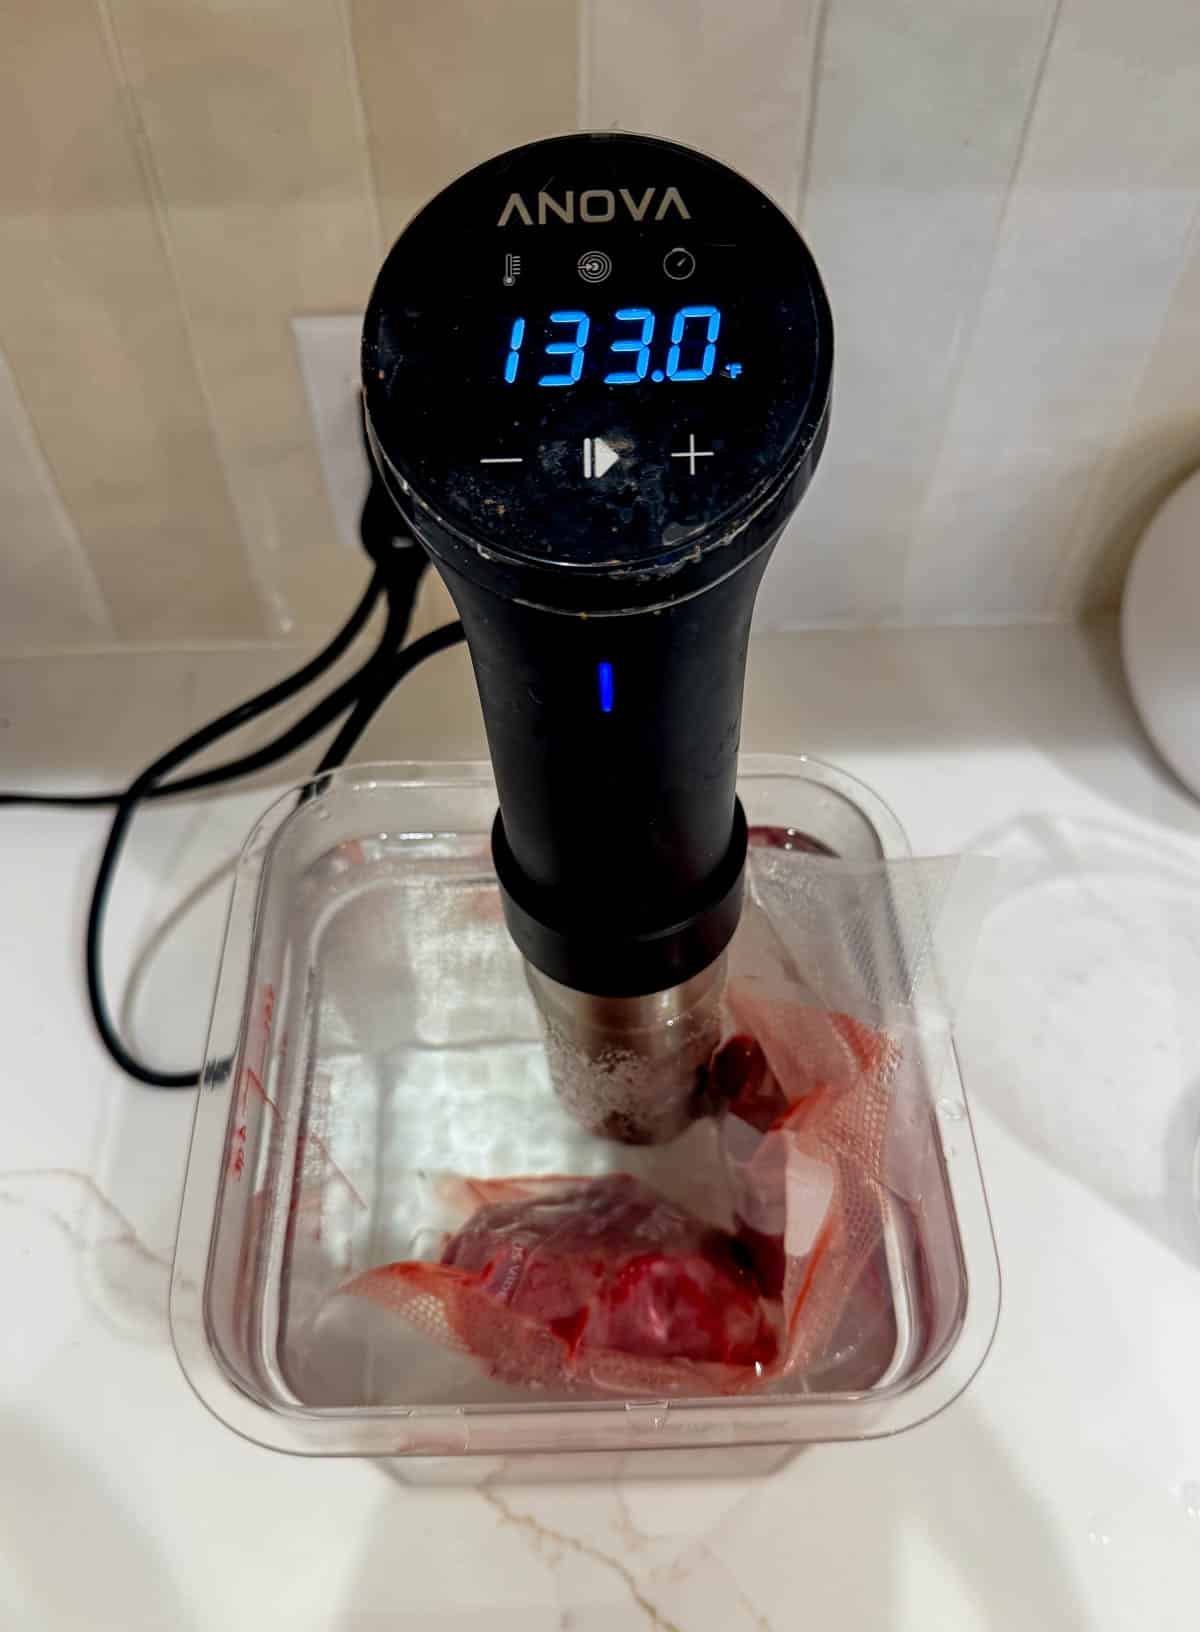
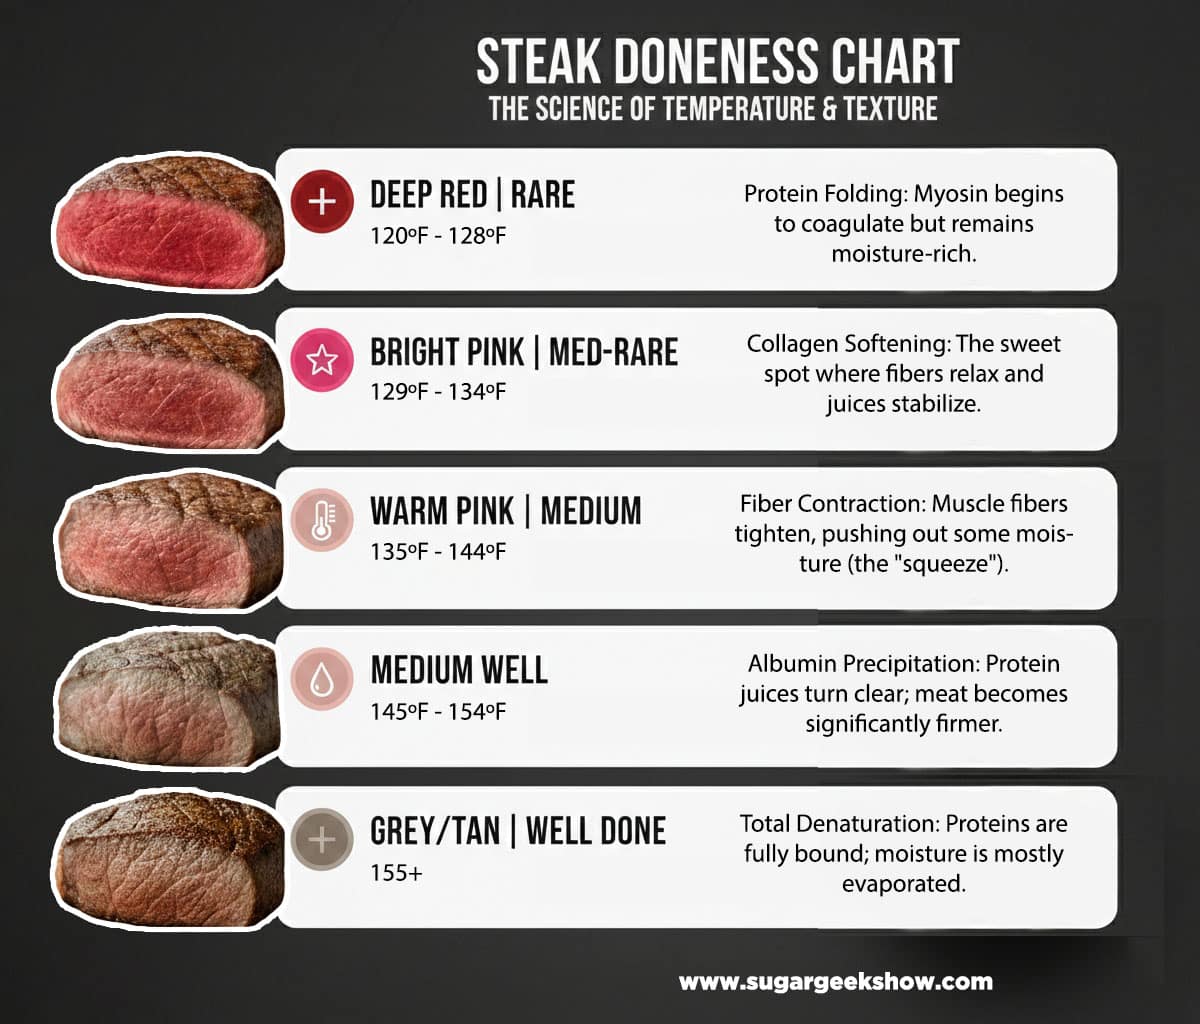
Why: Beyond keeping the water out, removing air ensures the meat is in direct contact with the bag, which is in direct contact with the water. This allows for conduction-the most efficient way to transfer heat evenly. If you don't have a vacuum sealer, you can use the water displacement method with a regular ziplock bag. - Set your temperature - At 131°F, the collagen in the beef begins to soften, but the muscle fibers don't contract so tightly that they squeeze out all the moisture (which happens at higher temps). You get the tenderness of a long braise with the texture of a steak. If you want a more "done" steak, you can refer to the chart below for guidance.
- Step 5: The "Dry" Secret - Before searing, pat the steaks until they are bone-dry. Why? The latent heat of vaporization is a beast. It takes a massive amount of energy to turn surface water into steam. If your steak is wet, all the pan's heat goes into boiling that water instead of browning the meat. Dry meat = instant Maillard reaction.
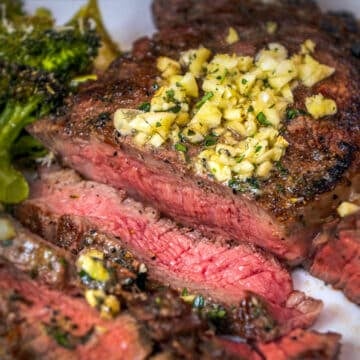
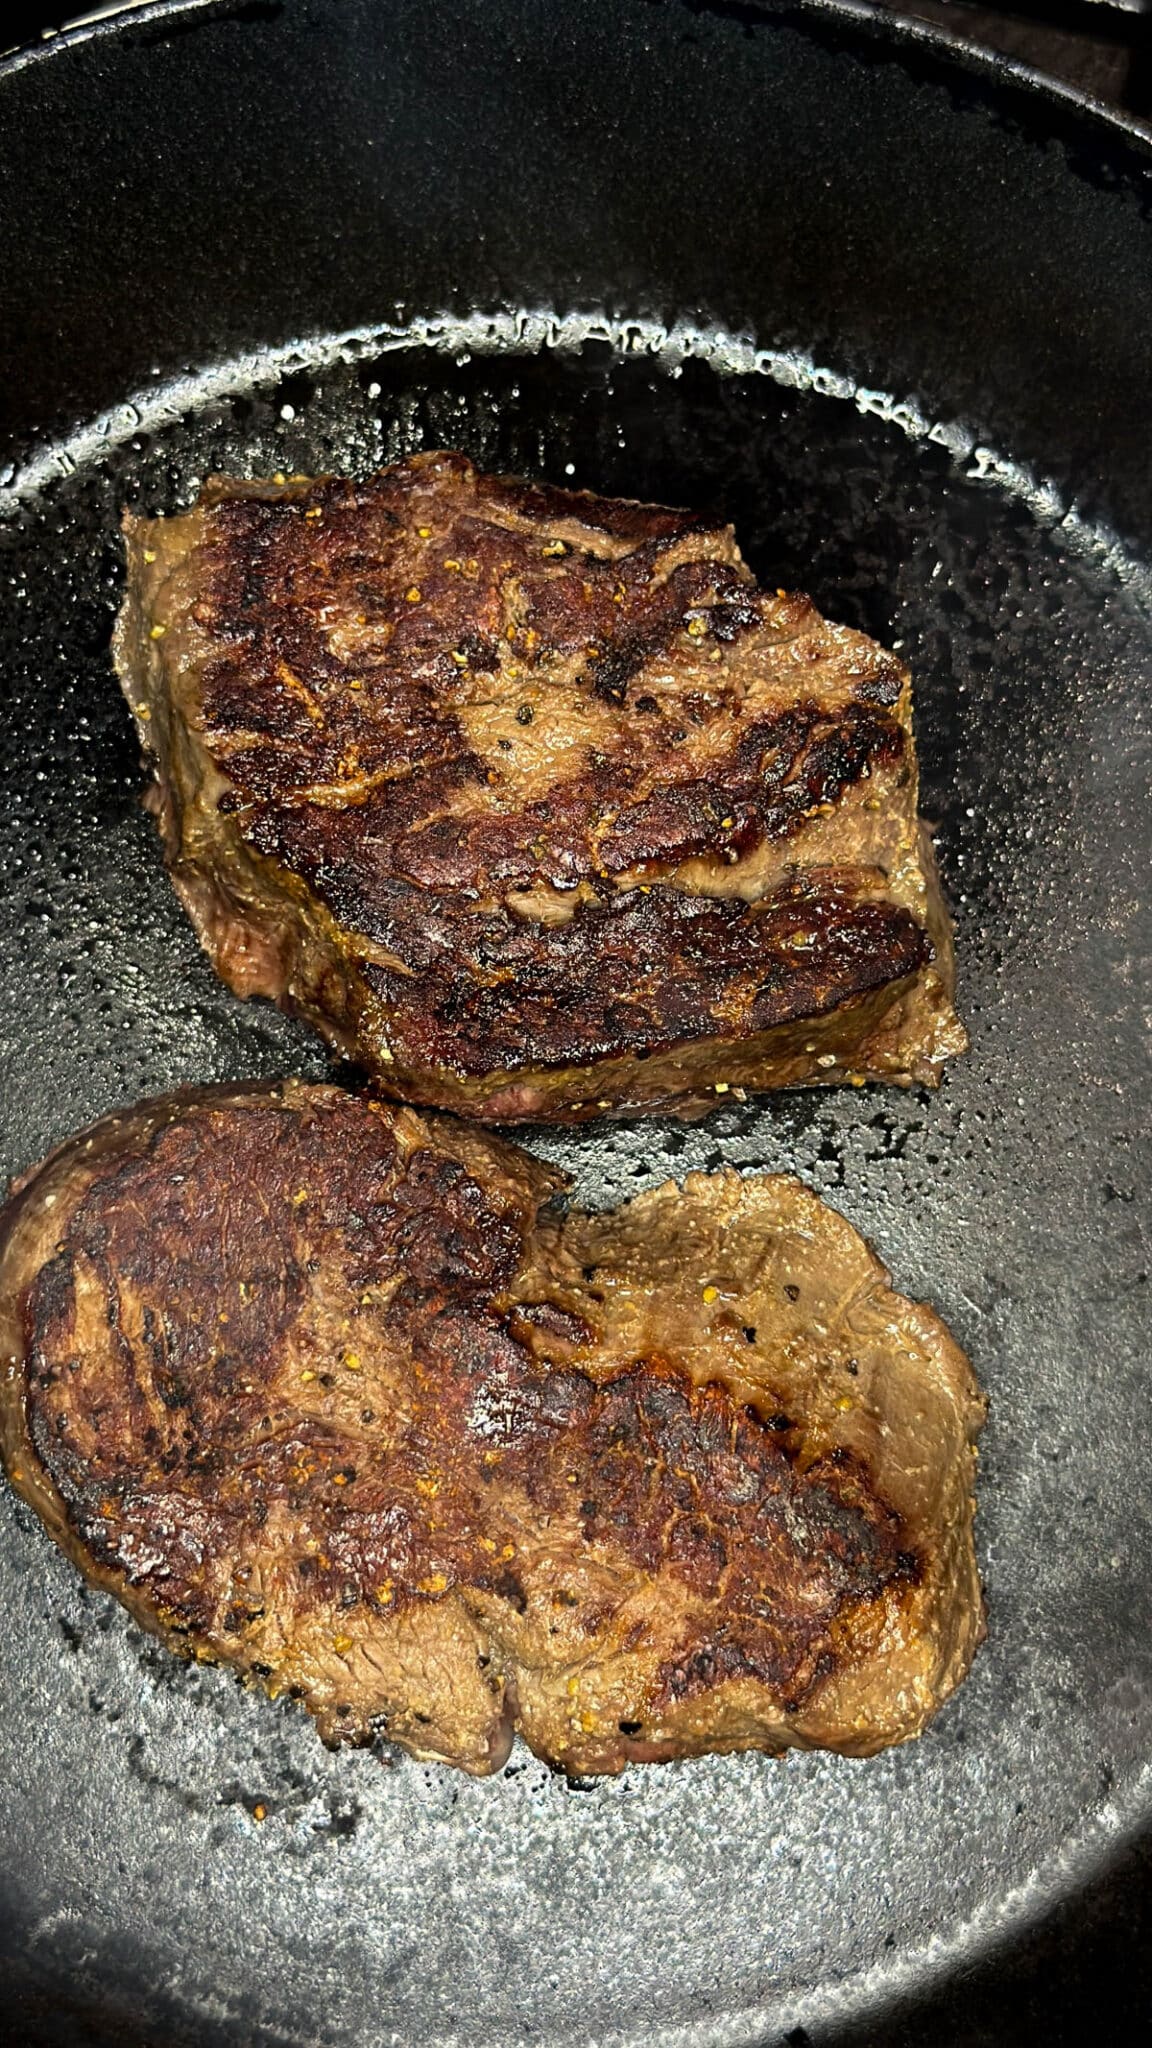
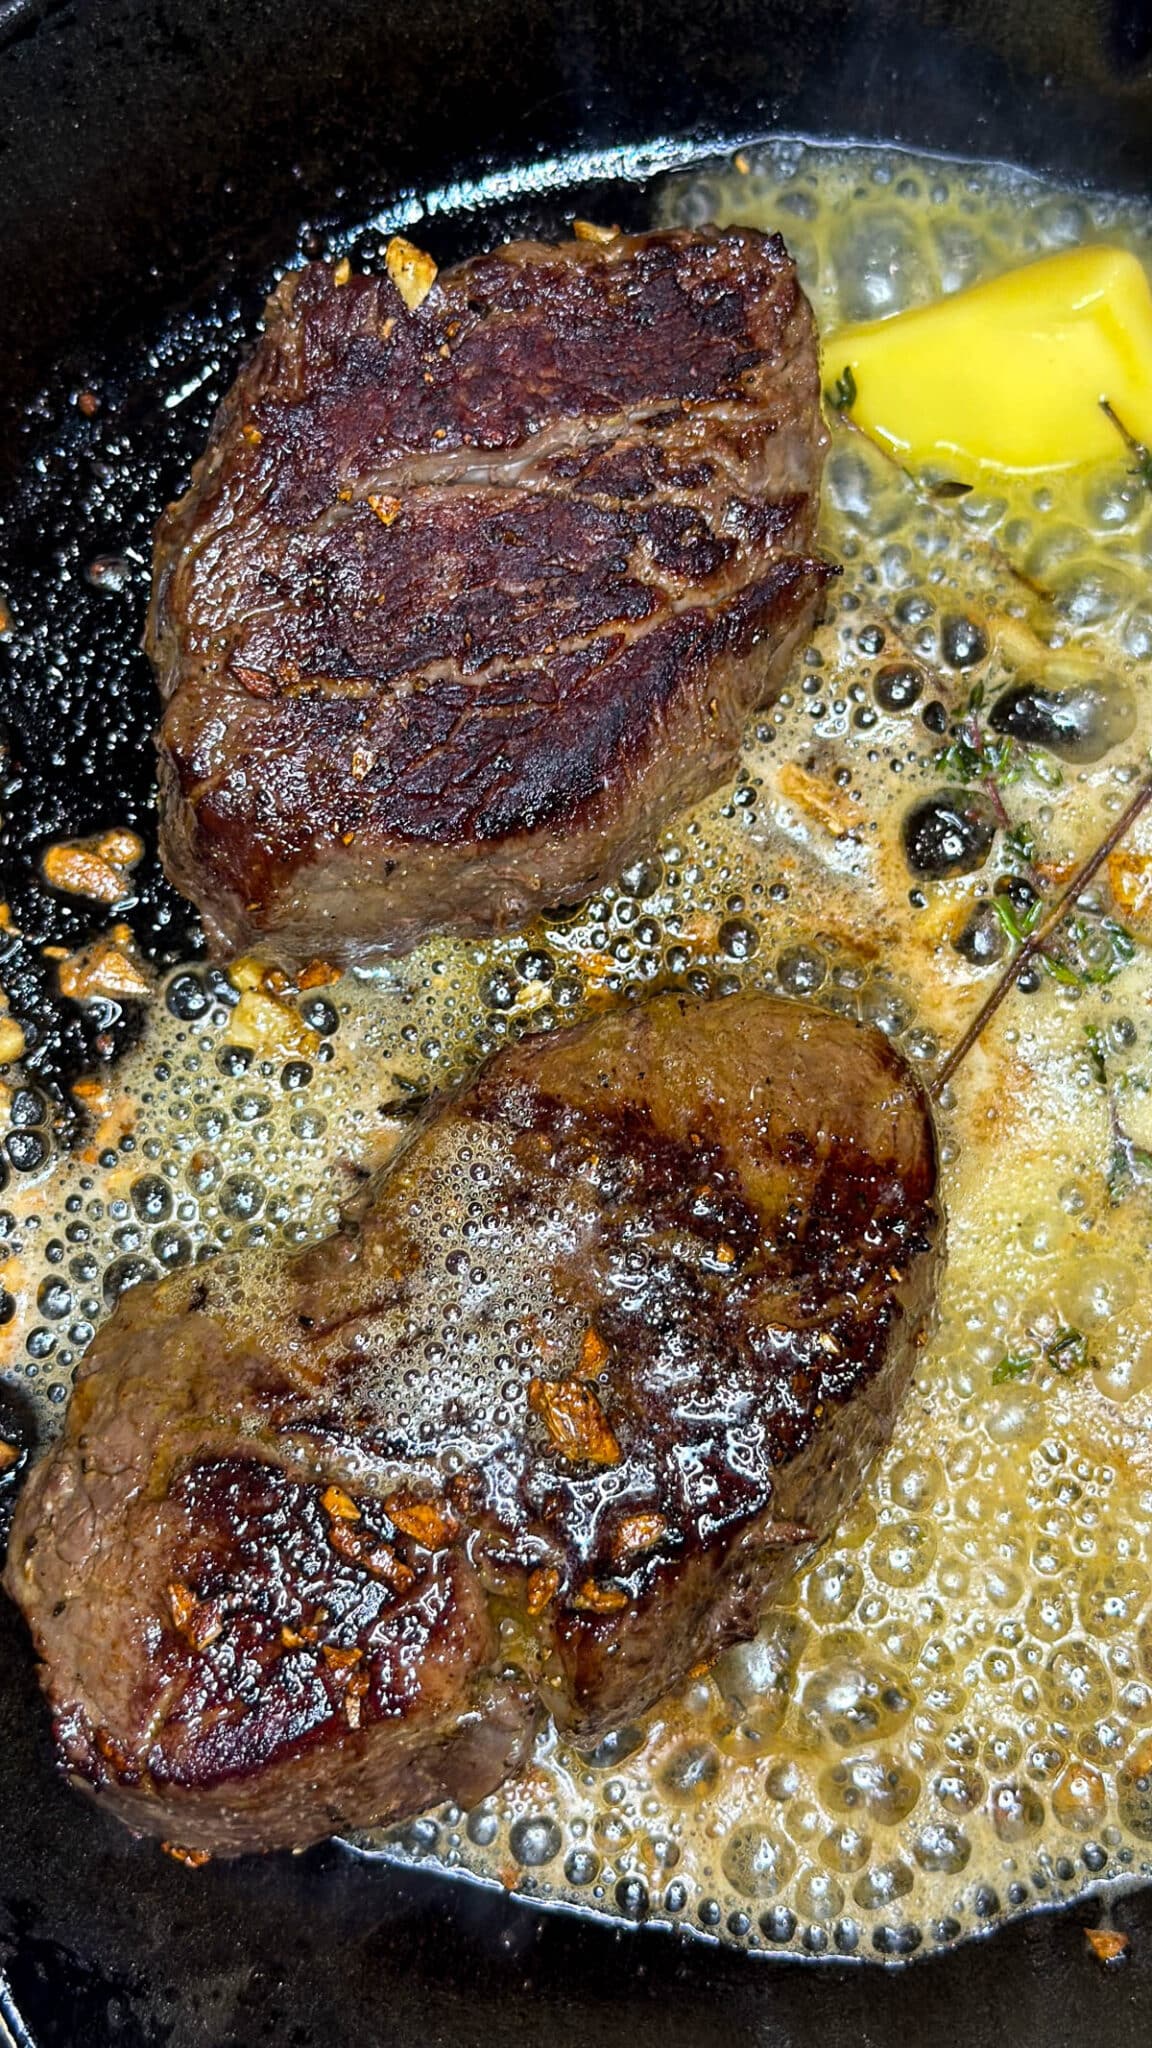
- The Flash Sear & Baste - In a smoking hot cast-iron, sear for only 45-60 seconds per side. In the last 30 seconds, add butter and herbs to "baste" (arroser). This adds a final layer of nutty, toasted milk solids to the crust.
Why Doesn't Sous Vide Meat Need to Rest?
In a traditional pan-seared steak, you have a massive temperature gradient. The outside is 400°F and the center is 130°F. Resting allows those temperatures to equalize so the juices don't run out.
With Sous Vide: The steak is 131°F from edge to edge. There is no gradient. The muscle fibers are already relaxed, and the juices are stable. You can slice it the second it hits the cutting board!
Tips & Tricks
- Don't add butter to the bag: Counter-intuitively, fat in the bag can actually leach flavor out of the steak. Save the butter for the final sear.
- The "Warm Up": If you pre-cooked and chilled your steaks, put them back in a 130°F water bath for 30 minutes before searing to take the chill off the center.
Recipe
Equipment
- 1 sous vide
Ingredients
- 2 8 oz Filet Mignon
- 2 Tablespoons Butter
- 2 Sprigs Fresh Thyme
- 2 Small Garlic Cloves crushed
Instructions
- Season your filet mignon generously with salt and pepper on all sides (optional)
- Place the filets into a vacuum sealed bag or use the water displaceent method by placing the steaks into a waterproof bag leaving it open at the top so air can escape. Slowly lower it into the sous vide water container. As you push the bag down, the force of the water will remove the excess air from the bag. Make sure no water gets into the bag.
- Set your temperature according to how "done" you want your filets. Refer to the chart in the blog post to read more about what happens at a scientific level at each temperature. Recommended Sous Vide Temperatures for Filet Mignon:Rare: 120°F - 128°F (49°C - 53°C)Medium-Rare: 129°F - 134°F (54°C - 57°C)Medium: 135°F - 144°F (57°C - 62°C)Time: 1.5 to 2 hours is ideal for a 1.5-inch thick filet. Do not sous vide for longer or the steak can get mushy.
- Before searing, pat the steaks until they are bone-dry. Why? The latent heat of vaporization is a beast. It takes a massive amount of energy to turn surface water into steam. If your steak is wet, all the pan's heat goes into boiling that water instead of browning the meat. Dry meat = instant Maillard reaction.
- In a smoking hot cast-iron, sear for only 45-60 seconds per side.
- Turn off the heat.
- In the last 30 seconds, add cold butter and herbs to "baste" (arroser). This adds a final layer of nutty, toasted milk solids to the crust.
Video
Notes
- Skip the Bag Butter: It sounds counterintuitive, but don't put butter in the sous vide bag. Fat is a solvent; it can actually leach the beefy flavor out of the meat and into the melted butter, which you then toss away. Save the butter for the final, flavorful baste in the pan.
- The "Cold Start" Sear: If you have prepped your steaks ahead of time and they are chilled, you can sear them while they are still slightly cold. This gives you more "buffer time" to develop a thick, dark crust without the heat migrating too far into the center and ruining that edge-to-edge pink color.
- Twine is Your Friend: Filet mignon is a very soft muscle. To keep that perfect "steakhouse circle" shape, tie a piece of butcher's twine around the circumference of each steak before bagging. This holds the muscle fibers together during the long cook.
- Double-Check the Seal: When sealing your steaks, ensure there are no juices or salt grains on the edge of the bag where it meets the heating element of your vacuum sealer. This is the #1 cause of bag failure in the water bath!
- Aromatics over Powders: Use fresh garlic cloves and fresh herb sprigs rather than garlic powder or dried herbs.