• Skip to primary navigation
  • Skip to main content
  • Skip to primary sidebar
  • Saint Patrick's Day
  • Recipes
  • Sign Up
  • About Liz

Sugar Geek Show logo

menu icon
go to homepage
  • Saint Patrick's Day
  • Recipes
  • Sign Up
  • About Liz
subscribe
search icon
Homepage link
  • Saint Patrick's Day
  • Recipes
  • Sign Up
  • About Liz
×
Home › Blog

Published on January 11, 2018 by Shannon Mayes · This post may contain affiliate links ·

How to Use a Chocolate Skull Mold for Bust Cakes

407 shares
  • Facebook
  • Flipboard

One of the biggest things Liz Marek is known for is her bust cakes. Liz came up with the ingenious idea of using a chocolate skull as a base to sculpting faces. I mean it makes total sense right?! It gives you a perfect map of where things should go and about how big to make them and that right there is half the battle of sculpting a face. After all, we have a skull as a base, so why shouldn't a sugar sculpture have one too? Then she, with the help of Sidney Galpern of SimiCakes, took it one step further and created an amazing isomalt eye technique that will blow your mind and I will show you how to do that in another post! Liz recently did a live demo on how to use her chocolate skull mold and I am going to break it down into step by step photos for you as well.

Before you start...

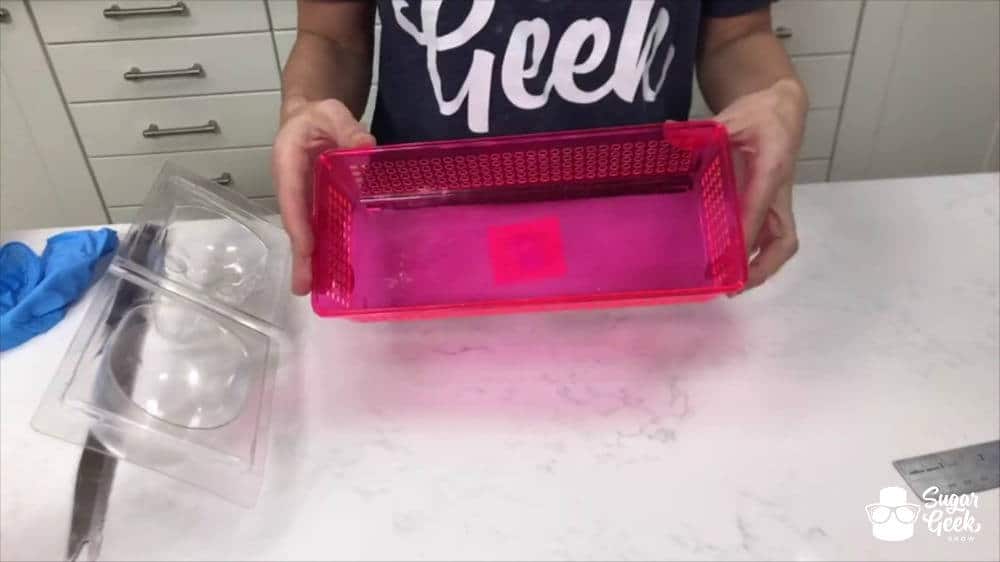
Buy the Chocolate Skull Mold from our online shop and then get yourself a $1 pencil container from your local dollar store to use to hold your mold.

How to use a chocolate skull mold for bust cakes

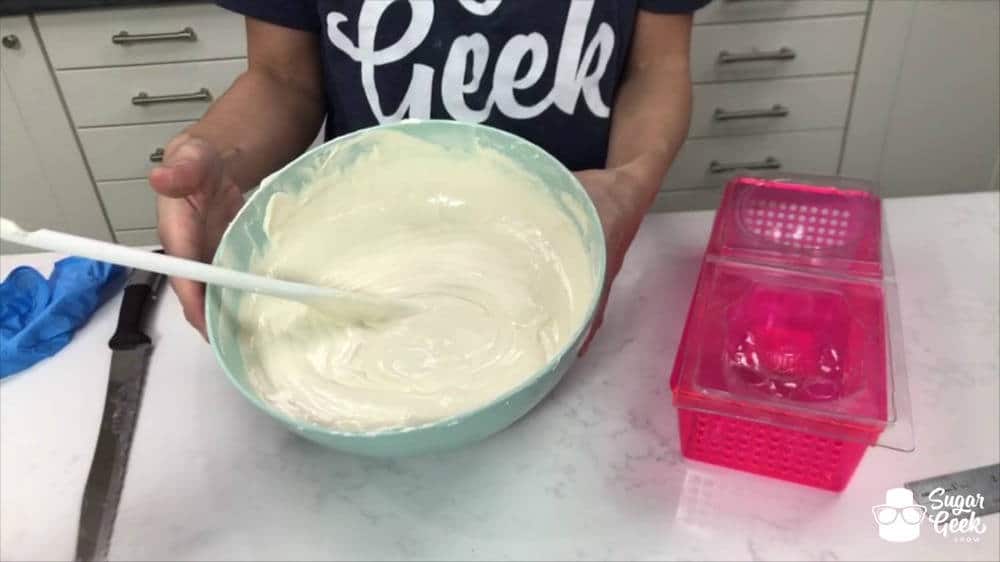
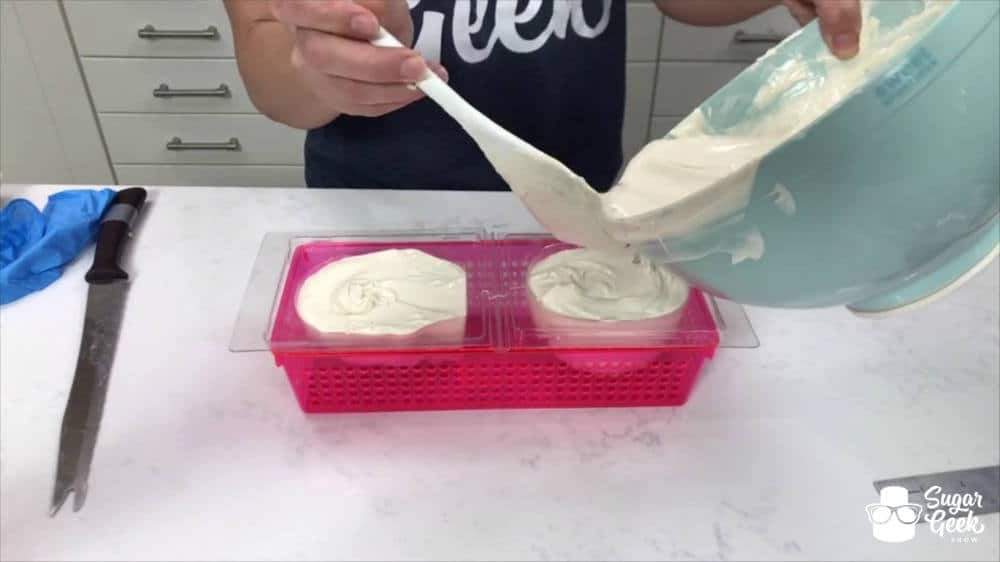
Melt down 4 lbs of candy melts. Candy melts are best because real chocolate will stick to the mold and not release the way you'll want it to.

How to use a chocolate skull mold for bust cakes

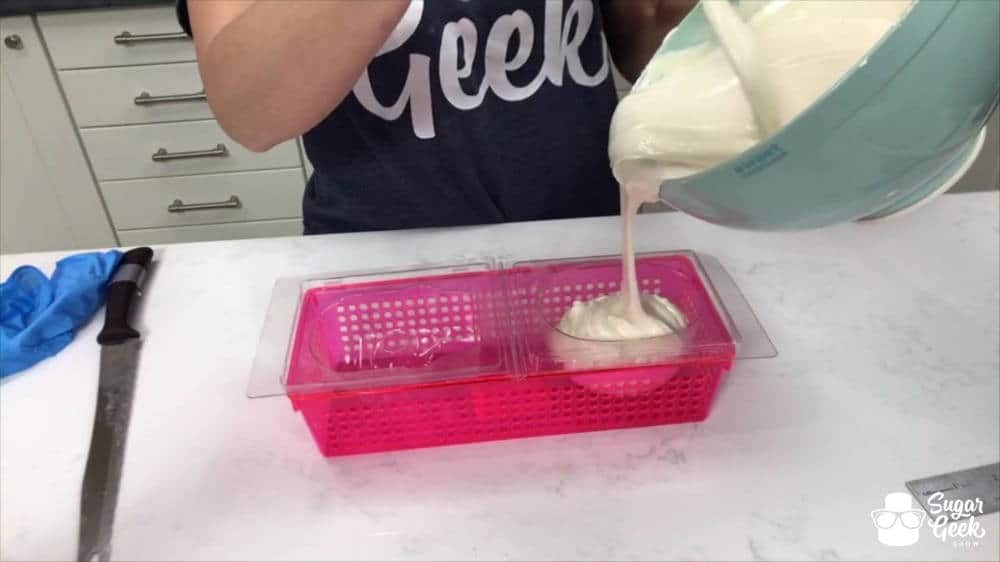
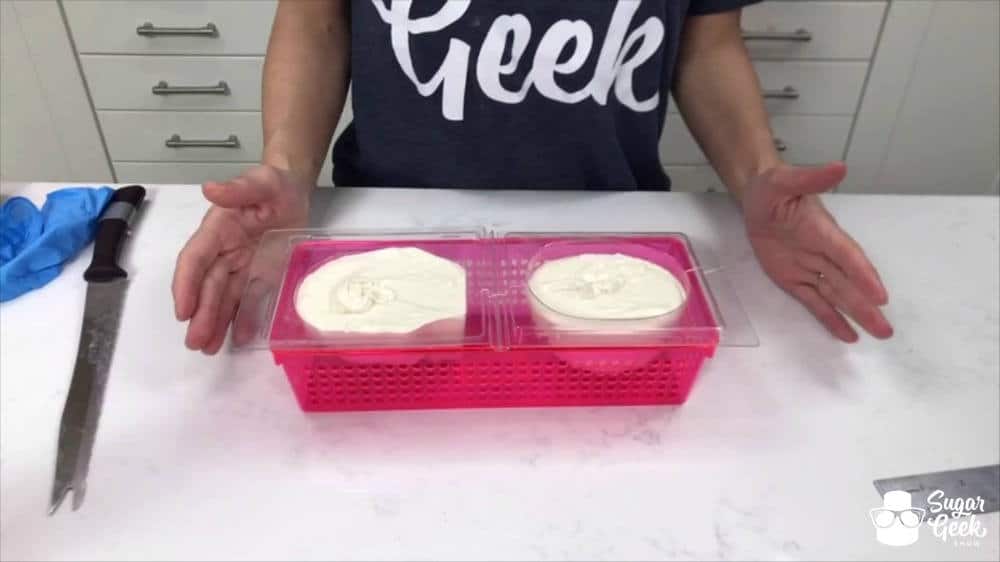
Fill the back half of the skull until it's just below the top. Fill the front half of the skull all the way to the top. Try not to over fill your mold to avoid unnecessary spillage and mess. That being said, the skull does not have to be perfect by any means, we are after all just covering it up.

How to use a chocolate skull mold for bust cakes

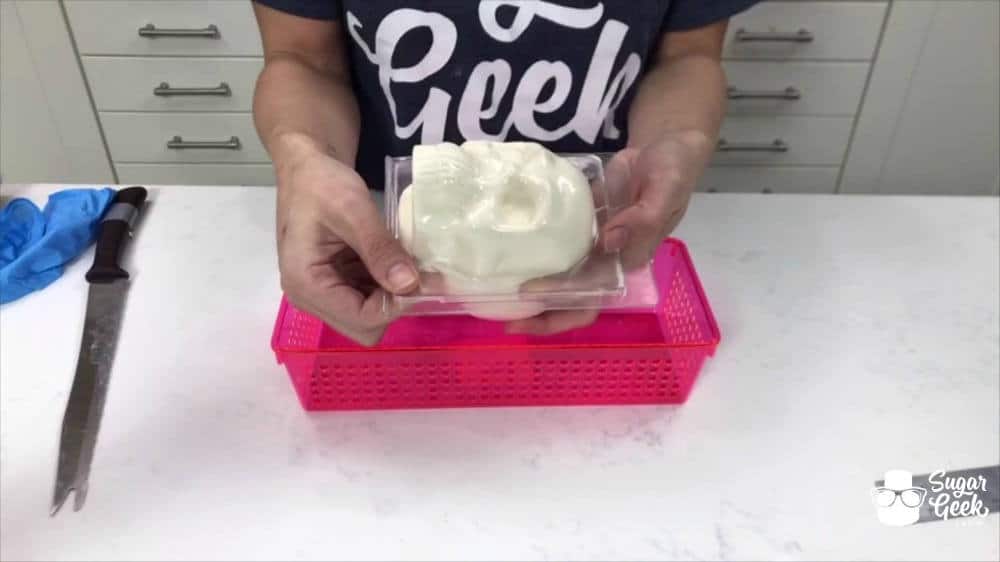
Place the mold in the freezer for about 10 minutes to give it a quick set.

How to use a chocolate skull mold for bust cakes

Then continue to fill the back half of the mold to the top to act as the "glue".

How to use a chocolate skull mold for bust cakes

Close the mold and snap it together. Place in the freezer for about an hour to fully harden.

How to use a chocolate skull mold for bust cakes

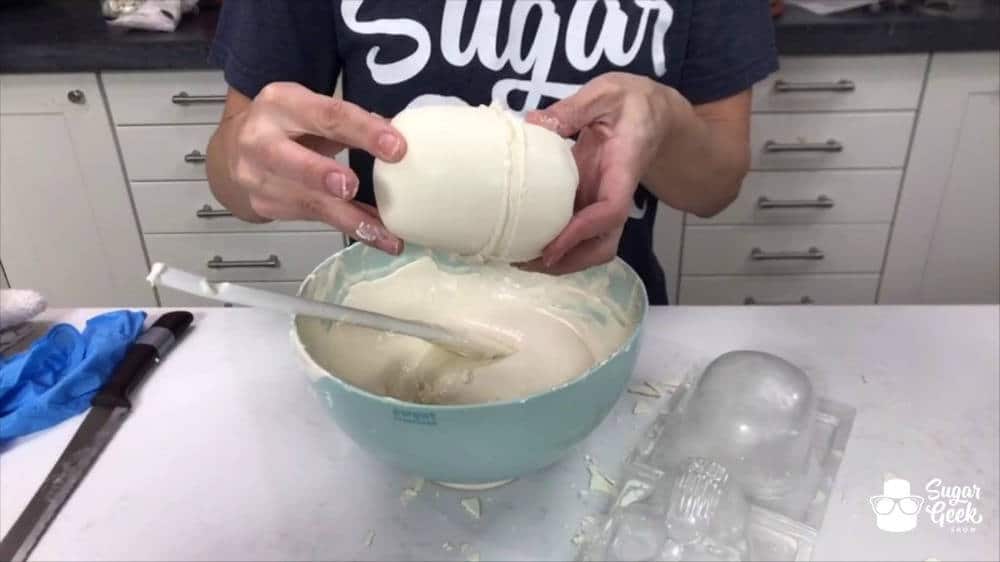
If by chance your skull comes apart...

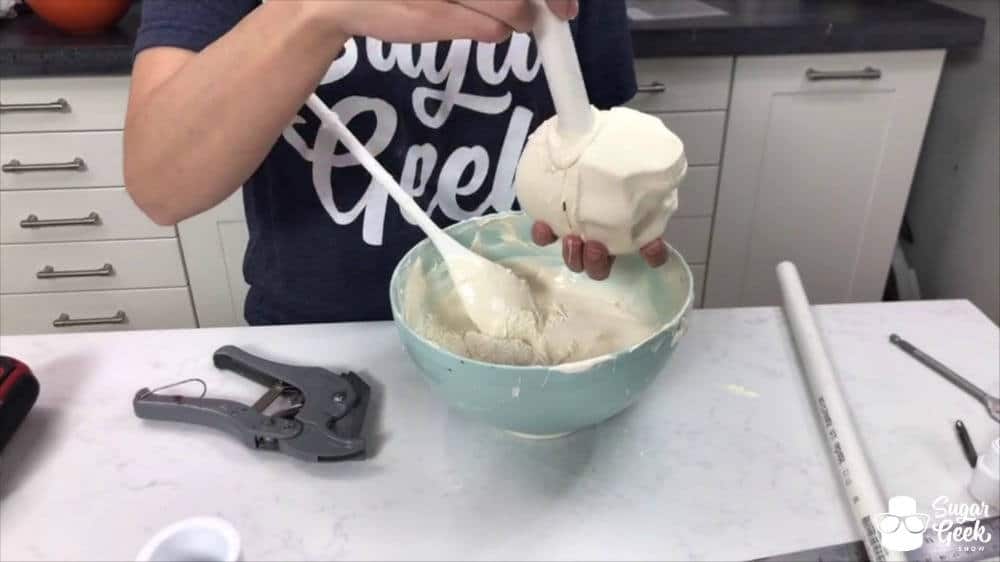
Just add a little more chocolate in between the pieces to glue it back together.

How to use a chocolate skull mold for bust cakes

Once your skull is fully set, use a drill and a 1" paddle drill bit to drill a hole into the back half of the skull.

How to use a chocolate skull mold for bust cakes

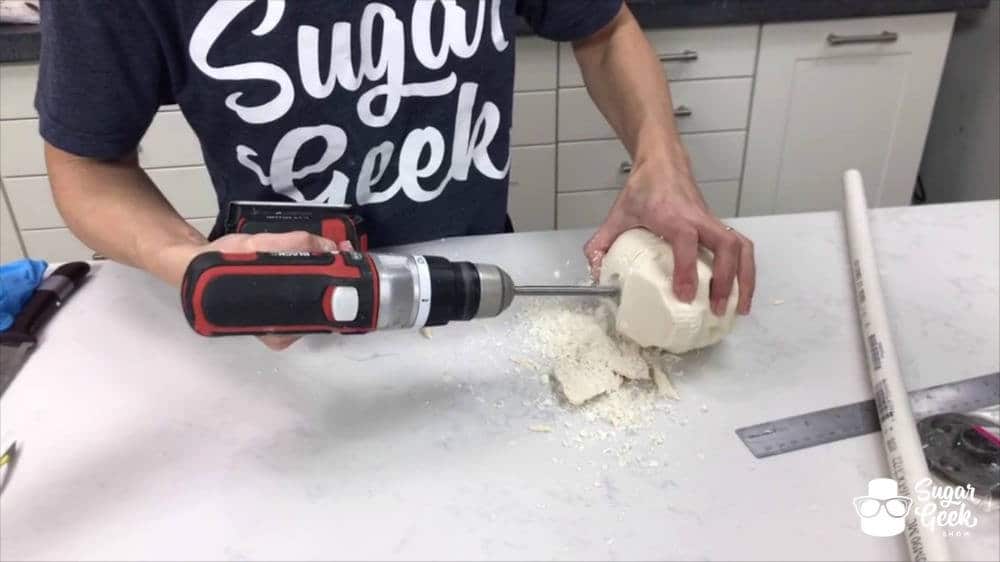
You don't need to drill too far, maybe about an inch tops.

How to use a chocolate skull mold for bust cakes

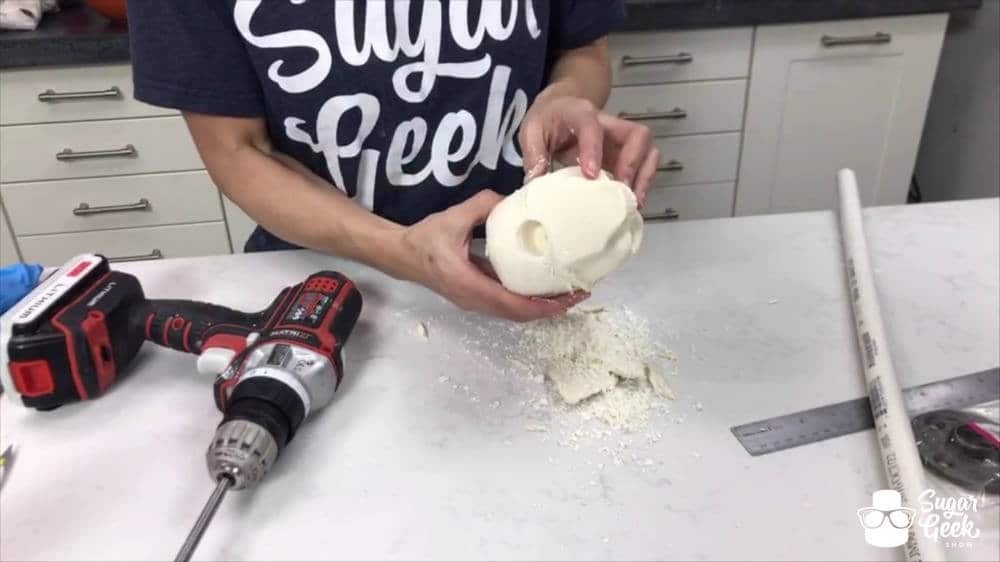
Fill the hole with more melted chocolate.

How to use a chocolate skull mold for bust cakes

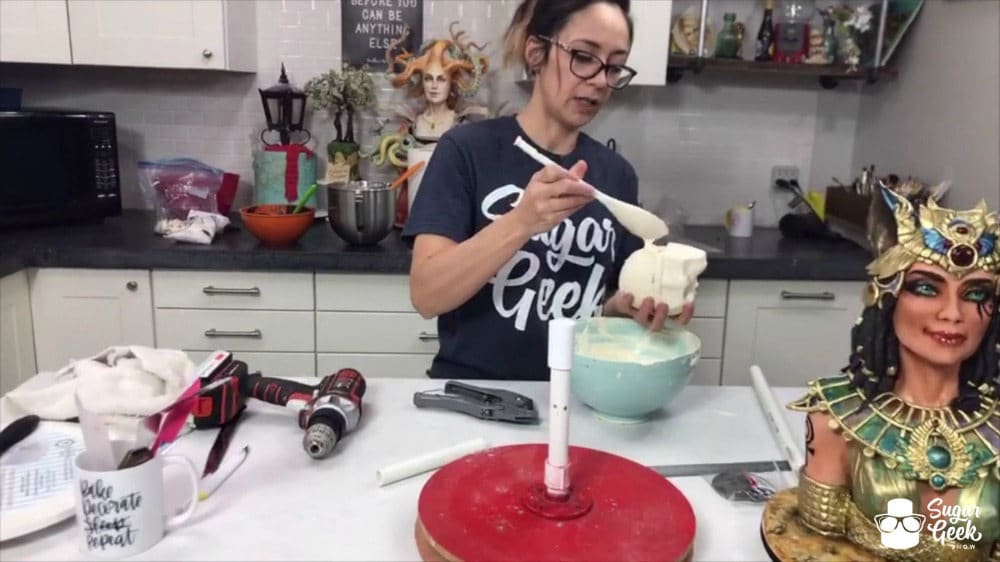
Stick a small length (exact length doesn't matter at this point) into the hole and let set until firm, another couple of minutes.

How to use a chocolate skull mold for bust cakes

Then your skull is ready to set onto your structure! Liz created a face sculpting stand for sculpting faces ahead of time using:

  • (2) 14" wooden boards
  • ½" metal pvc pipe flange
  • ½" female pvc adapter
  • ½" pvc pipe (about a 6" length)
  • ½" pvc coupler
  • Lazy susan
  • Screws

Screw the lazy susan in between the two wooden boards. Then screw your flange to the top board and insert your female adapter, pvc pipe and coupler. Easy peasy! Then once you are done sculpting your face, you will be able to easily transfer it to your final structure with completed bust.

How to use a chocolate skull mold for bust cakes

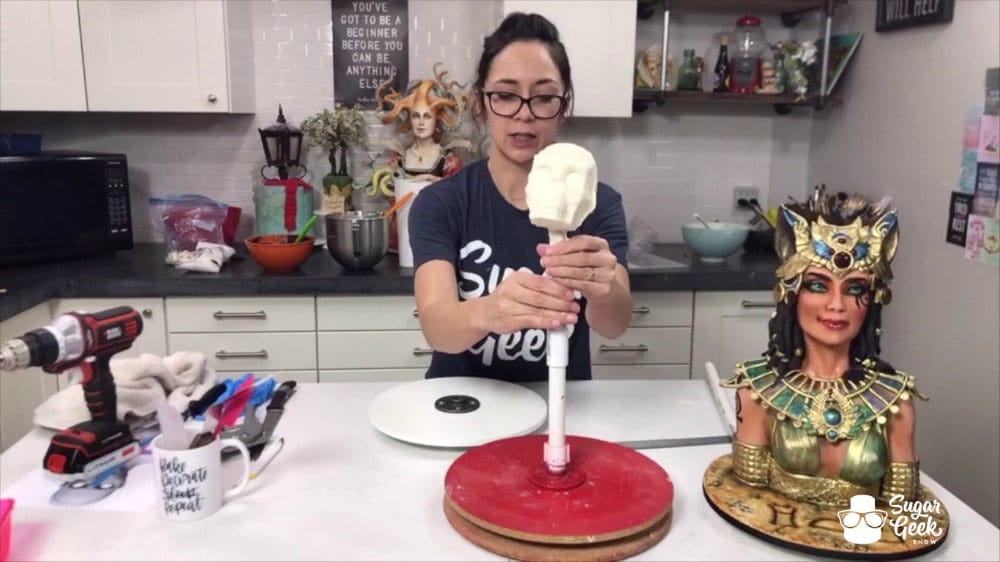
This will allow you to make incredible bust cakes with ease! Next week we will go through step by step how to make the bust structure and sculpt the bust from cake! If you missed the live demo showing all of this, definitely check it out below! It's both educational and entertaining.

More Blog

  • gold drip on a white cake
    Gold Drip Tutorial
  • close up of fresh pasta held in two hands
    Easy Homemade Egg Pasta
  • jar of Speculaaskruiden
    Speculaaskruiden (Dutch Spice Mix)
  • homemade edible Christmas gift ideas
    Homemade Edible Christmas Gift Ideas Everyone Will Love

Primary Sidebar

Hi, I'm Liz! I'm passionate about creating reliable, foolproof recipes that don't just tell you how to cook, but why things work - so you can skip the guesswork and confidently make the best sweet and savory dishes of your life.

More about me →

Our Cake Greatest Hits

Check our our best cake recipes

☘️St. Patrick's Day

  • st patricks day cake made with green velvet cake
    St. Patrick's day cake
    Cook Time40 Minutes
  • close up of green velvet cake slice on a white plate
    Green Velvet Cake
    Cook Time50 Minutes
  • lucky charms rice krispie treats lined up on a table
    Lucky Charms Rice Krispie Treats
    Cook Time30 Minutes
  • slice of Guinness chocolate cake on a plate
    Chocolate Guinness Cake
    Cook Time1 Hours
  • slice of chocolate cake with white frosting and caramel drip on a dark plate
    Irish Cream Cake
    Cook Time7 Hours 20 Minutes
  • sweet irish soda bread
    Grandma's sweet Irish soda bread recipe

Popular Recipes

  • close up of ganache drizzling into a bowl
    The Best Chocolate Ganache Recipe
    Cook Time20 Minutes
  • close up of easy buttercream rosettes
    Easy Buttercream Frosting
    Cook Time10 Minutes
  • close up slice of marble cake
    Moist and Fluffy Marble Cake Recipe
    Cook Time40 Minutes
  • close up of red velvet cake slice
    Red Velvet Cake Recipe
    Cook Time1 Hours 40 Minutes

Footer

↑ back to top

About

  • Privacy Policy
  • Terms of Service

Newsletter

  • Sign Up! for emails and updates

Contact

  • Contact
  • About Us

Copyright © 2024 Sugar Geek Show, Inc. All Rights Reserved.

407 shares