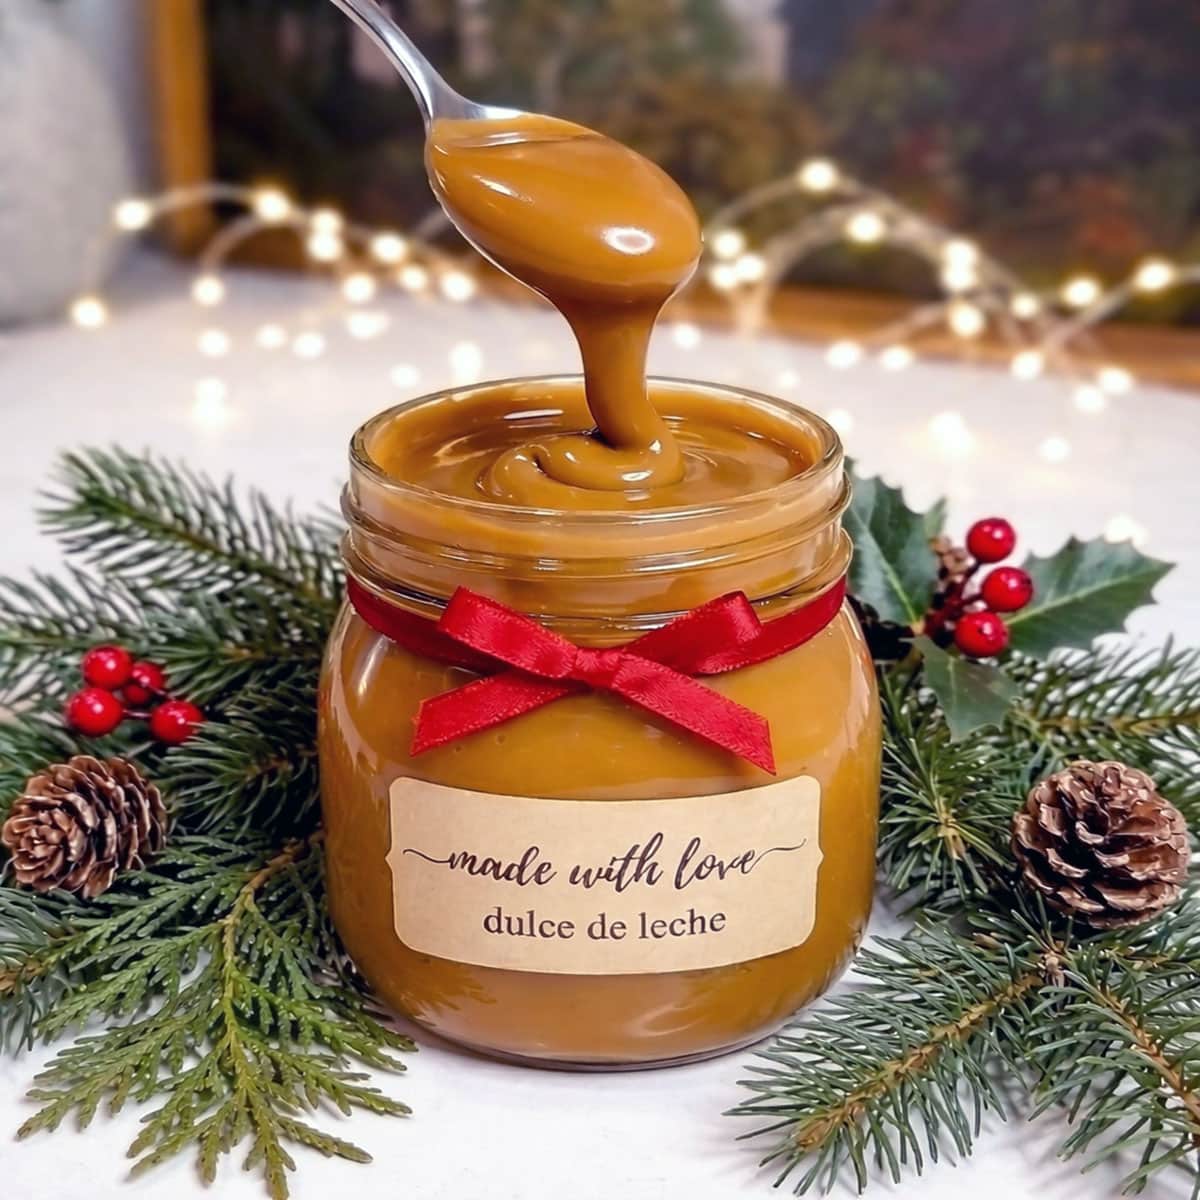
Dulce de leche is one of those sweet kitchen miracles that feels luxurious but barely asks anything of you. It's a classic South American confection of sweet milk that is cooked low and slow for hours until it transforms into a golden sauce.
I love using dulce de leche as a brown butter cake filling, a drizzle over an apple galette, or for mixing into easy buttercream.
What's In This Blog Post
My Inspiration
I started making dulce de leche because I wanted a sweet, thoughtful homemade gift for friends-something personal, something that tasted like quality time in a jar, but didn't require much effort to prepare. A little ribbon around a jar of this sweet sauce, and people dip a spoon in before the lid even goes back on.
I tested out three different popular ways to make dulce de leche to see which one is the best and produces a thick, dark, flavorful dulce de leche. Keep reading to see which one I think is the best. Don't worry, I've also including the other ways to make dulce de leche so you can see for yourself which you like best.
Ingredients
Making dulce de leche couldn't be easier! All you need is sweetened condensed milk, some water, and some patience. You can add in a little vanilla or cinnamon at the end for an extra flavor boost.
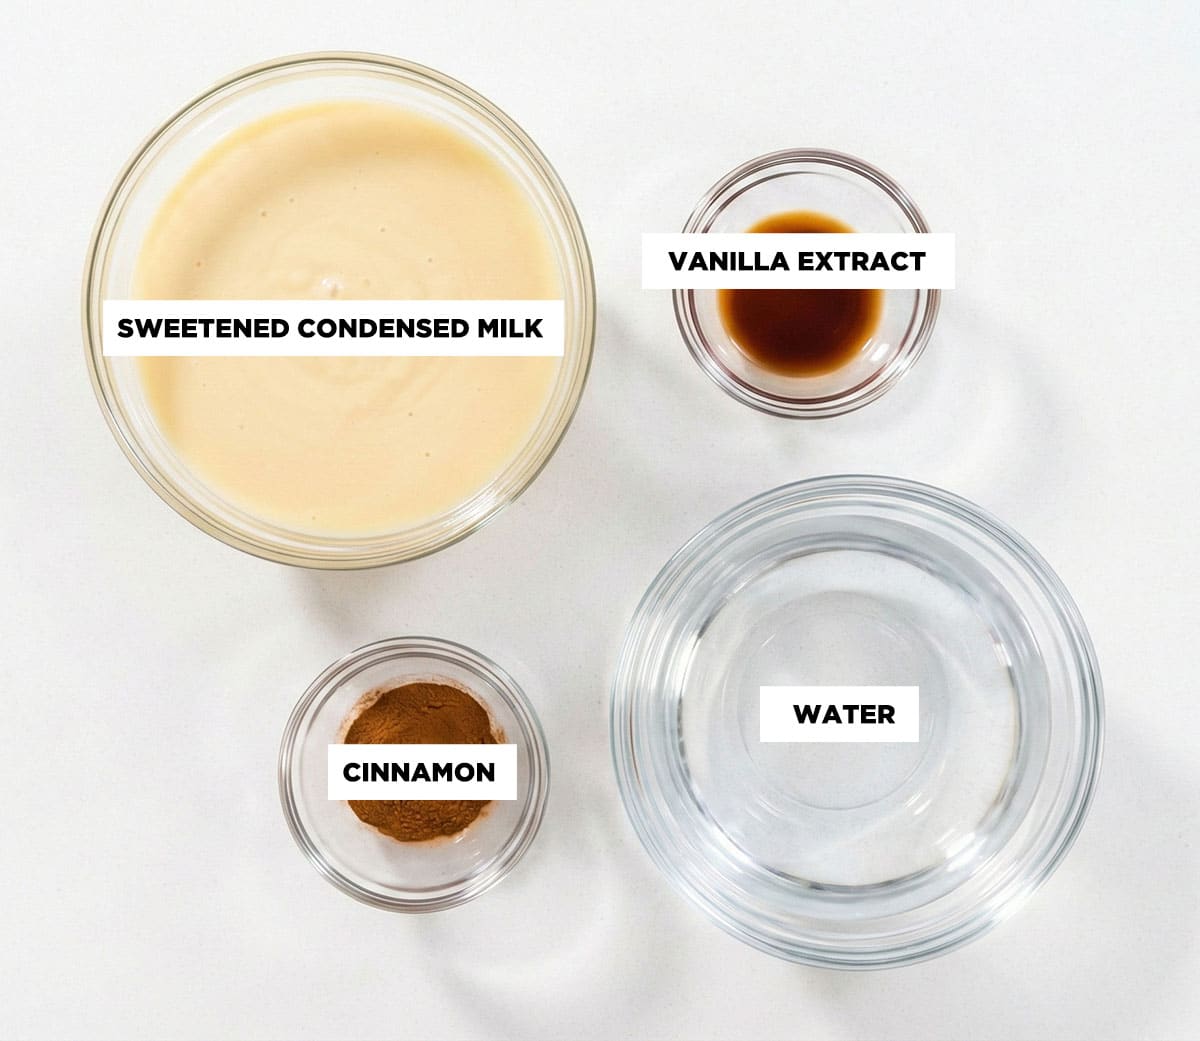
• Sweetened condensed milk - The base of this dulce de leche recipe. When gently heated, sweetened milk thickens and caramelizes through a series of chemical reactions, including the Maillard reaction, until it becomes a coppery brown sauce. You can substitute condensed coconut milk for dairy-free versions or make a traditional batch using whole milk, cow's milk, or goat's milk with brown sugar, corn syrup, or baking soda, depending on the method.
• Water - Water provides even heating so that your sweetened condensed milk has time to caramelize without burning or crystallizing.
• Vanilla extract - A teaspoon of vanilla extract adds warmth to the finished sauce.
• Cinnamon stick - Optional, and more common in traditional ways of cooking dulce de leche.
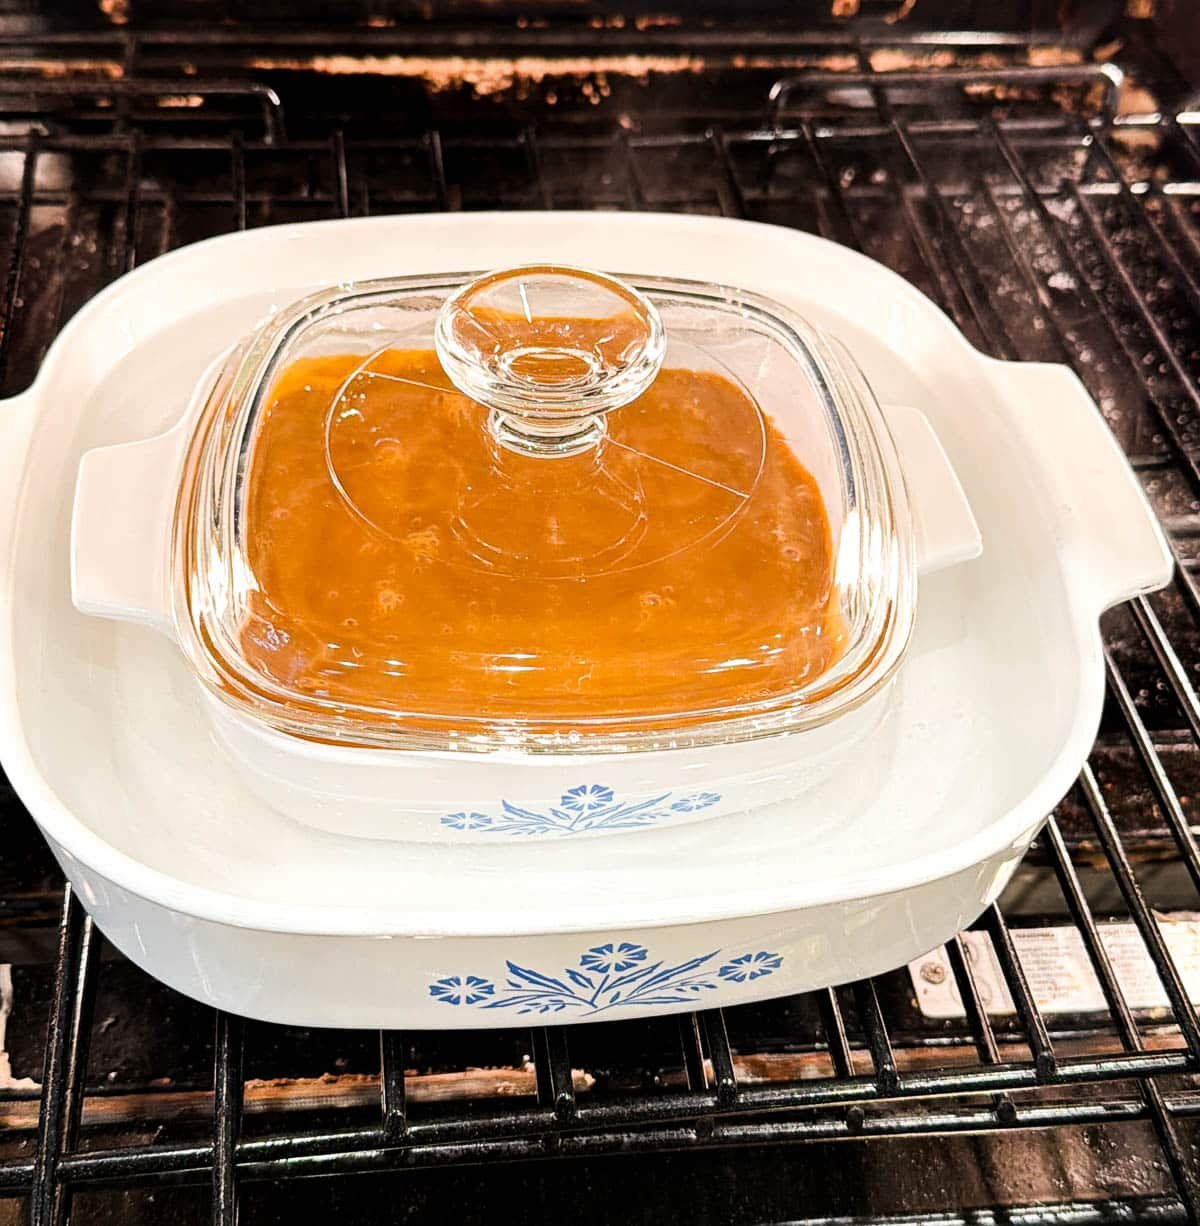
How to Make Dulce de Leche in the Oven
I love how fast you can make dulce de leche in the oven, although you do have to pay attention to it to make sure it doesn't over-brown and get too thick.
- Preheat your oven to 425°F. Place a rack in the center of the oven.
- Pour the sweetened condensed milk into a shallow oven-safe dish such as a glass or ceramic pie dish. Spread it into an even layer so it cooks consistently.
- Cover the dish tightly with aluminum foil, or if your pan has a lid, place it on top but leave a small gap for venting and water evaporation. This is important to prevent skin from forming and to keep moisture in.
- Place the covered dish inside a larger dish or roasting pan. Carefully pour hot water into the roasting pan until it reaches about halfway up the sides of the dulce de leche dish.
- Transfer the pan to the oven and bake for 60-90 minutes. Check it every 30 minutes, carefully removing the foil and stirring gently to ensure even caramelization.
- Bake until the milk turns a deep golden brown and thickens to a smooth, caramel-like consistency. Lighter dulce de leche will be done closer to 60 minutes, while darker and thicker versions may take up to 90 minutes.
- Remove from the oven and let cool slightly. Whisk or use an immersion blender until completely smooth if needed. It will thicken as it cools.
- Transfer to an airtight container and refrigerate for up to two weeks.
Stove Top Instructions
This is another popular way to create dulce de leche and requires no effort other than making sure the cans stay covered in water and some patience.
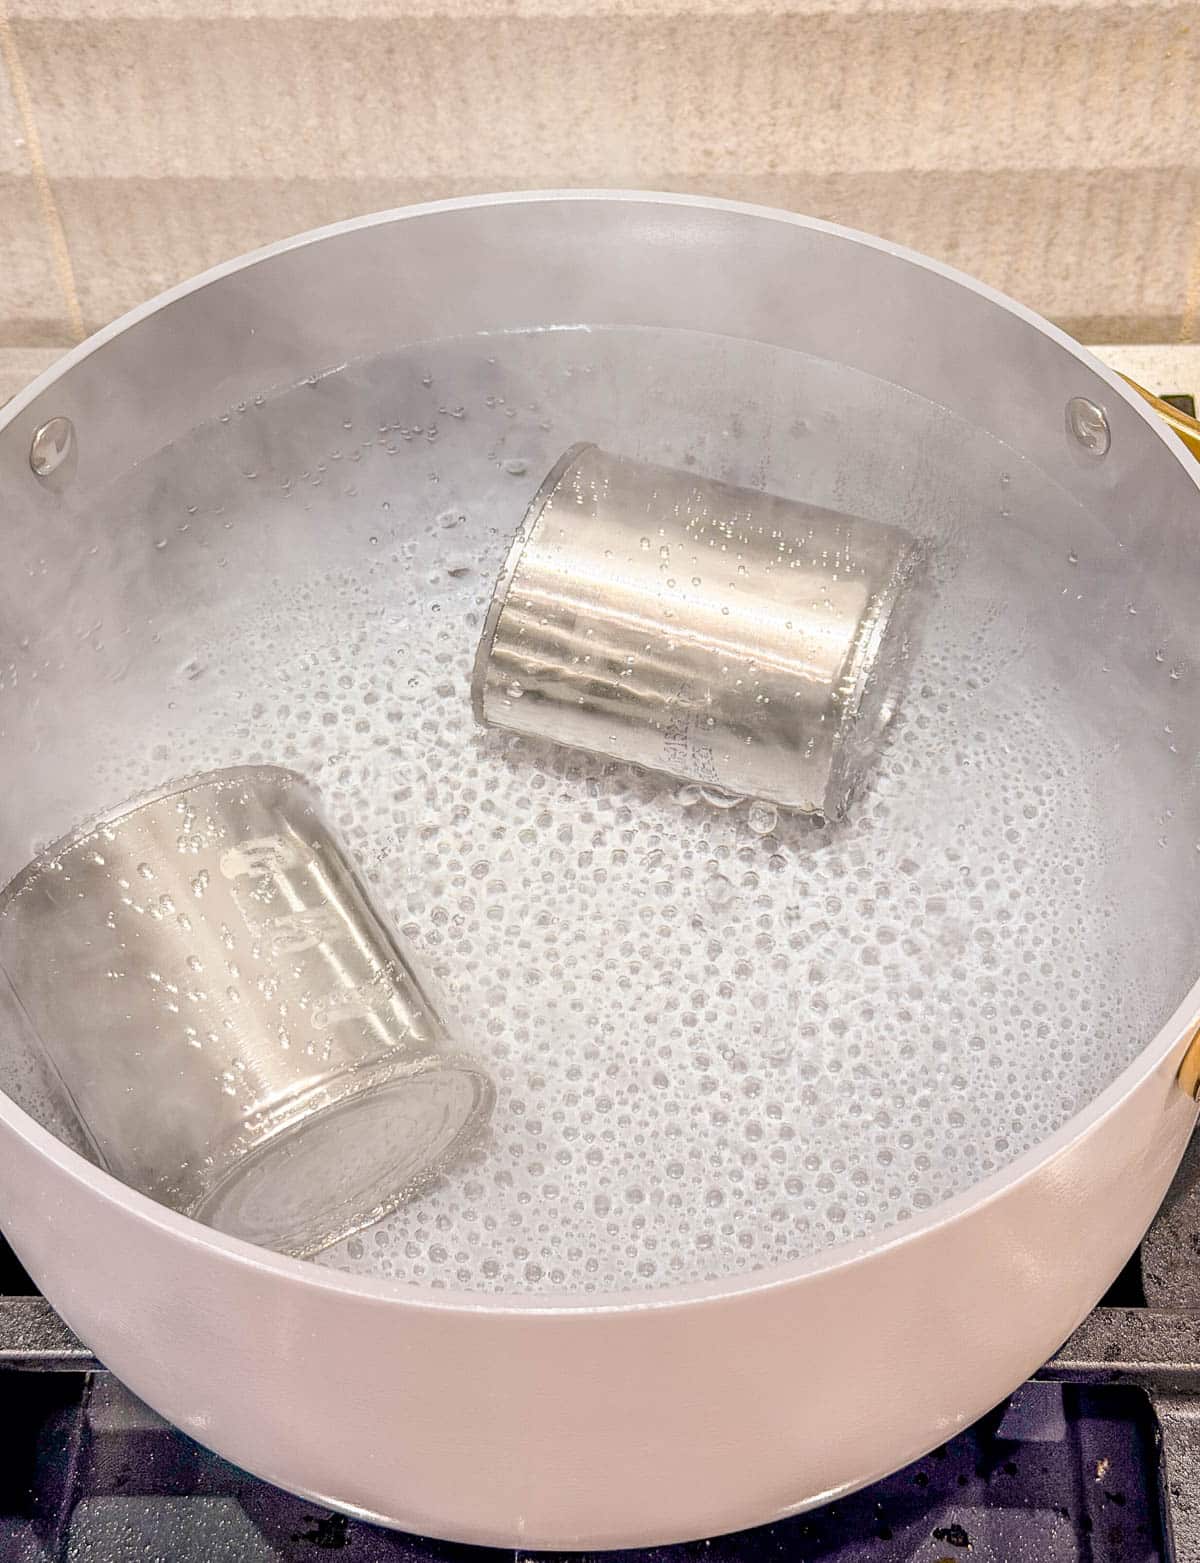
- Remove the label from your unopened can of sweetened condensed milk.
- Place the can on its side in a large pot and cover it with enough water so there are at least two inches of water above the top of the cans.
- Bring the pot to a gentle simmer over medium heat, then reduce to medium-low heat.
- Simmer for 2 to 3 hours, adding hot water as needed to maintain the water level the entire time.
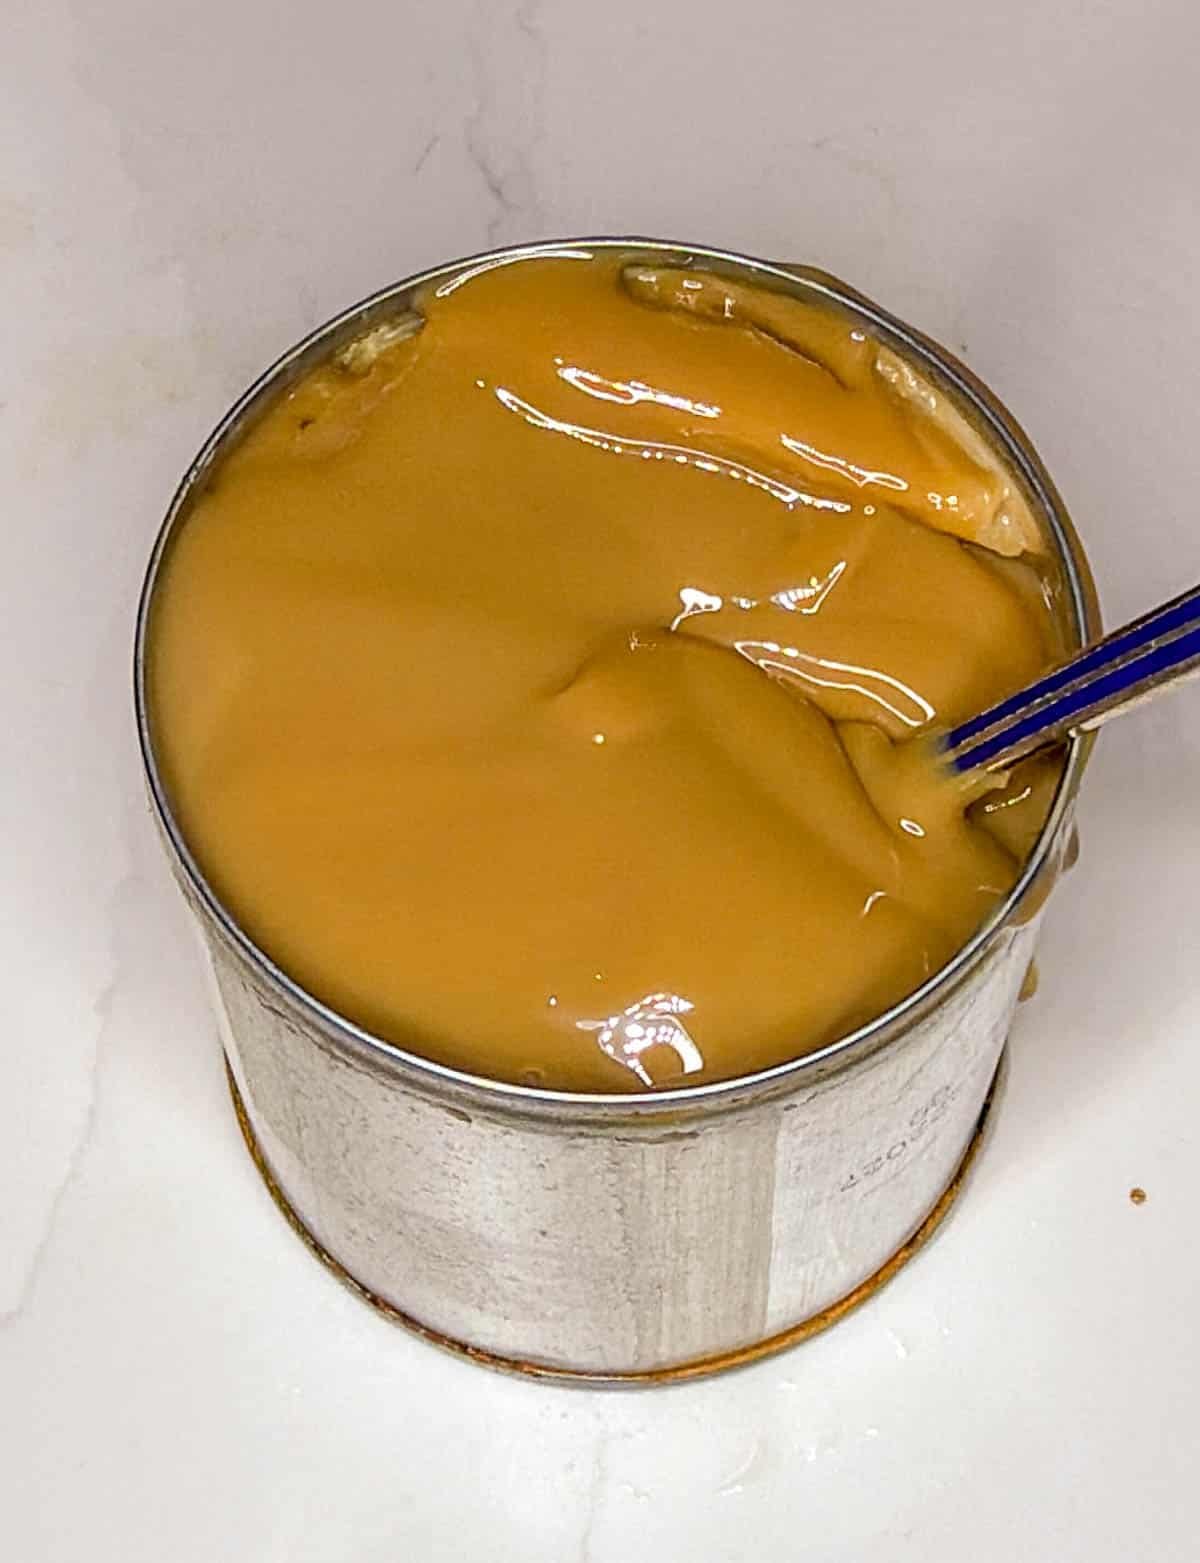
- Remove the large pot from heat and allow the can to cool completely to room temperature before opening.
- Stir in vanilla extract if you want a little extra depth.
- Store the finished dulce de leche in an airtight container.
Slow Cooker (Crockpot) Dulce de Leche
Why this method works:
The slow cooker keeps the temperature steady and fully surrounds the cans with gentle heat, which reduces the risk of scorching or uneven caramelization.
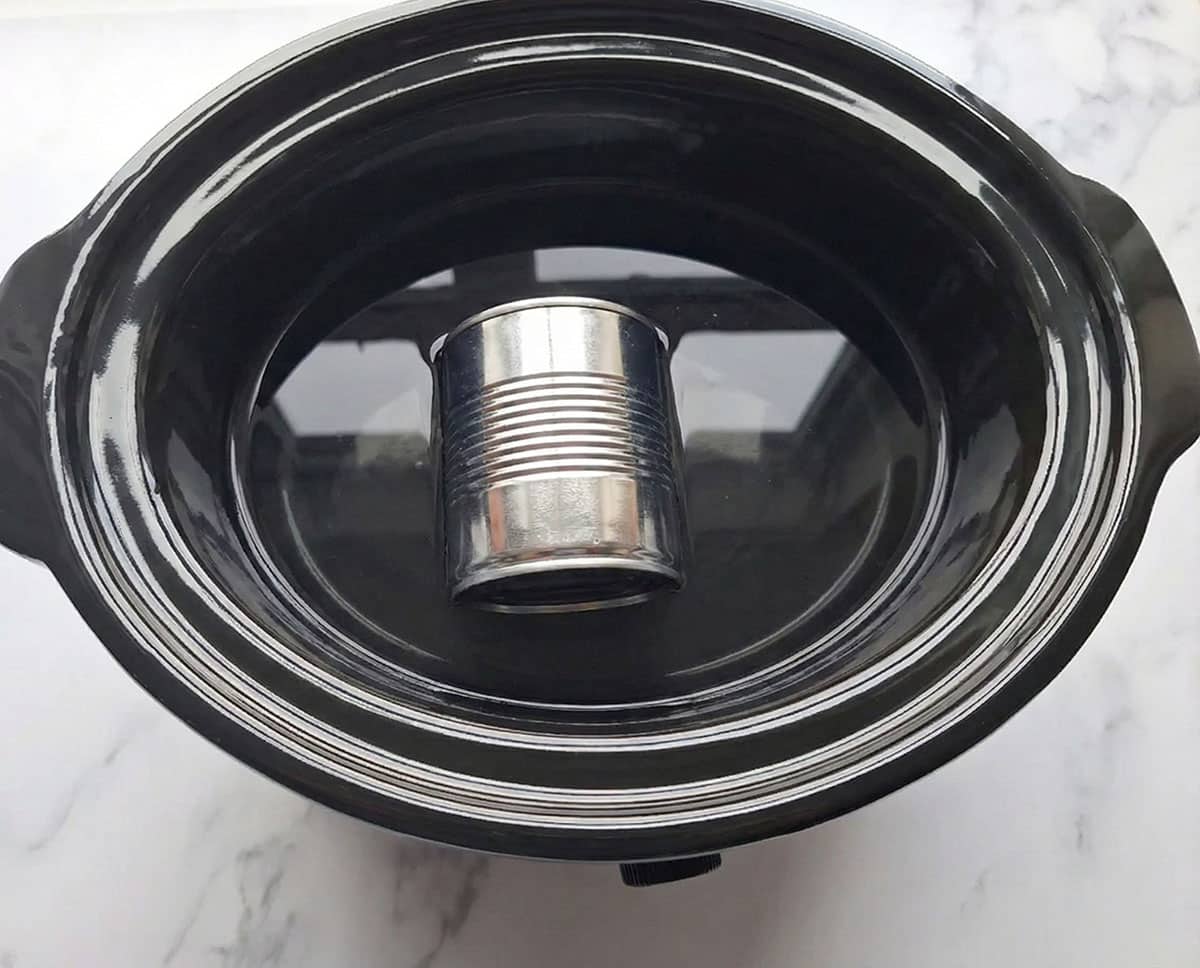
- Remove the paper labels from unopened cans of sweetened condensed milk.
- Place the cans on their sides in the slow cooker.
- Fill the slow cooker with water so the cans are fully submerged by at least 1 inch.
- Cover with the lid.
- Cook on LOW for 8-10 hours for light to medium dulce de leche, or 10-12 hours for darker and thicker caramel.
- Turn off the slow cooker and allow the cans to cool completely in the water before opening.
- Open, stir until smooth, and store in an airtight container in the refrigerator.
Tips & Tricks
- A shorter cooking time creates a lighter dulce de leche that works beautifully for drizzling over vanilla ice cream or drizzling over desserts like cheesecake or an apple galette.
- A longer cooking time gives you a darker color and a thicker dulce de leche perfect for a whole layer of dulce de leche in cakes or a shortbread texture filling for alfajores cookies.
- Covering the pot with aluminum foil helps reduce evaporation if you're using the stovetop version.
- For a dairy-free option, condensed coconut milk caramelizes beautifully.
- Use a double boiler or water bath if you prefer to cook the milk outside the can, which also makes a lovely manjar blanco similar to what you find in Puerto Rico or the Dominican Republic.
- If you want to churn ice cream with it, thin the dulce de leche with ¼ cup of warm water or cream so it blends smoothly.
- Dulce de leche cortada is another variation made by intentionally curdling sweetened milk-fun if you want to try different things.
- Store your homemade dulce de leche in an airtight container in the refrigerator for up to a month.
Final Thoughts
Out of all the methods I tried to make dulce de leche, I felt the oven method was the fastest, most reliable, and easiest to monitor. The only downside is you can't really leave the milk to cook on its own like you can in the slow cooker or stovetop version.
I like the thicker dulce de leche because it's more like a frosting and holds its shape for putting between cookies, layering between cakes, or mixing into buttercream.
FAQ
Your dulce de leche is hard because it likely got overcooked, causing too much liquid to evaporate and sugar to crystallize, or it wasn't stirred enough, leading to lumps and a hard texture; the solution involves gentle reheating with added liquid (milk/cream) and vigorous stirring or blending until smooth.
Your dulce de leche isn't thickening usually because it needs more cooking time, was cooked at too high a heat, has too much water/milk relative to sugar, or you're expecting it to be thick while still hot (it thickens significantly as it cools). Common fixes include cooking it longer on low heat until its your desired thickness.
Recipe
Equipment
- 2 oven safe pans or casserole dishes One smaller than the other
Instructions
- Preheat yoru oven to 425ºF
- Pour the sweetened condensed milk into the smaller dish
- Cover it tightly with alumnim foil or if the dish has a lid, place the lid on top with a slight crack for venting.
- Place the small dish into the larger dish.
- Fill the larger dish with water until its about half full.
- Place them into the oven and bake for 60 minutes to 90 minutes depending on how dark you want your dulce de leche. Less time will produce a thinner, lighter sauce while longer produces a thicker, creamier sauce.